AH-60L DAP Blackhawk

Thanks everyone for the strong encouragement. I really appreciate it. Work has been beating me up for the last 48 hours but I'll be back at it strong tomorrow after my soccer match!

Grendels: Yea, it's an Academy, and these are bad by their standards. it's just such a long seam line (big kit) that it requires some support...., that i didn't add. You're right, they aren't slowing me down to much. Work is though. OUCH!

Norm: Photos of the TAIL rotor shaft will be coming up prob on Sunday if my plans work out correctly. I'll have a few of them, along with all the scratch detail in the hydraulics bay.

Thanks again folks!!!!!
 
Eastrock said:
Hi myke

I found a link about the stealth black hawk, about the operation Geronimo. bad side is it only in 1/144 scale by DML. I'll wait for the 1/72 for this one.

here's the link:

http://www.1999.co.jp/eng/10149291


AWESOME!!!!
Yea, that needs to be in at LEAST 1/72 before I put my big fat fingers on it. I still my buy it anyways.

Thanks for the link mate!!
 
Myke said:
Eastrock said:
Hi myke

I found a link about the stealth black hawk, about the operation Geronimo. bad side is it only in 1/144 scale by DML. I'll wait for the 1/72 for this one.

here's the link:

http://www.1999.co.jp/eng/10149291


AWESOME!!!!
Yea, that needs to be in at LEAST 1/72 before I put my big fat fingers on it. I still my buy it anyways.

Thanks for the link mate!!

I'll be looking forward with your build, Myke!!
 
Just as I was leaving my match today...., two Blackhawks flew overhead and very low level. I think it's an omen.

TO THE BENCH!!
 
Back to the scratch building for tonight.

I started, and am nearly finished with the Hydraulics Bay details.
I thought I'd make a little flip book of one of the boxes that goes in the bay in a piece by piece sort of sequence.

IMG_20110625_190951.jpg


IMG_20110625_191433.jpg


IMG_20110625_191929.jpg


IMG_20110625_193644.jpg


IMG_20110625_194223.jpg


IMG_20110625_194423.jpg


IMG_20110625_195727.jpg


IMG_20110625_195814.jpg


IMG_20110625_195944.jpg


IMG_20110625_200145.jpg


IMG_20110625_200517.jpg


IMG_20110625_200935.jpg


IMG_20110625_201457.jpg


IMG_20110625_202340.jpg


IMG_20110625_203153.jpg


IMG_20110625_203327.jpg


And then here is where I'm at so far.

IMG_20110625_232453.jpg


IMG_20110625_233203.jpg


Back to finish up that Bay!!
 
A couple more shots before I put my toys to bed for the night.

Just a few more things to add in the morning. Then I mask off the cabin and start painting. Should have the body all painted up by tomorrow night.

IMG_20110626_004341.jpg


IMG_20110626_004415.jpg


IMG_20110626_004427.jpg


See you all in the AM
 
Nothing shy of incredible Myke!!! Fire that AB up and start slapping some paint!! ;)
 
Can`t wait to see this done all painted up. You truly are doing a superb job on this the detail in unreal. Keep going.
 
Did I say I would have paint on tonight? I lied.
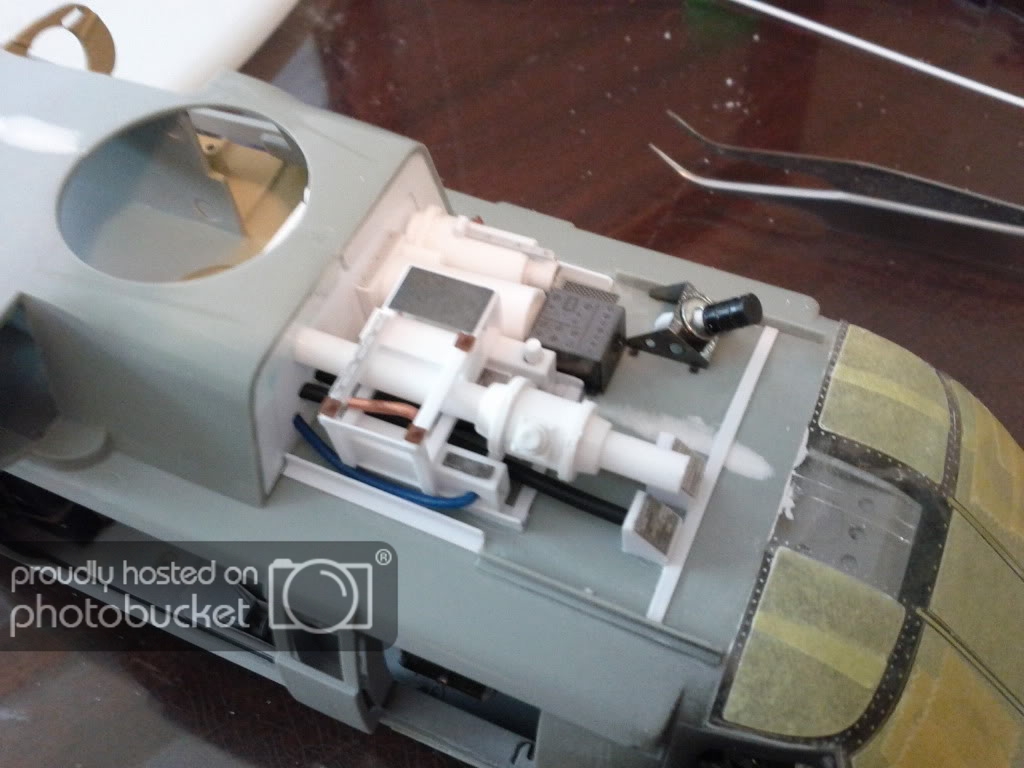
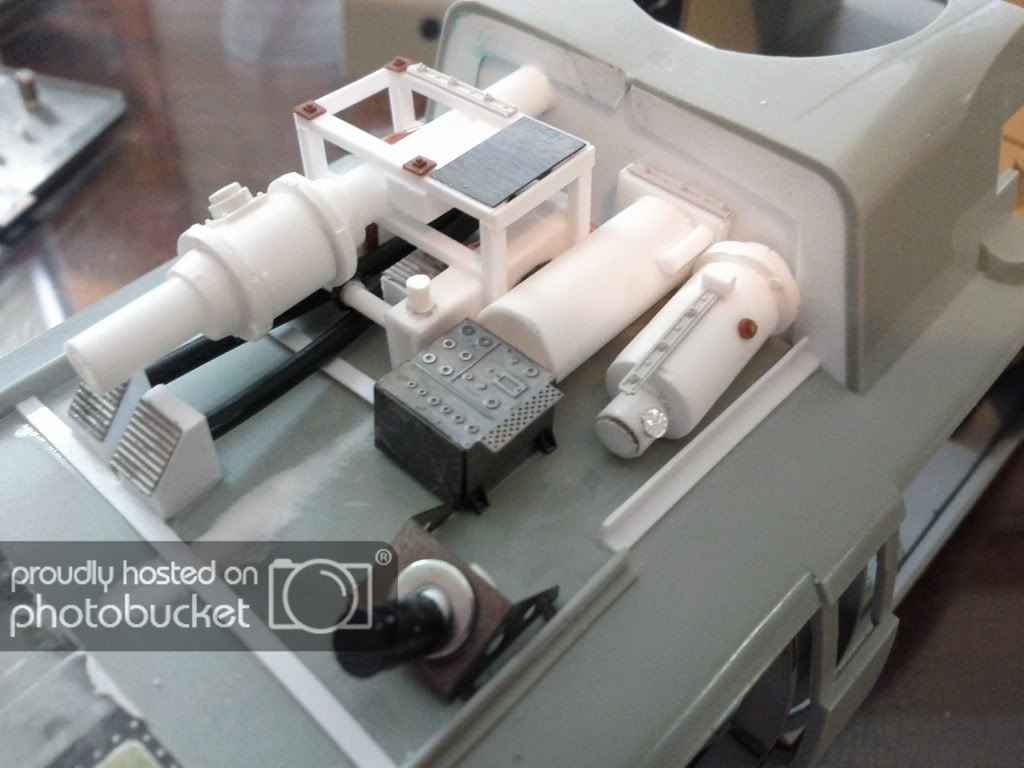
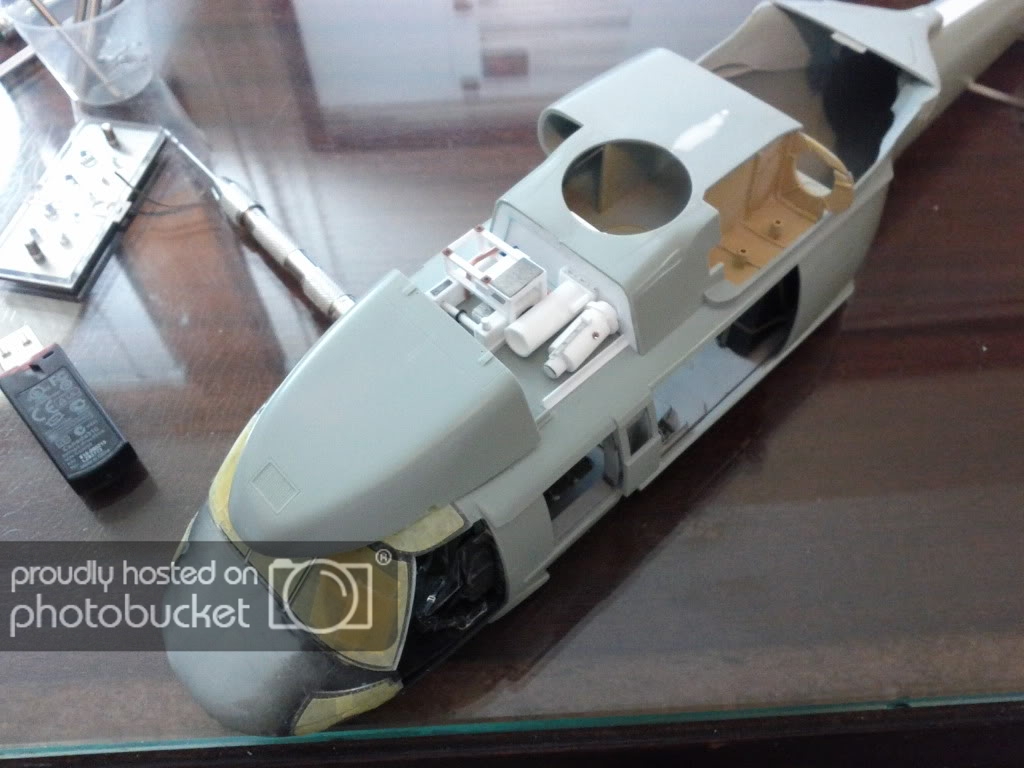
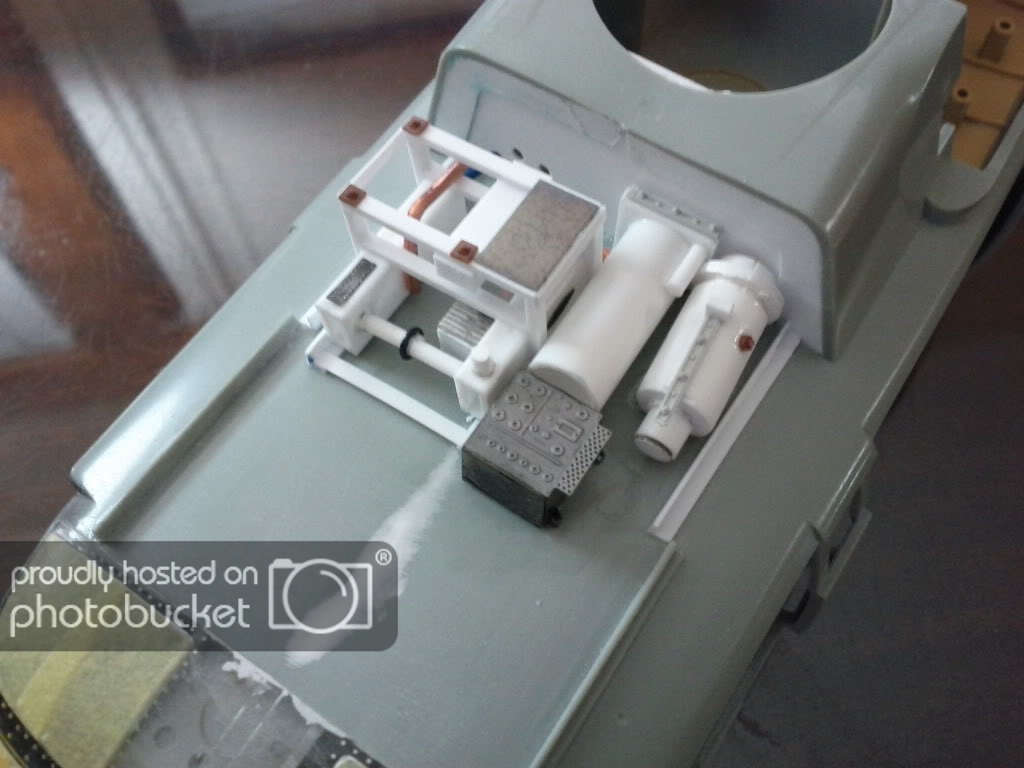
I spent a good 9 hours today finishing all the details that go on this thing. Everywhere I turn there is another piece to add, and I have to say..., it takes forever. I thought I had taken care of this in the planning phase, but going back and fourth between the instructions, the PE instructions on what had a replacement, and then finding the pieces on the huge sprues took up a lot of time. Then to check the references and find out if it even BELONGS on this model....<sigh> It's all good though.

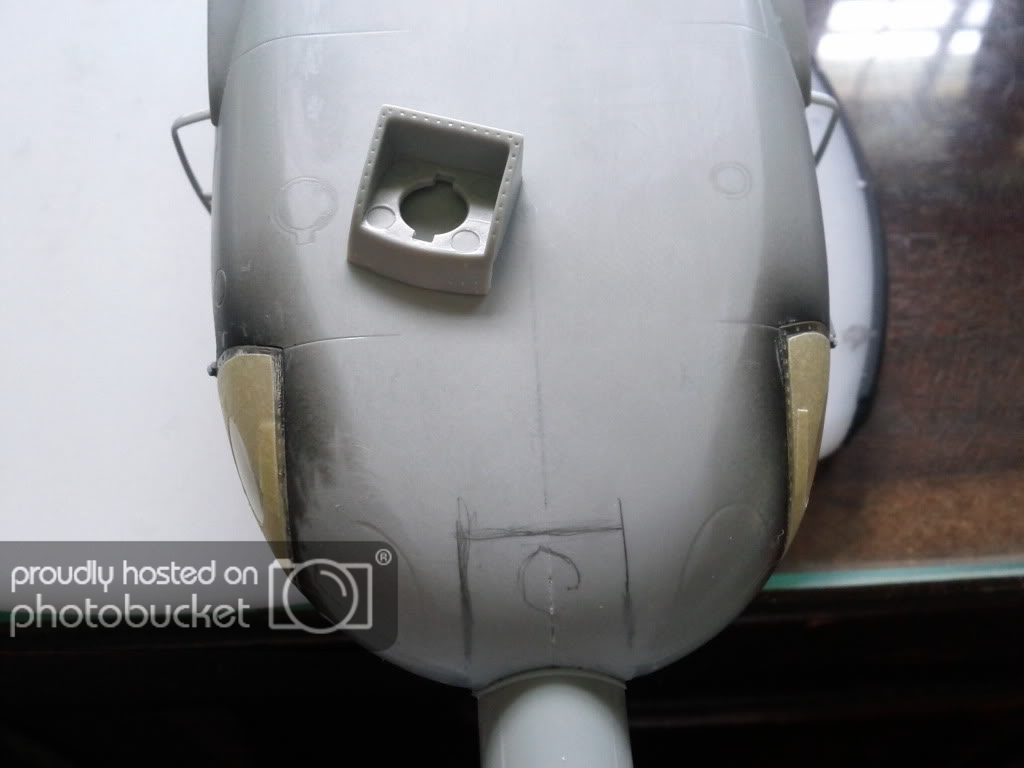
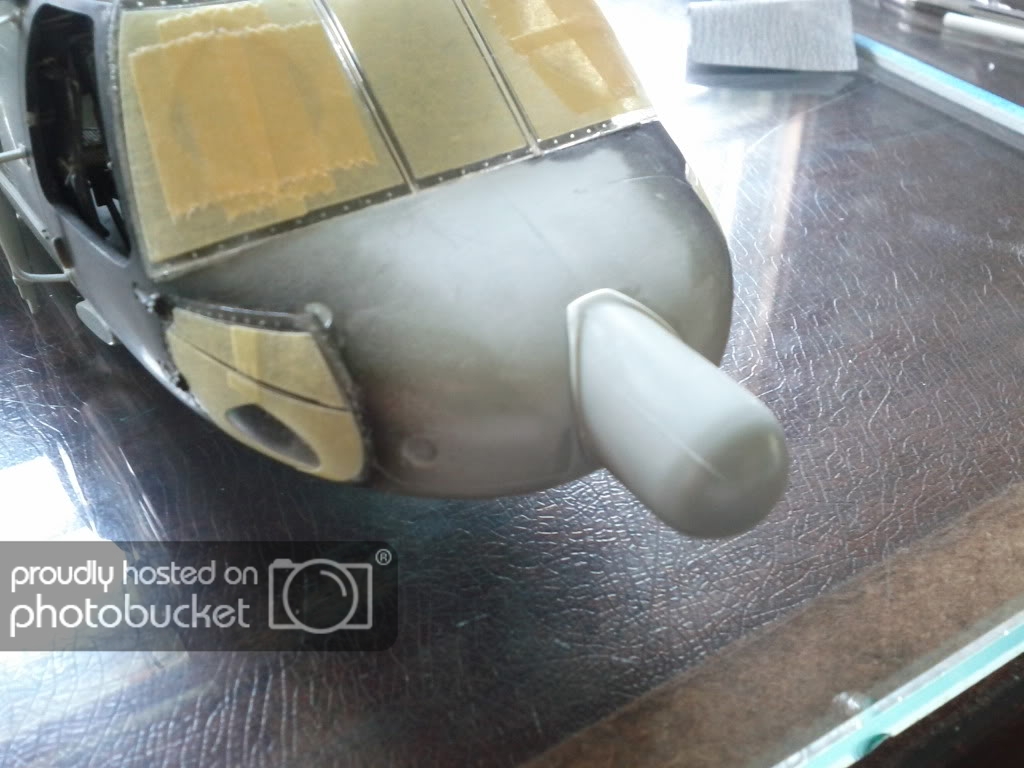
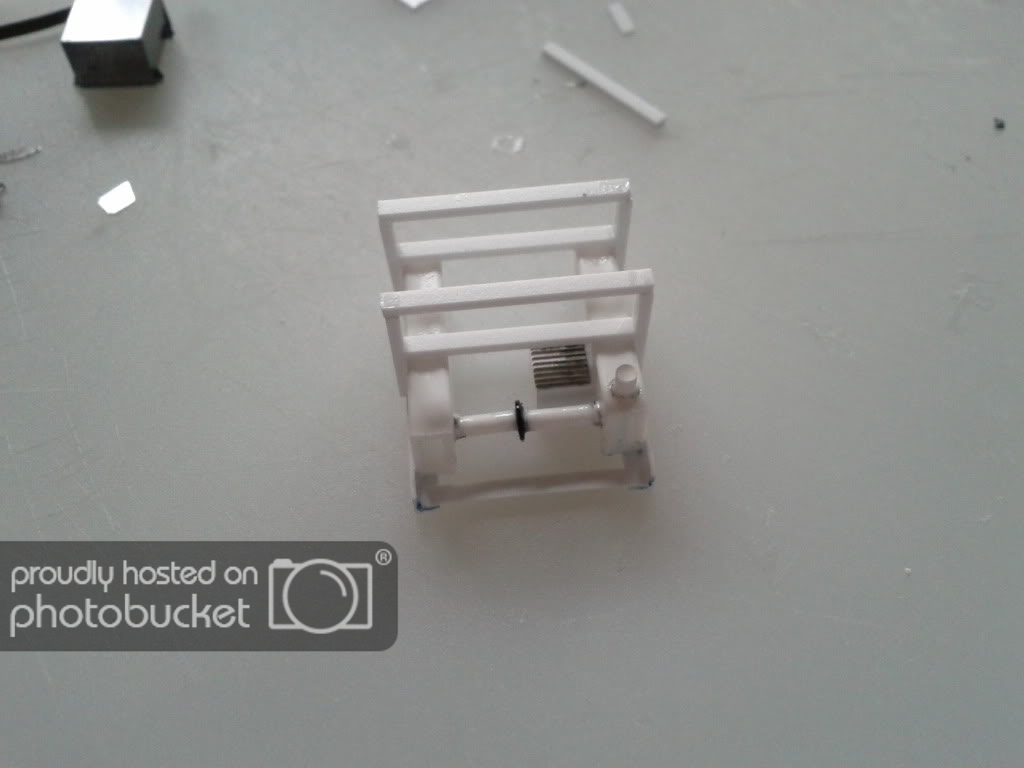
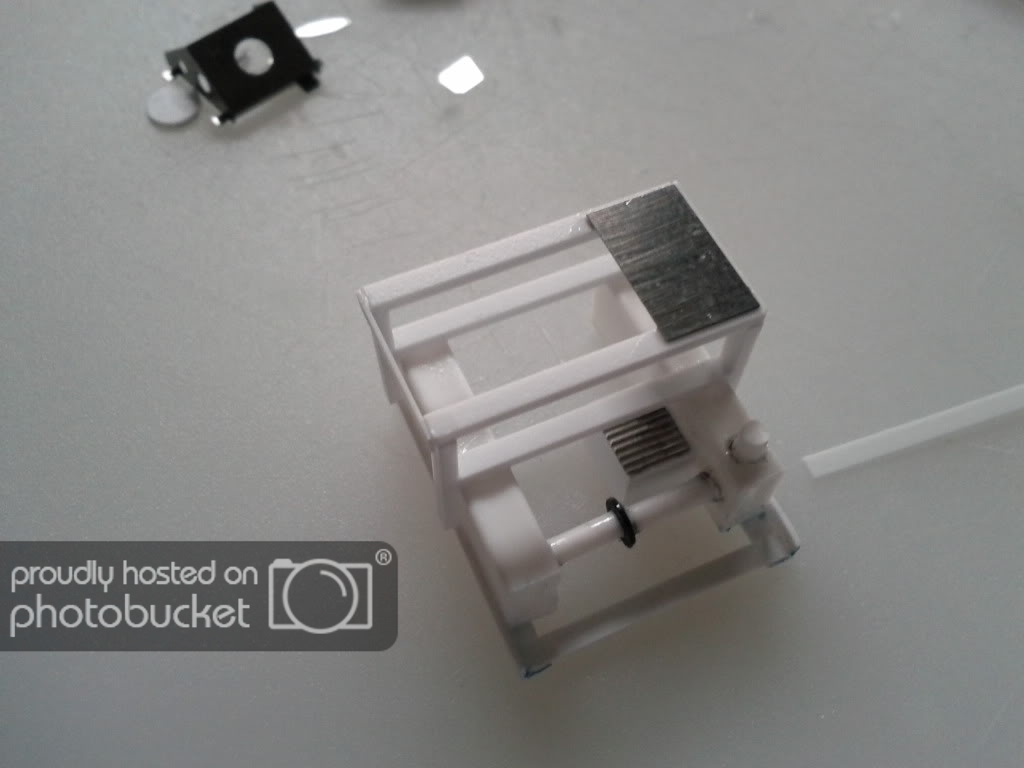
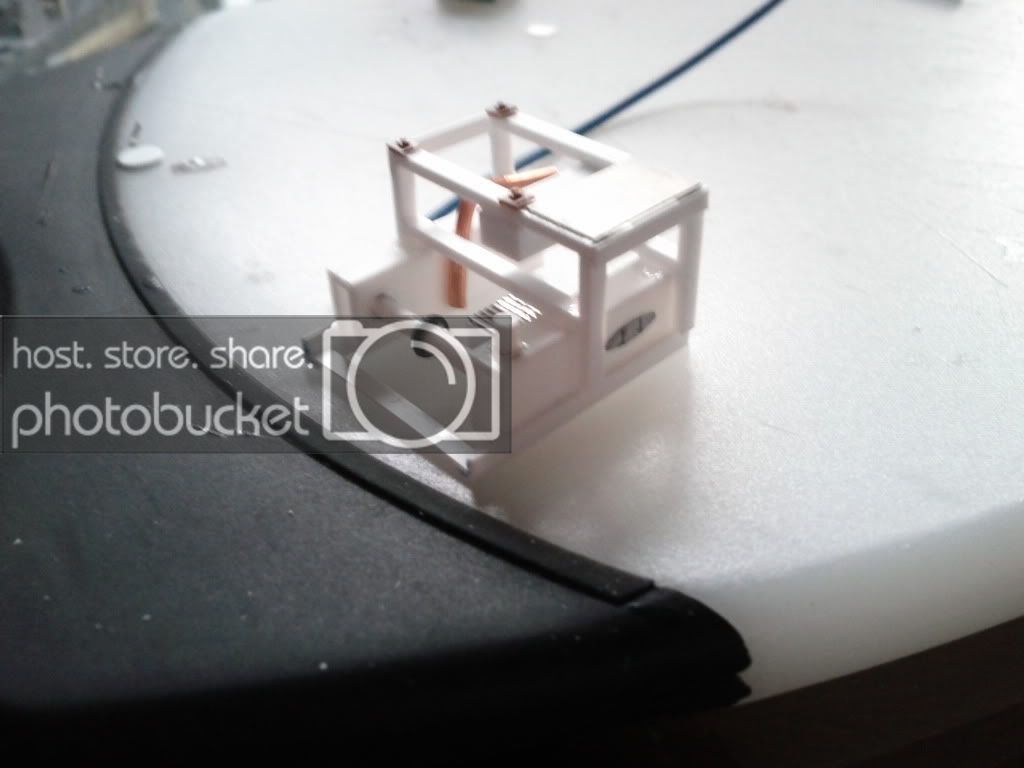
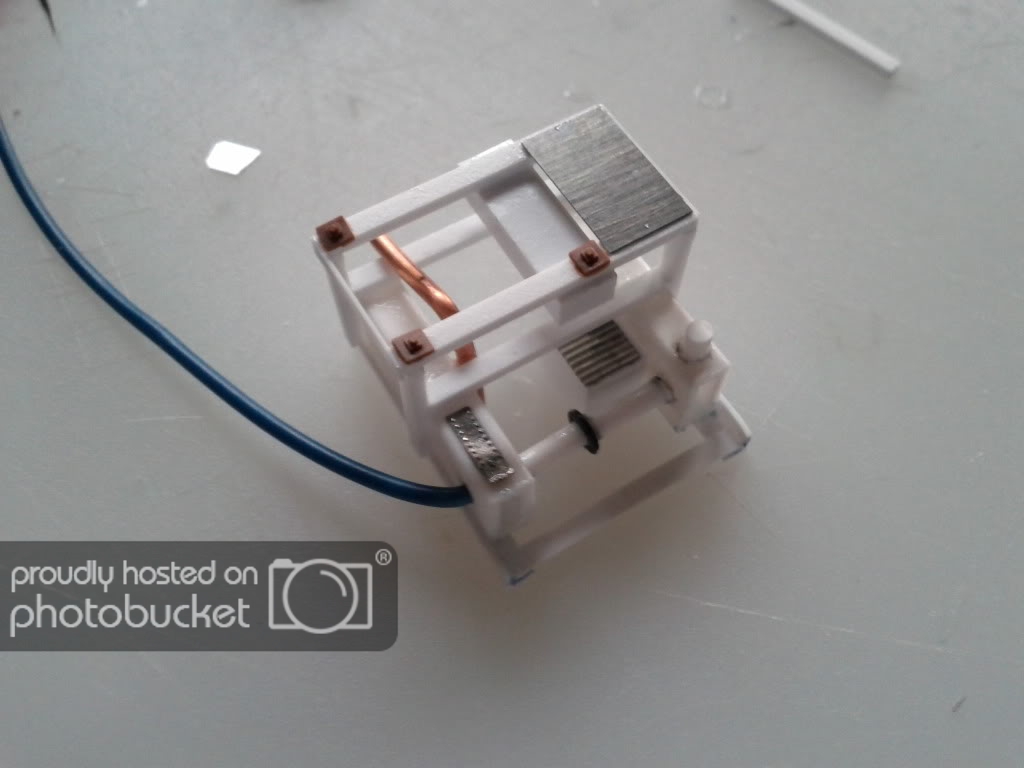
Here is something I completely forgot about. After all this work, I get to cut a big hole in the bottom of the nose to put this piece in.

IMG_20110626_135744.jpg


After some work with the dremel (after getting half of the hole cut out my battery died, thus setting me back even more), the hole was cut out and after a couple fits and trimming it went in with out too much fuss. A little filling and sanding with the file and all set.

IMG_20110626_192012.jpg


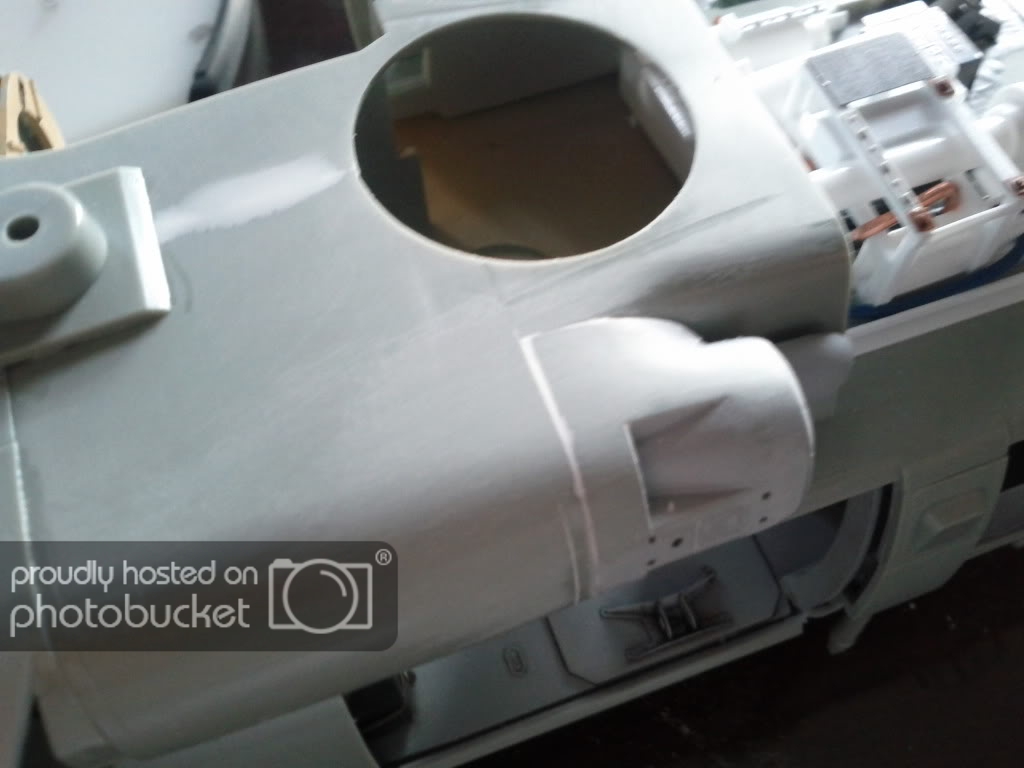
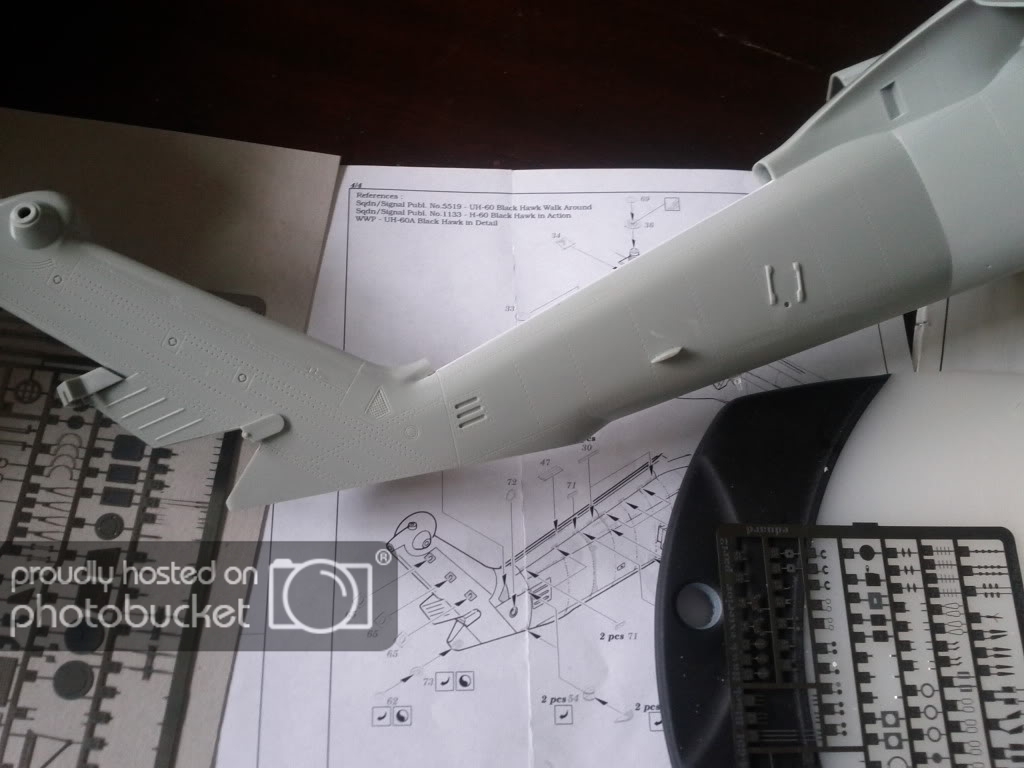
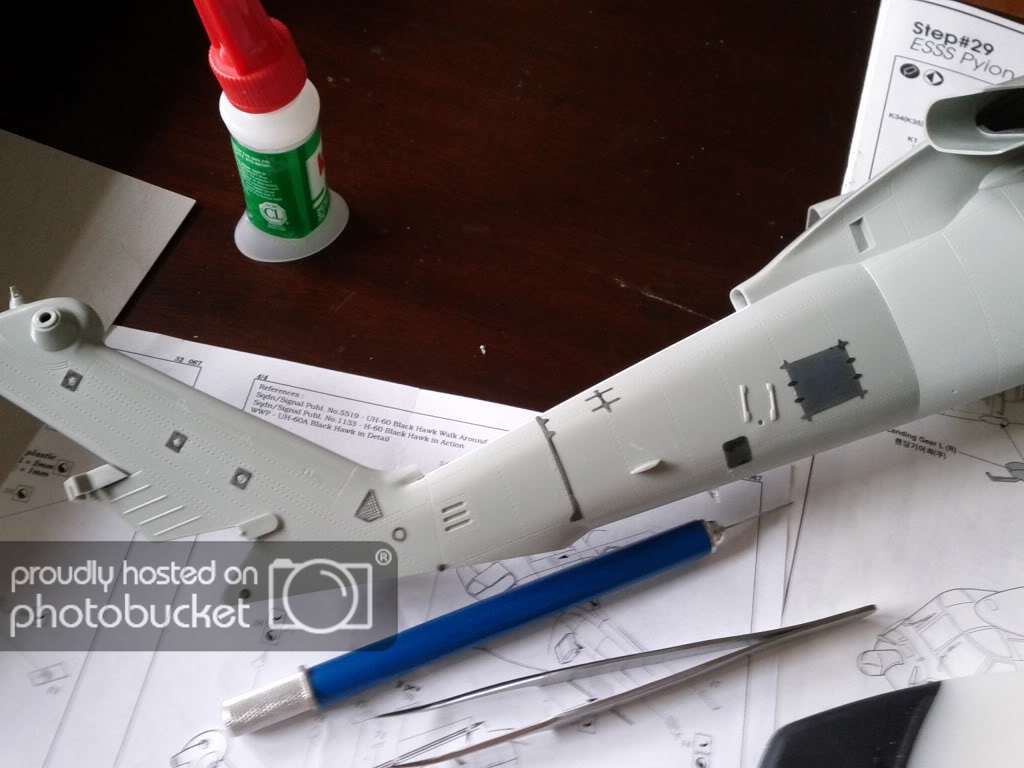
Added all the lines and rivet detail that I destroyed while trying to get that massive seam line sorted out on the bottome.

IMG_20110626_222315.jpg


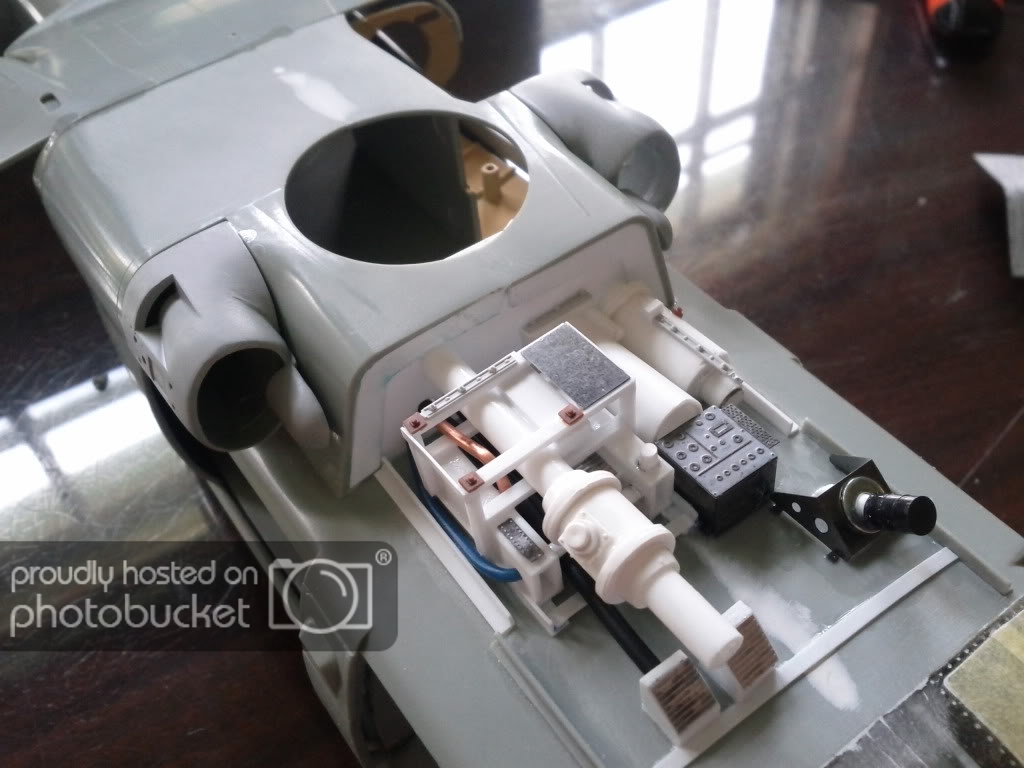
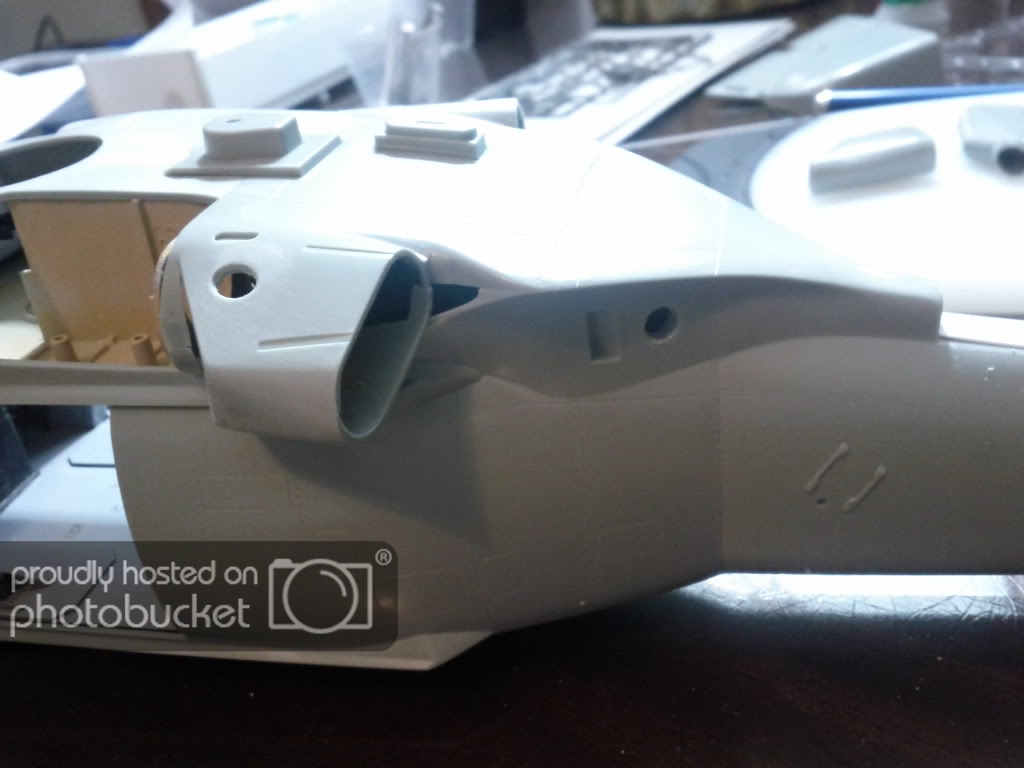
Engines are in. Not without a big gap though.

IMG_20110626_132745.jpg


All filled now. Vallejo putty is the best. Acrylic, thinable with h2o, and it dries super quick.

IMG_20110626_201654.jpg


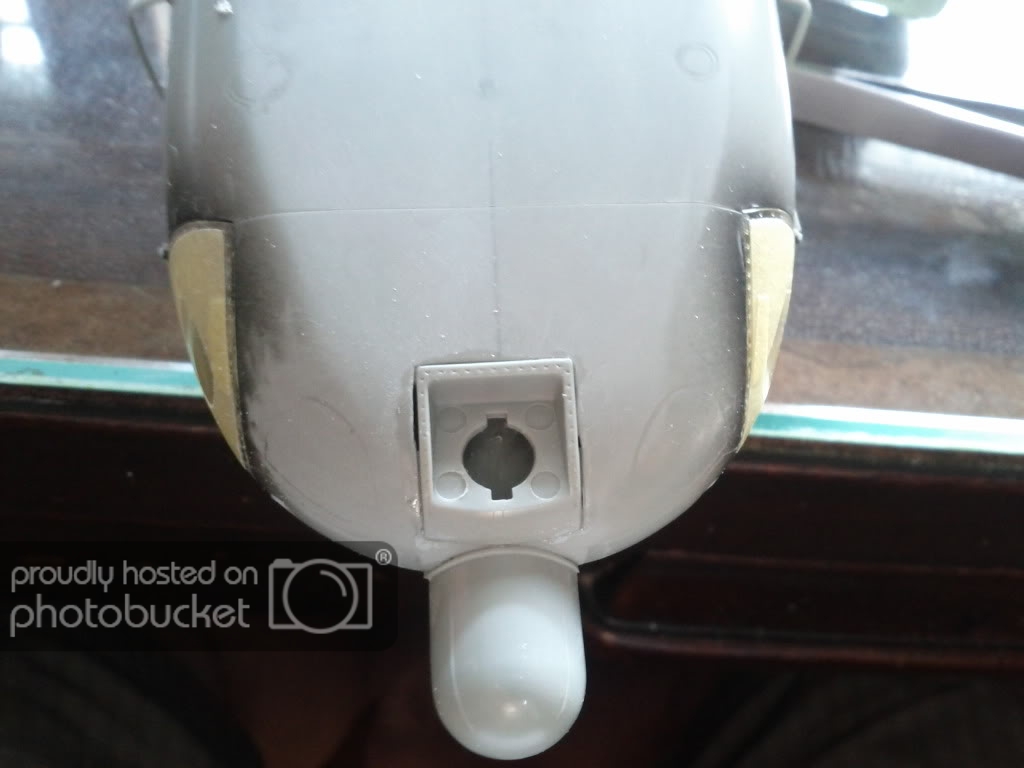
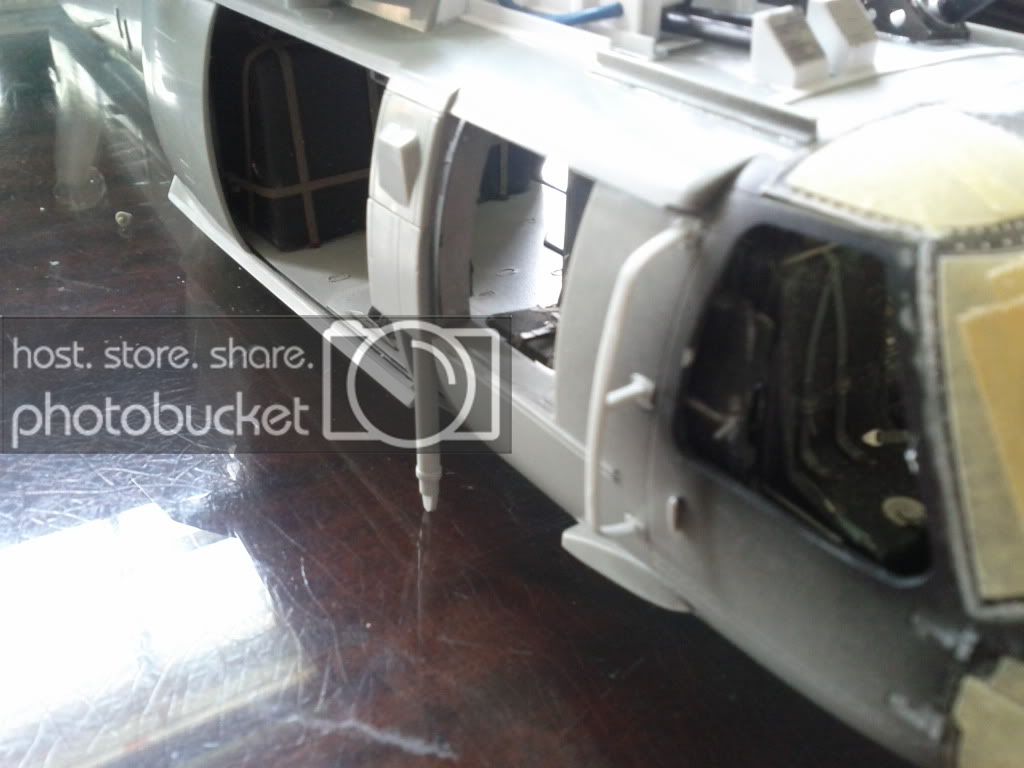
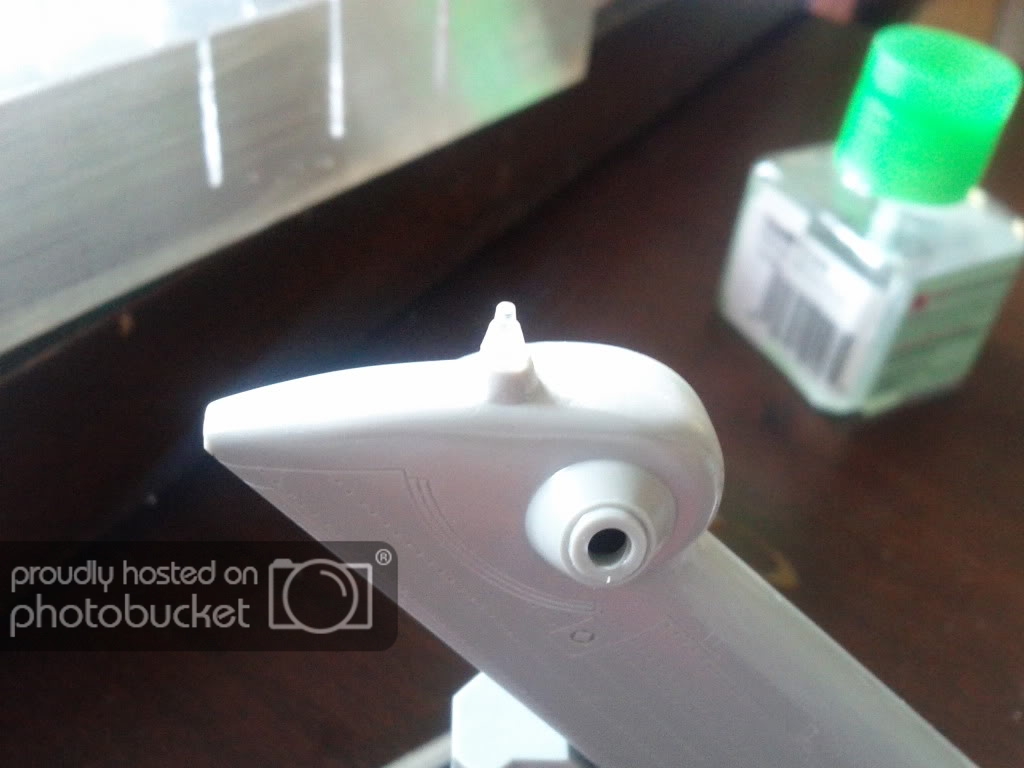
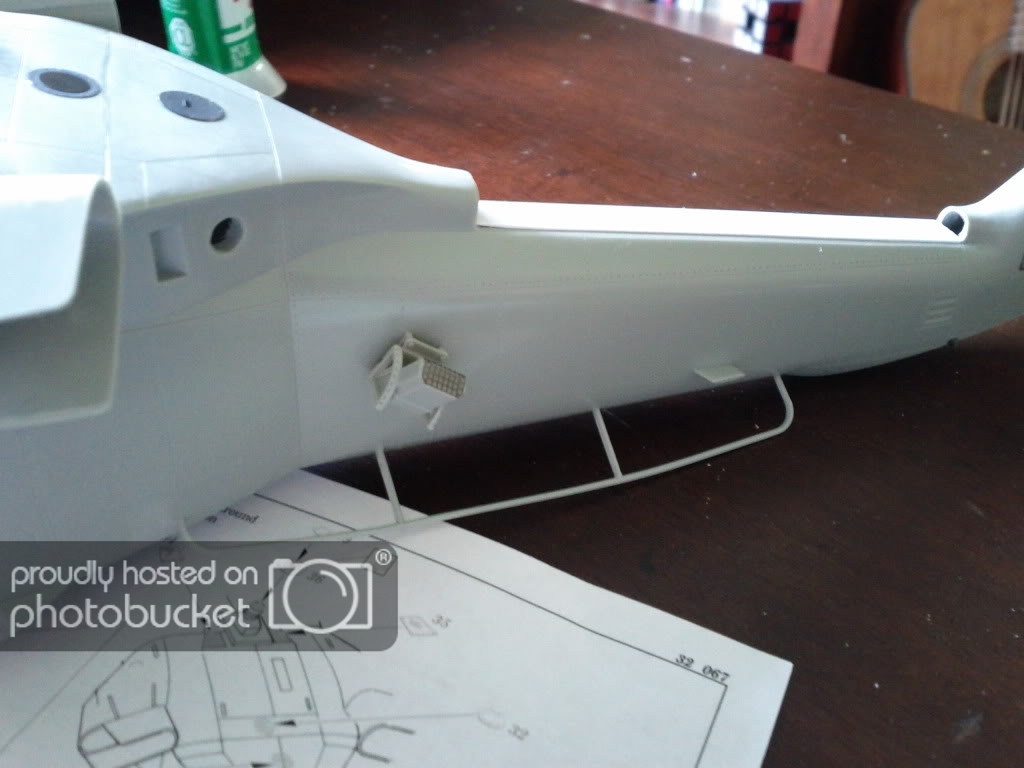
Radar added. Thankfully after a little careful cleaning of the part, it fit on quite nicely.
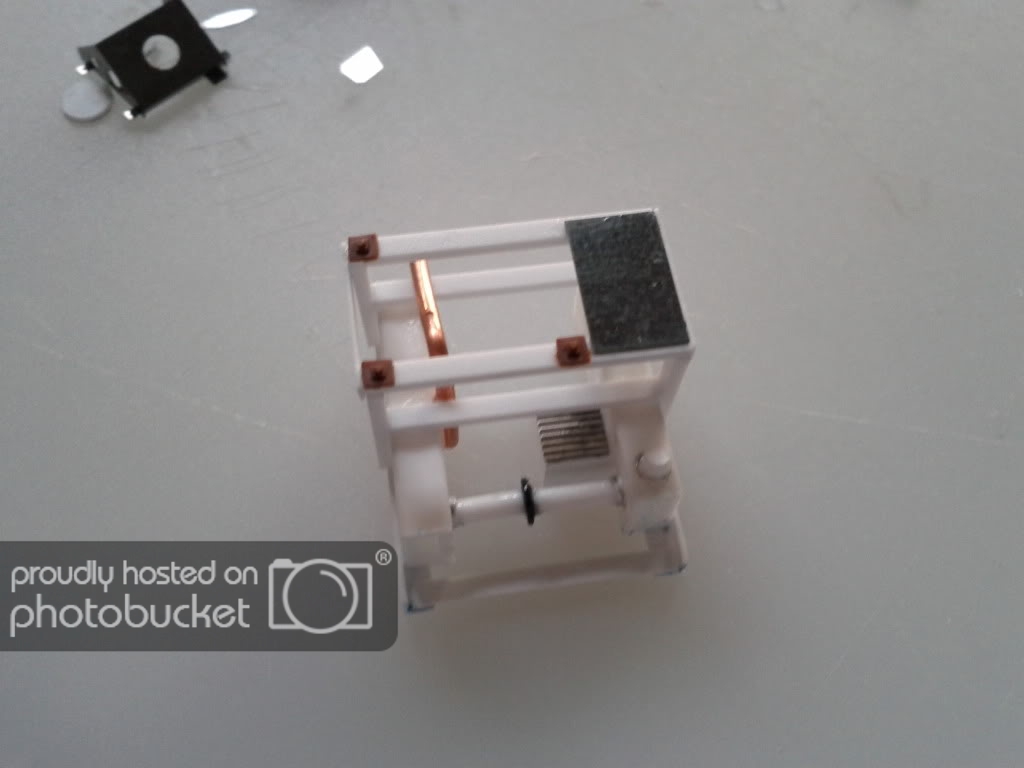
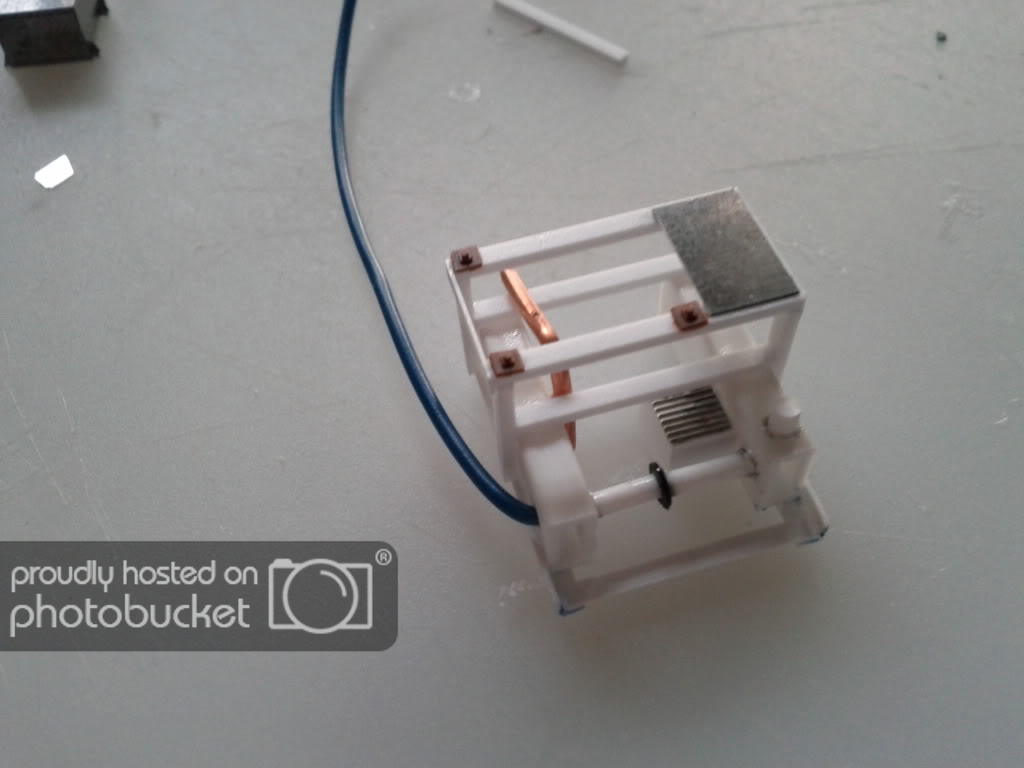
IMG_20110626_132701.jpg


Antenne added

IMG_20110626_132709.jpg


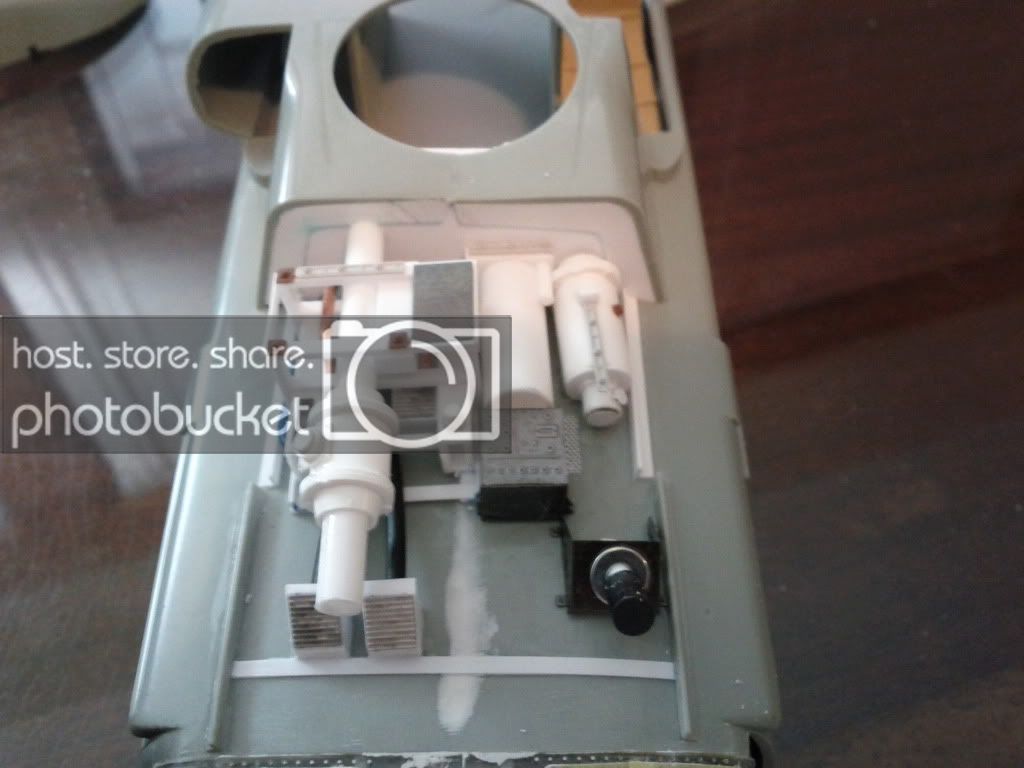
More holes to drill out. It's quick work with the dremel and round files.

IMG_20110626_225413.jpg


At least now, I know there are no more surprises, and I know exactly what needs to be done. Barring any accidents, I'll have this finished with a day to spare.

Thanks for all the encouragment everybody. I really appreciate it!!
 
Break in the action!

Quick update while my back and neck recover from sitting at the bench.

Clear parts look nice

IMG_20110627_083818.jpg


Before the 400 pieces of PE

IMG_20110627_091728.jpg


After

IMG_20110627_094426.jpg


Flare dispenser and antenne added.

IMG_20110627_112524.jpg
 

Latest posts

Back
Top