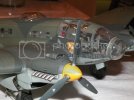
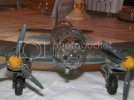
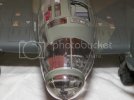
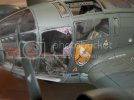
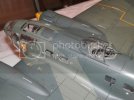
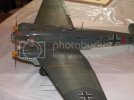
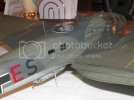
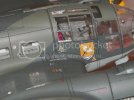
My Completed Revell 1/32nd He-111

Joem423

New Member
Joined
Nov 16, 2013
Messages
9
Hello all,

I finished this kit up finally about 2 months ago. She took about a year to build due to much needed insanity breaks every so often. The kit involved a great deal of time, thought and patience. It's a very large plane. The only aftermarket parts are the Eduard color cockpit details and seat belts plus the Eduard canopy masks which I really had to use for this kit. I'm not too good at making my own canopy masks. Please enjoy the pics. Any helpful review of the work will be greatly appreciated. Btw, the windows are a little fogged because I washed it off before taking the pics. Before I realized it, it was too late. I'm also still learning how to take photographs of my work.

Thank you in advance,
Joe
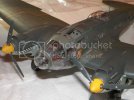
image_zps5faaff0d.jpg
image_zps88727e11.jpg
image_zpsc5e62366.jpg
image_zpsb601f770.jpg
image_zps2d452b0c.jpg
image_zpsff25d432.jpg
image_zps68d0341d.jpg
image_zps846163cd.jpg
image_zps21330839.jpg
 
Wow dude. That's a pretty big bird! Nicely done. How was the assembly? Good fit/engineering and such? I'm thinking about picking up the P-6 kit soon...
 
nicholassagan said:
Wow dude. That's a pretty big bird! Nicely done. How was the assembly? Good fit/engineering and such? I'm thinking about picking up the P-6 kit soon...

Hay,

Yes, it's huge. Needs lots of shelf space to display. Fuse is about 15", and wingspan is about 18", specs are give or take a few inches.

Engineering for a Revell kit is excellent. Assembly is strait forward except for 2 steps, one being the bombsight fit and the other being the belly gunner compartment. Just make sure to always dry fit everything and you'll be fine.

My build was tedious because I had lots of PE in the cockpit and then all the canopy masking and then of course the camo pattern and then I filled the Bombay with all 8 bombs complete with painting and decals. I also put seatbelts and harnesses on each seat. Even the top turret. Don't think you can see them all in the pics, but they're all there.

Many parts in the kit are very delicate, especially the cockpit framing. Revell will graciously replace a part however if one breaks or becomes damaged. That's a great company police. I believe this kit is Revell of Germany, nevertheless, you can get parts from the US Company.

The plastic is very soft, so take care when gluing. To much glue and you'll melt to much plastic. Filling and sanding is no problem. The 2 fuse halves went together well. Fixing the seams on the fuselage was easy as well as the seams around all the wings, flaps and rudder.

Masking the canopies and trying to incorporate the camo pattern in the framing took some time. The Eduard masks really saved lots of time and helped me avoid a nervous breakdown, LOL.

But I loved the build. I will definitely build another one.

All in all, a quality kit, excellent engineering, hardly any flash and crystal clear canopy parts. You will be proud of the build when you're done. Good Luck,

Joe
 
i think its not panel washes its a pencil work i belive? Clean work and clean bird i liked it well done mate.
 
Cash said:
Cool. What product is it?

Hi,

The products I used are from Promodeller.com. It's their weathering washes. They're water based and really easy to apply and clean up. Can be used on both gloss and flat finishes and applied as many times as you need. If you go to the website, there's a tutorial on all the ways it can be used.

Thanks,
Joe
 
Fantastic build beautiful workmanship HUGE plane.... patient wife ????? ;D Seriously though well done i can only imagine the amount of time gone into it, top marks man
 
Back
Top