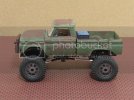
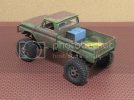
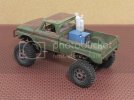
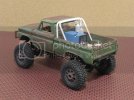
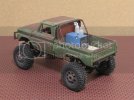
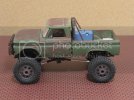
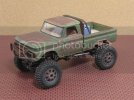
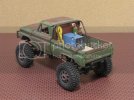
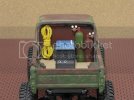
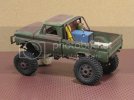
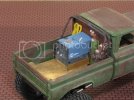
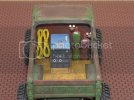
64 Chevy Beater Build...

Hi guys!

@Ian, yes it's incredible what this printer can do!

@ken, thanks, I been learning about Aperture override and tripods. ;)

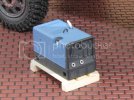
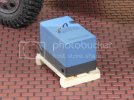
I got the welder painted. No more closeups of the welder. haha I used electrical tape for the masking. It was almost perfect. It's not that bad really. ;) I may cut some stencils for the Miller logo, dunno yet. I got my color laser going the other day, may try decals. :)

Comments are welcome!
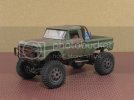
IMG_1984_zps618be562.jpg

IMG_1981_zps87b48cd9.jpg

IMG_1986_zpsf8b0109f.jpg

IMG_1988_zps512adecd.jpg
 
Can anyone suggest a good laser printer decal sheet brand? I have a color laser and want to make decals on white film. I know about decalpaper.com, but their 1950's-esque high-school instructional video showing applying a decal to a coffee cup didn't exactly scream fine scale modeling to me... Thanks in advance. ;)
 
Is there a more active modeling forum, or maybe a more active section of this forum? It seams to be mostly people showing what they did, but very little real instructional, helpful, or informative posts.
 
Fungi said:
Is there a more active modeling forum, or maybe a more active section of this forum? It seams to be mostly people showing what they did, but very little real instructional, helpful, or informative posts.

I'm sure there are more active forums on the internet, but I'm not so sure if they will be any more instructional/helpful/informative ...or just lots of friendly banter and chatting back and forth.

I think there might be plenty of what you seek here but you may have to search for it in older threads as there are many older build threads that walk the reader through their steps, just perhaps not currently on the top of the.

A few of our staff members here have very active youtube channels, and they put a great deal of work into their videos where they walk the viewer through the steps they took and cover the things they learned etc.

I think a lot of people might really be enjoying your thread for that very reason, as it seems like you have a pretty good handle on things and perhaps they are learning from you. Also I did notice that aside from this thread, you really haven't ventured out and commented/asked questions/interacted with much else on site, so maybe if you get a little more involved in other posters projects and their work, you may realize a more interactive feel to the forum, and get more involvement with other members and their methods and information?
 
Thanks Ken,

I've read almost every thread in the sci-fi, automotive, and painting forums. lol That's why it looks like I know what I'm doing. haha It's just my first real hands on scale project like this. I'm pretty sure if the decal attempt goes badly I can still save the part. :/ I hope. lol

Well having fun anyway. :D

I got the exhaust fabricated and installed. Did a little detail painting. I ordered some laser decal paper for the logo. I'm almost done with the welder.

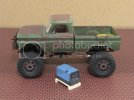
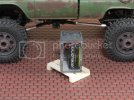
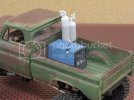
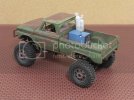
I selected an oxy/acetylene bottle pair from a Garage Accessories kit. Needs more work, but here's the mockup. On the fence with the regulators. The bottles have caps on, and the regulator sticking out the side. Might make more sense to just take them off and go with capped tanks.

Opinions welcome!

IMG_1993-2_zpsa418cec5.jpg

IMG_1992-2_zps8332340e.jpg

IMG_1990_zps079c6b2a.jpg

IMG_1989_zps008c5ae0.jpg
 
Your work is coming out great! In terms of the tanks, I like the regulators, adds interest to the piece.
 
Hi everyone! I am leaning towards keeping the regulators. I have looked at solutions to the caps, but it's small stuff. For now I'm going with them as is. I cut the tanks, to make it look like the bed was cut out to lower them. I made a roll bar and cut out an "expanded metal" screen. So regulators are protected. :D Made a plywood floor for it too.

Comments welcome!

IMG_1994_zps00fab0a1.jpg

IMG_1996_zpsdd0d57cc.jpg

IMG_1998_zps848877f7.jpg

IMG_1997_zps4508ecf9.jpg
 
Happy Thanksgiving everyoney!

Really making good progress.

IMG_2000_zps374c5ecc.jpg

IMG_2002_zps66e328d4.jpg

IMG_2003_zpse8832ff9.jpg

Thanks for watching. Comments welcome!
 
That's looking really good. Loving the gear in the back.

The only suggestion coming to mind is...man, it would be cool if one door (or quarter panel) was another color, like it was swapped out and not so rusted. That variation would take this to another level.
 
Hi Scott,

Hmmm, interesting idea. Let me think it over. I am resisting for now. ;)

The diy decals went pretty well. I could have matched the color a little better. Don't know if I should do the caution decals that go on top of the welder. Comments welcome, thanks for watching.

IMG_2010_zpse6467ae5.jpg

IMG_2009_zpsf2155ef6.jpg

IMG_2006_zps1f7e6b54.jpg

IMG_2007_zpse9d4f3e4.jpg
 
I would throw the caution decals on, add a little more detail.

In terms of the decals, I would seal them in with a coat of future and then hit the whole thing with a filter or two, maybe even some streak effects. You can probably get it to blend a bit.
 
Hi Adam, I know about future, I still need to find it, but what is a filter? Is it the same as a wash?
 
Thanks for the comments.

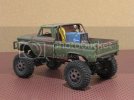
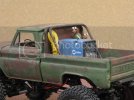
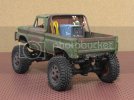
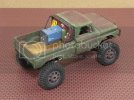
I've made some progress. I made a frame for the welder and glued it to the plywood floor. I stained it and glued it into the bed.

I added some painted detail to the front of the welder, added the caution decal.

I made ridiculously small safety labels for the cylinders. :)

Replaced the rope with two 35' extension cords. :D

Flat clear-coated the decals.

IMG_2011_zps74708970.jpg

IMG_2015_zpse53a6242.jpg

IMG_2014_zpsa660d37a.jpg

IMG_2013_zpsf0ada86d.jpg

Comments are welcome!
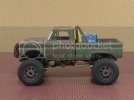
 
I think it looks really cool, the stuff in the bed really adds some nice detail. Are you going to add tail lights? Check out Tamiya clear paints for those, they really make tail lights turn out great.
 
Thanks Scott!

Cave Dweller, Yes I have been avoiding the door handles, gas cap, and turn signal / tail lights, cause I'm not sure what to do, and don't want to screw it up and this point. haha How are clear paints used? Not sure what you mean.
I figure the chrome was painted over, or had no chrome, so I'm not sure what to do with the trim for the lenses. May just flat black them and add some rust.

Keep the ideas coming. :D

Thanks for watching :)
 
For the lights, back them with silver, and then with transparent colors. Red for tail lights, amber for turn signals, etc, etc.

Then give them a coat of Future (or other gloss coat) to make them look more like glass.
 

Latest posts

Back
Top