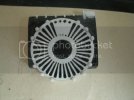
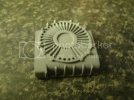
peza`s 32" falcon build

Scott Girvan said:
Those sidewalls are looking awesome.

cheers scott,just workin on the dockin ring at the mo!i`ll post something once i get something done.big big thanks for lookin into my post problem mym8.......cheers peza ;)
 
eh up all.
here`s another update for y`all and you j thanks for the kind words buddy,
i`ve not been doin any to my build for a week or so,but over the last 2 days i got back
on the dockin ring
.
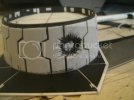
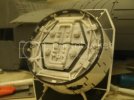
first off i got the armour plates done and the blaster mark,which i used my dremel with a
circular drillin bit and cuttin disk with a little hackin with a craft knife just to ugly it up a bit
GEDC3112.jpg

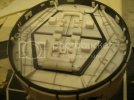
next it started to knock up the inner and outer detail,i have`nt quite got it all done but you
get the picture!
GEDC3119.jpg

welll that`s it for now i can`t wait to get it finished and see it in primer,just to see if all the gaps are ok
cheers for lookin......peza ;D
 
cheers Q i`ll be a very happy bear when i get the cockpit side completed of detail,well both sides completed
and i`ll be doin cartwheels in me`garden!it`s just snag`s and internals then like gun positions and cockpit detail..
oh and the paintin!!!once again cheers dude!!peza
 
eh up all,
well here is my next post i did manage to finish off the detail on the dockin ring
GEDC3120.jpg
GEDC3121.jpg

on the last post i showed the blaster damage well after a coat of primer it haqs come out really well
with some paint and some weatherin it should look mint.
GEDC3123.jpg

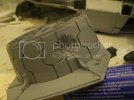
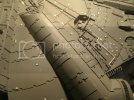
i managed to get the magnets fitted to the back of the base plate and the model and it is nicely secure once it`s in position,next i started on the blaster/meteor damage...first off i did the meteor damage on the front cockpit quarter,i used me dremel and a sharp knife.
GEDC3125.jpg

next i did the blaster damage on the opposite side of the dish section,i started off really well but got a little heavy handed at the end,but i was tryin to get some deepth in the blaster marks and popped holes in the skin so there was a couple of holes throught to the bottom,so i had to gllue some solid plastic pieces in the holes and gently drill them out with a lot of care,and it worked out well.
GEDC3126.jpg

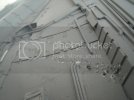
and finally i started to put all the small squares and rectangular pieces on the top armour sheets,i`d already done the bottom so i had to do the top.
GEDC3128.jpg

well that`s it for this post,thanks for lookin....cheers peza
 
Quaralane said:
Definitely coming together, peza.
Loving the detail you're adding

cheers Q it`s almost there but i dont know what im gonna do with my time once it`s finished.lol ;D
thanks mym8..peza
 
Looking great as always

Love the blast marks

I dont think you'll sit still too long when you get her finished ;D

J
 
Jaitea said:
Looking great as always

Love the blast marks

I dont think you'll sit still too long when you get her finished ;D

J

cheers j,i know im already thinkin what to build next...cheers dude peza
 
jake said:
Your docking rings are fantastic! Keep it up!
Cheers dude,I've only built one so far.I ran out of magnets to start the otherside,I'm workin on the side detail of the other mandible at the most I'll do a post once I get a bit done....thanks mym8 peza
 
eh up all.here is my next post,i`ve been buildin the side mandible detail.
which i started with the 2 rails which i used some 1 mm styrene with a lining
of half mil just to thicken it up,and as you can see i`ve made a start on some of the detail
with some odds and sods,styrene and an old pen.
and as you also notice i`ve roughly drawn up where things should go.
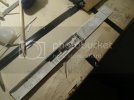
GEDC3129.jpg

so i worked my way through all the front detail first piece by piece,and eventually i got it finished
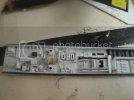
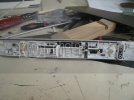
GEDC3133.jpg
GEDC3134.jpg

so i started to knock up the back gearbox part,which i`ve had to break it down into sub sections
just to make it easy for me to build.so im gonna break it down into 3 sections
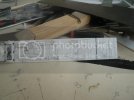
GEDC3135.jpg
GEDC3136.jpg

so i started off by makin the mid section.
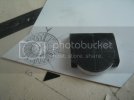
GEDC3138.jpg
this is where im at for the present ,but i have made a start on the circular part
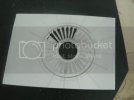
GEDC3141.jpg

well that that for now i`ll finish off the rest of the detail and give it a shot of primer before my next post
cheers for lookin.....peza ;D
 
JohnSimmons said:
Mate your killing this!
eh up john cheers buddy,it's all coming together nicely,
there ain't alot left to build when you look at the big picture.
but it's just the time it takes to build each bit...thanks mym8
........peza
 
eh up all,
here is another post i finished off the mid section,
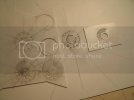
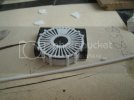
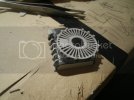
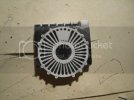
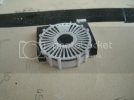
first off i had to make up the circular part again as i messed it up
you can see first one i made on the small piece of styrene and all
the mistakes i made just in the drawin up of the circular part.

GEDC3160.jpg

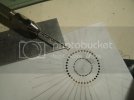
then i drilled all the holes before i started off with my small blade.

GEDC3163.jpg

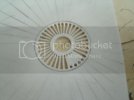
here it is all done you can see i`ve left abit because it will be
covered over with some more detail.

GEDC3164.jpg

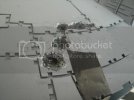
next i glued it into place and made up some bolt housin details around the outside of the circle
for them i used some 1mm styrene rods.

GEDC3165.jpg

then i drilled out the bolt housins so i could glue in some bolts with some half mm styrene rods
and made the shaped fins and the boxed section on the top of gearbox.

GEDC3167.jpg
GEDC3168.jpg
GEDC3169.jpg
GEDC3170.jpg

well finally i gave it a shot of primer just to see if it all fitted nice and neat with no gaps.

GEDC3173.jpg

well thats it for now hope you like the progress,hopefully i`ll get some more done this weekend
thanks for lookin...peza :)
 

Latest posts

Back
Top