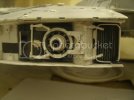
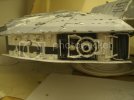
peza`s 32" falcon build

eh up all.
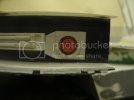
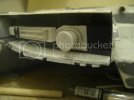
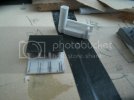
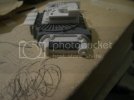
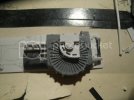
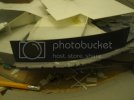
here is another post for us on the gearbox section,first off i made up one of the add on's on the circular
sub section and made i start on the front and back sections,the back one was made with styrene and my
favorite tubin lollysticks! ;D
GEDC3175.jpg
GEDC3176.jpg
here's the back all done.
GEDC3183.jpg

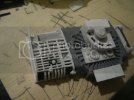
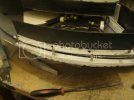
so i carried on with the front section before i started on the fins/ribs i noticed that where the bolts went it was'nt flat like the rest of the assembly but shaped sort of semi circular,so out with the lollystick again.
GEDC3177.jpg
one of the bits i had to build next was a grilled area,which i started with some half mm styrene and some half mm styrene rod.it took abit to do it,but came out pretty good.
GEDC3182.jpg
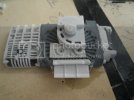
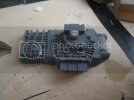
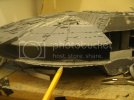
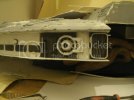
as you can see i started to put the bolts on and after i finished the fins/ribs it was all done for the buildin,i gave it a shot of primer and after a little bit of filin i got some photos
GEDC3187.jpg
GEDC3191.jpg
well thats it for this post...thanks for lookin...cheers peza.
 
Peza, you're work is incredible, if you hadn't have shown the WIP pics, I'd never had believed you made that part from scratch!!

Mind blowing mate

J
 
Jaitea said:
Peza, you're work is incredible, if you hadn't have shown the WIP pics, I'd never had believed you made that part from scratch!!

Mind blowing mate

J
Cheers j I'm really happy with the way it turned out.I hope ya keep in the faith with your's mym8... It looks mint!
Once again many thanks for the kind words bro....peza
 
eh up all.
it's time for another update on my progress..first off i finished the side detail,with the aid of many chopped up pens,styrene and plastic lollisticks.
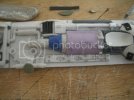
GEDC3194.jpg
next i gave it a tidy up and a shot of primer.
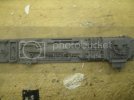
GEDC3195.jpg
and finally i mounted it in place and started on the detail beside it that comes down from the antenna.
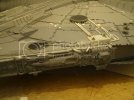
GEDC3196.jpg..

well thats it for that side for now,i then turned my attention to the side detail by the cockpit and the dockin ring,
first off because the model bottom is removable the side cant be glued in place as one piece so i had to make the side backin piece and cut a line across it to split it into 2,which i will once again use my tiny magnets to seal it together,here is the main part with the magnets in it.
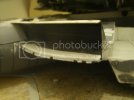
GEDC3199.jpg
next i started to make the details and i was workin in the same town as a maplins electrical shop so i bought an
multi function switch
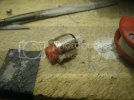
GEDC3202.jpg
so i cut out the hole where i wanted it,by plan was to hide the switch behind some detail and i think i found the ideal place.
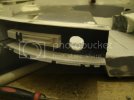
GEDC3203.jpg
here you can see the switch in place with some of the detail goin in around it.
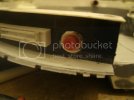
GEDC3204.jpg
GEDC3206.jpg
GEDC3207.jpg
and you get the idea about hidin the switch...well the last image is of all the detail i've got done up to date now..
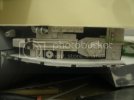
GEDC3208.jpg
well that's it for this one..hope ya like the progress..cheers for lookin...peza
 
JohnSimmons said:
Your hard work has definitely been worth it! Excellent.
Cheers john.it's an exciting time for me now,as the side detail goes on I can start to see the finish line for the building side of thinks...
But saying that I've still got the gun ports/guns,cockpit and engines... Than the lighting and paint...but patients is a vertue! ;D
Cheers peza
 
Looking great (as always)

So much work in this, scratch building always astonishes me

Love the light switch

J
 
Jaitea said:
Looking great (as always)

So much work in this, scratch building always astonishes me

Love the light switch

J
nice one j,cheers mucker!prza ;D
 
Scott Girvan said:
Absolutely fantastic.
cheers Scott,it means alot to me all this ace feedback from you dudes!!i feel like singin Farrell Williams,but i can't sing..lol ;D...peza
 
Chris you are kicking ILM's arss! Your art is astonishing to state it mildly. I am in utter aw! So so good my friend,,,soooo goooood!!!!! :eek:
 
jake said:
Chris you are kicking ILM's arss! Your art is astonishing to state it mildly. I am in utter aw! So so good my friend,,,soooo gooo ;)ood!!!!! :eek:

cheers Jake,but i wouldn't go that far mym8.i to am very happy with the way
it's turning out,but it's more luck than judgment...thanks Jake....peza ;D
 
eh up all.
well i've nearly got another quarter side detail finished.i started off the same way as before with some
1mm thick styrene,i chose the black styrene because to me it bends alot easier.
GEDC3210.jpg

next the same as the first side detail i had to split the side backin piece into 2 pieces usin my magnets,
i've mounted the bottom magnets but just drilled out the holes for the top section
GEDC3212.jpg

here you can see that i've got alittle fit issue marked with my pencil,which i'll address at a later date.
GEDC3215.jpg

next i started knockin out some of the detail on the side,same as always usin odds and sods i can find
and various thicknesses of styrene.
GEDC3217.jpg
GEDC3218.jpg

and finally here is where im at at the mo,still got some little bits to tidy up,but ya get my drift!
GEDC3220.jpg

well thats it for this post i hope ya like the progress...cheers peza :)
 

Latest posts

Back
Top