You are using an out of date browser. It may not display this or other websites correctly.
You should upgrade or use an alternative browser.
You should upgrade or use an alternative browser.
Tomcat build
- Thread starter grobber
- Start date
JMac
cut. glue. paint. repeat.
- Joined
- May 24, 2009
- Messages
- 2,812
Cool. I'll be following along with you, I hope to tackle a Tomcat sometime in the future.
Quaralane
Well-Known Member
- Joined
- May 22, 2009
- Messages
- 11,263
What scale is that one? Looks like it'll be a good build
schweinhund227
New Member
- Joined
- Jun 24, 2009
- Messages
- 2,511
spud
Irish and proud of it :)
- Joined
- Jun 29, 2011
- Messages
- 6,918
this will be nice. im not a fan of jet power aircraft but it will be nice to watch
ModelFreak72
New Member
- Joined
- May 15, 2011
- Messages
- 249
Ah the last of the Grumman cats! Beautiful aircraft, can't wait to see it come together!
FW190A-8
New Member
- Joined
- Dec 21, 2010
- Messages
- 193
That looks like a good kit grobber. Now exactly where in that bird did they fit the Rolls Royce Merlin engine and Propeller? 

Good luck with the build. We will look forward to seeing her come together.
Good luck with the build. We will look forward to seeing her come together.
Quaralane said:What scale is that one? Looks like it'll be a good build
1/48
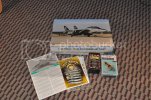
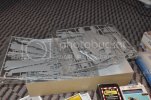
Ok so I am underway with my tomcat build, first time I have taken a stab at one of these and to make my life “easier†I am throwing in an Aires Cockpit. No do not get me wrong it looks beautiful with really rich details, but from what I have read and my dry fitting it is going to be a tight squeeze.
So I start out with the front fuselage, these is some gorgeous detail on the top of the cock pit, I guess where the canopy locks so the top ridge on the fuselage need to go.
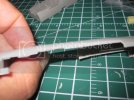
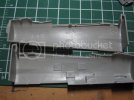
This sort of shows a before and after
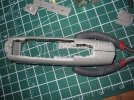
Next the tub of the cockpit, look and the beautiful RIO panel
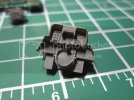
Pretty huh?
So I start looking some references guess what at some point the F-14B’s where updated and they this square panel. Like this.
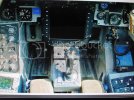
What’s a boy to do, I could pretend I did not see it but I have AMS and a black box bombcat update that has this piece. So what I need to do is somehow merge these pieces. So I get this idea have you ever seen the movie Faceoff? Basically John Travolta and Nick Cage swap faces. I cut off the Joystick thing for later
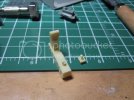
Then do the “face offâ€
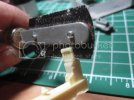
The lovely round radar screen was removed and voila
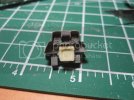
Next cockpit painting, here are the pics
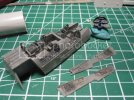
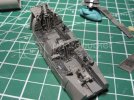
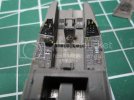
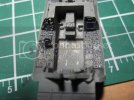
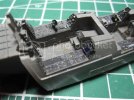
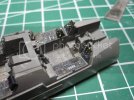
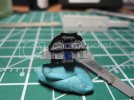
Later back to do some modelling
Rob
Quaralane
Well-Known Member
- Joined
- May 22, 2009
- Messages
- 11,263
Nice detailing in that office.
schweinhund227
New Member
- Joined
- Jun 24, 2009
- Messages
- 2,511
Nice touch! Updating the cockpit was a tough choice but nice results! Awesome!
JMac
cut. glue. paint. repeat.
- Joined
- May 24, 2009
- Messages
- 2,812
Beautiful work in the cockpit, what scale is the kit?
Chris S
Its a bit like being handcuffed to a lunatic !
- Joined
- Feb 14, 2011
- Messages
- 4,573
WOW, Thats a busy looking cockpit !!!...great work ,and nice job with the face off thing ;D
Chris.
Chris.
ronrod62
New Member
- Joined
- Oct 12, 2011
- Messages
- 415
Great work in the cockpit
13aceofspades13
lets kick some tires and lights some fires!
- Joined
- Oct 12, 2010
- Messages
- 2,292
nice detailing, very impressive.
ModelFreak72
New Member
- Joined
- May 15, 2011
- Messages
- 249
Another awesome cockpit! Great work!
Ok next installment on the Tomcat. Last I left this I had just painting up the cockpit next the minor detail of fitting that thing in, think of it like a size 11 foot in a size 8 shoe. So before I started I got the front wheel well together, get all my obstructions together.
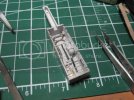
After bunch of sanding grinding and a bit of cursing everything came together more or less
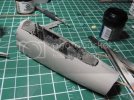
A couple of gaps in the front and back
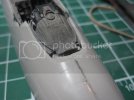
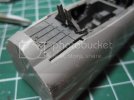
After a bit of filling and grinding here we go.
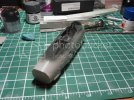
Now the main fuselage, before moving ahead with this we need to build up the intakes the involve eliminating some gaps and ejector pin marks
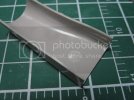
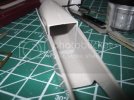
To help the intakes fit to the fuselage I added some plastic to act a guide overall it worked well
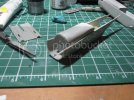
I am happy to say the intakes did not need any putty however the rest of the fuselage will
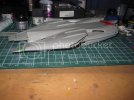
Next mating the front and back fuselage I have heard horror stories about this and dry fitting things did not look good. One thing I realized is the back of the front piece is solid. If I cut this out I could add some guides help with the fit
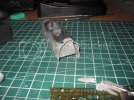
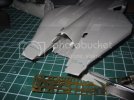
I went this route and overall not a bad fit, it will need a bit of putty and sanding but not too bad
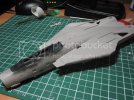
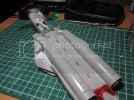
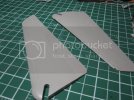
Last bit did the wing they are a little over engineered but not too bad to put together
Rob

After bunch of sanding grinding and a bit of cursing everything came together more or less

A couple of gaps in the front and back


After a bit of filling and grinding here we go.

Now the main fuselage, before moving ahead with this we need to build up the intakes the involve eliminating some gaps and ejector pin marks


To help the intakes fit to the fuselage I added some plastic to act a guide overall it worked well

I am happy to say the intakes did not need any putty however the rest of the fuselage will

Next mating the front and back fuselage I have heard horror stories about this and dry fitting things did not look good. One thing I realized is the back of the front piece is solid. If I cut this out I could add some guides help with the fit


I went this route and overall not a bad fit, it will need a bit of putty and sanding but not too bad


Last bit did the wing they are a little over engineered but not too bad to put together

Rob
Quaralane
Well-Known Member
- Joined
- May 22, 2009
- Messages
- 11,263
Nice progress, and good approaches to your problems
Similar threads
- Replies
- 125
- Views
- 14K

