nicholassagan
sippin on gin + juice
- Joined
- Dec 28, 2011
- Messages
- 2,013
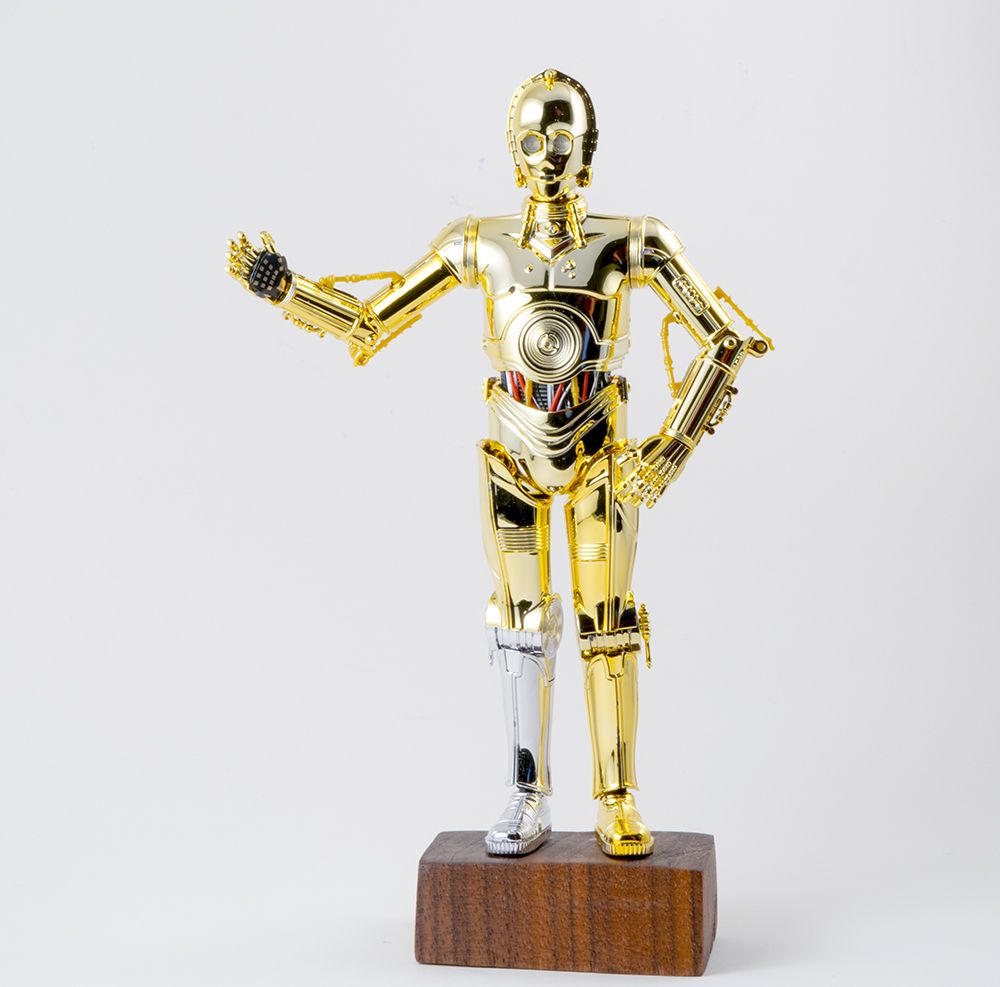
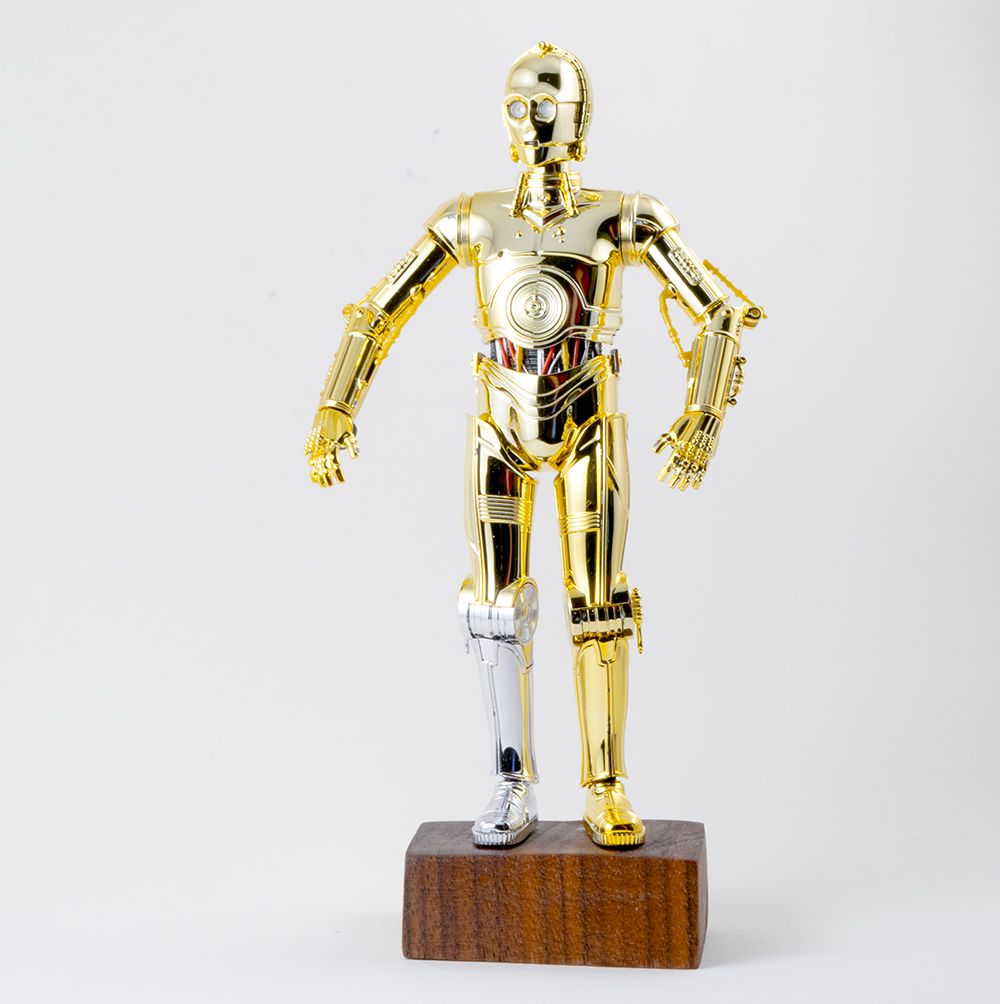
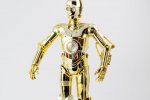
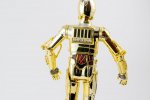
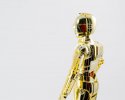
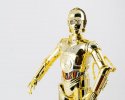
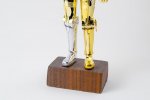
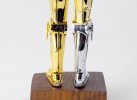
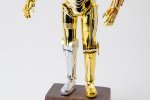
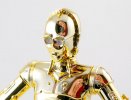
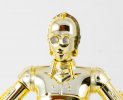
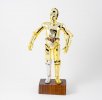
This was a super quick build for me. 1 hour 20 minutes. Not including the base or finished photos (see next post). This was more or less a ‘scouting’ build to see what I can do for the next ones. There is definitely potential for lighting, the eyes are clear and there is plenty of room for an LED. Maybe someone will make a set of photo etch parts for the eyes…they’re pretty small and it’s probably the ONLY piece of photo etch that the kit would require so it’s unlikely. I can see many variant builds coming down the line for me:
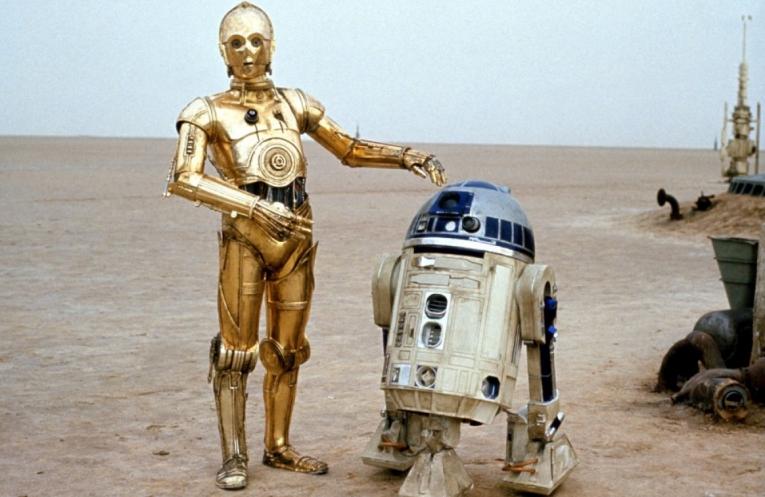
ANH Tatooine dirty
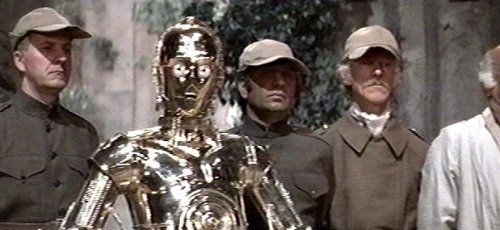
Yavin ceremony clean
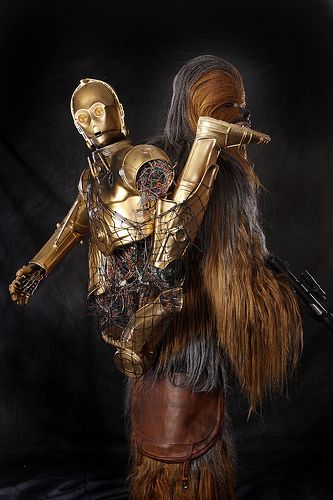
Chewie’s back disassembled
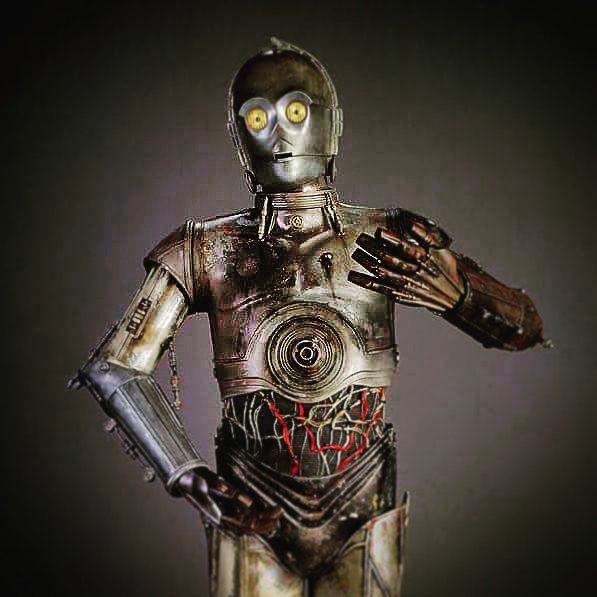
The Force Awakens mix-n-match
Then of course there are the others in the 3PO series,
E-3PO (ESB),

R-3PO (Echo Base),
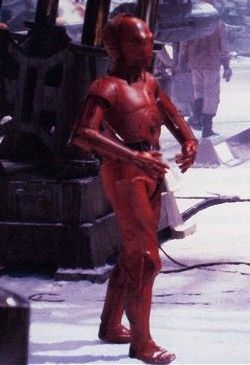
K-3PO (Echo Base),
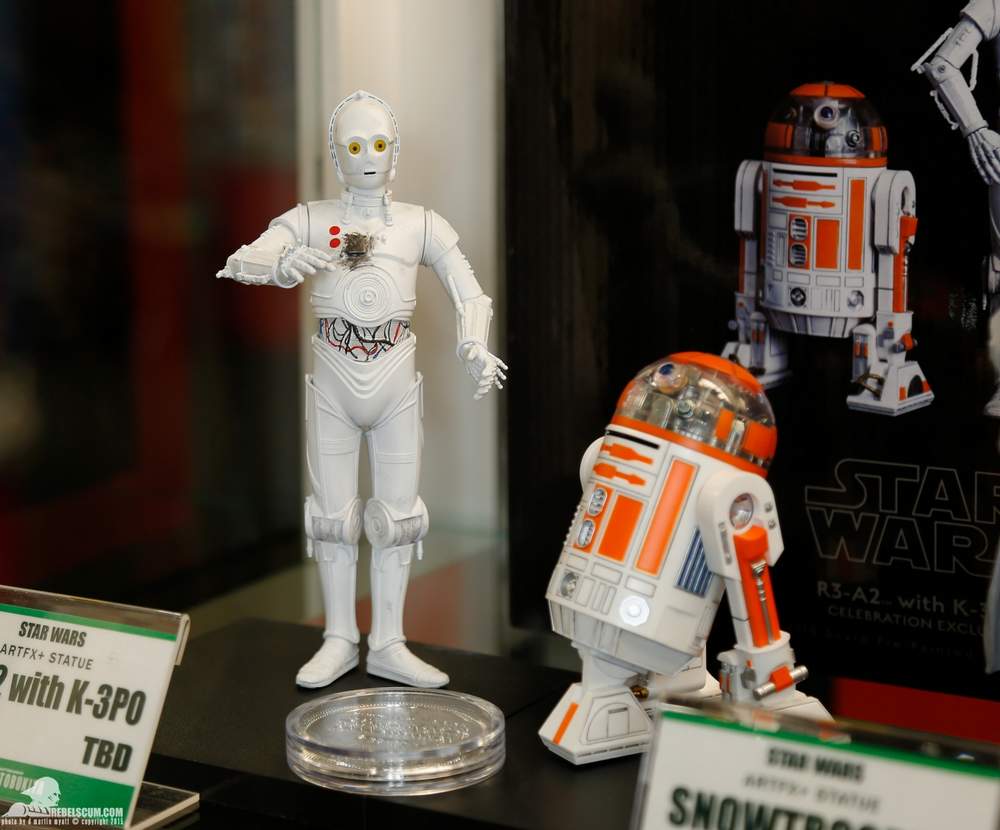
TC-14 (EpI)
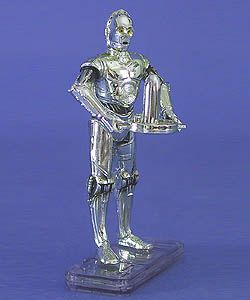
and C-3PX

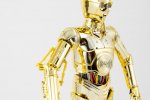
Anyway, enough speculation. Onto the build!! Super quick outta the box. All the parts are SOOOO SHINY!!!!!!!! So much so that I used rubber gloves throughout the whole build as to not get my grubby prints all over it.
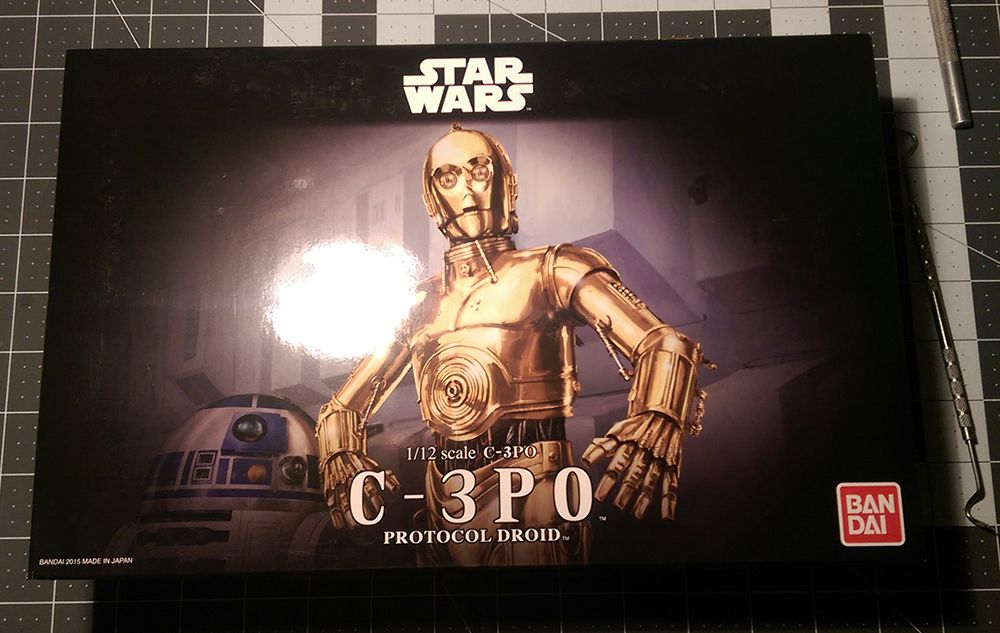
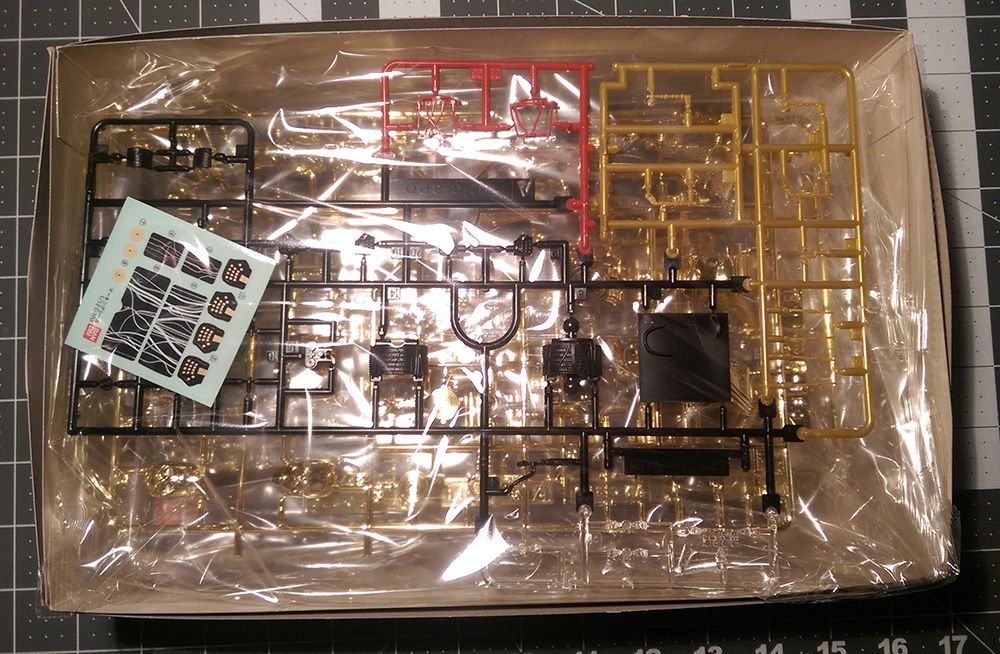
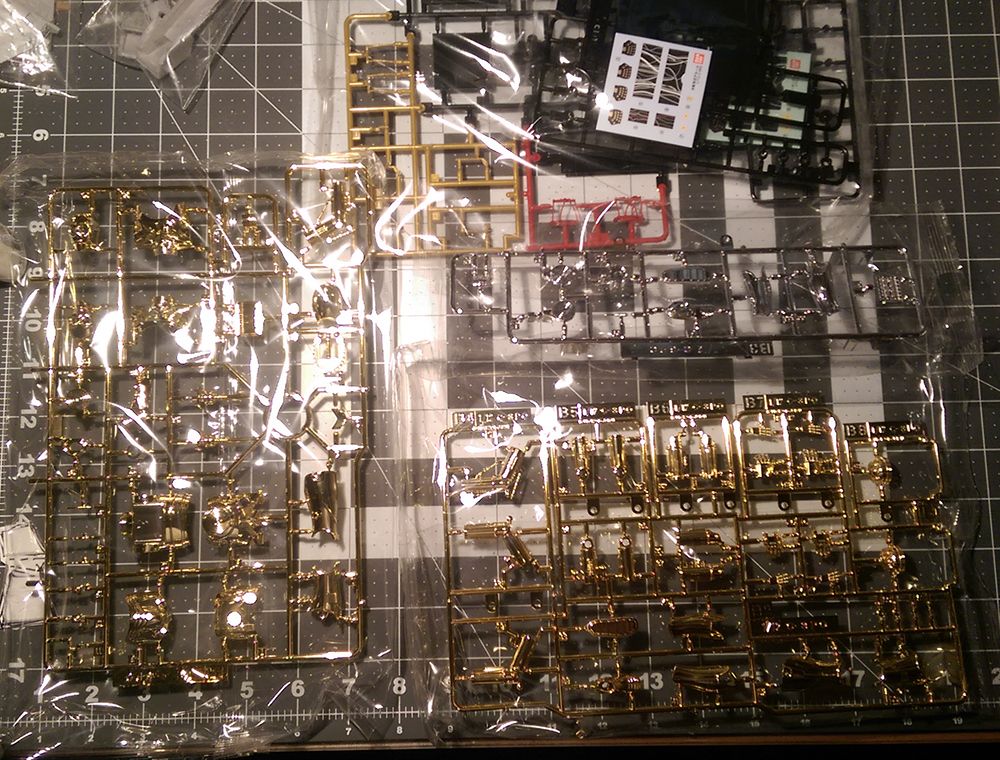

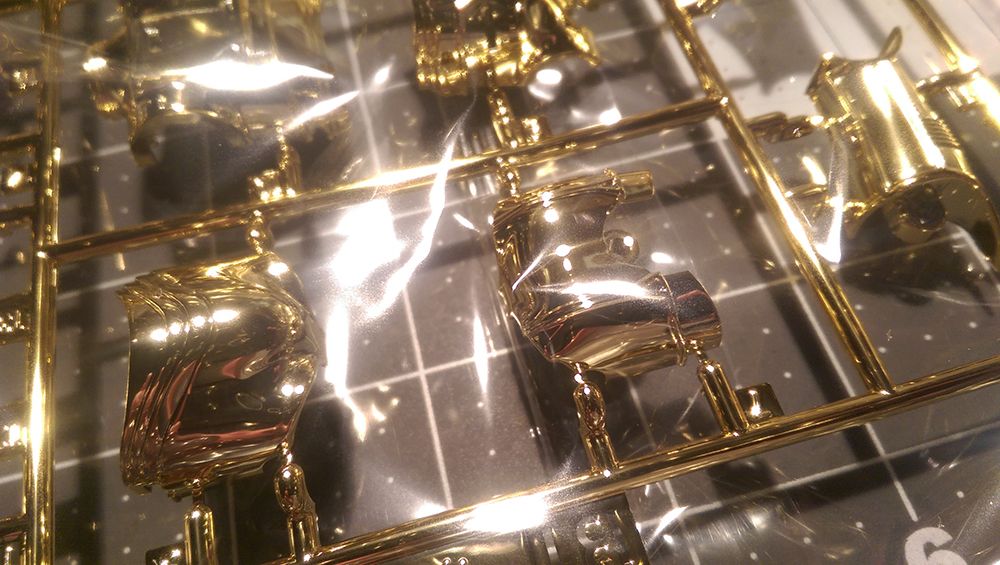
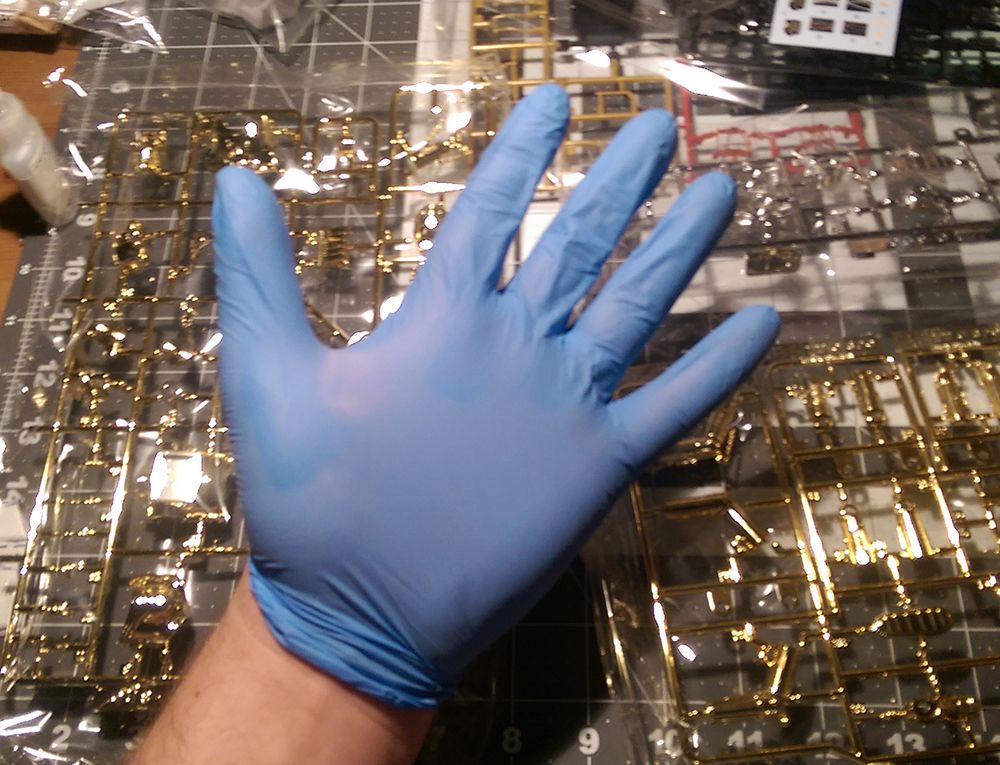
The build happened so fast I could barely document it!!! Like I said, super shiny parts! Some notes:
1) Follow the instructions. The parts are labeled for a reason. I got mixed up with the arm parts and had to swap.
2) Be careful with trimming off the sprues. You don’t want to chip the plating.
3) The stickers are AWESOME. Never mind the raised detail on the parts, apply some pressure and they’ll stick really well. (I opted for some silver dry brushing on the waist instead of the sticker)
4) Go with the arms in locked position pieces. The plated arm actuators are way cooler than the soft plastic ones.
5) There will be leftover pieces to experiment with finishes on.
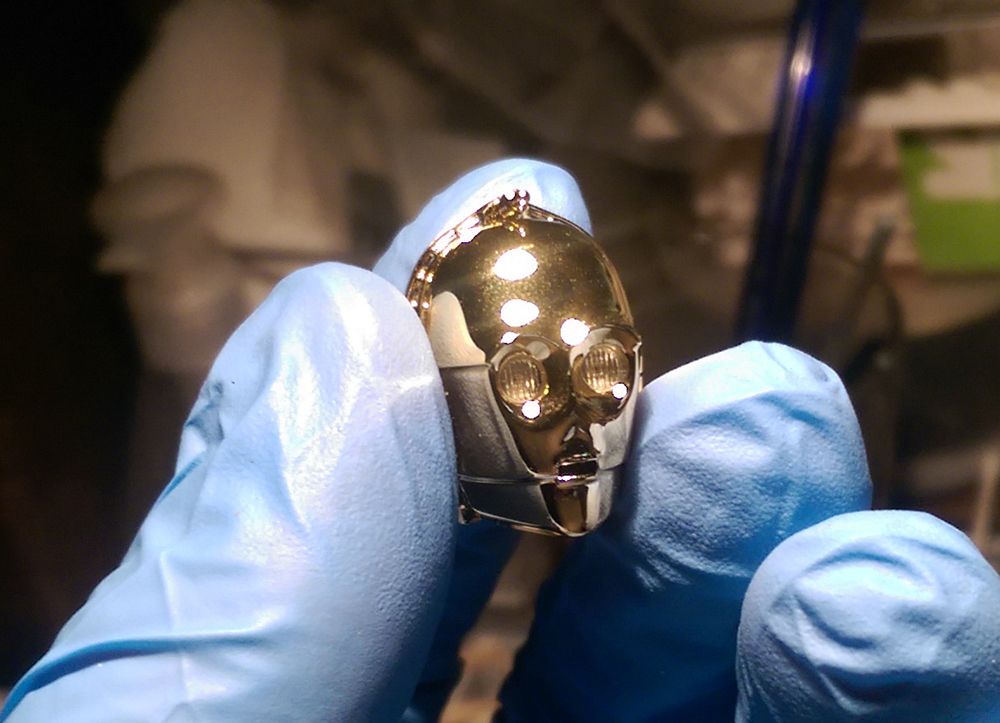
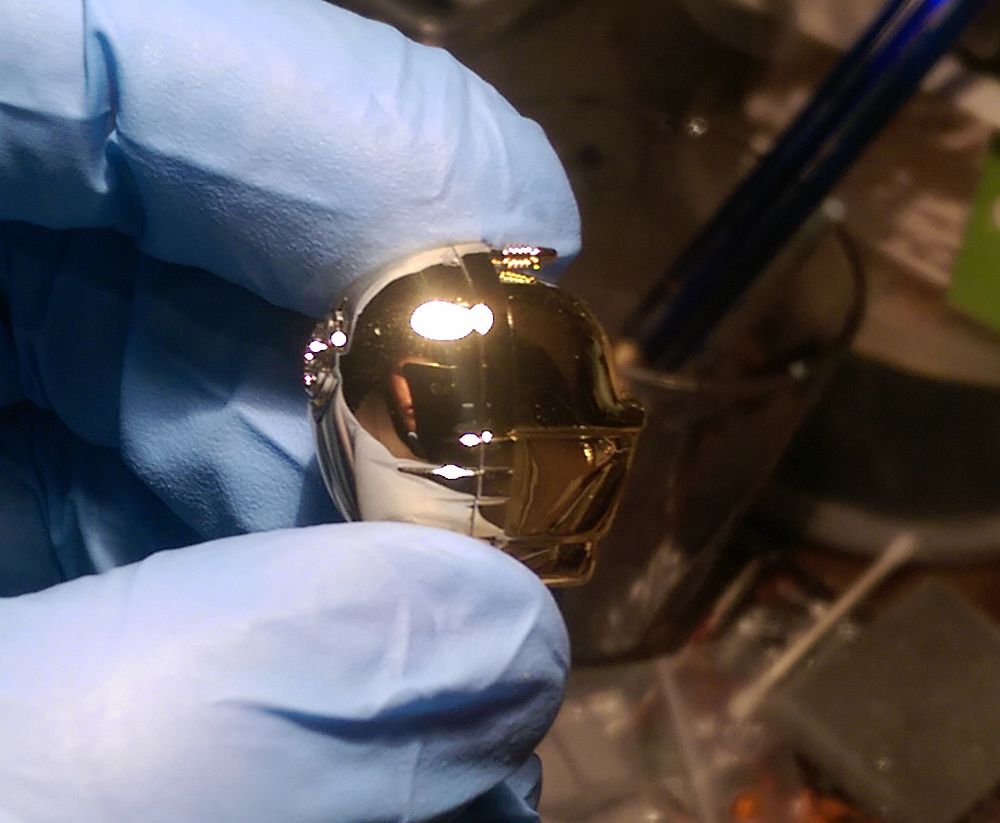
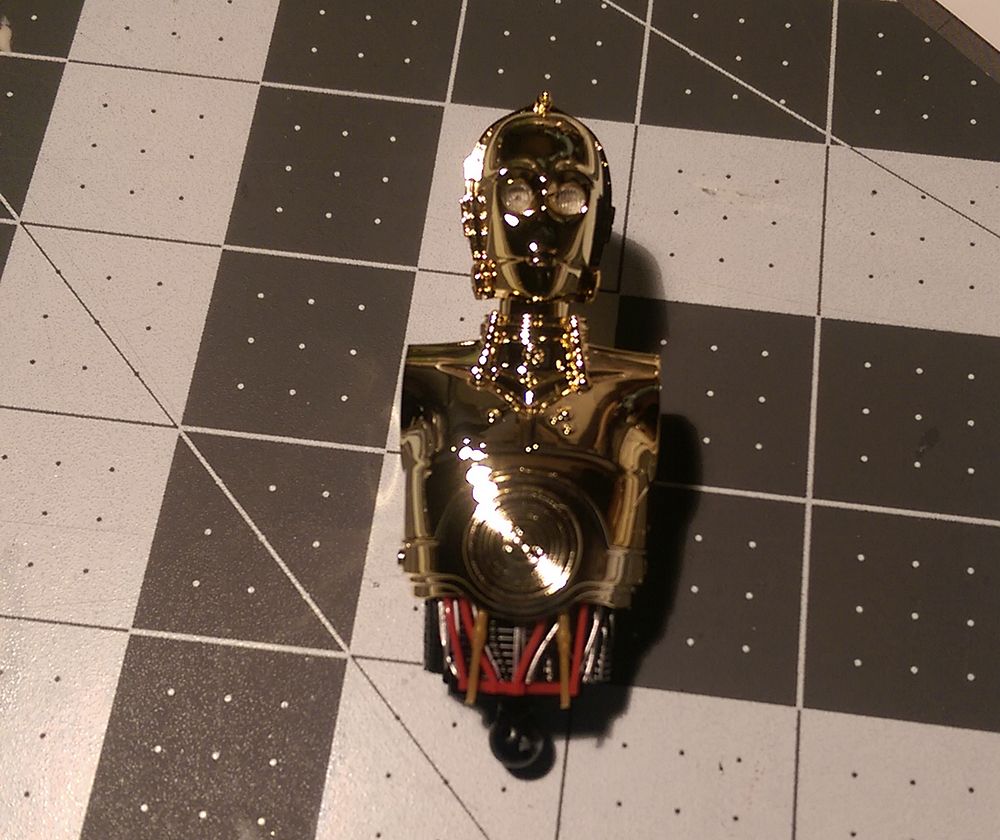
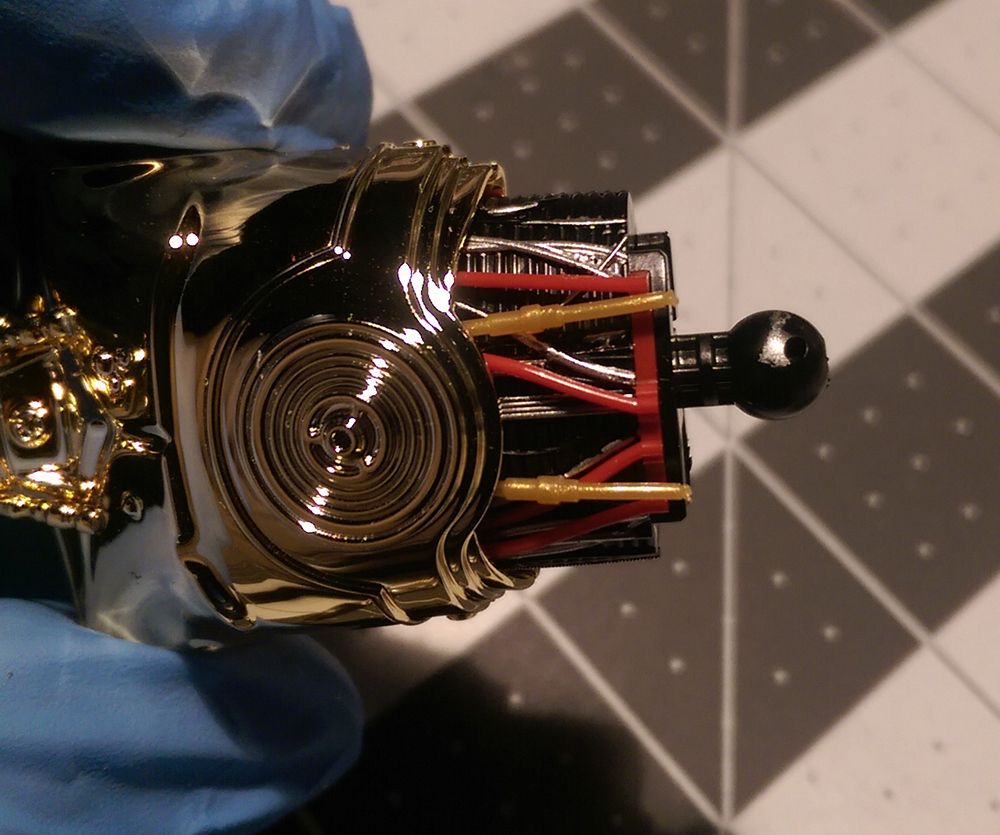
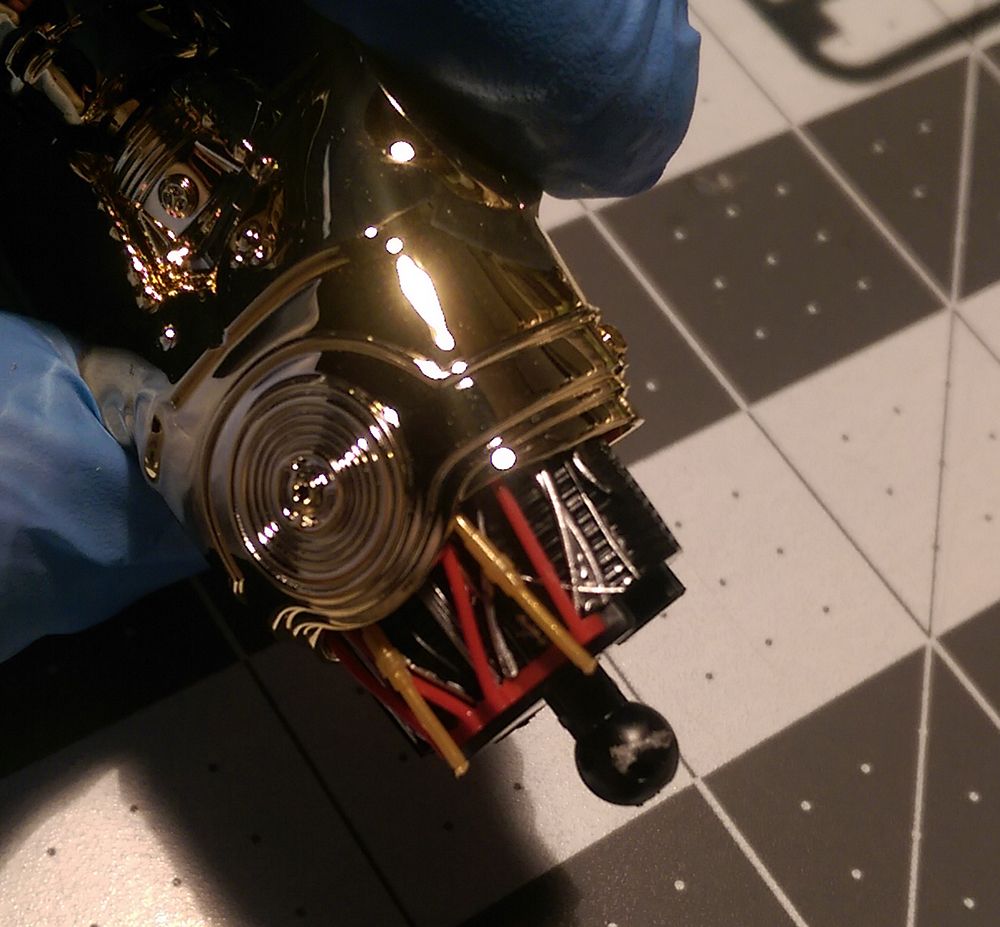

He finishes up really well! Can’t wait to work on the next one! Stay tuned for final pics.

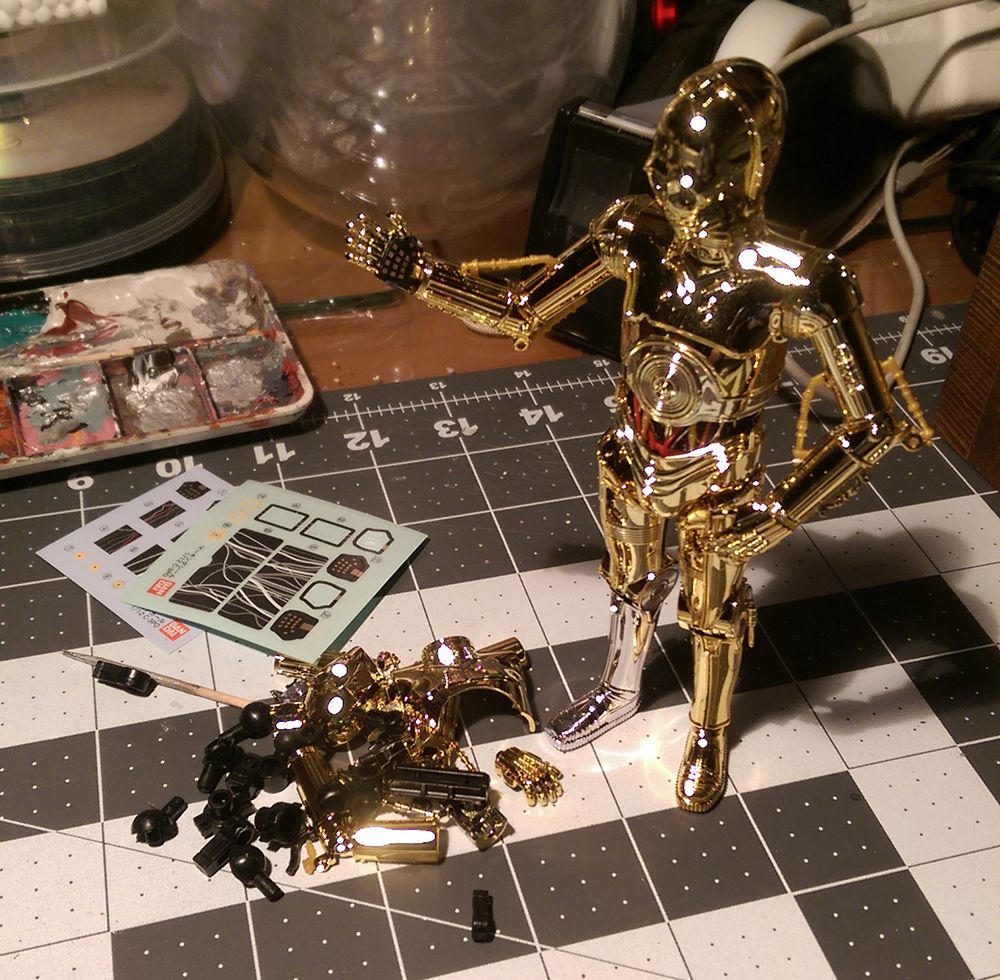
ANH Tatooine dirty

Yavin ceremony clean

Chewie’s back disassembled

The Force Awakens mix-n-match

Then of course there are the others in the 3PO series,
E-3PO (ESB),

R-3PO (Echo Base),

K-3PO (Echo Base),

TC-14 (EpI)

and C-3PX

Anyway, enough speculation. Onto the build!! Super quick outta the box. All the parts are SOOOO SHINY!!!!!!!! So much so that I used rubber gloves throughout the whole build as to not get my grubby prints all over it.


The build happened so fast I could barely document it!!! Like I said, super shiny parts! Some notes:
1) Follow the instructions. The parts are labeled for a reason. I got mixed up with the arm parts and had to swap.
2) Be careful with trimming off the sprues. You don’t want to chip the plating.
3) The stickers are AWESOME. Never mind the raised detail on the parts, apply some pressure and they’ll stick really well. (I opted for some silver dry brushing on the waist instead of the sticker)
4) Go with the arms in locked position pieces. The plated arm actuators are way cooler than the soft plastic ones.
5) There will be leftover pieces to experiment with finishes on.


He finishes up really well! Can’t wait to work on the next one! Stay tuned for final pics.


