Industria Mechanika Orbship

I've never seen this ship before and gotta admit, it's definitely different... Personally I like it... Looks like you're doing an awesome job on it... can't wait to see how this turns out.
 
Okay, so I'm still waiting on a few after market parts before final assembly, so I've been thinking about the paint scheme (also ordered some Scale75 figures to paint during those moments when I can't work on this guy)…

Definitely thinking yellow is going to be the primary colour. Question: who makes the best yellow with regards to coverage. I find Vallejo yellow's are super translucent. I know Army Painter makes a nice primer yellow, but that might be a bit much… I want it to be chippable.
 
Scott Girvan said:
Chippable...might consider Tamiya Flat Yellow.
Thanks Scott, I'll grab some Tamiya paints.

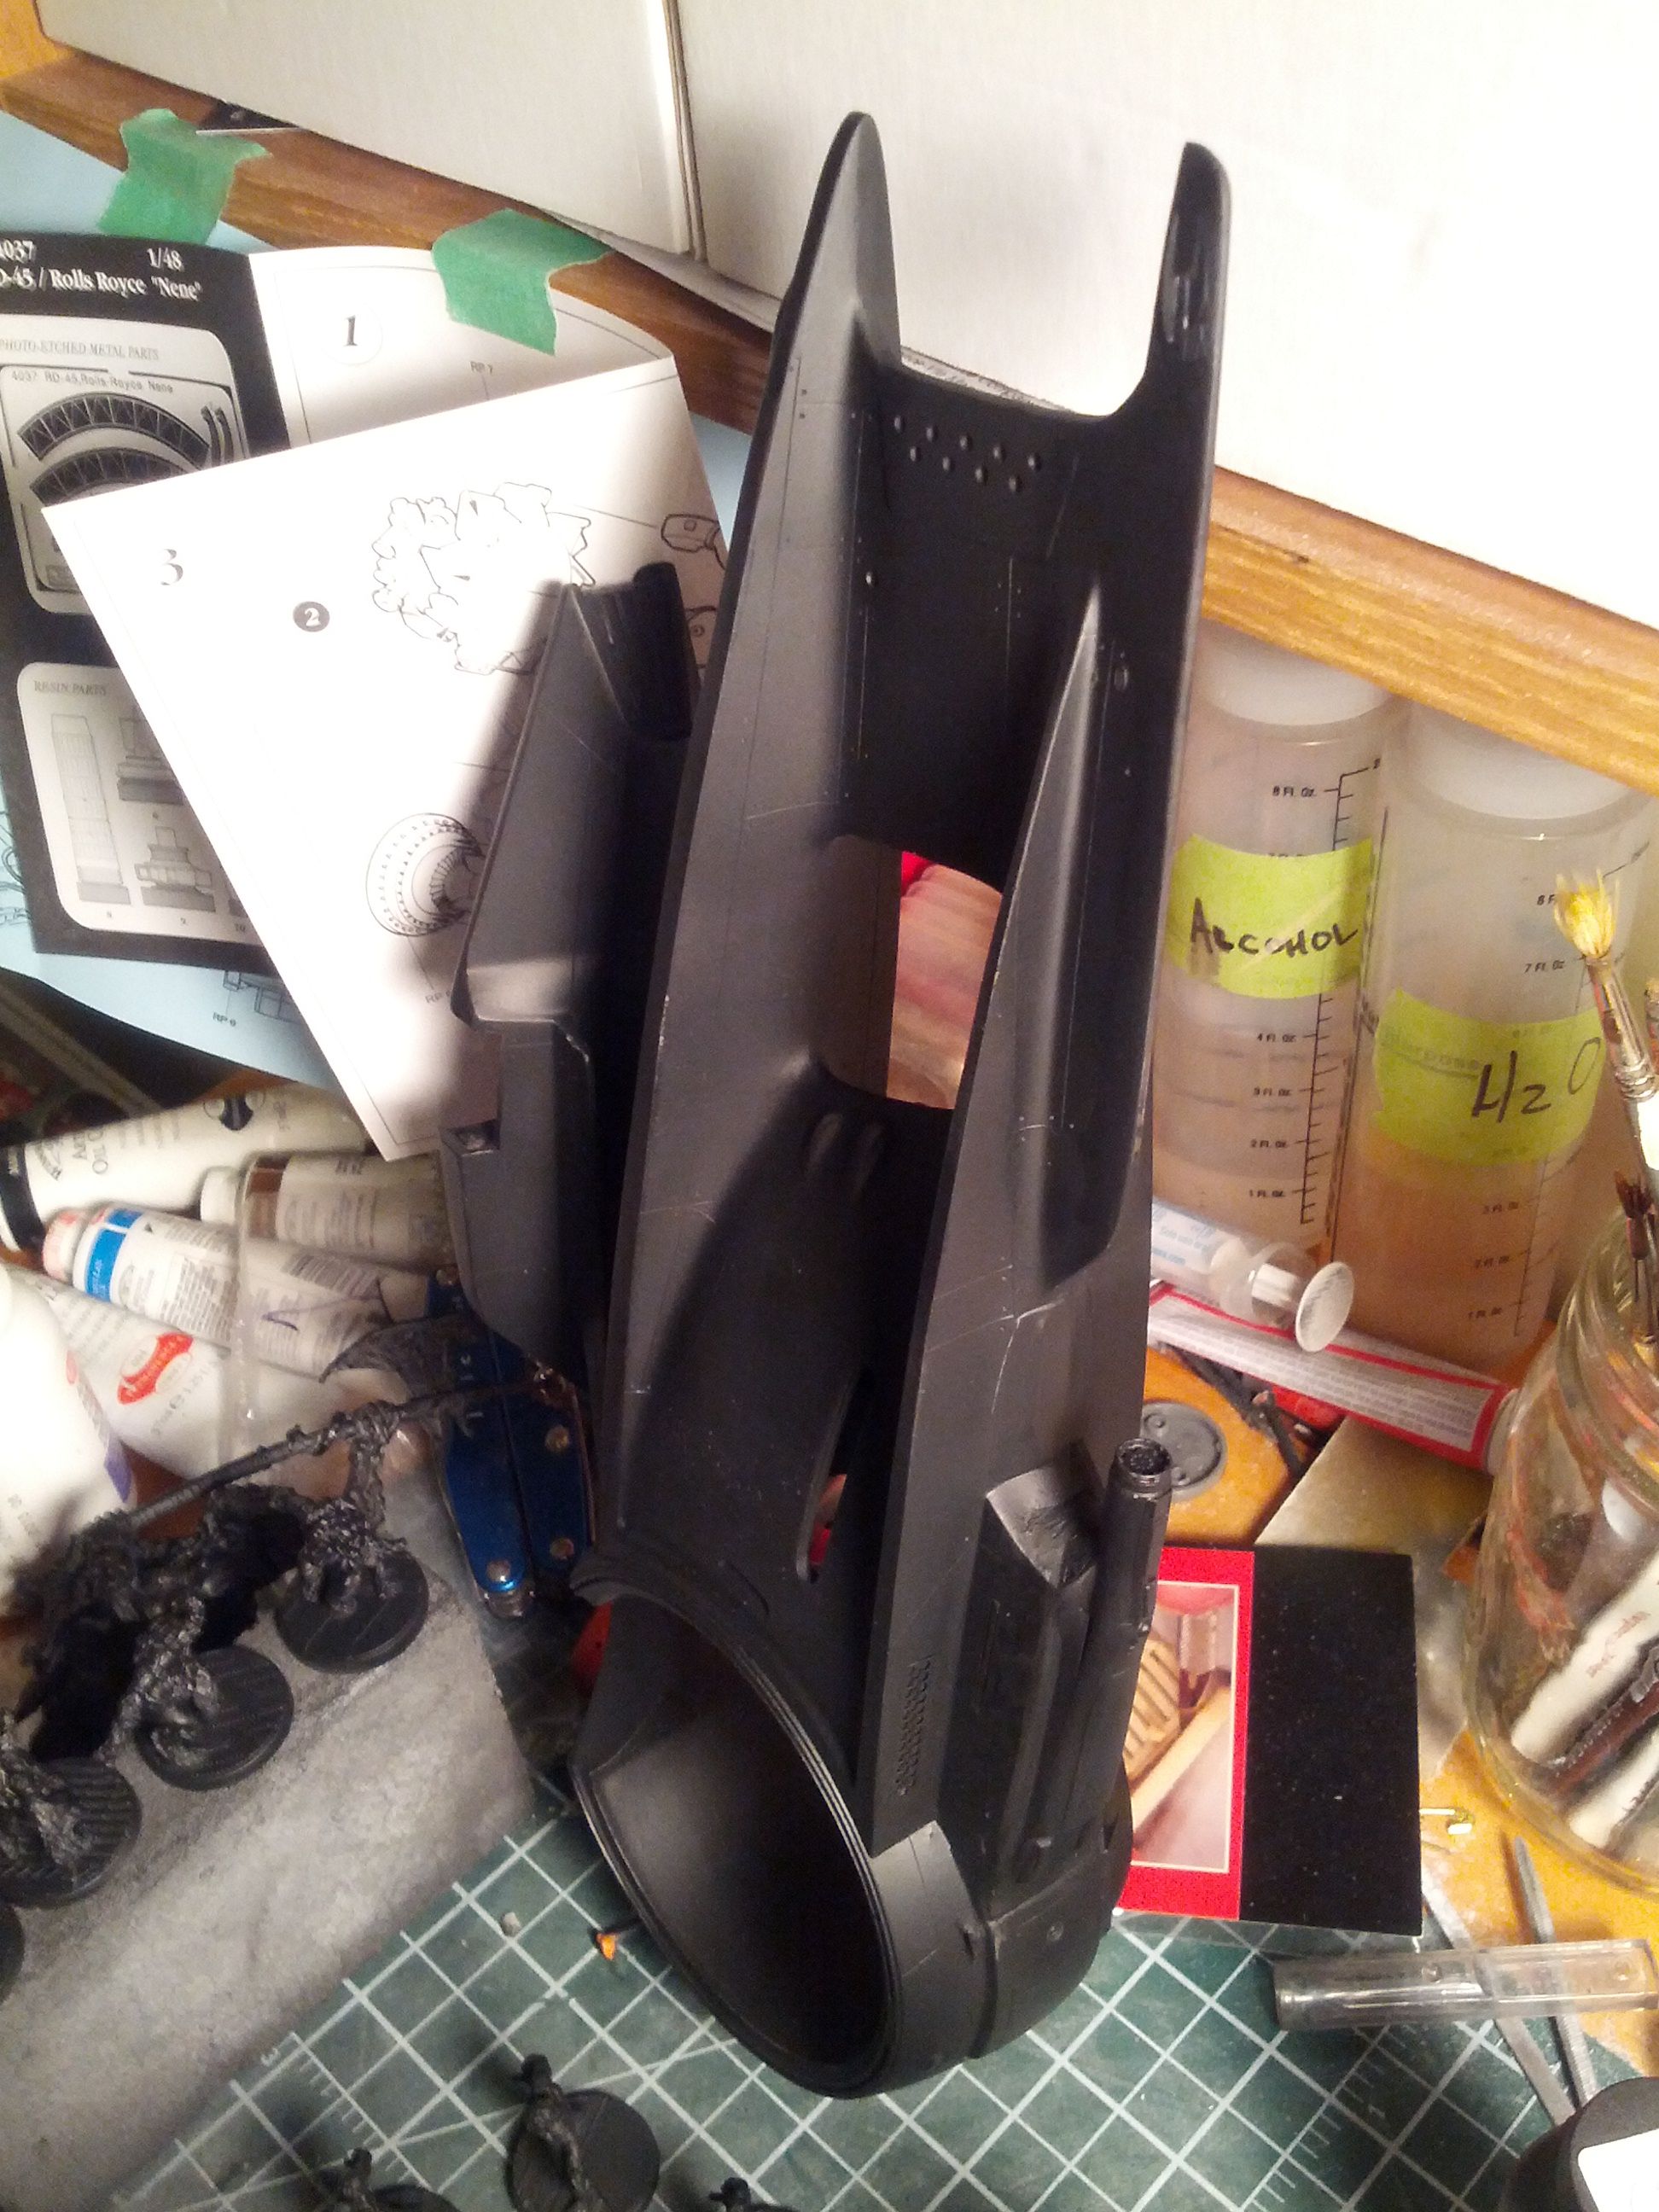
Okay, well I've primed everything again. There's one spot that isn't quite smooth enough. So, gotta hit it with some meaner sanding.

IMG_20130313_223157.jpg

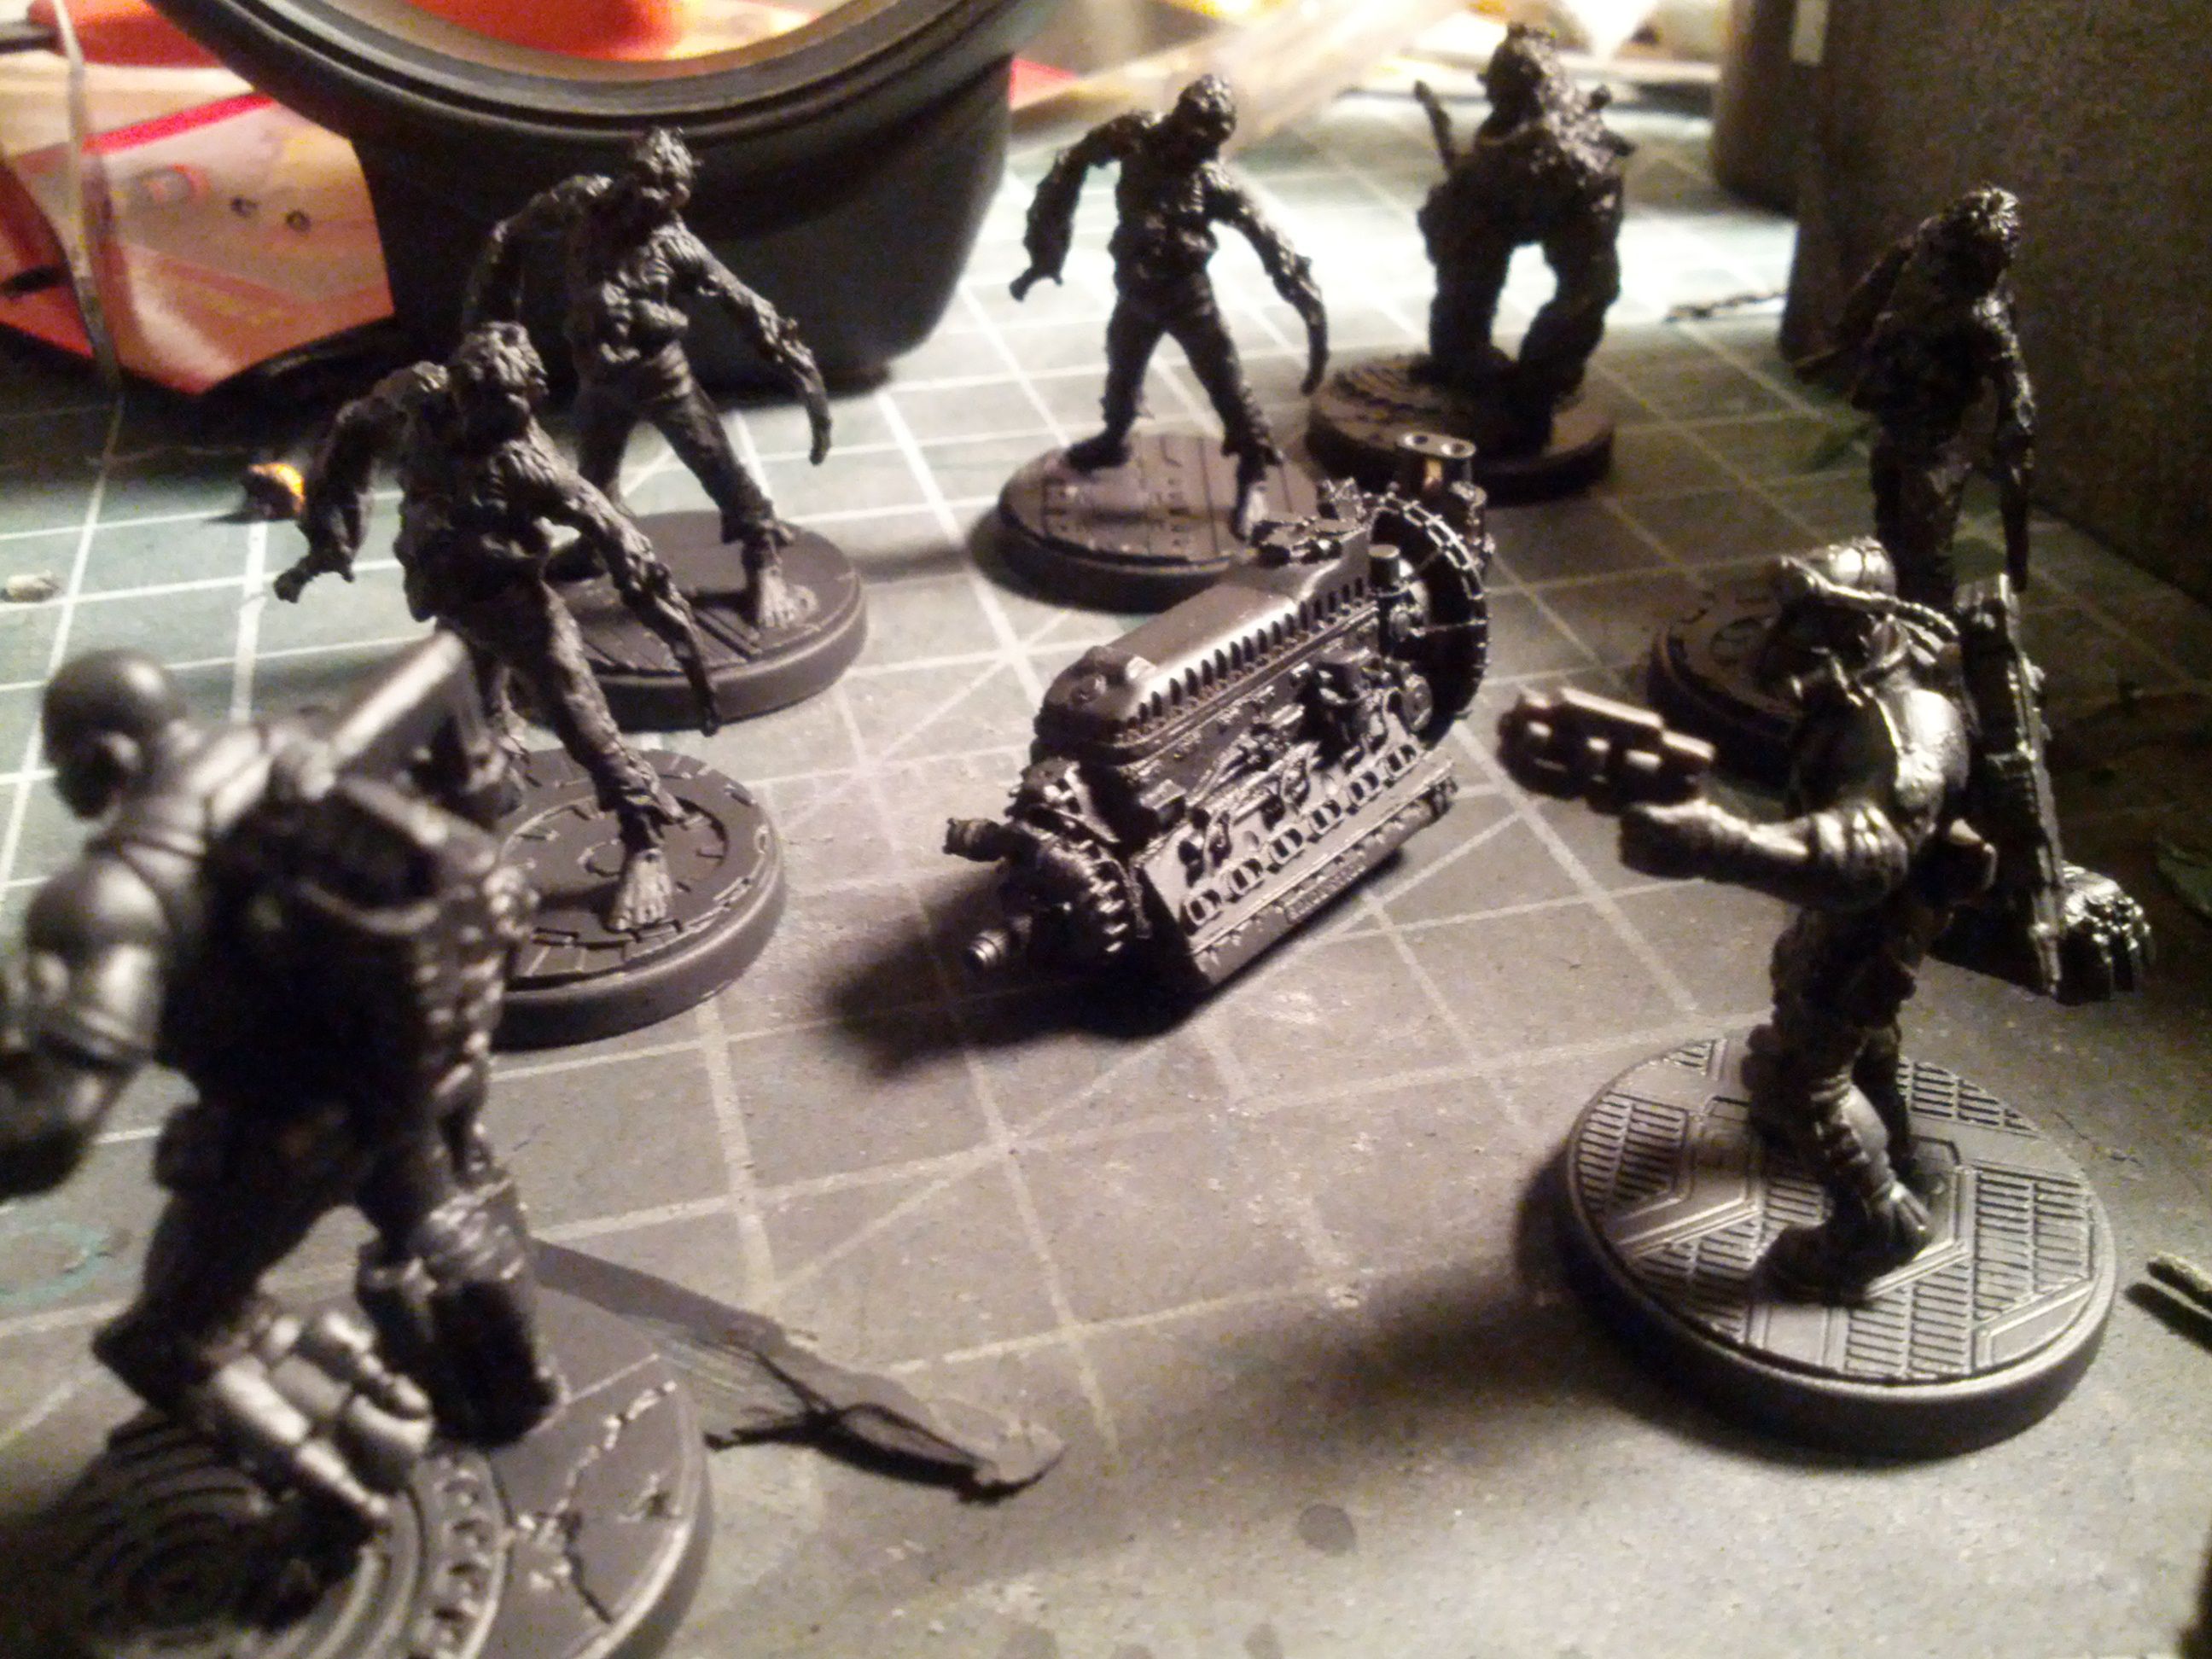
- primed a few other things as well.

IMG_20130313_223215.jpg

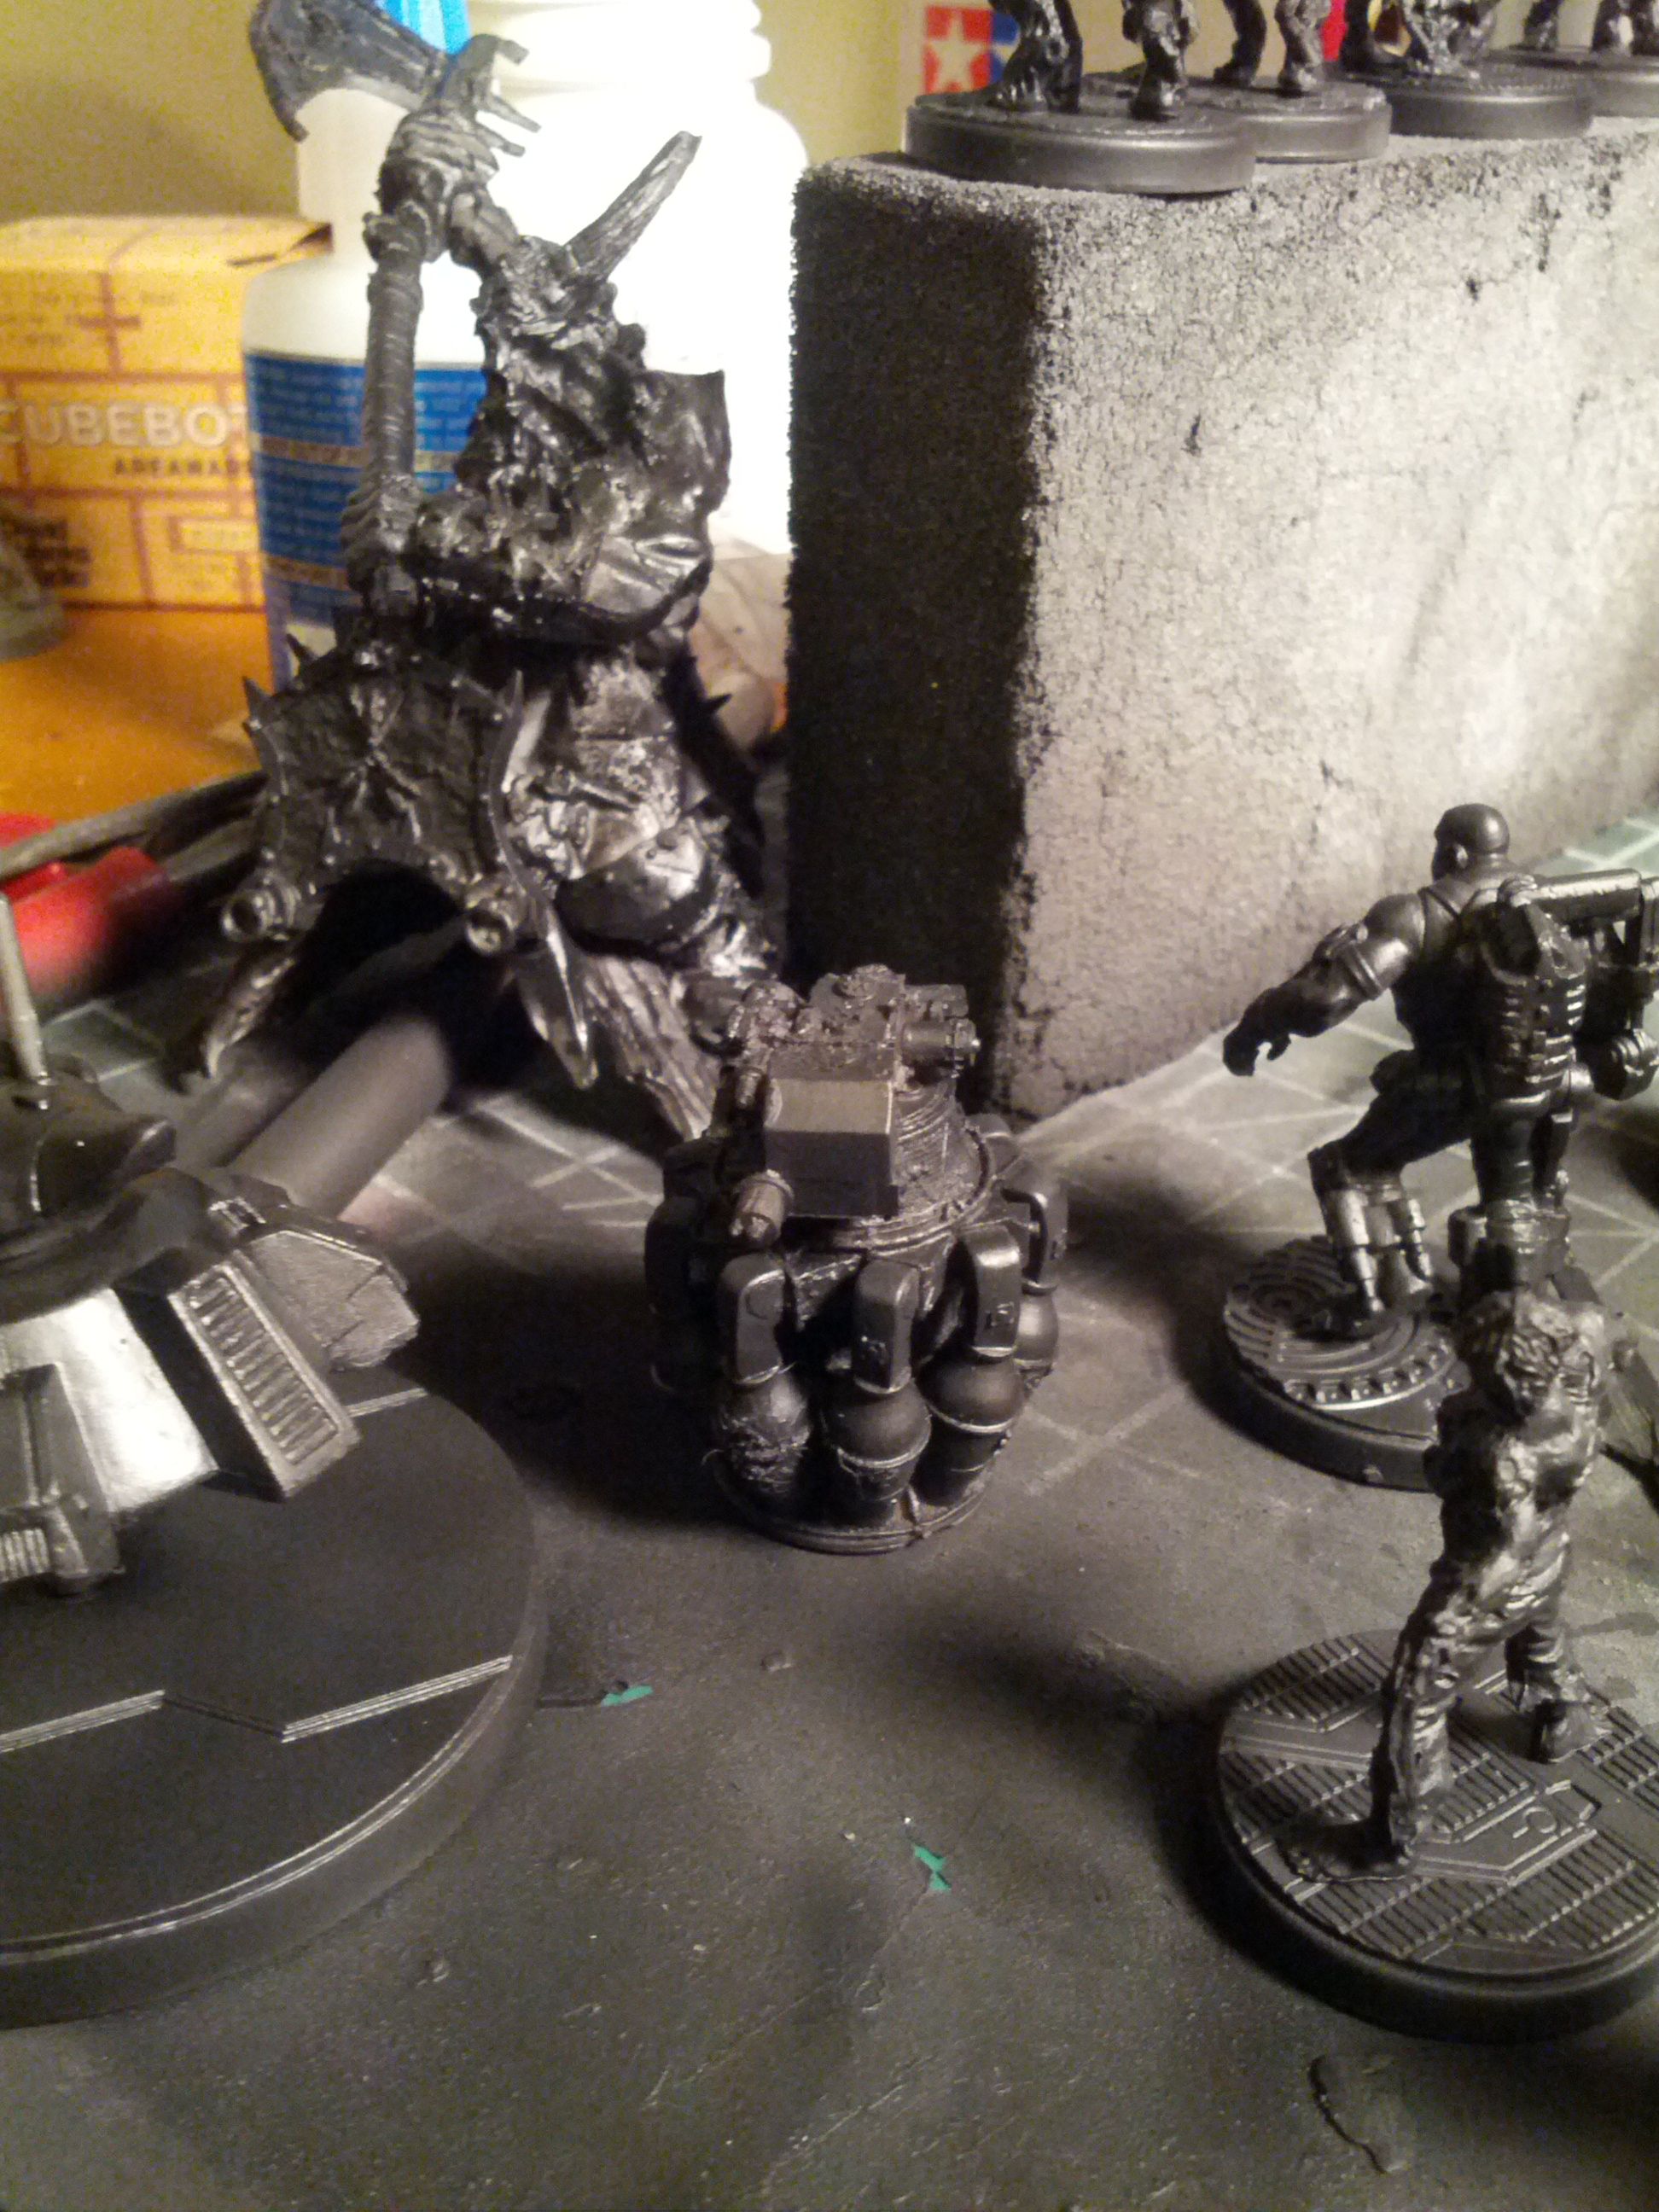
- can you see the bit that needs fixing? I can. :/

IMG_20130313_223229.jpg

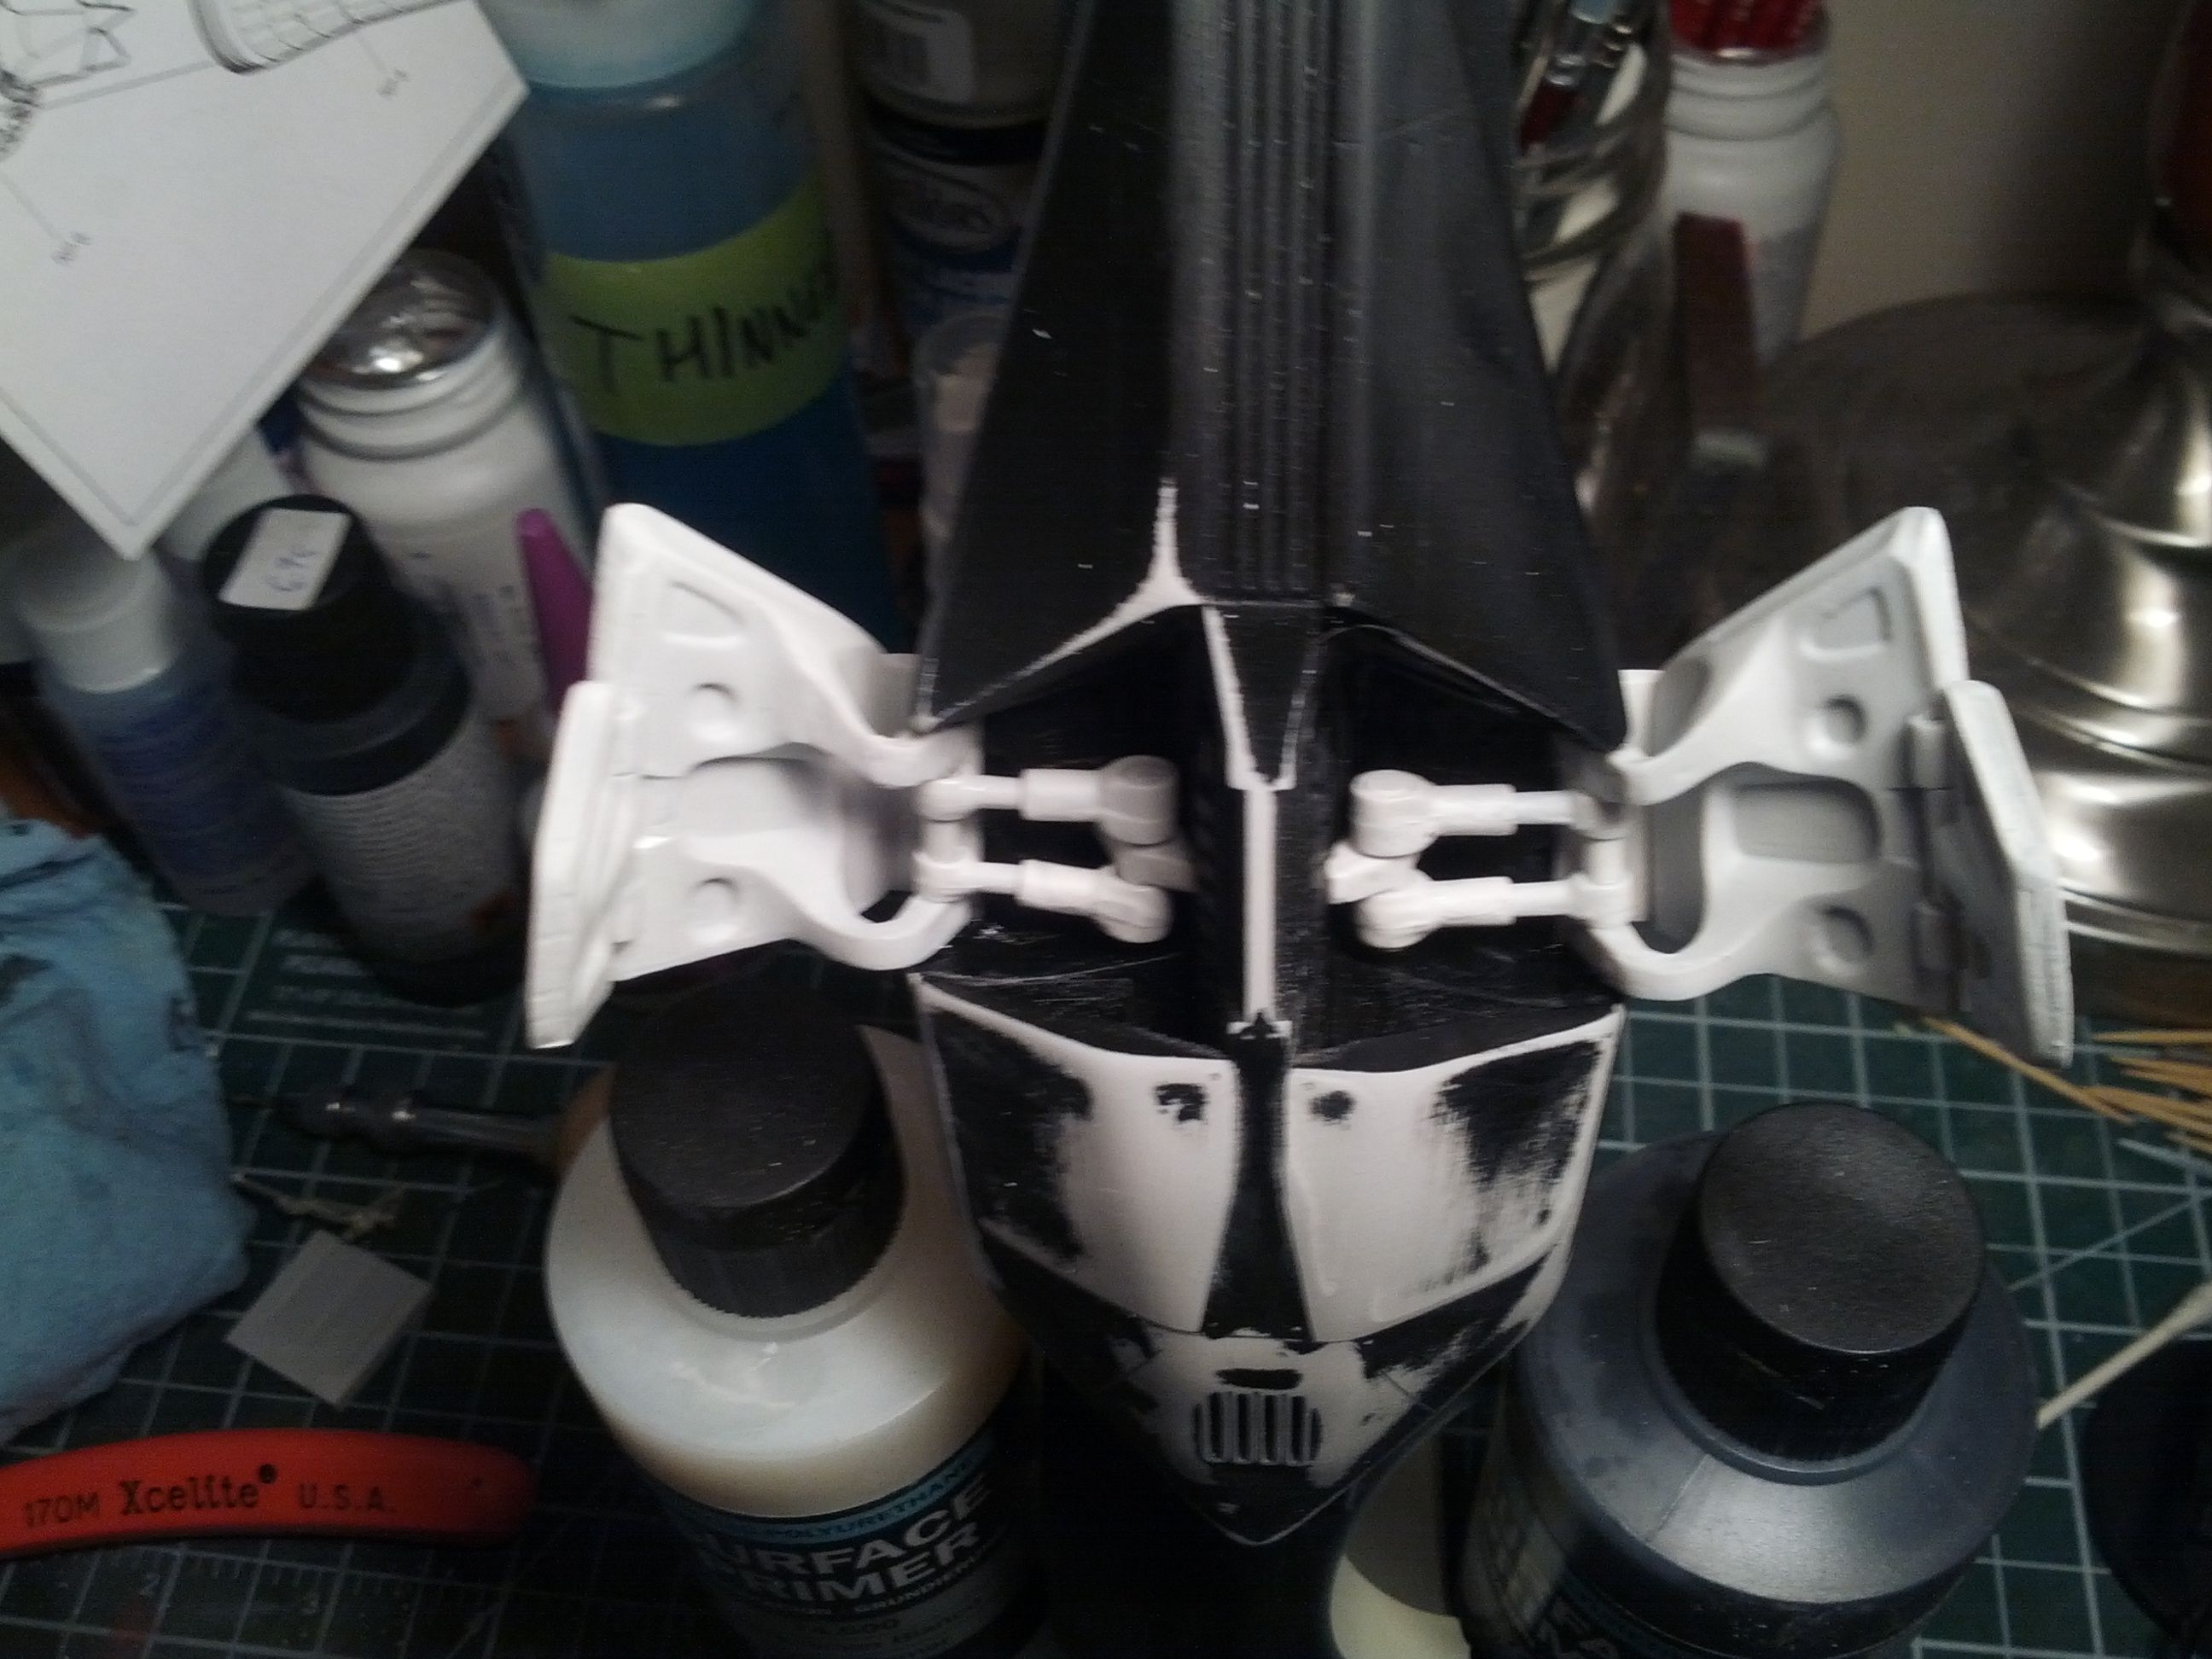
- this guy is good to continue

IMG_20130313_223305.jpg

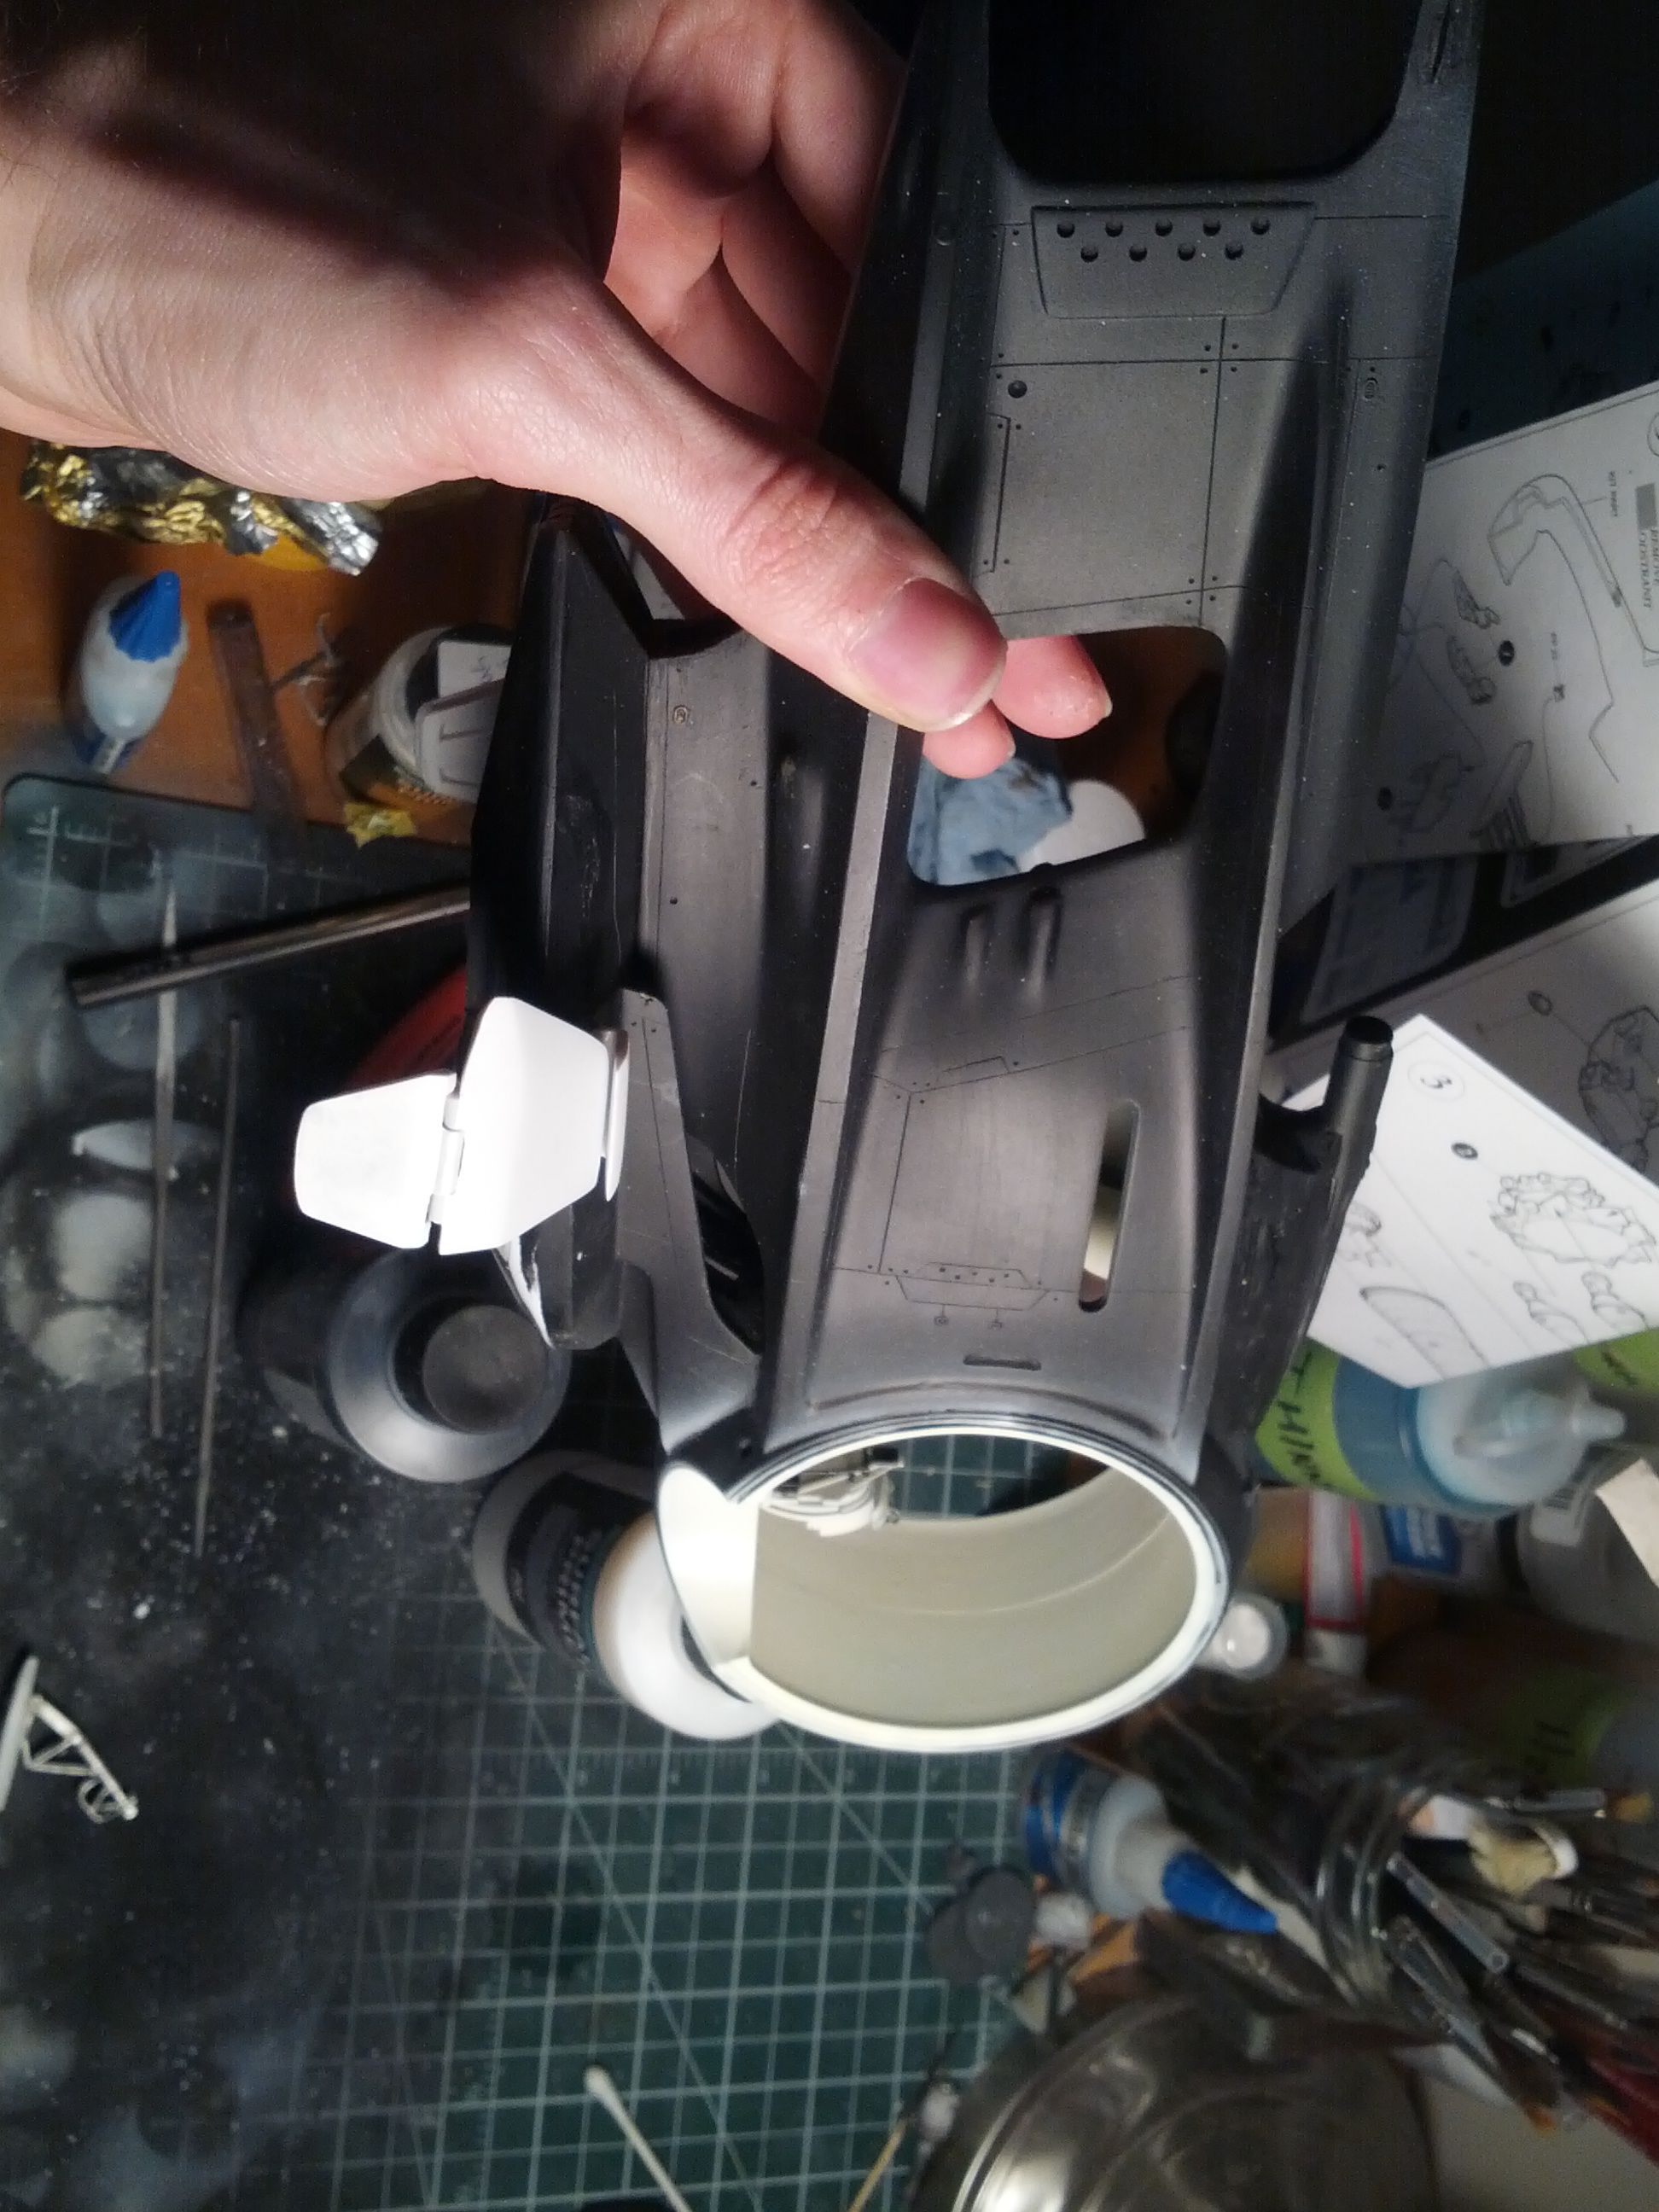
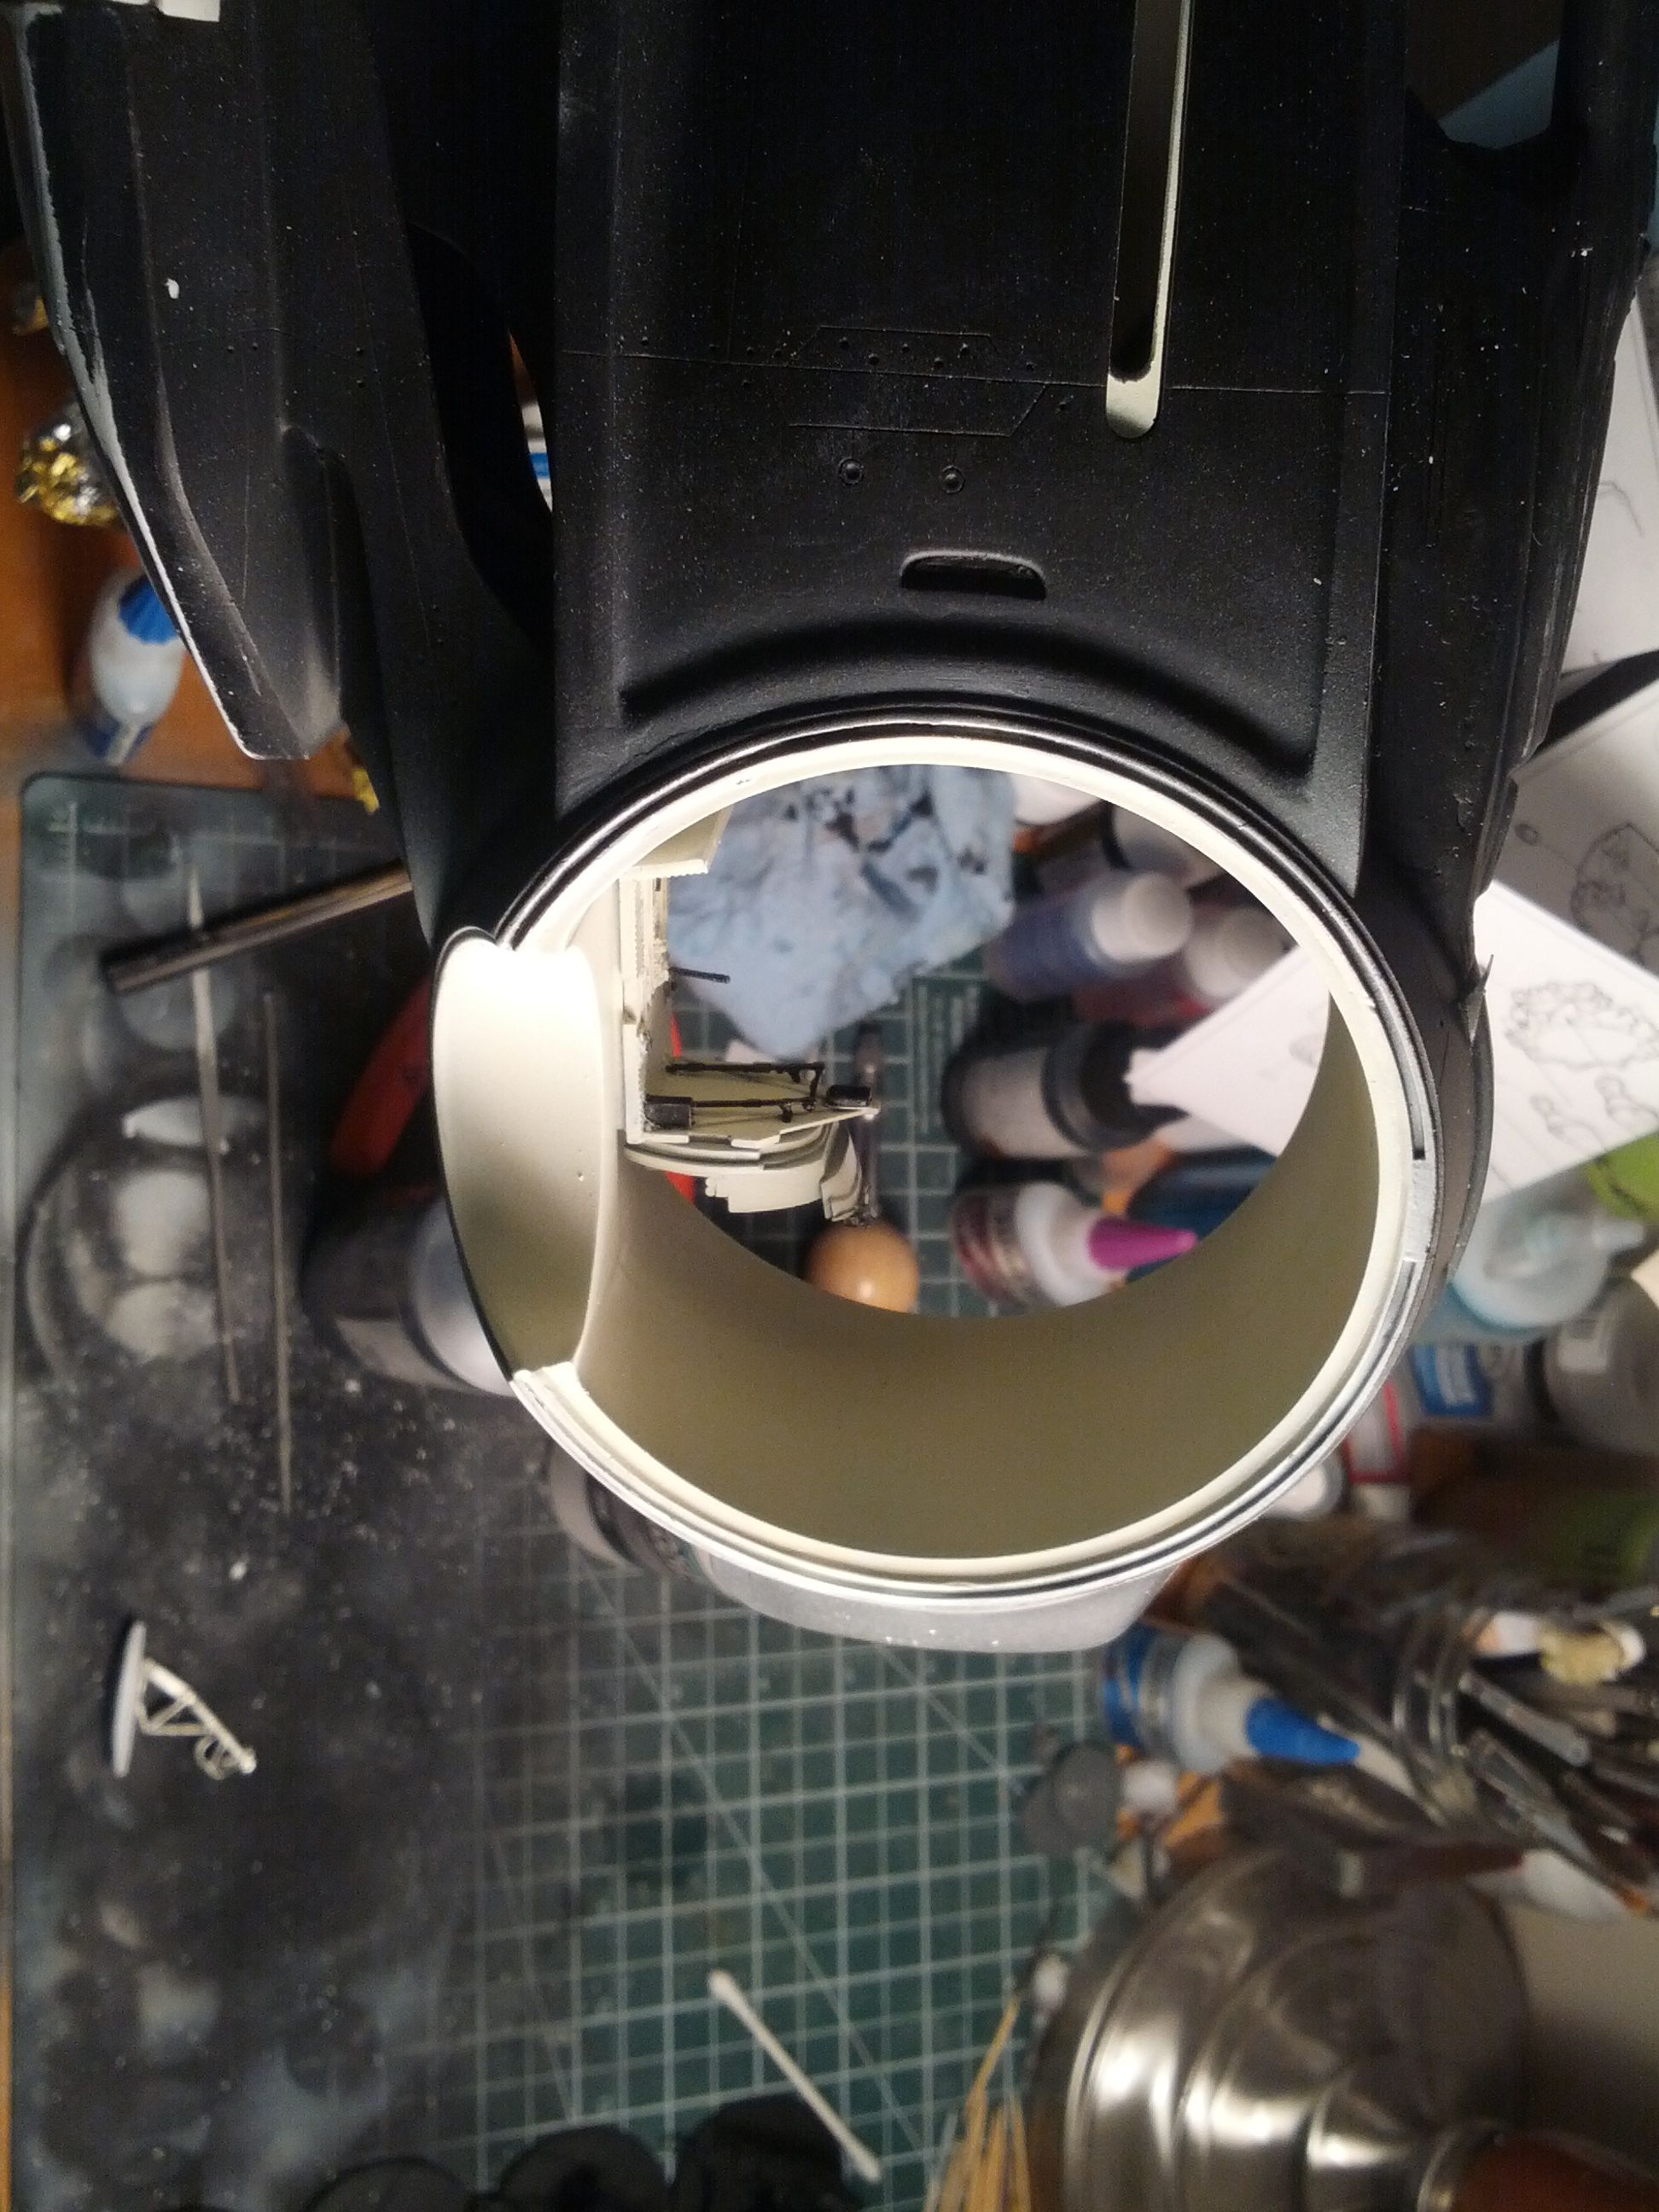
- I'm gonna stick this Rolls Royce engine randomly in the interior somewhere. It'll be just hard enough to view that I don't have to super detail it. Might use it to hide some of the lighting electronics as well.

IMG_20130313_223435.jpg

There's also this other Rolls Royce engine that'll get stuck down the main hull. I haven't added the thruster chunk yet and it'll be facing the wrong way, but it'll look cool so who cares. It's sci-fi. I'll just pretend the tube loops back around and goes out the back.

Well, that's where I'm at. Still gotta assemble the landing gear stuff.
 
Thanks guys! No photos, but finally got some aftermarket parts in the mail. The Aires P-47 resin cockpit which I've started assembling. Should have some photos soon. And some metal landing gear to deal with the rather boring stock landing leg.

Example (Fichtenfoo's build up):
Screen%20shot%202013-03-22%20at%207.18.17%20PM.png


Original Scott Robertson illustration:
Screen%20shot%202013-03-22%20at%207.19.36%20PM.png


Really not feeling what was done for the kit so I'm gonna use the landing gear from a Douglas A-26 Invader. Make it a bit more mechanical like in the original illustration.
 
*cough*
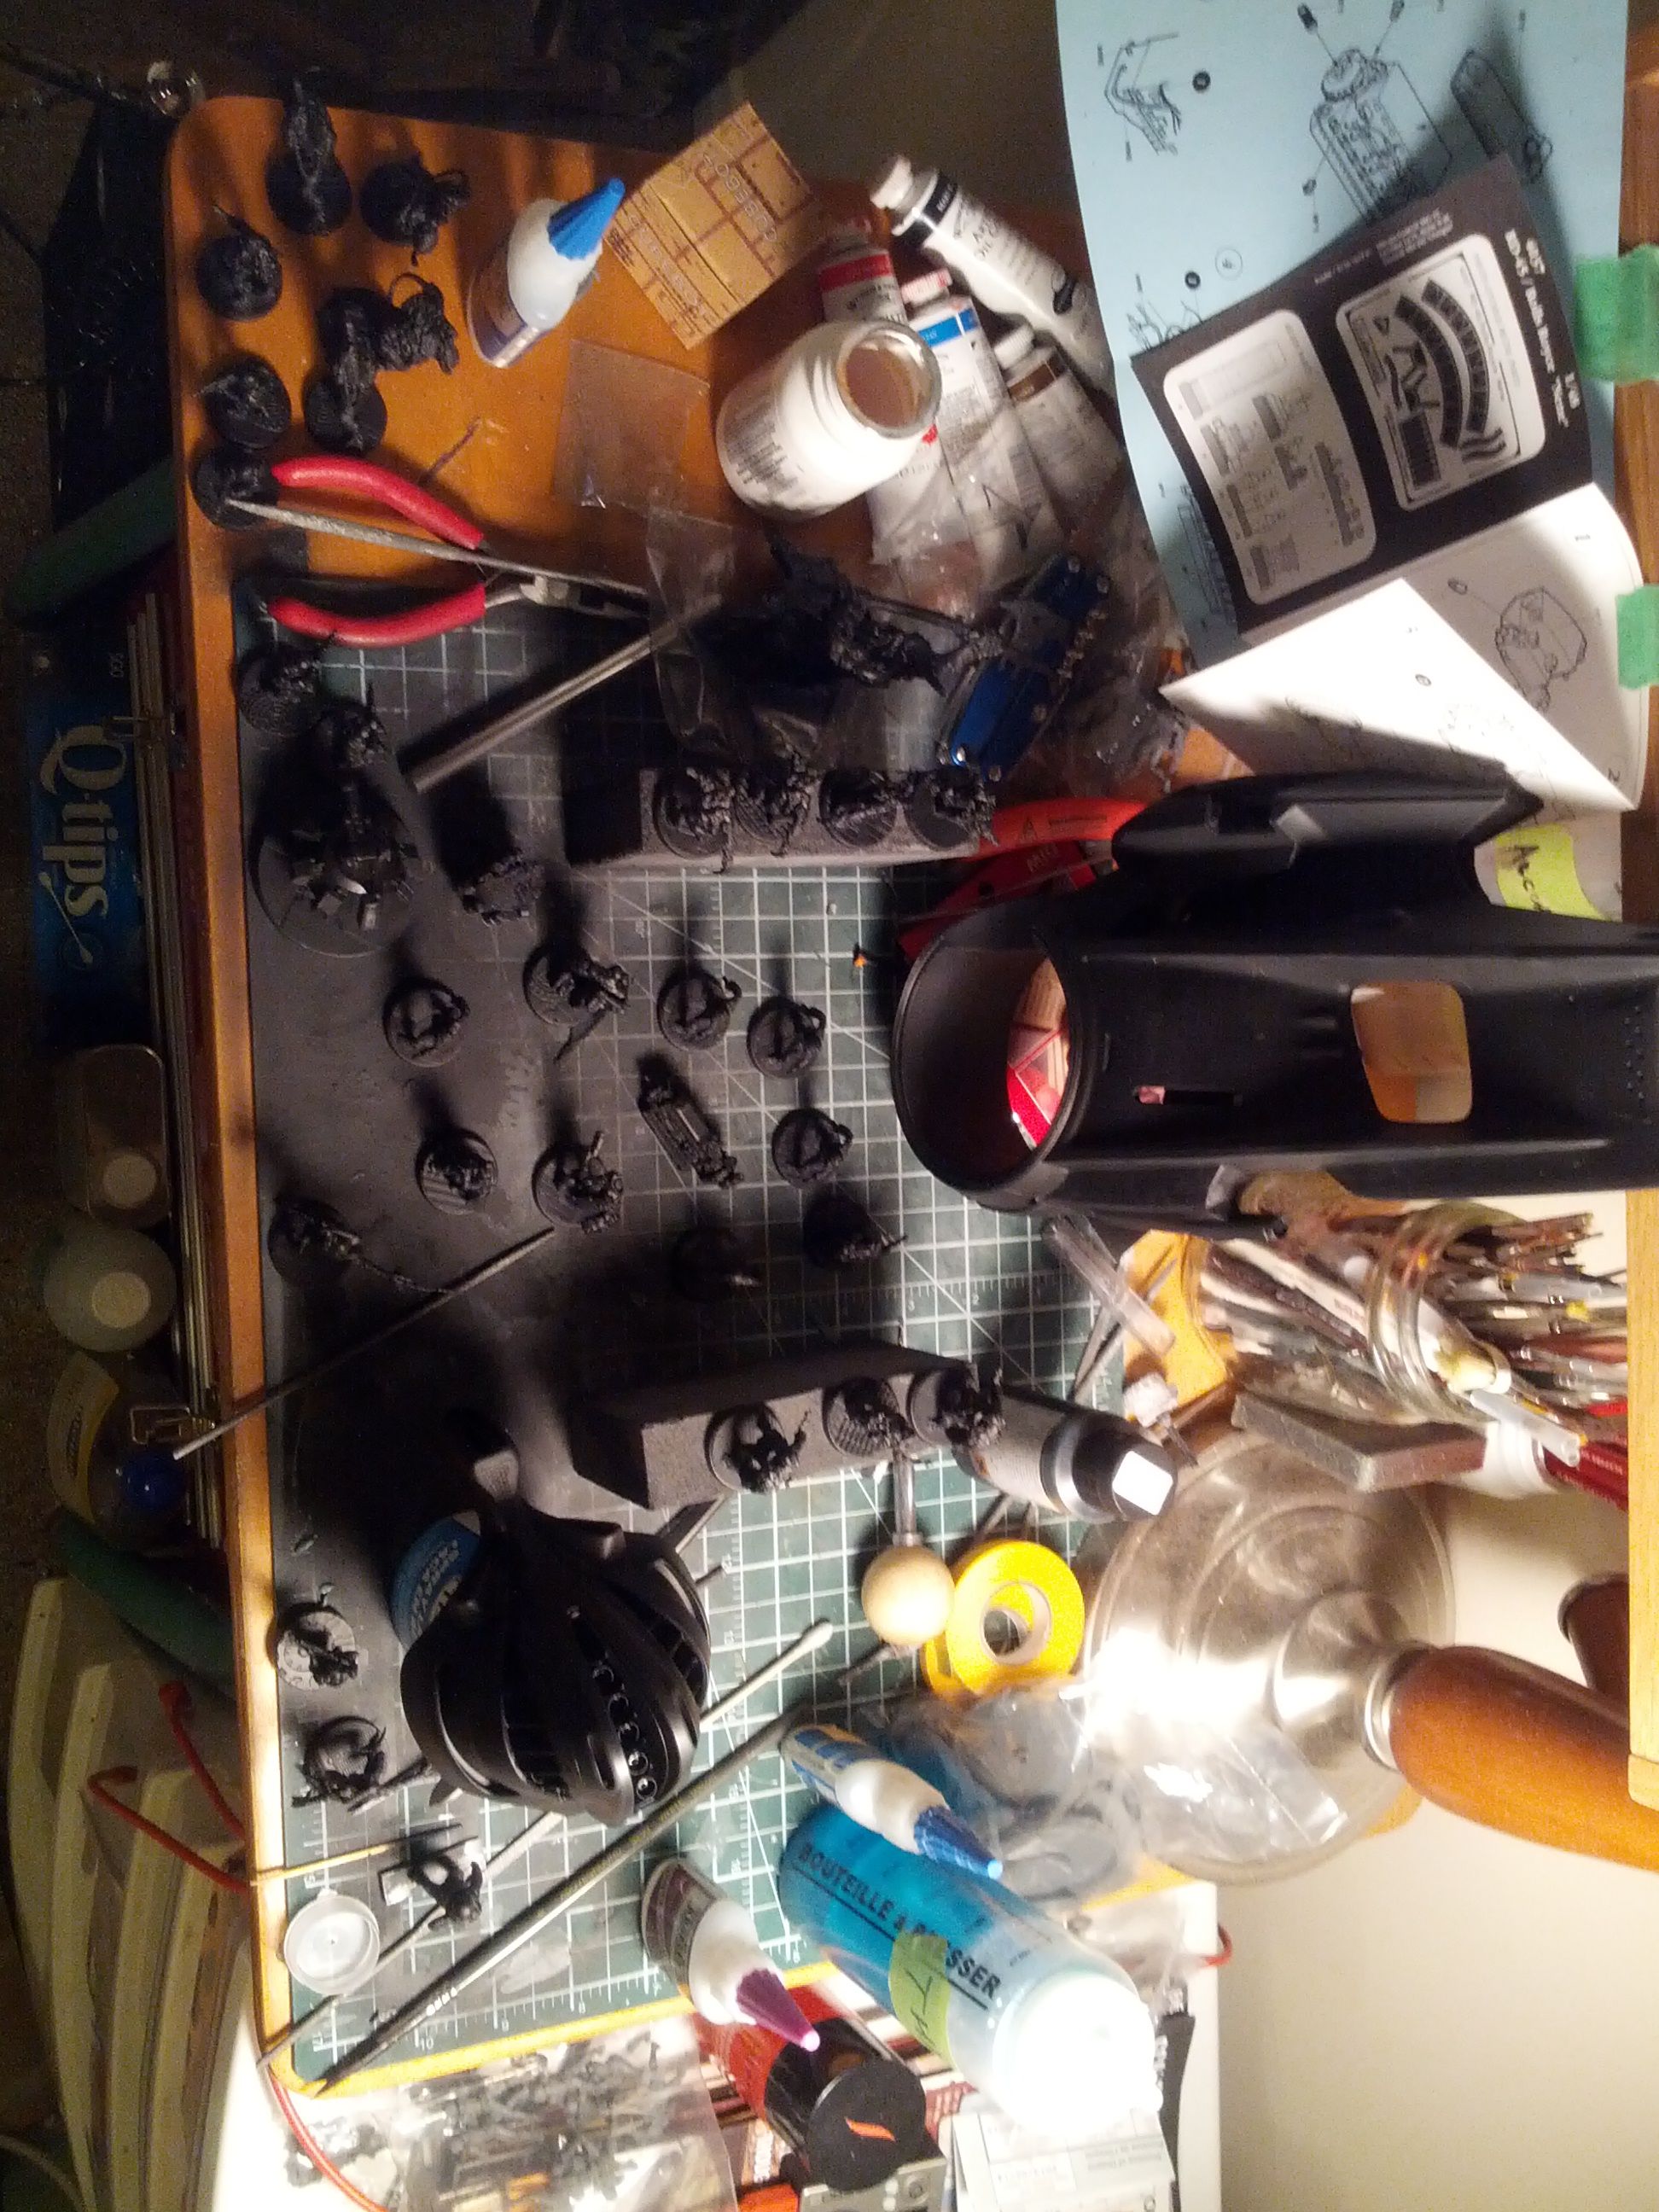
took a photo of all the bits I've still got to deal with. Cuz it's right beside me. But it's a Dr. Who night with the girlfriend and I'm angry at the PE. Get back to it in a bit. :)

IMG_20130322_193013.jpg
 
Got the interior based in RAL 9001 using AK's Cremeweiss acrylic (from their interior weathering set). Love the colour, hate the paint. For anyone thinking about using it, it's more yellow than the photos they have on their site. It's more like the off white that apartments and condos are painted.

I keep forgetting to bring home some electronics bits from work for lighting the interior. There's going to be two modes. The first will be just one super bright 10mm white LED that'll always be on. And a second smaller 3mm red LED that'll be wired up to simply blink. I plan on wiring out through the bottom of the model and into the underside of a diorama (made after the contest of course).

IMG_20130323_215419.jpg
 
Some further progress. Assembled the front landing gear. Started mounting the interior parts as well.

IMG_20130331_211935.jpg


IMG_20130331_211915.jpg


IMG_20130331_212026.jpg


IMG_20130331_212041.jpg


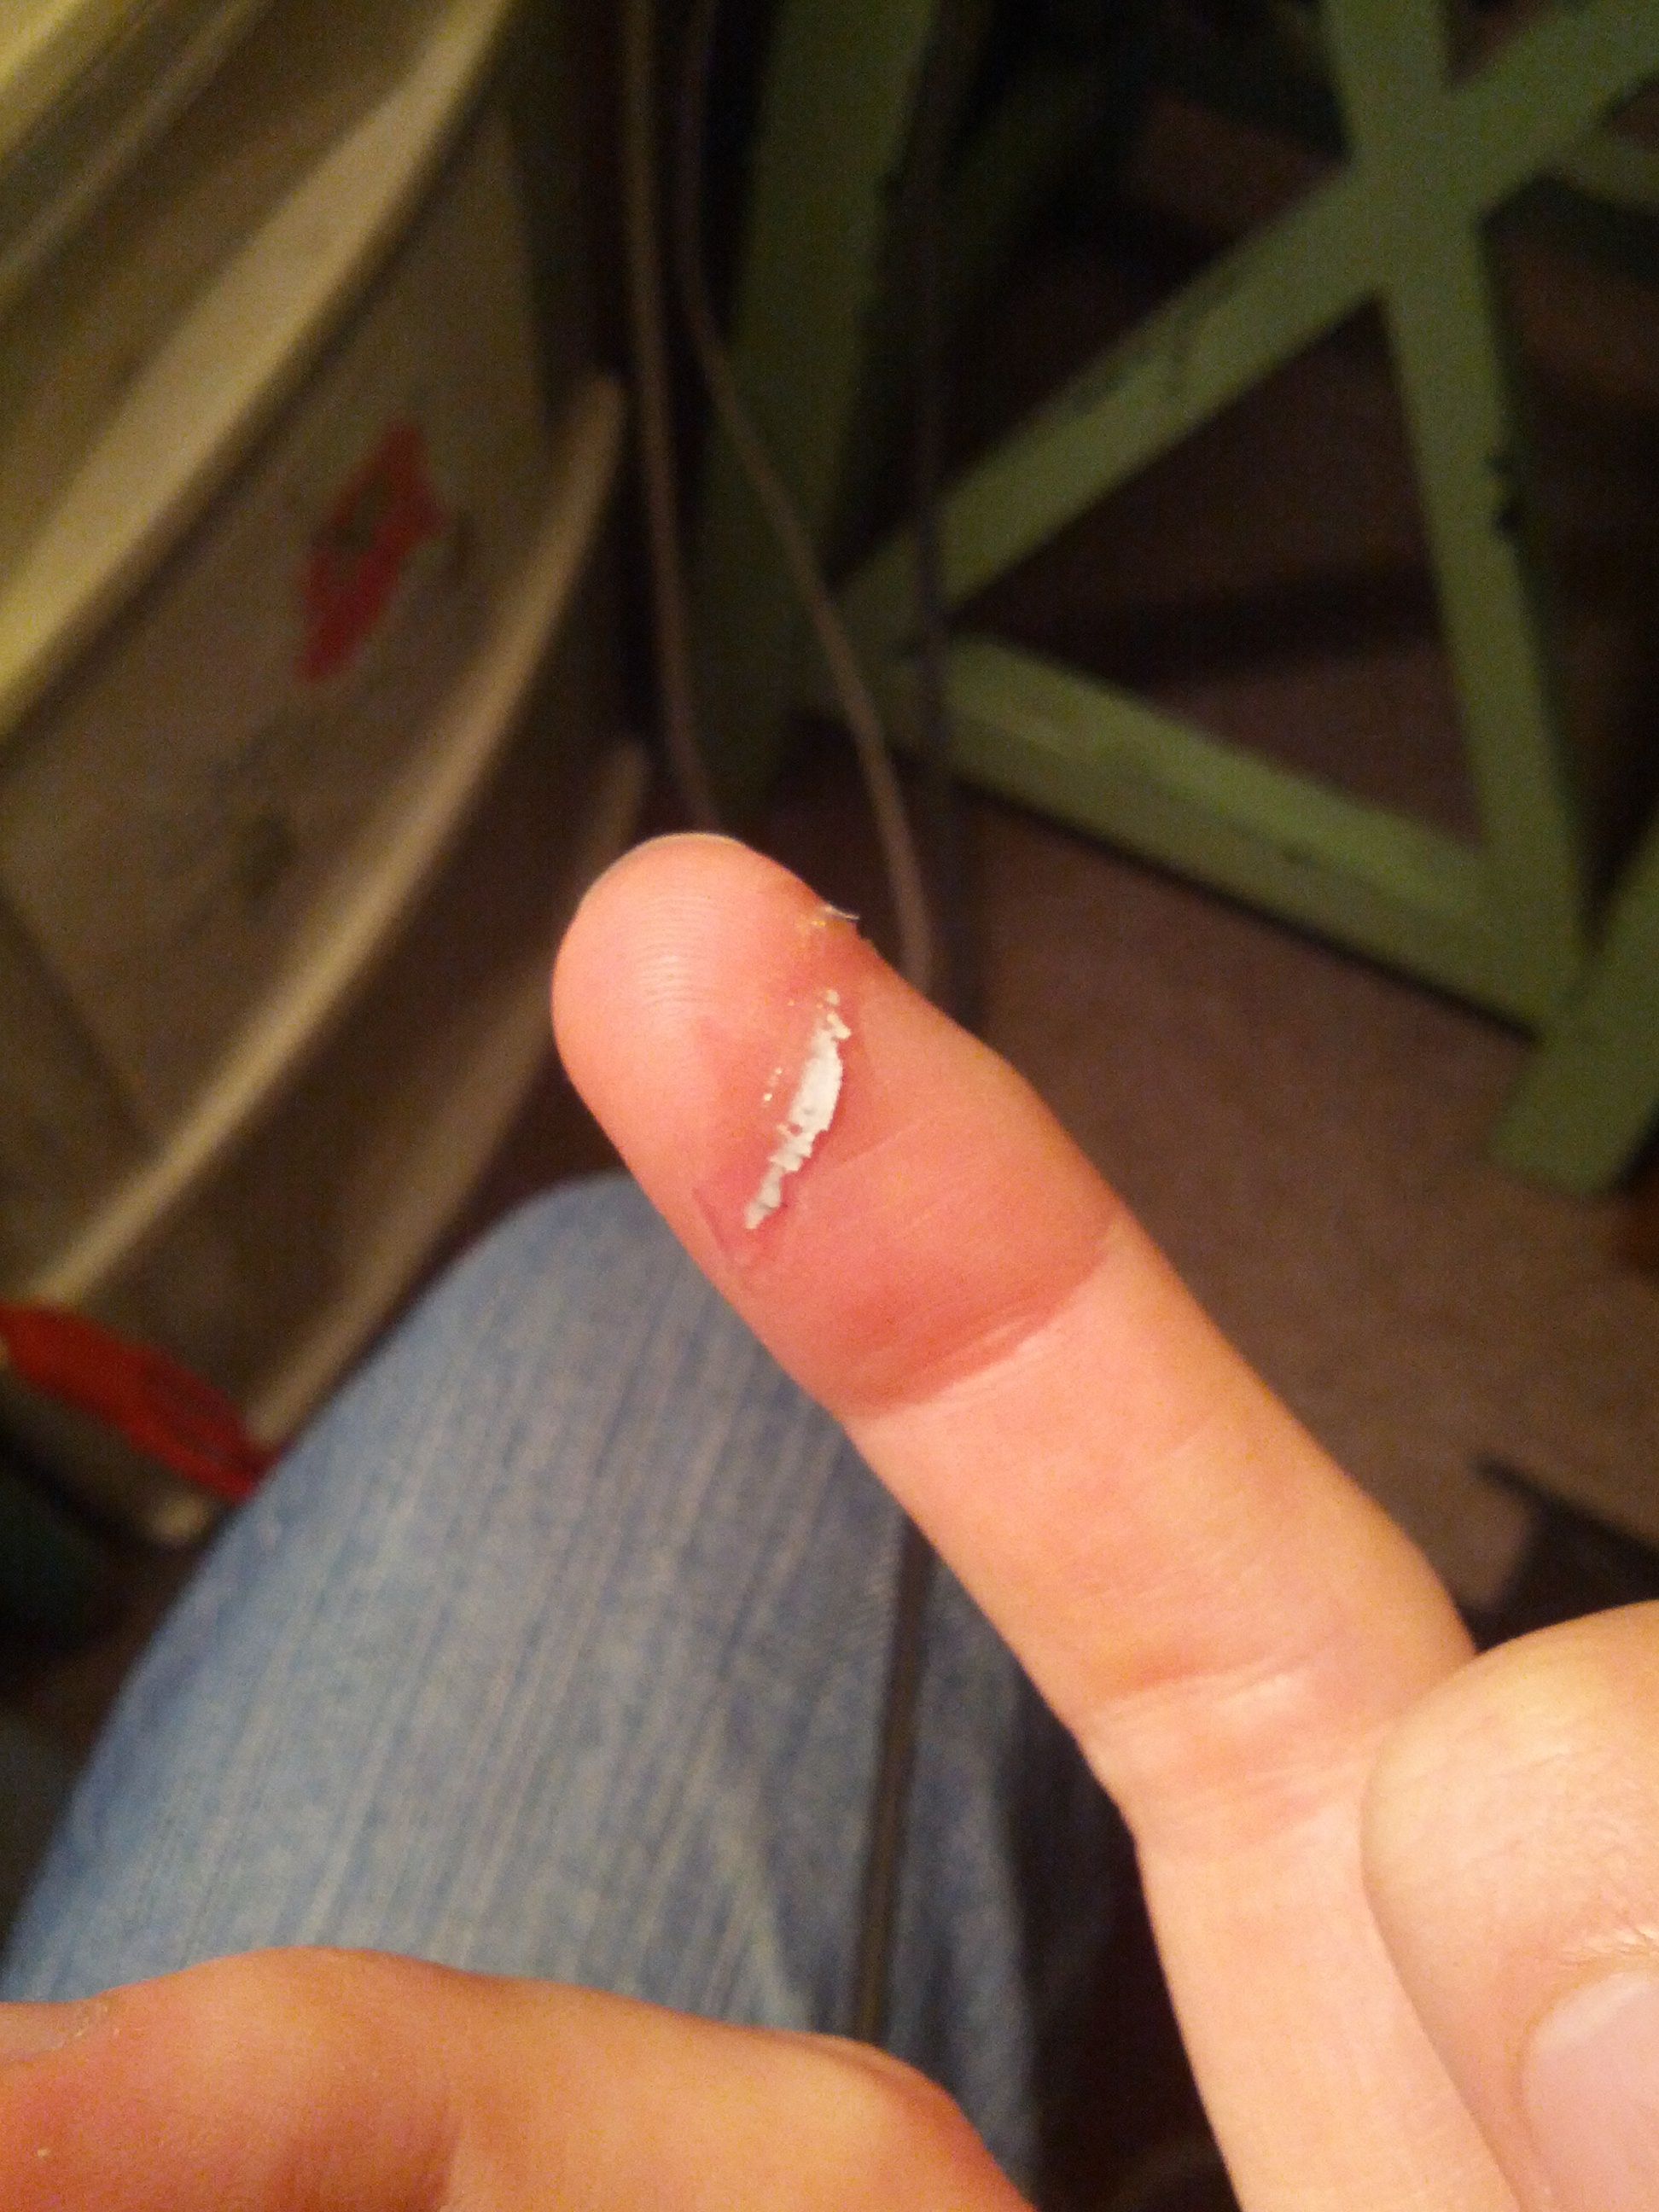
And then I discovered what happens when CA Glue, CA Accelerator, and white metal all make contact with skin. I don't recommend it. Well, this is Bob Smith Industries CA and Accelerator your experience may vary. However, I seared the skin where the white metal was touching.

IMG_20130331_174334.jpg
 
Cave_Dweller said:
Owww! Be careful with that stuff. By white metal you mean pewter?

It could be pewter (which is mostly tin, with a dash of antimony and copper). This material feels more like lead. Or like it has a lot of lead in it or lead based. As lead is substantially cheaper. But I'm not sure what metals are used in the miniatures industry these days.

http://en.wikipedia.org/wiki/White_metal
 
unttld said:
Cave_Dweller said:
Owww! Be careful with that stuff. By white metal you mean pewter?

It could be pewter (which is mostly tin, with a dash of antimony and copper). This material feels more like lead. Or like it has a lot of lead in it or lead based. As lead is substantially cheaper. But I'm not sure what metals are used in the miniatures industry these days.

http://en.wikipedia.org/wiki/White_metal


It's exclusively pewter, as lead was banned for safety reasons in the US and UK, I believe. I build a lot of miniatures and usually use extra thick CA or drill pin holes to hold them together. The injury you got is quite scary, hope it heals up fast.
 
Cave_Dweller said:
It's exclusively pewter, as lead was banned for safety reasons in the US and UK, I believe. I build a lot of miniatures and usually use extra thick CA or drill pin holes to hold them together. The injury you got is quite scary, hope it heals up fast.

Oh yeah, I get that. I've just ordered parts before from places where lead either isn't banned or it's still used. I tracked down the manufacturer and it's just pewter. It really doesn't feel like pewter though. Oh well.

Injury… ha. There's a story I won't tell at the pub… ;)
 
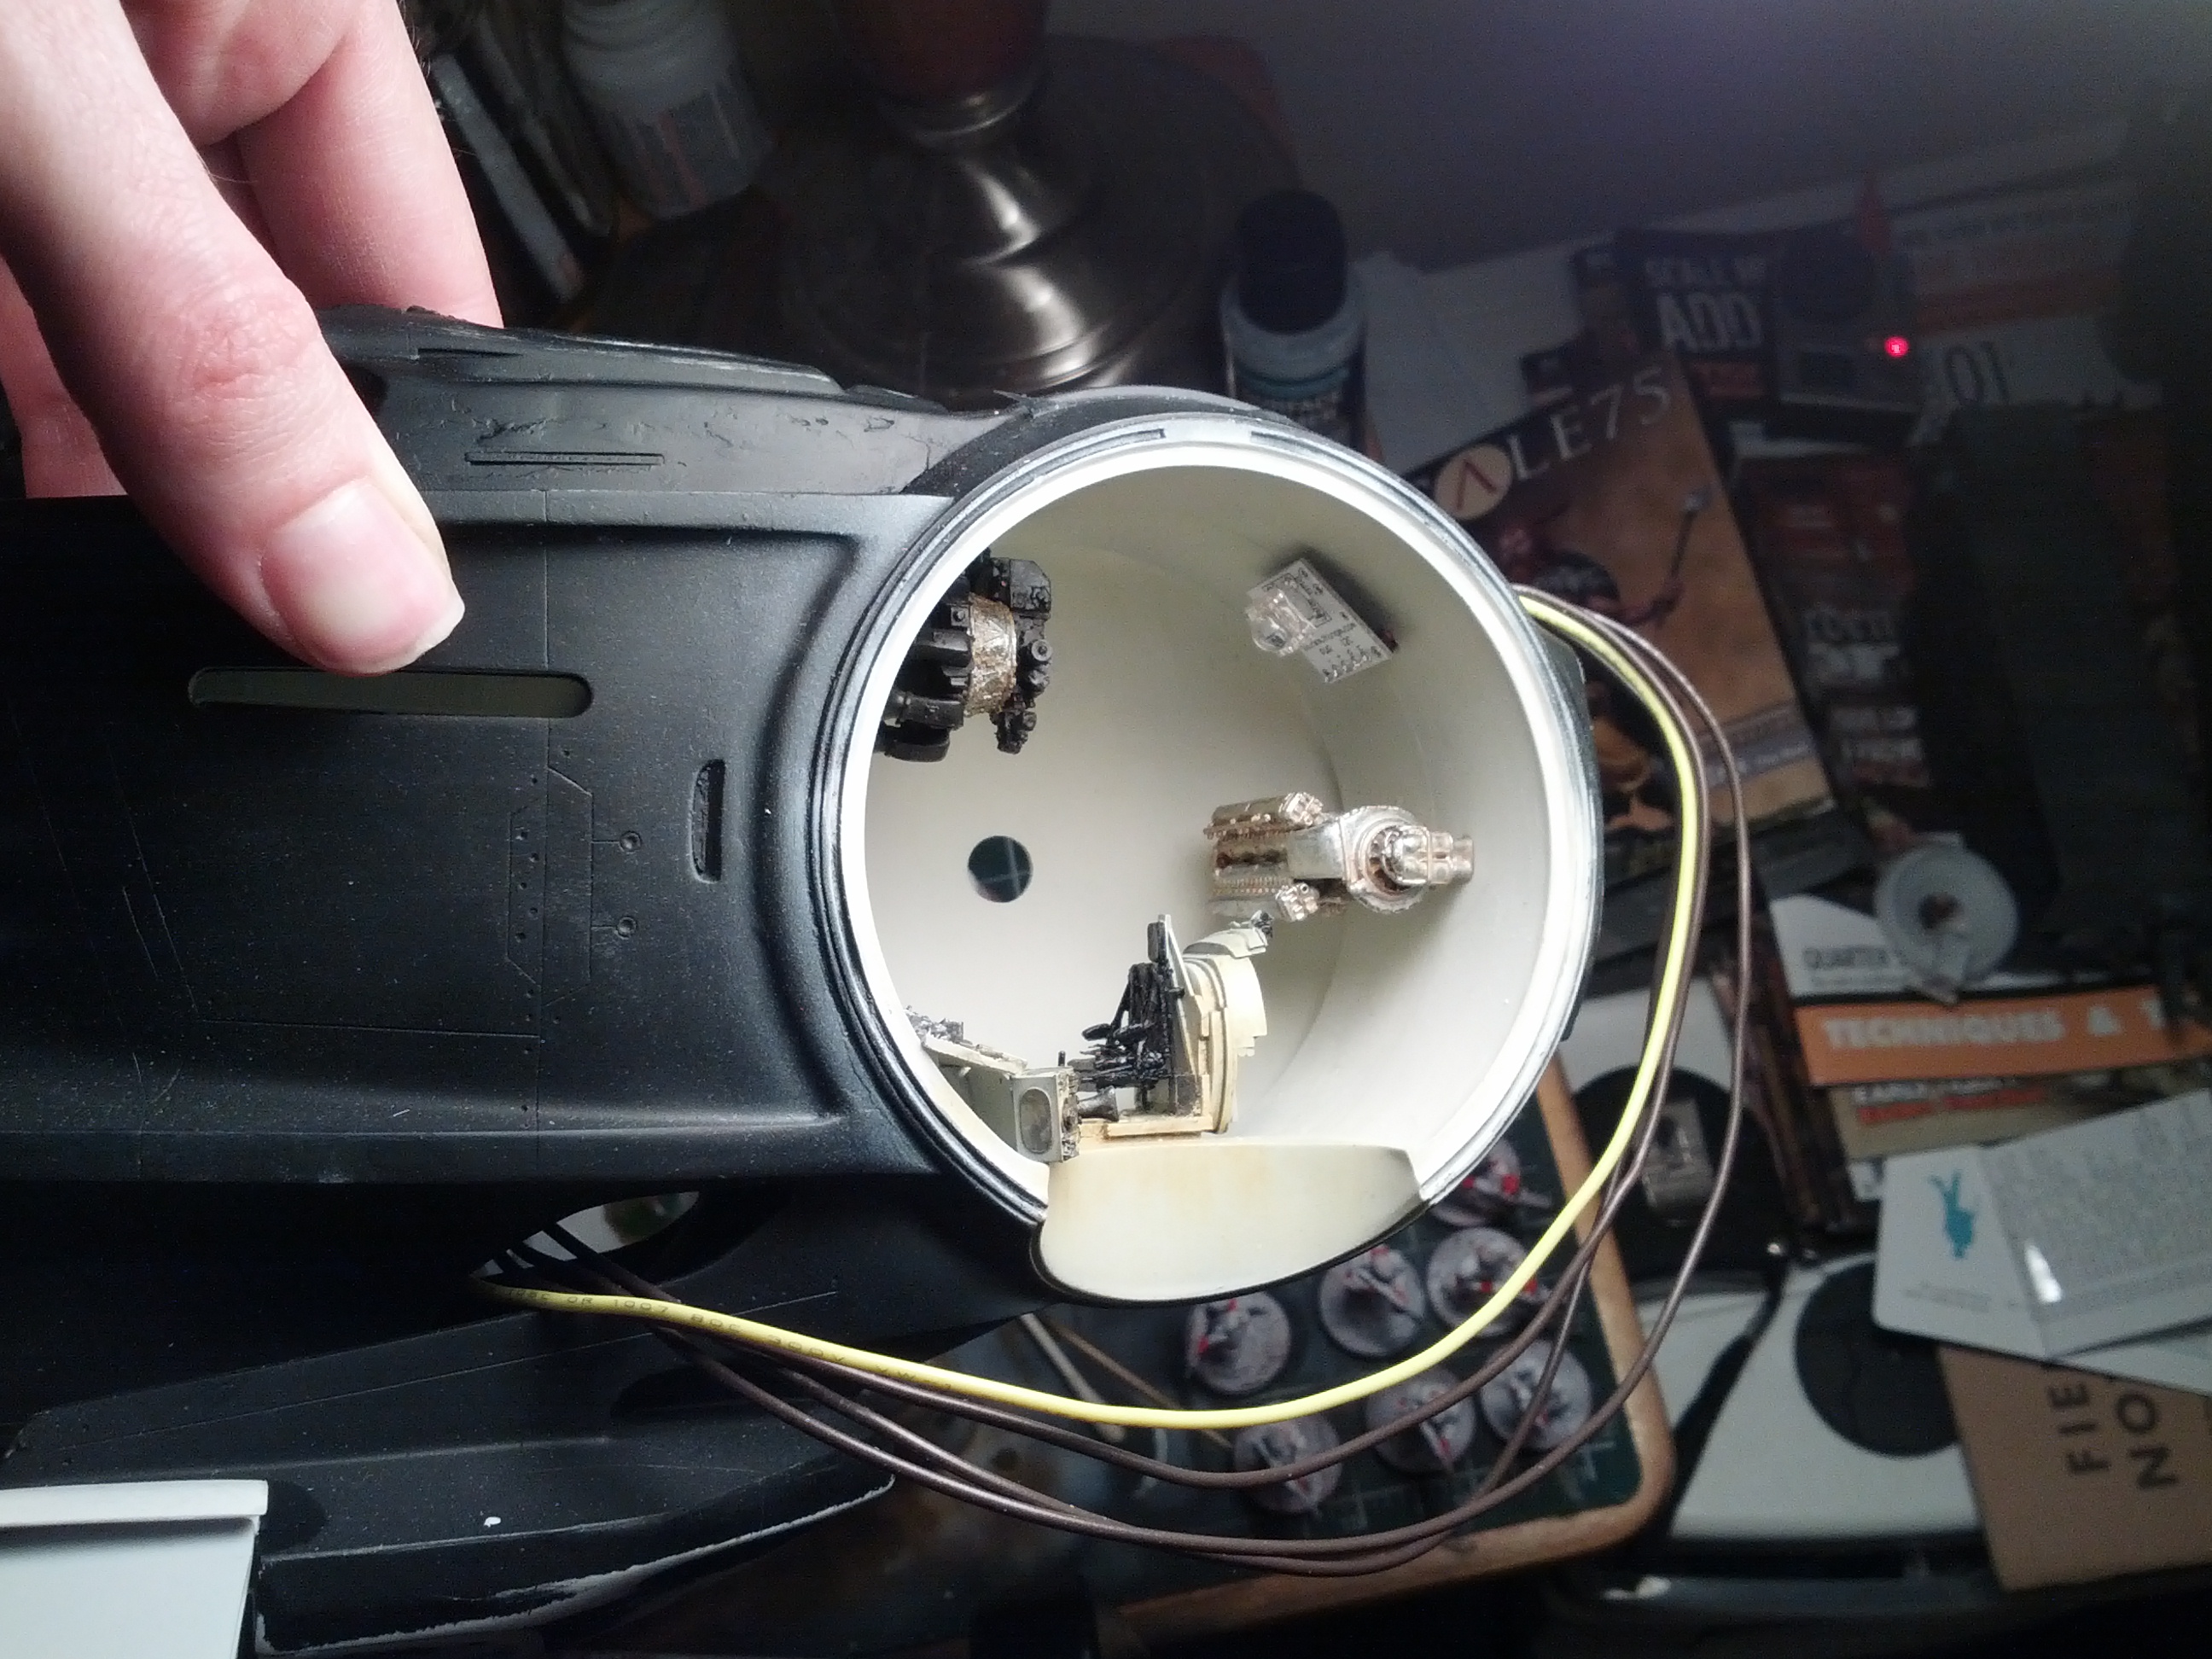
Finished the interior.

IMG_20130417_190935.jpg


IMG_20130417_190945.jpg

- Rad right?

IMG_20130417_191129.jpg

- Yep, it all gets covered up. It'll be even more covered when the door gets installed (it'll be in the open position) …sigh…

I mostly just wanted some furniture in there just because. But that tiny little LED is stupidly bright and is a full RGB led that will be wired out the bottom and into an Arduino that I've written a bunch of different lighting setups for. Blinking red, always on white blasting out all the holes… anyway, now that that is done I can move on to the exterior.

Thanks for looking!
 
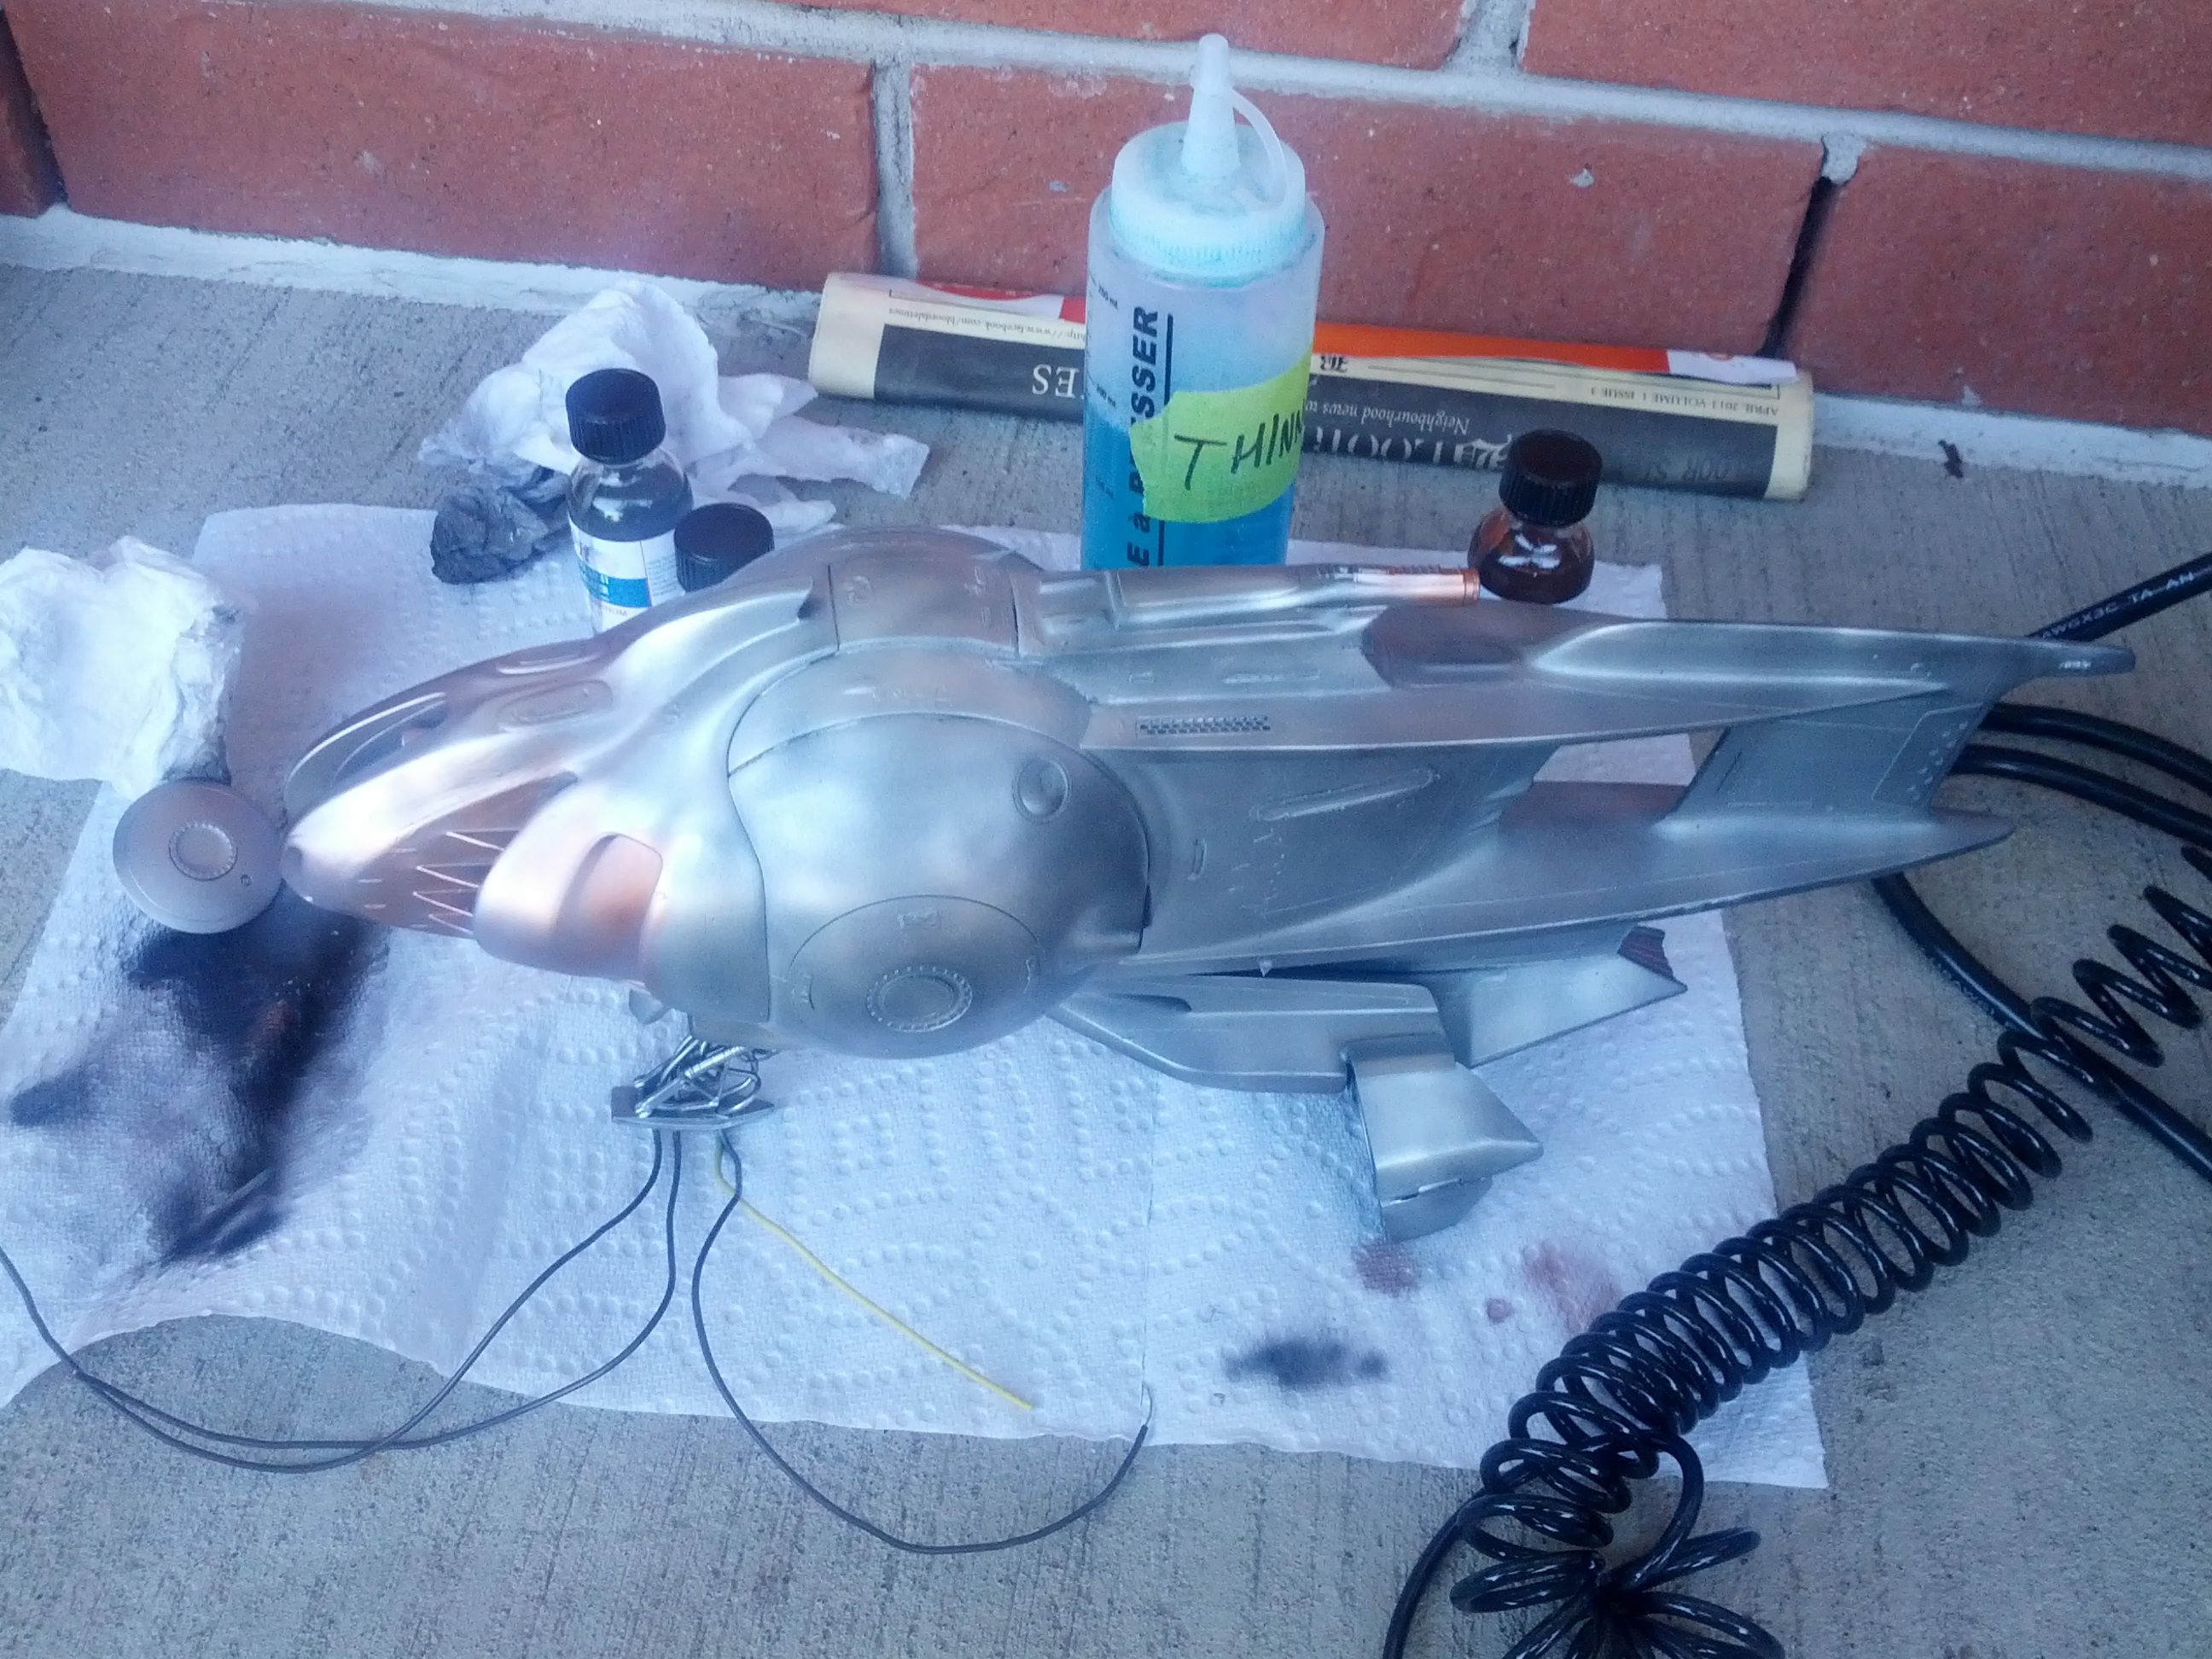
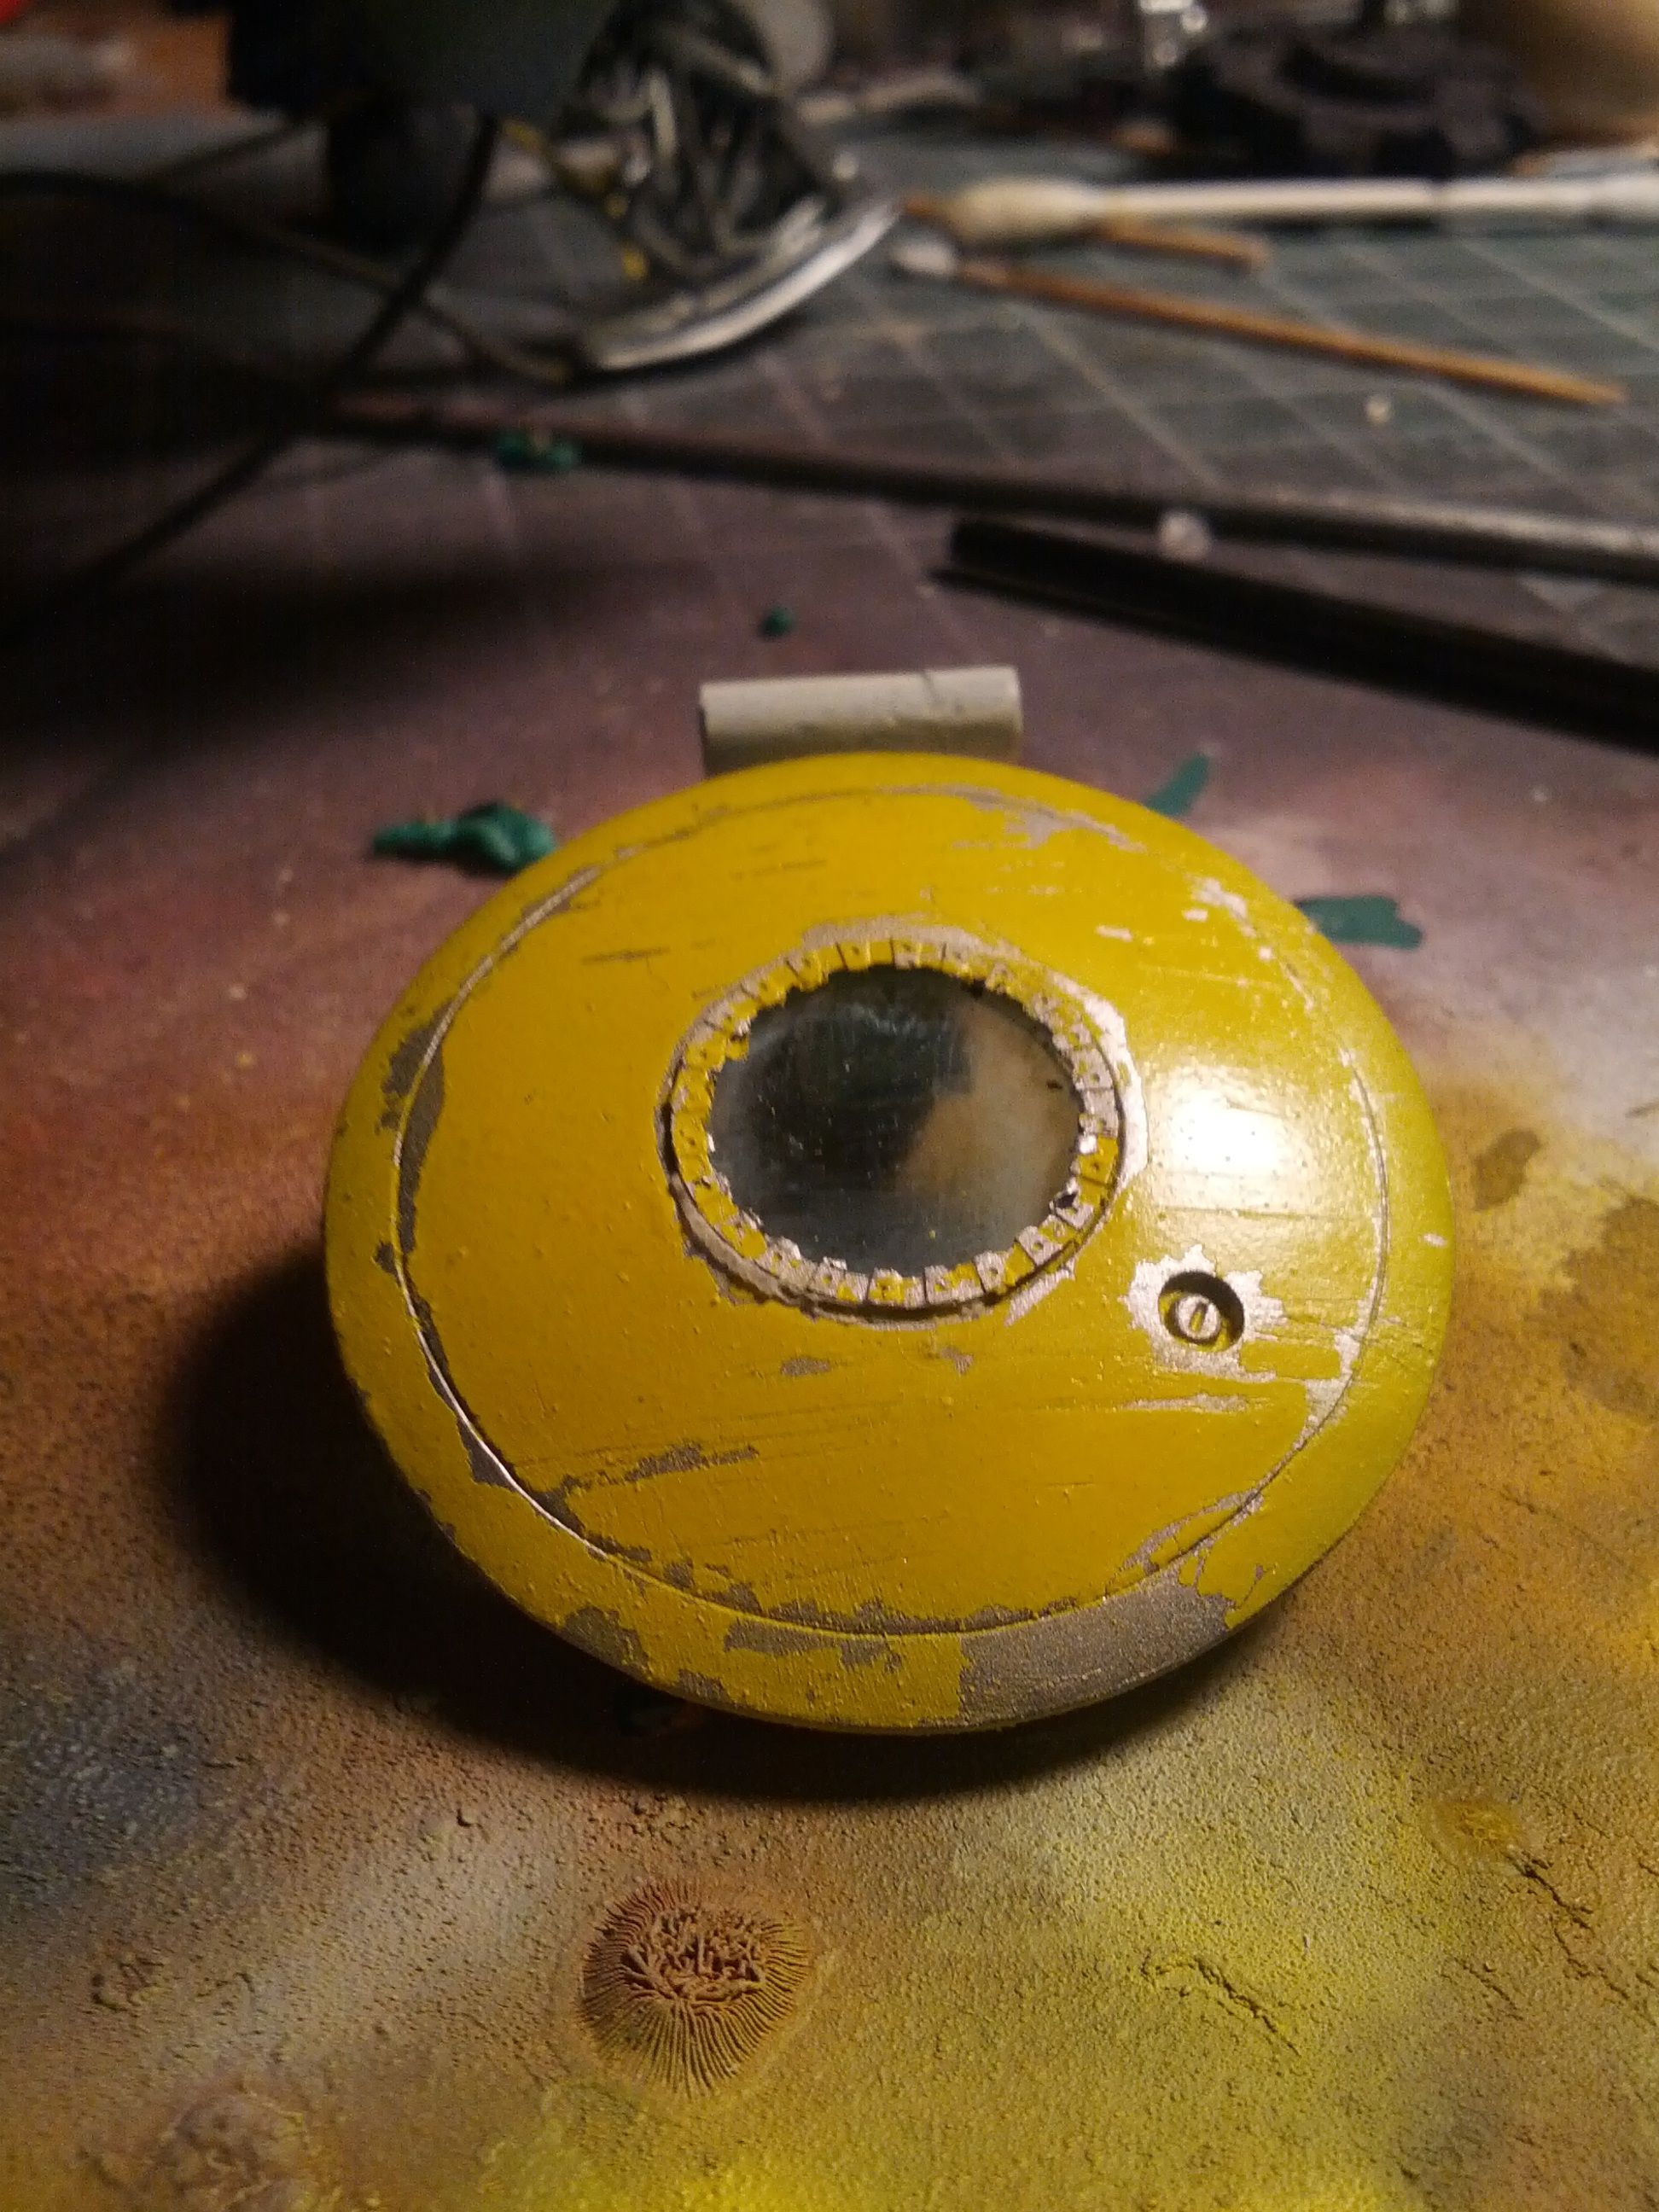
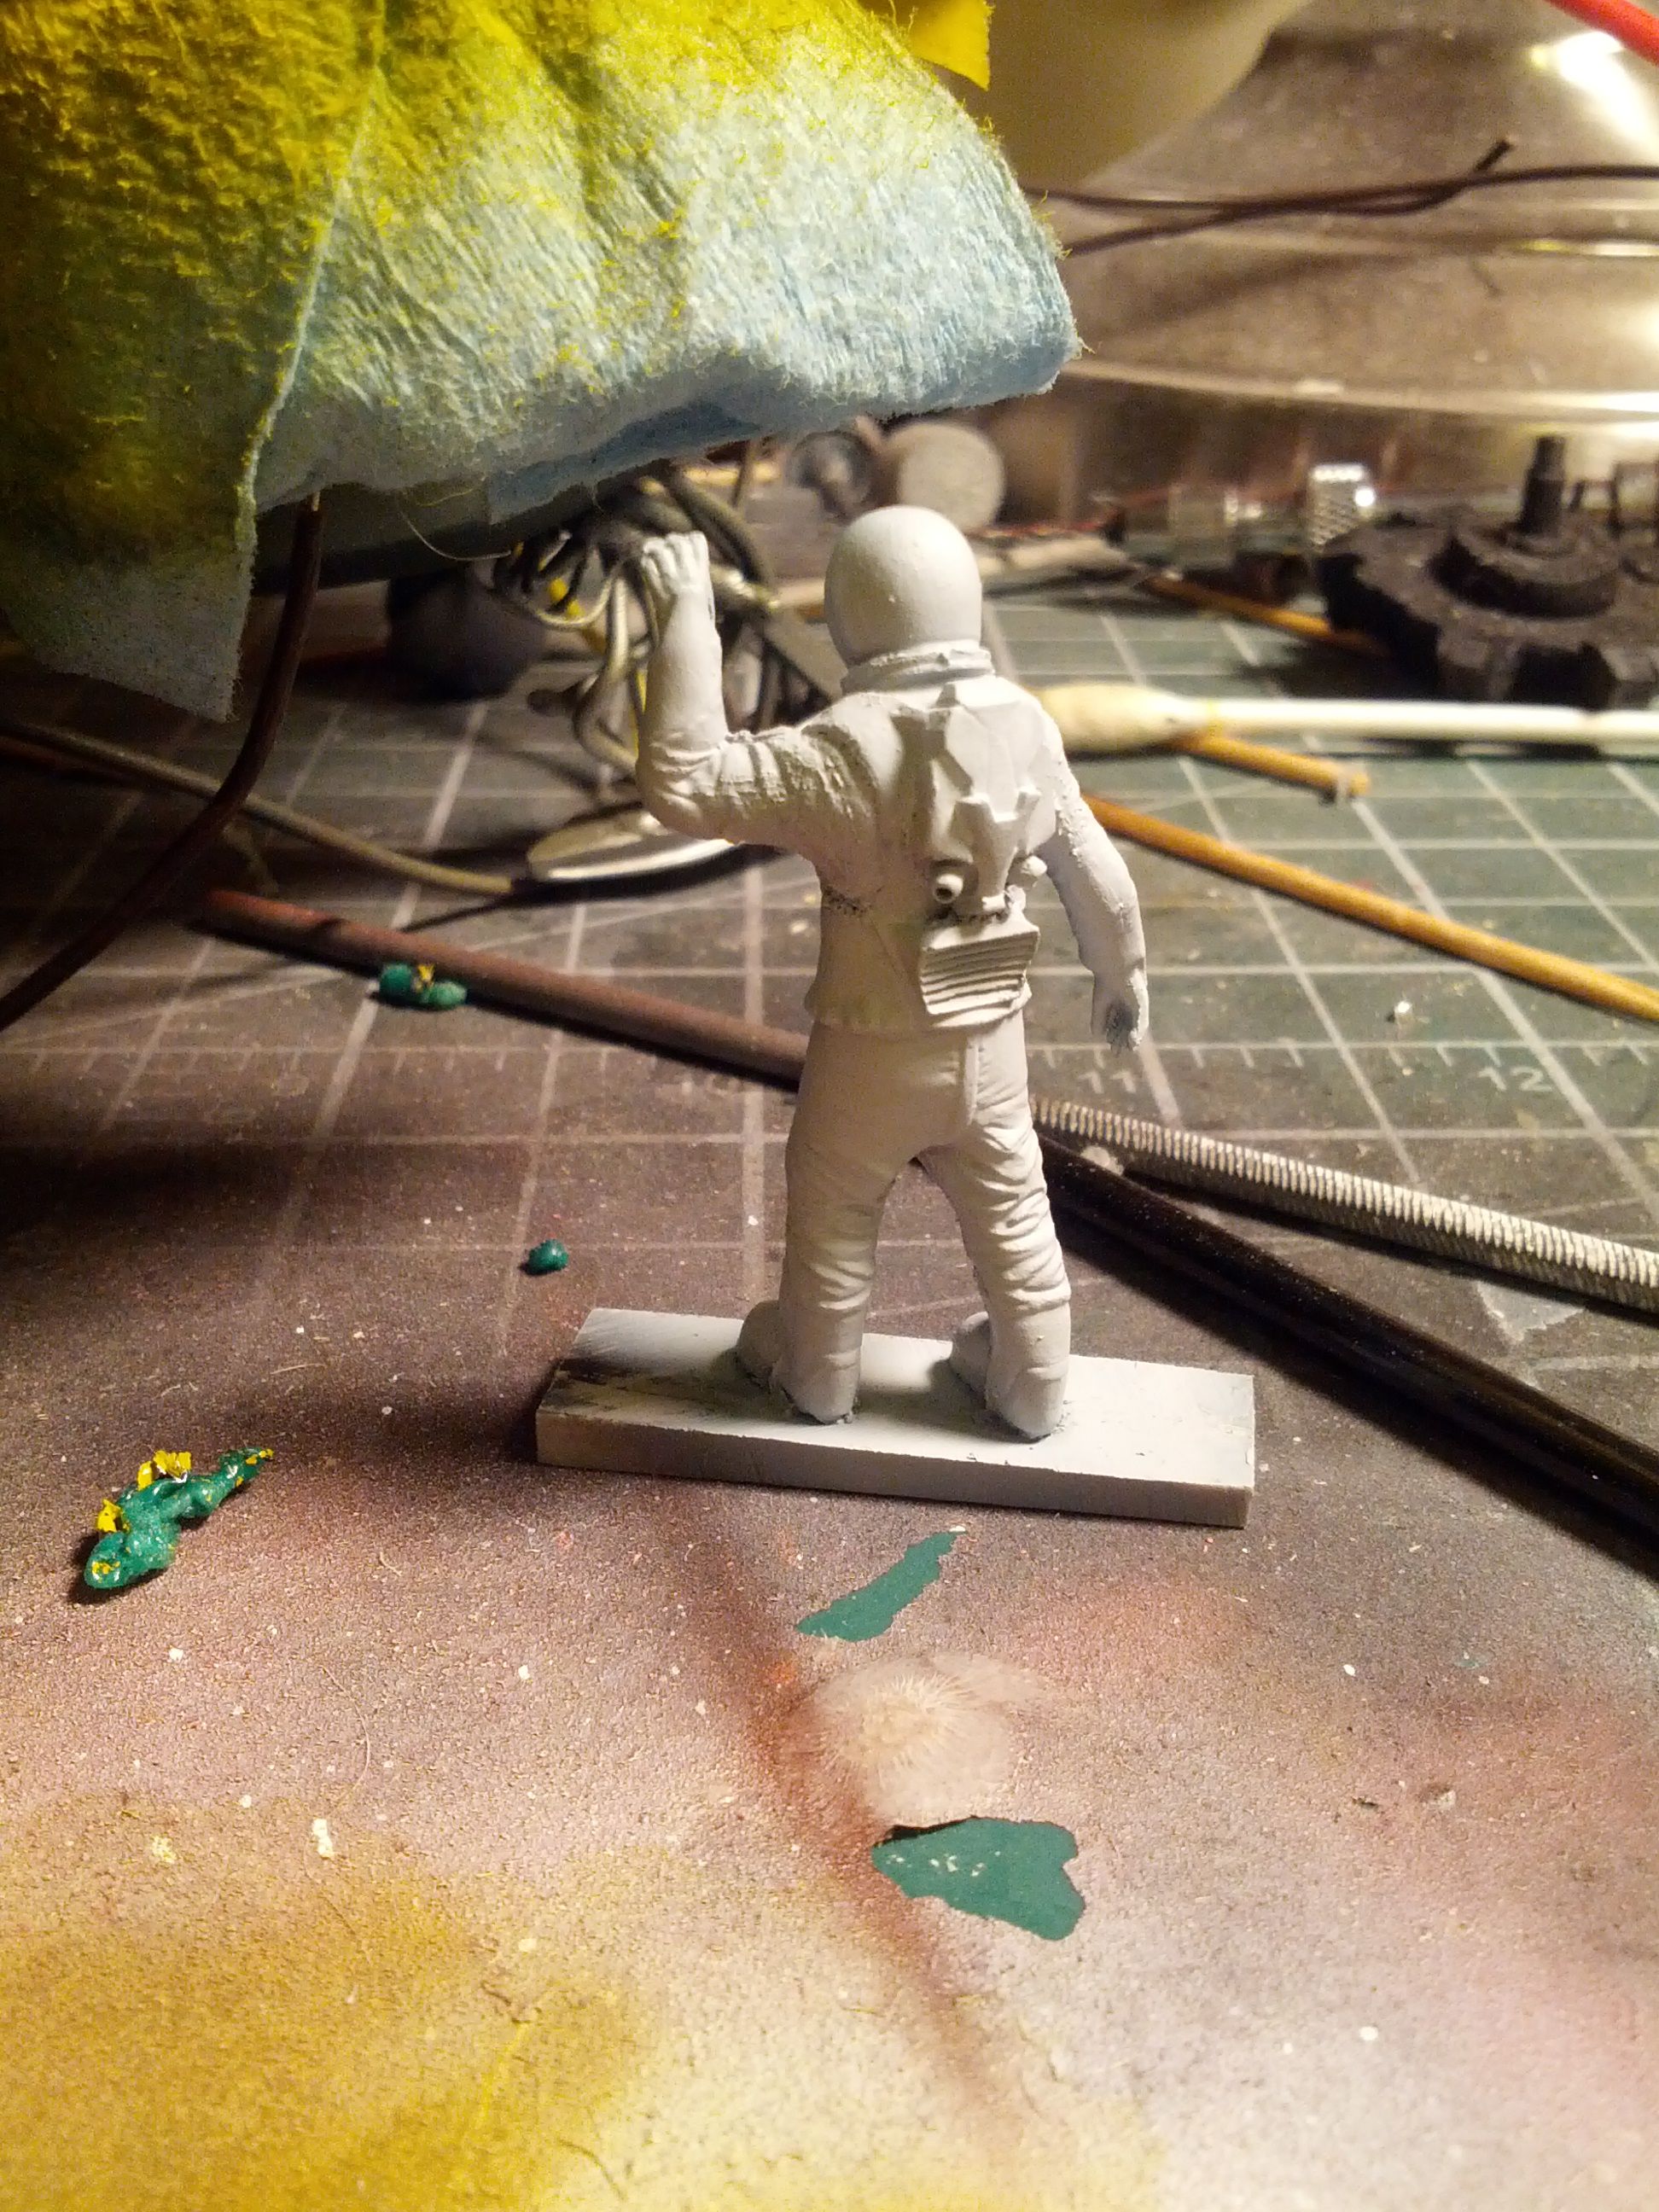
Weekend update. Back on this. Completed the assembly, got all the PE on, finished sanding, primed, got a bunch of Alclad II Aluminium on, worn effects, and the base coats, as well as started some chipping. Also got some more paint on the astronaut.

IMG_20130505_173626.jpg

- Did all this outdoors, cause it was nice, and I don't have proper ventilation. And lacquer is horrible for my lungs I've been told.

IMG_20130505_205907.jpg

- Back indoors (although this was done outdoors cause it's horribly rancid Tamiya), the lighting is horrible. It's yellow and a weird sea blue.

IMG_20130505_205724.jpg

- the door has been chipped. It still needs some grimy washes and weathering.

IMG_20130505_205858.jpg

IMG_20130505_205822.jpg

- astronaut. Still need to do up all the gear and his space man orb helmet. All the fabric bits are complete.

Next is chipping the whole thing. Add in some sci-fi graphics/markings, chip all that junk up, then weather the piss out of everything.

Pray the latex mask (first time using) covered the windows properly. :S

Cheers,
Derek.
 

Latest posts

Back
Top