Industria Mechanika Orbship

Thanks guys! Busy with work at the moment so, just doing clean up and dry fitting and working out colour schemes. I'm torn for the interior cockpit and am thinking one of these:

$(KGrHqRHJBwE-dspTE4EBP)Us,rgZg~~60_12.JPG

AH-64D

$(KGrHqF,!osE-vo82U15BP)qqidhQg~~60_12.JPG

P-47D

$(KGrHqJ,!pgE-v7id!IlBP)qq8(y4g~~60_12.JPG

P-51D

$(KGrHqF,!rkE-Y-SuH5cBP)qqVLwRg~~60_12.JPG

Ju 88

At the moment I'm leaning towards the AH-64 or the P-47. The interior is also going to be a nice light RAL 9001 Creme with lots of light. Because after watching lots of alien movies it's blatantly obvious that killer aliens hide in shadows. So the designer in me solved that problem by making everything white. With lights everywhere. ;)
 
My vote is for the ah-64. the others seem a bit too old-fashioned for such a futuristic looking starship
 
I would say P-47 in this case I think less is more and simpler cockpit will look better in this ship.
Cheers
 
Woah, thanks for all the feedback. I've got the P-47D and the AH-64D both on the way now. I like the Alien/Aliens look of the Apache interior, but the simplicity of the P-47 is so nice and simple. Reminds me of old Looney Tunes, Lost in Space, Thunderbirds kinda interiors.

Again, thanks for all the input!
 
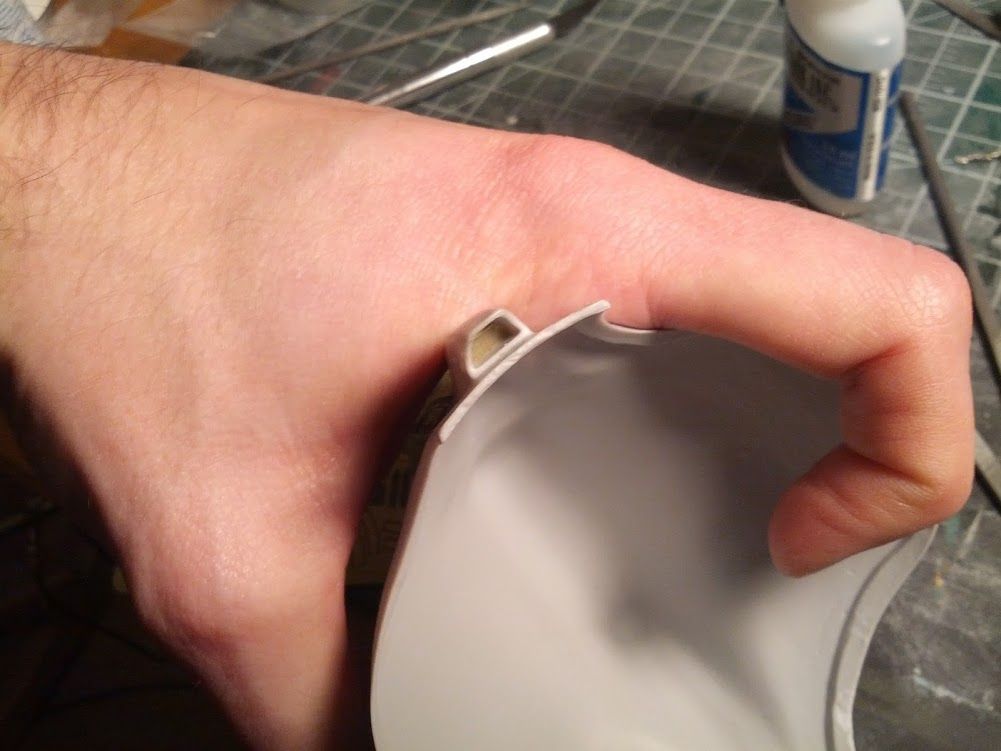
I swear you the pic you showed with the CA on your thumb looks more like the tip of your thumb was sanded off. Take another gander because I originally thought that was a great Photo Shop pic to show how much you've done already. Great progress. This is awesome.
 
Great stuff. I lean towards the P-47D because that green is so bold IMO. Your call. Solander makes a good case too.

That didn't help much.
 
Turns out the AH-64 is too big to fit without getting into scratch building territory. It's to minor an addition to get that fussed over.

P-47D wins by default.

Been a real busy week at work. Not much got done. Looking forward to a solid weekend of building.

Woot! Thanks for the feedback so far guys. :)
 
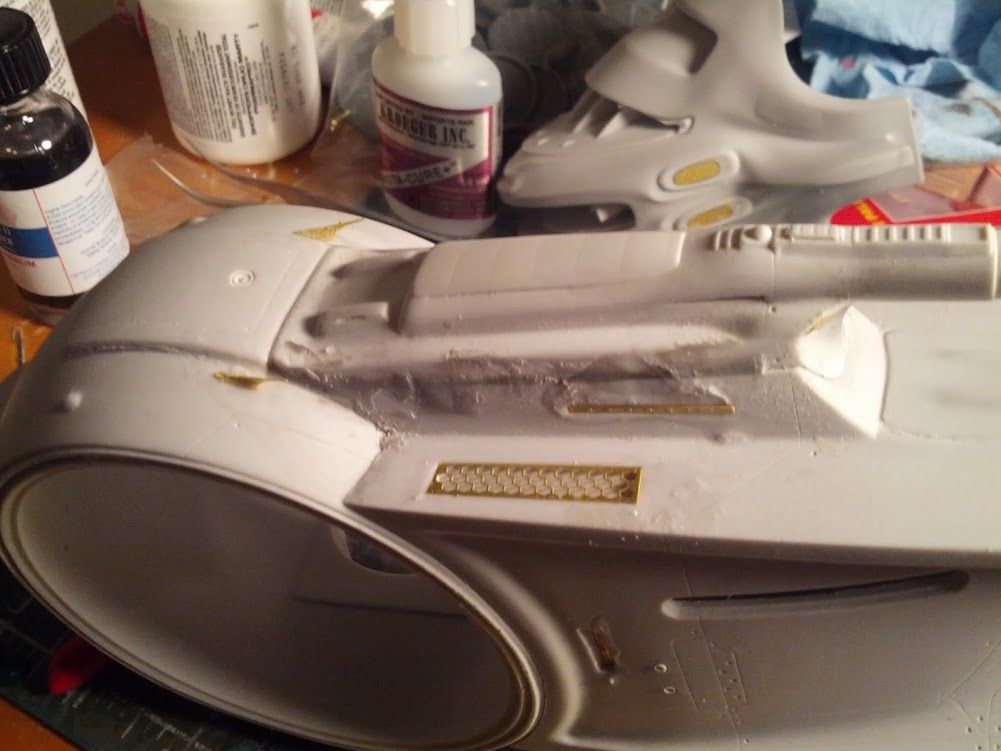
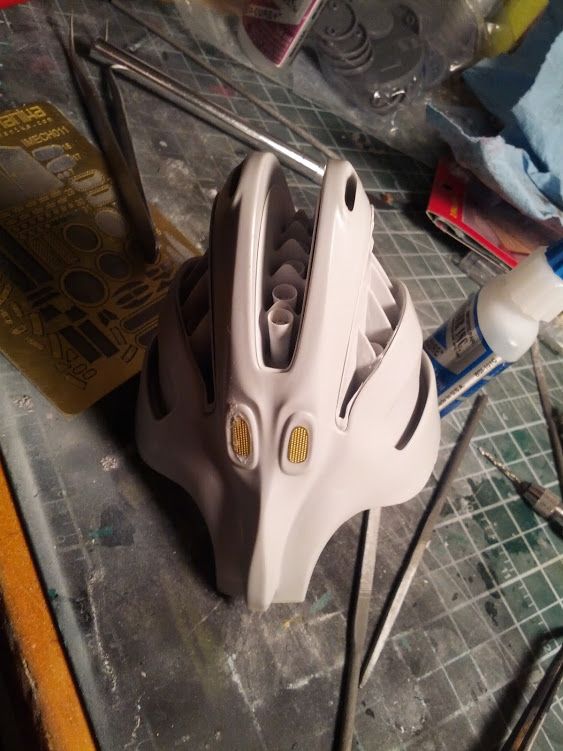
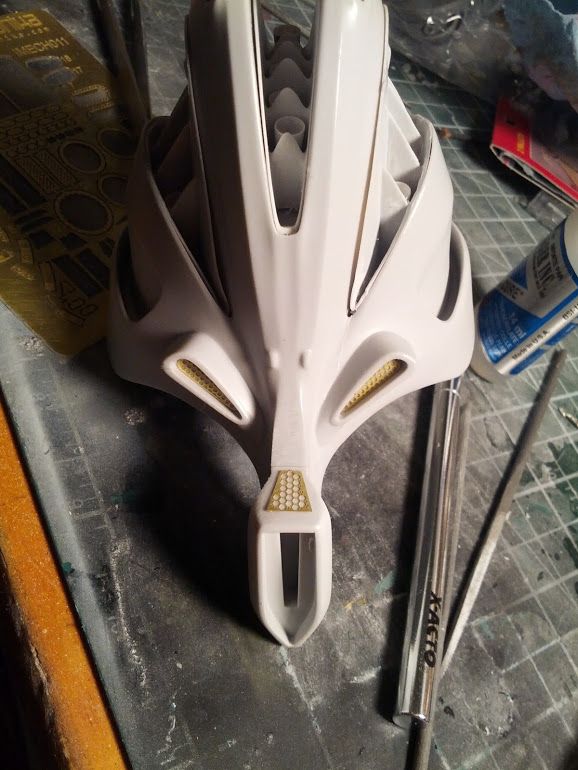
Yesterday's progress. Got all of the photo etch done (excluding the windows). Added a thinned out layer of primer as well. Not that it's all the same colour I can see where I need to do some additional clean up.

IMG_20130309_175539.jpg

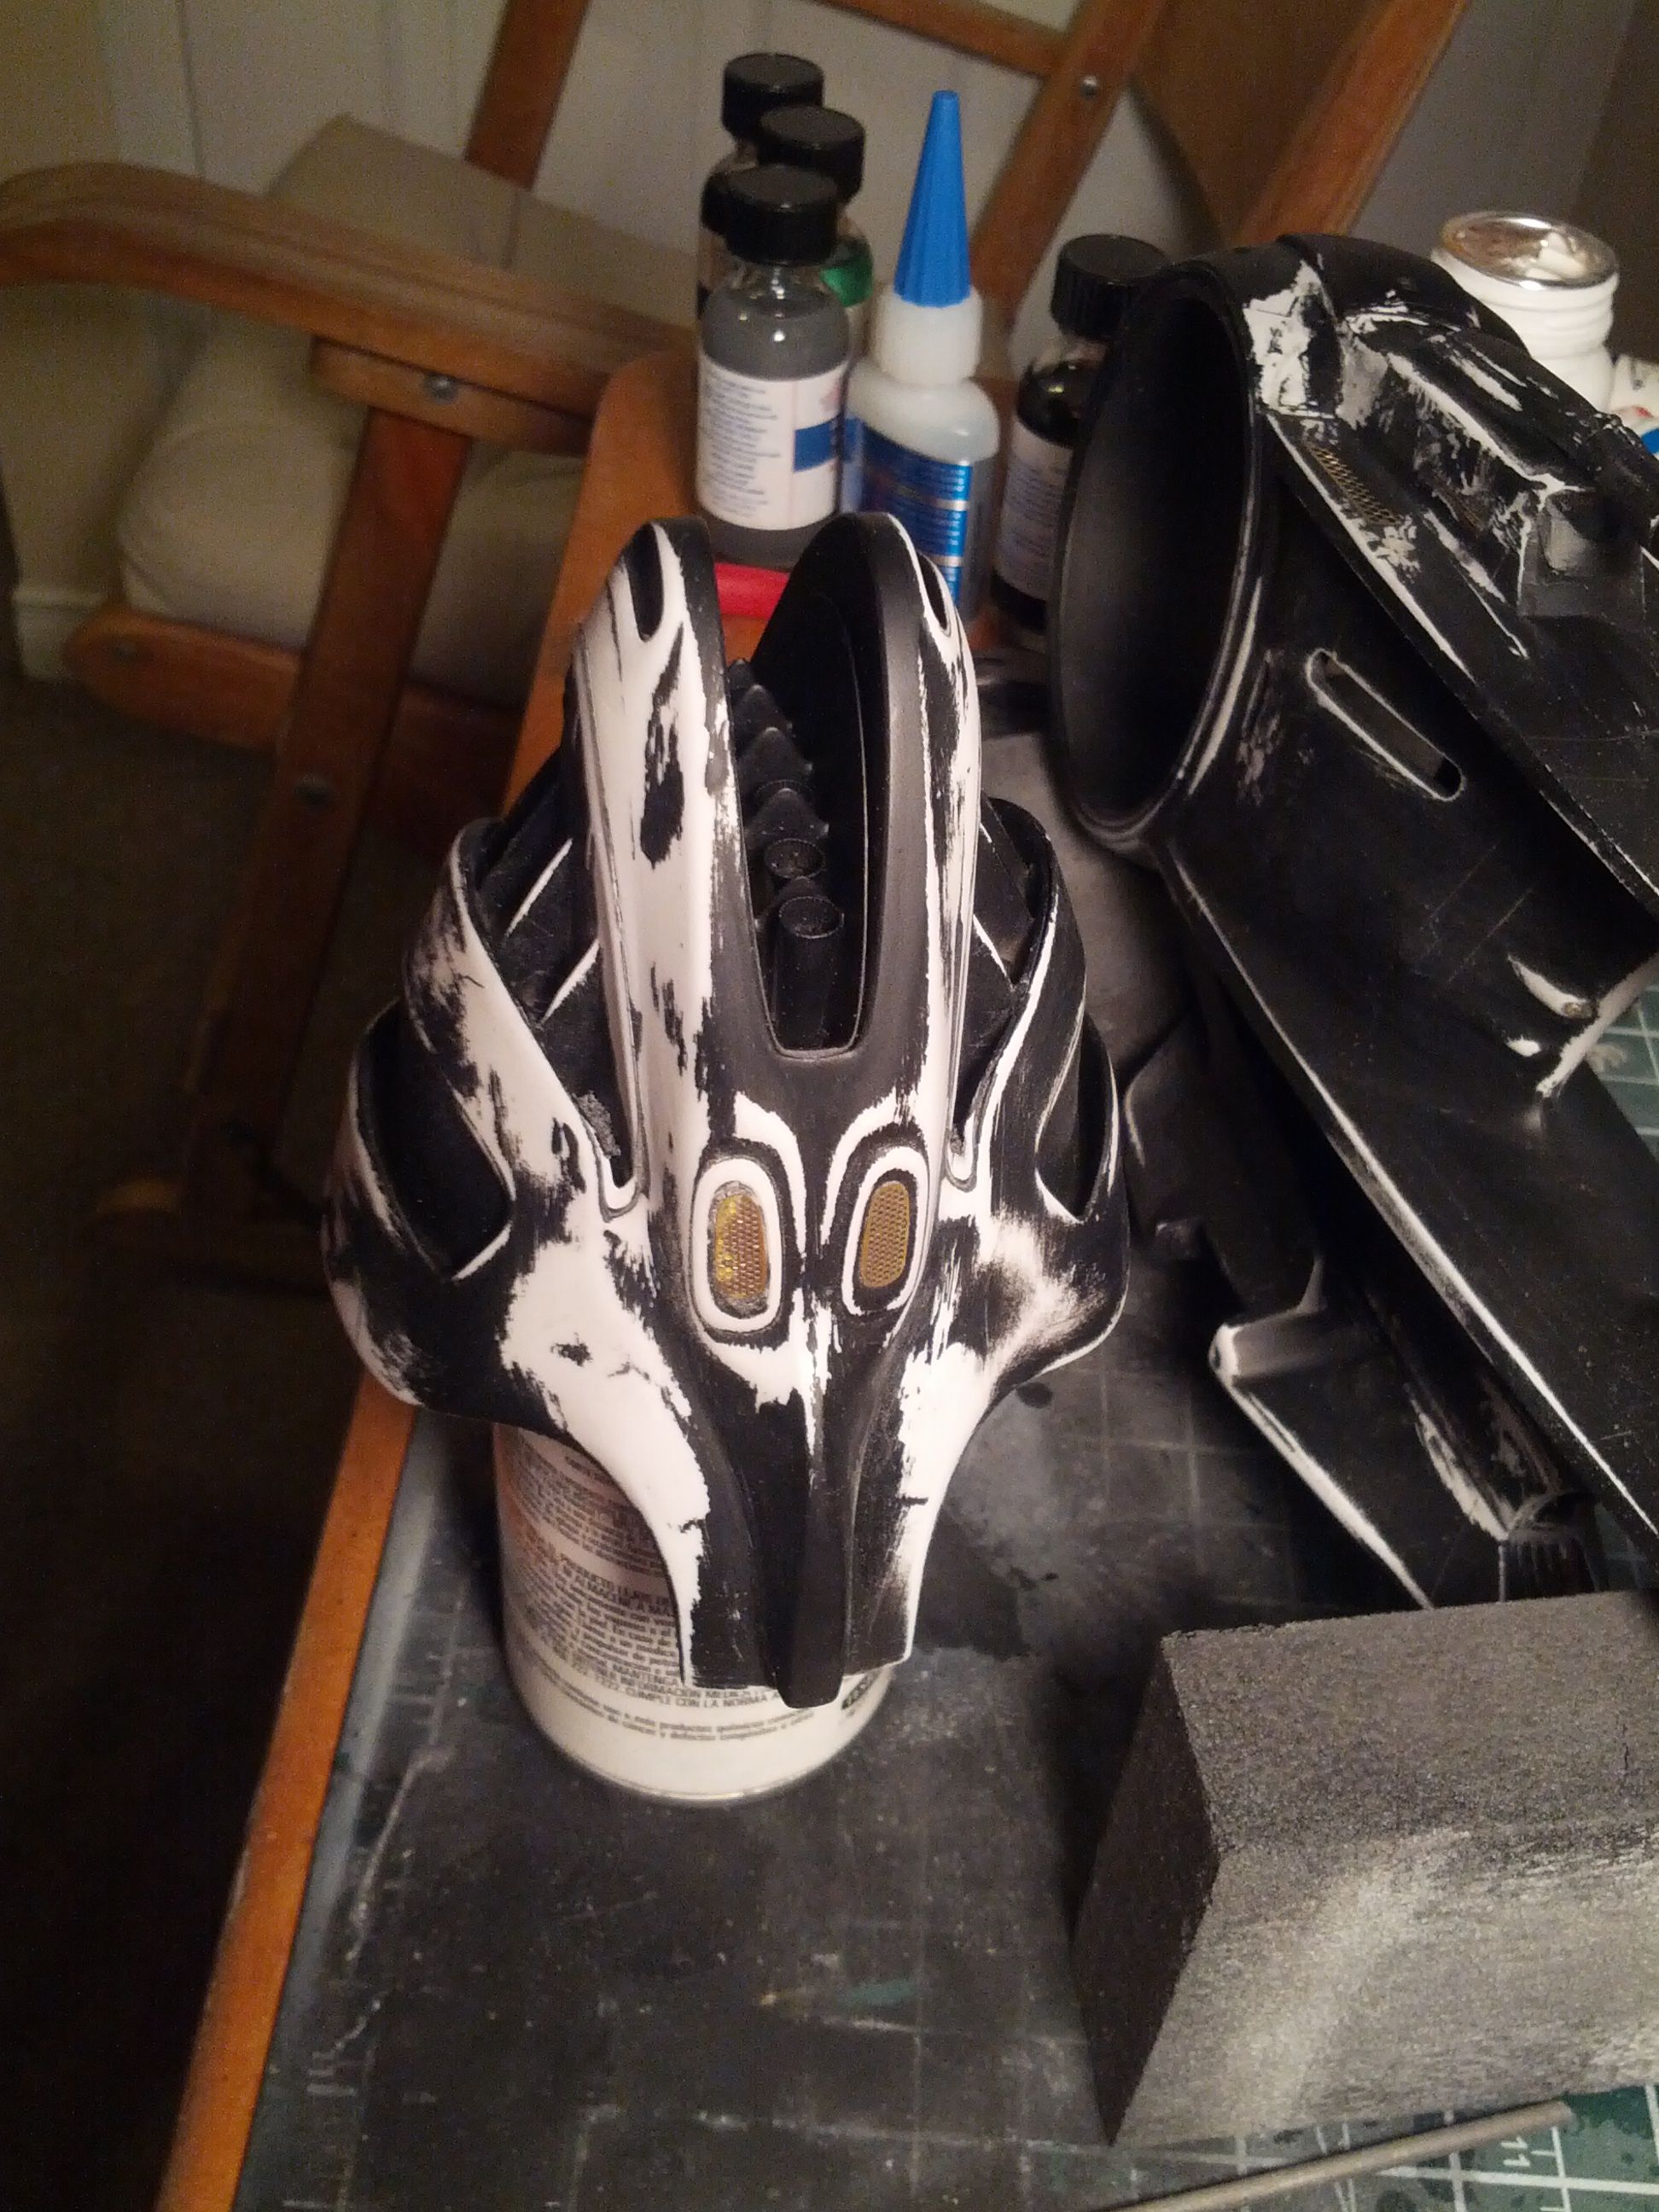
- Primed it black.

http://f.cl.ly/items/2Y28360T463f3P1x223h/IMG_20130309_152320.jpg
- this bit was tricky as I had already glued the two pieces of resin together. Oops. Fortunately these tweezers helped.

IMG_20130309_152209.jpg

- the primer covered up most of the messy bits. Doesn't require as much clean up as you would've thought. Also, those little bits of sticky out-y PE, total pain. There's not as much PE as some of the armour kits being done but for some reason I find the material super difficult to work with. Like when I was in art school and couldn't draw noses.

IMG_20130309_152154.jpg

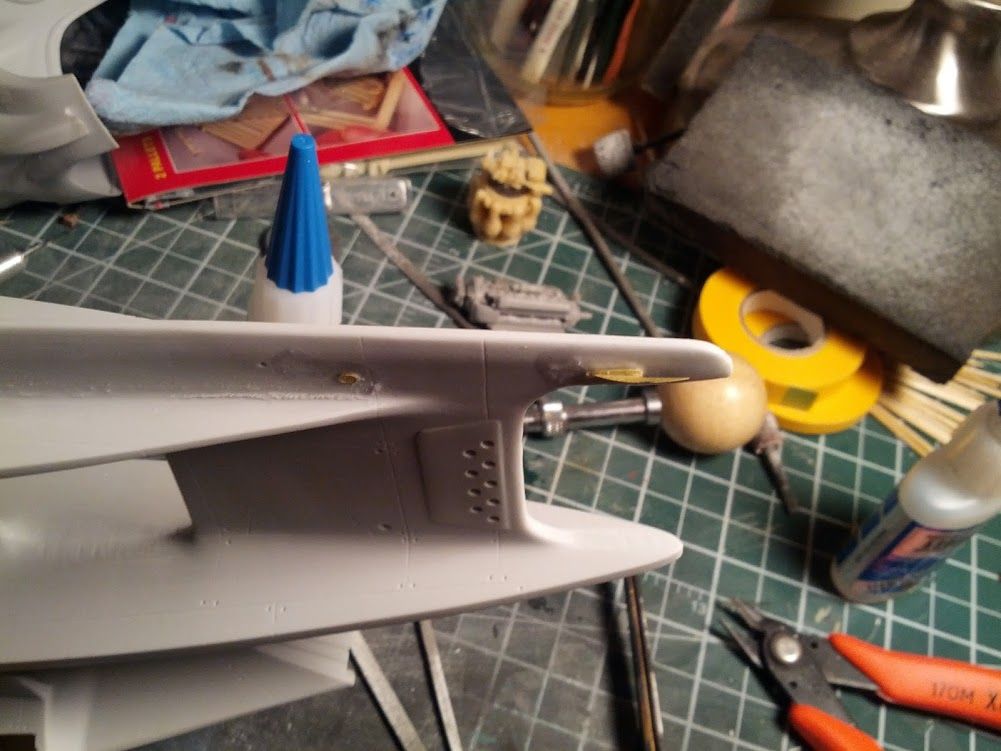
- the first sticky out-y bit that I attached. I didn't realise that's how it went (the instructions weren't totally clear on assembly), so if you end up building this kit, this is how the PE is assembled. I think they make the ship go faster.

PE goes in a bunch of weird spots on the engine/exhaust section.
IMG_20130309_152116.jpg

- like here. Which is a tiny little hole in a bit you'll see at the bottom of the next photo.

IMG_20130309_152054.jpg

- the bottom has the little vent hole from the above photo. Also I acetone'd the frumpy bits out of that one bit on the top. Actually I used my girlfriend's expensive nail polish remover (I asked first). :/

IMG_20130309_152015.jpg

- bottom of the engine bit. There's lots of spots where the PE doesn't have any clear 'insert here' spots. Lot's of vent covers that you just place willy and/or nilly about the ship. And the sheet of PE has loads of extra random bits that I haven't added yet.

One question, how do you folks keep PE from sticking to you? It does a much better job sticking to my fingers than to the resin.

Today I think will be clean up or possibly start detailing the interior. Still waiting for some parts to arrive. :/

Sorry for the long post.
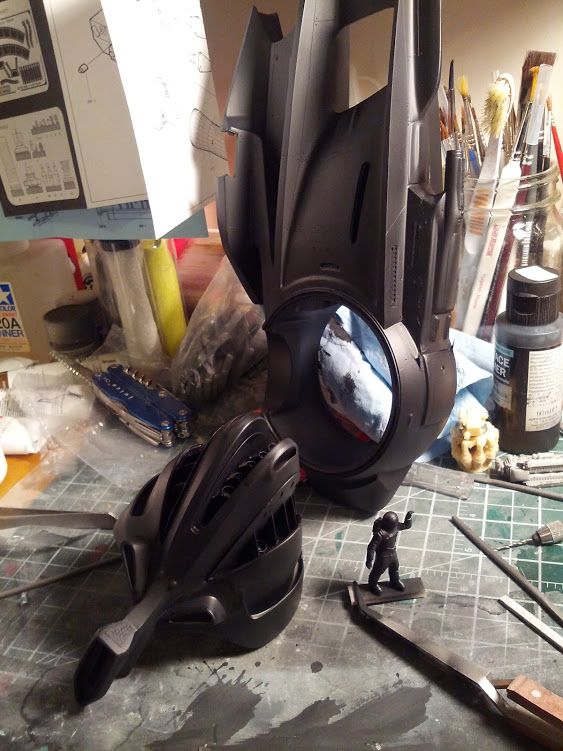
 
absolutely stunning job here, very well done!
And I actually did my first steps in using PE a few days ago myself, and found the only way to avoid sticking it to the fingers in using the scissors, quite handy I can admit ;)
 
IMG_20130310_160633.jpg

- been removing some unsightly bits from the resin not fitting together properly. The sanded back primer makes it really hard to see, but the model is all good and smoothed out.

IMG_20130310_182949.jpg

- epoxy needs to cure so I can carve/sand it down to a nice smooth finish. Probably won't happen until tomorrow night. We'll see.
 
Bizarre said:
Use PE gel, I really like it.
Will look into it. I've got a variety of CA glues from BSI. Super thin up to thick gel and some epoxies as well. Really good and super inexpensive.

Les said:
Nice added touches there! :eek:
Thanks Les!

ModelMakerMike said:
This will be awesome! I will be watching also.
I agree....I like the P-47 Cockpit. ;)
Thanks Mike. Yep. Hopefully it arrives soon (I have horrible luck with getting stuff shipped to me, seriously, the worst).
 

Latest posts

Back
Top