
You are using an out of date browser. It may not display this or other websites correctly.
You should upgrade or use an alternative browser.
You should upgrade or use an alternative browser.
Blohm & Voss BV 155V-1
- Thread starter urumomo
- Start date


Decided to clean up and prime / paint the landing gear components since their installation is near.

I went back and rewatched that video of photos to see if there was a closeup of the gear bay since that actuator doesn't look like it would fully retract the wheel strut .
There isn't a detail photo but I noticed that I got the forward windscreen of the canopy pretty dang close to the actual one when I did that putty work .
Only slightly taller - maybe .
I had extended it to where I did to obscure the depth of the clear plastic where that giant scope penetrates it .
But , more Special from Special Hobby :
They molded one of the struts with a different detail that omits the rod for attaching the door section :
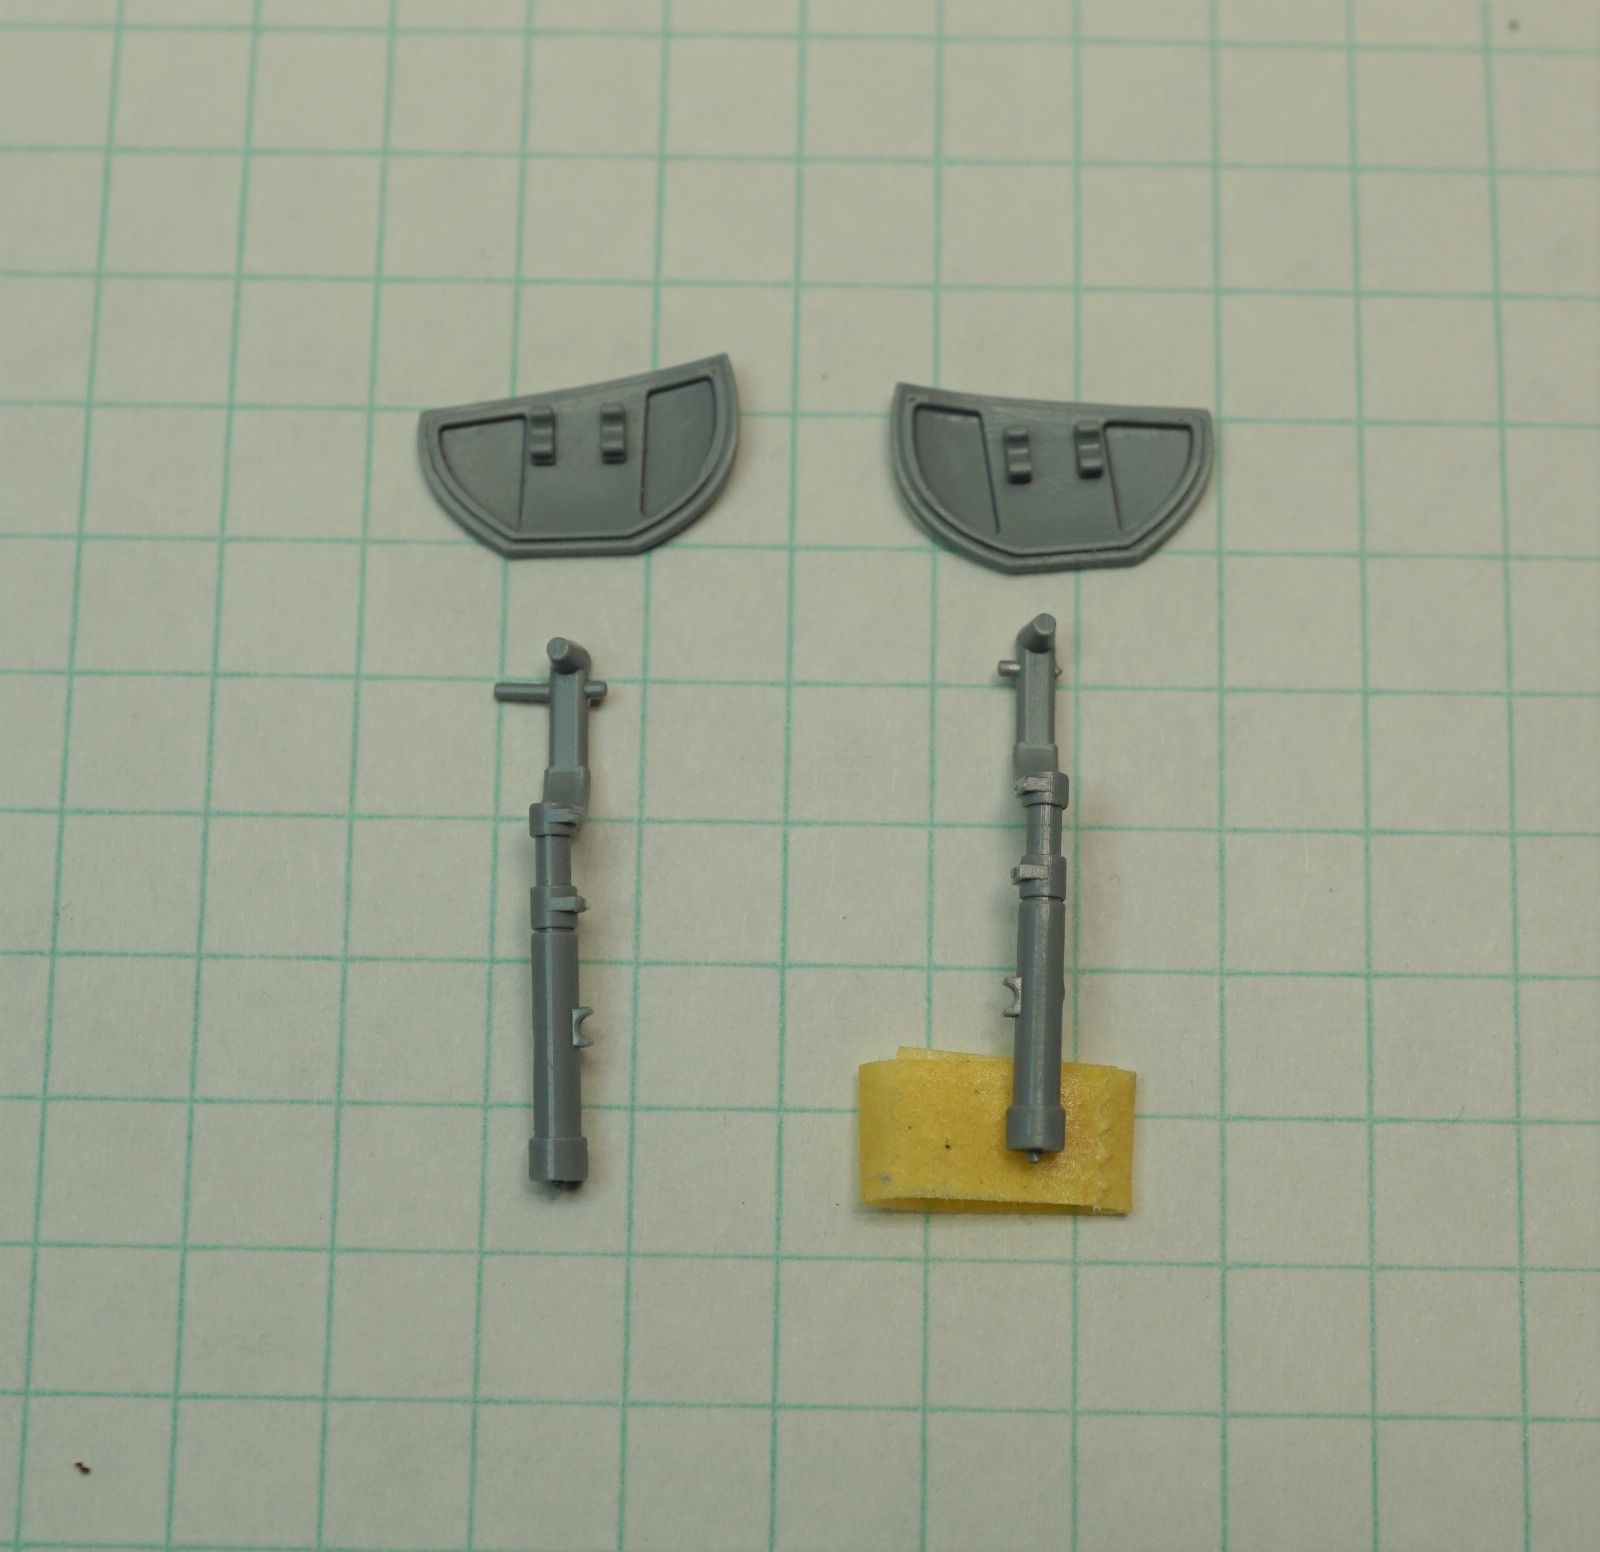
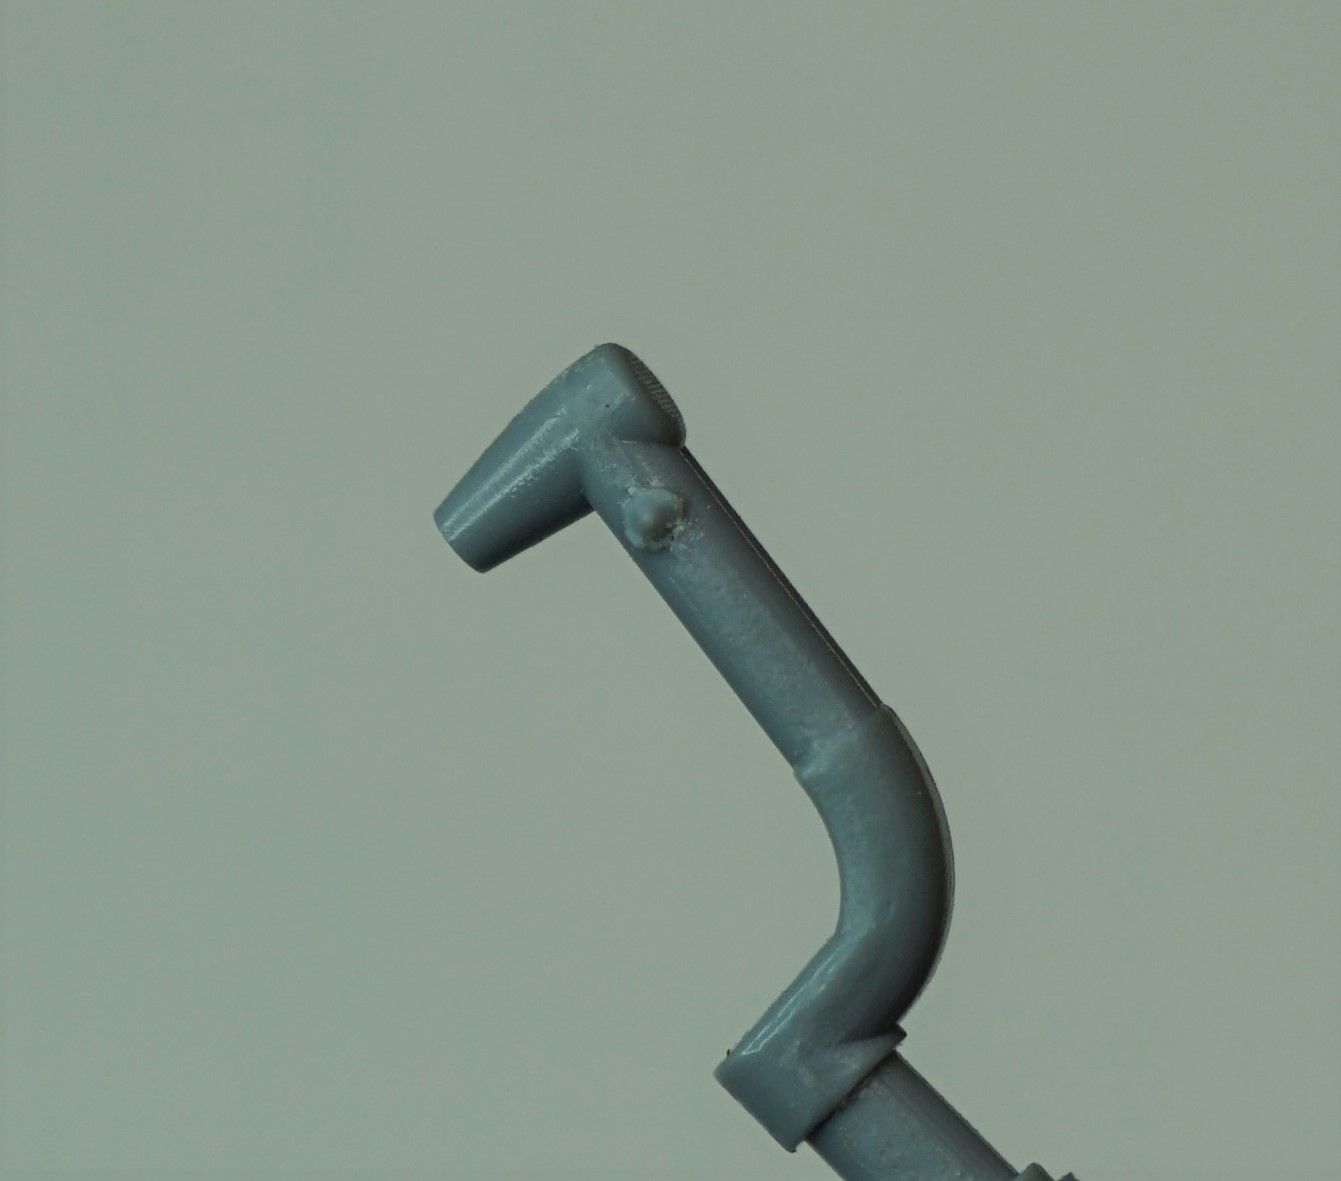
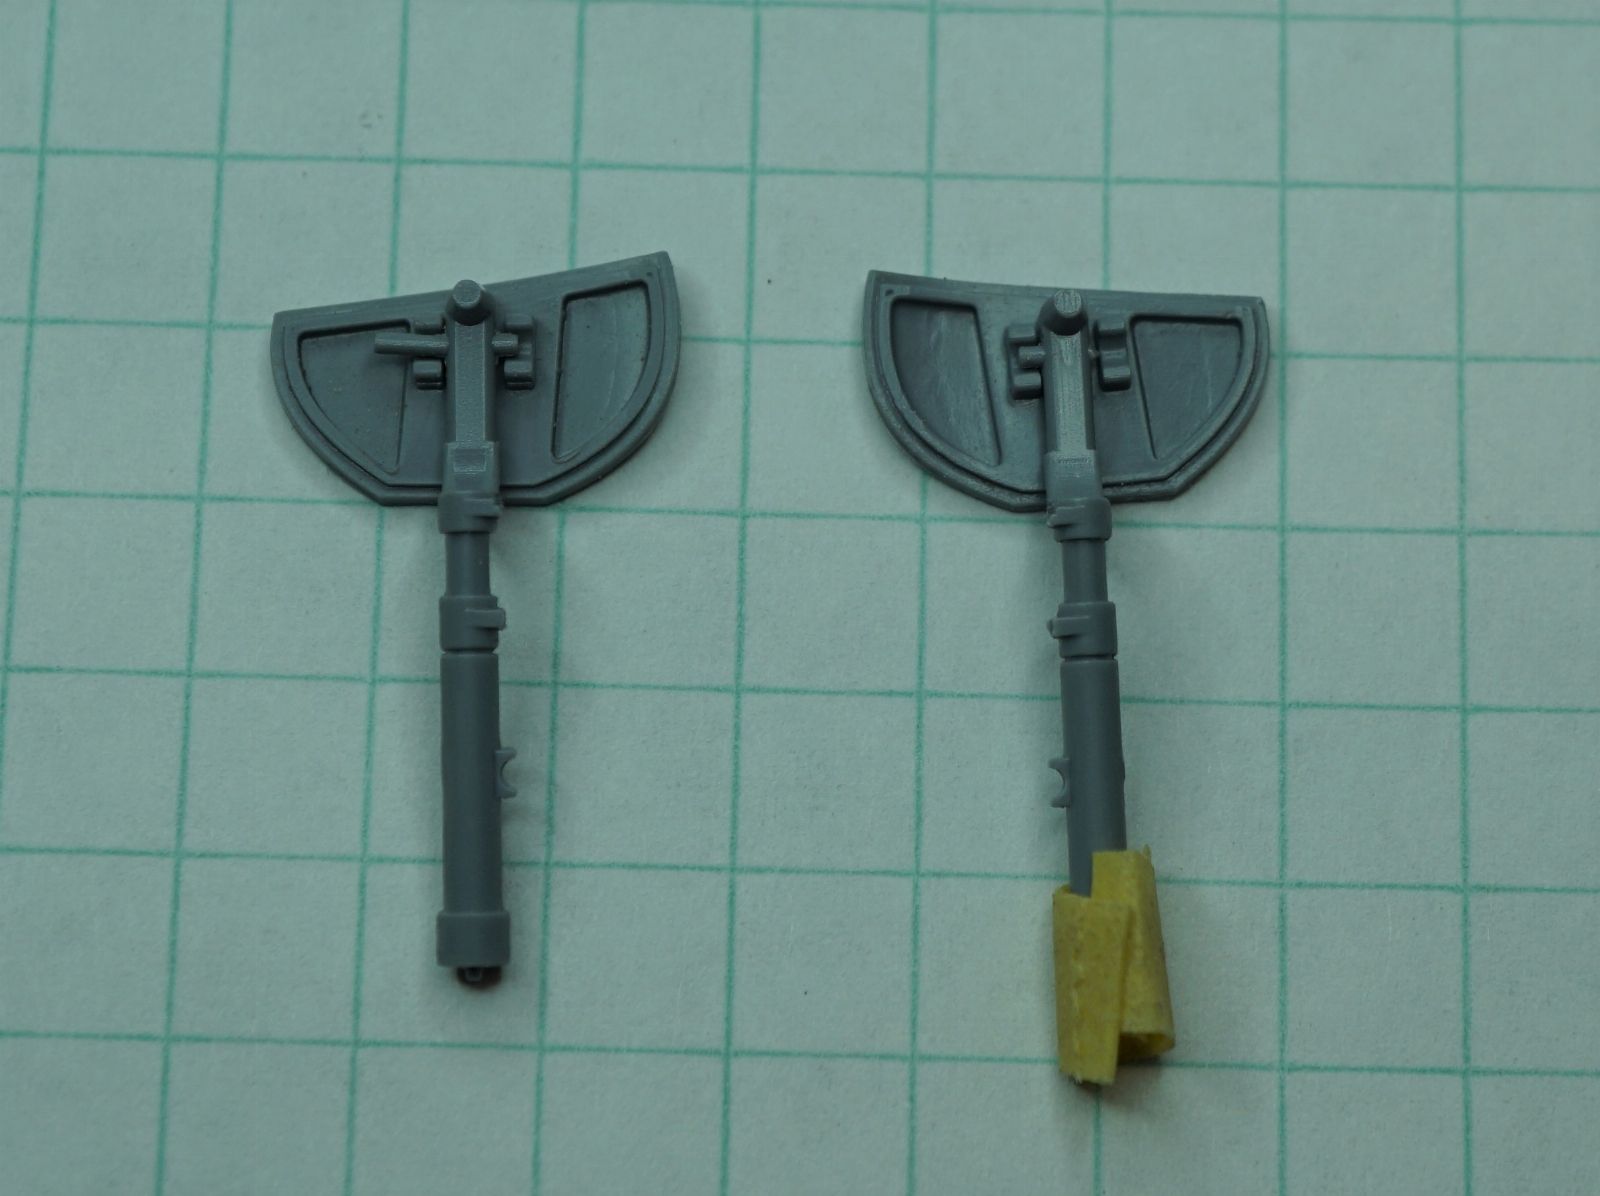
Another strange one .
That's the last of the kit issues though .
Well , the prop doesn't really fit the spinner but it's a minor adjustment .
I went back and rewatched that video of photos to see if there was a closeup of the gear bay since that actuator doesn't look like it would fully retract the wheel strut .
There isn't a detail photo but I noticed that I got the forward windscreen of the canopy pretty dang close to the actual one when I did that putty work .
Only slightly taller - maybe .
I had extended it to where I did to obscure the depth of the clear plastic where that giant scope penetrates it .
But , more Special from Special Hobby :
They molded one of the struts with a different detail that omits the rod for attaching the door section :
Another strange one .
That's the last of the kit issues though .
Well , the prop doesn't really fit the spinner but it's a minor adjustment .

BeebleBrox
Well-Known Member
- Joined
- Apr 9, 2012
- Messages
- 365
Excellent moulding or excellent clean up?
The molding is actually pretty good on this kit .
Good detail in panel lines etc .
Average to above average as far as clean up is concerned .
I'll get some more pix up either tonight or tomorrow .
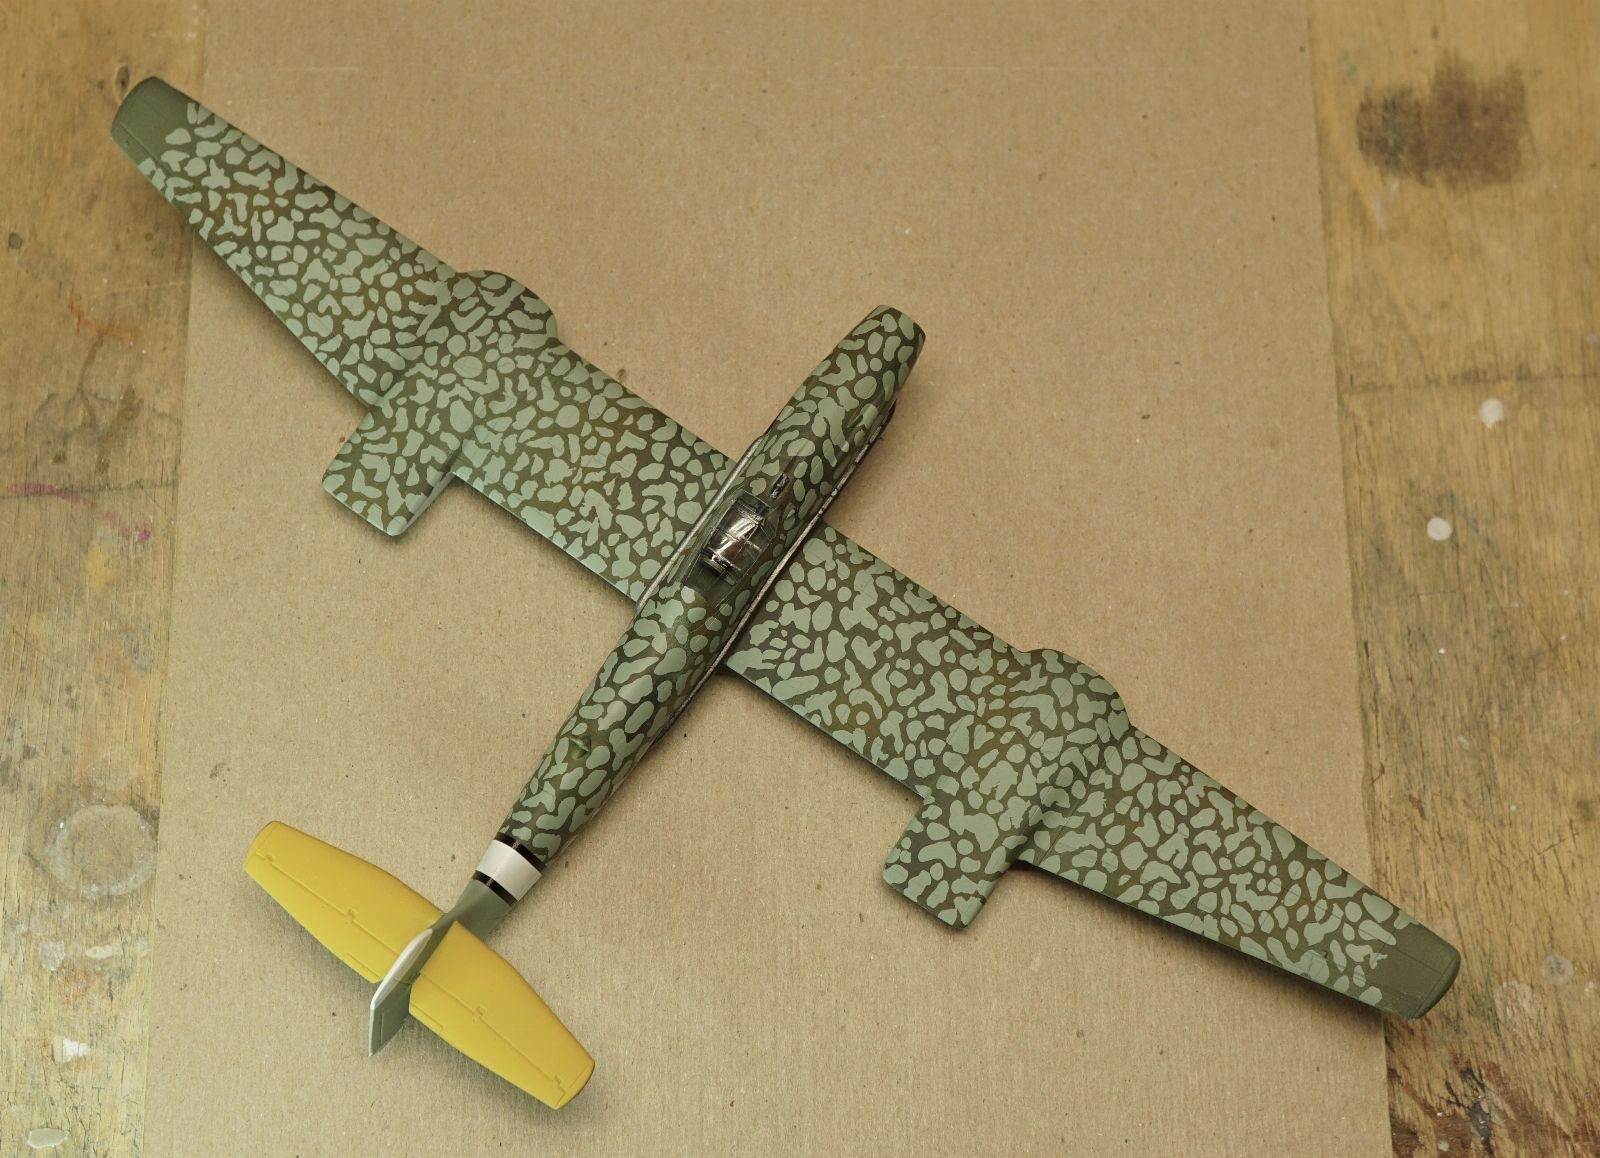
She looks a lot more like a Nazi aircraft now
Good detail in panel lines etc .
Average to above average as far as clean up is concerned .
I'll get some more pix up either tonight or tomorrow .
She looks a lot more like a Nazi aircraft now

Kit decals with the exception of the number 9 - that's from a Hasegawa Grosser Hund kit ( Ma.K. )
Raw umber watercolor filter to remove the blue component of the grey-green base color .
Affixed with AK satin varnish .
Then sepia and burnt umber watercolor wash for panel lines and weathering .
Affixed with AK satin varnish then finished with AK ultra matte varnish ( love that stuff . Straight into the AB , one coat and done . )
Lots of time in-between coats of varnish sitting in the dehydrator @ 105F .


Getting closer .
Still needs some detailing on the pipes and the radiators , then the canopy completion , landing gear installation and finally the prop .
This thing might be done before the leaves begin to fall .
Last edited:


![Pampers Sensitive Baby Wipes, Clinically Proven, Fragrance Free, Unscented, Water Based, Hypoallergenic, Multi-Use, Hand Wipes 336 Wipes Total (6X Flip-Top Packs) [Packaging May Vary]](https://m.media-amazon.com/images/I/41KLBHu9CAL._SL500_.jpg)






As an Amazon Associate we earn from qualifying purchases. Product prices and availability are accurate as of the date/time indicated and are subject to change.

BLT
Well-Known Member
This is a great build... It looks splendid. It's super great that you share what products you use, and that you take the time to explain your process.
Kit decals with the exception of the number 9 - that's from a Hasegawa Grosser Hund kit ( Ma.K. )
Raw umber watercolor filter to remove the blue component of the grey-green base color .
Affixed with AK satin varnish .
Then sepia and burnt umber watercolor wash for panel lines and weathering .
Affixed with AK satin varnish then finished with AK ultra matte varnish ( love that stuff . Straight into the AB , one coat and done . )
Lots of time in-between coats of varnish sitting in the dehydrator @ 105F .
Getting closer .
Still needs some detailing on the pipes and the radiators , then the canopy completion , landing gear installation and finally the prop .
This thing might be done before the leaves begin to fall .
Thank you very much for sharing.
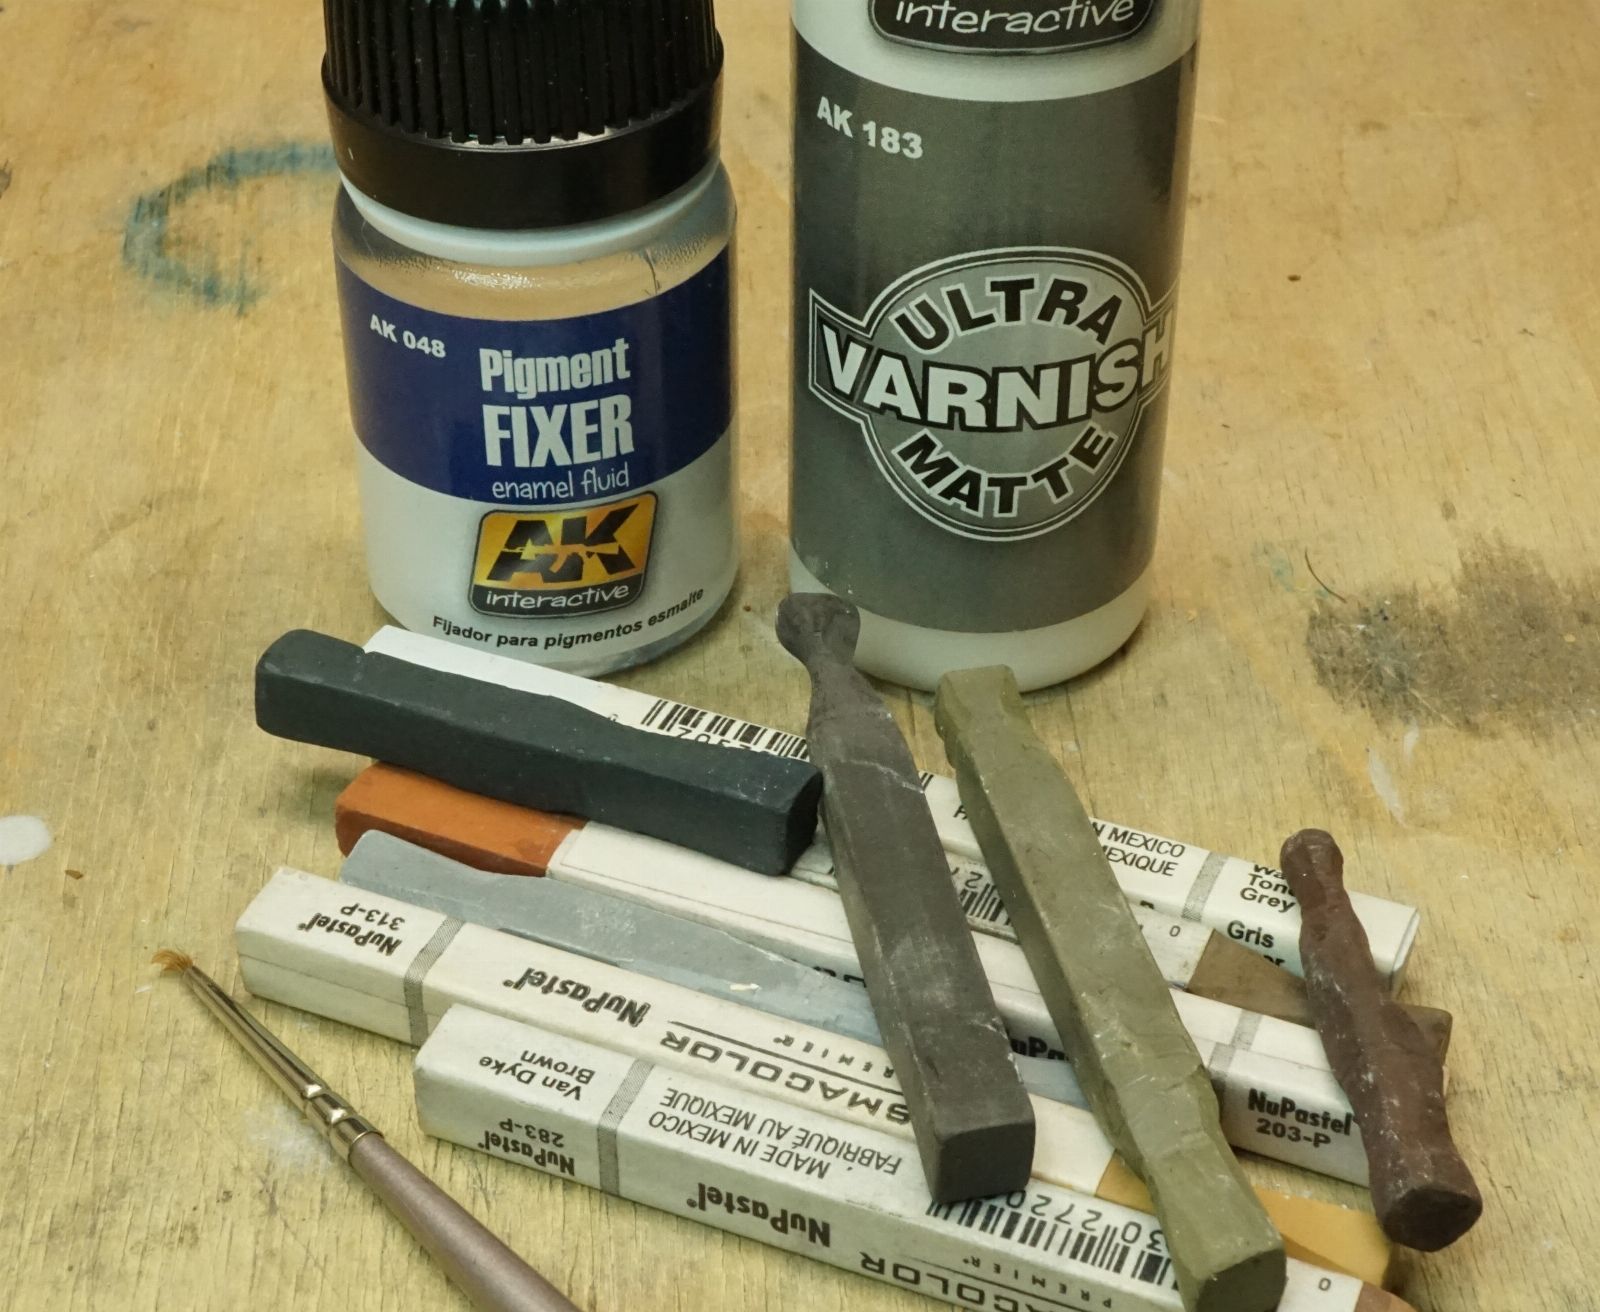
Pastels on the supercharger piping , affixed with the enamel then coated with the Ultra Matte .
I over-did the reds since I couldn't really tell what I had due to the gloss from the enamel fixer - so I had to modify it with some water color after it was matte coated -- then matte coated again to anchor the water color .
You can only Ultra-Matte so many times or risk getting a chalky looking finish . Why I use the satin varnish when building layers .
Gloss is technically better but , again , the sheen can make it difficult for me to tell what I have color wise .


Decided to install an antenna mast like on the 109 's :
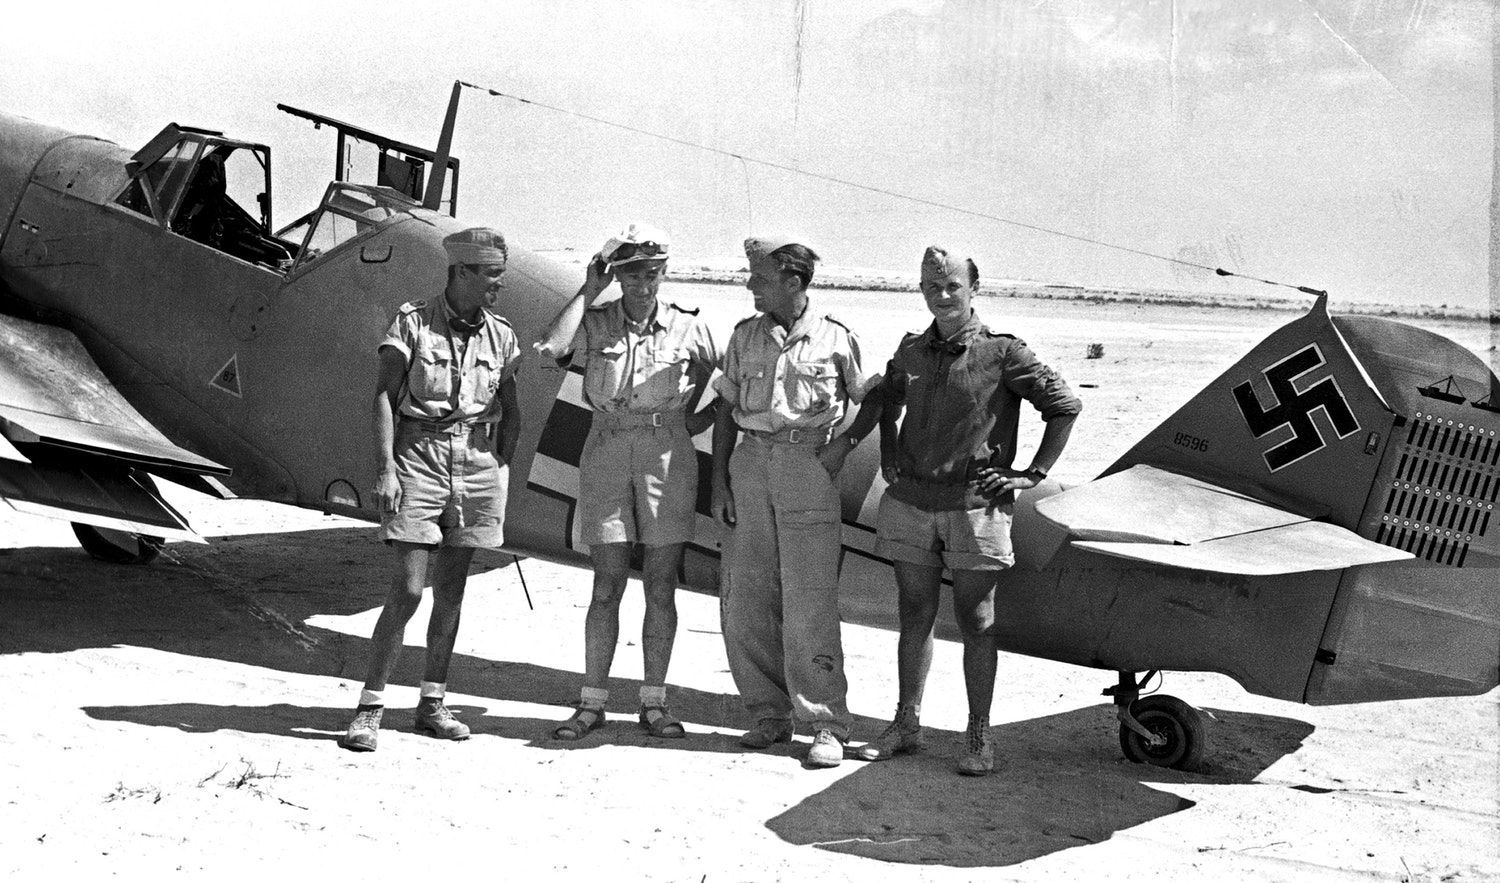
Rather than the arrangement in the artwork :
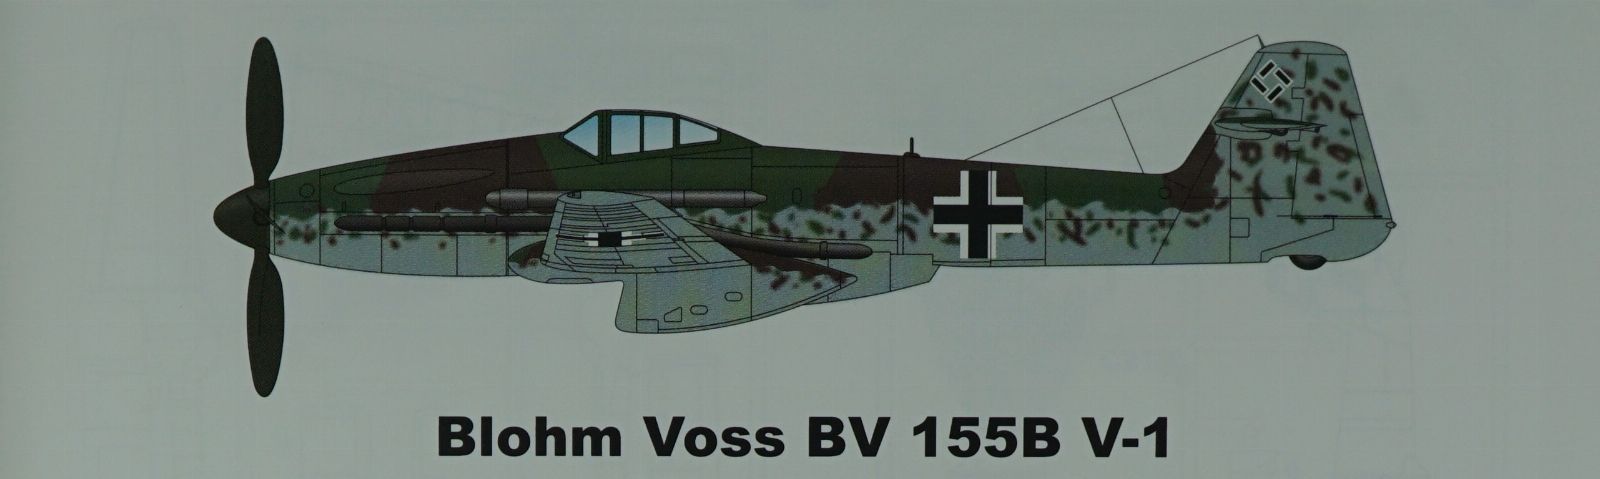
So I made this stand to secure her into once that super delicate wire and mast are installed .This will facilitate the safe installation of the landing gear and prop ,
I'll tape the wings down once it's in there :


Now to finish the canopy .
Still a lot of doing in store for that thing ...
I over-did the reds since I couldn't really tell what I had due to the gloss from the enamel fixer - so I had to modify it with some water color after it was matte coated -- then matte coated again to anchor the water color .
You can only Ultra-Matte so many times or risk getting a chalky looking finish . Why I use the satin varnish when building layers .
Gloss is technically better but , again , the sheen can make it difficult for me to tell what I have color wise .
Decided to install an antenna mast like on the 109 's :
Rather than the arrangement in the artwork :
So I made this stand to secure her into once that super delicate wire and mast are installed .This will facilitate the safe installation of the landing gear and prop ,
I'll tape the wings down once it's in there :
Now to finish the canopy .
Still a lot of doing in store for that thing ...
Last edited:
OK ,
Sill working on this canopy , but , here's where it's at currently :

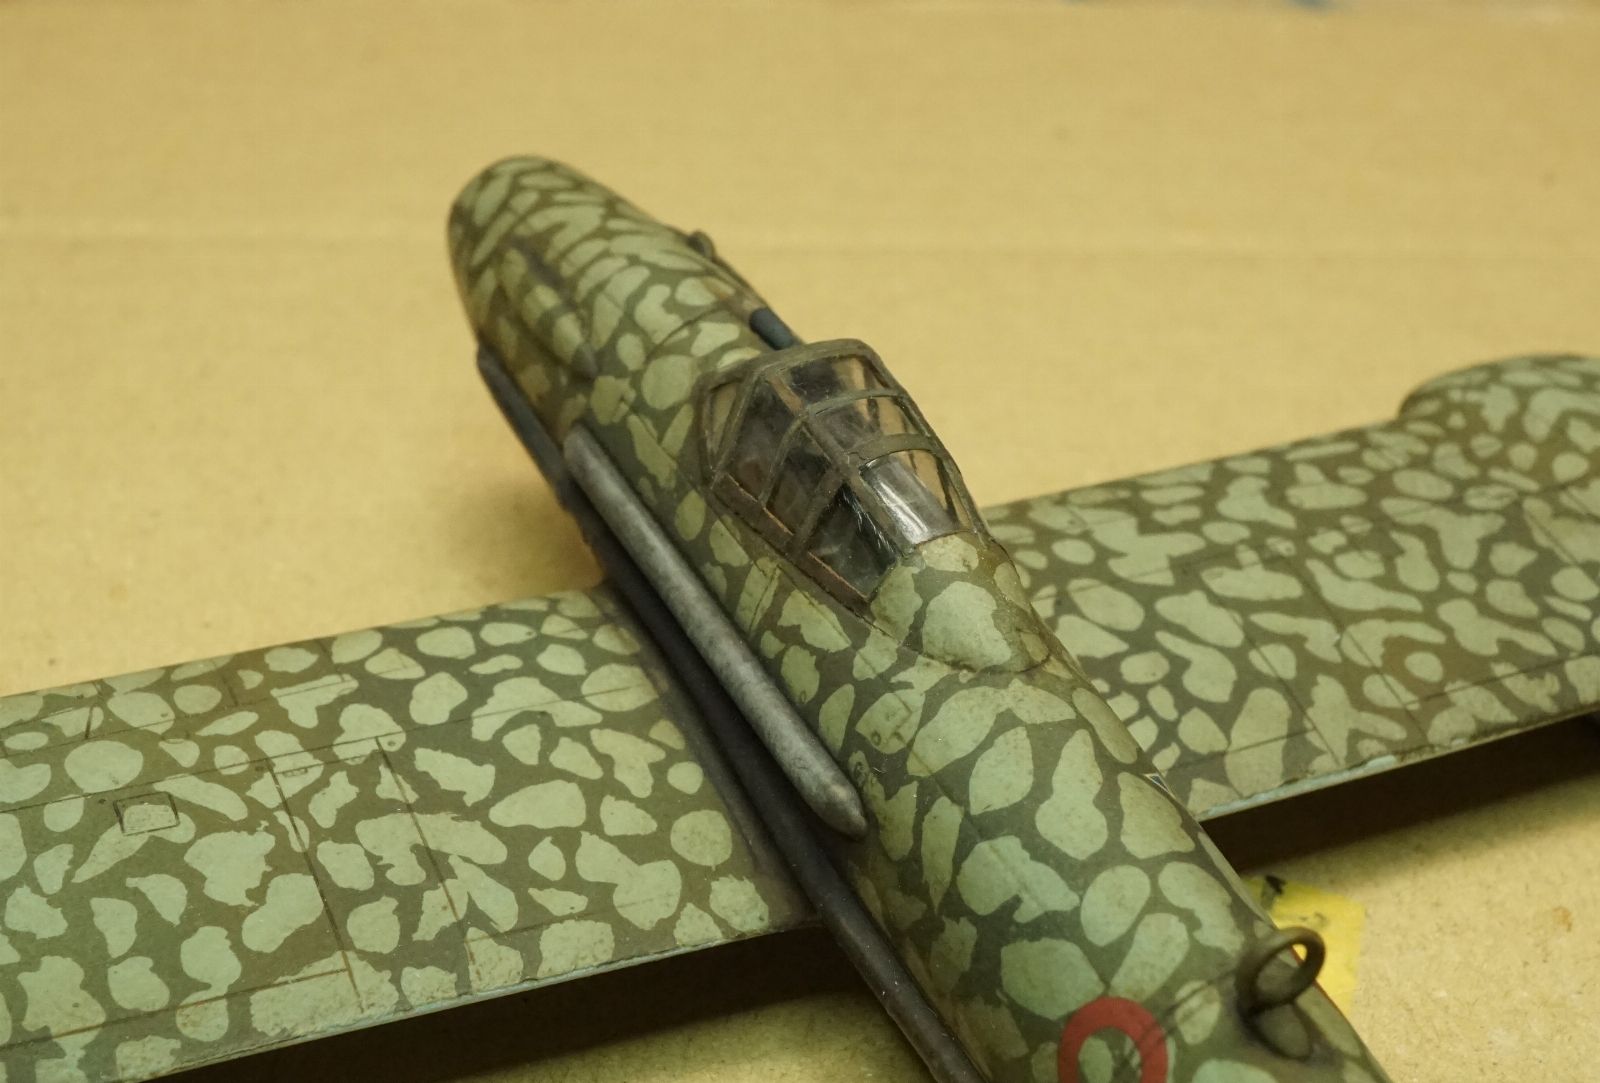
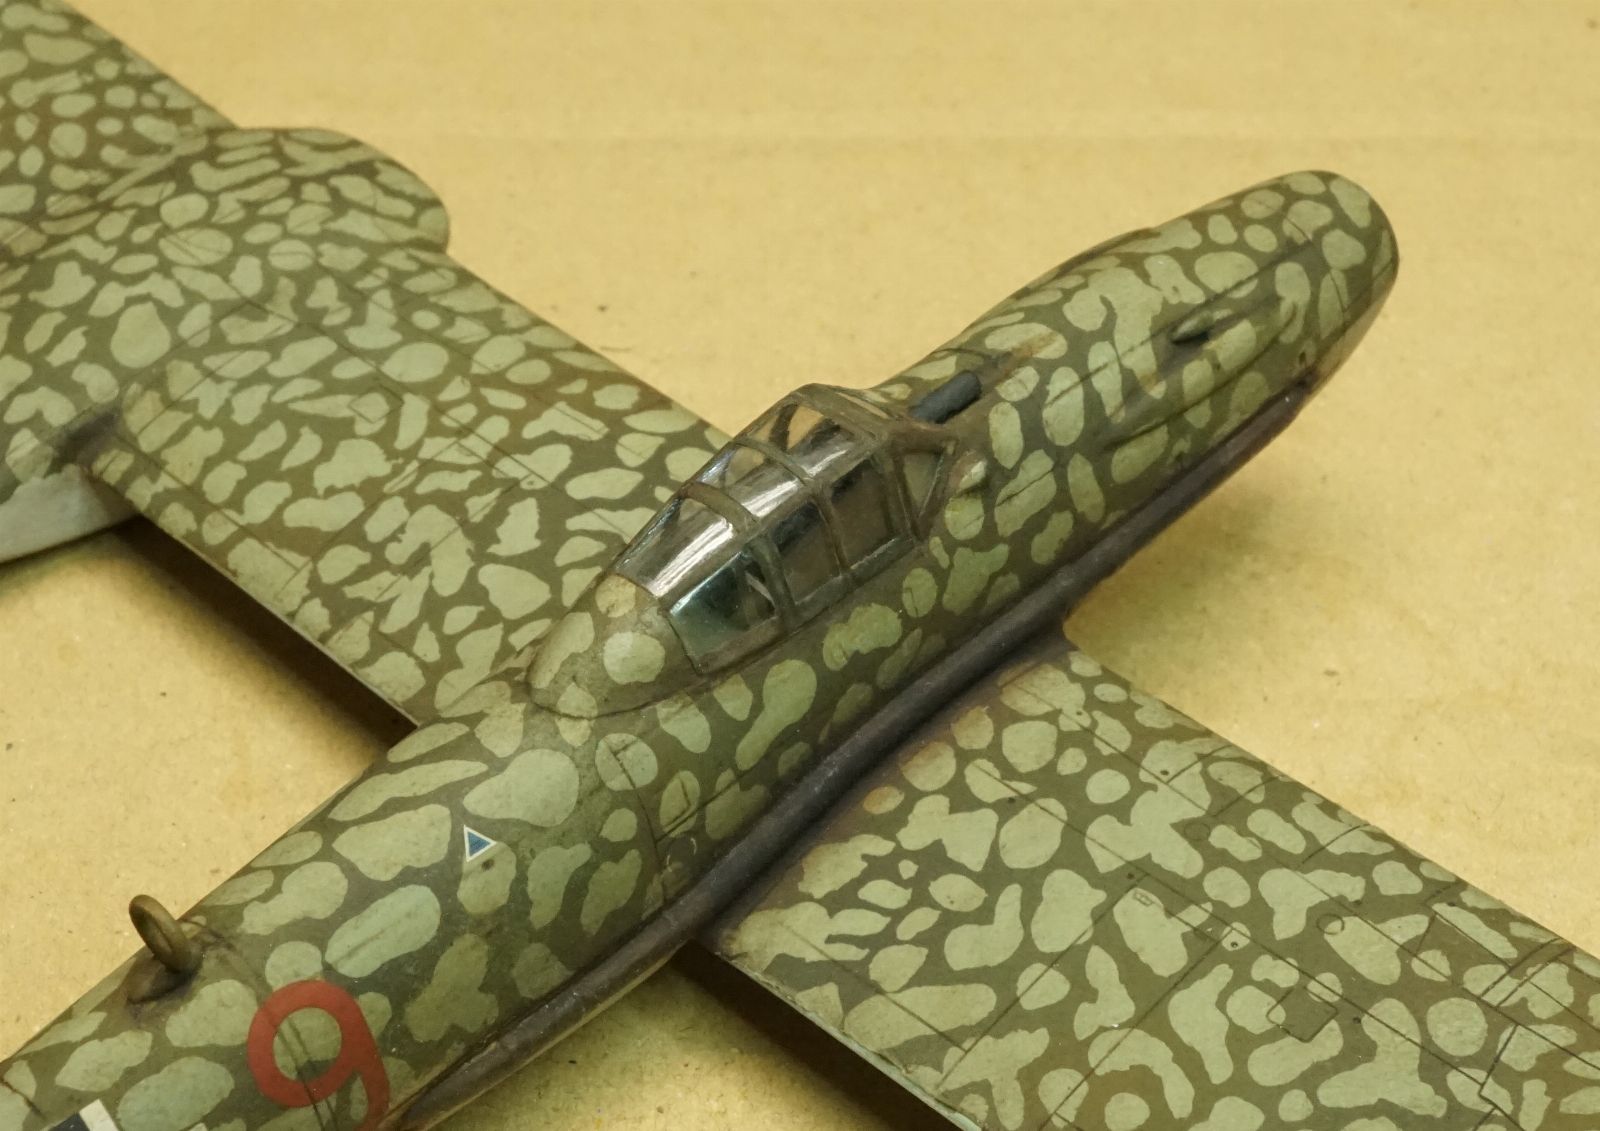
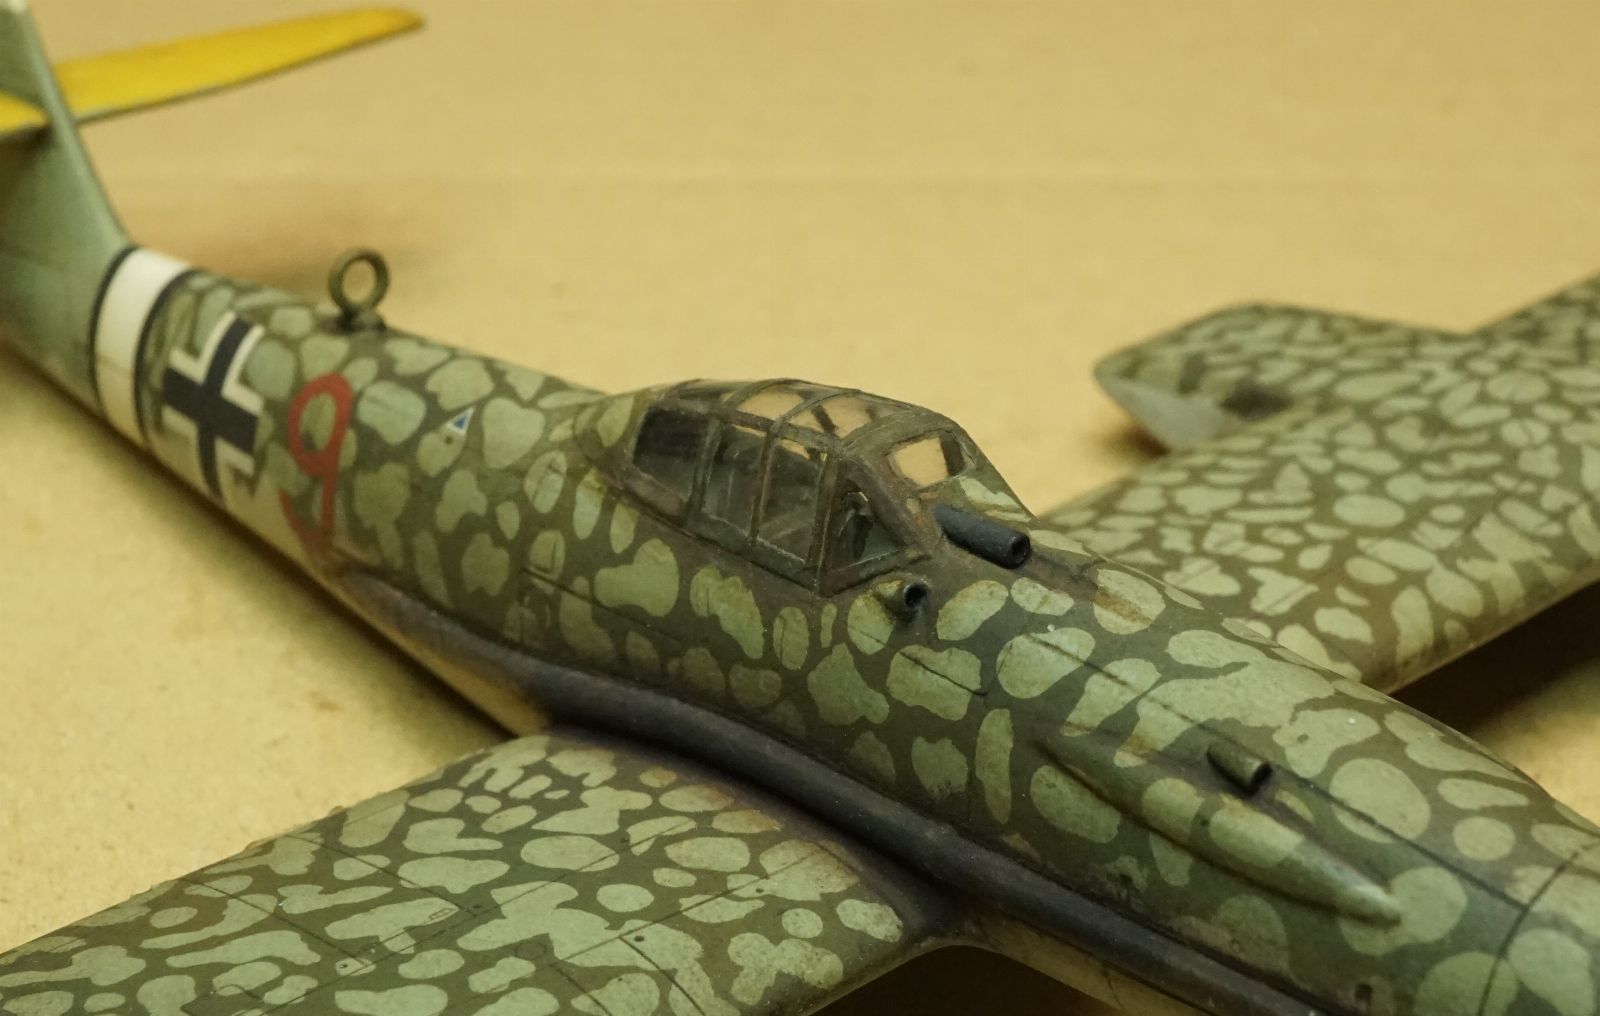
The above isn't the interesting part .
I started painting the frame weeks ago .
First , I masked off the 3 long lengths that run perpendicular across the top , using Tamiya's vinyl tape .
After that cured I masked and painted each remaining framing member individually , using the regular Tamiya tape ( 6 mm )
One night , weeks ago now , I had a couple pieces of tape on the right side and was painting a couple of pieces of the frame when I noticed a super tiny white spec inside the canopy -- at the rear right up high .
So I of course couldn't resist attempting to remove it .
Oy Vey .
And so began the long insanity leading to the now times .
This tiny spec I could only see thru the desk magnifier .
While working thru the nose opening , using swabs and plastic rod attempting to reach it , I completely forgot about the control stick since I couldn't see it due to the tape .
Ended up knocking it over but fortunately I did not knock it completely loose .
I wanted to just leave it slumped over to the left side of the cockpit until I could remove the contaminate ( at this point I had spotted another white spec in there -- where these originated from I have zero idea ) BUT , it was too risky since it might come completely detached and then my only option would be to shake it down into the nose and hopefully out , or entomb it in the engine bay with PVA .
I tilted the fuselage around and used a plastic rod to stand the control stick up in it's nominal position and then using a modified syringe I injected ZAP's canopy glue around the base of it .
Let that cure 24 hours then repeated .
All fixed .
Then when I went back to work on the canopy exterior days later I discovered that somehow that PVA had splattered up onto the inside of the canopy -- all the way up to the upper portion , to the left rear side , front triangular left window ( ???!!! ) ... kinda friggin everywhere it never should have been able to get to .
I was super careful - I was trying to avoid any glue going up onto the seat or the control panels , much less the upper reaches of the atmosphere .
Reality had a different opinion .
So I've been working in there Ship in a Bottle style ever since .
Using 14 gauge copper wire with the ends filed round and sanded smooth , various swabs , plastic rod and lots of cigarettes to finally remove what was in there .
While trying to remove the one white speck I noticed early on before the glue disaster , speck #2 , I got the speck but somehow created a smear which I was only able remove maybe 75 % of -- but I'm pushing my luck at this point so that contaminate will probably be staying in there .
It was difficult to get past that armored headrest since the gap between the headrest and the canopy is so small ,, and of course I have to go in and up --- and still have to deal with the control stick being in the way .
Here's the best part of all :
While trying repeatedly to mitigate that smear at the back left side ,
I rubbed the paint off the side of the headrest and the top corner of the seat .
Somehow I was successful using a swab and plastic rod to repaint both ( ! )
And ,
This is after I sliced one of those swabs in half lengthwise so I could squeeze it thru the gap between the headrest and canopy .
and
it
got
stuck
back there --- ended up ripping apart and leaving itself trapped on that rear dash .
LOL . so enjoyable .
I cut barbs into the end of a 1 mm plastic rod and was able to extract it though .
But ( so many buts )
It left super tiny white particles inside the cockpit , most up on that back dash .
Which of course magically distributed themselves around for my enjoyment .
I made a tiny vacuum wand from 3 mm aluminum tube ( that's the max size of anything that will fit under the control panel and still maneuver around the control stick .
I've been pushing that control stick out of my way continuously but it slowly returns to upright thanks to being now heavily embedded in that canopy glue .
I've been able to deal with pretty much all the issues --- there are still some tiny specs in there that I've tried repeatedly to remove but I'm really pushing my luck at this point . It seems every time I fix one issue I create another ( anothers ? )
Yesterday I was considering cutting loose the canopy section that would slide open on the real-deal , using the ultrasonic knife , BUT ( so many buts ) since it's sculpted in there due to such a **** fit ,,, Uh , NO .
I modified the hub of this syringe to accept that 1.5 mm aluminum tube .
That pill bottle for the suction wand fits nice and snug into the 1.25 inch vac hose at the bench . It has a 3/8" hole in it's base .

I'm probably forgetting something about this weeks long saga ,
I'll add to this If I remember something .
Oh , I did enlarge the opening at the front of the fuselage for all this .
I like a challenge but I'm not That much of a masochist
Sill working on this canopy , but , here's where it's at currently :
The above isn't the interesting part .
I started painting the frame weeks ago .
First , I masked off the 3 long lengths that run perpendicular across the top , using Tamiya's vinyl tape .
After that cured I masked and painted each remaining framing member individually , using the regular Tamiya tape ( 6 mm )
One night , weeks ago now , I had a couple pieces of tape on the right side and was painting a couple of pieces of the frame when I noticed a super tiny white spec inside the canopy -- at the rear right up high .
So I of course couldn't resist attempting to remove it .
Oy Vey .
And so began the long insanity leading to the now times .
This tiny spec I could only see thru the desk magnifier .
While working thru the nose opening , using swabs and plastic rod attempting to reach it , I completely forgot about the control stick since I couldn't see it due to the tape .
Ended up knocking it over but fortunately I did not knock it completely loose .
I wanted to just leave it slumped over to the left side of the cockpit until I could remove the contaminate ( at this point I had spotted another white spec in there -- where these originated from I have zero idea ) BUT , it was too risky since it might come completely detached and then my only option would be to shake it down into the nose and hopefully out , or entomb it in the engine bay with PVA .
I tilted the fuselage around and used a plastic rod to stand the control stick up in it's nominal position and then using a modified syringe I injected ZAP's canopy glue around the base of it .
Let that cure 24 hours then repeated .
All fixed .
Then when I went back to work on the canopy exterior days later I discovered that somehow that PVA had splattered up onto the inside of the canopy -- all the way up to the upper portion , to the left rear side , front triangular left window ( ???!!! ) ... kinda friggin everywhere it never should have been able to get to .
I was super careful - I was trying to avoid any glue going up onto the seat or the control panels , much less the upper reaches of the atmosphere .
Reality had a different opinion .
So I've been working in there Ship in a Bottle style ever since .
Using 14 gauge copper wire with the ends filed round and sanded smooth , various swabs , plastic rod and lots of cigarettes to finally remove what was in there .
While trying to remove the one white speck I noticed early on before the glue disaster , speck #2 , I got the speck but somehow created a smear which I was only able remove maybe 75 % of -- but I'm pushing my luck at this point so that contaminate will probably be staying in there .
It was difficult to get past that armored headrest since the gap between the headrest and the canopy is so small ,, and of course I have to go in and up --- and still have to deal with the control stick being in the way .
Here's the best part of all :
While trying repeatedly to mitigate that smear at the back left side ,
I rubbed the paint off the side of the headrest and the top corner of the seat .
Somehow I was successful using a swab and plastic rod to repaint both ( ! )
And ,
This is after I sliced one of those swabs in half lengthwise so I could squeeze it thru the gap between the headrest and canopy .
and
it
got
stuck
back there --- ended up ripping apart and leaving itself trapped on that rear dash .
LOL . so enjoyable .
I cut barbs into the end of a 1 mm plastic rod and was able to extract it though .
But ( so many buts )
It left super tiny white particles inside the cockpit , most up on that back dash .
Which of course magically distributed themselves around for my enjoyment .
I made a tiny vacuum wand from 3 mm aluminum tube ( that's the max size of anything that will fit under the control panel and still maneuver around the control stick .
I've been pushing that control stick out of my way continuously but it slowly returns to upright thanks to being now heavily embedded in that canopy glue .
I've been able to deal with pretty much all the issues --- there are still some tiny specs in there that I've tried repeatedly to remove but I'm really pushing my luck at this point . It seems every time I fix one issue I create another ( anothers ? )
Yesterday I was considering cutting loose the canopy section that would slide open on the real-deal , using the ultrasonic knife , BUT ( so many buts ) since it's sculpted in there due to such a **** fit ,,, Uh , NO .
I modified the hub of this syringe to accept that 1.5 mm aluminum tube .
That pill bottle for the suction wand fits nice and snug into the 1.25 inch vac hose at the bench . It has a 3/8" hole in it's base .
I'm probably forgetting something about this weeks long saga ,
I'll add to this If I remember something .
Oh , I did enlarge the opening at the front of the fuselage for all this .
I like a challenge but I'm not That much of a masochist
Last edited:

lancerunolfsson
Well-Known Member
- Joined
- Dec 21, 2020
- Messages
- 88
Really nice looking model..
Thanks , Lance .
I'll be glad to finally get the canopy completed !
I decided to attach the antenna wire to the tail end of the RDF aerial mount instead of installing a mast forward of that .
That will be the next step , then finally the landing gear installation which should be a breeze after all this canopy insanity .
I'll be glad to finally get the canopy completed !
I decided to attach the antenna wire to the tail end of the RDF aerial mount instead of installing a mast forward of that .
That will be the next step , then finally the landing gear installation which should be a breeze after all this canopy insanity .
Last edited:

Larry B
Well-Known Member
Very nice work, the final camo job is really sharp! I have learned over my many years of modeling sometimes it's best to just leave the "speck" alone, resist that temptation to get in there and fix it!
looking forward to seeing the finished airplane on it's feet
Larry
looking forward to seeing the finished airplane on it's feet
Larry
Thanks !
Ha Ha - Oh I definitely know better , but there is no client and no deadline and I like the challenge .
I gotta get my 20 bucks worth out of this thing .
I might still cut the canopy apart ; who's gonna stop me ? LOL .
Probably not though . If it were a more " normal " assembly I wouldn't hesitate .
Ha Ha - Oh I definitely know better , but there is no client and no deadline and I like the challenge .
I gotta get my 20 bucks worth out of this thing .
I might still cut the canopy apart ; who's gonna stop me ? LOL .
Probably not though . If it were a more " normal " assembly I wouldn't hesitate .
Are a bunch of pics not showing now on this thread or is this something on my end ?
Random photos aren't loading - well , the same " random " pics .
They are all from the same Imgur file so I don't know why some show and others don't .
Random photos aren't loading - well , the same " random " pics .
They are all from the same Imgur file so I don't know why some show and others don't .
Imgur
They are all from the same Imgur file so I don't know why some are showing and some are not
and no , it's not finished .
I'm not back to doing scale work yet .
I need to conjure up that antenna before I install the prop and landing gear or it will be a pain .
Otherwise it would have been finished way back when .
I was never in the mood for that super-micro fabrication back where I stopped .
They are all from the same Imgur file so I don't know why some are showing and some are not
and no , it's not finished .
I'm not back to doing scale work yet .
I need to conjure up that antenna before I install the prop and landing gear or it will be a pain .
Otherwise it would have been finished way back when .
I was never in the mood for that super-micro fabrication back where I stopped .
When I start back at the bench I'll just start uploading directly to SMA .
I plan on finishing that Panther K from the Jagdturret thread ,, which I think a bunch of that build is missing along with that 222 .
Like 12 + pages that were uploaded after Scott's last backup .
Speaking of photo hosting , photobucket has been sending me emails for at least a year now warning they will delete my account , lol
The first emails said for inactivity ( I wonder why ) and to log in to prevent deletion .
Of course , once you log in you can access nothing but the give them money page .
I think it's been over a year of warnings , threats , solicitations .
Good grief , delete it already .
I think that very first thread of mine is the only one I didn't rebuild using Imgur -- that chit took forever . Phuk PhotoBucket
I plan on finishing that Panther K from the Jagdturret thread ,, which I think a bunch of that build is missing along with that 222 .
Like 12 + pages that were uploaded after Scott's last backup .
Speaking of photo hosting , photobucket has been sending me emails for at least a year now warning they will delete my account , lol
The first emails said for inactivity ( I wonder why ) and to log in to prevent deletion .
Of course , once you log in you can access nothing but the give them money page .
I think it's been over a year of warnings , threats , solicitations .
Good grief , delete it already .
I think that very first thread of mine is the only one I didn't rebuild using Imgur -- that chit took forever . Phuk PhotoBucket

Belugawrx
Well-Known Member
- Joined
- Jul 22, 2013
- Messages
- 812
On my android it shows as usual..on my laptop it makes you go to another maschinenkrueger. Site ..it takes your old log in and the same guys are there..unless they're AI..lol
He had some problems with spam and data weakness ..so changed up his carrier..as I recall
He had some problems with spam and data weakness ..so changed up his carrier..as I recall


