1/16 M8 Howitzer Motor Carriage

Scale Model Addict - Model Tips, Guides, Tools & Tech, Tutorials, and Community

Help Support Scale Model Addict:

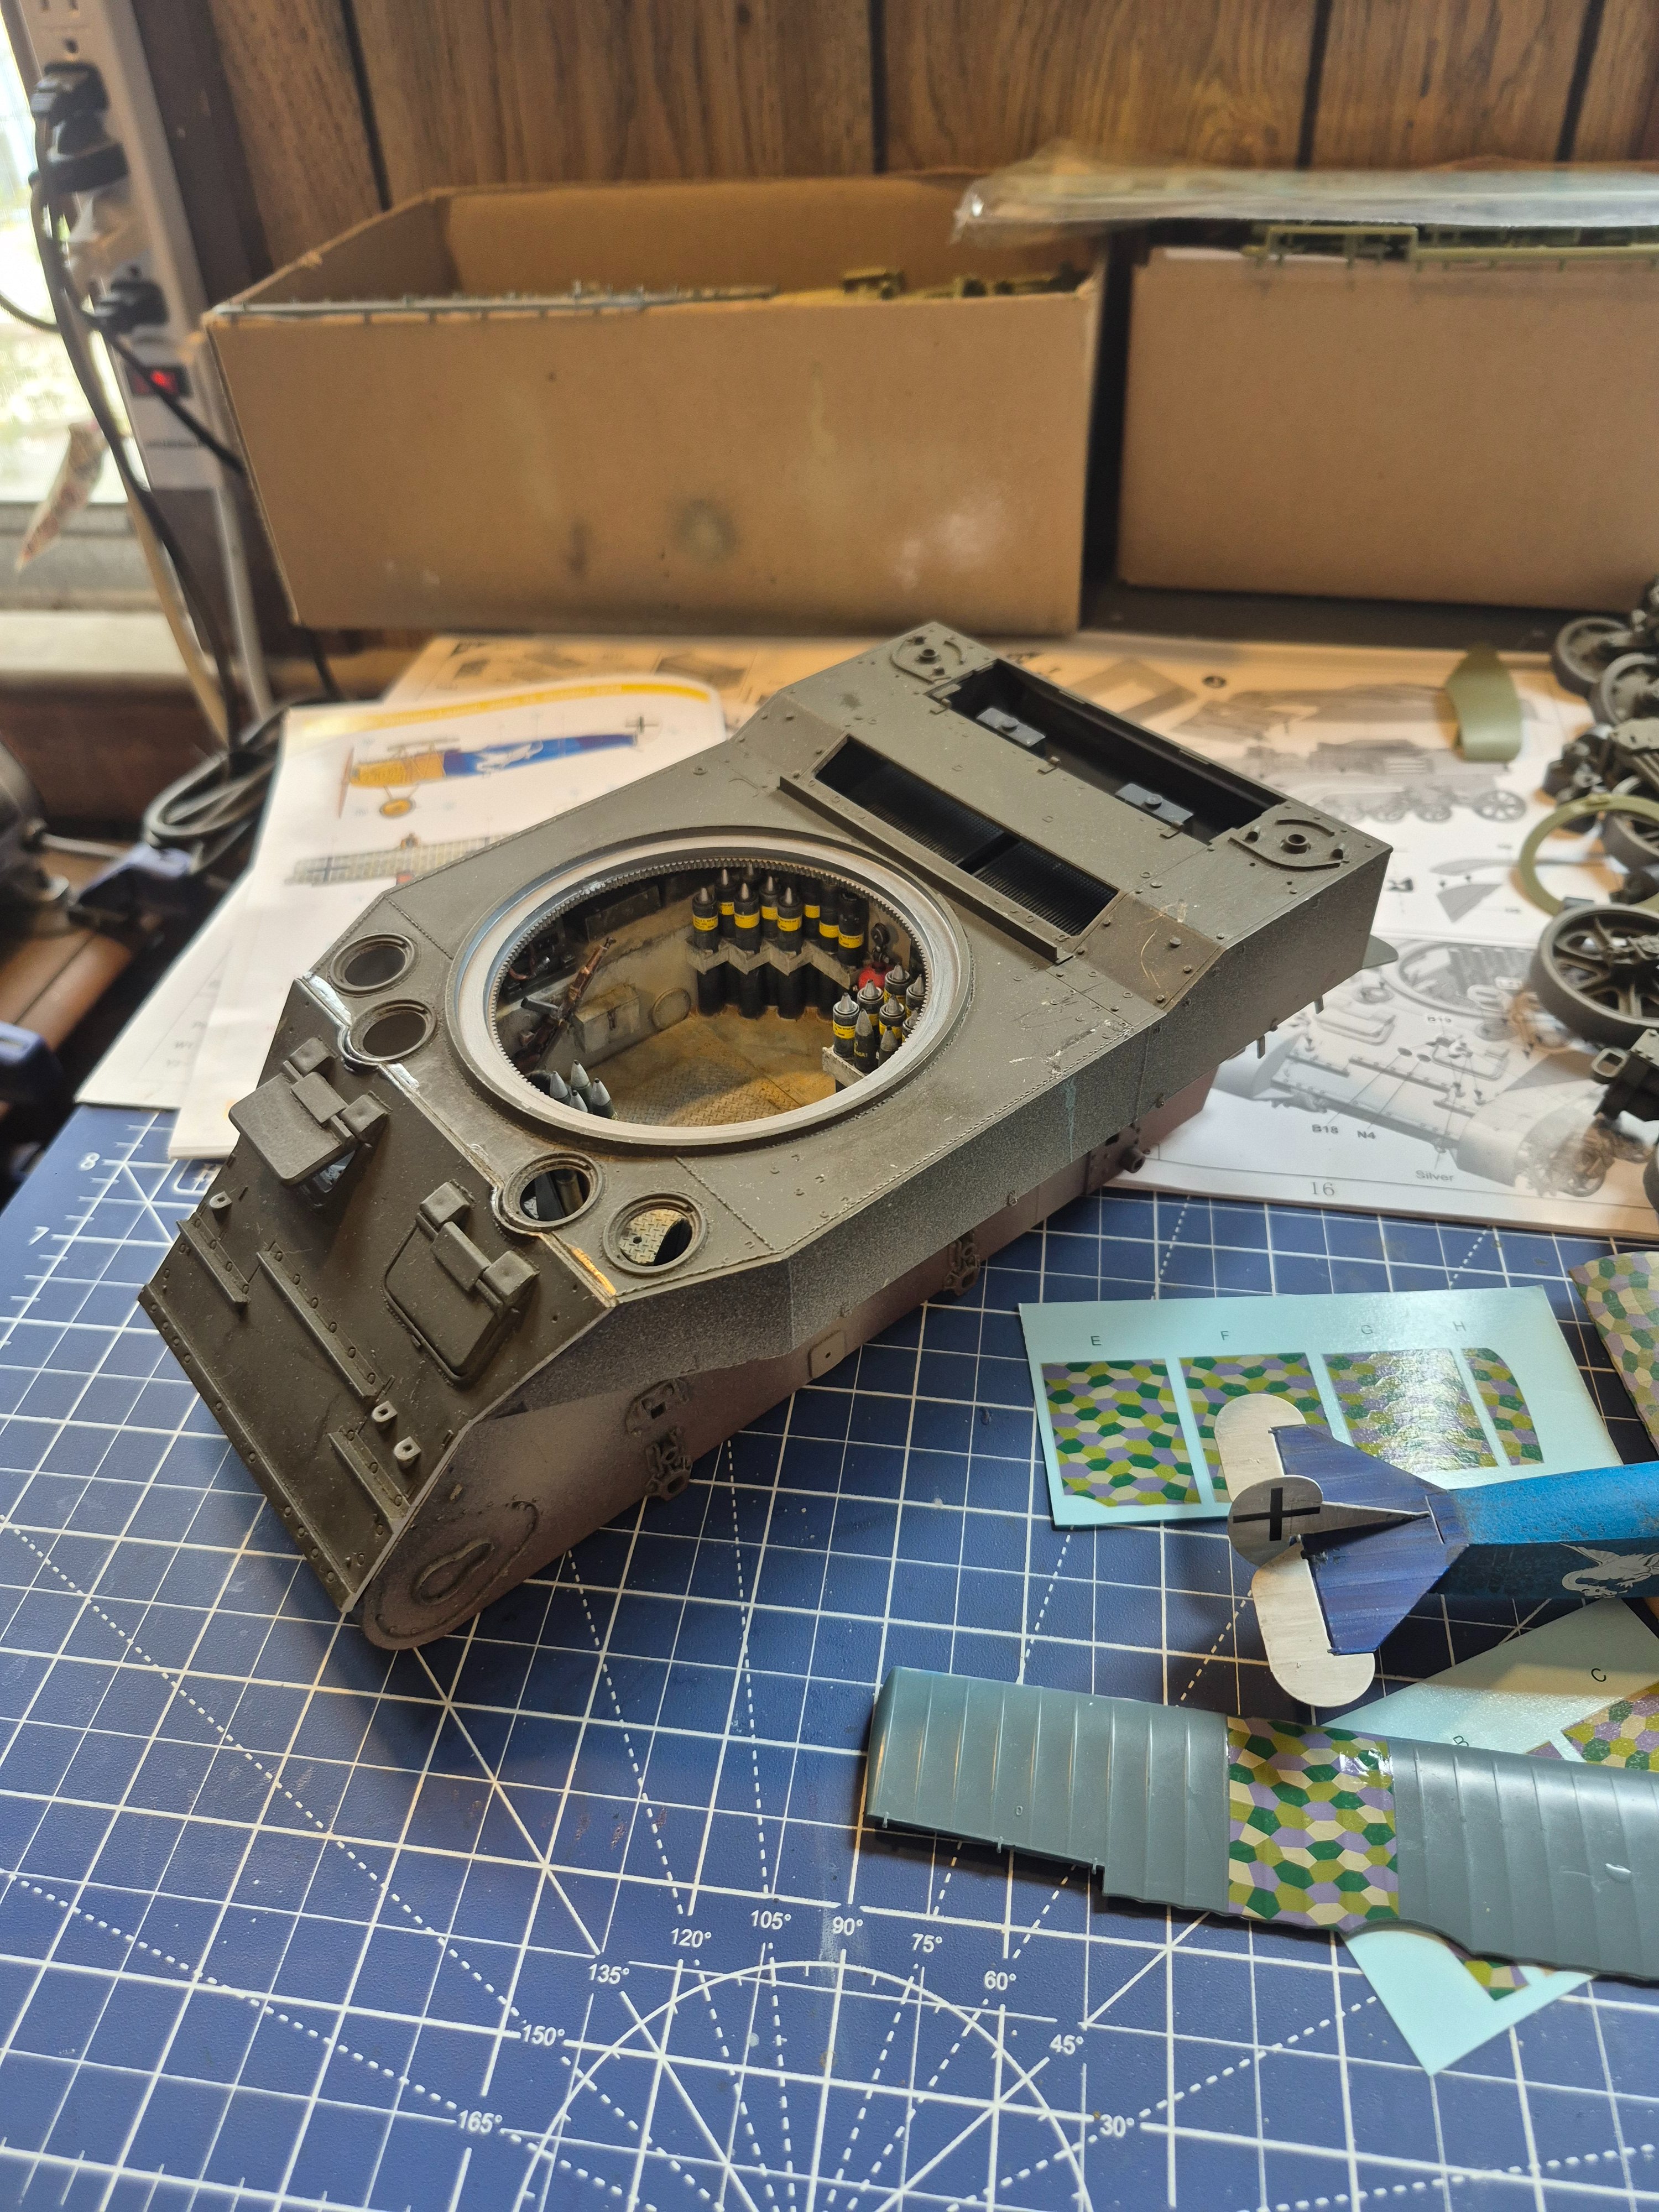
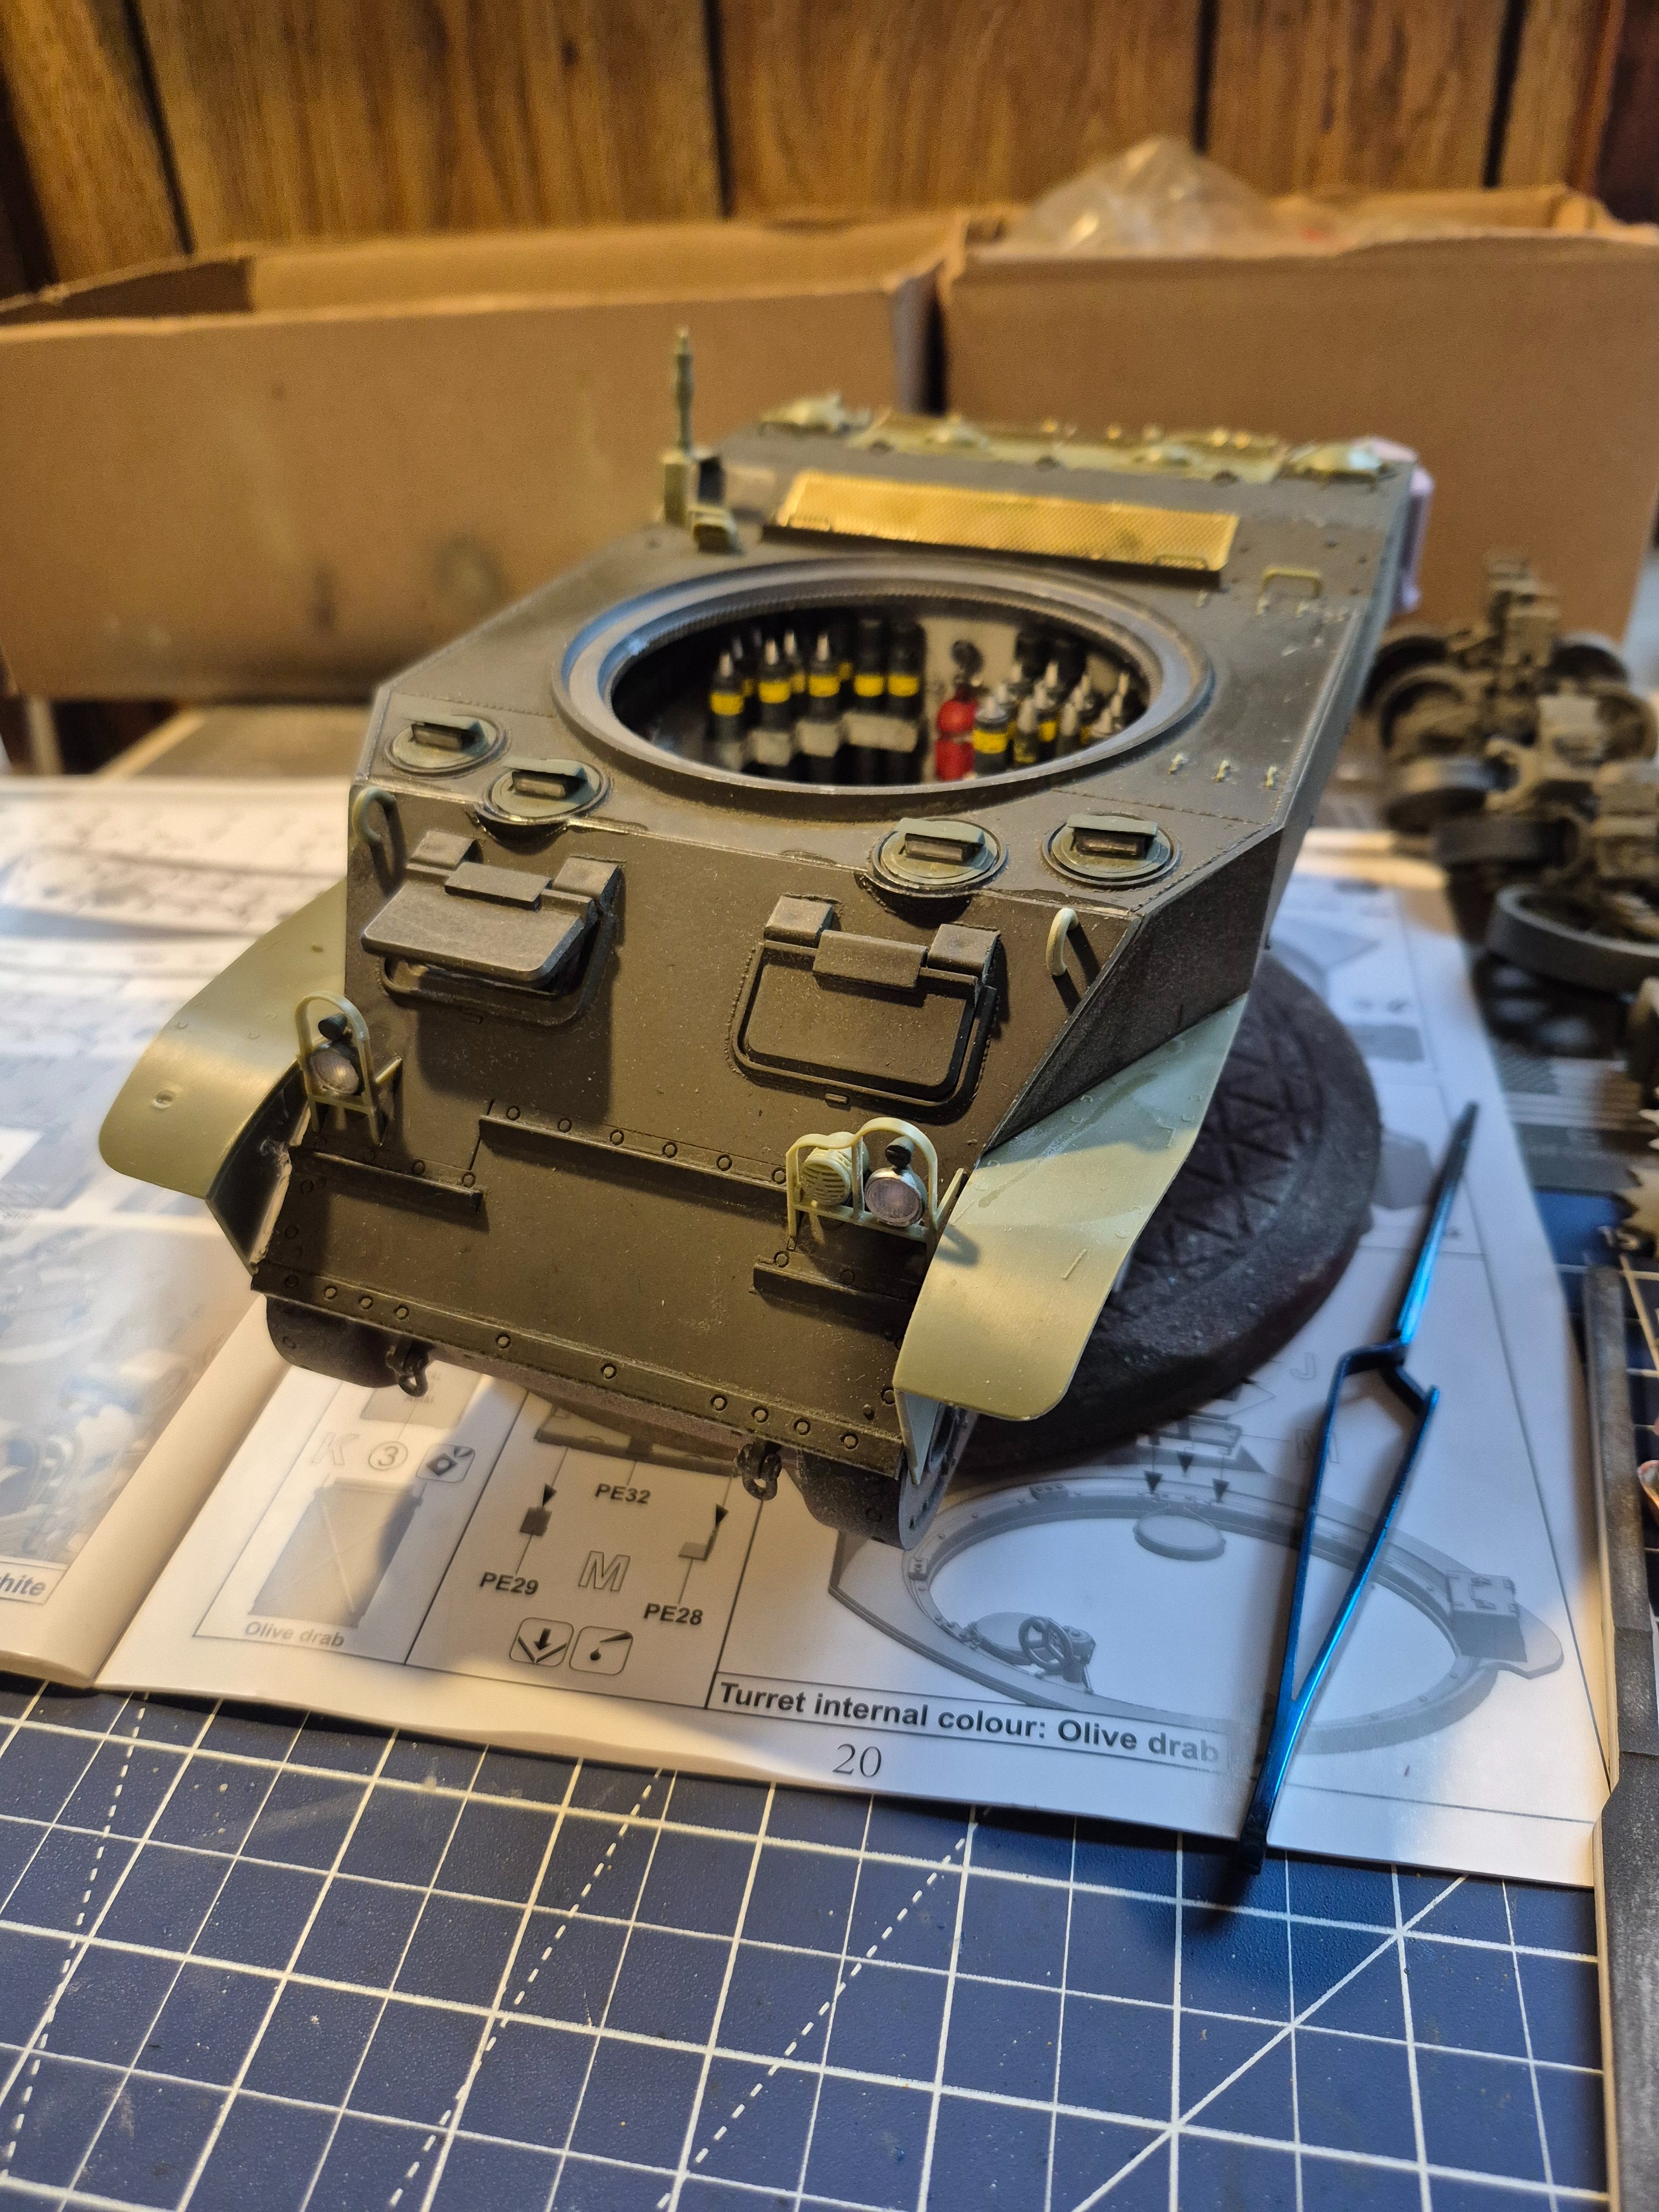
I got the upper hull body attached before I started my Fokker D.VII for the biplane GB.
17833635565103679881776216670847.jpg

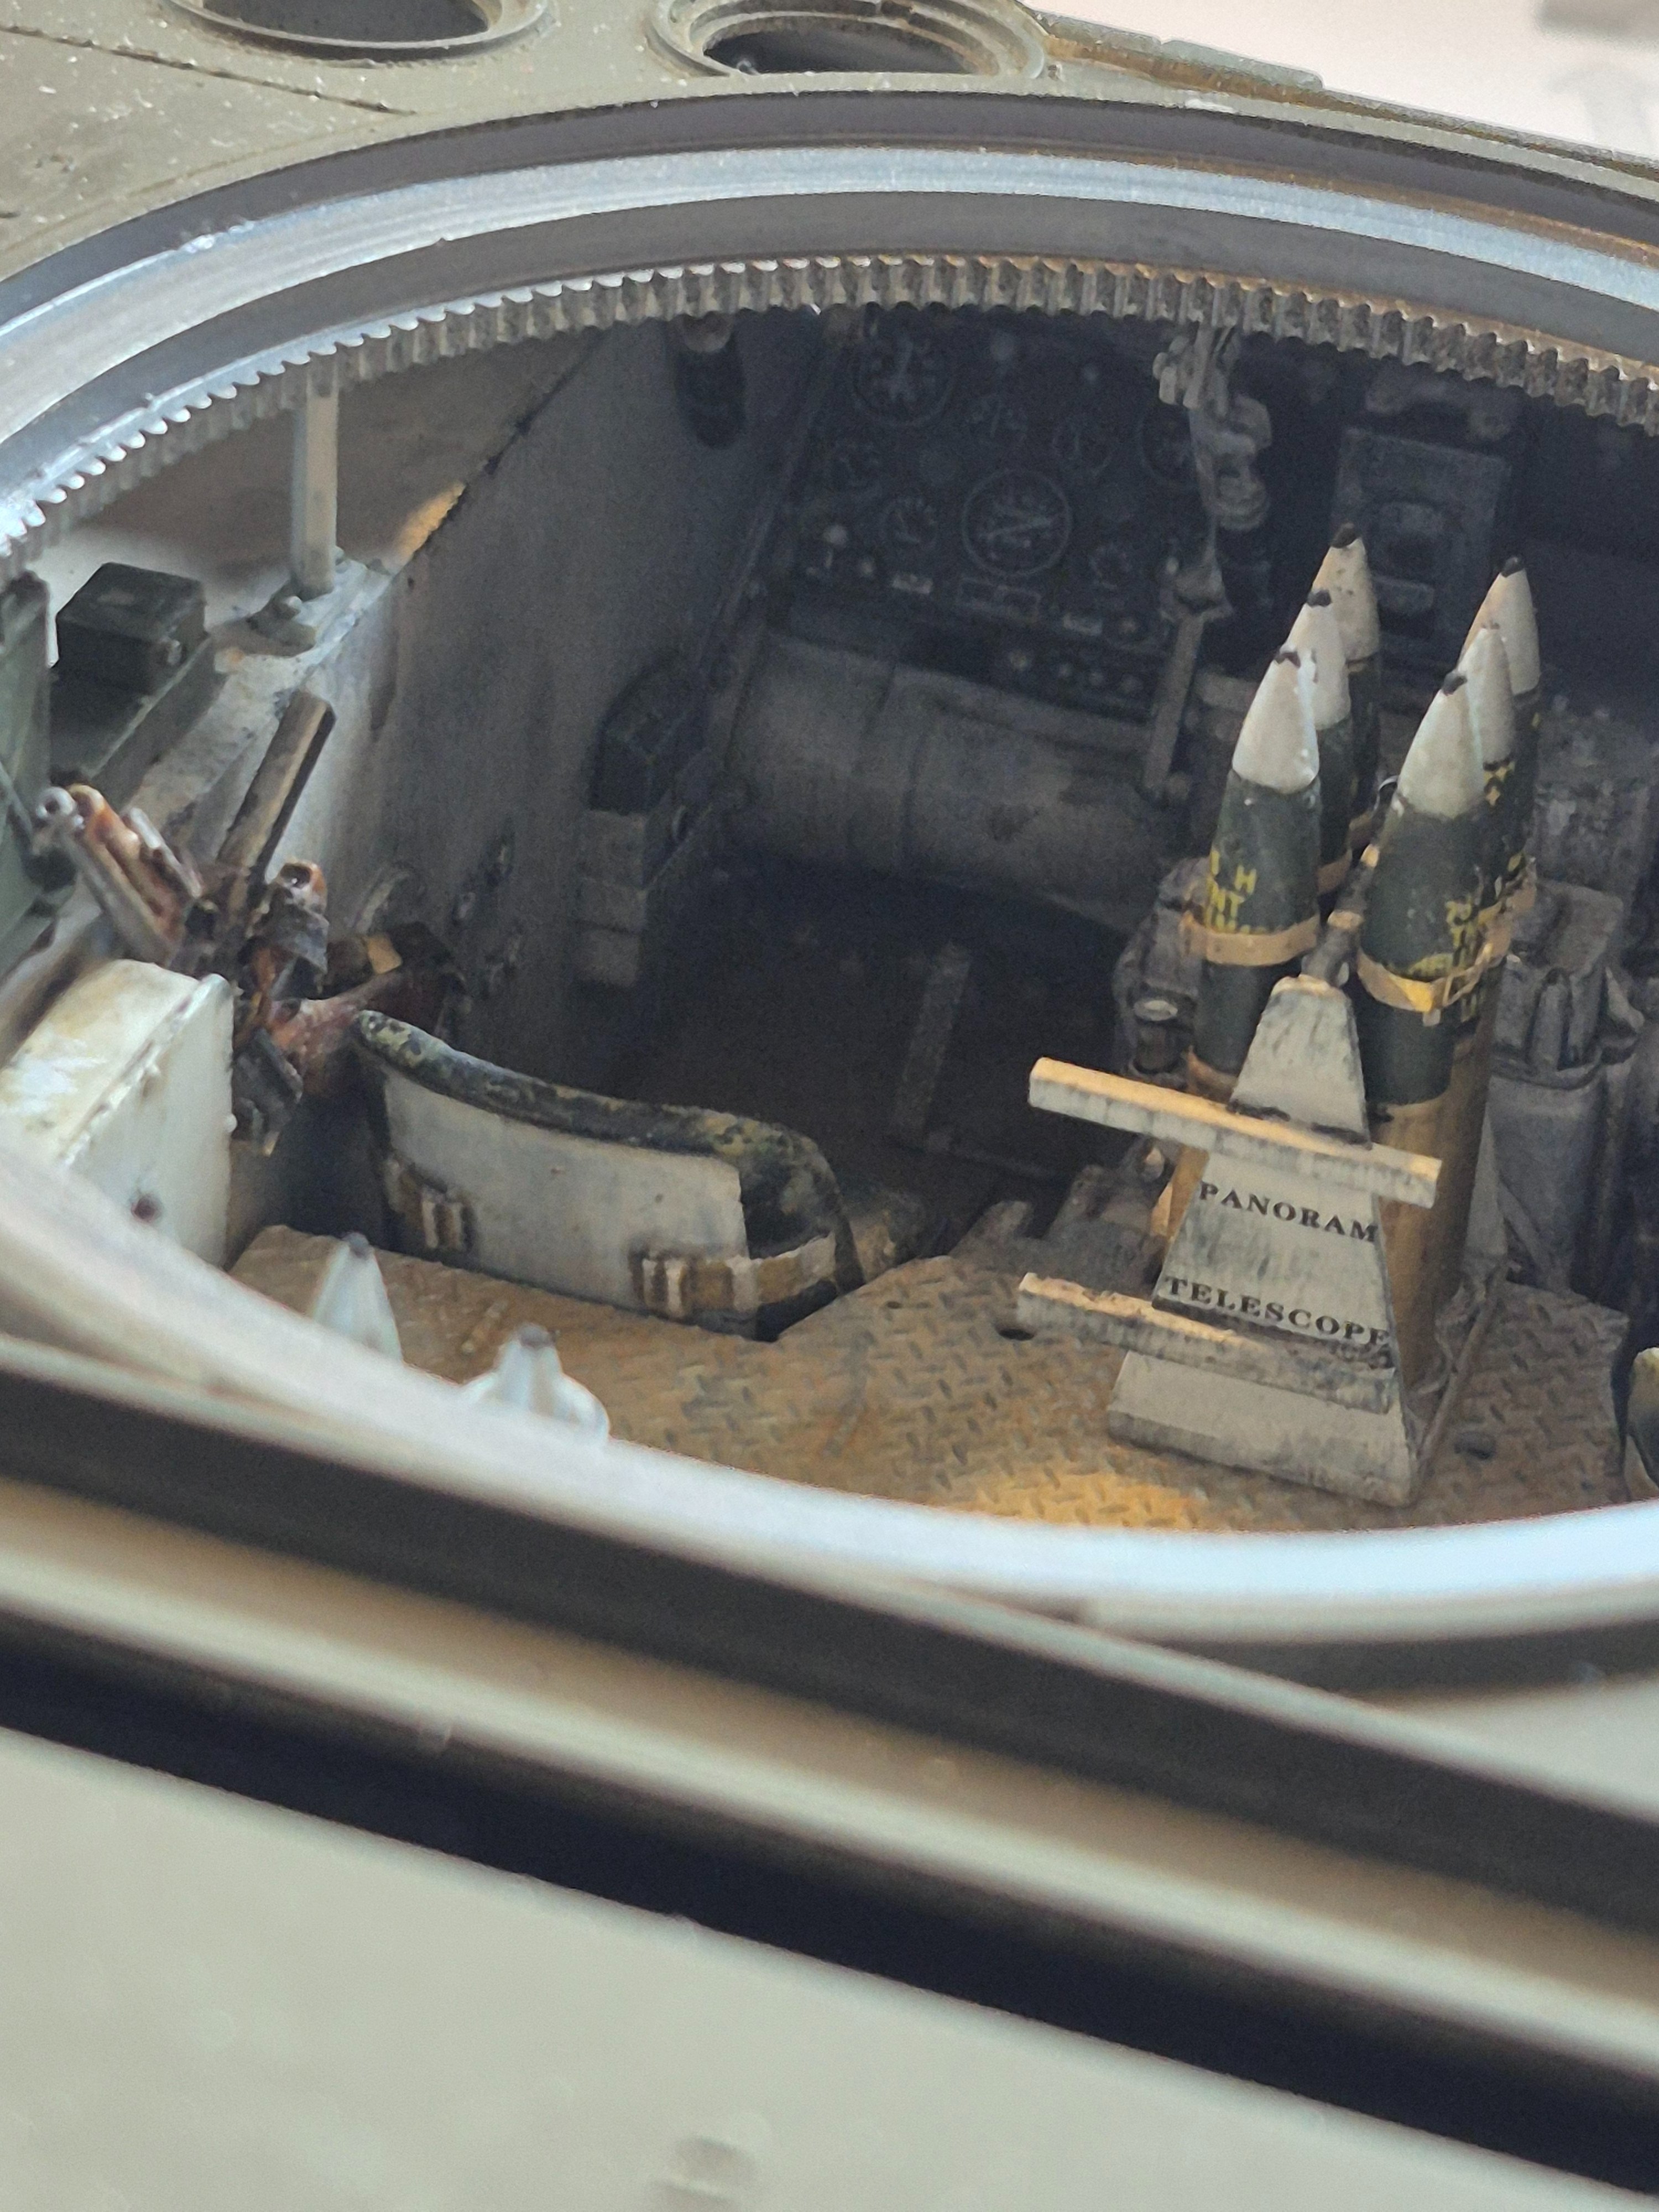
178336360205238725804635751370.jpg


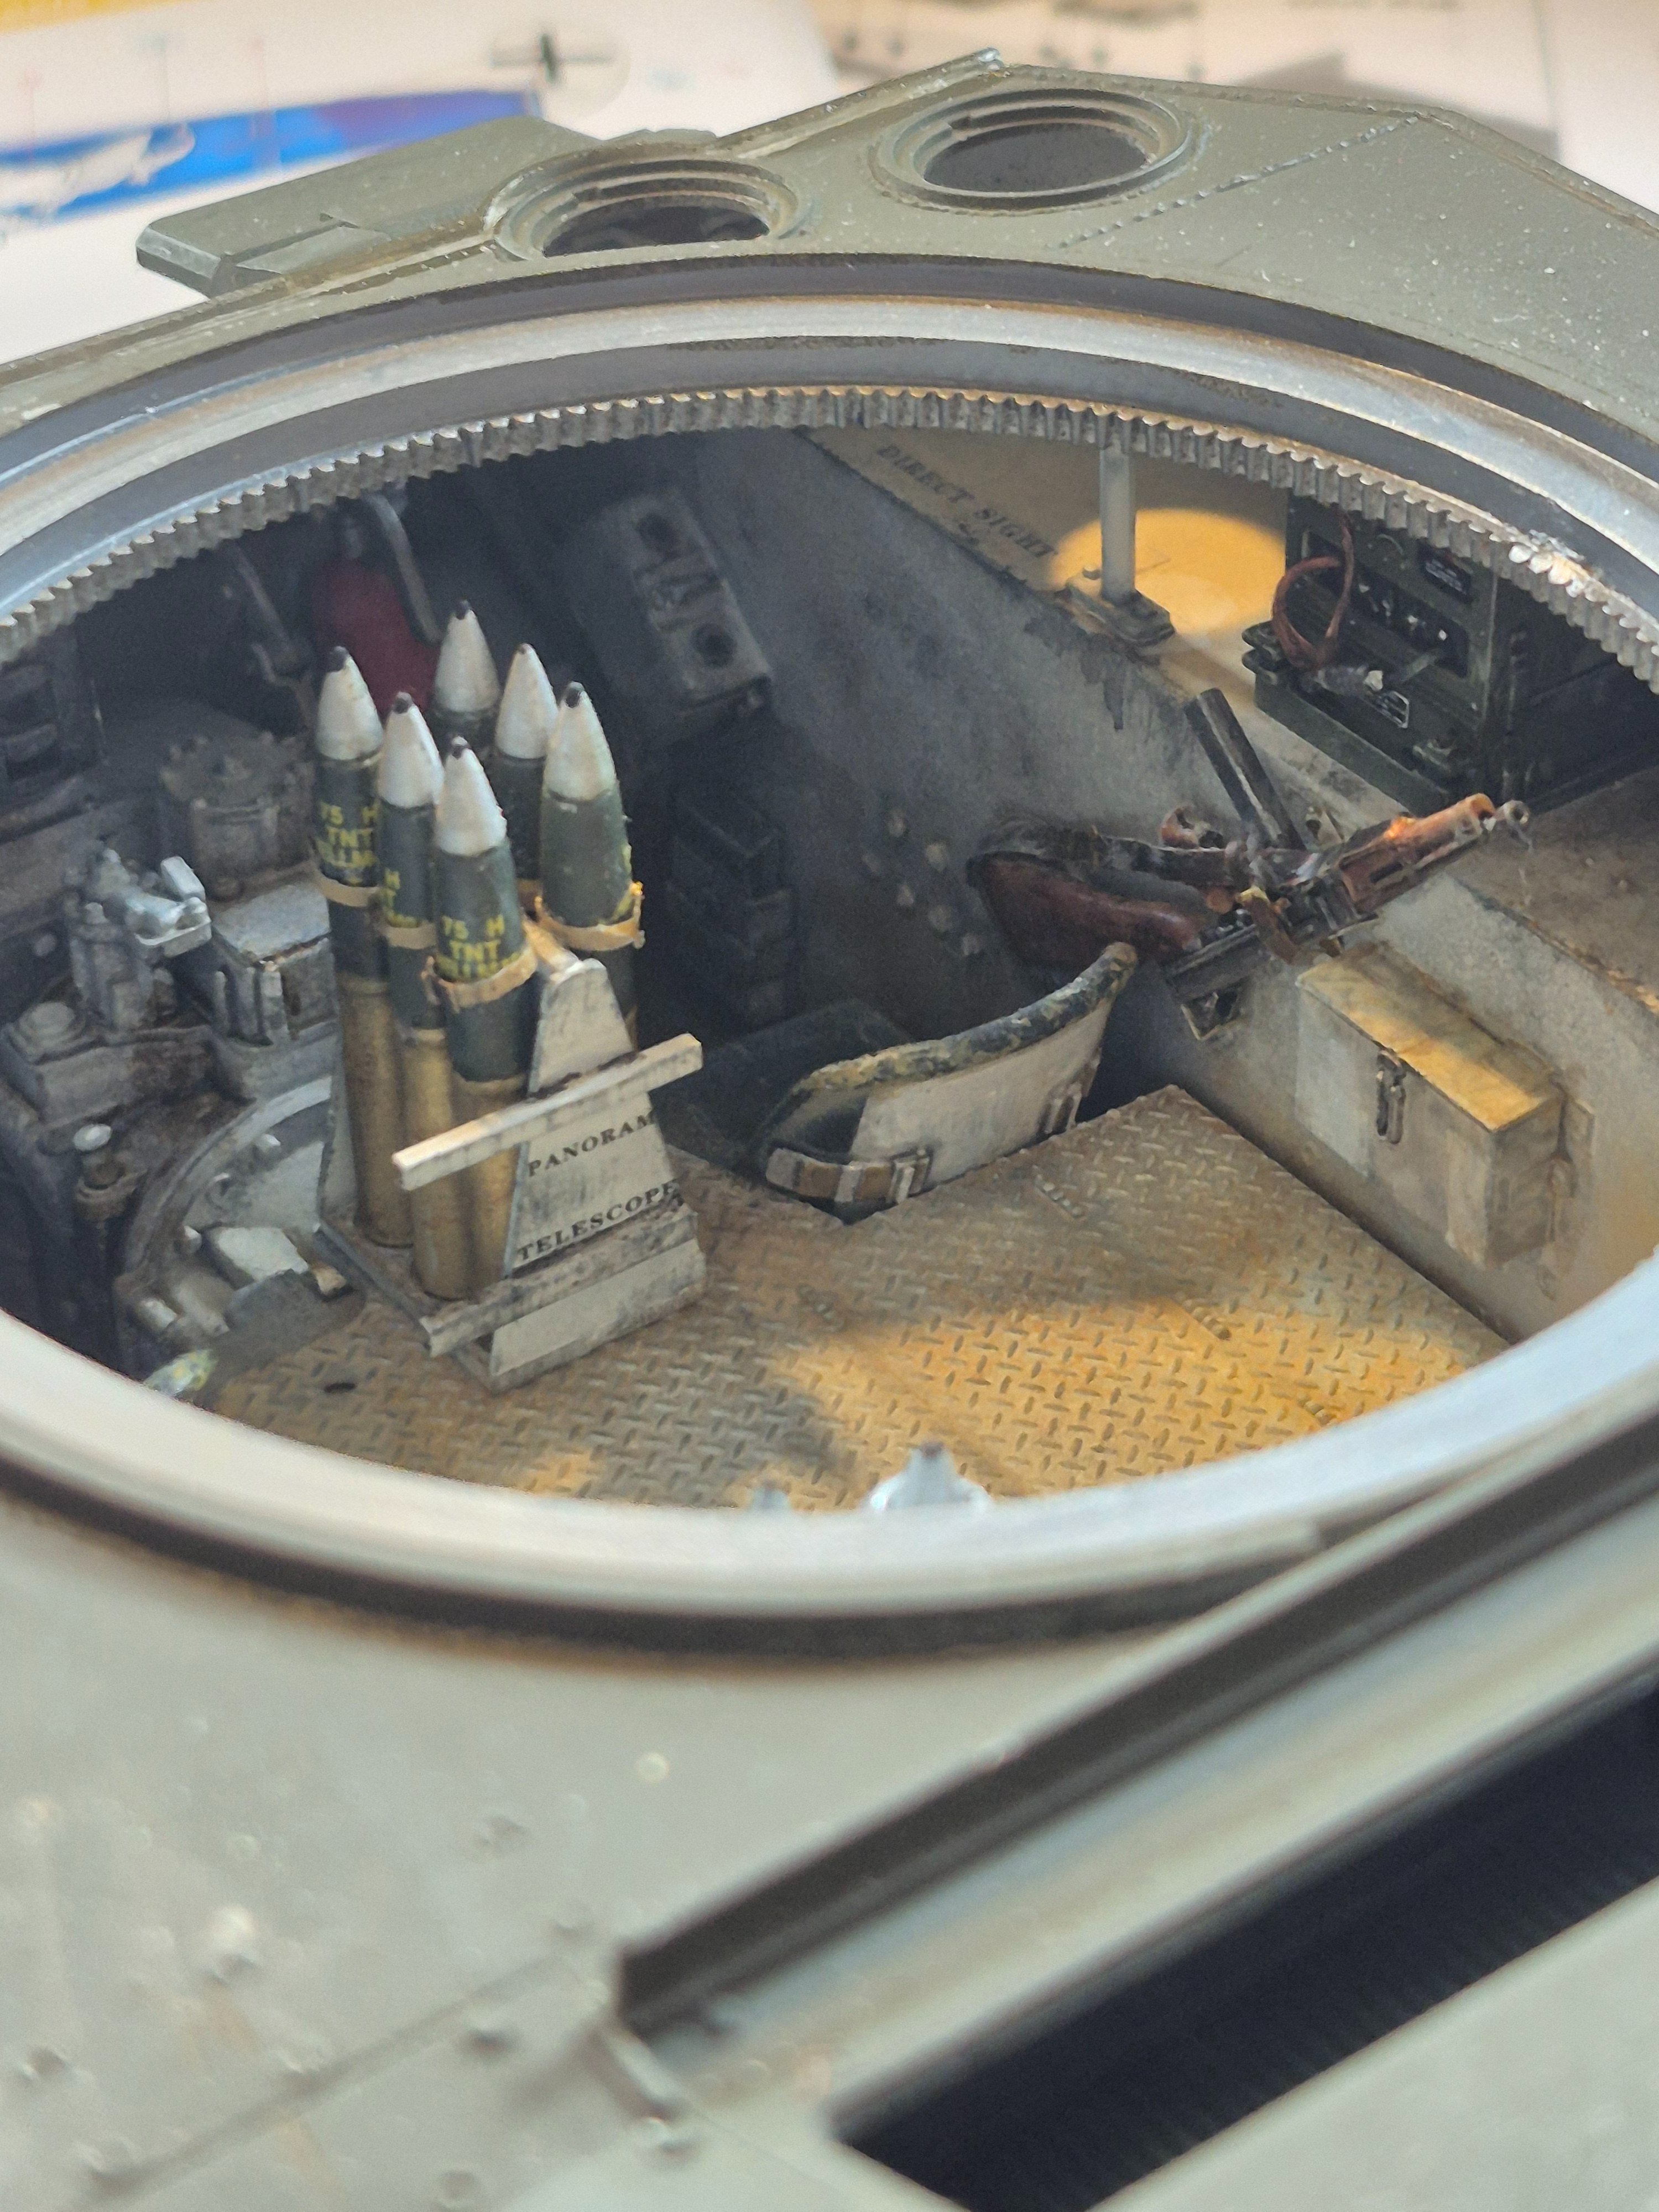
17833636486391061565470268891514.jpg


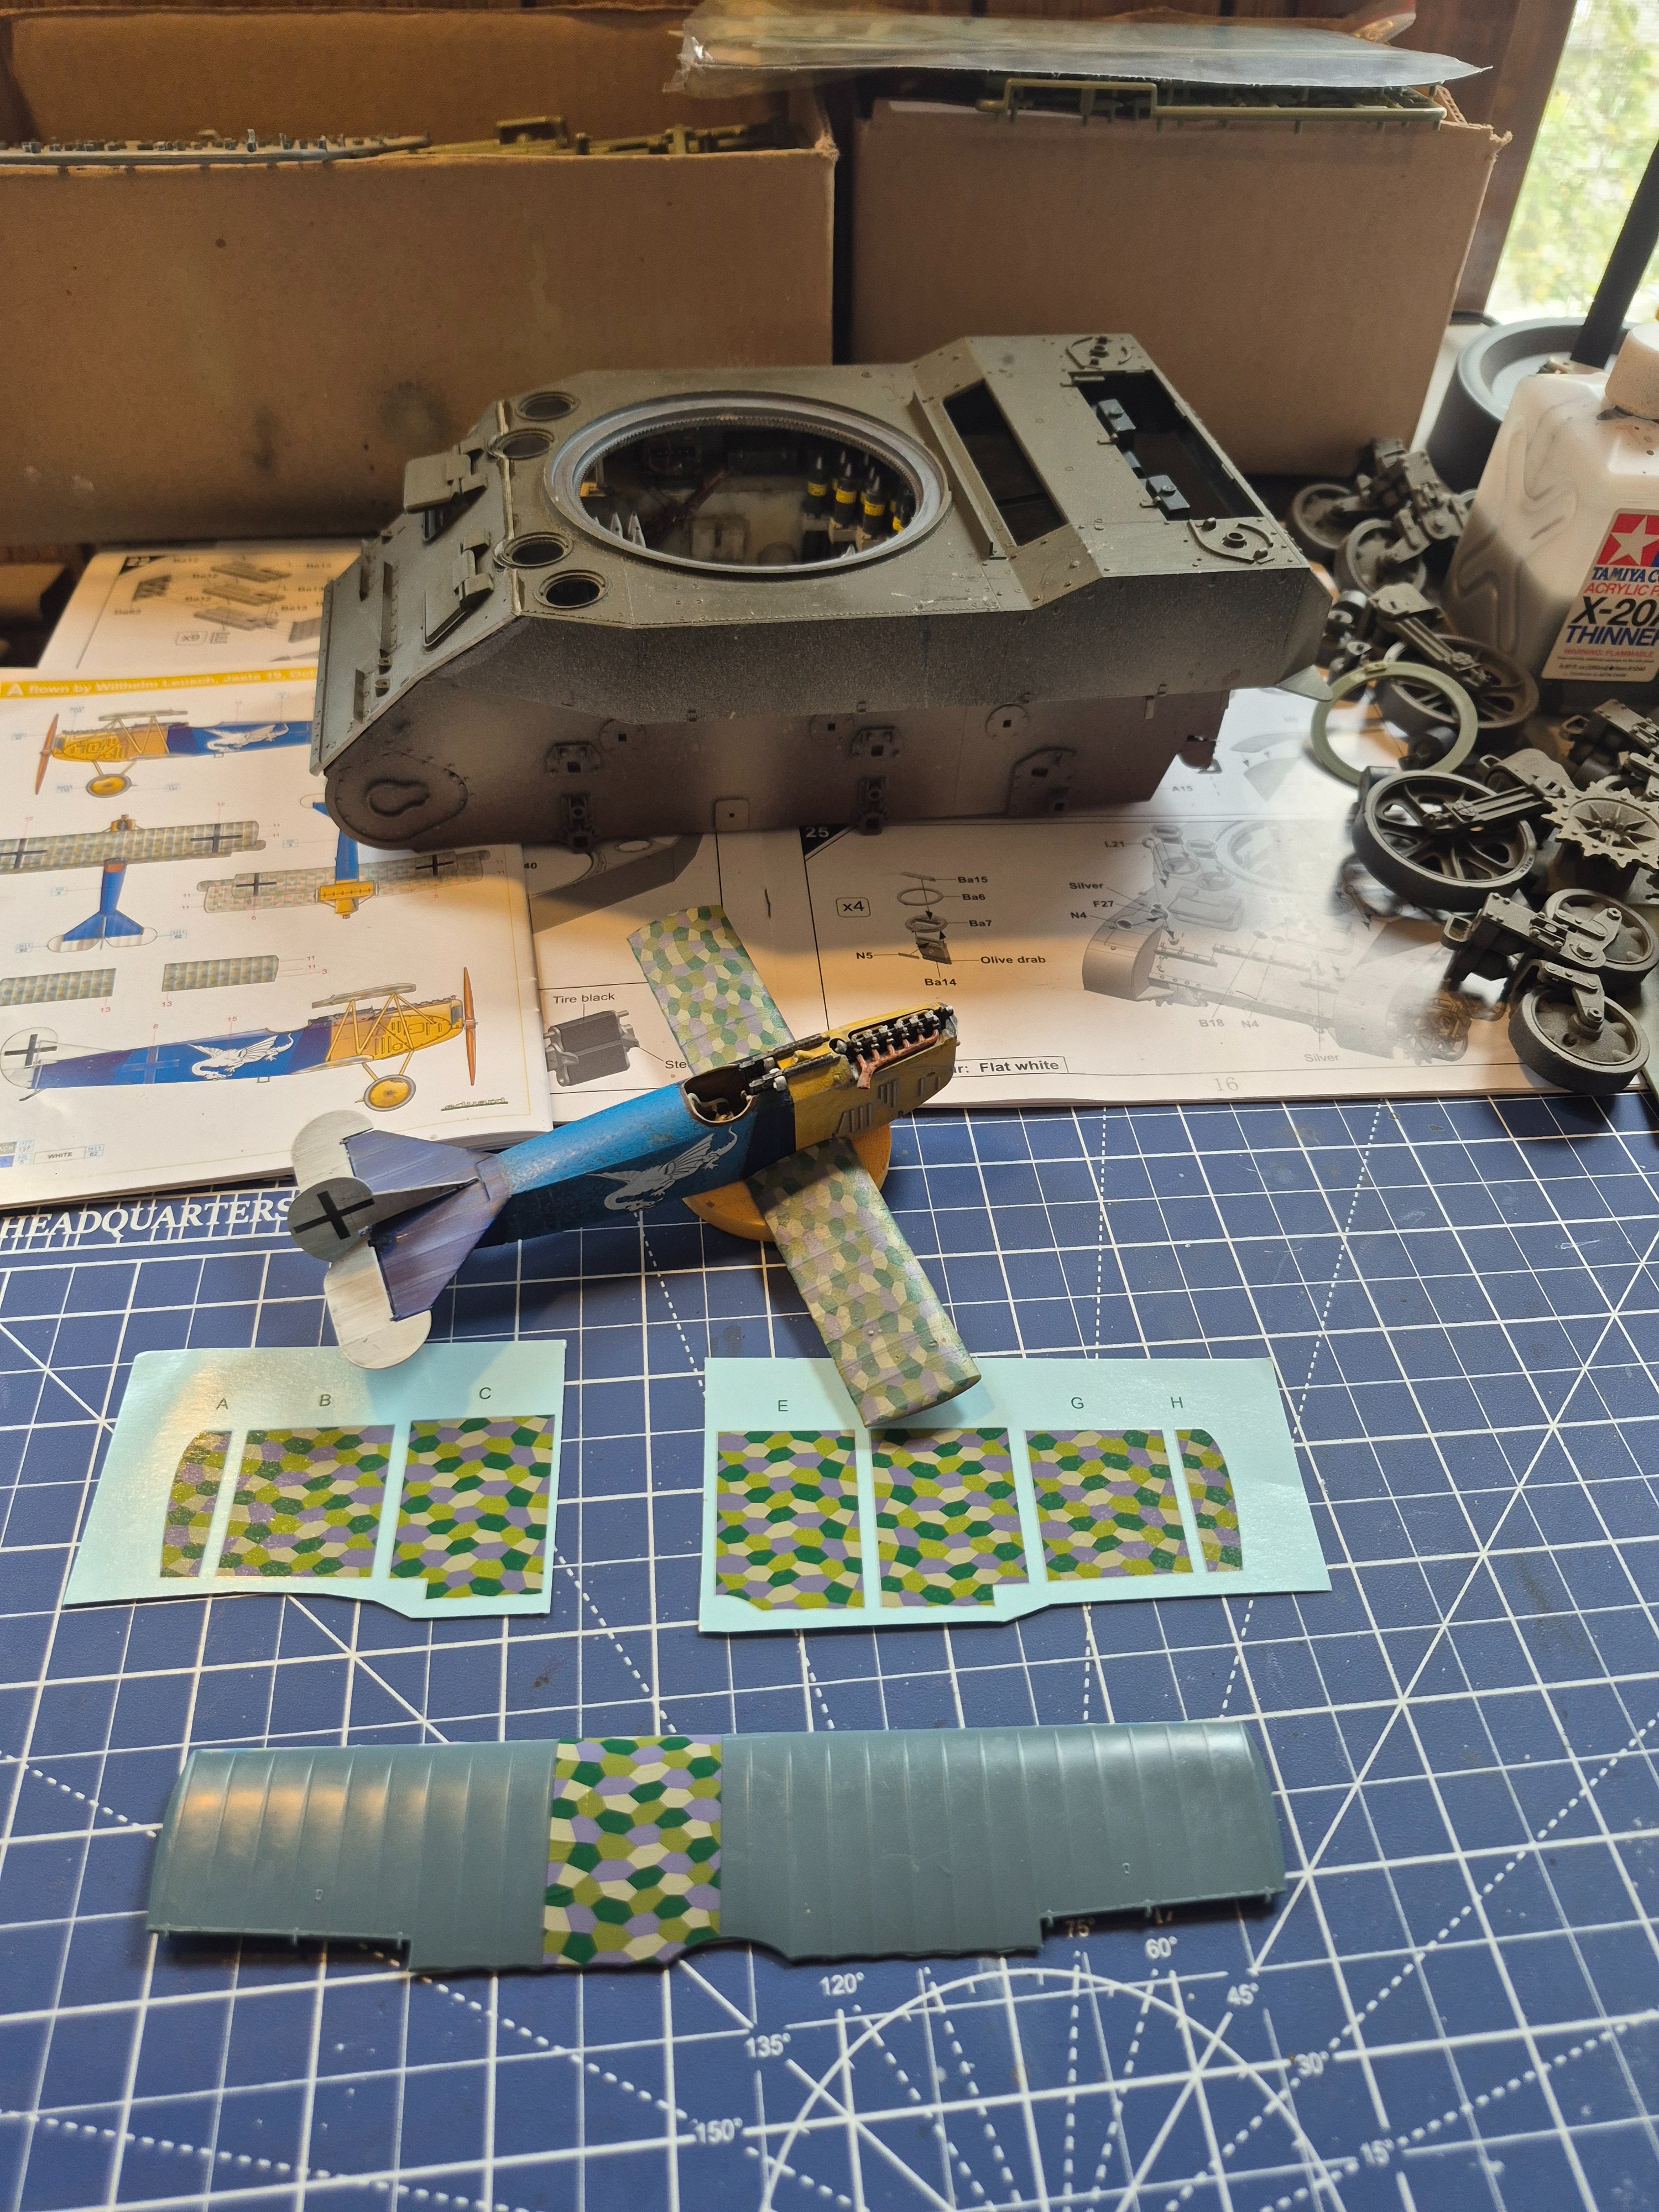
I'll get back to this once the Fokker is done.
1783363924323132107621210075195.jpg
 
When I grow up I hope I can do an interior that well!
I hear you. It looks real. And that's one of the reasons I put away my tank with complete interior. I started working on the interior and didn't have a clue as to what I was building. I know airplanes. I didn't know anything about tanks back then. So I told myself you are not ready for this. Put this away and save it for a rainy day
 
This is my fourth 1/16 armour build with a full interior.

Yes, previous builds have definitely helped to further my abilities.
Also that's one of the reasons I paint and weather everything, even if it won't be seen in the finished build. I don't think practice makes perfect, but it helps to achieve the look I'm after.
Also, the kits with full interiors cost more, so why not get your monies worth by building and painting everything the kit provides.
:)
 
As an Amazon Associate we earn from qualifying purchases. Product prices and availability are accurate as of the date/time indicated and are subject to change.
I hear you. It looks real. And that's one of the reasons I put away my tank with complete interior. I started working on the interior and didn't have a clue as to what I was building. I know airplanes. I didn't know anything about tanks back then. So I told myself you are not ready for this. Put this away and save it for a rainy day
That's when I buy a cheaper kit to build my skills on. I had originally planned on building my Wingnut kit for the GB but as I looked at the details in the kit and saw some of the aftermarket options I decided to save that for when I can take my time with it.
 
Really looking forward to the exterior after watching you hit the HR on the interior!
Wish my Uncle Everett was still alive to see this int. Not quite the same as he started out as a driver on a M5 Stuart in France with 4th AD. By wars end, he was a Sgt in command of a M24 Chaffee, having crewed all spots on his M5. But as a kid, when he did talk about it, it was the fun of racing around in the little flea, zipping around the "fat, slow" Sherman's… M8 could do pretty much the same thing
 
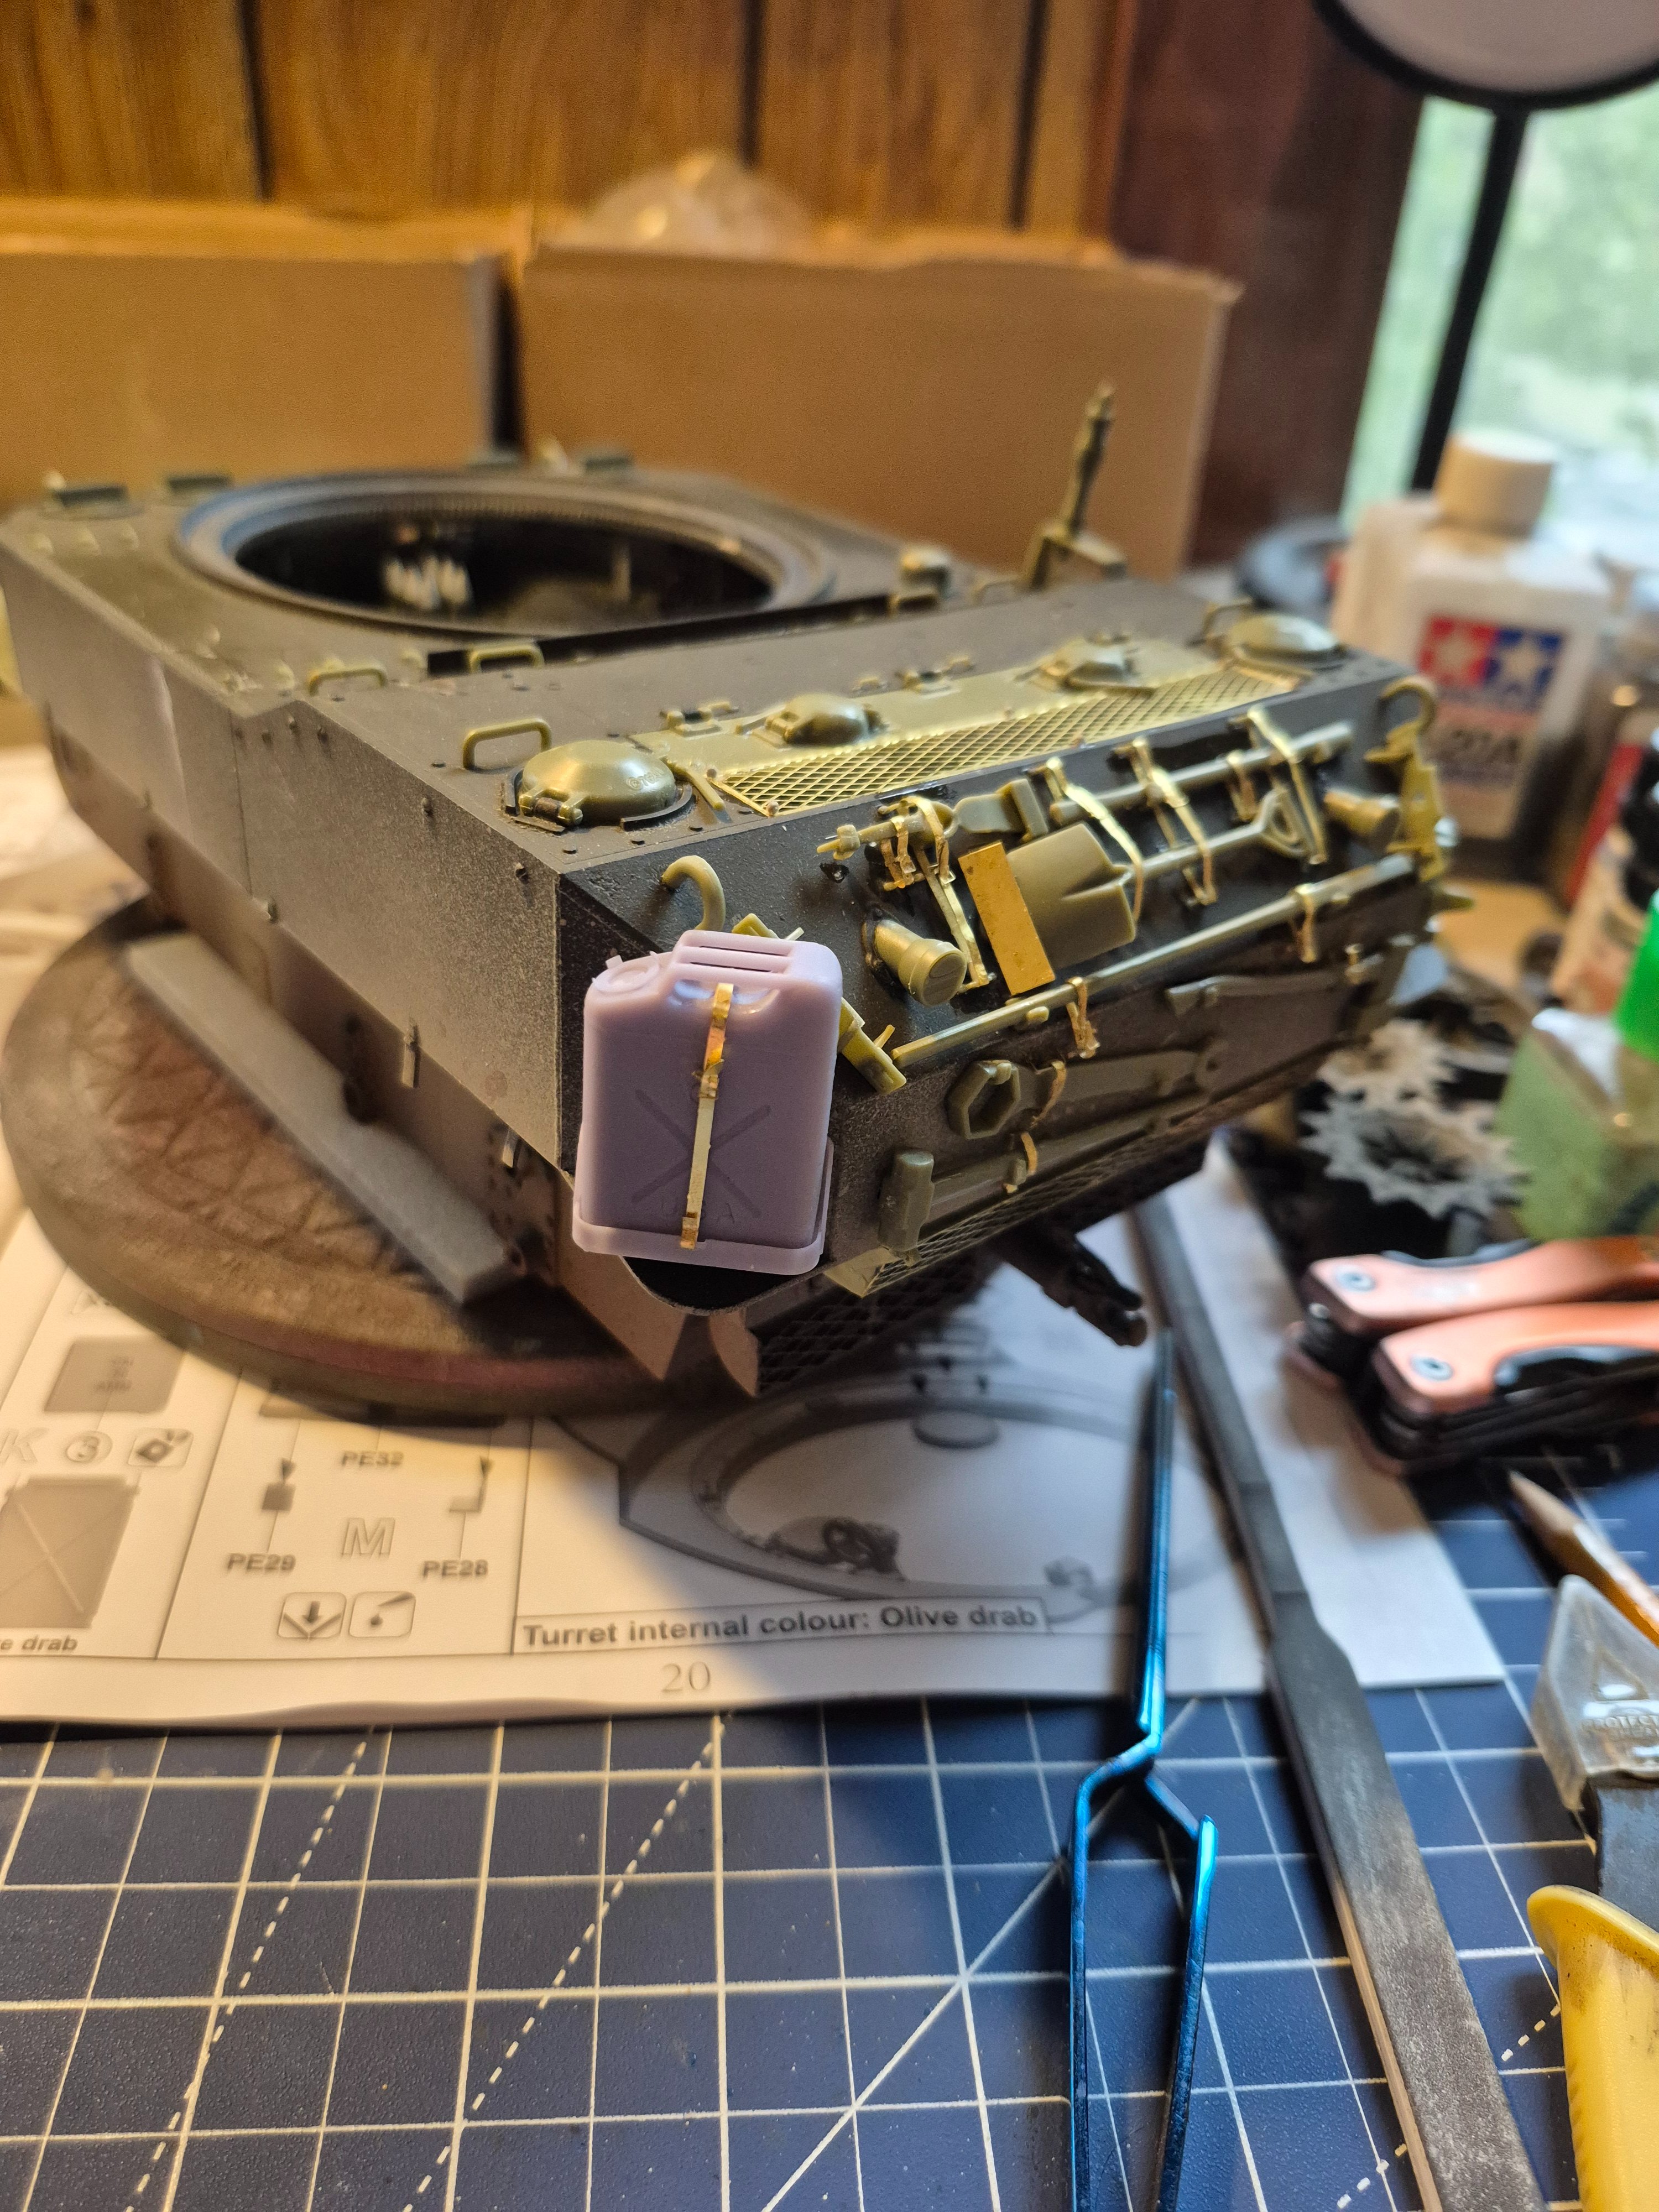
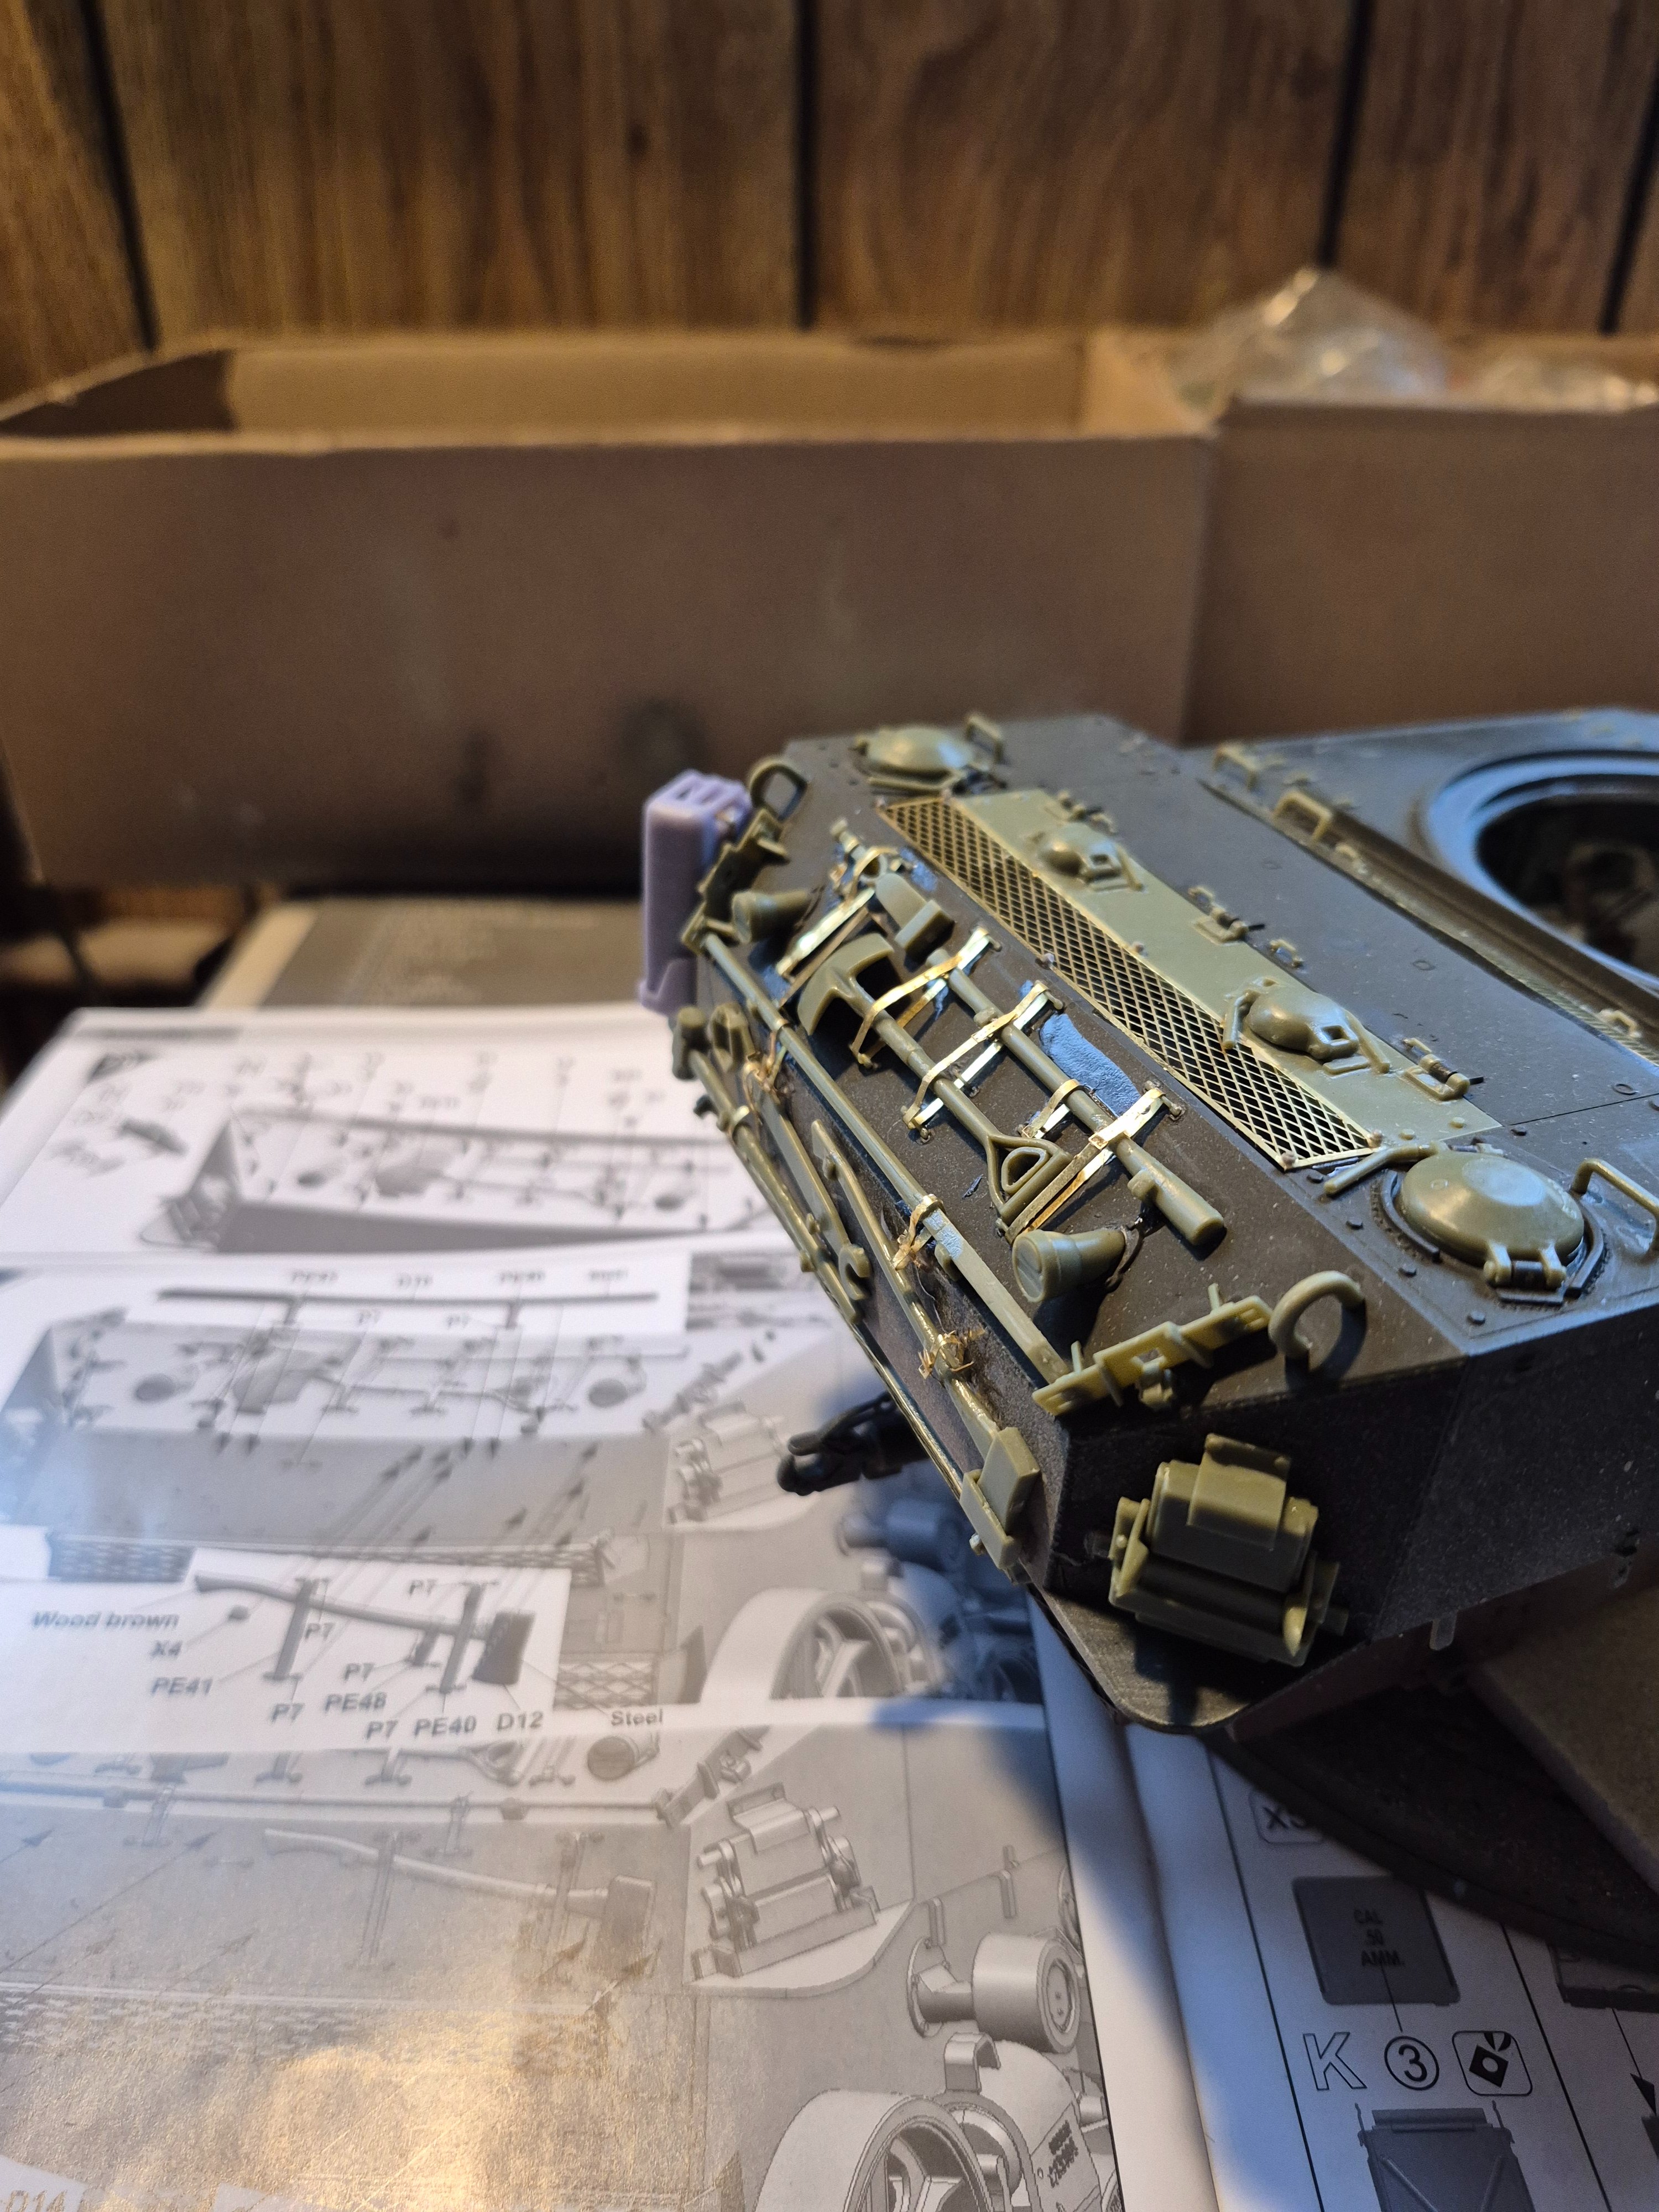
I have finished applying the tools, parts, and pieces on the exterior of the lower hull.
17844112080317461896895089997234.jpg

17844112720233440929366153300606.jpg

17844114165648215596749700268244.jpg

Those PE straps really tested my patience, but in the end I think they are worth the effort. Respect for you guys that mess with these in 1/35.
I was originally going to paint the tools before applying to the model like I usually do, but I changed my mind once I realized what a project the PE straps were going to be. I didn't want CA glue all over painted parts. I figured it was going to get messy.
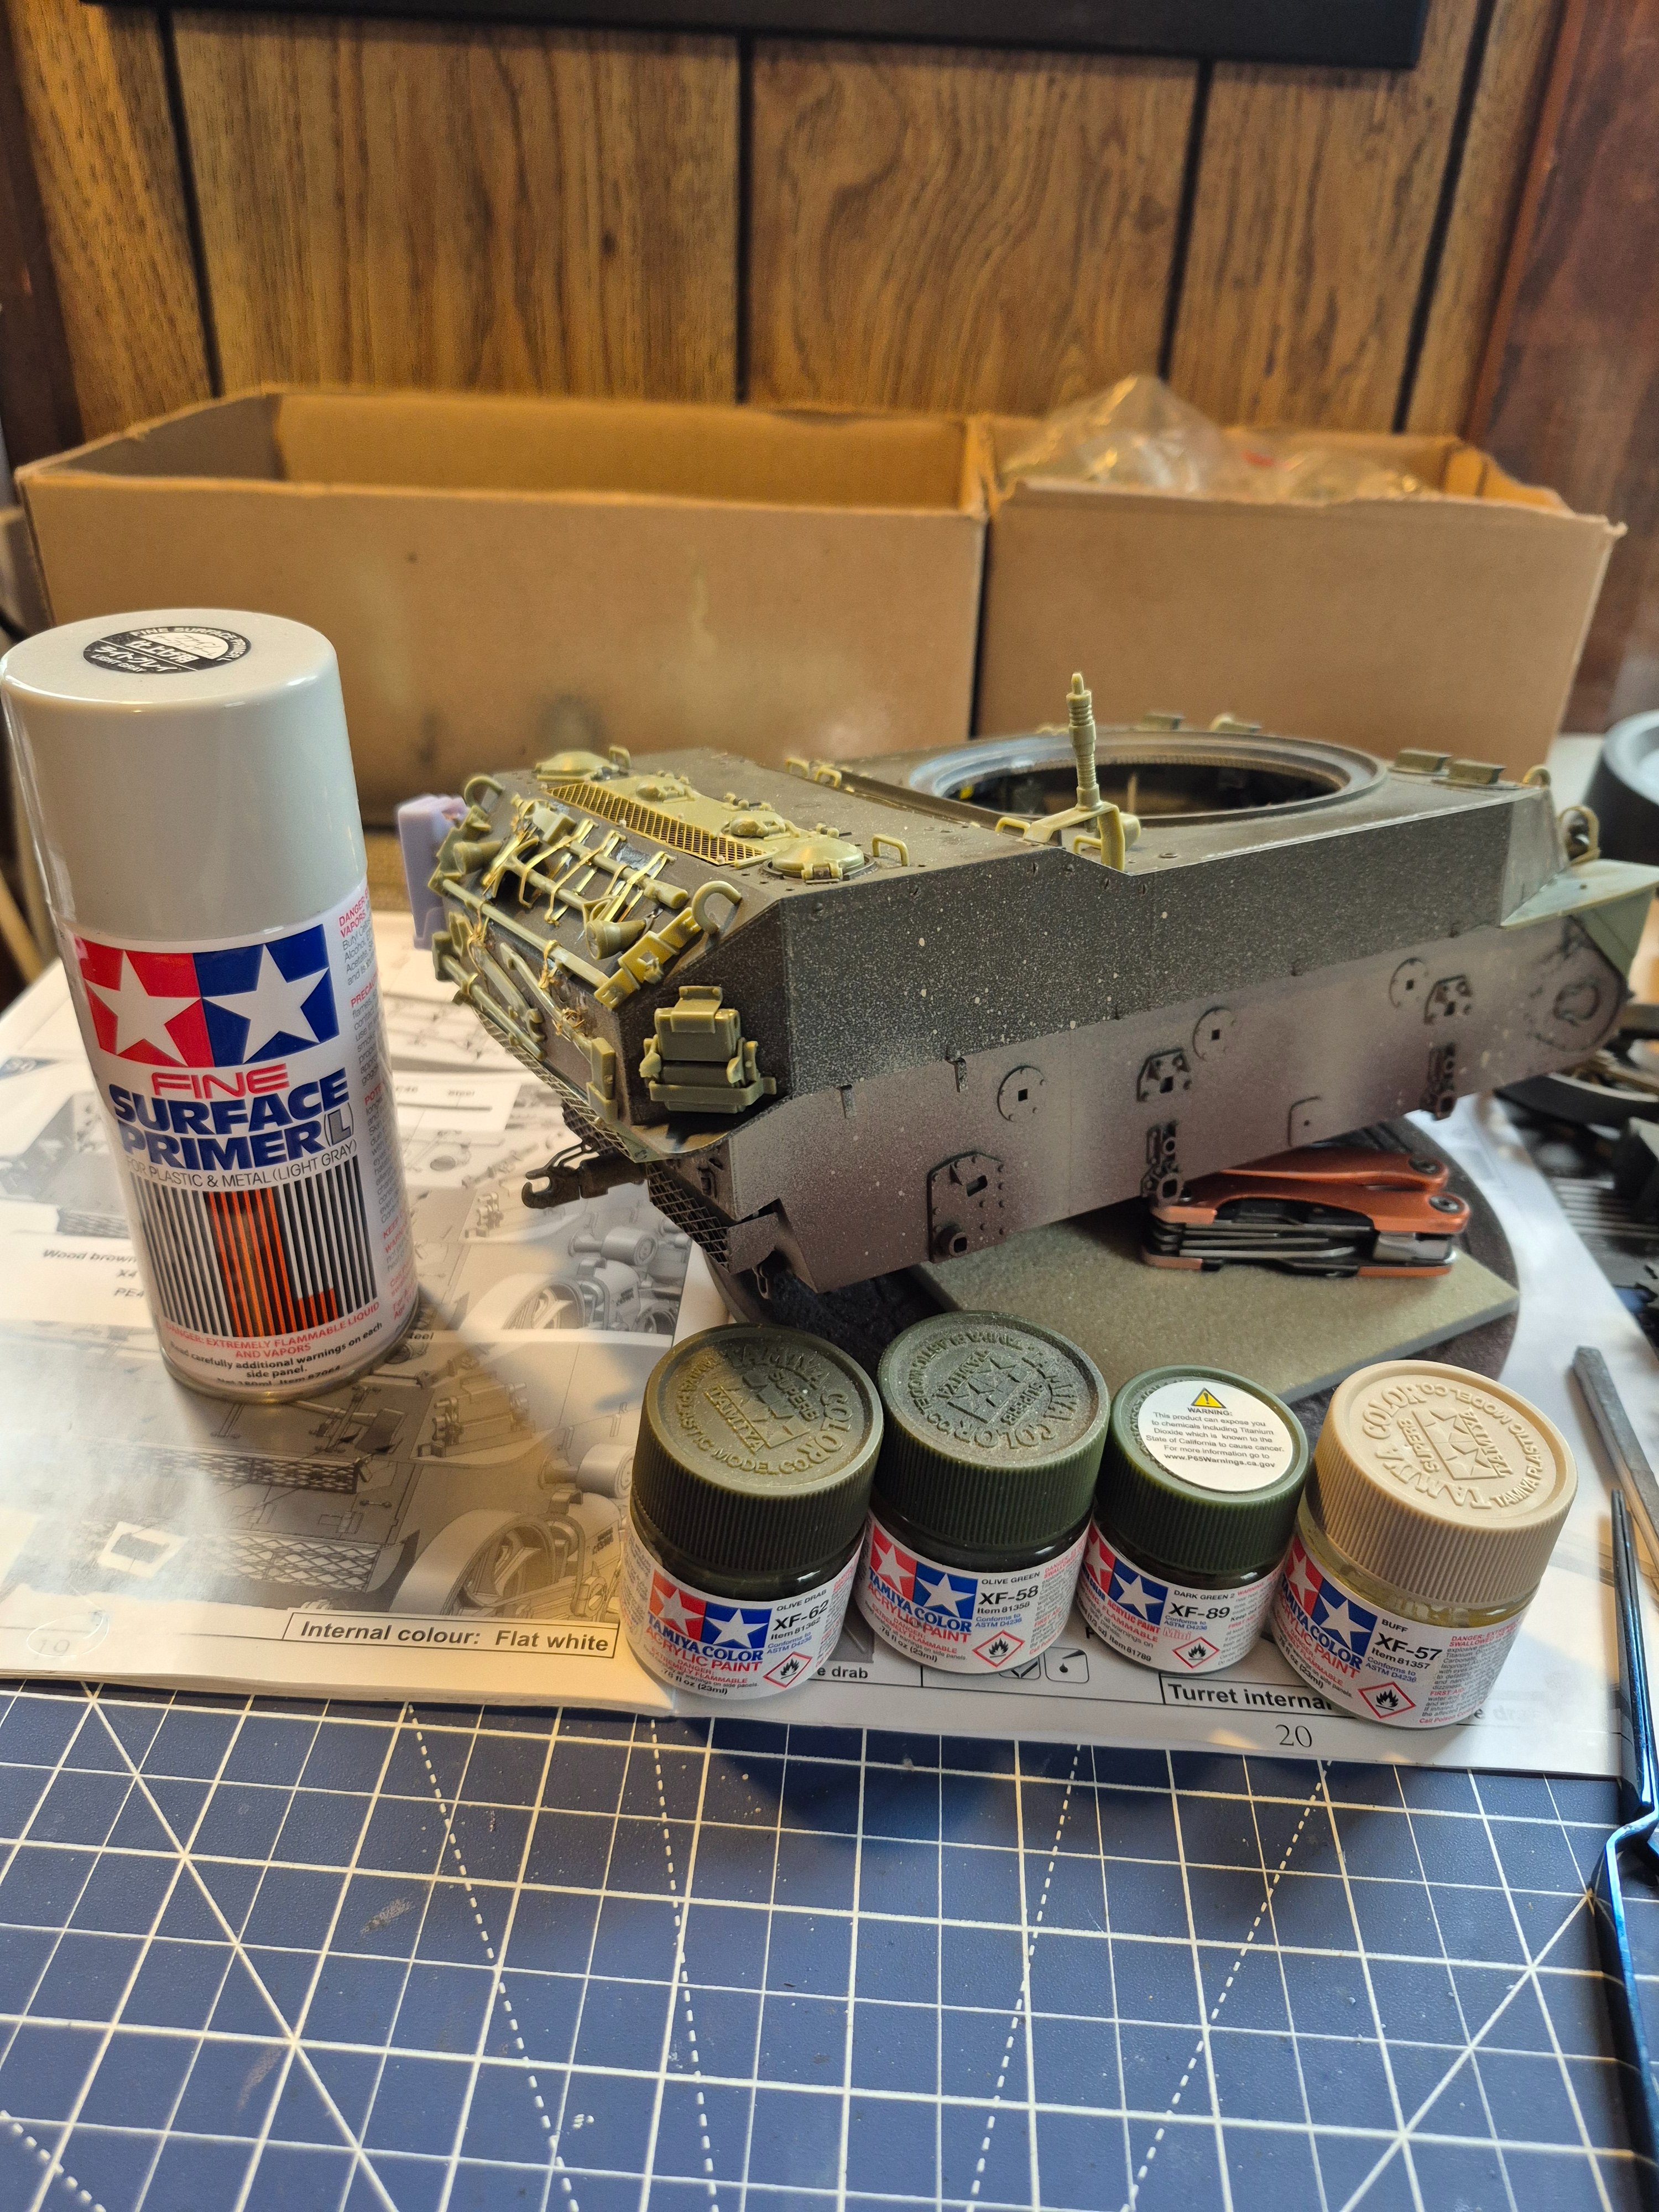
Next step is to spray on some Tamiya primer, but just enough to cover the PE and bare plastic parts. I want it to be blotchey on top of the OD green already on the hull. My goal is strong color modulation of the OD. I will not touch the lower half since I already have some "pre - weathering" going on before the wheels and tracks are fixed.
178441249636237972378761071455.jpg

Hopefully my plans are achieved, if not there is always plan B, once I think of one. :)
 
Straps look great! Threading the buckles does stretch patience, but I agree, worth the effort.
Often in 1:35, I forgo the PE strap, keep the PE buckle and cut my own strap from copper foil which is more pliable and forgiving.
 
I have finished applying the tools, parts, and pieces on the exterior of the lower hull.
View attachment 196770
View attachment 196771
View attachment 196773
Those PE straps really tested my patience, but in the end I think they are worth the effort. Respect for you guys that mess with these in 1/35.
I was originally going to paint the tools before applying to the model like I usually do, but I changed my mind once I realized what a project the PE straps were going to be. I didn't want CA glue all over painted parts. I figured it was going to get messy.
Next step is to spray on some Tamiya primer, but just enough to cover the PE and bare plastic parts. I want it to be blotchey on top of the OD green already on the hull. My goal is strong color modulation of the OD. I will not touch the lower half since I already have some "pre - weathering" going on before the wheels and tracks are fixed.
View attachment 196774
Hopefully my plans are achieved, if not there is always plan B, once I think of one. :)
Not busting your balls but pretty sure no one painted their gas cans lavender. Jit's sayin'😂
 
I have finished applying the tools, parts, and pieces on the exterior of the lower hull.
View attachment 196770
View attachment 196771
View attachment 196773
Those PE straps really tested my patience, but in the end I think they are worth the effort. Respect for you guys that mess with these in 1/35.
I was originally going to paint the tools before applying to the model like I usually do, but I changed my mind once I realized what a project the PE straps were going to be. I didn't want CA glue all over painted parts. I figured it was going to get messy.
Next step is to spray on some Tamiya primer, but just enough to cover the PE and bare plastic parts. I want it to be blotchey on top of the OD green already on the hull. My goal is strong color modulation of the OD. I will not touch the lower half since I already have some "pre - weathering" going on before the wheels and tracks are fixed.
View attachment 196774
Hopefully my plans are achieved, if not there is always plan B, once I think of one. :)
Straps look strapping! Way better than my simple straps without buckles!
 

Latest posts

Back
Top