1/24 Ju87-B2 Stuka, MPC

Bomber Boy

Static Grass Is The Sh!^
Joined
Sep 1, 2011
Messages
85
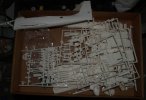
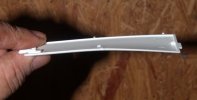
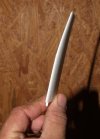
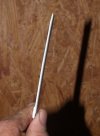
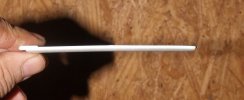
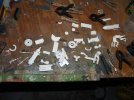
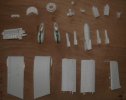
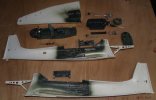
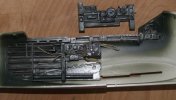
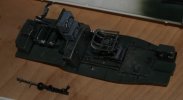
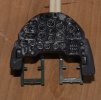
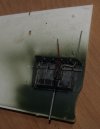
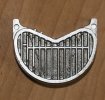
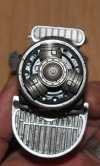
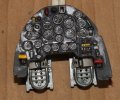
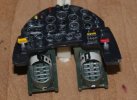
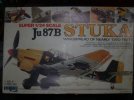
Yeahhhhhh!!! Build Season is Back On! Now that my vending season is over I can once again begin My manic build fest. My first this season is the 1/24 Stuka a good friend Gifted me at my area show "The Virginia Shootout" in Roanoke, Va. this past Fall. Being that his name is Hunter I will be using his name on the plane as the pilot and myself as gunner. This as such will be a fictional plane from StG/77, since I just love yellow nose german planes. In these first photos you see the Box, parts bags, and my halves builds ie: all the parts that are in half put together. There is also photos of a BADLY warped elevator plane that I fixed using a hairdyer and a twisting motion. This should be a FUN build as I intend to scratch build quite a few parts and knobs, and all the decals will have to be redone as the ones in the kit are waisted, since this is a fictional build that should be no problem, but very authentic.

As I usually build two models at a time to relieve stress and use time more wisely I have a quandary and need your help! I have for the first time in my life "A Stash" how that happened I don't know as I usually build as I go, but now I don't know which to build along with this one. So I need y'all to help me decide, F-4F Phantom, F-15E, Kingfisher, Nakajima Ki43, Tiger 1 tank, F-86F, clearside B-17G, or Spitfire Vb. Thanks for your help.

Now the Stuka Photos
stu8.jpg
stu2.jpg
stu4.jpg
stu3.jpg
stu5.jpg
stu6.jpg
stu1.jpg
stu7.jpg

Thanks For Looking
James
 
I'll be watching this for sure. This is pure nostalgia for me. I received this kit as a Christmas present in 77 or 78. i've been trying to get one at a reasonable price for a while now. ;)
 
This will be a fun project ....A Kingfisher would be nice too ;D ;)

Chris.
 
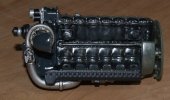
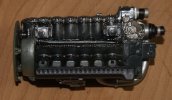
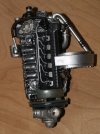
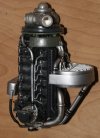
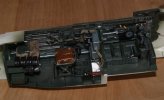
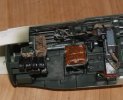
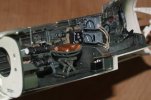
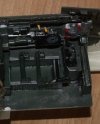
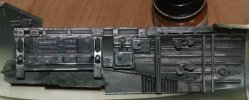
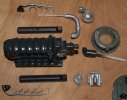
Howdy Folks, I've got some update photos for Y'all. I have gotten most of the cockpit done, along with the wing mount gun compartment, and most of the engine, of which I have the most photos. so let get to it then, the first set is of overall work shots and cockpit,

PC104229.jpg

st11.jpg

st12.jpg

st3-1.jpg

st4-1.jpg

Now the engine,

st10.jpg

st9.jpg

st8-1.jpg

st7-1.jpg

st6-1.jpg

st5-1.jpg

Hope you enjoyed these shots, a lot more to come we're on a Roll, Thanks For looking,

James
 
Nice progress :)....I like the engine ..very nice ;D

Chris.
 
Engoying this build so far, excellent cockpit detail.

My Grandmother told me once about running to a bomb shelter during WW2, with my mother in a pushchair & dragging my uncle by the hand, hearing and seeing the Stuka's on their bombing runs, and telling me how frighting the sound of this aircraft was if you were on the ground.

R.I.P Grandma.

Nylinski
 
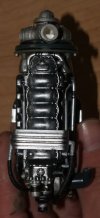
Thanks for all the Comps guys, Ya"ll just make me want to build, build, build!!! More Pics of completed engine and most of cockpit work. Knobs in cockpit all scratchbuilt.

st13.jpg

st14.jpg

st15.jpg

st16.jpg

st17.jpg

st18.jpg

st19.jpg

st20.jpg

st21.jpg

st22.jpg

st23.jpg

st24.jpg

Thanks for Looking

James
 
Yeah Quaralane, these planes flew A LOT of sorties especially in the beginning when the Germans had supremacy. Some planes flew 5-10 sorties a day, so they got pretty worn pretty fast, and in times of WAR you don't have time to keep things looking pristine. I get so erked at shows when planes win that look like they just rolled of the line, yet they have 12 kills on the side, now tell me how you get 12 kills and still have No Oil leaks, No engine, or gun, blowback, no paint chipping or wear???? I guess that is what happens when Car builders are used as judges of planes since the plane builders already have entrants and they are judging cars. I see it all the time.

Thanks for noticing!
James
 
James,

I really like the way the seats are worn, it really looks like they are made out of cloth and have been sat on for hours. Would you mind sharing your technique for that? The build really does look amazing!
 
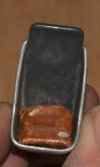
Hey Adampolo13, to some my technique for this my seem gross to some but it does work so well. I used in this case two cigarette butts wrapped with a single layer of beige regular ole masking tape. Lay the butts down close together and flattened place a some what larger piece of wide masking tape over them then carefully fold over the edges with a slight tug to pull in and round corners then take a slightly smaller square of tape on bottom to hold it all together. Then kinda dabb on some leather colored paint or cloth color, let dry then take your tweezers stick in the point grab a bit of the butt and pull out. this makes it look like the stuffin' is escaping and a tear has occurred. Hope this Helps some if you need more info I can do a photo example for ya it not too hard.

James

P.S. it looks even better now that I have sprayed the flat coat!!!!
 
adampolo13 said:
Anymore pics? I'm excited to see more!!!
Not quite yet for this kit as I am presently working on Three kits. I work on multiple kits to keep myself going as one dries I work on another. As for the Stuka I have to make the seatbelts and dust the floor before I can close the halves. Then it is onto sanding and painting, so that will slow things down a bit, but it won't be long now.

James
 

Latest posts

Back
Top