Pantherman
Well-Known Member
- Joined
- Feb 10, 2022
- Messages
- 4,051
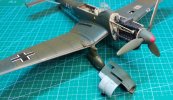
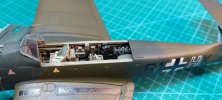
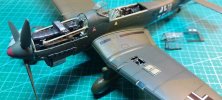
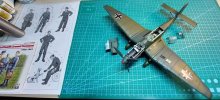
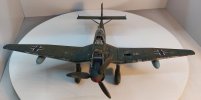
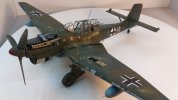
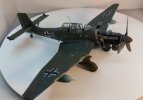
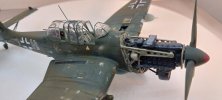
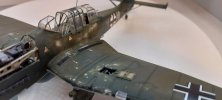
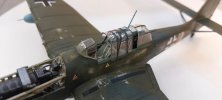
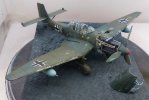
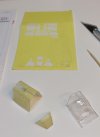
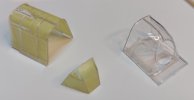
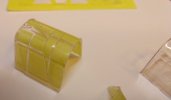
Now doing the canopy masking it has already taken 5hrs and still the rear canopy to mask, then prime / paint all 3, then the final PE on the interior of the canopies......More masking and final top coat done. Very pleased with the result as no bleeding of colours. Little bit of touching in to do but it's coming together nicely.
Pantherman
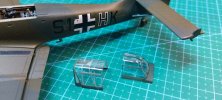
Beginning to think I should have stuck with the armour..........no bloody glass.
Pantherman

")