You are using an out of date browser. It may not display this or other websites correctly.
You should upgrade or use an alternative browser.
You should upgrade or use an alternative browser.
What are you working on right now?
- Thread starter Edbert
- Start date


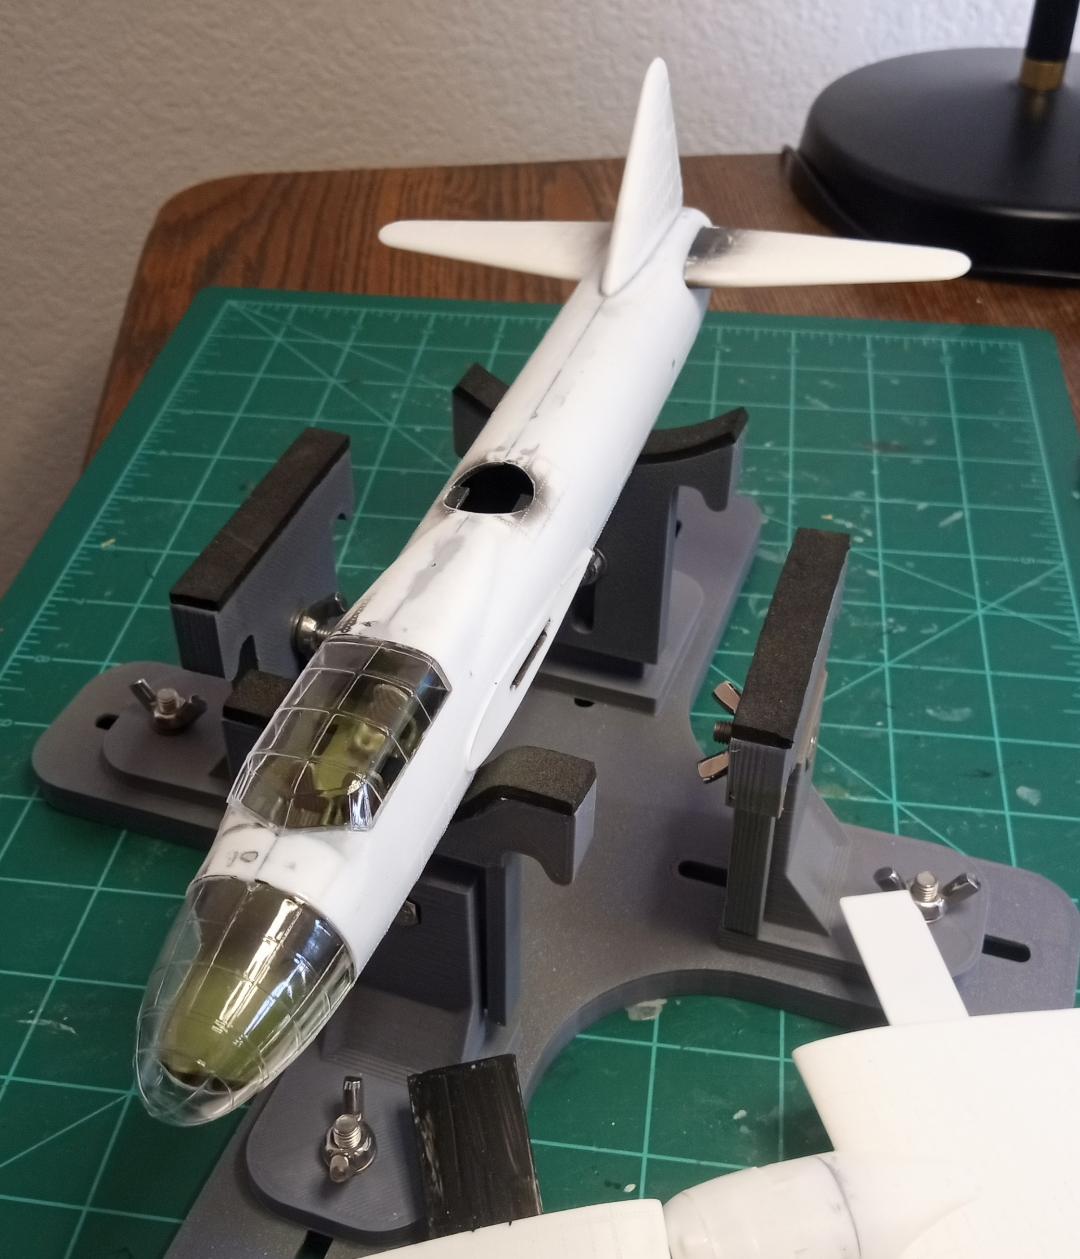

Kinda like your fave mix tape back in the day...multiple builds going on at once


Edbert
Well-Known Member
- Joined
- May 16, 2024
- Messages
- 3,117
Careful my friend. This habit is like fire, a great tool, but still dangerousI get it now, how some of you guys can have multiple builds going on at once.


kevin
Well-Known Member
Too late, I have seen the light........
kevin
Well-Known Member
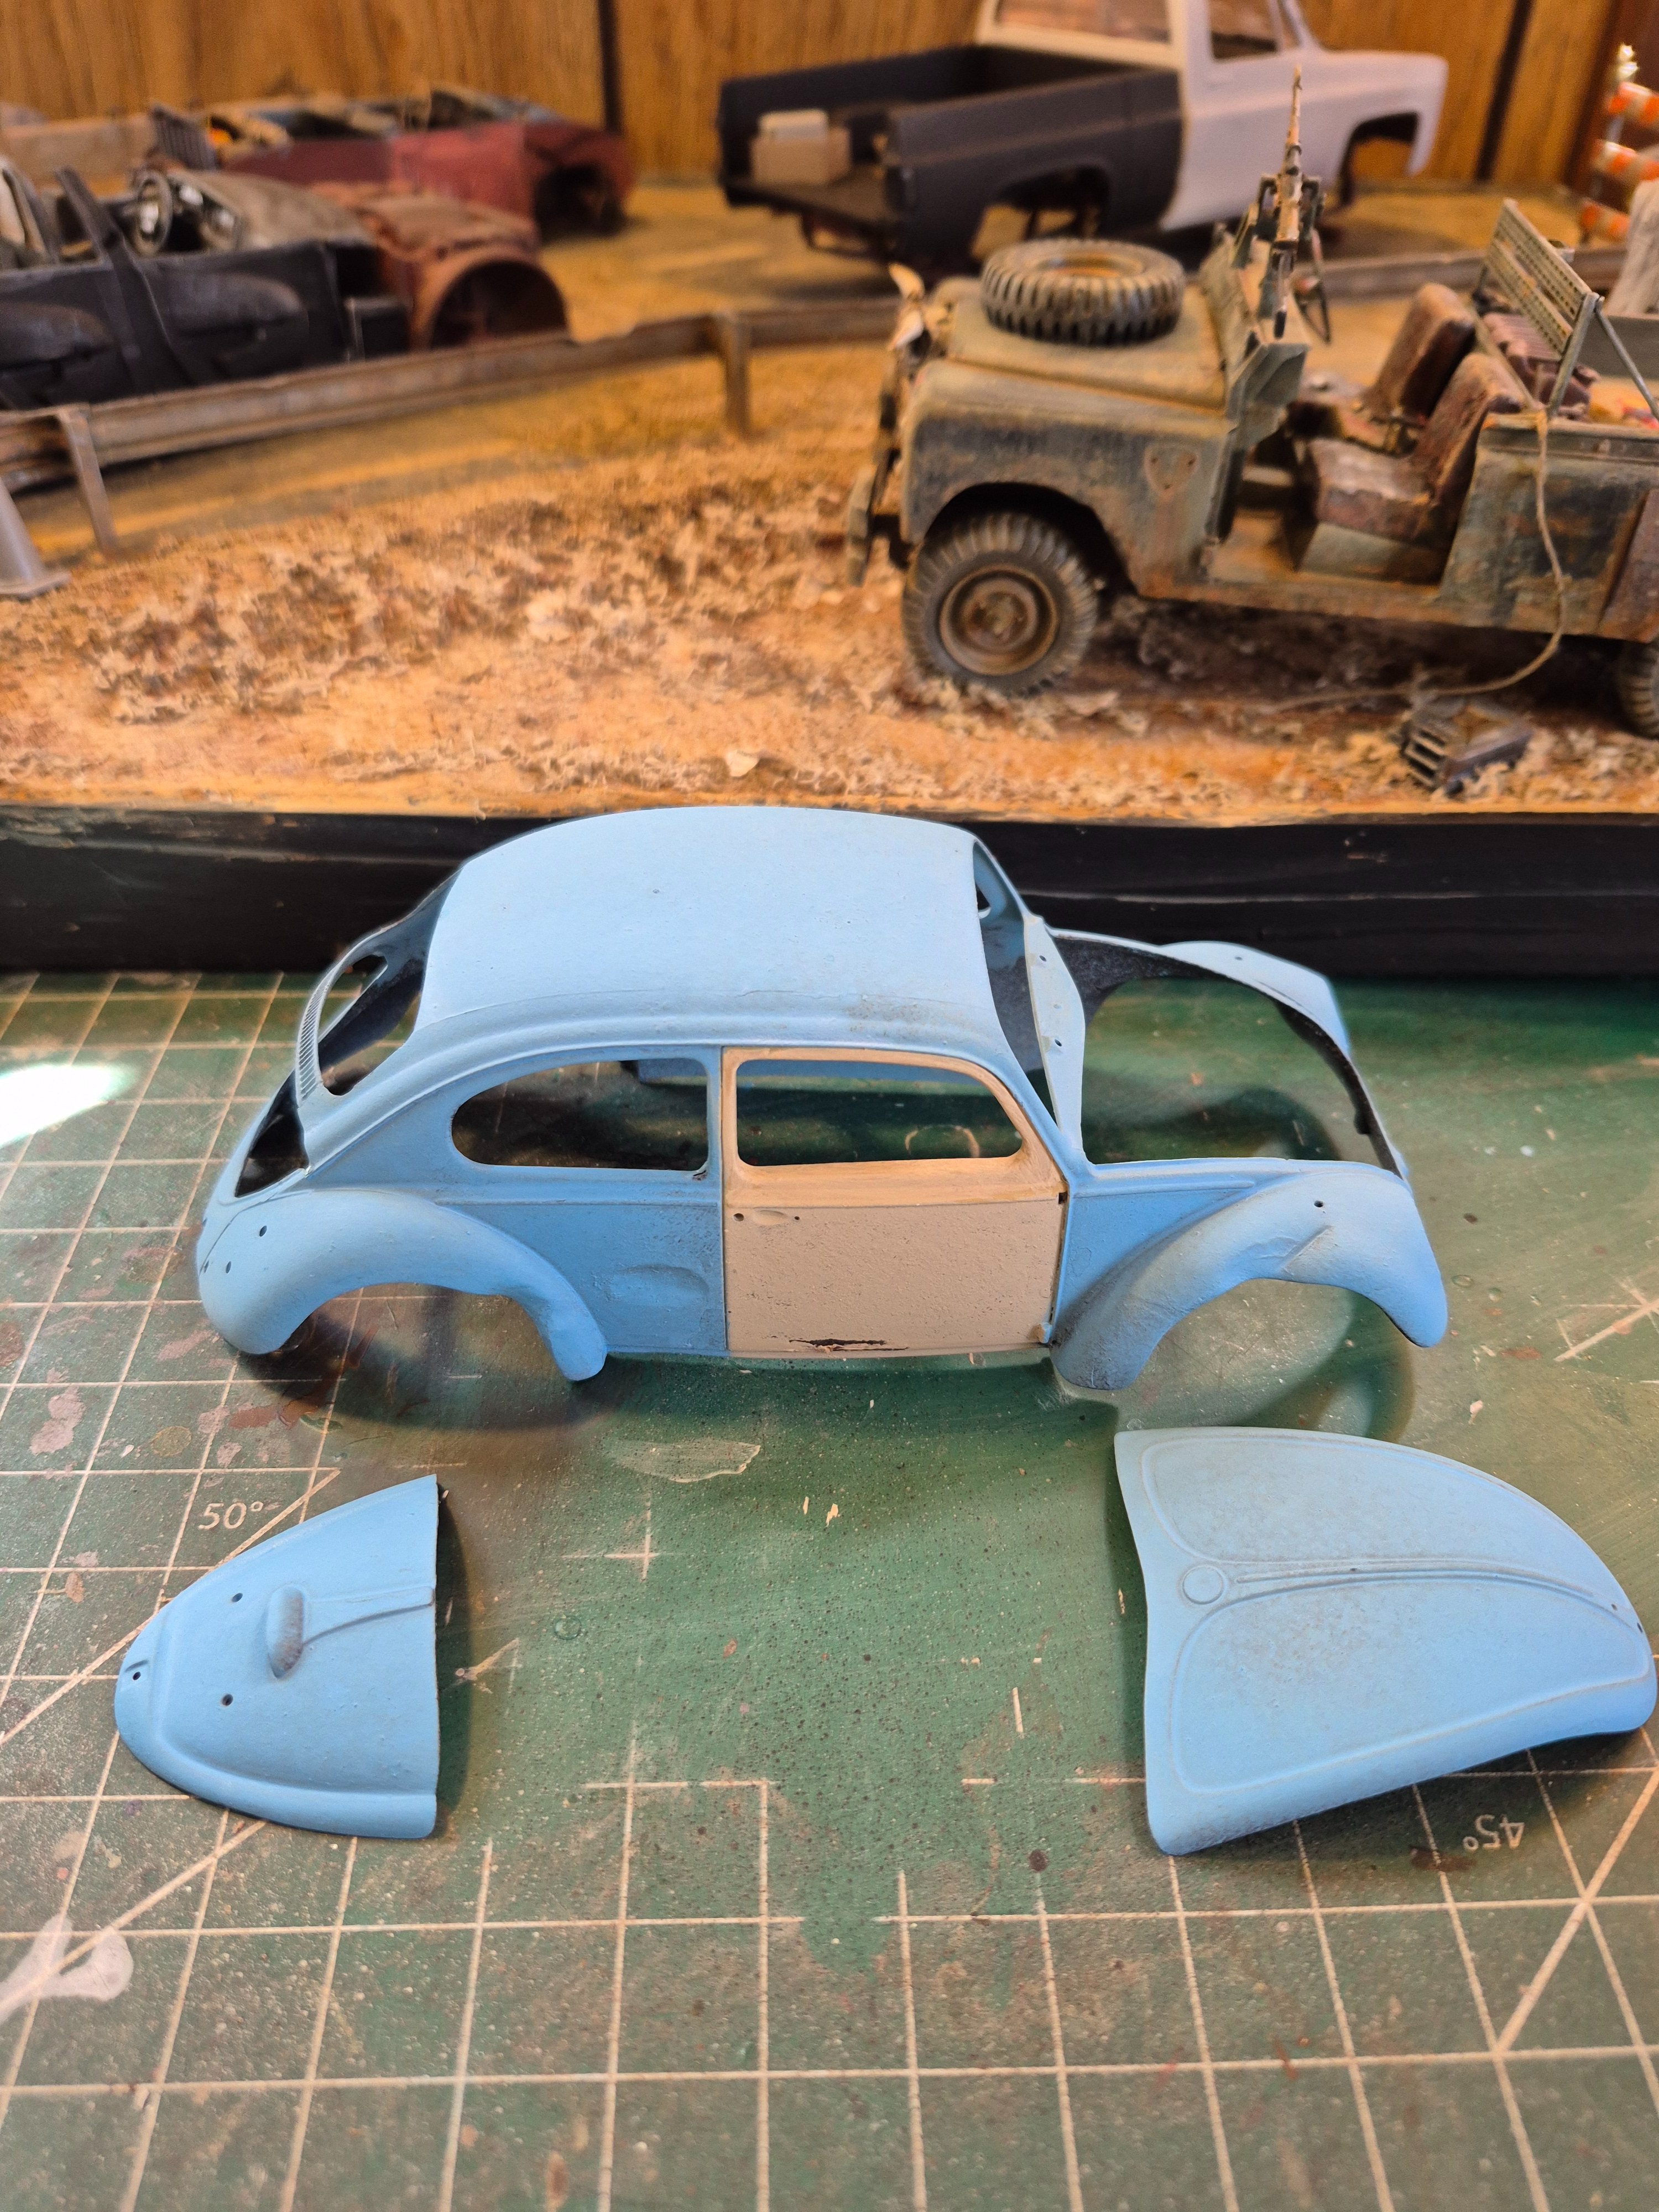
The beetle will be my first real attempt at using chipping fluid.
I got a bunch of rust colors down on the body. I rusted everywhere before I spray on the chipping fluid. These vehicles will be heavily rusted, and maybe burnt......they have sat for years after whatever caused the apocalypse in the diorama. Still deciding the final look.
The color will be the blue you can see on the interior.
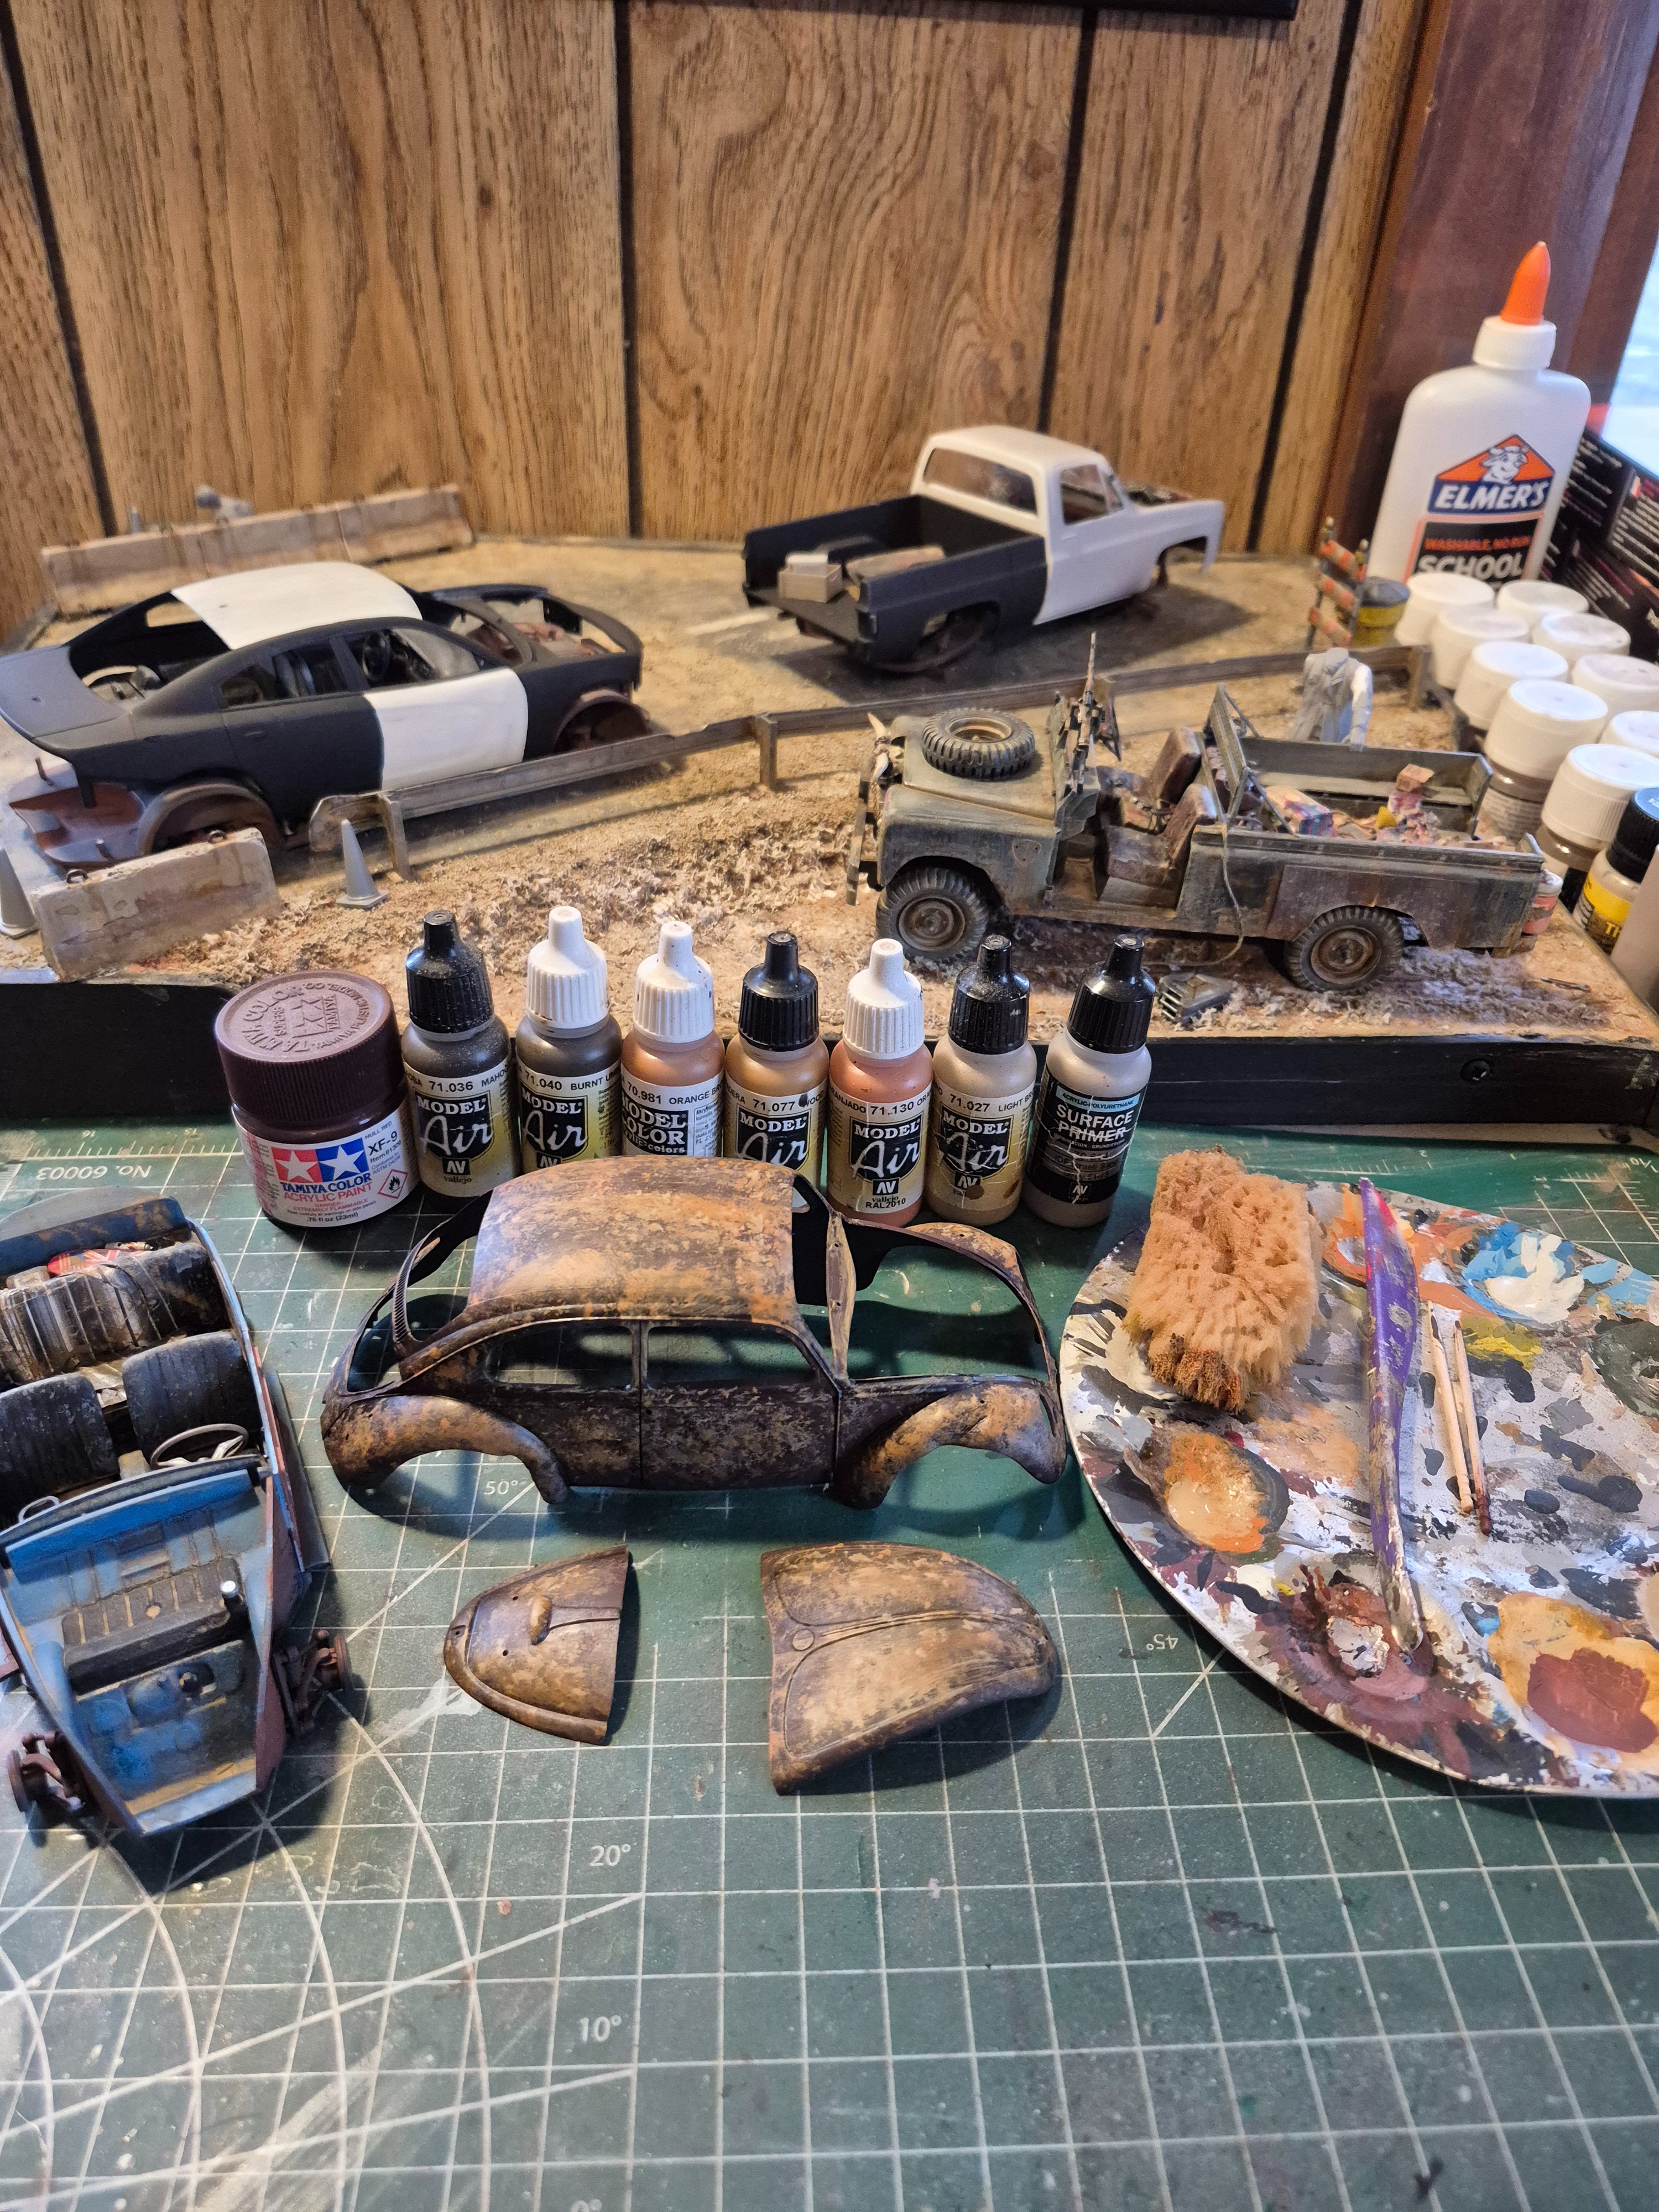
I got a bunch of rust colors down on the body. I rusted everywhere before I spray on the chipping fluid. These vehicles will be heavily rusted, and maybe burnt......they have sat for years after whatever caused the apocalypse in the diorama. Still deciding the final look.
The color will be the blue you can see on the interior.
kevin
Well-Known Member
Color on the body, but I'll start the chipping process tomorrow to give everything time to cure up.







As an Amazon Associate we earn from qualifying purchases. Product prices and availability are accurate as of the date/time indicated and are subject to change.
kevin
Well-Known Member
I couldn't wait until tomorrow. I started some light sanding with cut up pieces from an orbital sander pad, fine grit.
I'm really liking the results, but this is only the beginning of the weathering....
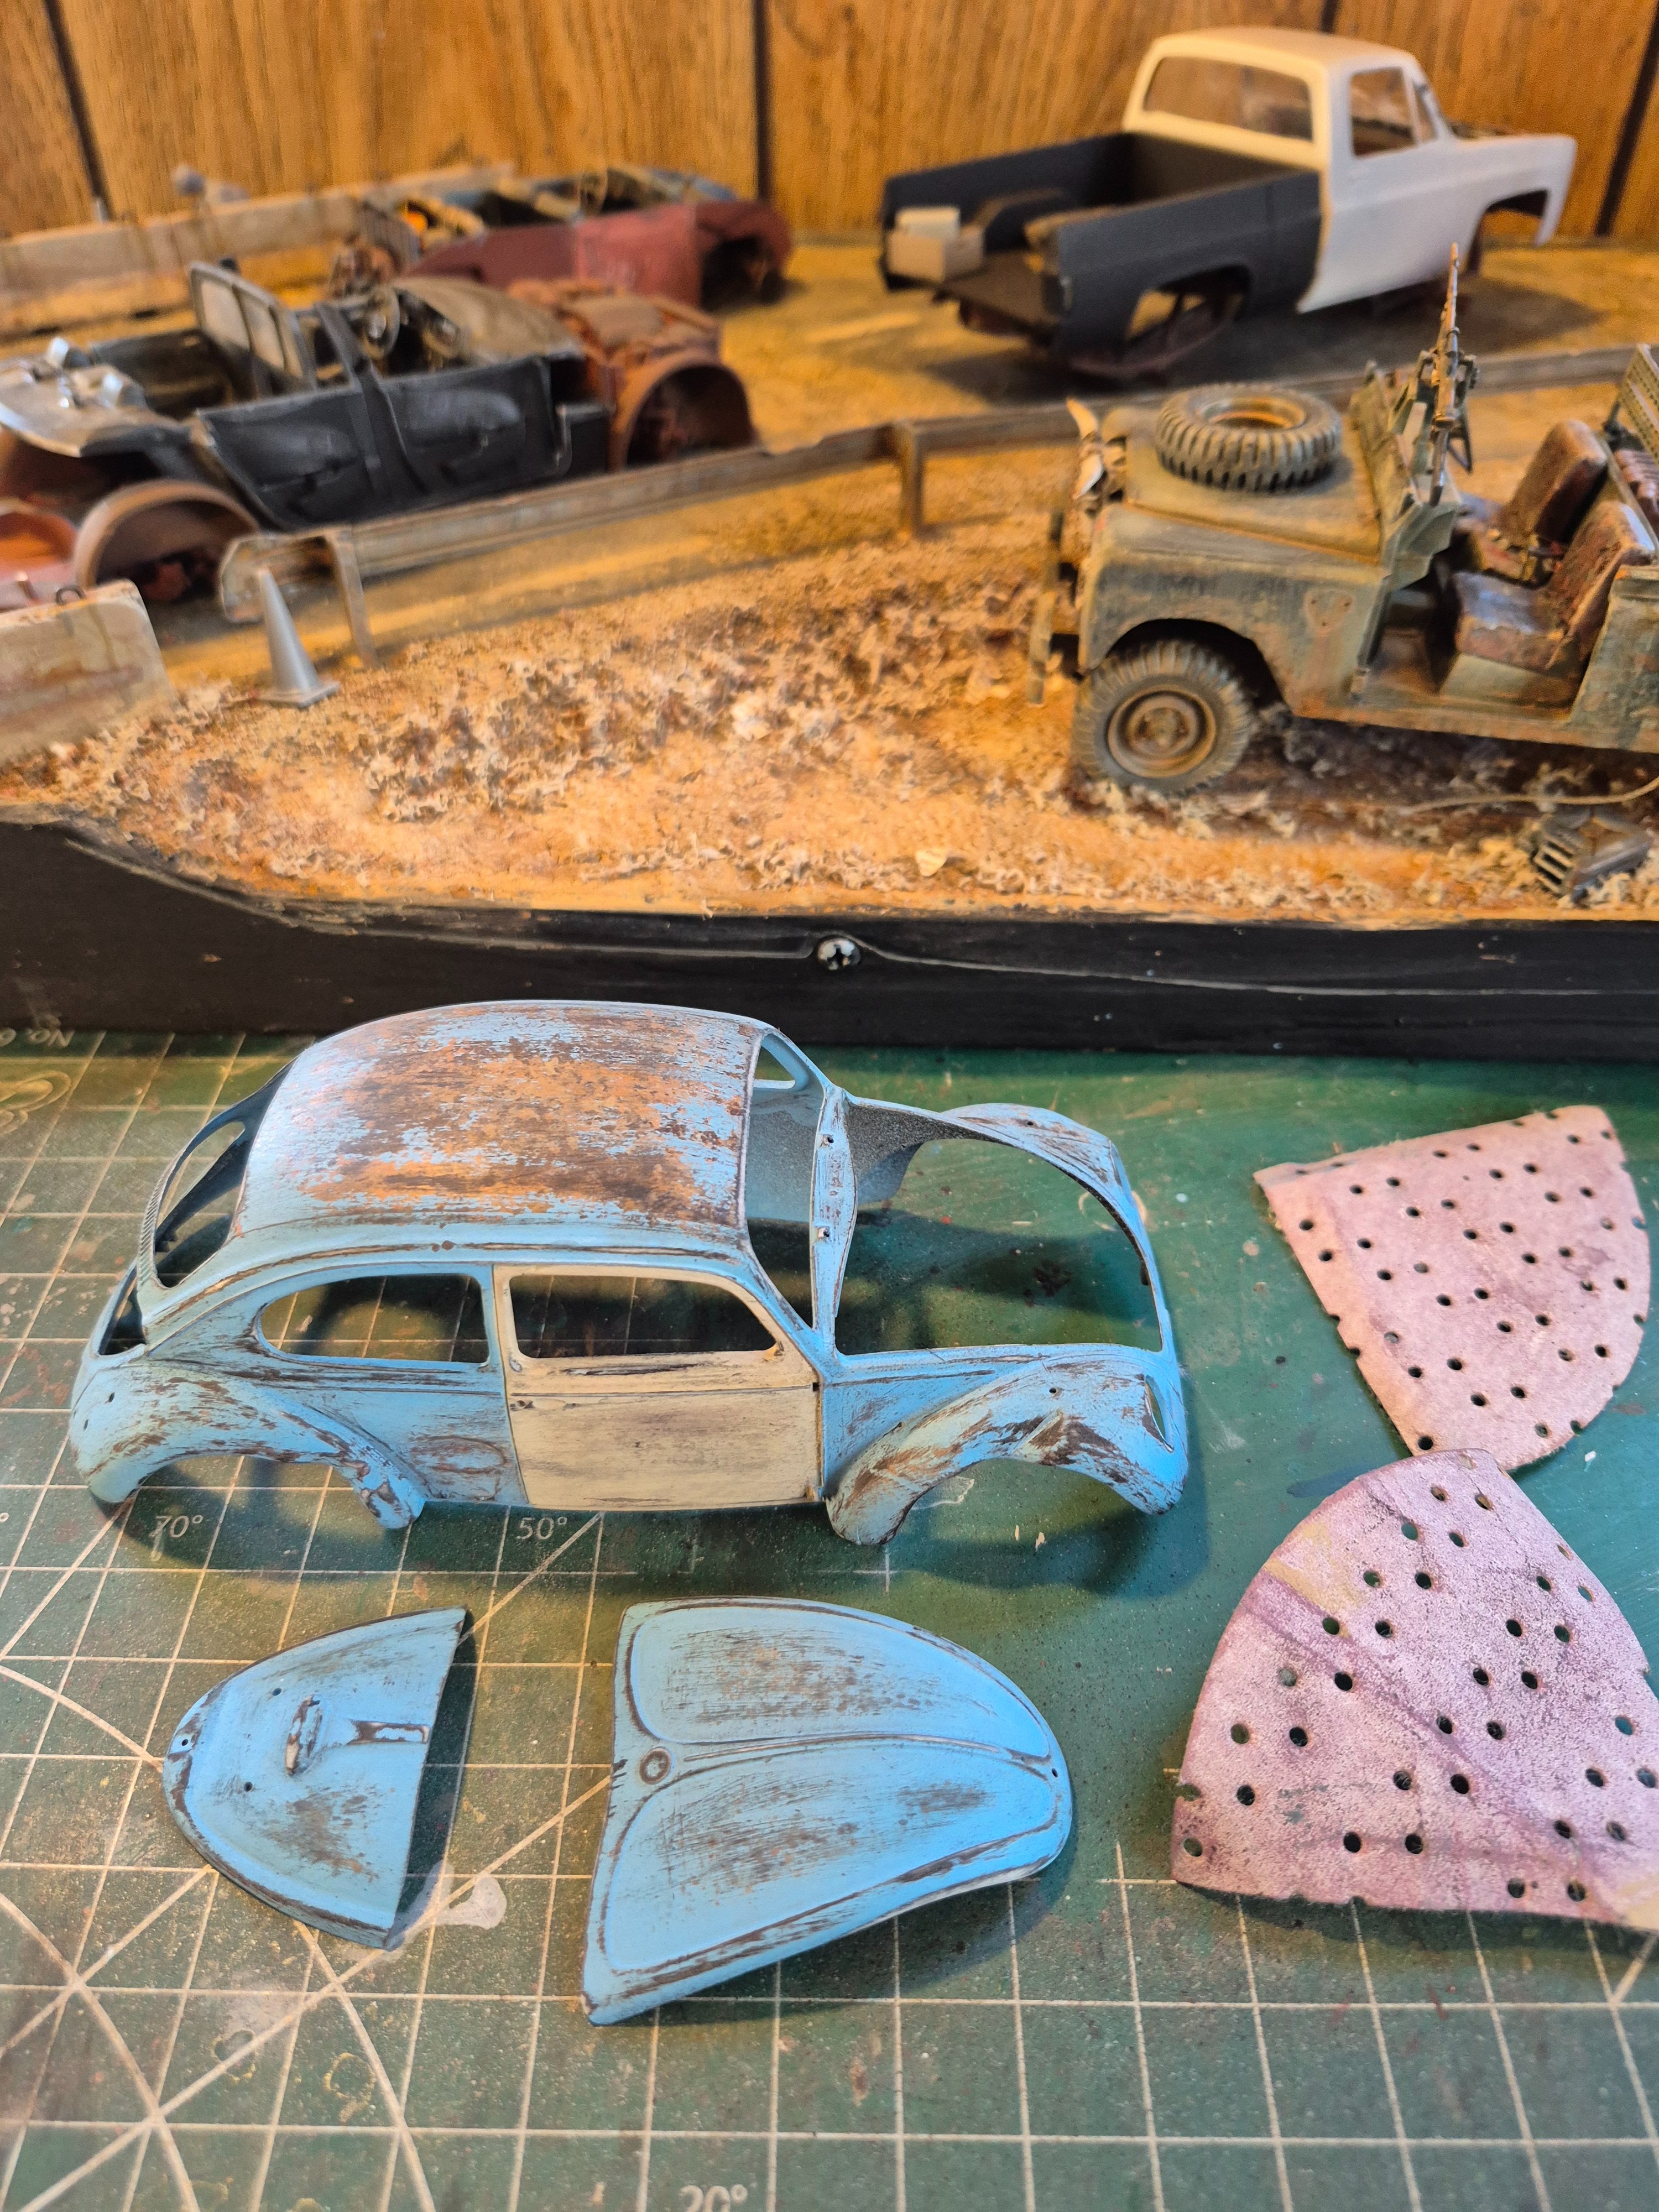
I'm really liking the results, but this is only the beginning of the weathering....
Last edited:

Wig41
Well-Known Member
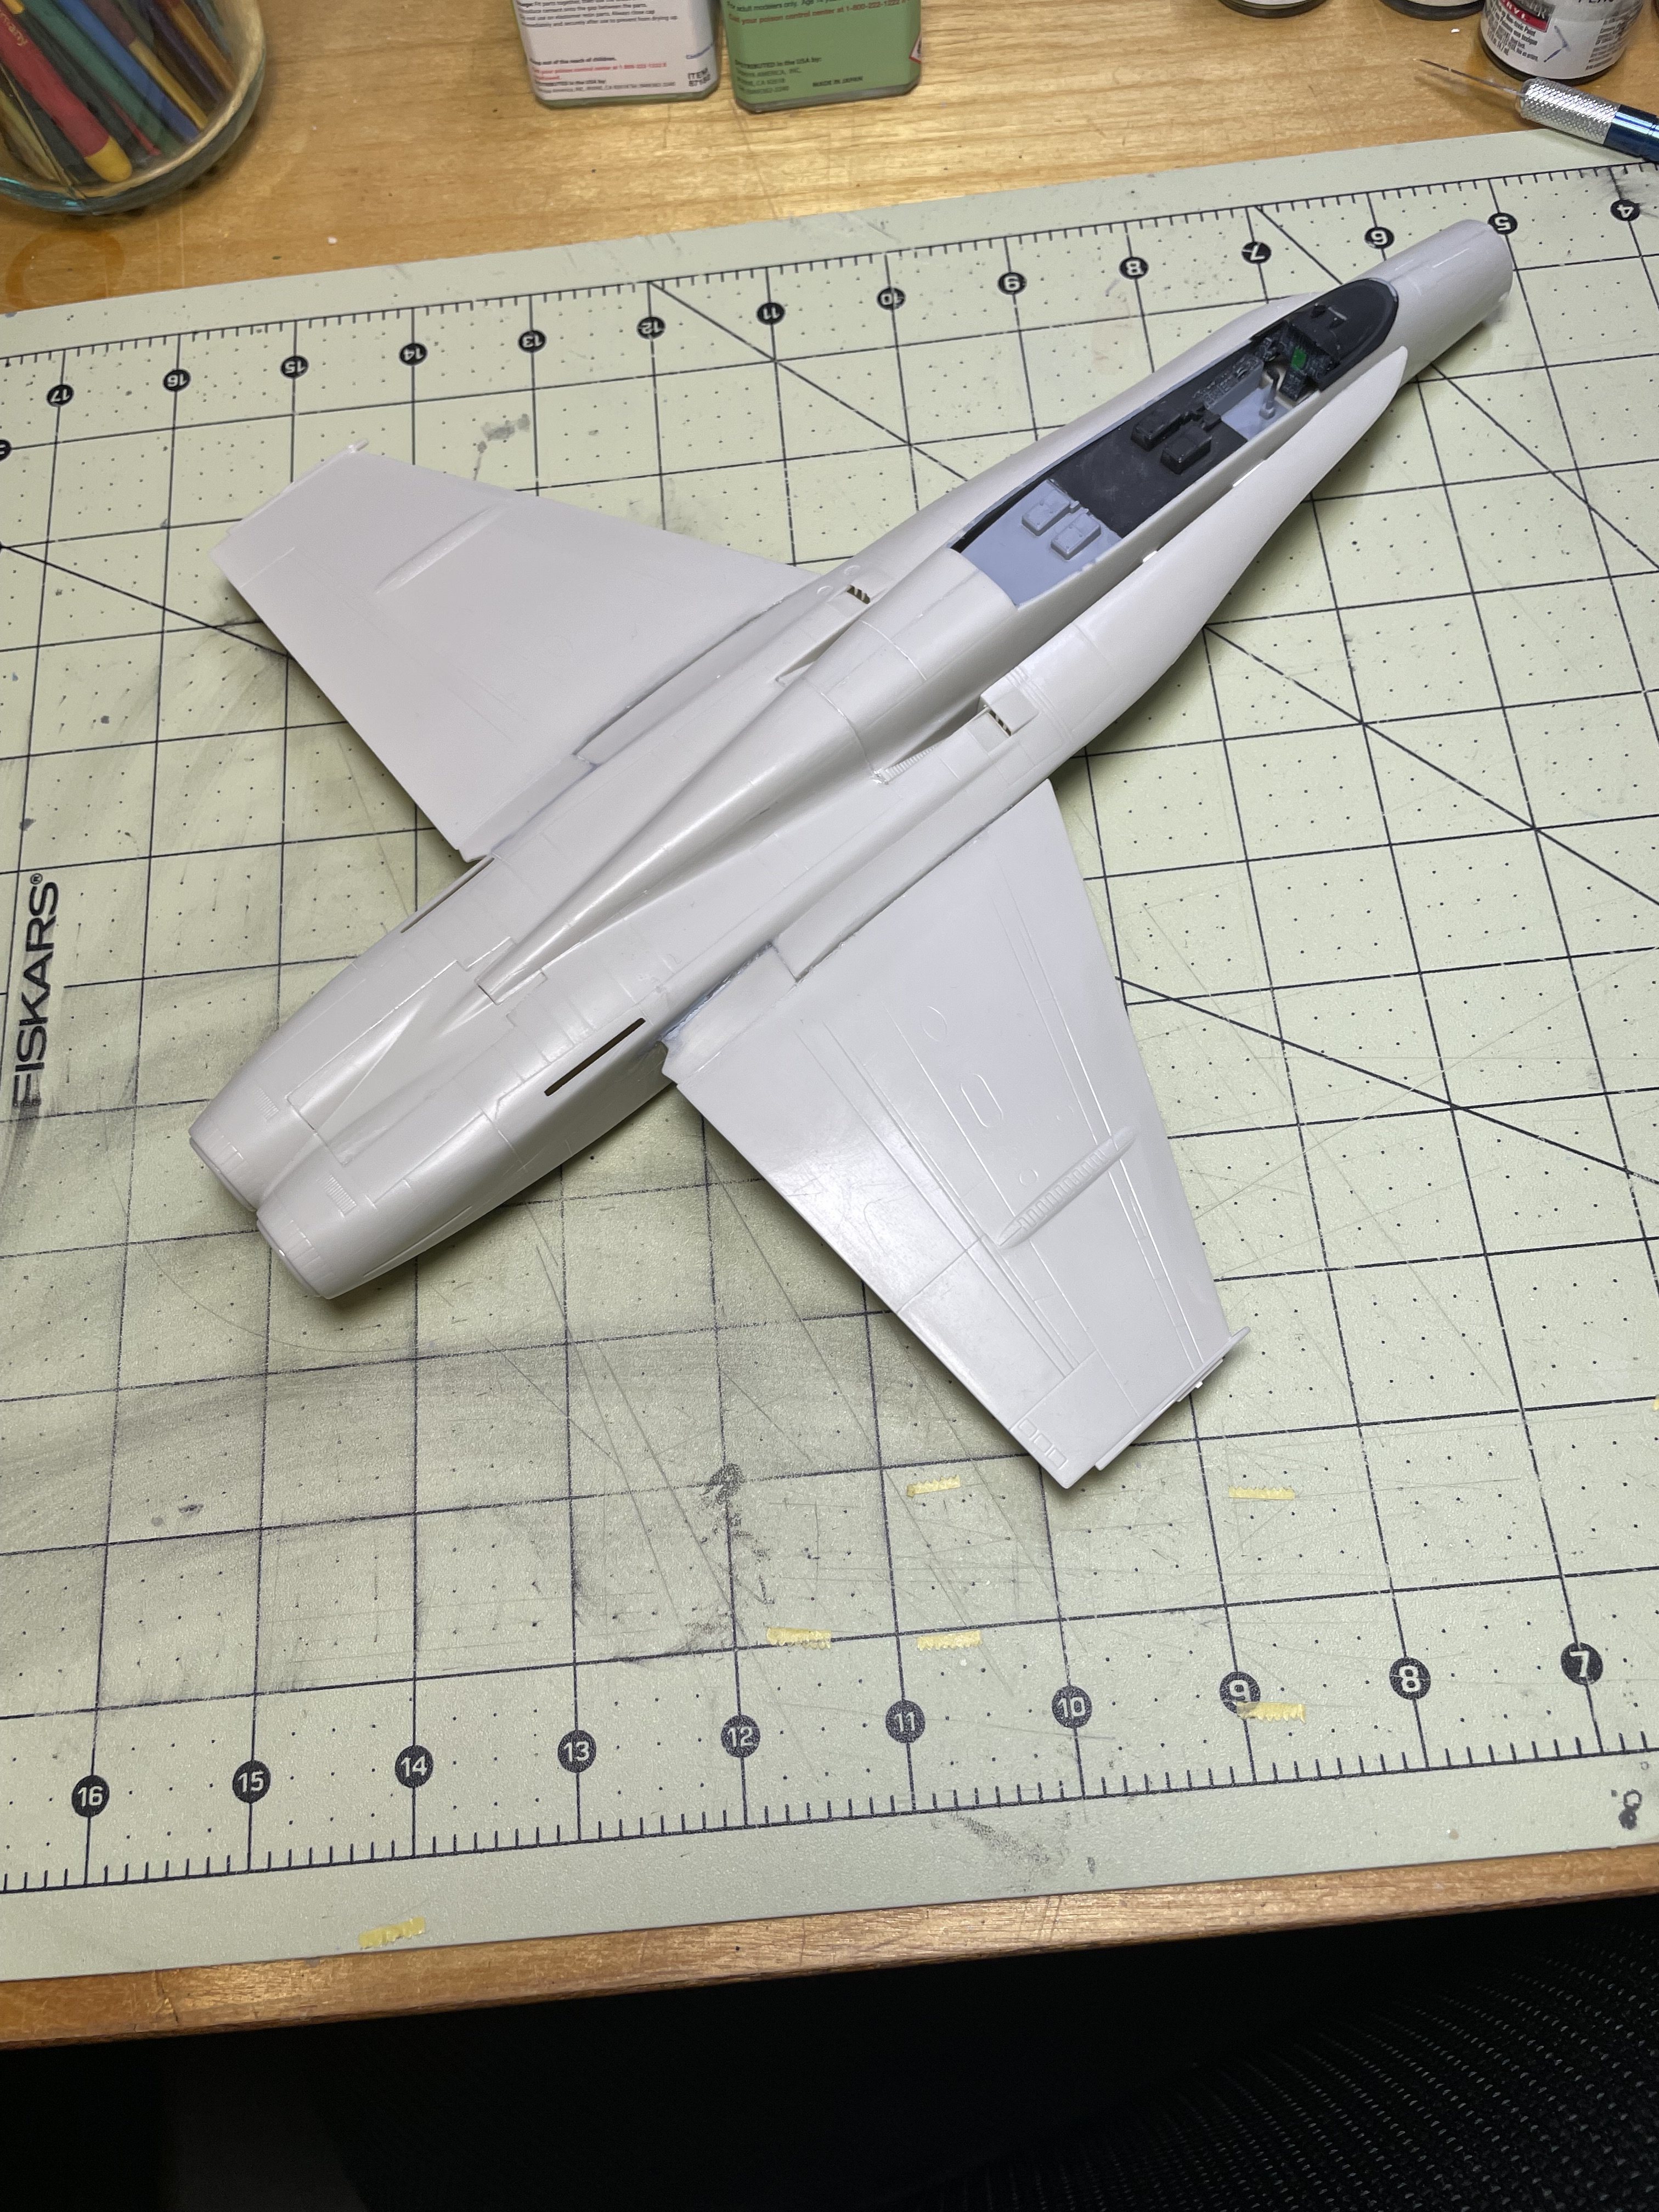
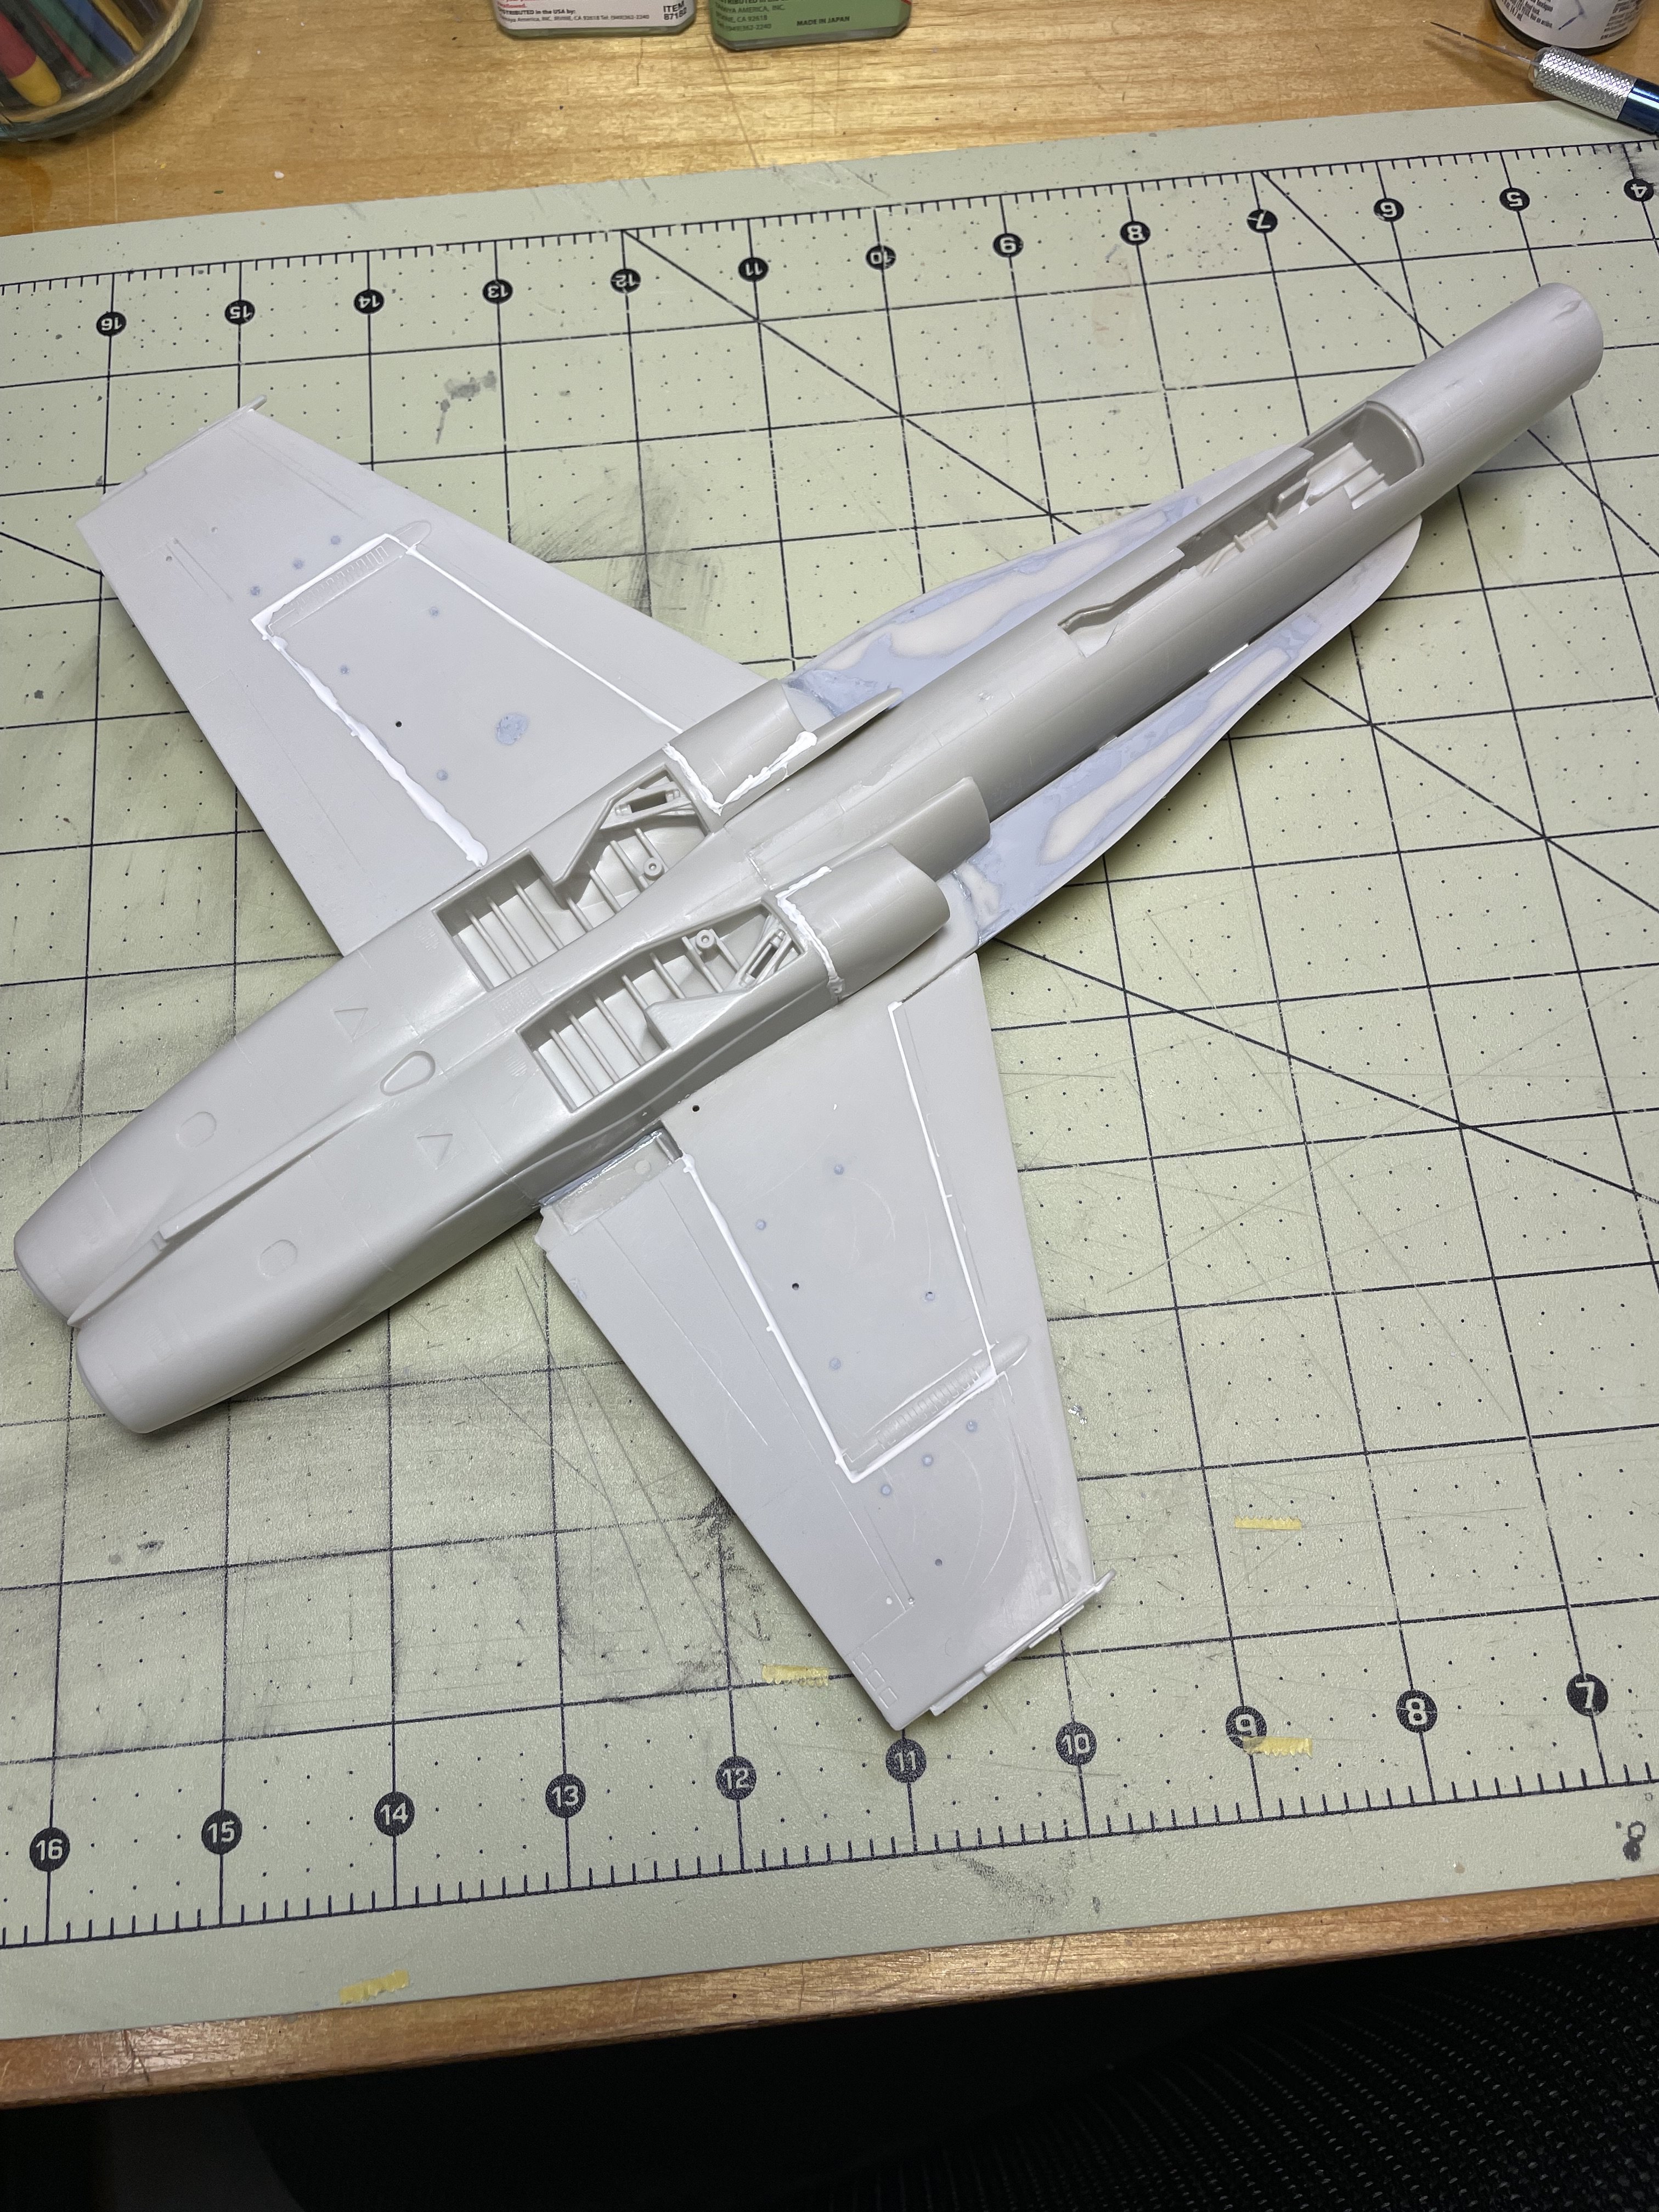
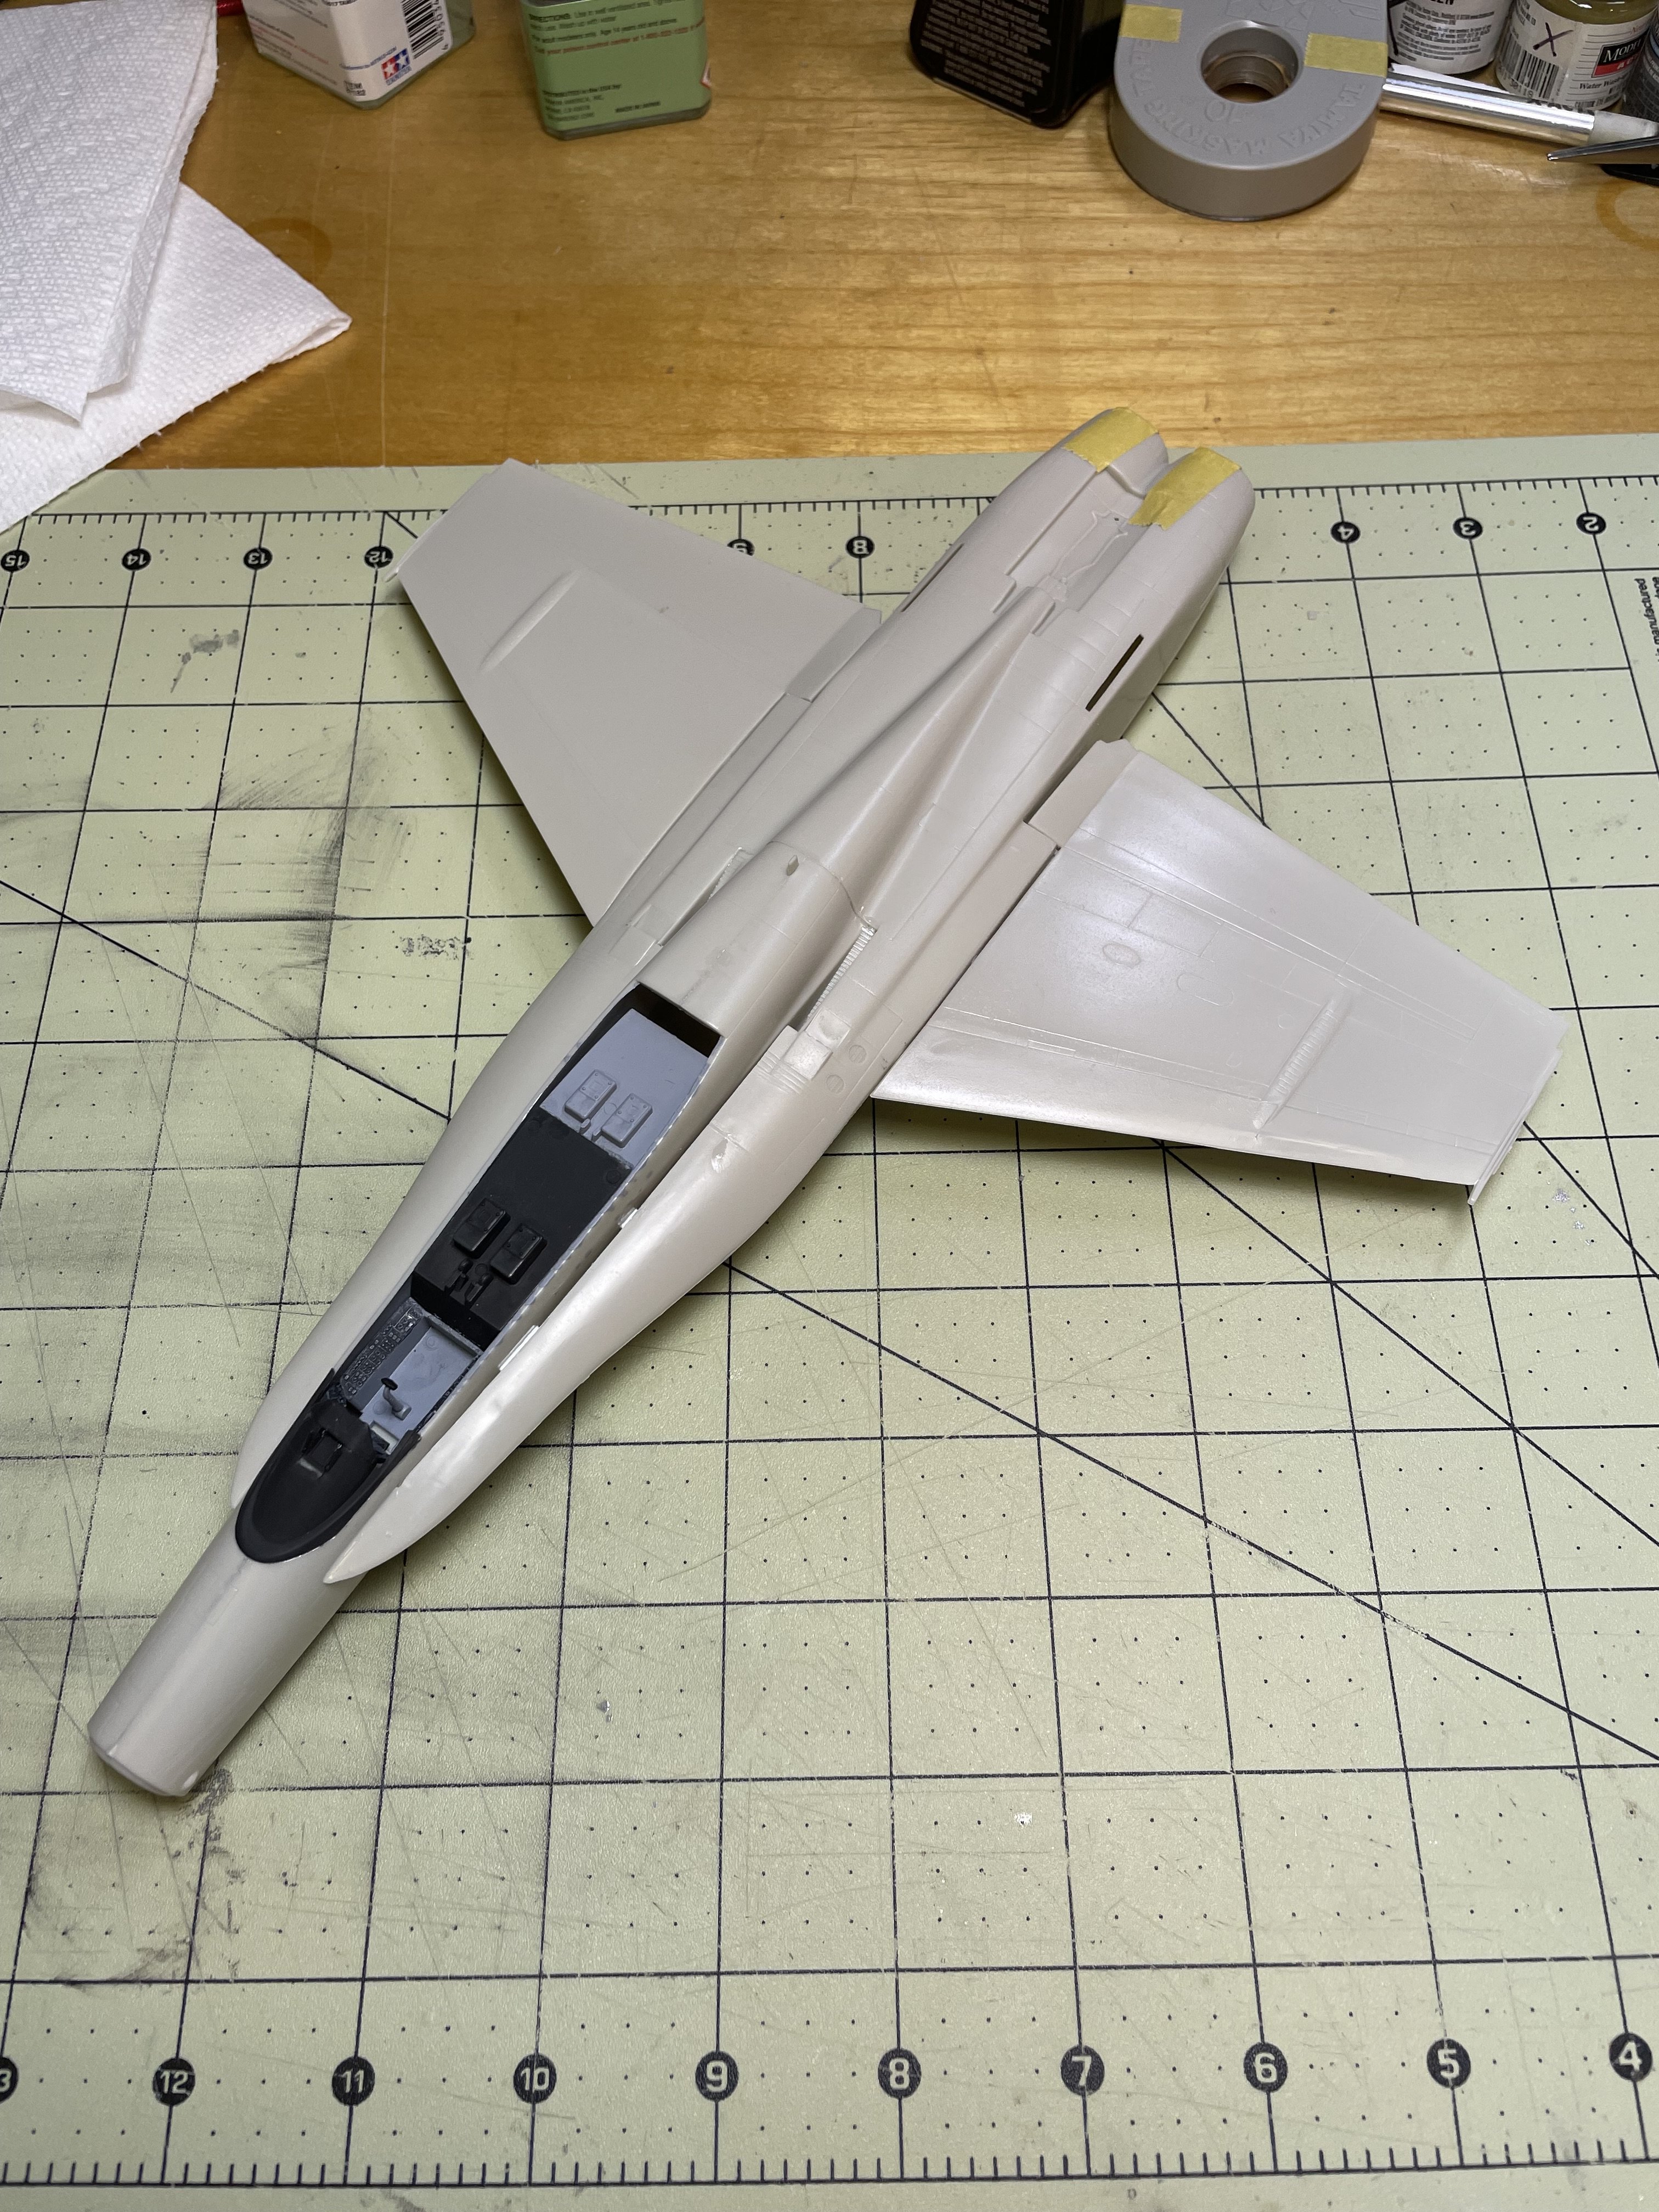
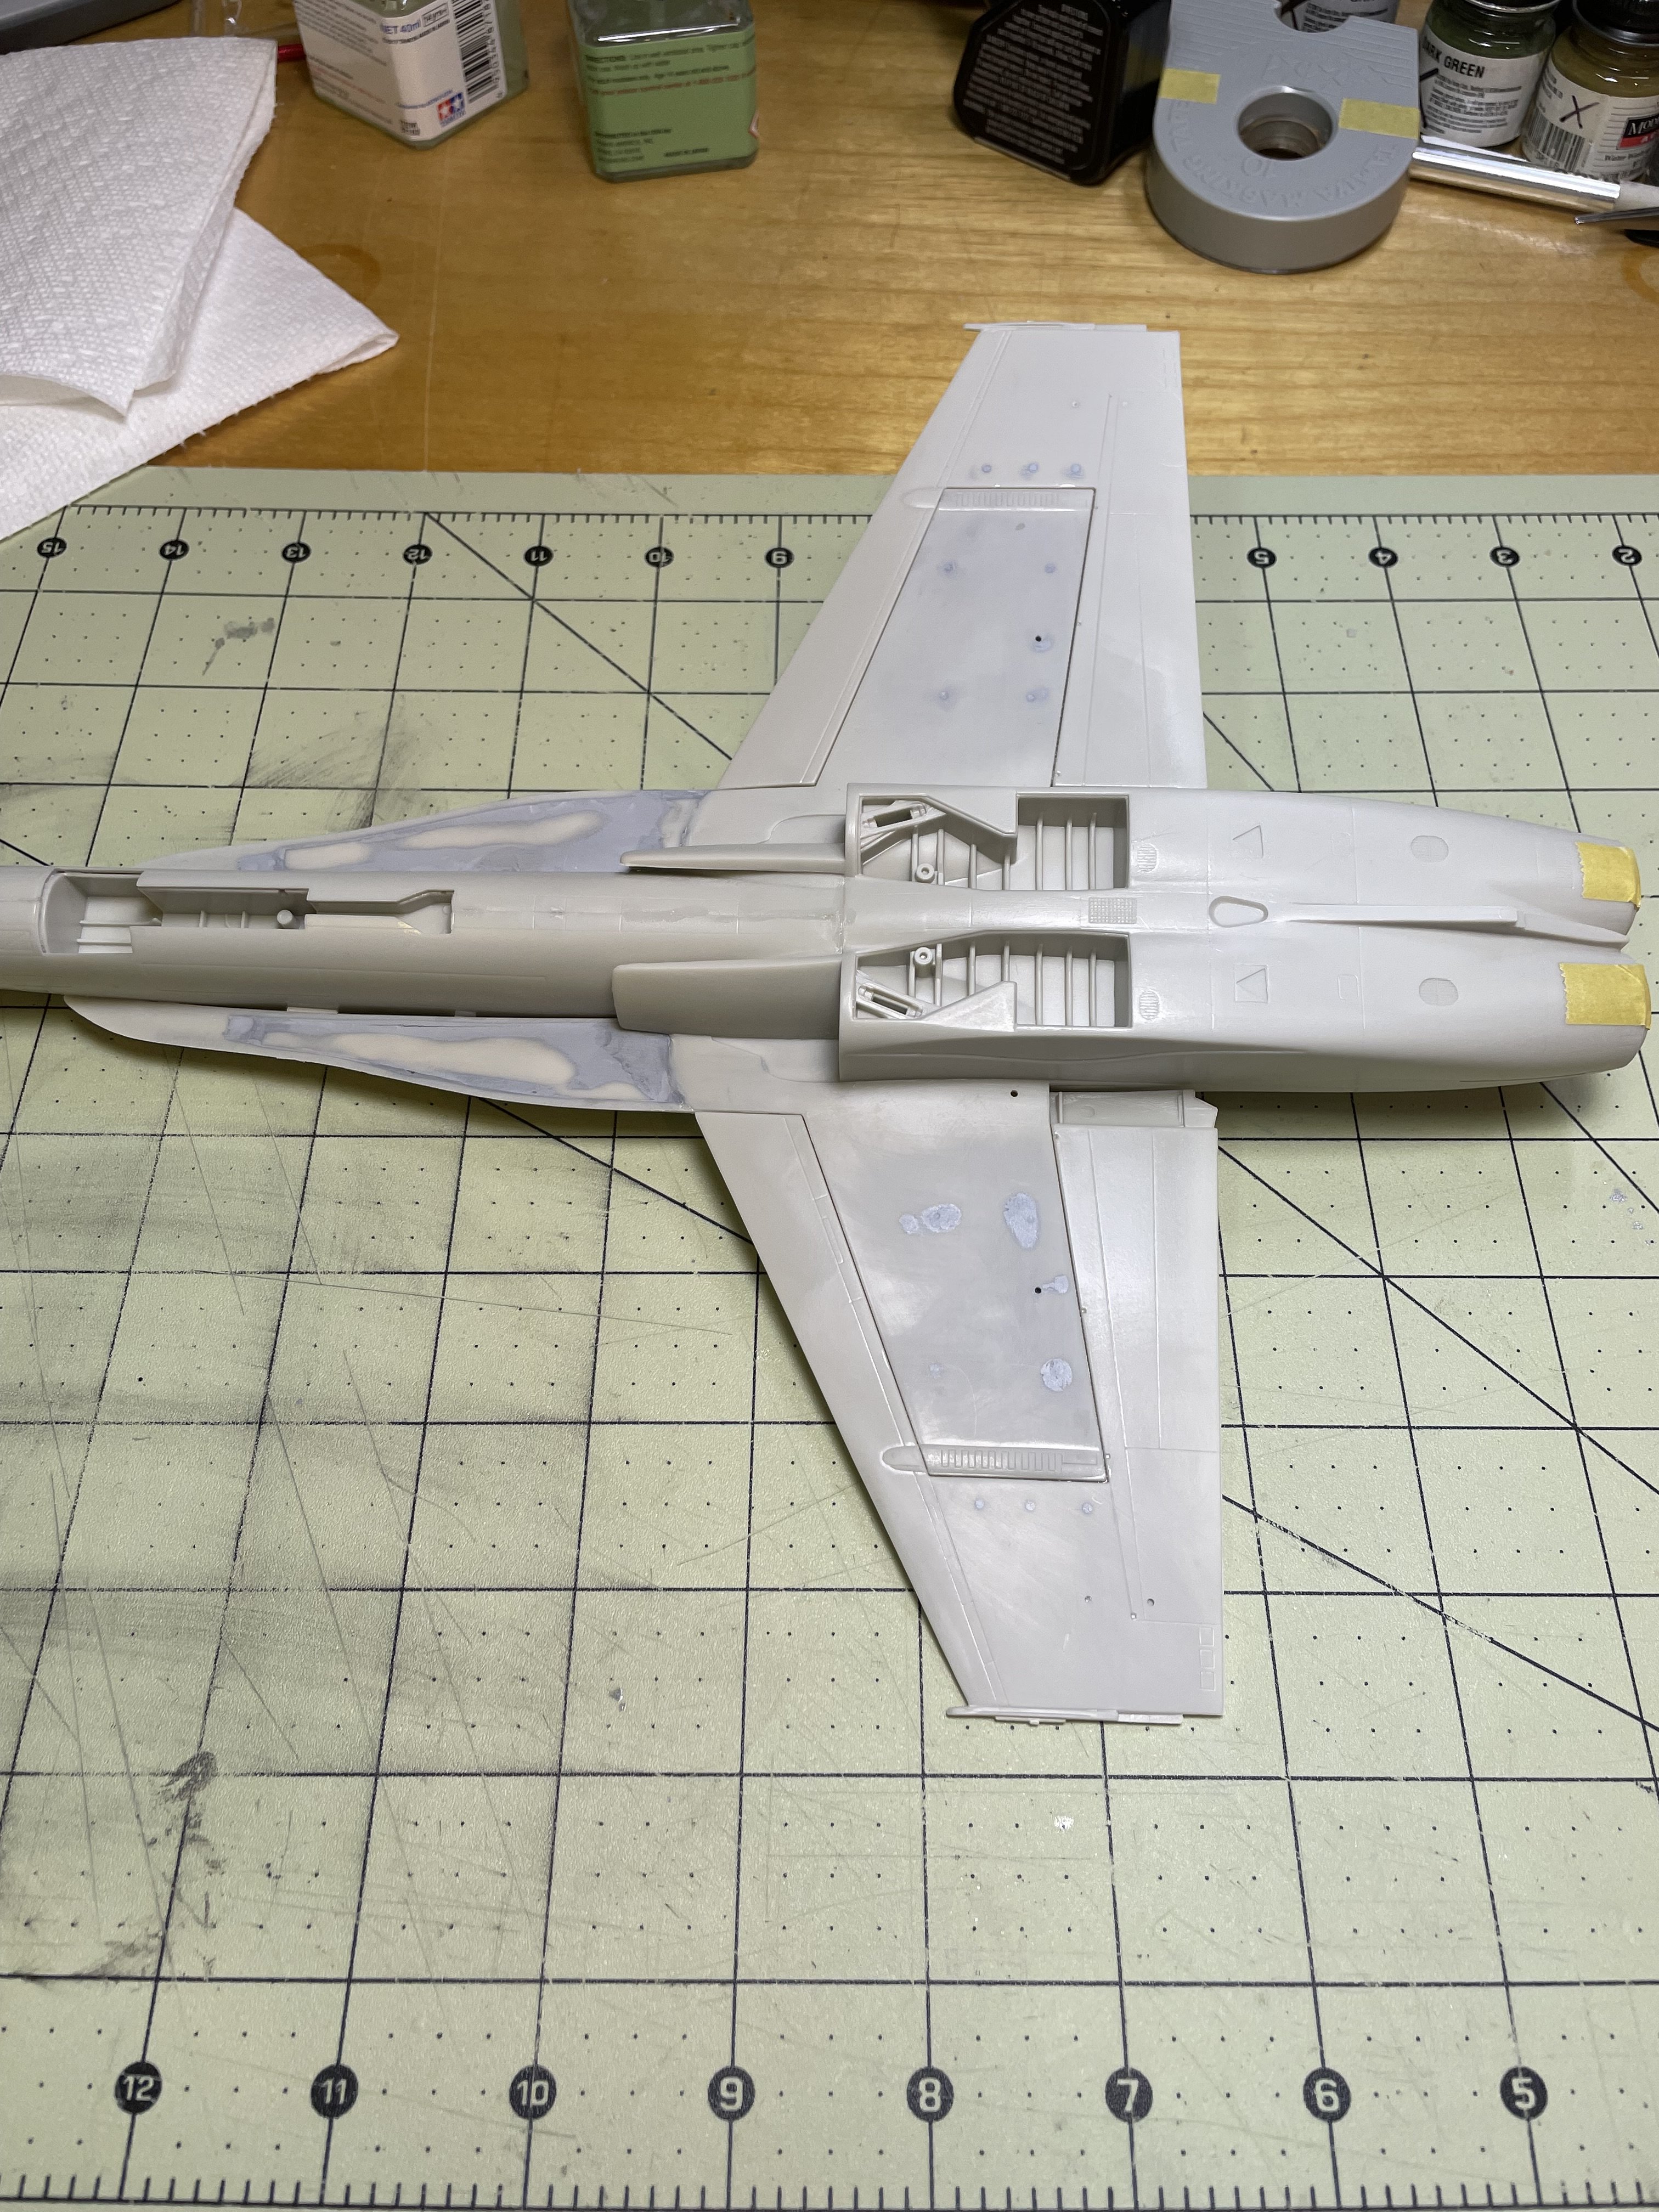
I'm working on the terrible Testors 1/48 F-18, don't ask me why.
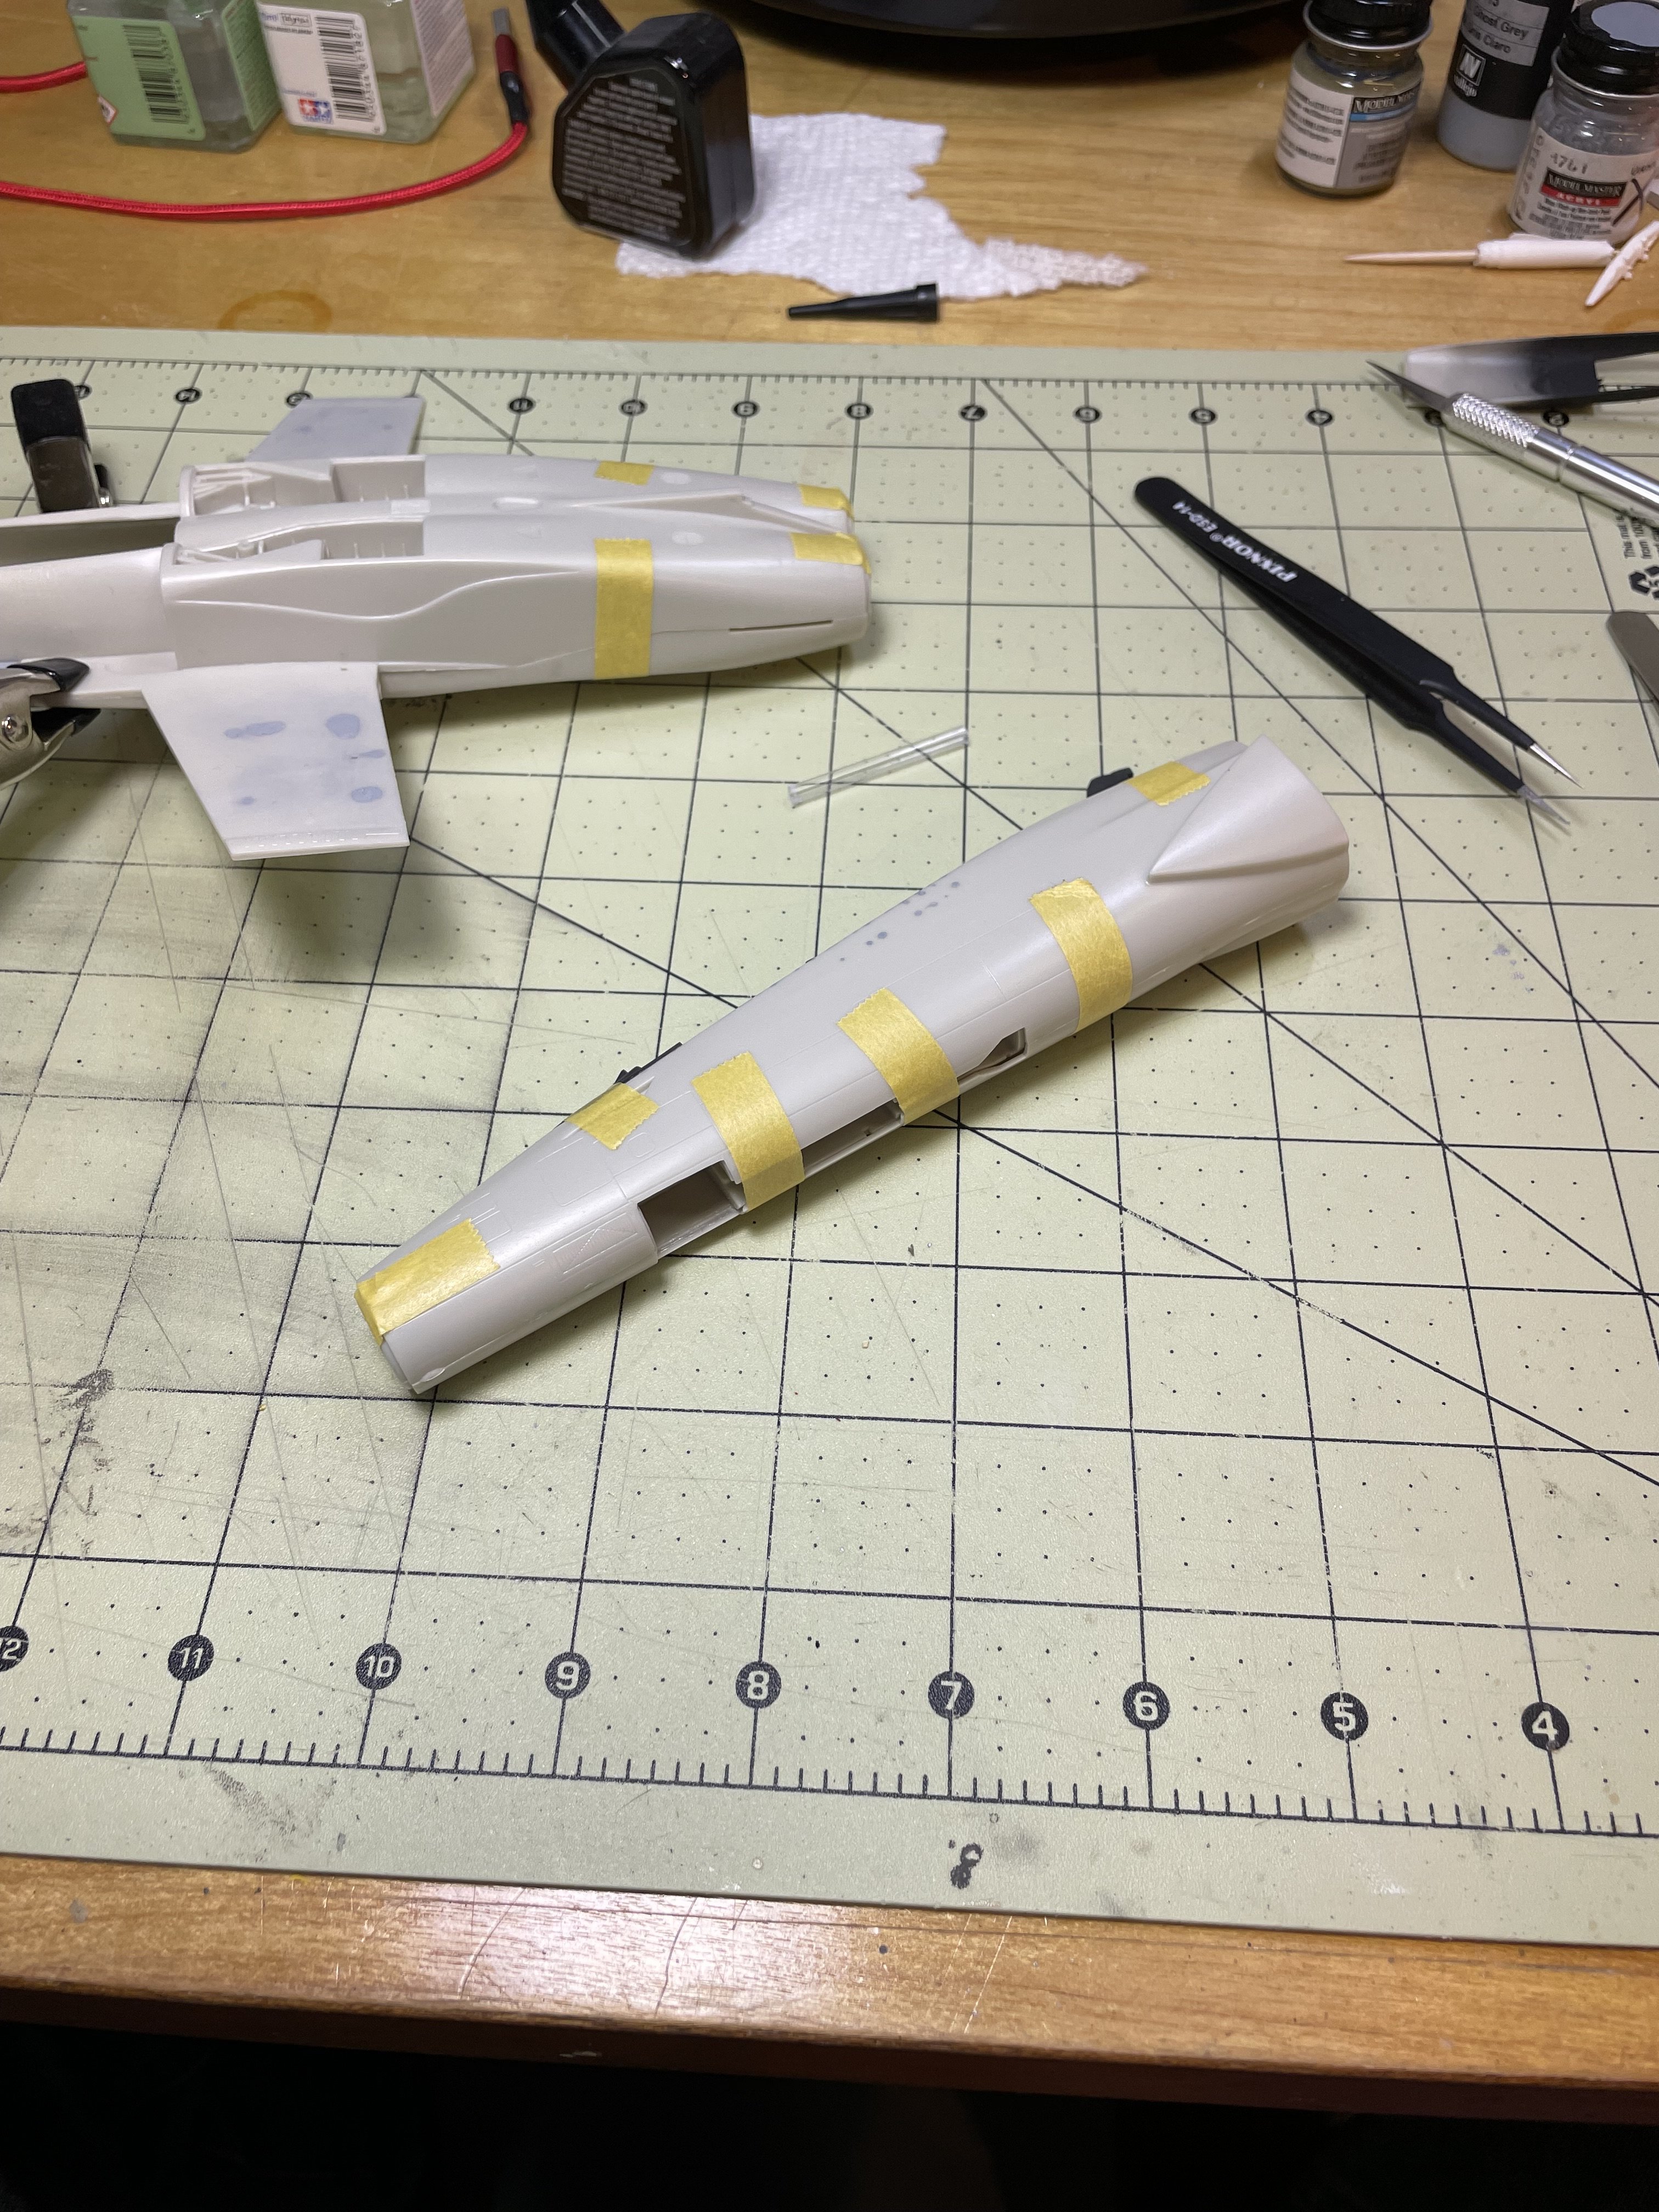
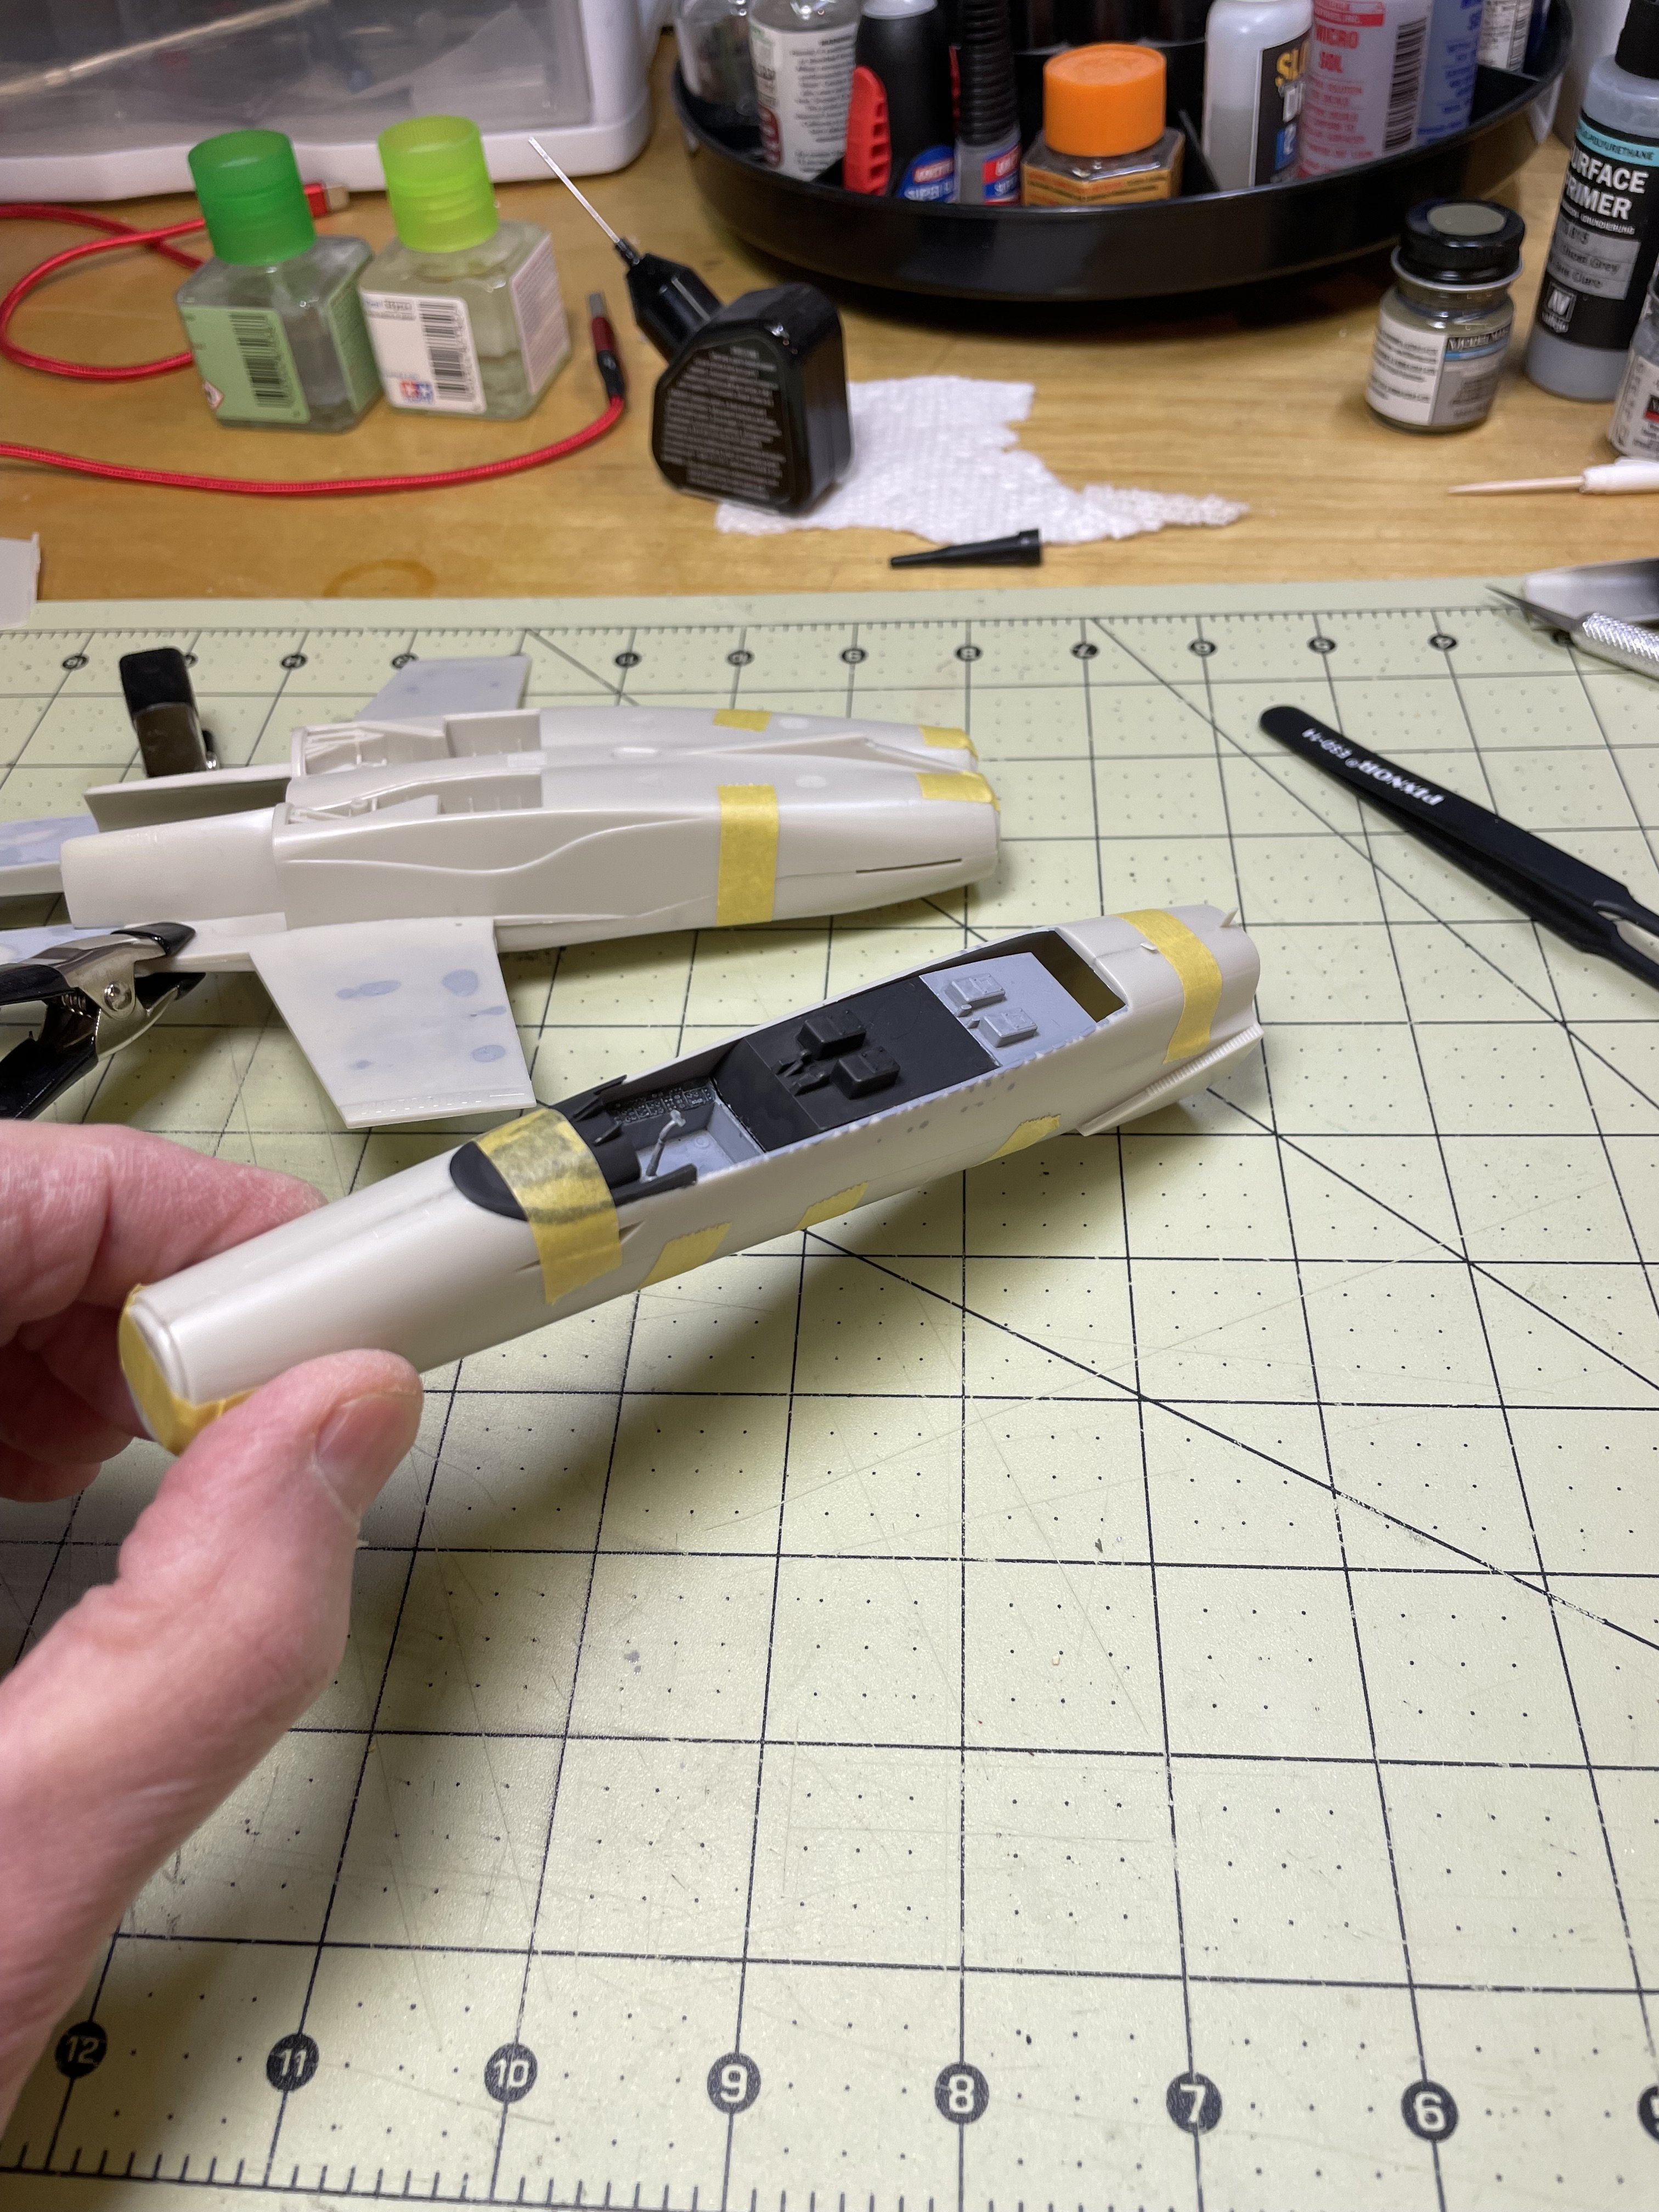
That's some good looking rust!The beetle will be my first real attempt at using chipping fluid.
I got a bunch of rust colors down on the body. I rusted everywhere before I spray on the chipping fluid. These vehicles will be heavily rusted, and maybe burnt......they have sat for years after whatever caused the apocalypse in the diorama. Still deciding the final look.
The color will be the blue you can see on the interior.
View attachment 183695
because a Tamiya f18 would have been too easy for a man of your talent!I'm working on the terrible Testors 1/48 F-18, don't ask me why.View attachment 183851View attachment 183852
Edbert
Well-Known Member
- Joined
- May 16, 2024
- Messages
- 3,117
+ 100because a Tamiya f18 would have been too easy for a man of your talent!
kevin
Well-Known Member
I finished sanding and chipping the blue body color. I also painted over that with various rusty colors. I think I'm done with the rust on the bug, not sure because it's so much fun. I will add a dust / dirt layer on top of this as well.
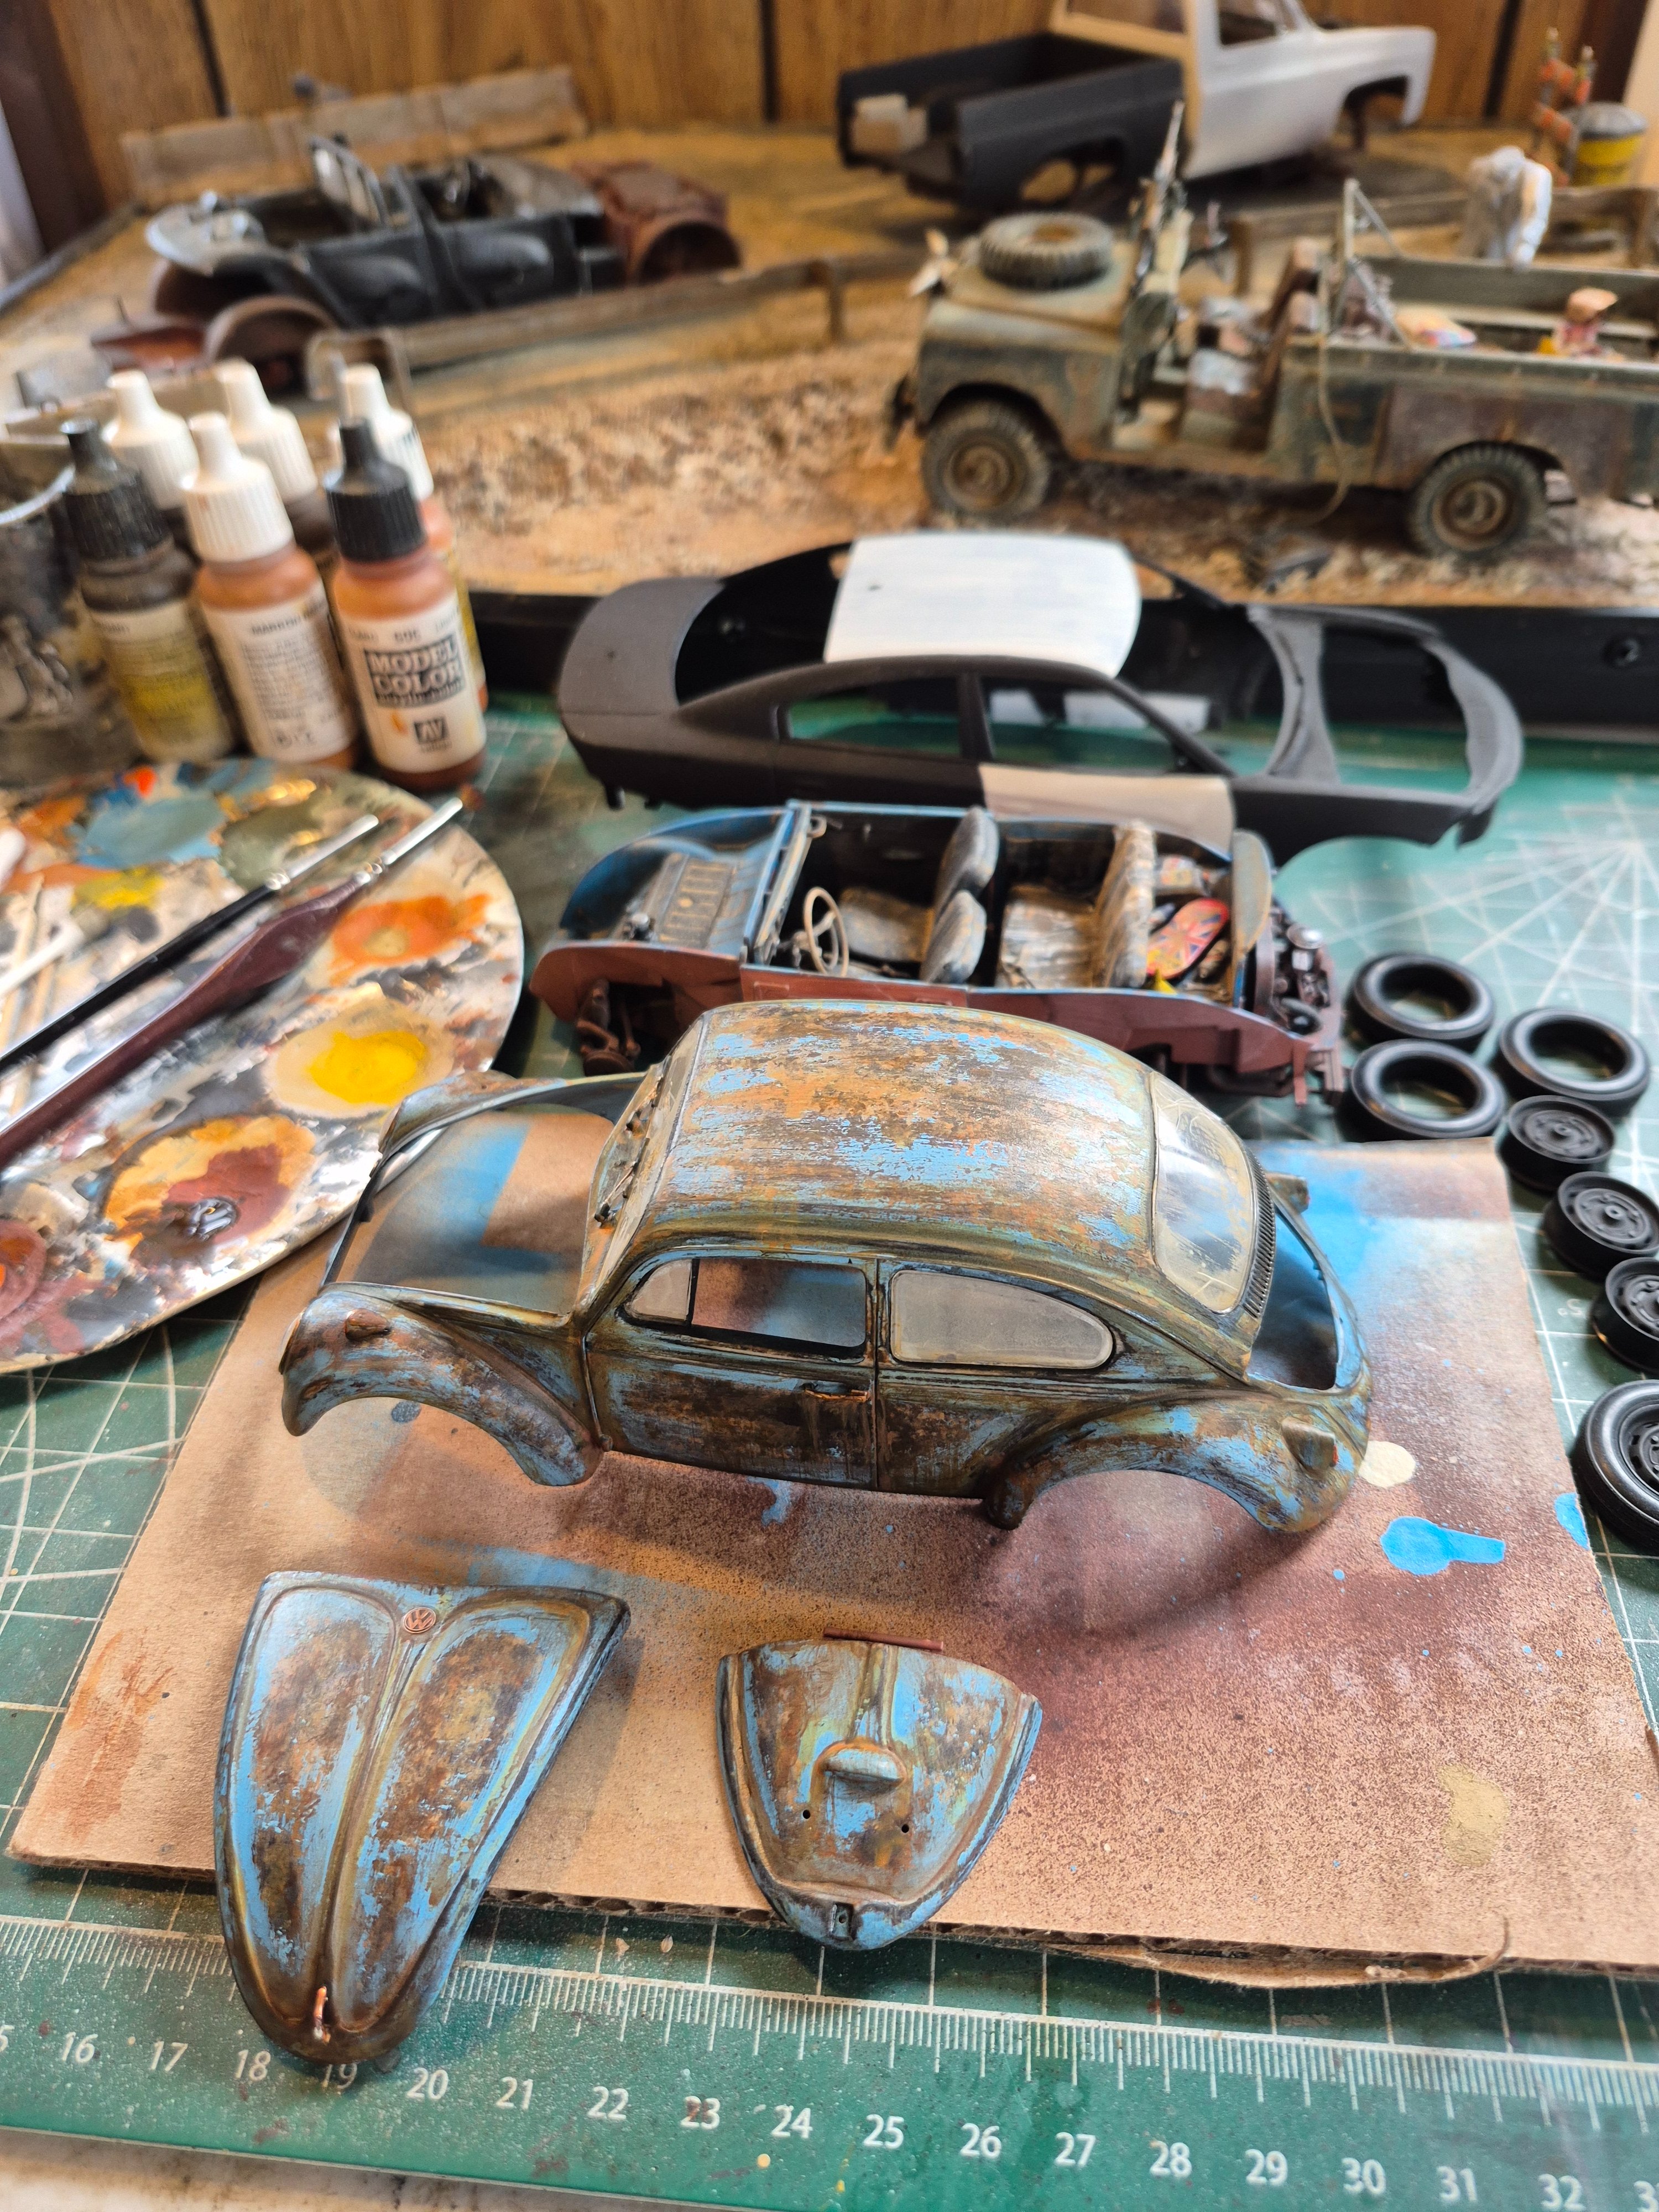
Next is to get back to the MPC 1984 GMC pick up.
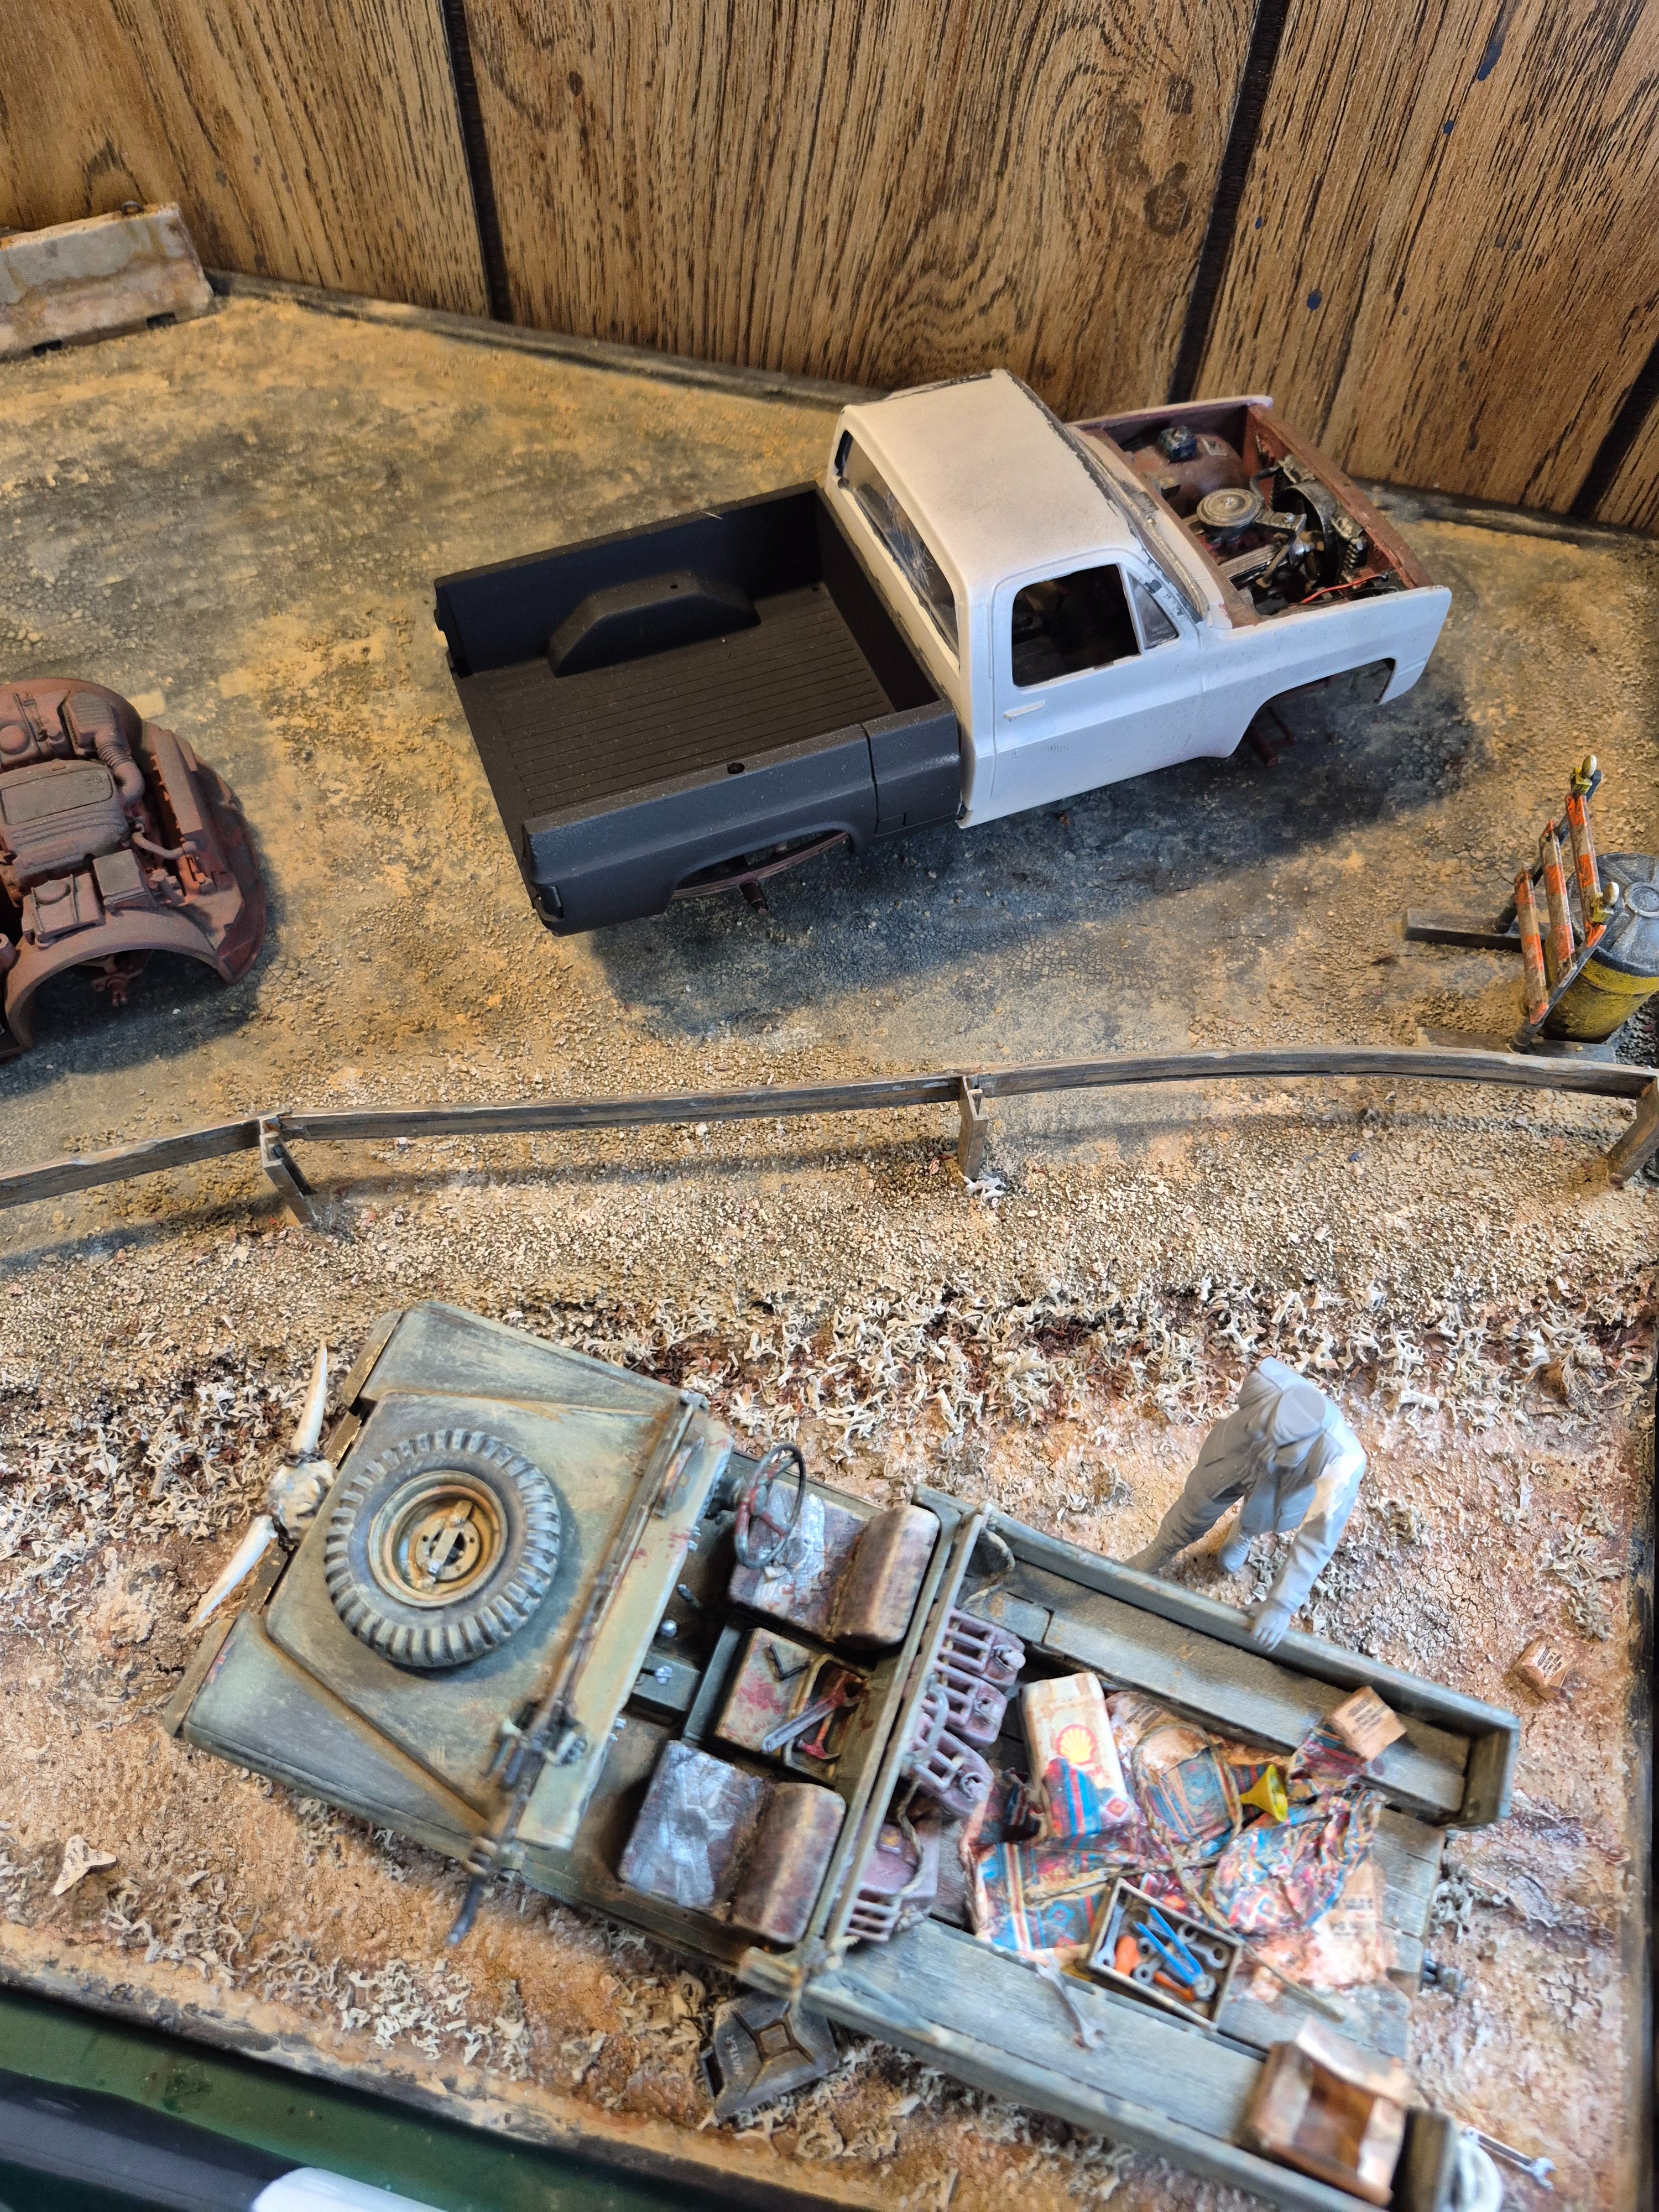
It's going to be red and black, like this......
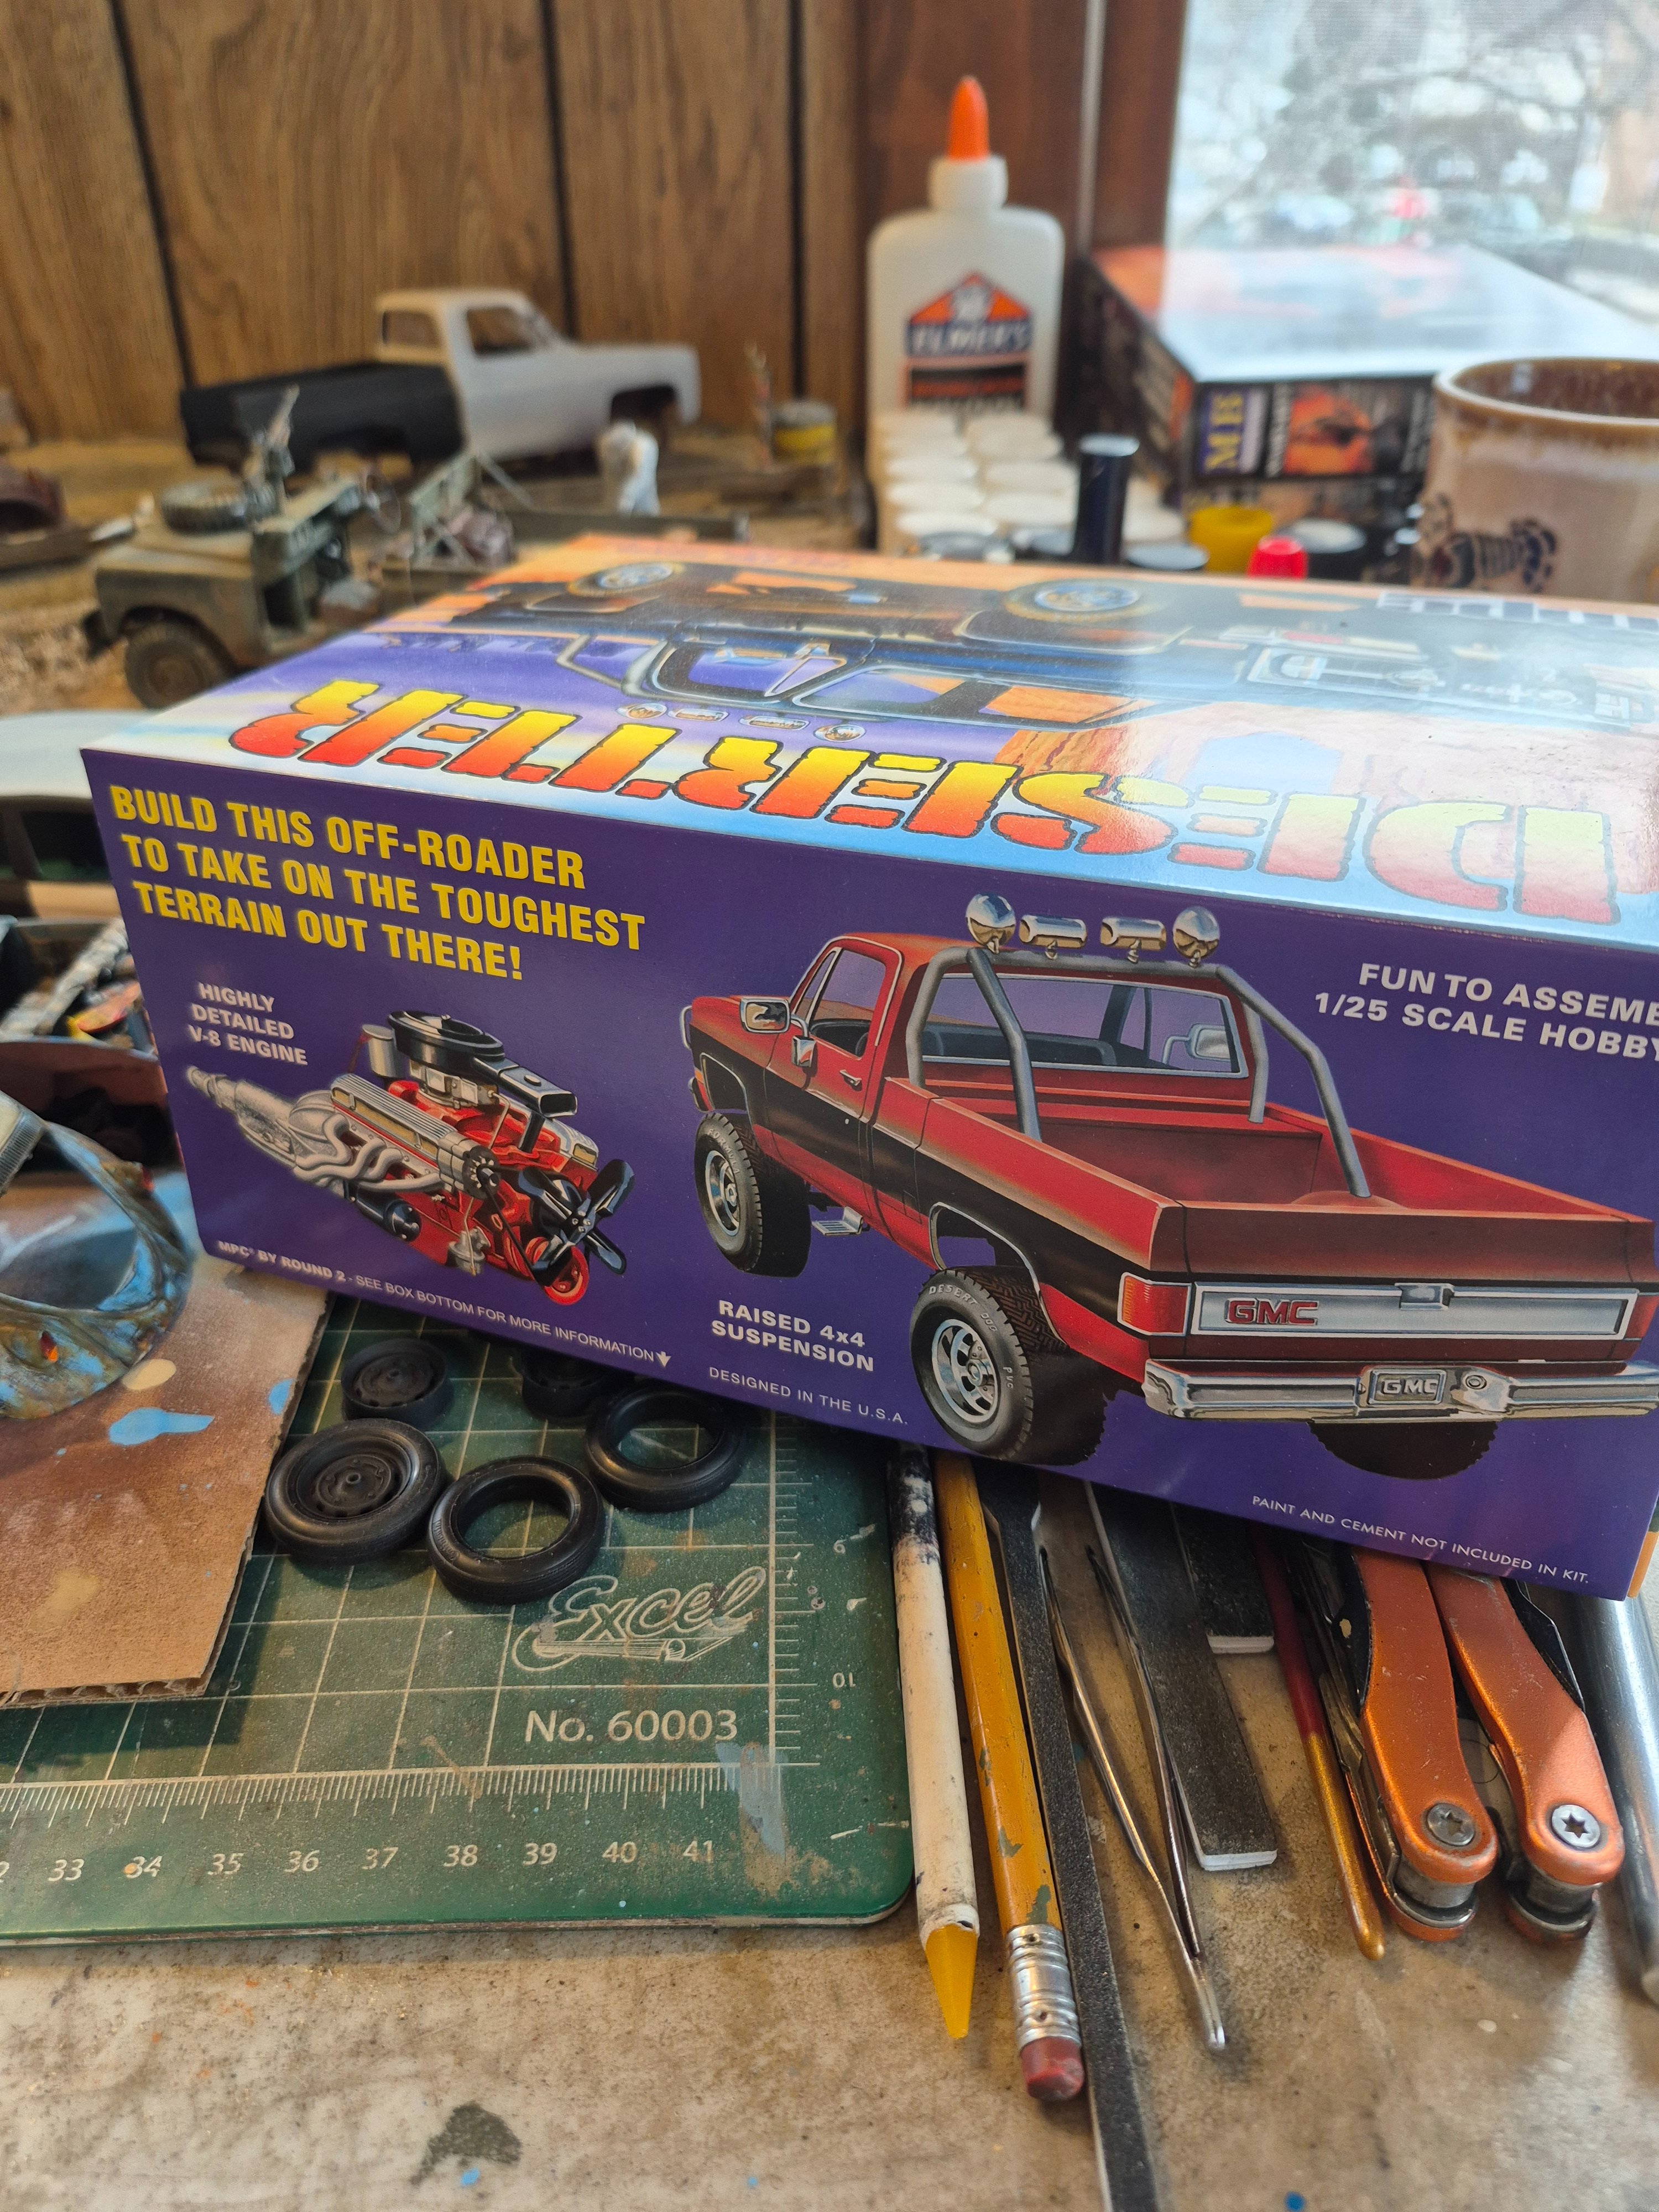
Also I want to add some more trash to the bed of the Land Rover.
This diorama project has been such a breath of fresh air so far, compared to my last build, the 1/200 USS IOWA. In my mind there are no wrong answers here.
Next is to get back to the MPC 1984 GMC pick up.
It's going to be red and black, like this......
Also I want to add some more trash to the bed of the Land Rover.
This diorama project has been such a breath of fresh air so far, compared to my last build, the 1/200 USS IOWA. In my mind there are no wrong answers here.
Wig41
Well-Known Member
Still filling gaps on this Testors F-18.
...finally have the landing gear fitting and looking passable... Still a few parts to add. Touched up the wing and fuselage areas that were damaged while I worked and reworked the gear. That area still needs a coat of gloss before decals and weathering.
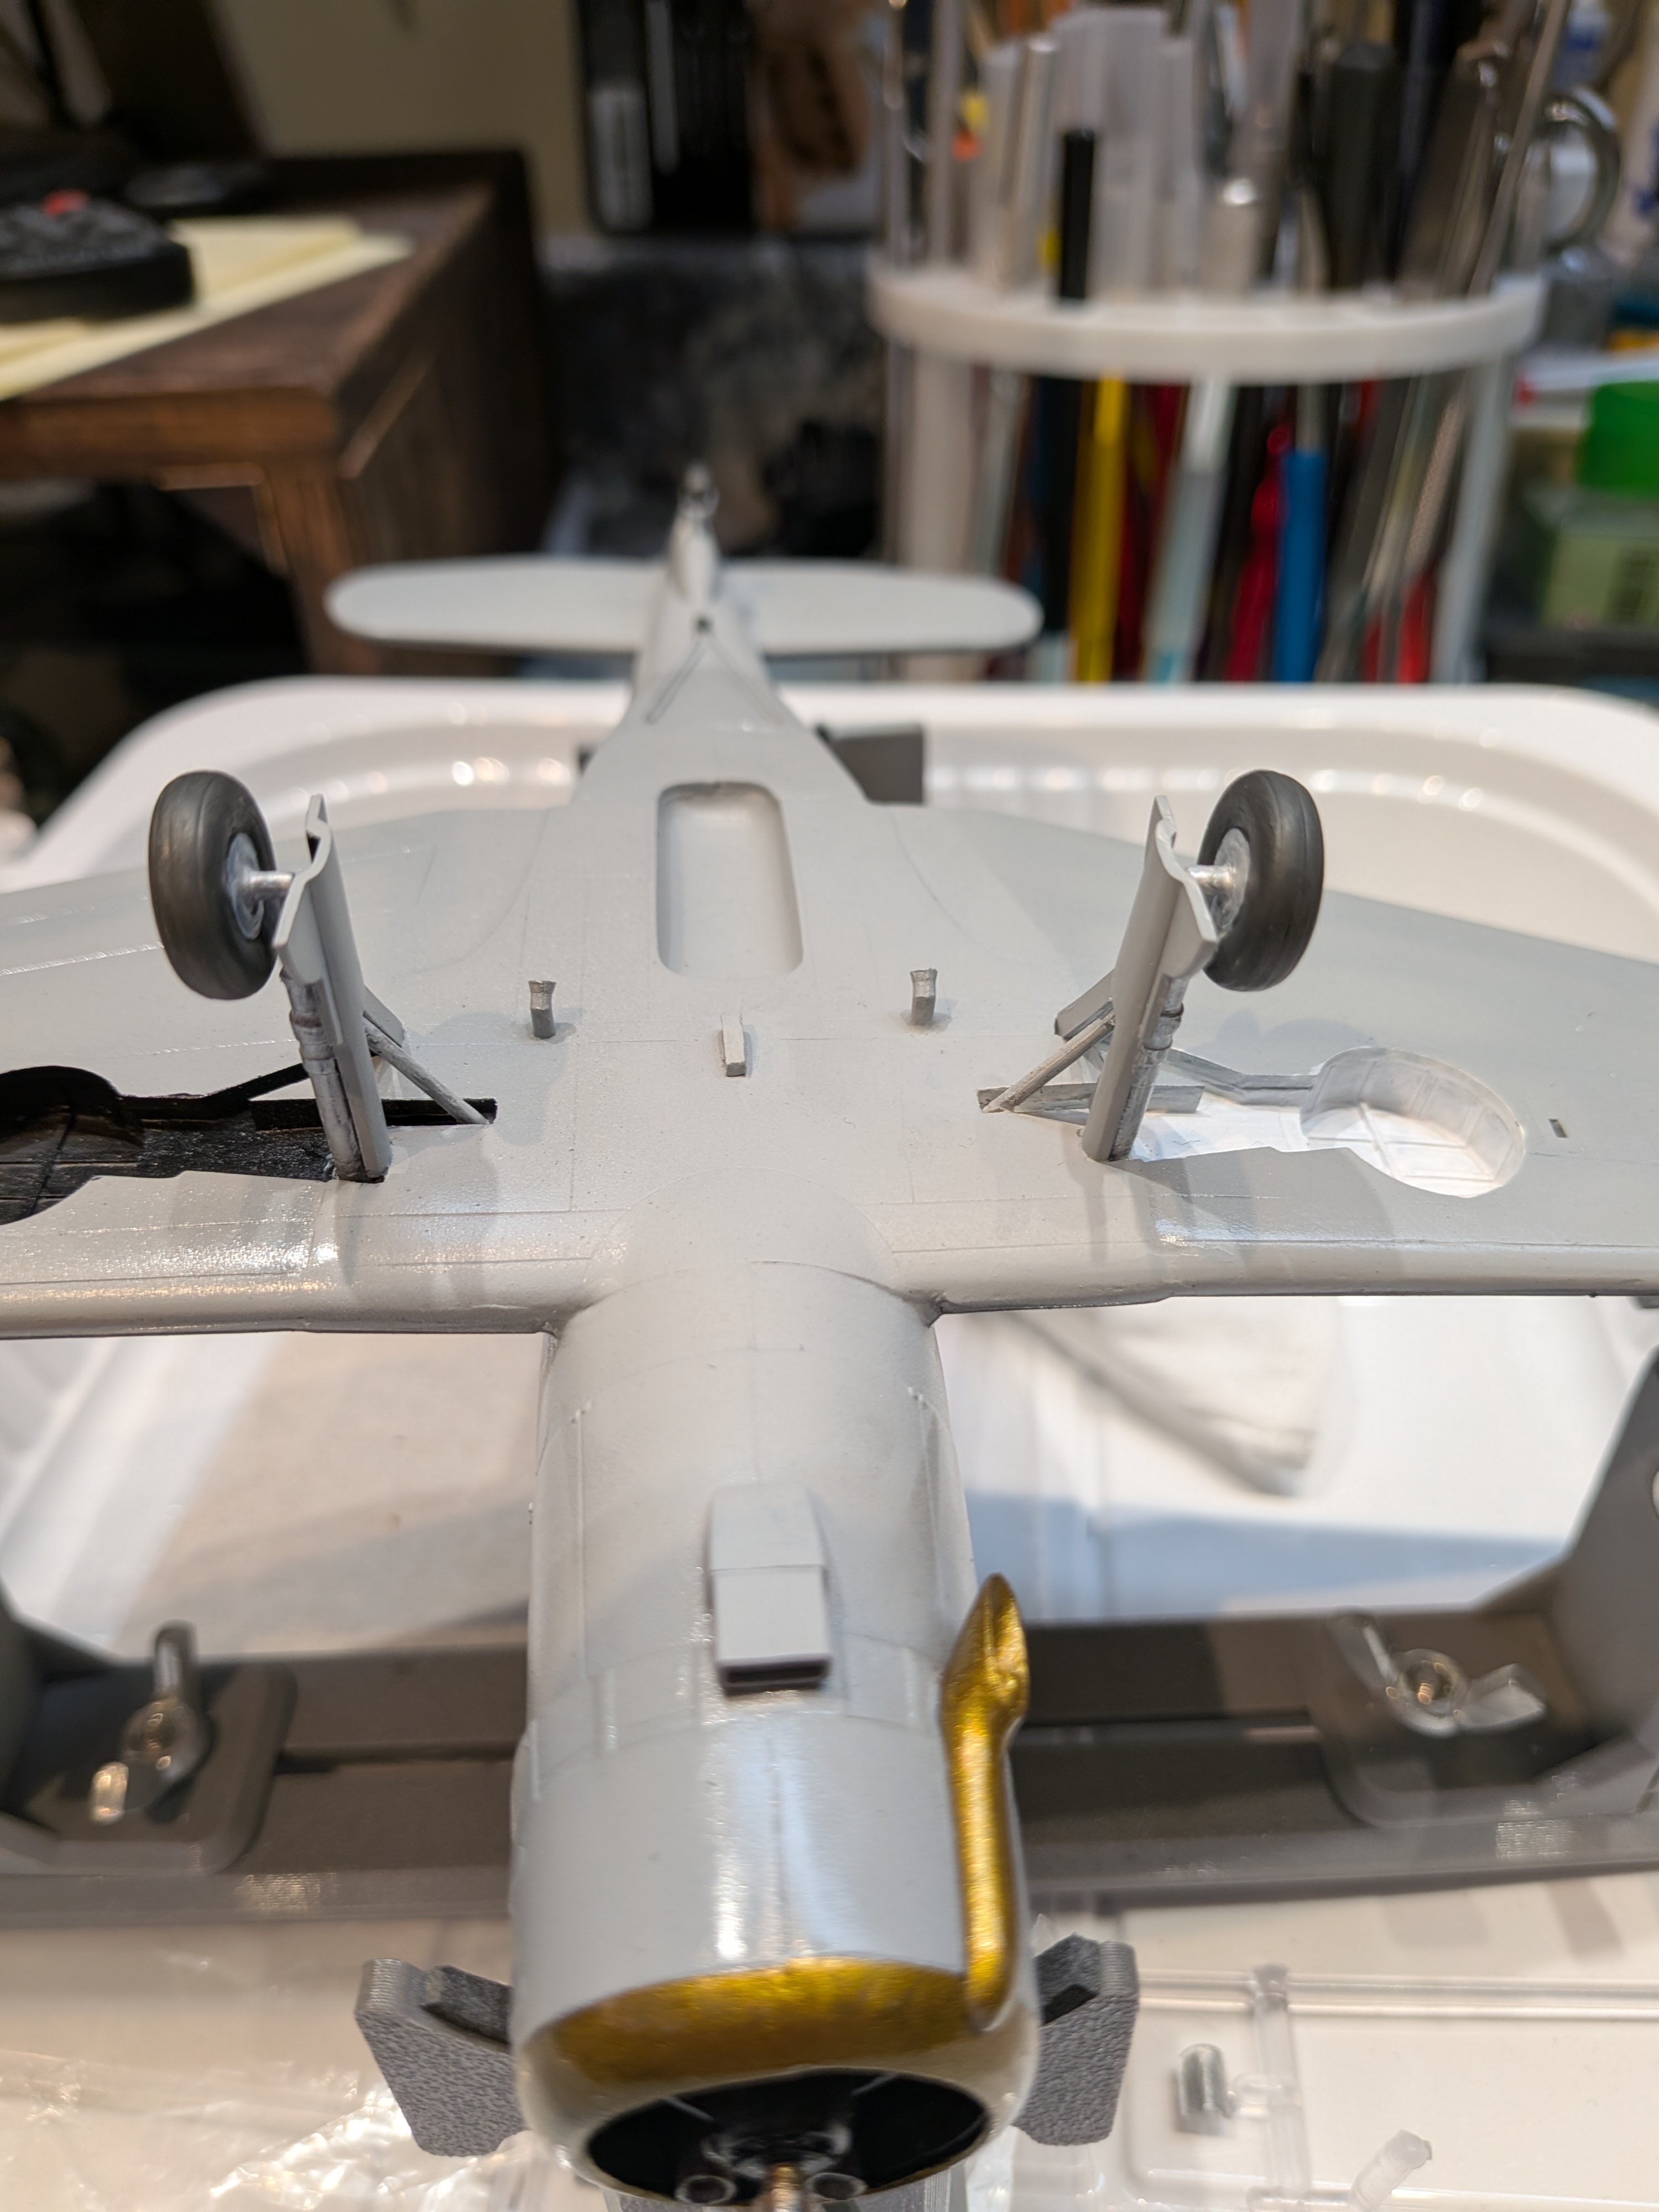
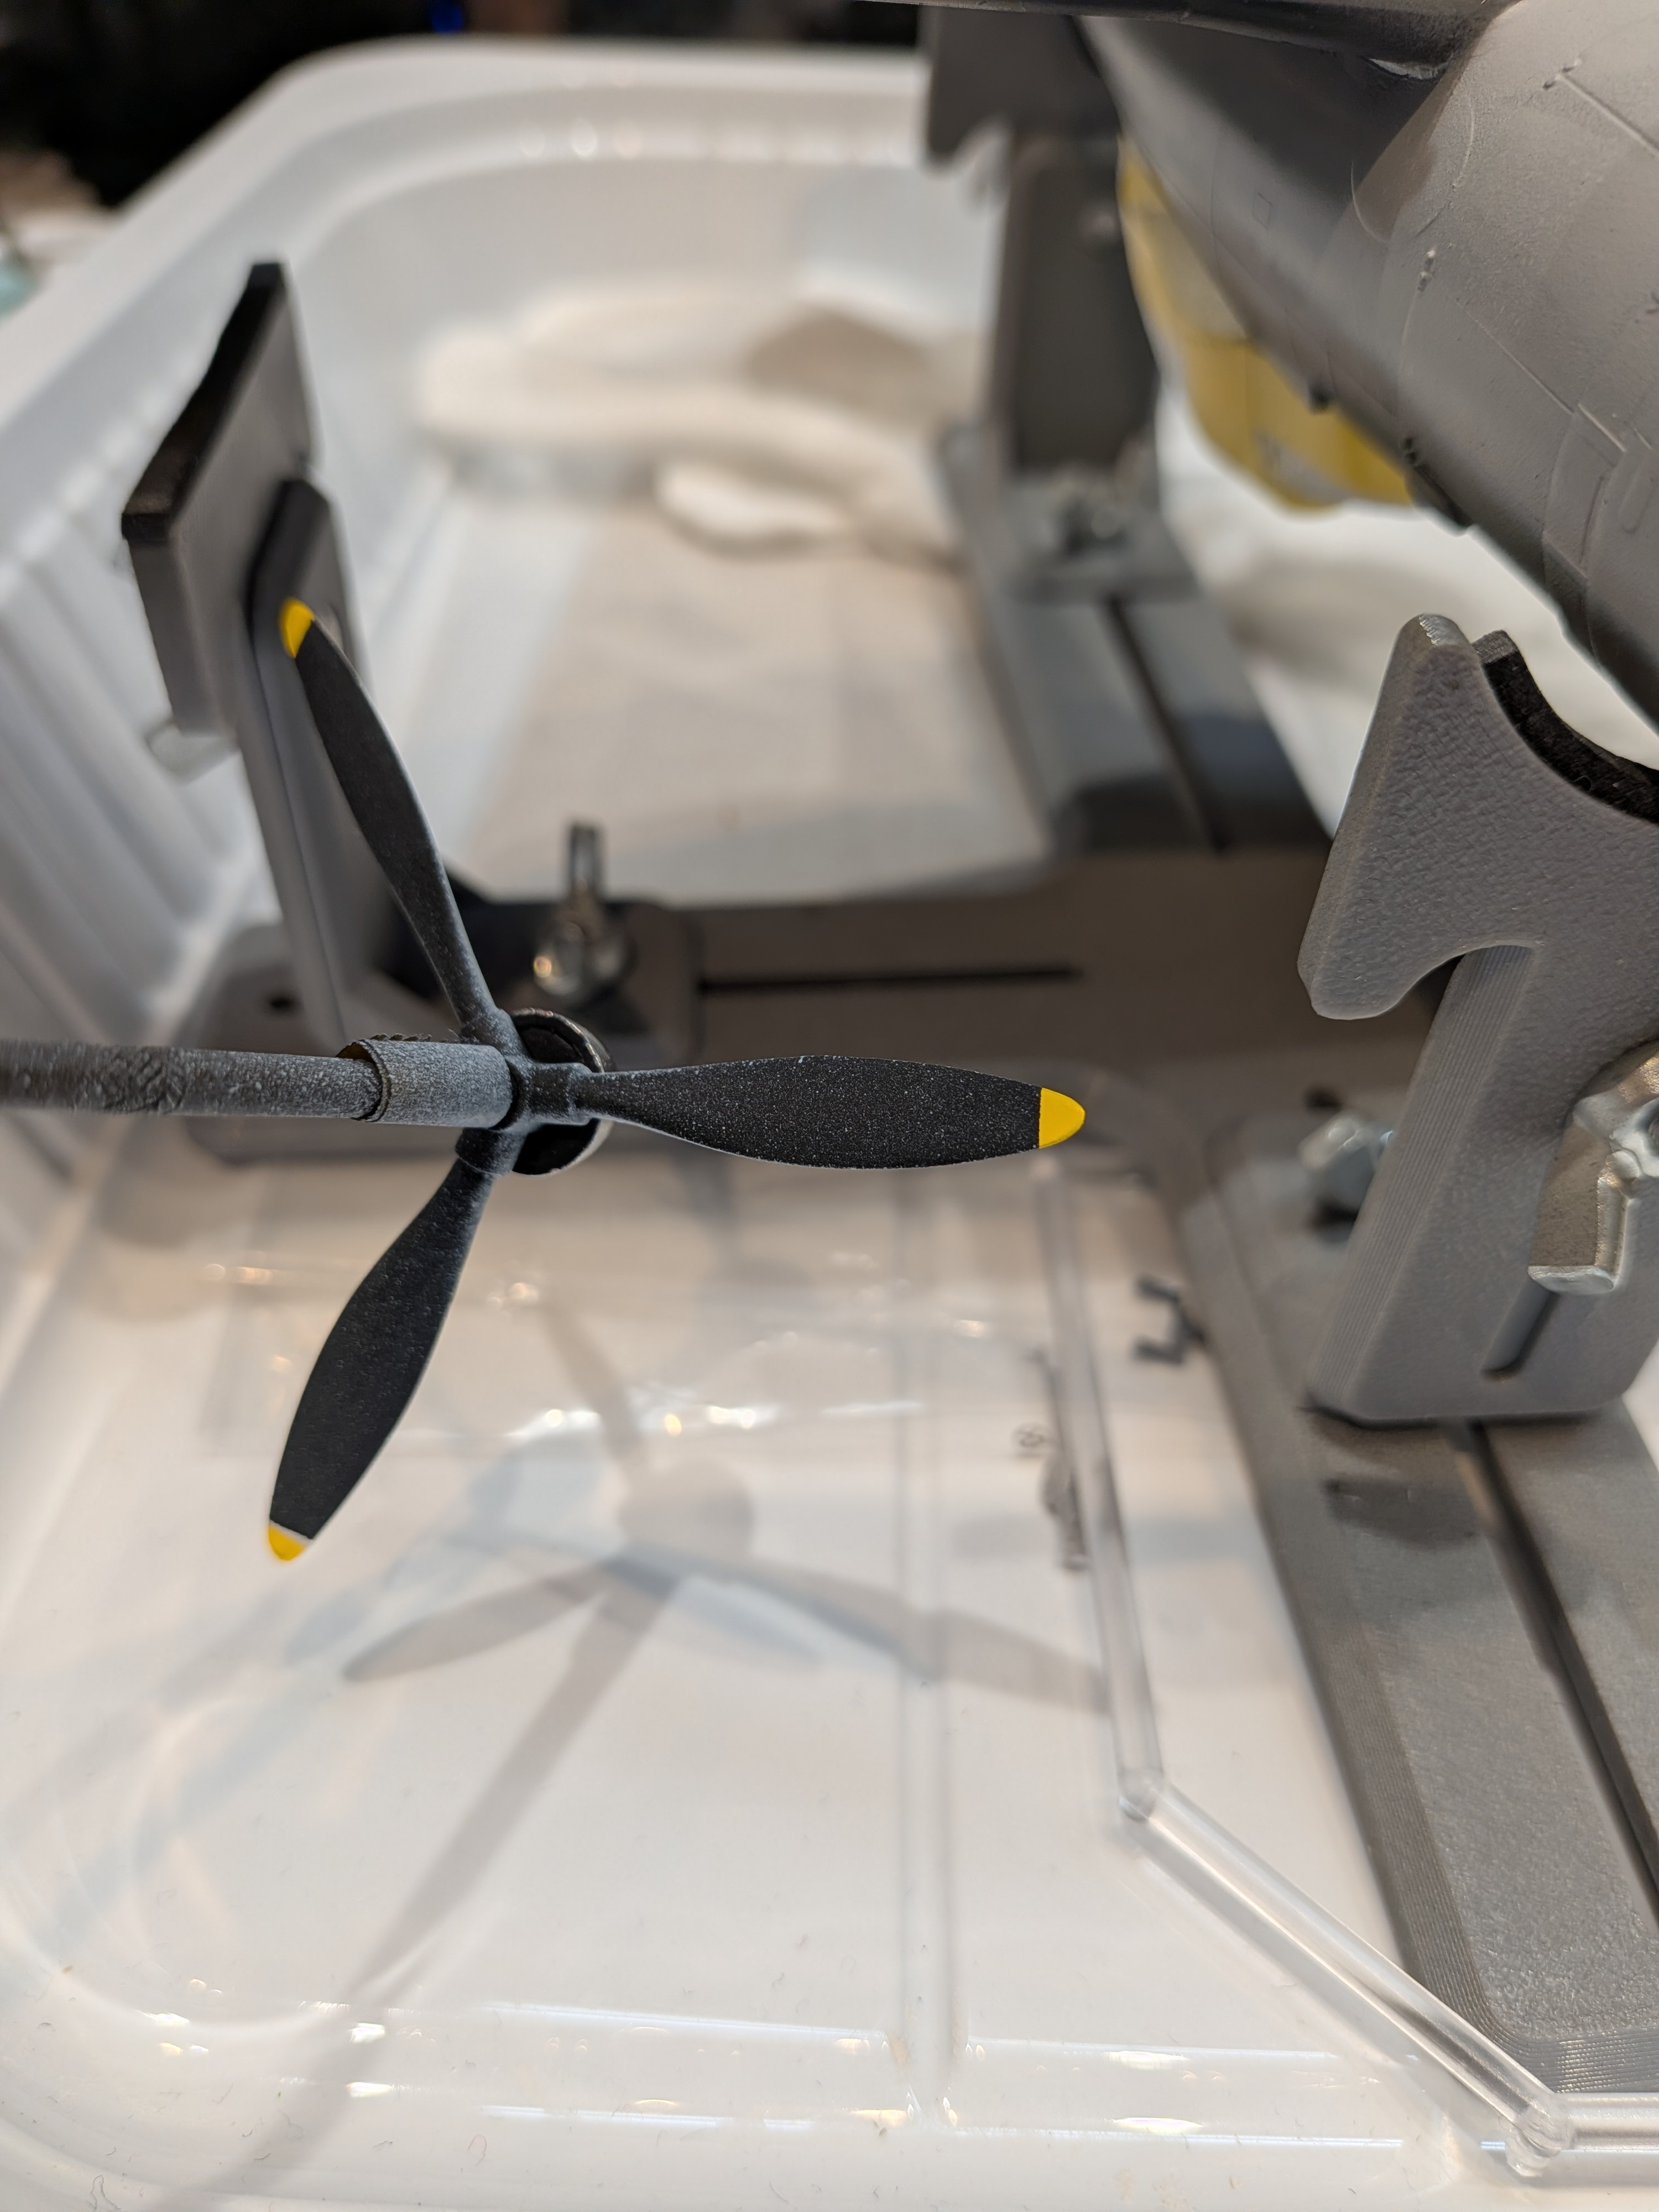
You can see the wells painted black and white... Some of the Skuas that survived the North Sea action kept the recognition paint (one wing black, one wing white) in the wells after having a different camo scheme applied, in this case for the Med.
And the props painted... Dunno if true for my particular plane, but the Skua mechanics often liked to buff the originally aluminium doped spinner to a high shine.
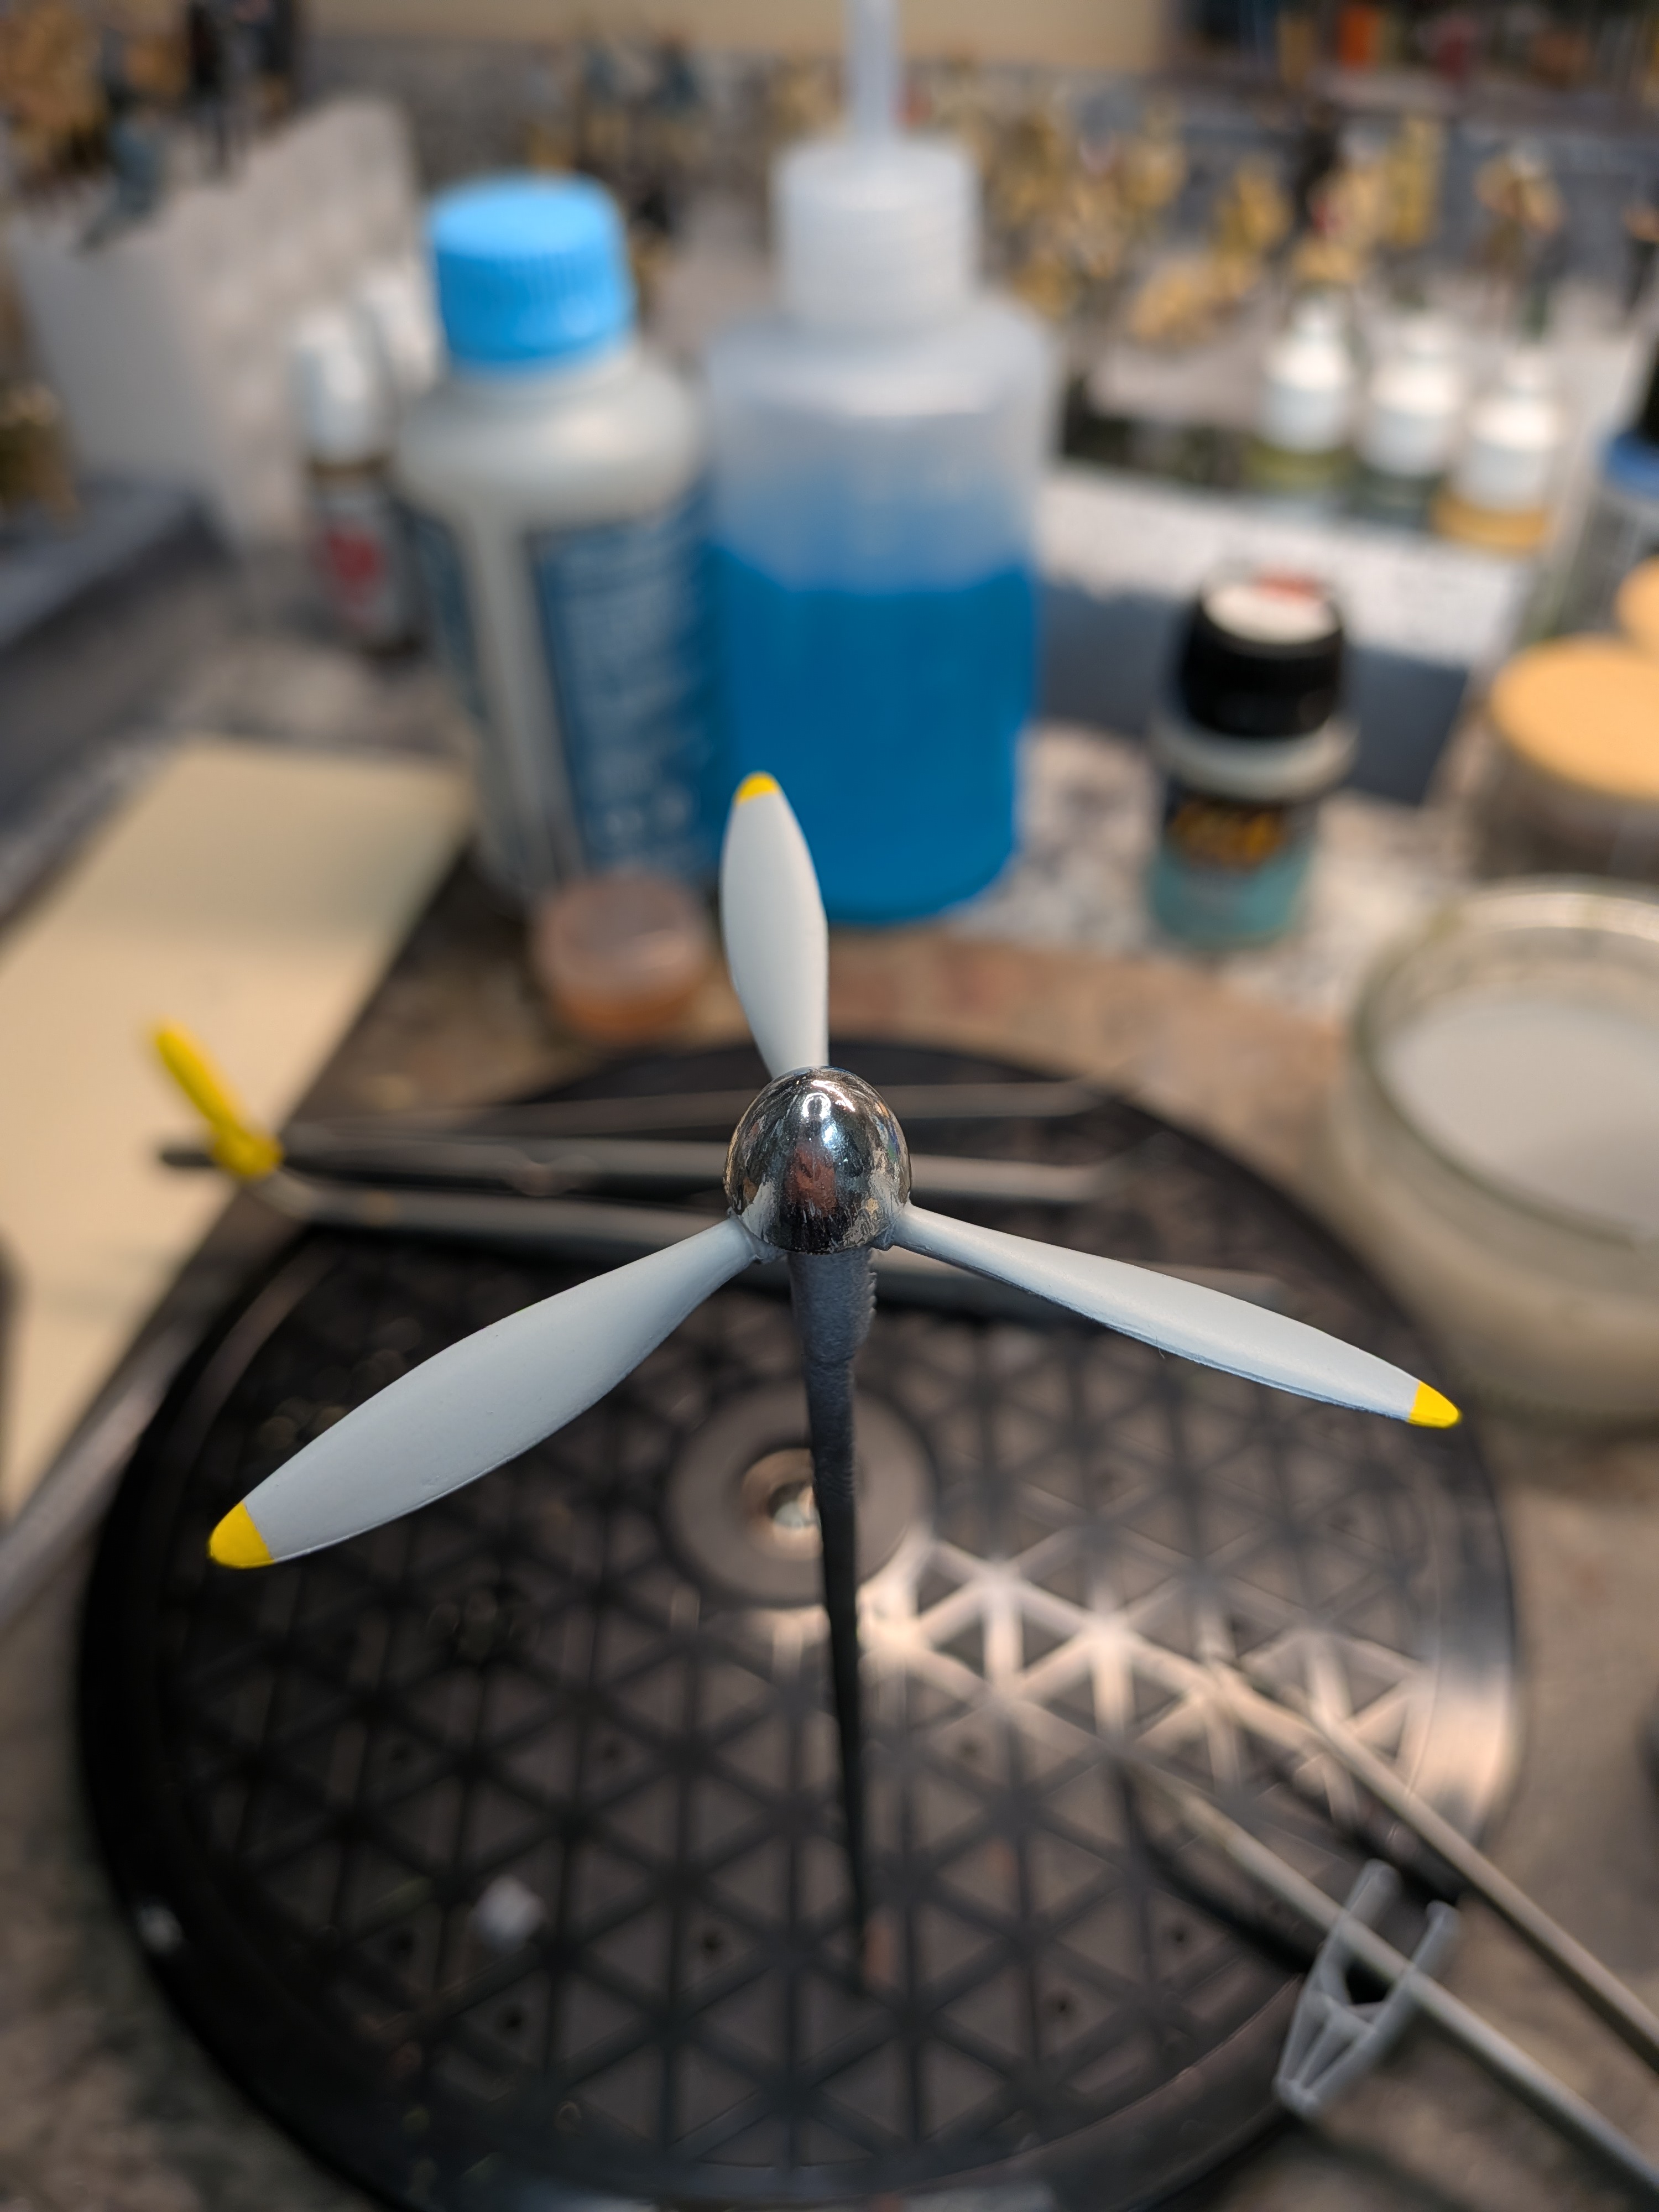
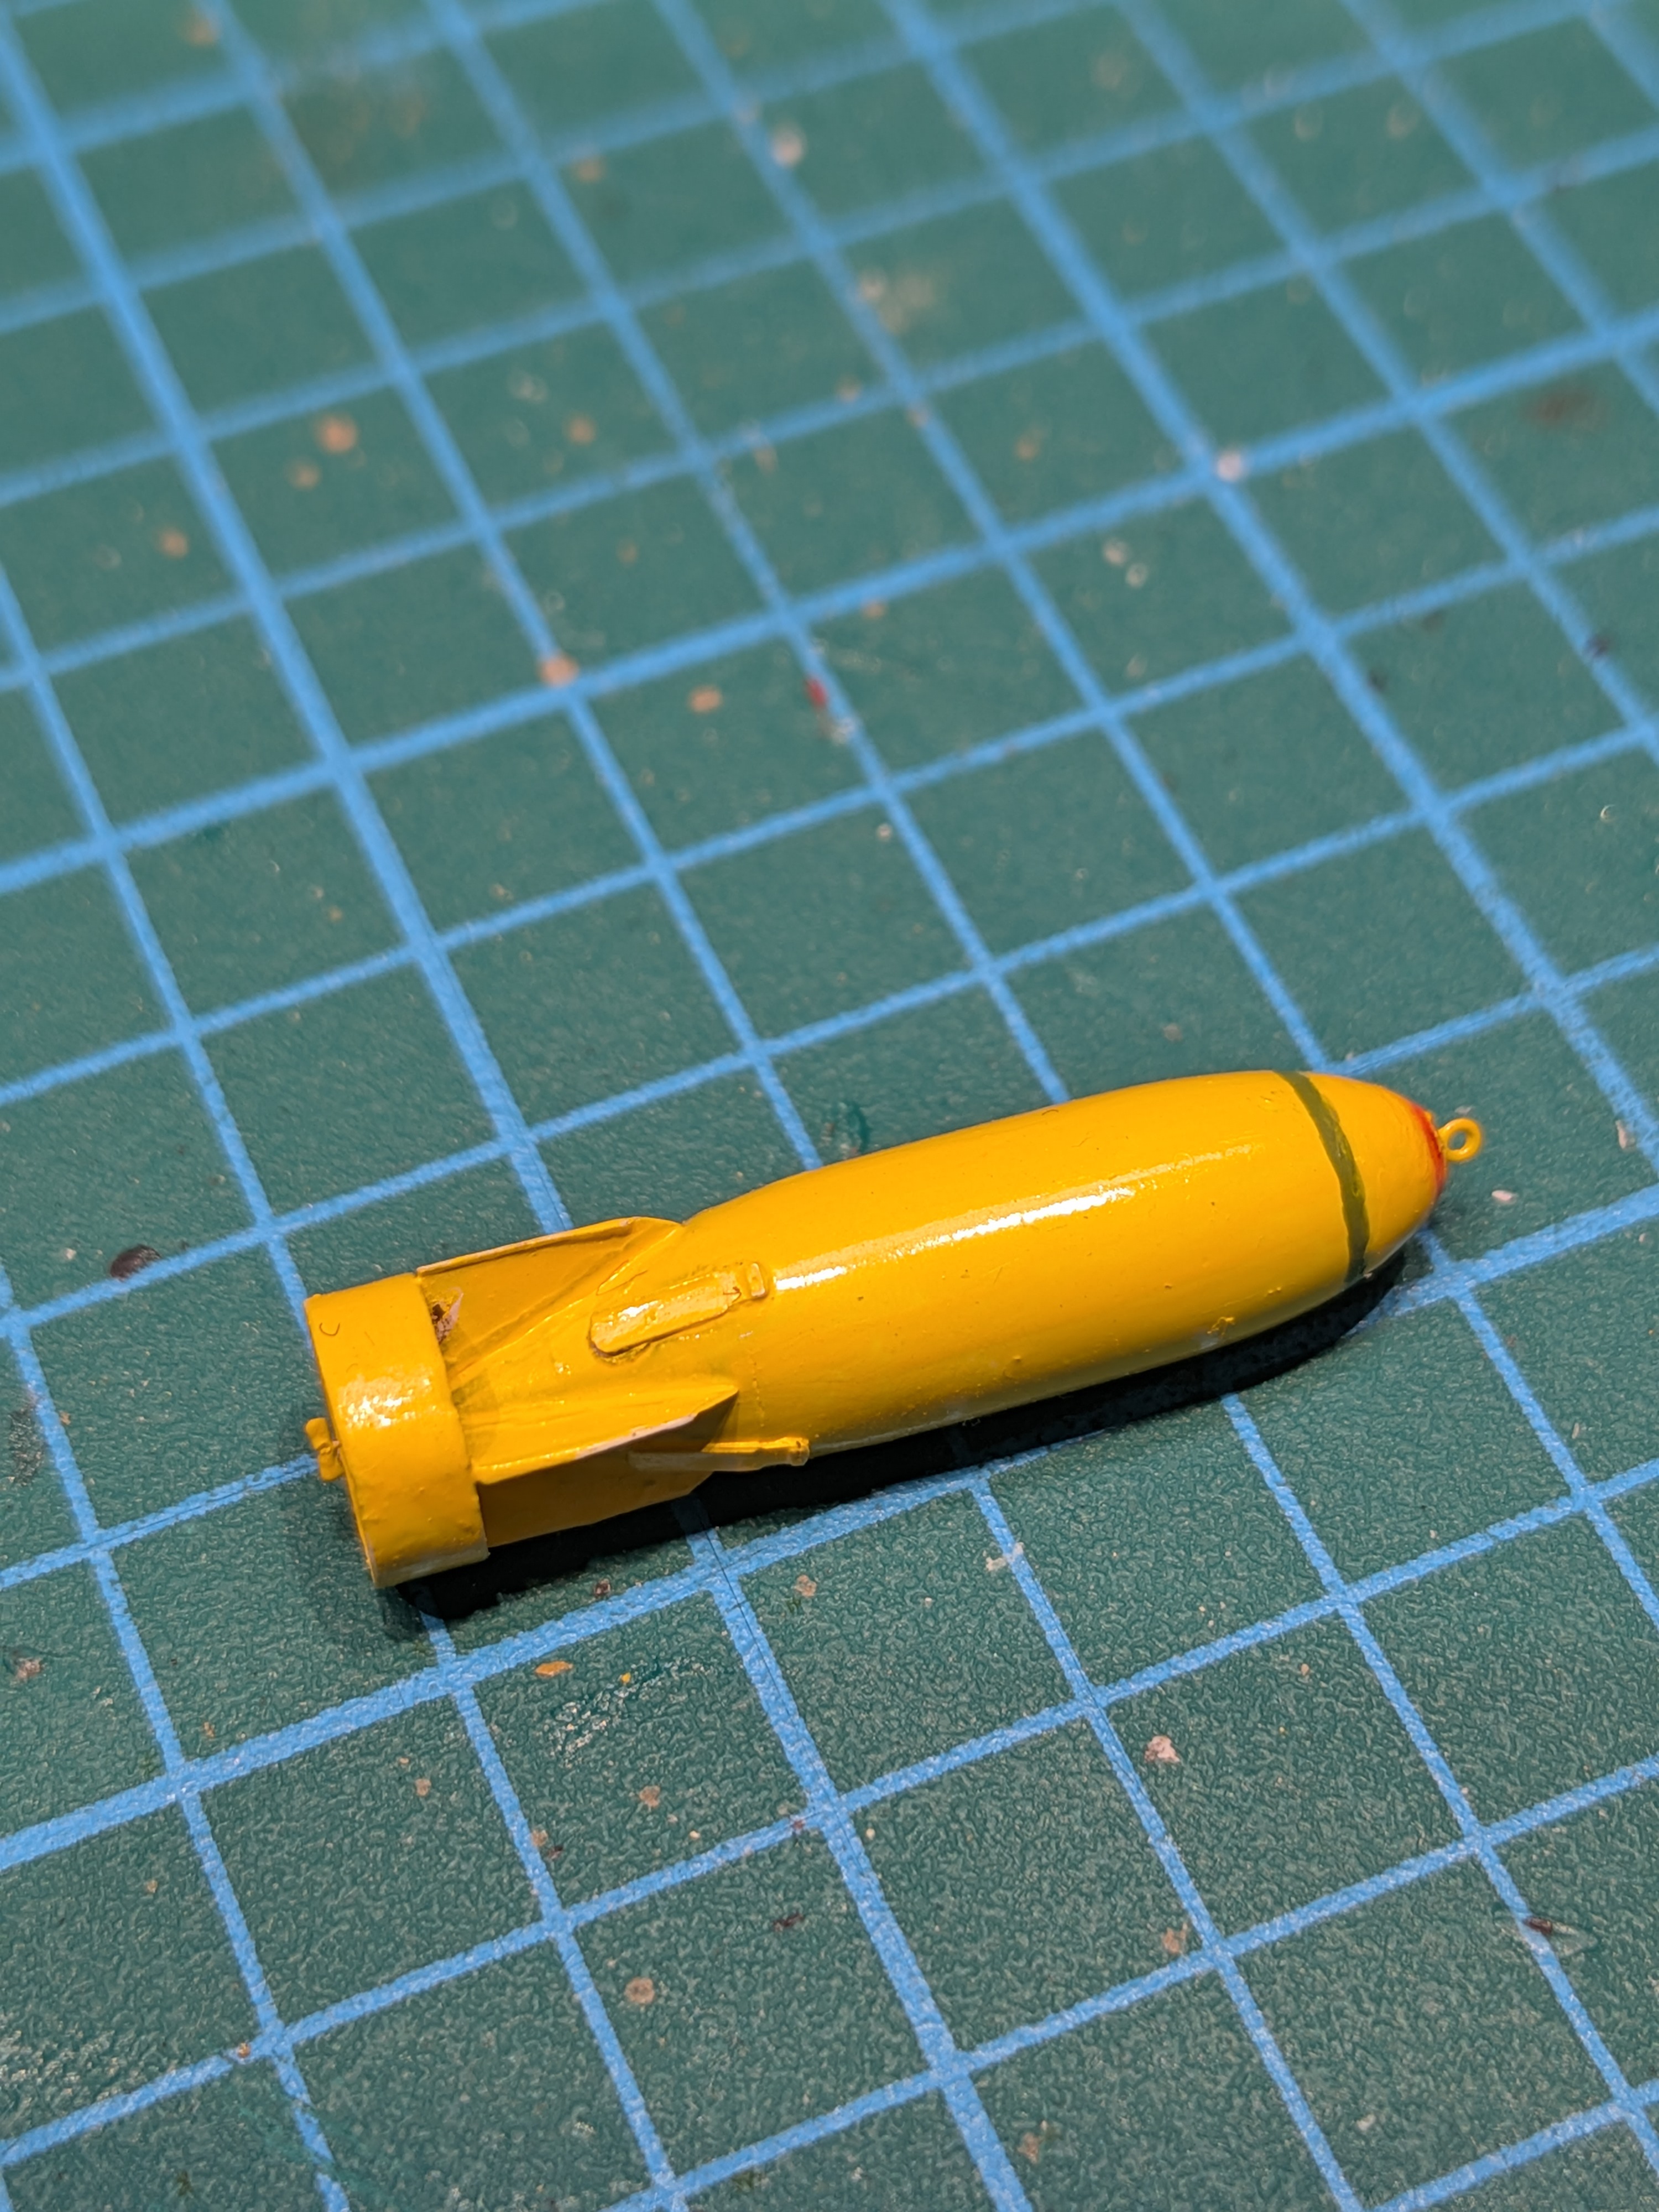
Tried the AK paint pen for the yellow (tips and 500 lb bomb in the background): I like it!
The back of the blades are black
You can see the wells painted black and white... Some of the Skuas that survived the North Sea action kept the recognition paint (one wing black, one wing white) in the wells after having a different camo scheme applied, in this case for the Med.
And the props painted... Dunno if true for my particular plane, but the Skua mechanics often liked to buff the originally aluminium doped spinner to a high shine.
Tried the AK paint pen for the yellow (tips and 500 lb bomb in the background): I like it!
The back of the blades are black
Last edited:
Got some bling on that cowling! I've been using those pens a lot lately and they're great. Make tires a lot easier!...finally have the landing gear fitting and looking passable... Still a few parts to add. Touched up the wing and fuselage areas that were damaged while I worked and reworked the gear. That area still needs a coat of gloss before decals and weathering.
View attachment 184097
You can see the wells painted black and white... Some of the Skuas that survived the North Sea action kept the recognition paint (one wing black, one wing white) in the wells after having a different camo scheme applied, in this case for the Med.
And the props painted... Dunno if true for my particular plane, but the Skua mechanics often liked to buff the originally aluminium doped spinner to a high shine.
View attachment 184096
Tried the AK paint pen for the yellow (tips and 500 lb bomb in the background): I like it!
The back of the blades are black
View attachment 184098
Early war British 500lb bomb... One shot deal for my Skua...
kevin
Well-Known Member
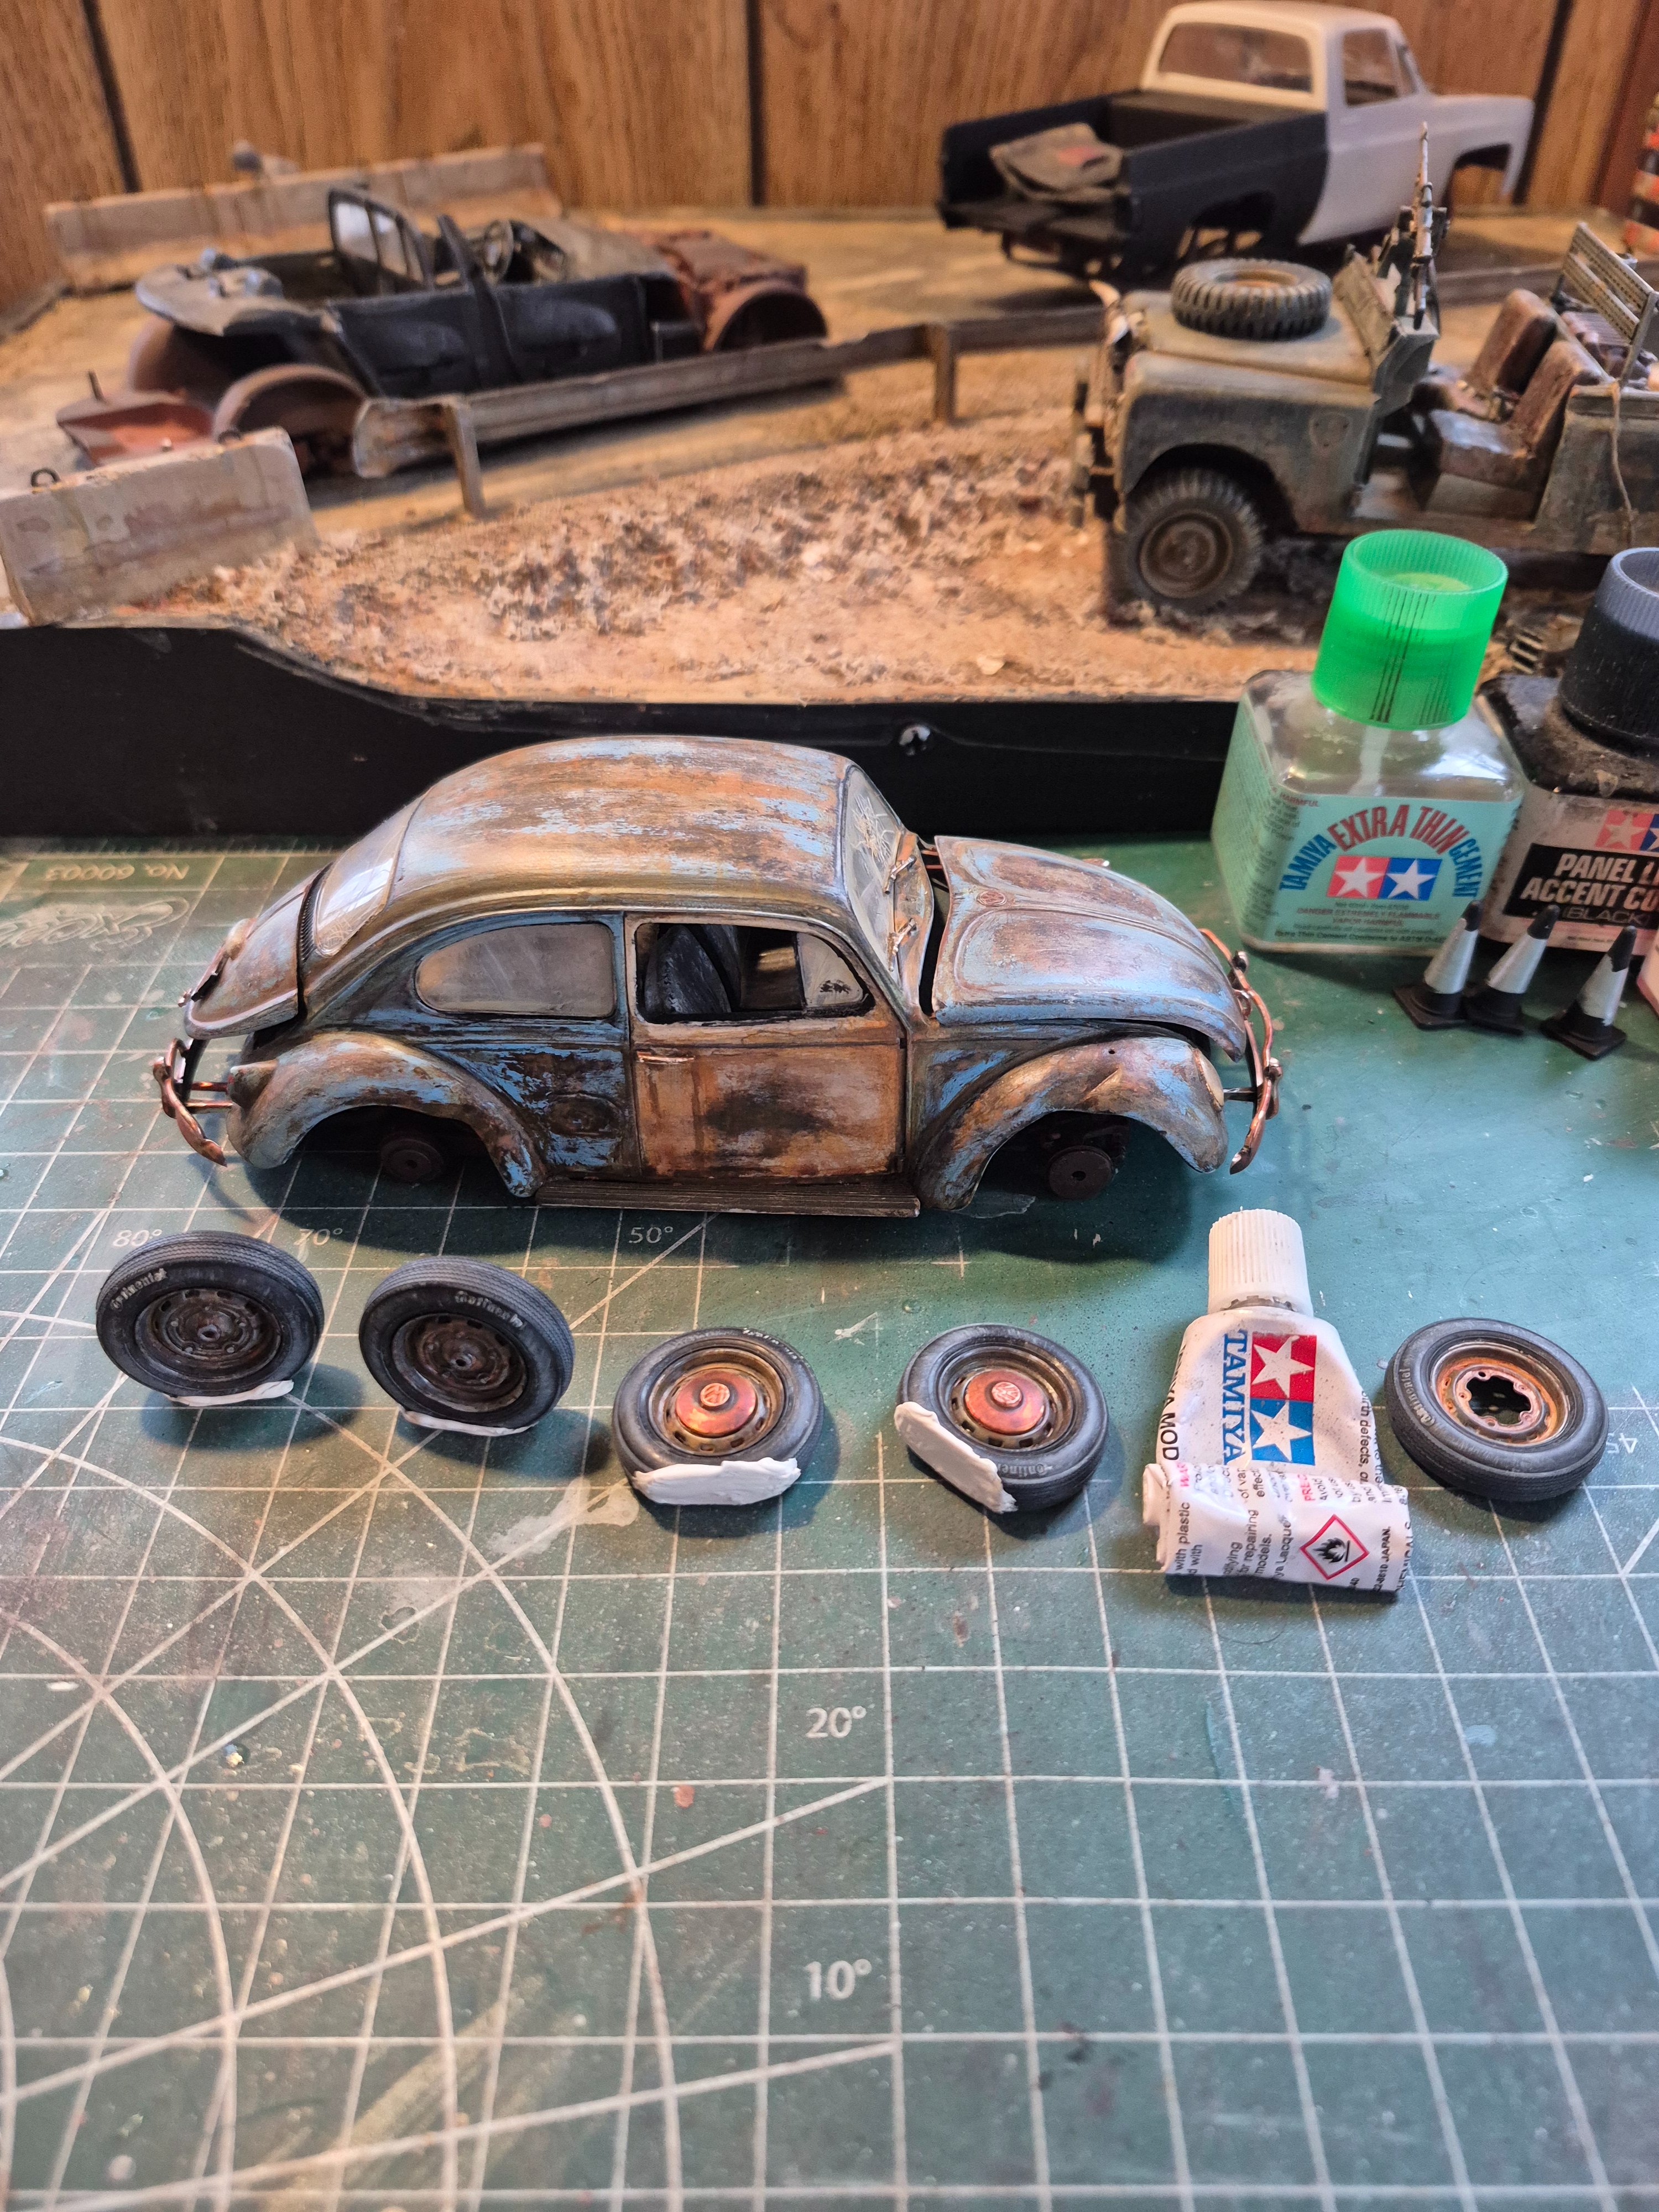
I'm working on making the tires for the bug low on air or flat. My first thought was heat, but I have no spare tires to use if it went sideways.
So I cut a flat spot on the tire with a razor blade and added some Tamiya putty and squashed it down some. As long as the putty adheres to the rubber when dry I'll be good to go I think.
So I cut a flat spot on the tire with a razor blade and added some Tamiya putty and squashed it down some. As long as the putty adheres to the rubber when dry I'll be good to go I think.
Edbert
Well-Known Member
- Joined
- May 16, 2024
- Messages
- 3,117
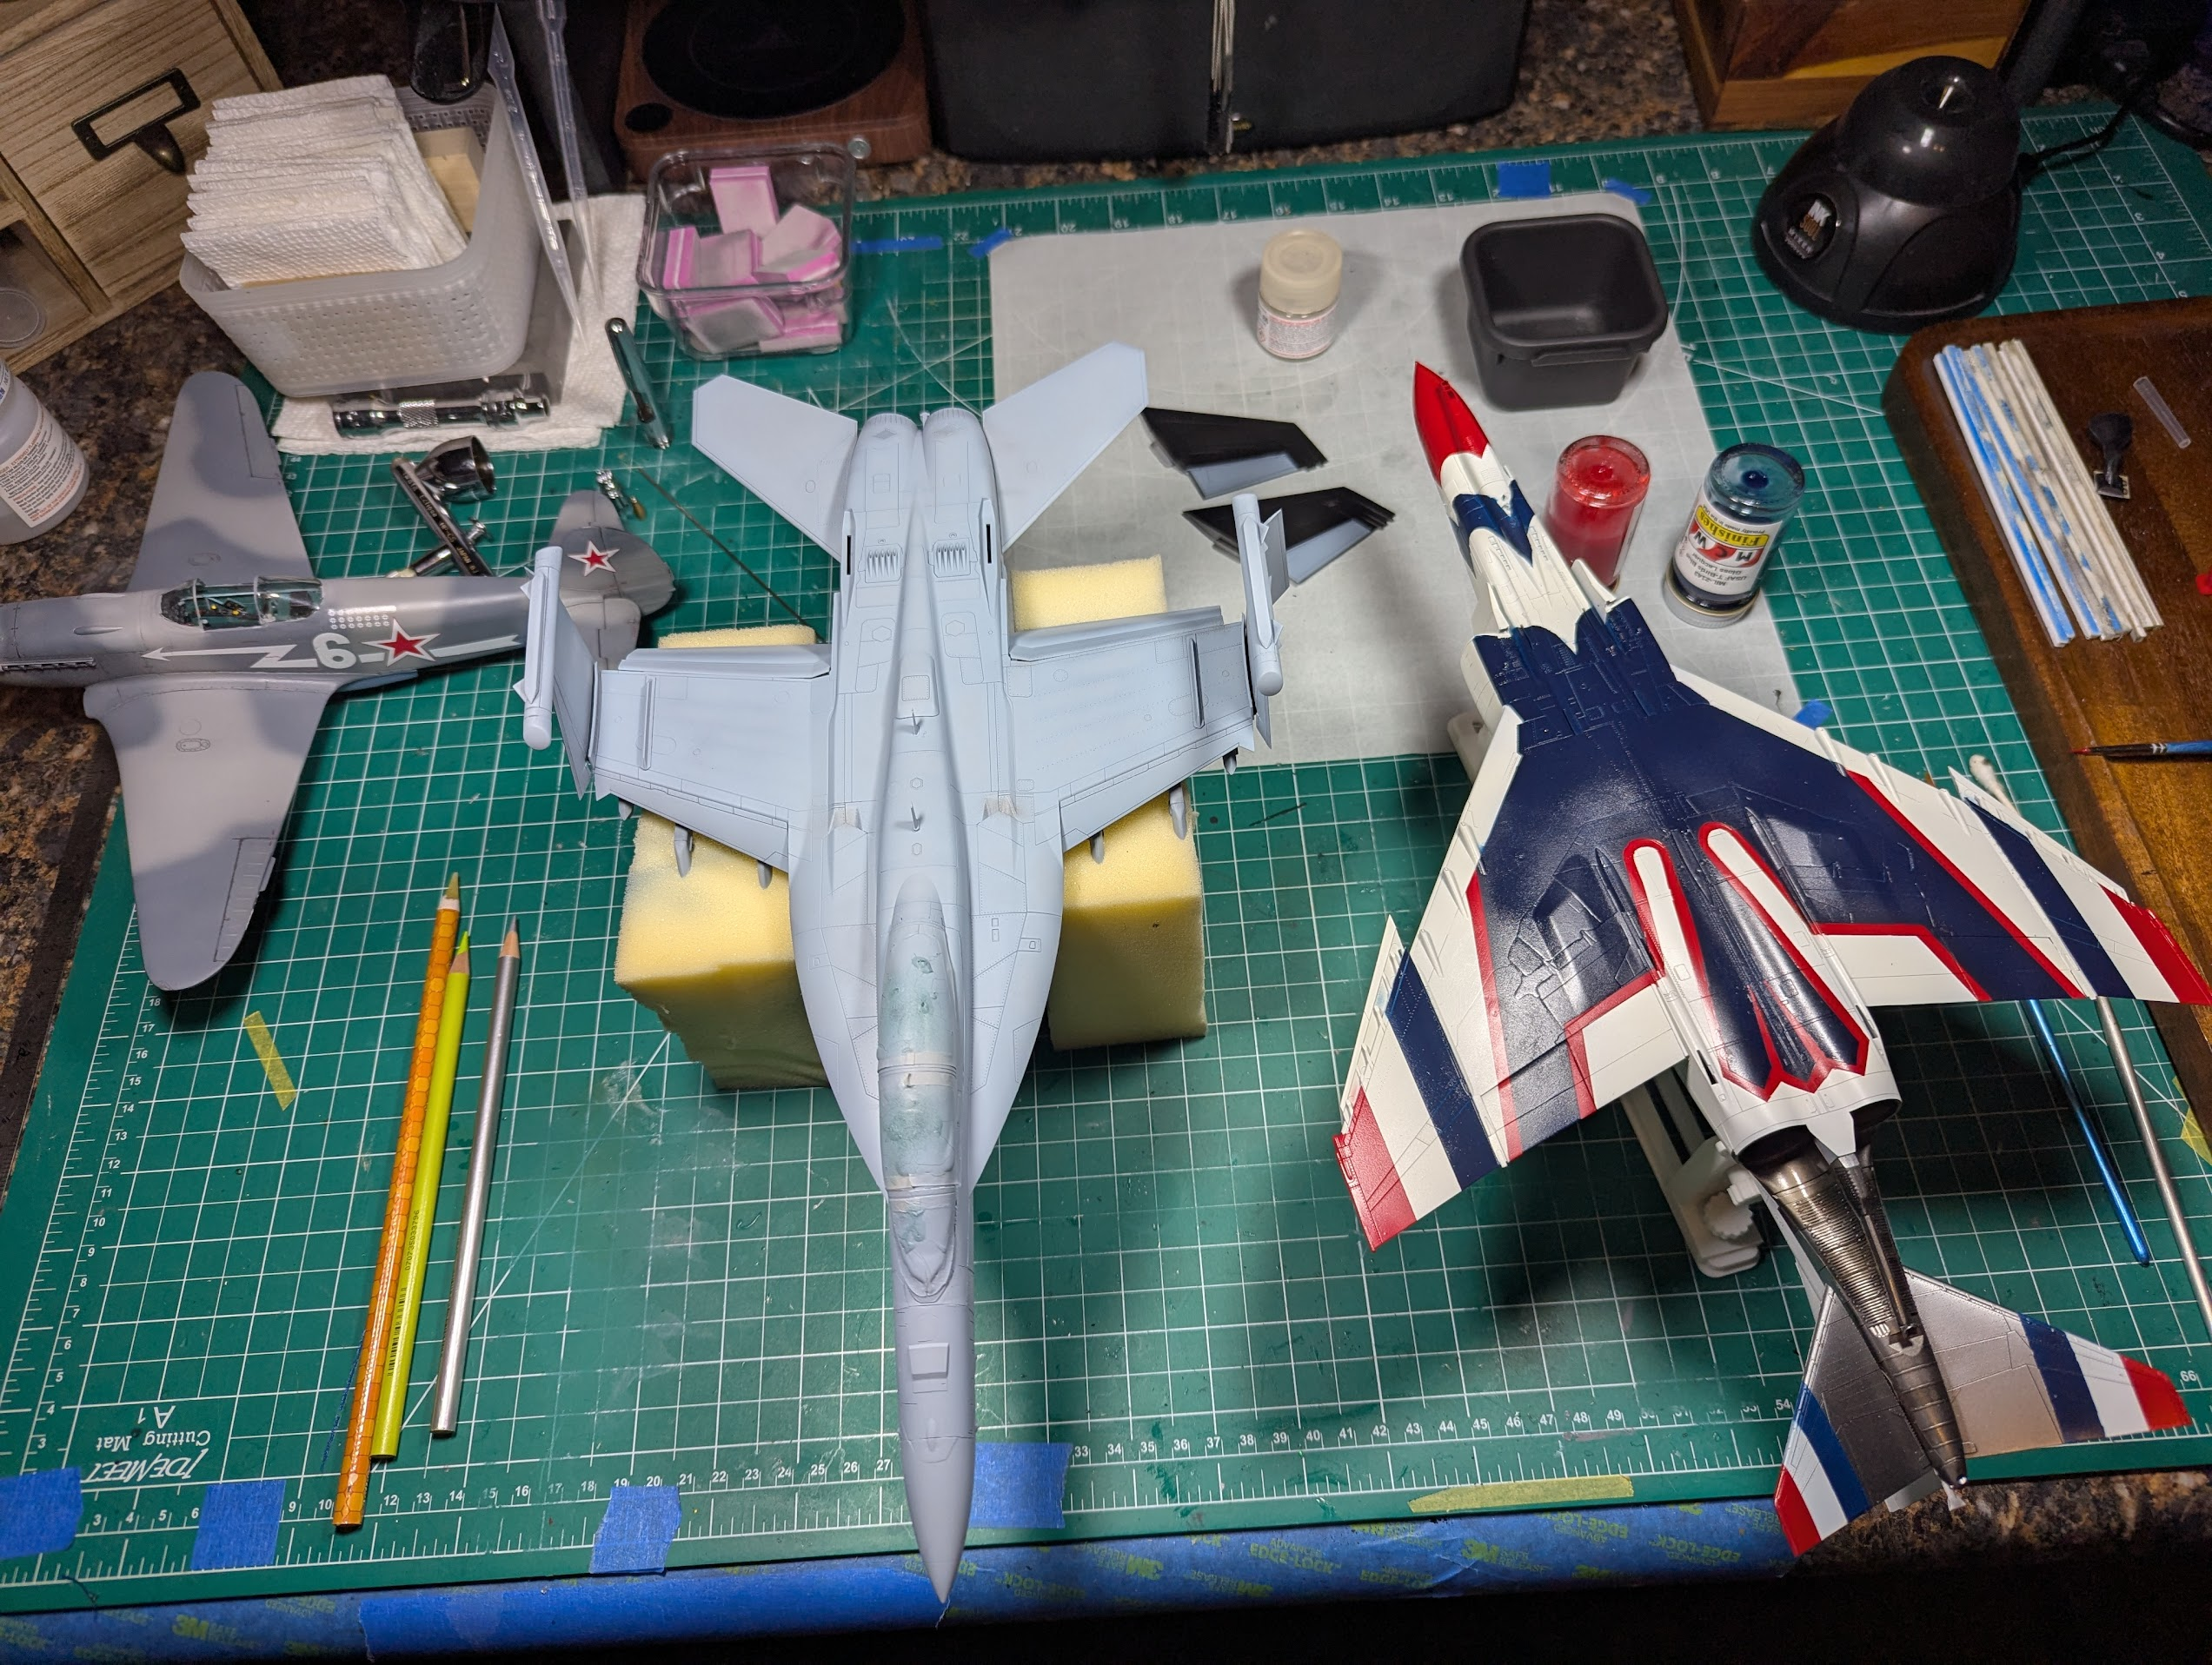
I'm fighting problems/gremilns on three kits at once.
The Yak-3...I bought a vaccuform canopy, but them messed it up too. Zoom in and you can see the primer leaked under the mask. Unlike color coats, it is not coming off with saliva on a toothpick.
The Growler...I am being a bit too timid in my post-shading. At least it is not "messed up", trying to stay positive.
The Phantom-Tbird...touching up the markings with thin lacquer designed for an airbrush is not working as hoped. Again, not ruined (yet) just another struggle, or obstacle to overcome.
The Yak-3...I bought a vaccuform canopy, but them messed it up too. Zoom in and you can see the primer leaked under the mask. Unlike color coats, it is not coming off with saliva on a toothpick.
The Growler...I am being a bit too timid in my post-shading. At least it is not "messed up", trying to stay positive.
The Phantom-Tbird...touching up the markings with thin lacquer designed for an airbrush is not working as hoped. Again, not ruined (yet) just another struggle, or obstacle to overcome.
Last edited:

What primer did you use?Zoom in and you can see the primer leaked unere the mask.
Edbert
Well-Known Member
- Joined
- May 16, 2024
- Messages
- 3,117
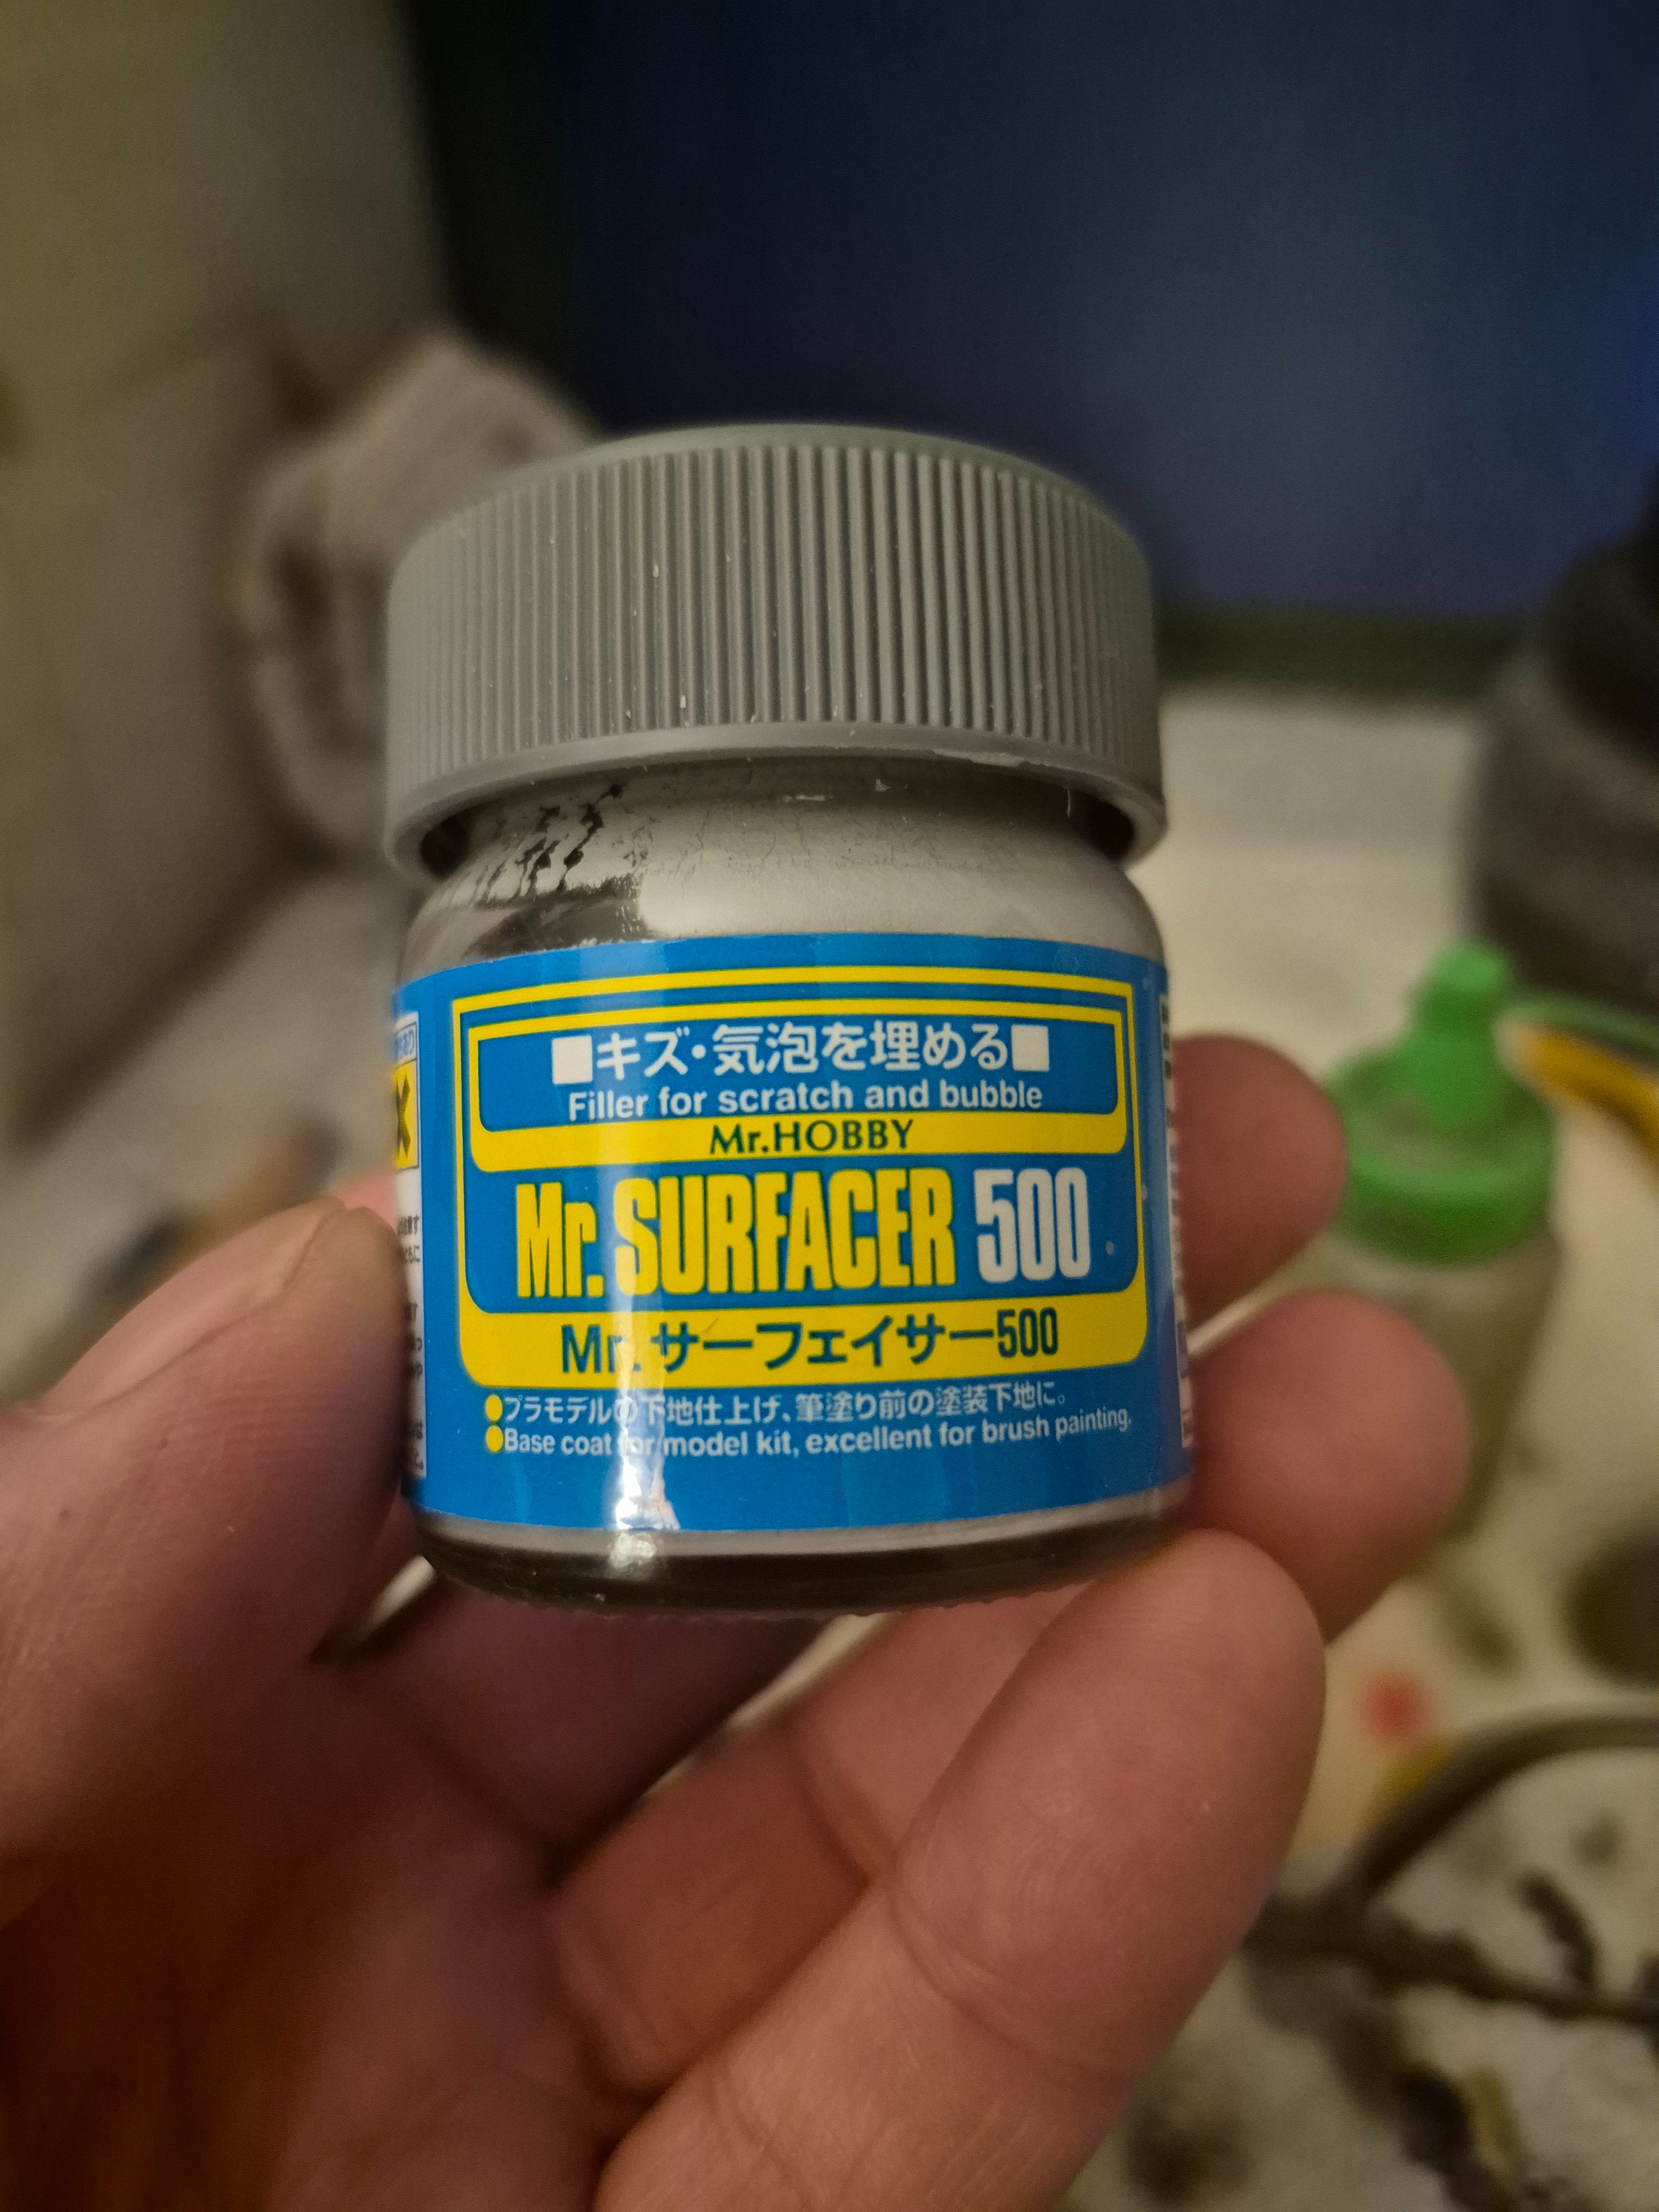
Mr. Surfacer 1000 (gray), I was trying to do a bit of build-up, the seam between styrene and whatever plastic the vacuform was became an issue.What primer did you use?
Which Yak kit is that? I have the ICM 1/32. Did you try rubbing alcohol? I think you're being tough on yourself.I'm fighting problems/gremilns on three kits at once.
The Yak-3...I bought a vaccuform canopy, but them messed it up too. Zoom in and you can see the primer leaked under the mask. Unlike color coats, it is not coming off with saliva on a toothpick.
The Growler...I am being a bit too timid in my post-shading. At least it is not "messed up", trying to stay positive.
The Phantom-Tbird...touching up the markings with thin lacquer designed for an airbrush is not working as hoped. Again, bit ruinbed (yet) just another struggle, or obstacle to overcome.
View attachment 184422
Mr. Surfacer can be removed by scrubbing with cotton swabs wet with 90% isopropyl alcohol without damaging the plastic, though it will remove Vallejo and Tamiya paints, as well. If you need more precision than the swab, soak a toothpick in the alcohol and rub patiently. The longer the Mr. Surfacer has set the more time it will take. This is also a great way to clean up a Surfacer-filled seam.Mr. Surfacer 1000 (gray), I was trying to do a bit of build-up, the seam between styrene and whatever plastic the vacuform was became an issue.

Wig41
Well-Known Member

Edbert
Well-Known Member
- Joined
- May 16, 2024
- Messages
- 3,117
Special Hobby 1/32, got it free at my local IPMS meeting.Which Yak kit is that?
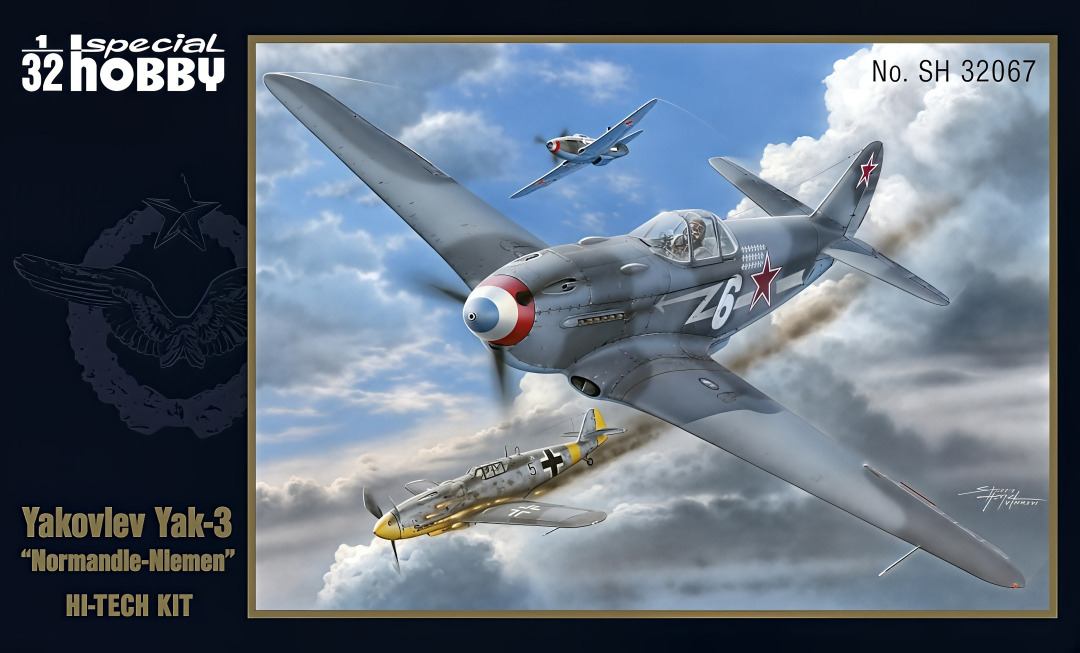
I realize (now) that it says so right on the box, but all the planes available in the box are from the same squadron, there was an entire outfit of French pilots flying for Joe!
Will try that, pretty sure the cotton swab would be too large!soak a toothpick in the alcohol and rub patiently
- Joined
- Apr 29, 2024
- Messages
- 1,569
If you need build up? This would work a lot betterMr. Surfacer 1000 (gray), I was trying to do a bit of build-up, the seam between styrene and whatever plastic the vacuform was became an issue.
Attachments
kevin
Well-Known Member
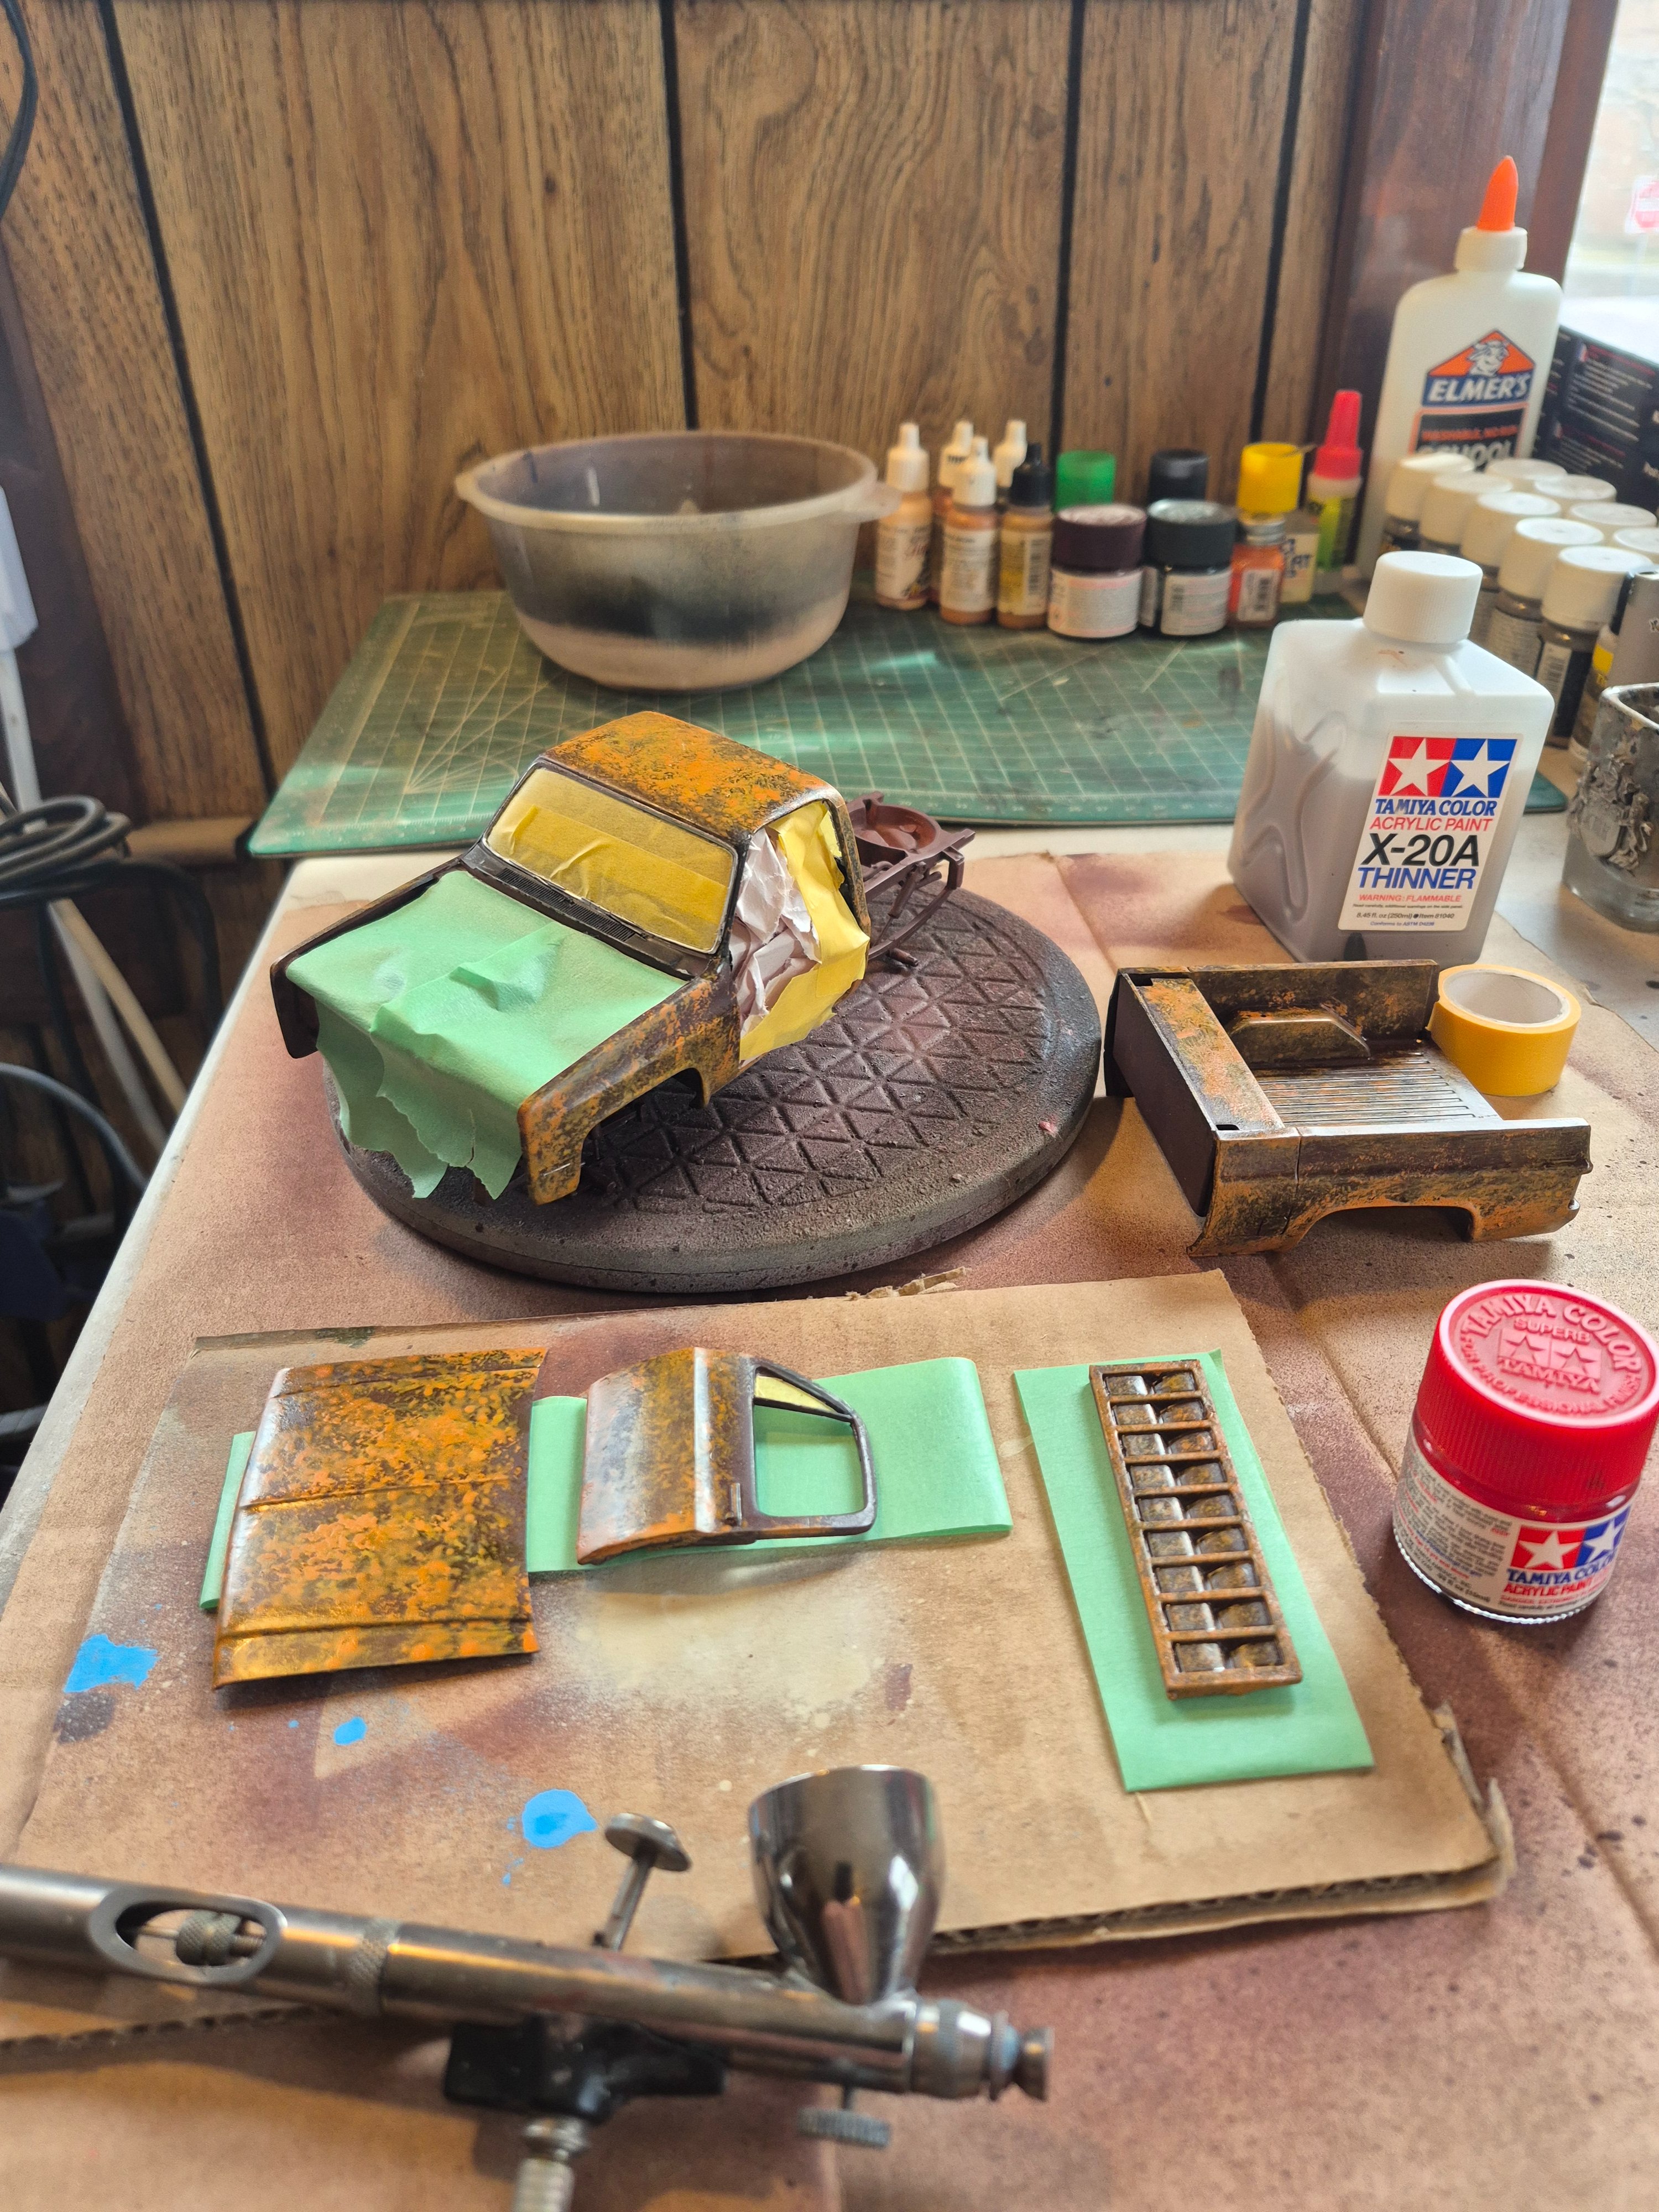
I've been working on the pick up truck for the diorama. The rust colors were laid done yesterday, and the chipping fluid put on this morning, and its dry. I'm getting ready to get some color on the body, X - 7 RED.
kevin
Well-Known Member
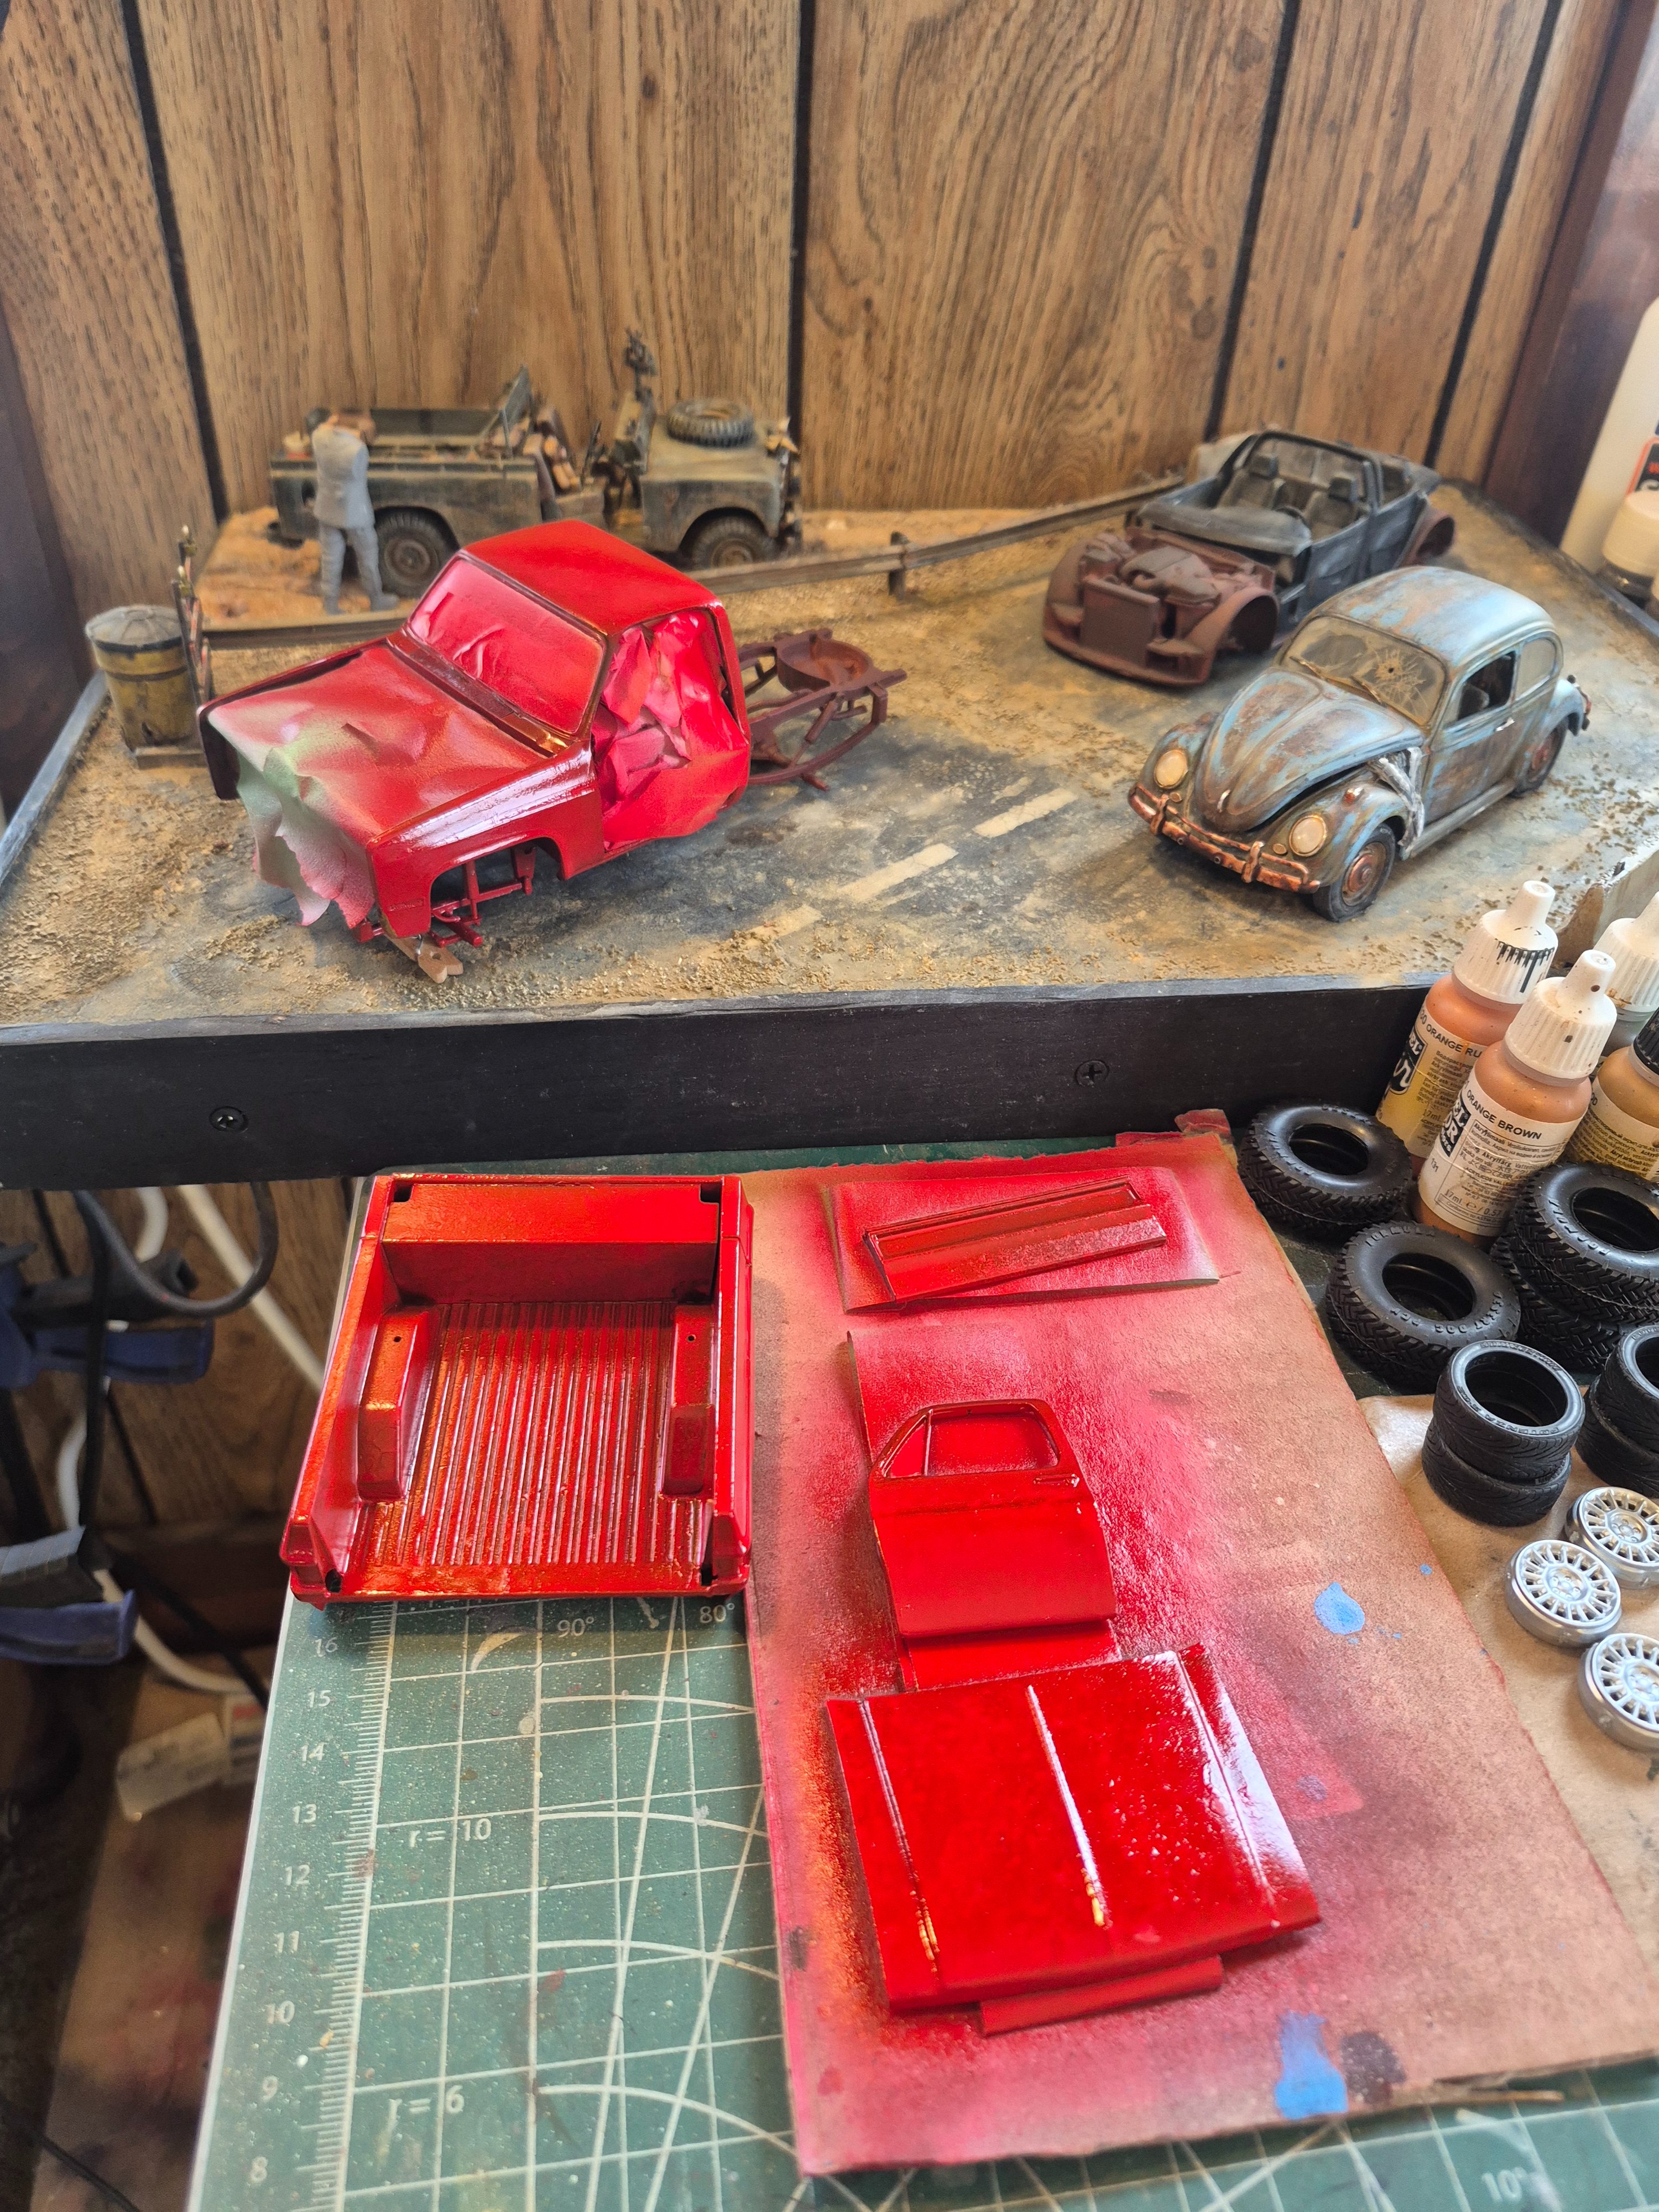
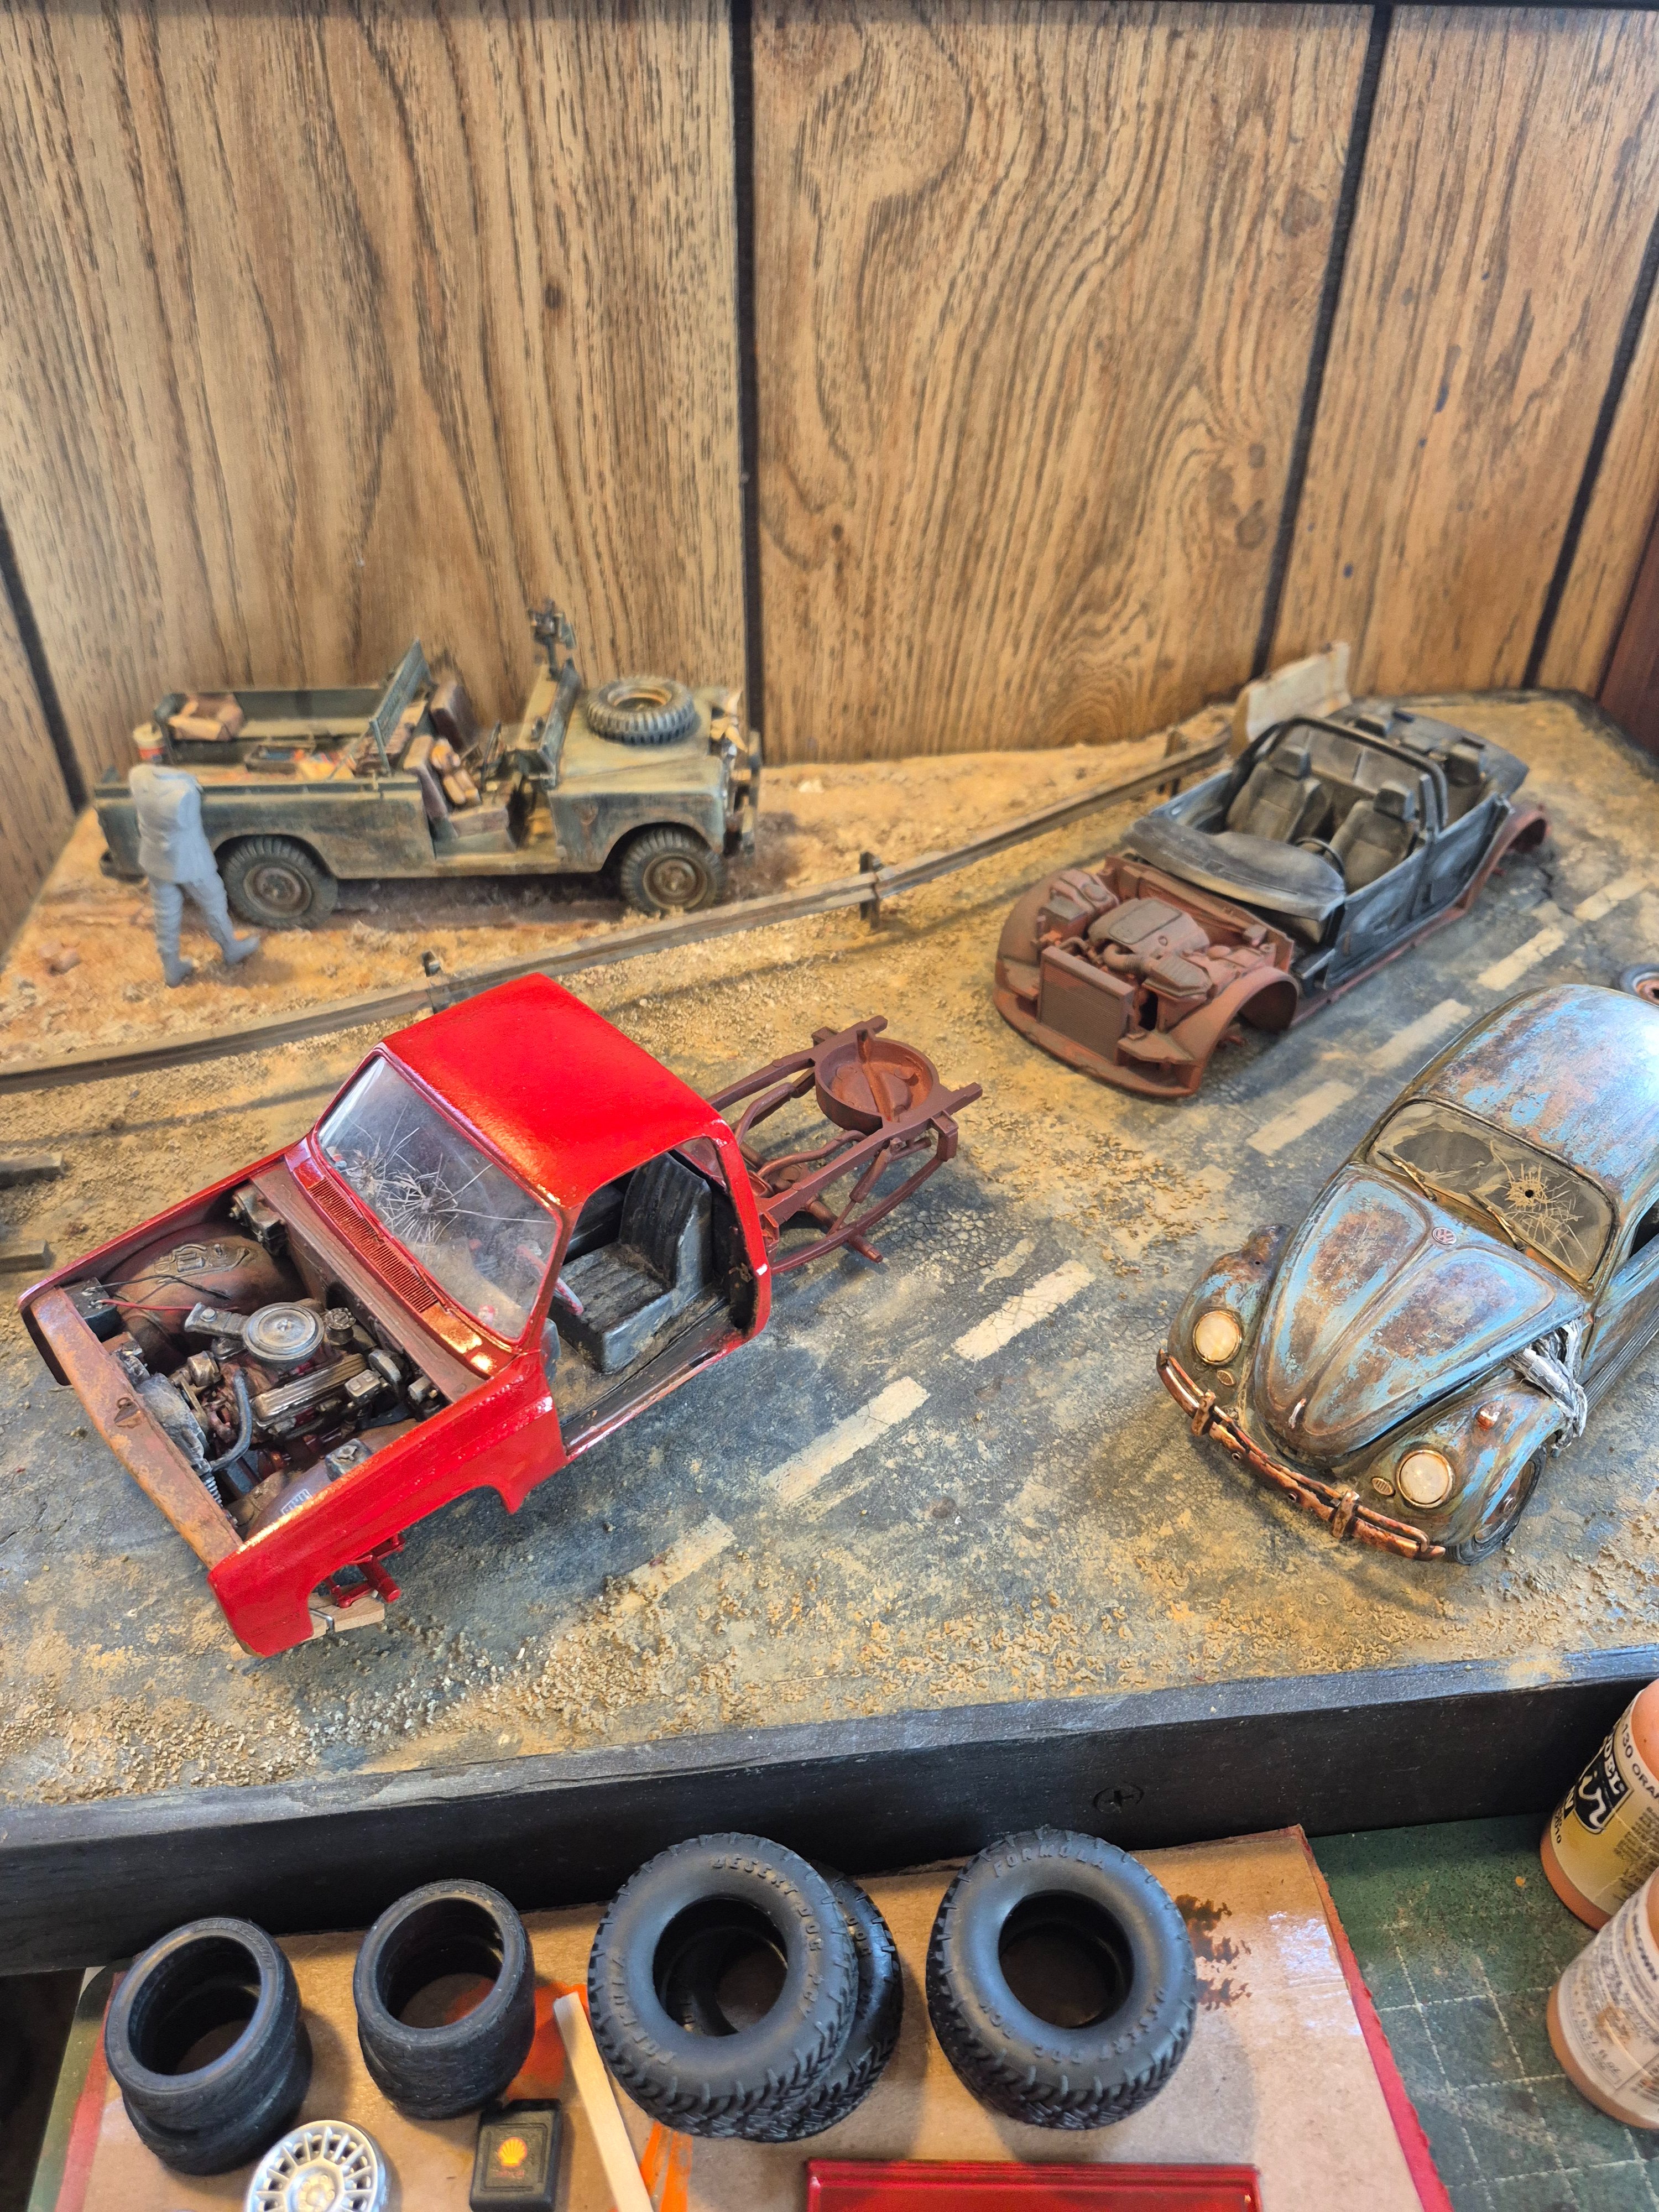
I like the color its adds to the diorama, just because its the end of the world doesn't mean it can be colorful. I will add a heavy dirt / dust layer to all the vehicles once the basic color and weathering is done to tie it all together with the base.
kevin
Well-Known Member
Wig41
Well-Known Member
I am still filling and sanding but believe I have made some progress.