
Looking good!I am still filling and sanding but believe I have made some progress.View attachment 184865View attachment 184866

You are using an out of date browser. It may not display this or other websites correctly.
You should upgrade or use an alternative browser.
You should upgrade or use an alternative browser.
What are you working on right now?
- Thread starter Edbert
- Start date

Tentative attempt at aircraft weathering last night... Might try some pencils today.
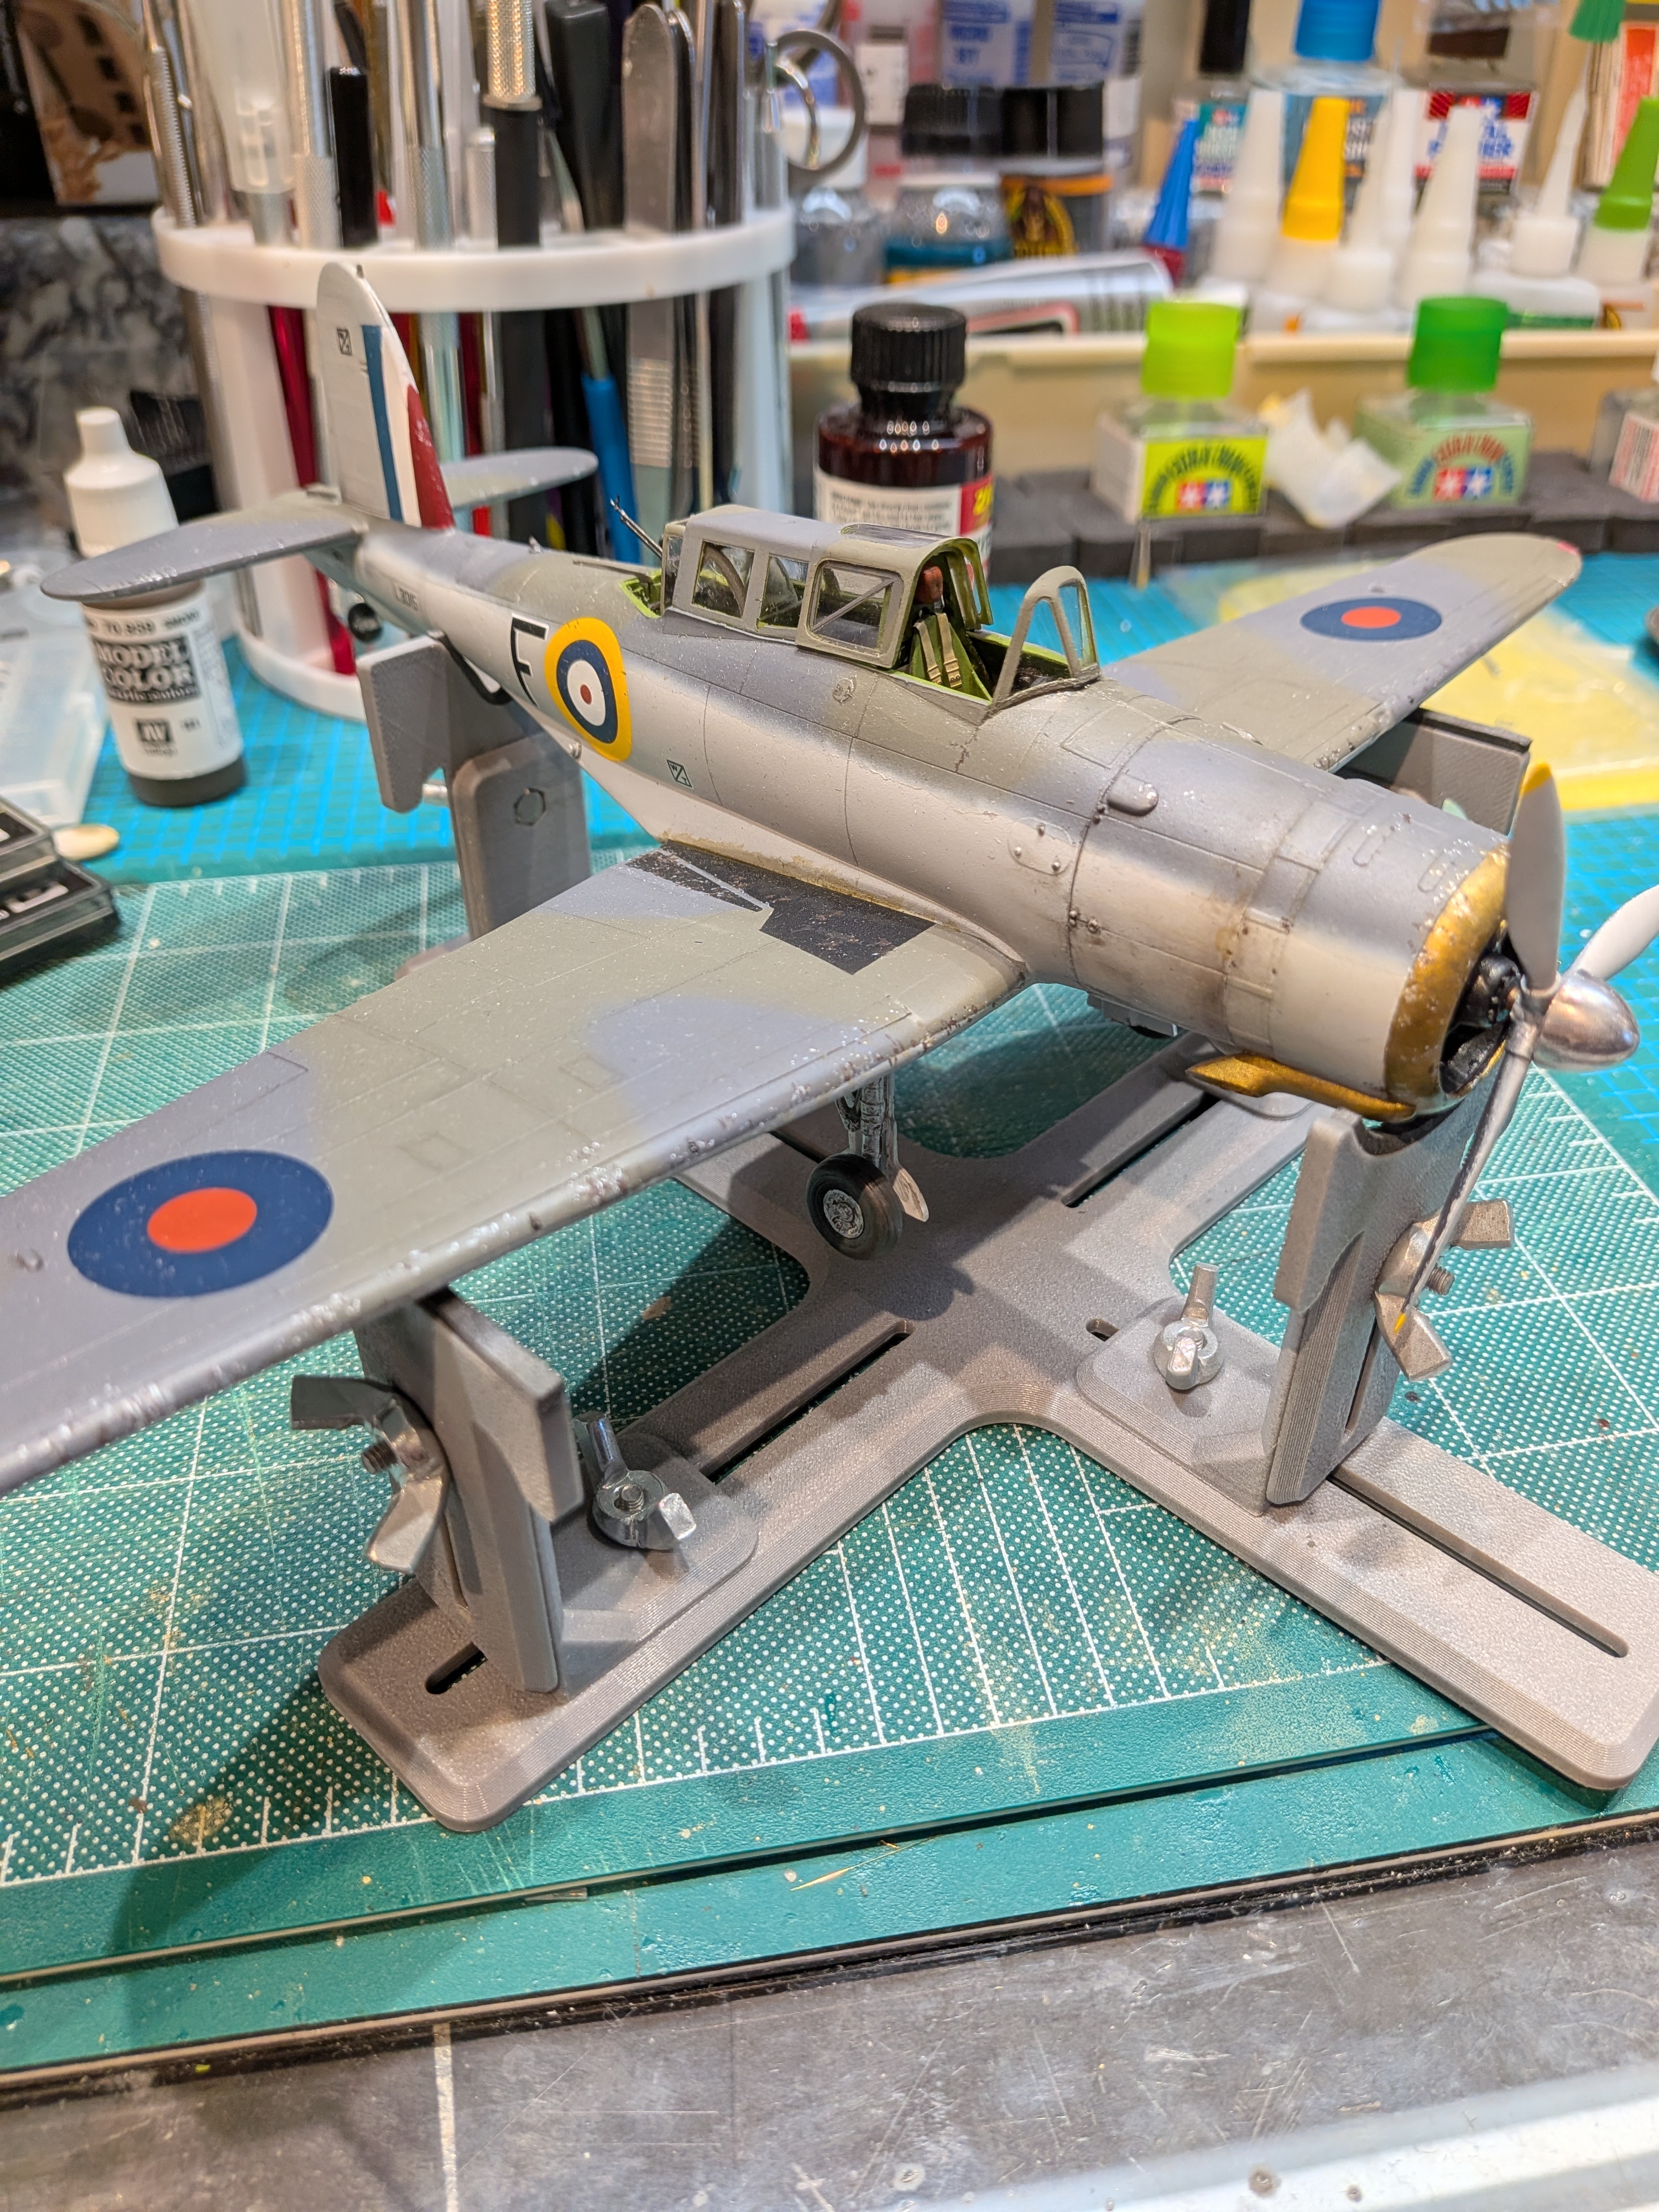
I had placed antenna mast and wires with super thin brass wire... And promptly broke of the mast this morning... One of those 'slow motion' " I watched the edge of my palm catch the end of it as I reached across to move a bottle and though I saw it, like a missile leaving the silo, there was no calling it back"
So I removed the whole kit and caboodle, repaired the canopy, and will replace the antenna when everything is done!
I had placed antenna mast and wires with super thin brass wire... And promptly broke of the mast this morning... One of those 'slow motion' " I watched the edge of my palm catch the end of it as I reached across to move a bottle and though I saw it, like a missile leaving the silo, there was no calling it back"
So I removed the whole kit and caboodle, repaired the canopy, and will replace the antenna when everything is done!
I don't do the antenna until I'm ready to apply the last coat of varnish. Same with the pitotTentative attempt at aircraft weathering last night... Might try some pencils today.
View attachment 184940
I had placed antenna mast and wires with super thin brass wire... And promptly broke of the mast this morning... One of those 'slow motion' " I watched the edge of my palm catch the end of it as I reached across to move a bottle and though I saw it, like a missile leaving the silo, there was no calling it back"
So I removed the whole kit and caboodle, repaired the canopy, and will replace the antenna when everything is done!
Good advice!I don't do the antenna until I'm ready to apply the last coat of varnish. Same with the pitot
You can guess how I learned! HahaGood advice!

Wig41
Well-Known Member
That's looking real good BarleyBop!





As an Amazon Associate we earn from qualifying purchases. Product prices and availability are accurate as of the date/time indicated and are subject to change.

kevin
Well-Known Member
I like the chipping effect.
That's looking real good BarleyBop!
Thanks guys!I like the chipping effect.
Despite the challenges, it's fun to learn, and to apply, new stuff.


I always put the fragile stuff on last (which can be a challenge). But I also replace things like pitot tubes, gun barrels, some struts and braces, and antennae with hypodermic tubing: It doesn't break or bend like styrene, or bend like brass.
Do you just cut up different gauges of needles? My nurse just told me admin told them they can't keep the extra needles that come with certain shots anymore. Maybe I'll tell them to give them to me.I always put the fragile stuff on last (which can be a challenge). But I also replace things like pitot tubes, gun barrels, some struts and braces, and antennae with hypodermic tubing: It doesn't break or bend like styrene, or bend like brass.
- Joined
- Apr 29, 2024
- Messages
- 1,569
Oh dear is right. Wildcats always were a fearsome critter. Are they not behaving?HI GUYS well im working on my 1/200 wild cat planes an its not goin well oh dear
chrisb

BOATMAN
Well-Known Member
- Joined
- Oct 7, 2024
- Messages
- 2,174
WELL Rob im havin trouble building these 1/200 scale wildcats as they have been made in clear brittle plastic an gently cuttin the parts off the spruces the prop an undercarts keep brakeing so causeing me stress but im takin a new tack now so im getting there an hopefully will get them built but my own fault really as i dint look at the instrucktionsOh dear is right. Wildcats always were a fearsome critter. Are they not behaving?
chrisb
How many do you have to do?WELL Rob im havin trouble building these 1/200 scale wildcats as they have been made in clear brittle plastic an gently cuttin the parts off the spruces the prop an undercarts keep brakeing so causeing me stress but im takin a new tack now so im getting there an hopefully will get them built but my own fault really as i dint look at the instrucktions
chrisb
In some states distribution of actual hypodermic needles is illegal. Try here instead: Component SupplyDo you just cut up different gauges of needles? My nurse just told me admin told them they can't keep the extra needles that come with certain shots anymore. Maybe I'll tell them to give them to me.
BOATMAN
Well-Known Member
- Joined
- Oct 7, 2024
- Messages
- 2,174
HI ron2 well just 5 wild cats then about another 20 different planes such as the dauntless an the deverstor tpb an t hen 16 x B25 if im still sane lolHow many do you have to do?
chrisb
Would a wire cutter that works by melting the plastic work or not enough room?HI ron2 well just 5 wild cats then about another 20 different planes such as the dauntless an the deverstor tpb an t hen 16 x B25 if im still sane lol
chrisb
Attachments
BOATMAN
Well-Known Member
- Joined
- Oct 7, 2024
- Messages
- 2,174
HI Ron2 thank for the thought there but no not enough room only just get my stanley knife blade in to trim them parts off an boy have i been through it today the bloody prop broke into 4 part 3 blade an boss so no prop on that plane so im goin to fit a bit of round clear plastic to look like the engine is runnig which i think they did in case they got attacked as they were goin to push the B25 OVERBOARD to make room for a fighter to take off to defend the ship CHEERSWould a wire cutter that works by melting the plastic work or not enough room?
ATB SIR
chrisb
kevin
Well-Known Member
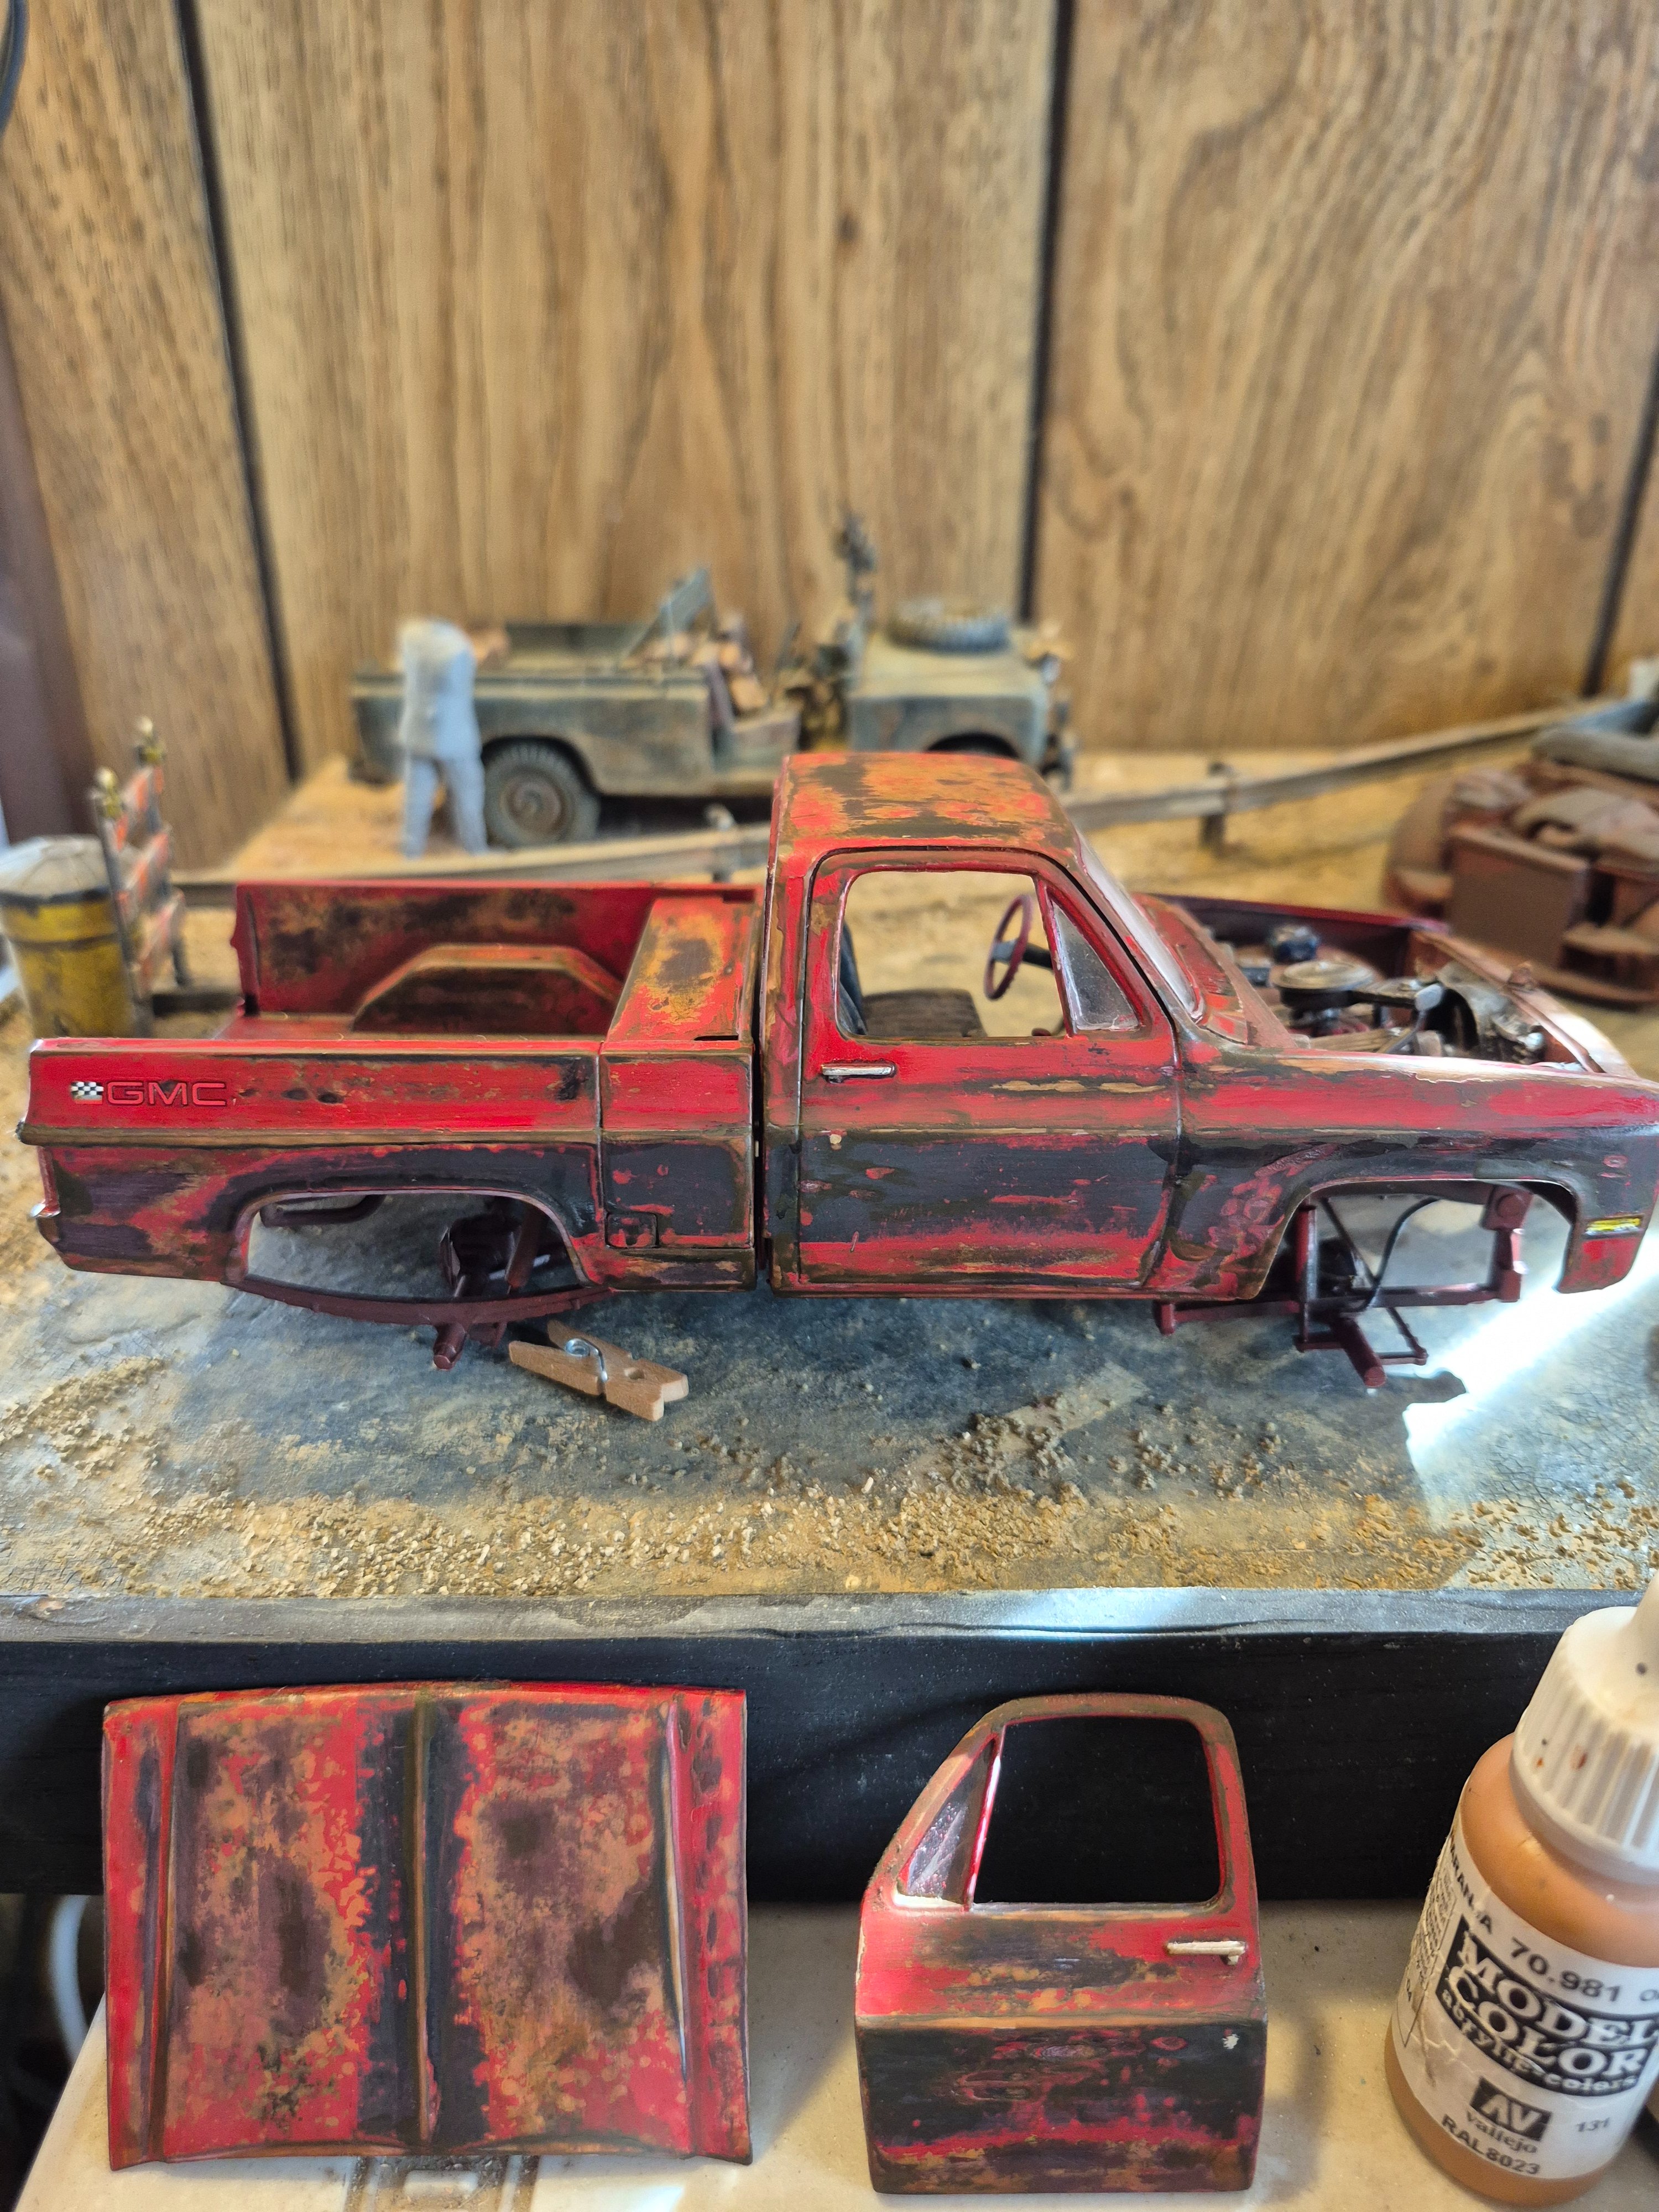
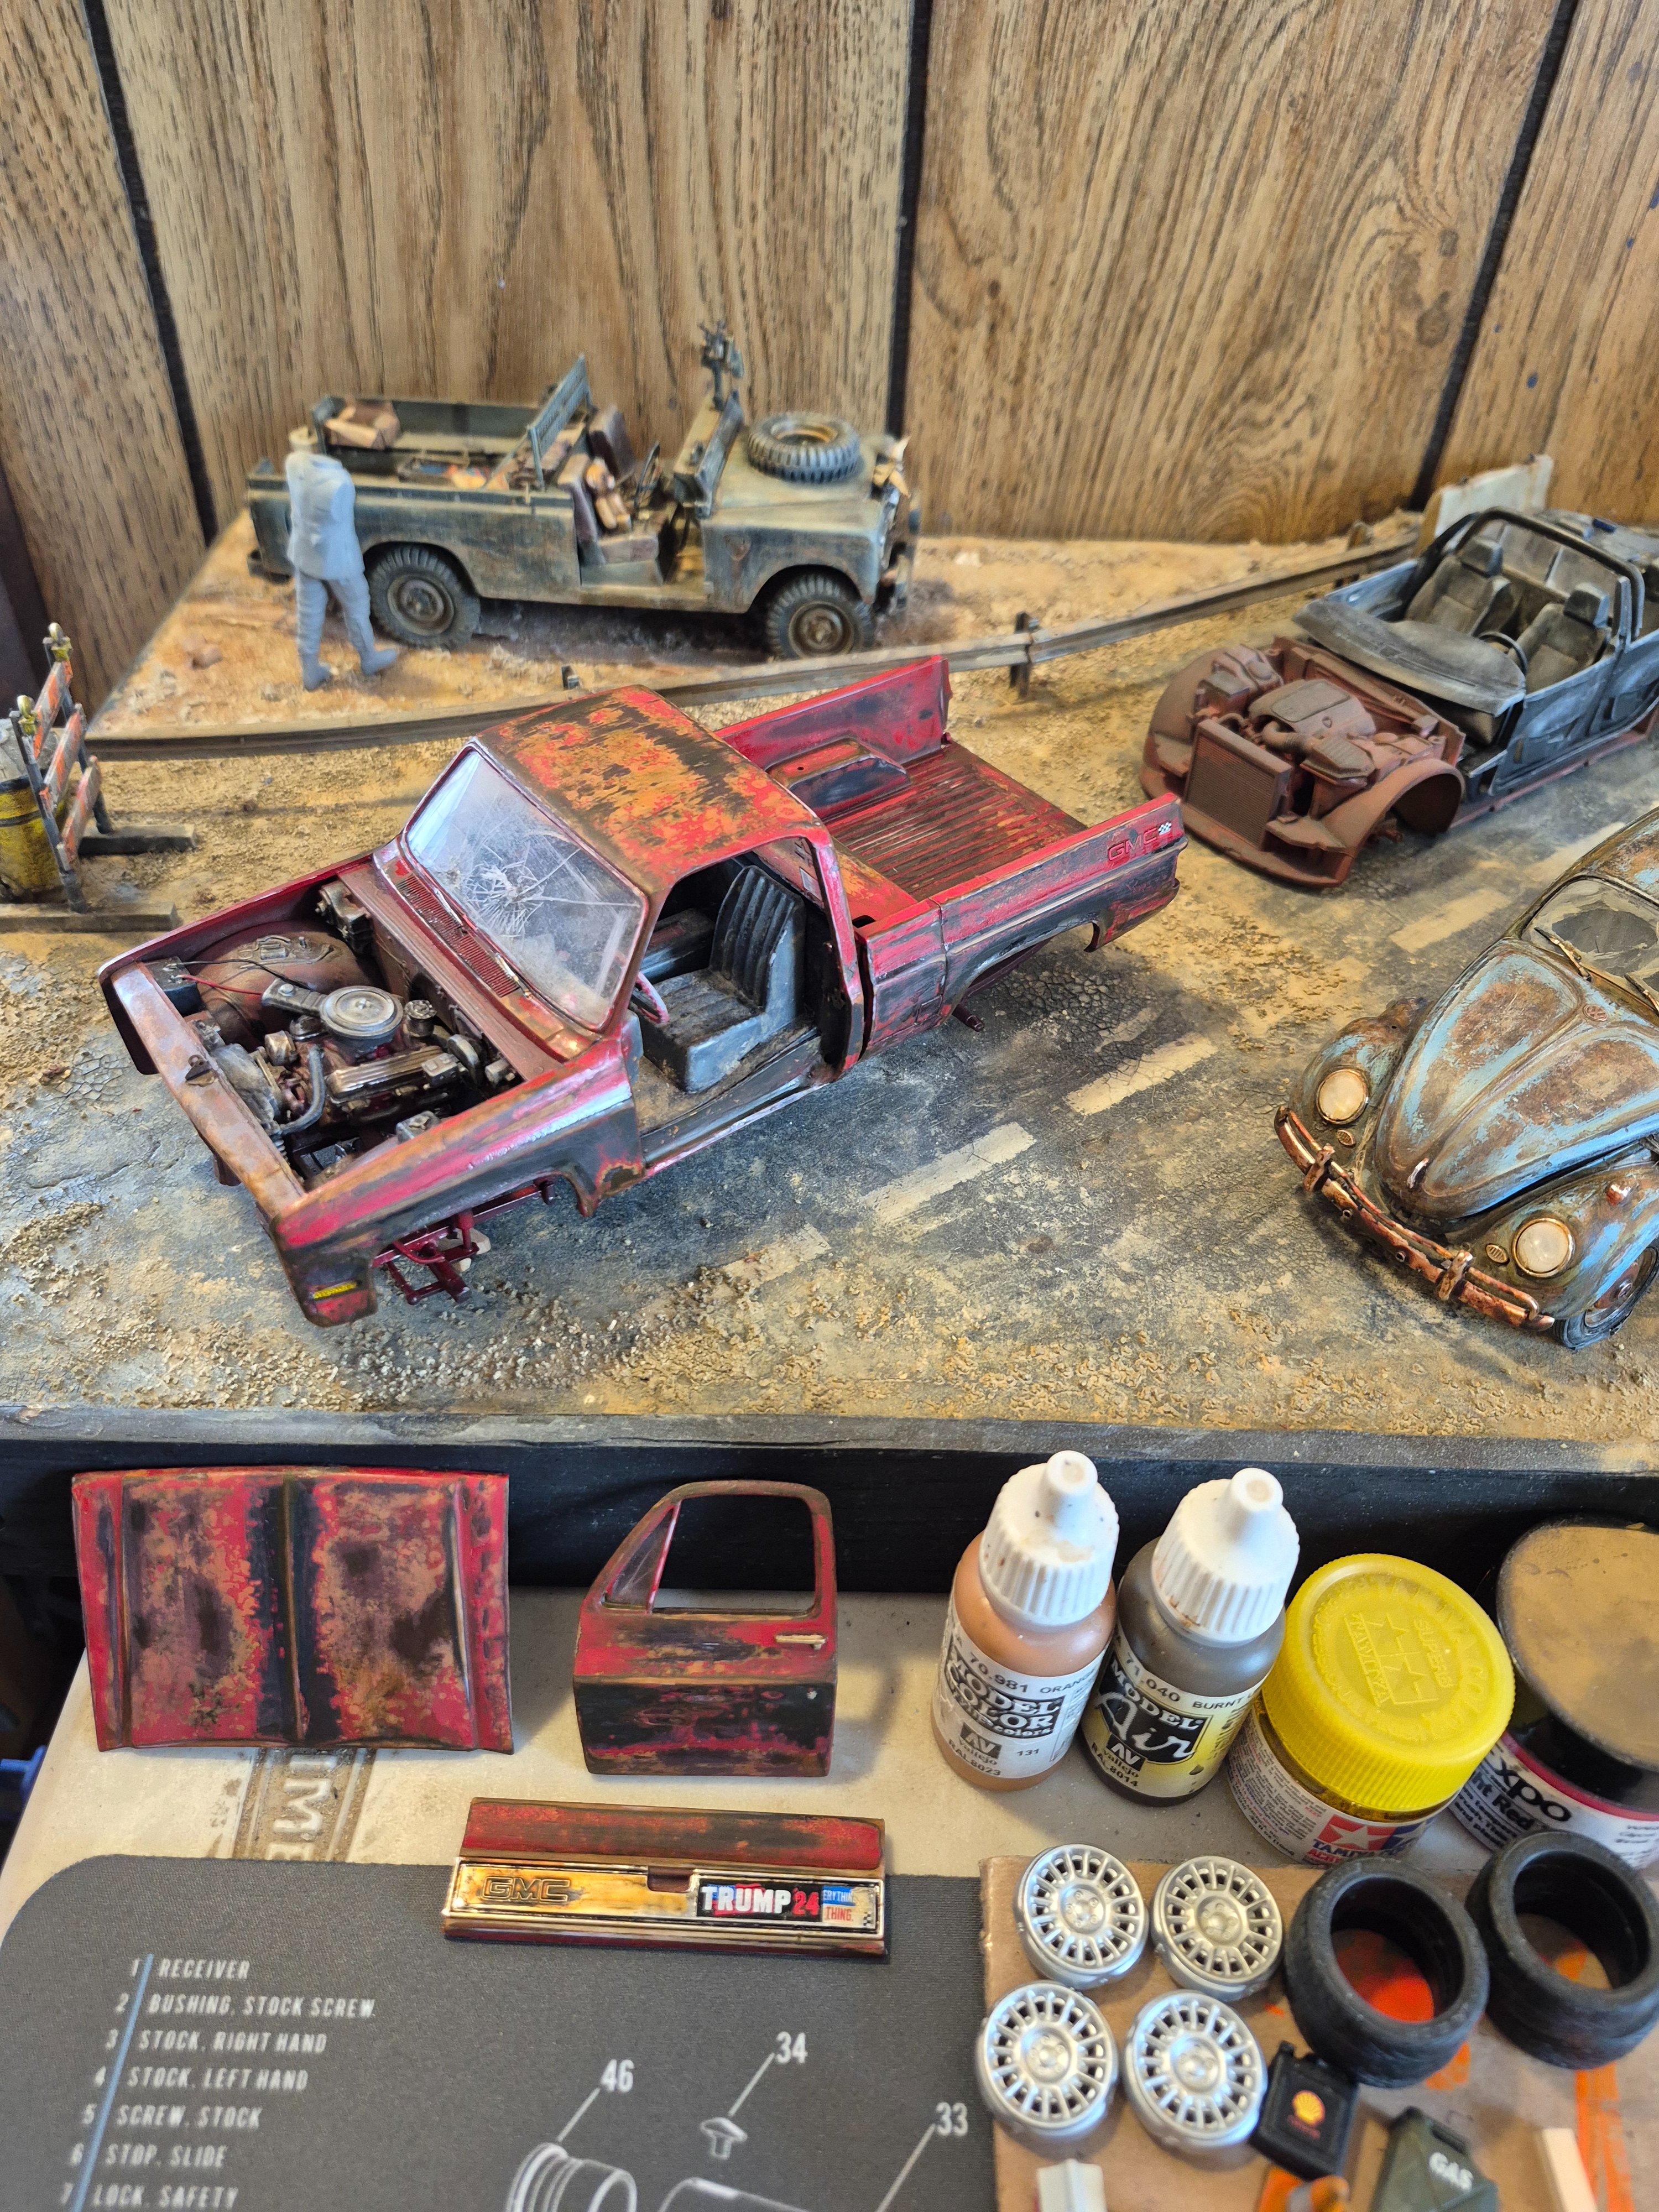
I'm still working on the weathering for the GMC for my diorama.
This is fun.
I also got started on the rusting effects for the police car.
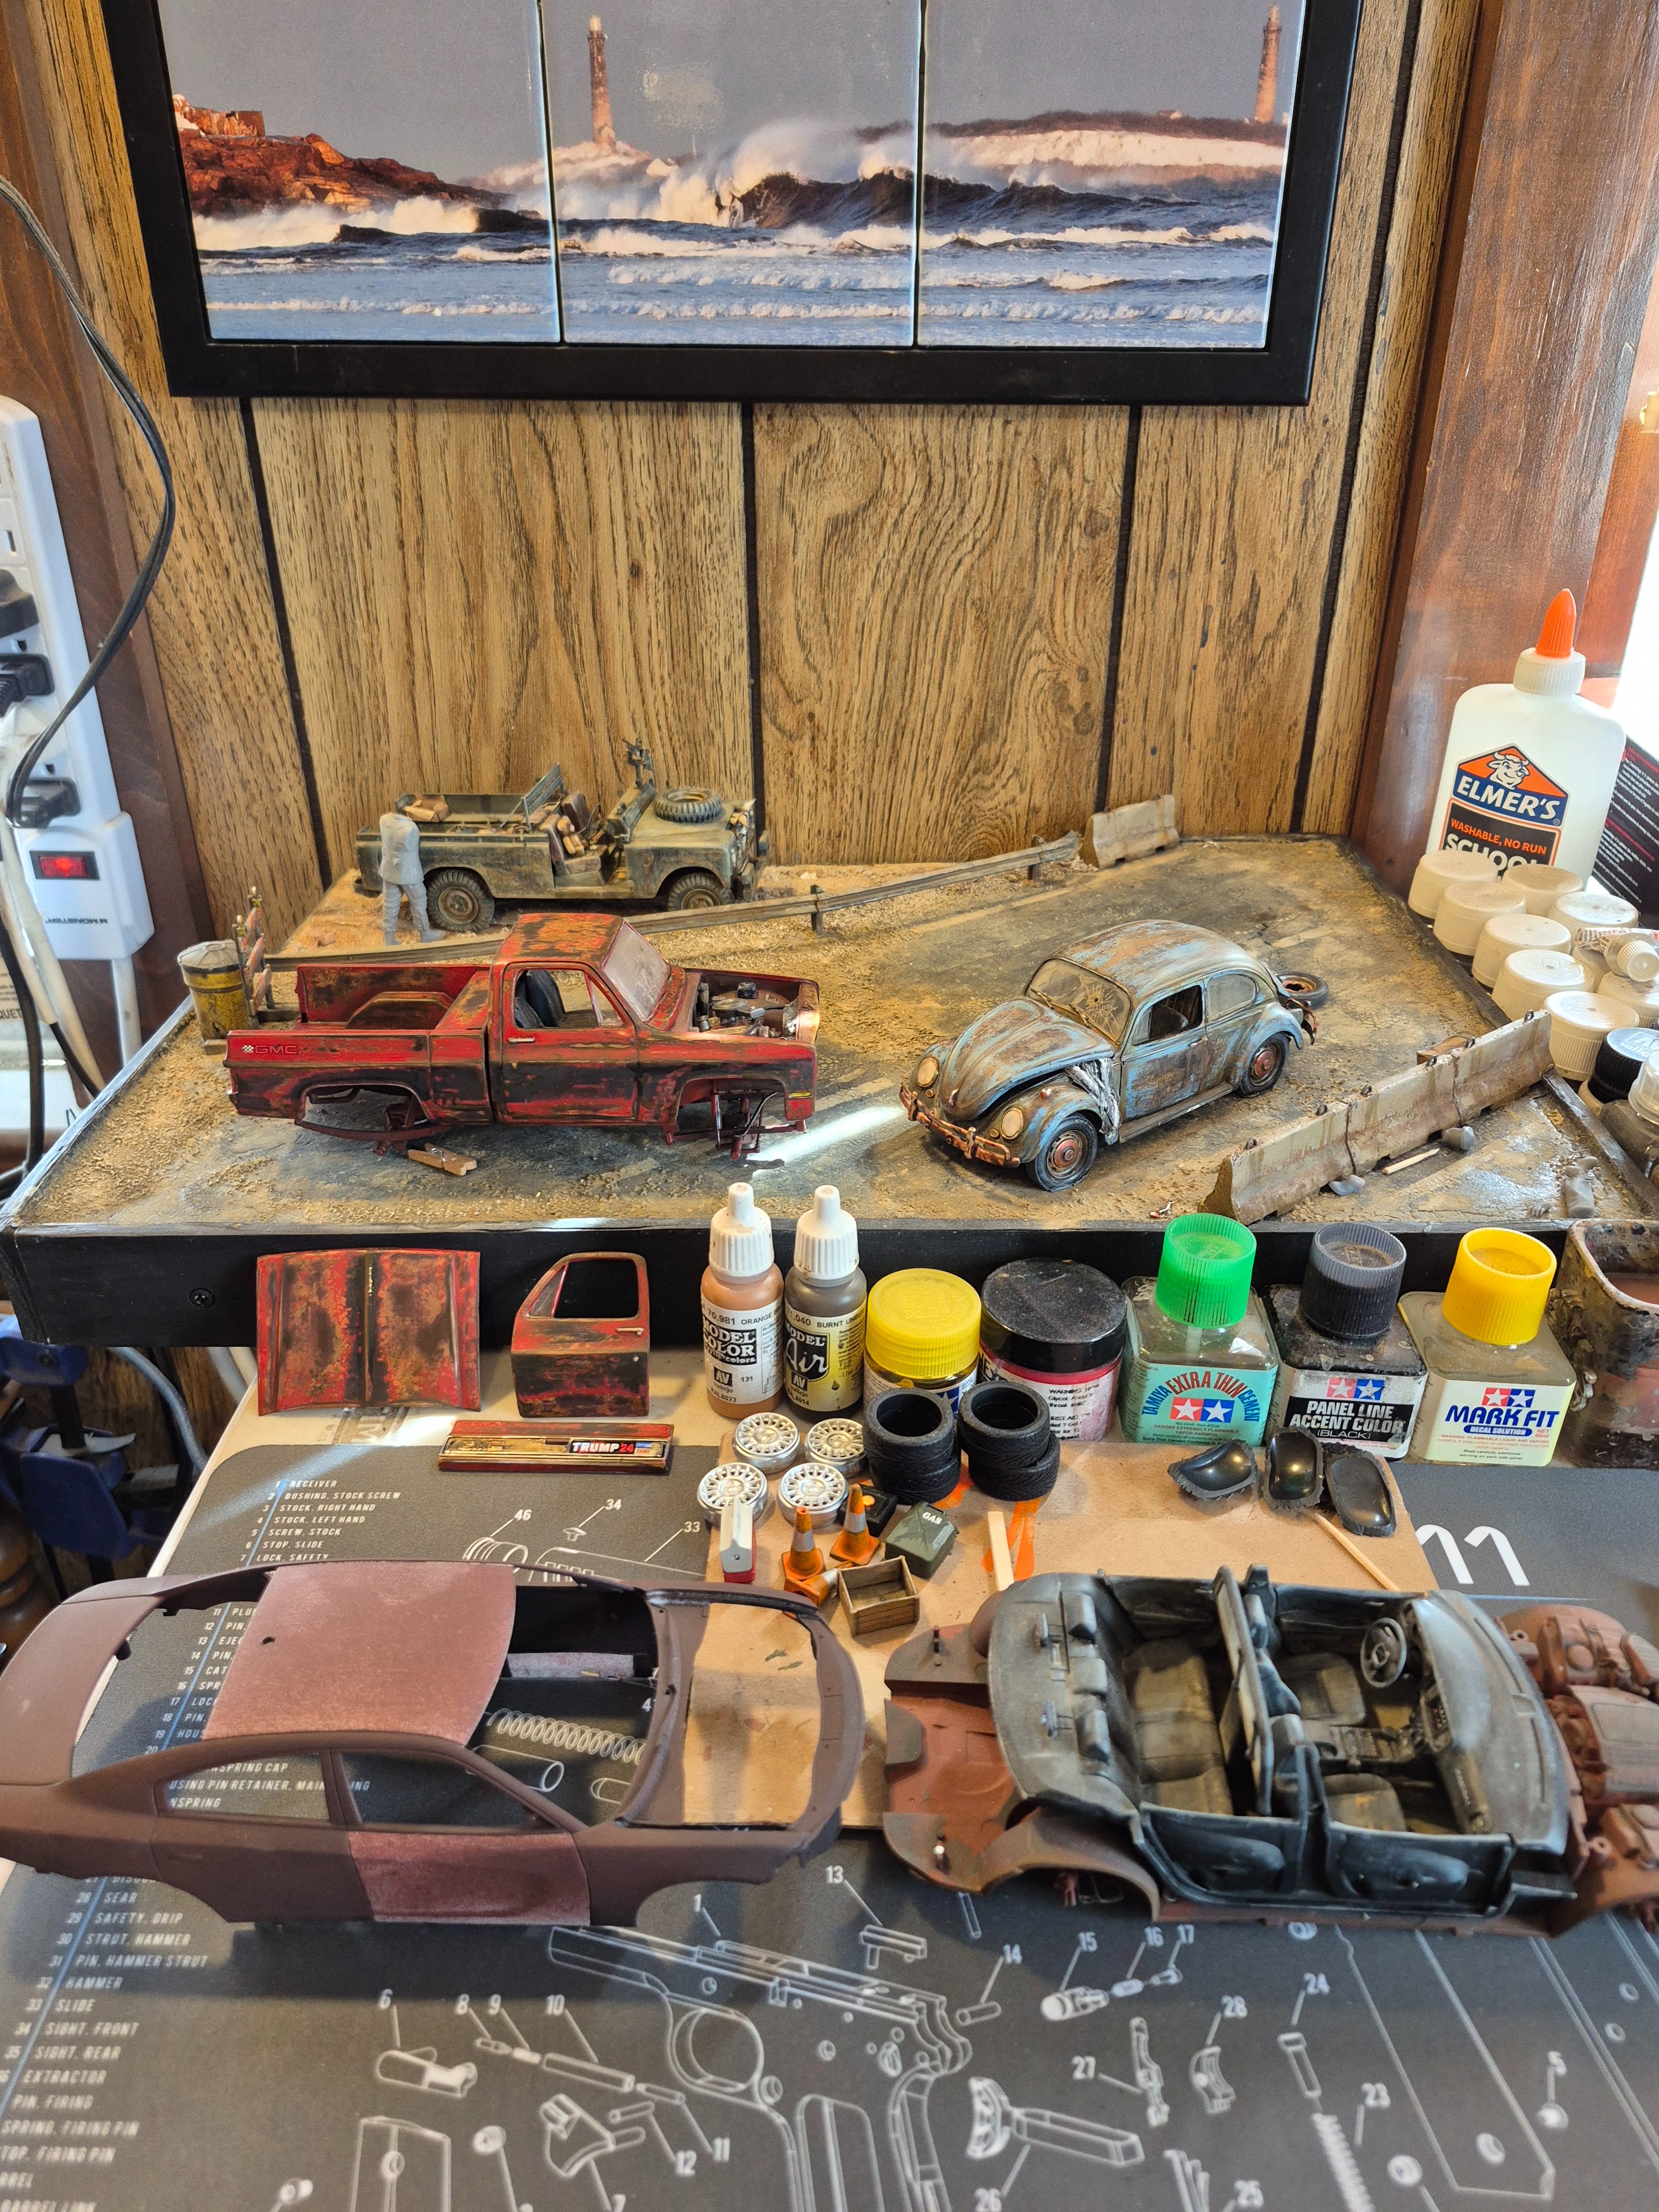
This is fun.
I also got started on the rusting effects for the police car.
Working? You be playing! Way too much fun!working

That looks really goodI'm still working on the weathering for the GMC for my diorama.
This is fun.
View attachment 185189
View attachment 185188
I also got started on the rusting effects for the police car.
View attachment 185190
kevin
Well-Known Member
Yes, because there's no wrong answers. If something doesn't go as planned, then its a "happy accident ".Working? You be playing! Way too much fun!

Edbert
Well-Known Member
- Joined
- May 16, 2024
- Messages
- 3,117
I love the patina you've created, and the bumper sticker too. Are you sure about the scale of that Bug? I thought it looked large next to the Land Rover, but figured maybe it was an illusion, but next to the C-10 it still looks big to me.
kevin
Well-Known Member
You have a good eye Edbert.......... the bug and Land Rover are 1/ 24, the C -10 and Dodge Charger are 1/25.
I figured it close enough for the dio and would look alright.
The three figures that will be included are 1 / 24 as well.
I figured it close enough for the dio and would look alright.
The three figures that will be included are 1 / 24 as well.
kevin
Well-Known Member
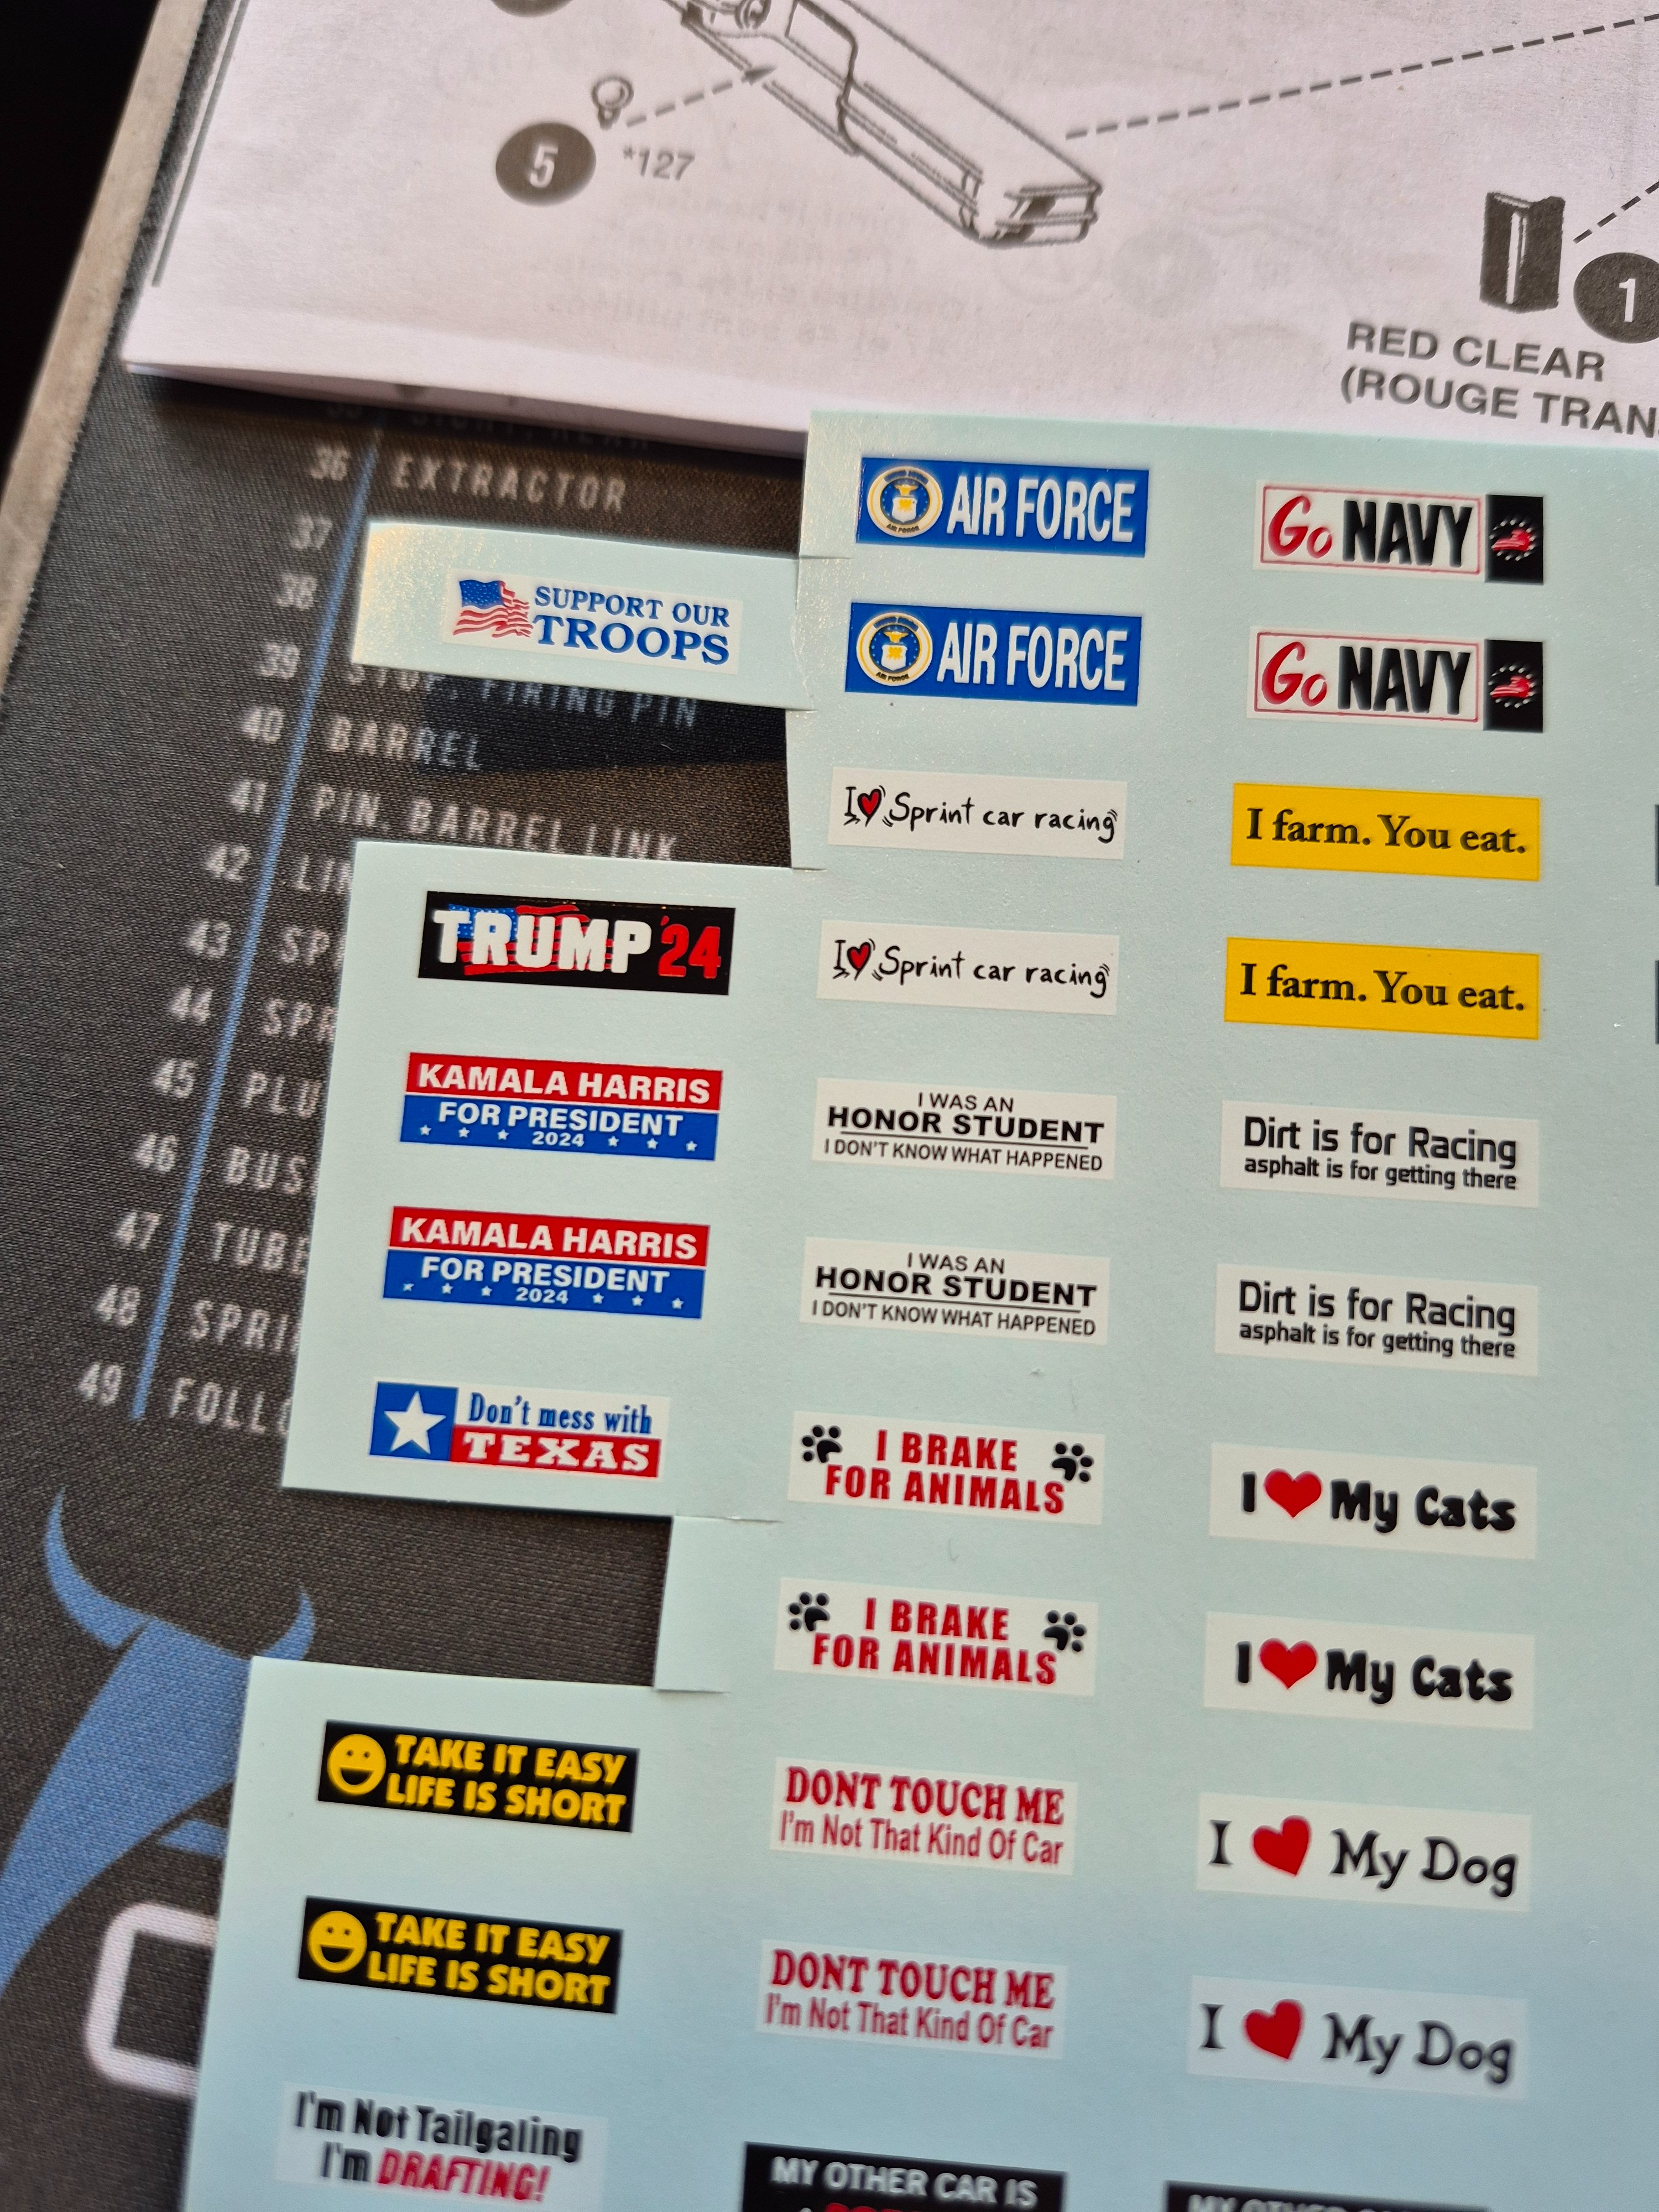
Kamala was going to go on the bug, but the bumper isn't wide enough.and the bumper sticker too.
Jantk14
Well-Known Member
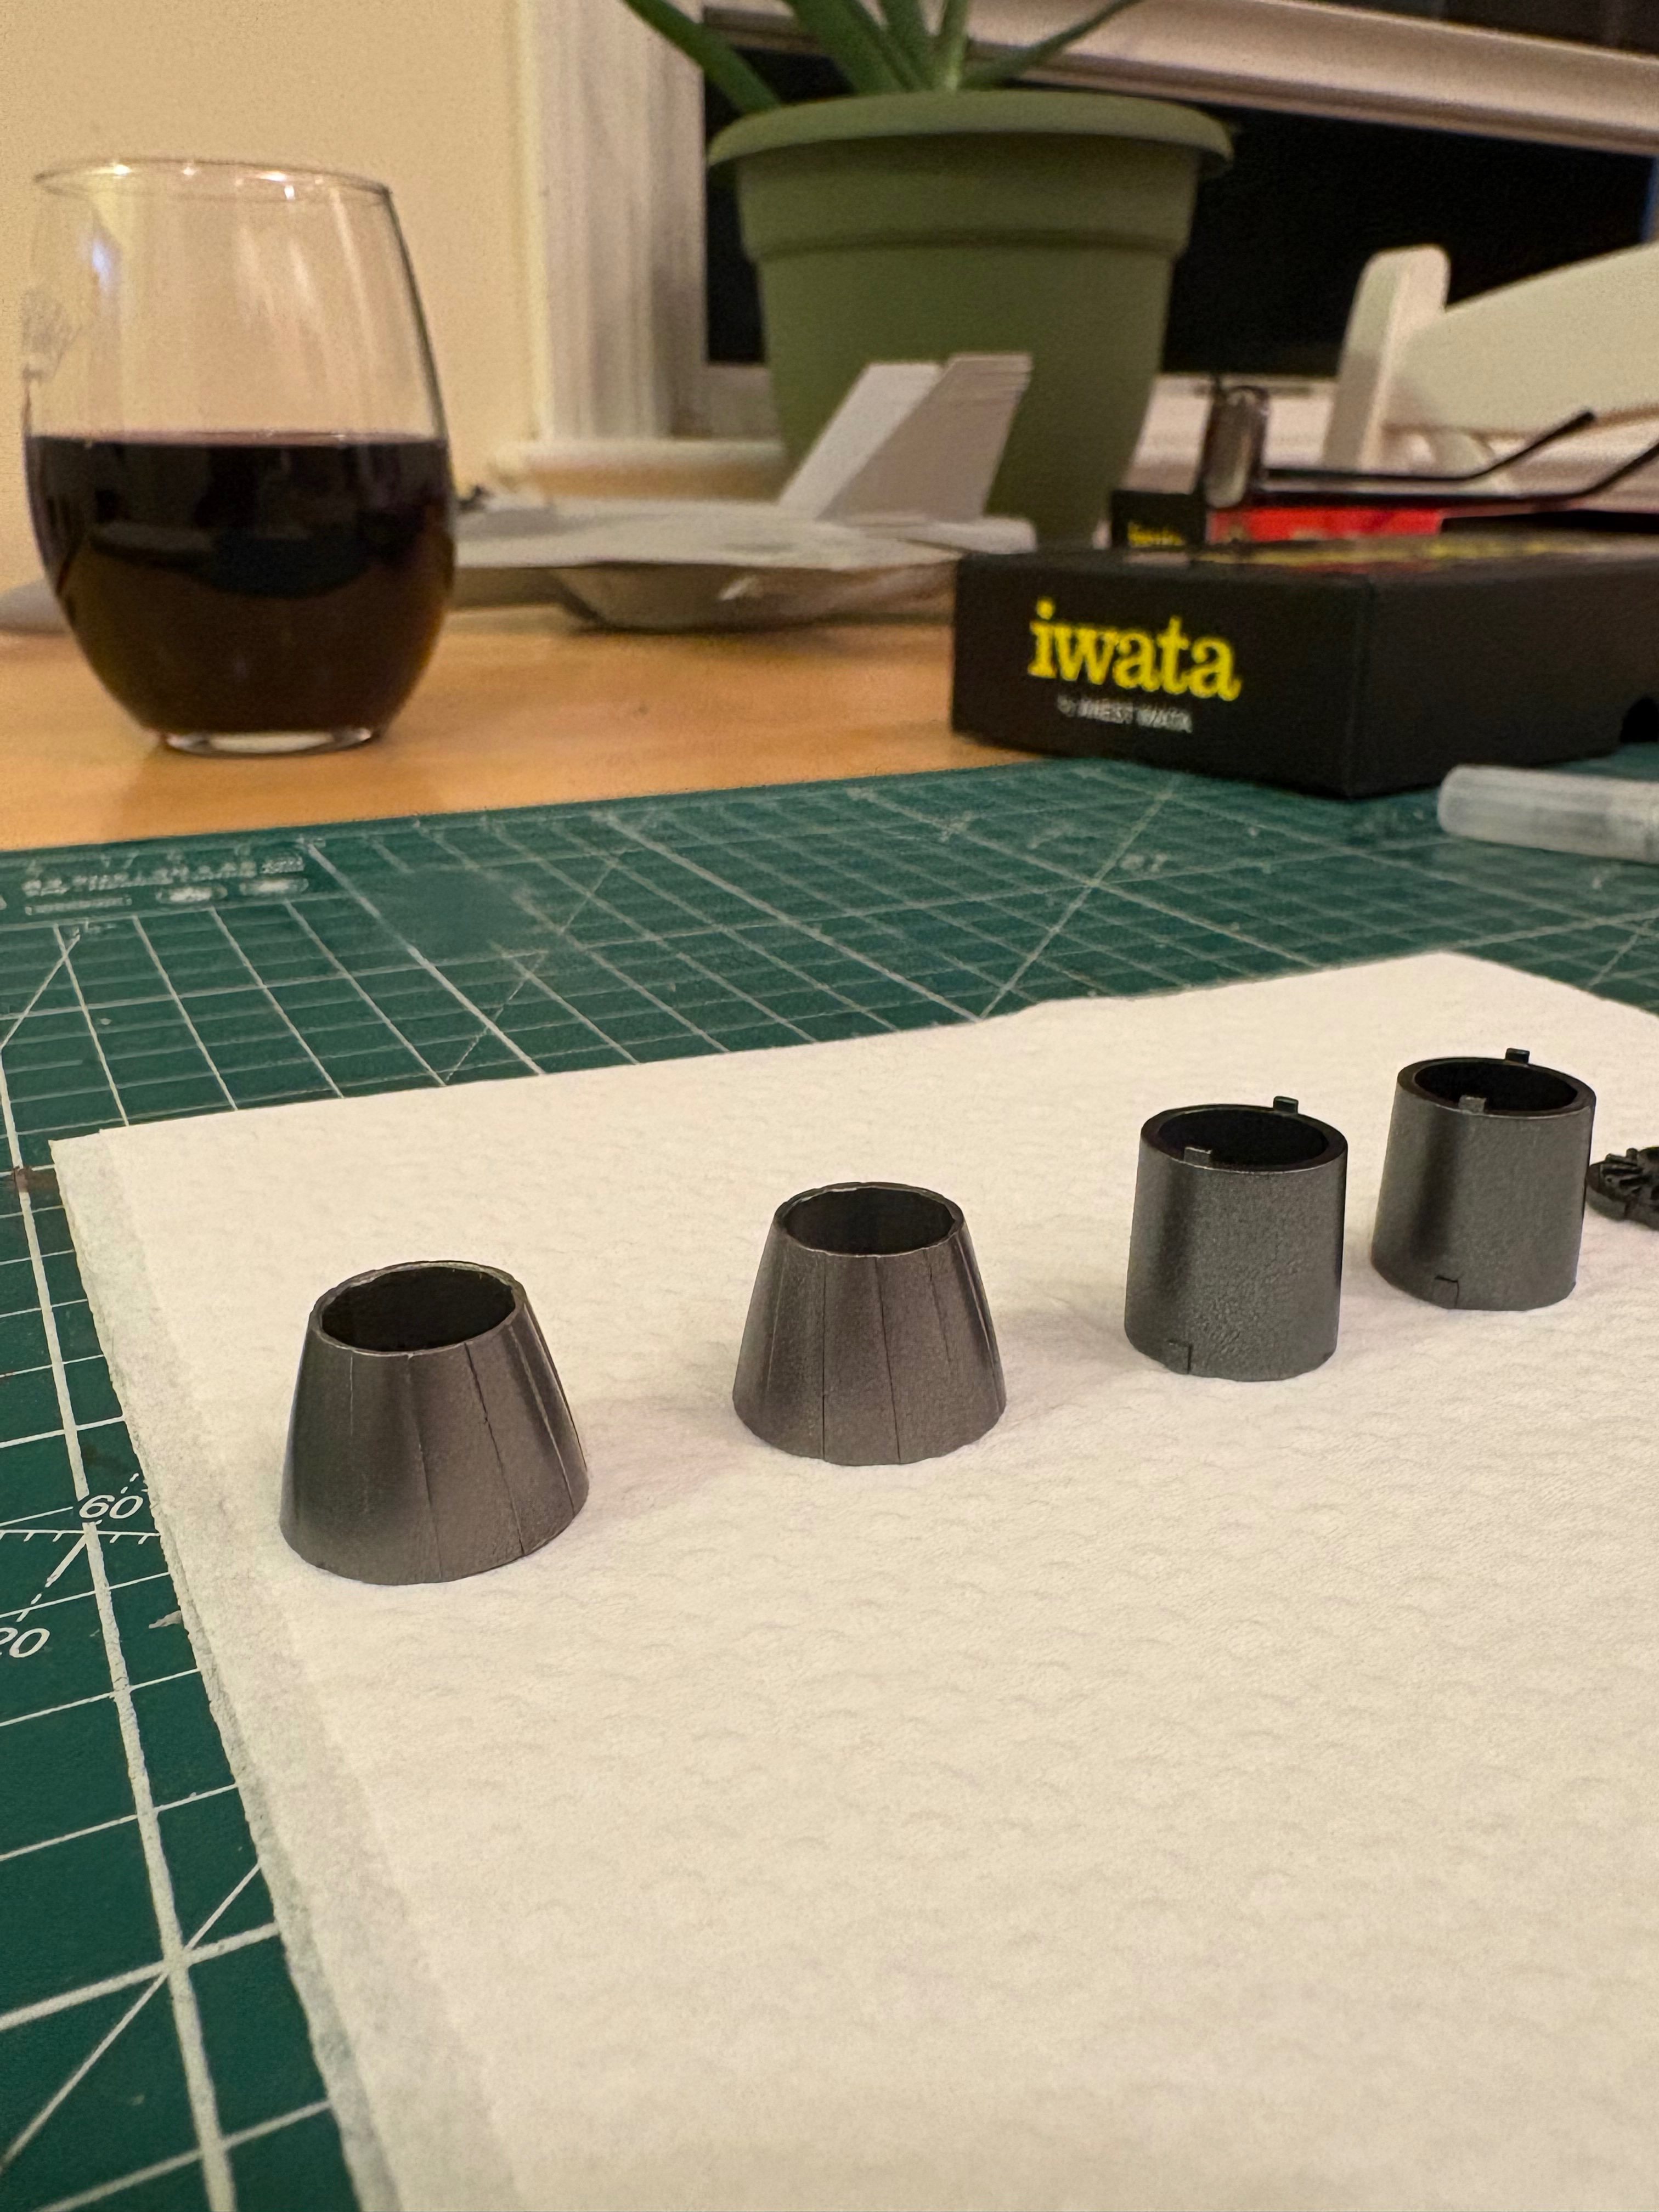
So when ever a kit calls for burnt iron, I've always mixed some metallic grey and red and have gotten good results. With my F18 I decided to try the Vallejo metal color burnt iron. Now the results were good after I stripped my first try. First it is very thin and dries very fast so no thinning is needed. I learned that after depositing a pool on my first go through. So I lowered the psi to 10 and straight from the bottle. Came out looking pretty good although not much different than Tamiya gun metal which is the internal exhaust tubes on the right. I thought there might be a little more patina or slightly more reddish but I'm happy with the results.
Last edited:
Edbert
Well-Known Member
- Joined
- May 16, 2024
- Messages
- 3,117
I can only laugh enough via the emoji!Kamala was going to go on the bug
Last edited:
LmboKamala was going to go on the bug, but the bumper isn't wide enough.View attachment 185201
Where did you get these?Kamala was going to go on the bug, but the bumper isn't wide enough.View attachment 185201
kevin
Well-Known Member
I got these on Hobbylinc.com
Just search " bumper stickers".
Just search " bumper stickers".


