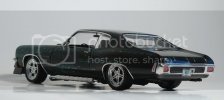
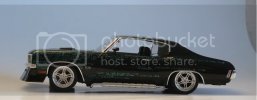
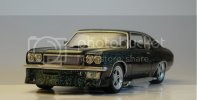
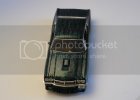
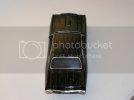
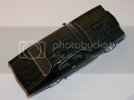
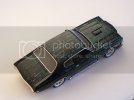
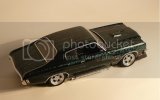
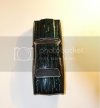
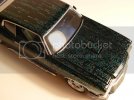
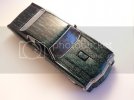
Monogram 1/24 '70 Chevy Malibu (Matrix)

ridefast

New Member
Joined
Mar 20, 2011
Messages
41
This is the kit I got from a friend of mine. It was incomplete (no wheels, no engine, various other parts missing) and it was painted a horrid shade of gold with a spray can. I planned to add the remaining parts to my parts junkyard but some of my friends insisted on finishing the model.

I didn't really want to do it, so I figured an extraordinary paint scheme would motivate me to finish it.

Every single sign/digit of the code was cut out and masked by hand. Hope you like the outcome. :)
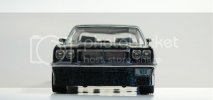
Matrix1.jpg

Matrix2.jpg

Matrix3.jpg

Matrix4.jpg

Matrix5.jpg

Matrix6.jpg

Matrix7.jpg

Matrix8.jpg

Matrix9.jpg

Matrix10.jpg

Matrix11.jpg

Matrix12.jpg

Matrix13.jpg

Matrix14.jpg

Thank you for your visit :)
 
WOW :eek: I feel your pain masking that up !!! well worth the effort tho' ,fantastic finish . I think I would have printed the pattern on clear decal sheet ,but Im just lazy ;D

Chris.
 
I still can’t believe you spend so much time on cutting out the code :) But the final effect is worth it.
Cheers
 
That's amazing, I would never have the commitment to follow thru on a paint scheme like that. :p
 
AWESOME! :D

How did your get that cool graphic on the car?

Please tell me please please!

Very cool.

8)
 
Atomicdog,
he masked off and painted it. He mentions that in the first post with the pics
 
How to do it? simple really.

1. You need a sharp image of the Matrix Code, so download Matrix Code screensaver (like this one: http://download.cnet.com/Matrix-Code-Emulator-Screensaver/3000-2257_4-10257503.html)

2. install and run it. Wait till the screen is almost completely filled with the code and press 'Print Screen' key. Now you have copied the screen to your computer's memory. Of course there are ready images of Matrix code on the web but they just don't seem to be clear enough. You need sharp code edges to make your job easier.

3. paste the image to a new document in Corel PhotoPaint or Adobe Photoshop etc. Convert it to grayscale and invert the image (i.e. the code becomes black on white background). Choose the part of the image completely filled with the code, copy, create new image and resize (make as small as you want)

4. now print your image on a regular A4 size (letter size) paper. You can check if it meets your expectations, etc. Cover the image with wide masking tape and put ANOTHER strip of masking tape on top of it. Now print again. This way you create the printed mask on the top layer.

5. remove the top layer, put it on you cutting mat and start cutting. It is going to take a while :D

6. paint you model black, put the mask on, spray silver, shade it with transparent green follow it with green pearl and remove the mask. Cover with clear coat, polish, wax. Job done.

This is probably one of the cheapest methods used for creating masks from anything on your computer screen. Hope it helps :)

Marek
 

Latest posts

Back
Top