Moebius Space Pod from Lost in Space
- Thread starter MrNatural
- Start date
MrNatural
my head is falling off my head
- Joined
- May 27, 2009
- Messages
- 983
moving right along
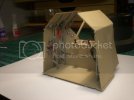
here is the main console with the window beams attached if you look close you can see the gaps where the beams attach to the base
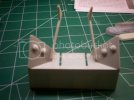
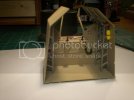
here are the main controls after assembly
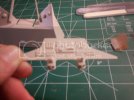
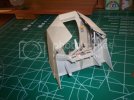
this photo is really bad but i tried to show my putty work on the beams, its on the area where the beam meets the bas
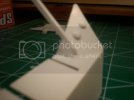
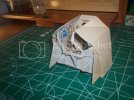
Ready for primer and paint
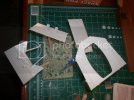
here is the main console with the window beams attached if you look close you can see the gaps where the beams attach to the base

here are the main controls after assembly

this photo is really bad but i tried to show my putty work on the beams, its on the area where the beam meets the bas

Ready for primer and paint

MrNatural
my head is falling off my head
- Joined
- May 27, 2009
- Messages
- 983
the paint brush is my friend...hehehehe....friend....heh
I would have loved to have lit this model but i've never done that before and i dont think a contest with a deadline would be the best place to start so im just really trying to focus on the paint job, a tad more detail and a light wash and these puppies will be ready...so far i used tamiya, citadel, and model master paints on these walls. the steele gerders were a little tricky to make fit, a little trimming and some 5 minute epoxy held them in place real nice. check it.
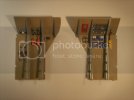
I would have loved to have lit this model but i've never done that before and i dont think a contest with a deadline would be the best place to start so im just really trying to focus on the paint job, a tad more detail and a light wash and these puppies will be ready...so far i used tamiya, citadel, and model master paints on these walls. the steele gerders were a little tricky to make fit, a little trimming and some 5 minute epoxy held them in place real nice. check it.

MrNatural
my head is falling off my head
- Joined
- May 27, 2009
- Messages
- 983
positively progressive progress.
ok so the deeper i get into this build i realize that this model is like building two seperate kits with the interior feeling like an entire kit in and of itself but anyway i got the four interior walls done, did a little scratch detailing wich was alot of fun. check it...
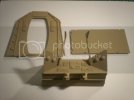
main console, rear interior wall, floor in base coat tamiya buff
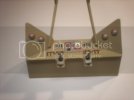
here is the main console in final paint.
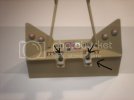
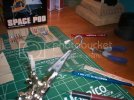
there really is not a whole lot of reference for the interior of the space pod and the few pictures i found indicated that there are buttons on top of the joy sticks and some kind of intercom radio microphone thing dangling by the right joy stick undernieth the dash. these details are not present in the kit so i decided to make them wich was alot of fun. here is a picture indicating where these details should be...
for the buttons on top of the joy sticks all i need was two little round circles so i found some old tank parts that were perfect...
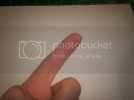
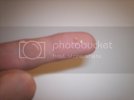
cut the littles circles off and shazaamm instant joy stick buttons
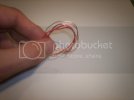
for the cord connecting the microphone to the dash i simply stripped some speaker wire and coiled it around a paper clip
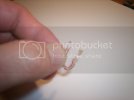
glued it to a another spare tank part and slapped some paint on it now i have an authentic space pod intercom microphone thingy..
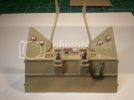
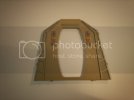
here is the completed main console with the added details undernieth is the completed rear interior wall
now the hard part, ...turning these four walls into an even room...ha aye chingcada!!
ok so the deeper i get into this build i realize that this model is like building two seperate kits with the interior feeling like an entire kit in and of itself but anyway i got the four interior walls done, did a little scratch detailing wich was alot of fun. check it...
main console, rear interior wall, floor in base coat tamiya buff

here is the main console in final paint.

there really is not a whole lot of reference for the interior of the space pod and the few pictures i found indicated that there are buttons on top of the joy sticks and some kind of intercom radio microphone thing dangling by the right joy stick undernieth the dash. these details are not present in the kit so i decided to make them wich was alot of fun. here is a picture indicating where these details should be...

for the buttons on top of the joy sticks all i need was two little round circles so i found some old tank parts that were perfect...

cut the littles circles off and shazaamm instant joy stick buttons

for the cord connecting the microphone to the dash i simply stripped some speaker wire and coiled it around a paper clip


glued it to a another spare tank part and slapped some paint on it now i have an authentic space pod intercom microphone thingy..

here is the completed main console with the added details undernieth is the completed rear interior wall


now the hard part, ...turning these four walls into an even room...ha aye chingcada!!
MrNatural
my head is falling off my head
- Joined
- May 27, 2009
- Messages
- 983
MrNatural
my head is falling off my head
- Joined
- May 27, 2009
- Messages
- 983
the sand paper and I are one..
started work on the outer pod walls wet sanded with 4 progressively finer grit sand papers here are the parts after some extensive sanding check it..
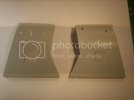
side outer walls
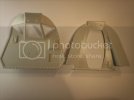
front and rear outer walls
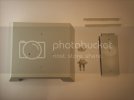
bottom hull, roof piece, and some scanner parts
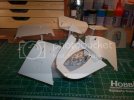
Here is my usualy pre primer set up
fresh coat of tamiya surface primer
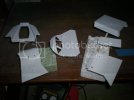
started work on the outer pod walls wet sanded with 4 progressively finer grit sand papers here are the parts after some extensive sanding check it..
side outer walls

front and rear outer walls

bottom hull, roof piece, and some scanner parts

Here is my usualy pre primer set up

fresh coat of tamiya surface primer

MrNatural
my head is falling off my head
- Joined
- May 27, 2009
- Messages
- 983
ever closer...
i did some touch up sanding on my primed parts and put some of the sub assemblies togethor like the landing gears, hydrogen tanks, antennas, probes, etc...
landing gear sub assemblies
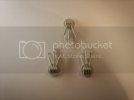
its hard to see in this pic but this is one of the thrusters and it is a solid piece of plastic so i needed to drill it out so it resembled a thruster
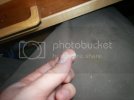
drillin...you can see some of the thruster sub assemblies in the background
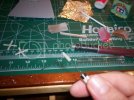
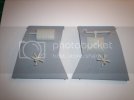
left and right outer walls with added detail
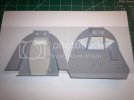
front and rear outer walls with added detail the door has been added to the rear wall it actually opens and closes
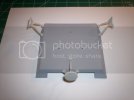
bottom hull with landing gears attached
i did some touch up sanding on my primed parts and put some of the sub assemblies togethor like the landing gears, hydrogen tanks, antennas, probes, etc...
landing gear sub assemblies

its hard to see in this pic but this is one of the thrusters and it is a solid piece of plastic so i needed to drill it out so it resembled a thruster

drillin...you can see some of the thruster sub assemblies in the background

left and right outer walls with added detail

front and rear outer walls with added detail the door has been added to the rear wall it actually opens and closes

bottom hull with landing gears attached

MrNatural
my head is falling off my head
- Joined
- May 27, 2009
- Messages
- 983
Danger! Danger MrNatural, its getting late!
started work on the robot and im going to sculpt a figure of Prof. John Robinson. my dio is going to be a scene from the episode called Hunter's Moon season 3 episode 4. check it..
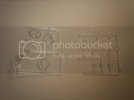
robot sprues
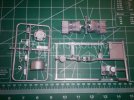
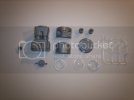
clear parts
cleaned up the parts still have alot of puttying and sanding to do
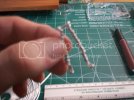
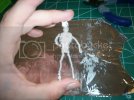
here is the start of my armature for Prof. Robinson, i always start with the legs
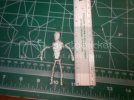
here is the rest of the armature for the figure this is a 1/24 scale dio by the way
im useing super sculpy firm to sculpt the figure fantastic stuff
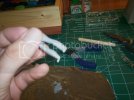
heres a little progress on the legs
started work on the robot and im going to sculpt a figure of Prof. John Robinson. my dio is going to be a scene from the episode called Hunter's Moon season 3 episode 4. check it..
robot sprues

clear parts

cleaned up the parts still have alot of puttying and sanding to do

here is the start of my armature for Prof. Robinson, i always start with the legs

here is the rest of the armature for the figure this is a 1/24 scale dio by the way


im useing super sculpy firm to sculpt the figure fantastic stuff

heres a little progress on the legs

mariosmodelkits
New Member
- Joined
- May 7, 2010
- Messages
- 240
This kit is very interesting, details are awsome. Great progress sofar man cant wait to see this come together lookin dope.
MrNatural
my head is falling off my head
- Joined
- May 27, 2009
- Messages
- 983
those funny little silver jumpsuits...
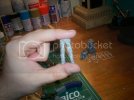
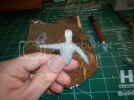
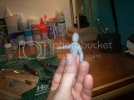
so i just decided to tackle the Prof. John Robinson figure tonight, it doesnt really look a whole lot like John Robinson but, eh, ce la vie...first time sculpting anything this small the figure is slightly taller than 3 inches check it..
ruffing out the legs..
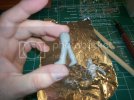
starting to come toegether
ruffin out torso and head
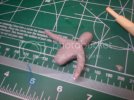
pulling it together
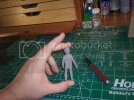
yeah it looks a little wonky but those big silver jump suits they had to wear looked pretty wonky too ;D
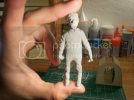
so i just decided to tackle the Prof. John Robinson figure tonight, it doesnt really look a whole lot like John Robinson but, eh, ce la vie...first time sculpting anything this small the figure is slightly taller than 3 inches check it..
ruffing out the legs..

starting to come toegether

ruffin out torso and head


pulling it together

yeah it looks a little wonky but those big silver jump suits they had to wear looked pretty wonky too ;D


