Hey Hook! Thanks a bunch!! Appreciate it! As for the mud.......Third time today I was actually asked so I will post my first response as it covers the base process and I can just copy-n-paste...LOL!Taking the standard base plinth the bulk of the definition for the mount will be achieved through the use of XPS (extruded polystyrene) of in other words that funky pink and/or blue foam used in construction for insulating foundation and commercial roofing.
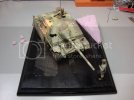
As you can see to the left of the base piece there is 3 small pieces of the foam. These were literally hacked out of a small piece leftover from the corner. These will end up being the granite street markers. I used the term "hacking" because I did not take much care in making a nice smooth cut on all sides. This will help with the look when don.
Ready for the Mud?....
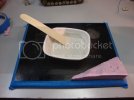
Plaster (powdered version of USG drywall compound
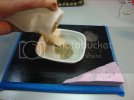
Sand for texture
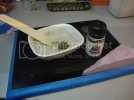
Pigment for base color
Switching to the other corner for a moment...standard PVA Glue...very technically spread....with my finger!!

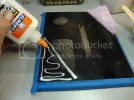
Application of sand for texture....you must be getting tired by now?
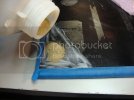
Again using the most expensive tool I own, my finger, I spread the sand out somewhat smoothly but leaving this irregular.
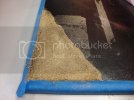
Time to apply the "mud"!! I have a healthy supply of Popsicle sticks and tongue depressors on hand just for this purpose.
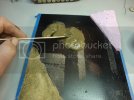
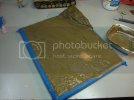
At this time I applied about 1/2 of the foliage and saplings, leaves and what have you!
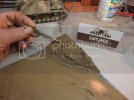
The next parts actually move a little too fast. Using different combinations of AK's Dark Mud Wash and Damp Earth Wash, I airbrushed the foliage and saplings and the entire dirt/mud covered space. Then I appled more foliage and saplings, and then a light spraying on the mixes.
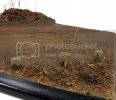
The stone work...all to these was hand painting with Vallejo's Model Color - Stone Grey and letting dry. Then a quick light wash with AK's Naval Wash for Wood Decks, let dry for about 5 minutes, then applied AK's Slimy Grime Dark to the bottom edge in an uneven patten, next a little Slimy Grime Light just above the Dark, slightly blending. Finally finishing off with AK's Salt Streaks dry-brushed onto the top...Sorry for the lack of pics at this stage...this entire process to this point was done in one sitting and moved along rather quickly.
Hope this helped a bit!!


