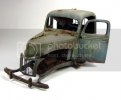
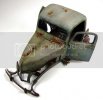
With the holiday behind us now it's time to get back in the game.
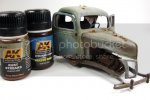
In the next few posts here is a shot of what I think I will be using...
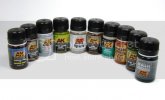
Each one of the bottles is just another layer to the picture that I am trying to create.
But, before I go too far, I need to add a few things that will help with the layering process. I some of my reference pictures there are clump of leaves strewn around and jammed into corners and such. I will add these before the next weathering step as the leaves would weather to...in different stages.
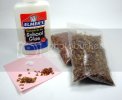
These "leaves" are just colored Birch seeds. I bought this as a 3 pack at a show for about $10USD. Sorry I have forgotten the actual name of the supplier. However, with a little time and very little skill, you can cultivate your own from some Birch trees and add a bit of color to get the more natural look.
So using a little white glue, I applied these faux leaves to various areas.
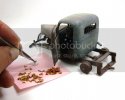
Later on, I will add a few here and there at different point in the weathering process. Naturally leaves will fall and decay and more fal, and so on and so on.
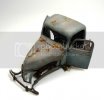
Next, taking some AK Streaking grime, I applied a dark wash to and around the leaves I added.
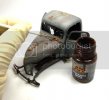
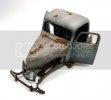
Letting this dry just a little, I grabbed some AK Slimy Grime Dark. Similar to a pin wash I placed some dark was into the creases and corners, mostly on the horizontal plane as the moldy green slime would settle in to these areas.
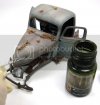
The keen eyed modeler would notice that I actually would need to turn the bottle around when taking the picture!
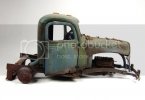
In this next shot, I went directly to a light wash using the same Slimy Grime Dark. Putting a little of the grime on the brush and a quick dab in some white spirits to thin, I lightly washes the area. Taking care not to disturb the leaves, but applying some of the grime to them as well.
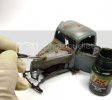
And as she lies tonight. I will let this sit for a day or so to dry completely. After a little cure I will be ready to add a few more steps
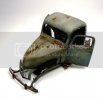
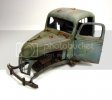
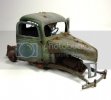
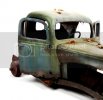
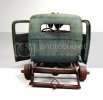
At this point you begin to see the "aged" weathering begin to show. Up next will be some more streaking and washes.
Thanks for stopping in!!!

More to come soon!


