1/200 USS IOWA

Scale Model Addict - Model Tips, Guides, Tools & Tech, Tutorials, and Community

Help Support Scale Model Addict:

i like the way the instructions are so subtle... "X20" o_O
as far as the kit stuff, i agree, sometimes the quality is there where you just apply some panel accent and you will have a nice piece. sometimes aftermarket is for the sake of aftermarket. looks fantastic
 
I ordered the Trumpeter kit and Pontos Detail kit at the same time.
The Pontos "wood" deck and brass gun barrels are awesome. The assortment of radar and antenna assemblies are superior to the kit PE.
However, if I had looked over the Trumpeter kit first, which comes with ALOT of PE, I probably would not have bought the complete Pontos kit. Maybe one of the smaller kits that come with the decks, gun barrels, and some other pieces.
So I'm going to "endeavor to persevere " with the Pontos to get my monies worth.
 
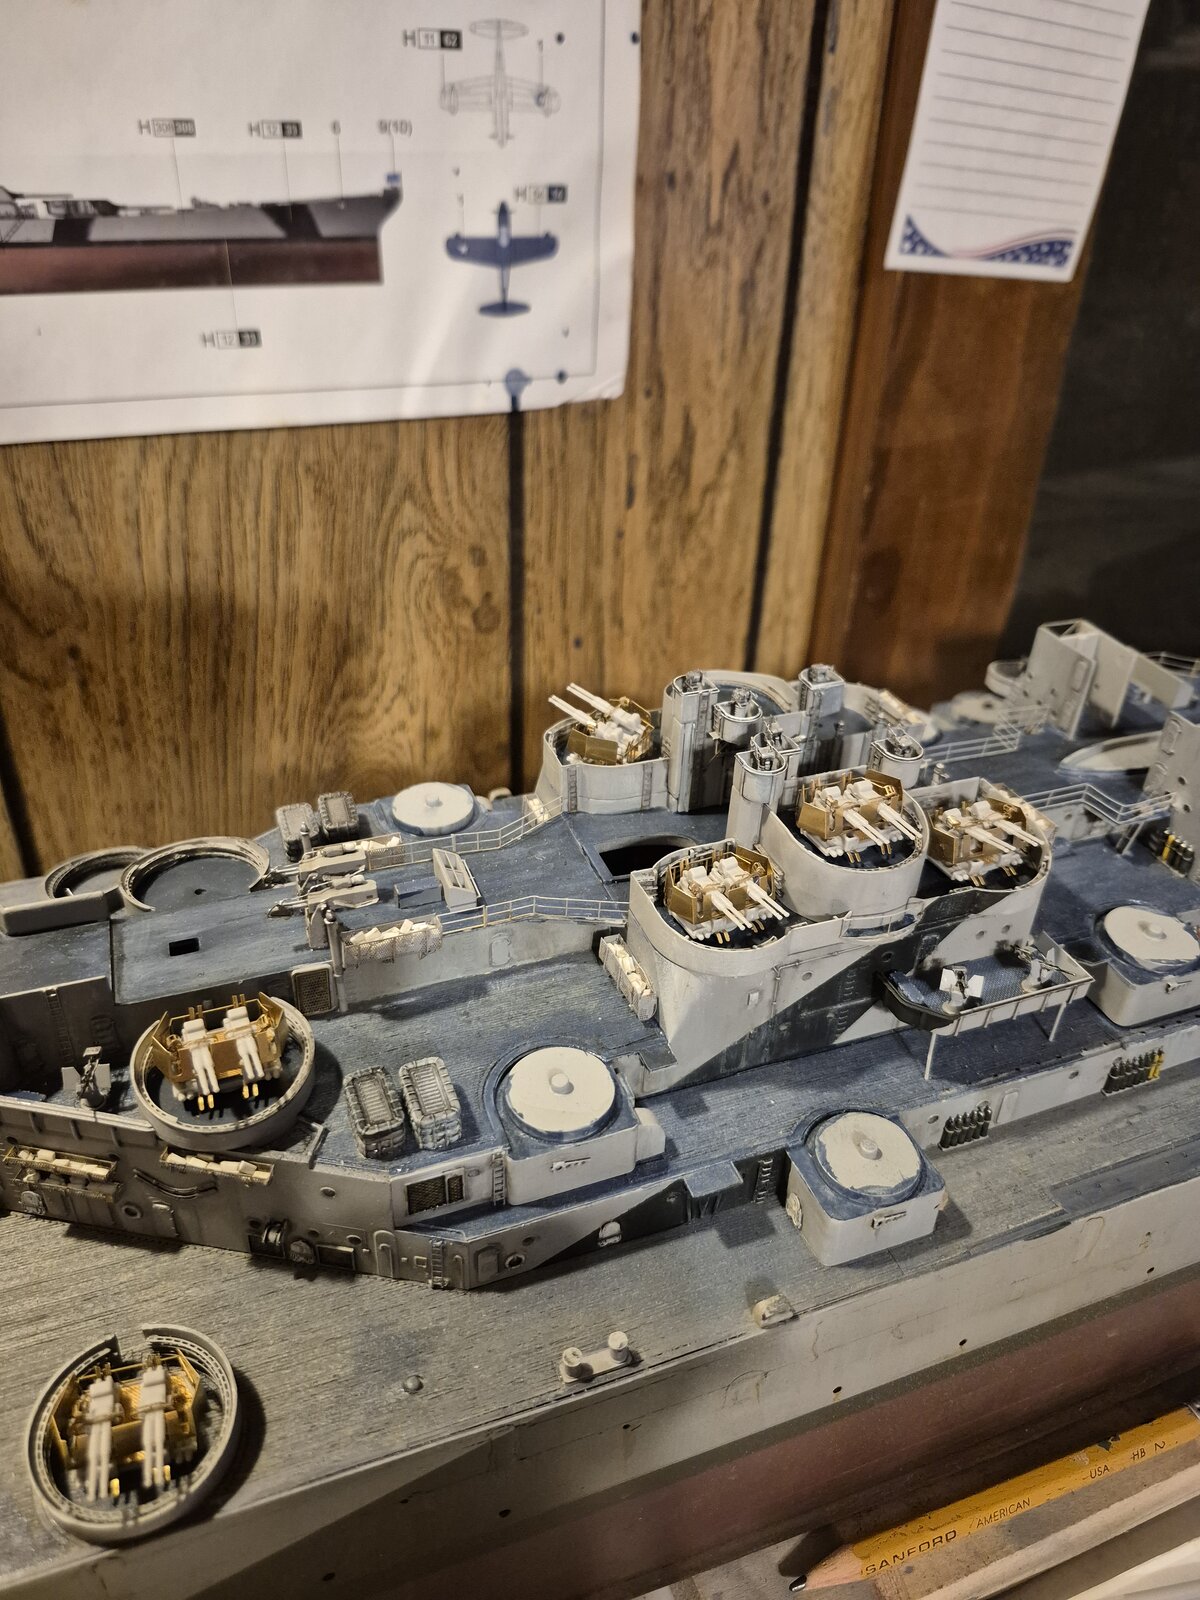
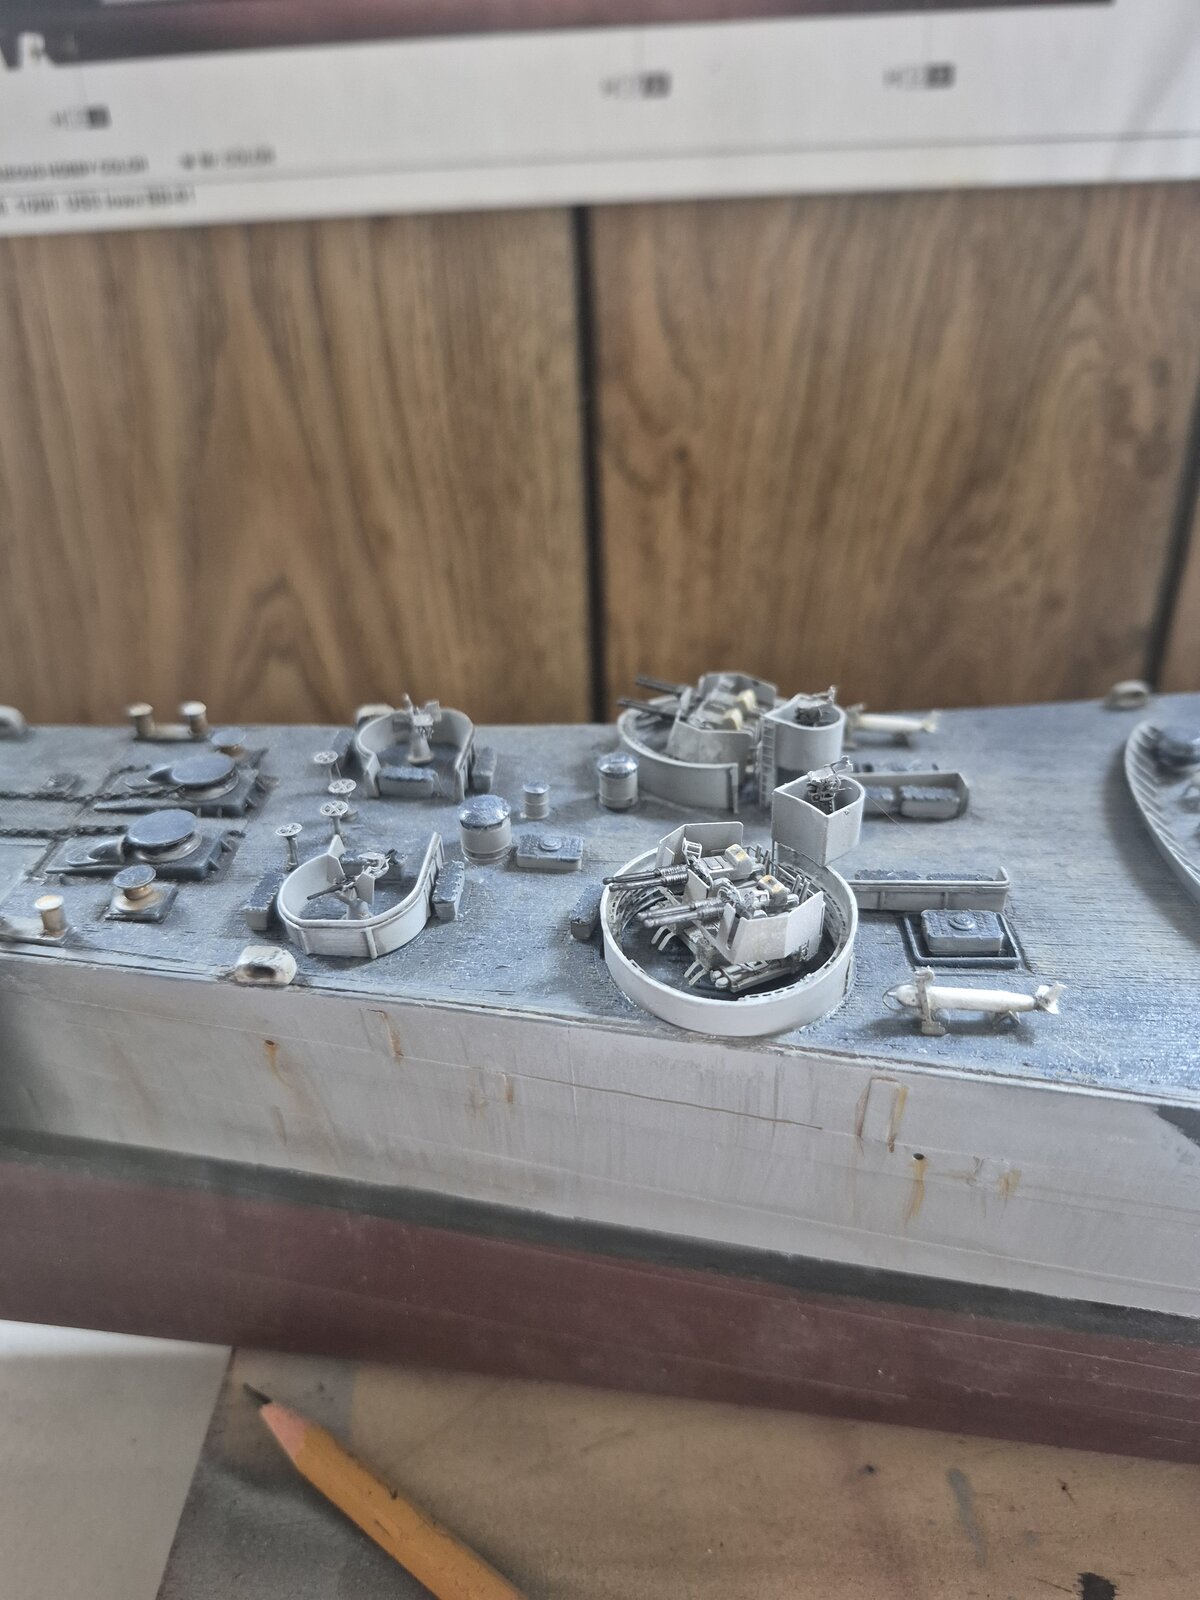
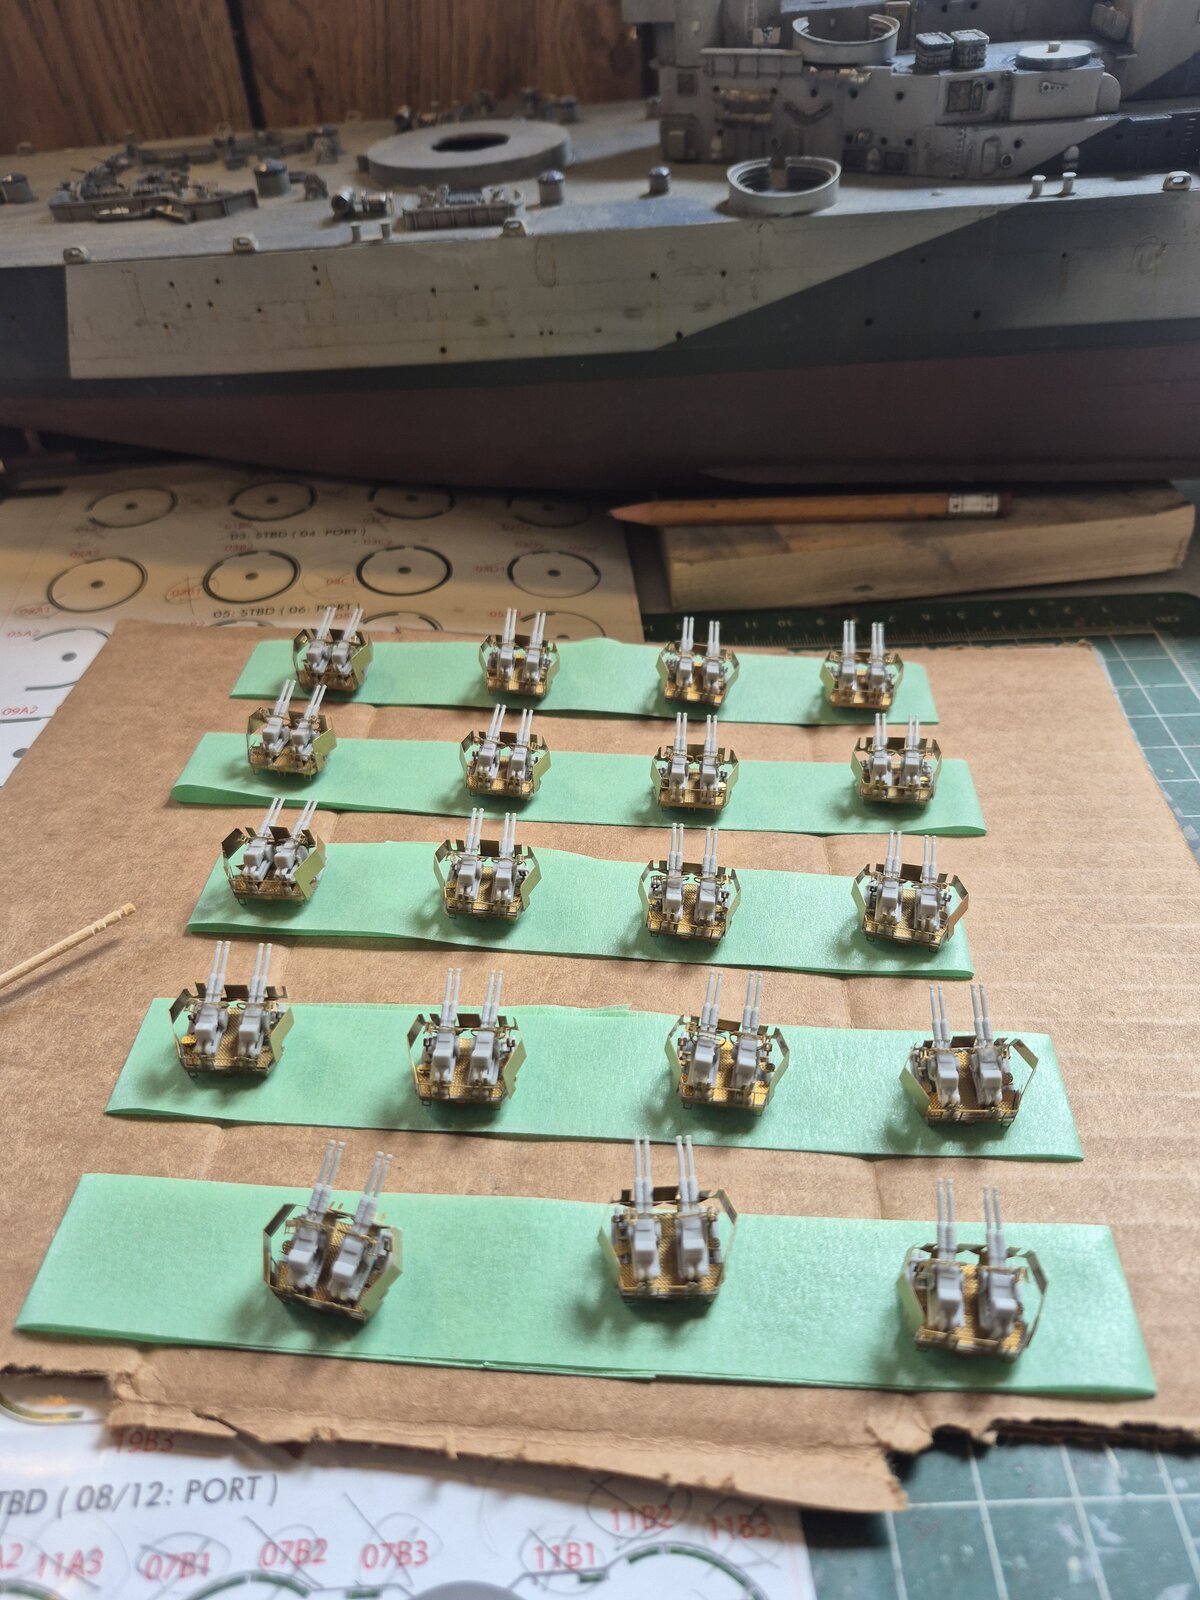
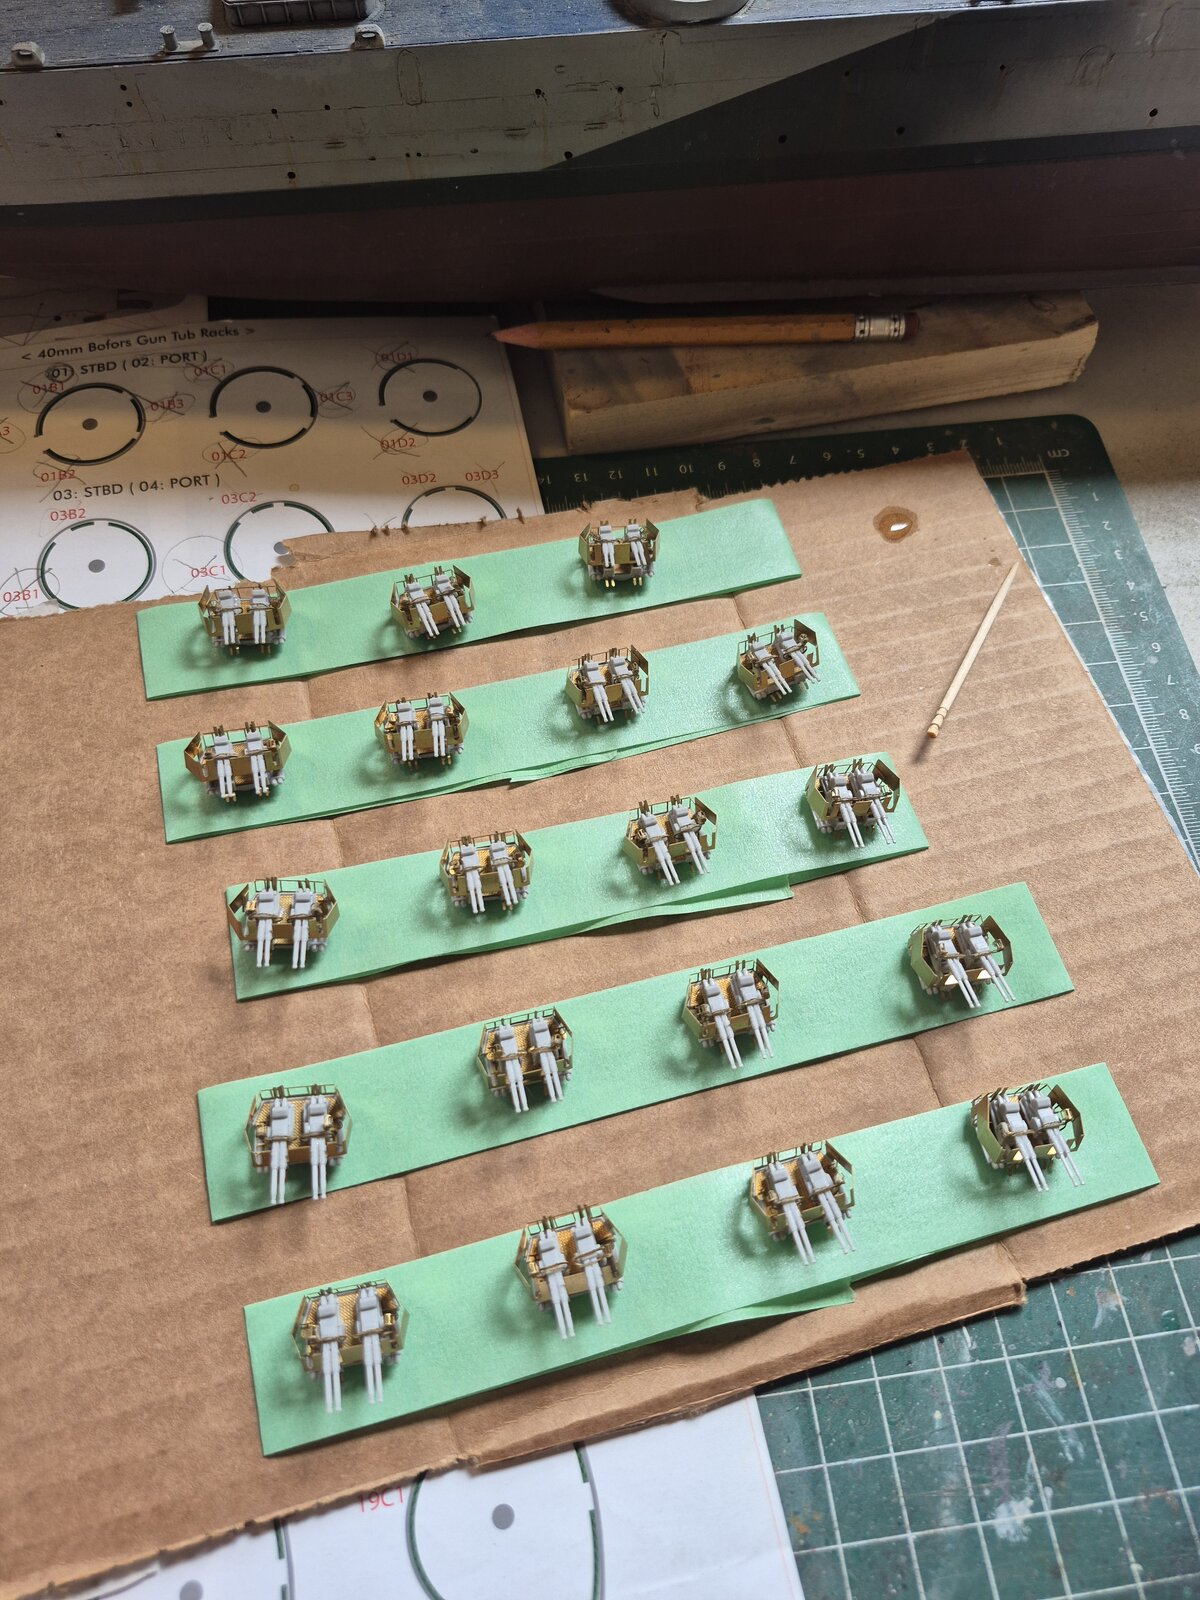
I got 1 of the 19 required 40 MM Bofors completed. The kit came with 20 guns so I had one to experiment with to see how much of the Pontos PE I could do.
I managed all of it with the exception of the gun barrels. Pontos needs you to drill four .4mm holes onto post not much bigger than the drill bit ounce you remove the existing barrels. I would have lost the last bit of my sanity after building 50 of the 20 MMs guns trying to get all four barrels aligned with each other.
View attachment 151858
View attachment 151859
Time for a beer. :)
Very nice! I started doing those Bofors for my Missouri, and even if a lot simpler (only 4 parts + 1 PE), still takes a lot of time.
 
HI Kevin yes youve got to get your monyies worth as to how much that pontas kit cost as thats why i wont be buyin it to exspensive from what i see but you are doin a great job of this build sir an yes its easy to be driven up the wall with makin all these guns all the same as very tedious it will proberly happen to me when buildin all the guns on my horrnet
but keep your build comin as im now goin to look for some balsa wood to make up a small stand to hold a pencil to mark out the W/L on the horrnets hull just got to make sure the hull is level so i dont get two different height lines
cheers sir
chrisb
 
As an Amazon Associate we earn from qualifying purchases. Product prices and availability are accurate as of the date/time indicated and are subject to change.
Making some progress on the Bofors, got six built. Thirteen more to go.....
17513332071193112035045484835919.jpg
 
WOW Kevin them bofors look great an glad to see you have got the patience to build another 13 more boy these ships can get tedious but its worth it in the end as ive got to do seveal of them an so will the new chap called Sailor as he is building a 1/350 trumpy vershion of horrnet like me in my 1/200 so a lot of patience is goin around lol an keep your splendid build comin great stuff
chrisb
 
HI Kevin build lookin good now a qeustion did you in your build get a stand to mount the model on when finished ? as in my hornet i have not got one so i'll proberly have to make one
chrisb
 
No, the model didn't come with a stand. It did come with a nameplate though.
I was surprised for it to not come with a stand, especially when considering how much the model cost.
 
No, the model didn't come with a stand. It did come with a nameplate though.
I was surprised for it to not come with a stand, especially when considering how much the model cost.
HI Kevin YES ive got a name plate with my hornet but no stand so i geuss we will have to make one as i want to have my hornet on a stand an have gold pick ups that will clip into the hull bottom an carry eletric into the ship for lights
cheers for your reply sir
chrisb
 
AN Kevin did you say you wanted 1/200 scale draught markings to go on your hull well Becc does the in white or black
chrisb
 
...like minions of Sauron, about to march from mount Doom.
Tedious, but necessary, and by the looks of it well done!
Besides the big guns, a vessel bristling with so many other guns really brings underscores its purpose: Battle!
 
Yes, the tedious repetition is over for this model. Ten 5in. guns is nothing compared to the 20mm.
There is still alot of small, difficult PE ahead, but at least it will be mostly one offs.
Oh, nice LOTR reference...... some of my favorite books.......along with the original Frankenstein.
 
HI Kevin hope work goes well on your big battle wagon an im tryin to make up a stand with eletric pickups if poss to light up my hornet are you goin to make one or just have your ship sittin on it flat bottom on a shelf ?
chrisb
 
WELL Kevin i hope you manage to make a nice stand as thats where you you can fit the name plate as i have so far made a rough stand for my hornet but its not finished yet an it will give a place to fit my name plate also keep this comin
chrisb
 
WELL Kevin whats happening on this big BB ? an them tiny guns look great very well done sir an ive got to make some for my hornet but not so many thank goodness
chrisb
 
I've been spending more time at the beach than the bench lately. :)
20250619_124001.jpg

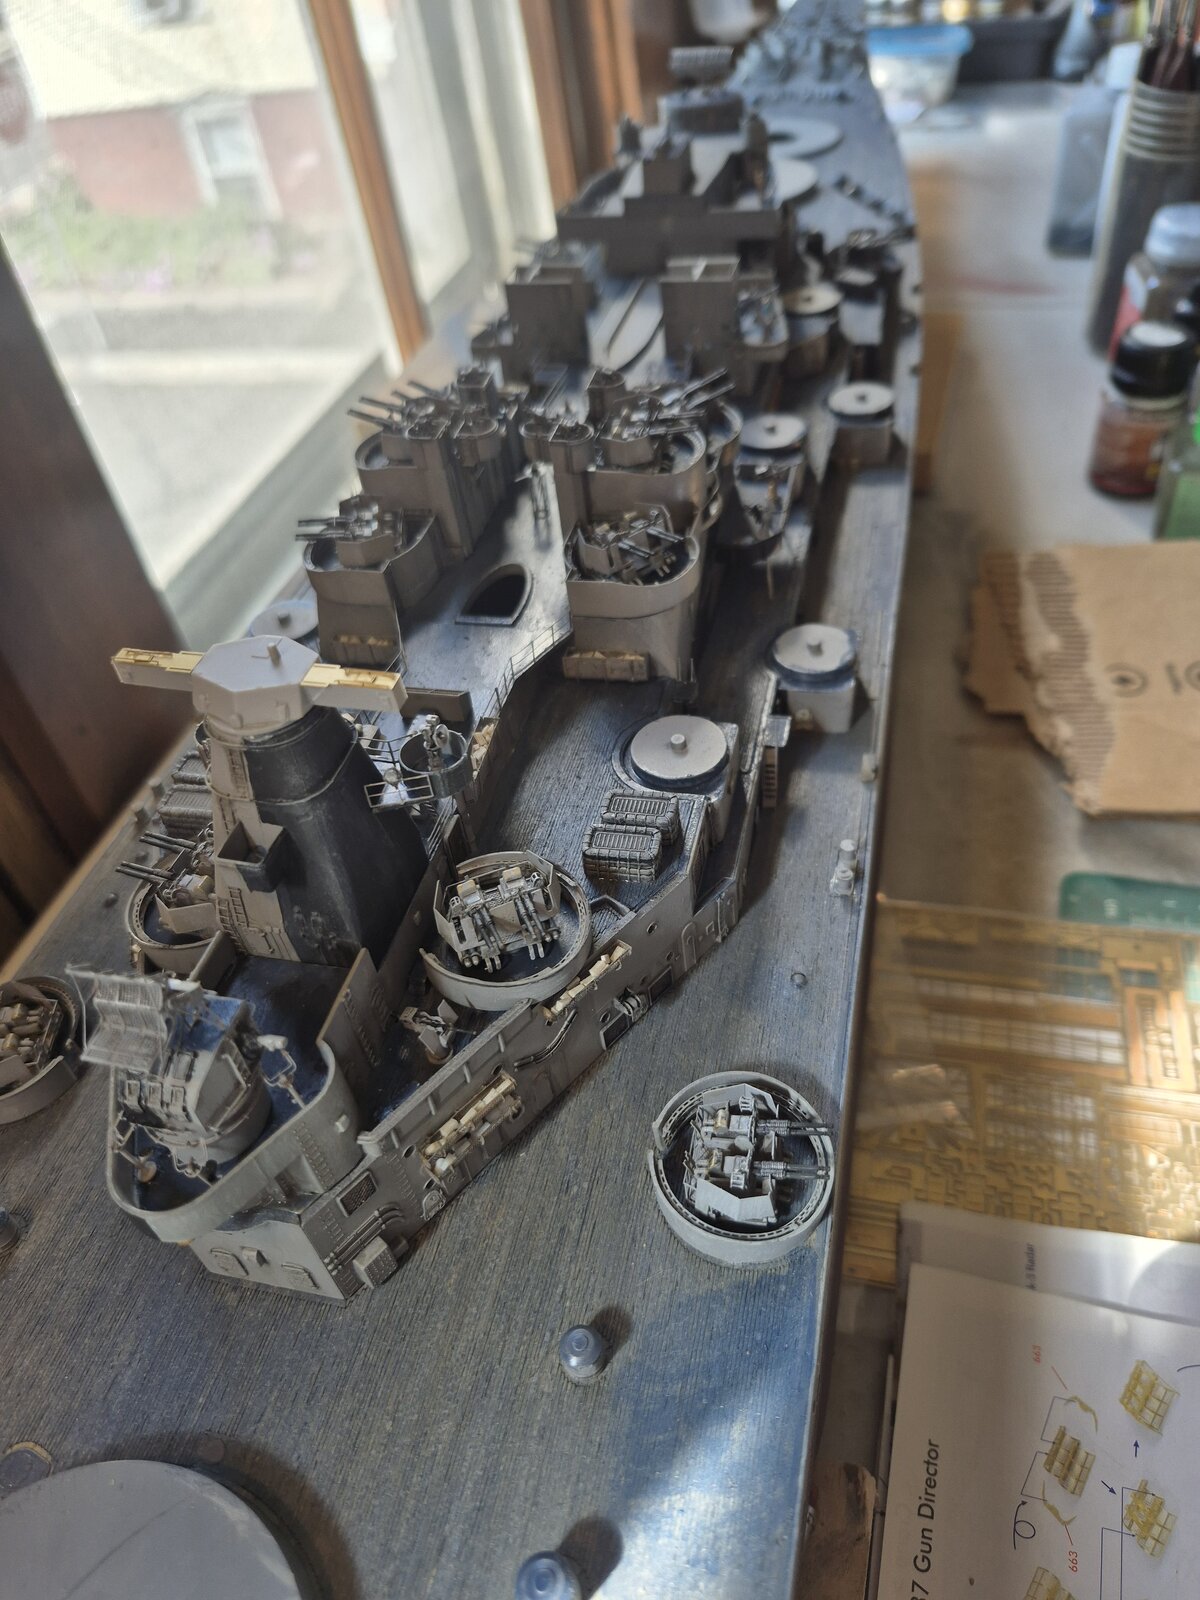
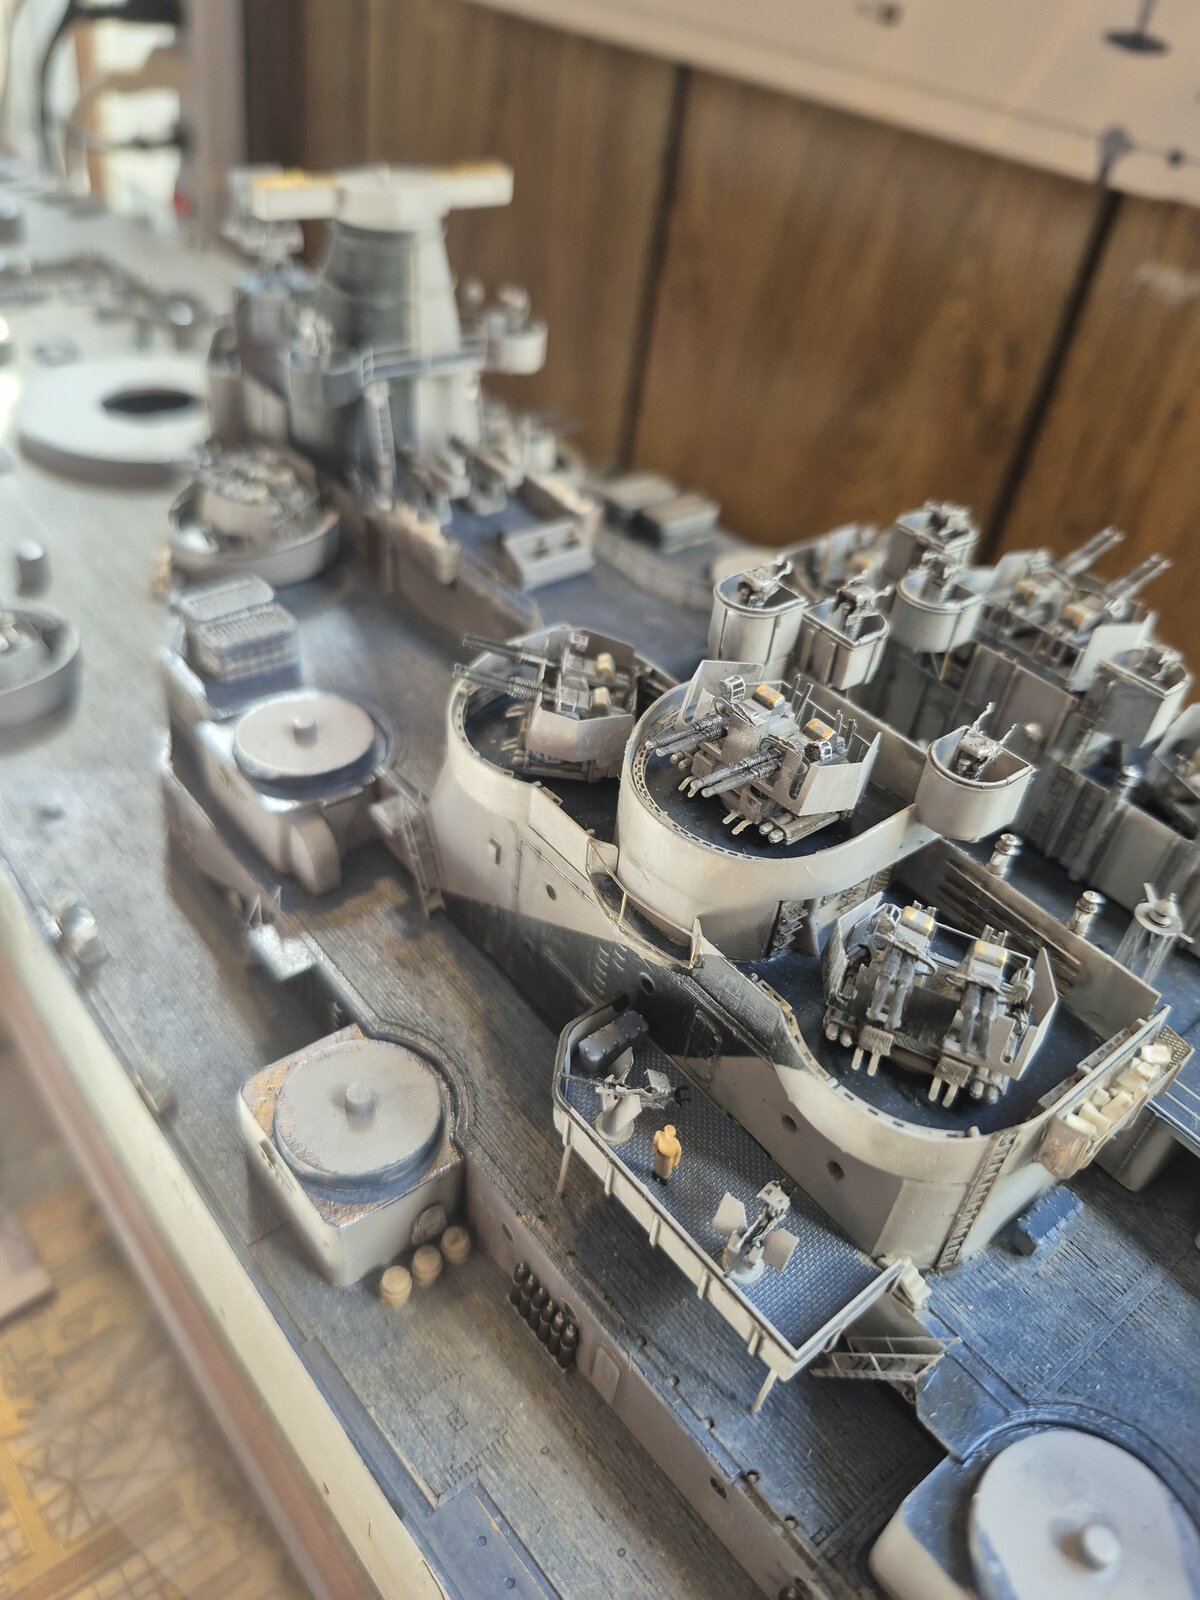
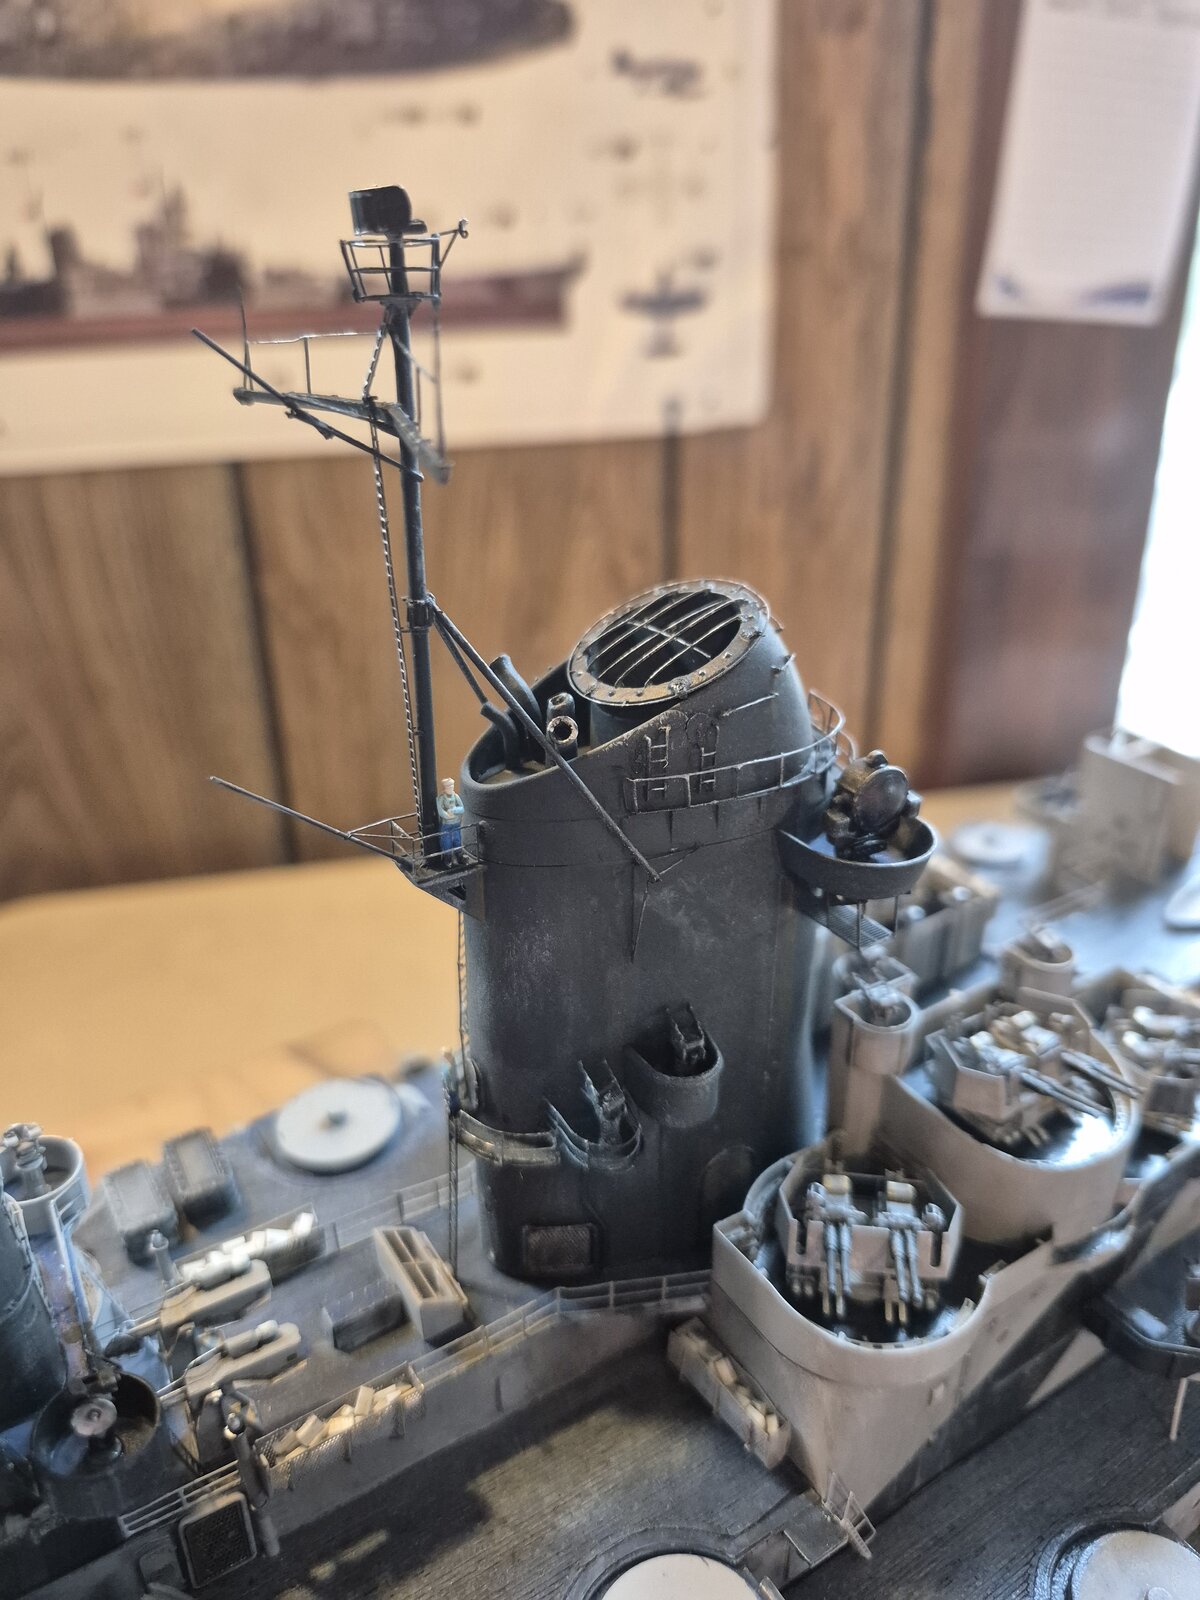
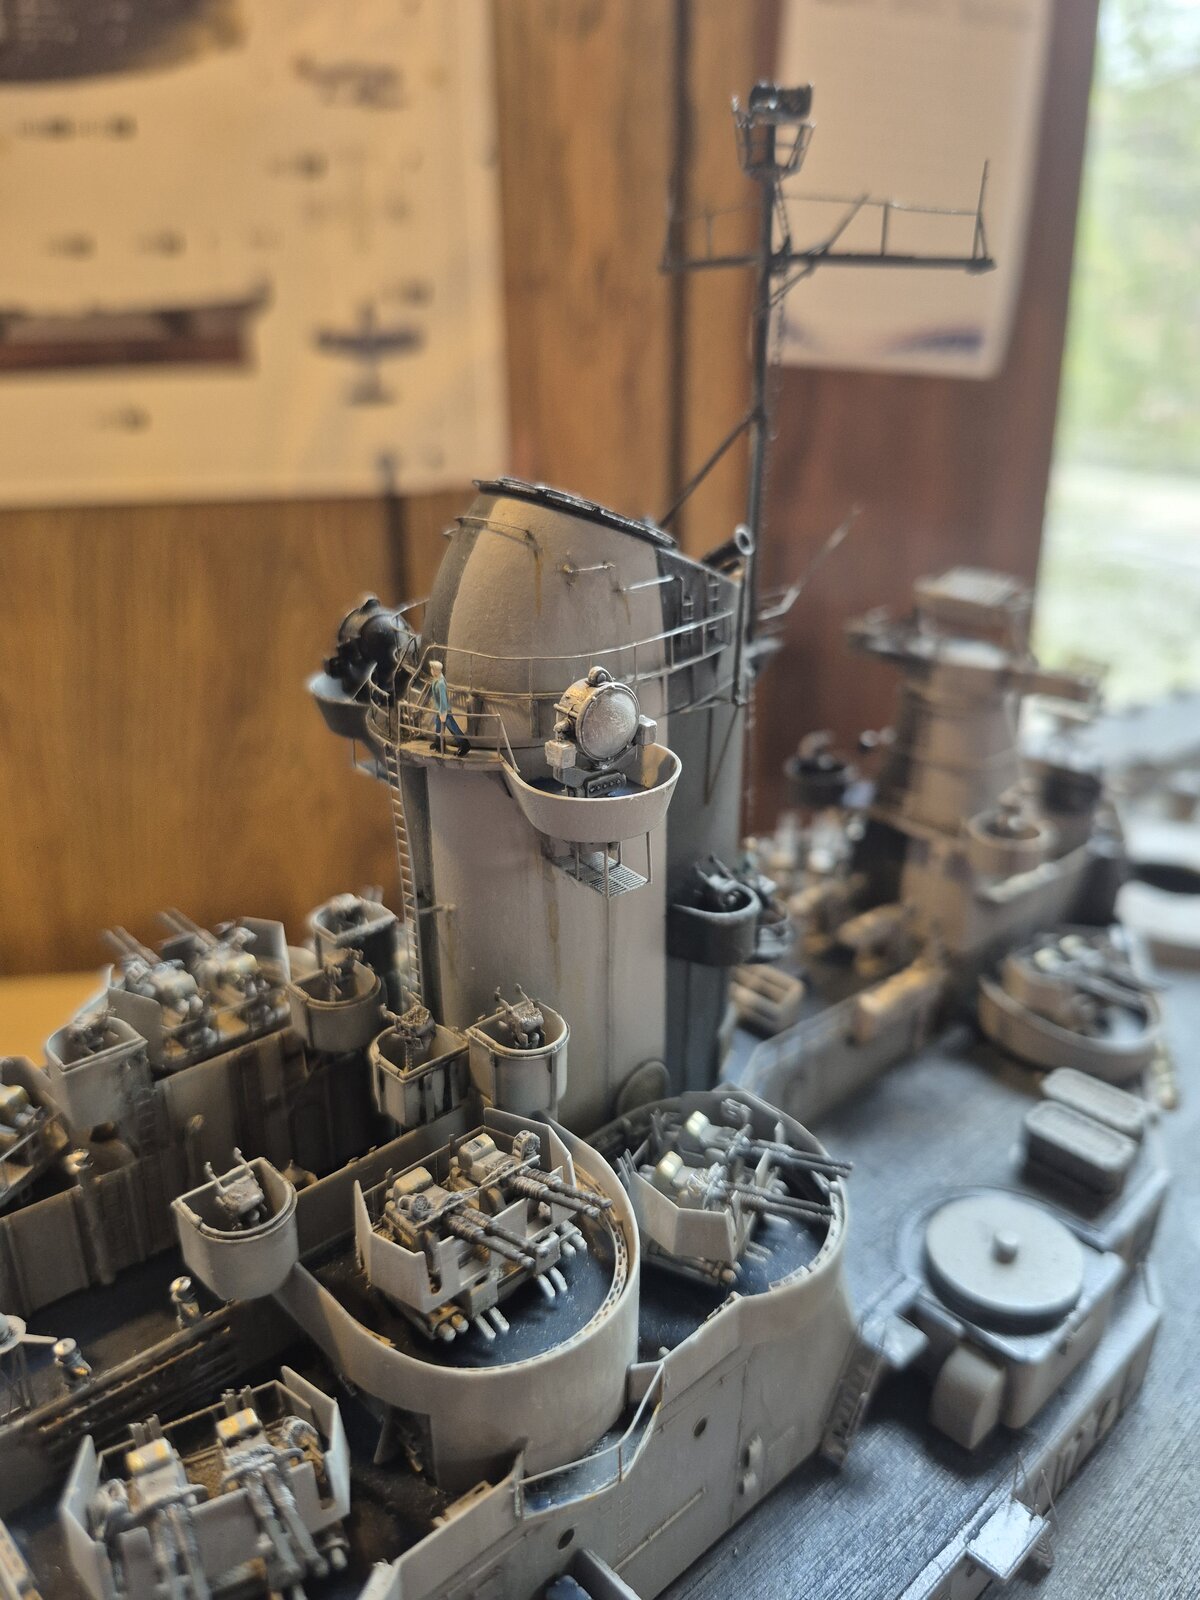
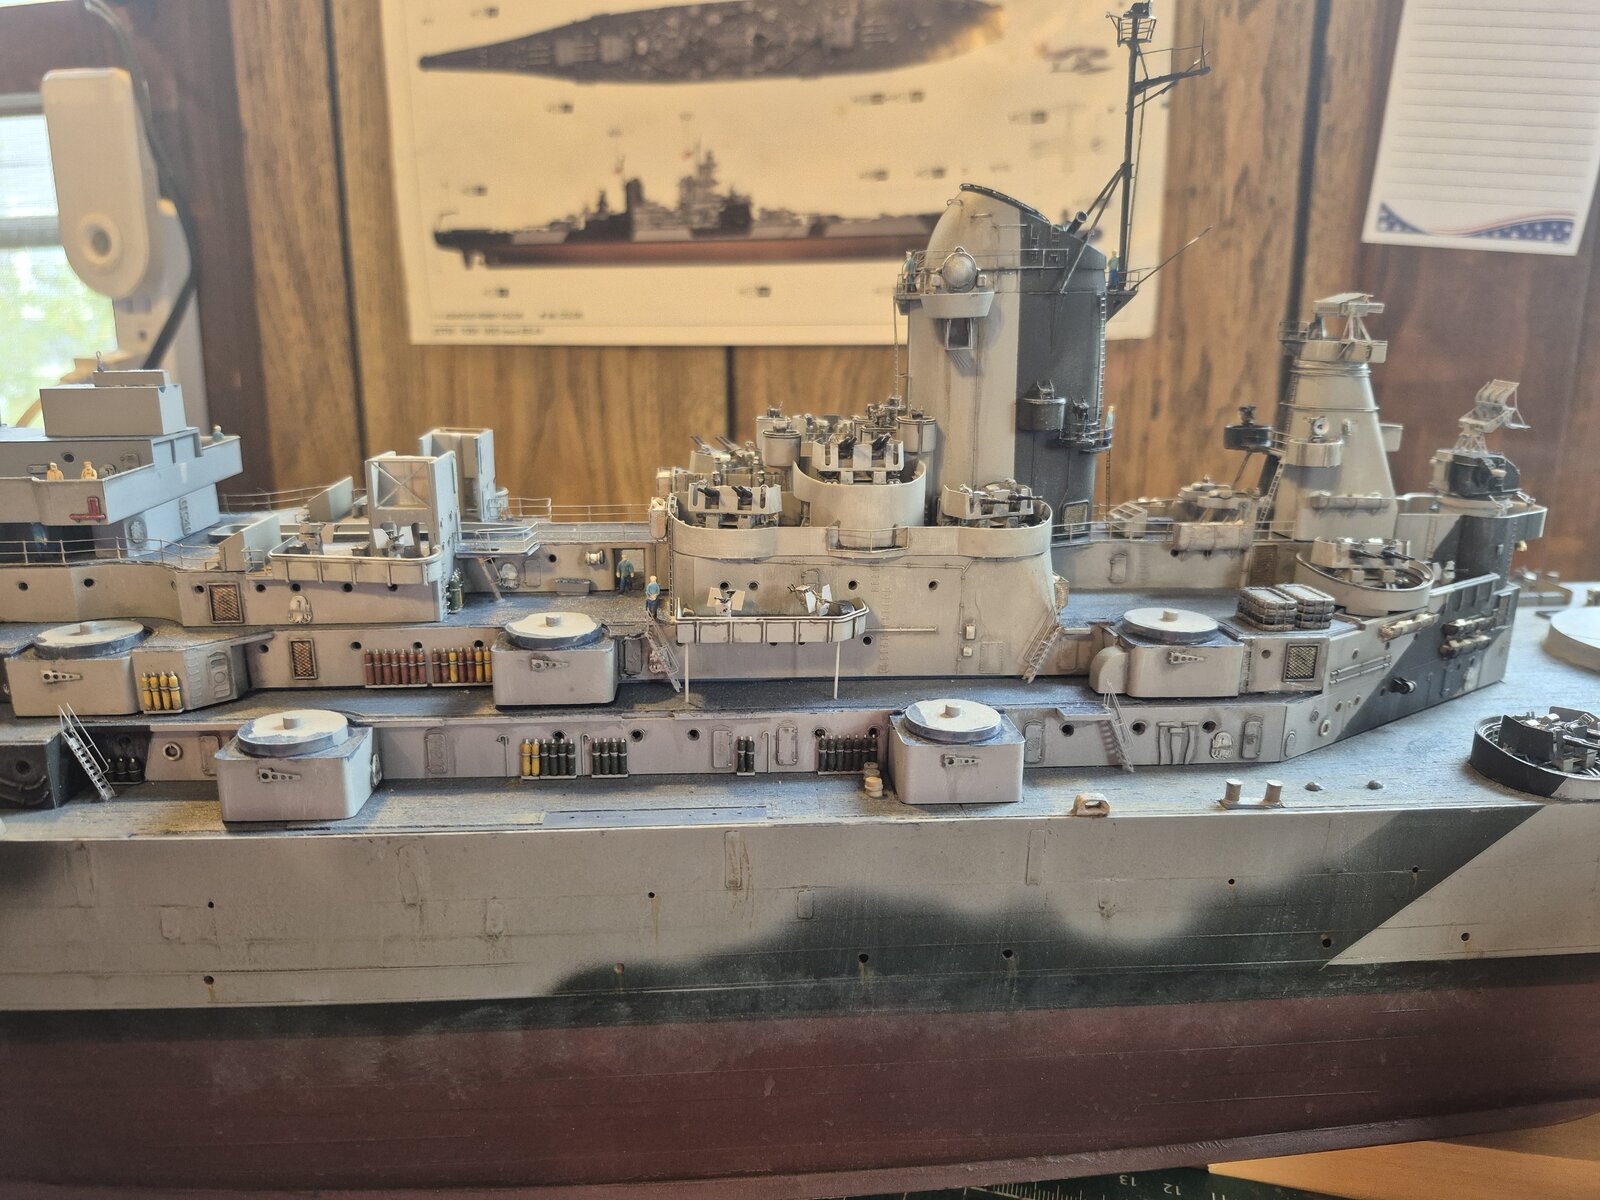
Today it rained and I managed to finish the aft funnel stack and get it mounted to the ship.
1753648844467626734668292229653.jpg

17536496633857759783303385192865.jpg

17536502075581050495309639020957.jpg

I haven't been very motivated to work on this project for awhile. Same old song and dance.......PE!
Completing this stage of the build has been a boost to keep me moving forward.
 
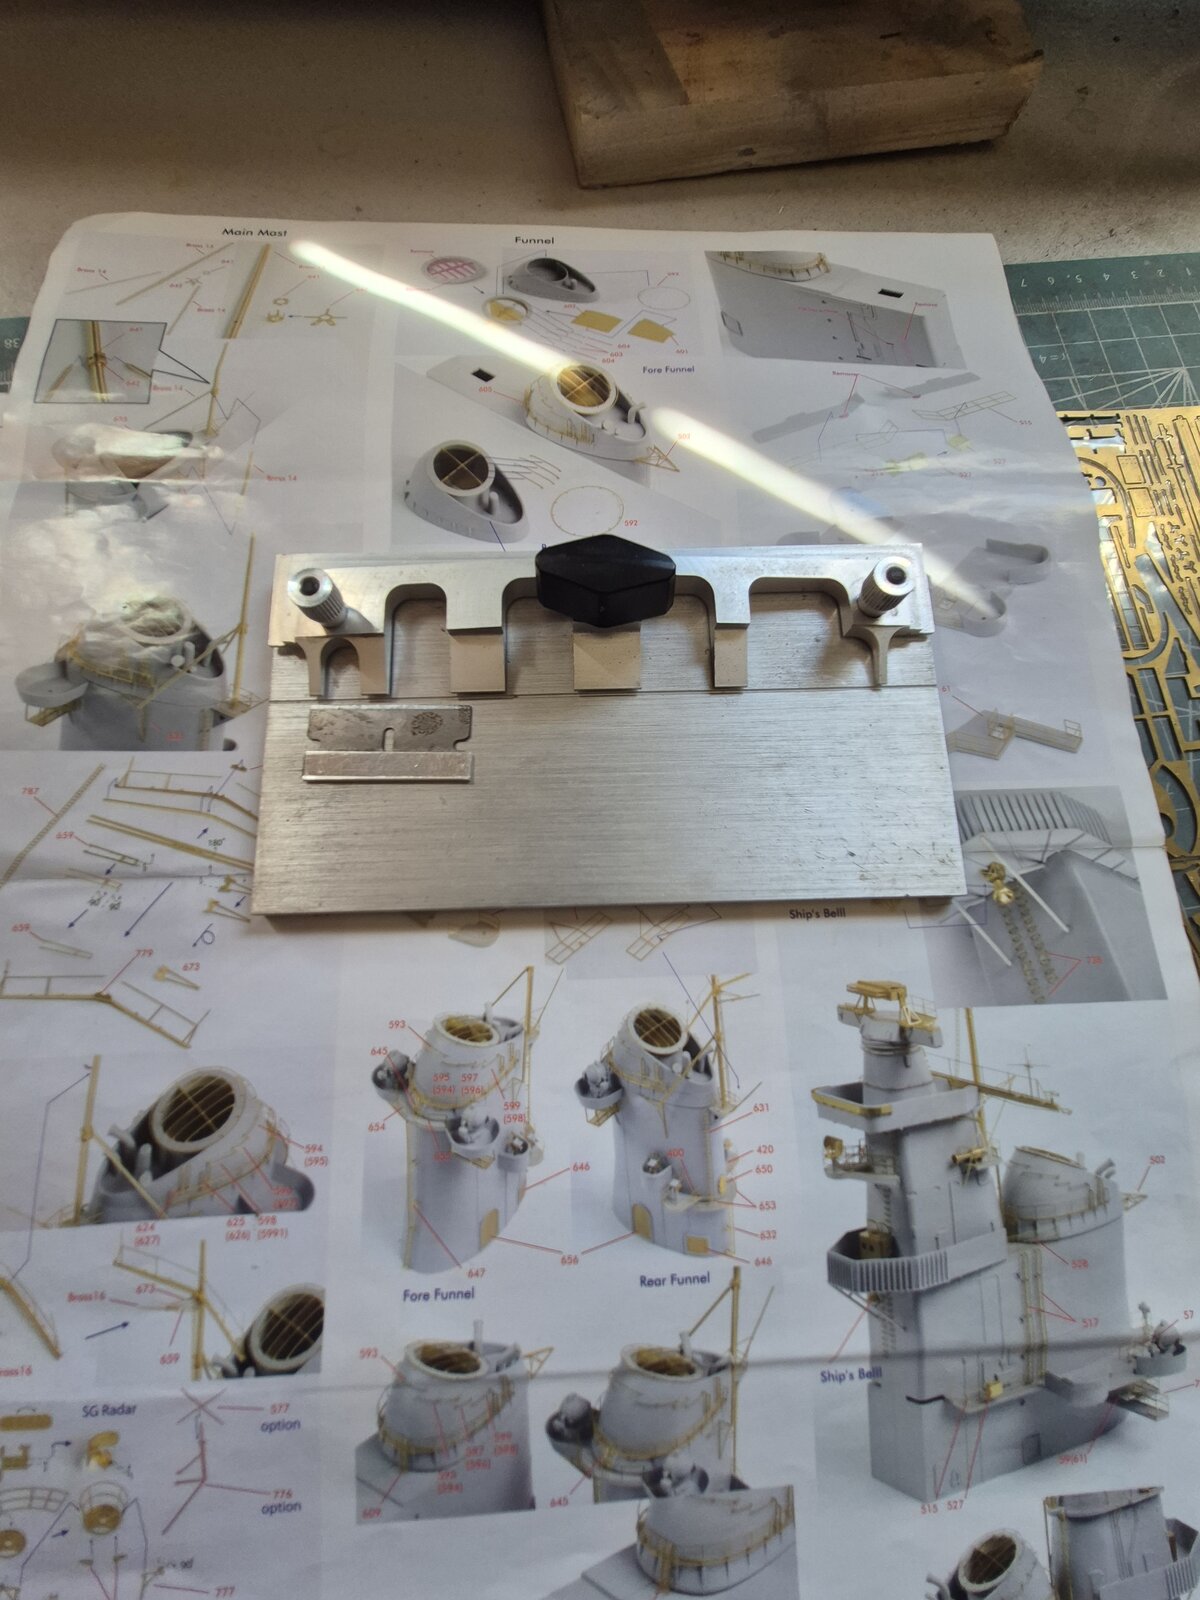
HI again Kevin what type of tool do you use to bend your p/e a pic would be nice as i have a fair amount to do on my hornet ?
chrisb
 
HI again Kevin what type of tool do you use to bend your p/e a pic would be nice
I have a tool I got from MicroMark for the angle bends, works great. Clamp the part down and bend it with the razor blade.
The curved or radius bends I use trick I saw on you tube. Hold the PE part over a candle flame for a couple seconds until it changes color alittle. It becomes more pliable and won't crease or fold when you roll it around something to get the curve you need.
17537108300137011061332480550955.jpg
 
more pliable
...nice! Haven't tried that.

  • I also have a similar bending tool, it was a game changer!
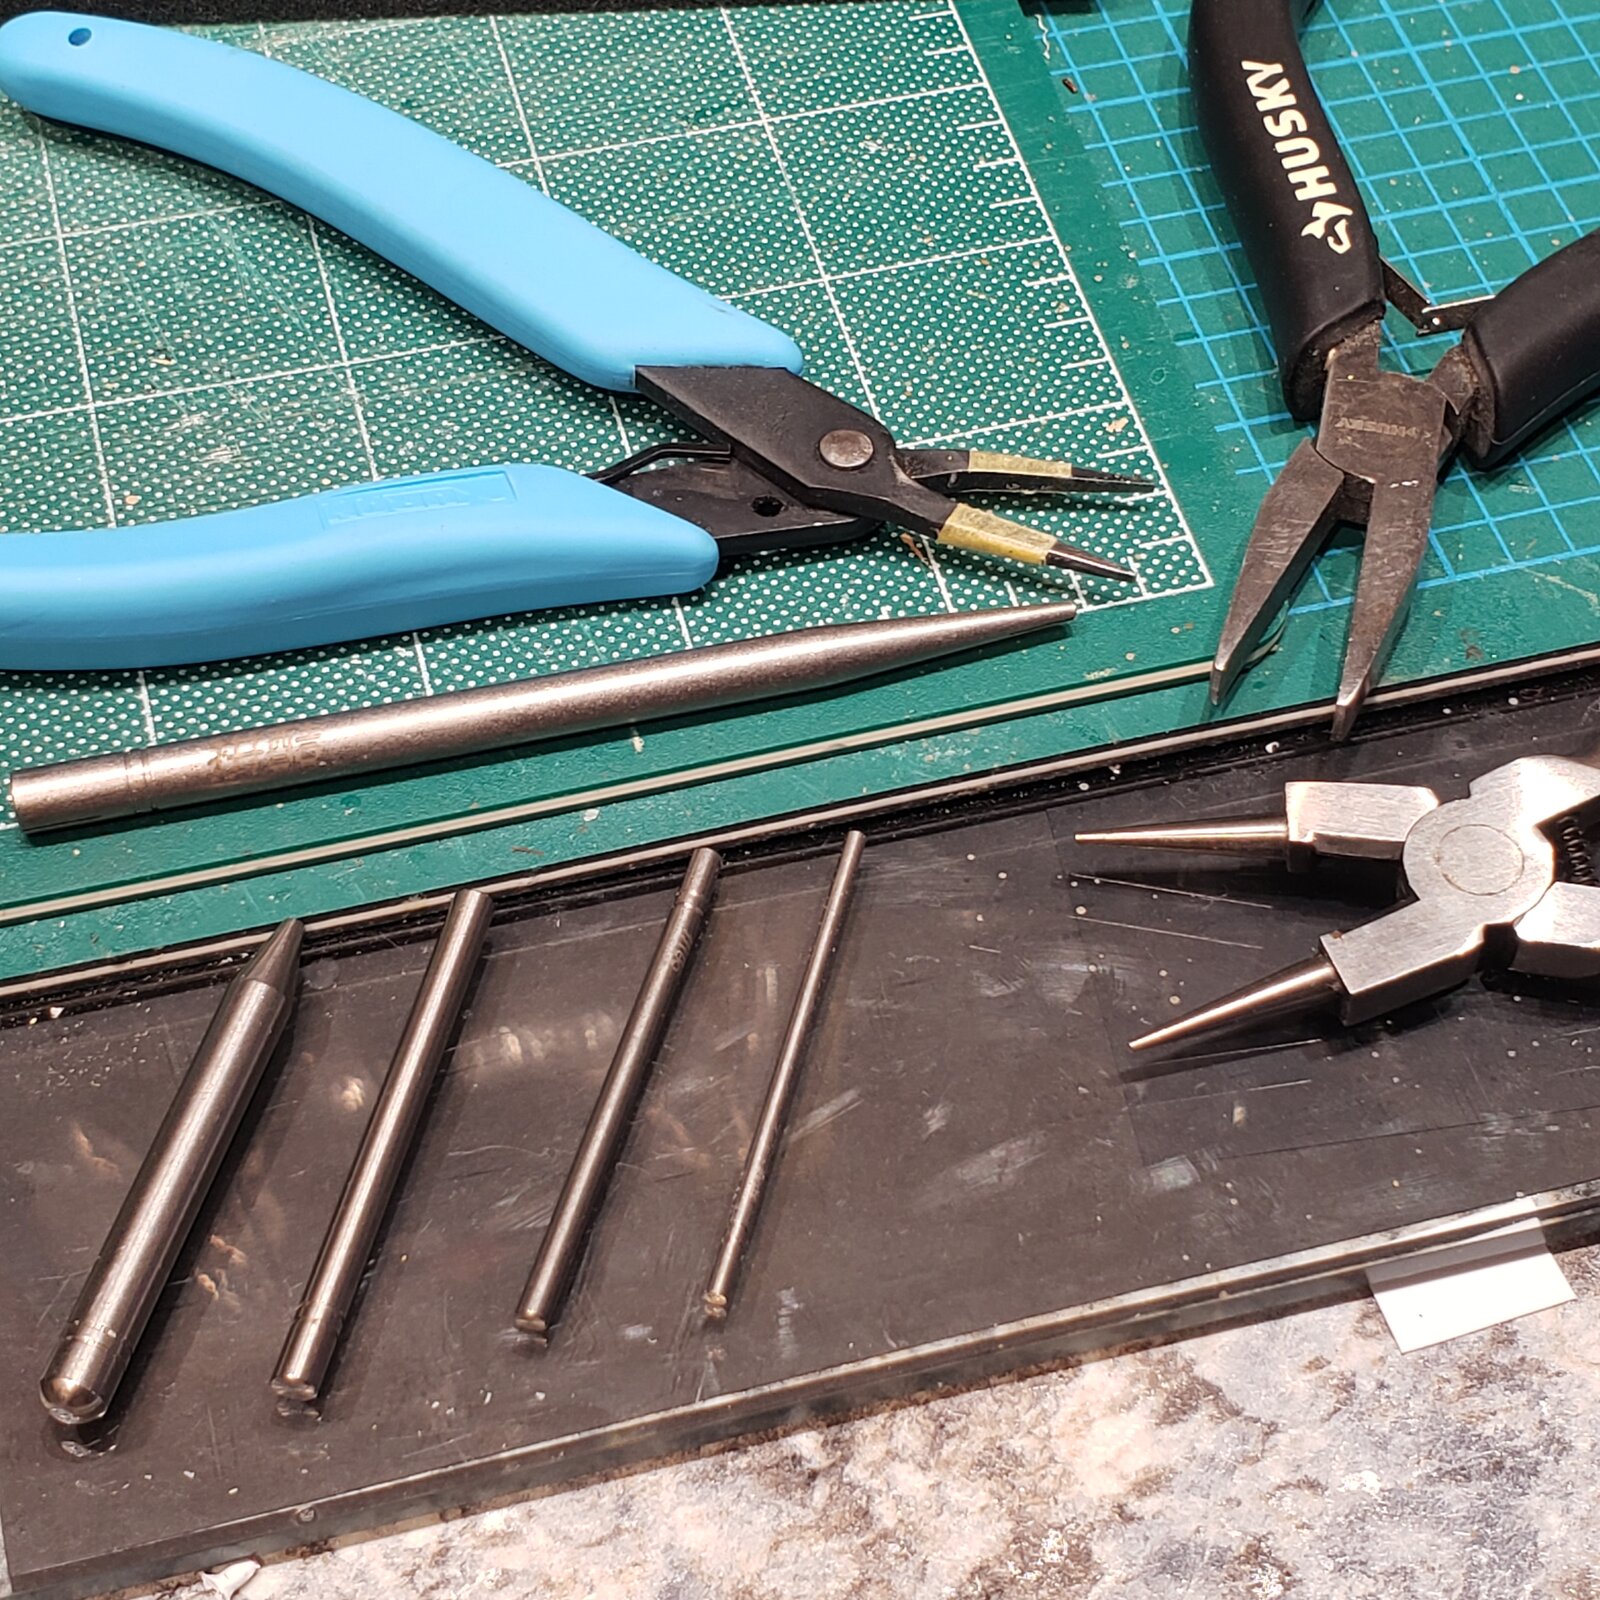
  • I like to work on a piece of safety glass (with black card underneath), for cutting from the sprue with a sharp blade, and sometimes for bending. Working on the mat, it often gives way as PE is pushed (and bent) into it.
  • For simple, small bends, my go-to are flat needle nosed pliers. They have a rectangular, tapering profile, so you can see tape I used as a guide when bending several brass 'U' shaped brackets for my Pavesi...
  • small, wider flat pliers come in handy for flattening a small segment of PE or for bending free hand
  • round nosed pliers are handy in some situations.
  • For 'roll-up' situations, a set of metal rollers of different diameters work great... choosing a size just a bit smaller than the radius required. I used these for 'U' brackets meant to secure round posts: in this case, the give of the mat helps when pushing down at 90° across a flat strip, to get the bend started and centered.
I've also used then to 'flatten' brass or PE that have a slight warp, alternating rolling each side against the glass.

20250728_104329.jpg
 

Latest posts

Back
Top