1/200 USS IOWA

Scale Model Addict - Model Tips, Guides, Tools & Tech, Tutorials, and Community

Help Support Scale Model Addict:

HI Kevin love this battleship an how long is the hull ? an how many parts ? an cost if you dont mind me askin ? but if you do then dont answer as i would love to buy one but cant make up my mind on which ship to buy out of the 4 ships an you are doin a great job on yours as im followin your build sir
chrisb
 
Boatman, the ship is 53 1/2 " long. The box says it's 1525 + parts. Add to that the Pontos detail - up kit ....18 sheets PE, 303 pieces of brass. The model cost me just under $400.00, and the Pontos set was just over $400.00.
It's definitely an investment, but hey, you only live once.
 
It's definitely an investment, but hey, you only live once.
Considering the skilled labour, the time out of your life it took to develop those skills, the pure enjoyment/entertainment you (and we) will gain while building the ship, the lasting legacy of the artifact you are fashioning... that's a pretty good deal!
Compare that to the cost for a couple of hours at a concert, or even more ridiculous, good seats at a basketball game.
 
I've done quite a lot of Adult Lego stuff, whilst I love the brand, quality, innovation and technology involved putting the big sets together it is just an exersize in blindly following basic instructions so skill level is really low.
My Missouri + Pontos cost around £750.00 and to do it justice will take a long time + as mentioned gaining a great skill set as well. Spend the same on lego its probably a couple of weeks.
Value for money as far as hours go is an absolute no brainer.

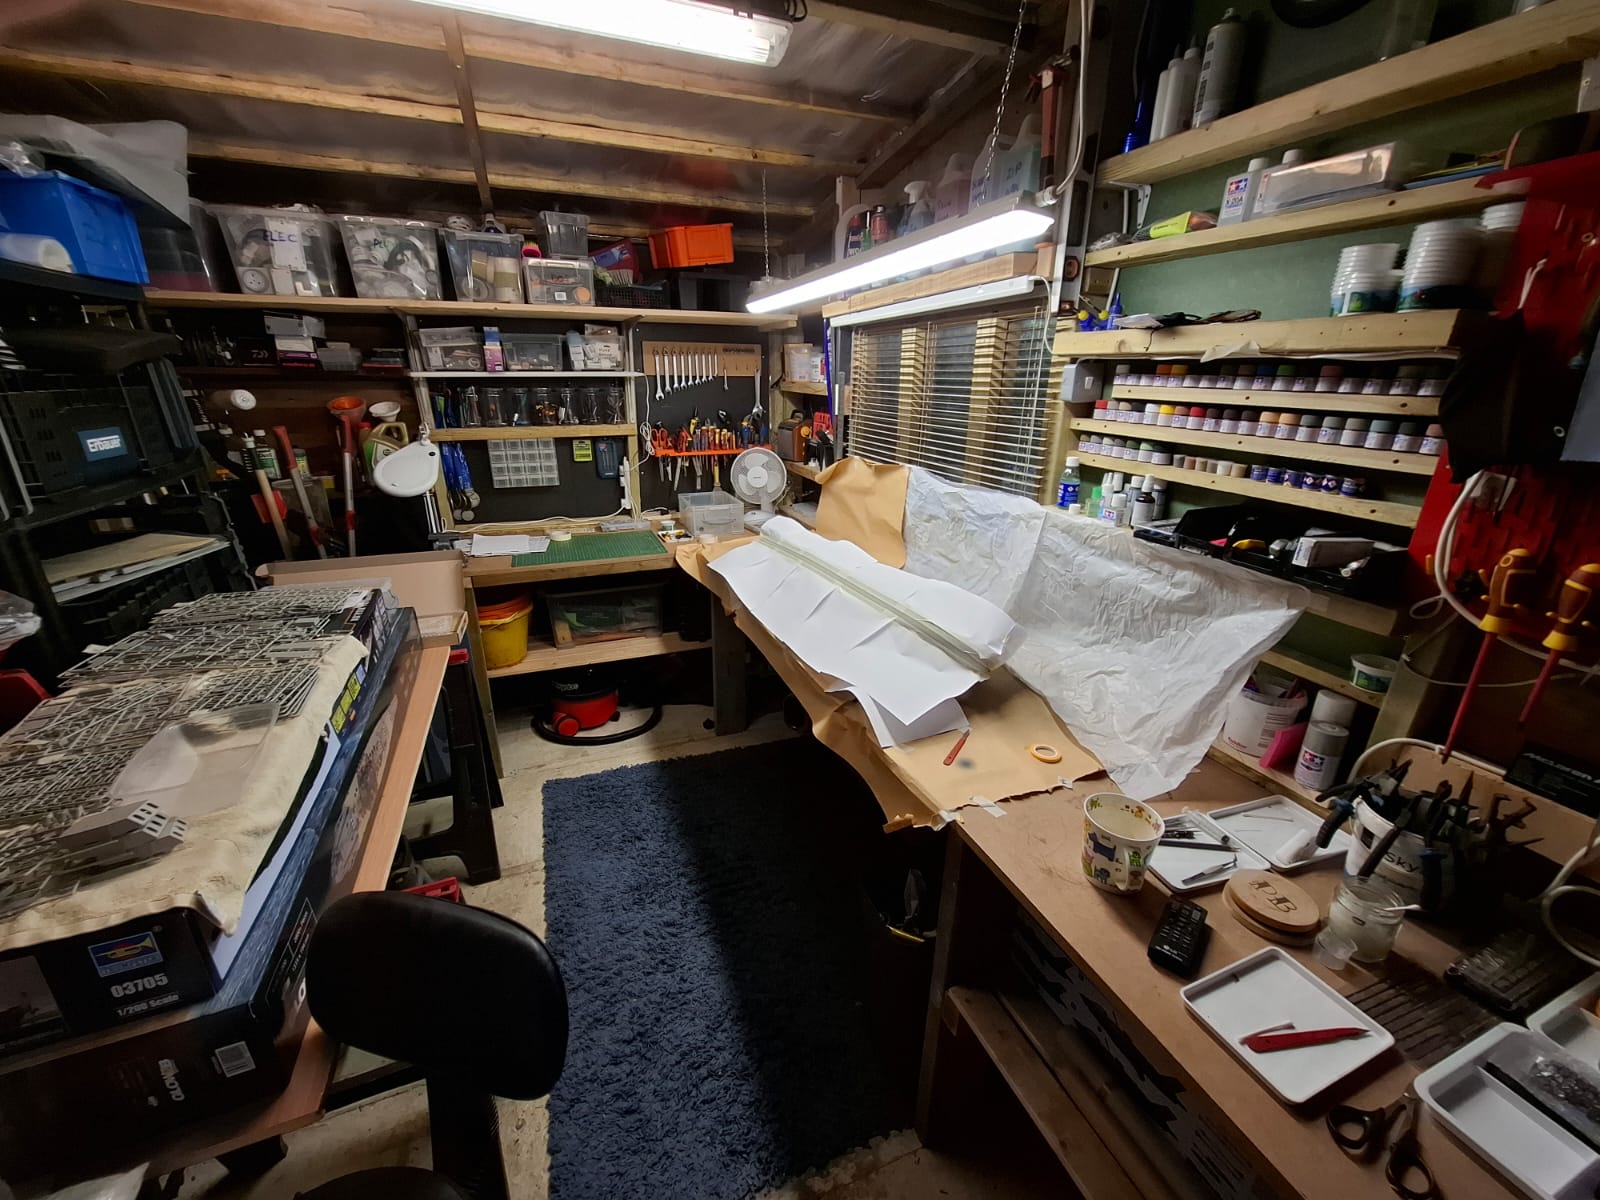
Hopefully a pic below of where the magic happens, just masked up the hull for more paint !!

shed.jpg
 
As an Amazon Associate we earn from qualifying purchases. Product prices and availability are accurate as of the date/time indicated and are subject to change.
WELL Kevin she'about 5inches longer than my USS HORNET an thats a nice size as ive just bought 6 shelfs to fit all my models on just got to hope i dont run out of wall lol but you sir are doin a grand job of building this battle wagon as these ships are my faves in the battleship range better i think than the yammy an bissy an tirpy as near everyone builds the yammy an i would love too but when so many are bein built to me it luses it appeal but you keep on a building an i'll follow on as when i see your lady finished i just may buy one but jen says ive got enough kits but i may buy it on the Q/T LOL
chrisb
 
I was never very good at painting figures in 1/35, my only attempt at 1/16 came out better than I was expecting. On these 1/200s it's just gonna be basic color and hope for the best.

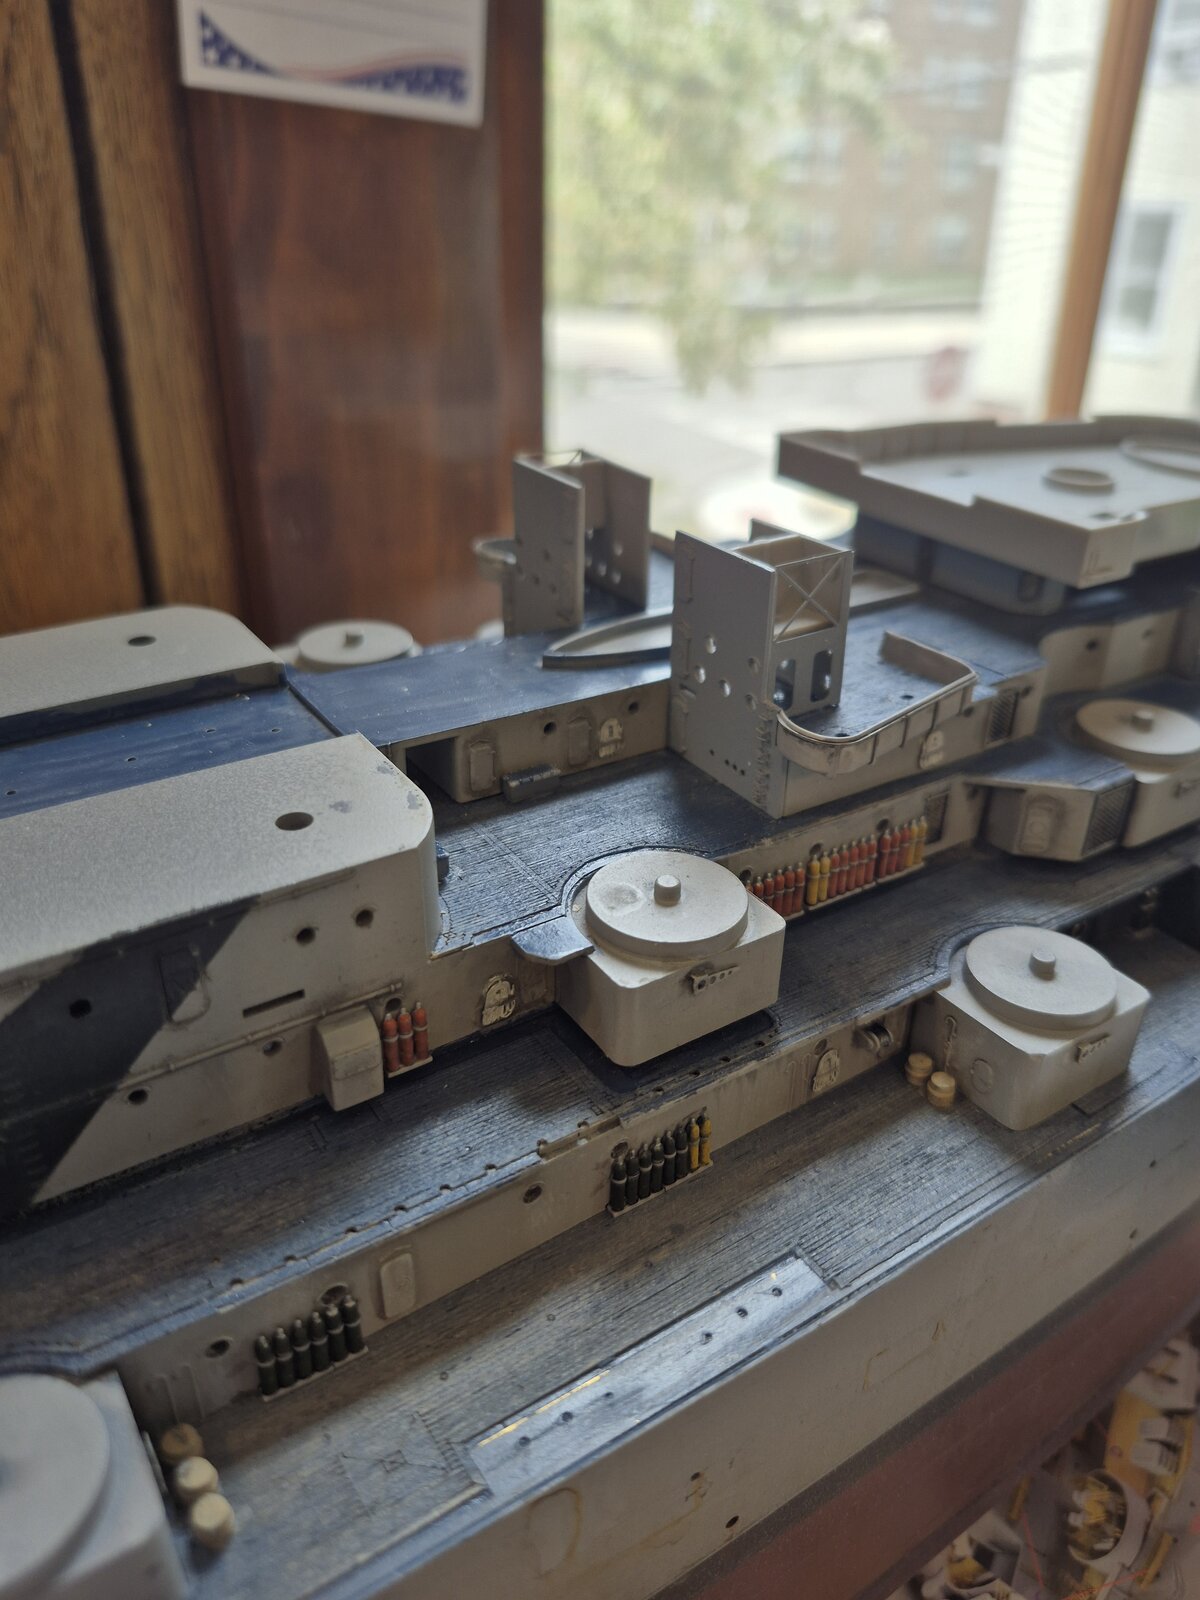
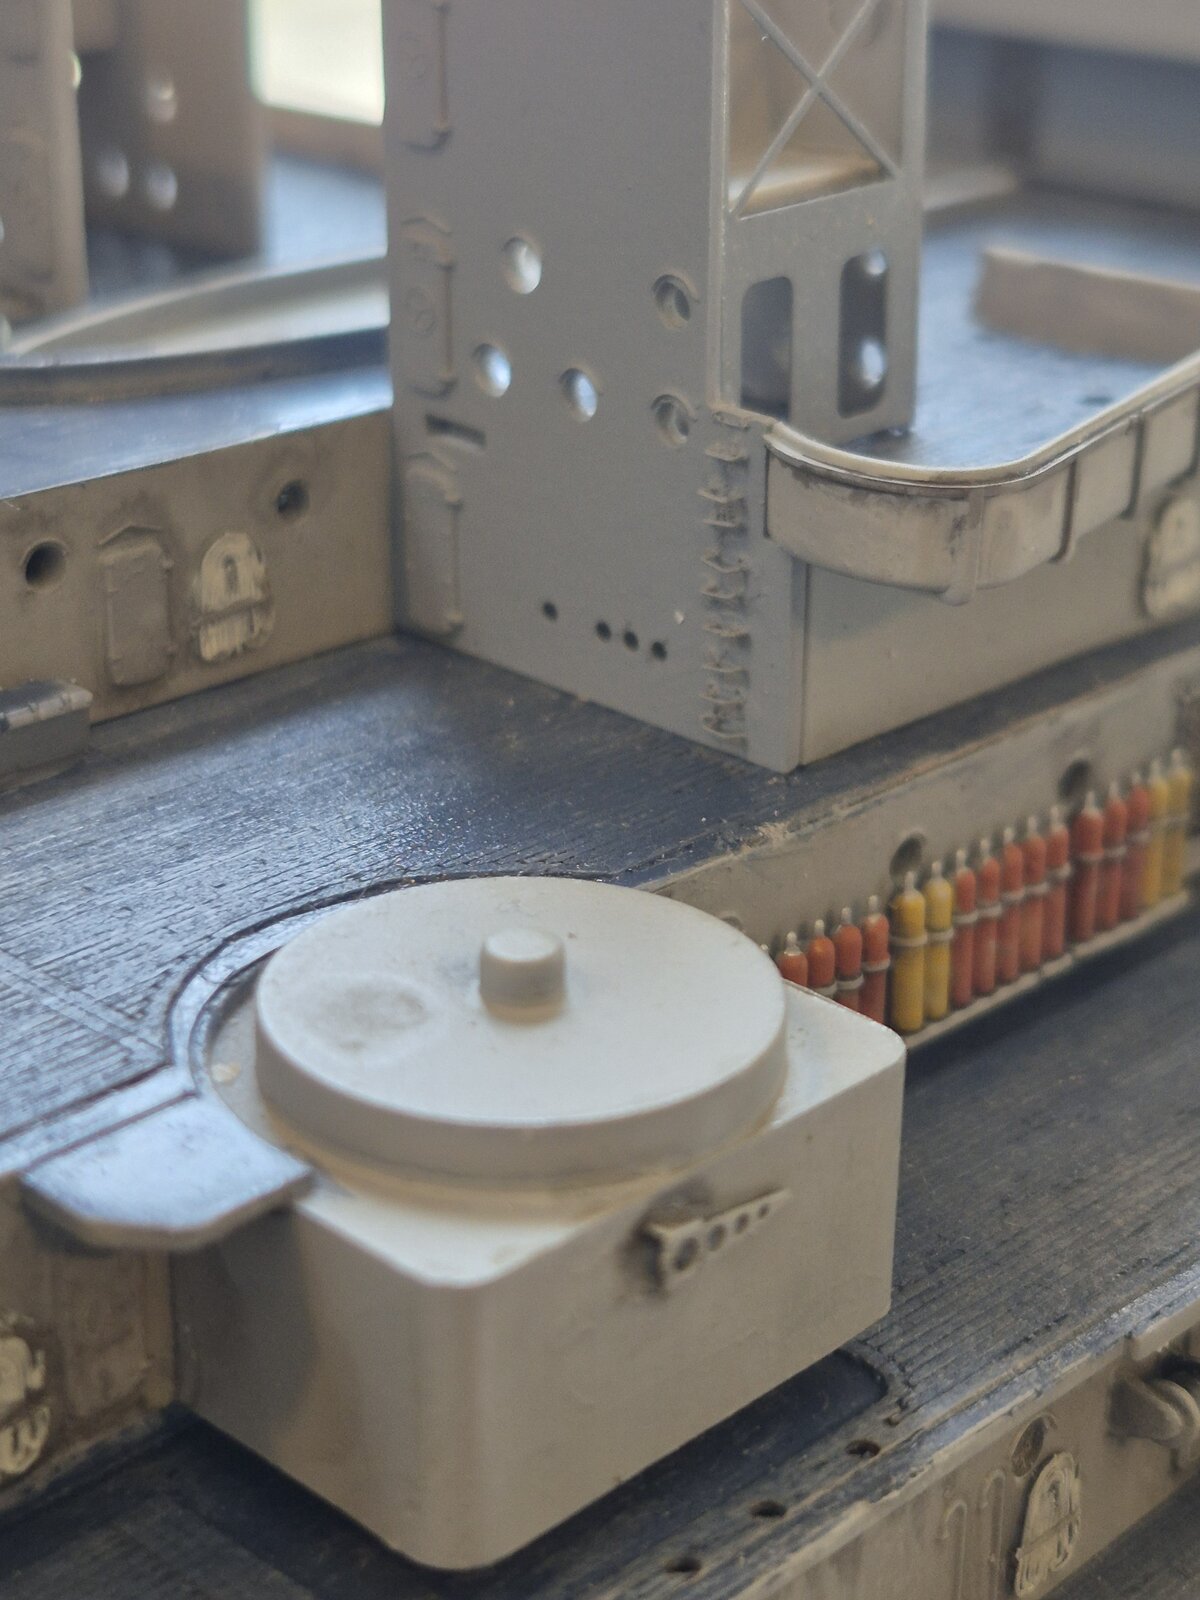
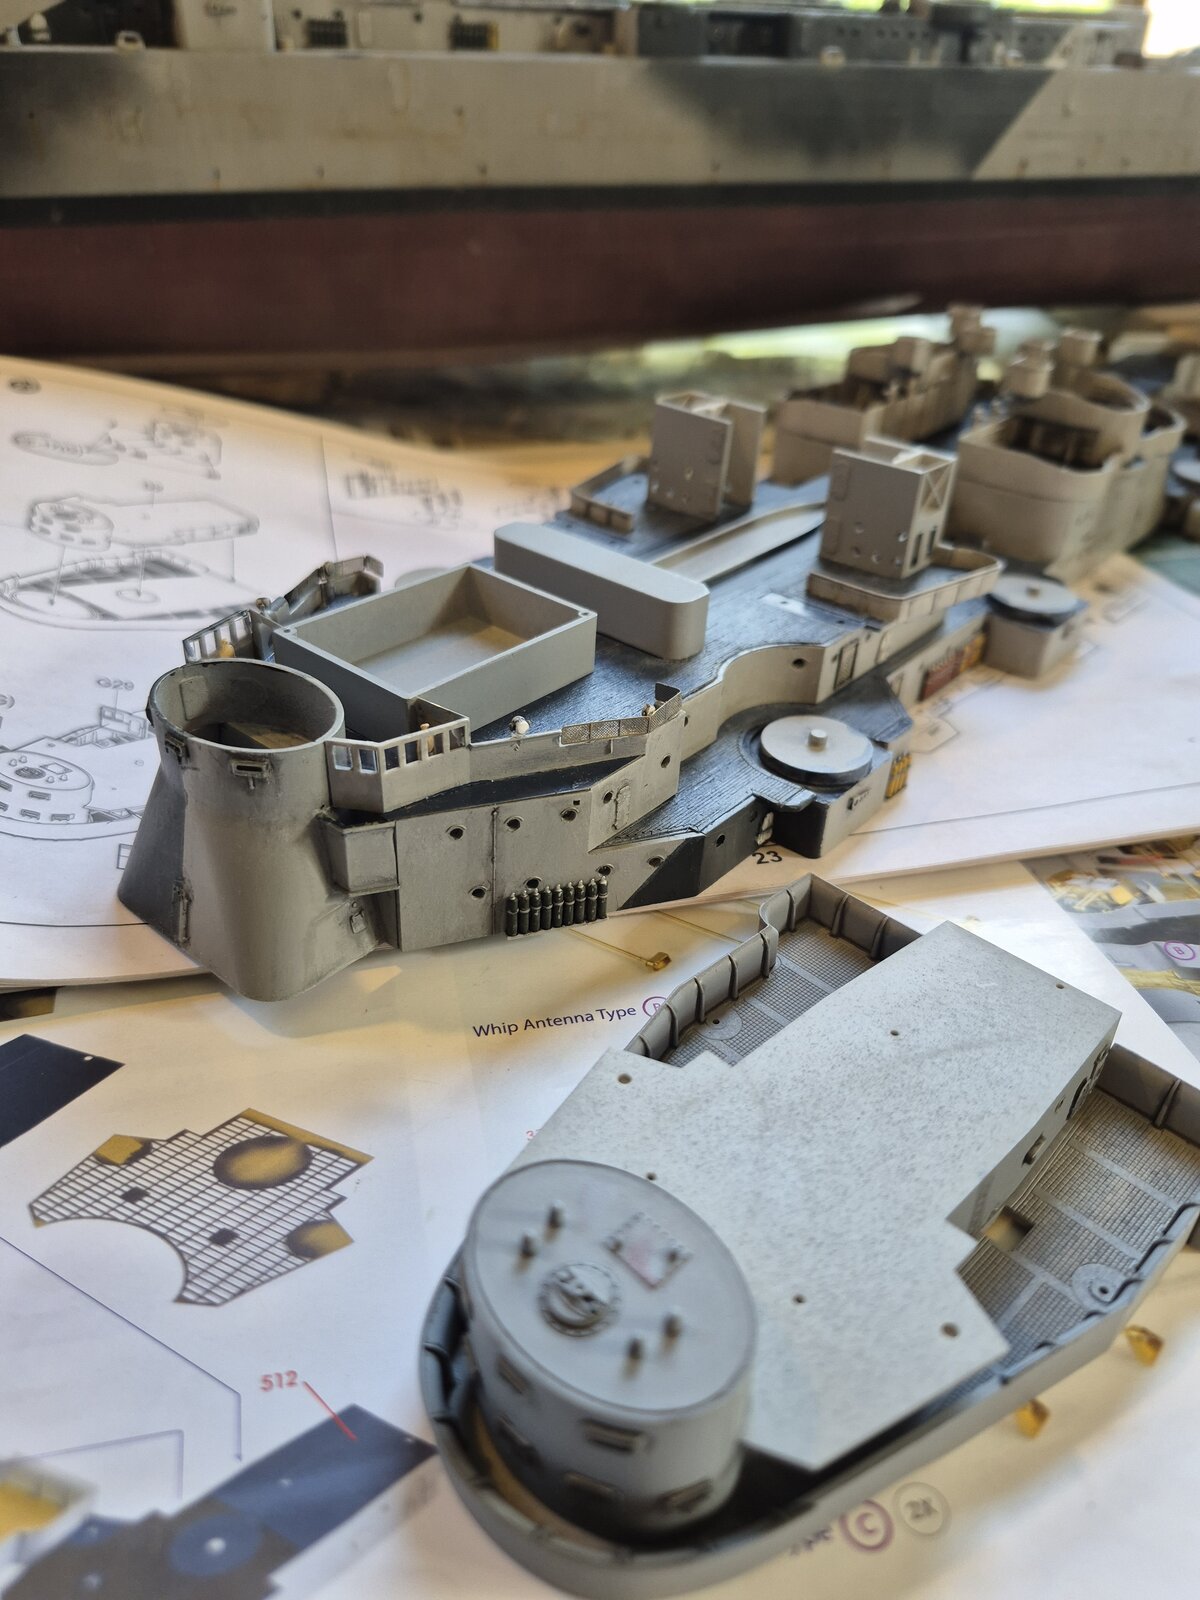
paul-b inspired me to try the individual ladder rungs again. Best result so far, by not drilling all the way through the plastic ( only broke one bit ). I applied the CA glue to the plastic with a toothpick so it never touched the tweezers or my fingers, for the most part. Not perfect, but it might be acceptable, gotta let the glue dry and get some primer on it to know for sure.
that turned out really nice. even when they "disappear" after painting , it will be a good detail. hopefully some panel liner will make them stand out. i would look at those every day and smile
 
. i would look at those every day and smile
Yes, I have until it was painted. It really brought out the imperfections and dried glue. It's not washed or highlighted yet.
At least they are in a hard to see place on the finished model.
I am satisfied that I got a set of rungs completely installed. I'm really gonna have to up my game on the high vis rungs.
17474057741151762038074379812914.jpg
1747405919015325752070012719249.jpg
 
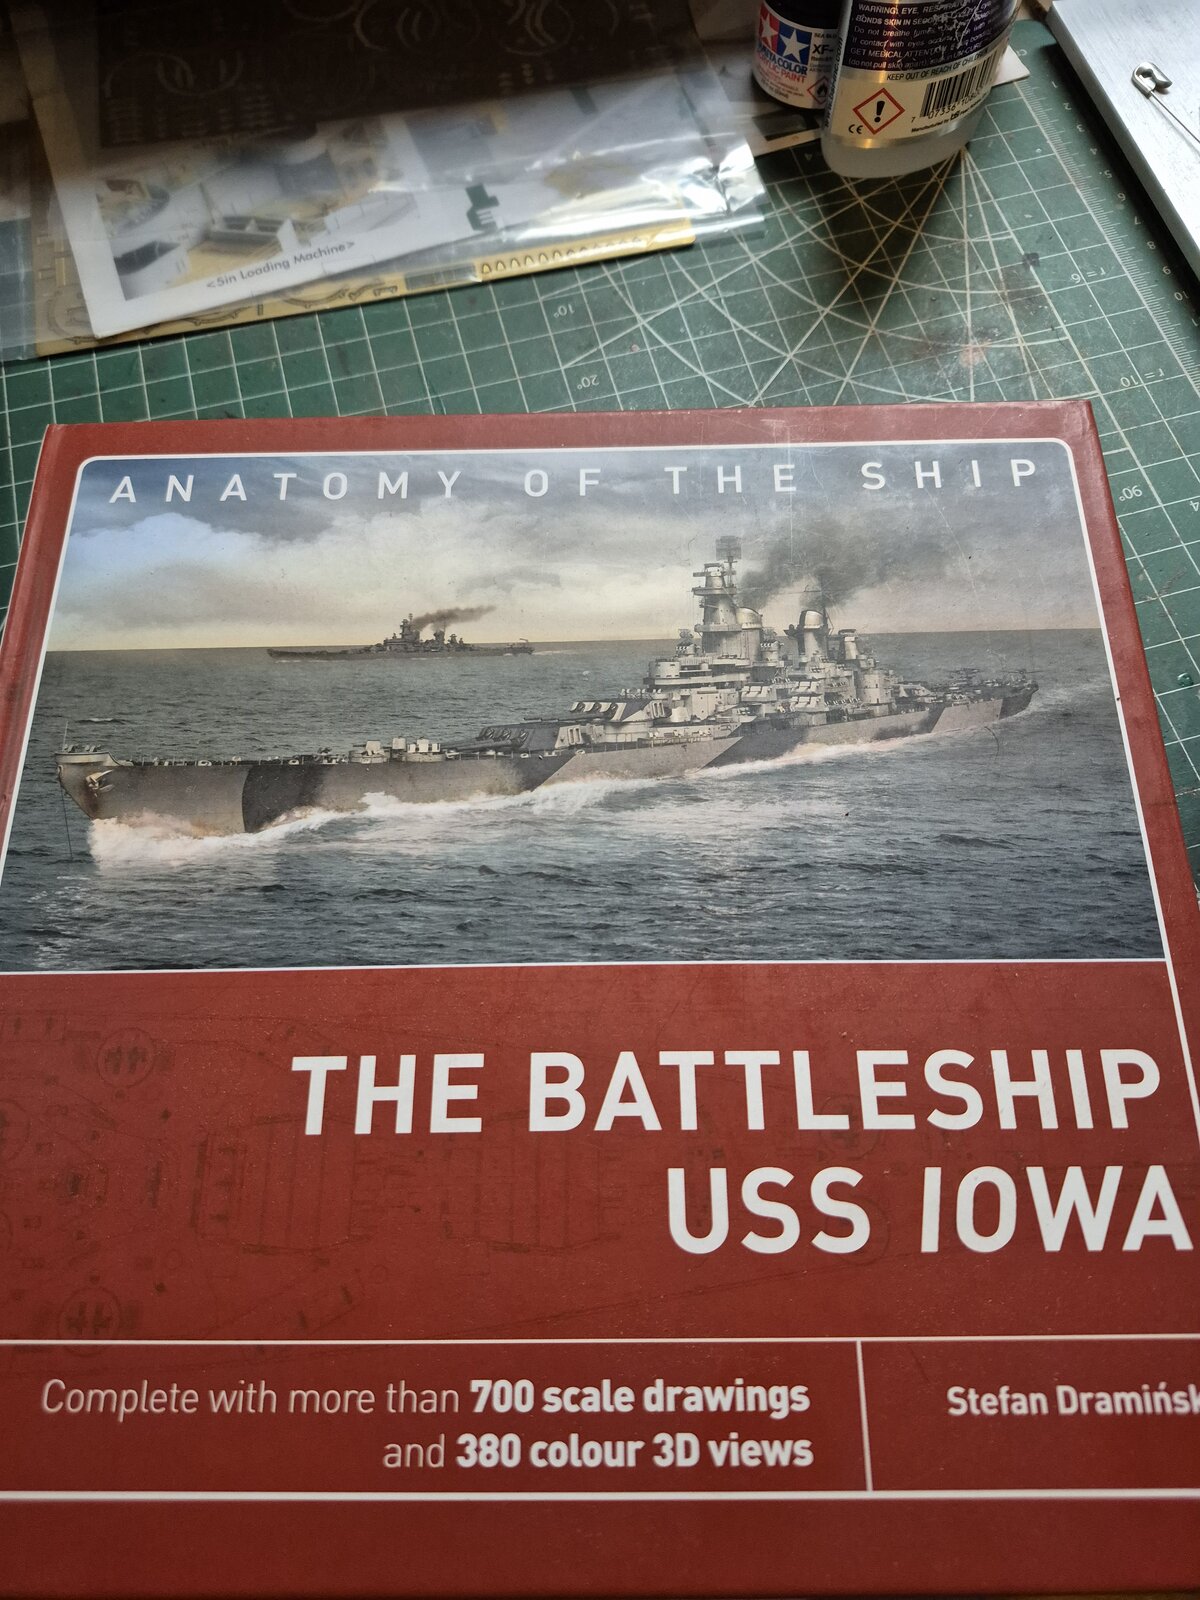
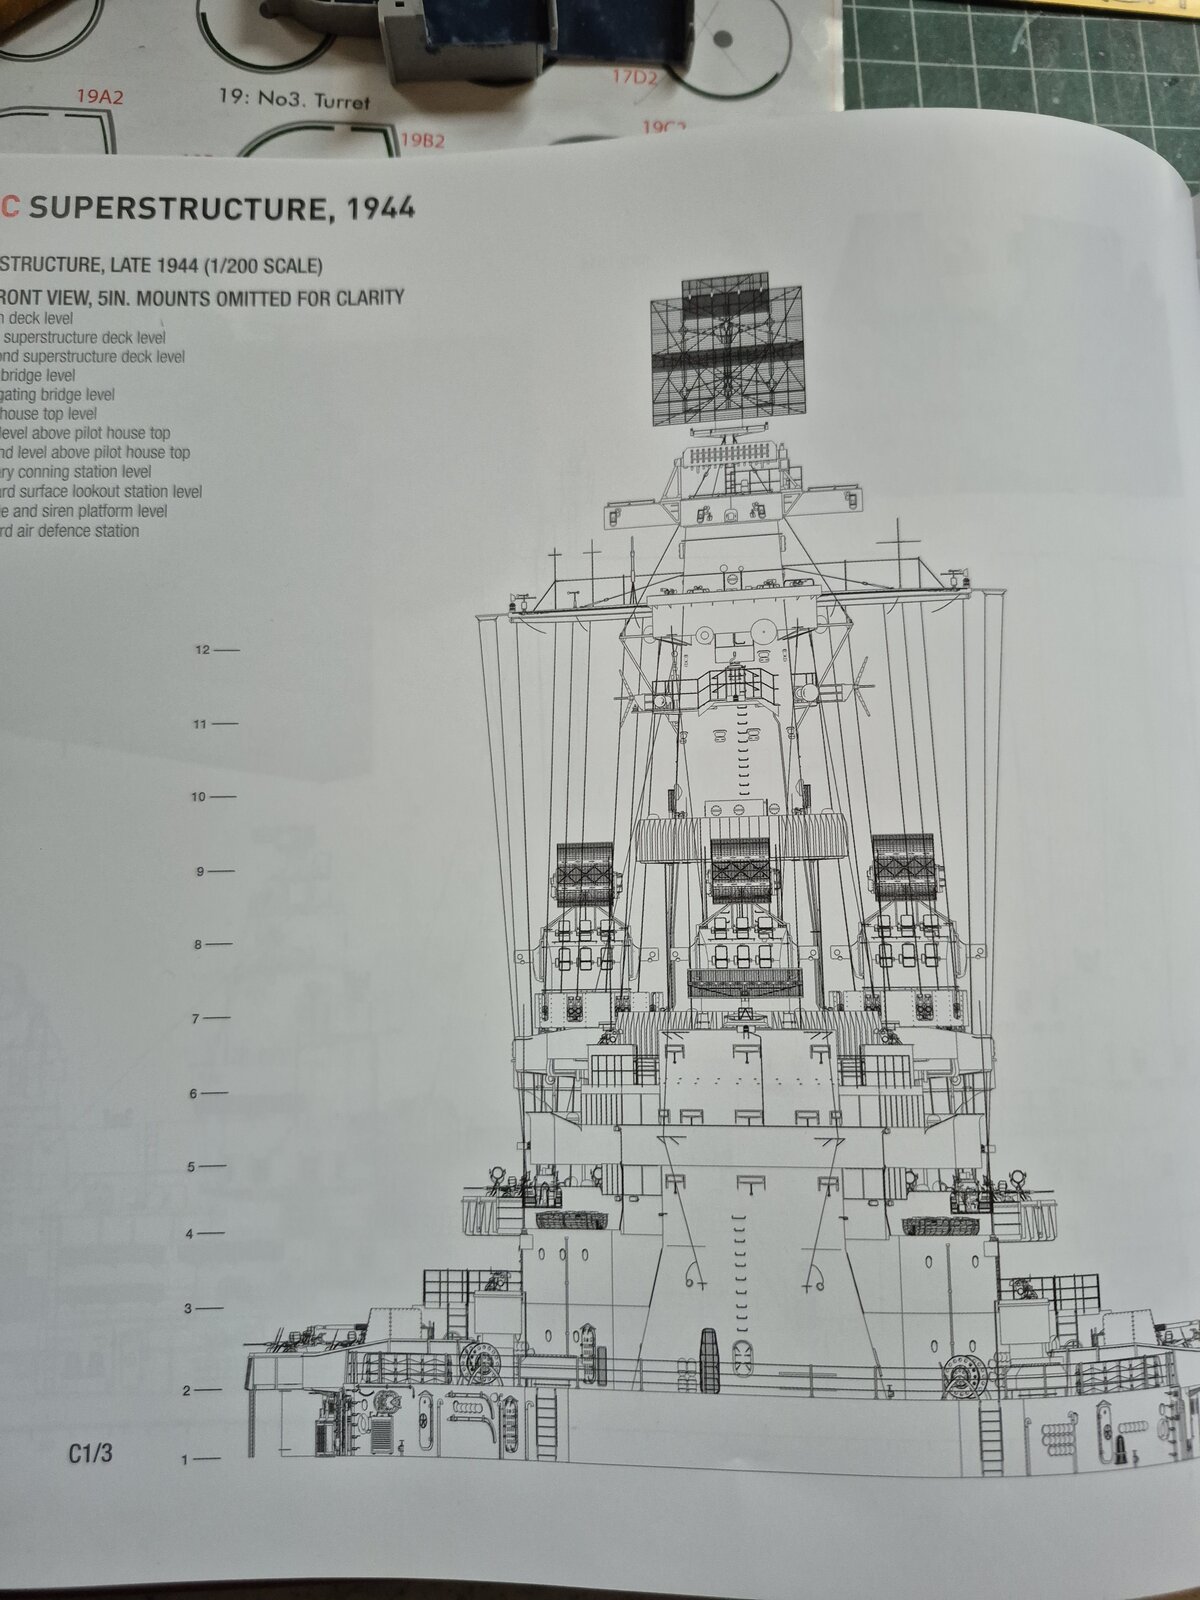
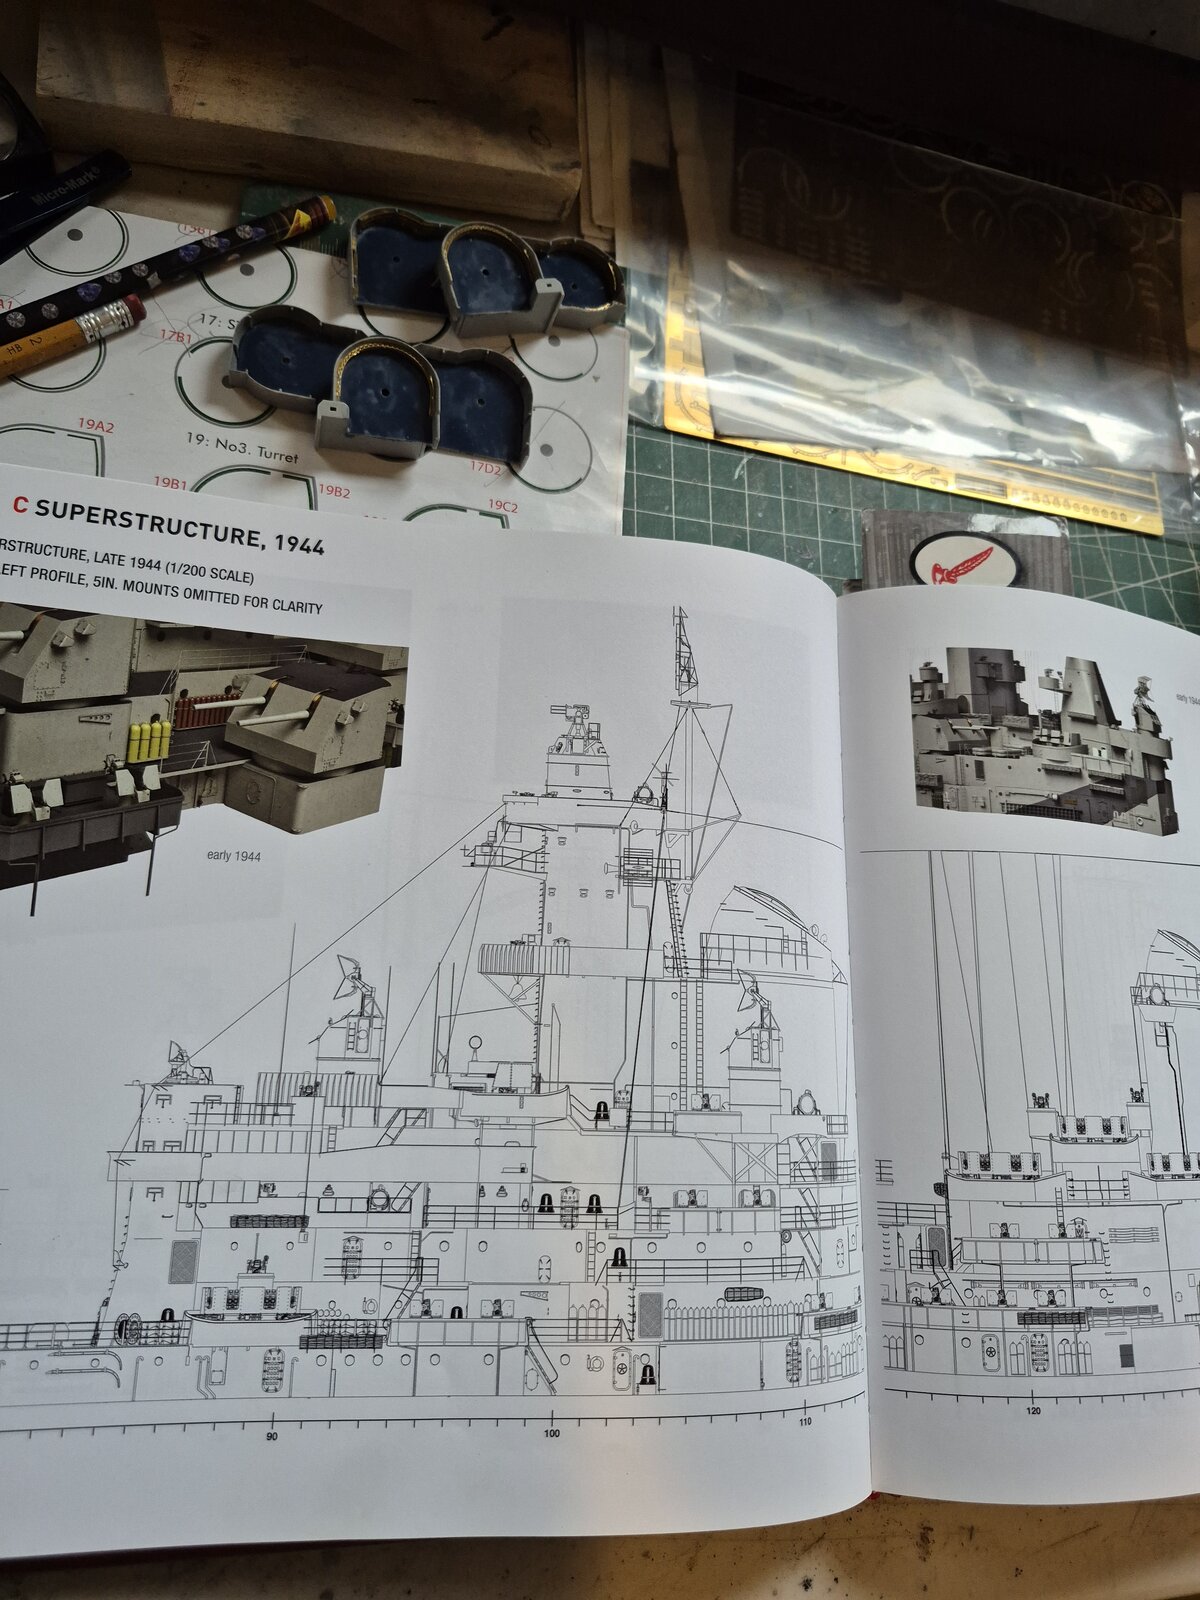
Hi Kev, I noticed on another thread you put a pic up for rigging. Is there any actual detail on this? (I don't recal seeing anything in the instructions) or are you just referring to pictures?

How's it going?
 
book as a guide
Nice! Those are fantastic references.

When I was finishing up my Hood Toon, and looking to add some rigging, I was surprised to find differences in the photographic record over the years.

Some of it probably the resolution and lighting of the photos themselves, but it sure seemed like the rigging changed over time.

The Easyline was great to work with!
 
there was a guy on the FSM forum... his sig was "modelling is an excuse to buy books"... couldnt be more true. slow and steady... everytime you go to the bench she looks that much more like a ship...
 
With the weather getting better it's starting to cut into my bench time.
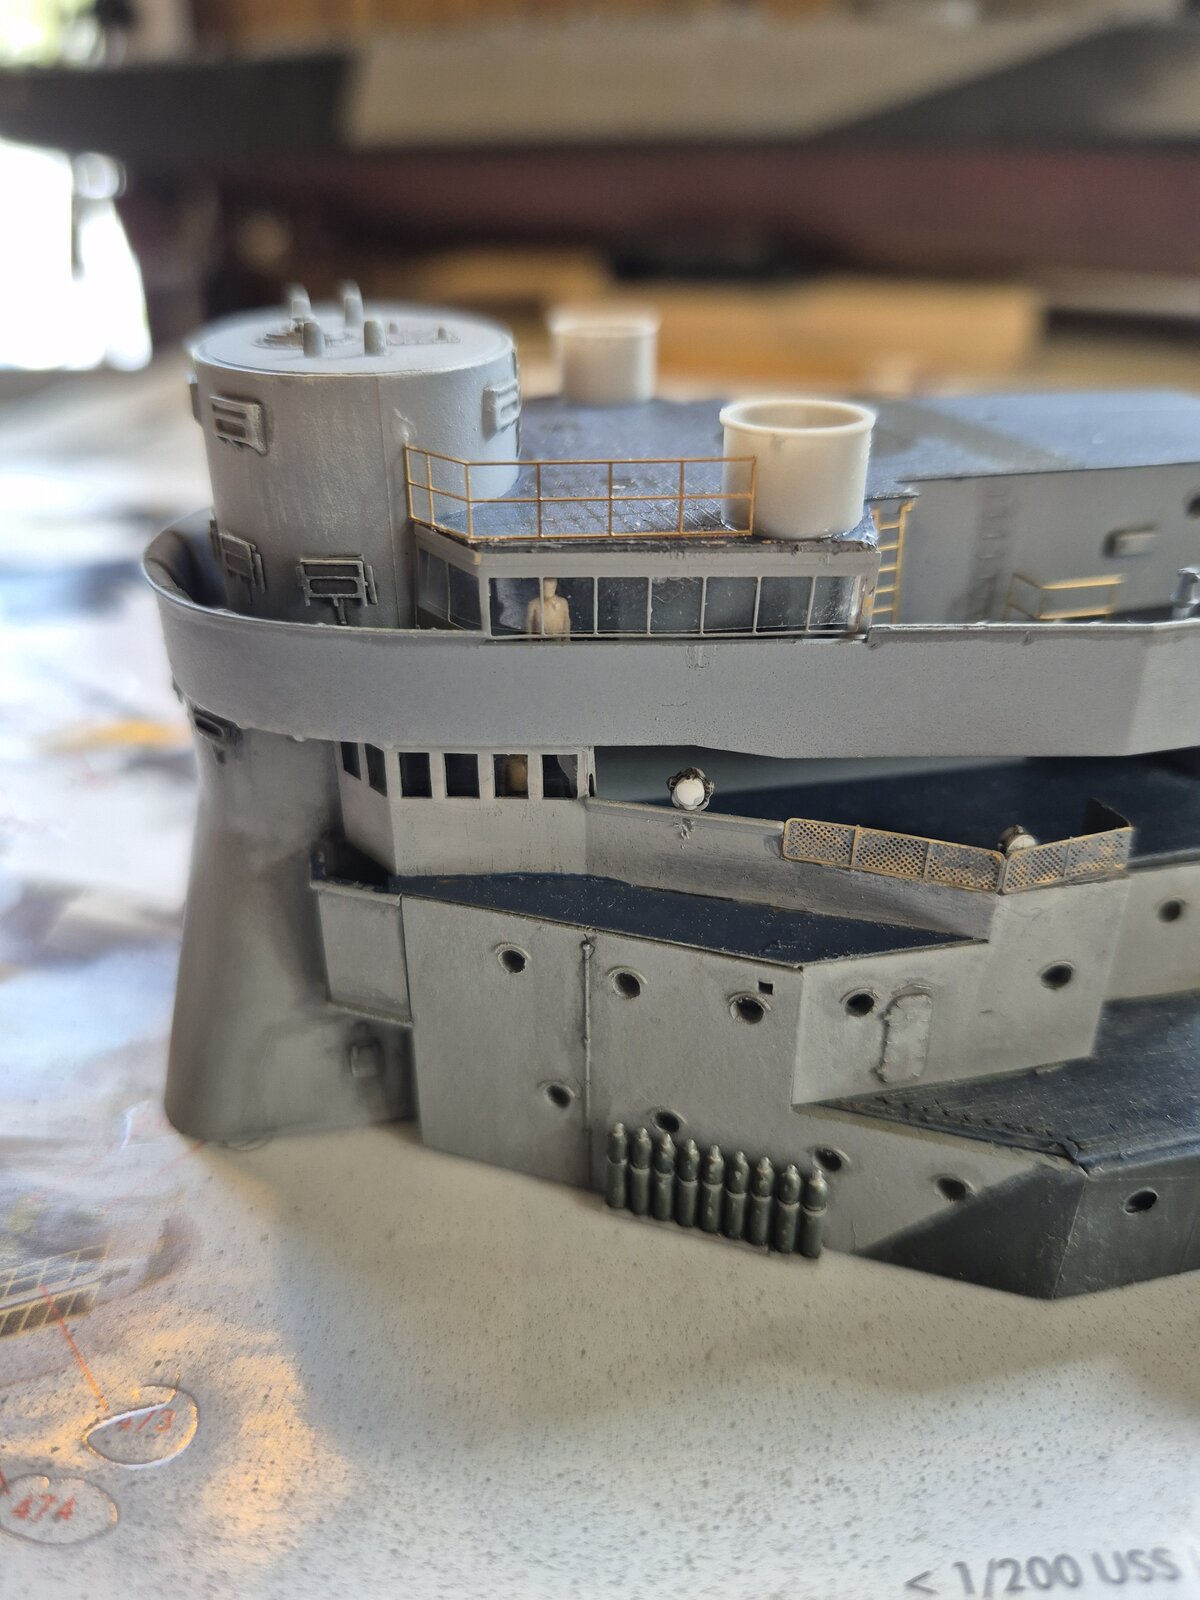
I did get a few hours in today......
Used some clear plastic for glass, a couple figures and some PE railings and ladders.

1748893032900652683286068223483.jpg


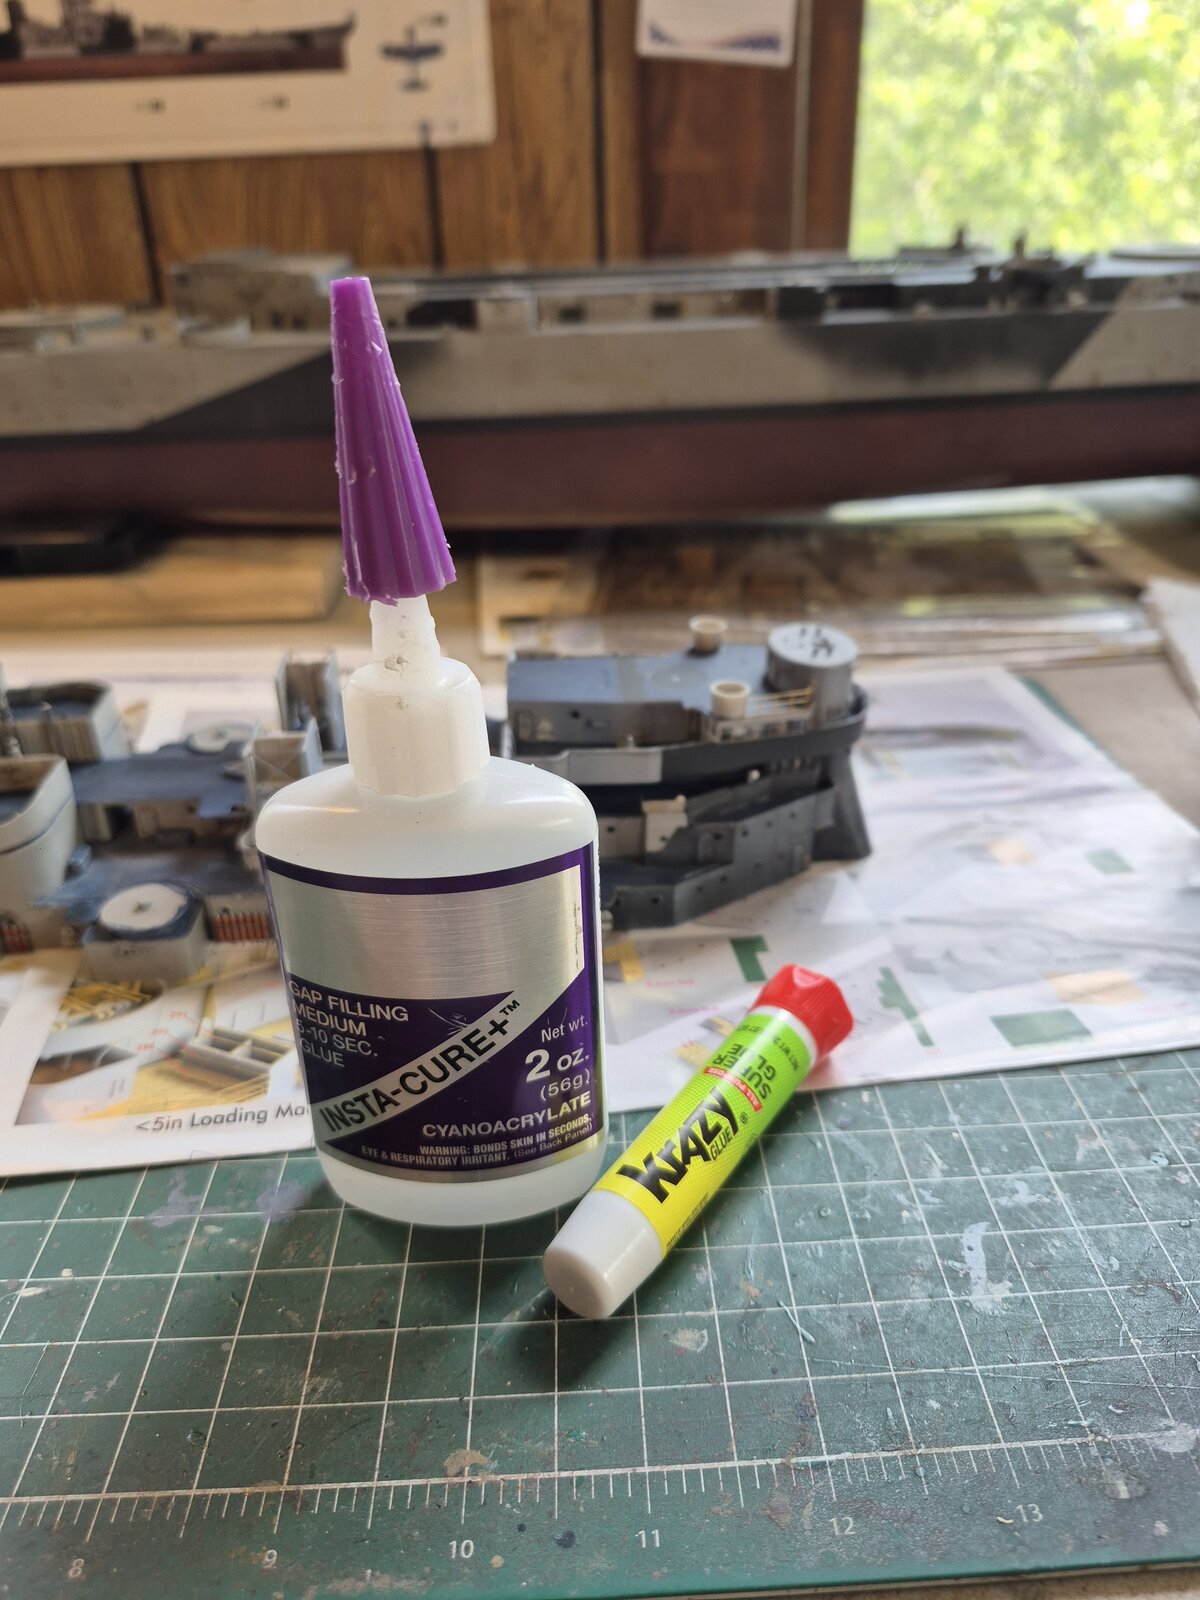
I'm having a hell of a time between using enough CA glue to hold the PE in place without knocking them free when painting, as opposed to using too much and having to clean up globs of dried CA glue without knocking them free.
At least I got a ton more PE to go to find a way to perfect the technique.
 
Last edited:
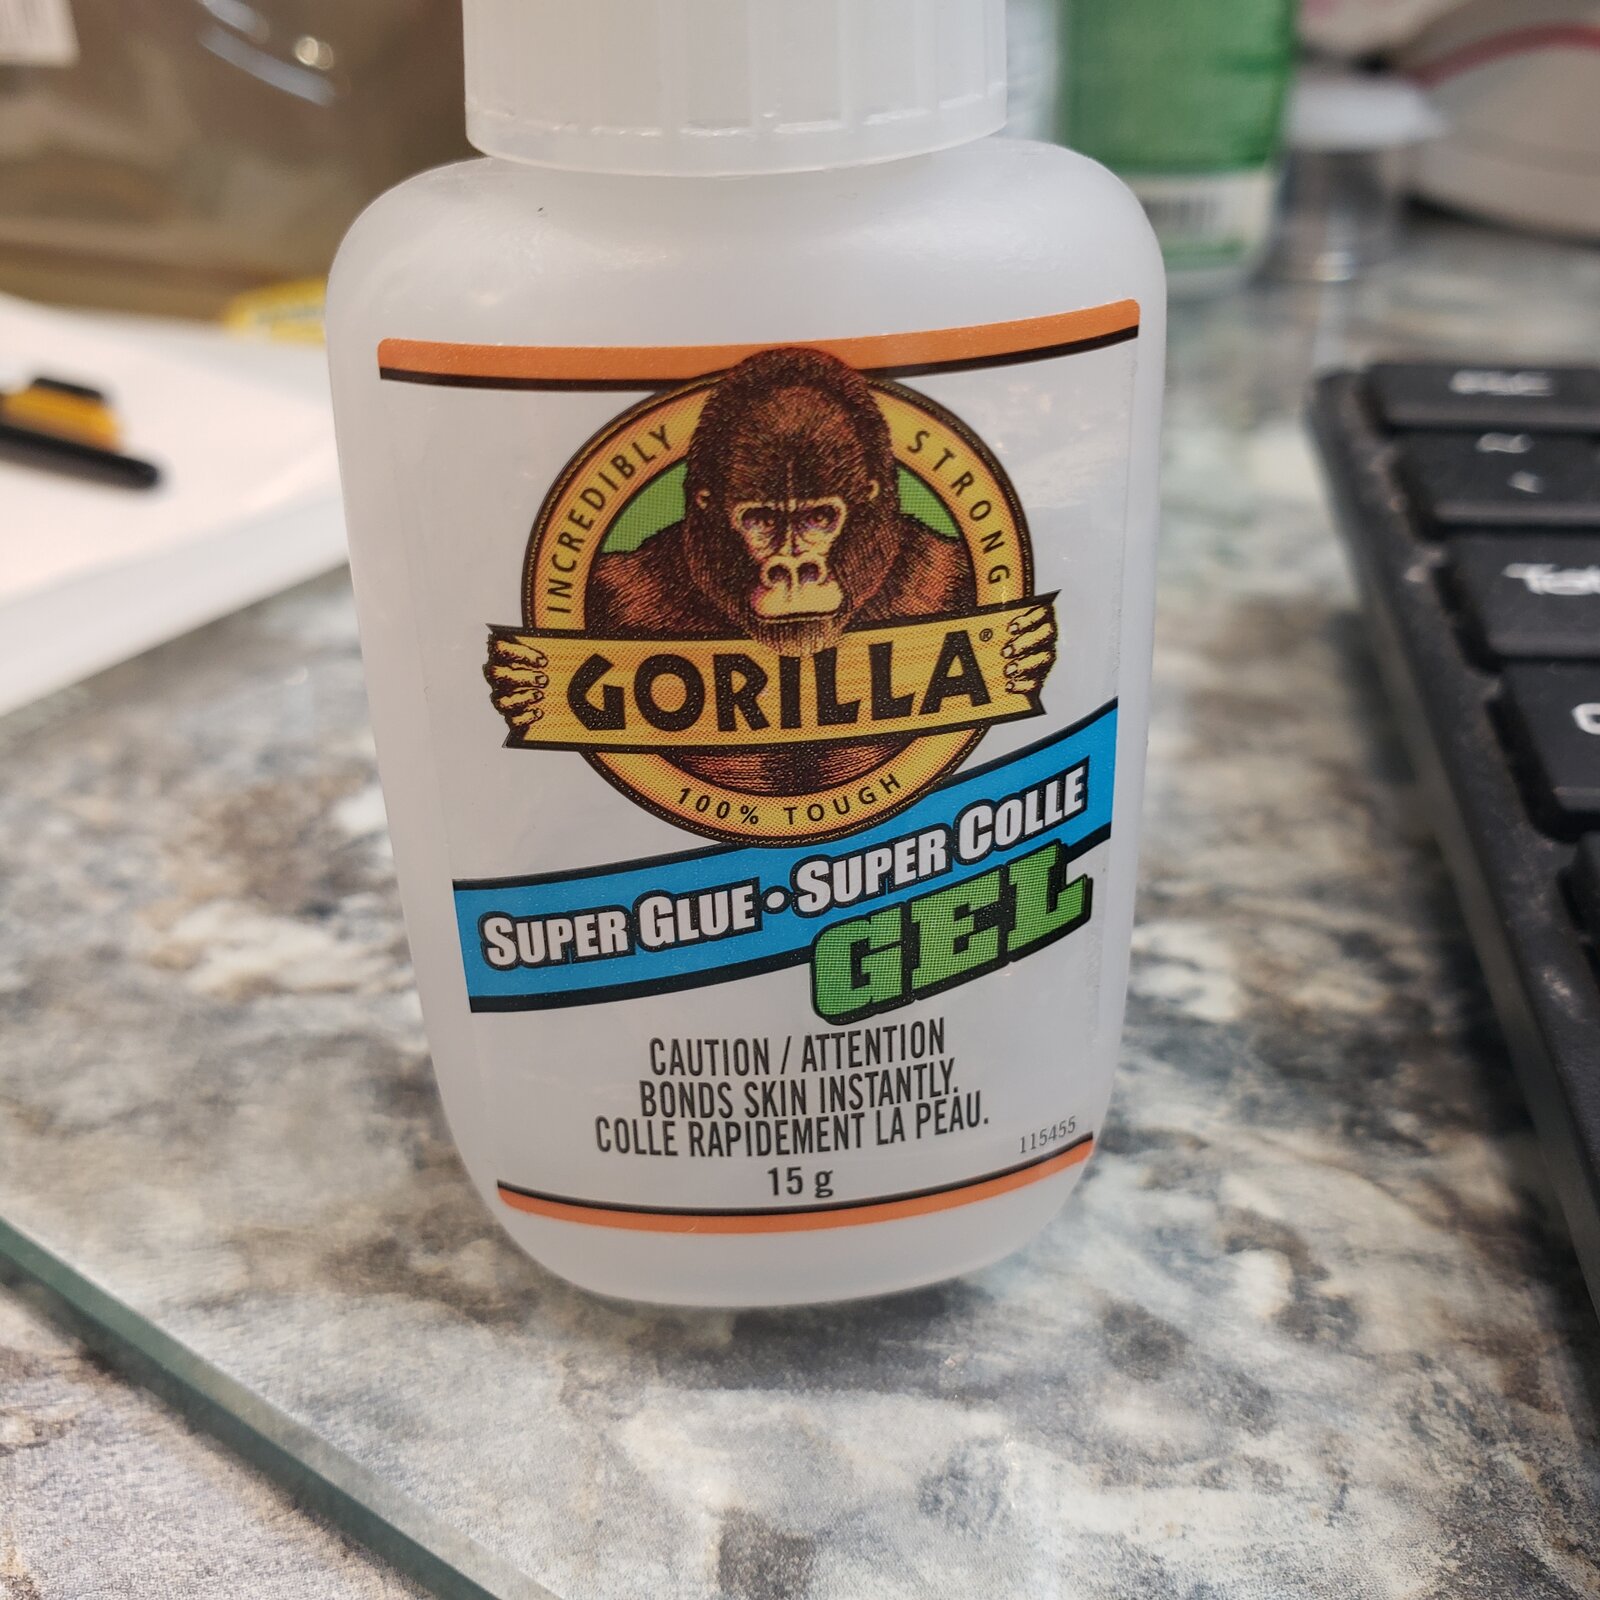
... Hmmm, I've had similar CA issues, tried the thick, and now Gel. Nice thing about that is you can place it exactly where you want it, and it doesn't run away. It seems to take a bit longer to set, but that can have it's advantages too.

17488948701146581633362464157028.jpg


BTW, the figures look amazing!
Instant scale reference!
 
HI Kevin that S/S looks brilliant very well done sir an tomake sure your P/E stays atcched when i fit it i ude normal C/A an then give it a spray of
chrisb
 
It seems to take a bit longer to set, but that can have it's advantages too.
For particularly troublesome bits I have used my right hand to place the part and my left to spray some accelerant. No negative results that I can see from the accelerator being on painted plastic or brass, but scary enough to not do it all the time.
 
With the weather getting better it's starting to cut into my bench time.
I did get a few hours in today......
Used some clear plastic for glass, a couple figures and some PE railings and ladders.

View attachment 149552


I'm having a hell of a time between using enough CA glue to hold the PE in place without knocking them free when painting, as opposed to using too much and having to clean up globs of dried CA glue without knocking them free.
At least I got a ton more PE to go to find a way to perfect the technique.
had the same issues... i primarily use "gators grip" for PE now... gives you some working time, dries clear. easily applied with toothpick. i had found some specialty "Photoecth" glue on ebay (comes from UK) , but after using it i think its the same stuff.
 
One tip for photoetch in some of the instructions I had for Eduard sets I think was to use white glue to give you working time, then go back with the CA

My own variation on that has been to use that Testor's clear canopy glue to get in place and get a foot hold and then strengthen with CA

the testors stuff is also super easy to clean up while it is drying in case it gets on other parts of the model
 

Latest posts

Back
Top