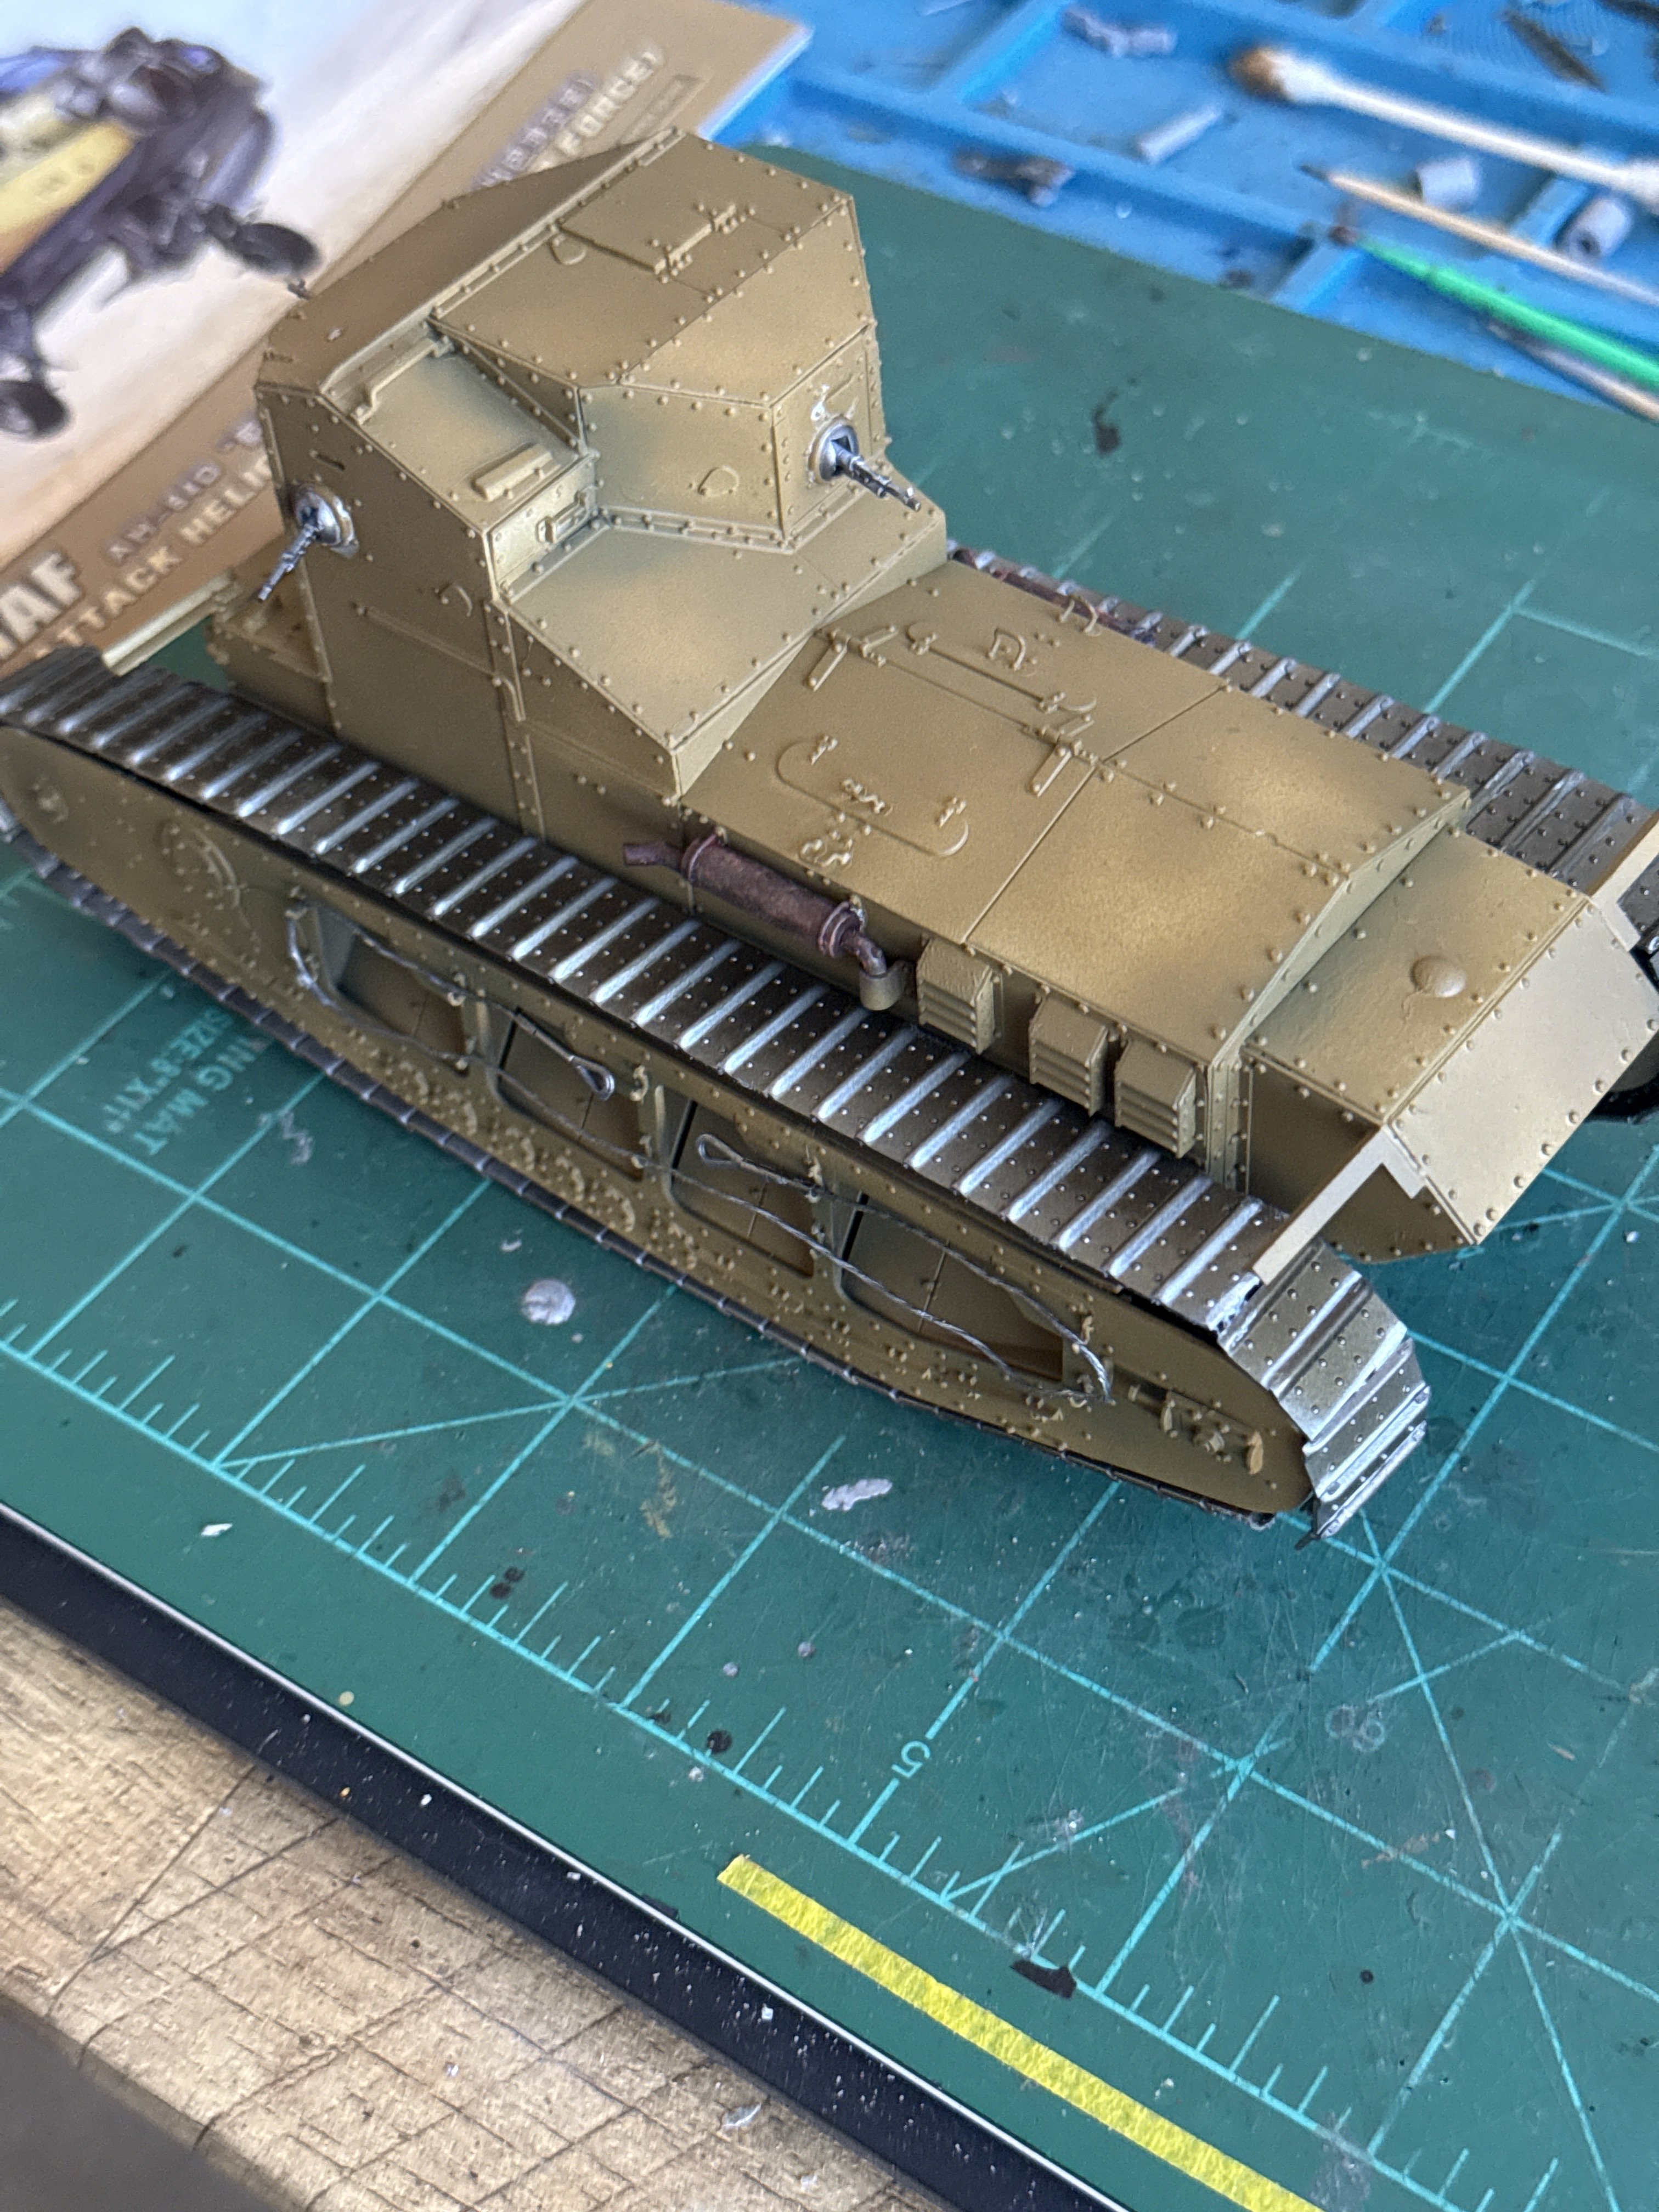
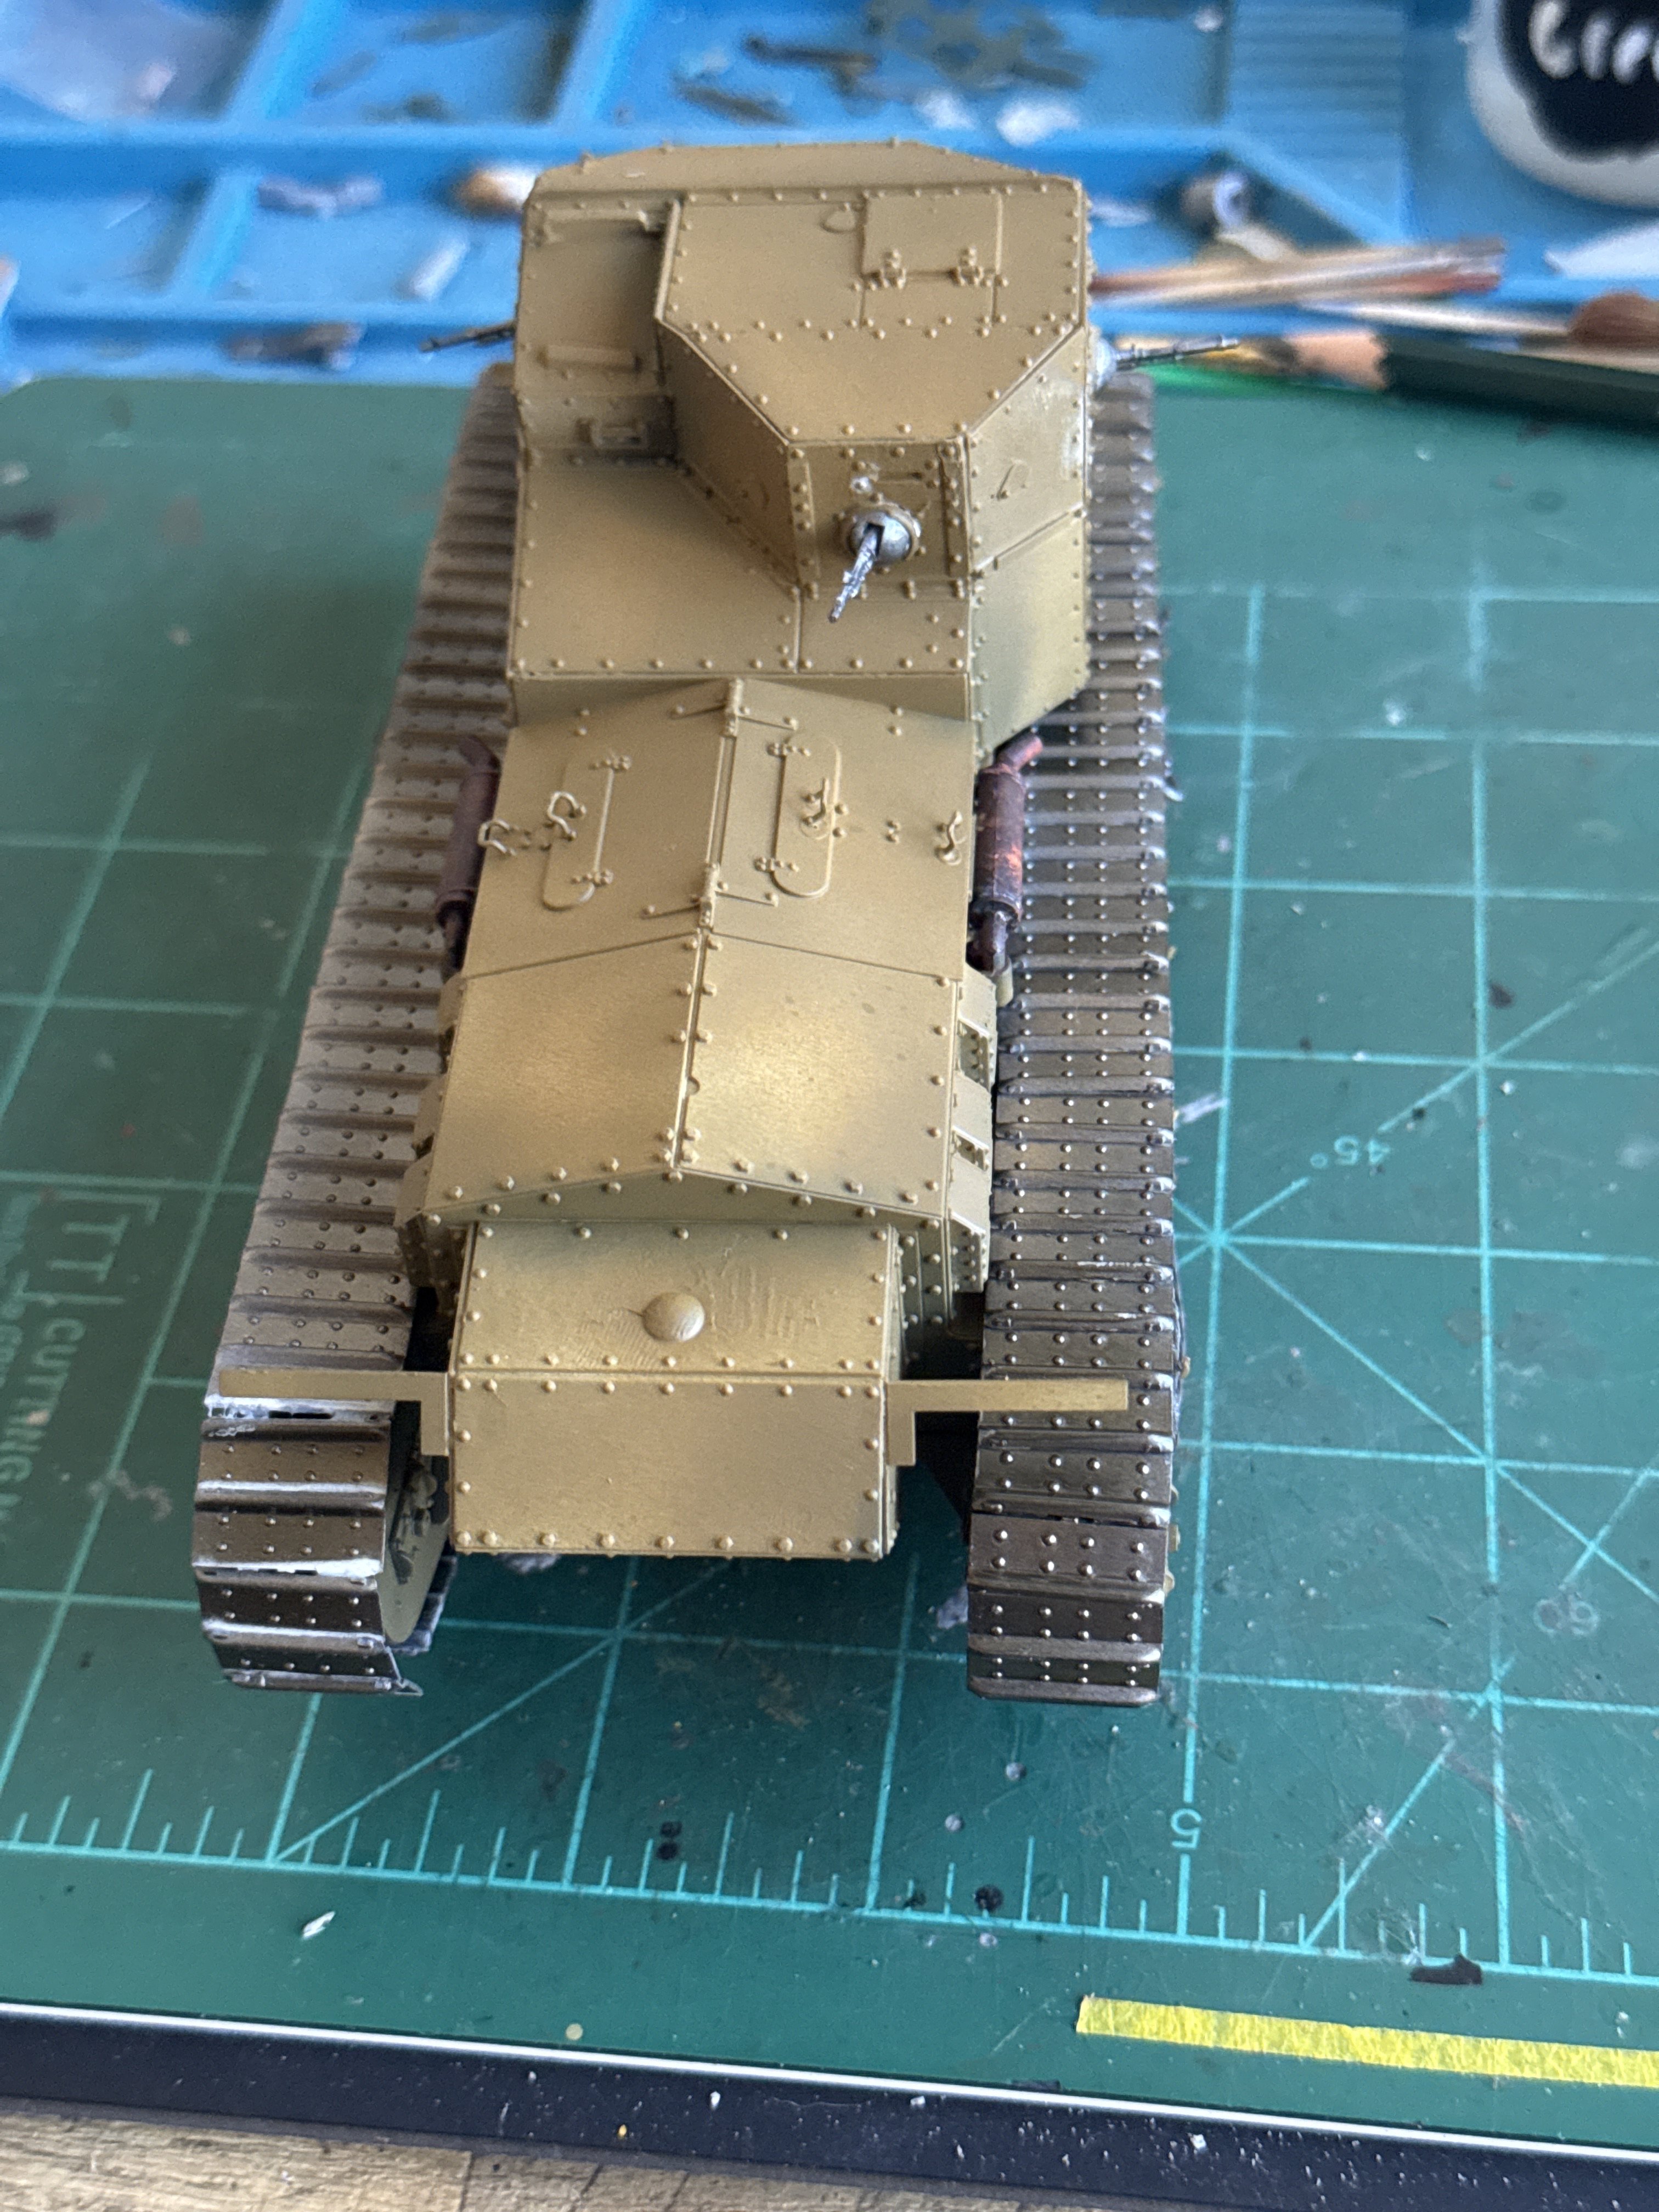
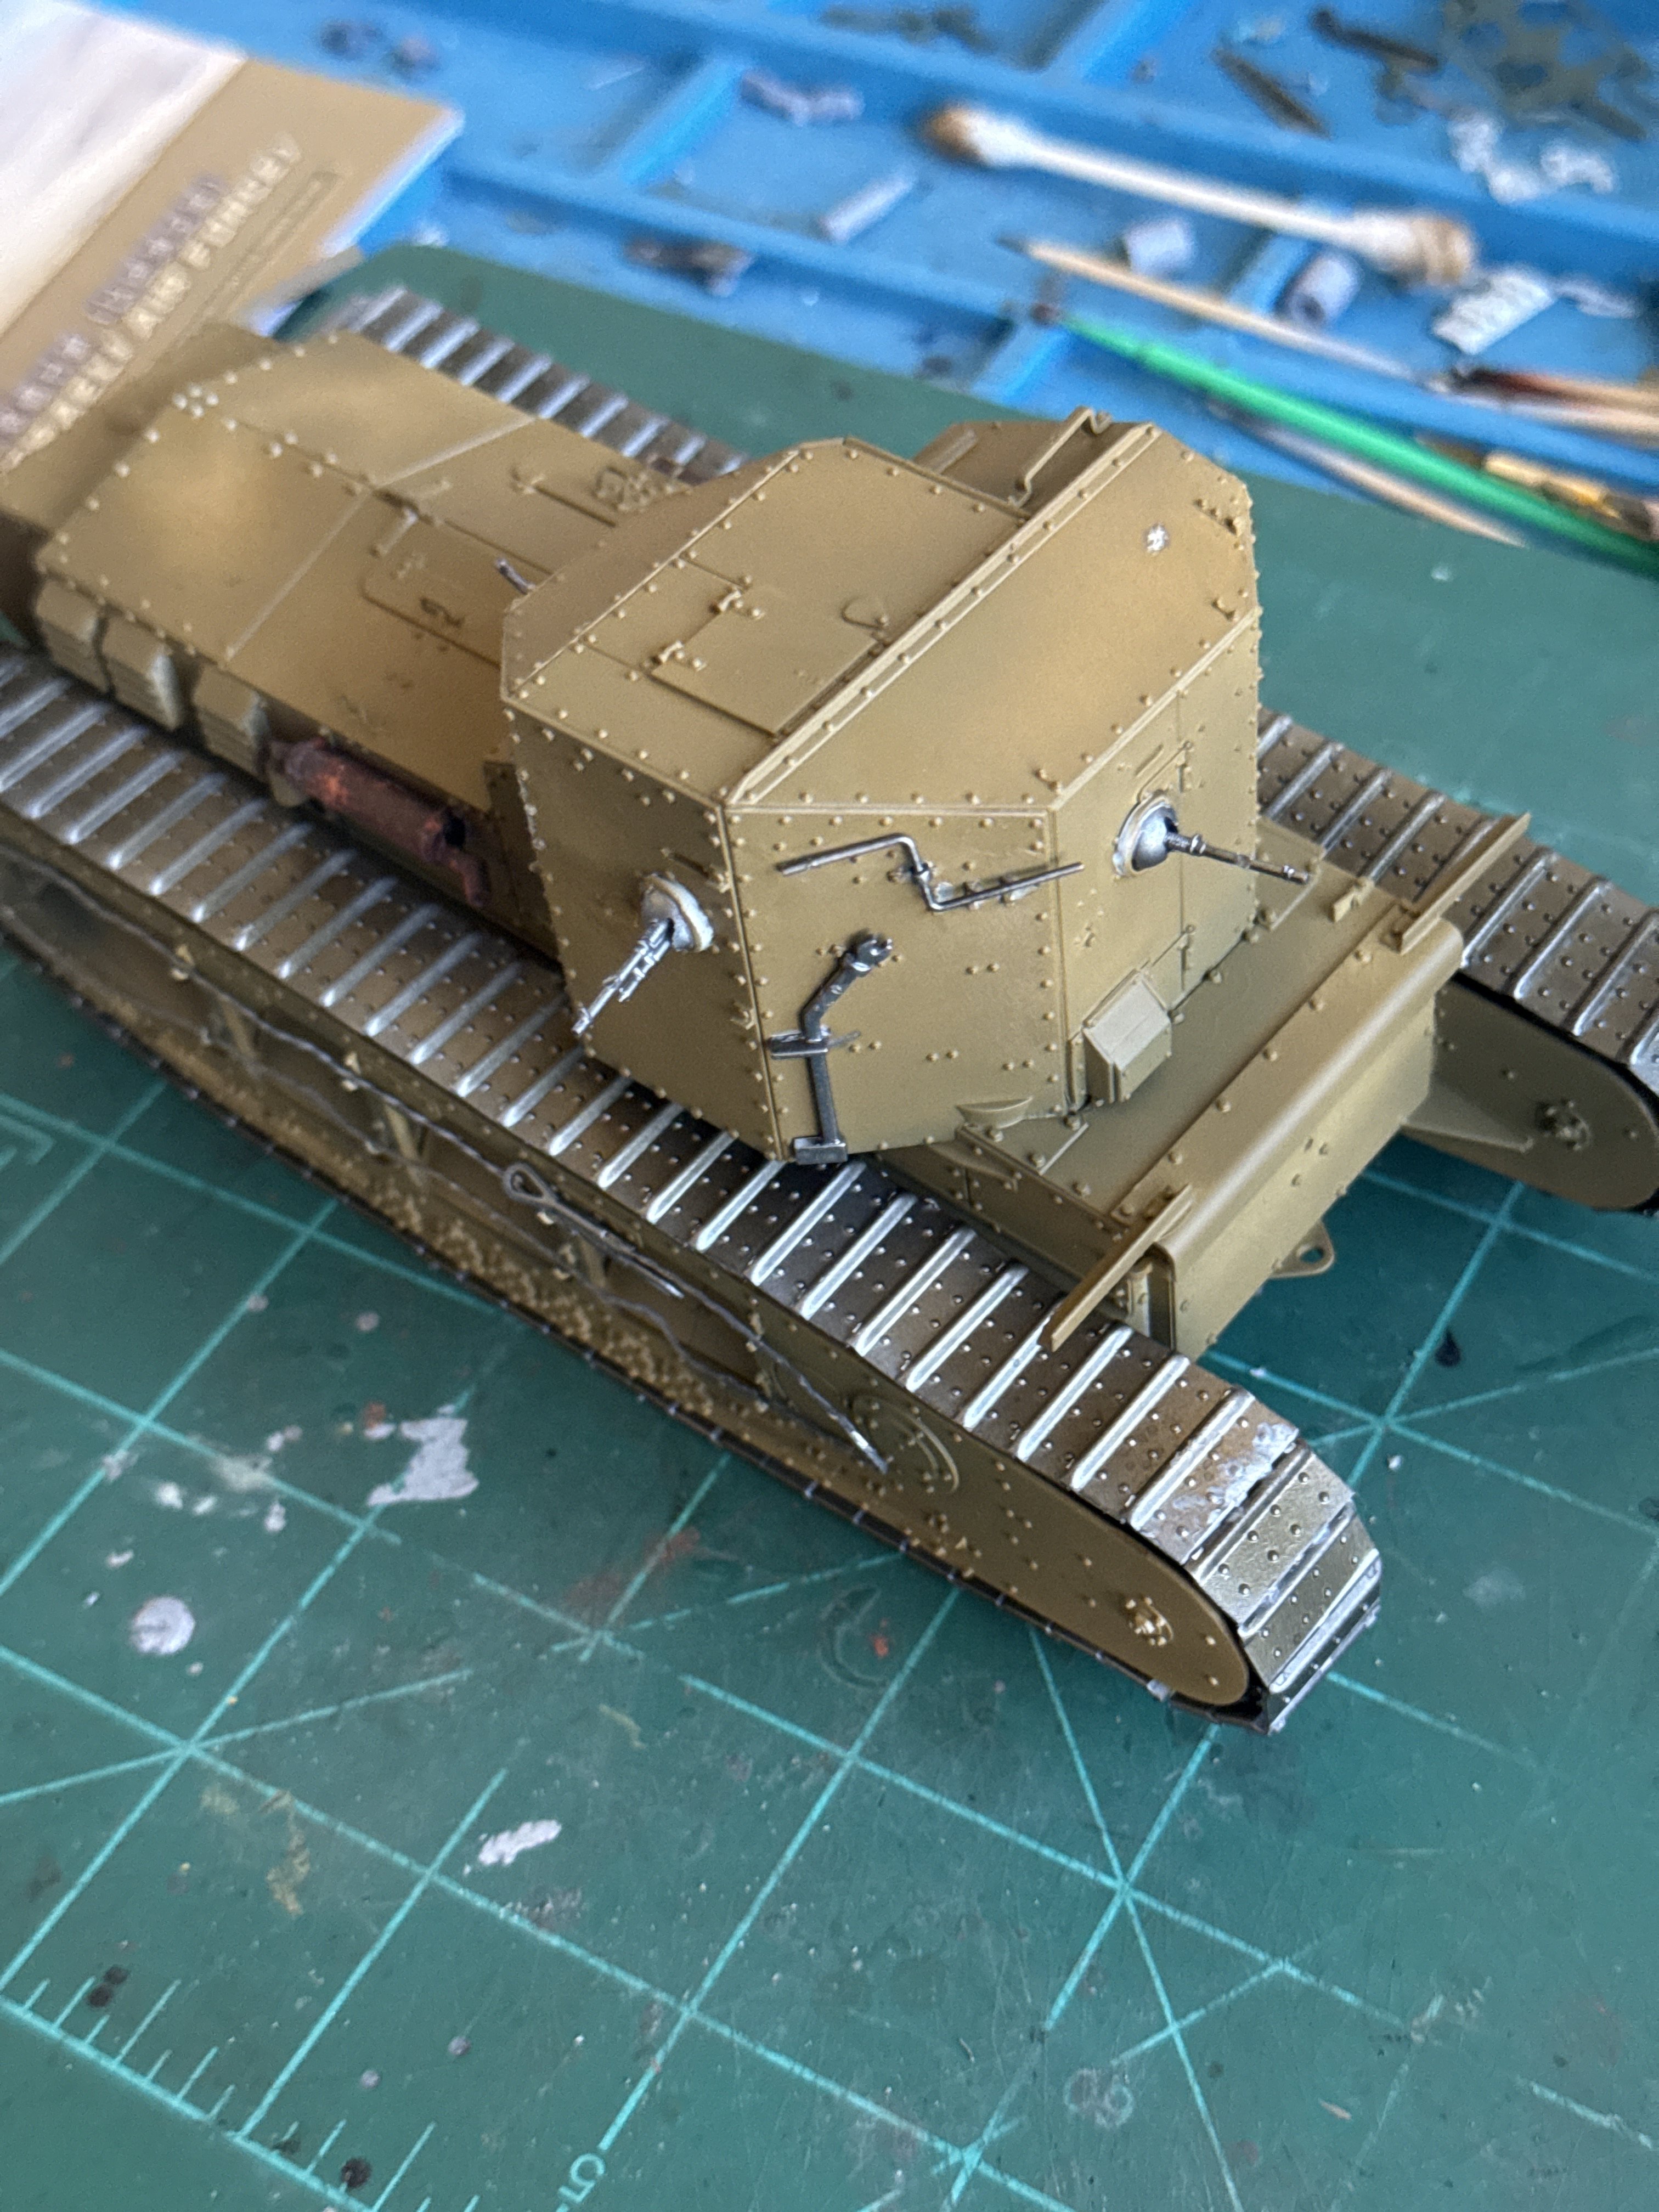
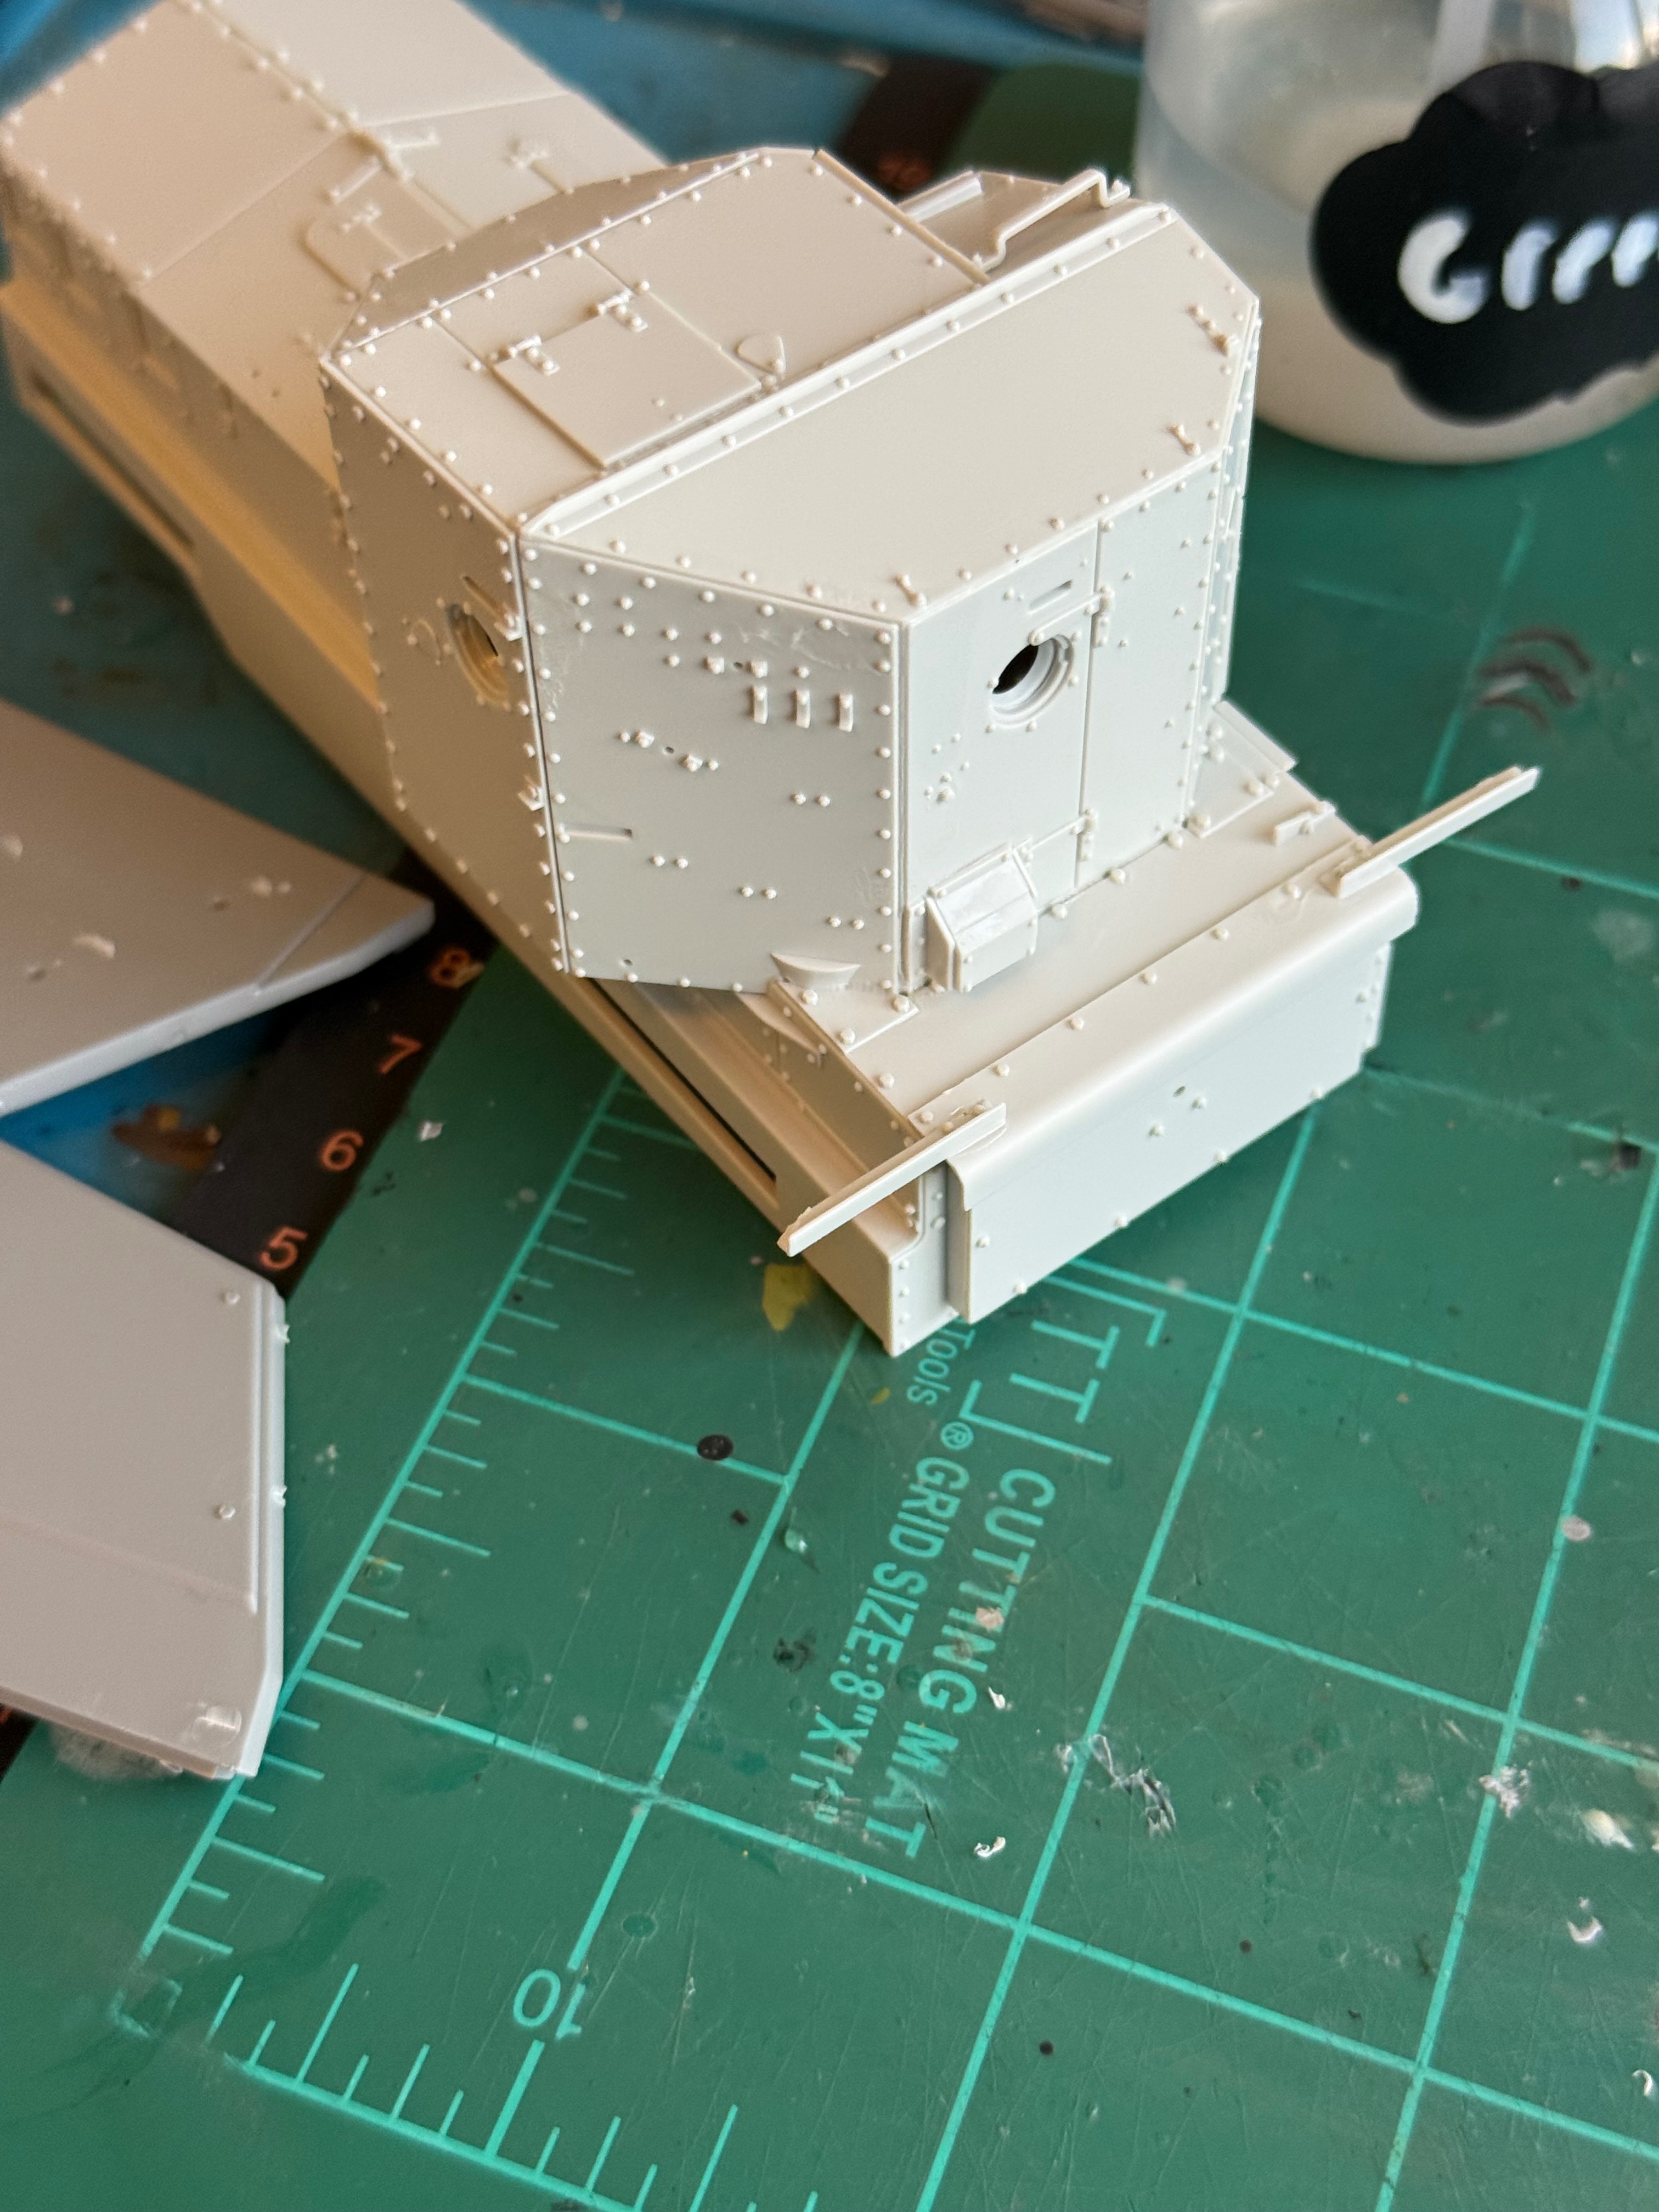
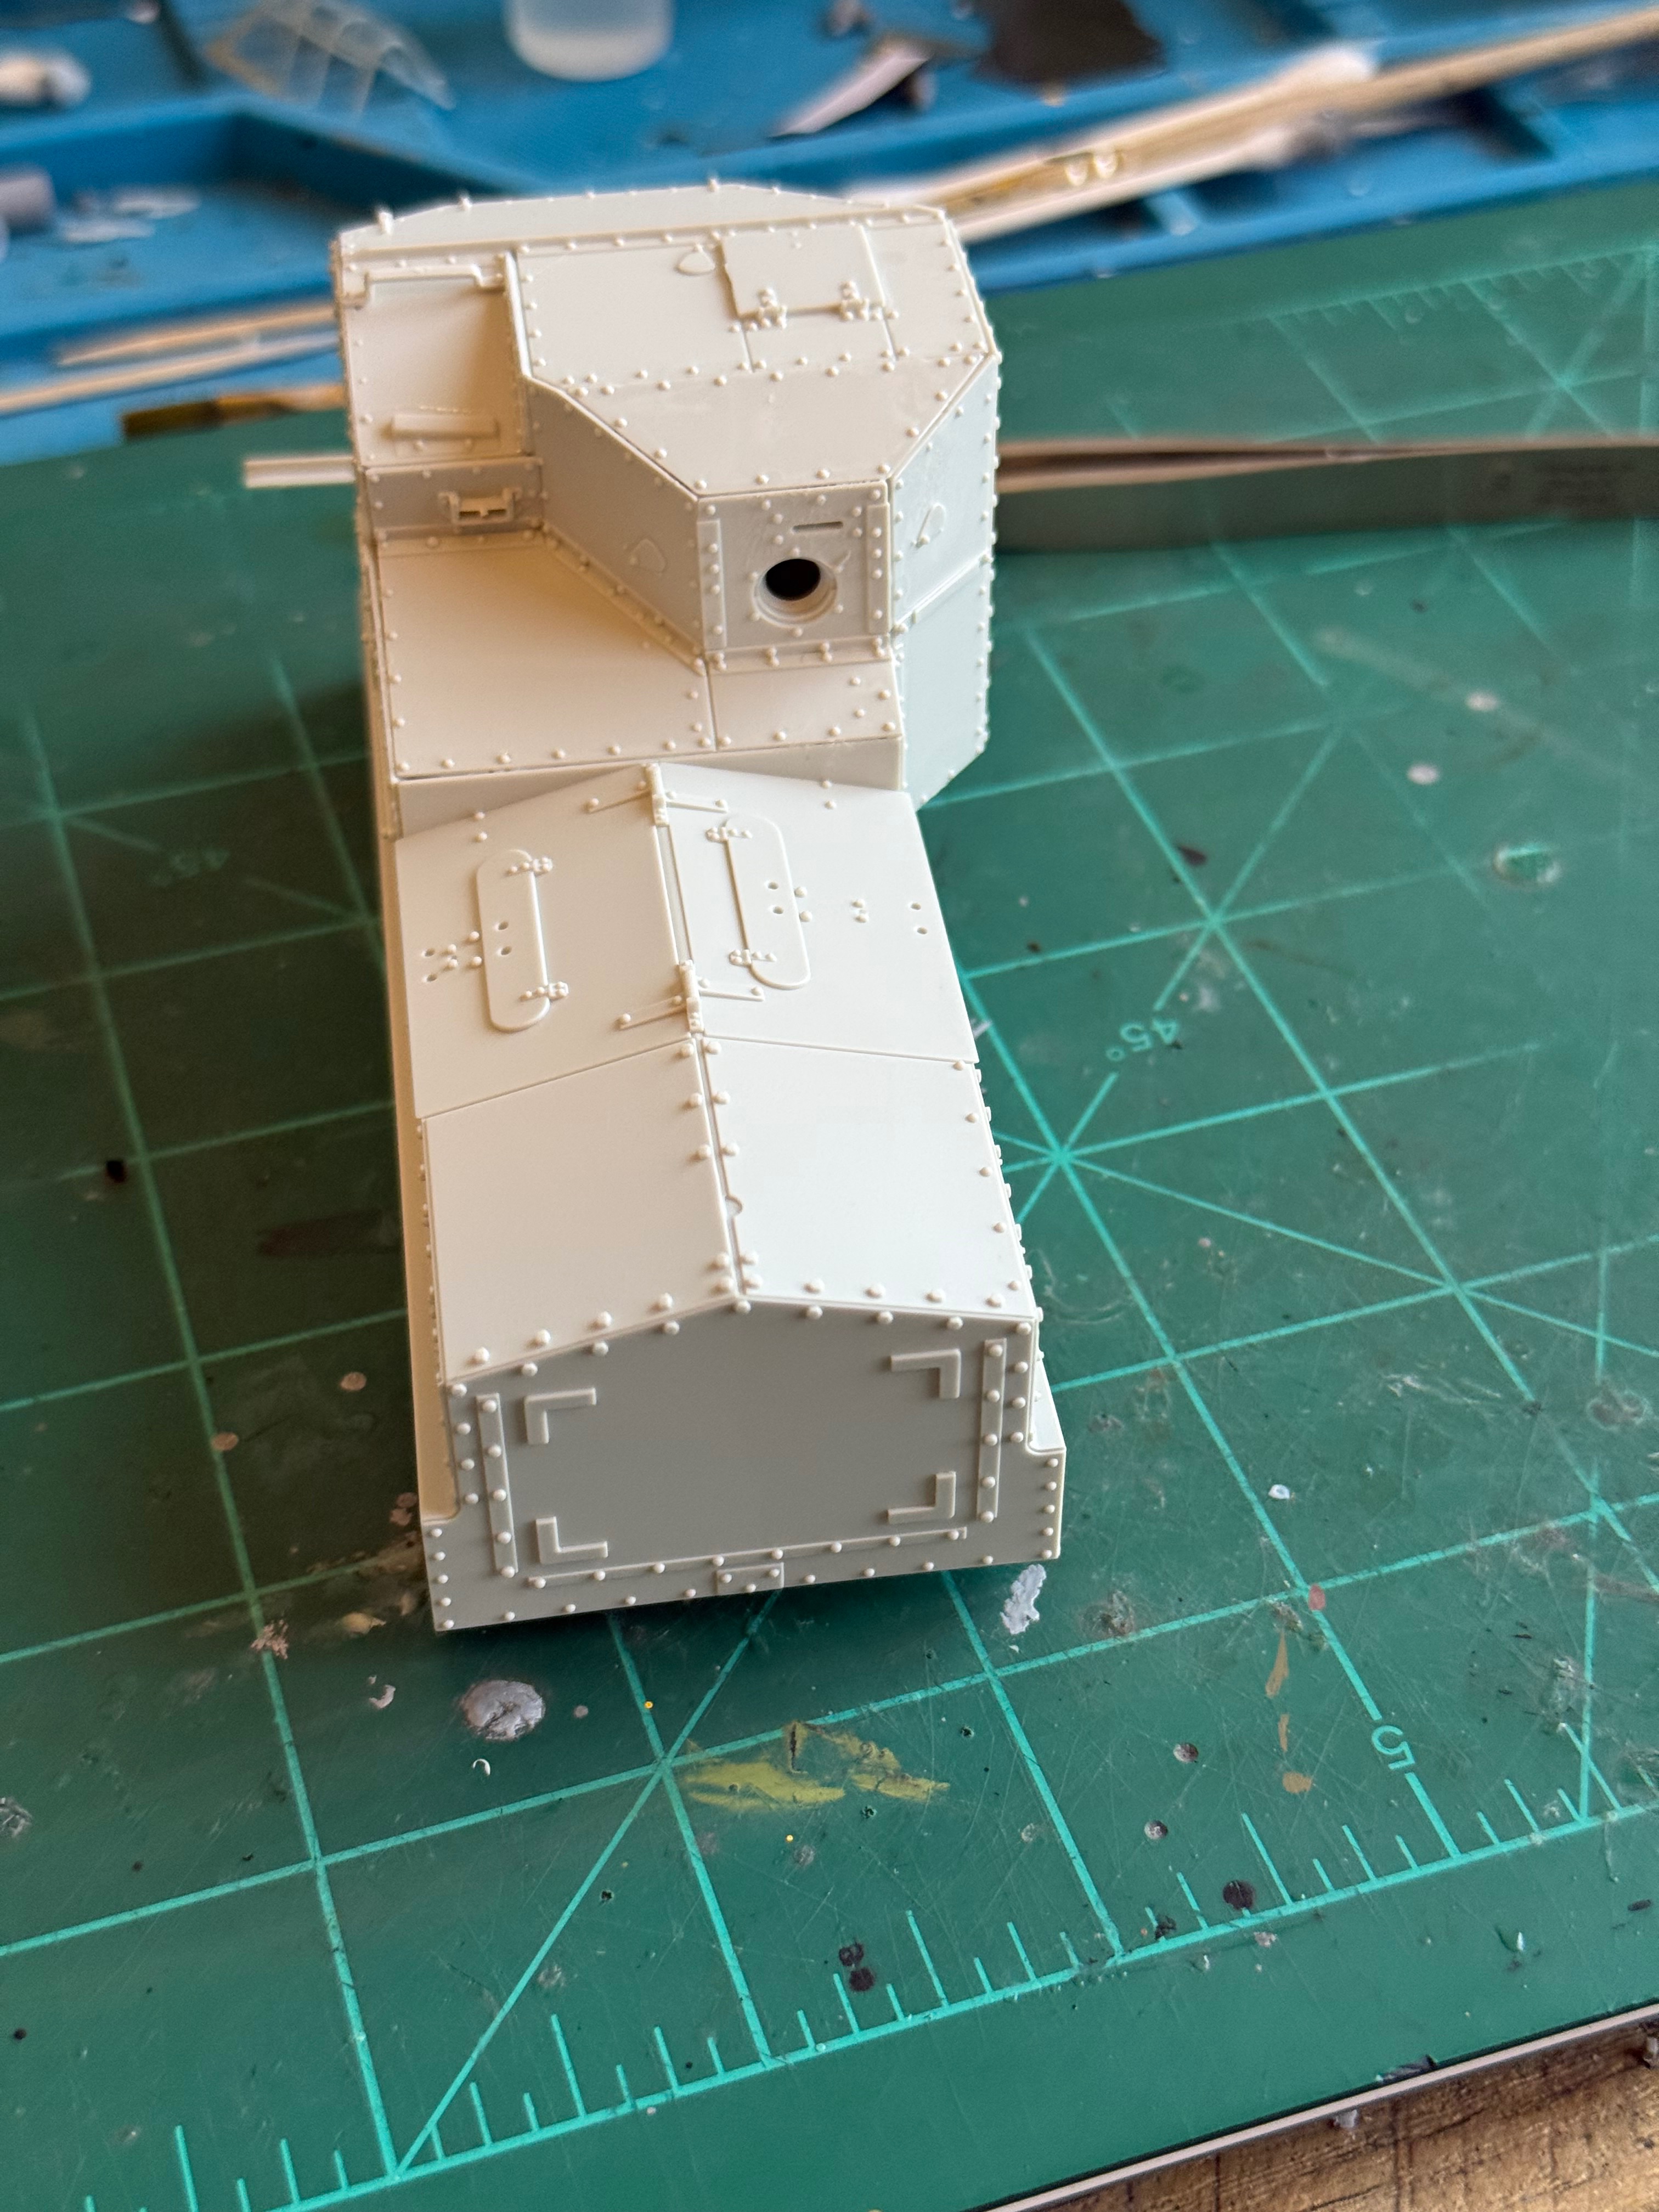
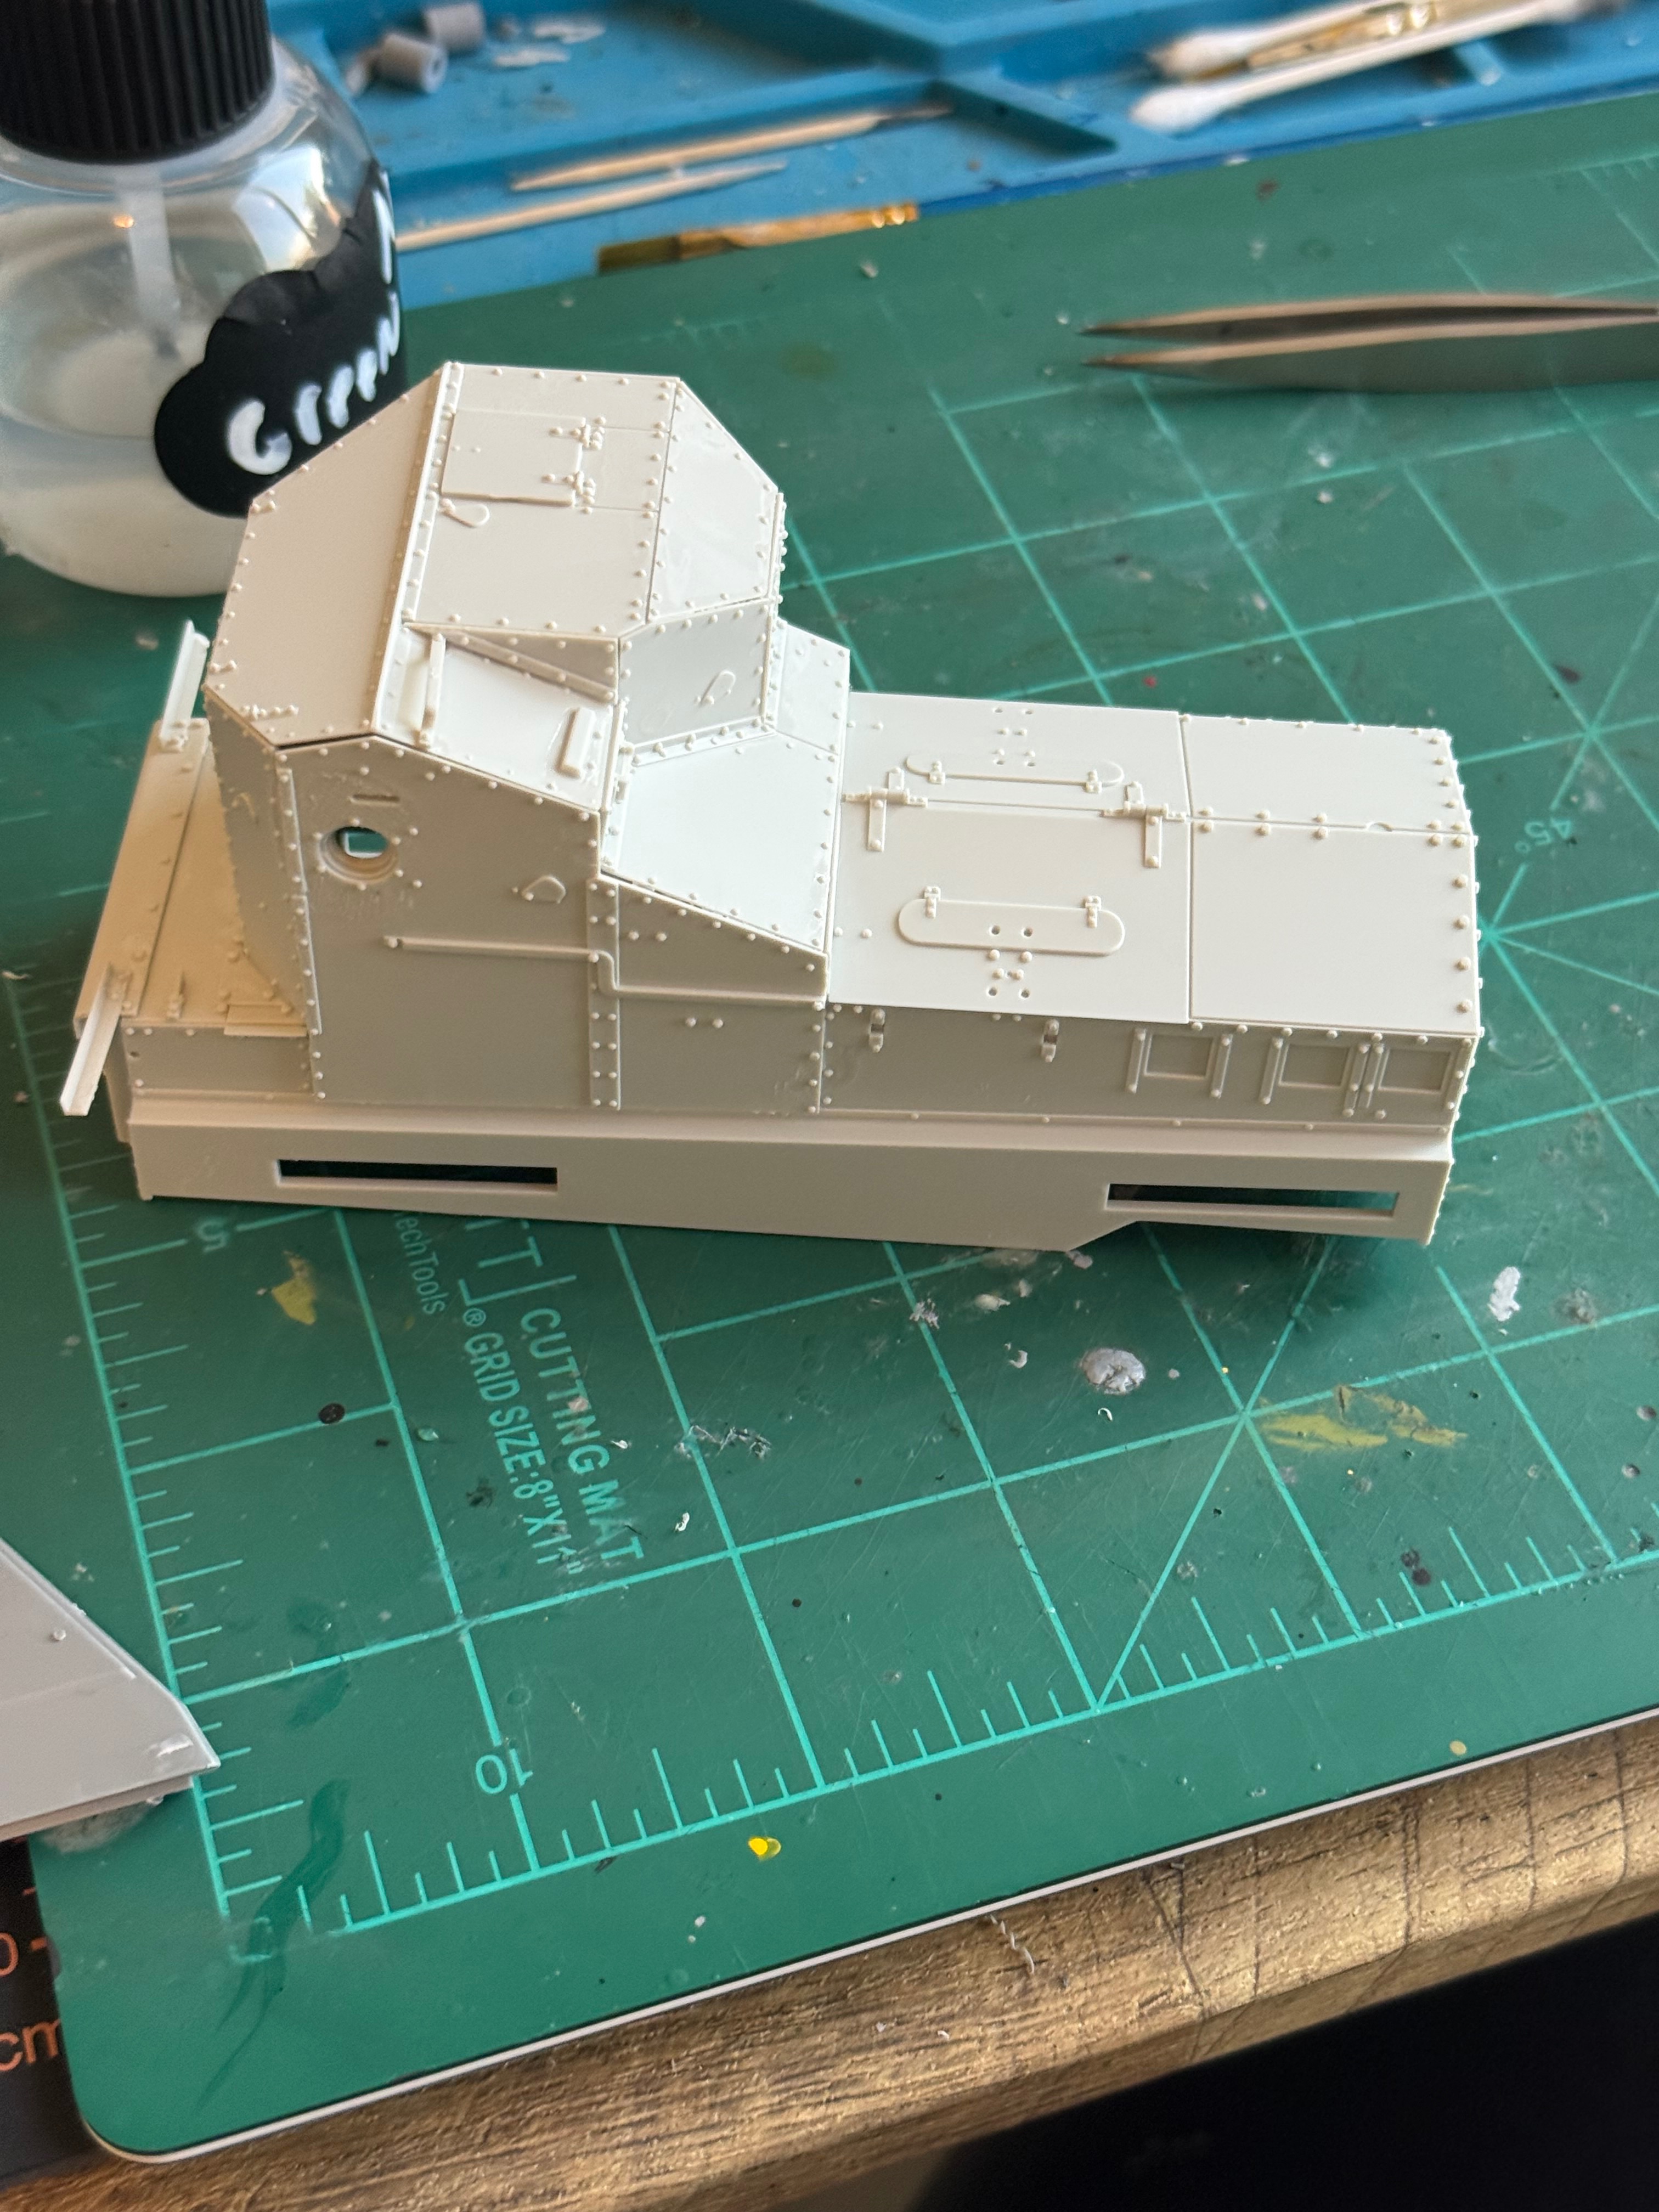
Couldn't sleep last night but too tired to do detail work so I opened up this kit. The turret is interesting. There's 8 pieces that form the walls. One of the pieces is scored in three spots and you are required to bend each section to form angles so that the piece now becomes three separate walls- I've included a pic of the diagram.

You are using an out of date browser. It may not display this or other websites correctly.
You should upgrade or use an alternative browser.
You should upgrade or use an alternative browser.
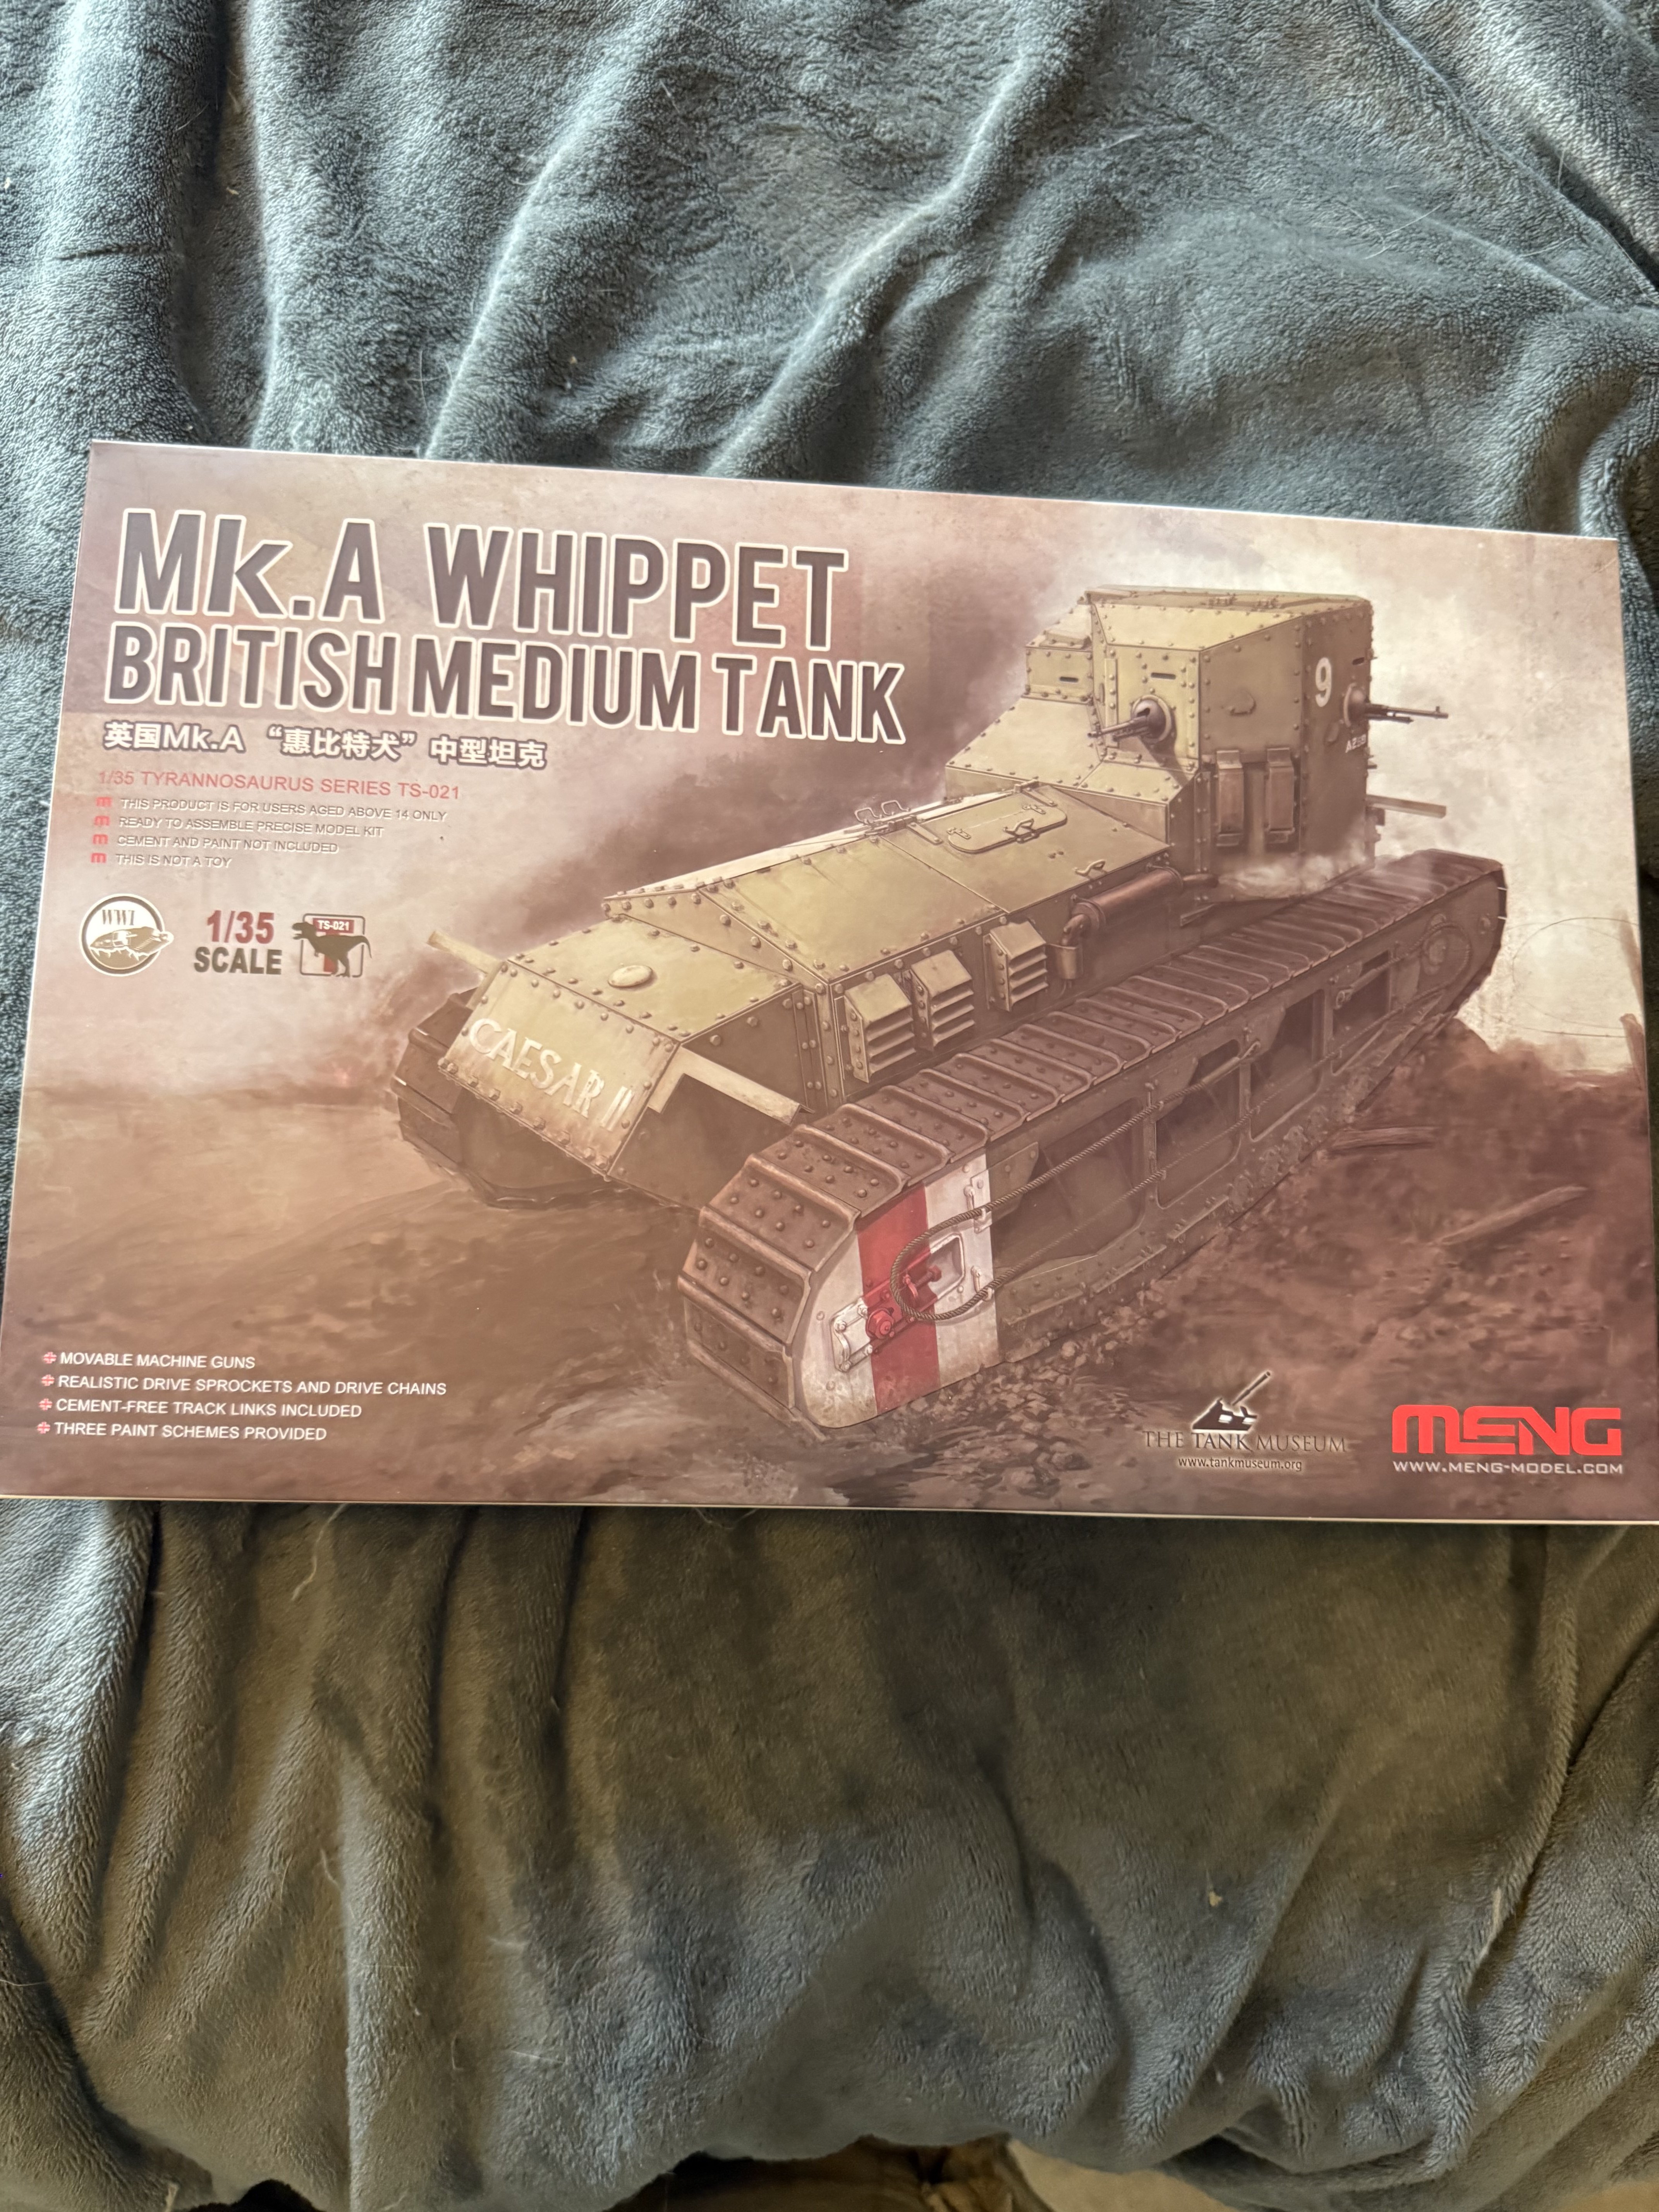
Meng MK. A Whippet British medium tank 1/35.
- Thread starter Ron2
- Start date
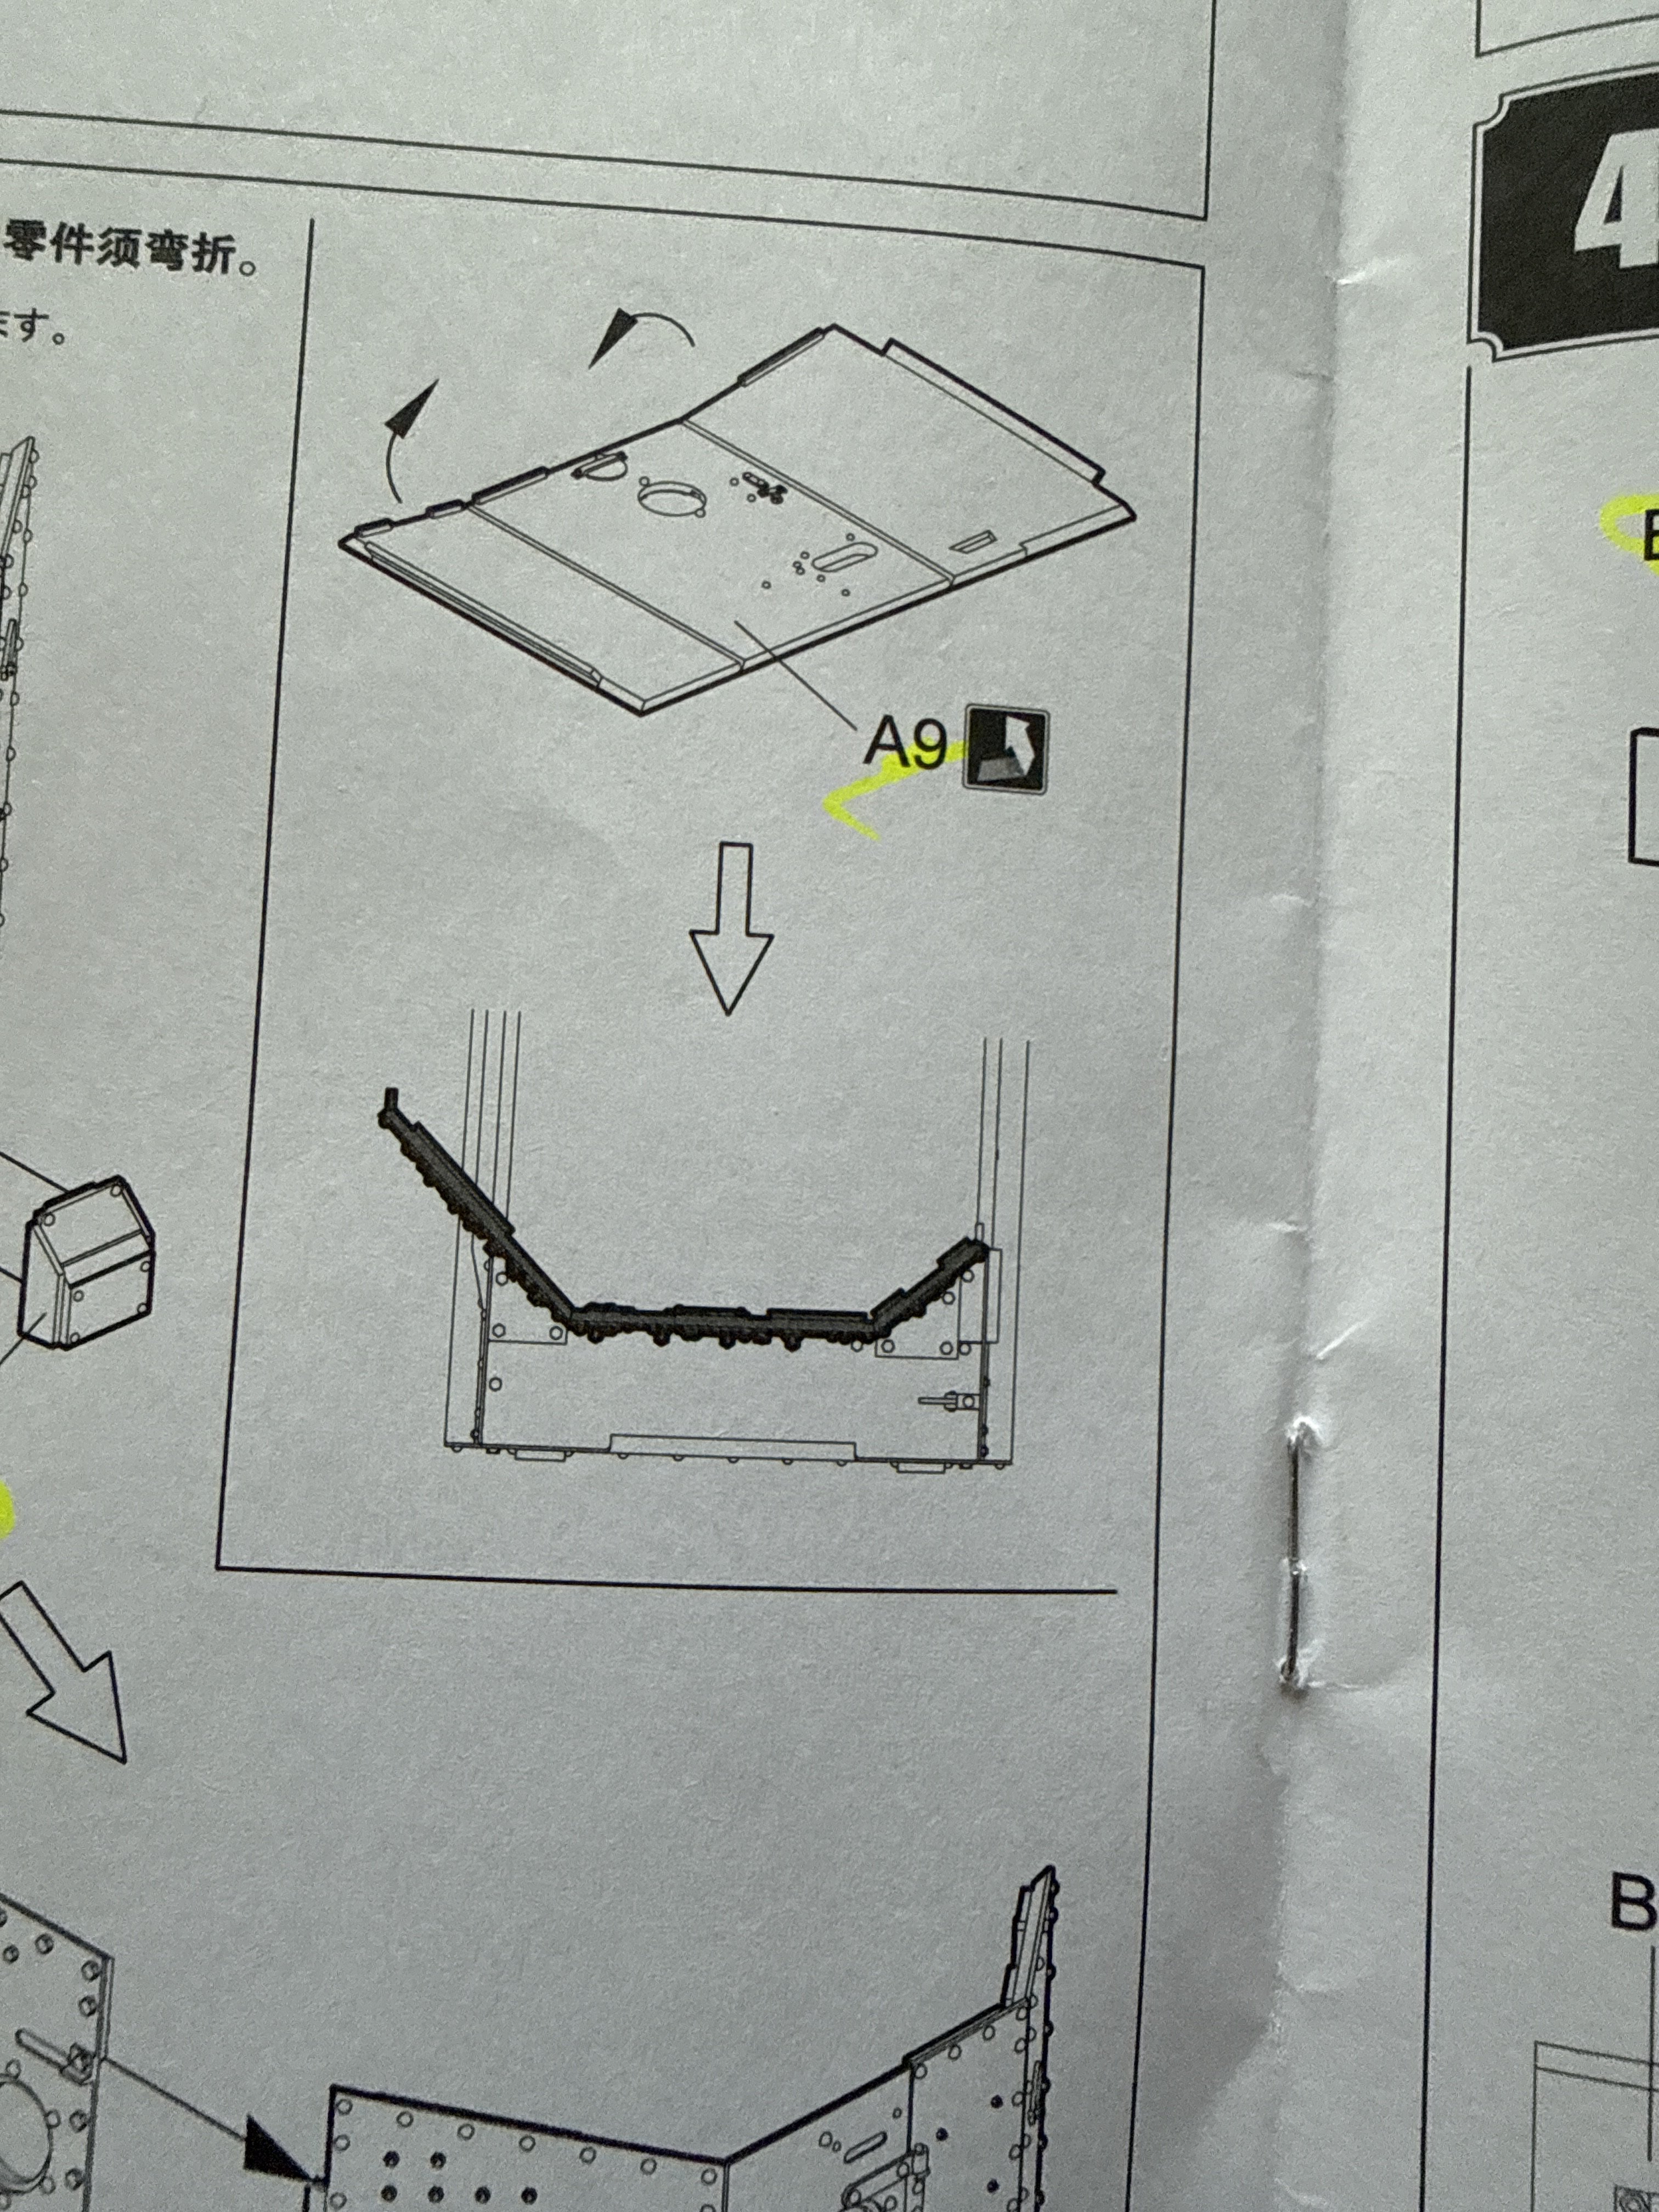
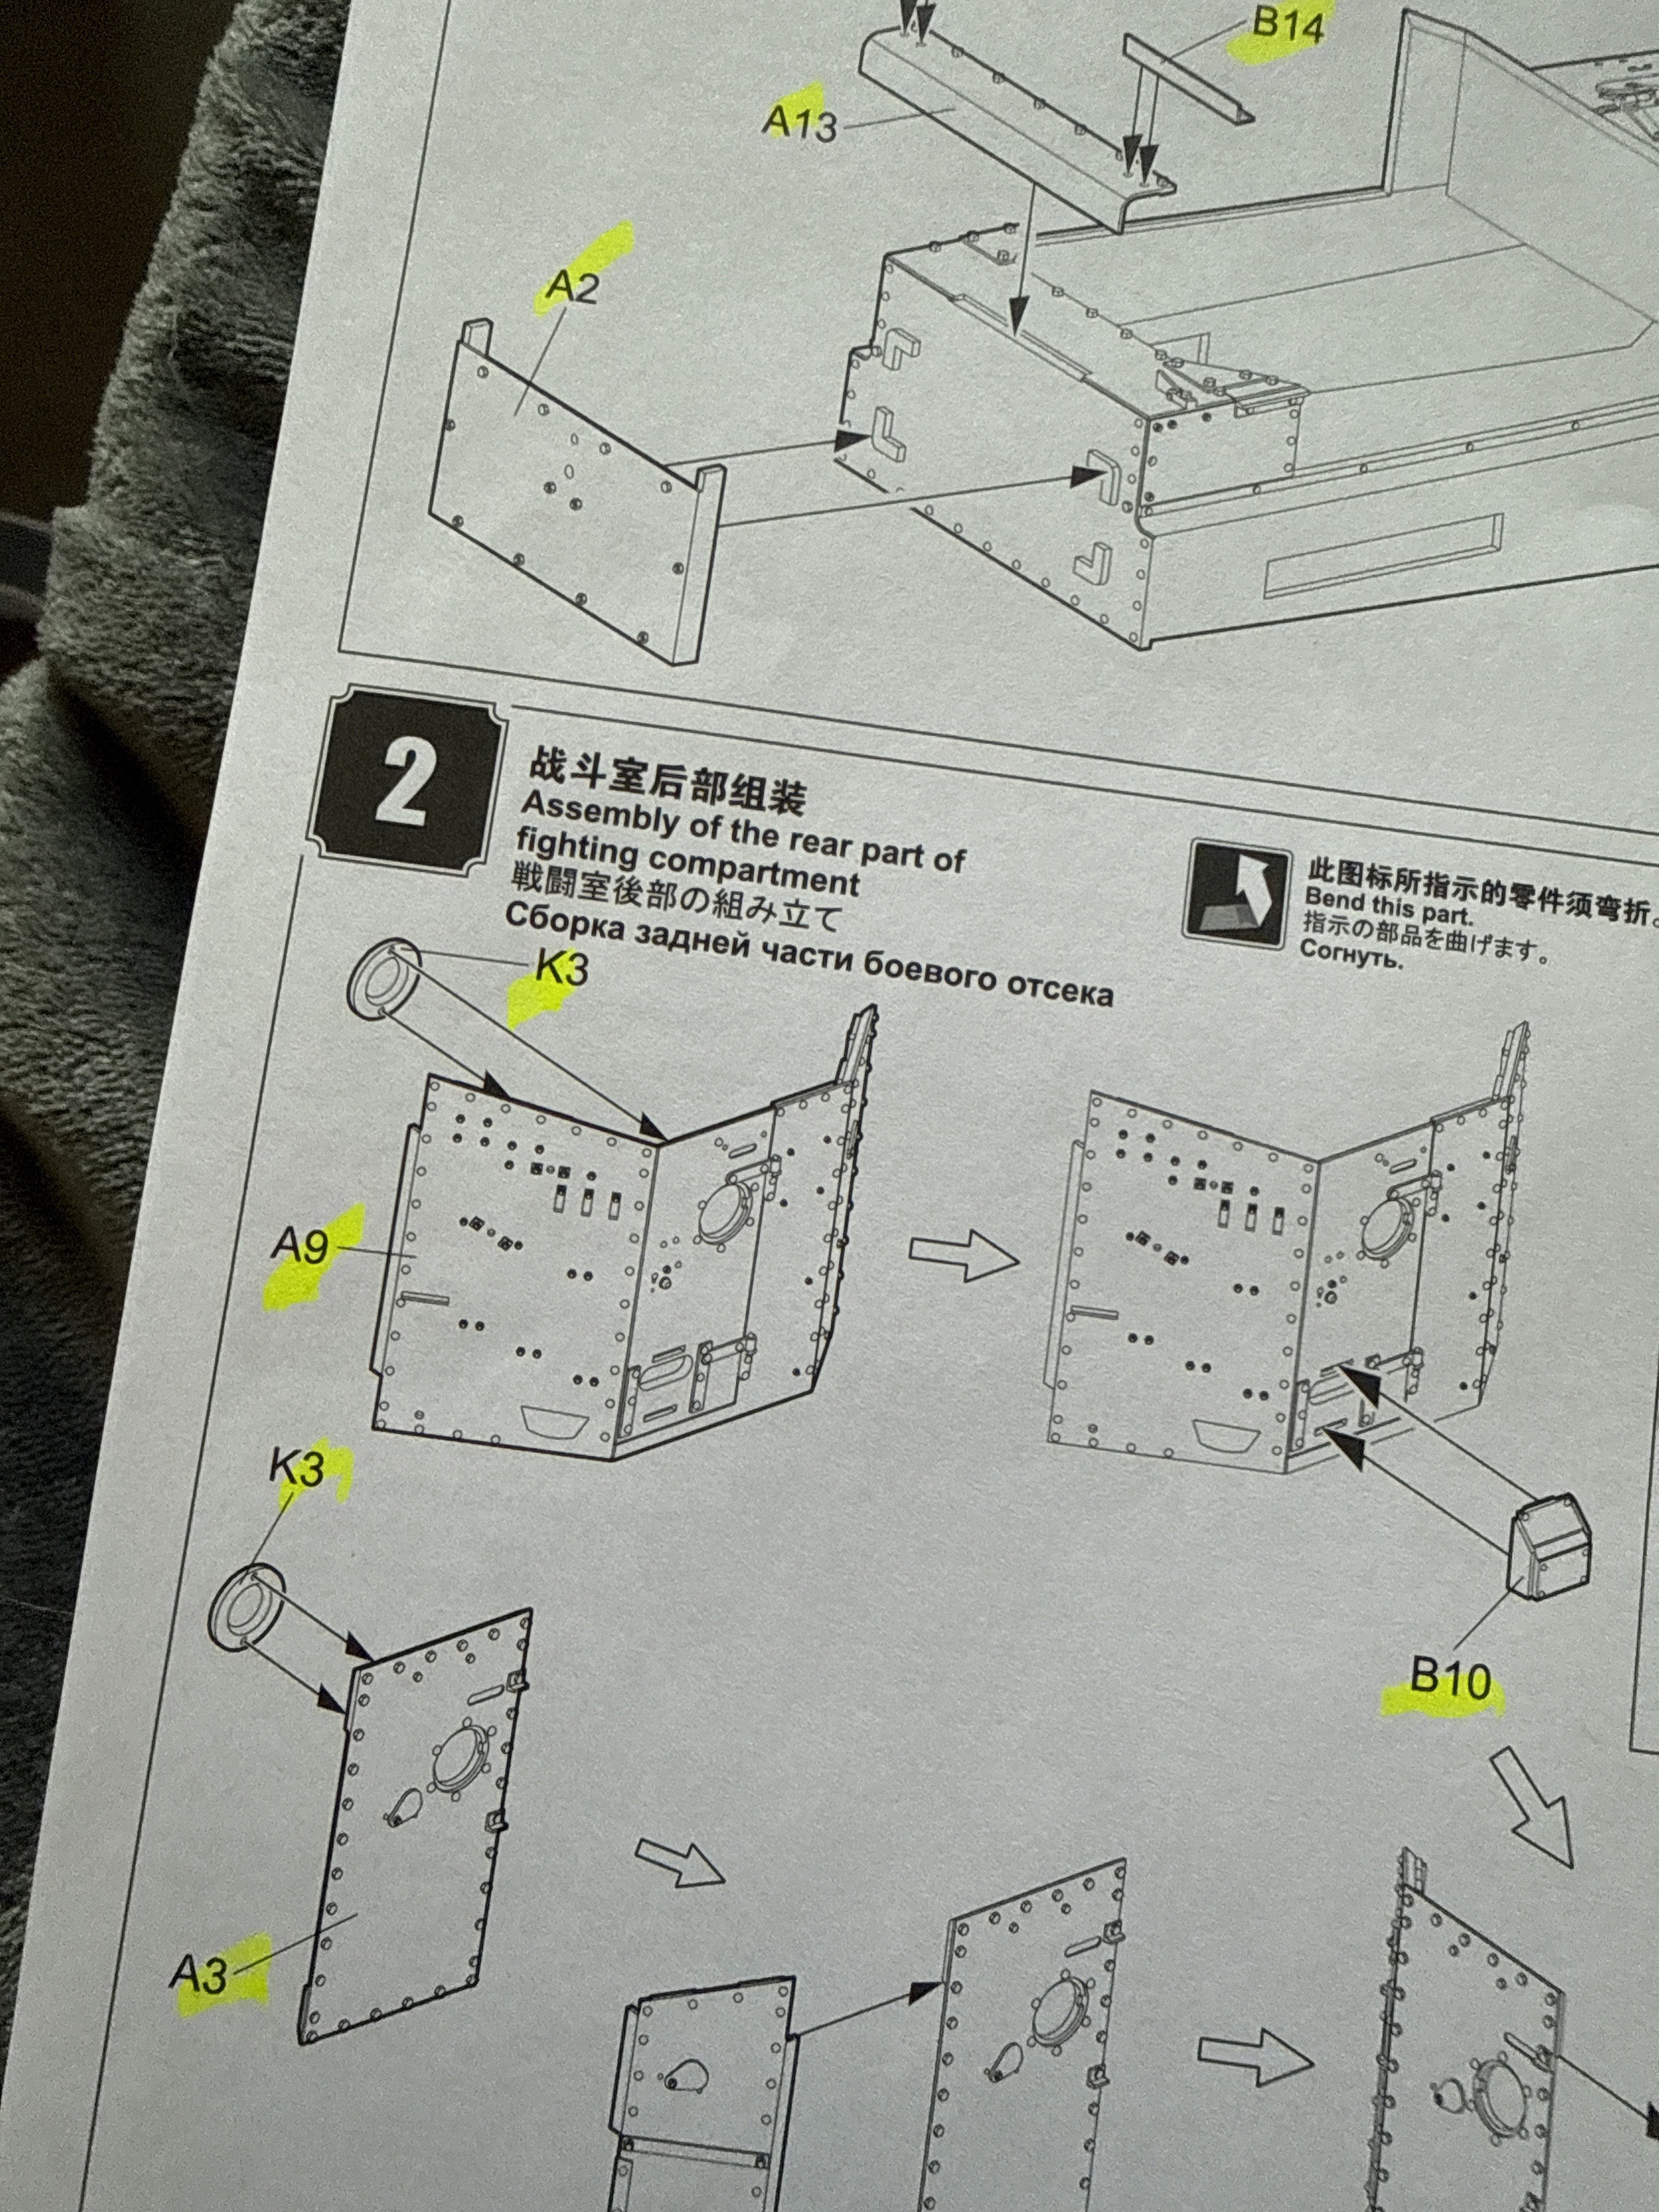
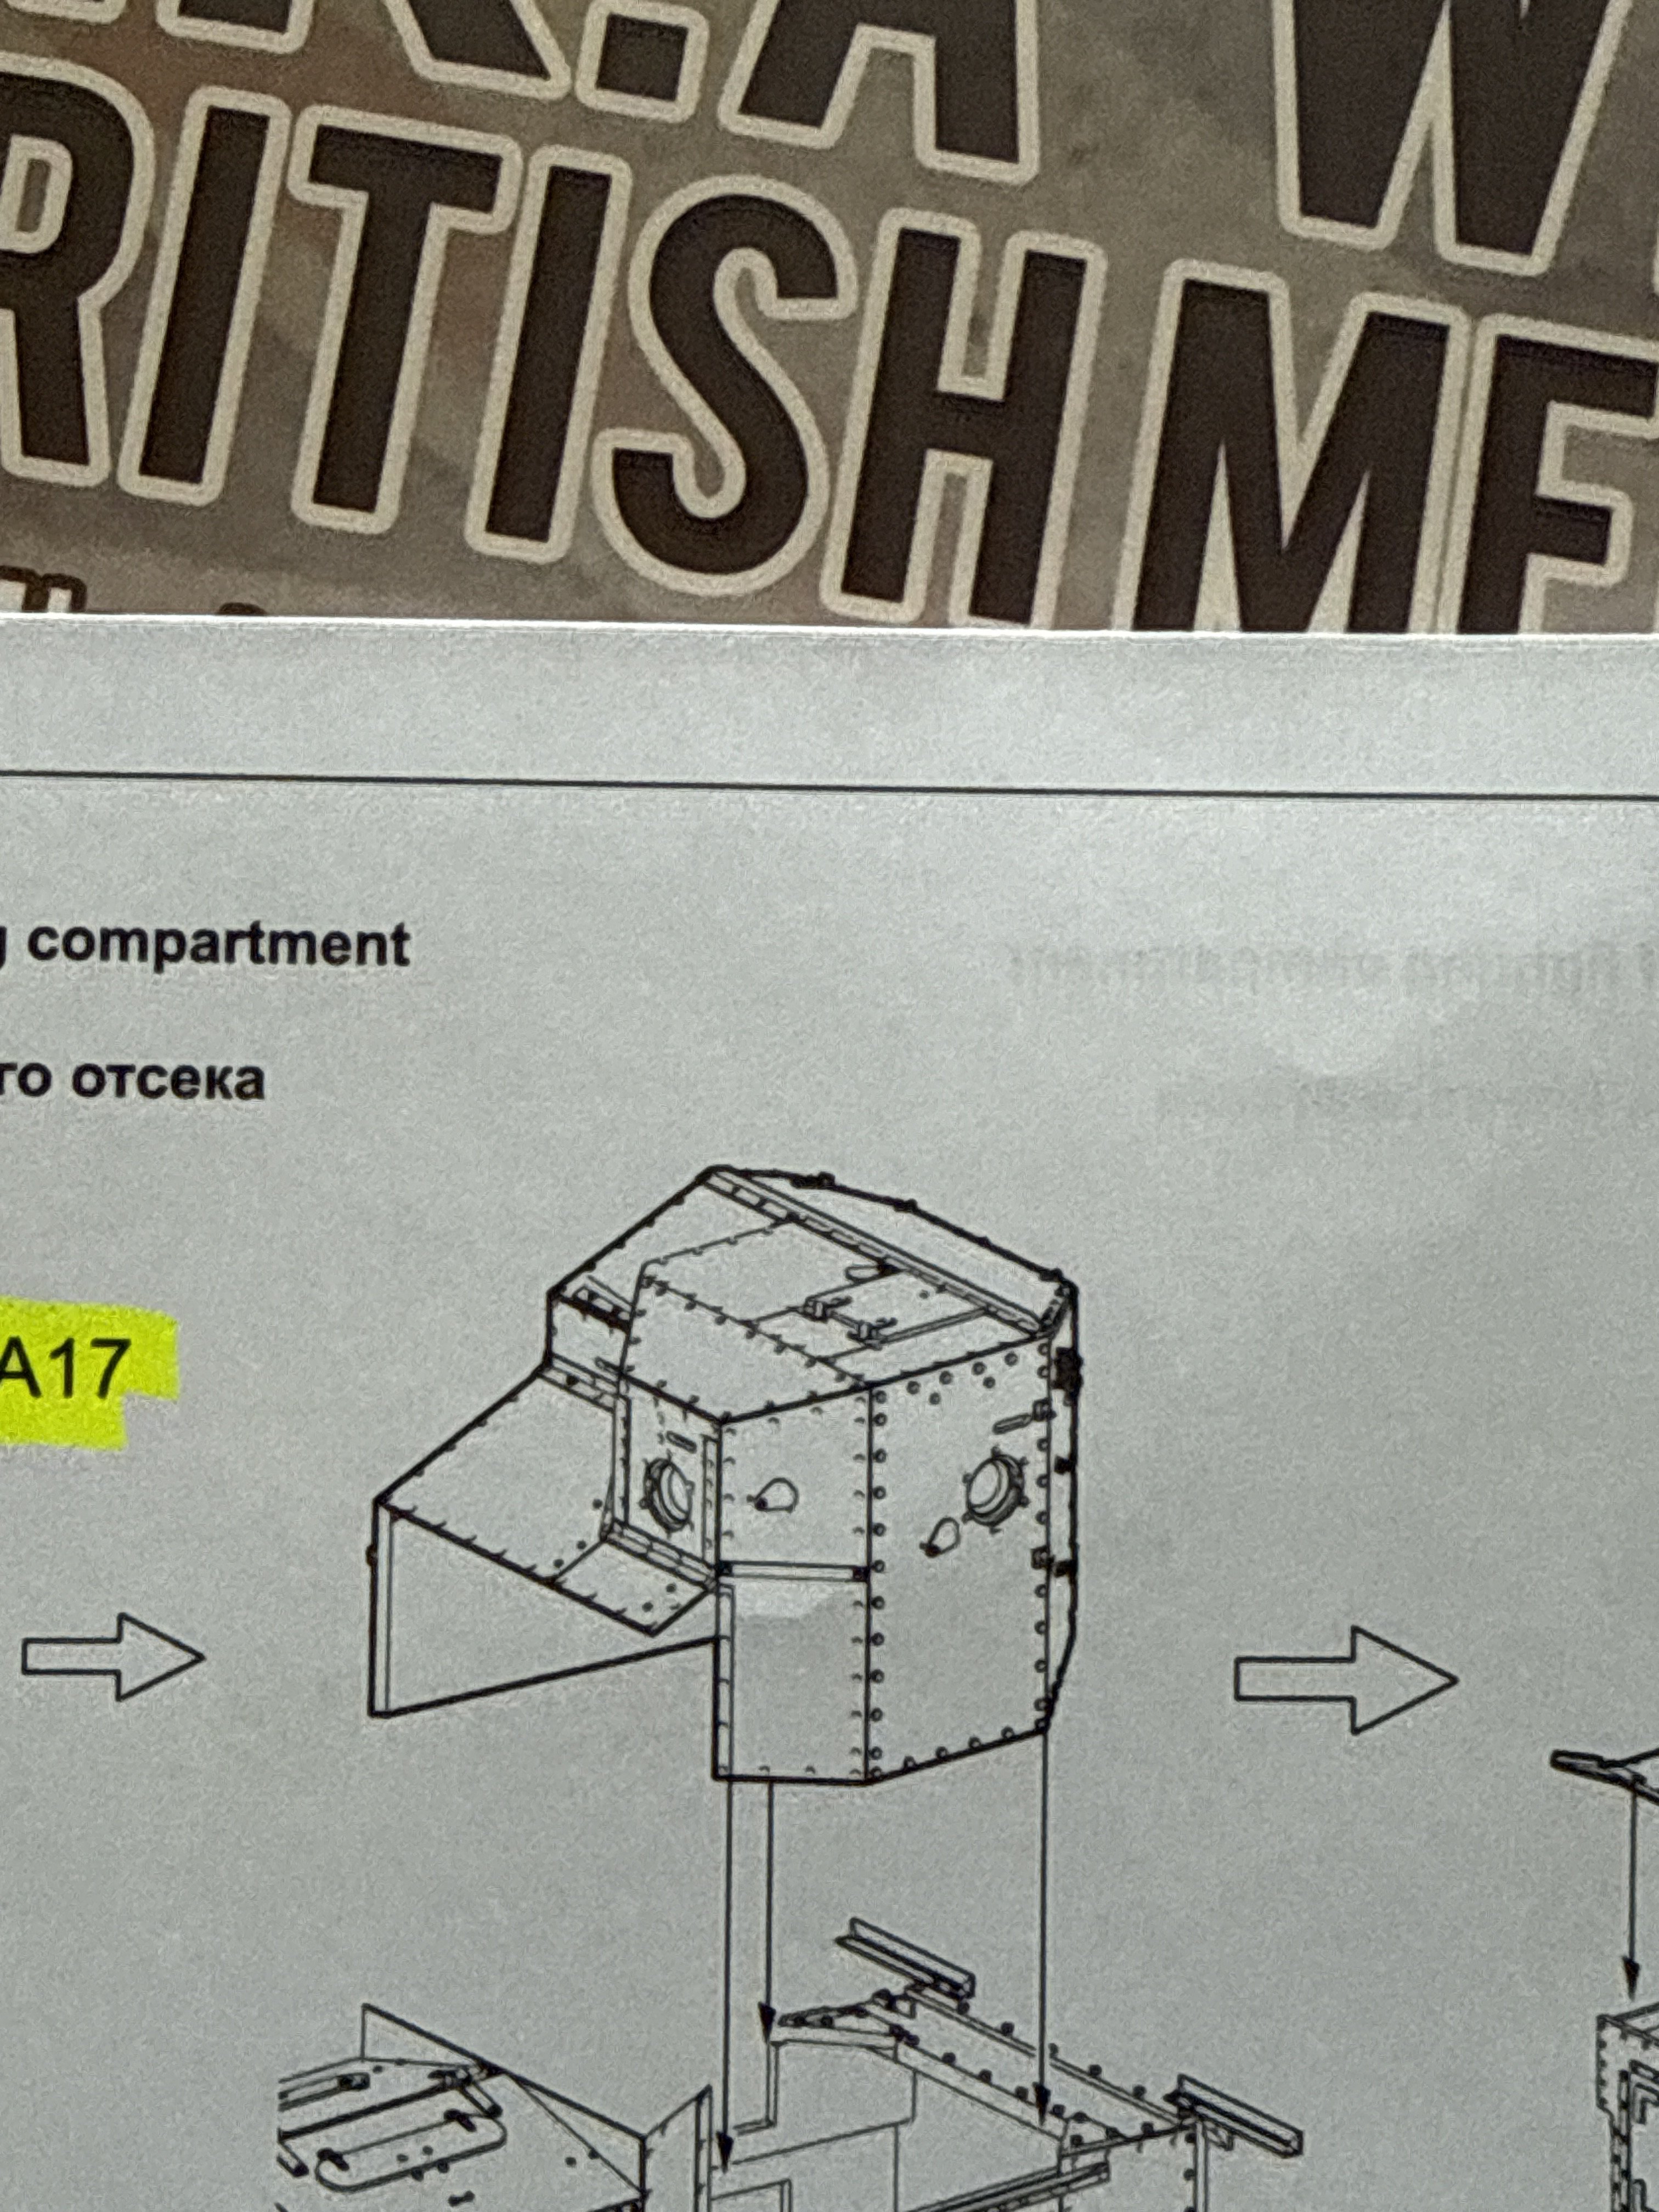
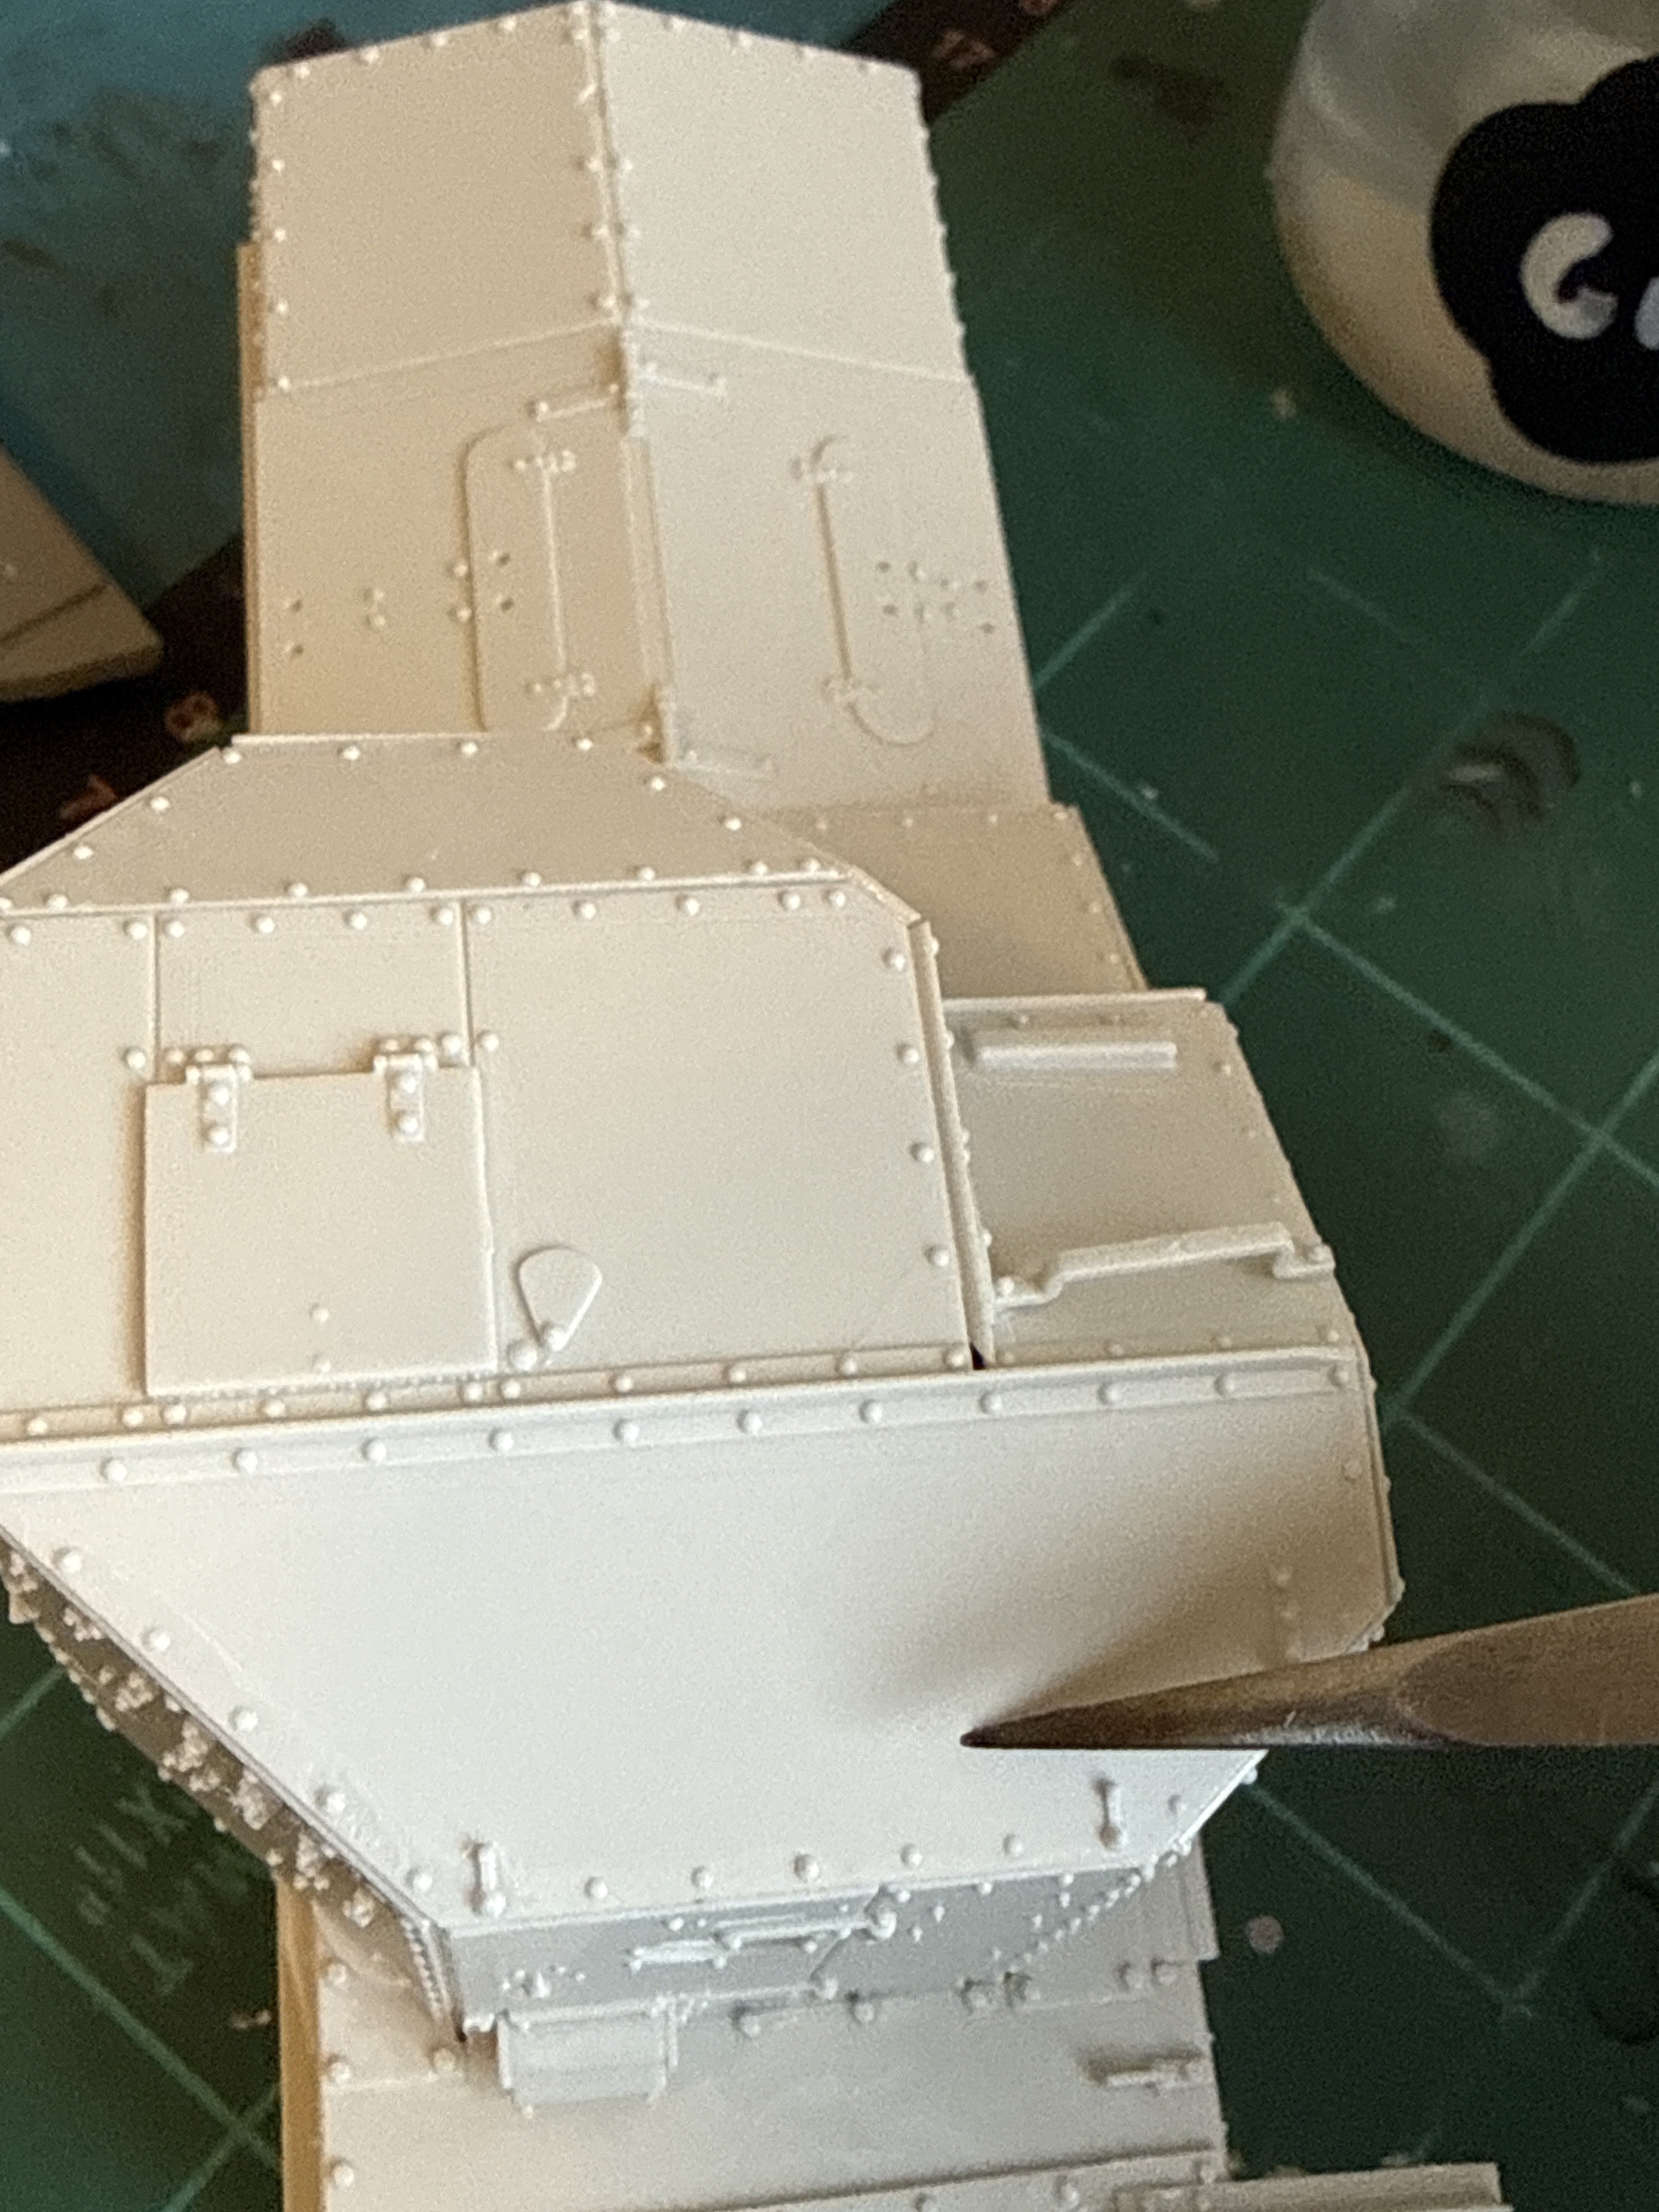
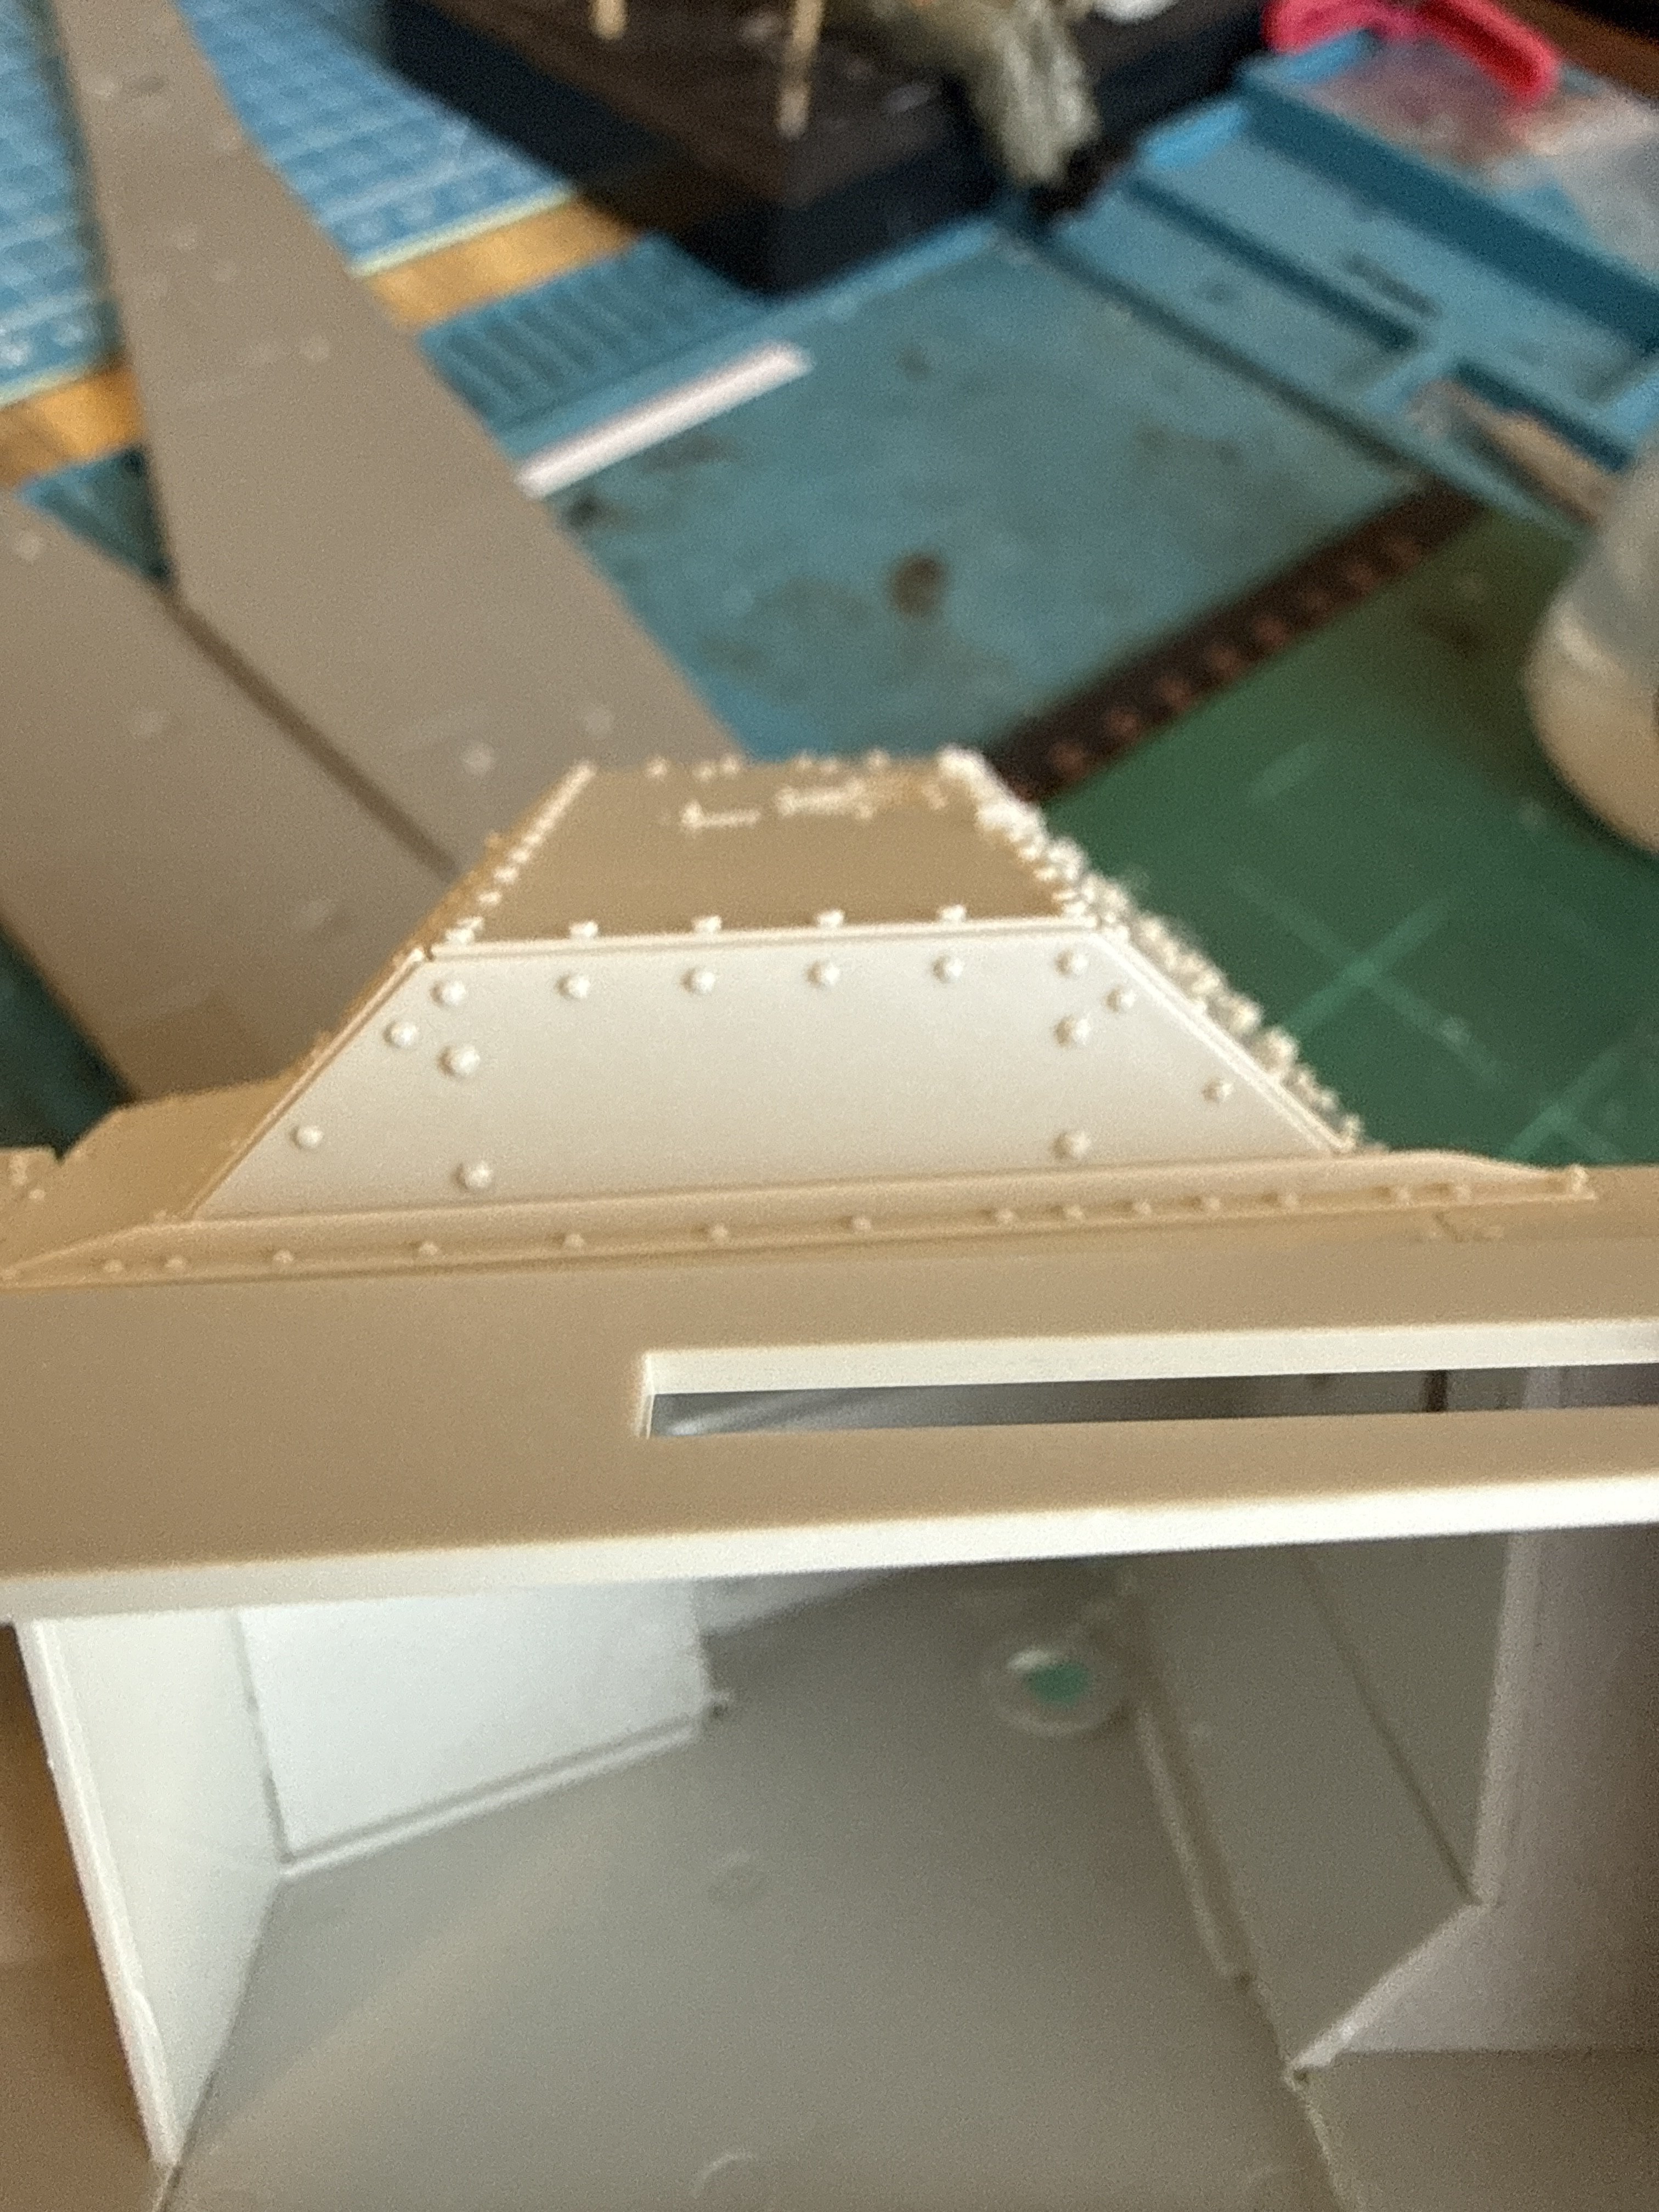
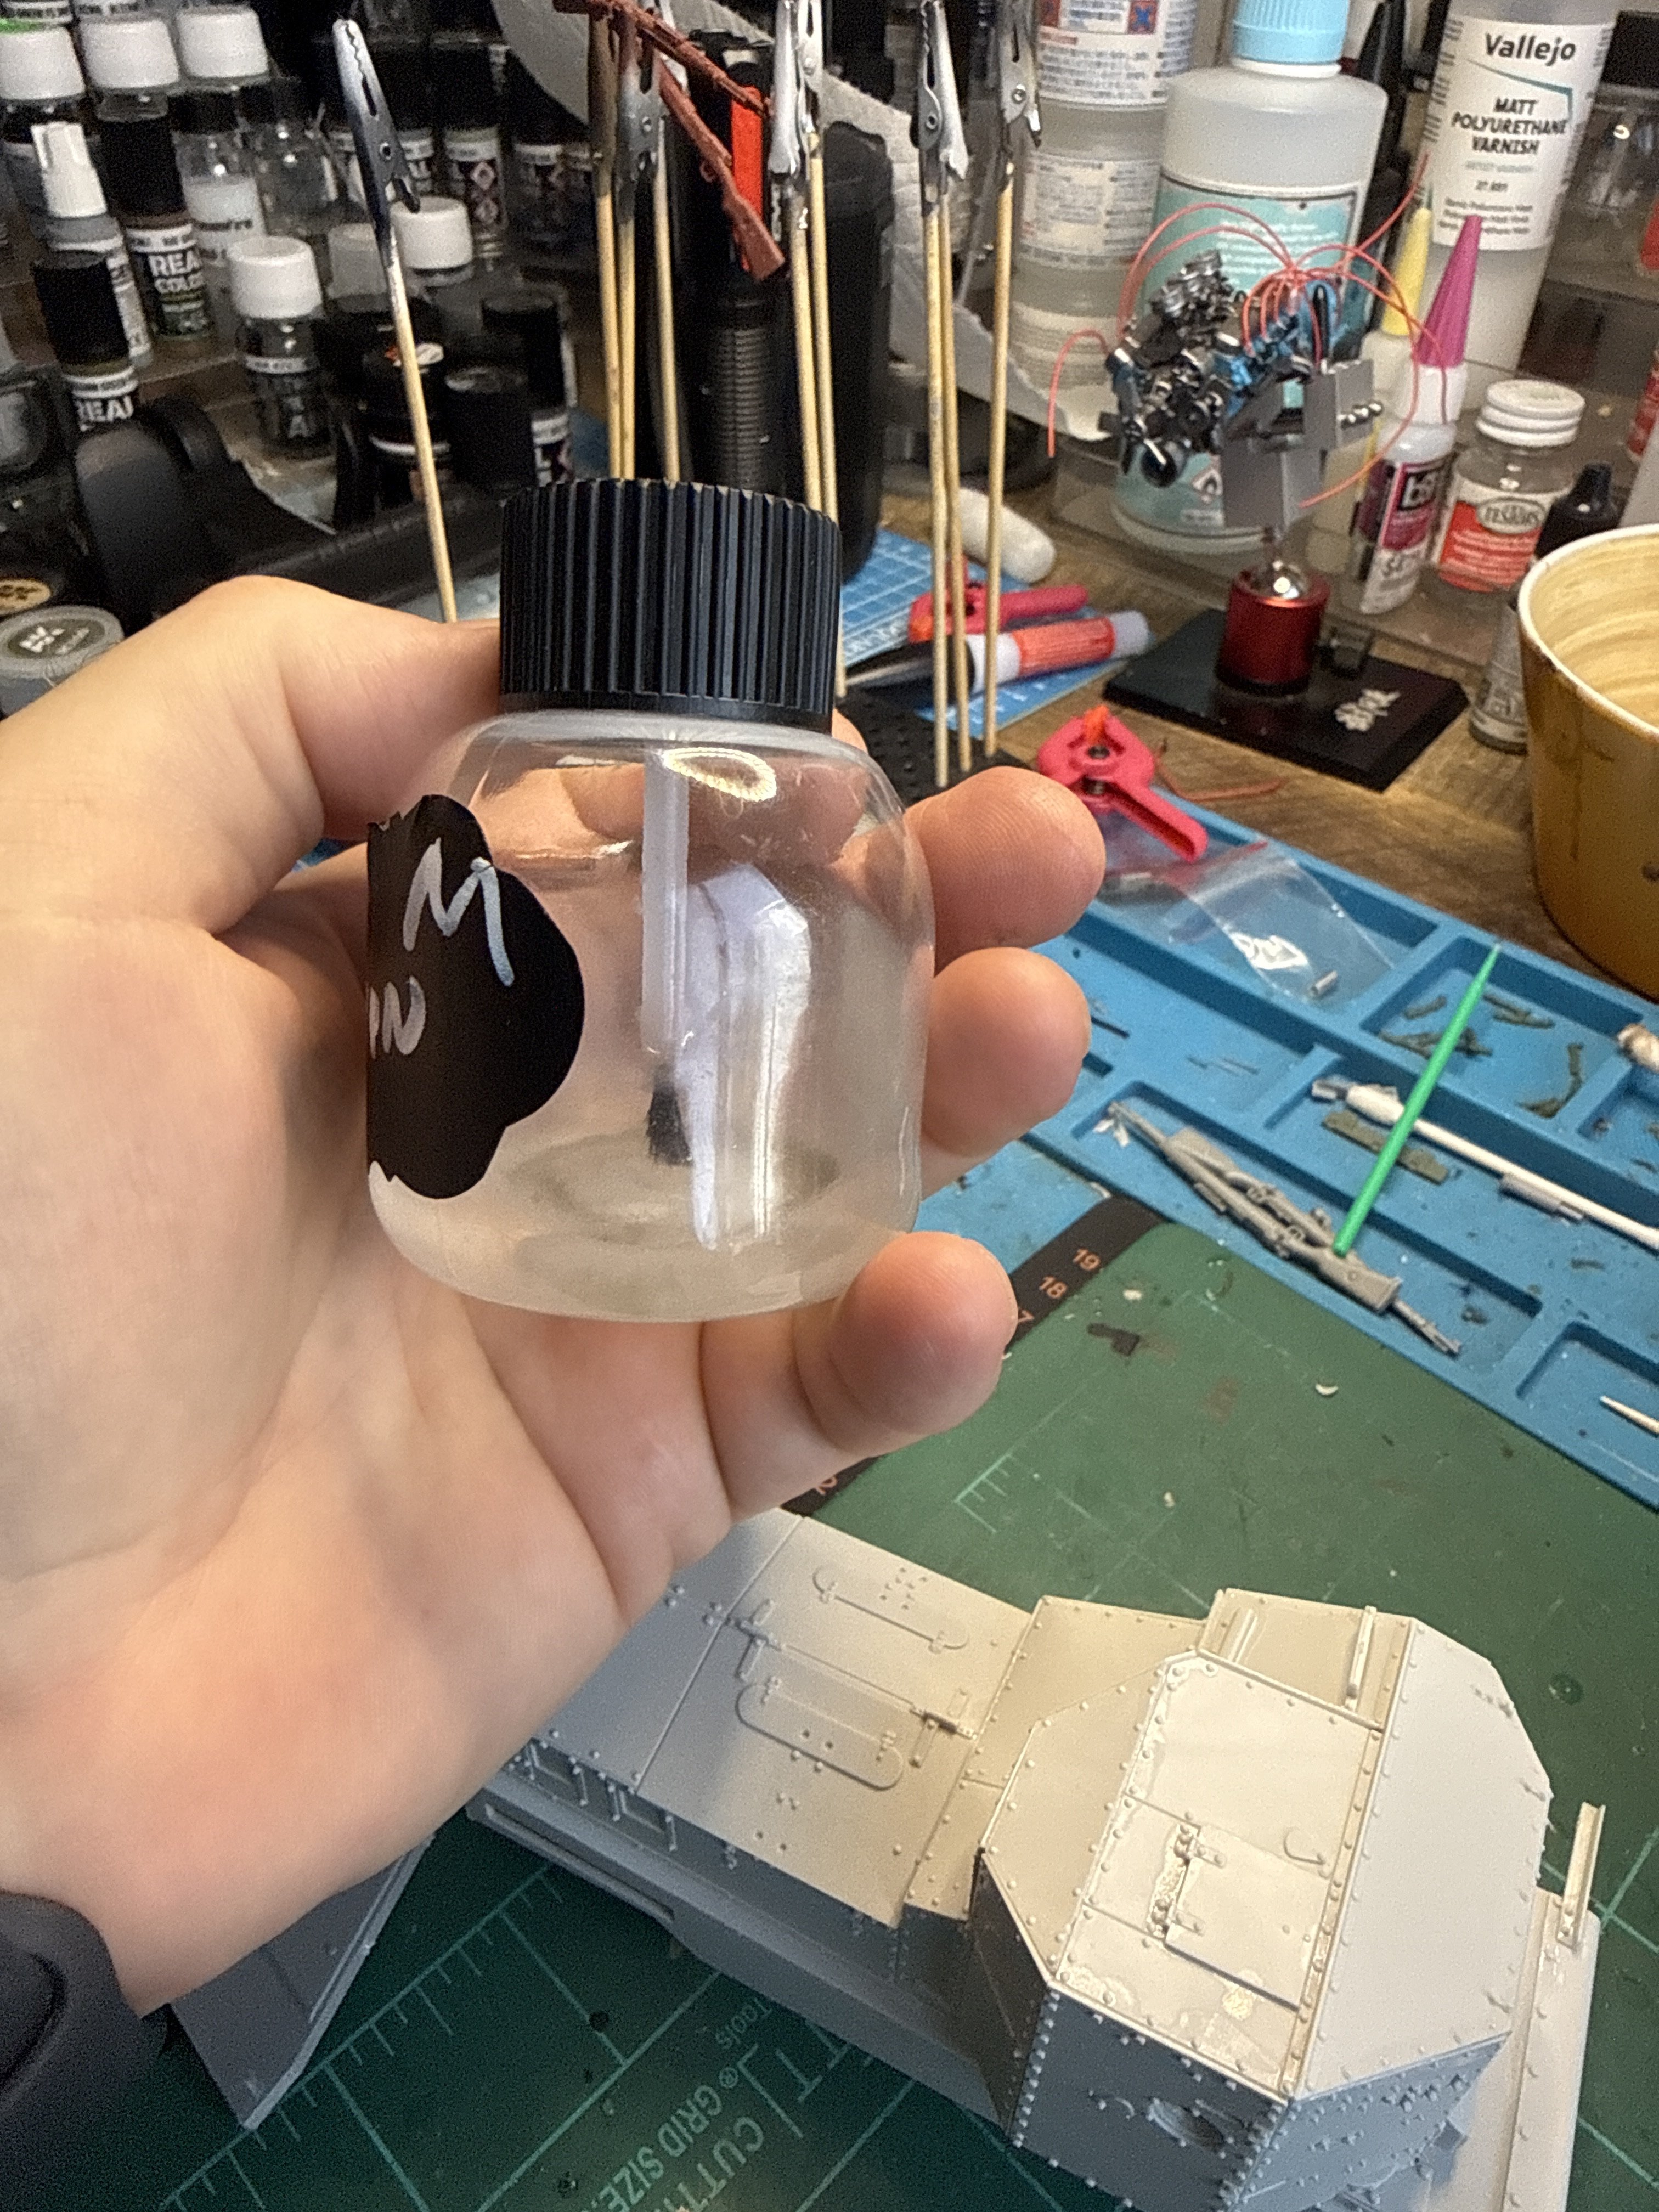
One of the things I've learned is that each glue has its application. I find it interesting when I read people's arguments about the "best adhesive" because it truly depends on what your need is. For this application I used "Ron's medium thin set" so I would have the ability to continue to bend and shape as needed. Btw if anyone has a good source for bottles with brushes I'd love to know. I bought a bunch of these but the brush is too large. I tried trimming but I'd just like a proper small brush.
Attachments


![Pampers Sensitive Baby Wipes, Clinically Proven, Fragrance Free, Unscented, Water Based, Hypoallergenic, Multi-Use, Hand Wipes 336 Wipes Total (6X Flip-Top Packs) [Packaging May Vary]](https://m.media-amazon.com/images/I/41KLBHu9CAL._SL500_.jpg)





As an Amazon Associate we earn from qualifying purchases. Product prices and availability are accurate as of the date/time indicated and are subject to change.


Bob T
Well-Known Member
Watching....
I have this in my stash...
I have this in my stash...
Me either! So far for and finish has been great.Looking good so far. I've never built a kit where you have to bend a piece of plastic like that!

Jakko
Well-Known Member
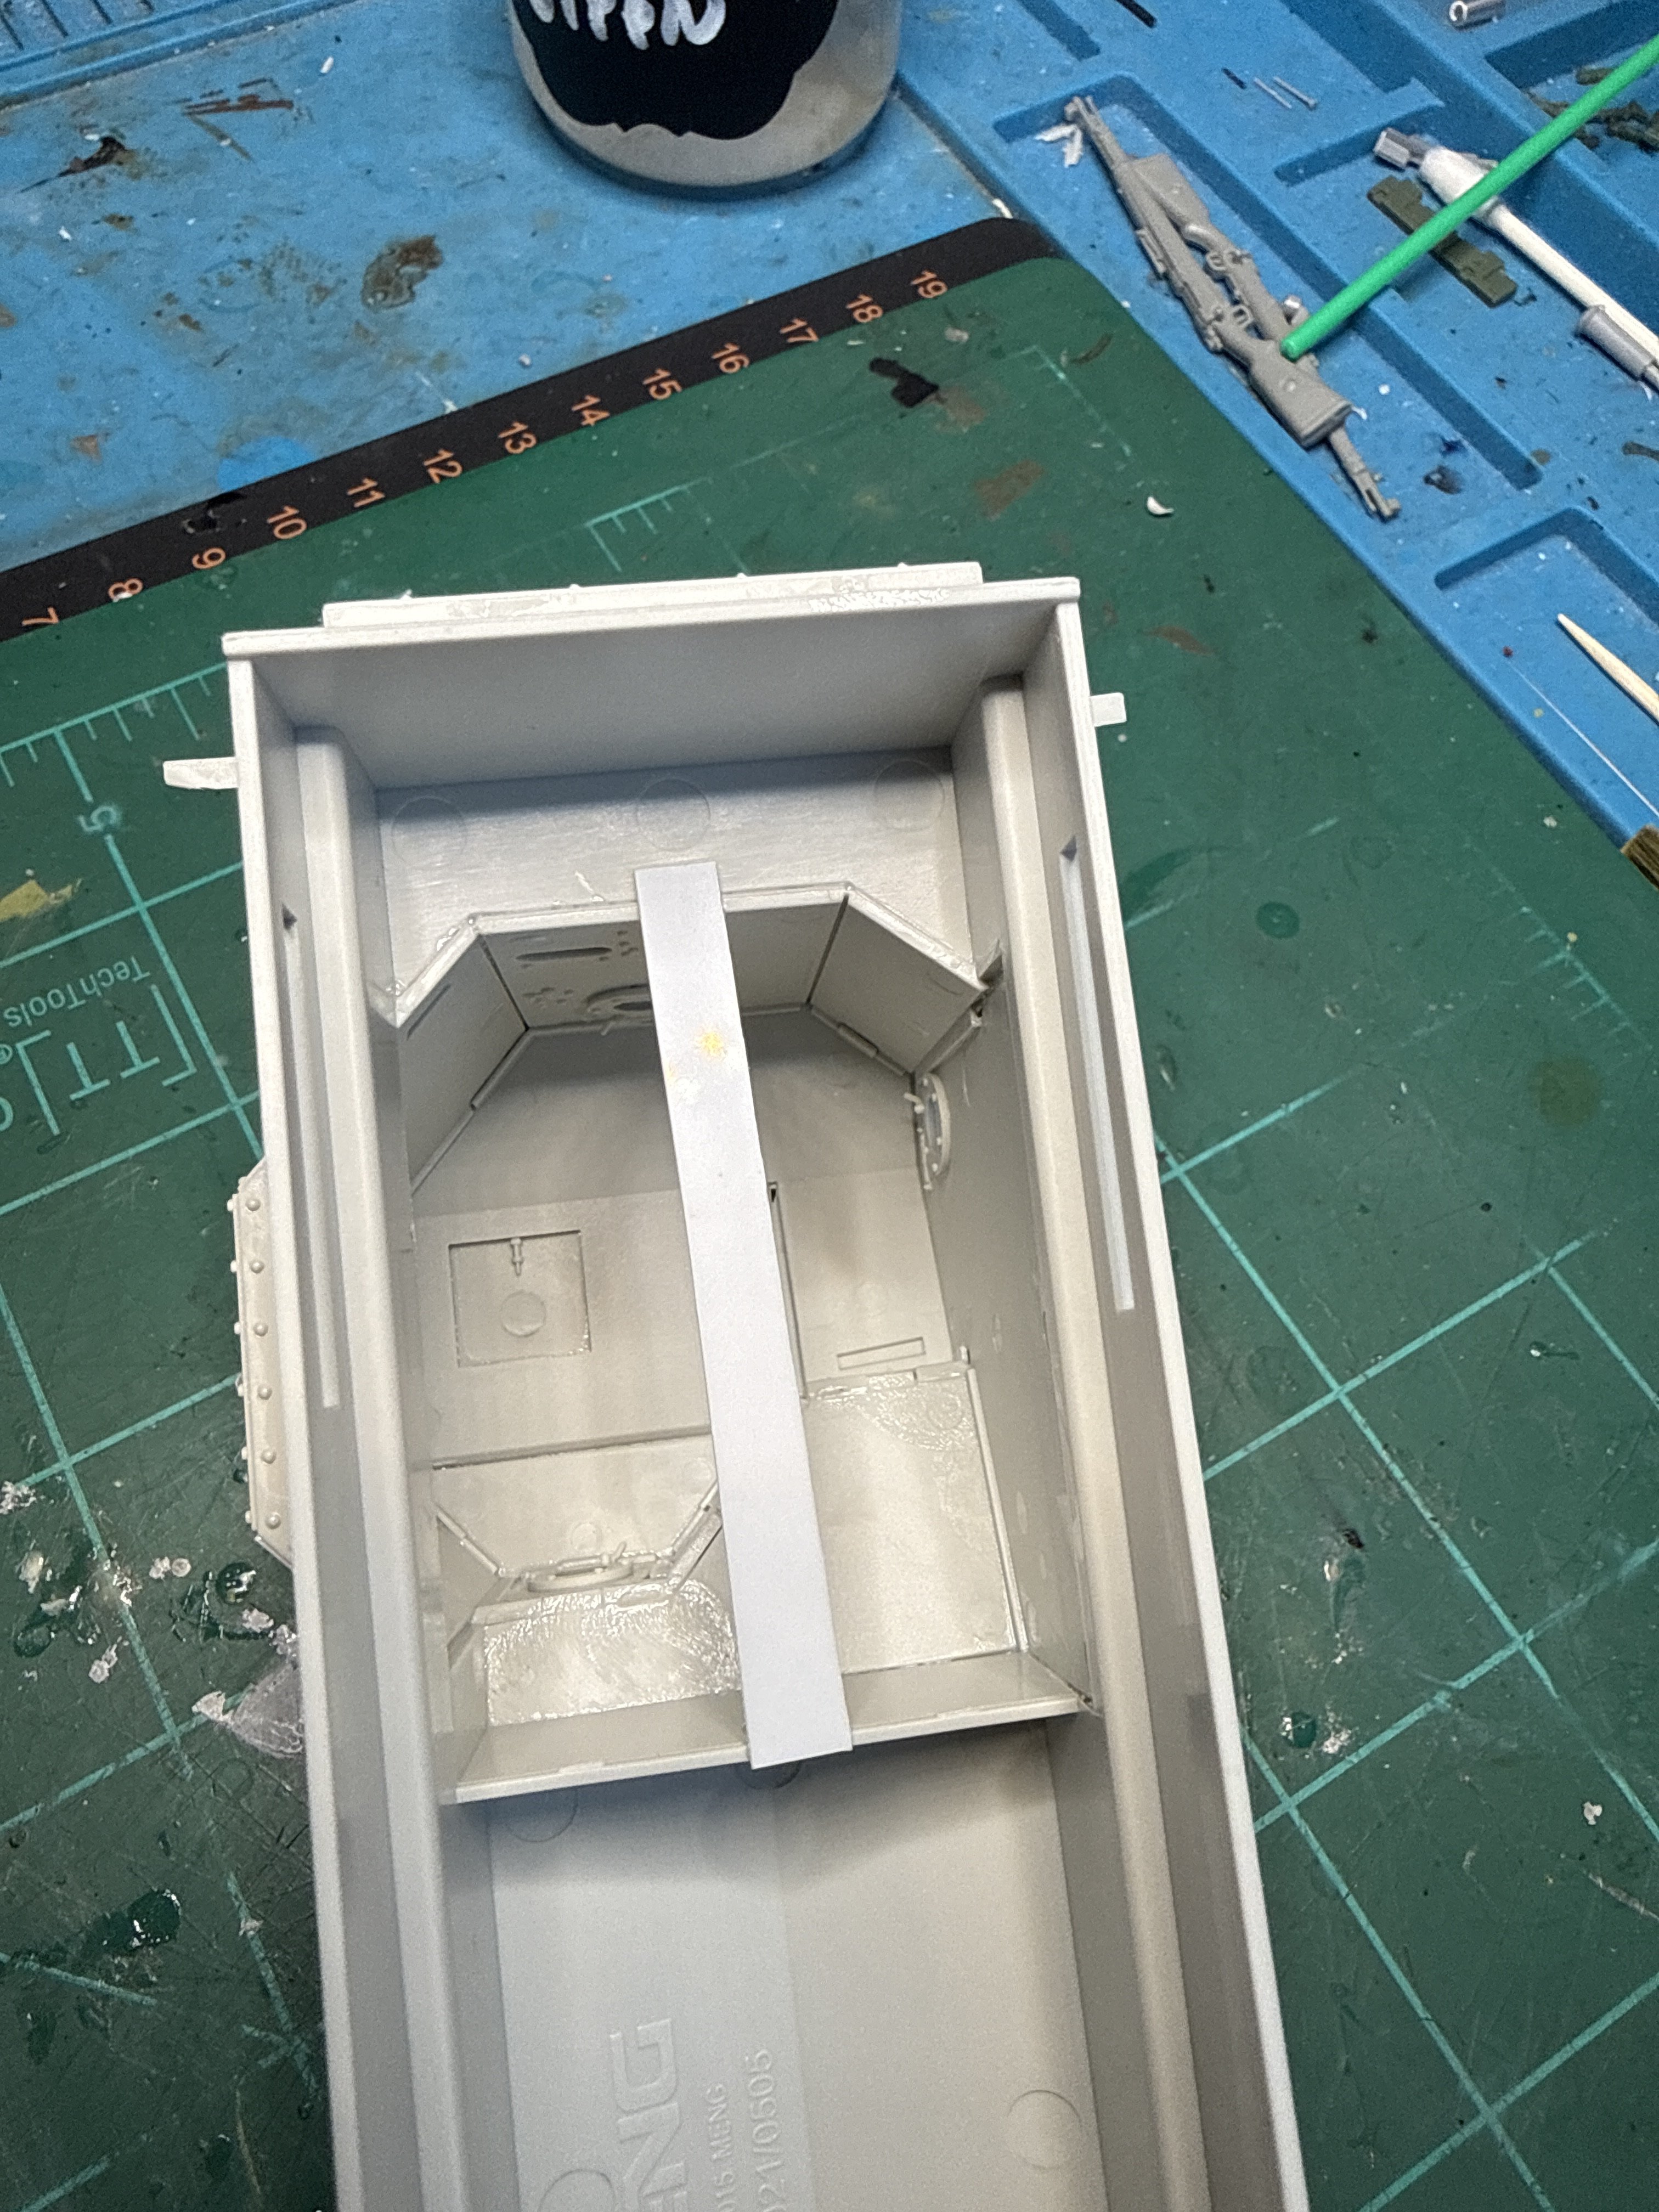
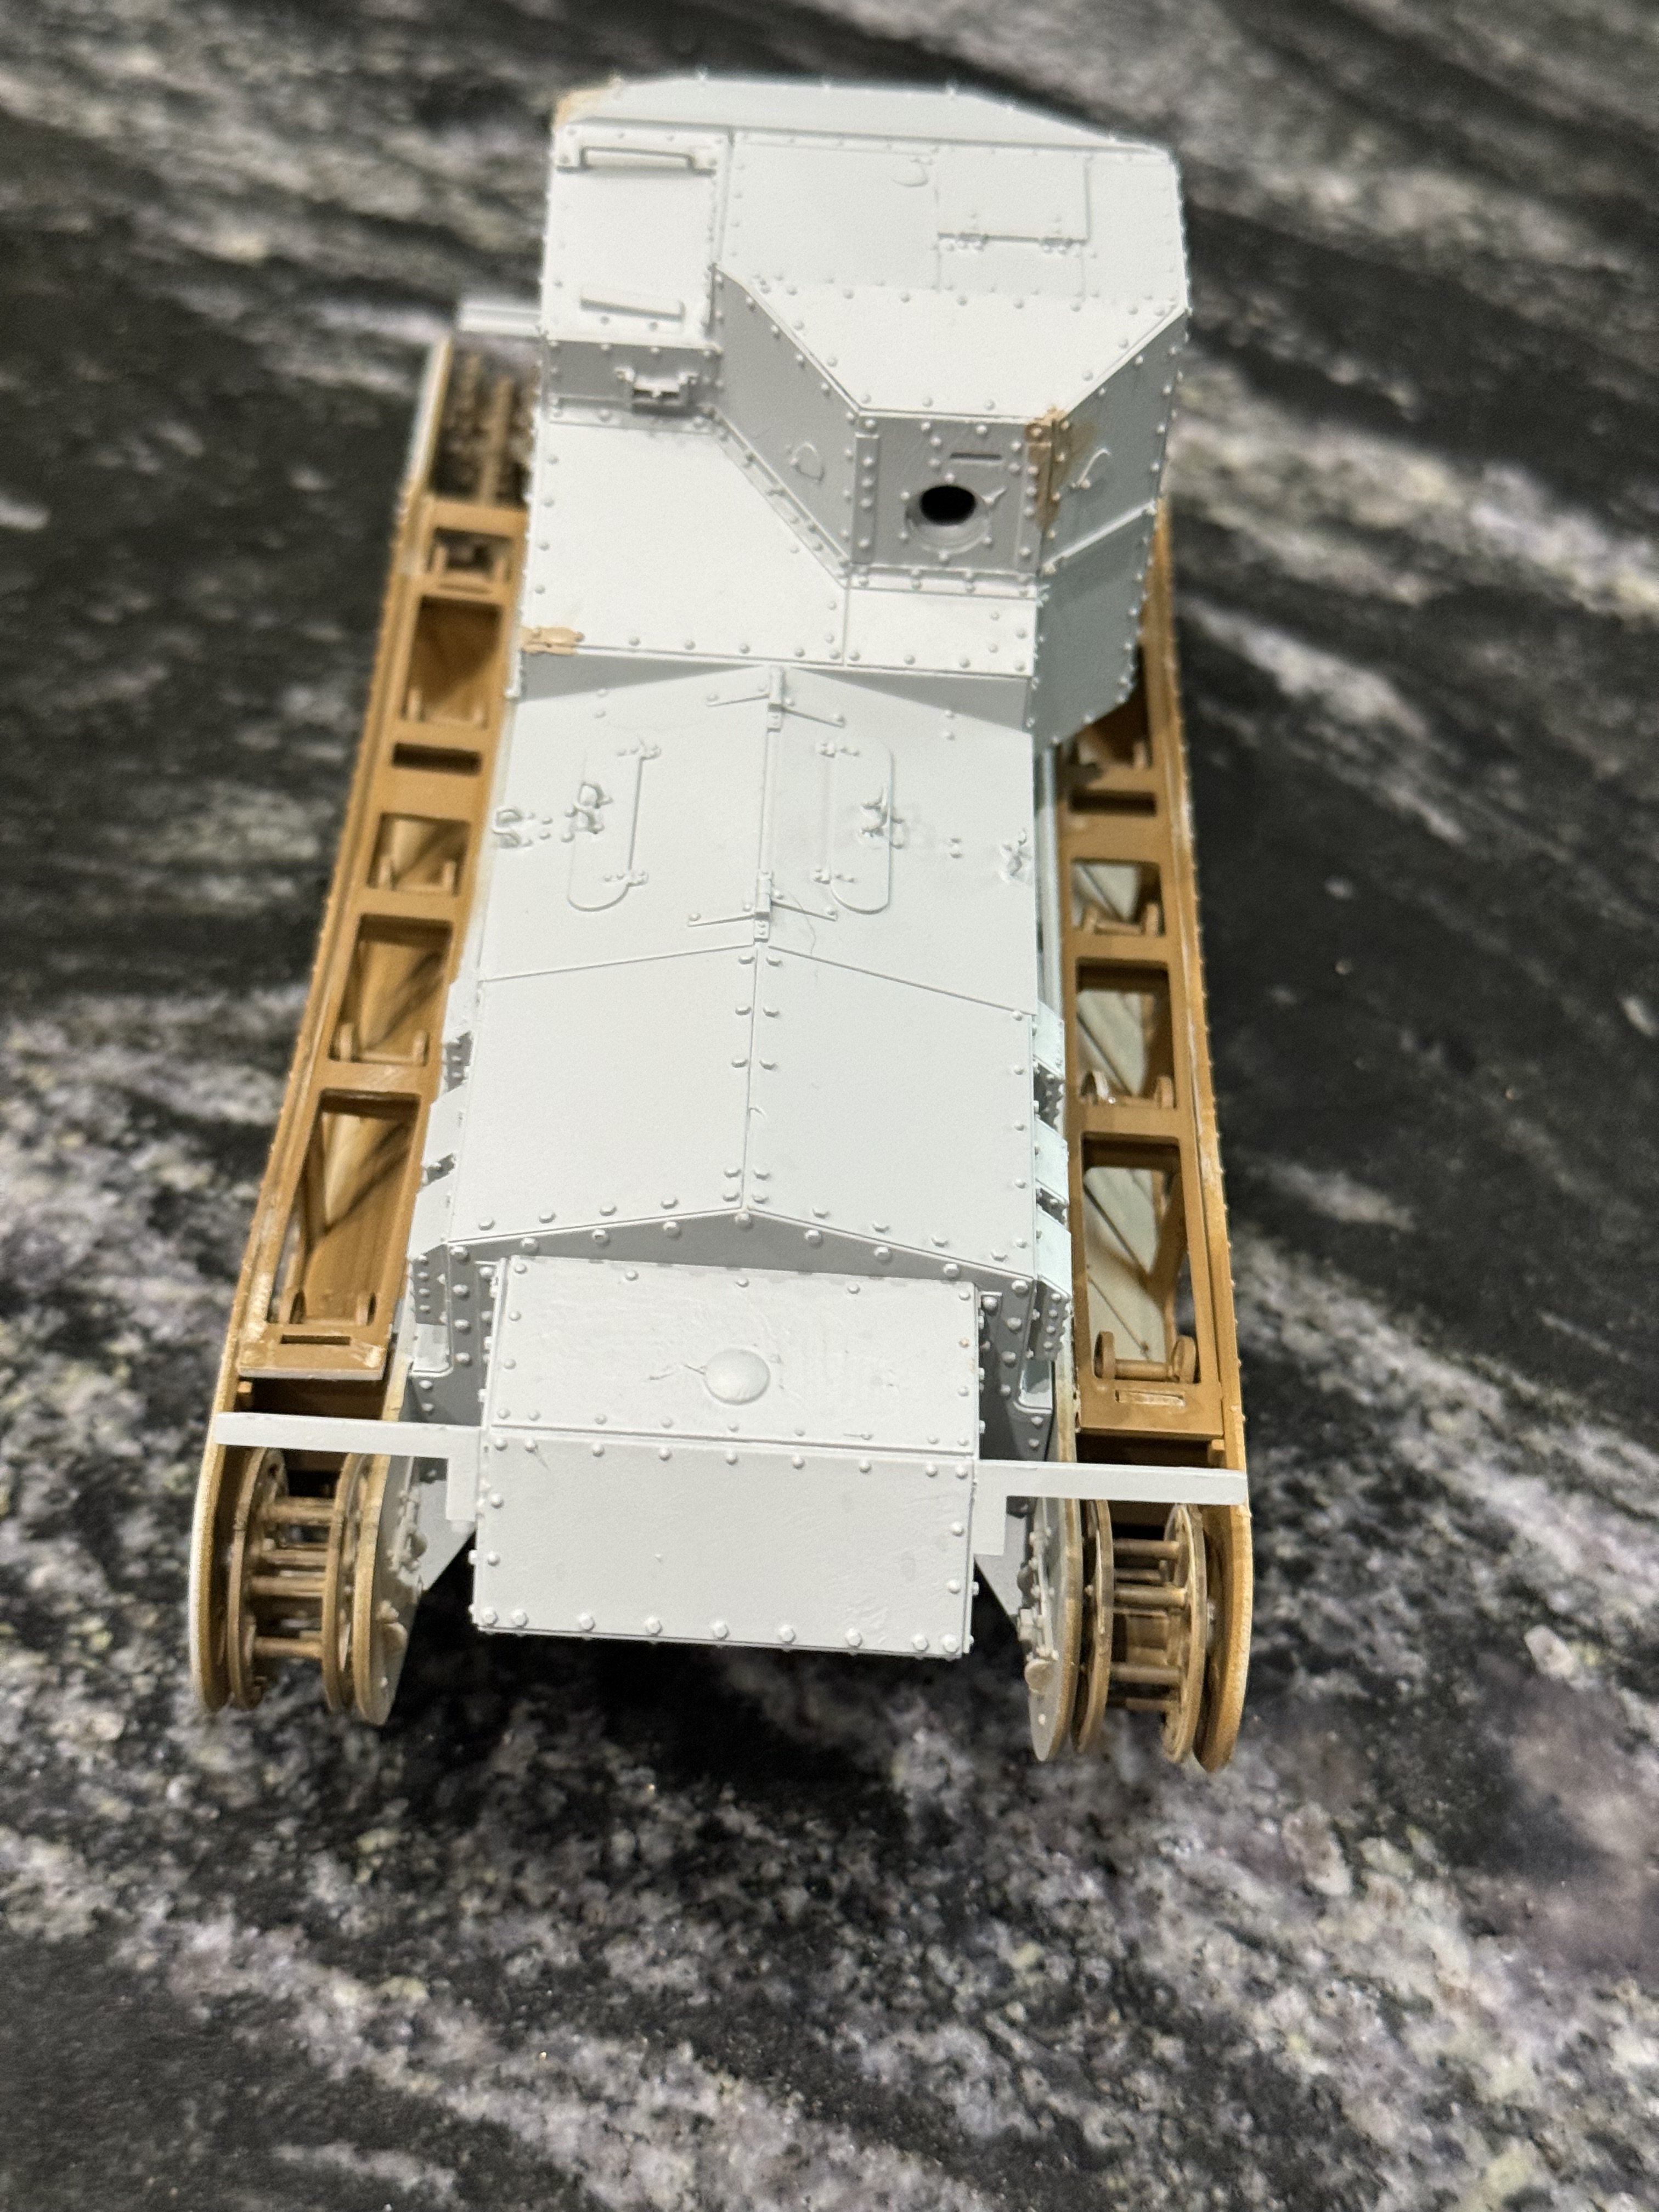
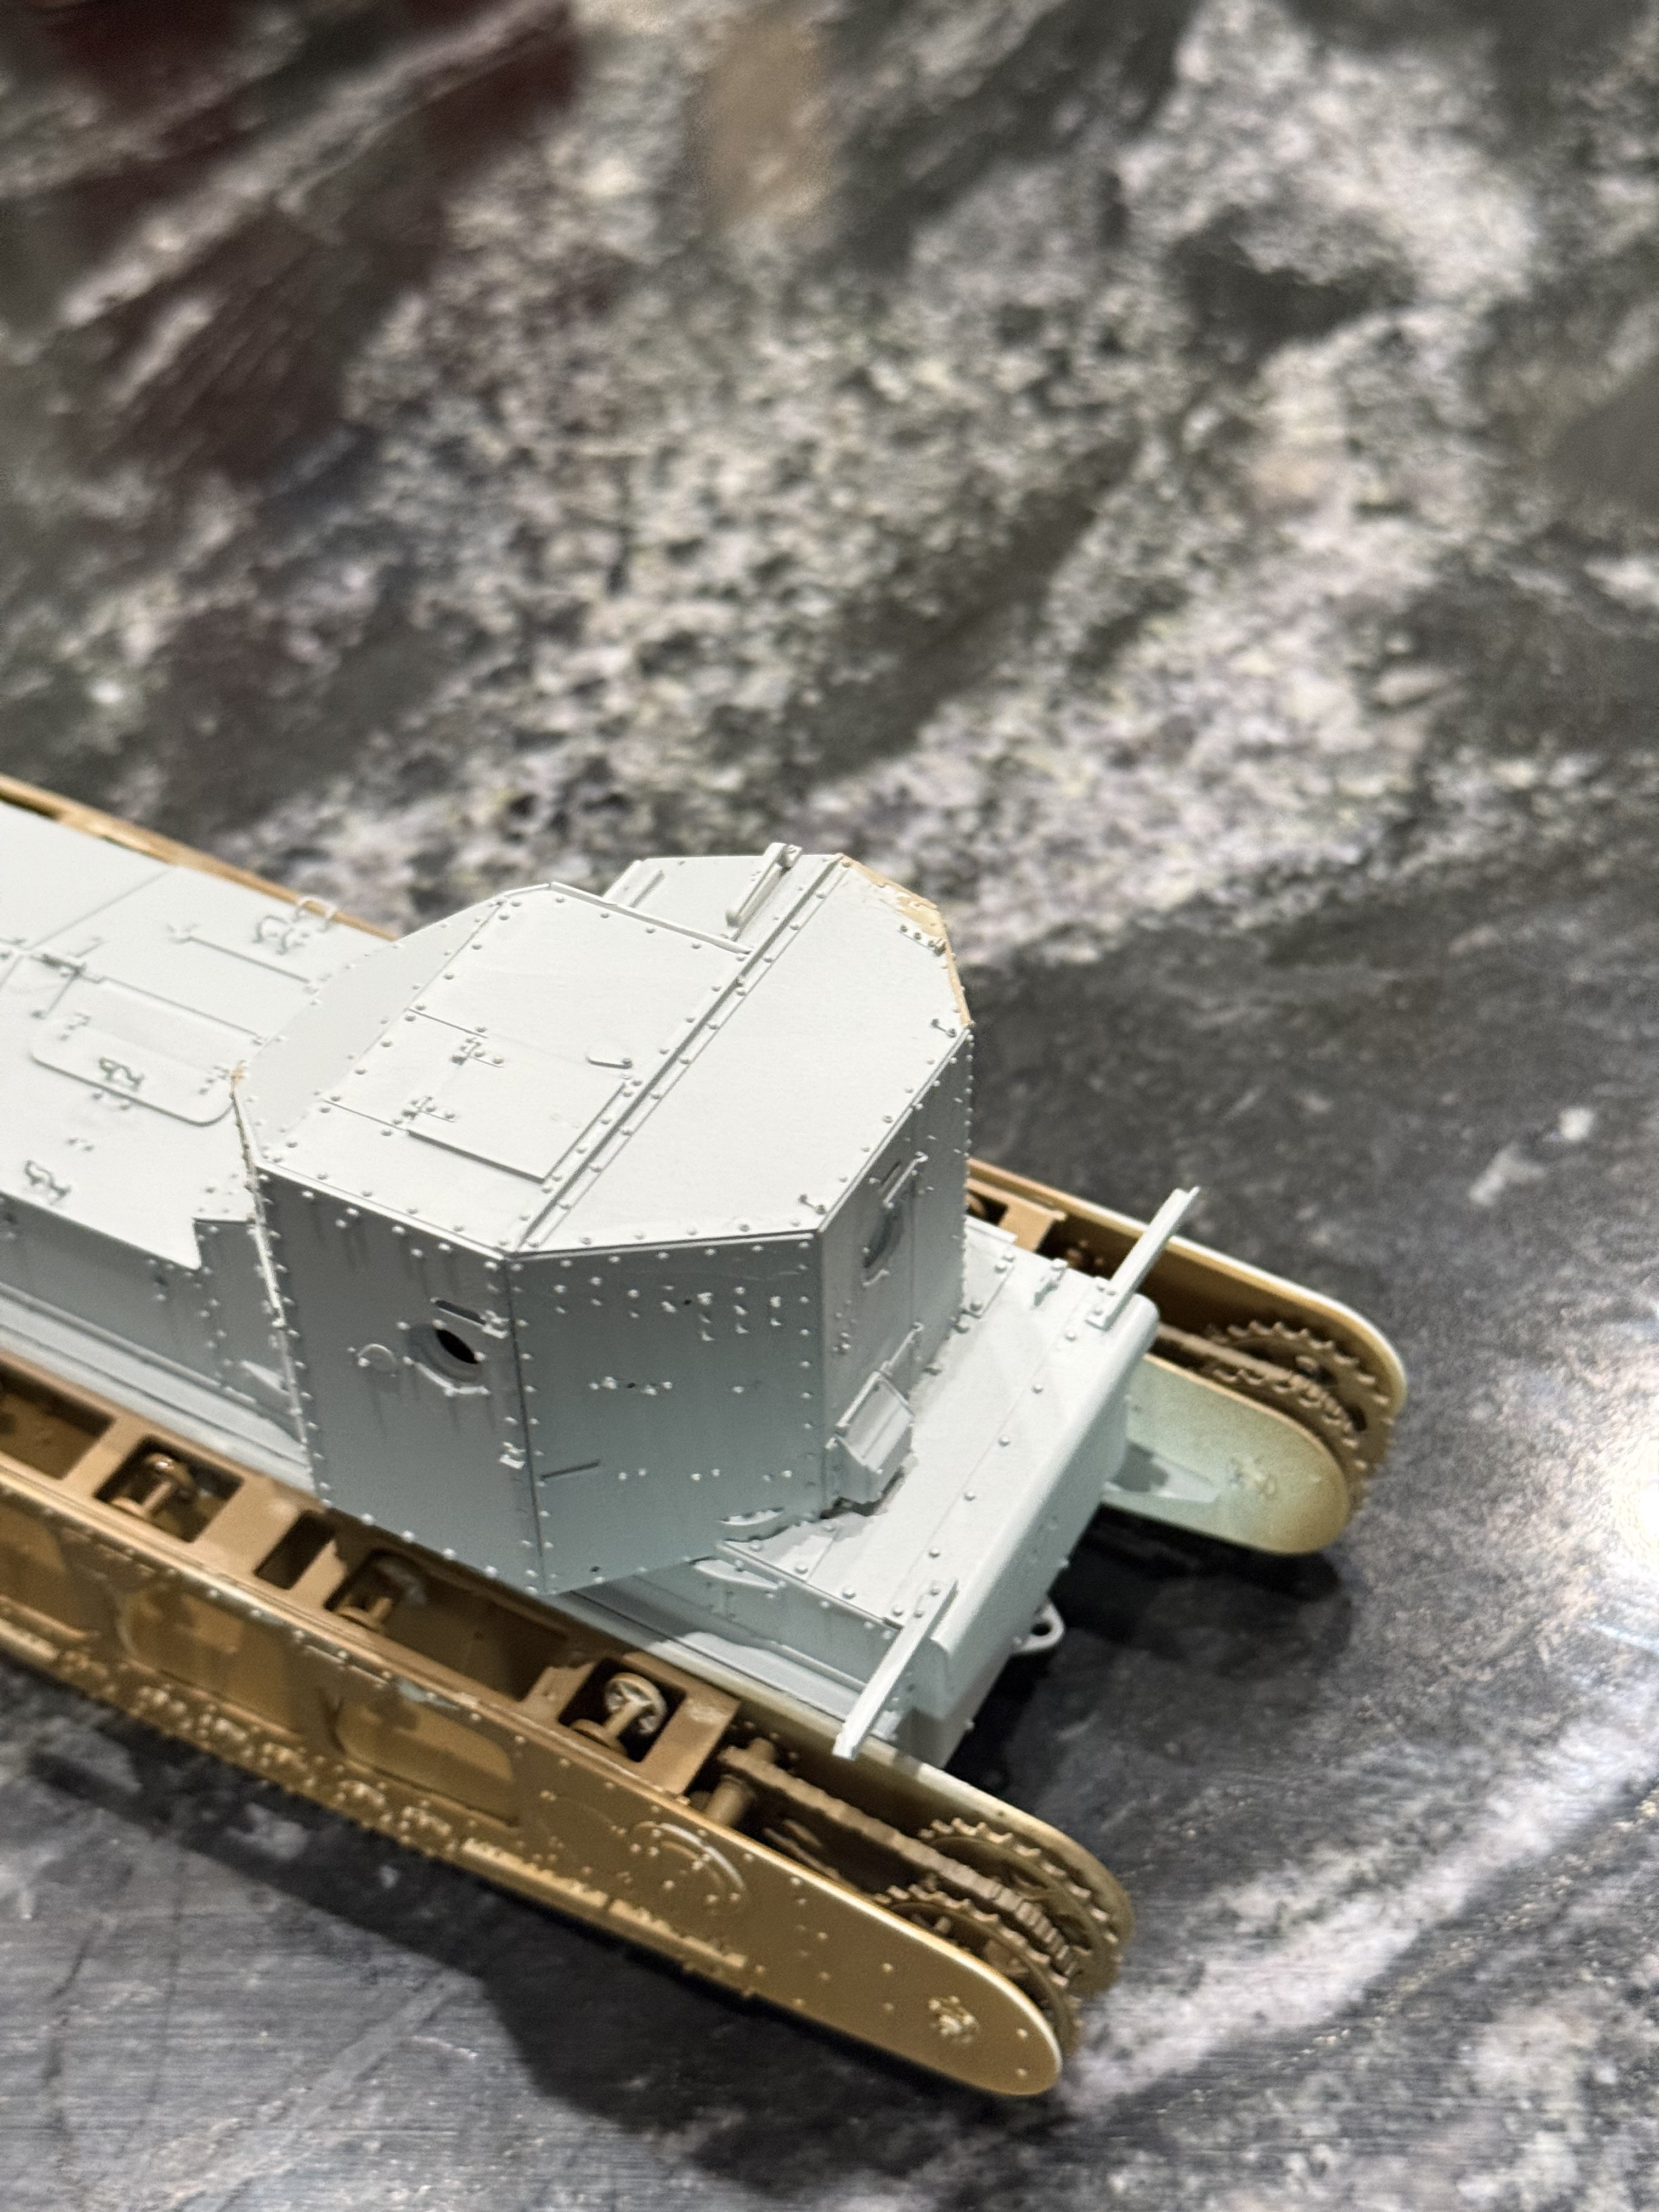
The Whippet had no firewall, thoughI decided to scratch build a turret floor. After some midnight research and precise measurements using my digital calipers. I came up with this.
 Here's the interior of No. A347, preserved in the Royal Army Museum in Brussels: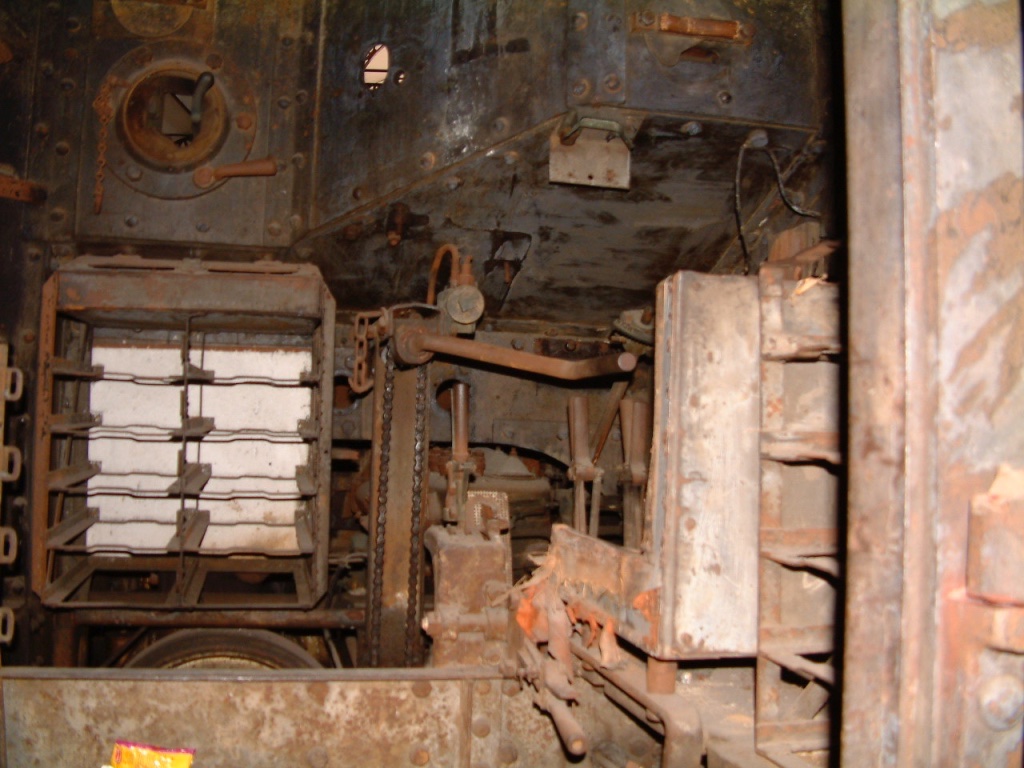
This is looking forward through the open rear door of the cab. You can see the top of one of the engines between the driver's control levers on the right.
If you want more Whippet photos, of this one as well as the one in Bovington and one in South Africa, check out the PDF I put together over twenty years ago

I built the Meng Whippet a few years ago, folding all of the armor panels was kind of weird, and I had numerous fit problems with the tracks, but got it together in the end. Nice kit but kind of a royal PITA too. Those little hooks for the tow cables are super tiny.
No firewall? I'm confused. I'll check out the pdf tho- thanks!The Whippet had no firewall, though
View attachment 192887
This is looking forward through the open rear door of the cab. You can see the top of one of the engines between the driver's control levers on the right.
If you want more Whippet photos, of this one as well as the one in Bovington and one in South Africa, check out the PDF I put together over twenty years ago
Very nice! Apparently I'm going to have to work on my rust techniques with this build!I built the Meng Whippet a few years ago, folding all of the armor panels was kind of weird, and I had numerous fit problems with the tracks, but got it together in the end. Nice kit but kind of a royal PITA too. Those little hooks for the tow cables are super tiny.
View attachment 192929
Jakko
Well-Known Member
Don't beNo firewall? I'm confused.
First World War tanks typically had the engine out in the open inside the crew compartment. At least on the Whippet it wasn't in the middle of it The only thing on this tank that had its own compartment was the fuel tank, in the "extension" at the front.
Nice!turret floor
Got an itch? Gotta scratch!
Now you can sleep knowing the crew have a floor!
Last edited:
Hopefully they're skinny!Nice!
Got an itch? Gotta scratch!
Now you can sleep knowing the crew have a floor!
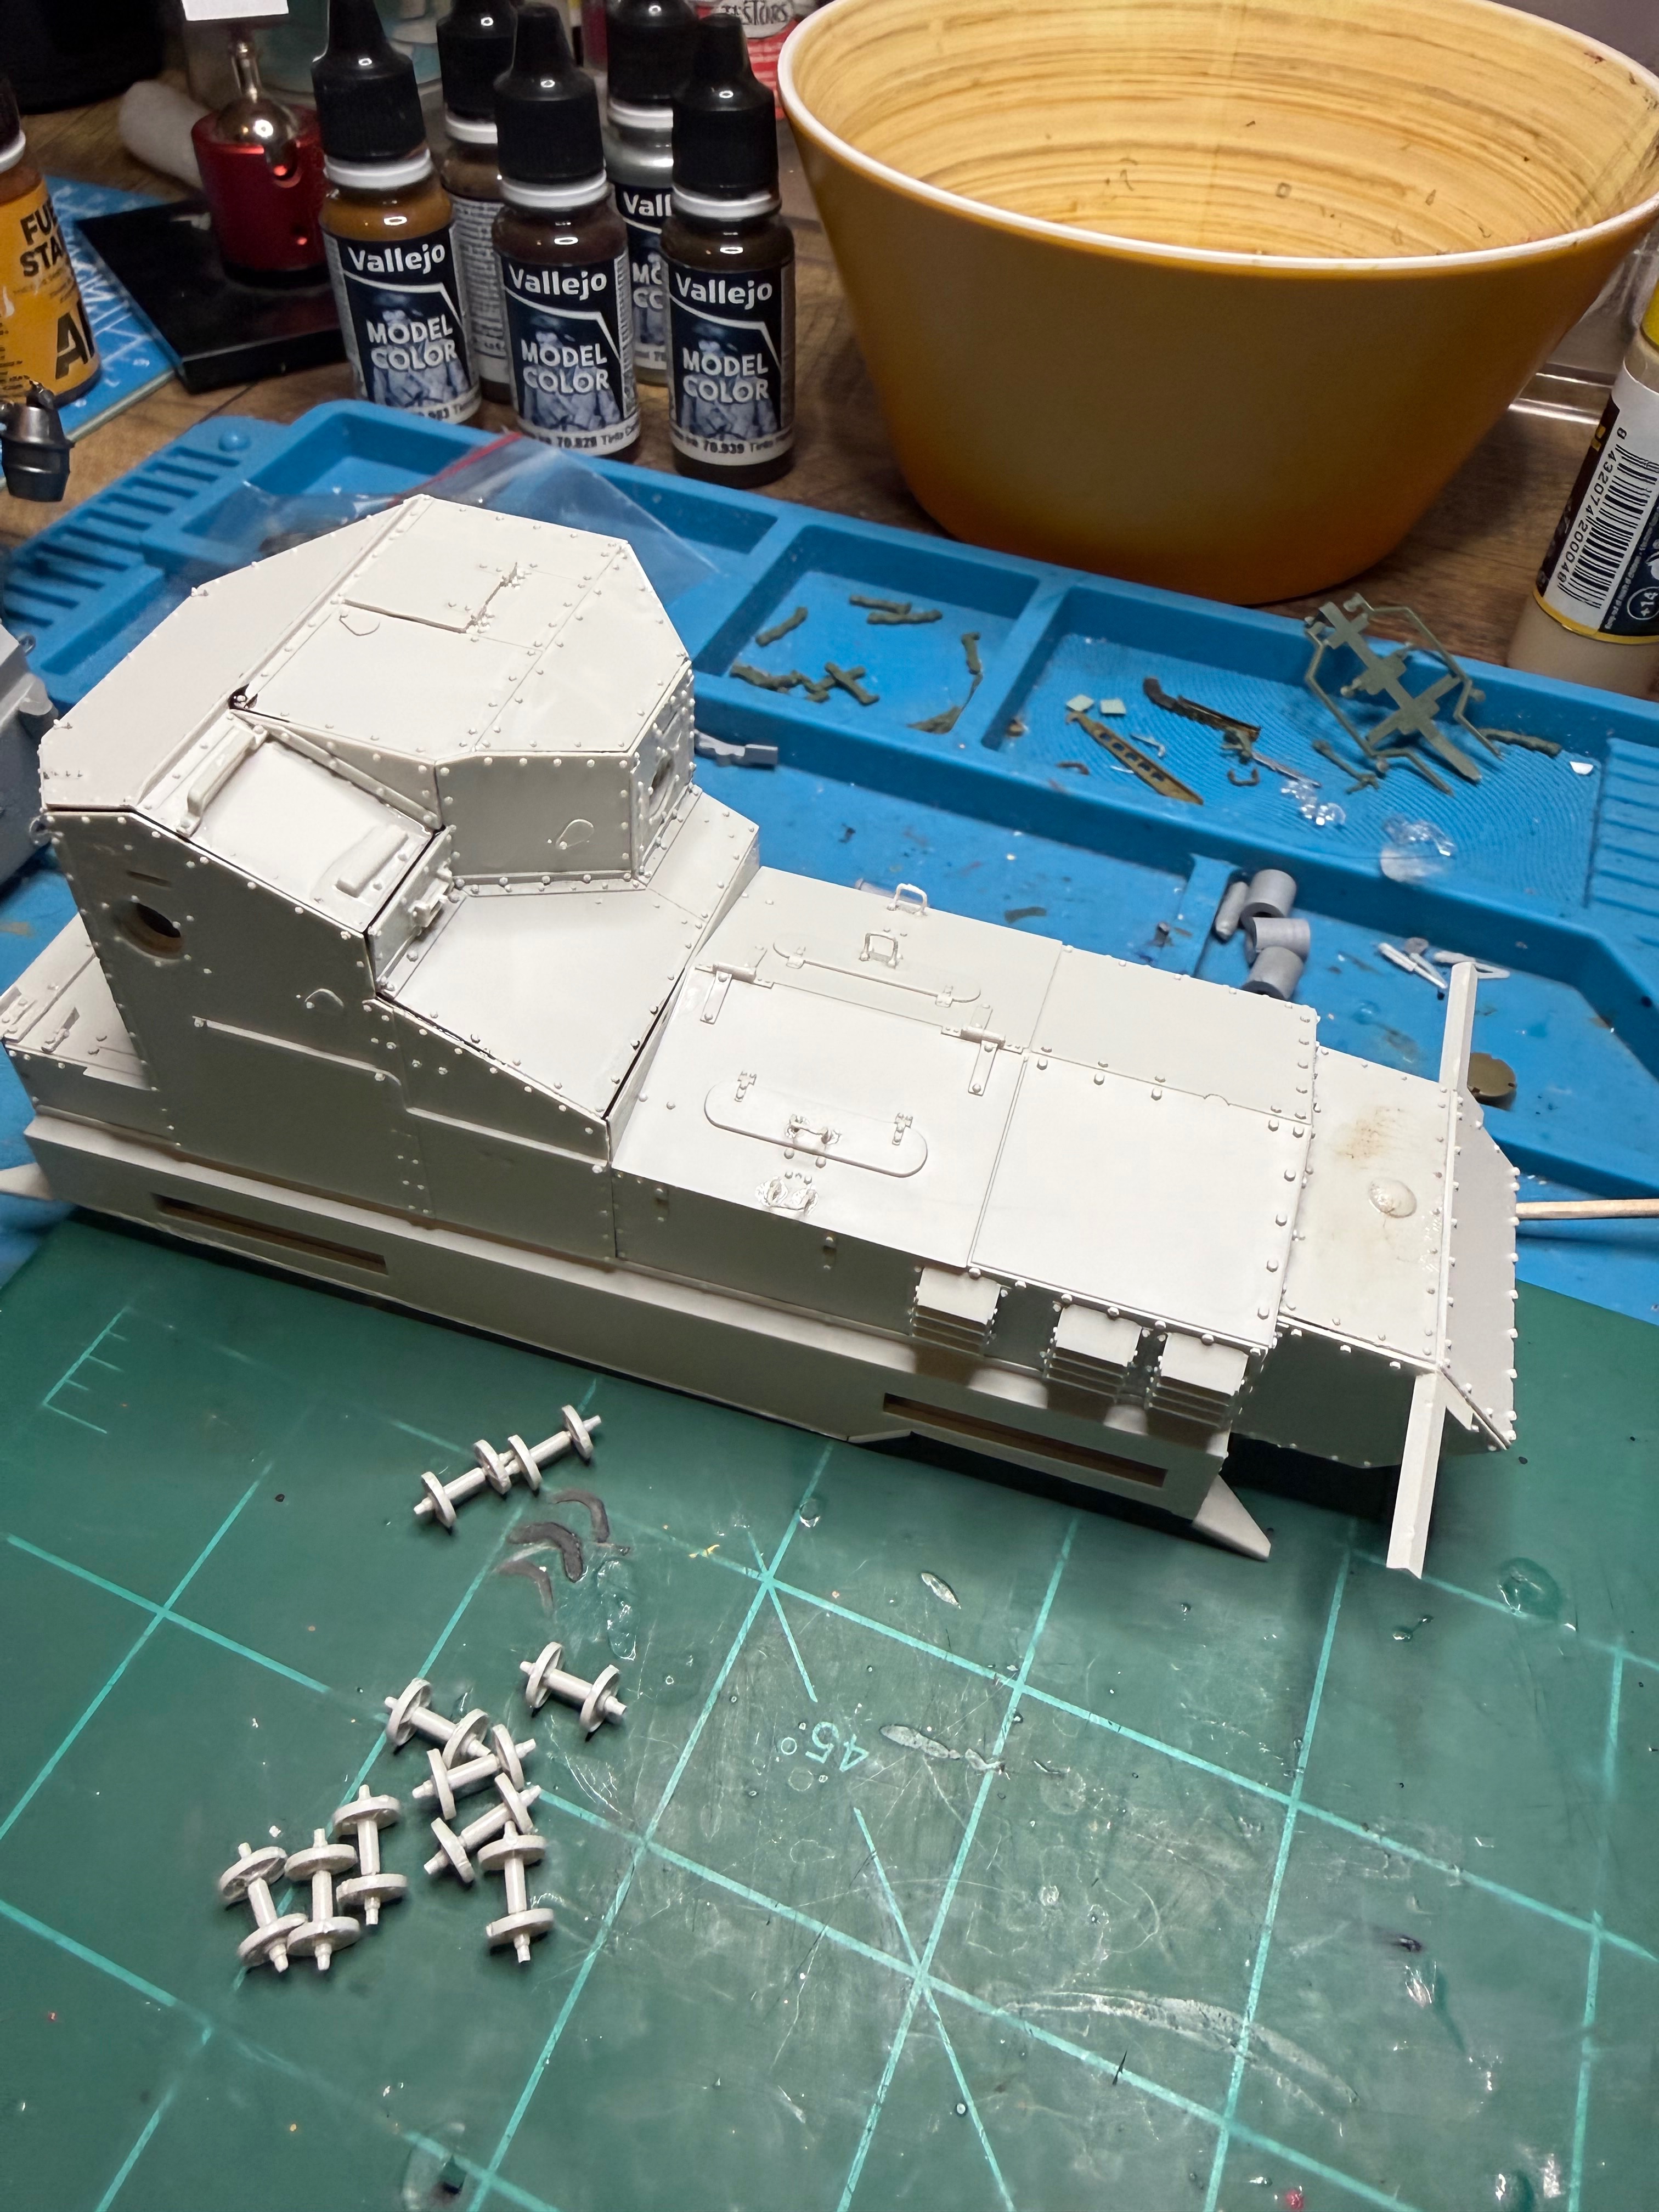
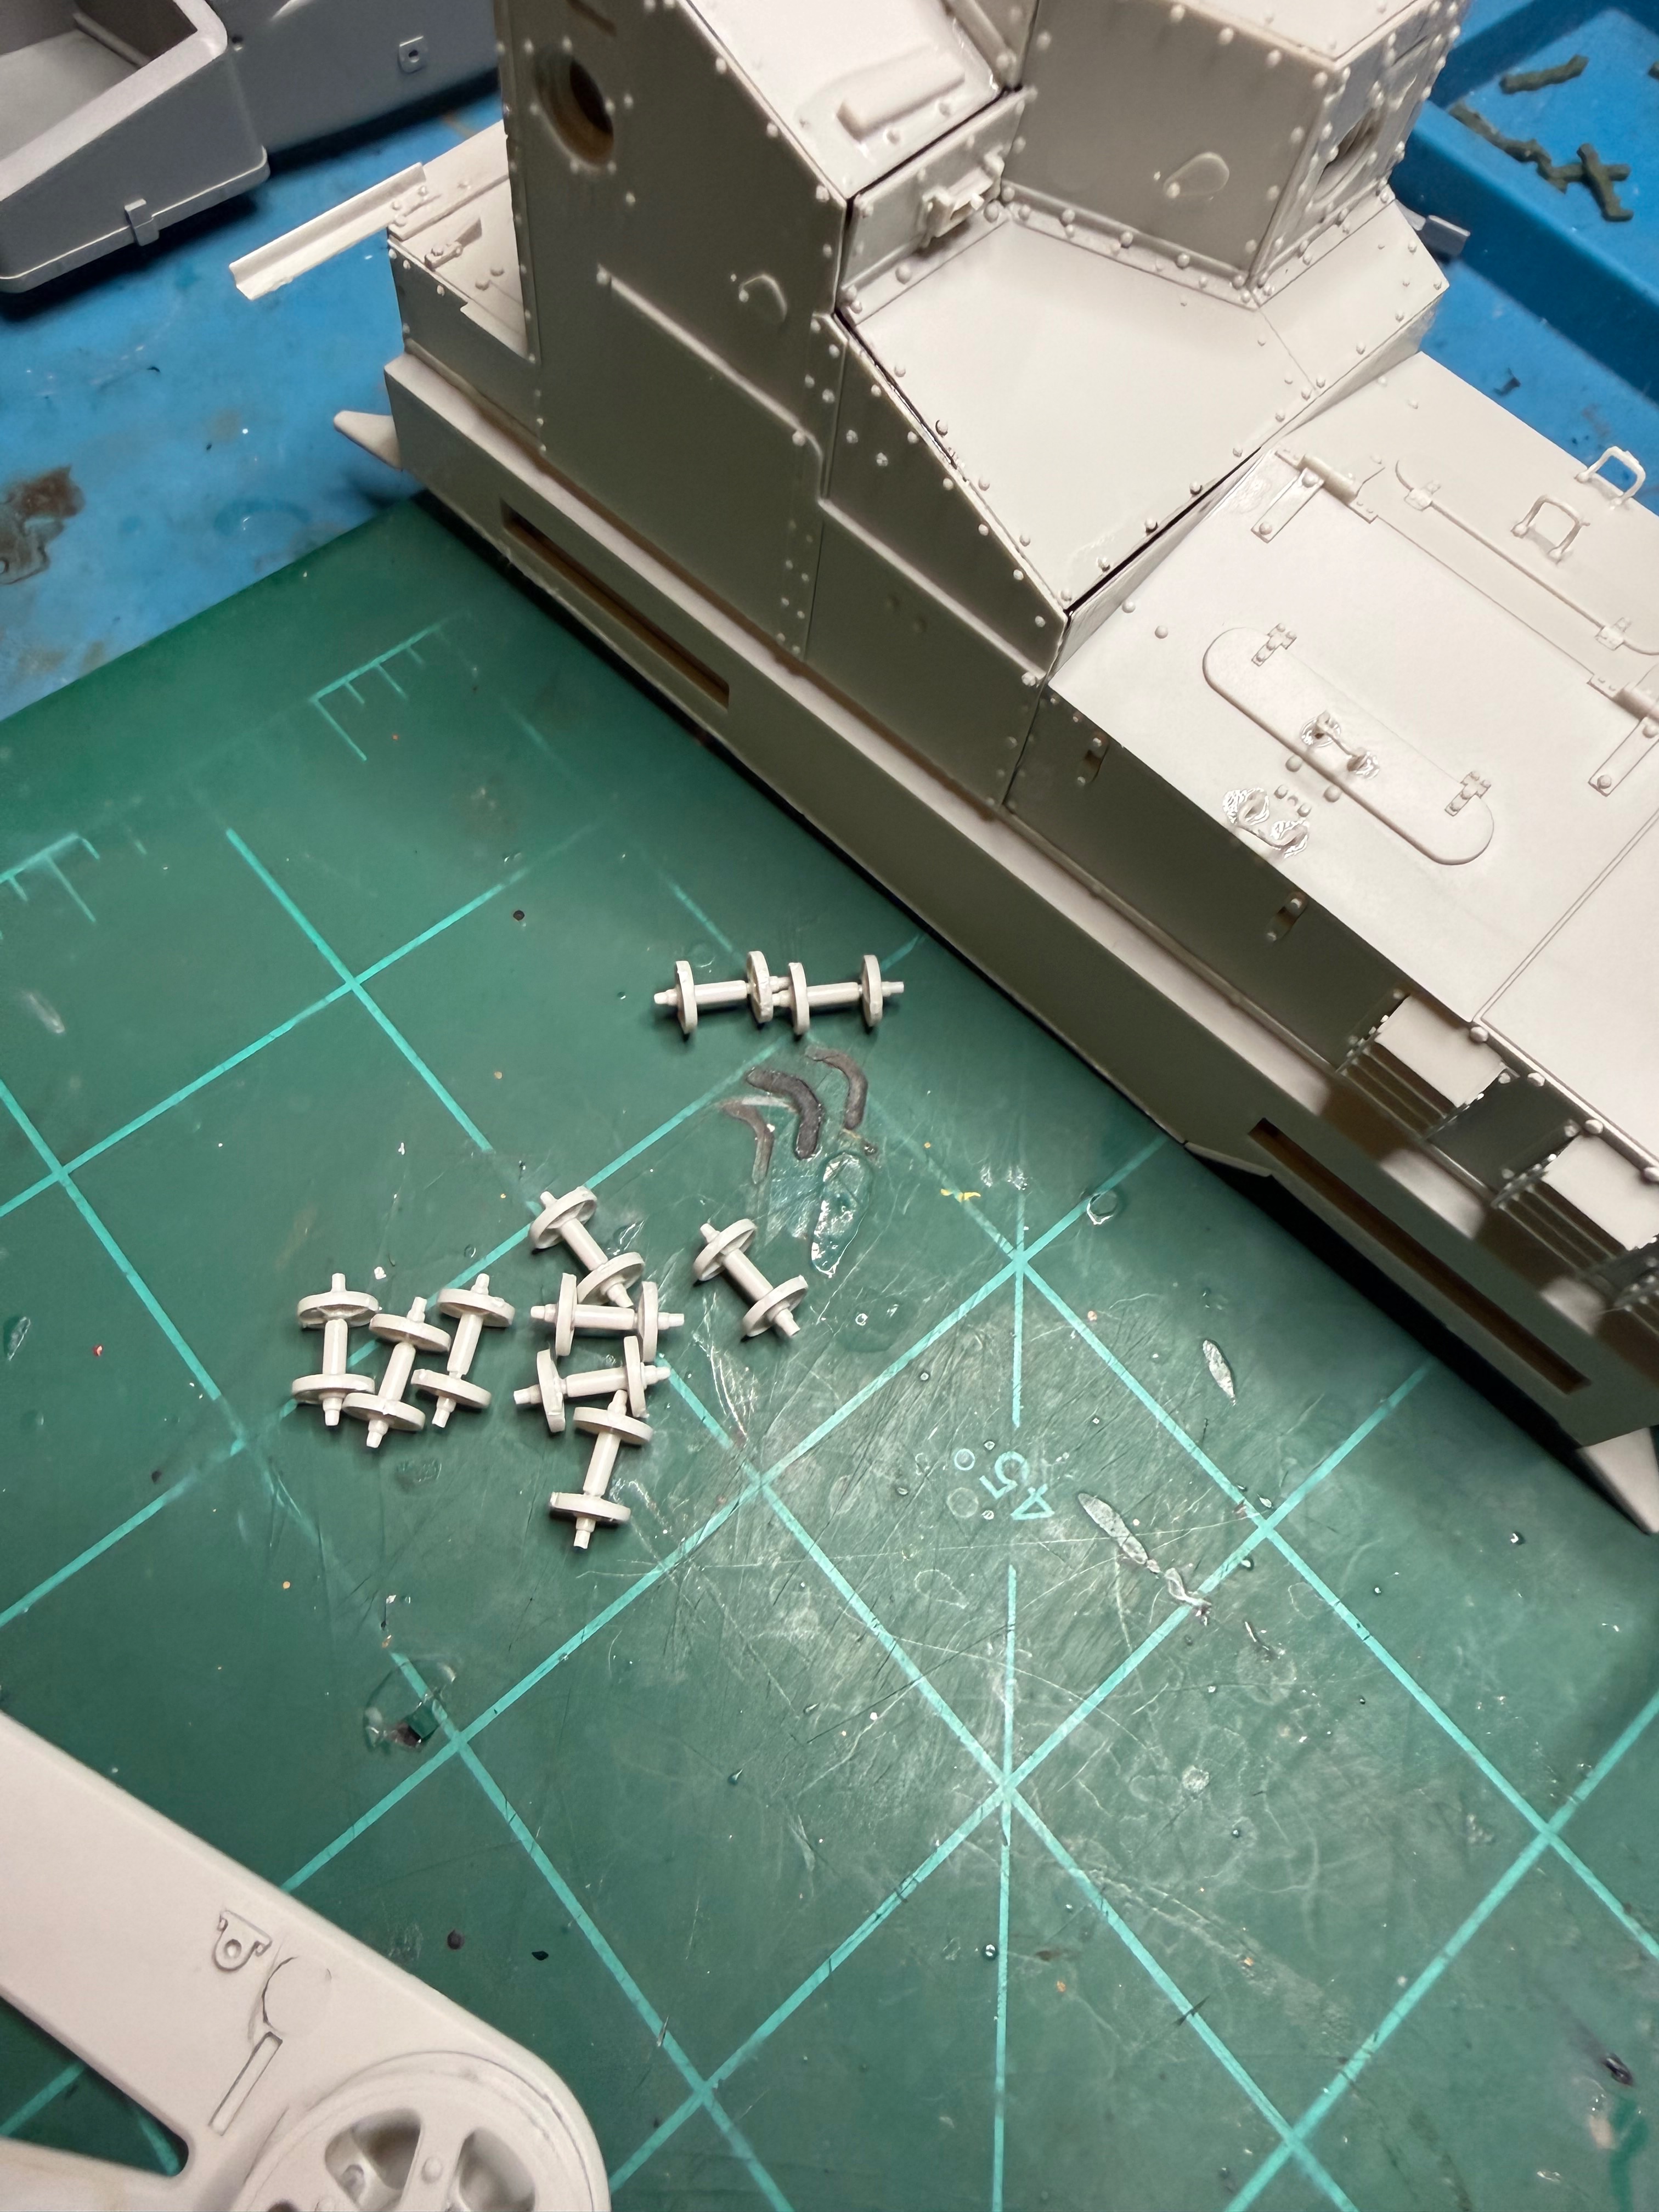
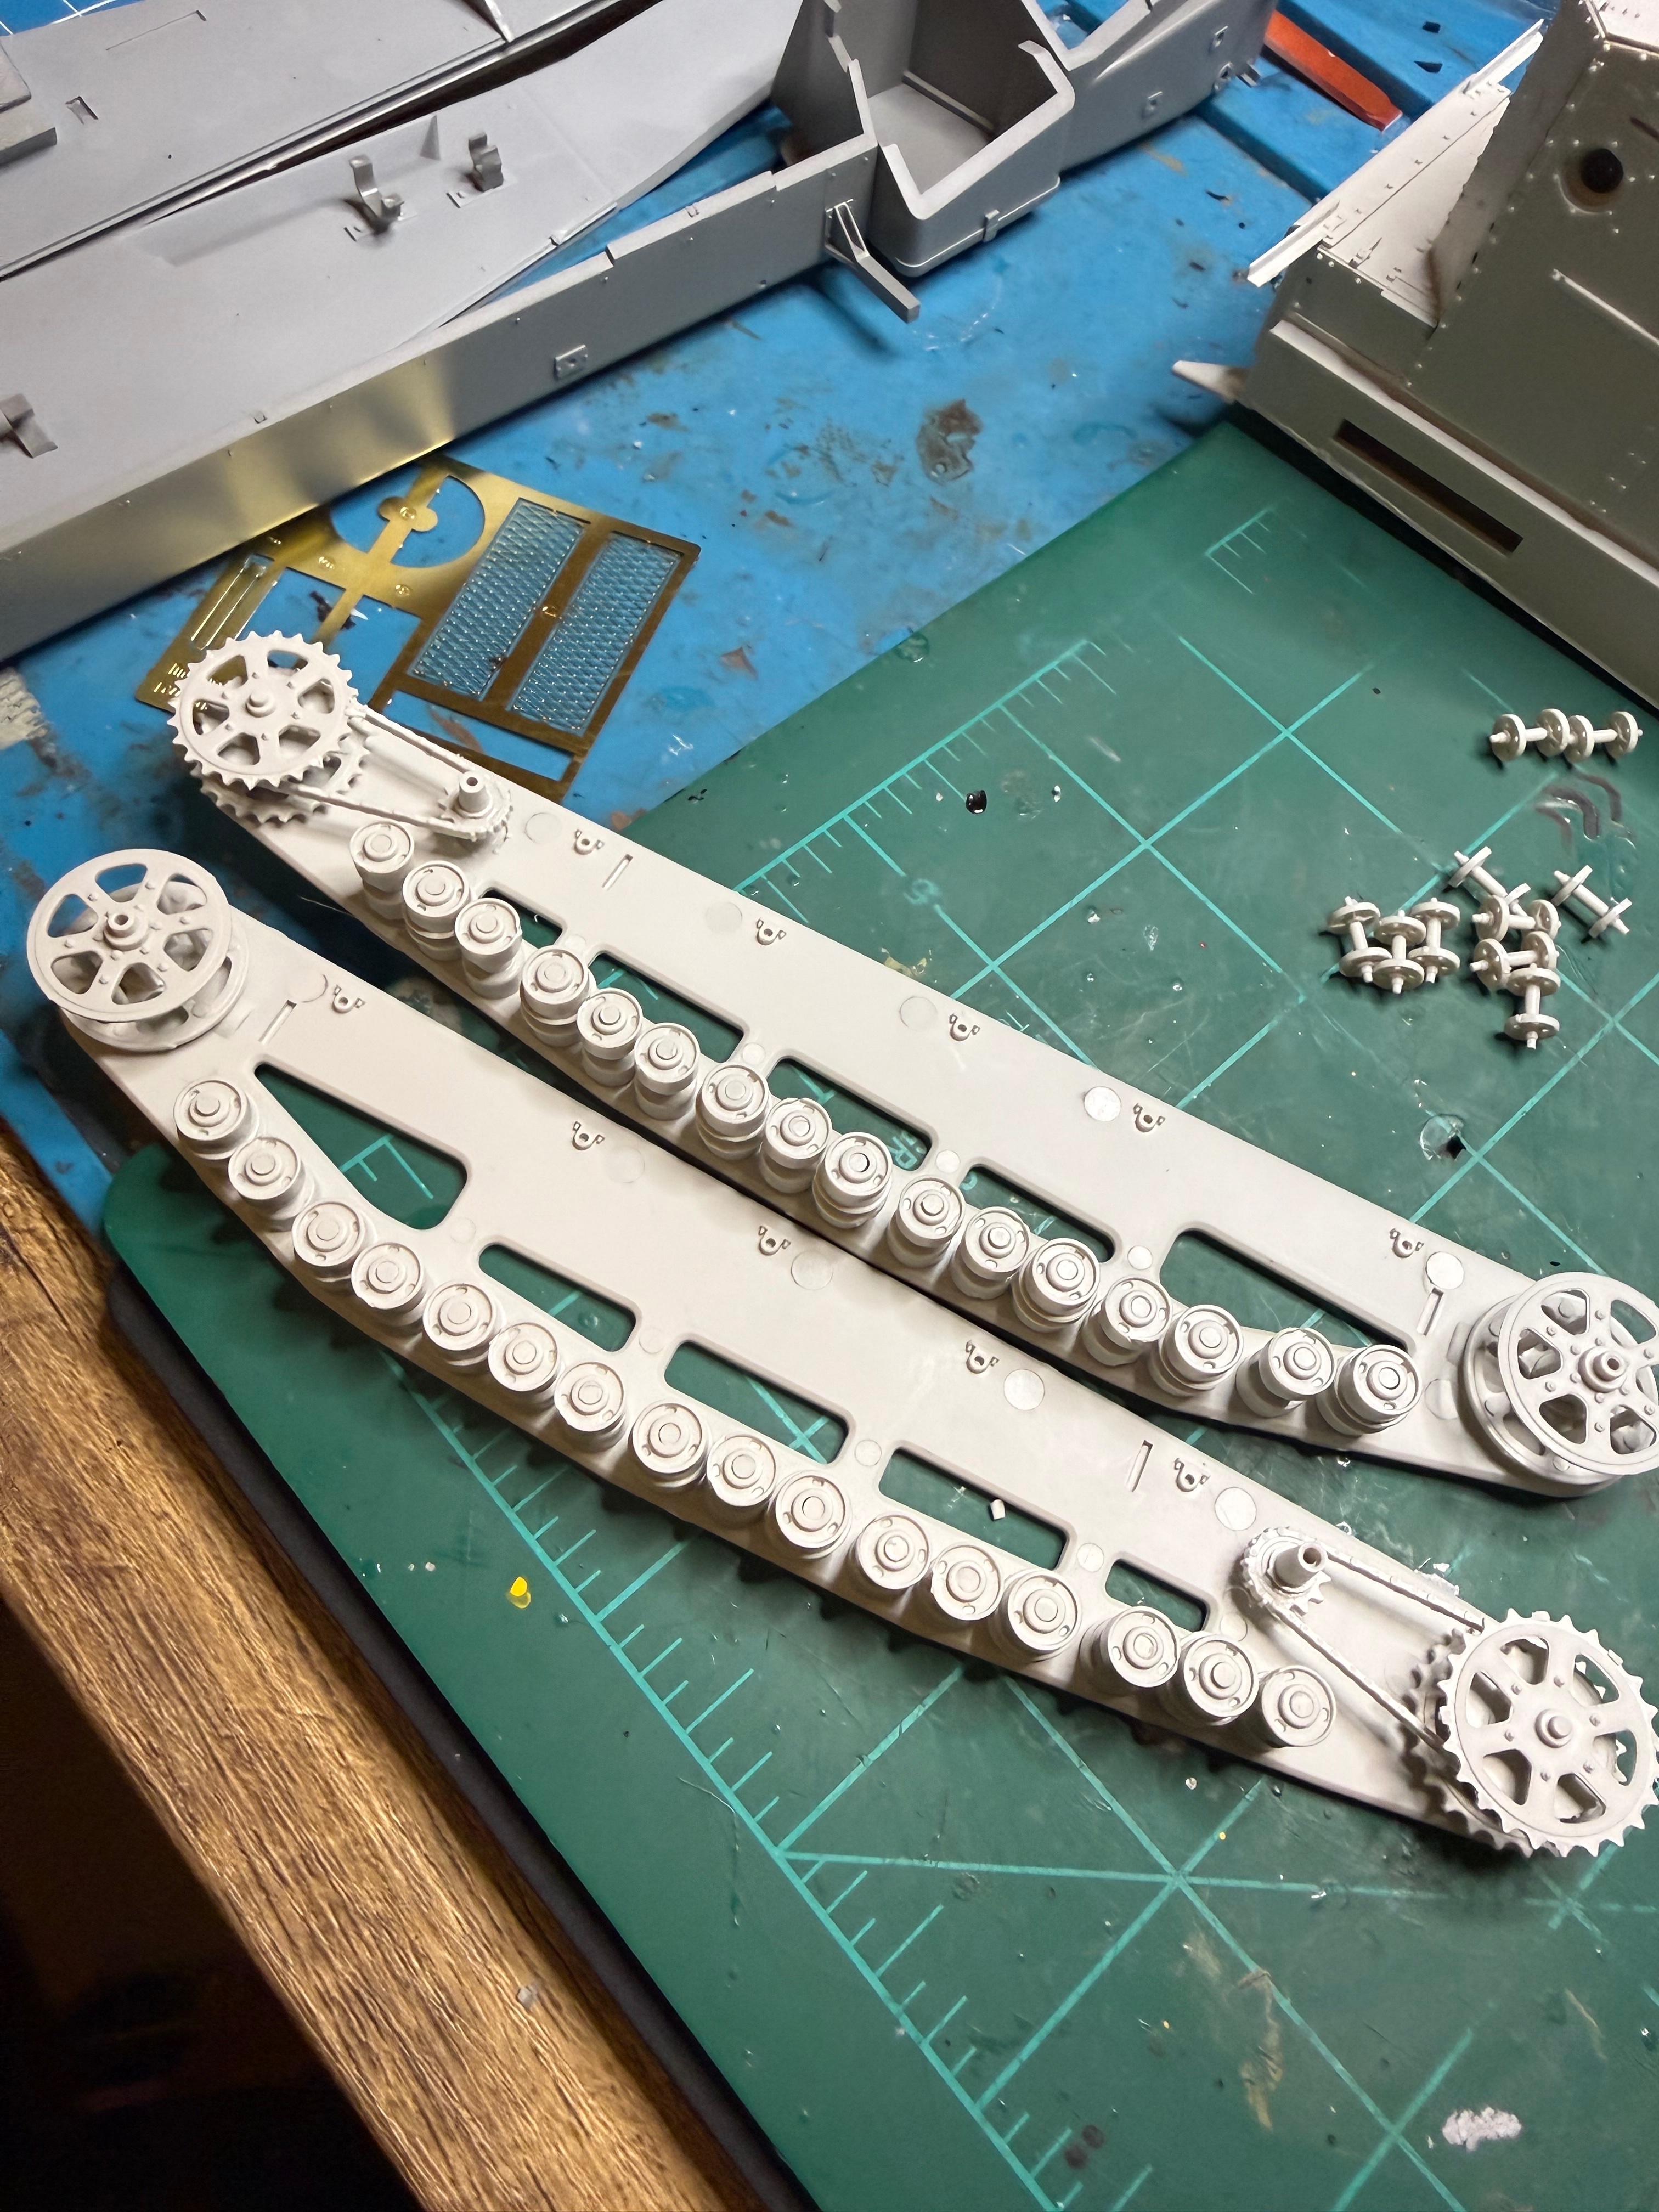
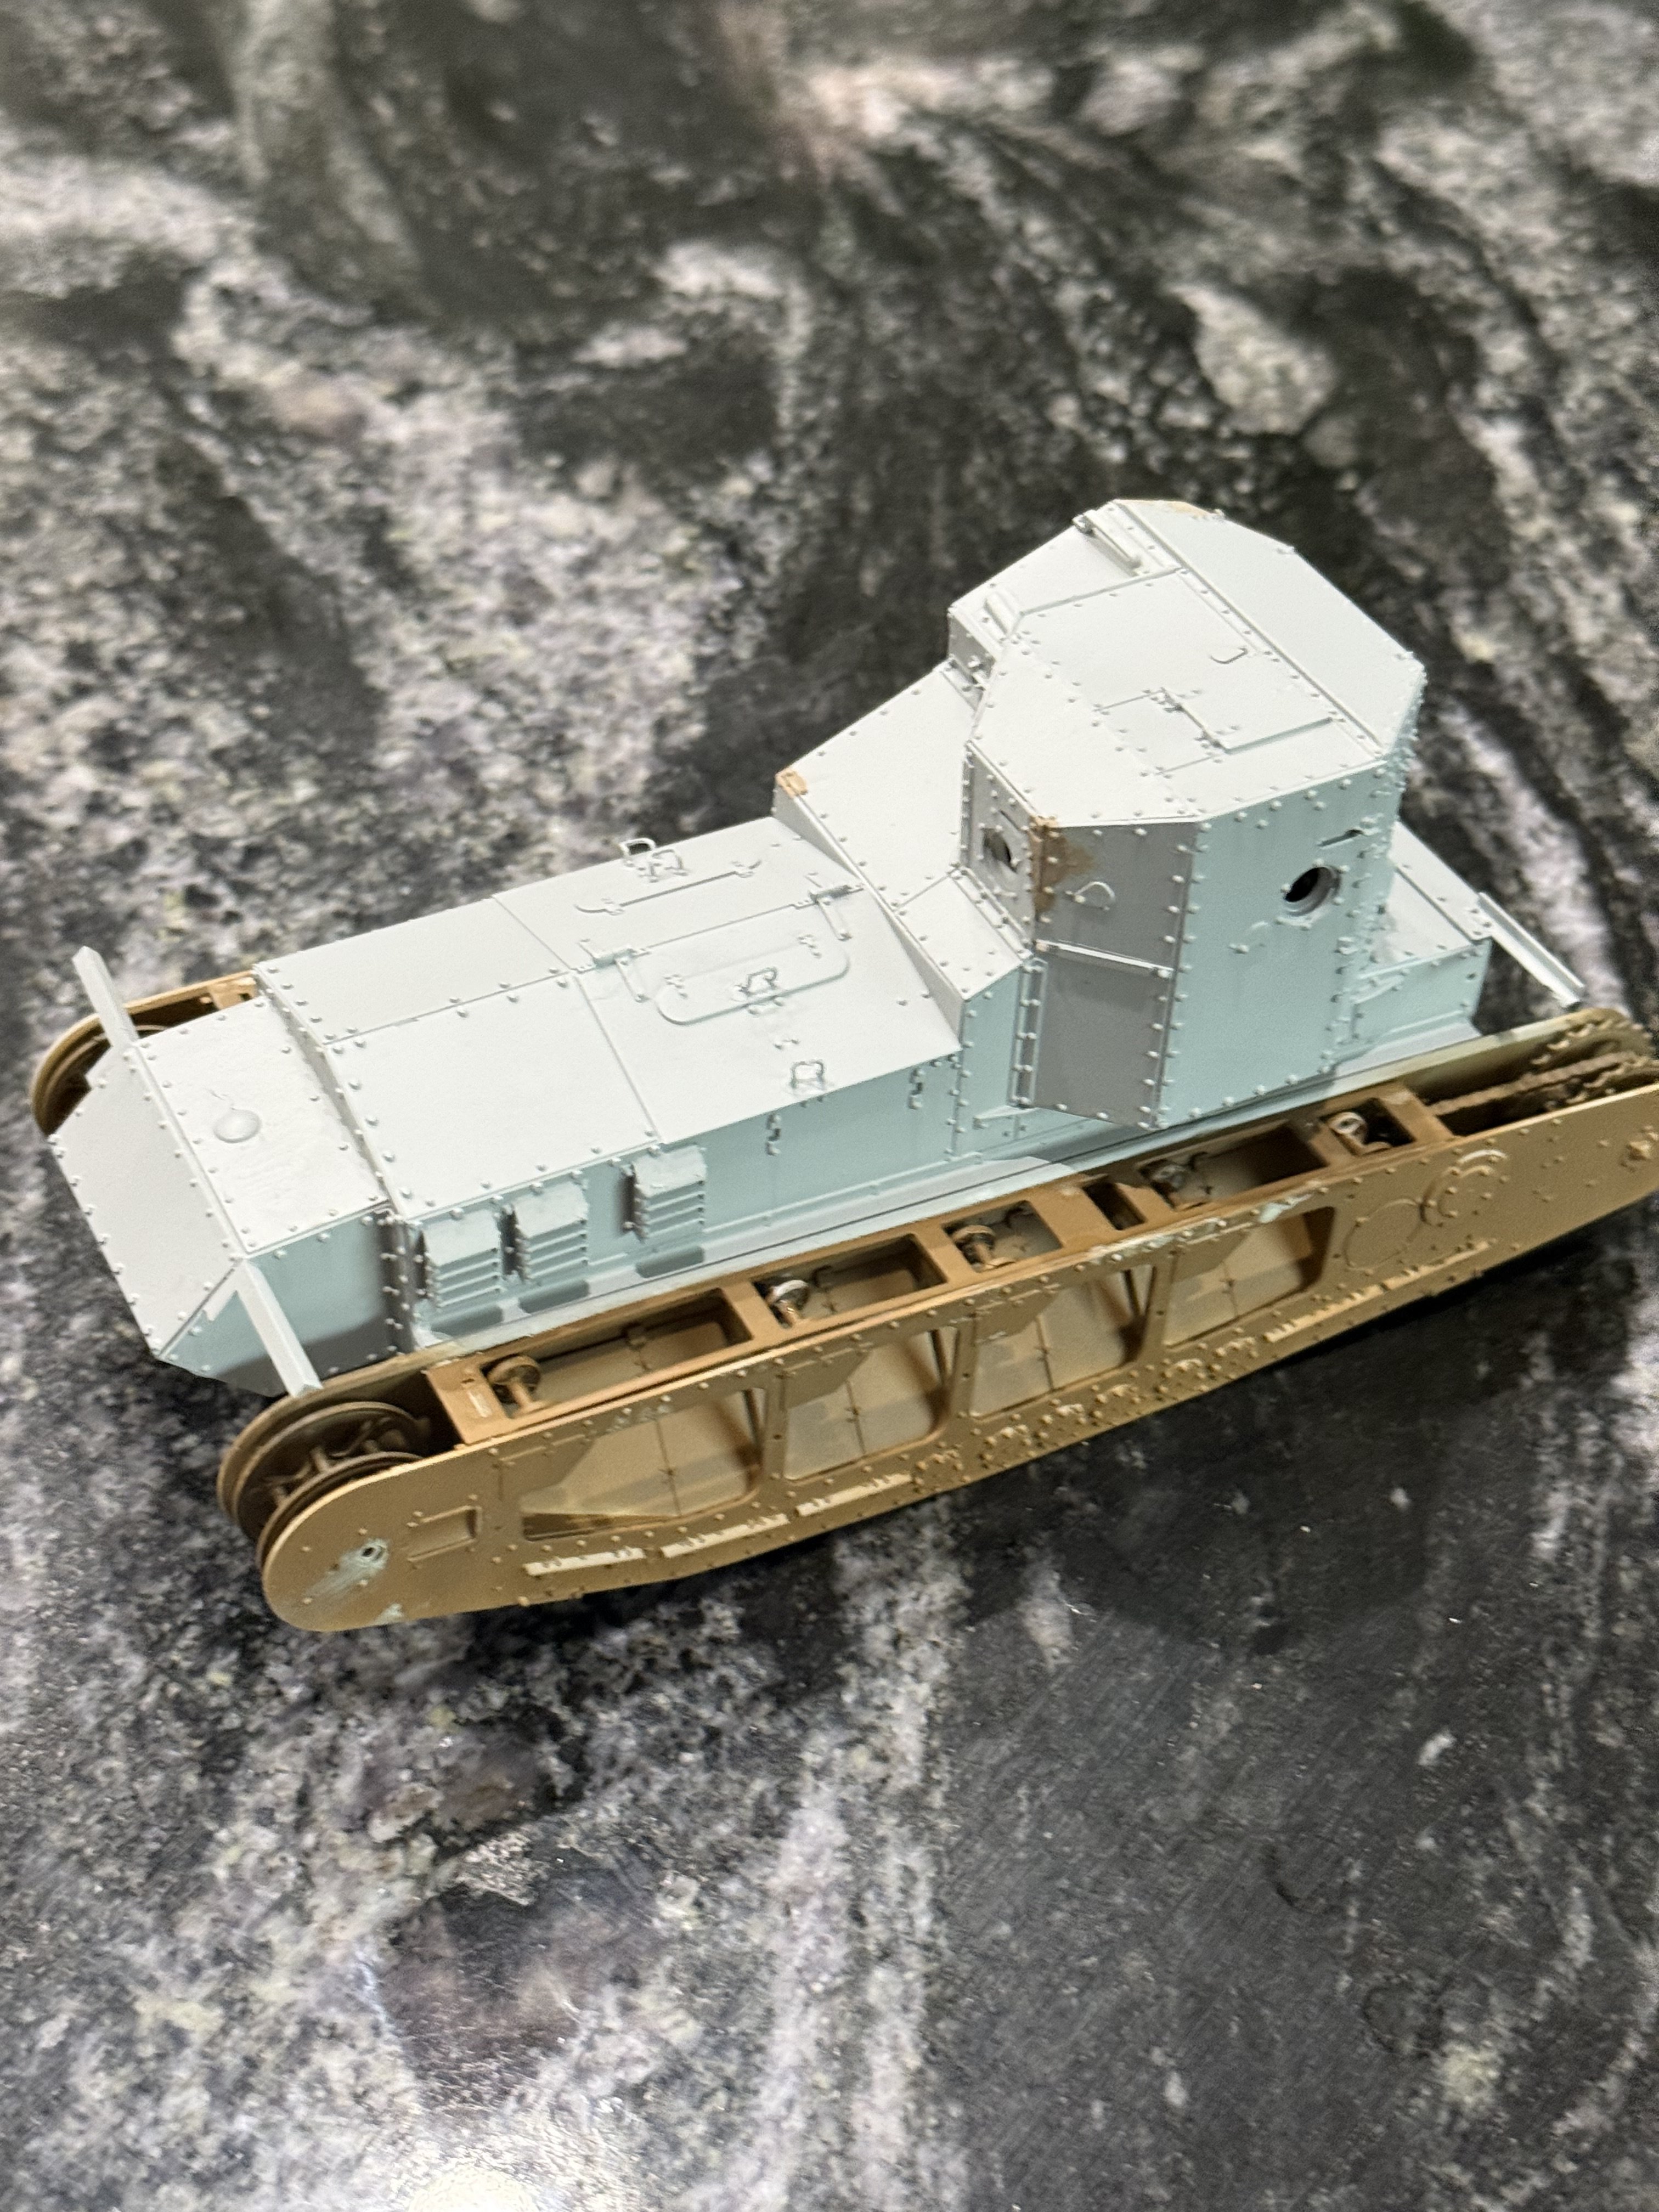
closer… really liking this build! I may do another one and give heavy rust a try. I read these were more likely to be covered in mud than rust but this model just calls out for rust. I'm not really a "rust guy" but I'd like to give it a shot- on another build!
Attachments
Jakko
Well-Known Member
IMHO, a First World War tank cries out for mud, not rust Unless you want to model it as a derelict left behind on the battlefield and being looked over by tourists in the early 1920s, perhaps?
Unless you want to model it as a derelict left behind on the battlefield and being looked over by tourists in the early 1920s, perhaps?I don't think my rust is very convincing and in general I don't like it on tanks but I think it would be interesting to do a second Whippet, perhaps like you stated abandoned in a field scenario.IMHO, a First World War tank cries out for mud, not rust
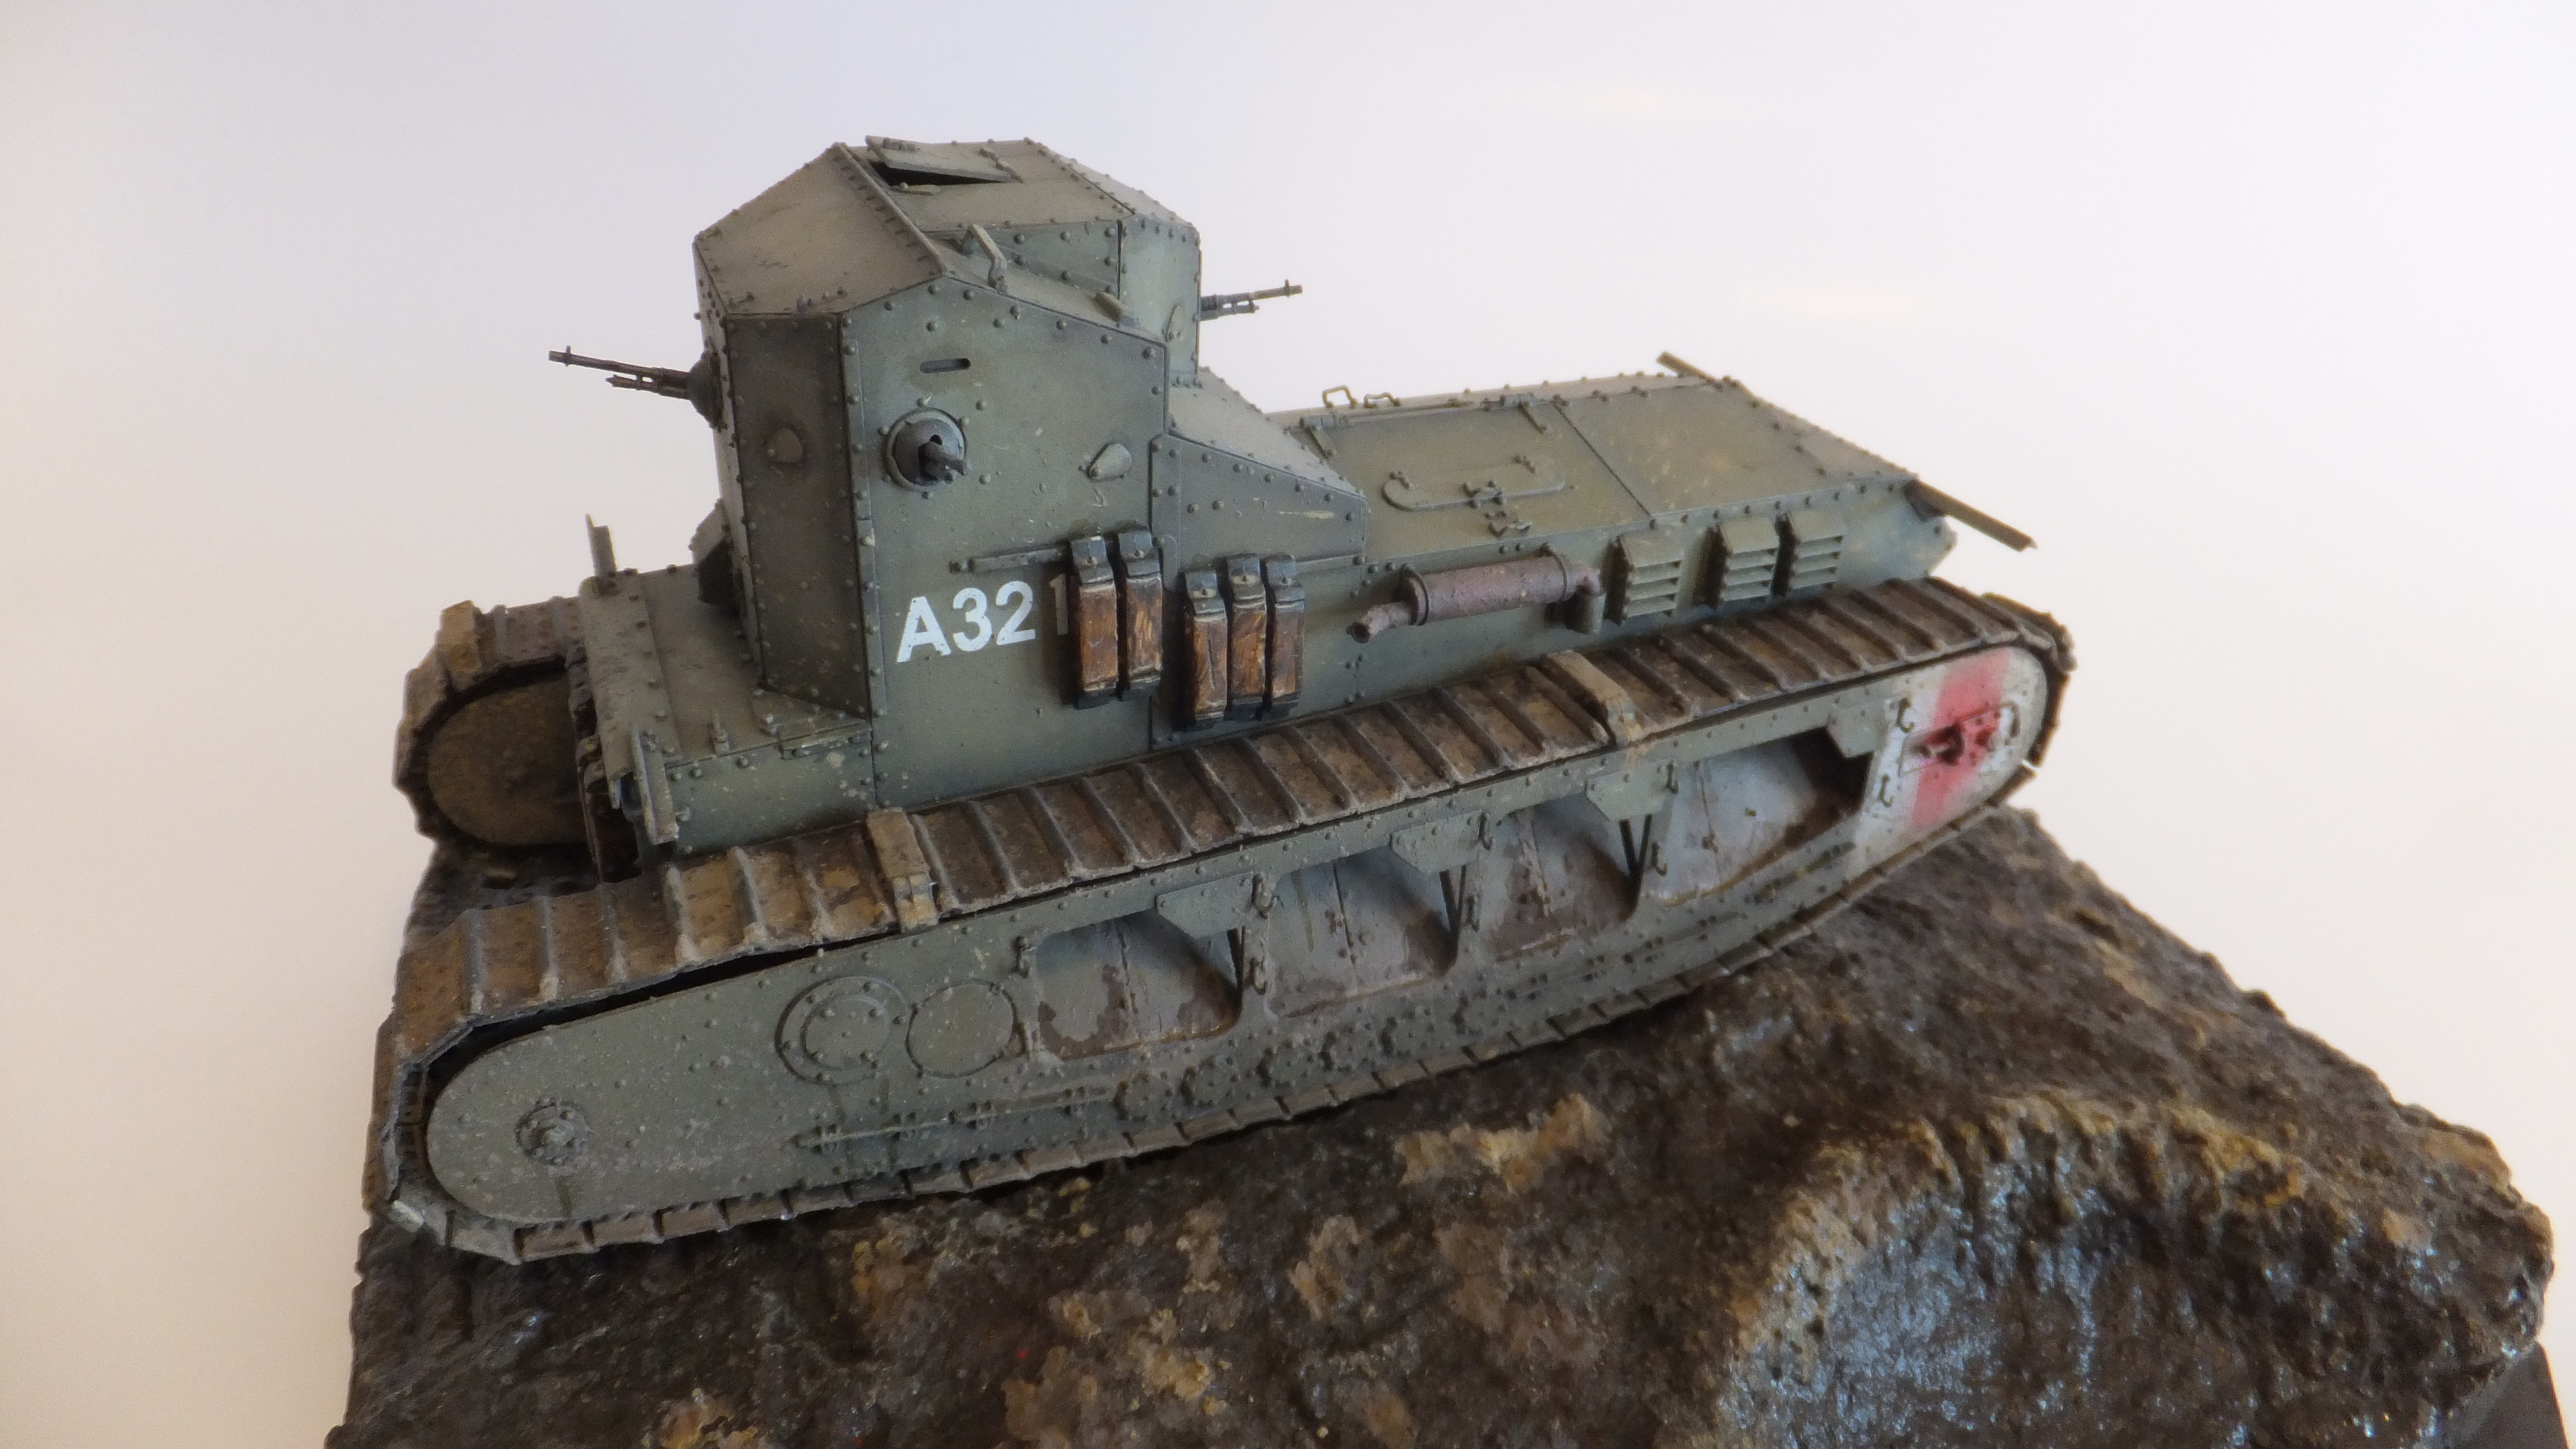
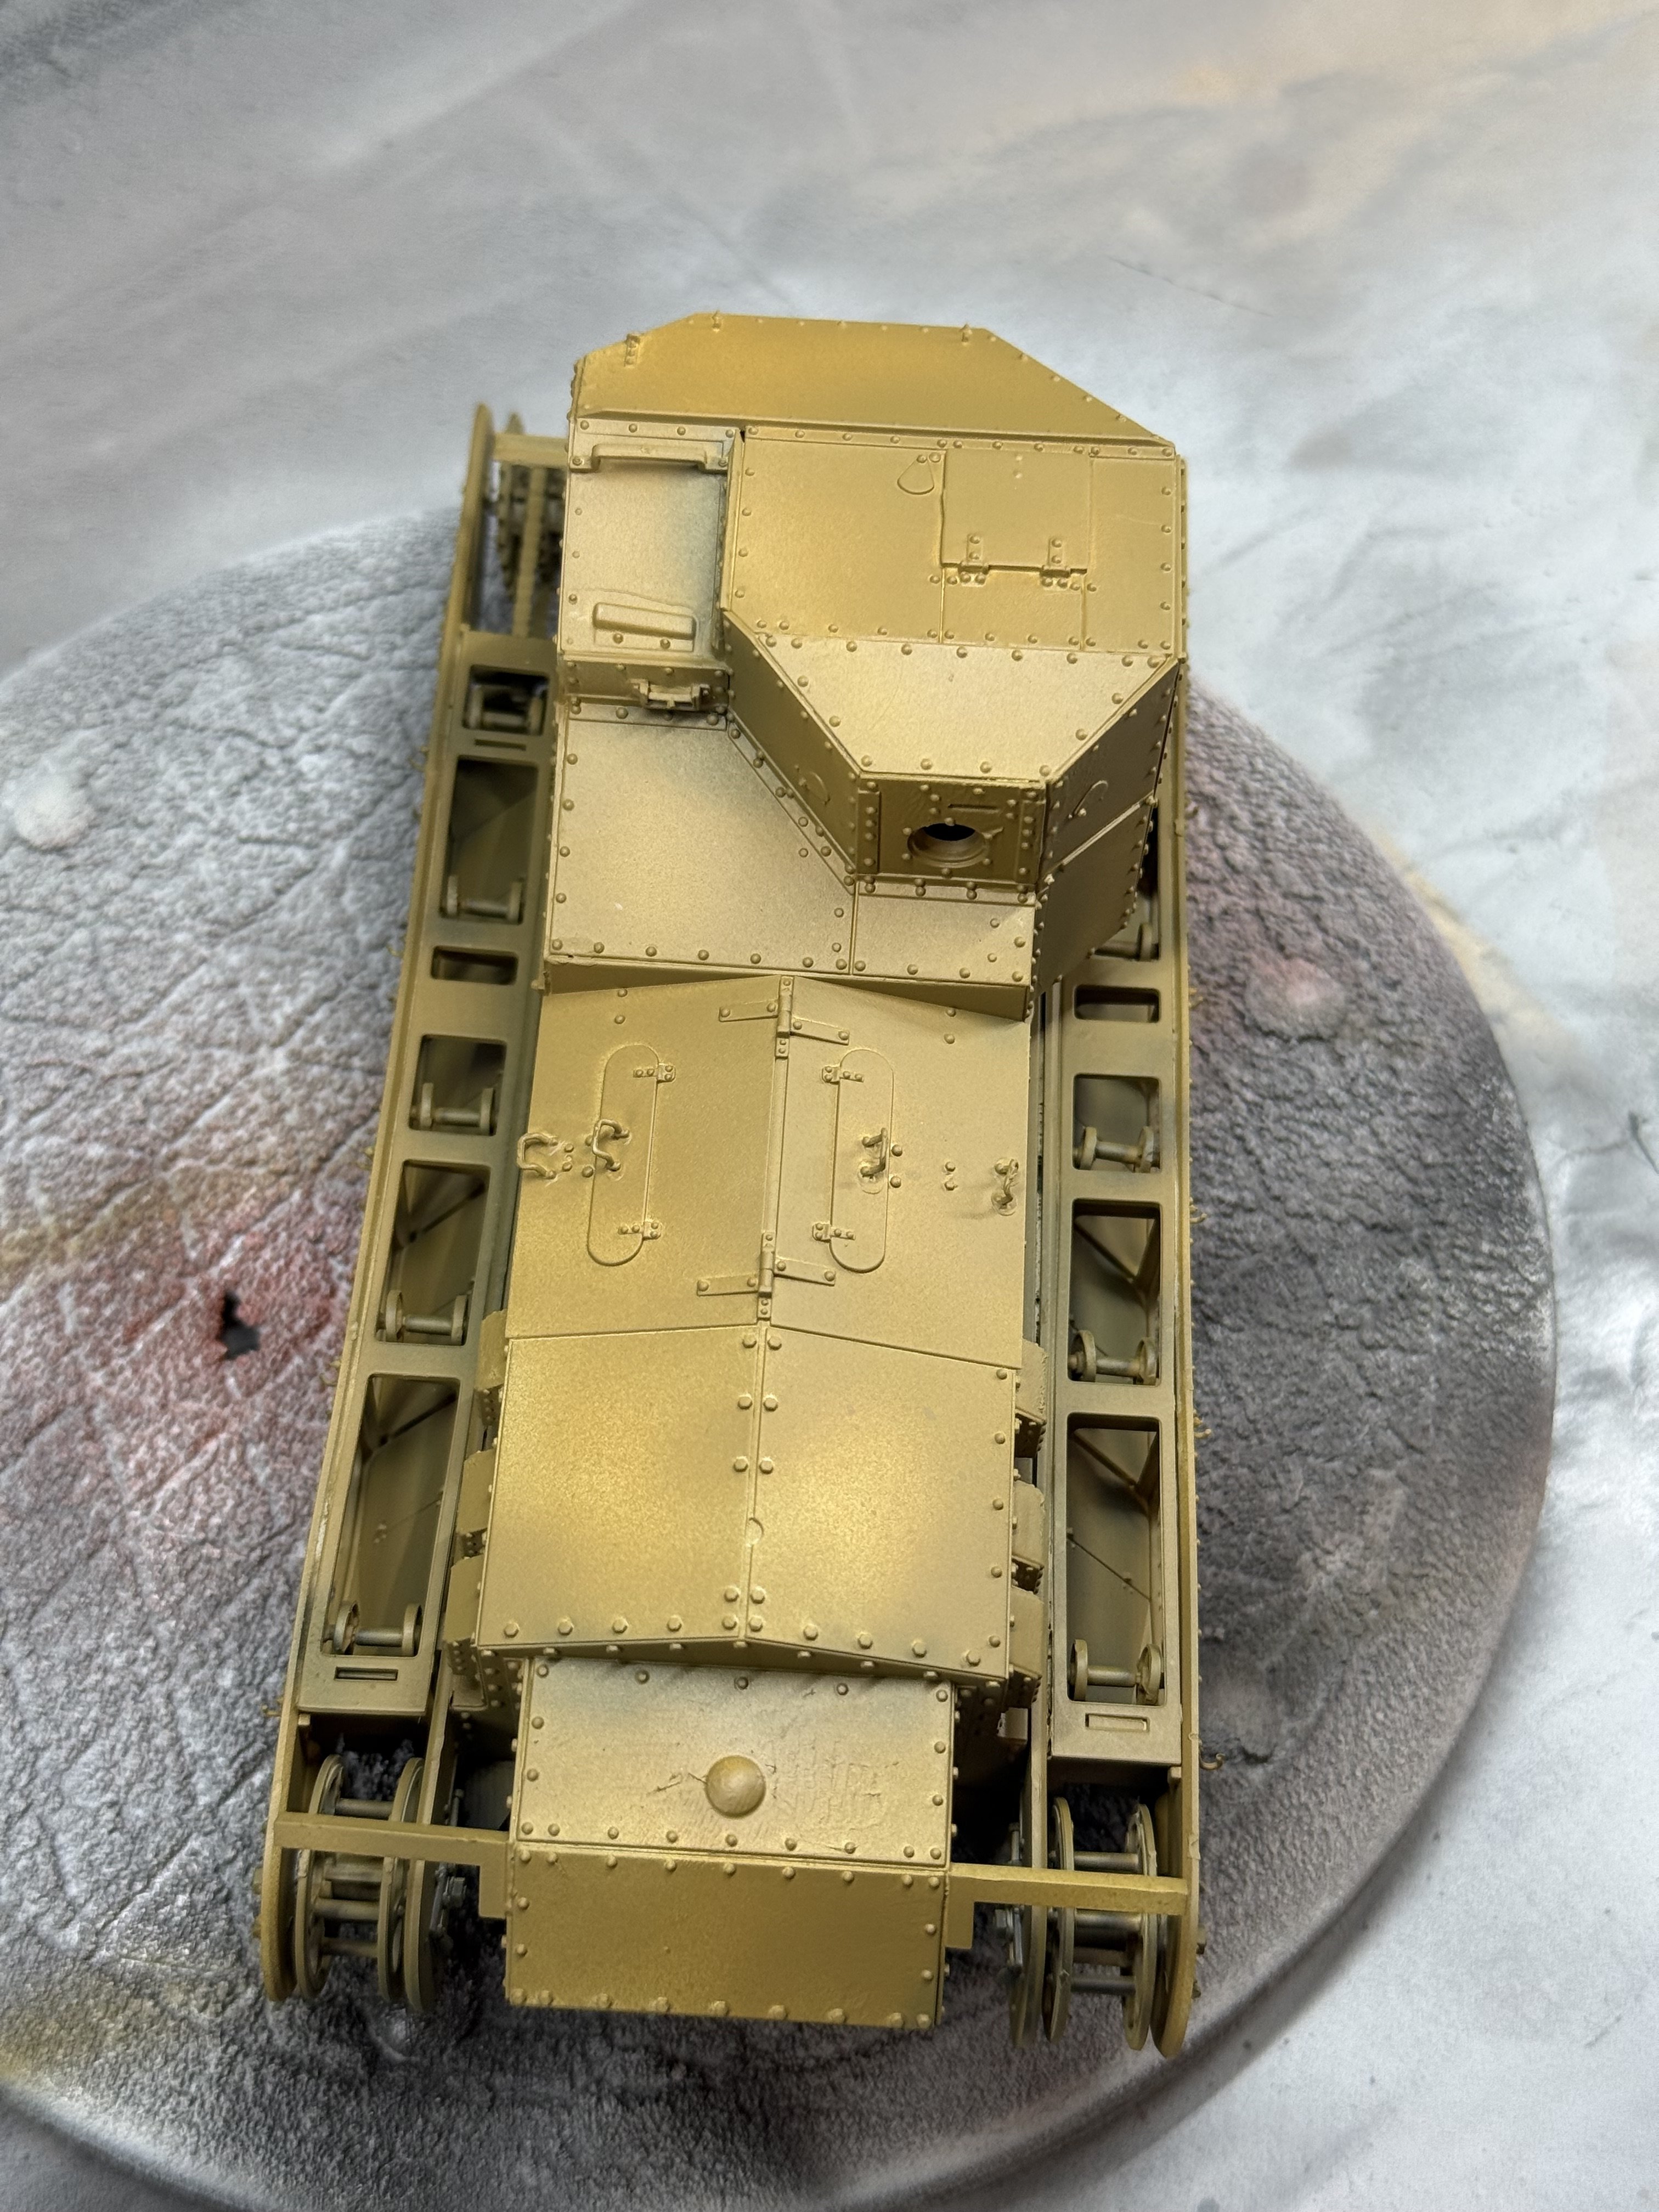
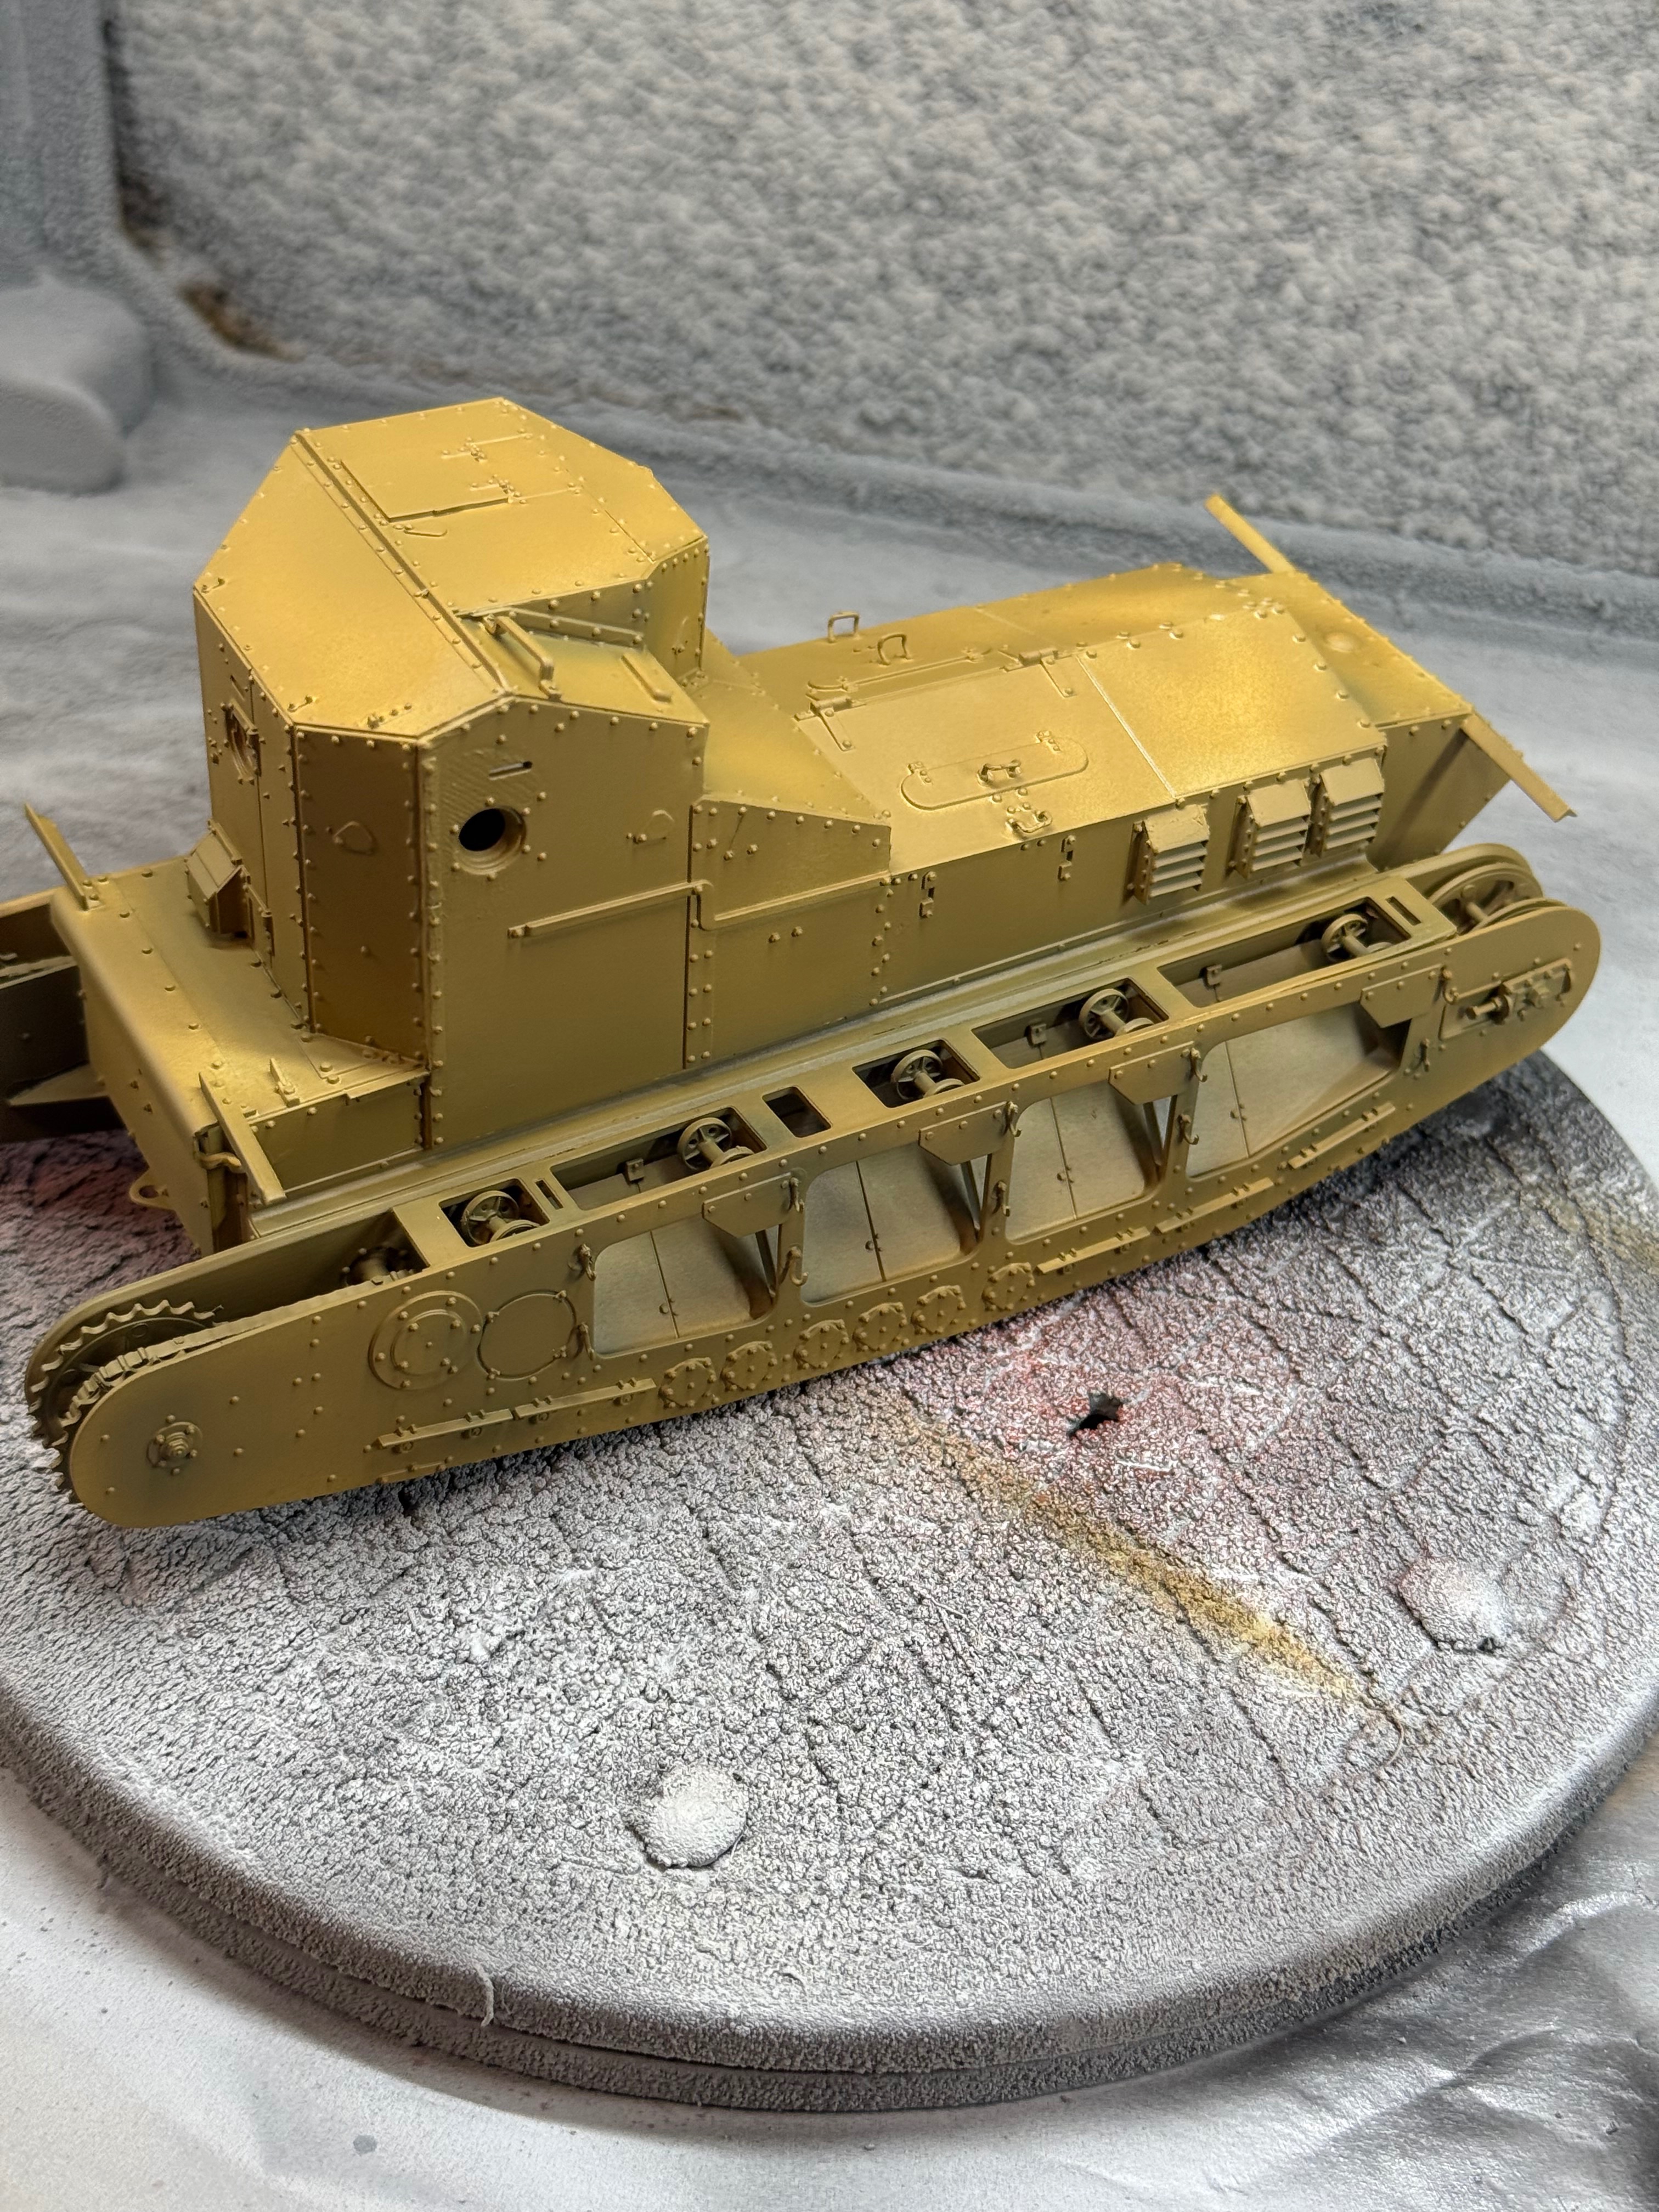
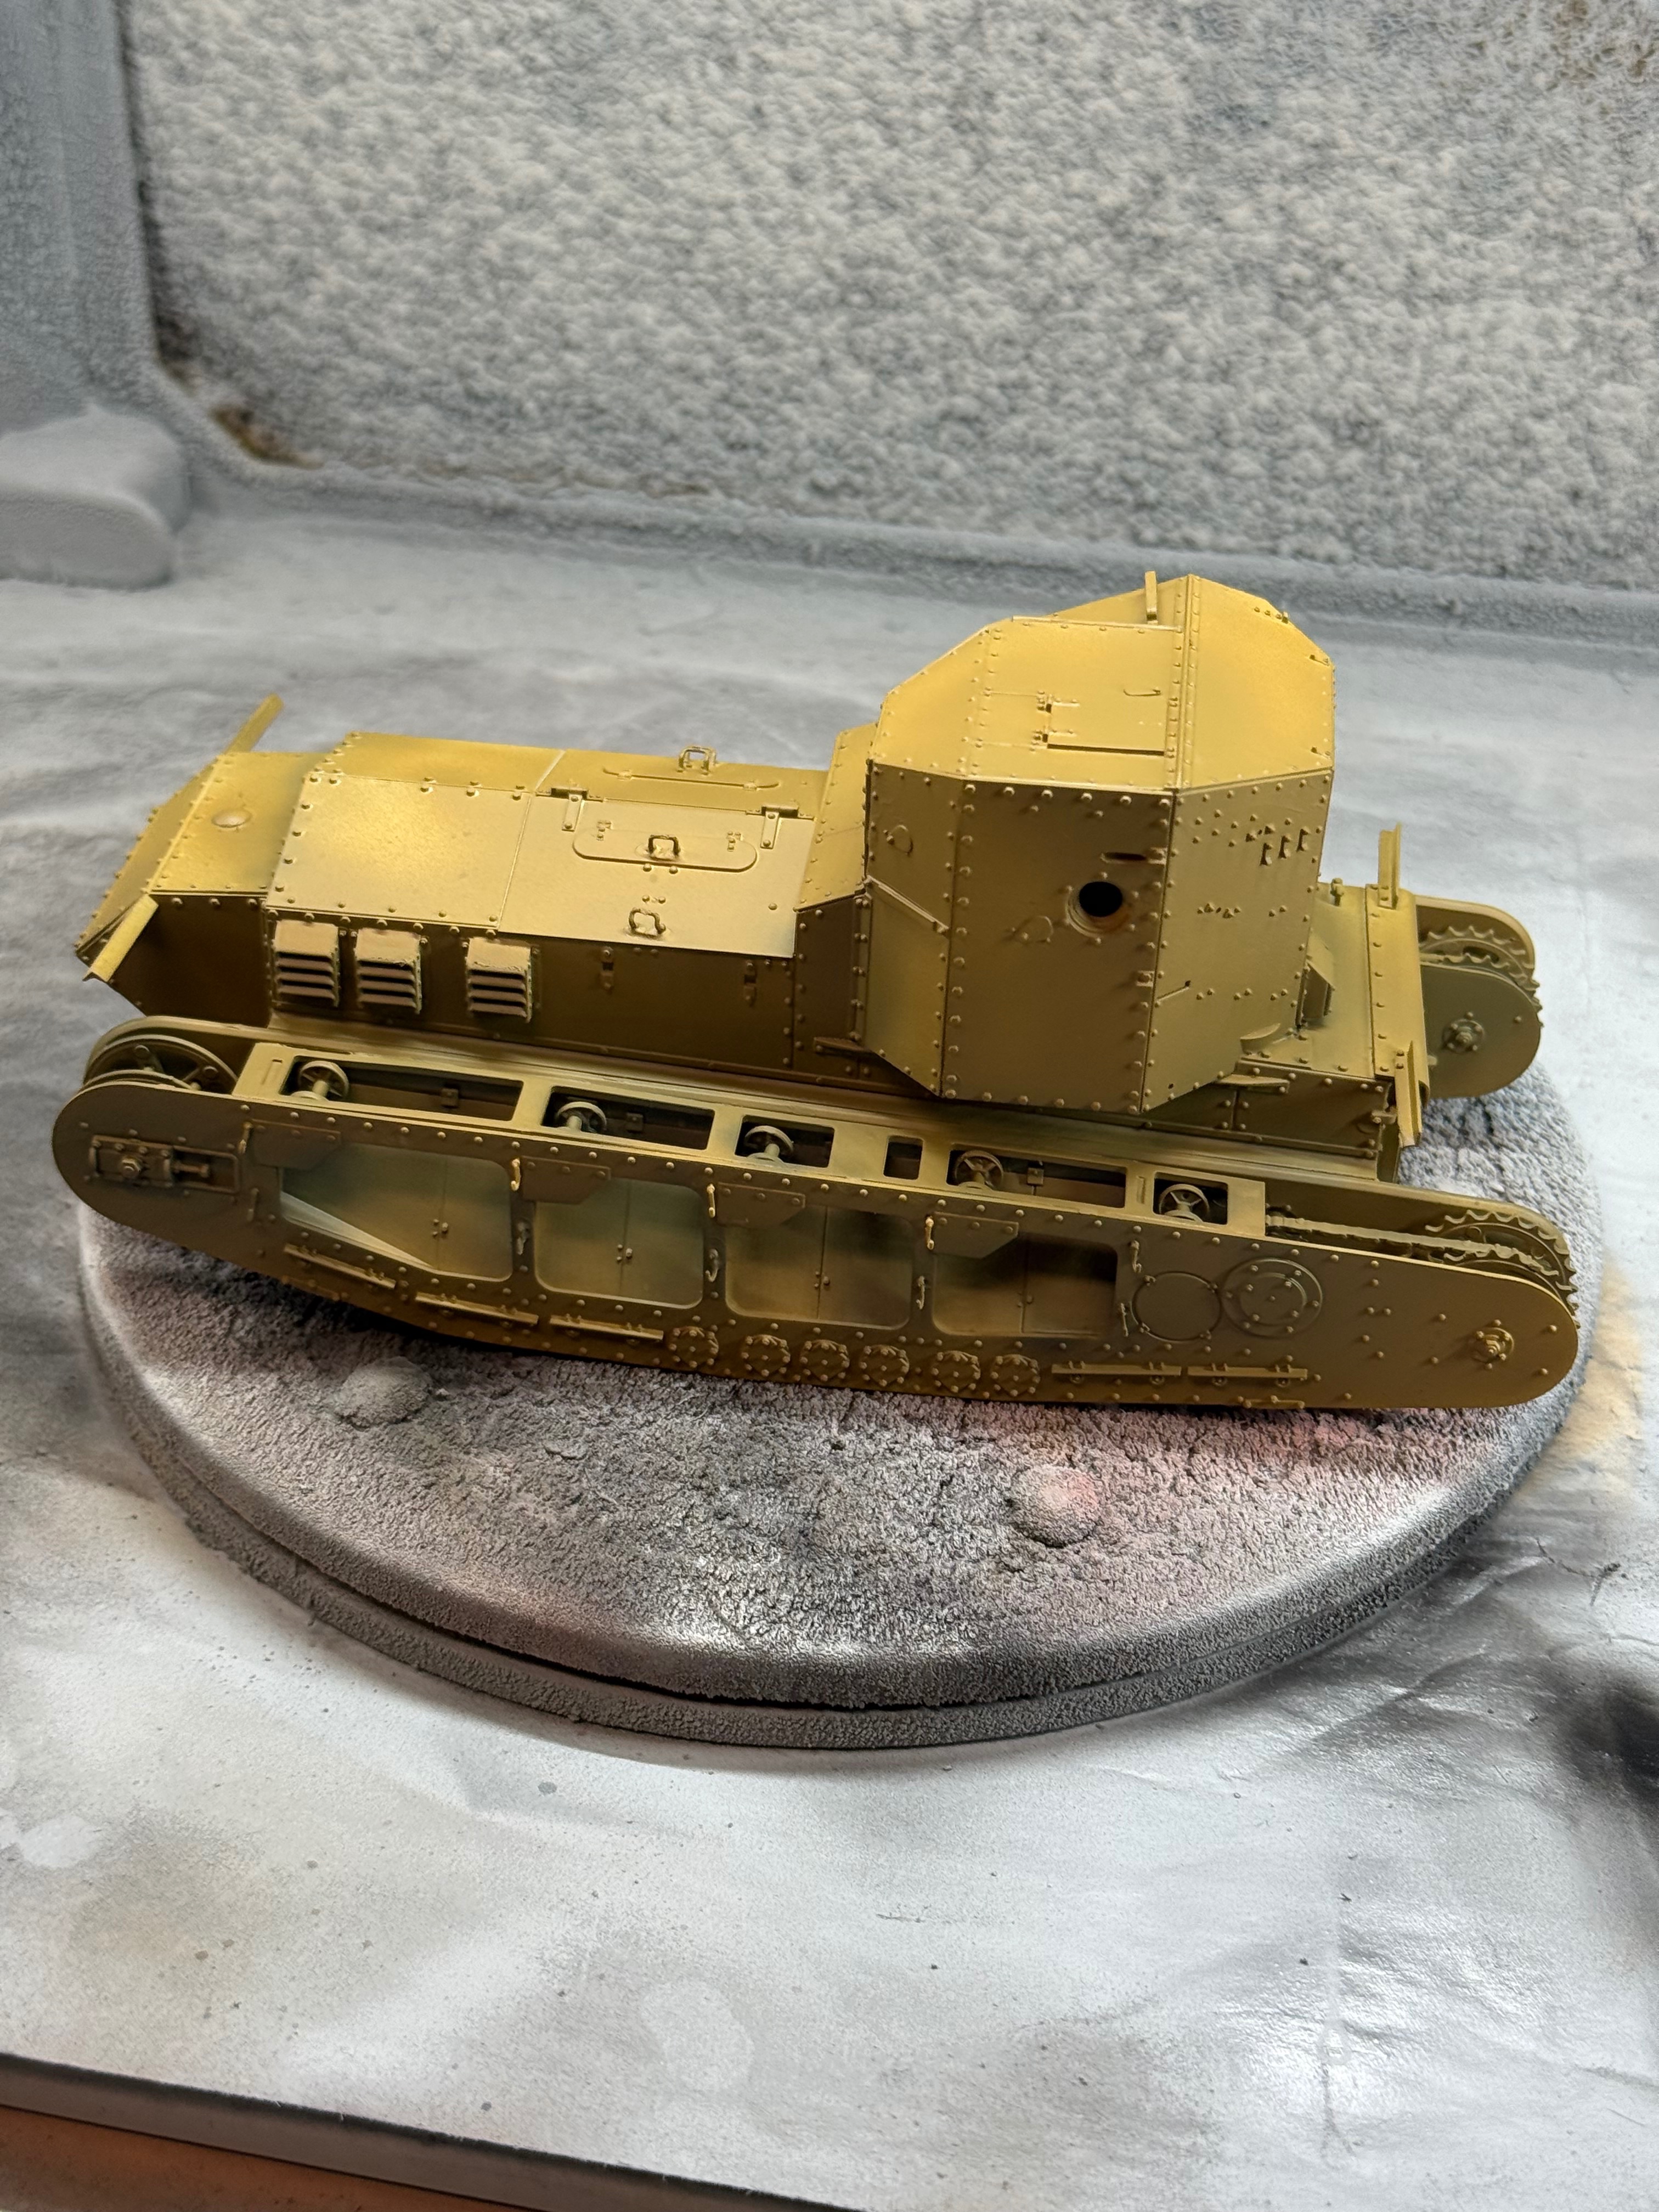
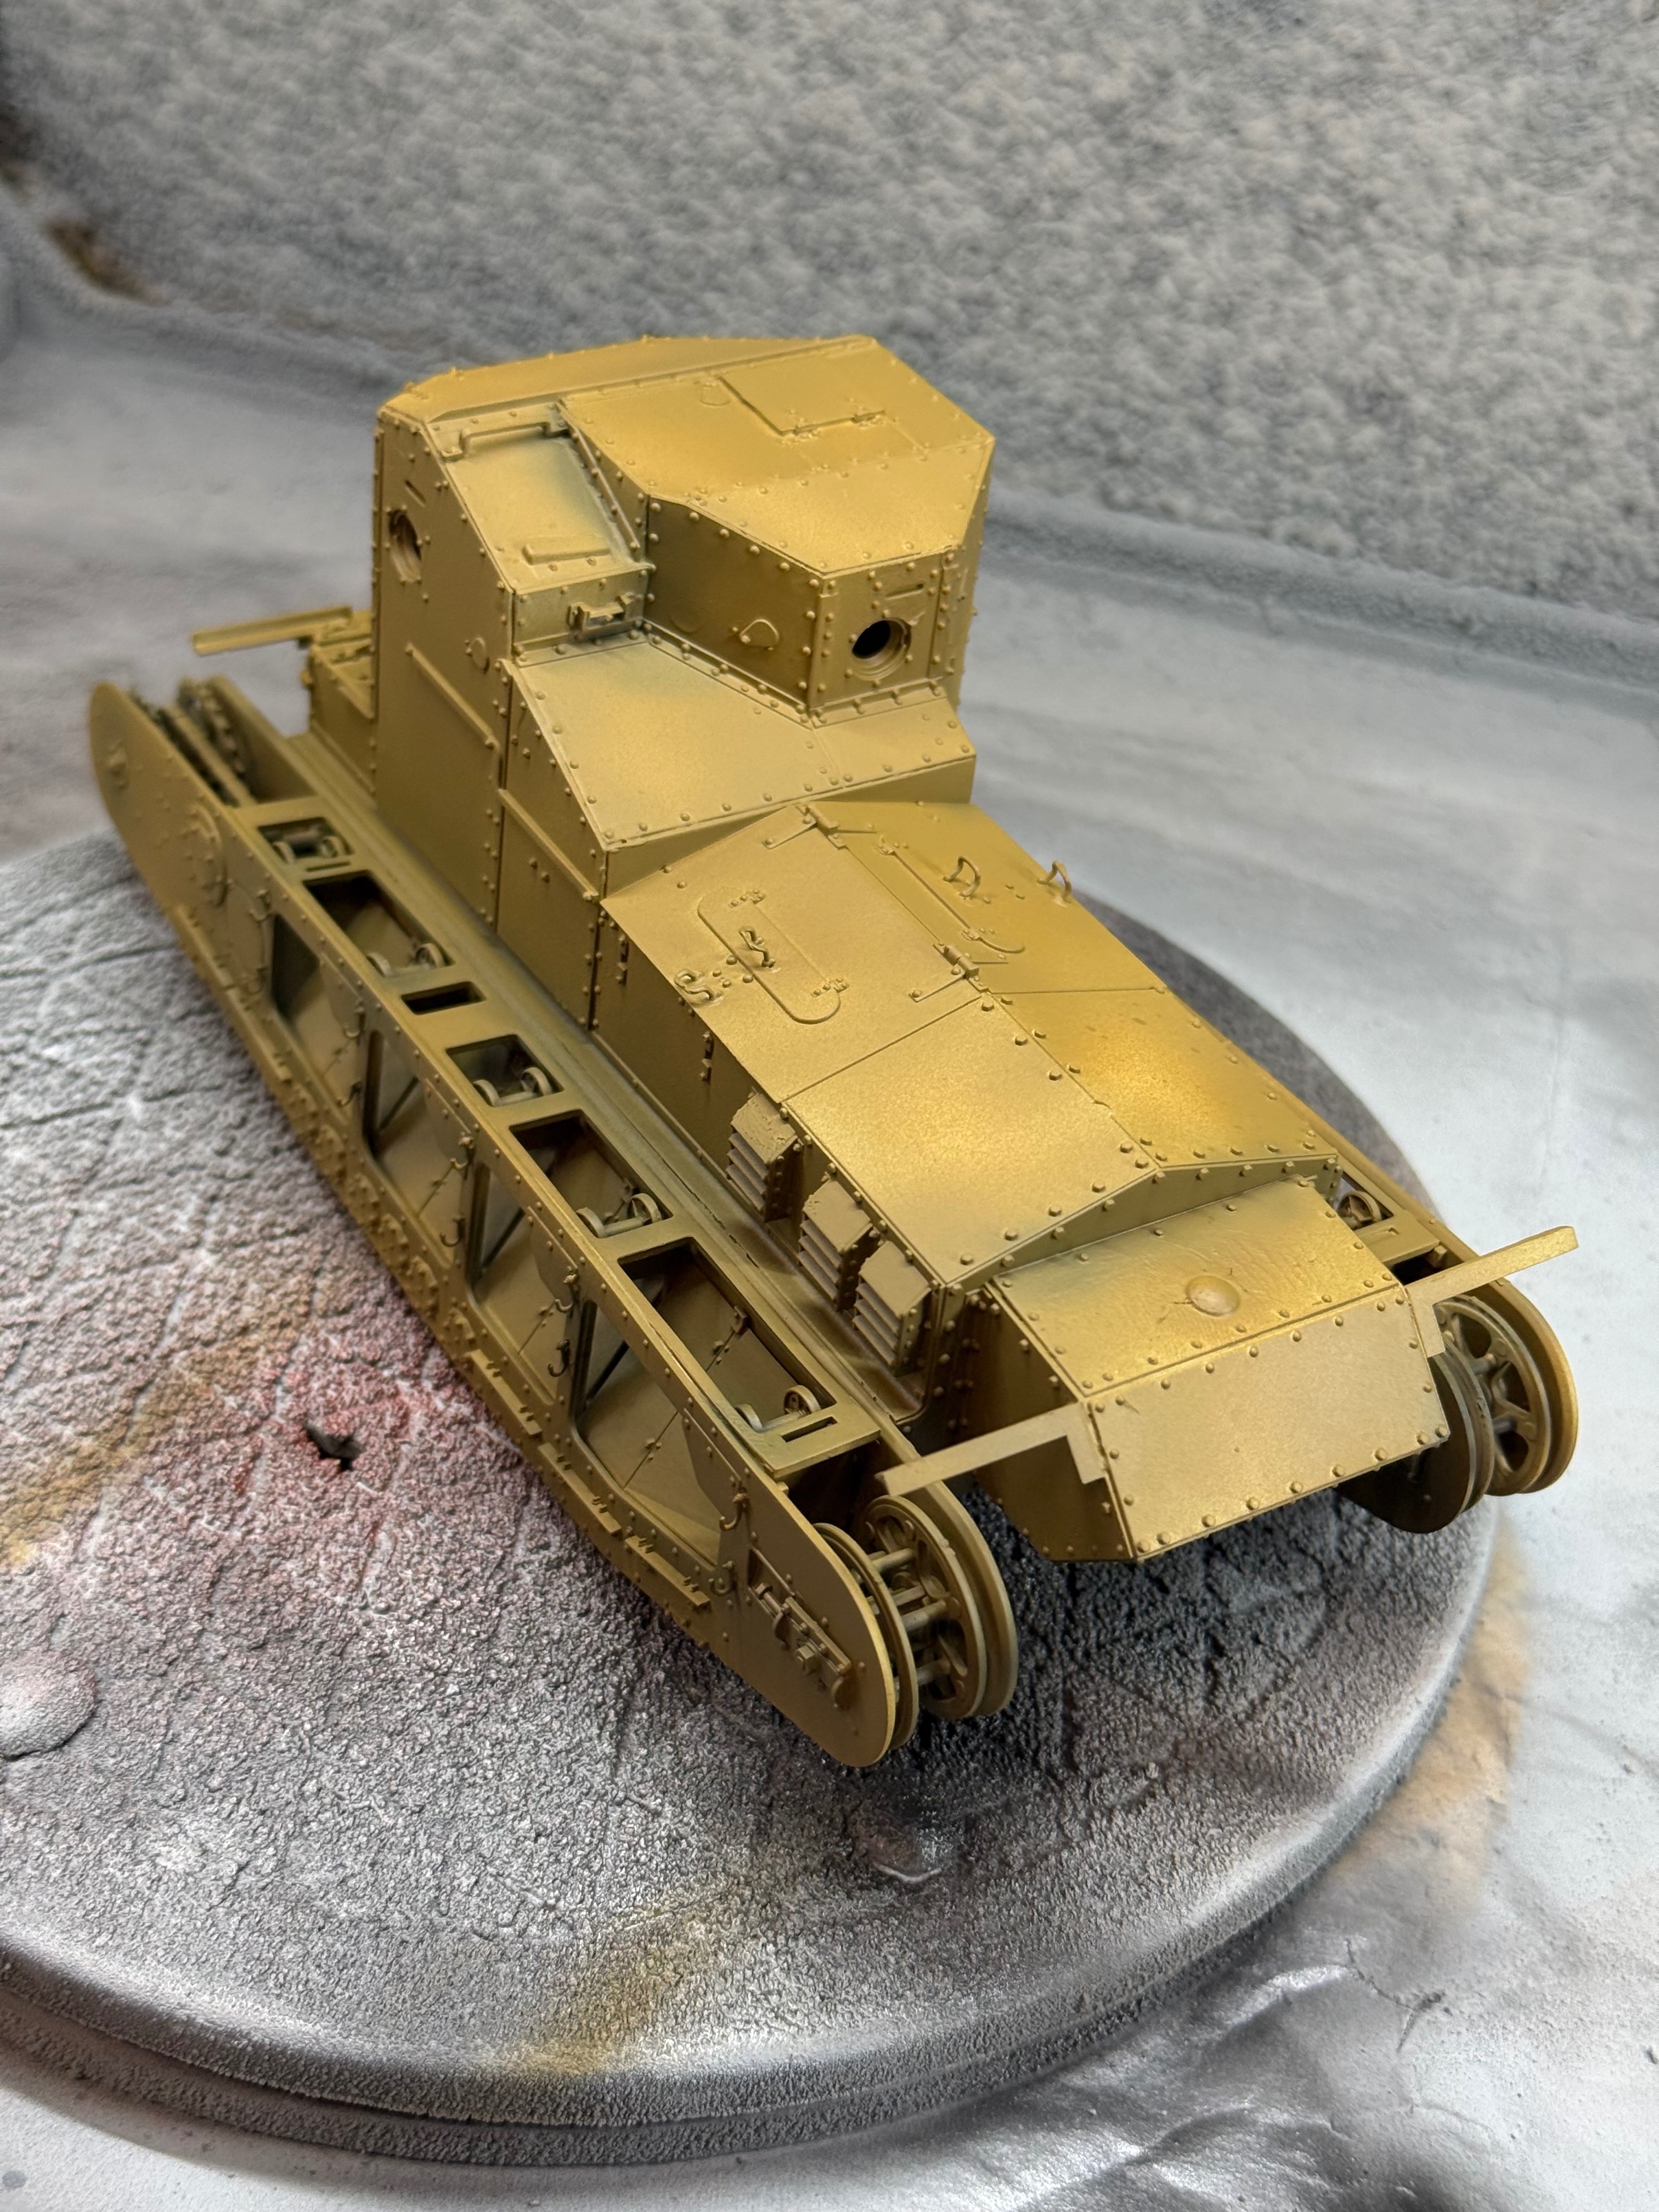
I see you went with a greener shade. What did you base it on? I did more of a field drab with some Od added to it.I built the Meng Whippet a few years ago, folding all of the armor panels was kind of weird, and I had numerous fit problems with the tracks, but got it together in the end. Nice kit but kind of a royal PITA too. Those little hooks for the tow cables are super tiny.
View attachment 192929
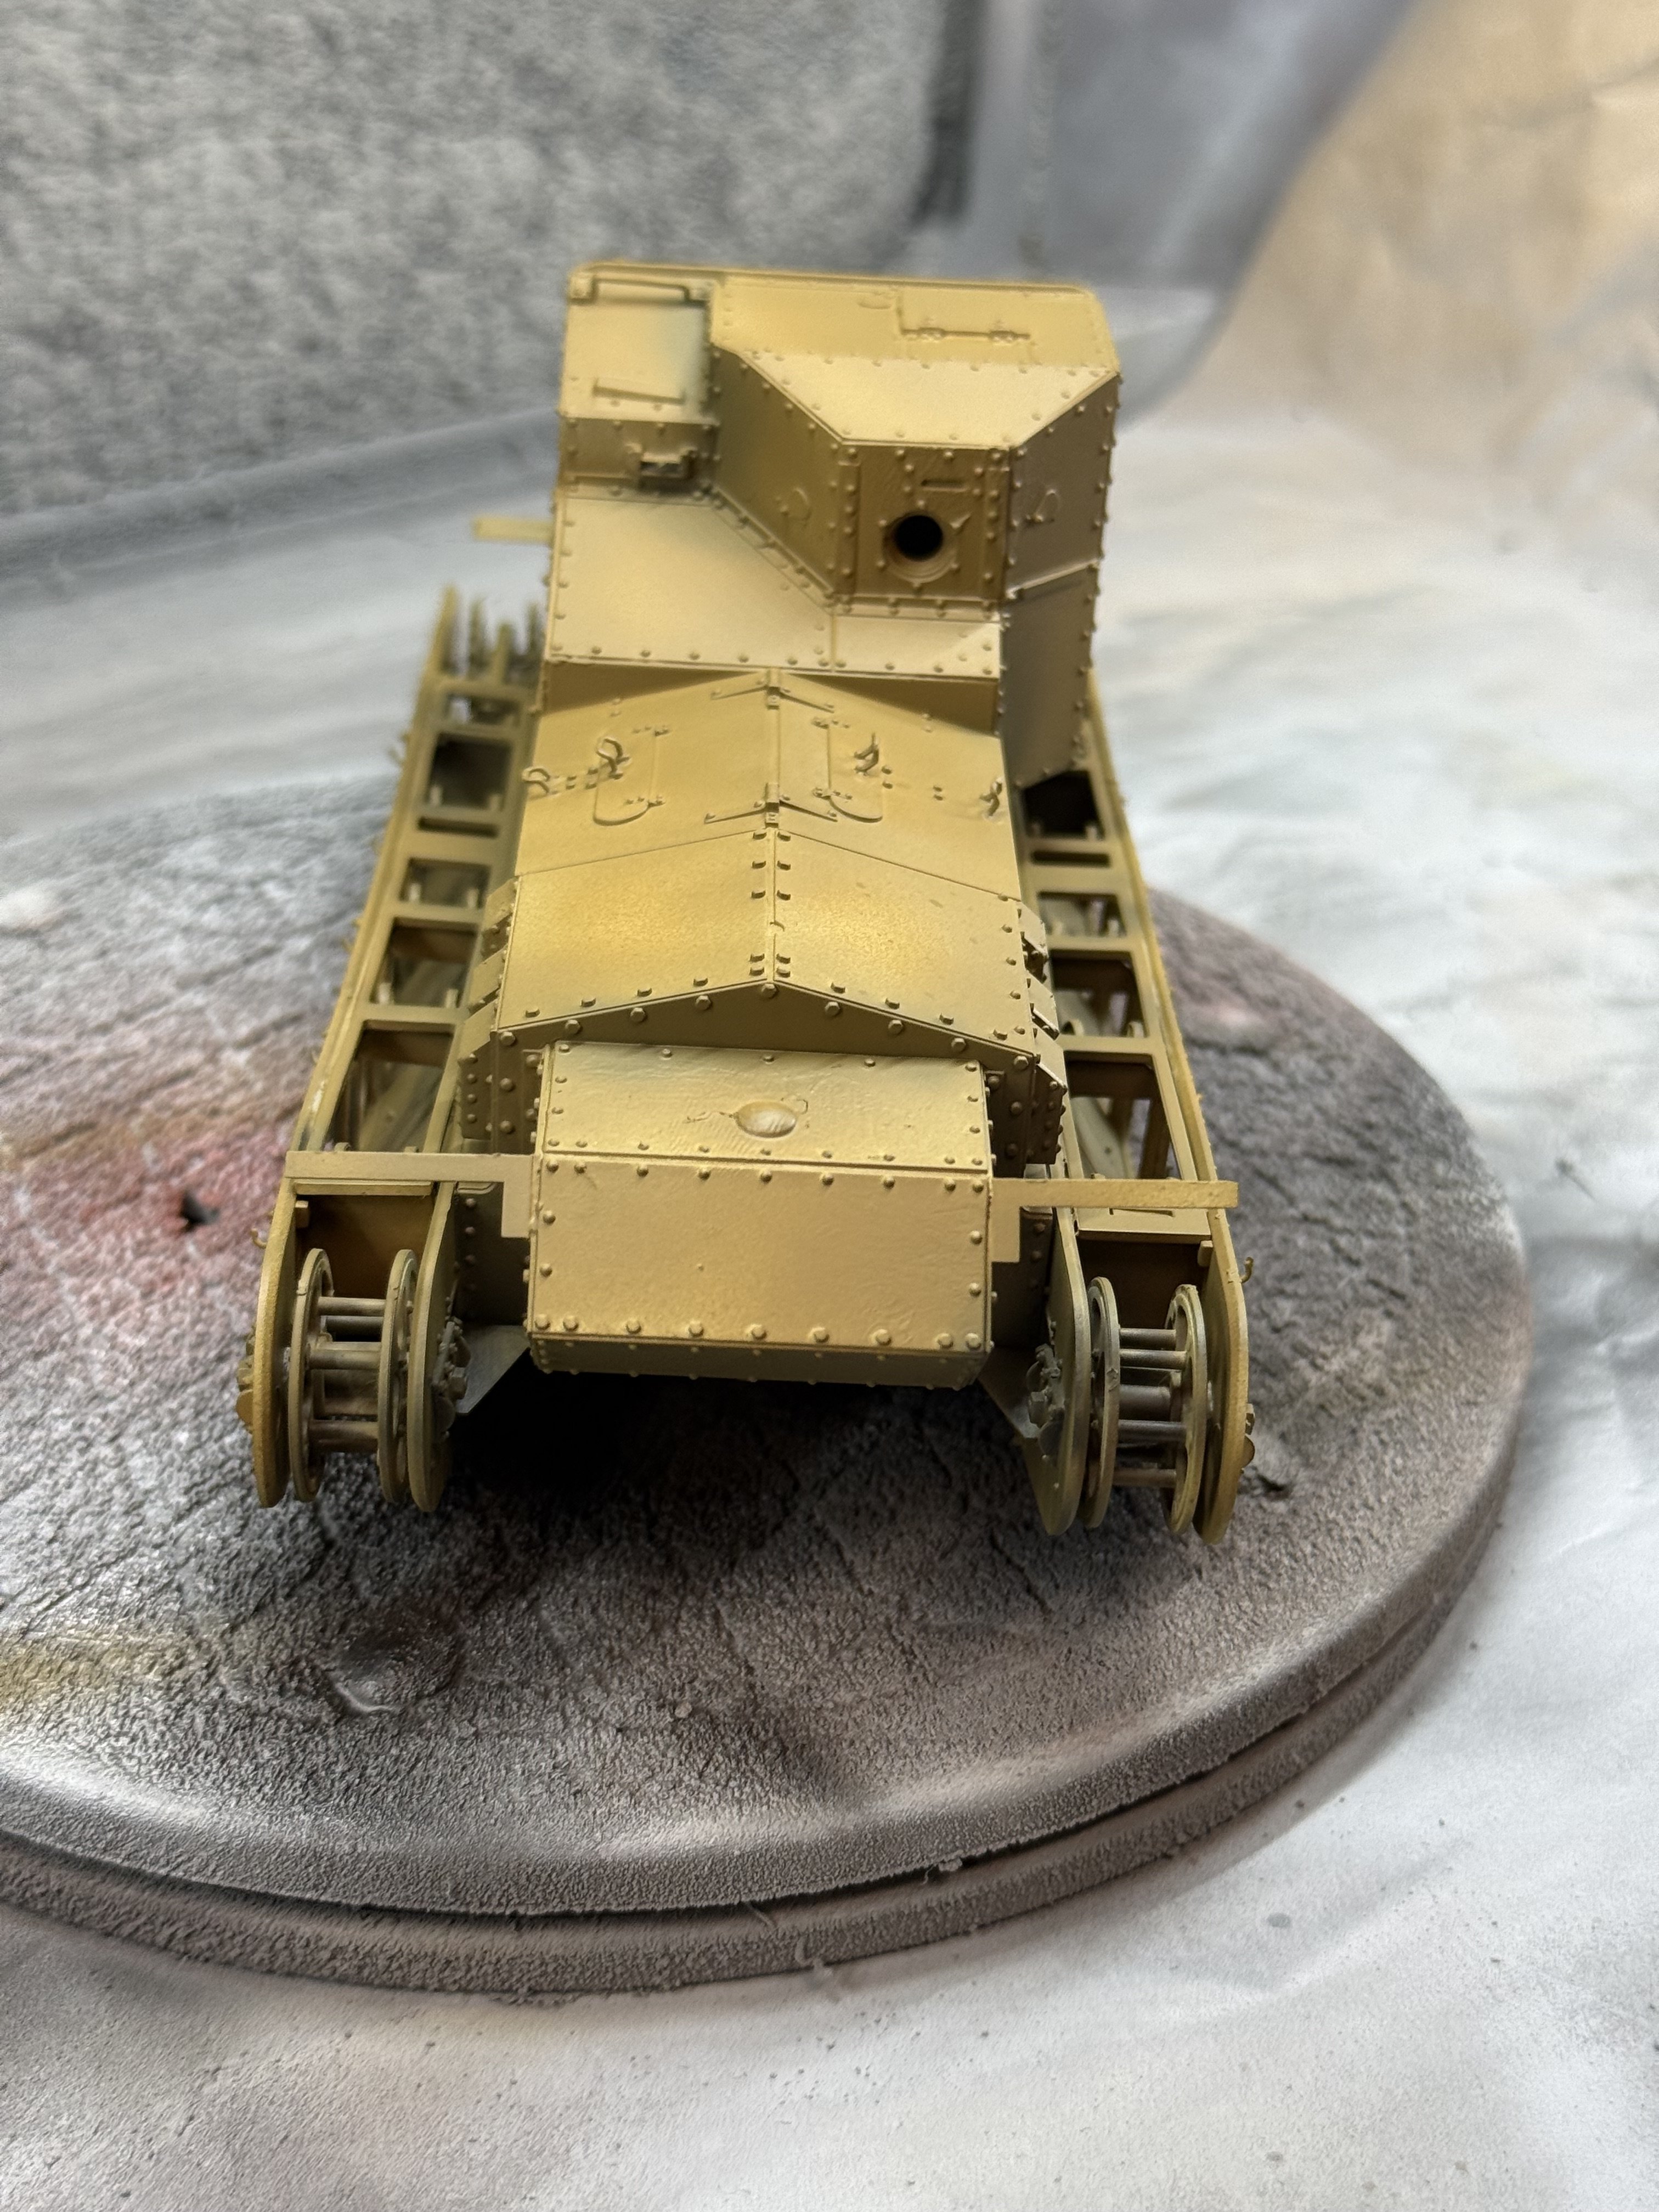
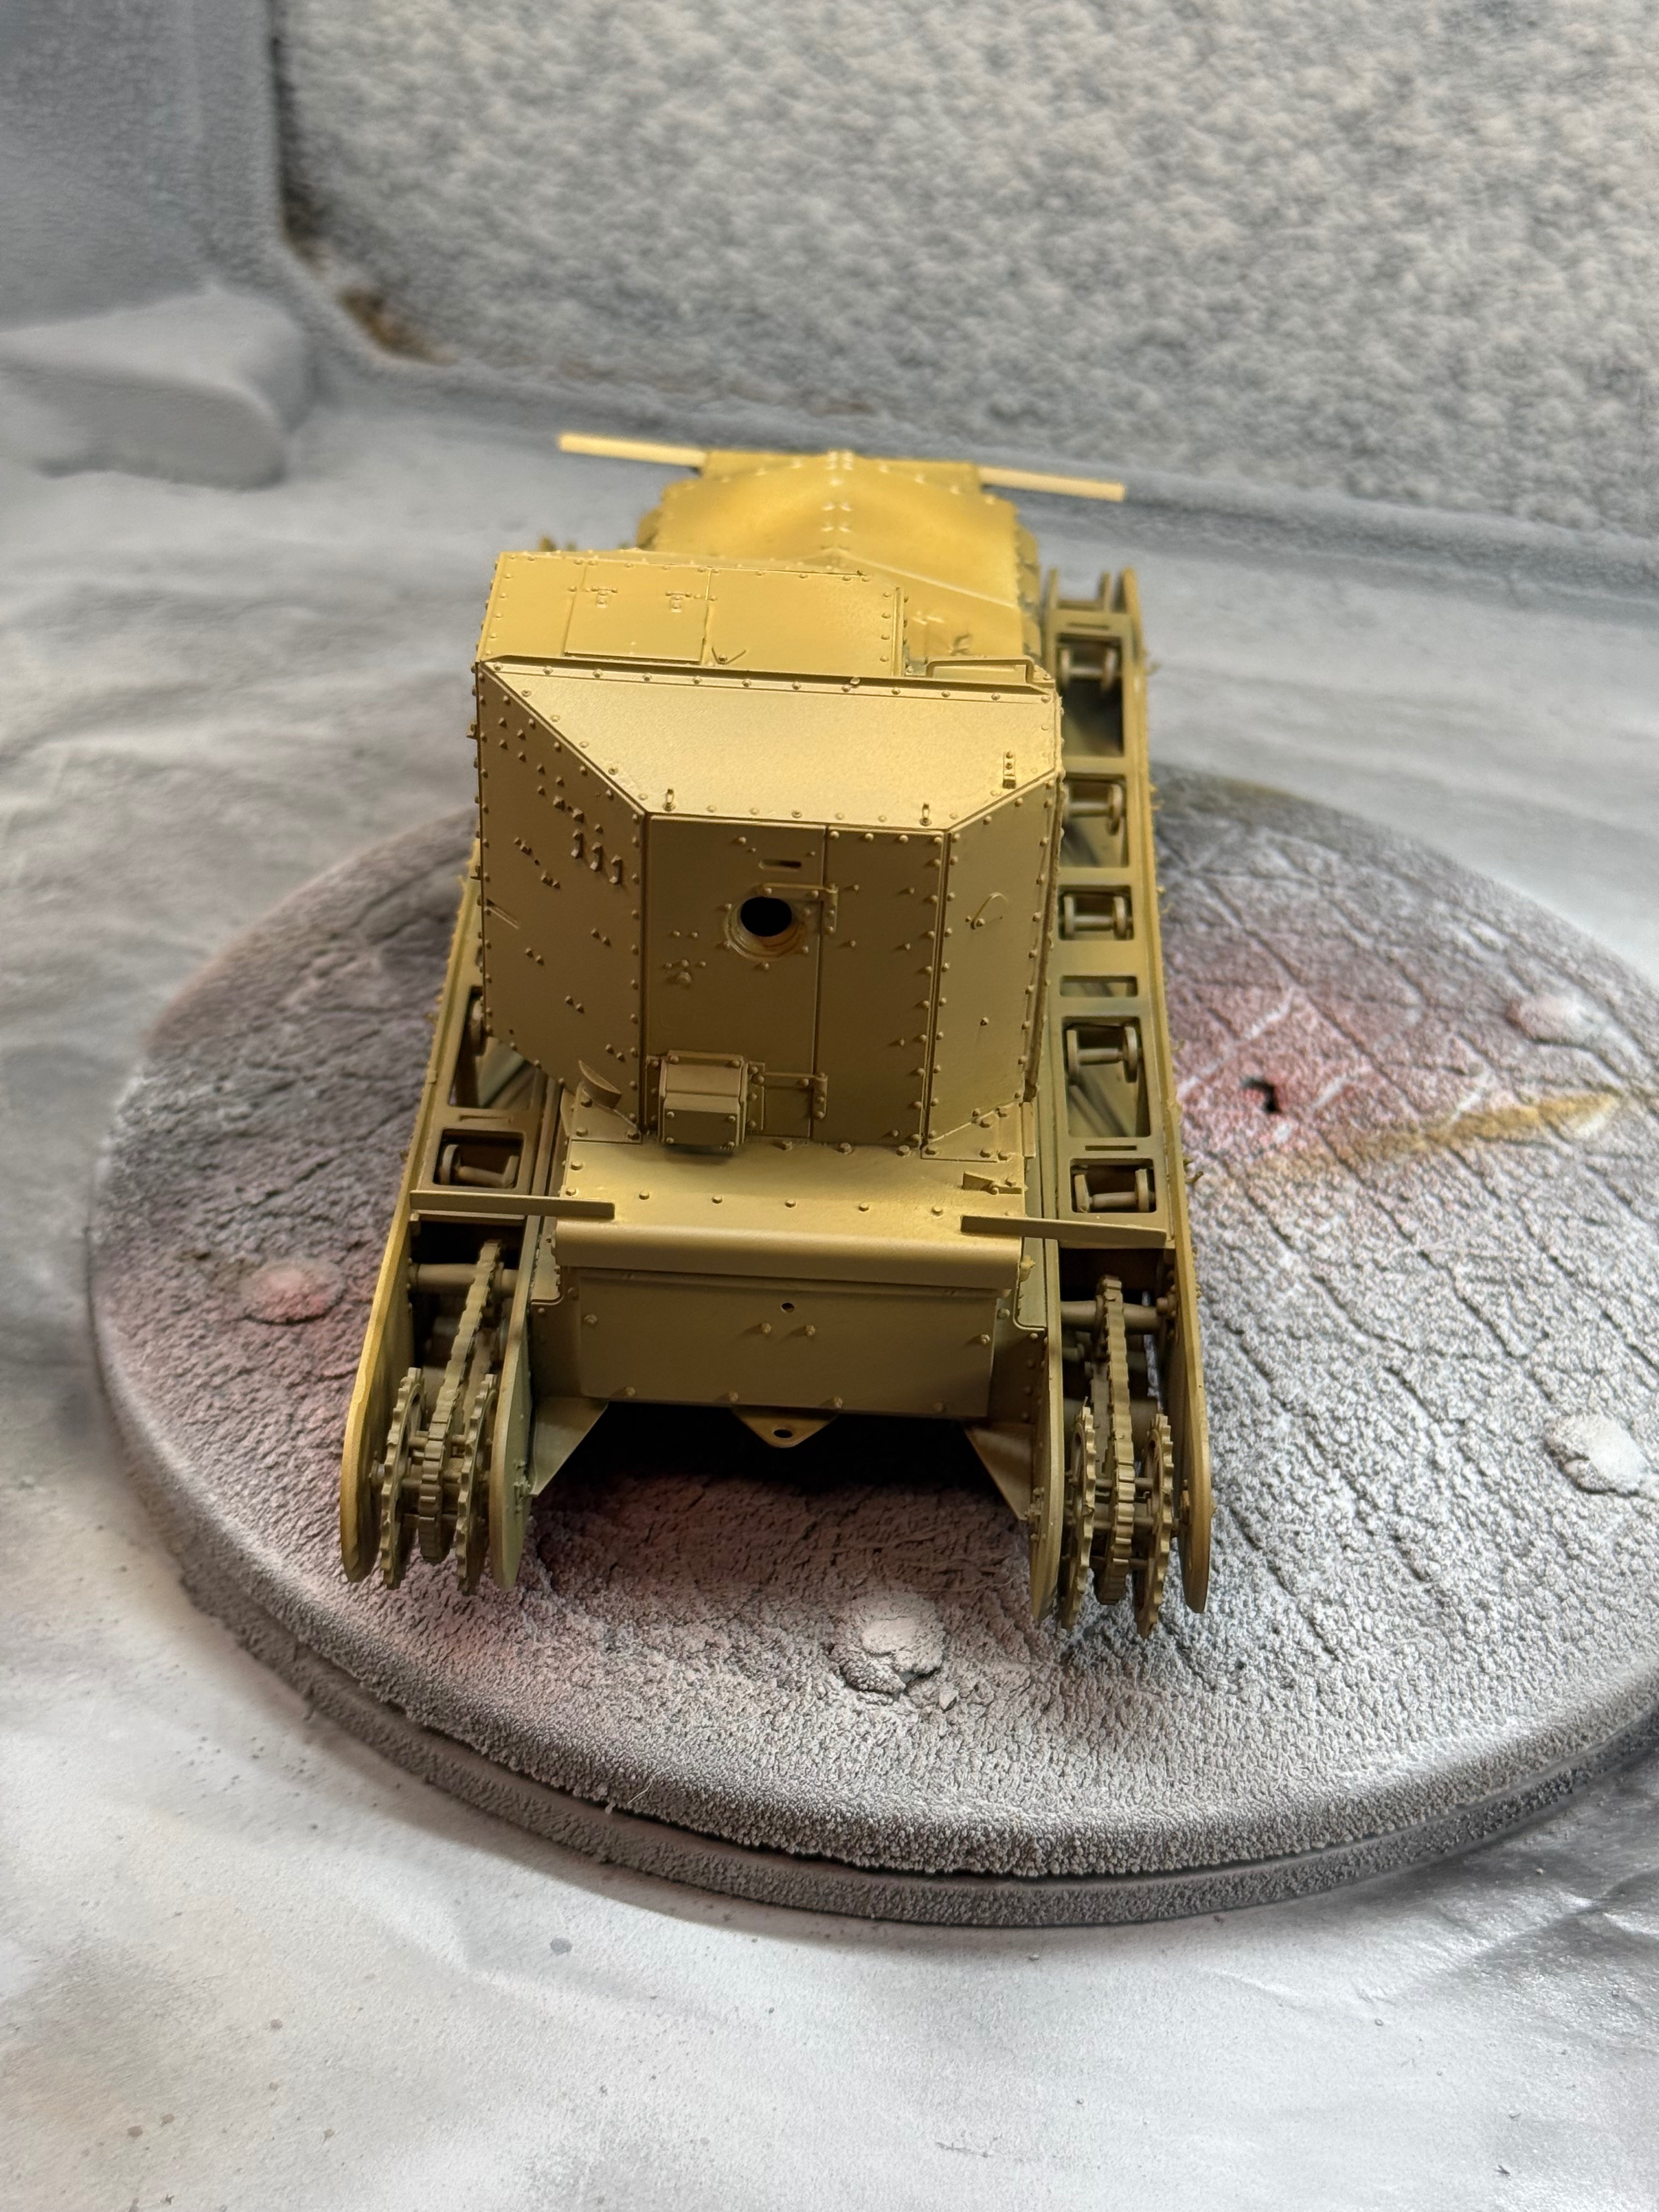
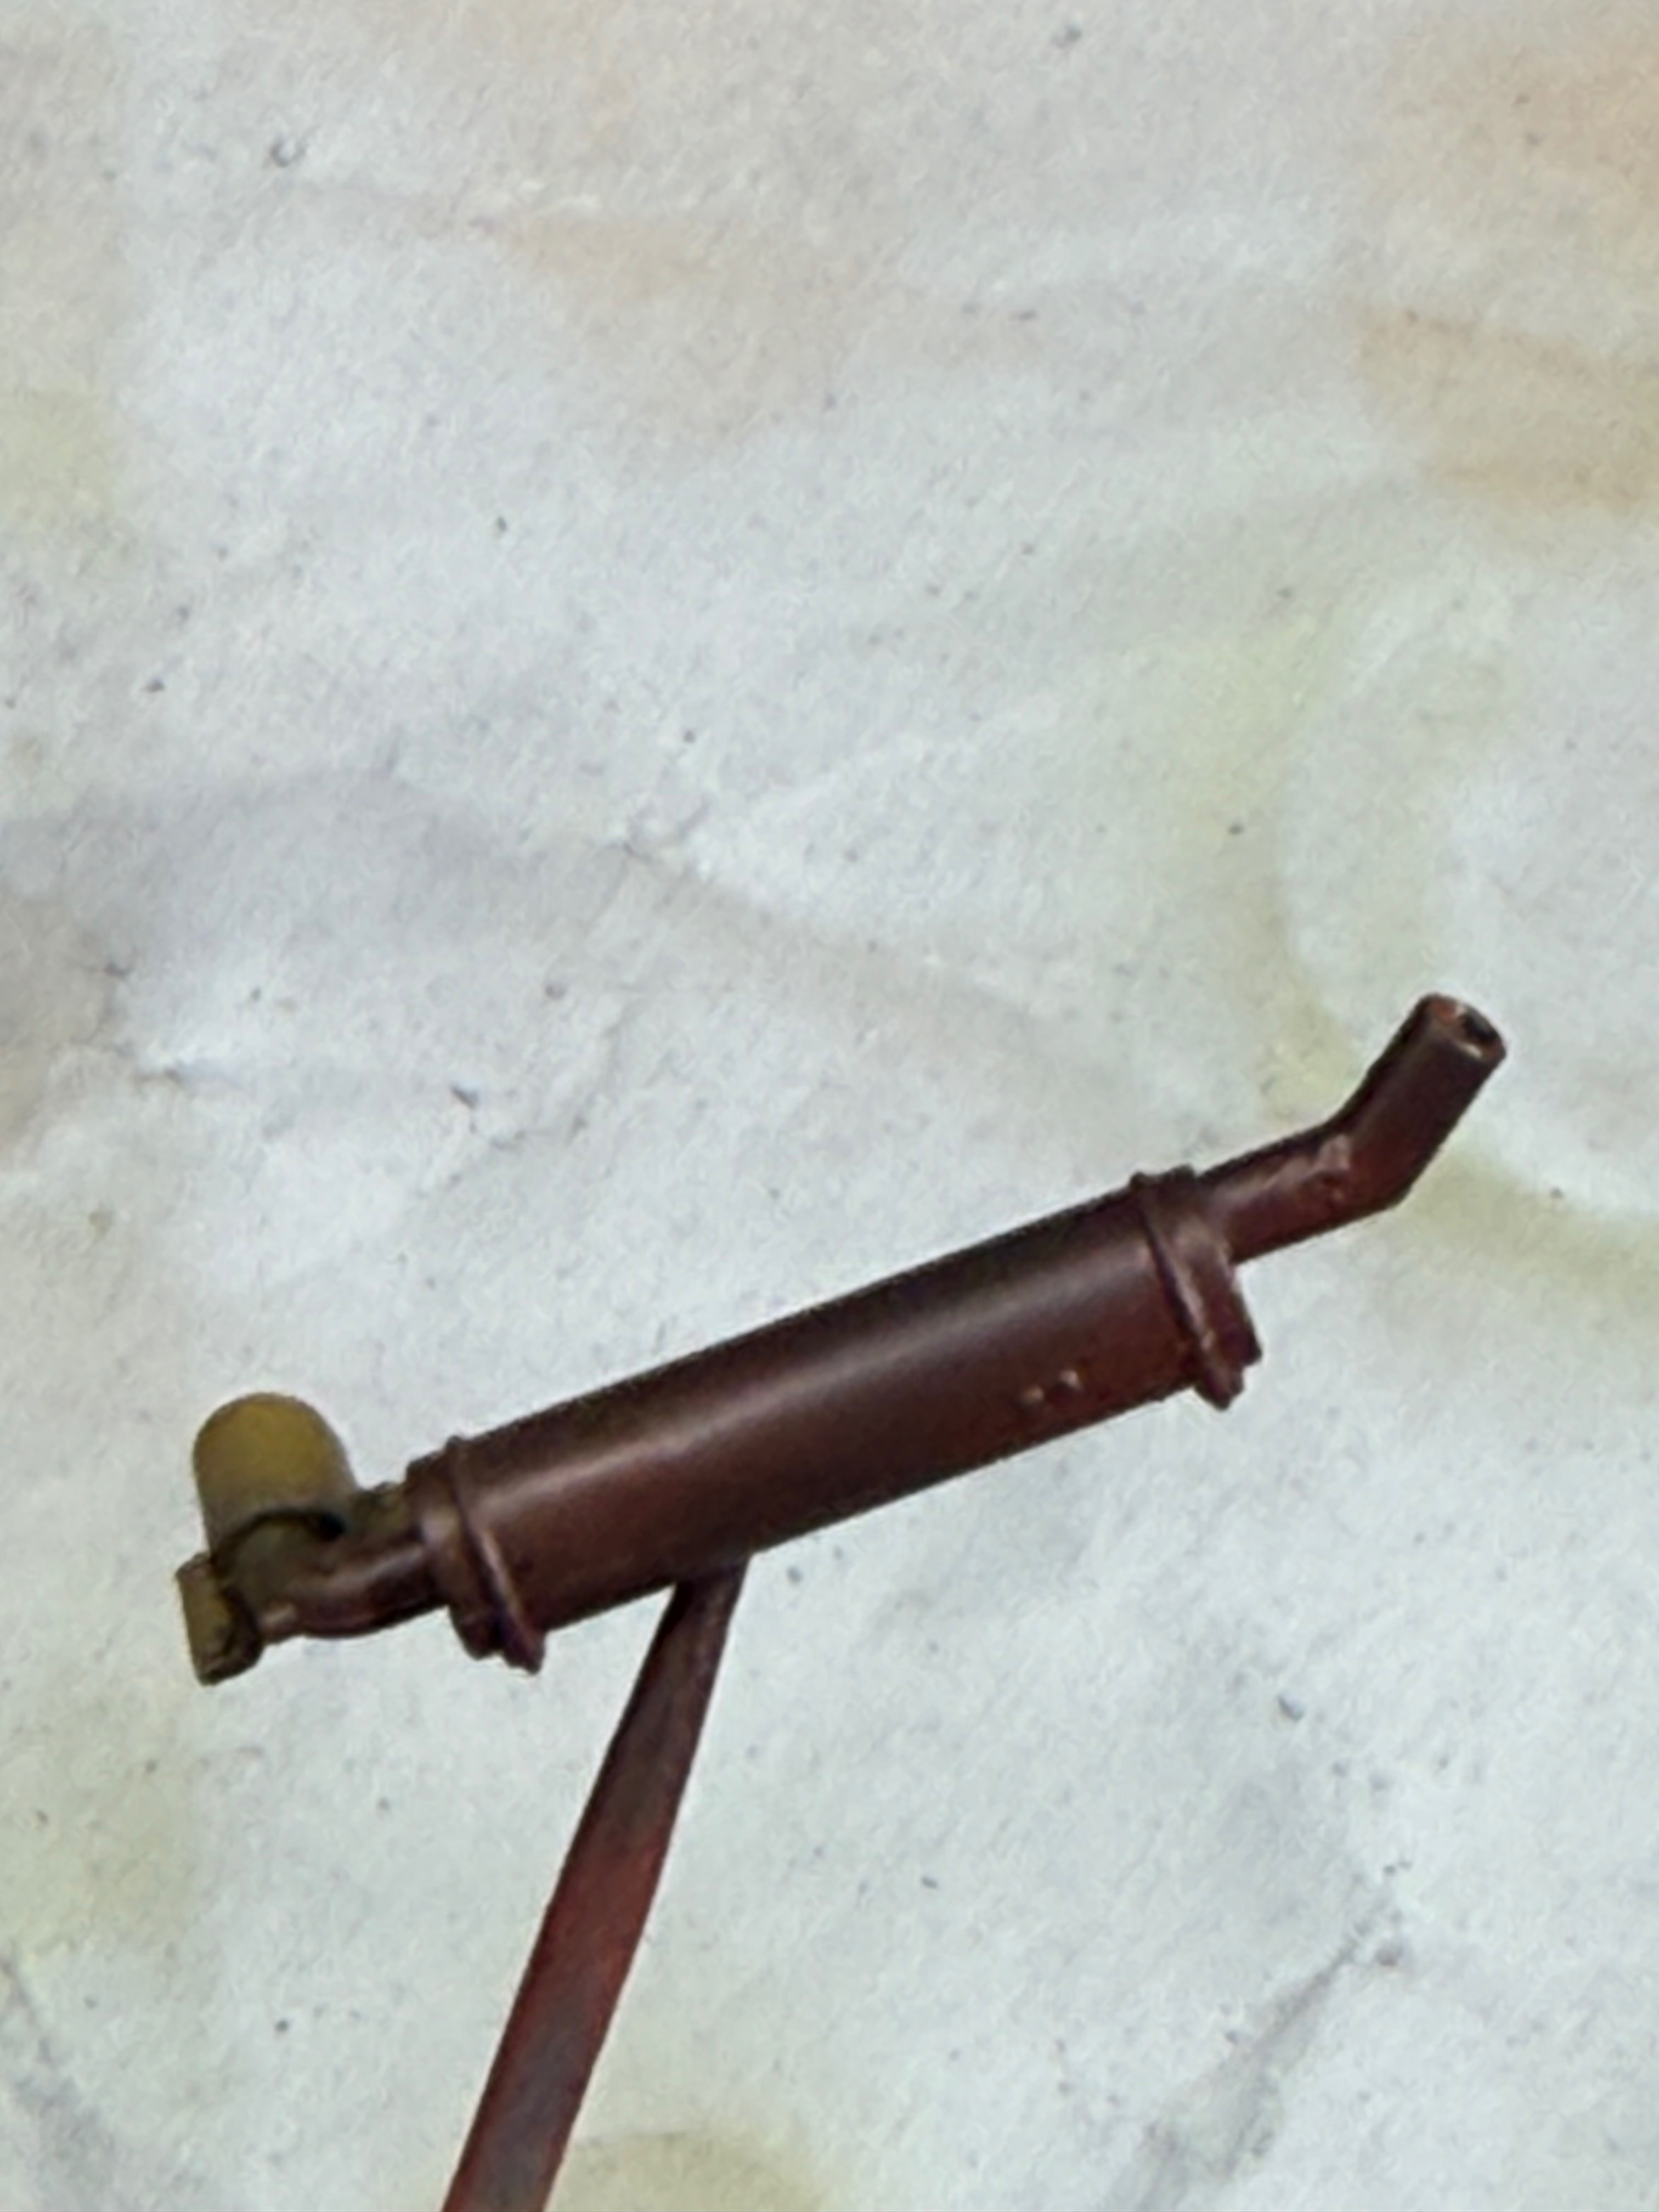
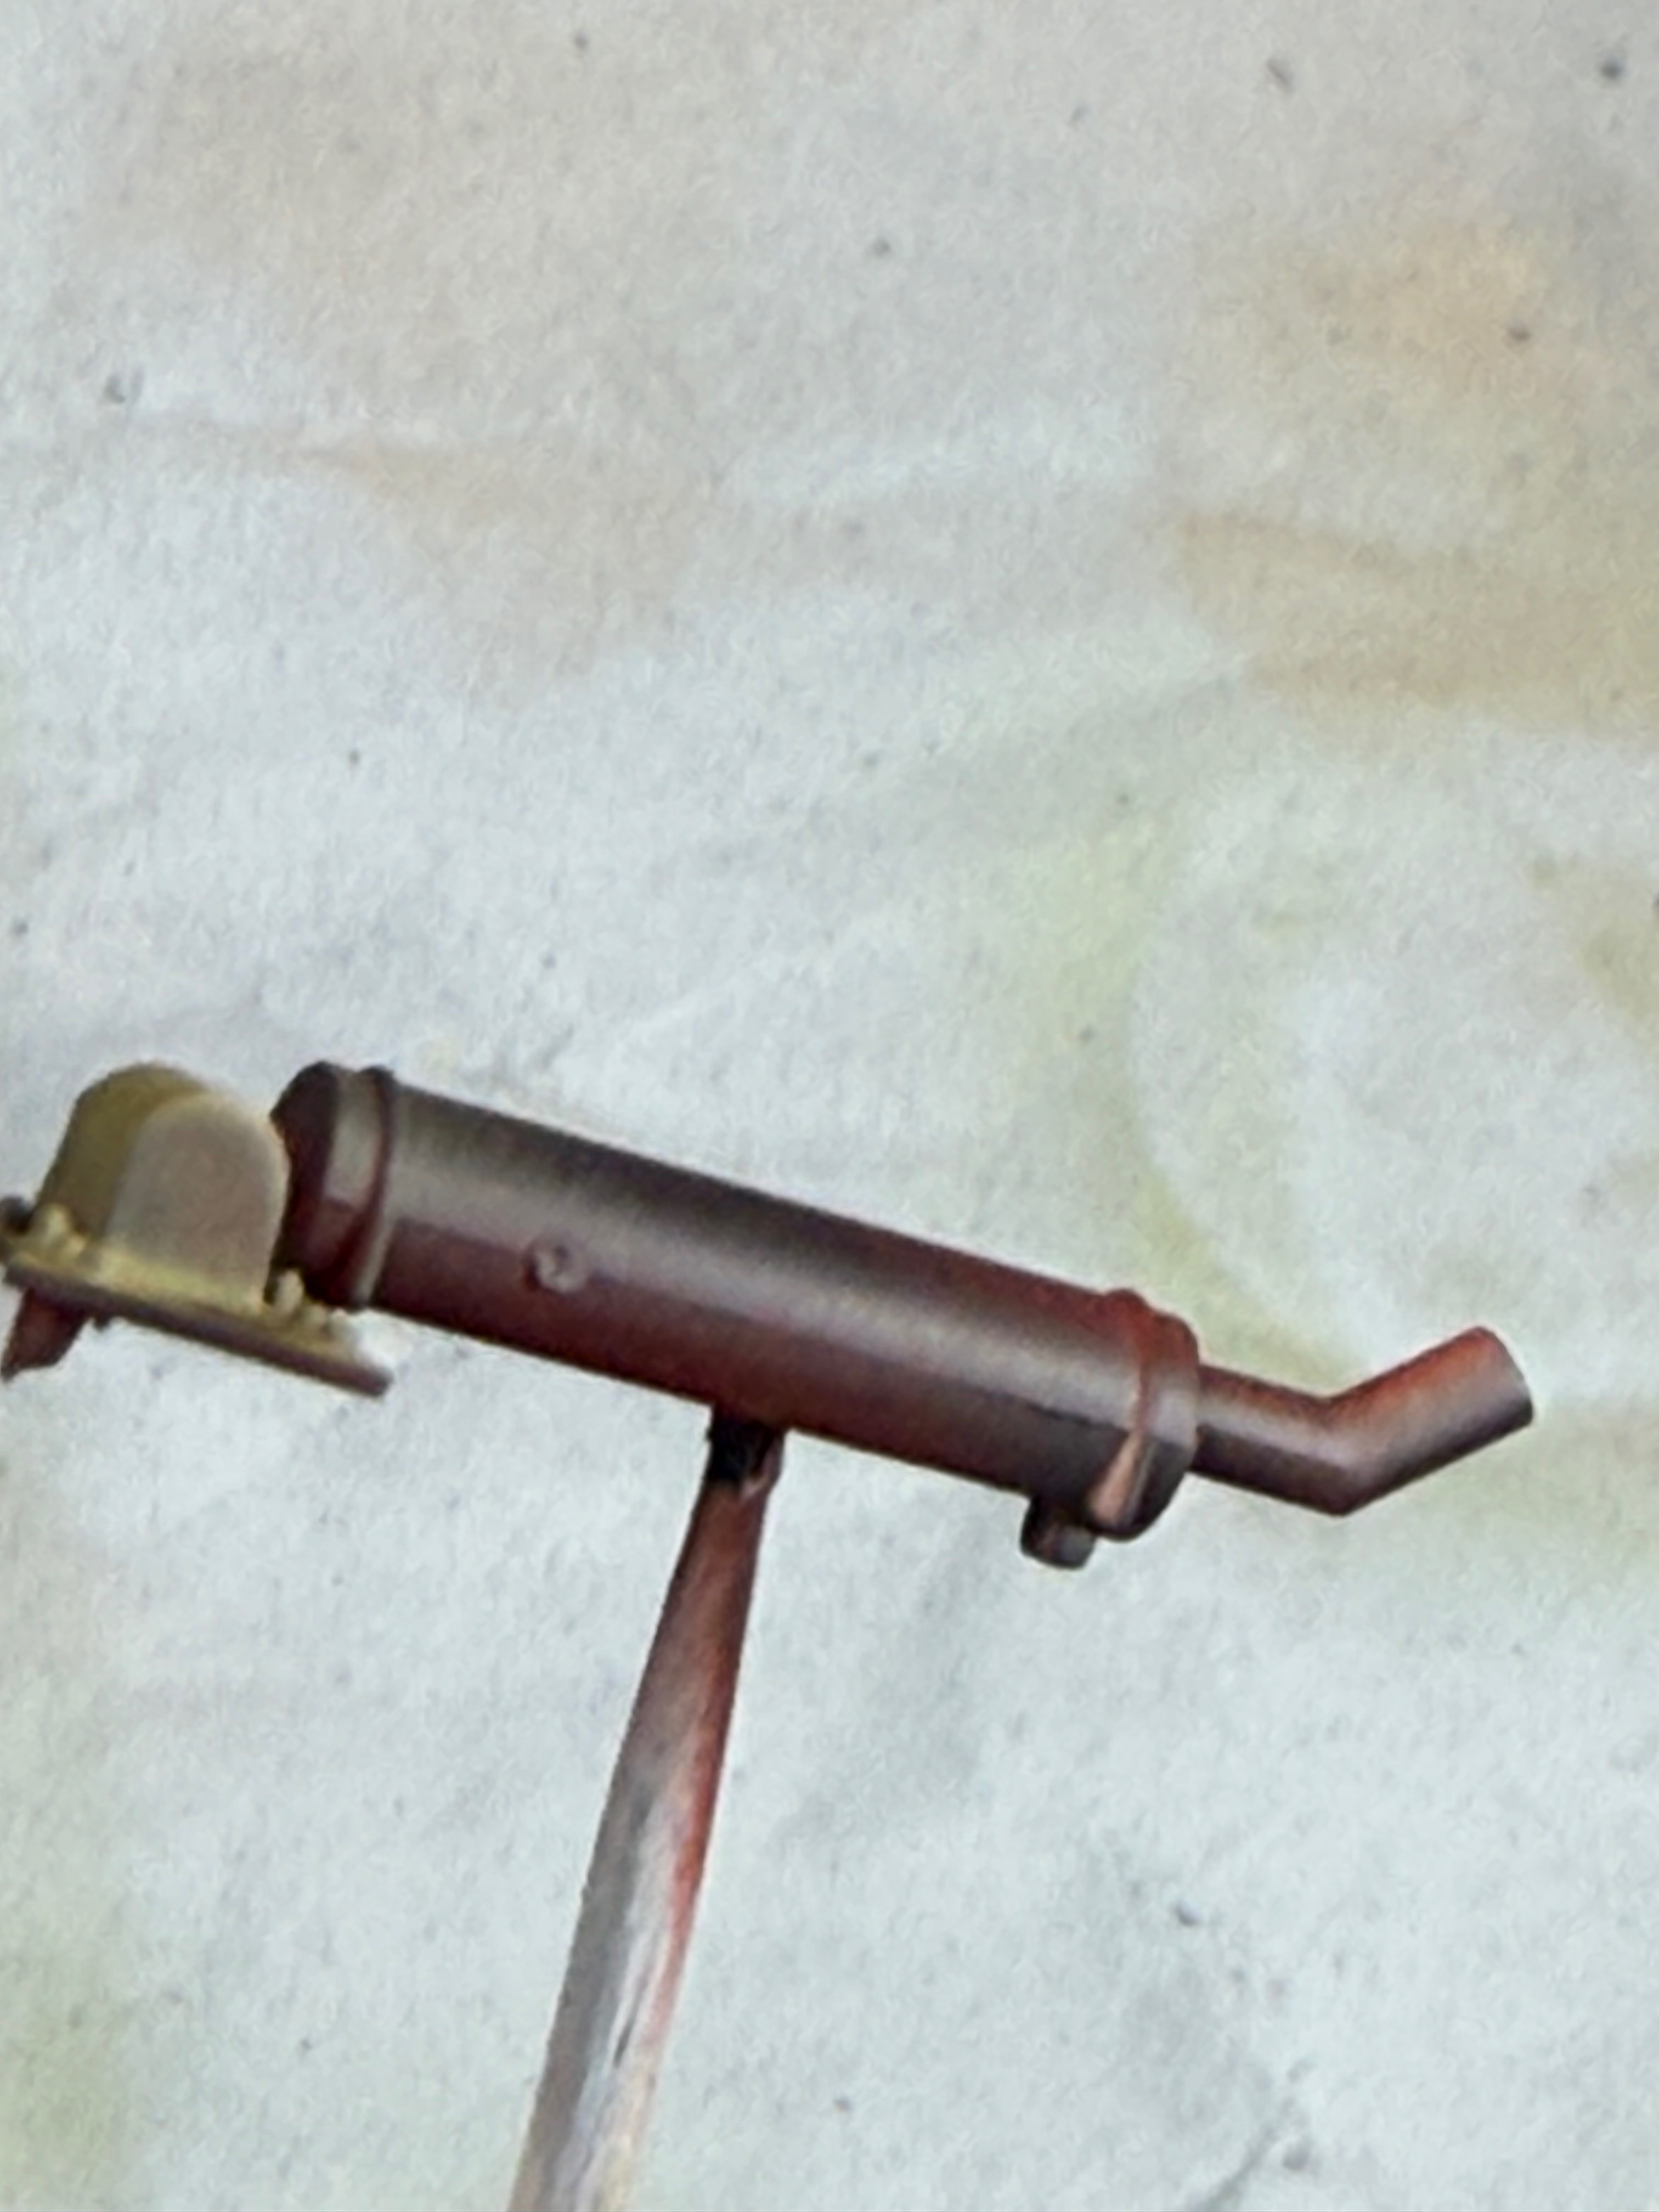
And these are the base for my rusty mufflers. I laid first coat with Tamiya deep red primer - it's kind of a rust color. Then I did a splotchy coat of burnt iron. Next I'm going to use some pigments on them. We'll see, like I said rust is not my strong point.
Attachments
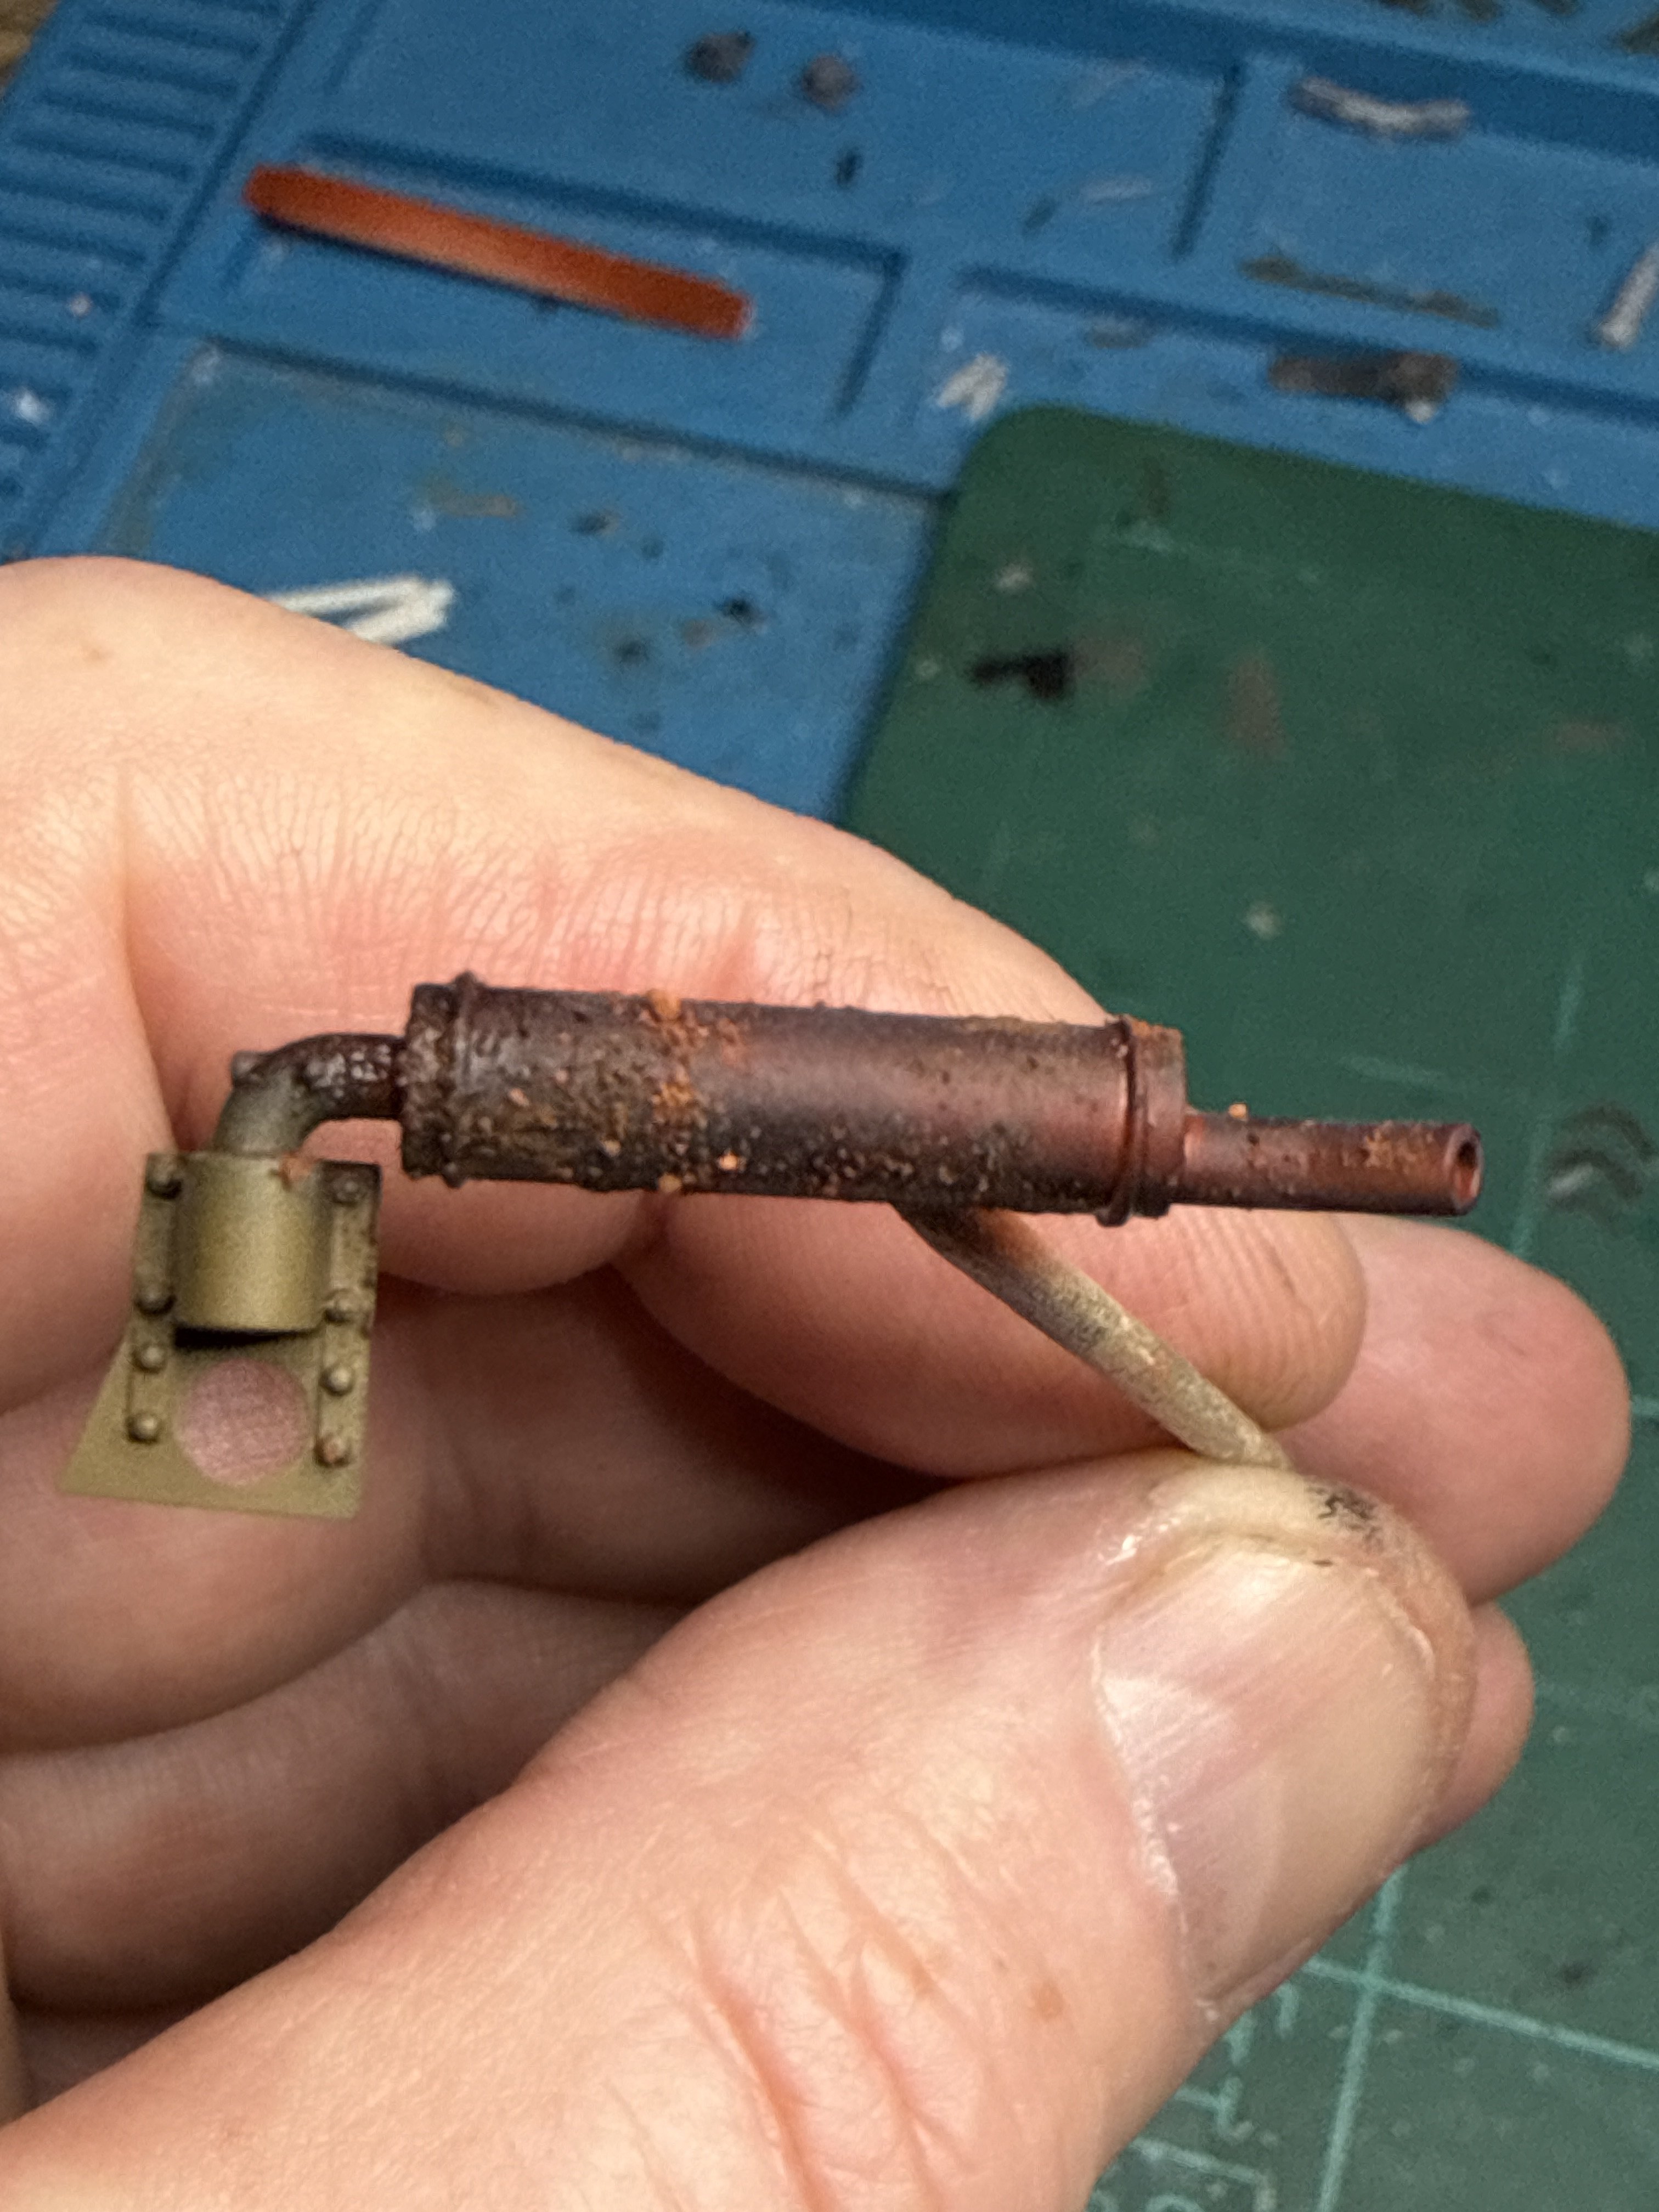
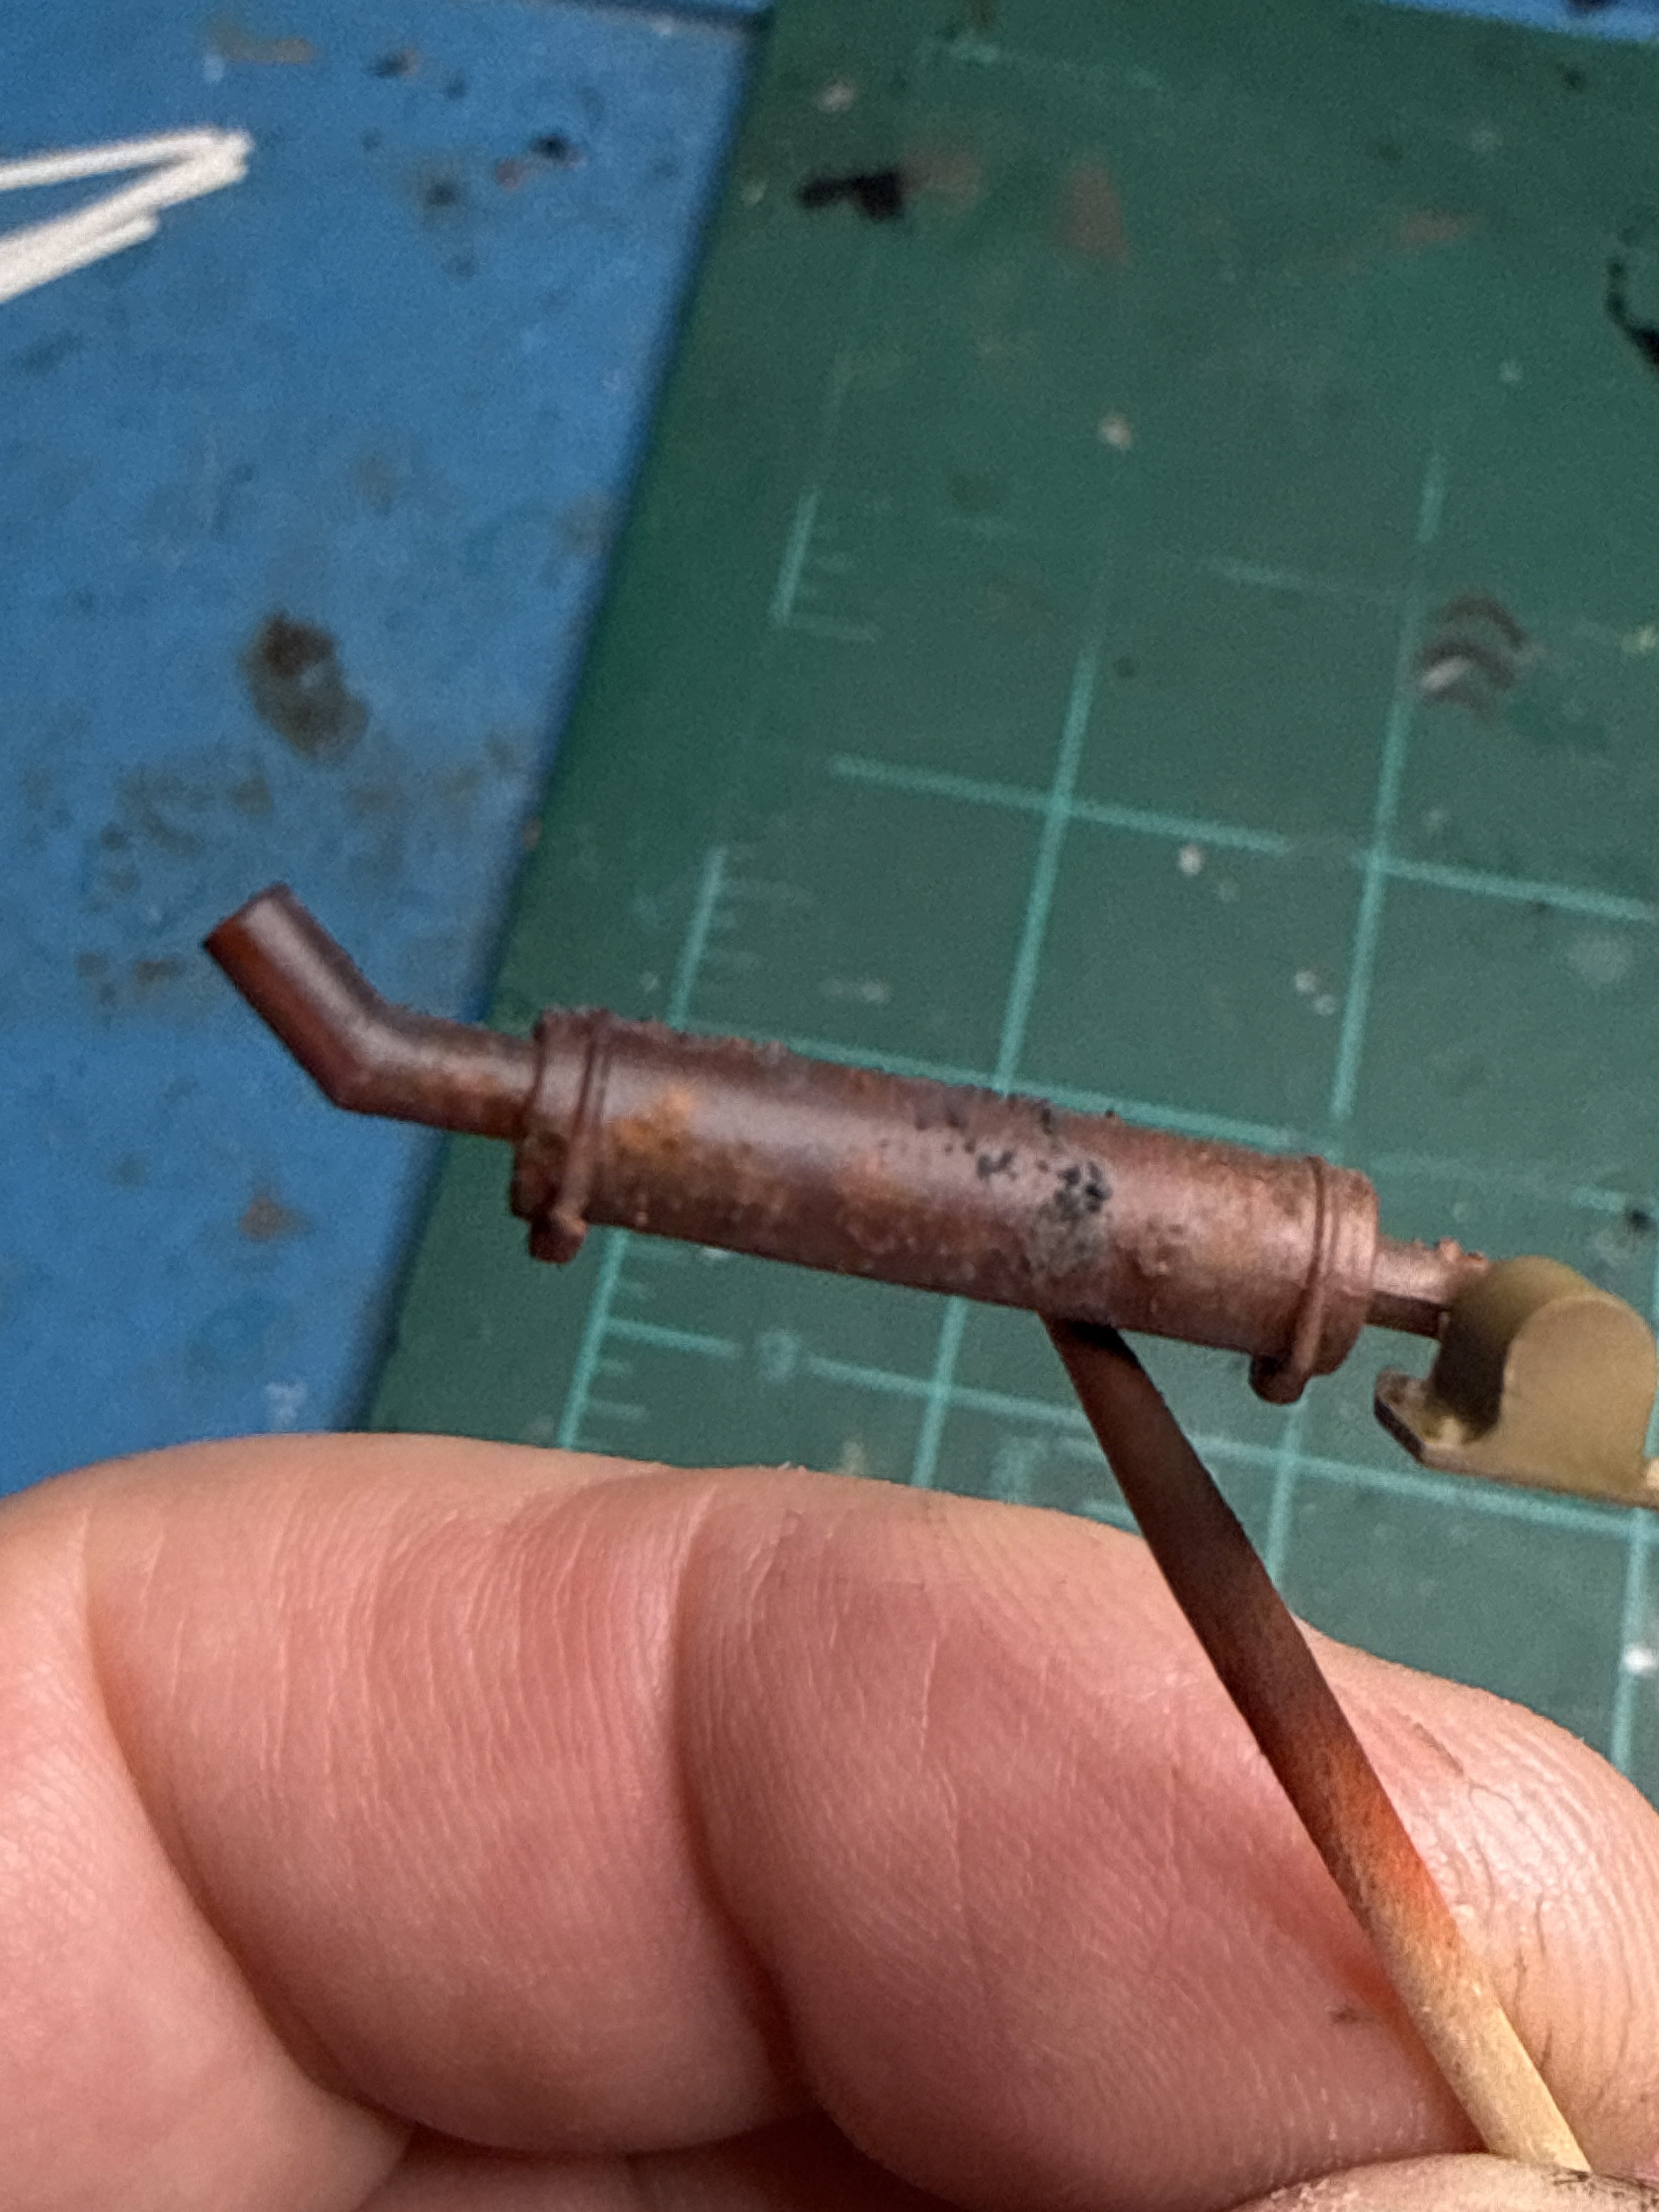
Mufflers are fu-un!
Jakko
Well-Known Member
Do note that the real ones had the body of the muffler wrapped in asbestos rope, with a metal heat shield over that:
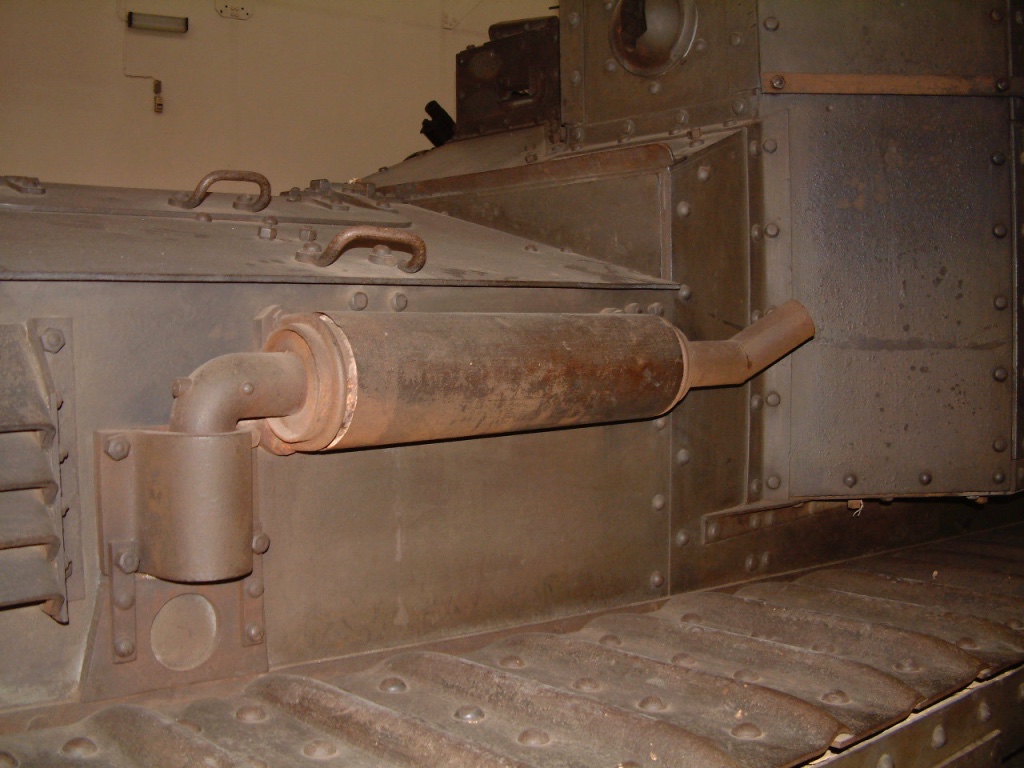
The kit parts don't seem to replicate the heat shield, though. The mufflers are held to the hull by U-shaped rods that go around the body of the muffler itself, as shown on the parts you have:
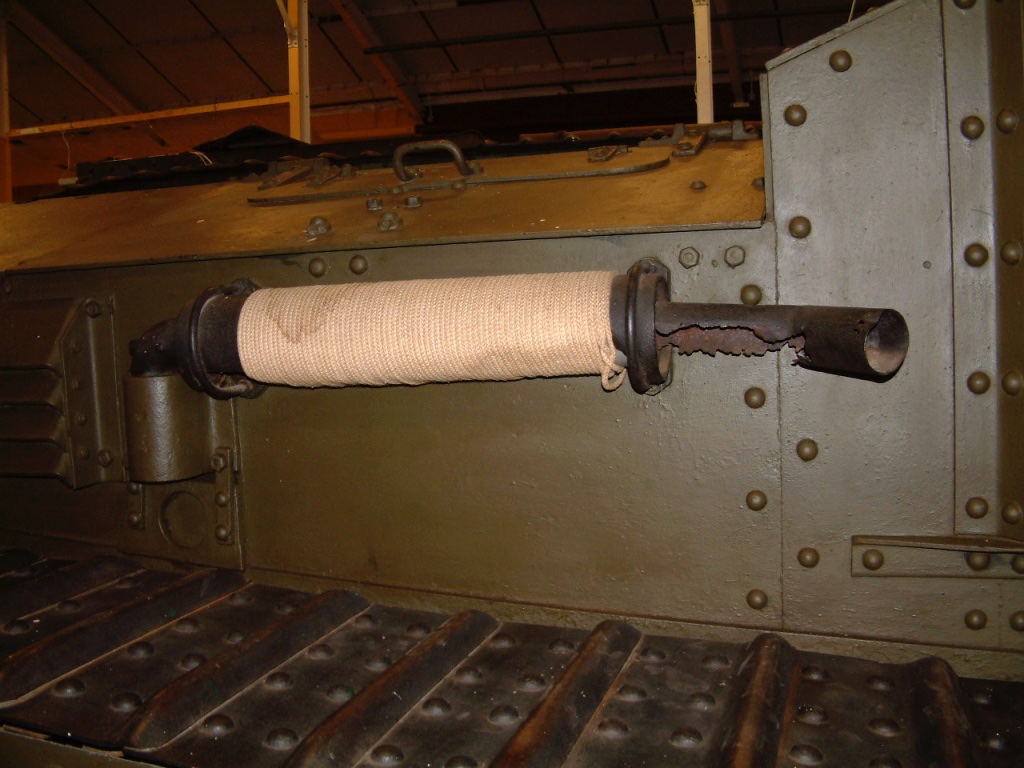
The heat shield sits "outside" of the brackets, but I'm not sure how it was held on:
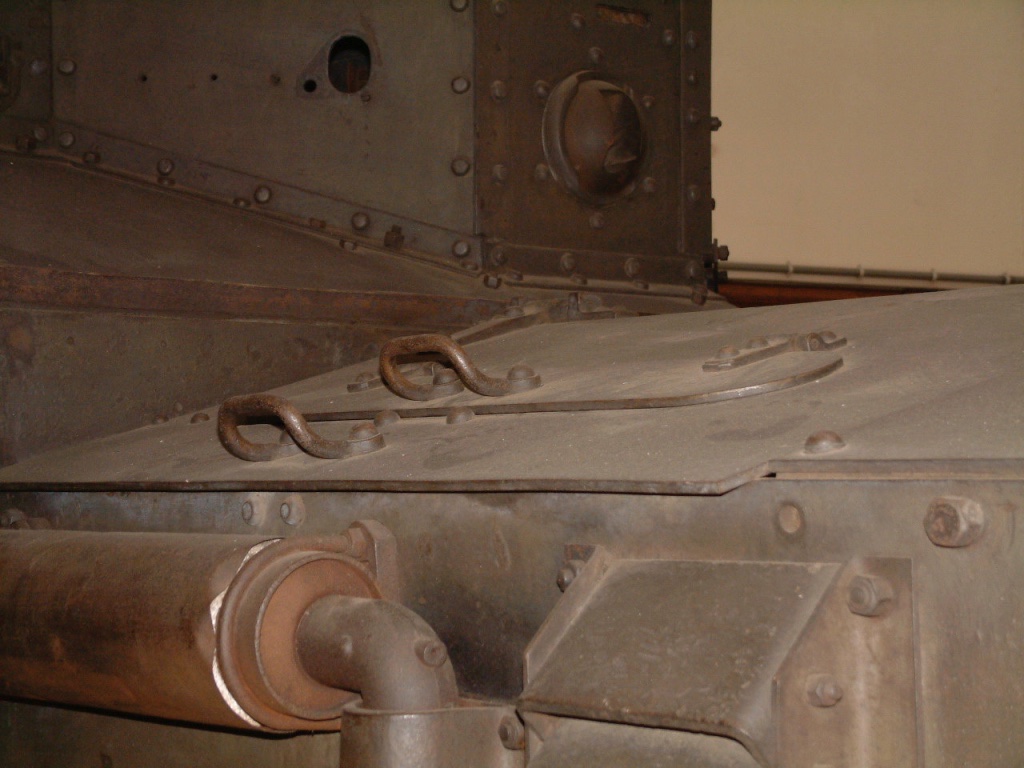
The first and third photos are of the unrestored Whippet in Brussels that still has the heat shields, the second is of the one at Bovington that doesn't, and the rope on the latter looks to me to be a (polyester?) replacement.
The kit parts don't seem to replicate the heat shield, though. The mufflers are held to the hull by U-shaped rods that go around the body of the muffler itself, as shown on the parts you have:
The heat shield sits "outside" of the brackets, but I'm not sure how it was held on:
The first and third photos are of the unrestored Whippet in Brussels that still has the heat shields, the second is of the one at Bovington that doesn't, and the rope on the latter looks to me to be a (polyester?) replacement.
The heat shield looks rusty to me or is that the lighting?Do note that the real ones had the body of the muffler wrapped in asbestos rope, with a metal heat shield over that:
View attachment 194238
The kit parts don't seem to replicate the heat shield, though. The mufflers are held to the hull by U-shaped rods that go around the body of the muffler itself, as shown on the parts you have:
View attachment 194240
The heat shield sits "outside" of the brackets, but I'm not sure how it was held on:
View attachment 194239
The first and third photos are of the unrestored Whippet in Brussels that still has the heat shields, the second is of the one at Bovington that doesn't, and the rope on the latter looks to me to be a (polyester?) replacement.
Jakko
Well-Known Member
Both, I suspect. I took those photos in Brussels in 2003 (and the Bovington one in 2002), at which point the tank was about 85 years old and AFAIK had never been repainted. When new, the heat shields would probably have been painted the same colour as the rest of the tank, with the insulation from the asbestos keeping them from rusting quickly due to the heat of the exhaust.