Group Build: Biplane - barnstormer to fighter

Scale Model Addict - Model Tips, Guides, Tools & Tech, Tutorials, and Community

Help Support Scale Model Addict:

This is what I get for putting too much thought into something. PE. Panther man loves it. This is only, I think, my second or third time using it. The Nubs! The stupid Nubs! Here I was thinking if you use a fresh razor blade you should be able to cut that nub exactly flush and while why can't I do that there's got to be another way why can't I figure it out? Driving me batshit crazy. And then I realized that the Nubs are just part of the job. Quit fretting over something that is just part of the job. Wow. That's a load off my mind. So I got a pair of really good scissors and also an old pair of sprue cutters and snip snip snip cut the PE off and then worry about grinding the nub down if you need to. Some people need to slow down when they're building a model and some people, like me, need to quit overthinking things. It just slows you down.
 
Tamiya sells very good, high-quality small scissors specifically intended for removing etched parts from the fret. I only really use them for nickel silver, as brass is usually soft enough that you can do it with a hobby knife instead.
 
Tamiya sells very good, high-quality small scissors specifically intended for removing etched parts from the fret. I only really use them for nickel silver, as brass is usually soft enough that you can do it with a hobby knife instead.
I requisitioned a pair of scissors from my wife's stash for her stash! Just kidding. About her stash not that I took her scissors.. really small meant for eyebrows and nose hairs and such. Works great.
 
As an Amazon Associate we earn from qualifying purchases. Product prices and availability are accurate as of the date/time indicated and are subject to change.
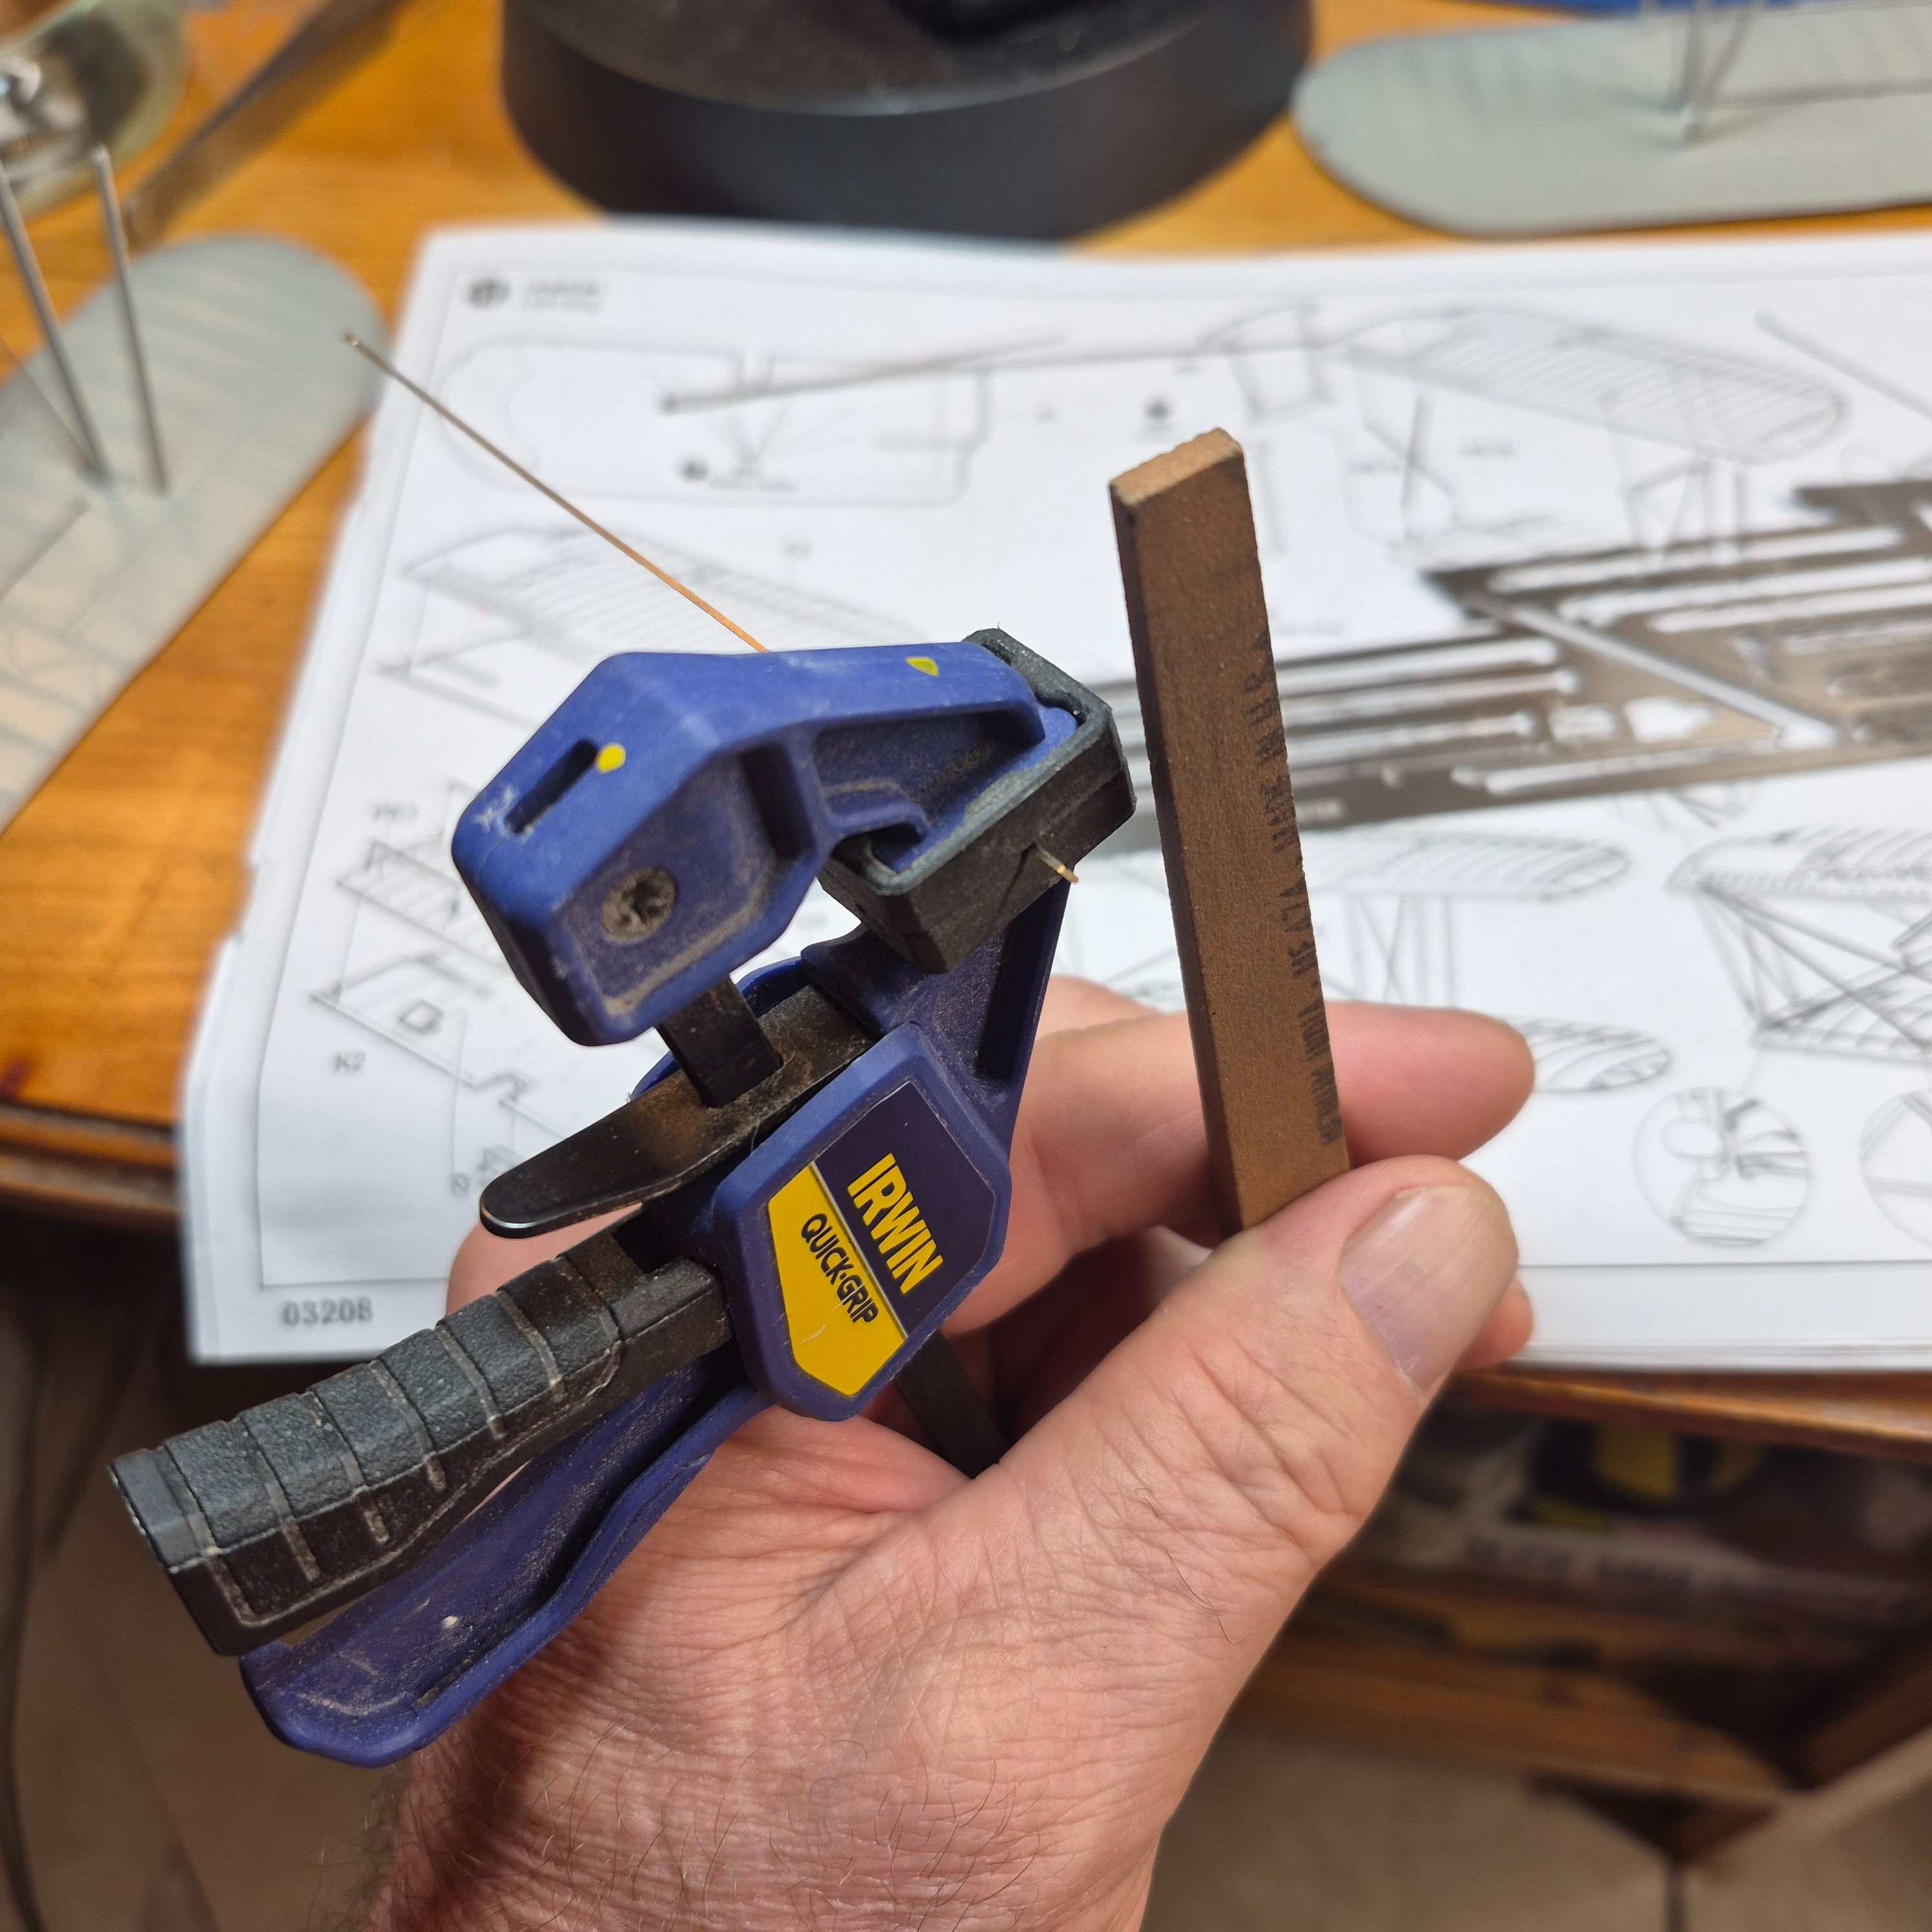
Necessity is the mother of invention they say. Yeppers! Just another use for the Irwin Quick Grip. The rubber Jaws grip it nice and firm. PE problem solved.:-)
 

Attachments

  • 20260716_164545.jpg
    20260716_164545.jpg
    1,021 KB
Looks a lot better than mine. I'm having some trouble.
Thanks, but oh yes, it was some trouble, and I only had 8 lines.
Broke my two smallest drill bits, messed up some of the paint.

I'll take a look later and make sure everything is square, clean up some glue, touch up the paint, and start working on the landing gear.
There is also supposed to be a small cylinder thing where the lines cross, but I haven't figured how to do that yet. (And may not)
 
Oh believe me I got files up the ying yang. All types. It's not normal PE. I can cut PE and not have any nub. I'm just wondering if there's a trick to cutting the really thick PE? Would heating it first work? I don't know and I don't want to test a piece because it's biplane rigging and I don't want to screw it up. If I do I'd have to order some brass wire because Andy's moved I think and hobby bench is out
If I find a particular hard PE, I tend to cut it from the fret with Tamiya PE scissors, then put it in wide mouth pliers and use a diamond file to trim off any spike's. Pantherman
 
If I find a particular hard PE, I tend to cut it from the fret with Tamiya PE scissors, then put it in wide mouth pliers and use a diamond file to trim off any spike's. Pantherman
Yes sir. That's what I'm doing now. I probably should have watched some videos but I didn't. I don't know where I got the idea that you can cut all PE and not have a nub? And I found out the hard way on the PE rigging? Don't heat it up with the lighter thinking you're going to soften the metal and make it cut easier so you don't have a nub. It doesn't work. You're going to have a nub regardless. And now you made the PE nice and soft and bendable and curved and not looking like a piece of rigging wire. Live and learn.
 
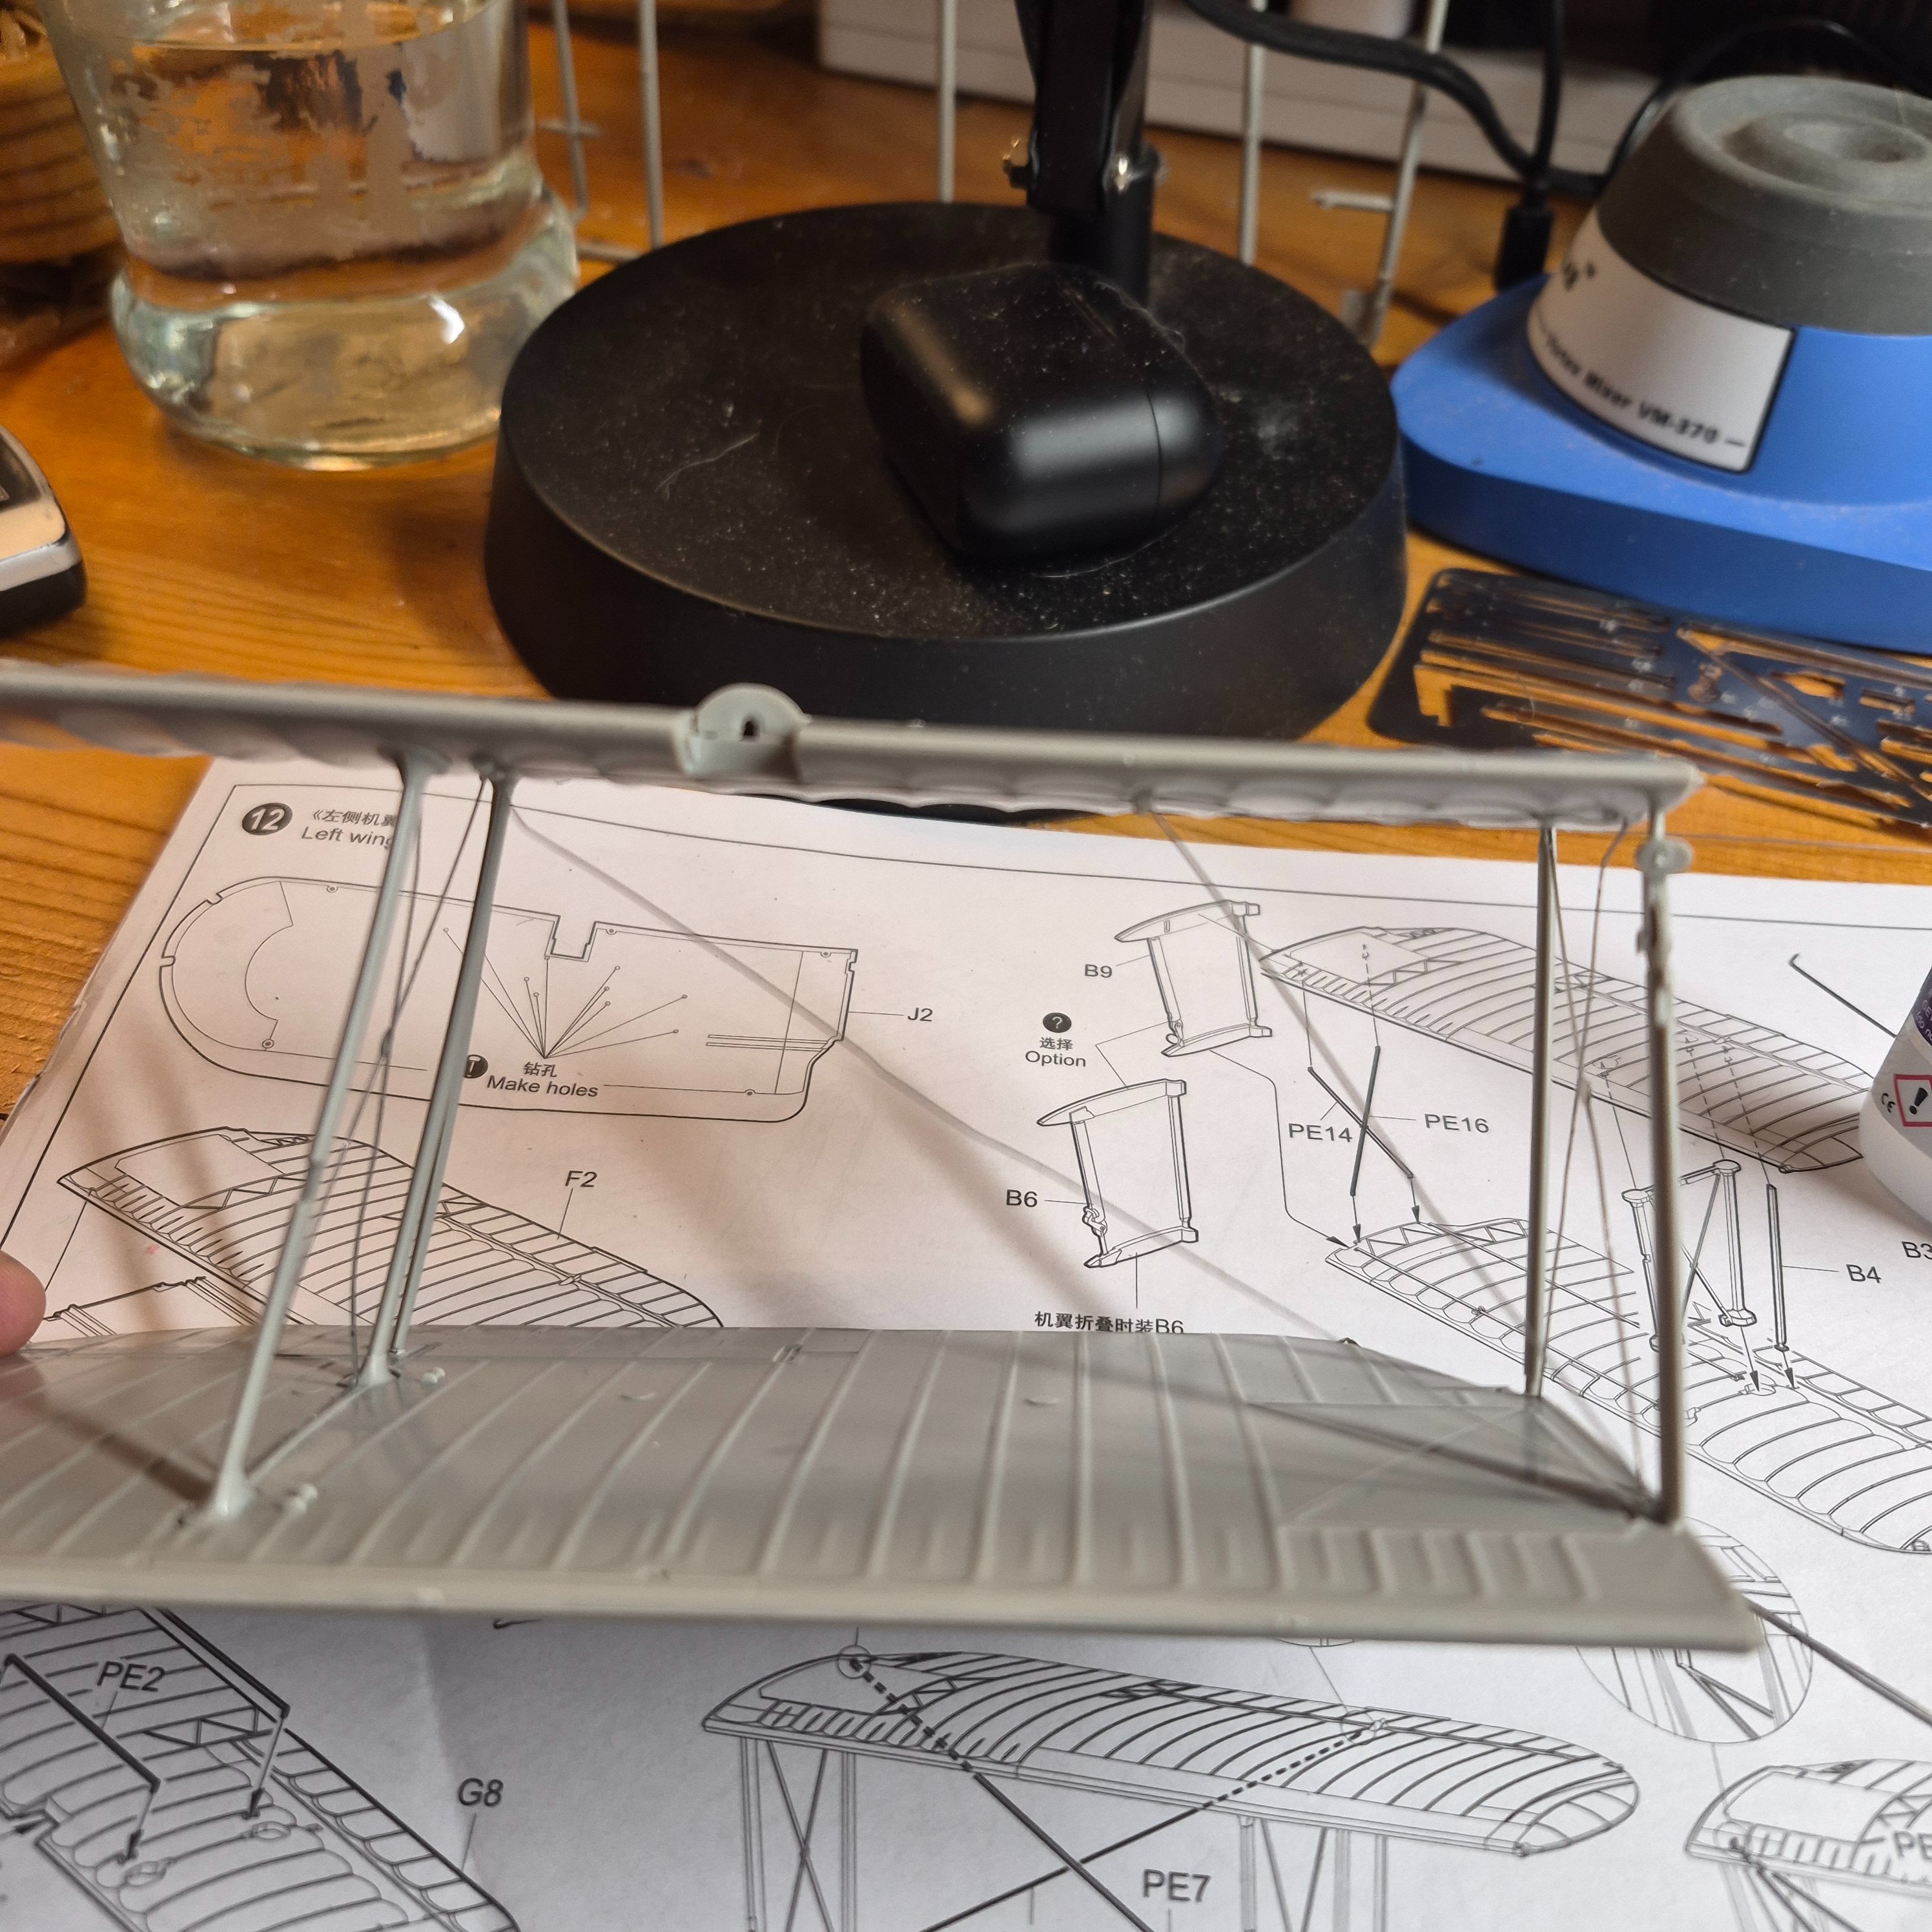
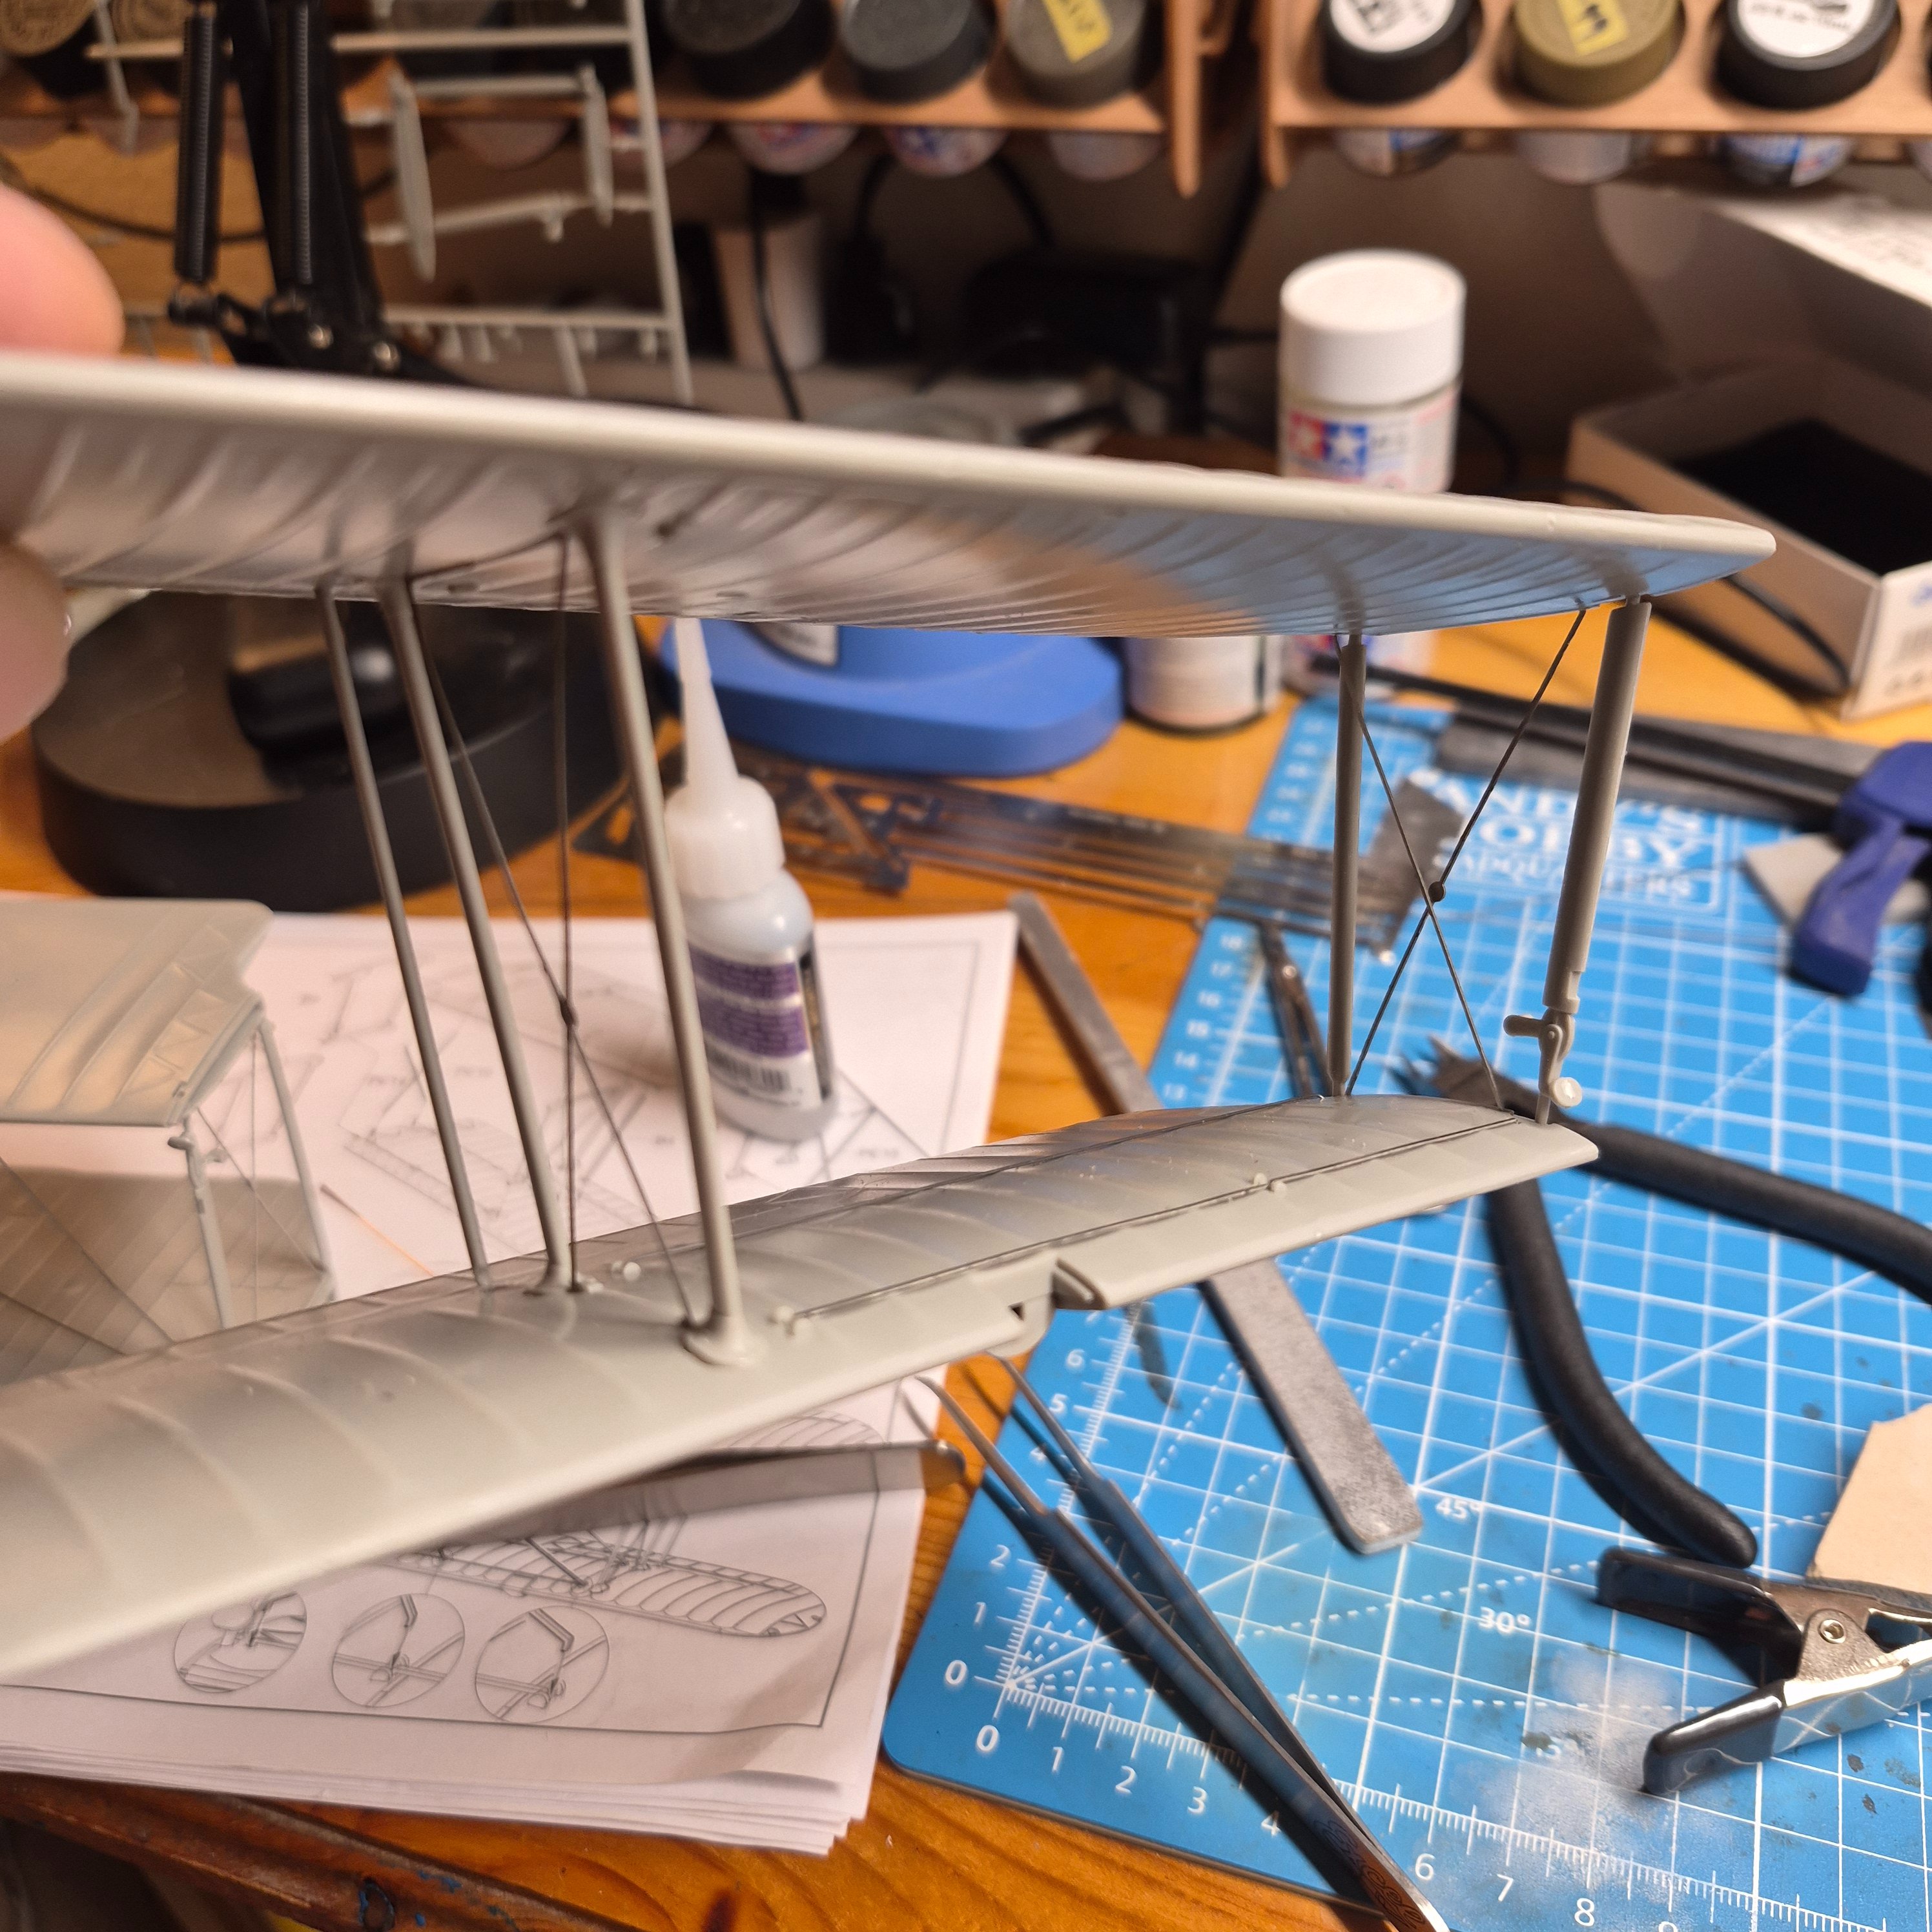
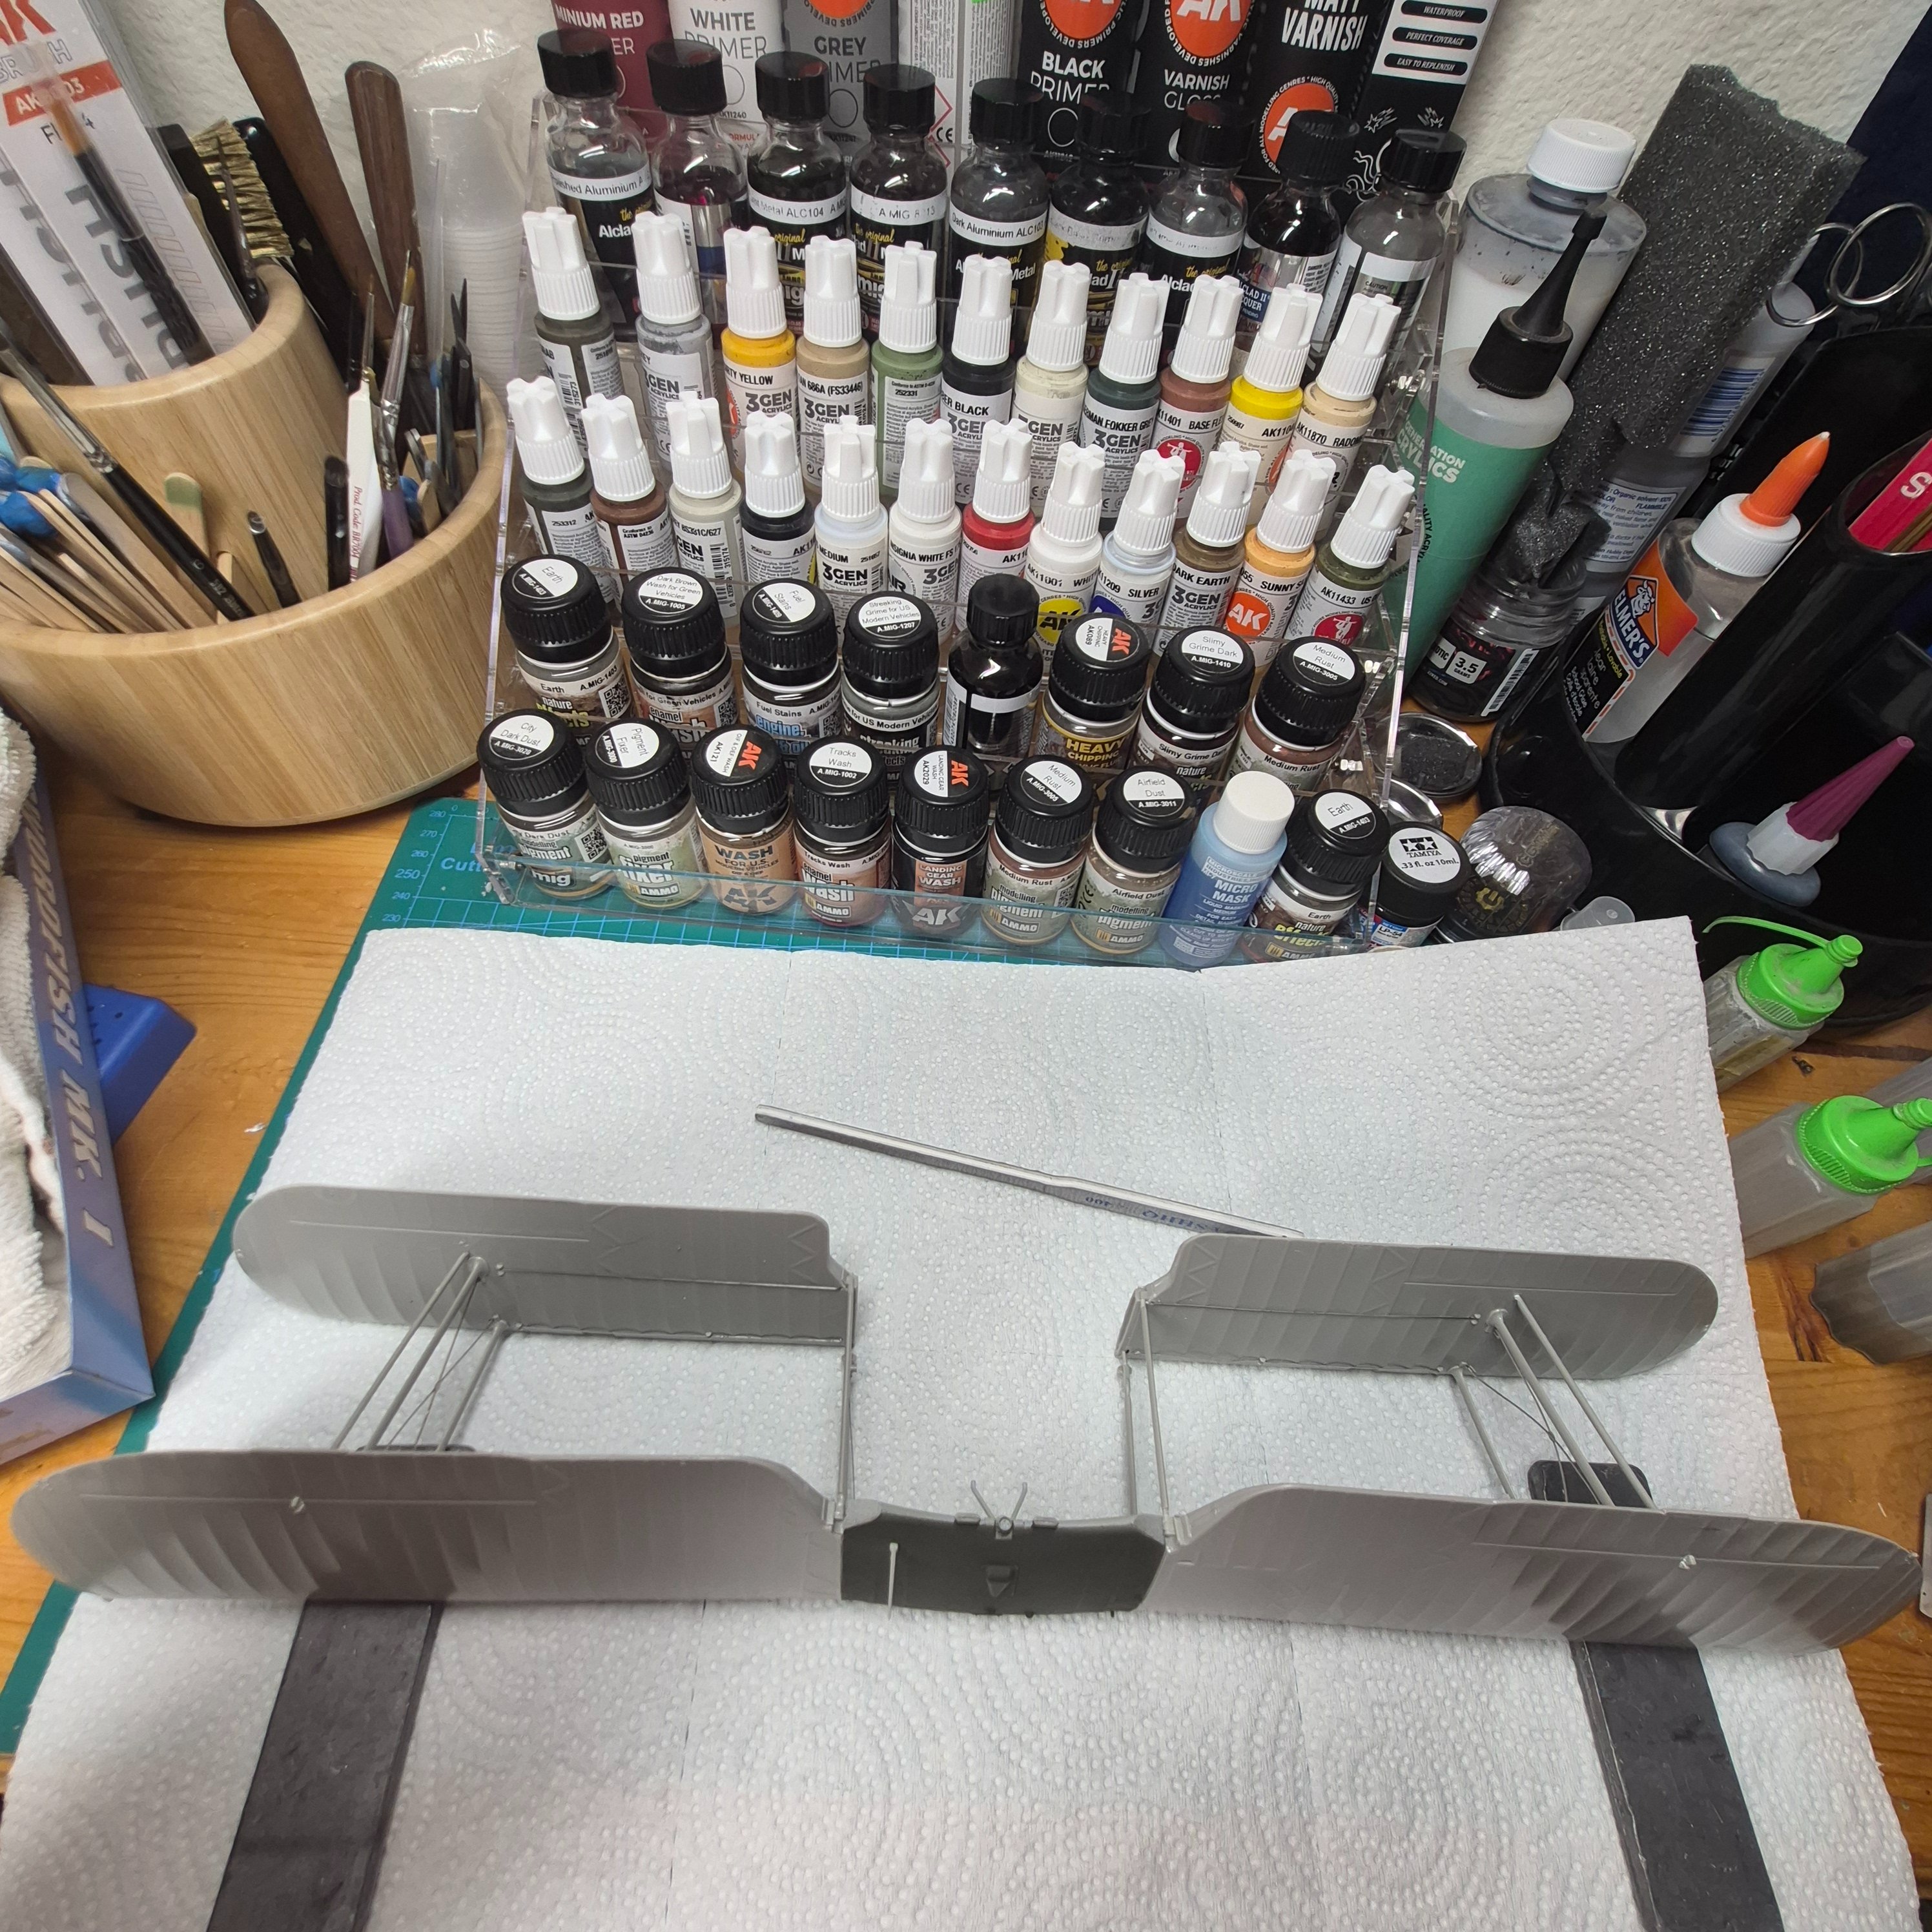
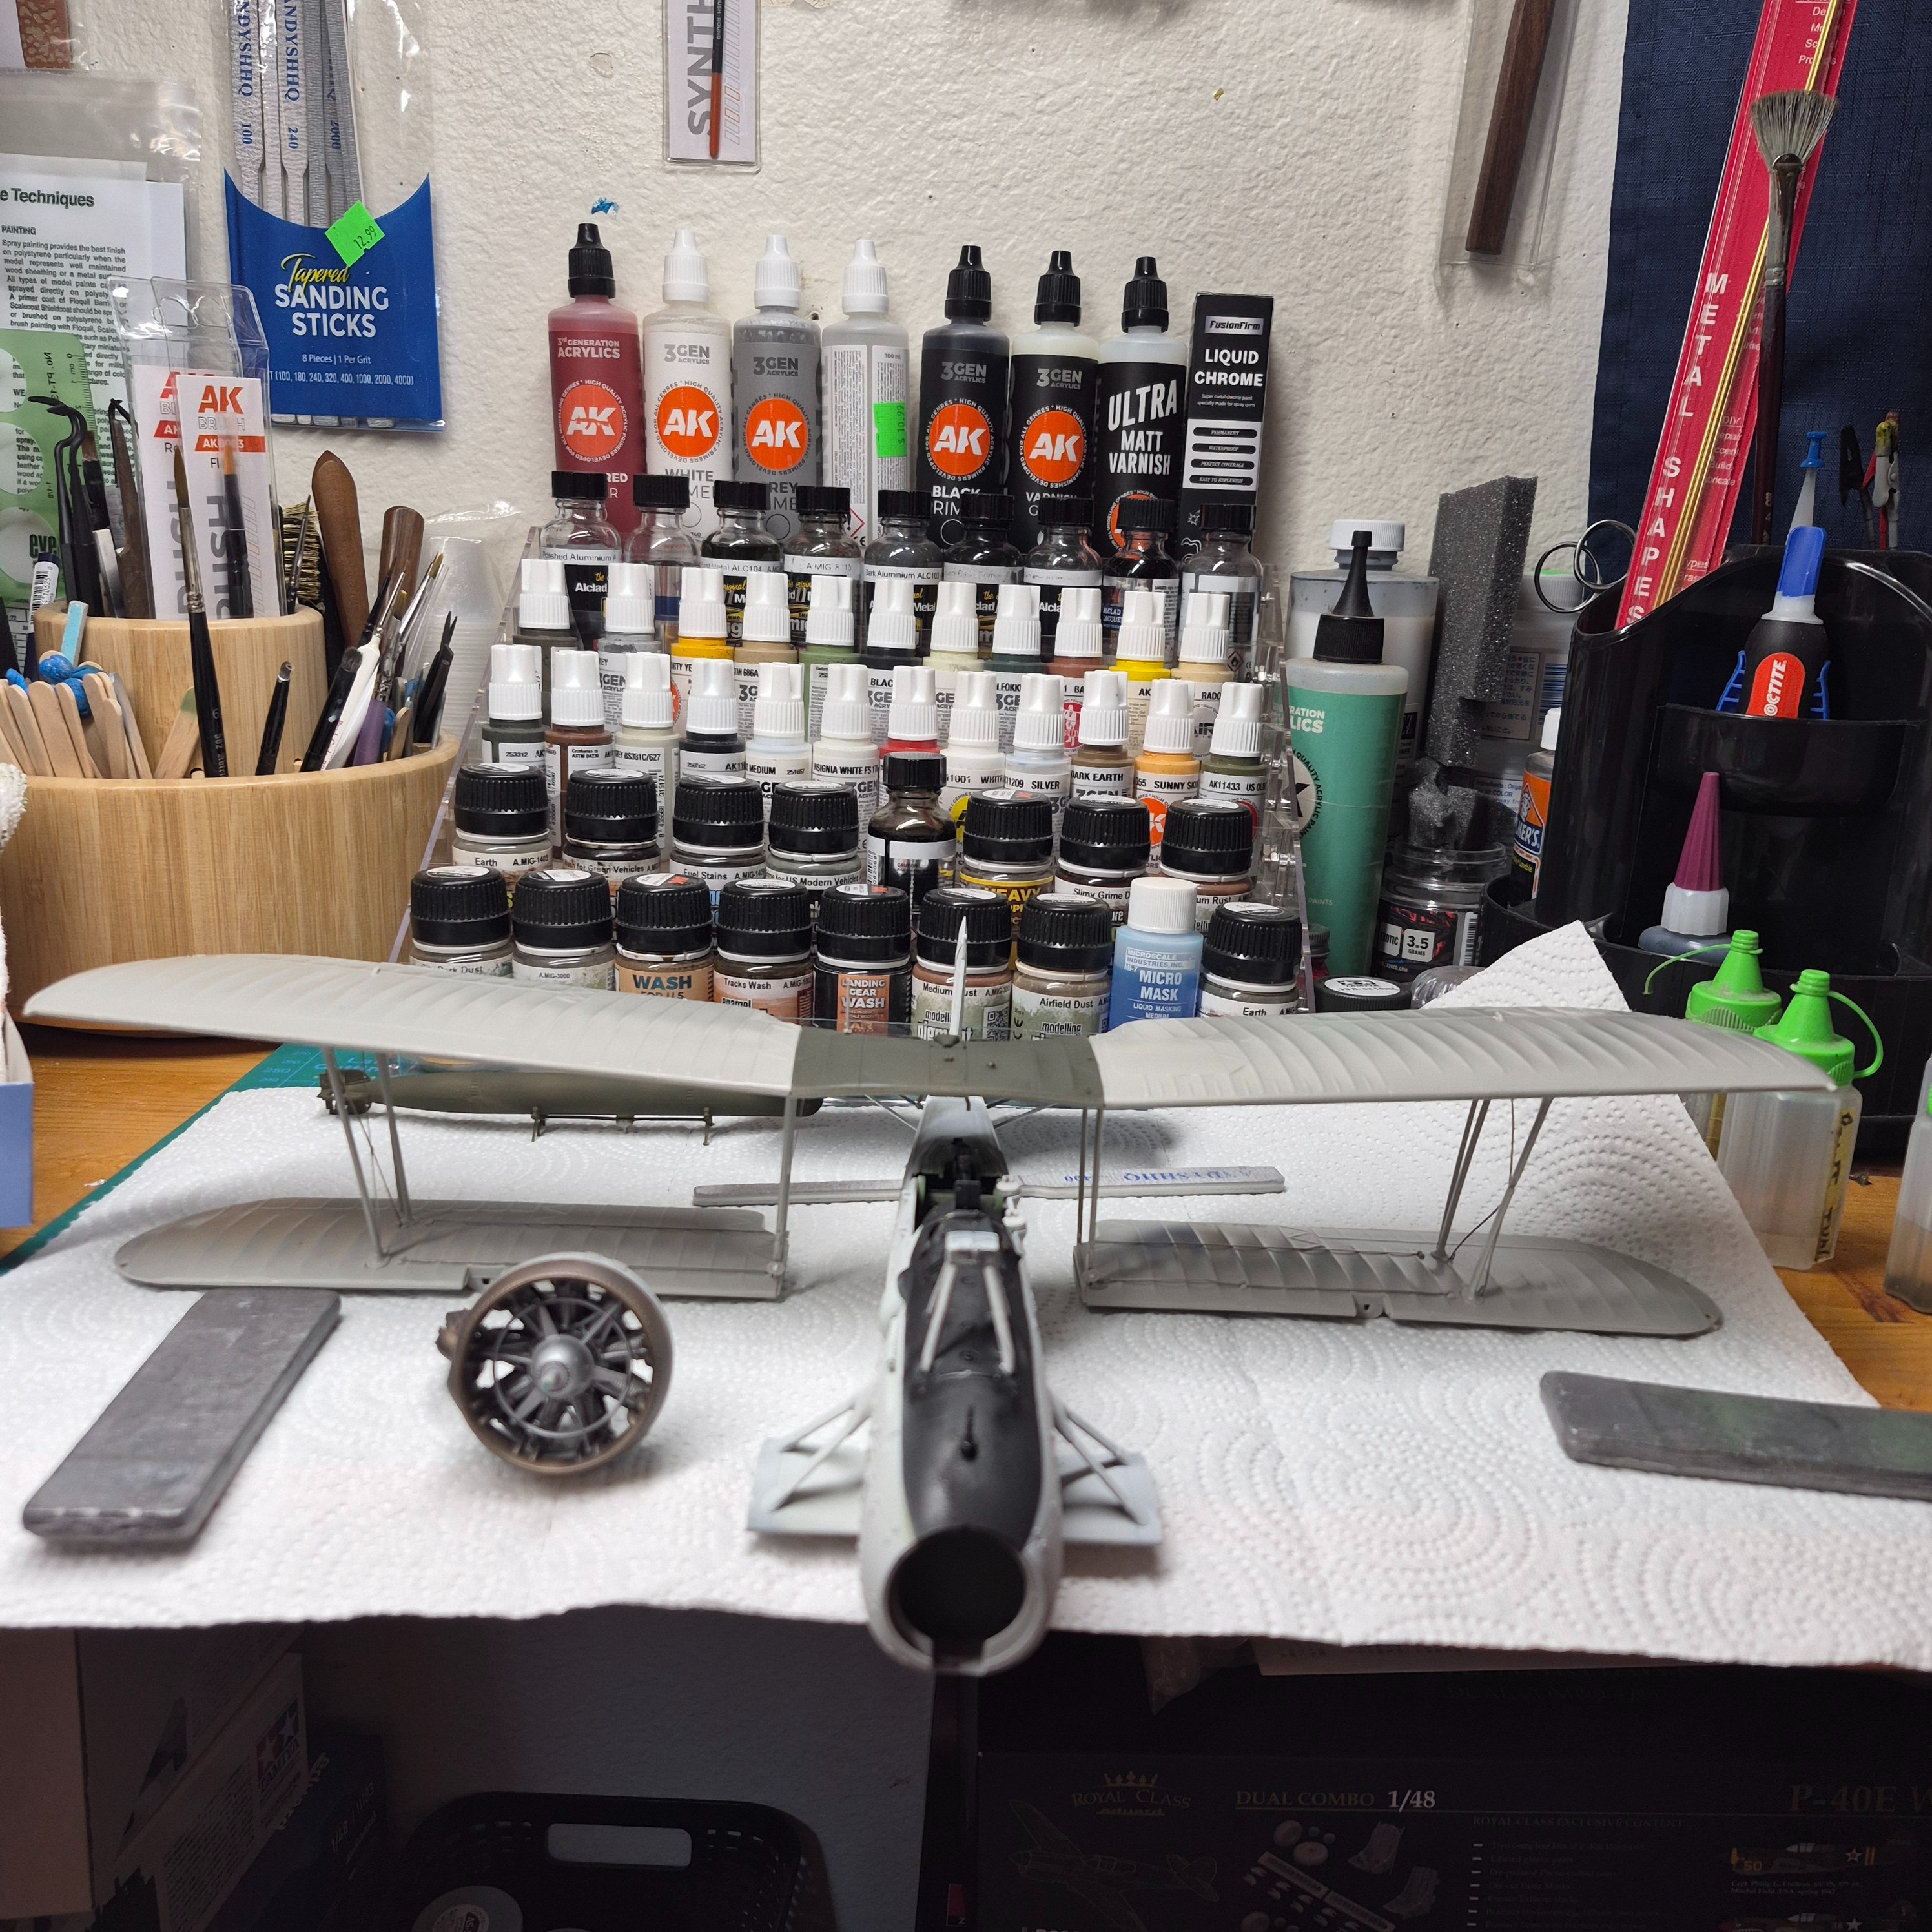
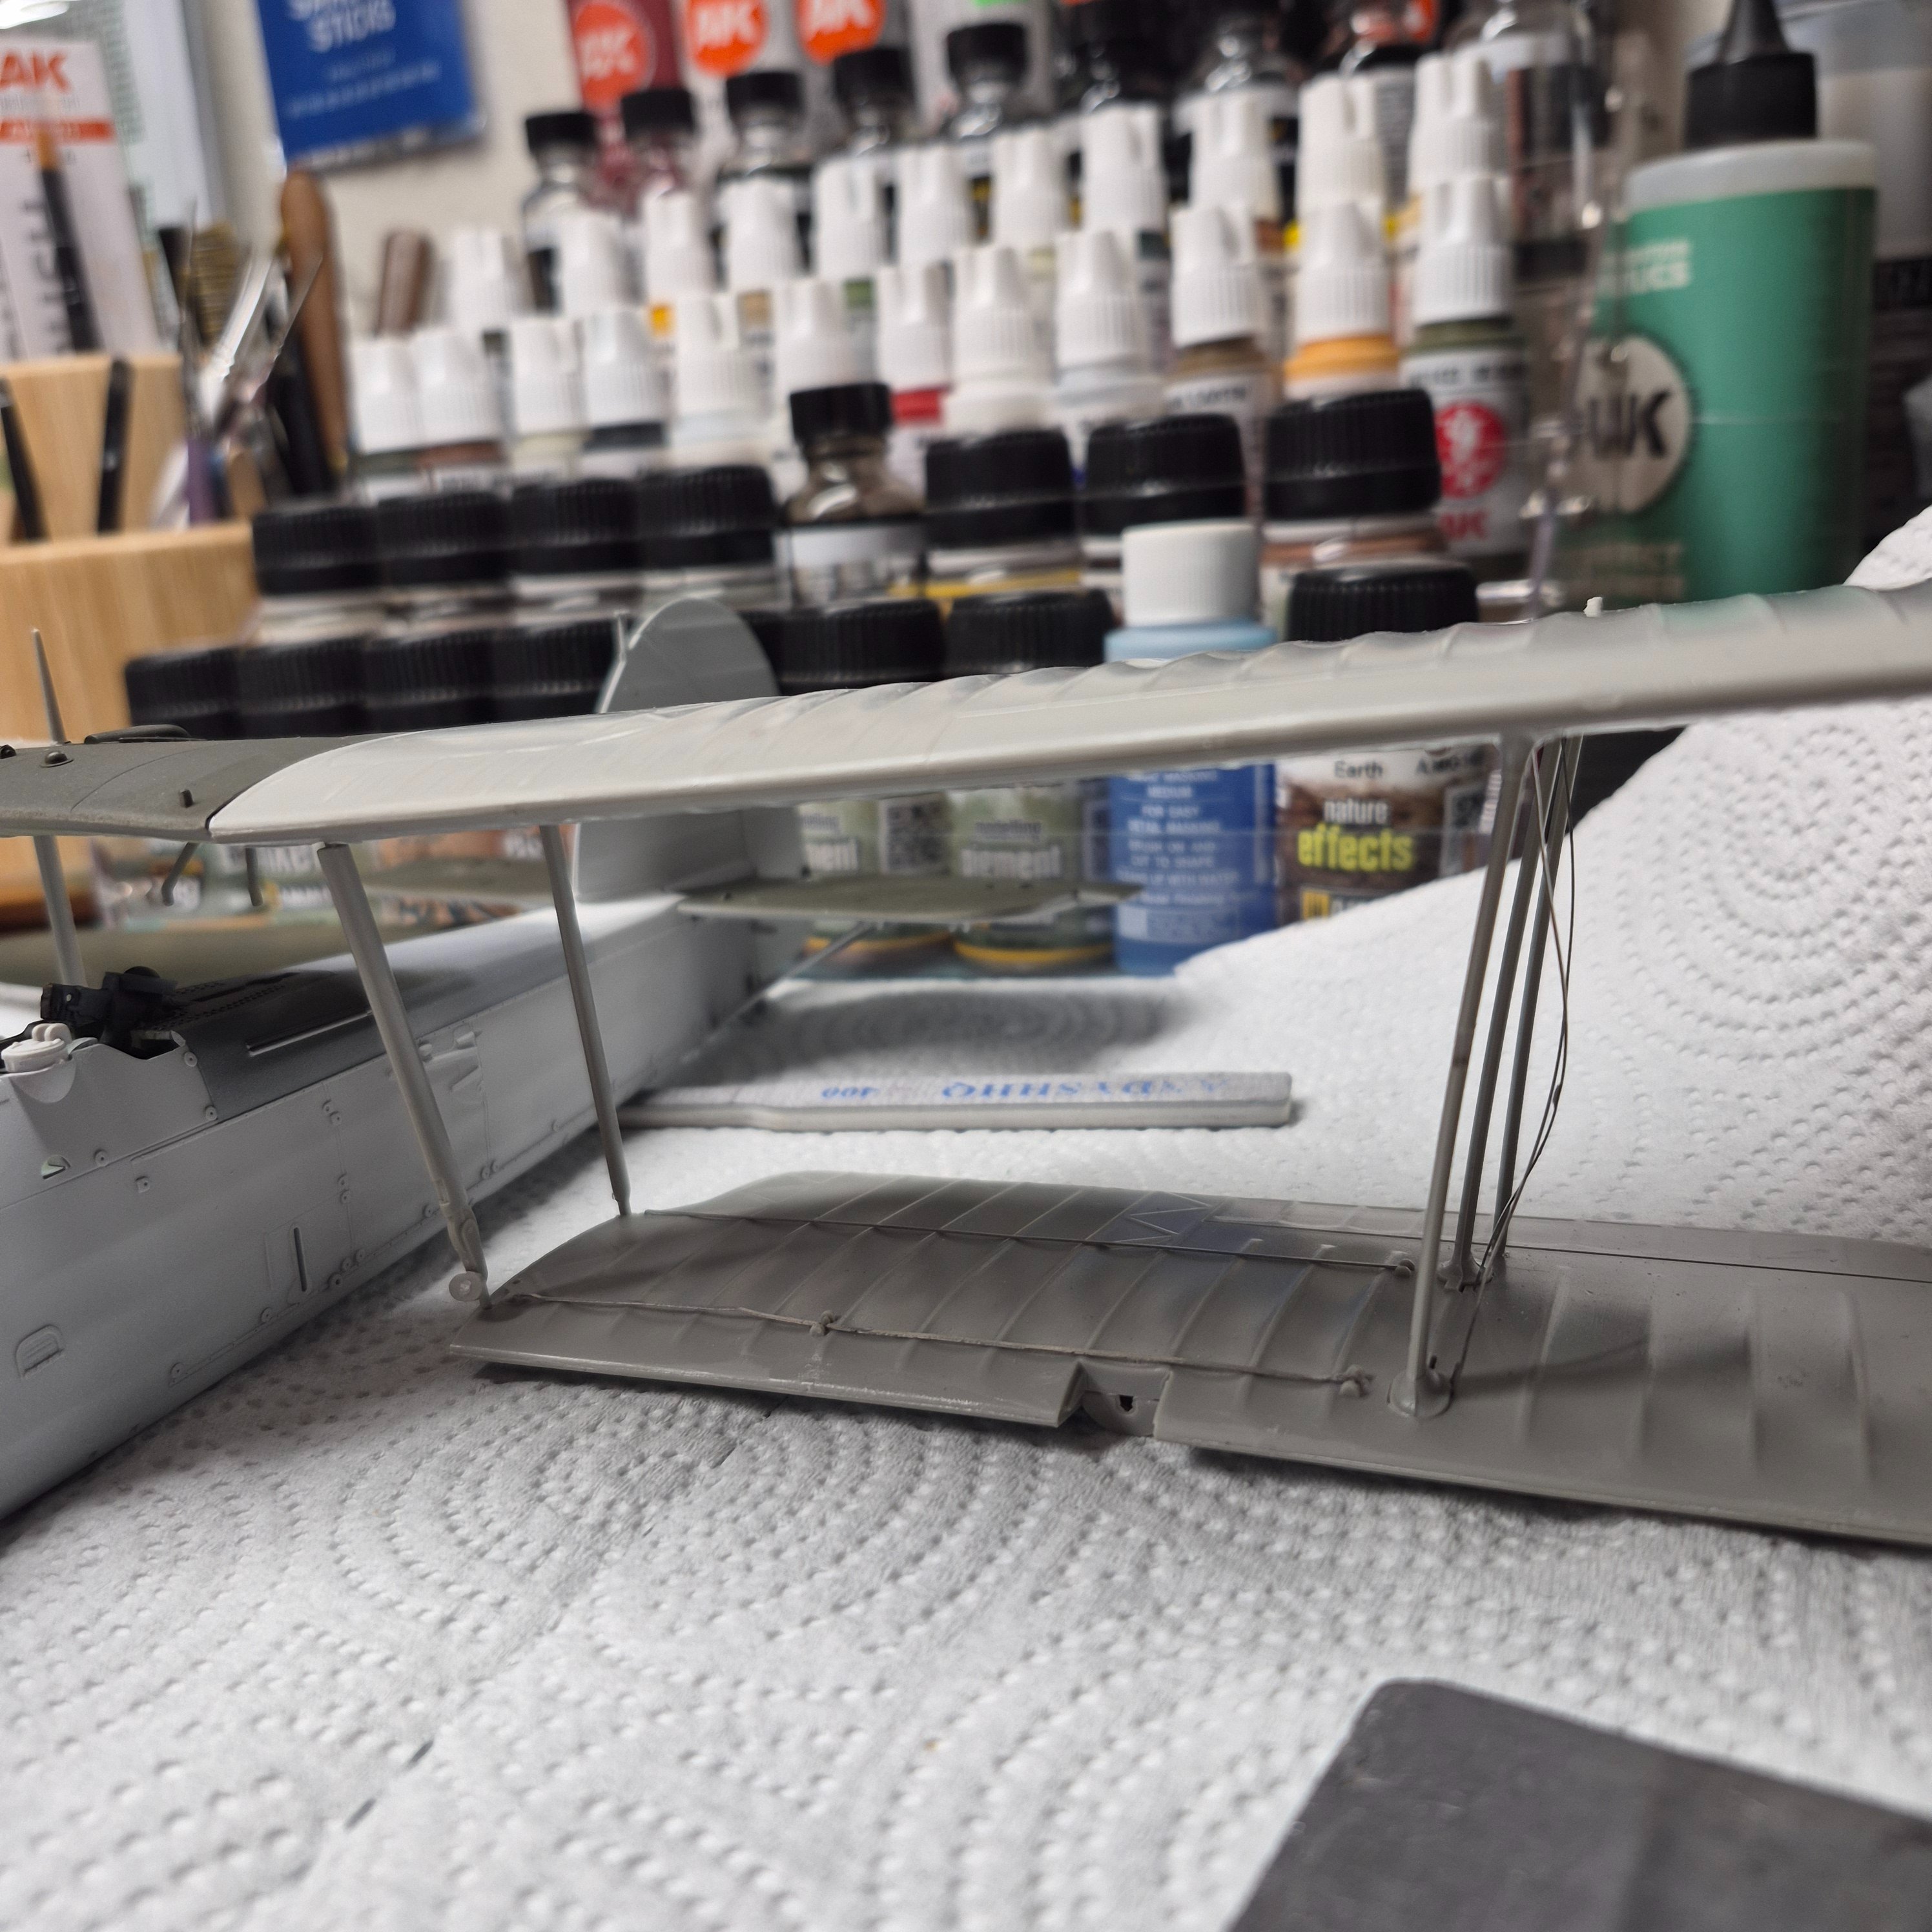
Almost done painting the fuselage. I did not like that greenish tinge I had so I decided Insignia White is going to look better. Plans call for you to make each half of the wing, left and right, as separate items. I decided to make it like this that way I can paint the entire fuselage and weather it and paint the wings separate. A lot less masking, I think. Plus I wanted the wings separate because all that PE is going to come off and wires installed. I'm happy with about three pieces and I think the electrical runs to the weapons look stupid so I'm going to just replace everything and hopefully get it looking halfway decent. I did dry fit everything including the wings and the fit is just awesome. Just a big smile.
 

Attachments

  • 20260717_175754.jpg
    20260717_175754.jpg
    1.4 MB
  • 20260717_181136.jpg
    20260717_181136.jpg
    1.4 MB
  • 20260717_181252.jpg
    20260717_181252.jpg
    1 MB
I have to agree with you, BB. This is my first biplane build and even though I've built Jets and Mustangs and bombers this build is on a different level. I hope in the end I can do fabric Wings Justice. And rigging. Brand new to me. And I have to say if I wouldn't have screwed up that PE? I think the plane would have looked halfway decent but maybe scratch building some rigging will bring it up to the next level??
 
scratch building some rigging
...the cool thing about scratch fabrication to me is that is only limited by your own abilities... You own it!

It is the best you can do at a given point in time, not your ability to meet the expectation of some PE engineer sitting at a computer somewhere! Believe me, we all feel that frustration.

So regardless of how it turns out, I always feel a certain pride and satisfaction in knowing that it is all on me. I know it's not for everyone, but if you try it, and you like it, it just might be for you too!

I don't know that I would build something completely from scratch, but by including a few elements, I'm injecting some fun and satisfaction that I wouldn't get otherwise.
 
Back
Top