Bob T
Well-Known Member
Considering how little of the interior you can see with the door closed, I am calling the interior "good enough!"


I forgot to mention that.The windows are are poor fit also. Took me about 45 minutes of careful sanding to get the two right side windows to fit.
No worries.I forgot to mention that.

I don't think I had trouble with the windshield. Were you able to install the windshield brace?No worries.
Looks like the windshield is gonna be trouble, also.
Not there yet....I don't think I had trouble with the windshield. Were you able to install the windshield brace?
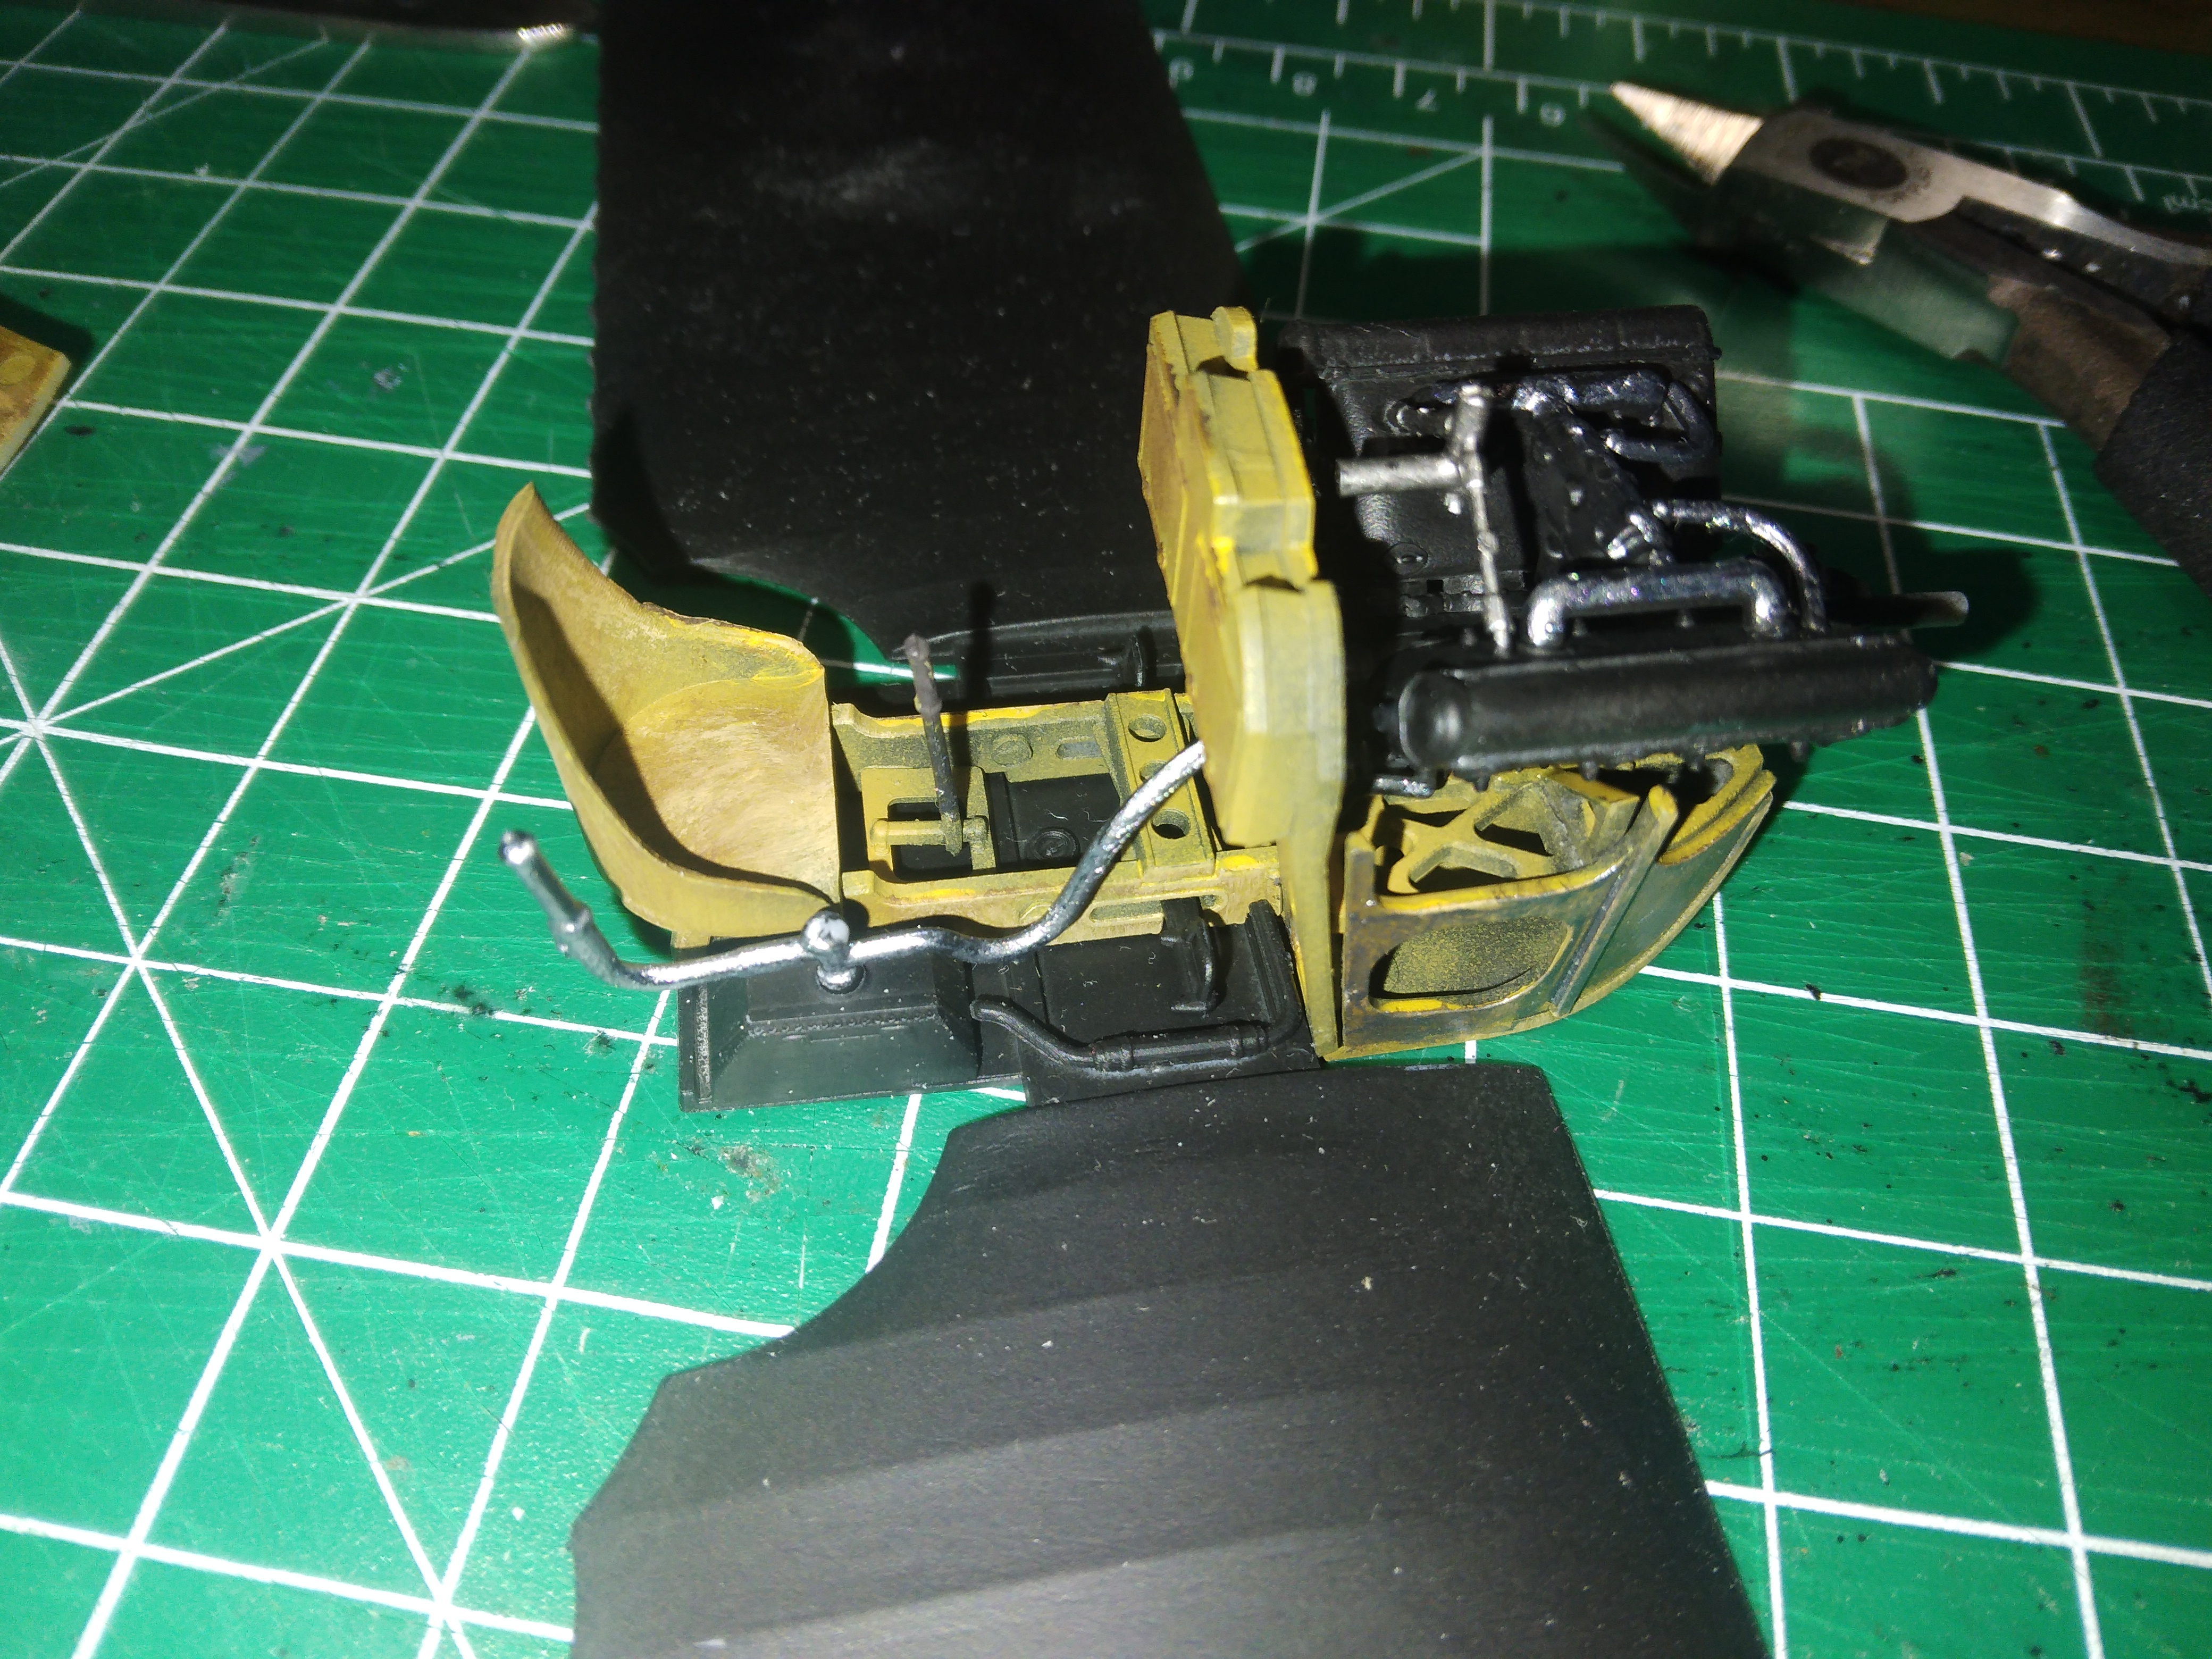
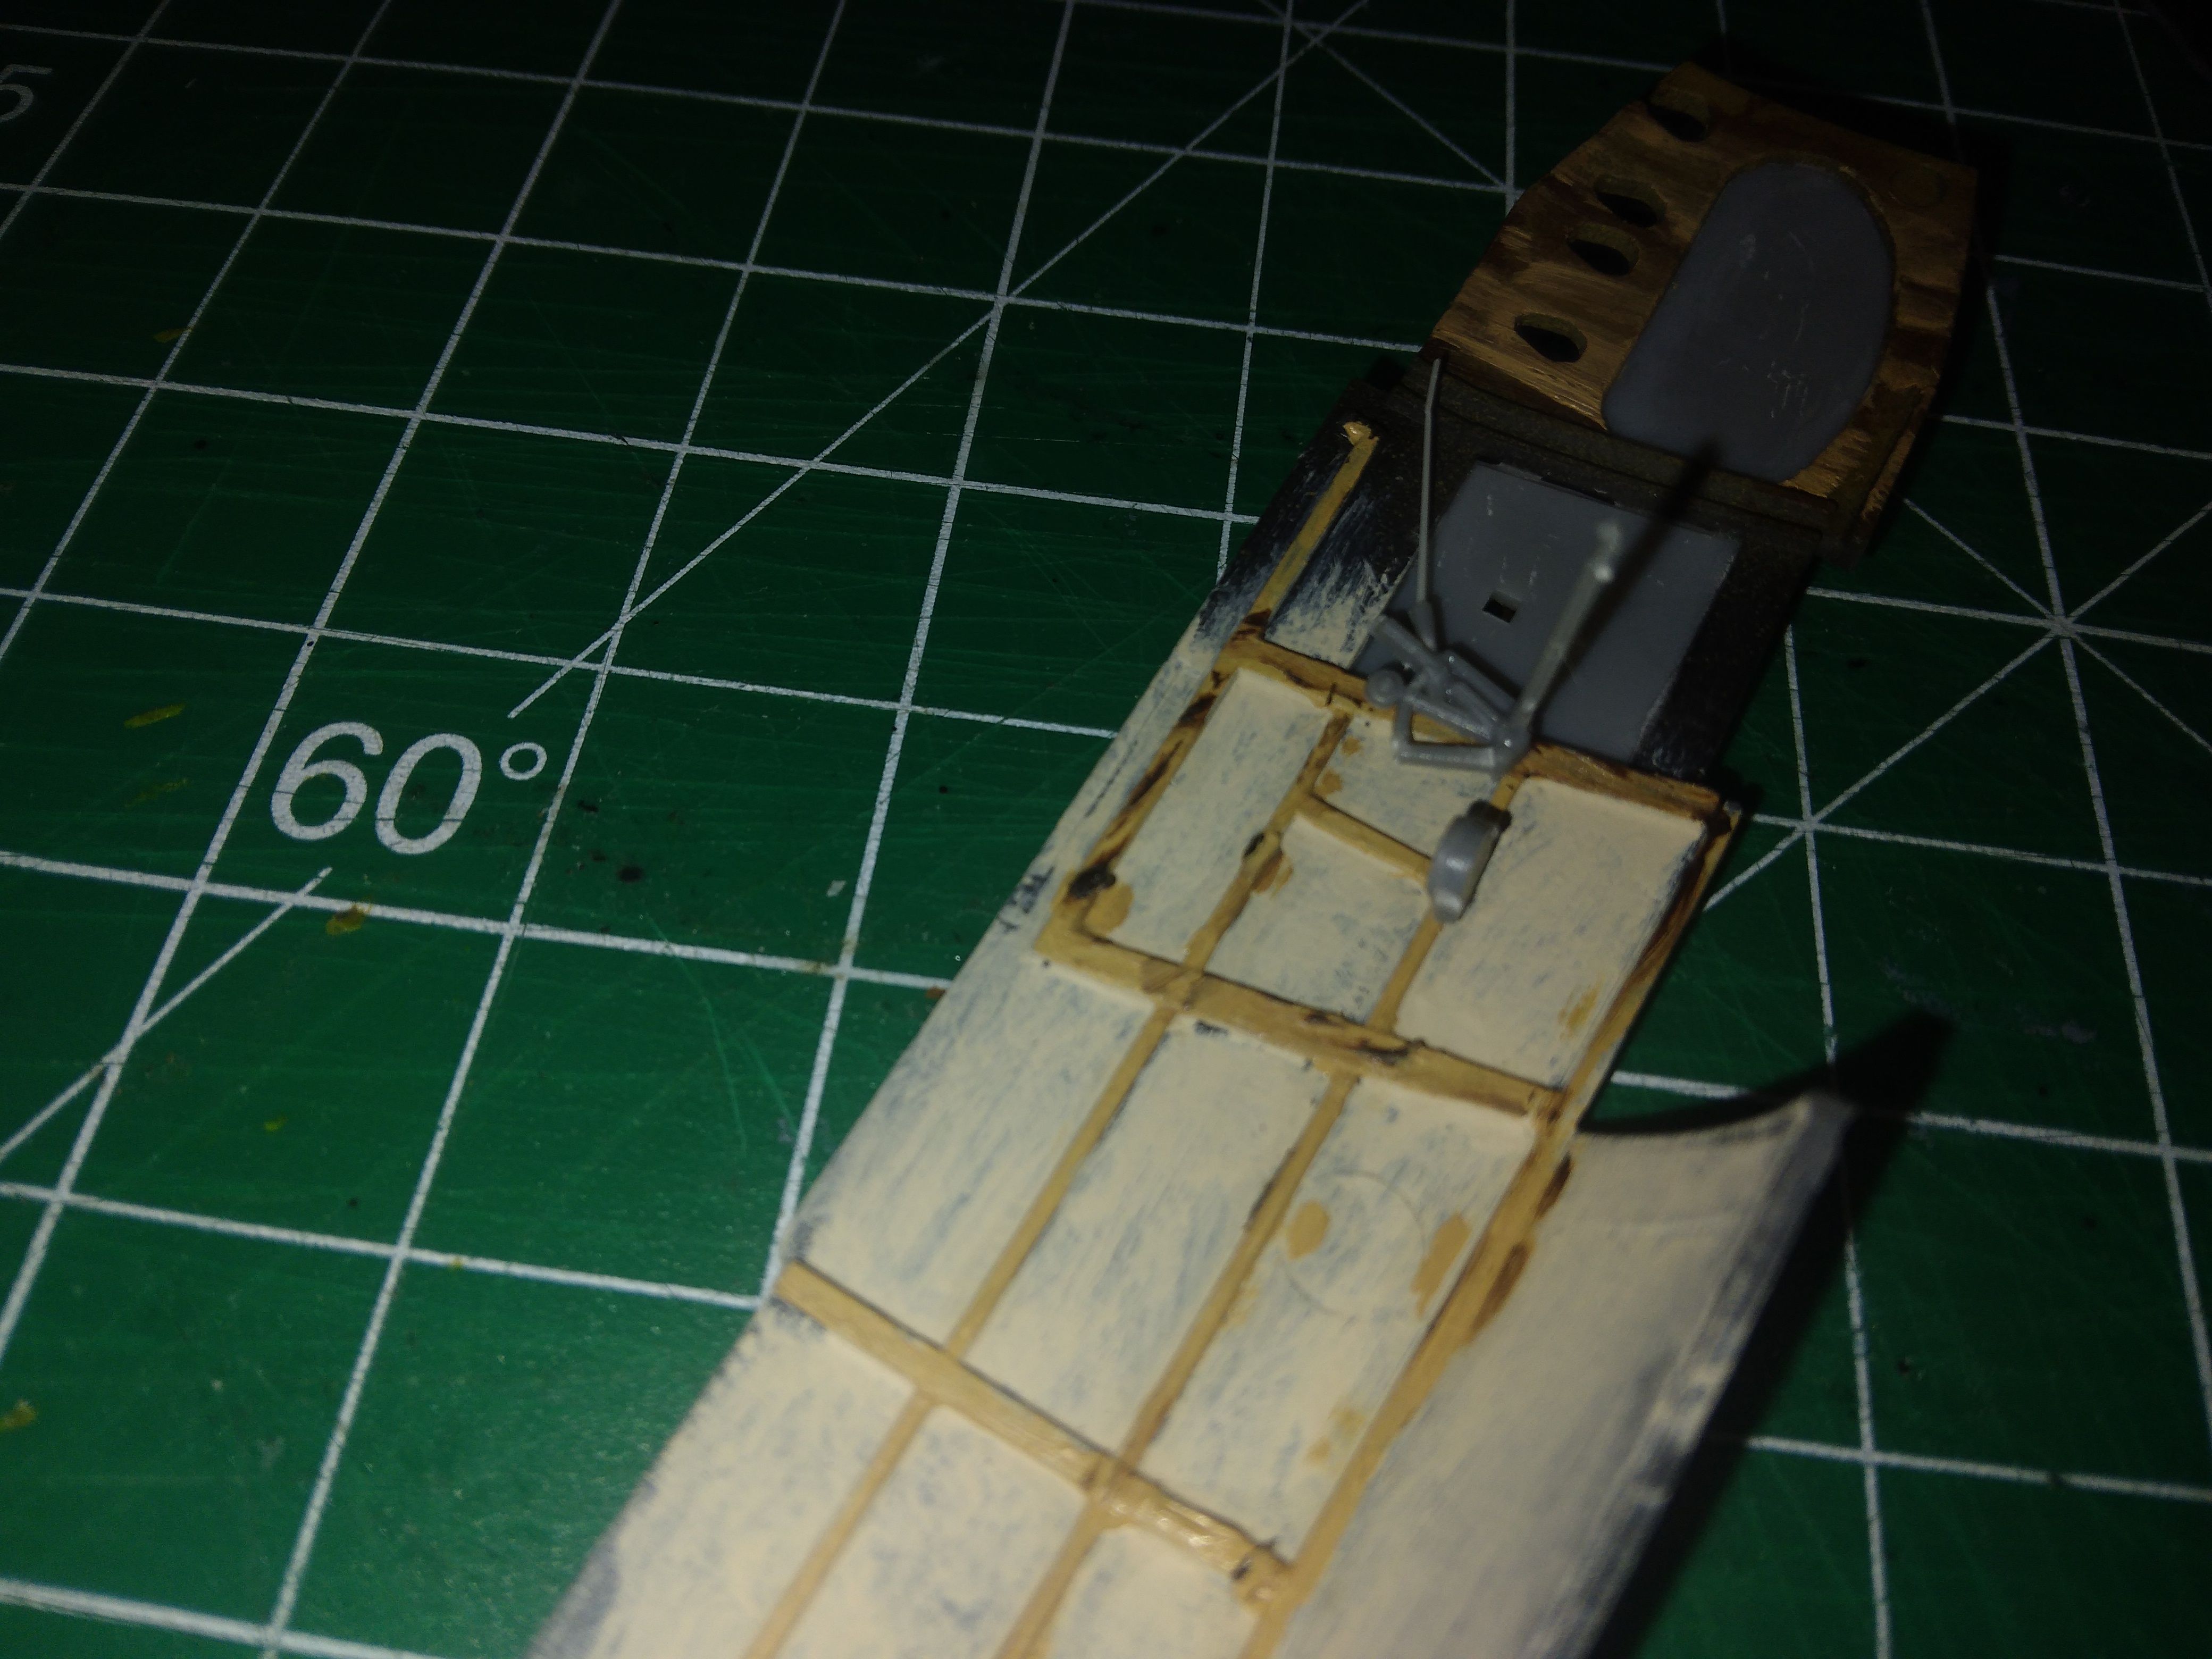
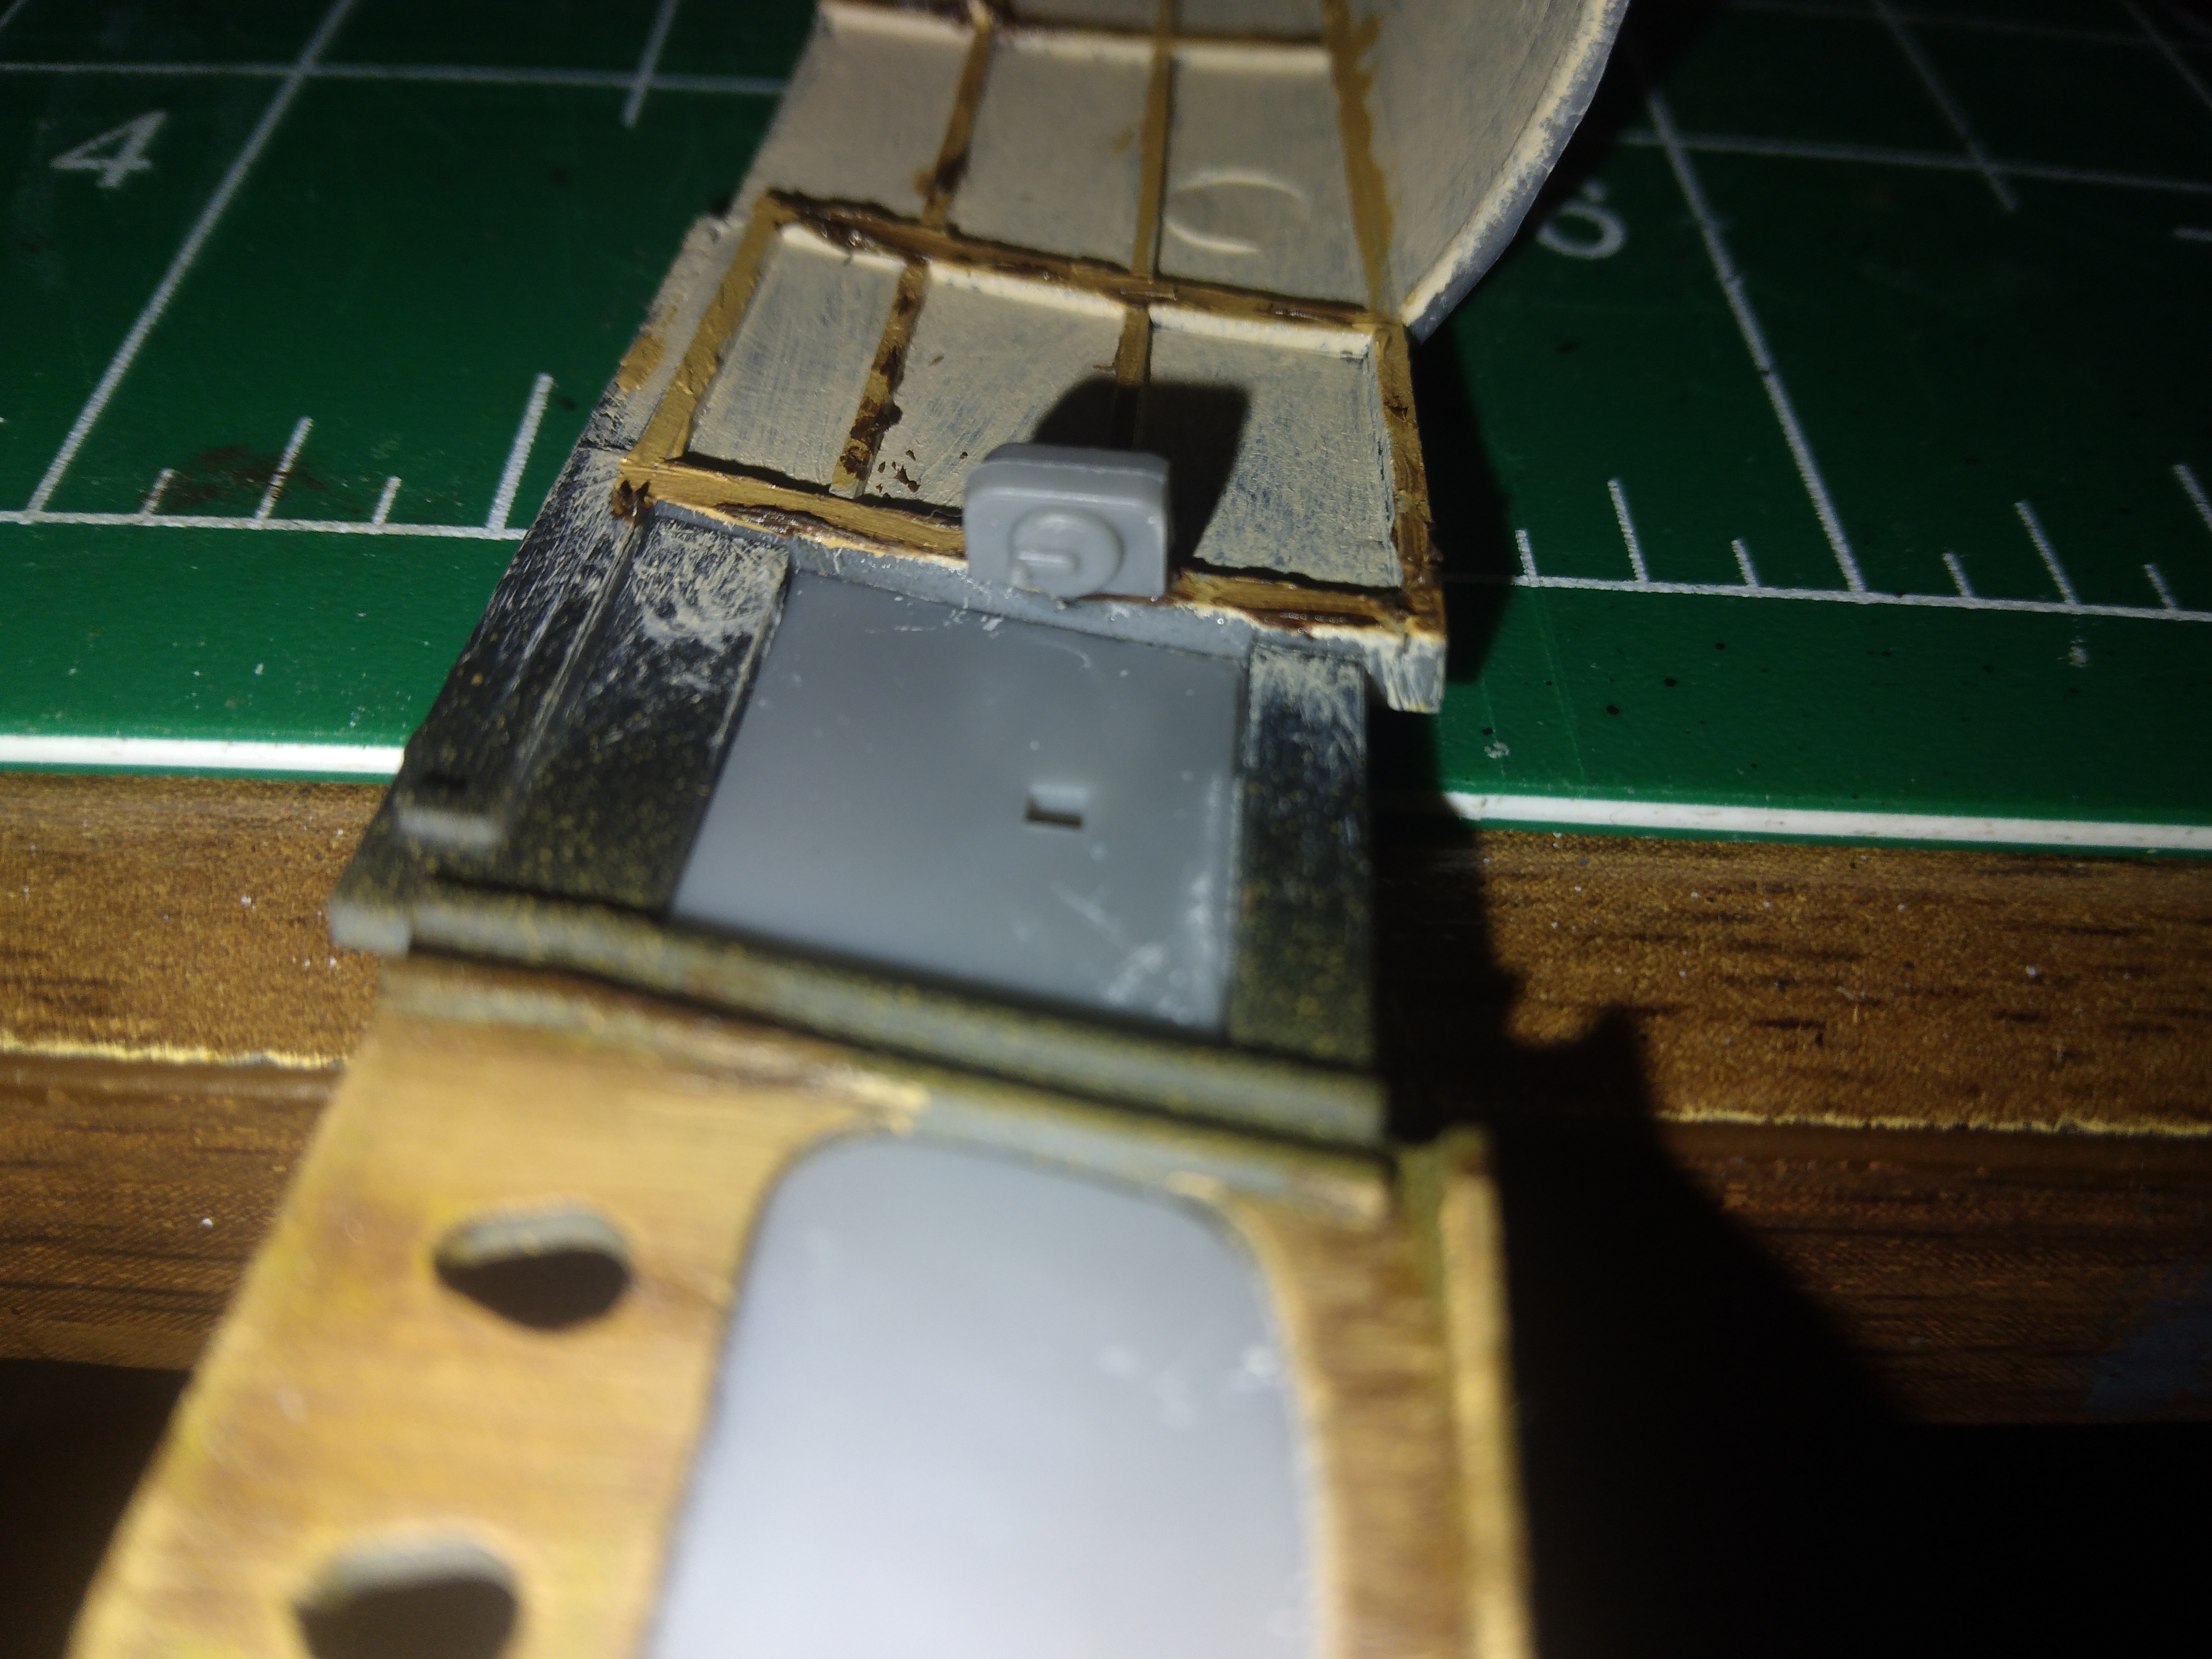
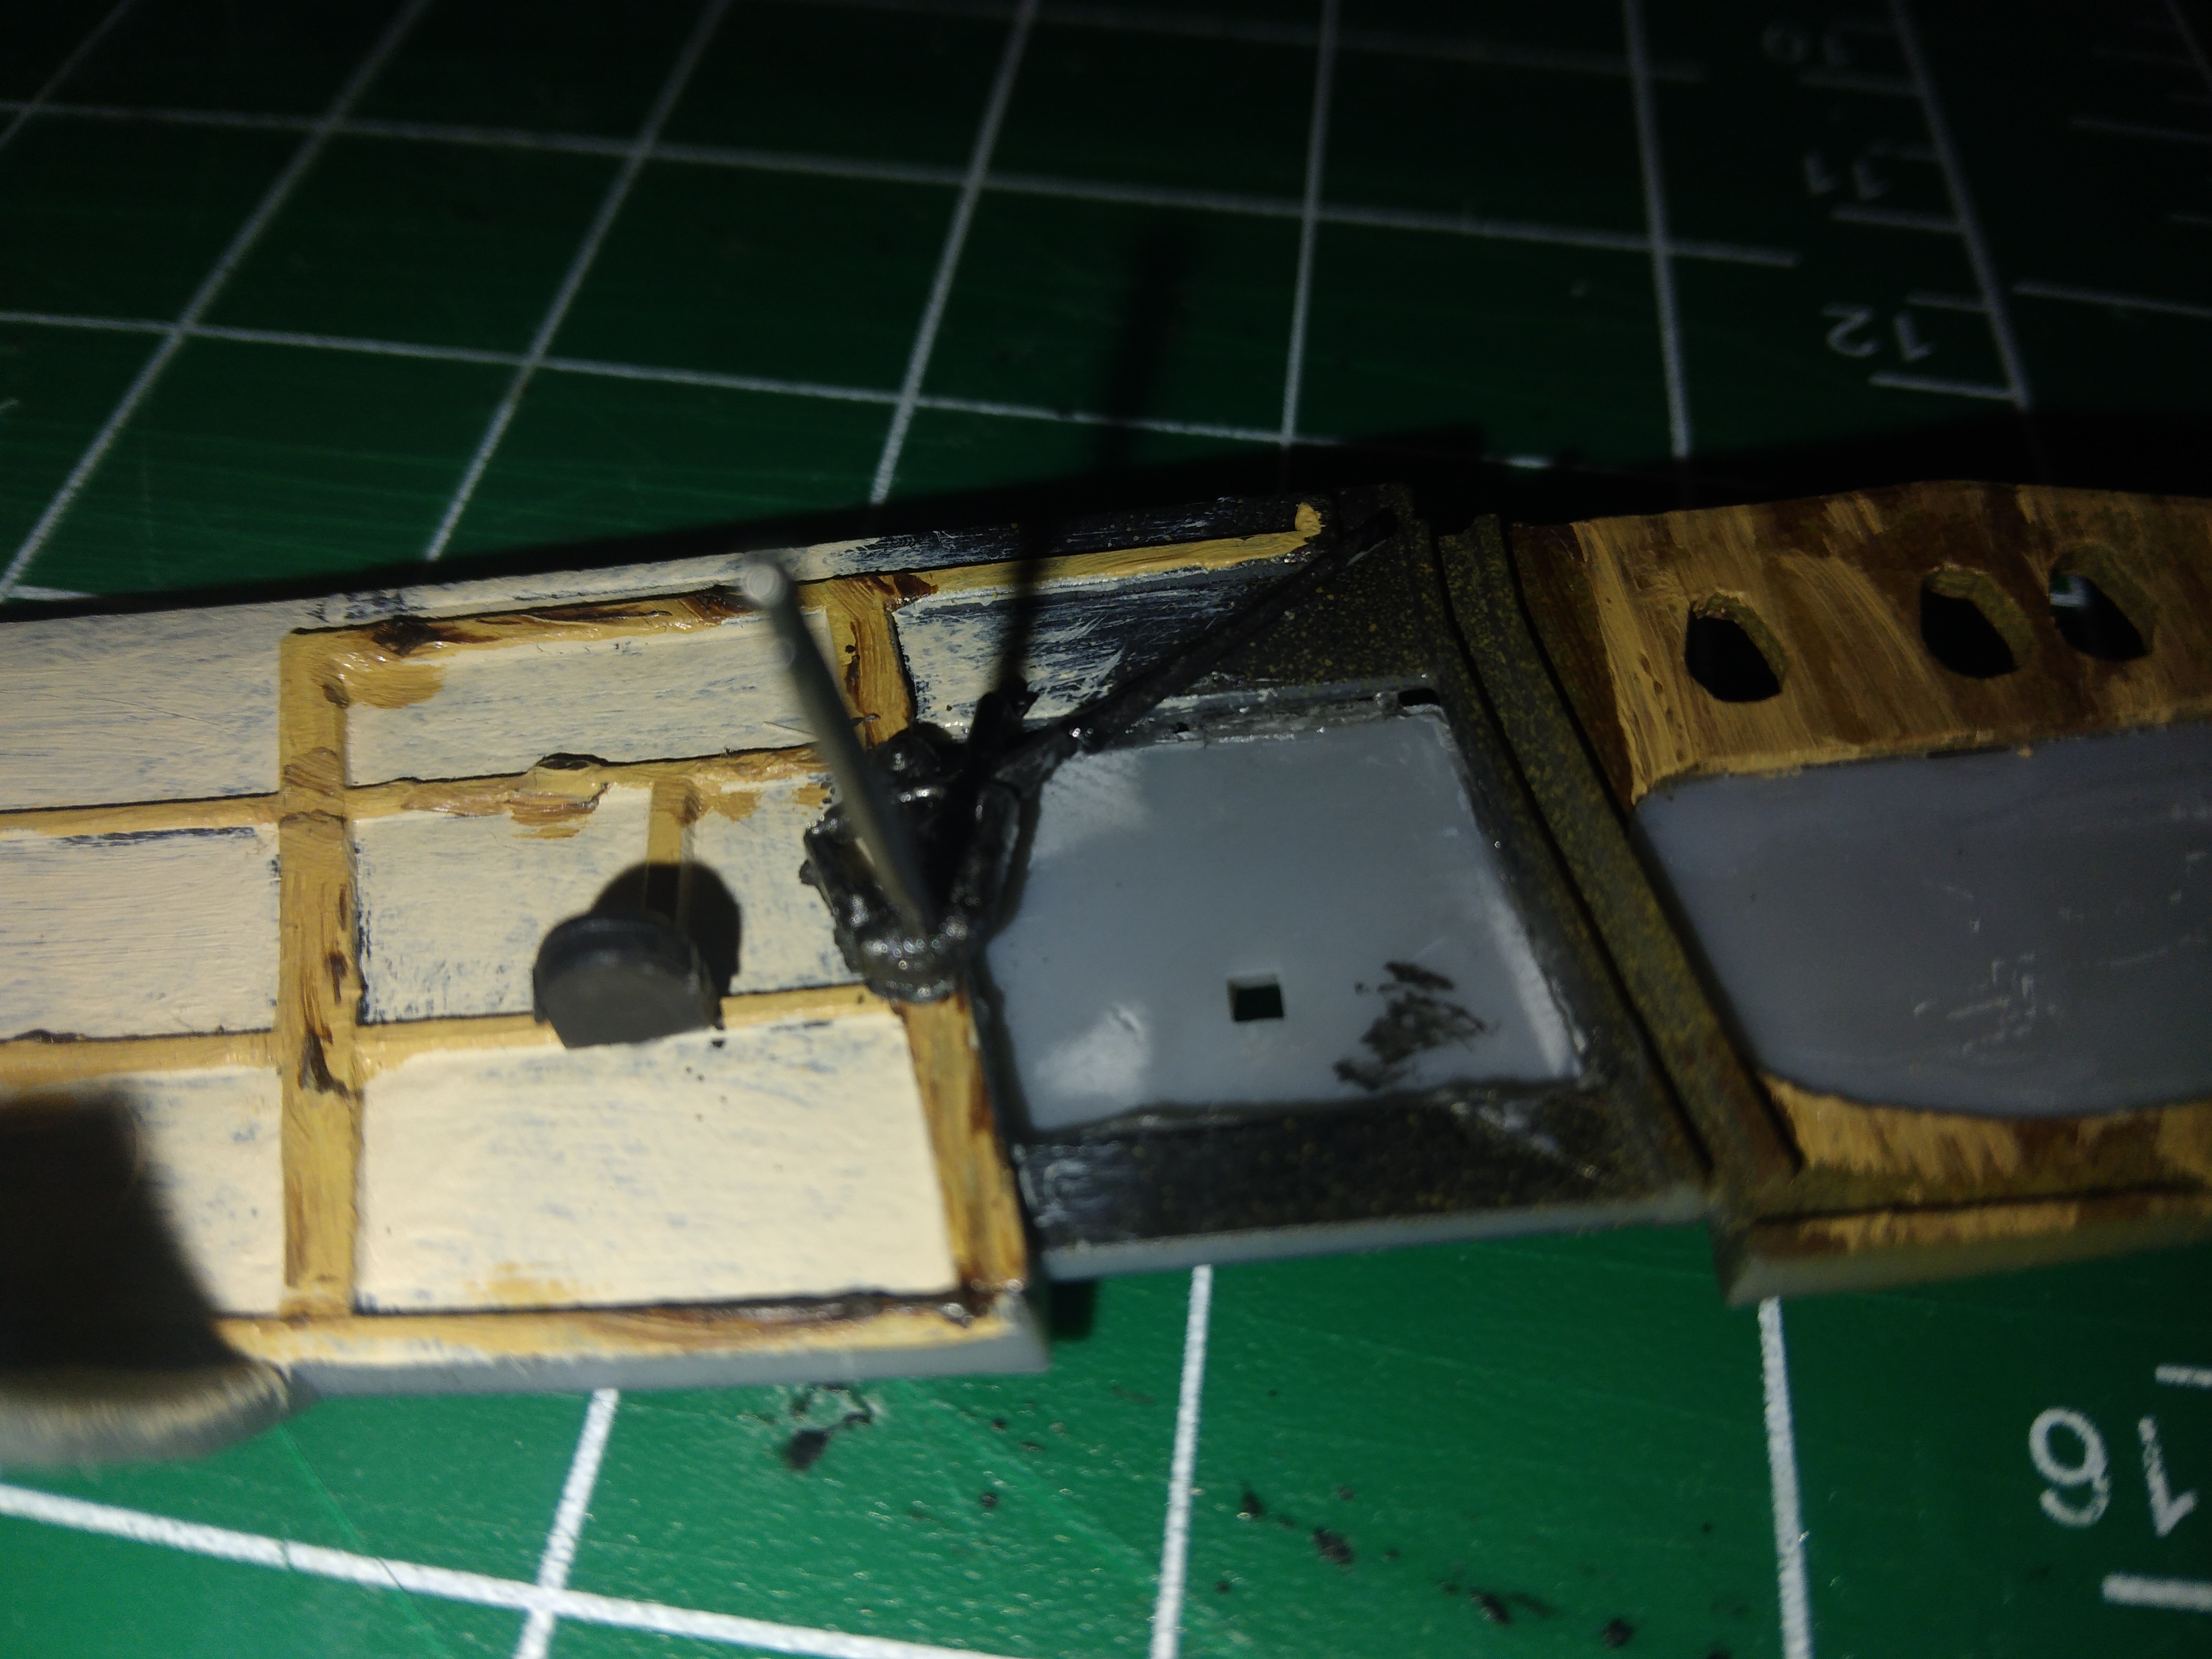
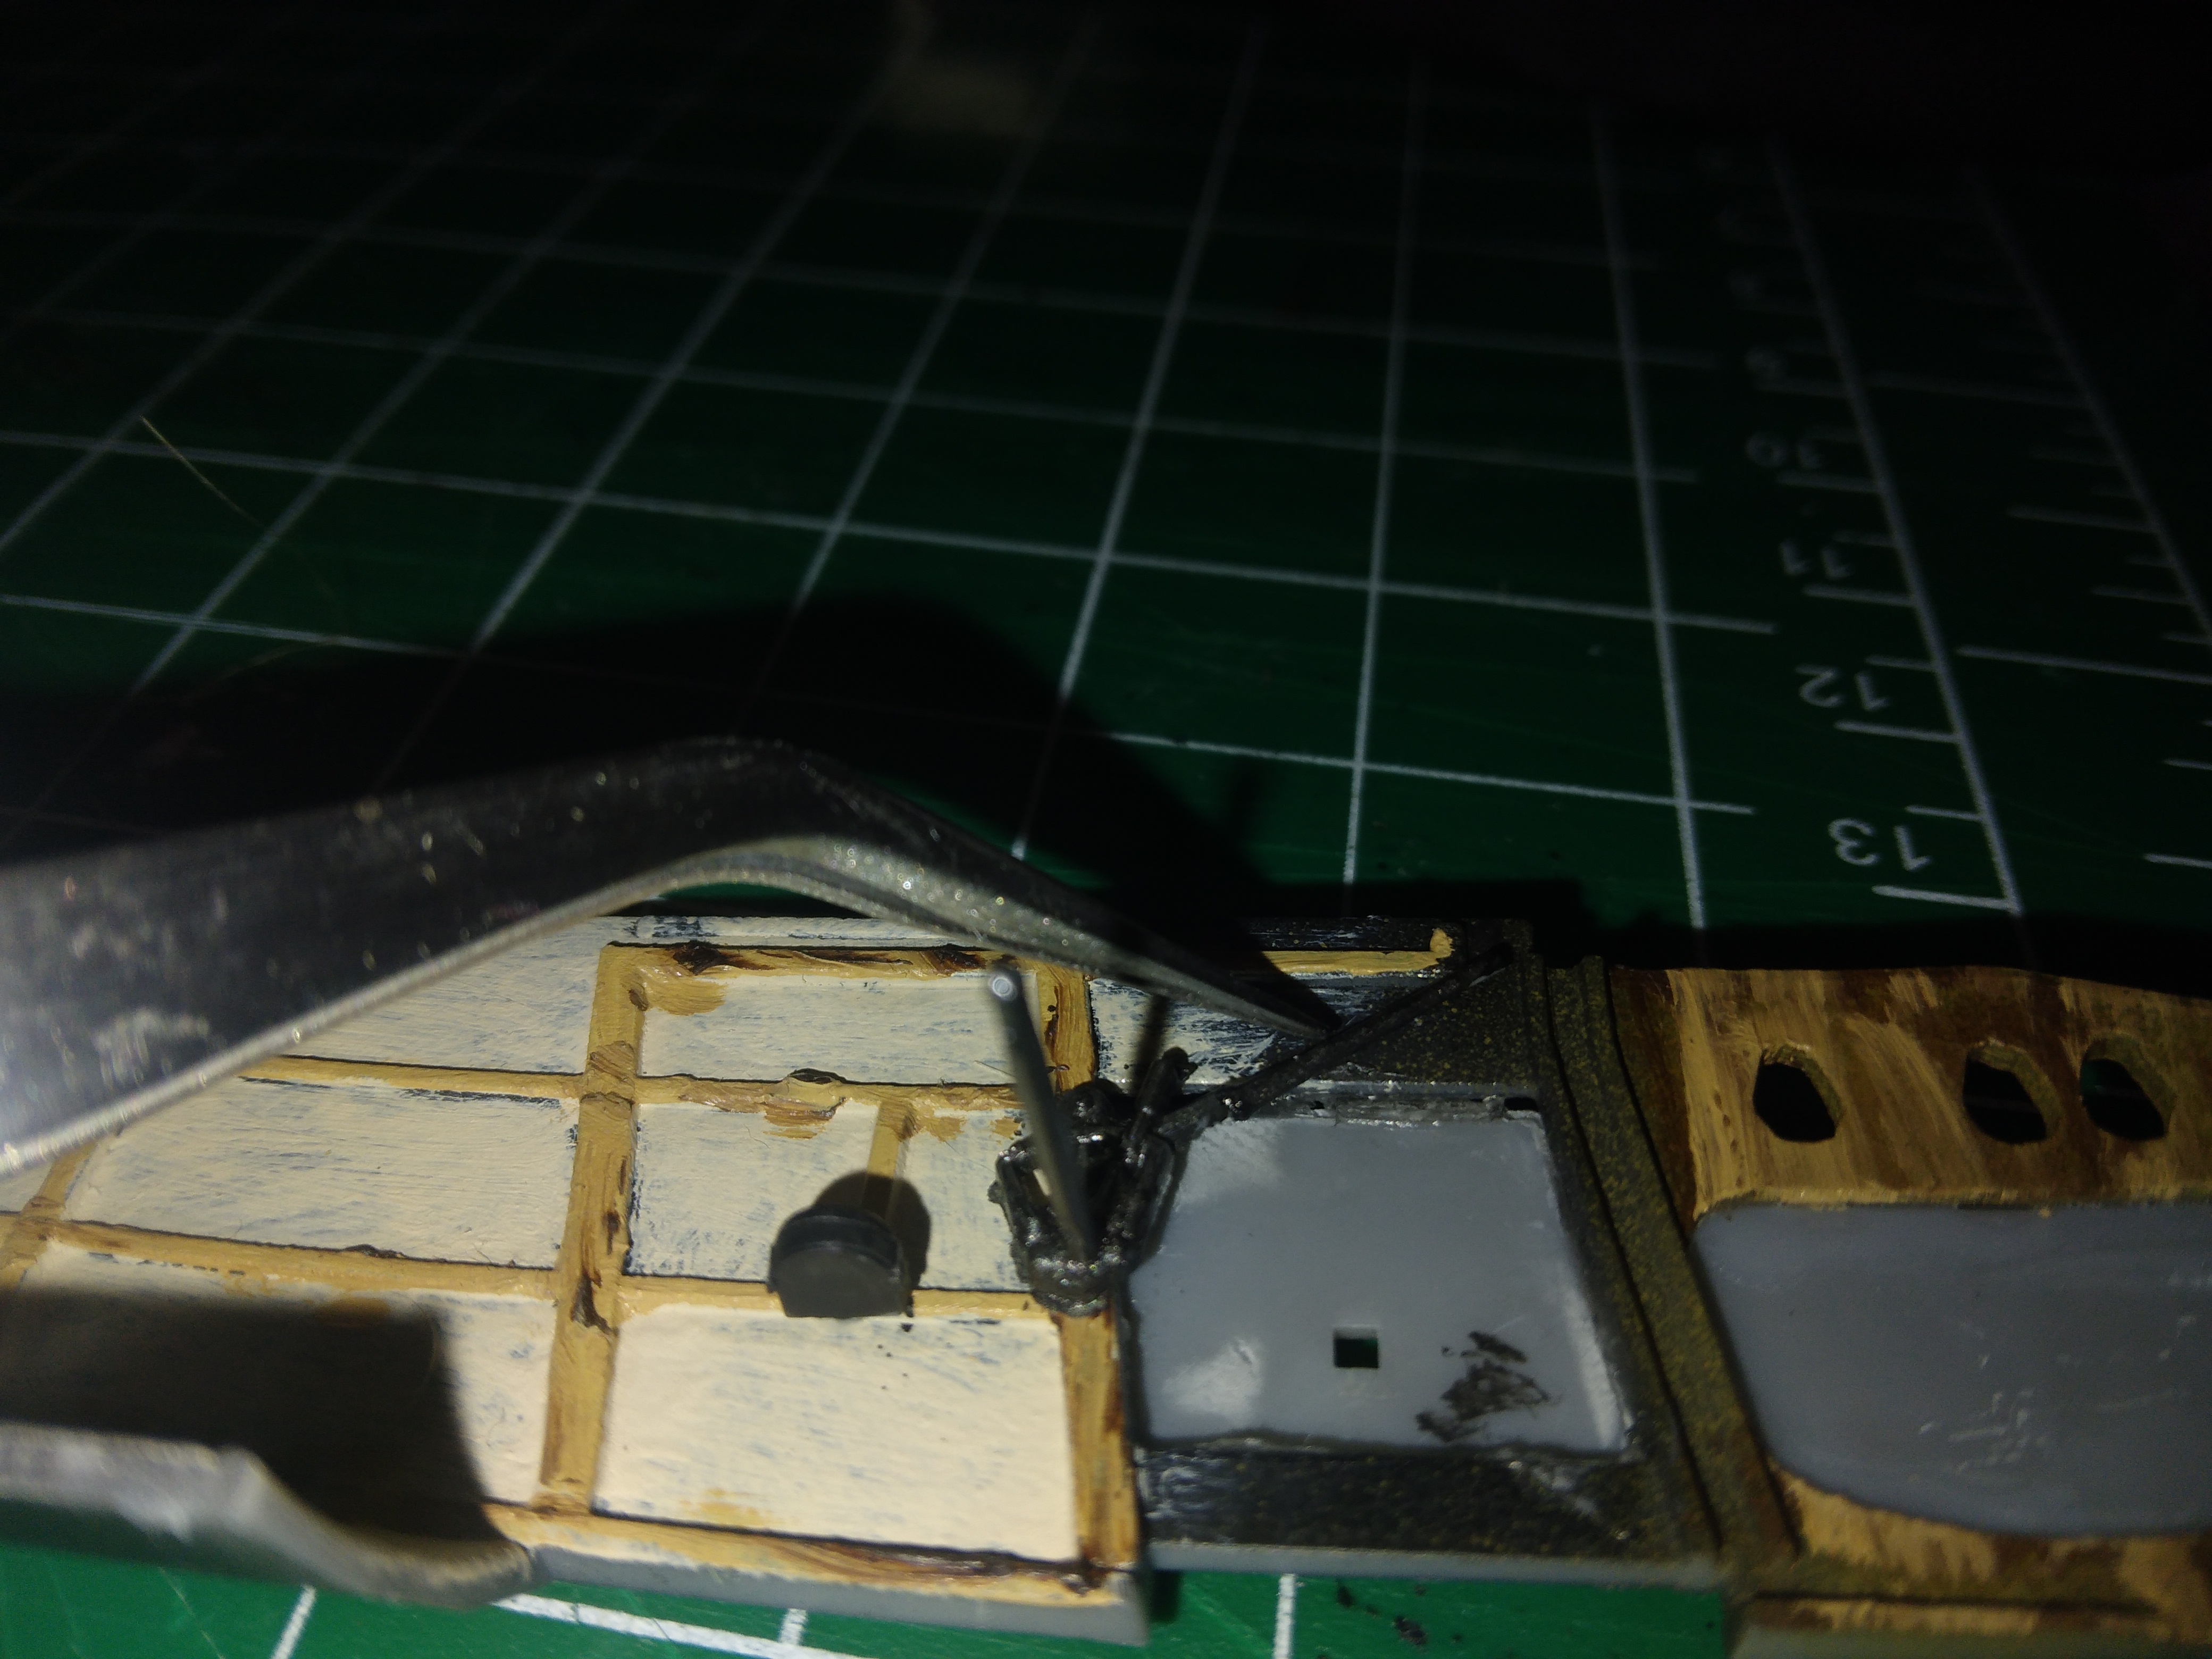
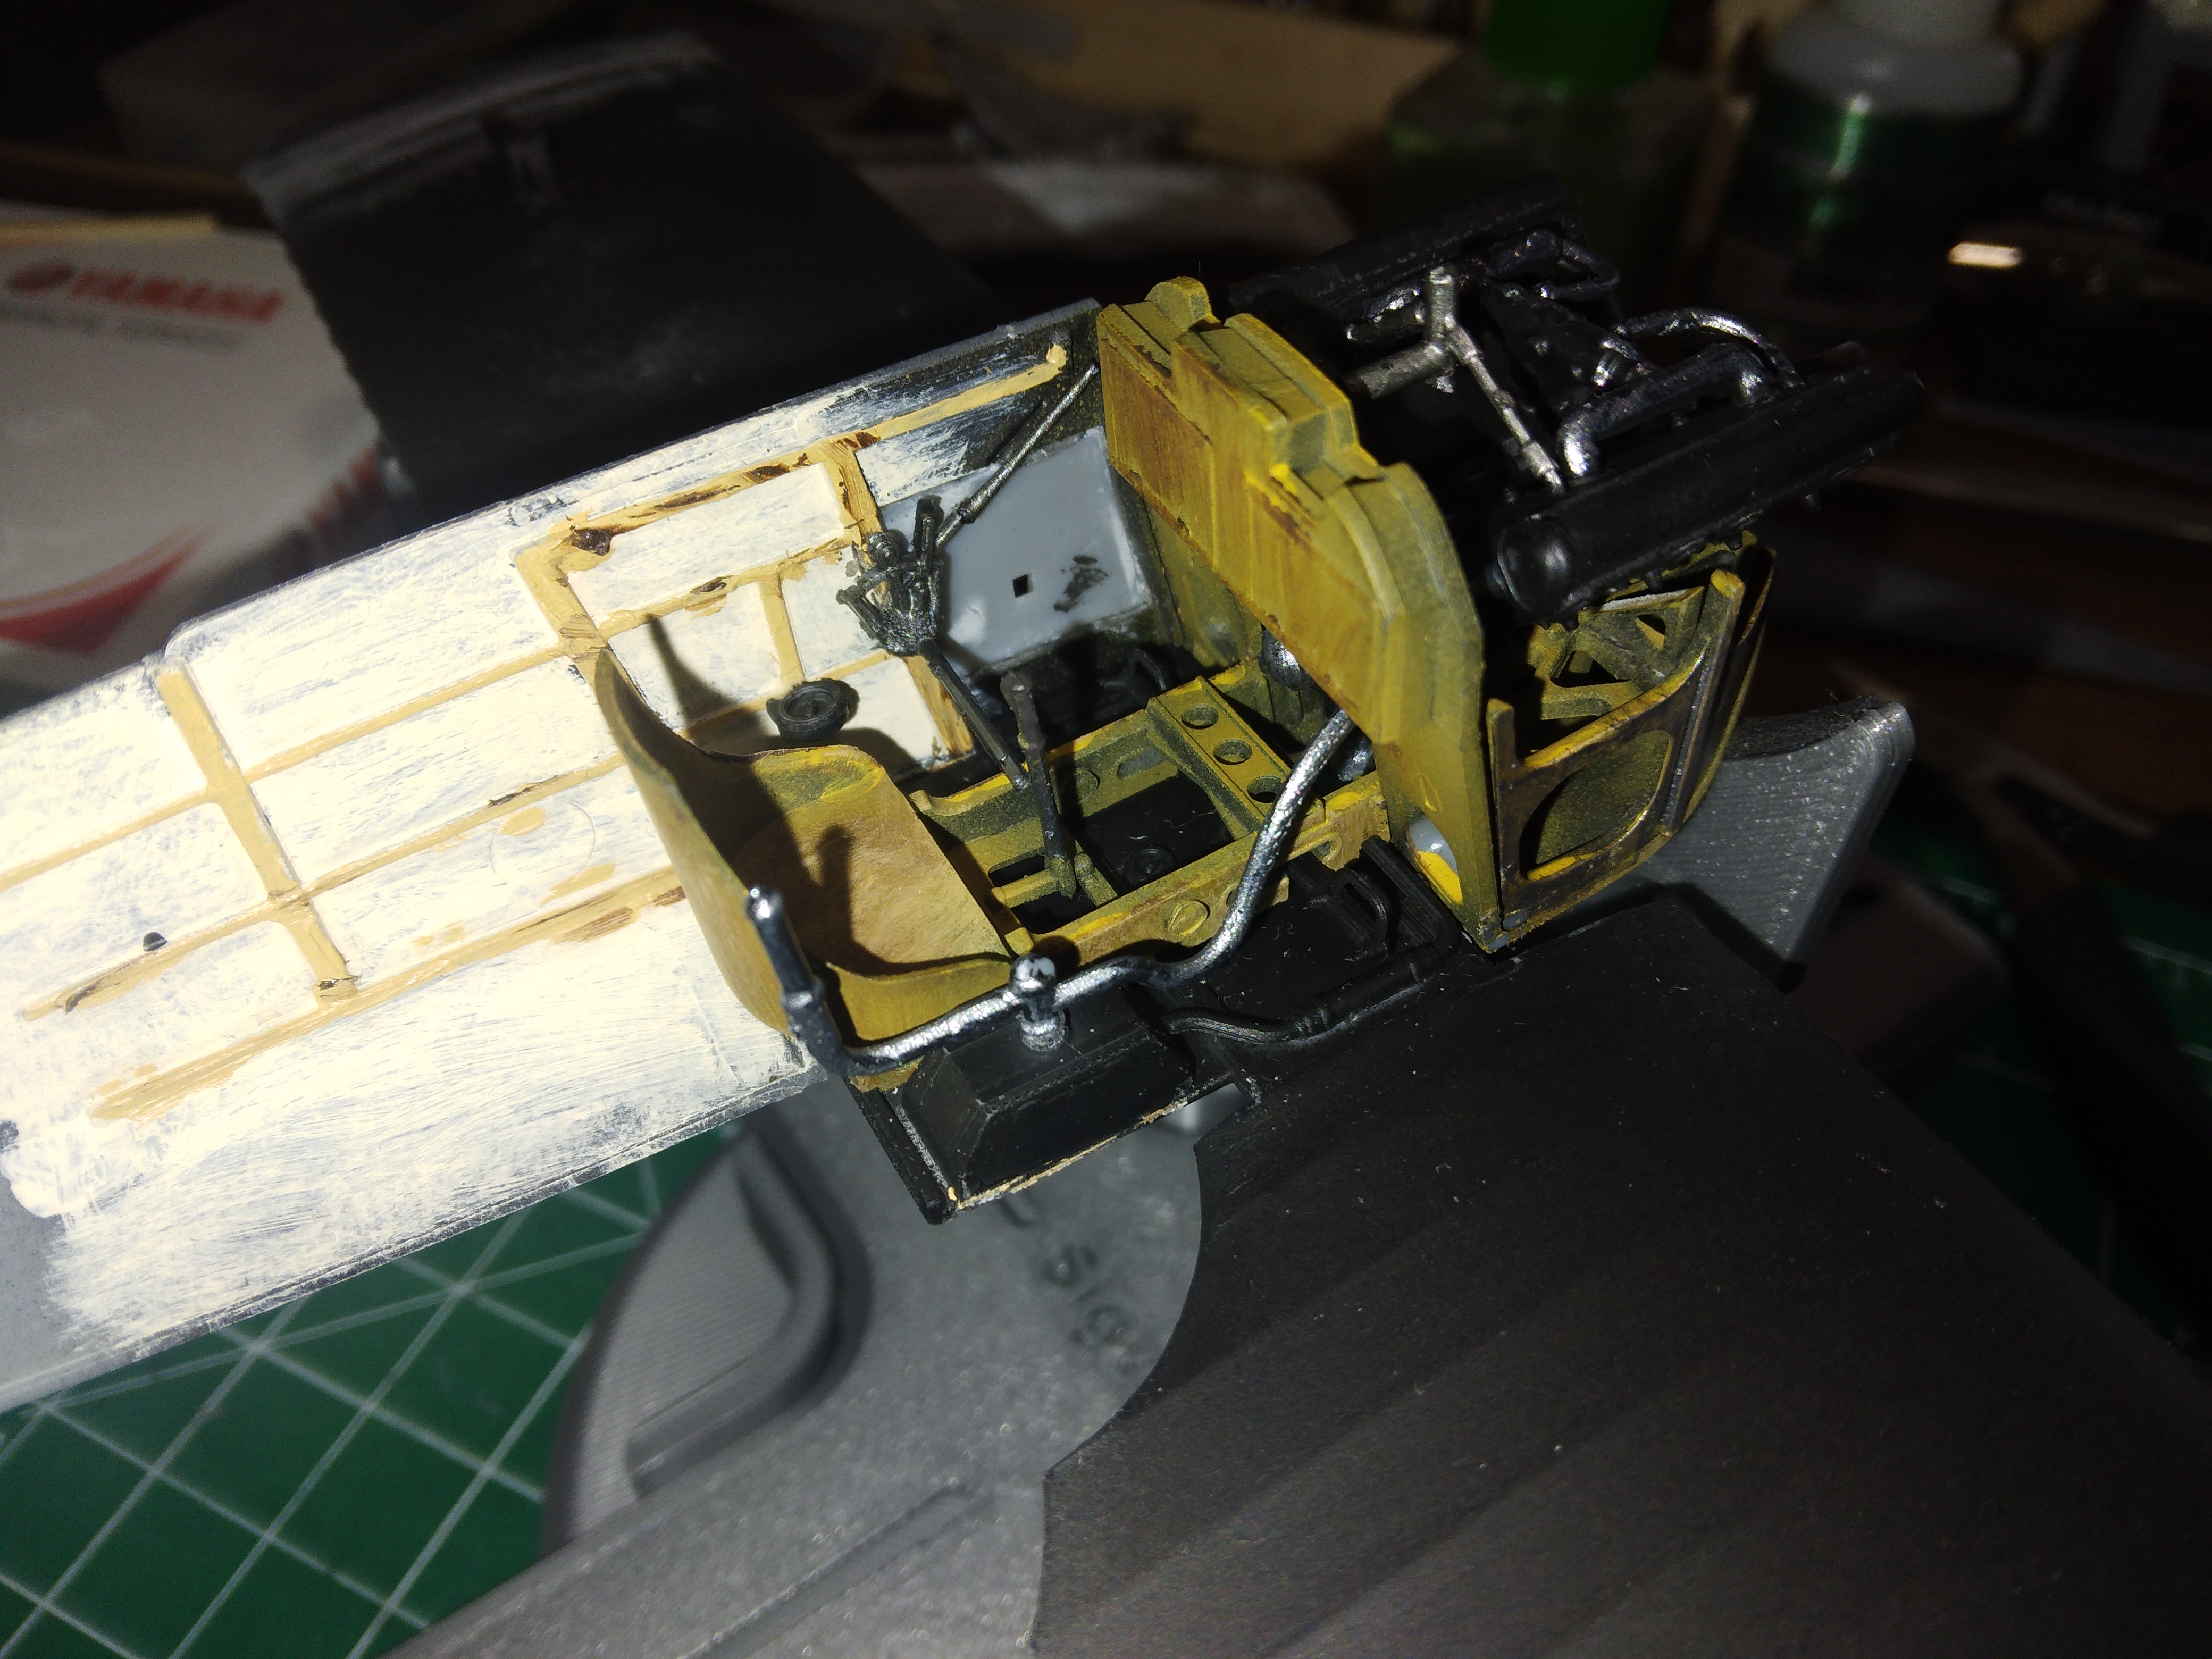
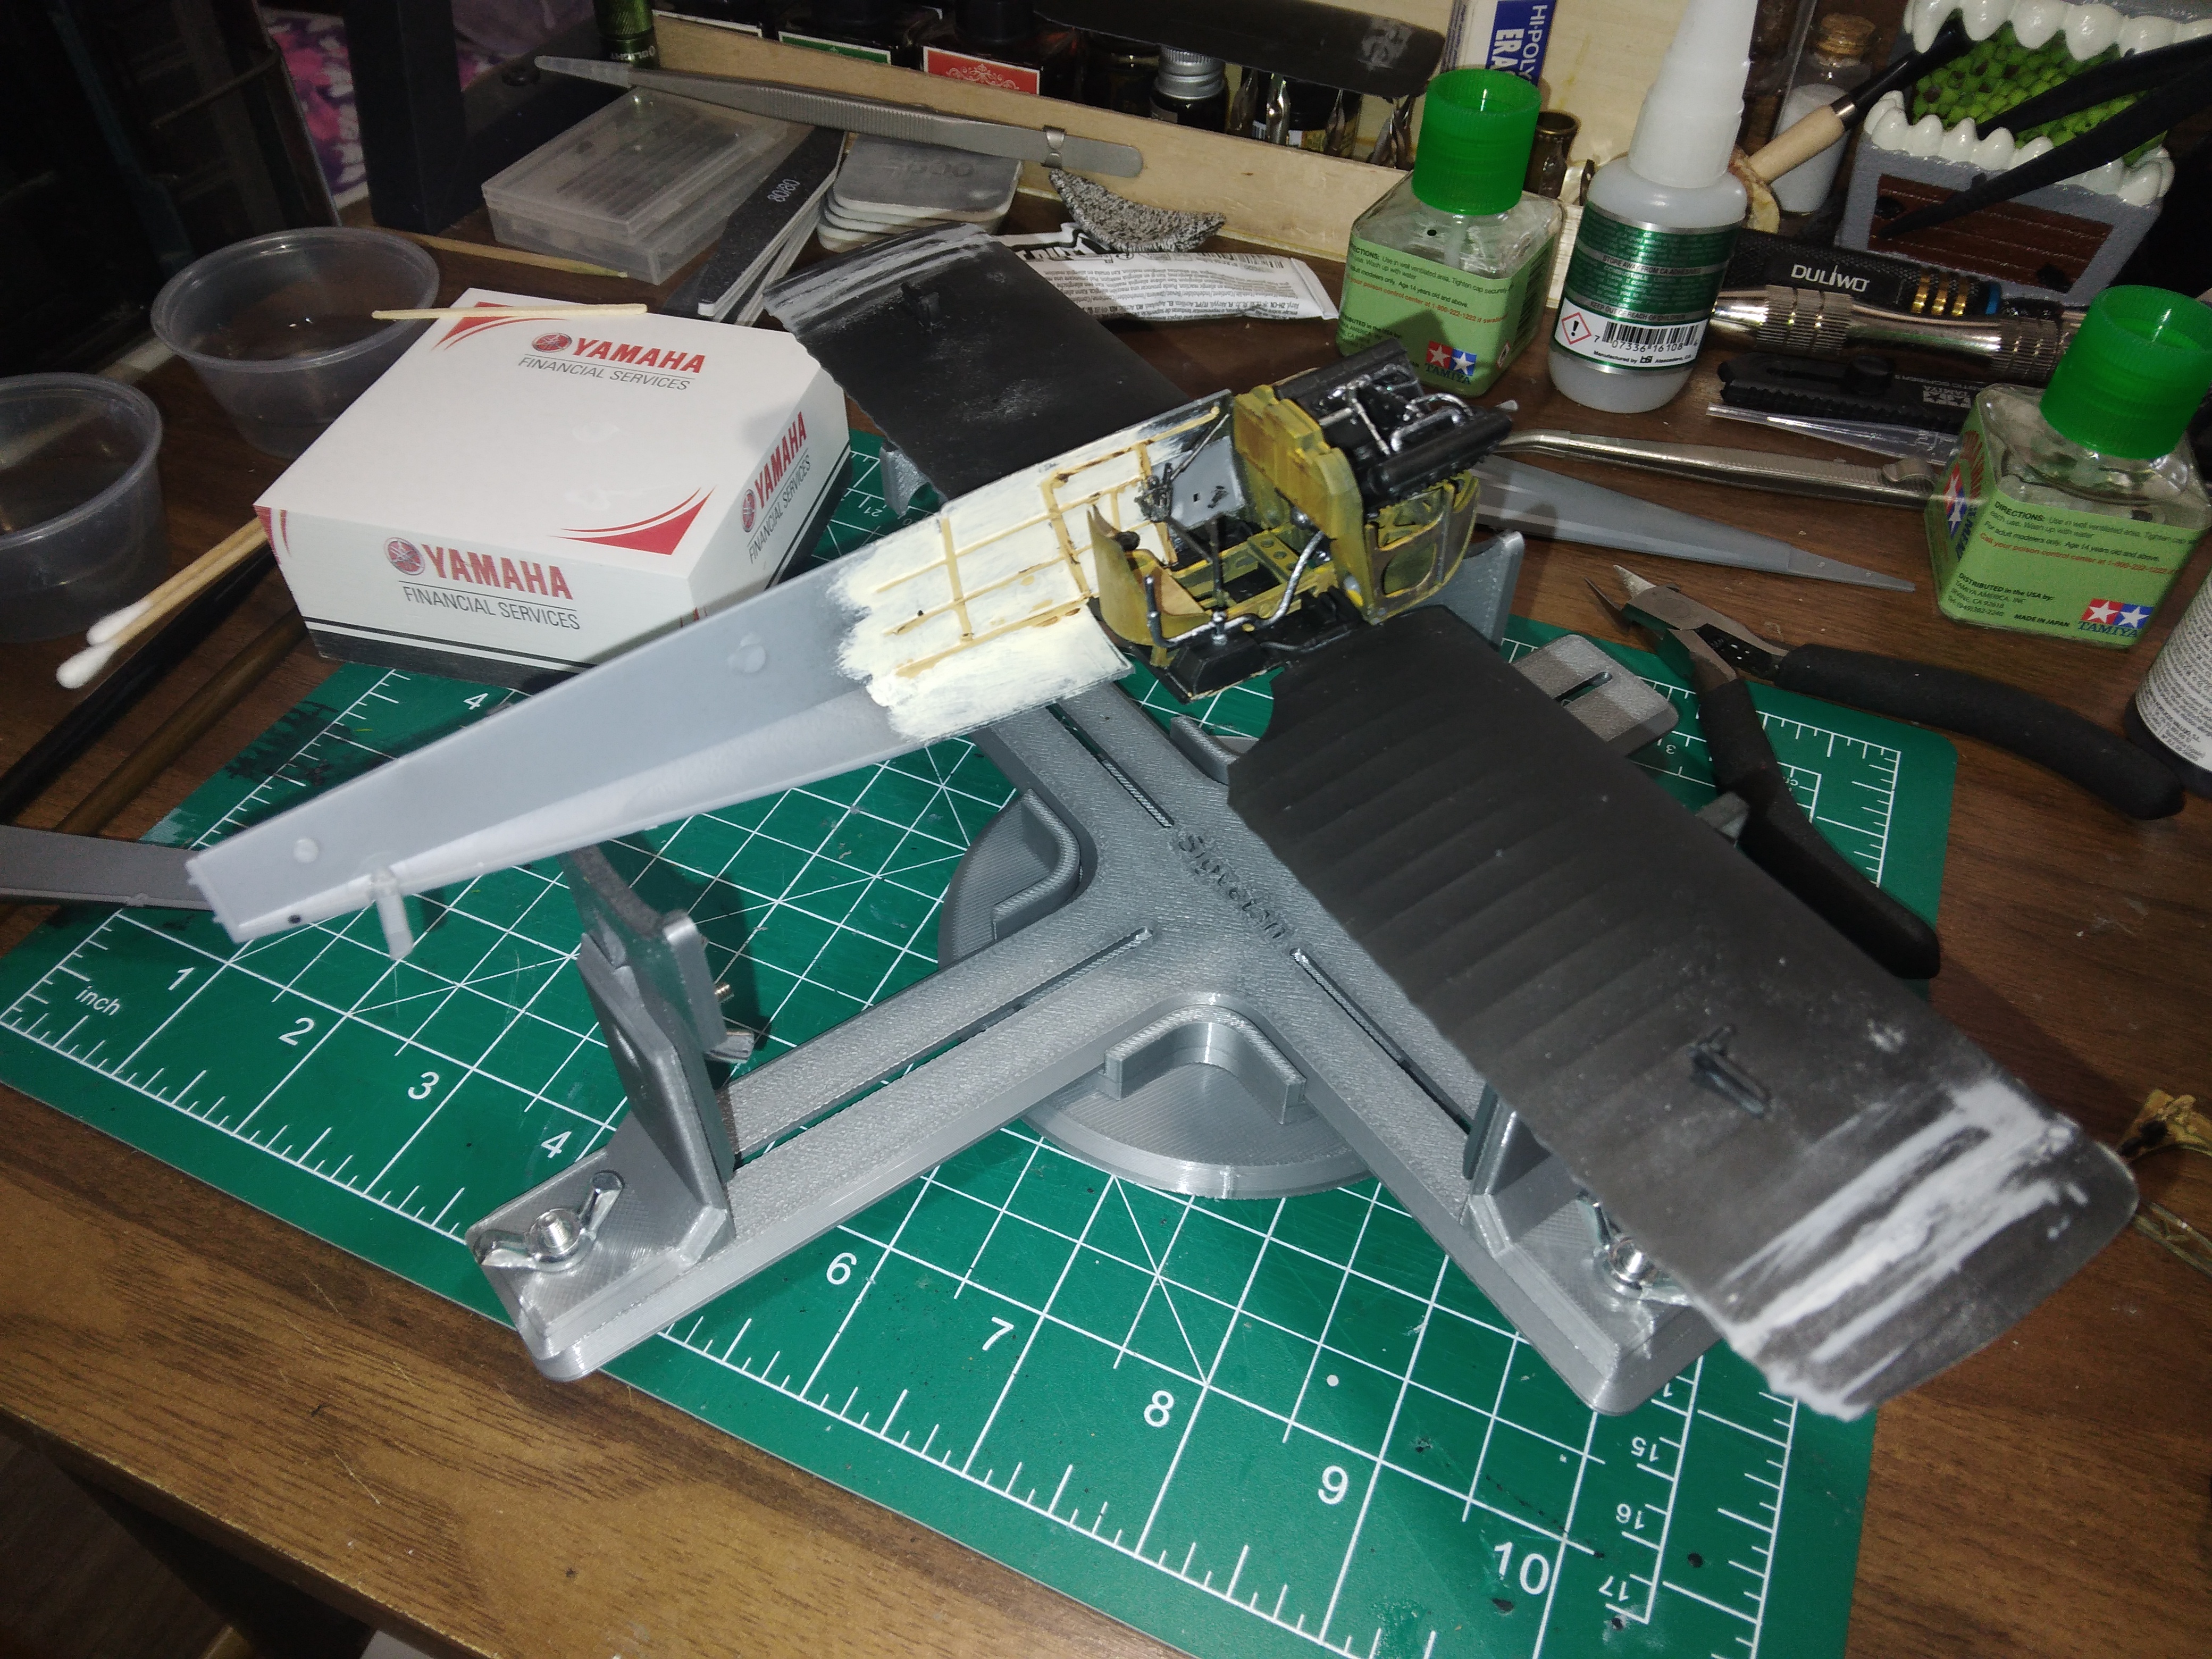
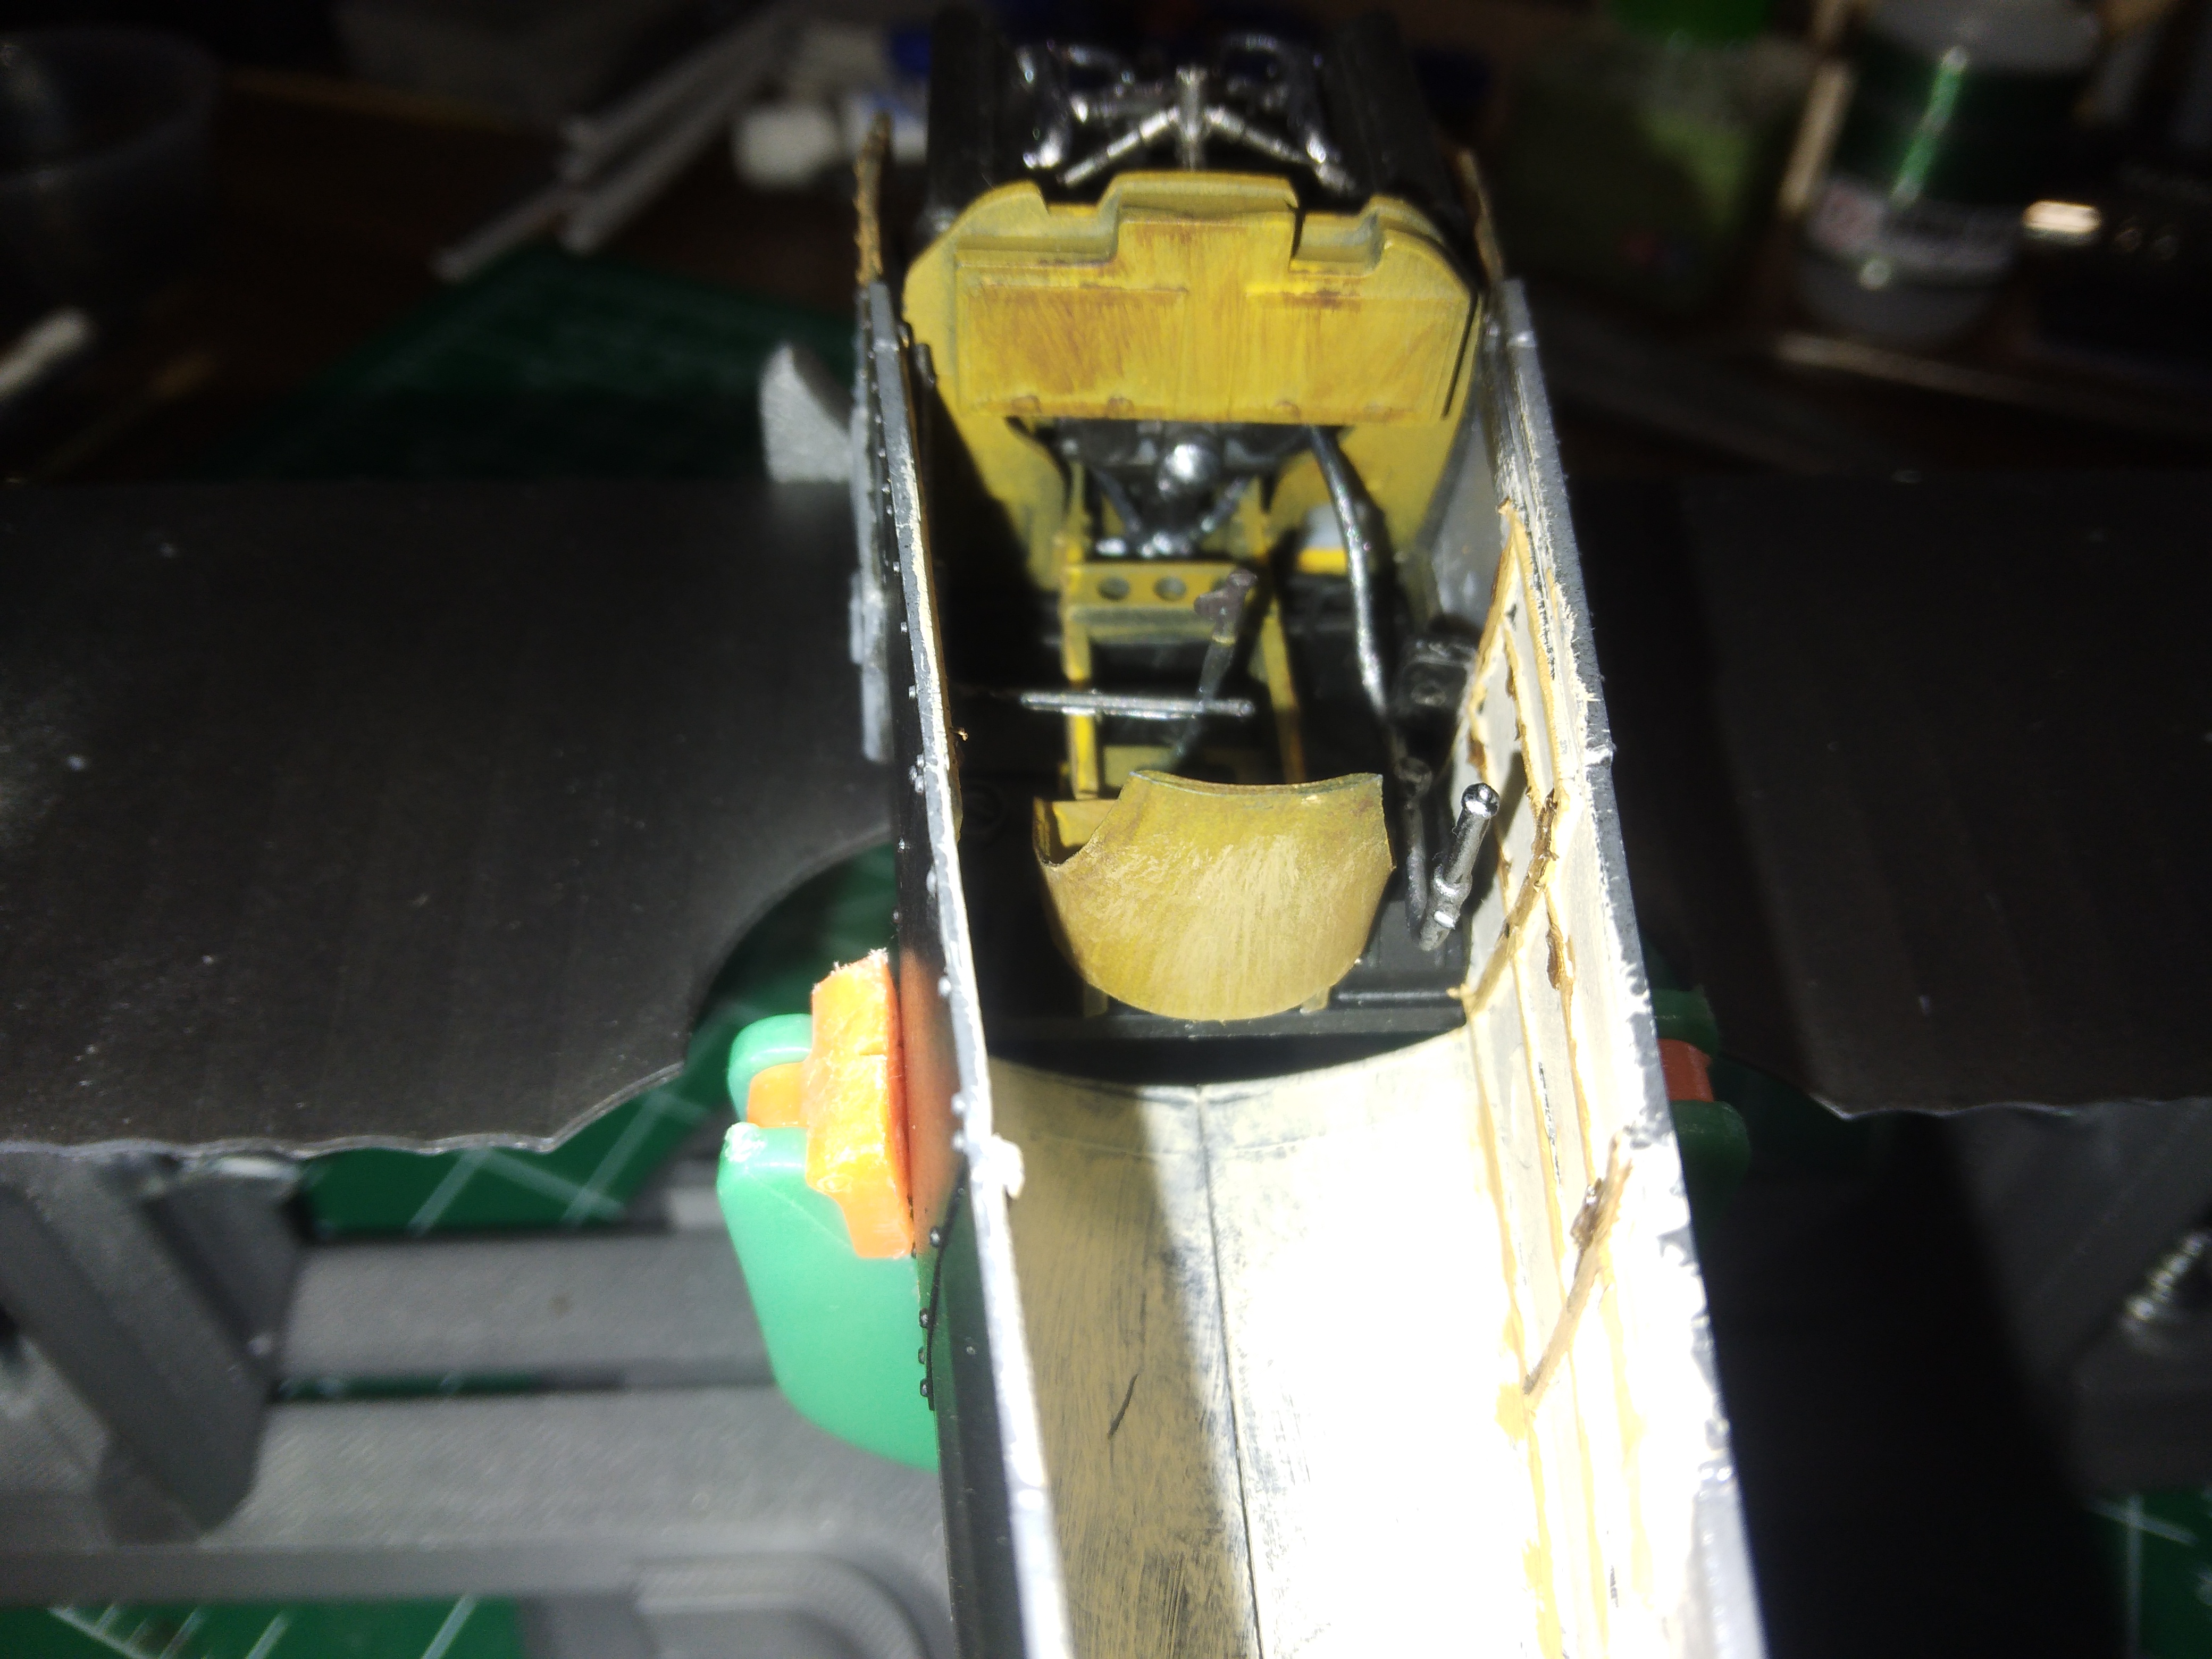
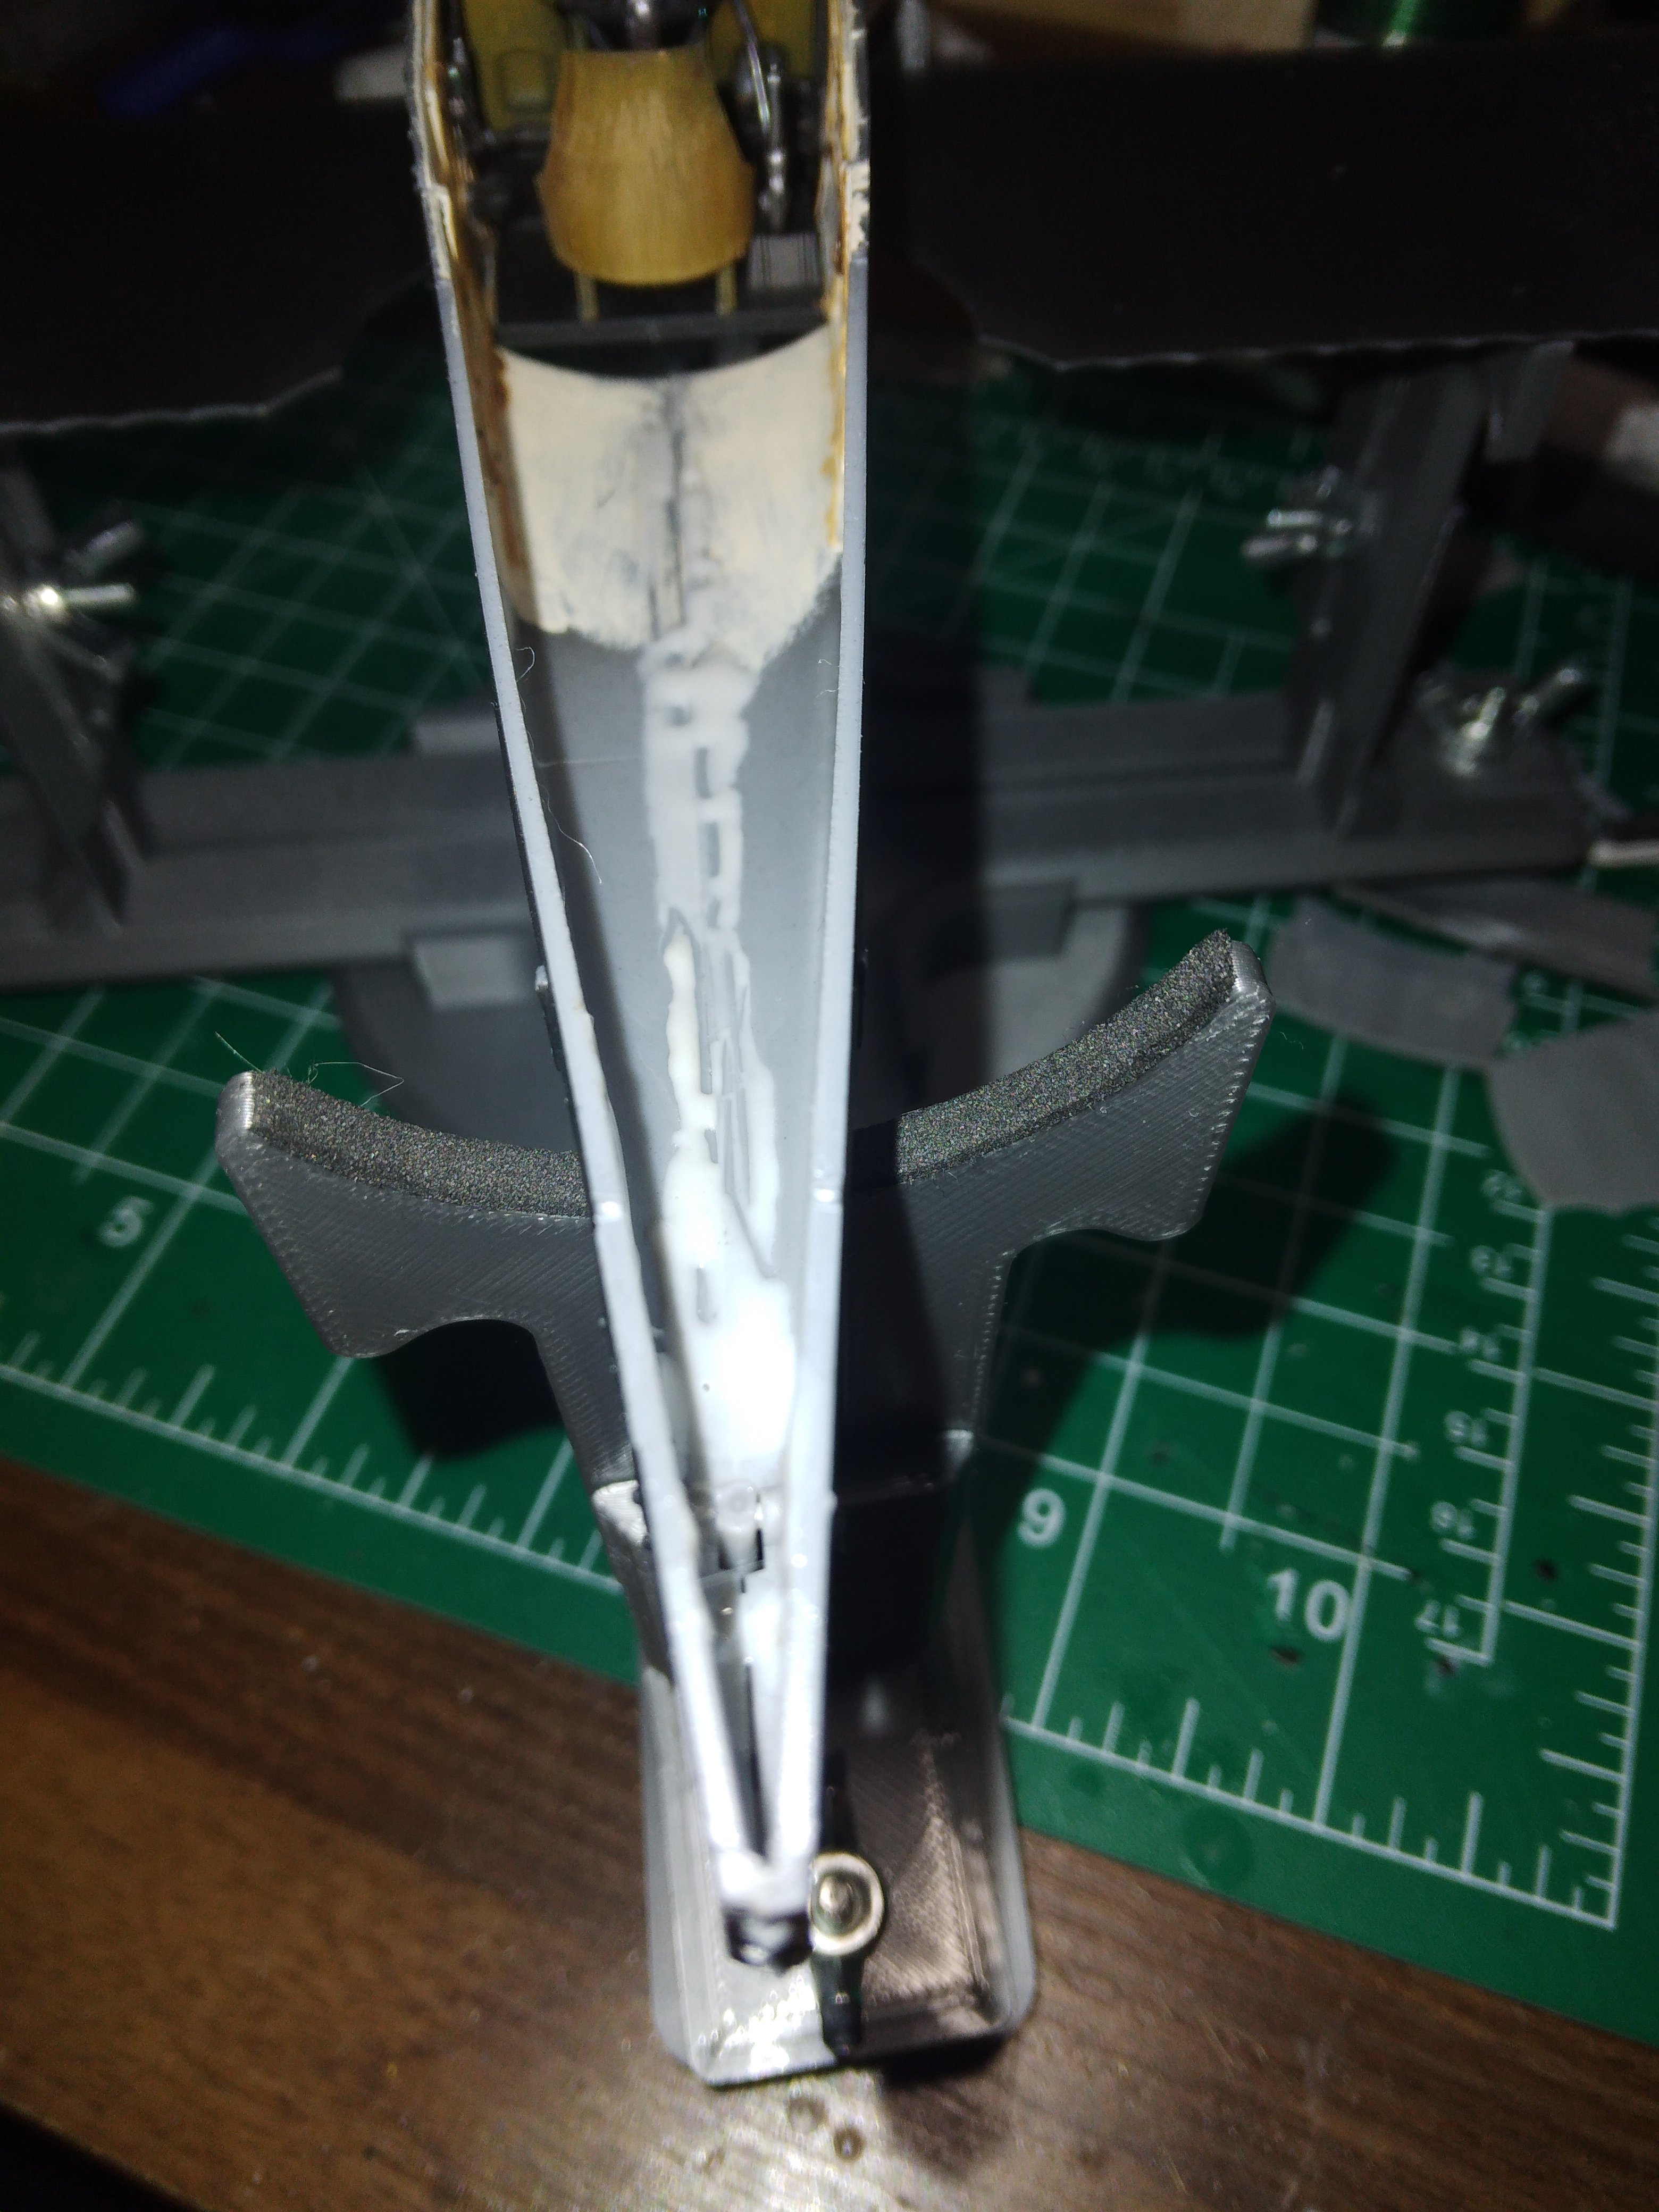

That actually looks pretty cool!Cockpit and engine are installed on the lower wing.
Thanks, Roden models aren't bad but there are a lot of gaps to be filled. I'll be building another Roden.That actually looks pretty cool!
Noted.there are a lot of gaps to be filled.
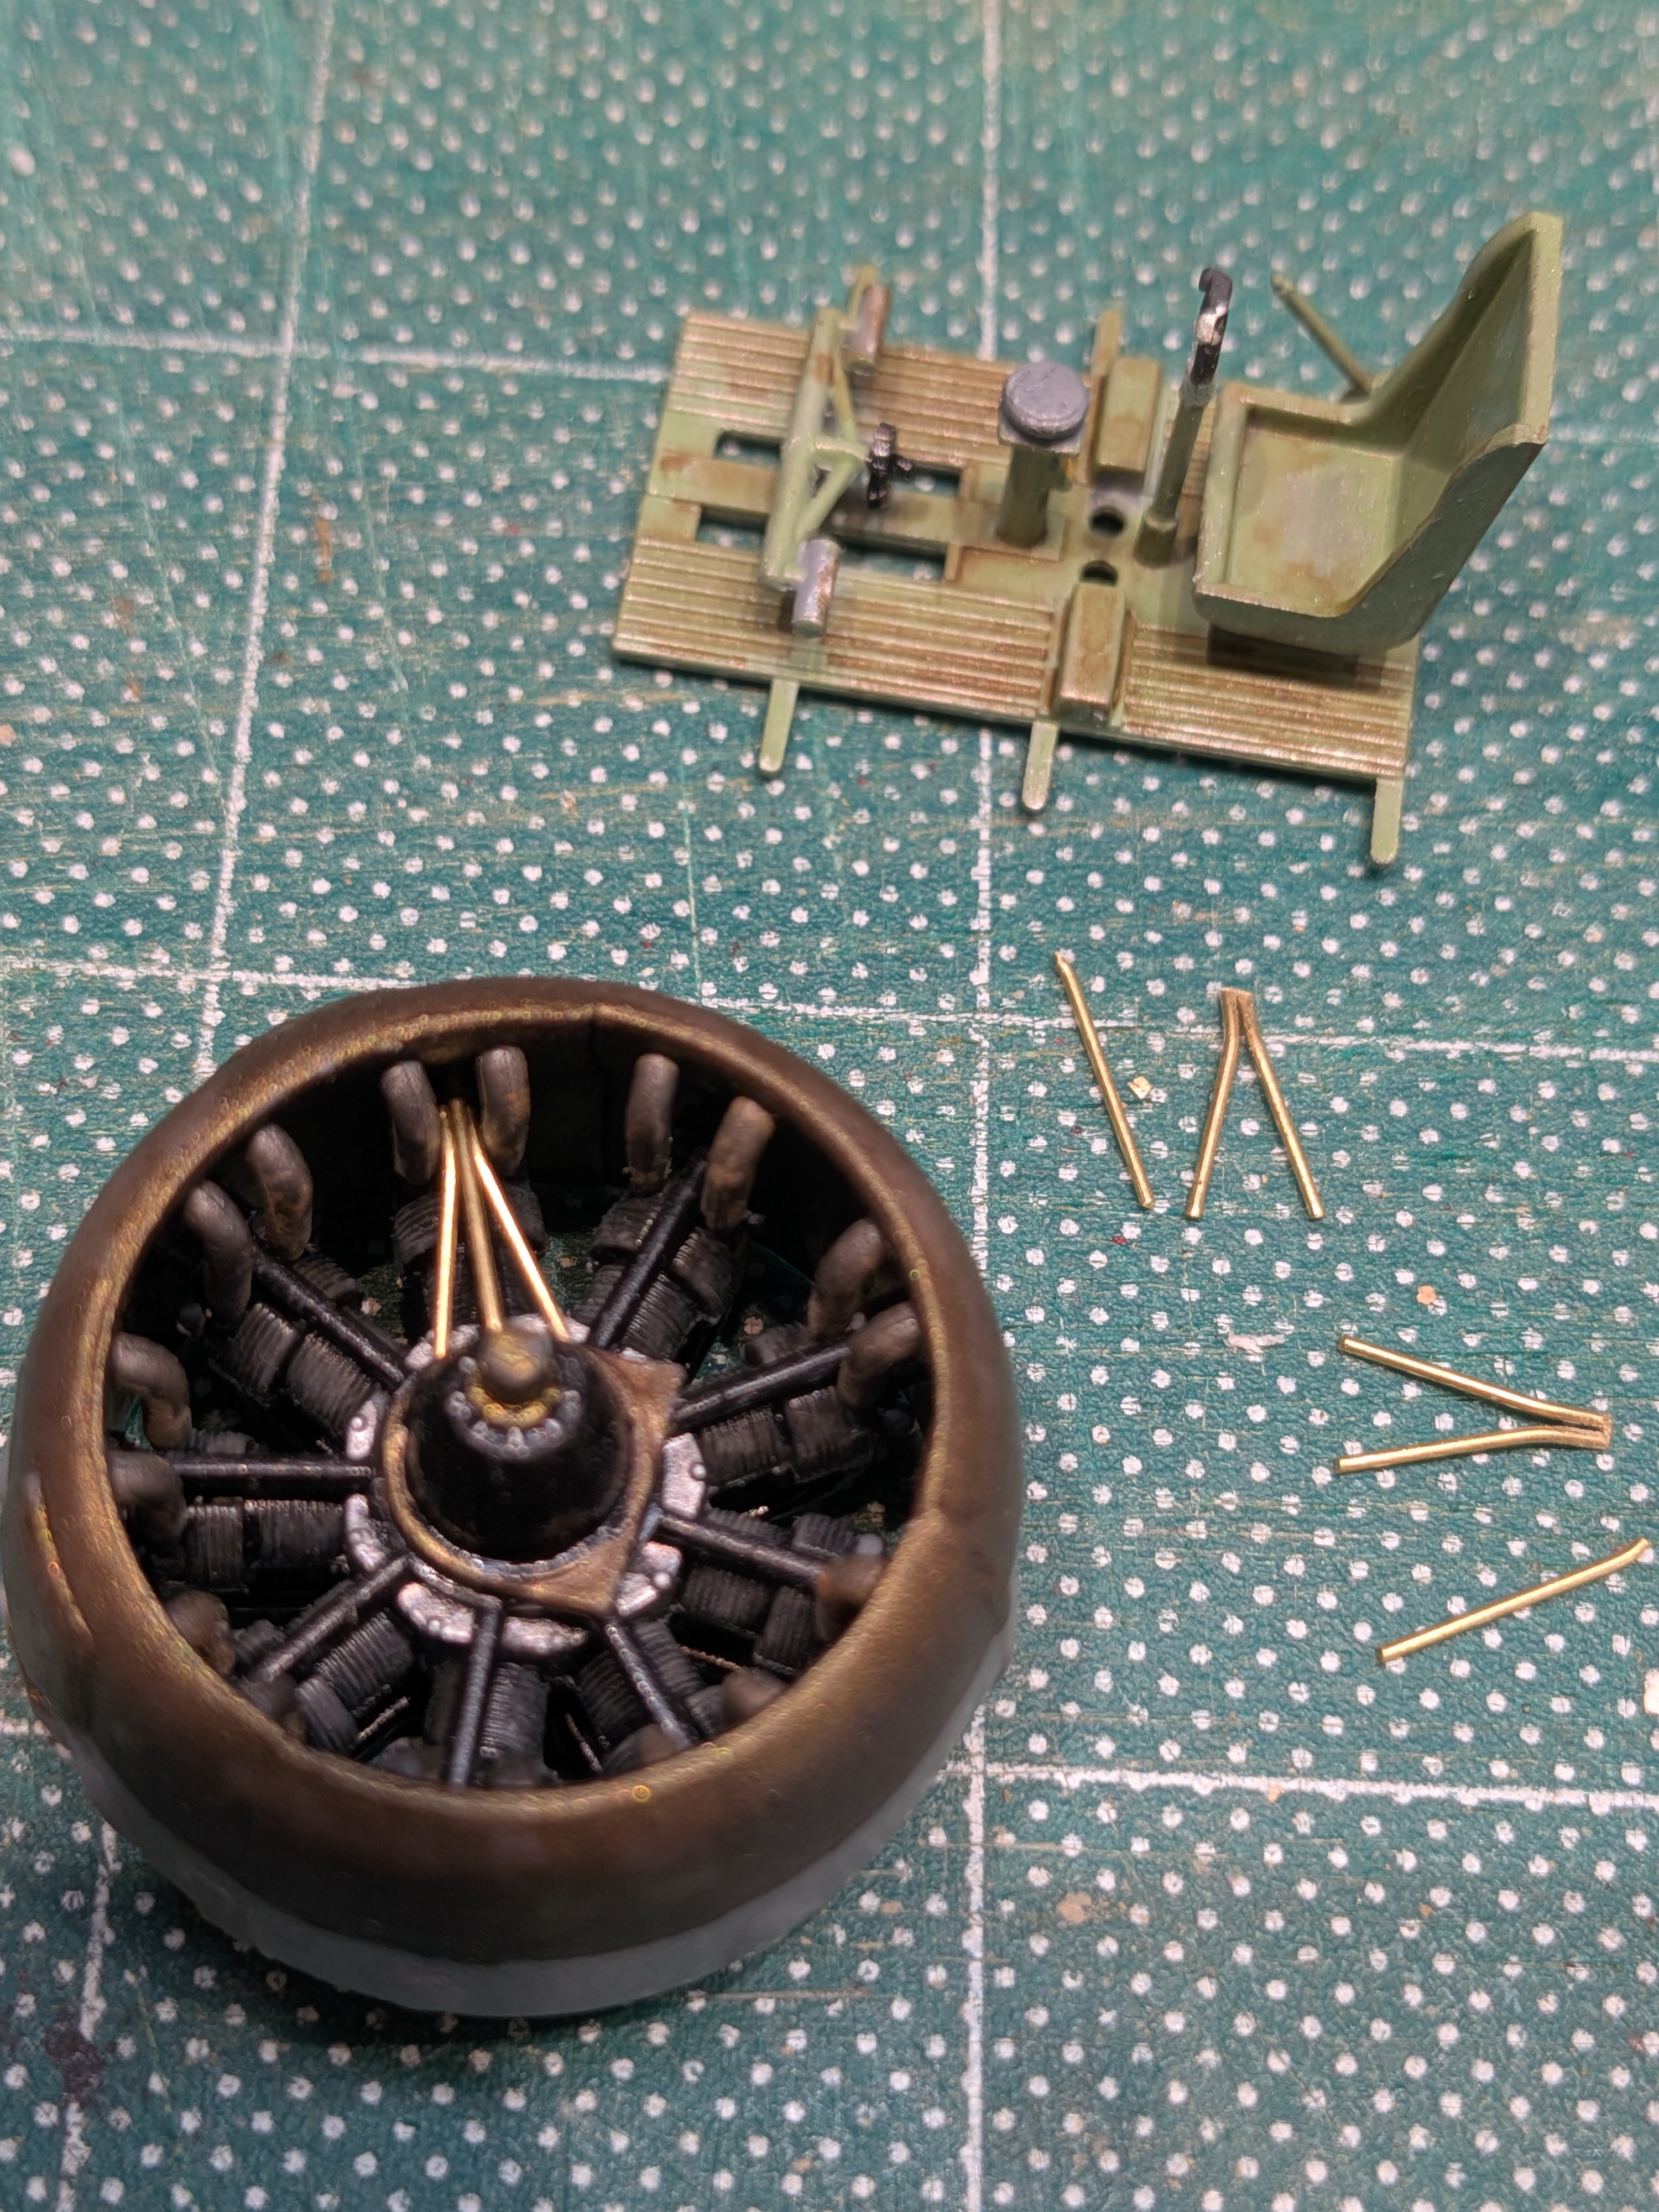
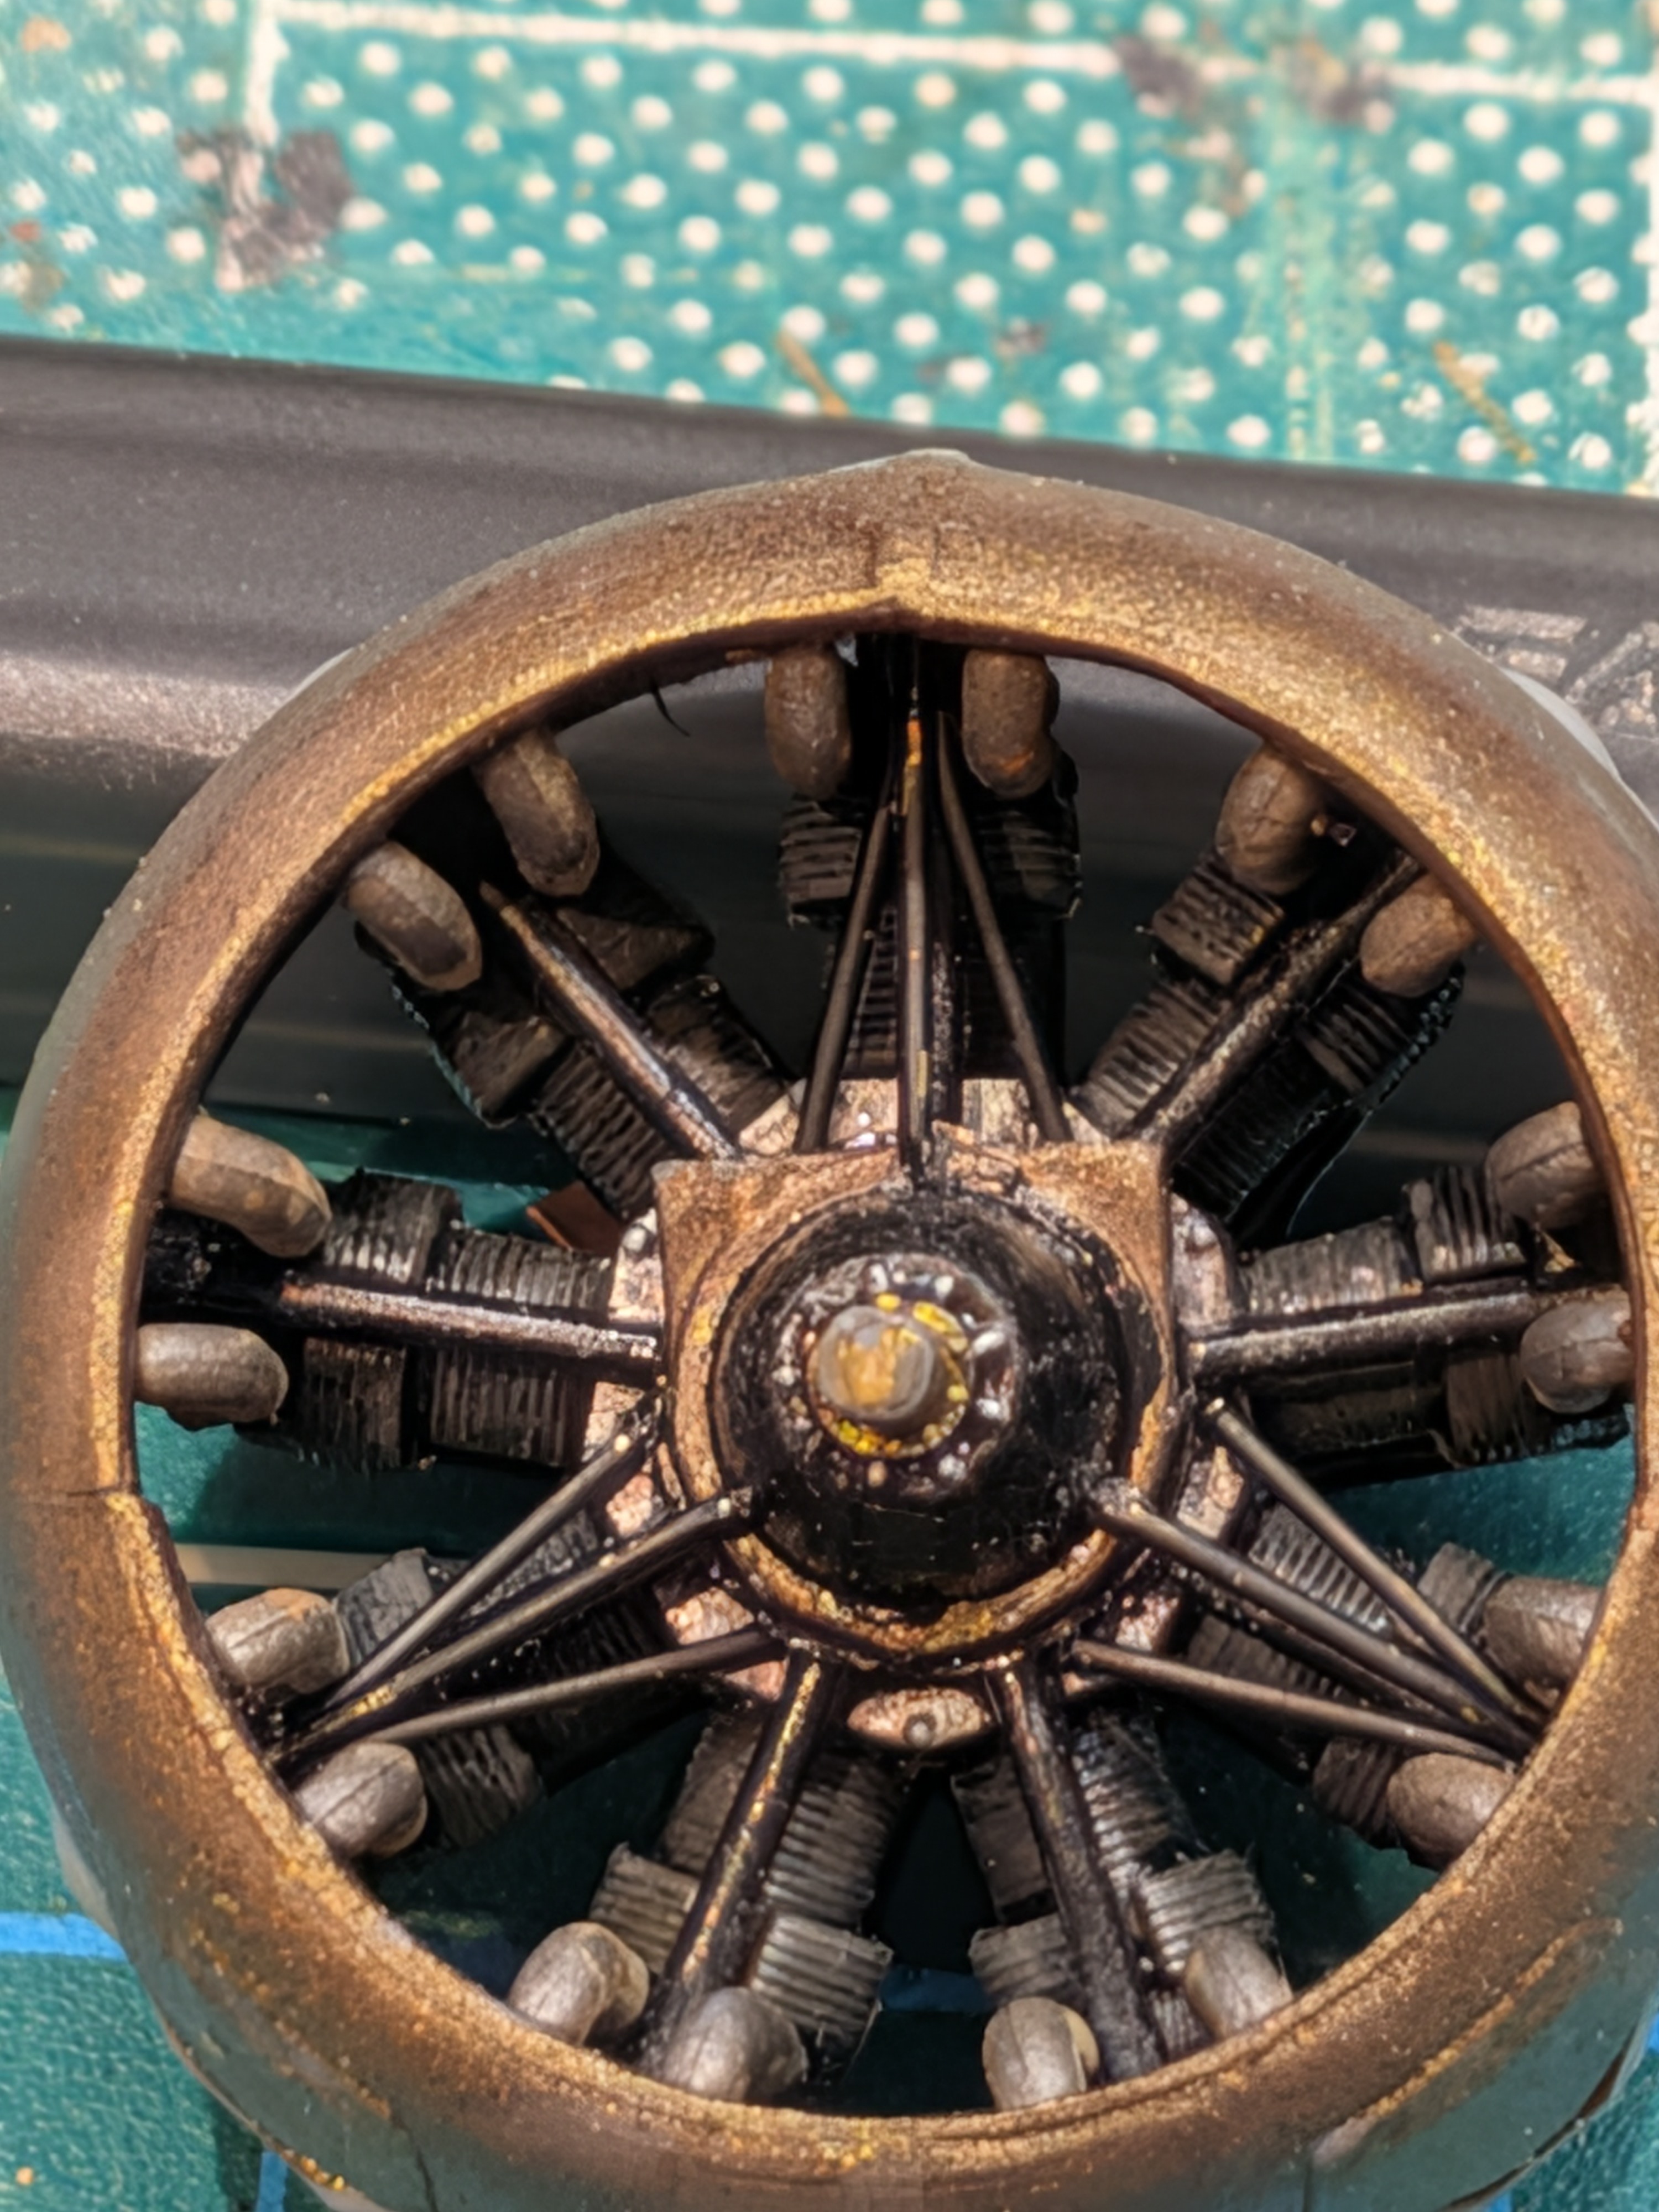

Looks nice!!Will need to touch up where the brass is got scratched...
Used Tamiya metal primer... First time, it dries clear, but the paint went on well afterwards. AK matte black pen.
Then also for first time, tried AMMO ultra glue for PE and clear parts. It has a paste consistency, so stays put, like CA gel. Dries clear.
View attachment 196513
Glad I went and done done it.

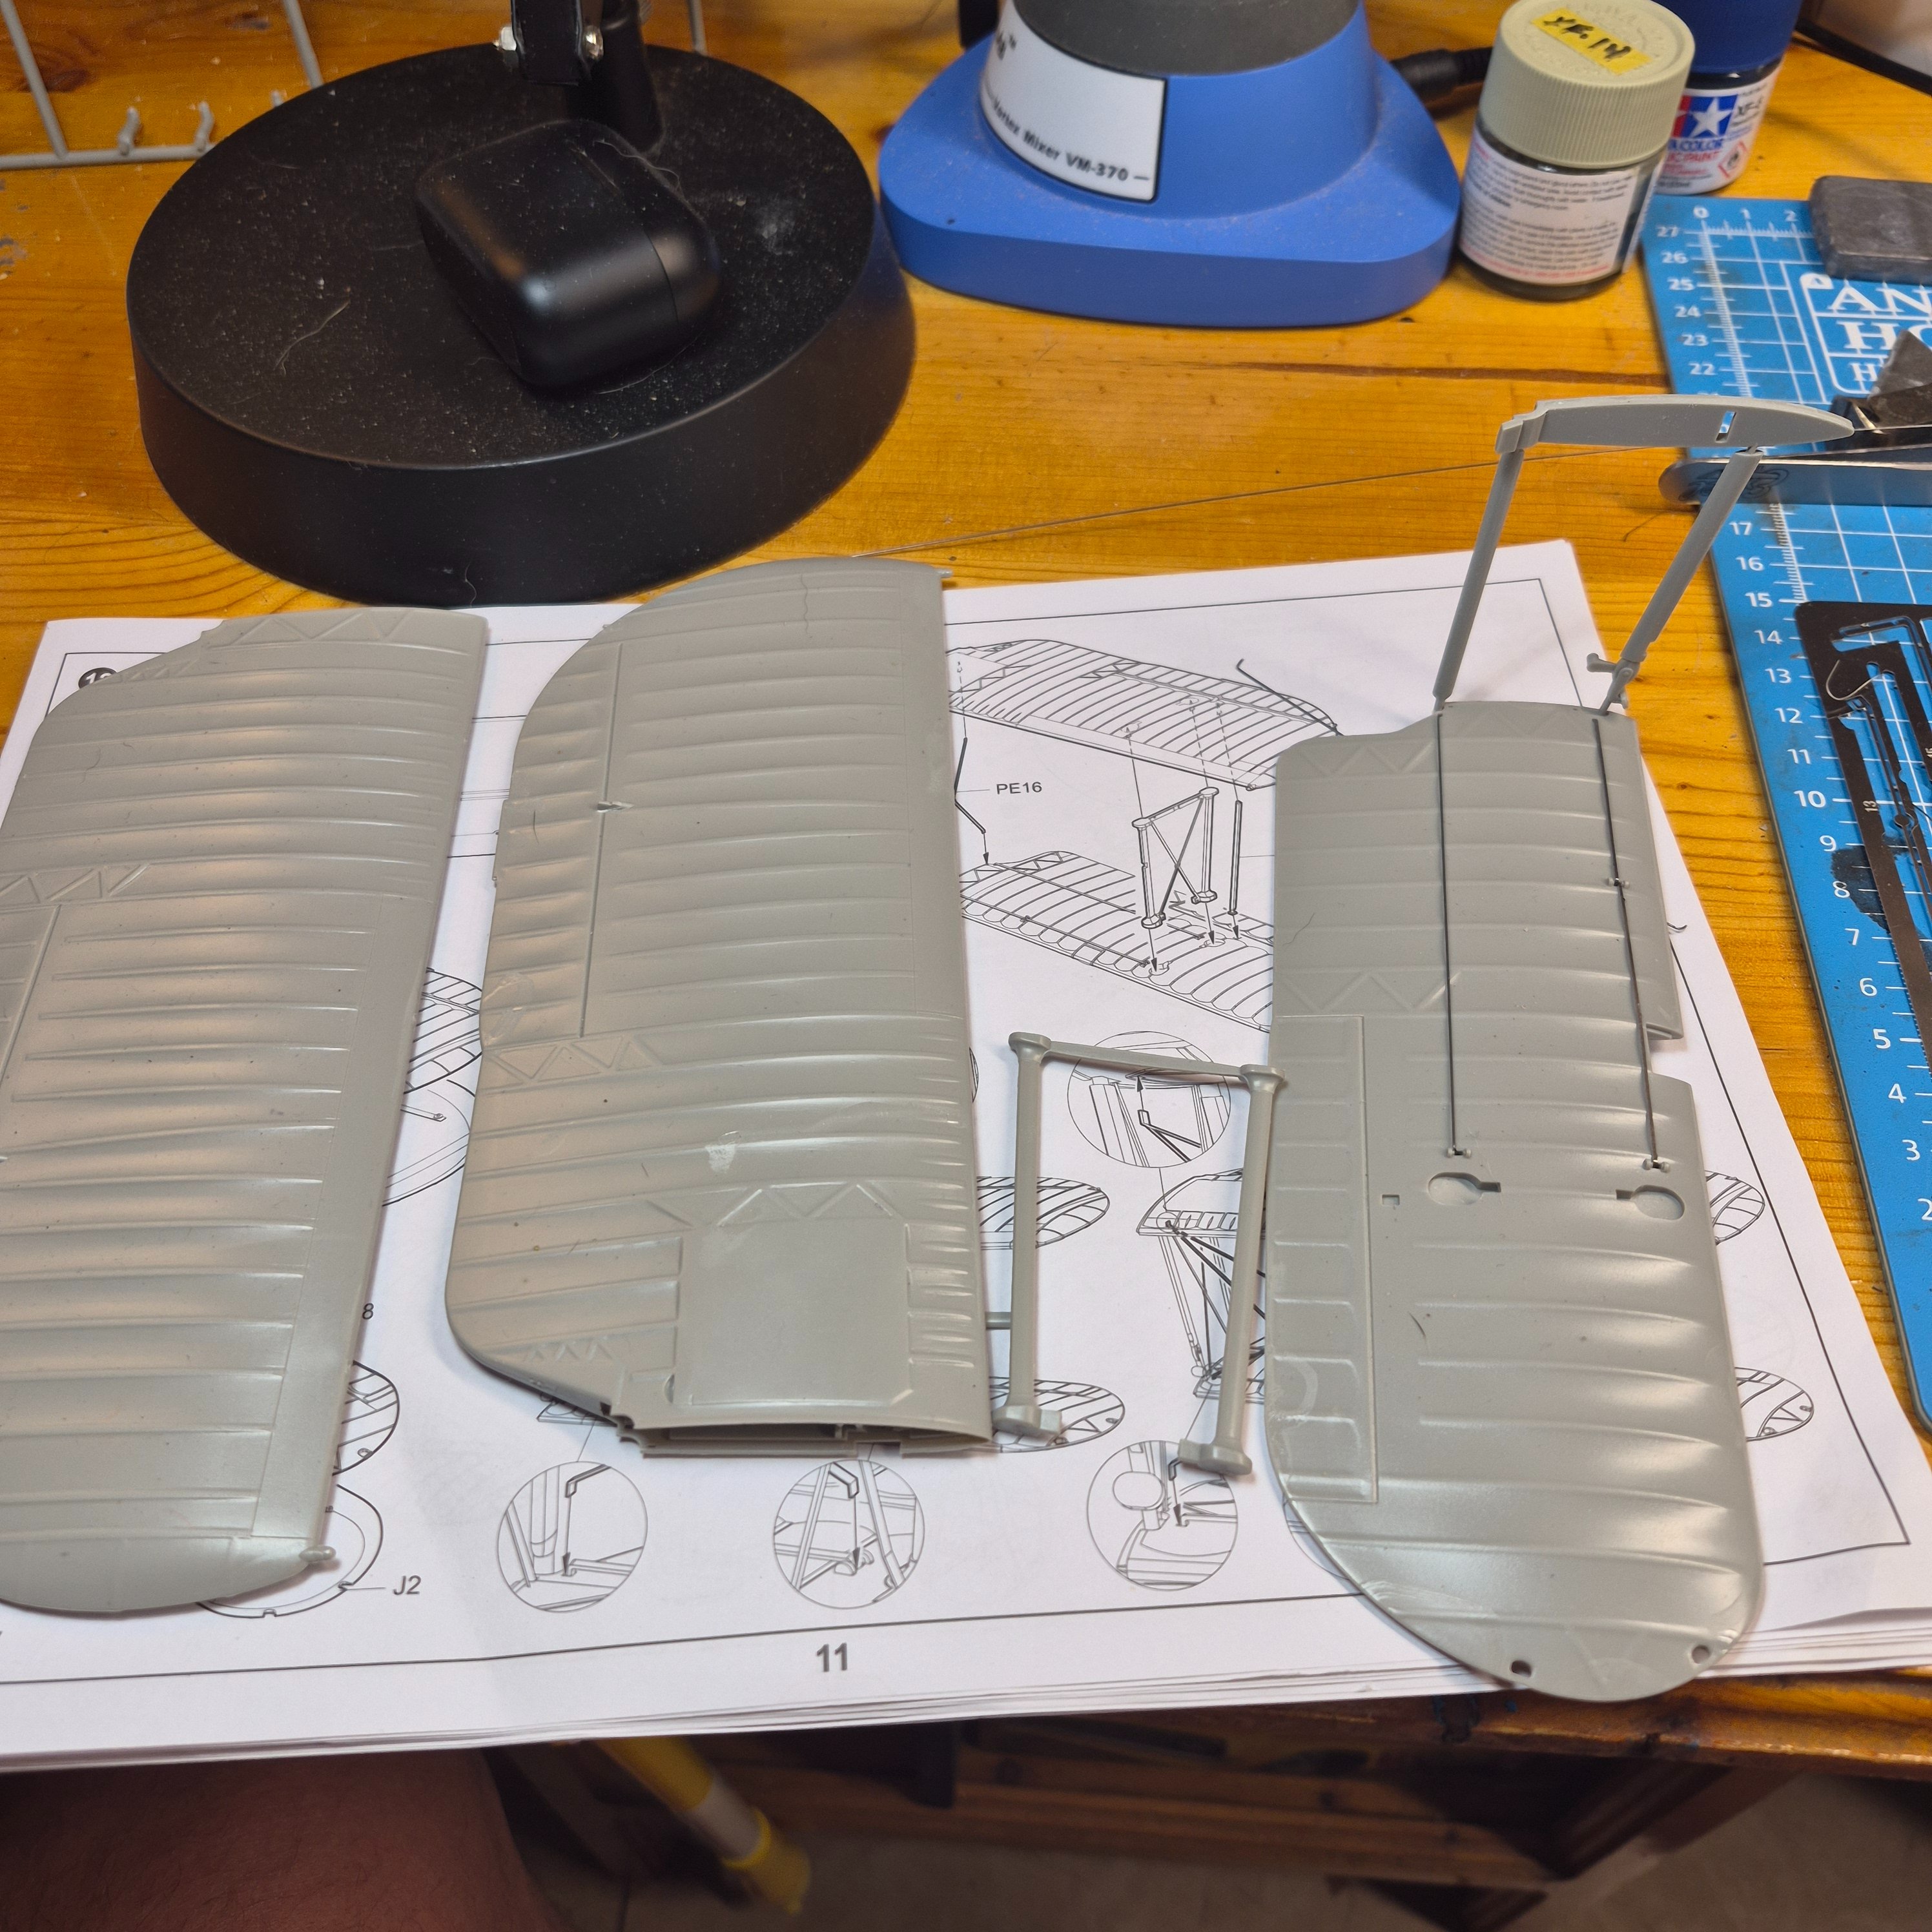
It was intentional. (replying to the sad or shocked faces)I pulled my decals/roundels off of both wings, destroying them in the process. I'm committed to painting them now
Do you have any metal files? Sanding sticks or sponges will just get eaten.I've tried just about everything to not get those Nubs
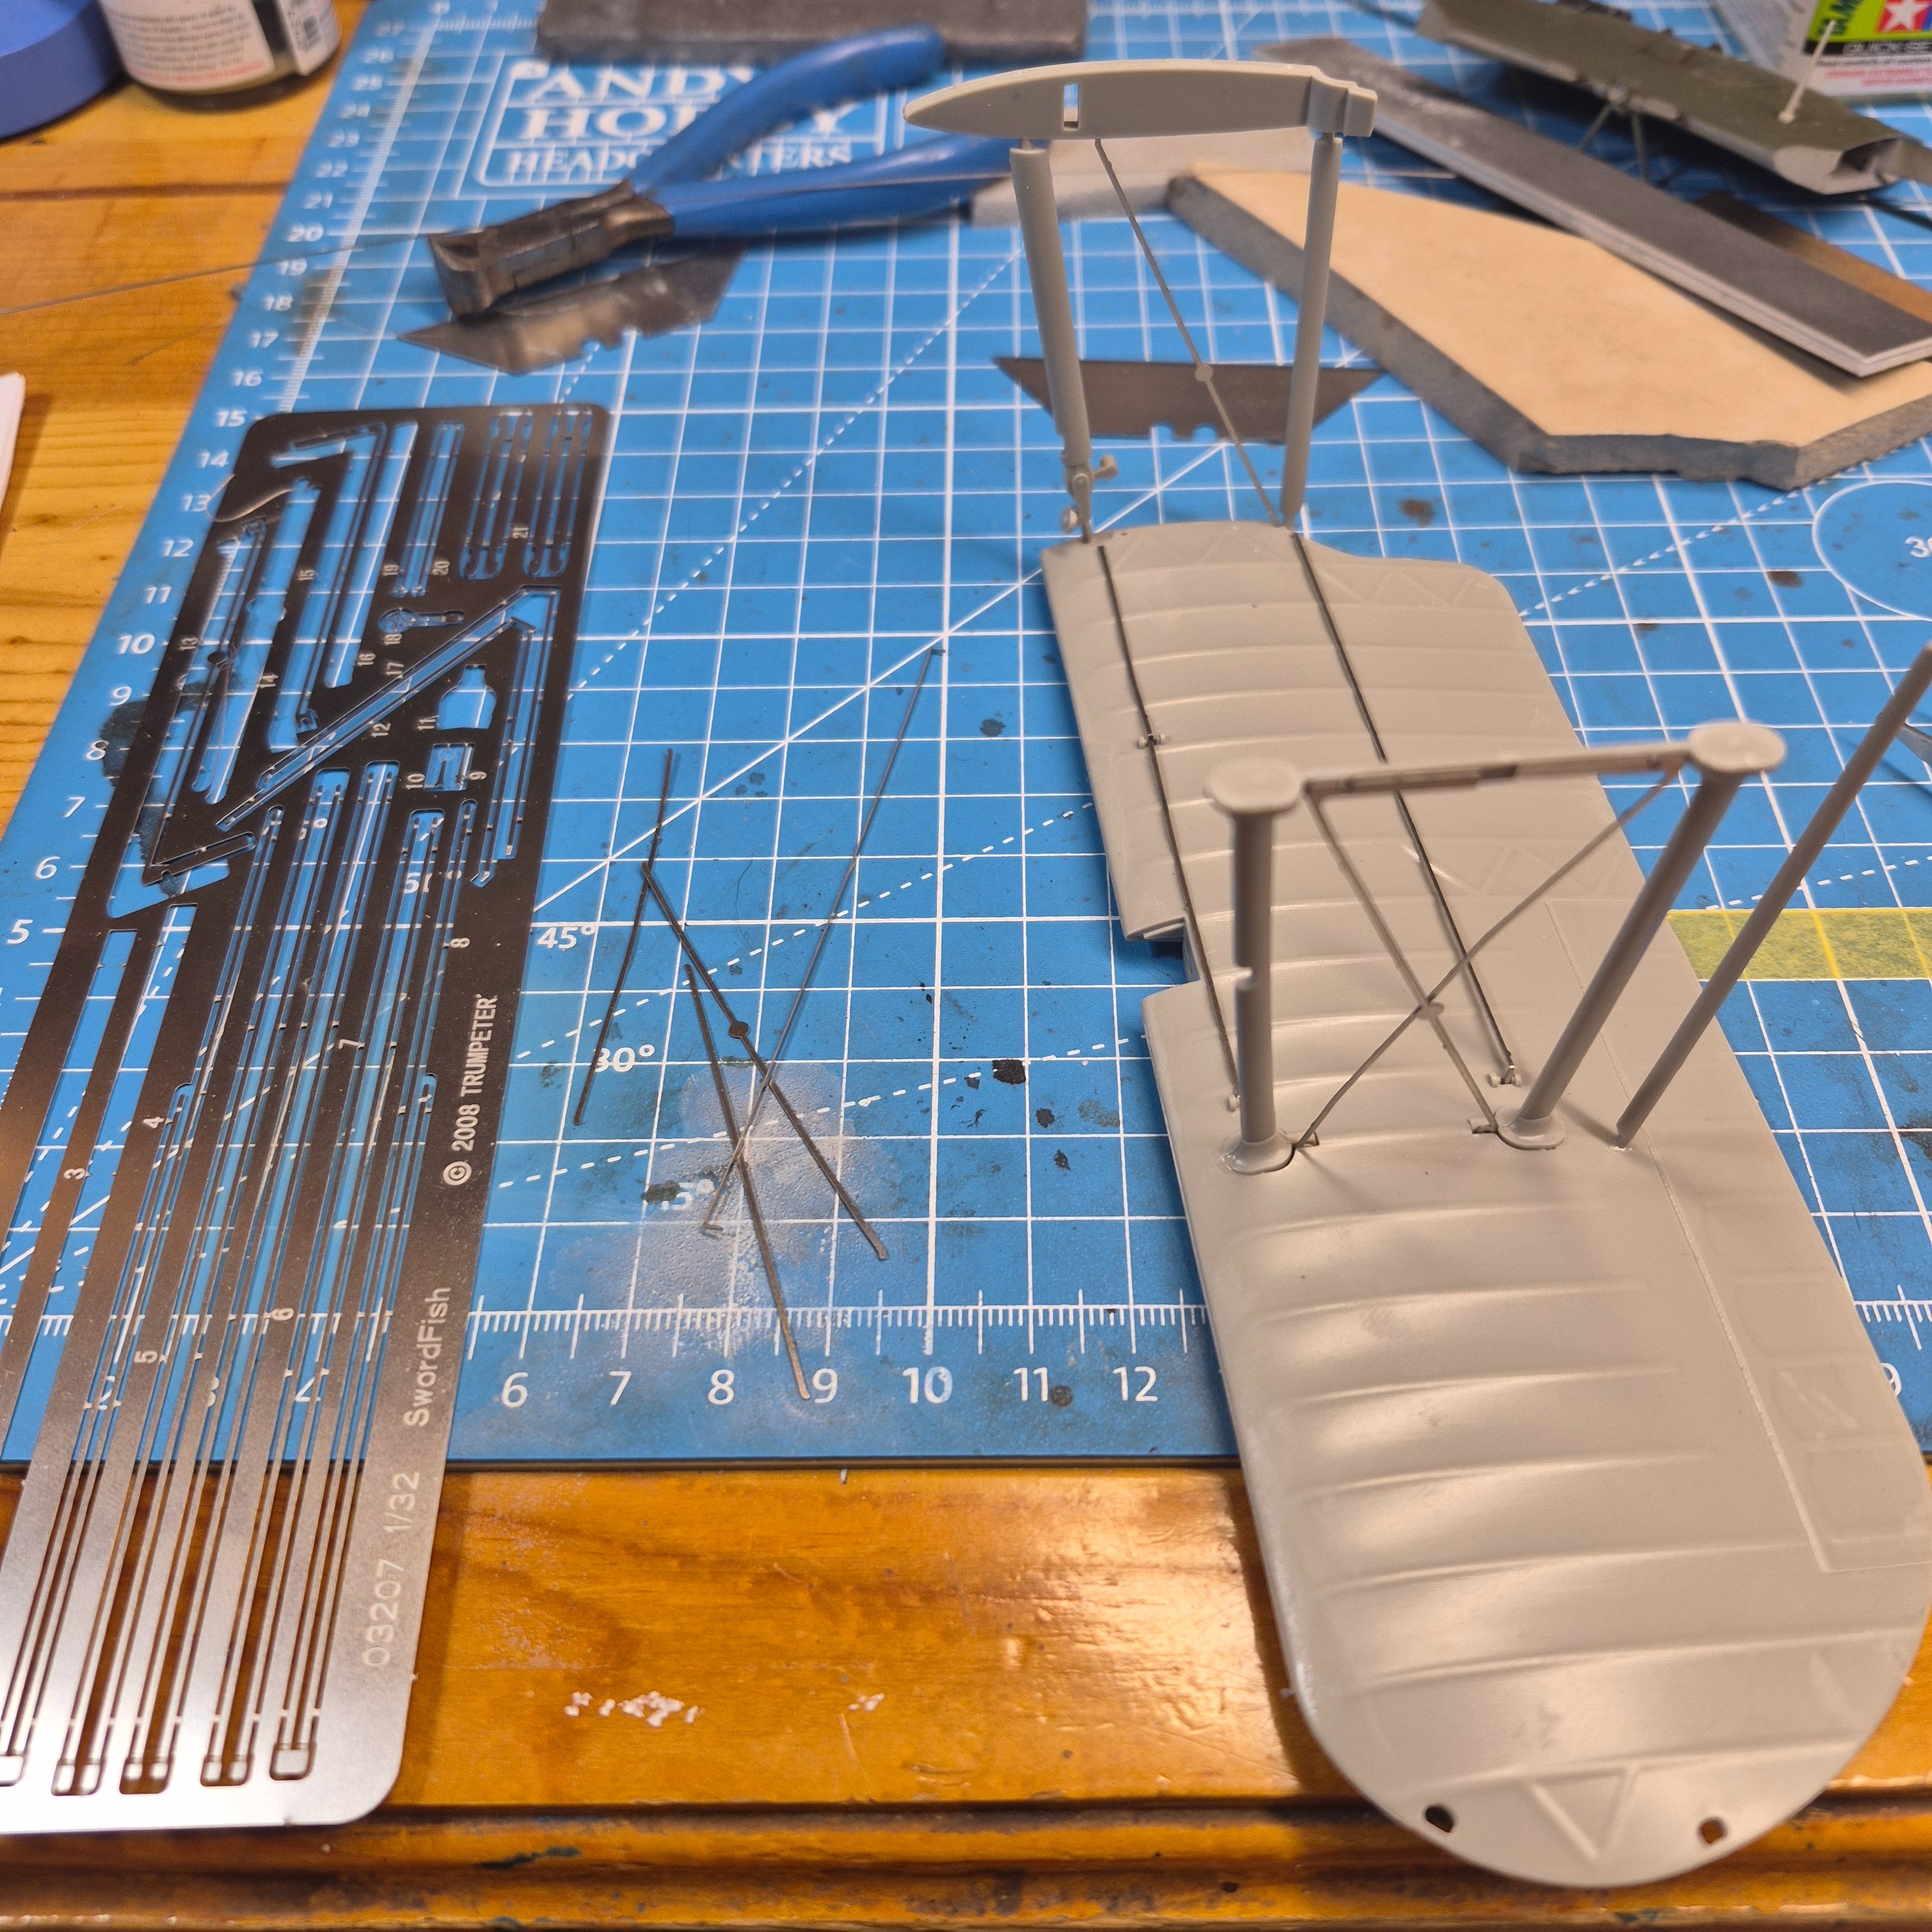
Oh believe me I got files up the ying yang. All types. It's not normal PE. I can cut PE and not have any nub. I'm just wondering if there's a trick to cutting the really thick PE? Would heating it first work? I don't know and I don't want to test a piece because it's biplane rigging and I don't want to screw it up. If I do I'd have to order some brass wire because Andy's moved I think and hobby bench is outDo you have any metal files? Sanding sticks or sponges will just get eaten.
A rethink. The model got destroyed by clamping the top of the fuselage to the rest. the fitment was quite bad so I used three small clamps and over night the fuselage collapsed and fractured with the light pressure of the clamps.Thanks, Roden models aren't bad but there are a lot of gaps to be filled. I'll be building another Roden.

Keep moving forward.. But I have another model that I will start for this build.

Absolutely. I haven't binned the model yet, I do want to try to fix it but I don't know if my skills are up to it yet.Keep moving forward.
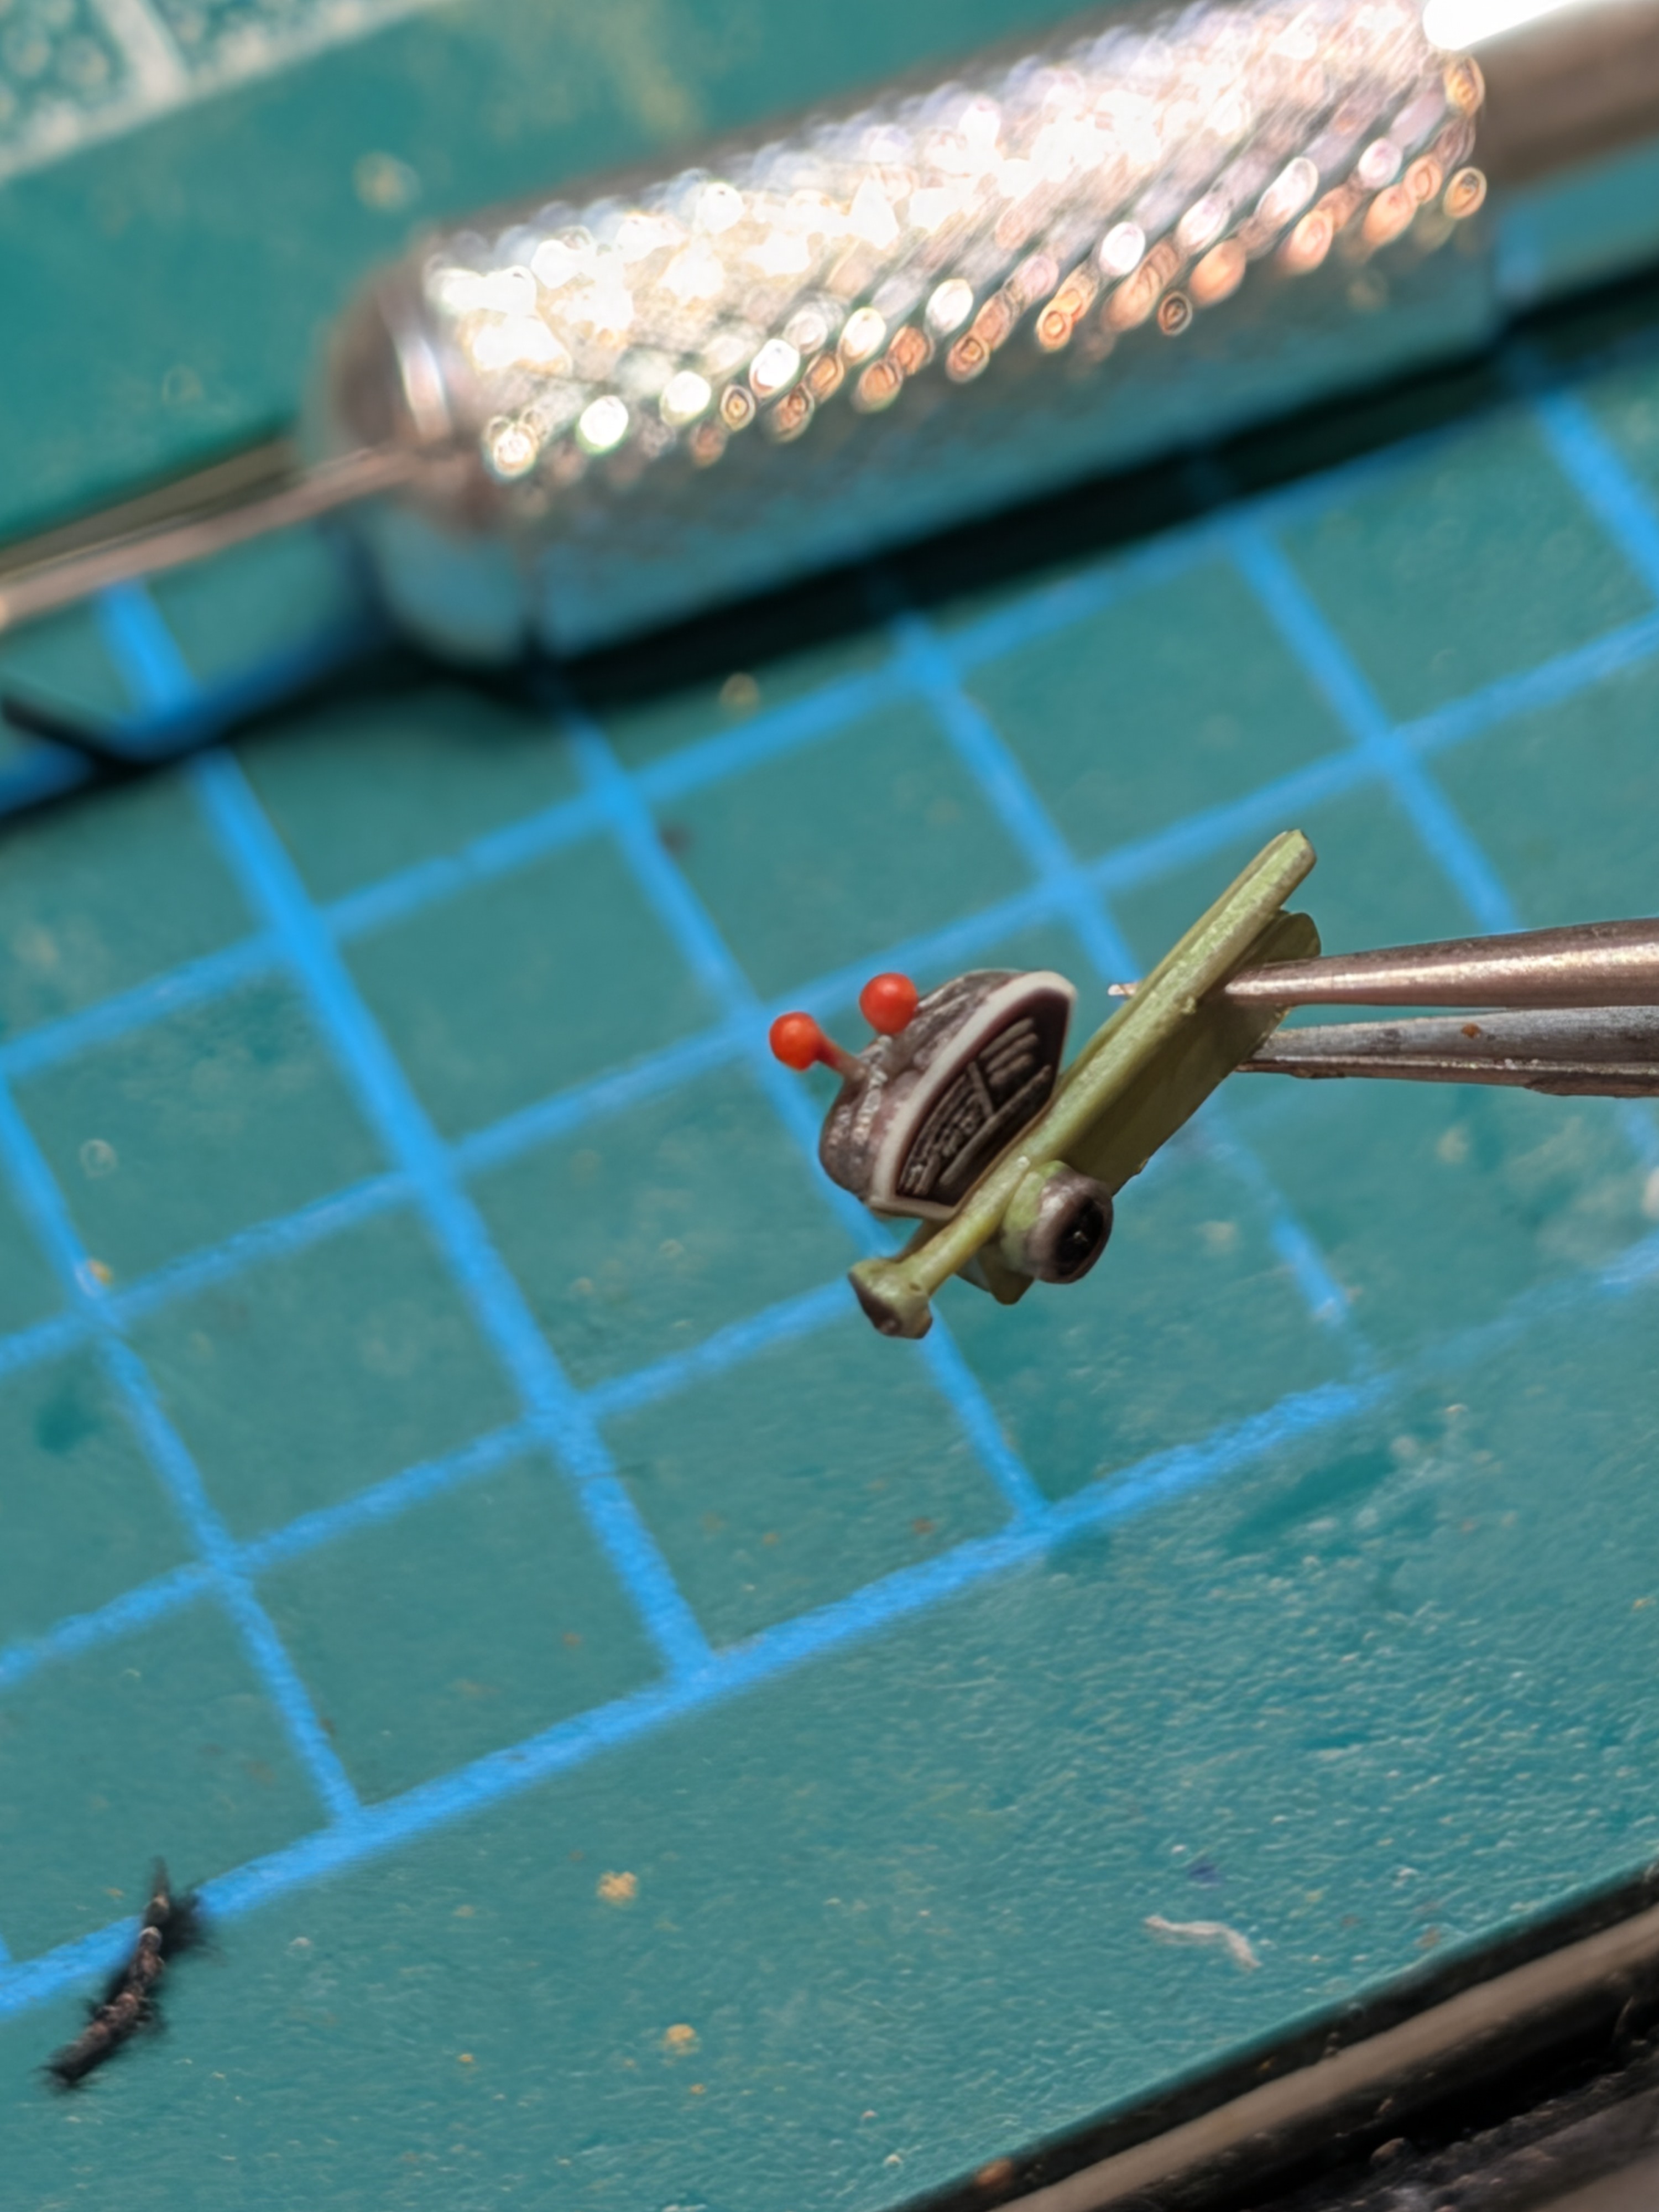

It looks shiny. Is it nickel silver? I know Tamiya usually uses that for their photoetched parts, maybe Trumpeter does too, at least here? That stuff is much harder to file down than brass. My only suggestion is to hold the part in flat pliers so that the attachment point just sticks out, and use a fine file.It's not normal PE.

I'm thinking you should not have said "easy "It was intentional. (replying to the sad or shocked faces)
I could not live with the harshness/brightness, and they did not lie down as I had hoped. I'm hopeful that being round means easy to paint.
That sucks.A rethink. The model got destroyed by clamping the top of the fuselage to the rest. the fitment was quite bad so I used three small clamps and over night the fuselage collapsed and fractured with the light pressure of the clamps.
I don't know if I got a bad model or if it was the type of plastic. But I have another model that I will start for this build.
One way to develop them!Absolutely. I haven't binned the model yet, I do want to try to fix it but I don't know if my skills are up to it yet.
When I was in the trades I thought the worst job was a masons laborer.Just about ready to add some color...
I'd have already done it by now, but I've been spending a lot of time watching the guys who are rebuilding our chimney.
The bricklayer is doing wonderful work, and I find it fascinating.
Ah...the guy that carries the bricks and mortar up the ladder...Tough job.When I was in the trades I thought the worst job was a masons laborer.
Good advice. Thanks. Yeah, it's got to be the metal. Nickel silver or whatever. Cuz normally I get the razor blade on it and rock it back and forth once or twice and it cuts right through. This stuff? Nope. PitaIt looks shiny. Is it nickel silver? I know Tamiya usually uses that for their photoetched parts, maybe Trumpeter does too, at least here? That stuff is much harder to file down than brass. My only suggestion is to hold the part in flat pliers so that the attachment point just sticks out, and use a fine file.


![Pampers Sensitive Baby Wipes, Clinically Proven, Fragrance Free, Unscented, Water Based, Hypoallergenic, Multi-Use, Hand Wipes 336 Wipes Total (6X Flip-Top Packs) [Packaging May Vary]](https://m.media-amazon.com/images/I/41KLBHu9CAL._SL500_.jpg)