
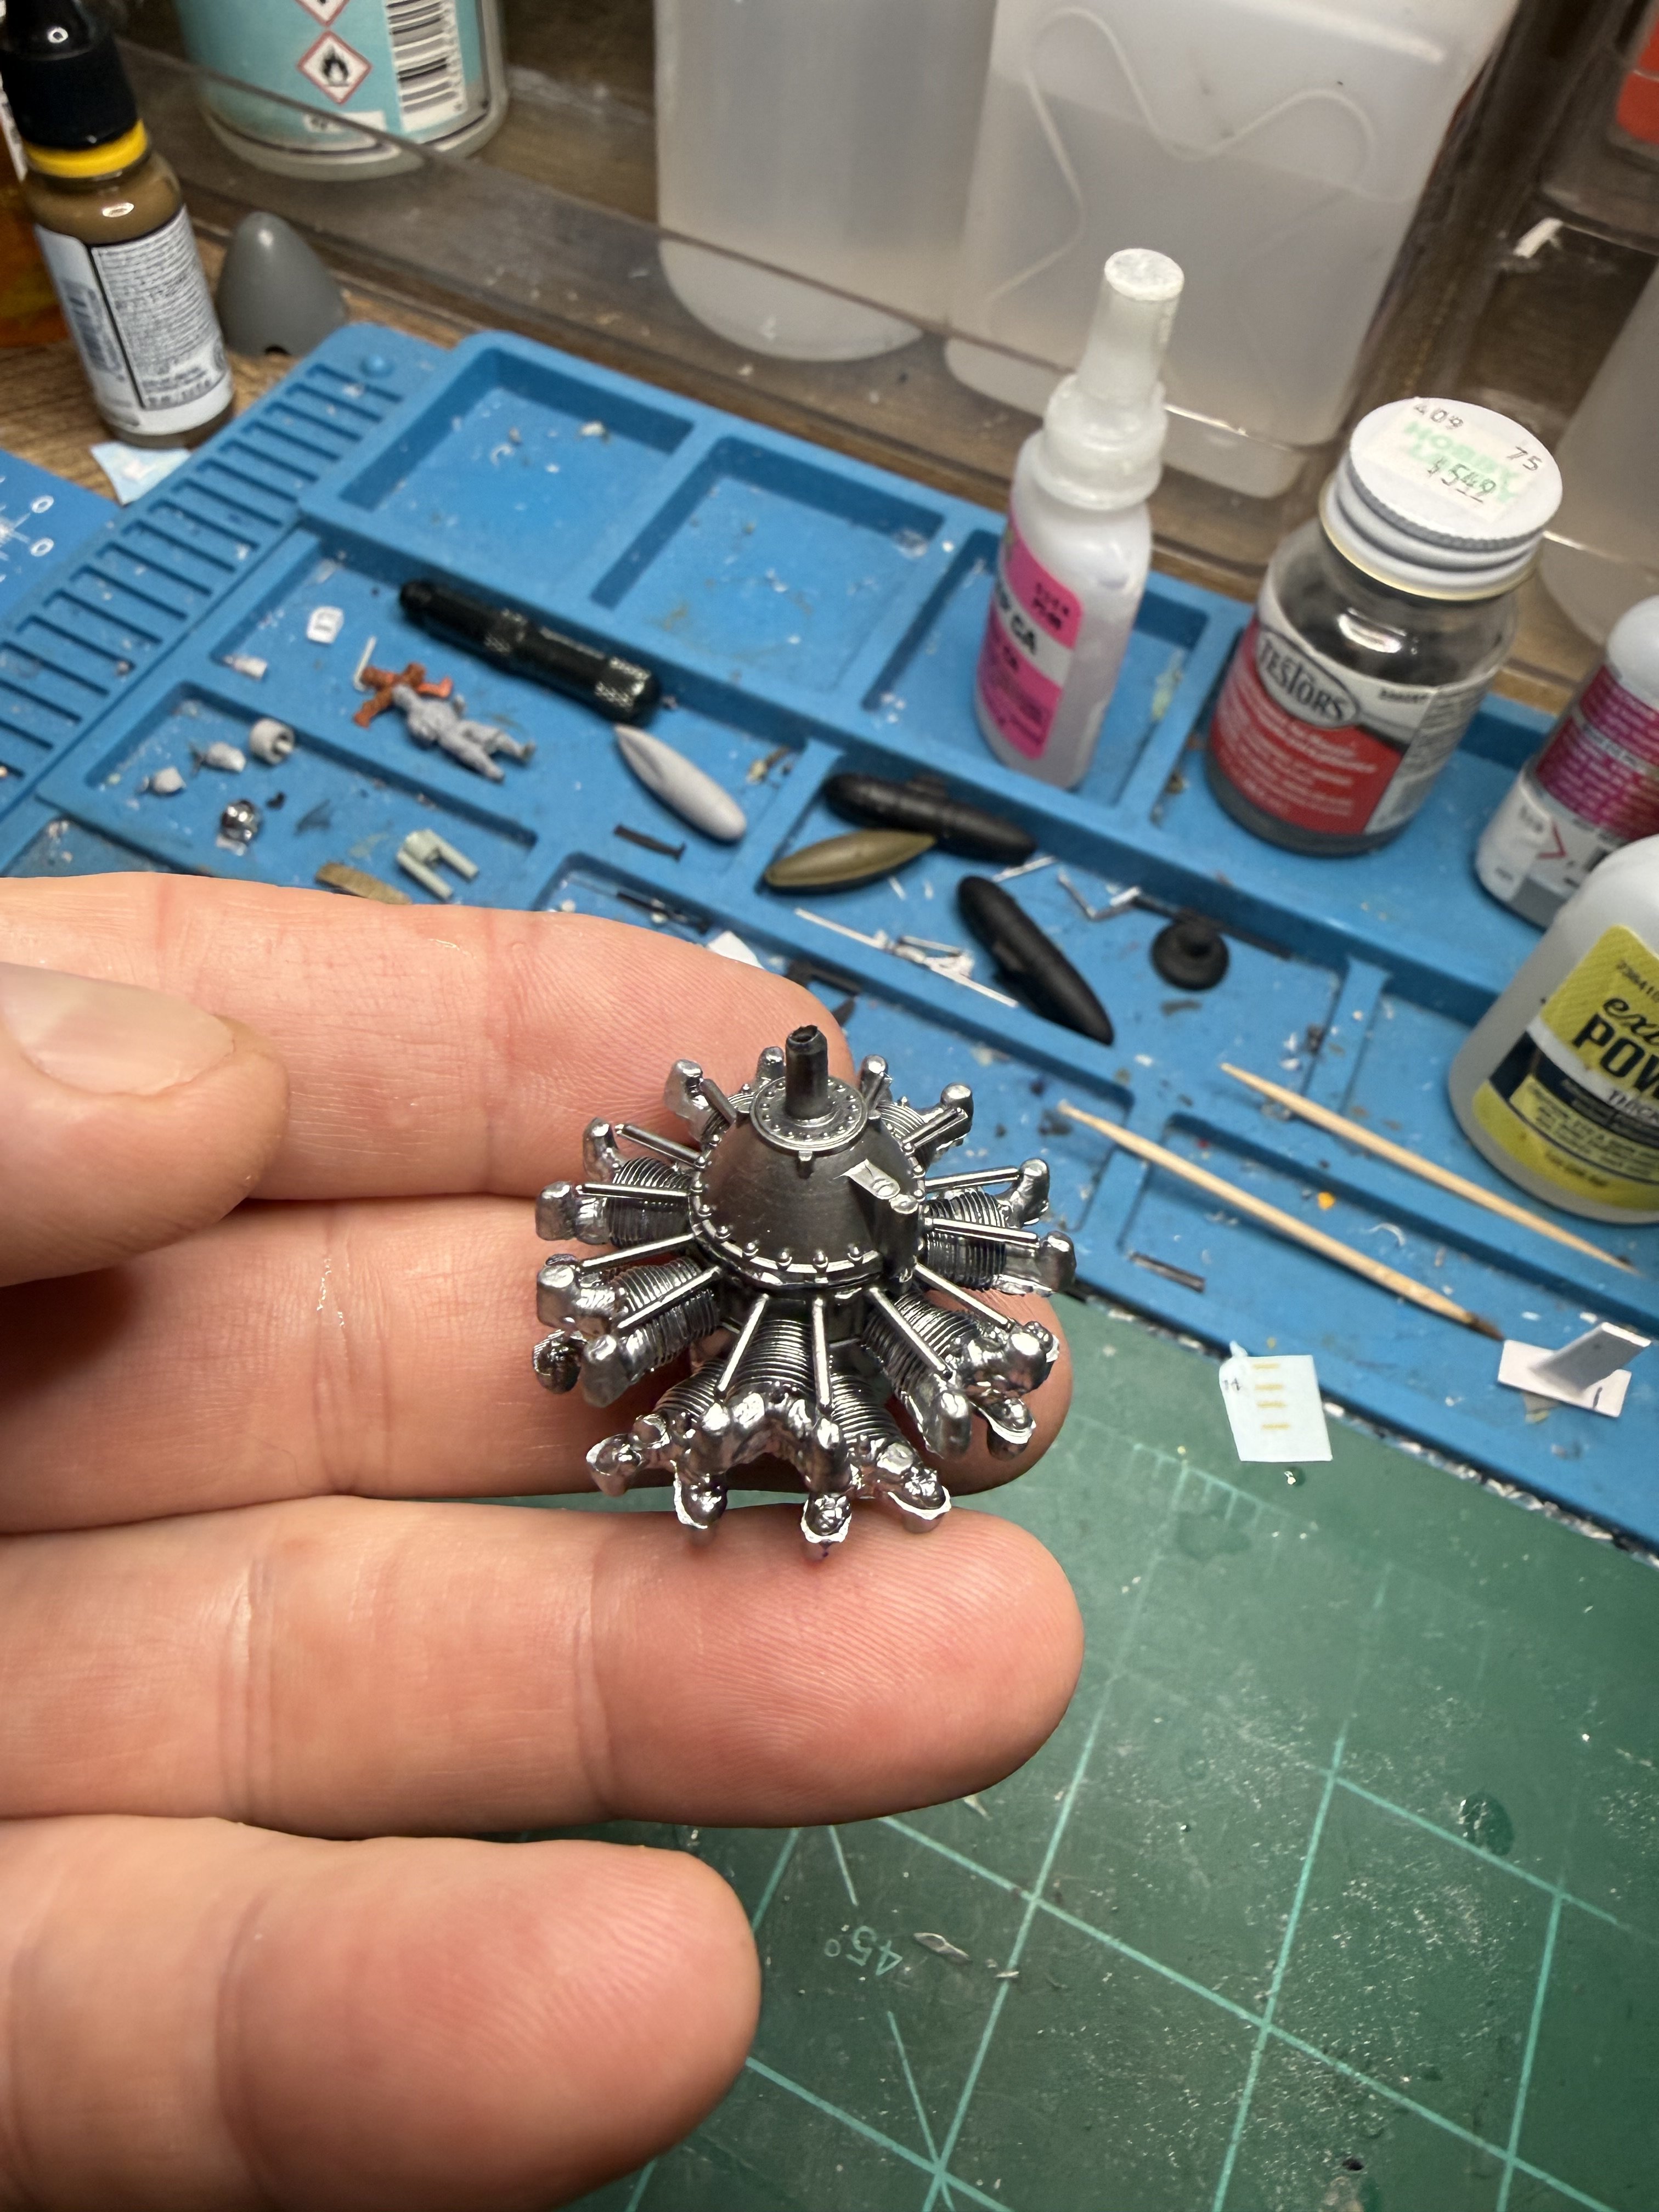
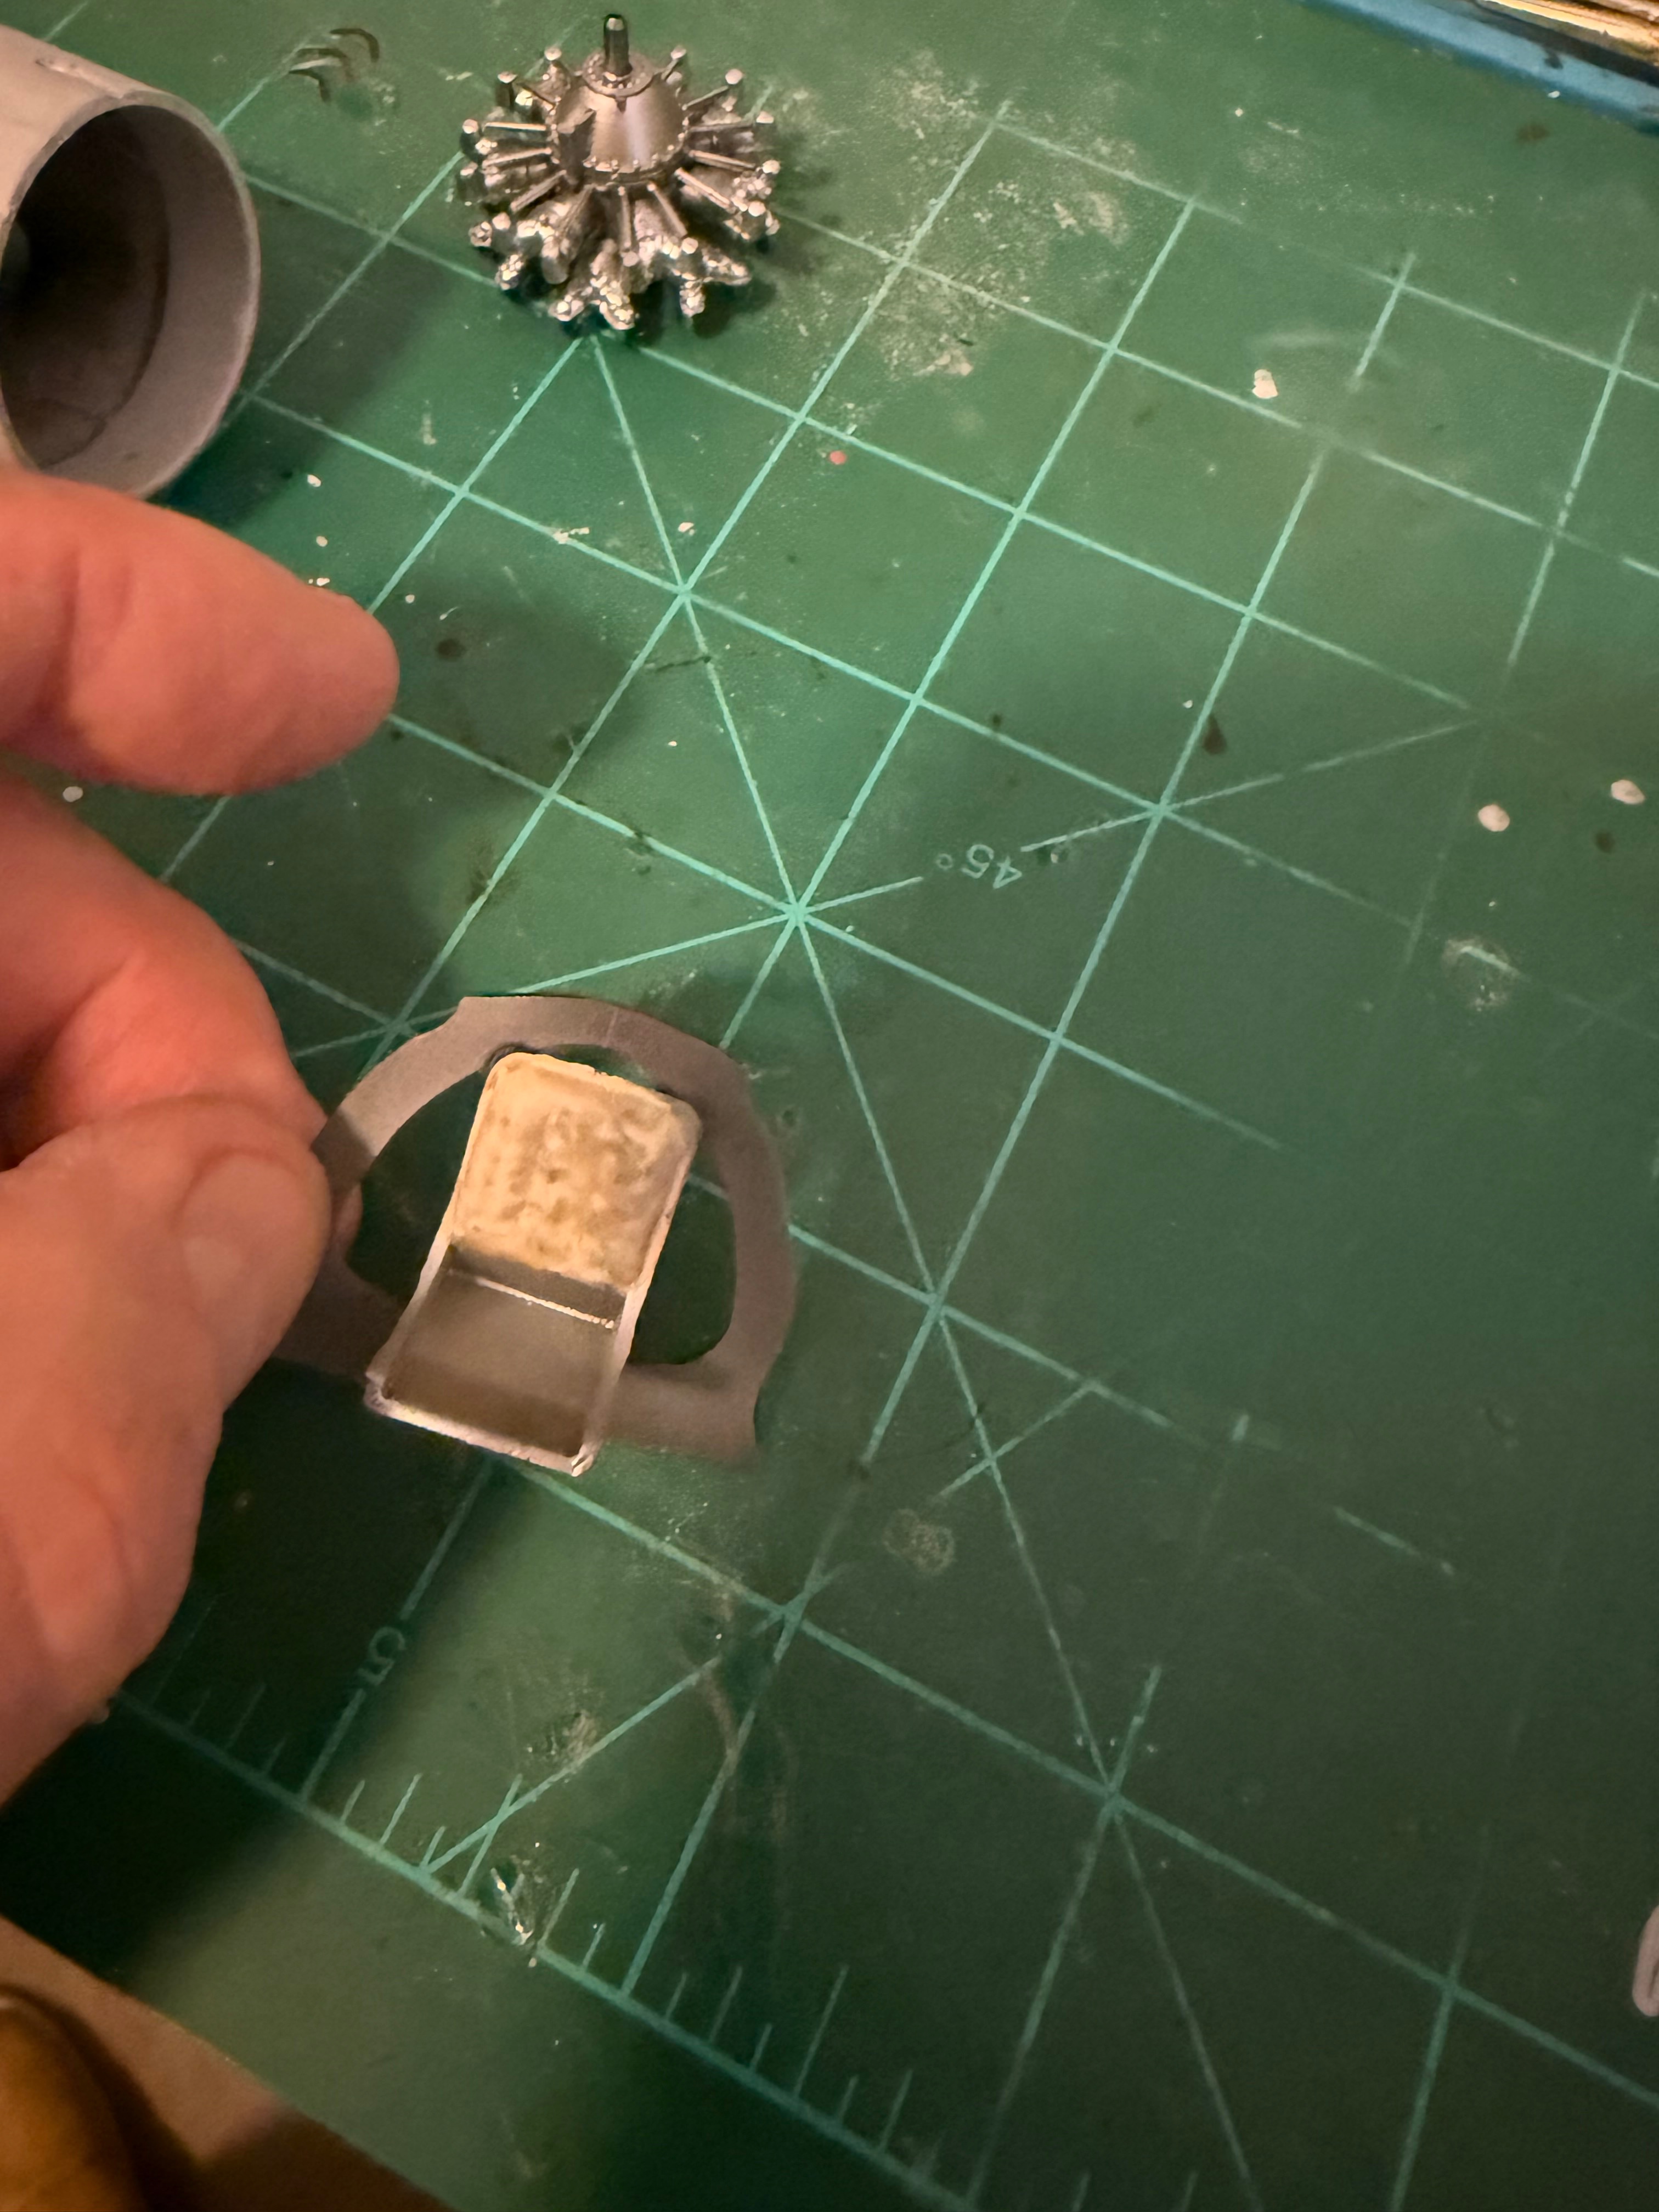
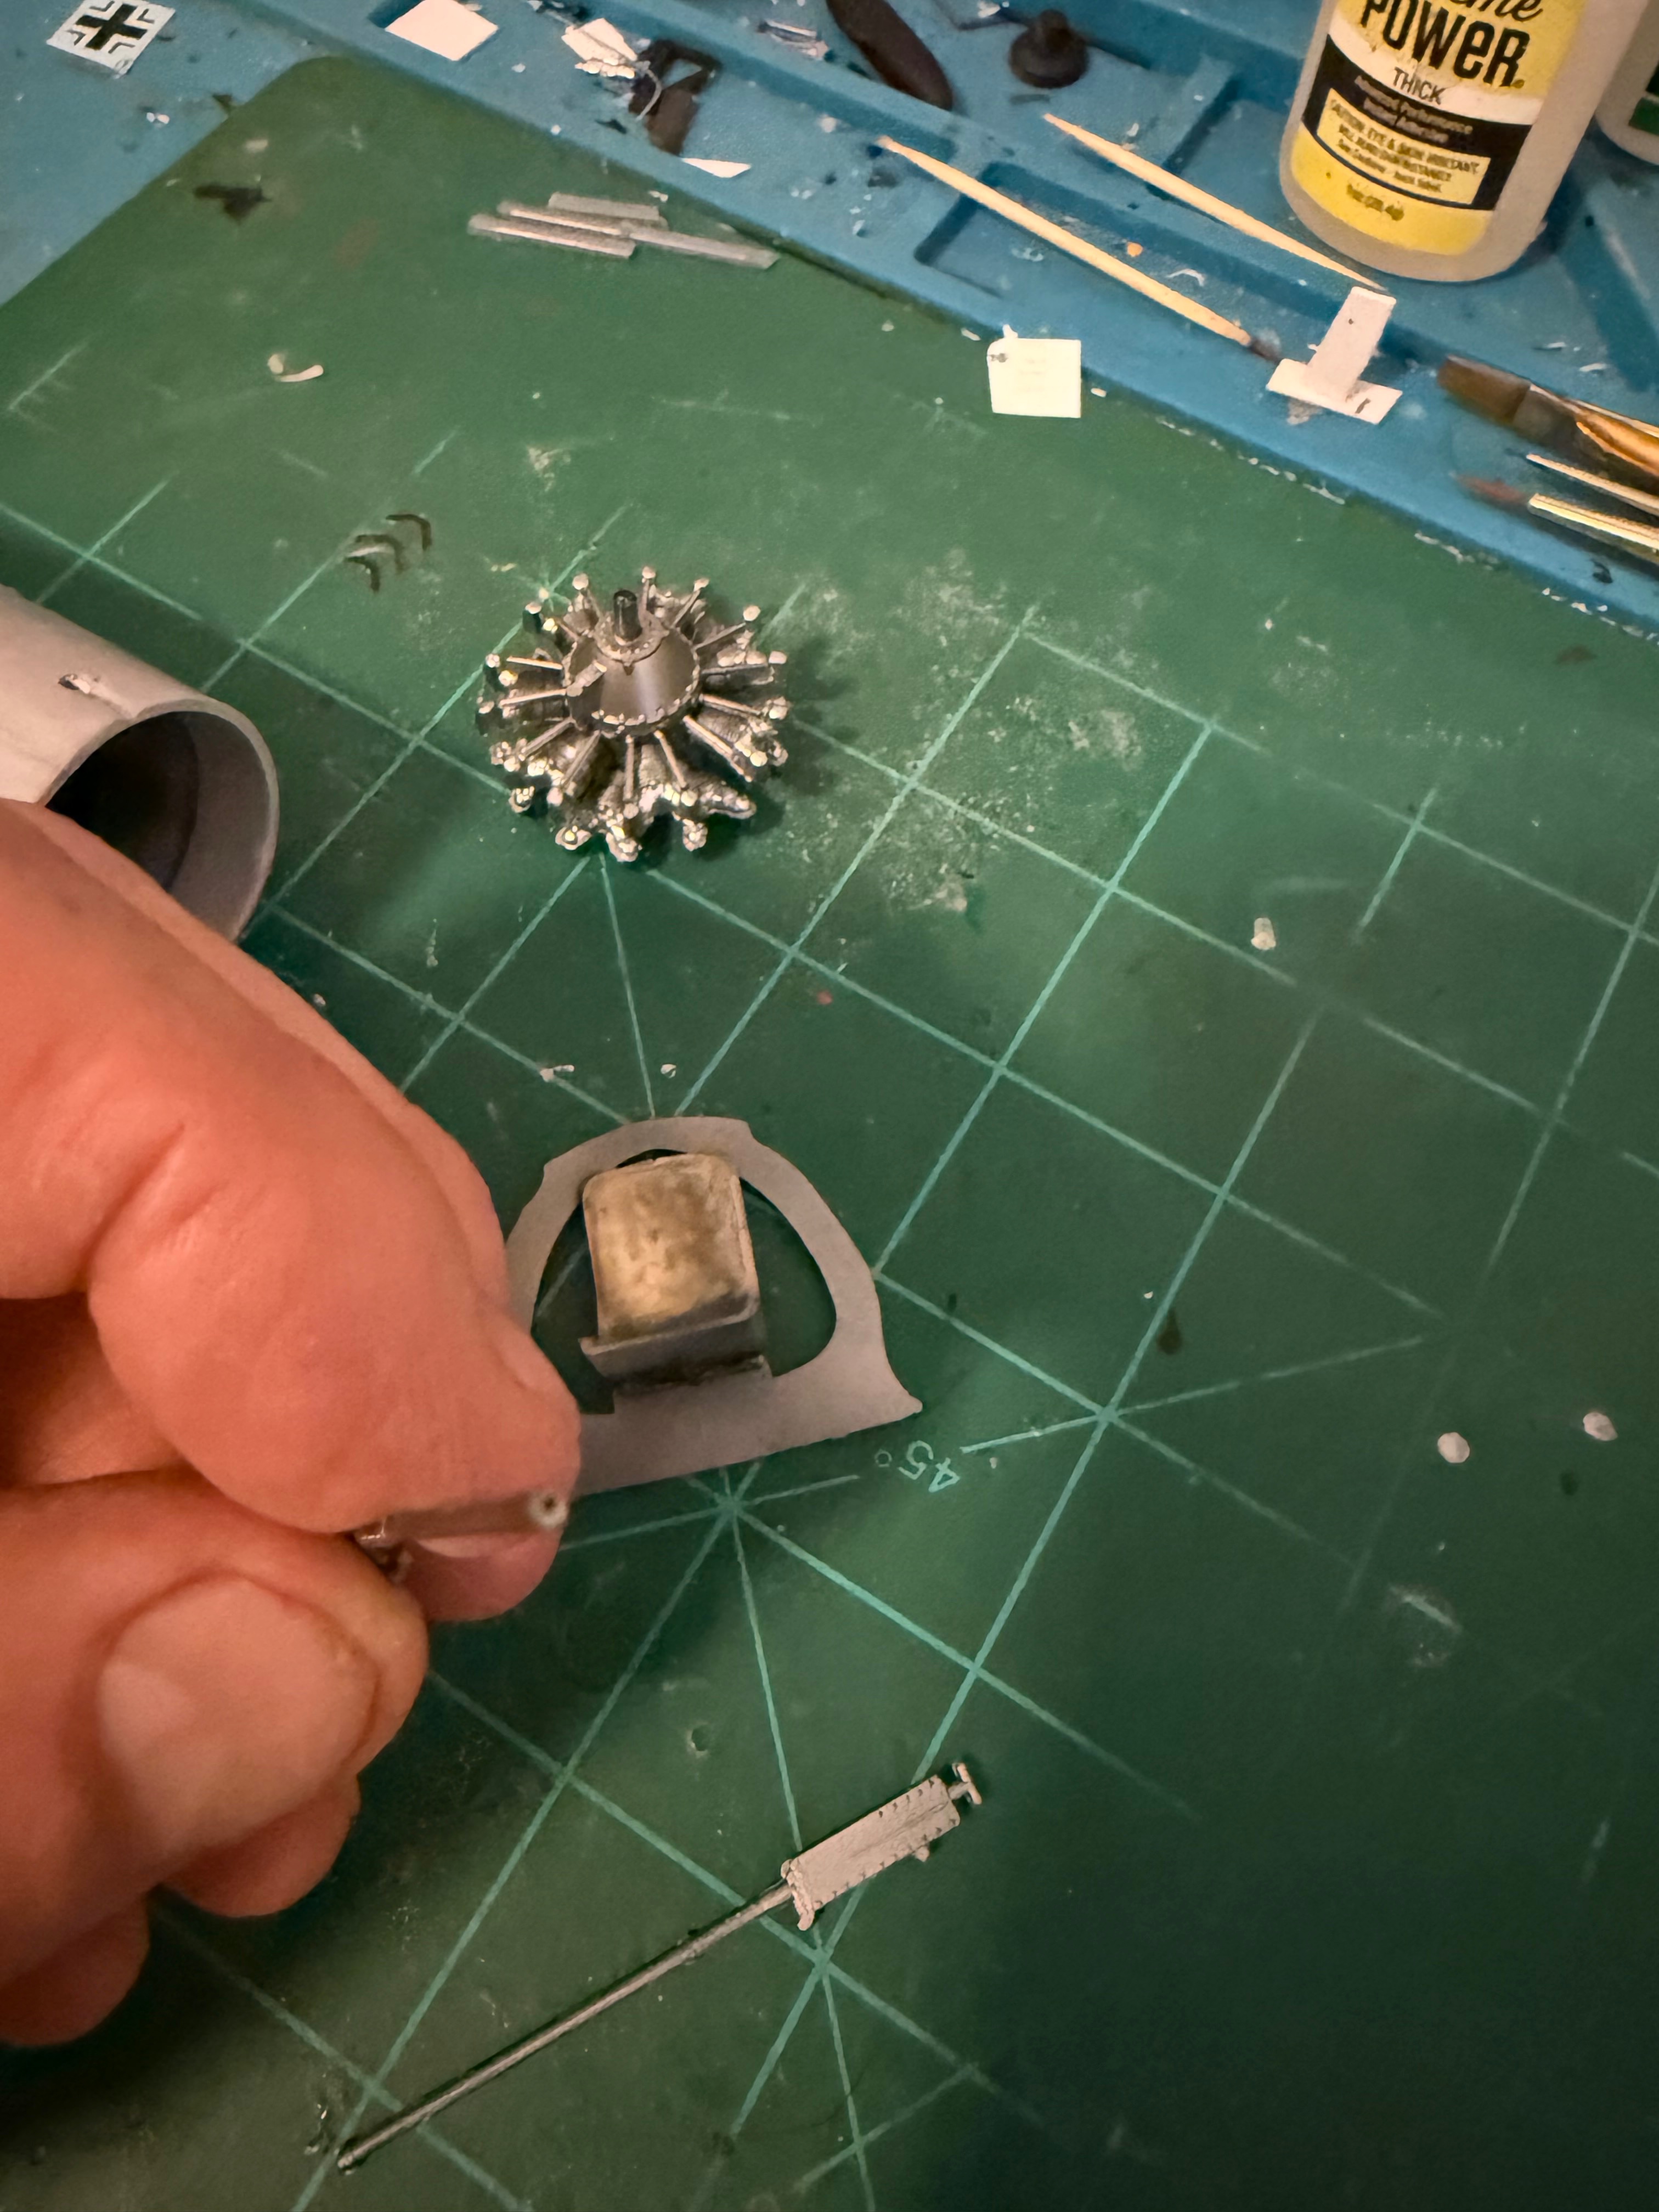
Very interesting kit. Tons of flash. I may have removed an important piece as I was removing some flash. The instructions are a one page diagram. For the guns it points to the general mounting area and states to drill and file gun grooves. The engine is actually pretty detailed. It includes a $15 ipms application. Wonder if they'll honor that price?

You are using an out of date browser. It may not display this or other websites correctly.
You should upgrade or use an alternative browser.
You should upgrade or use an alternative browser.
Williams Bros Seversky p-35 Pursuit 1/32
- Thread starter Ron2
- Start date
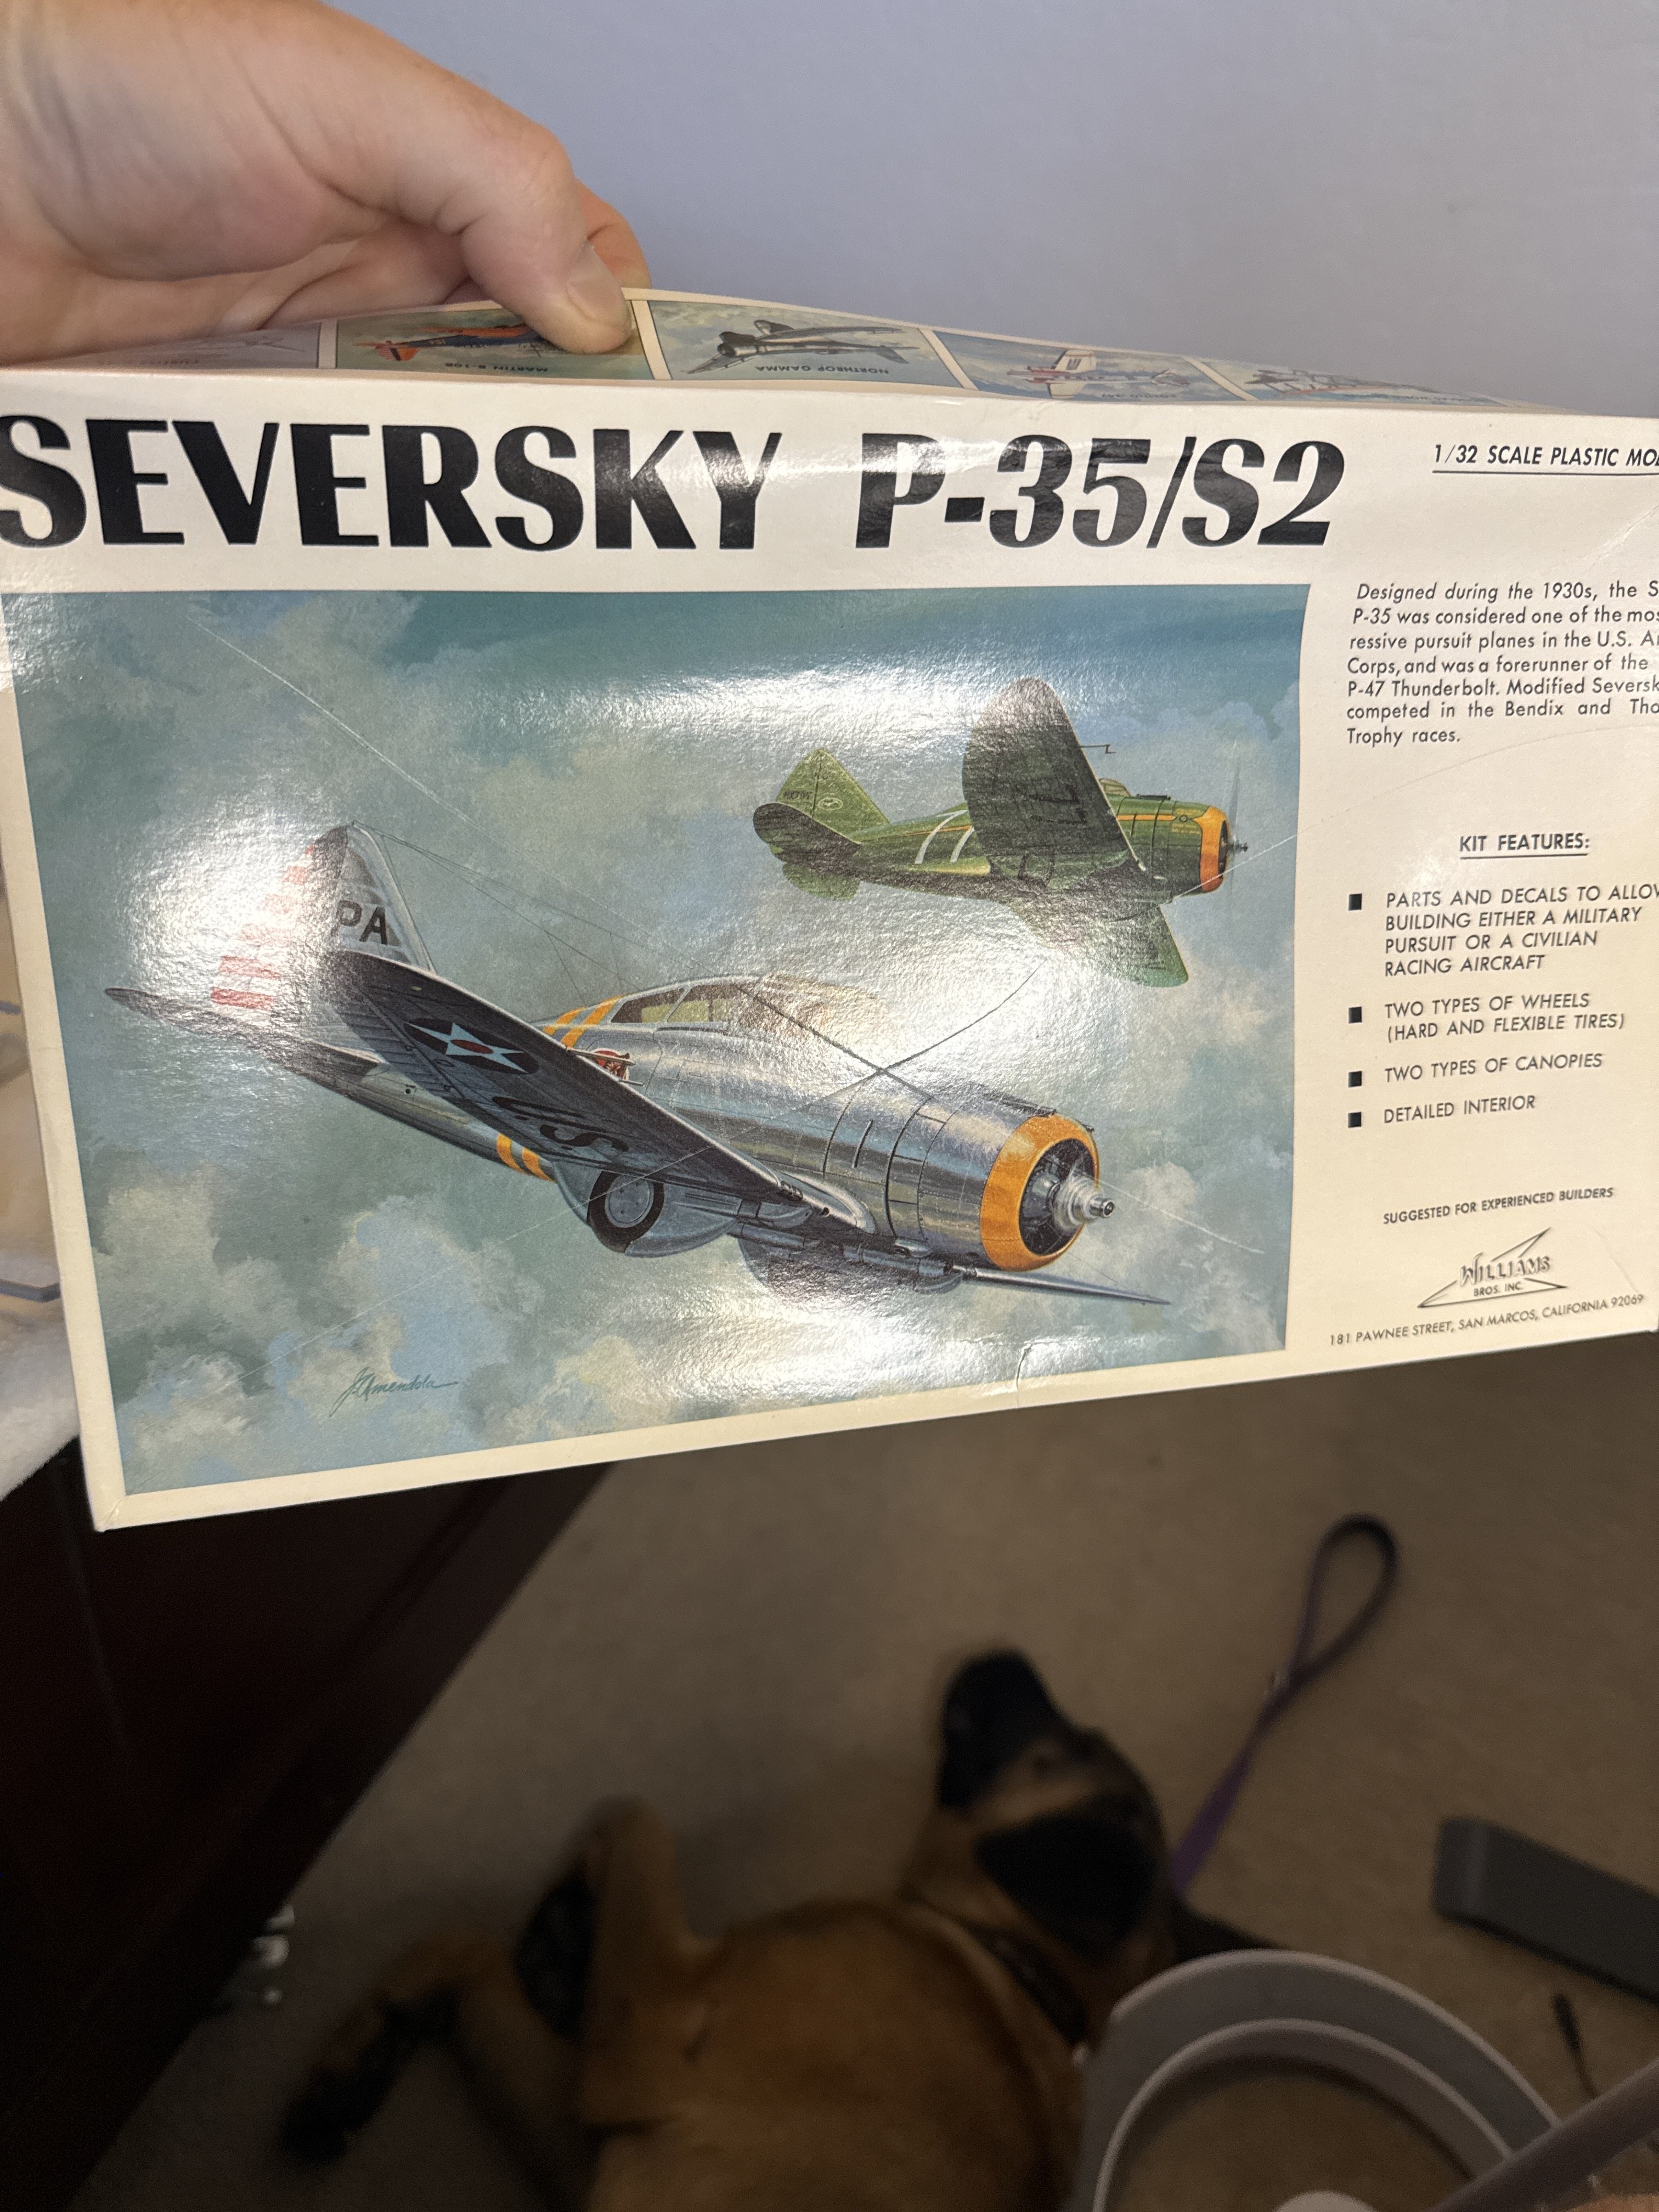
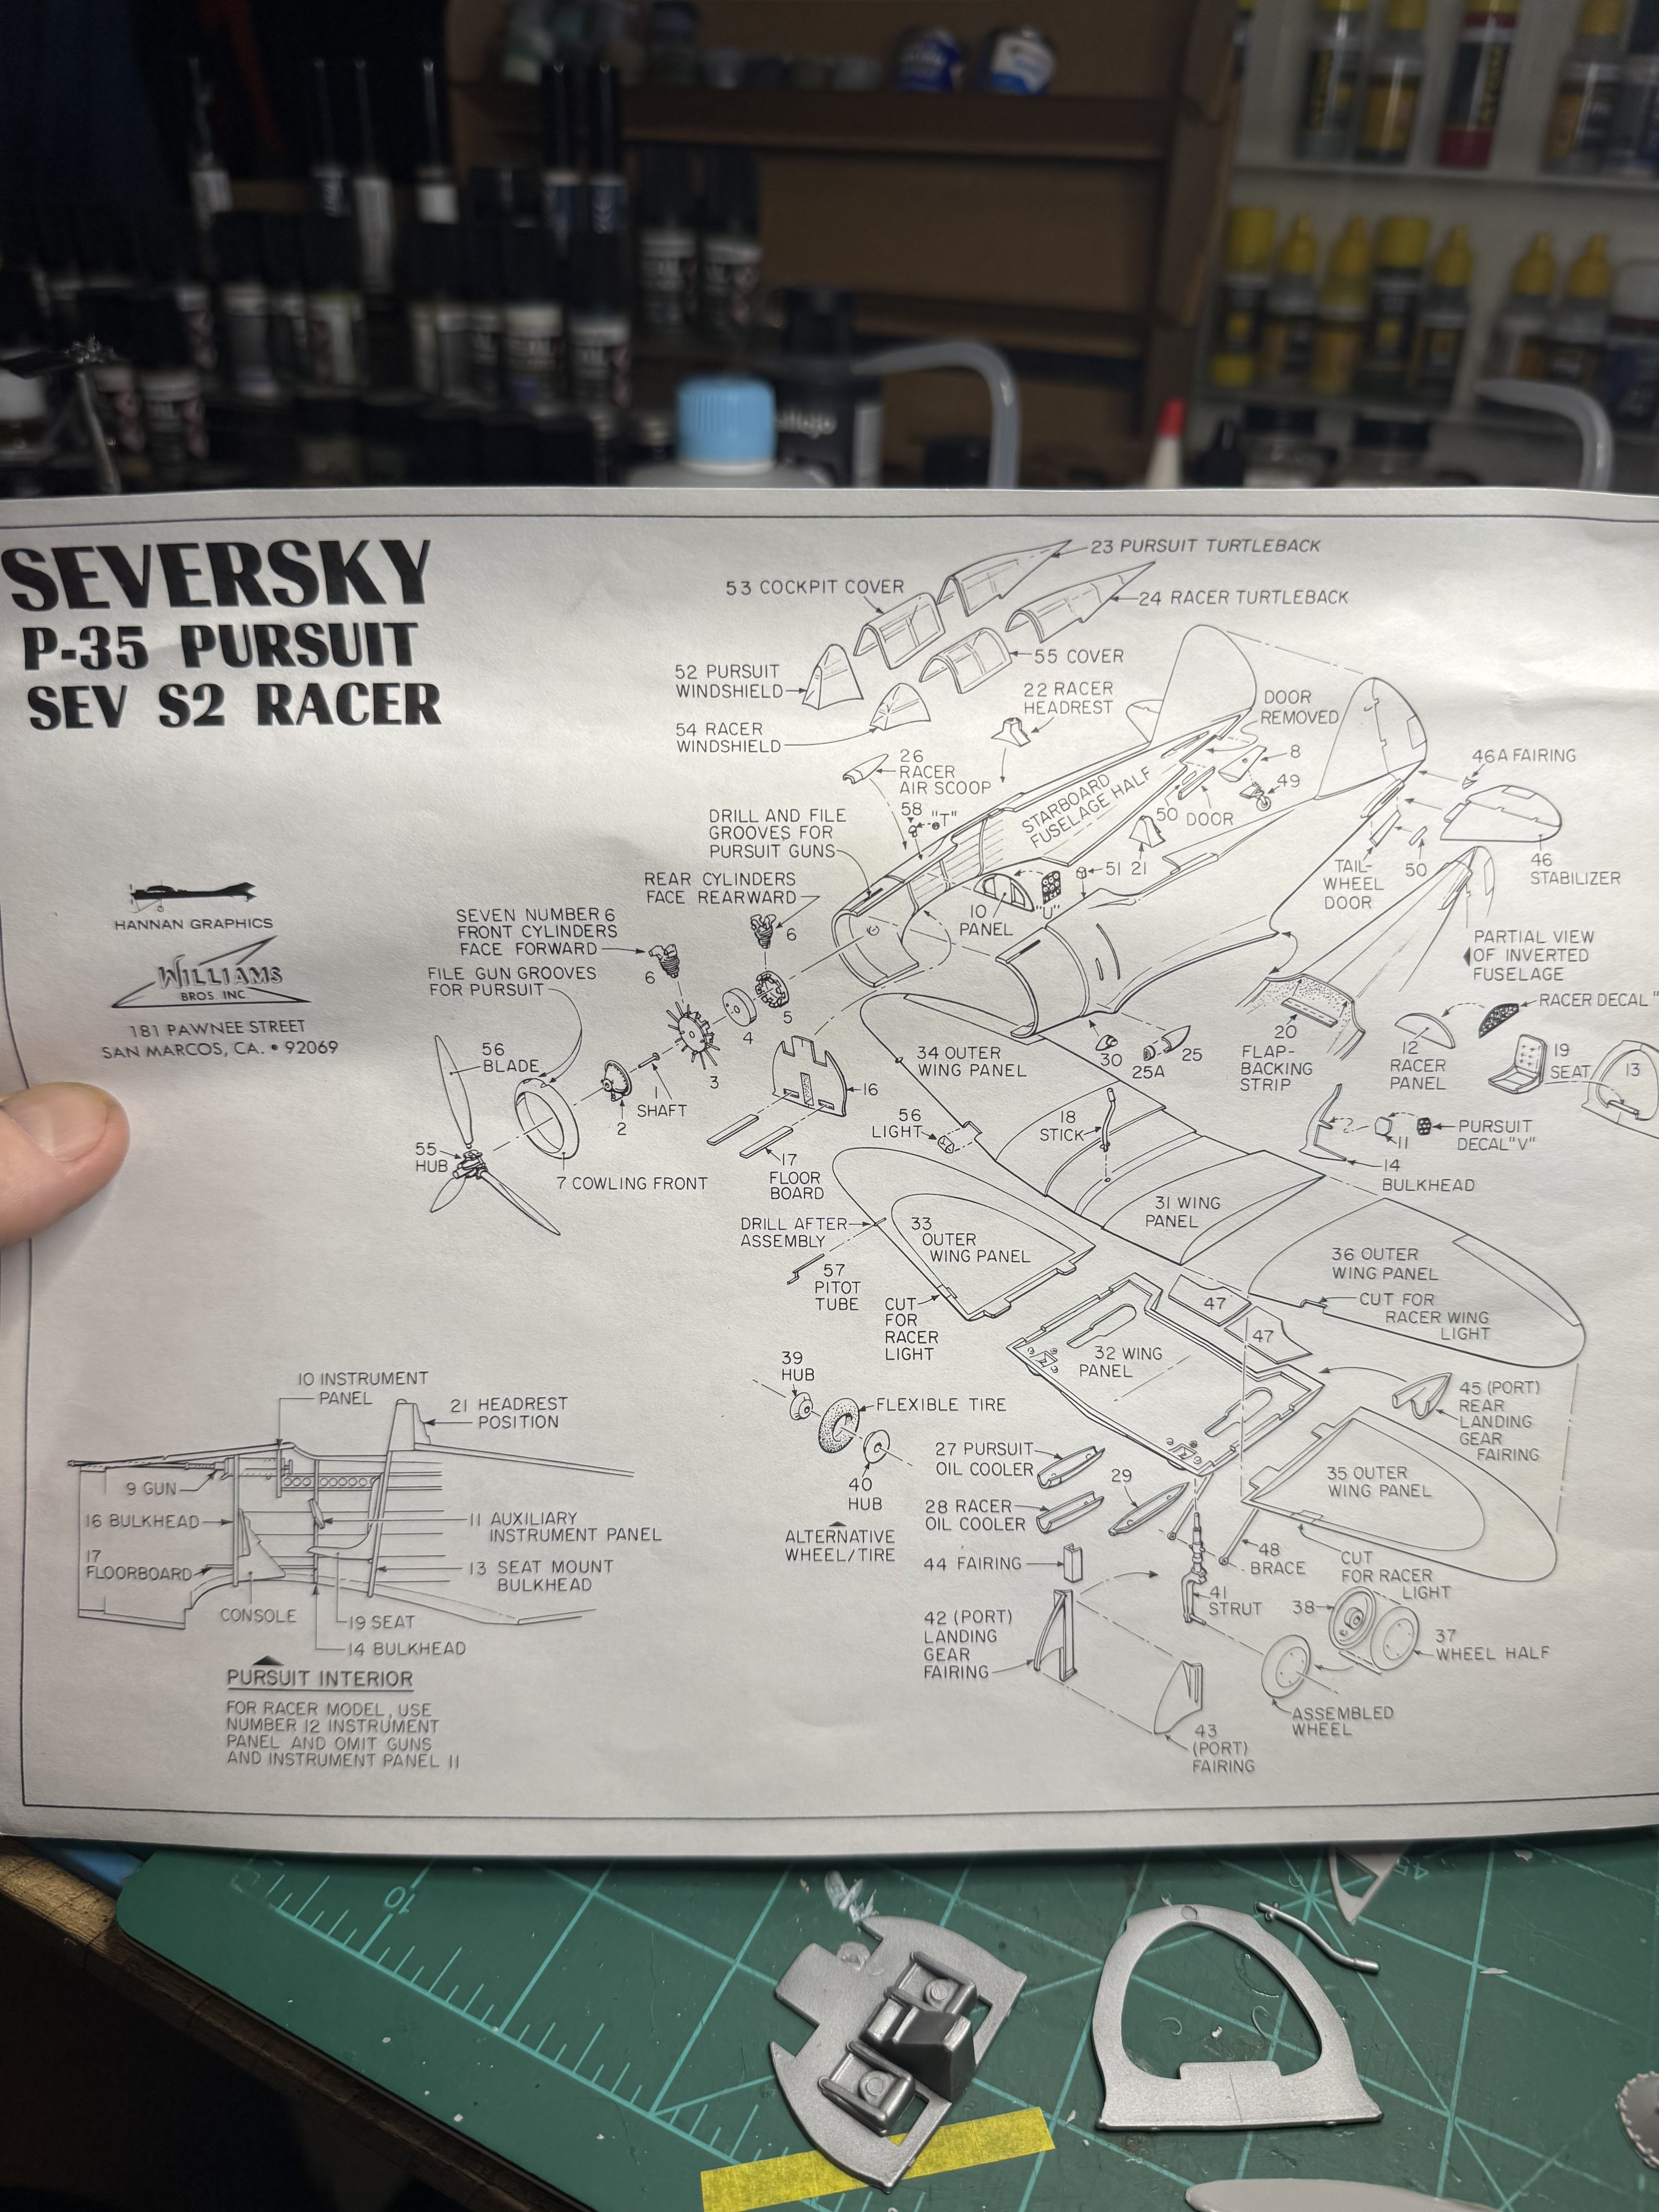
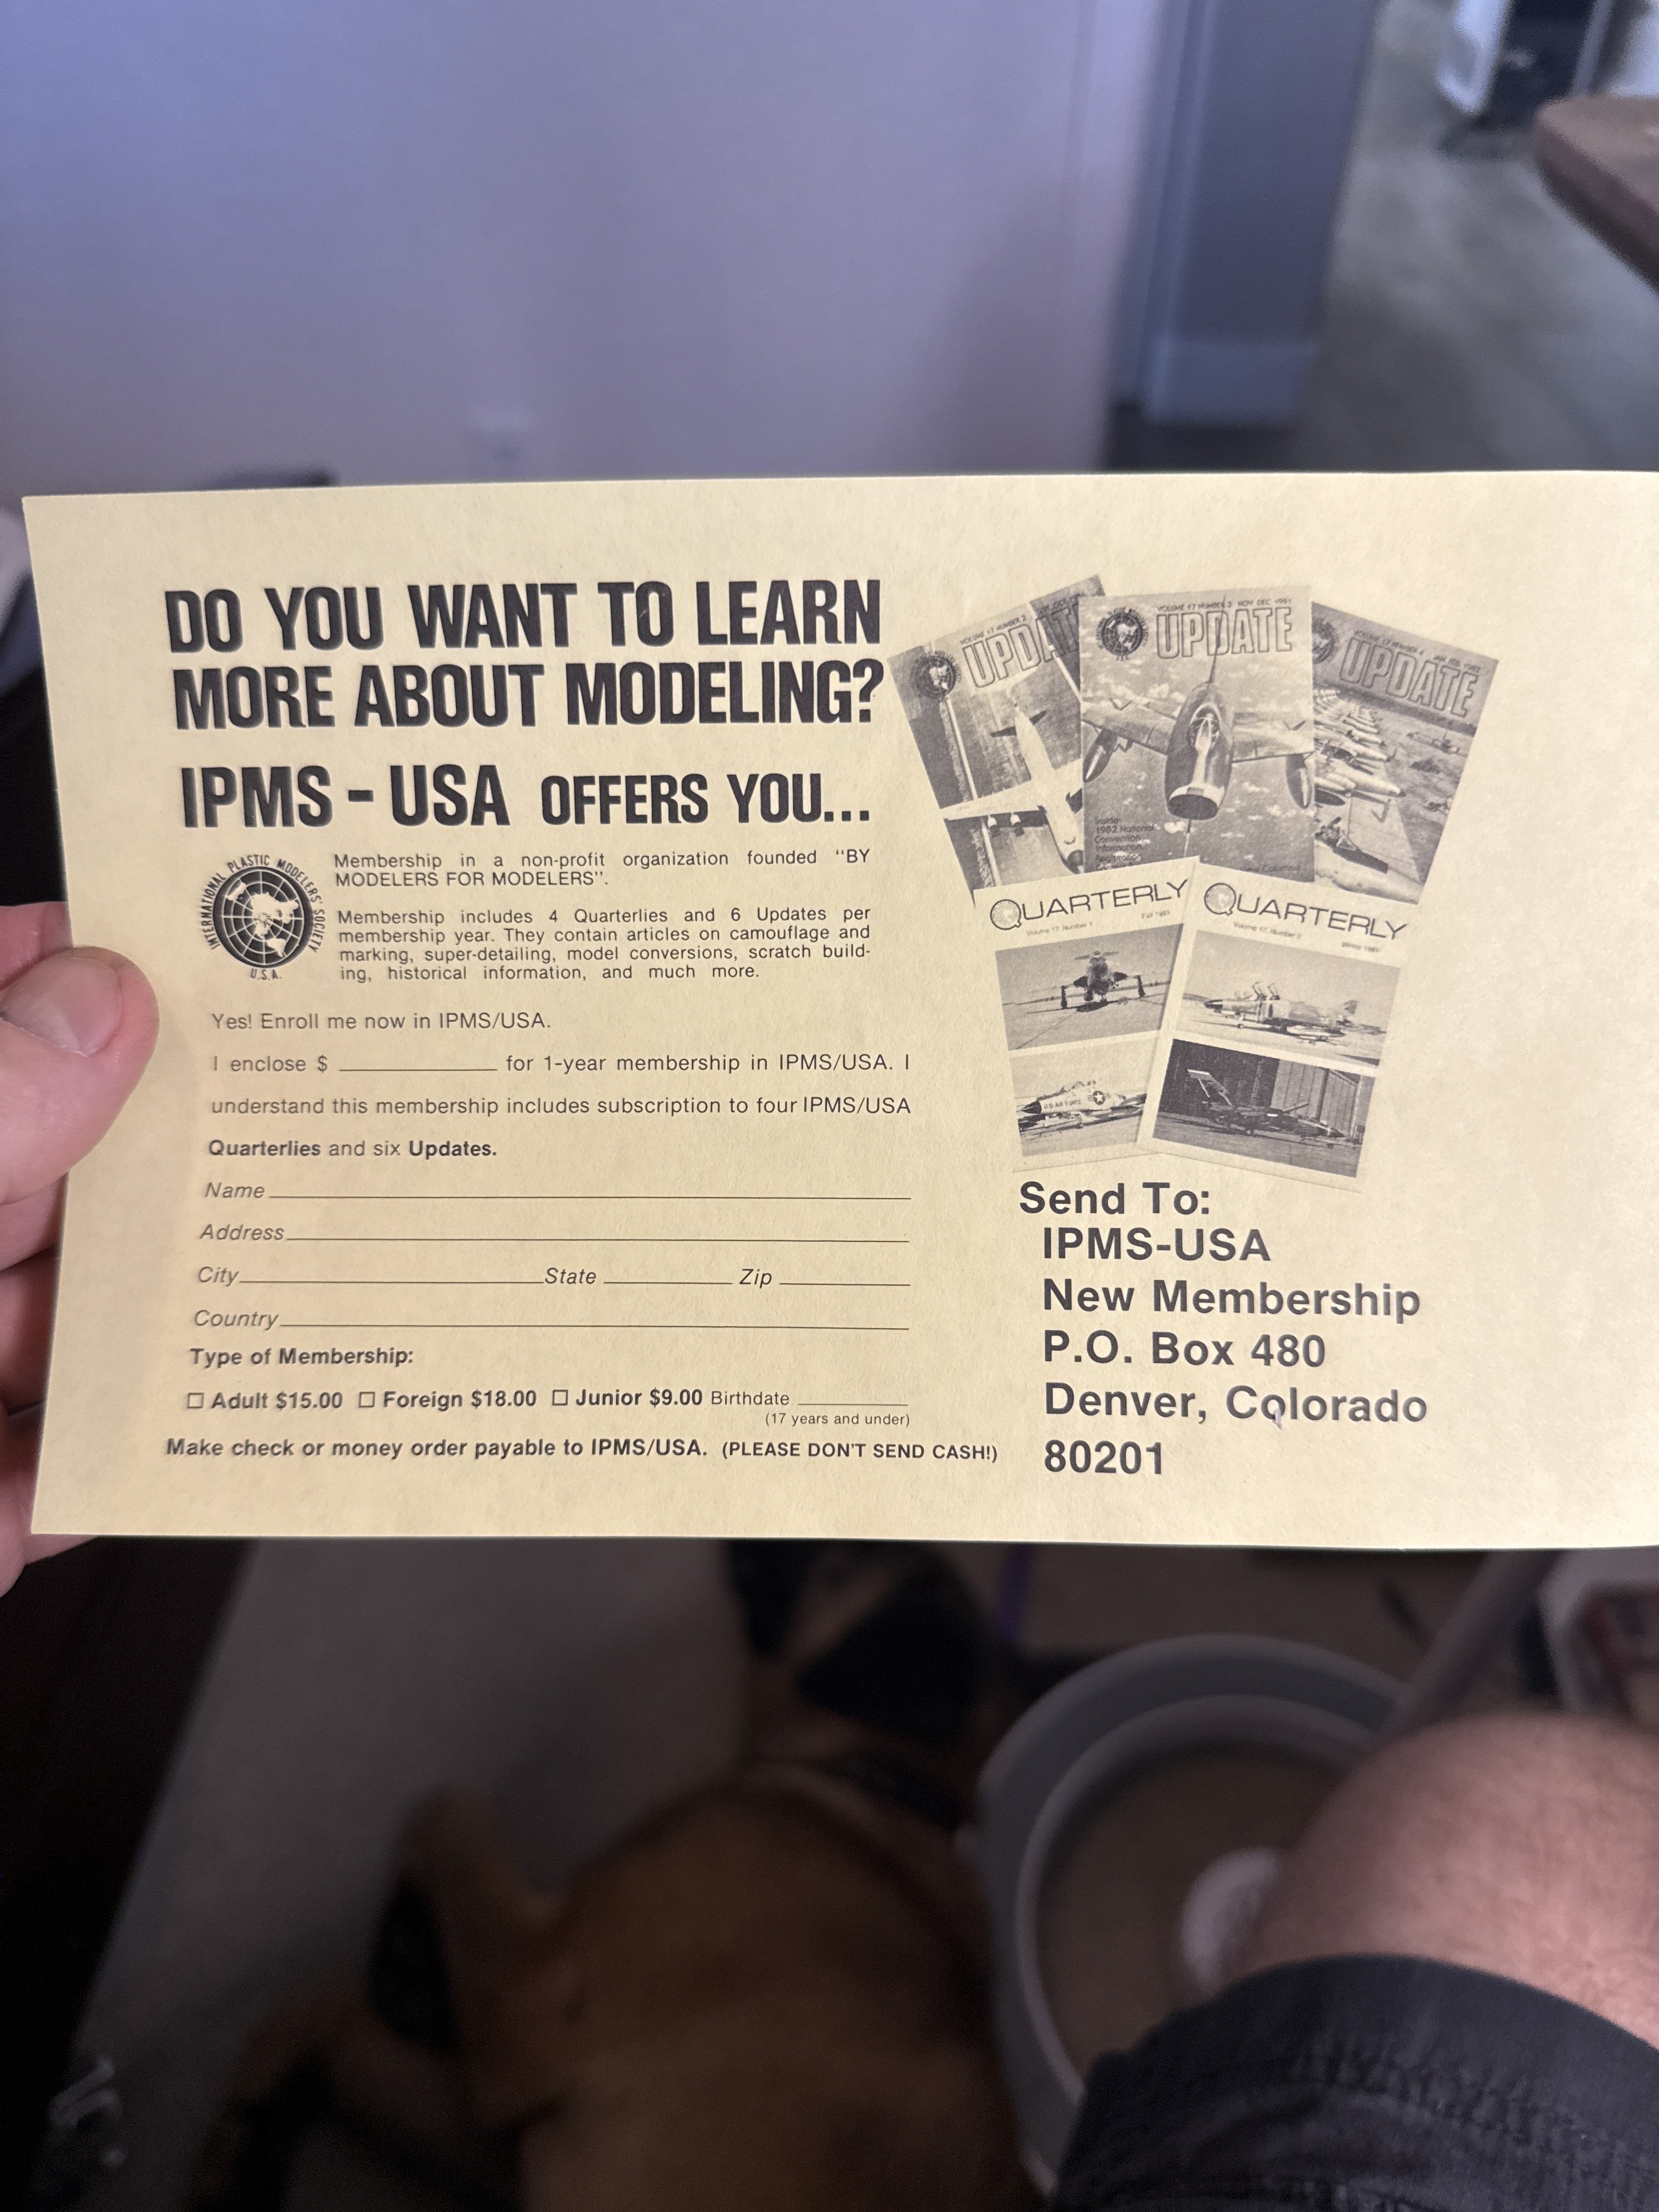
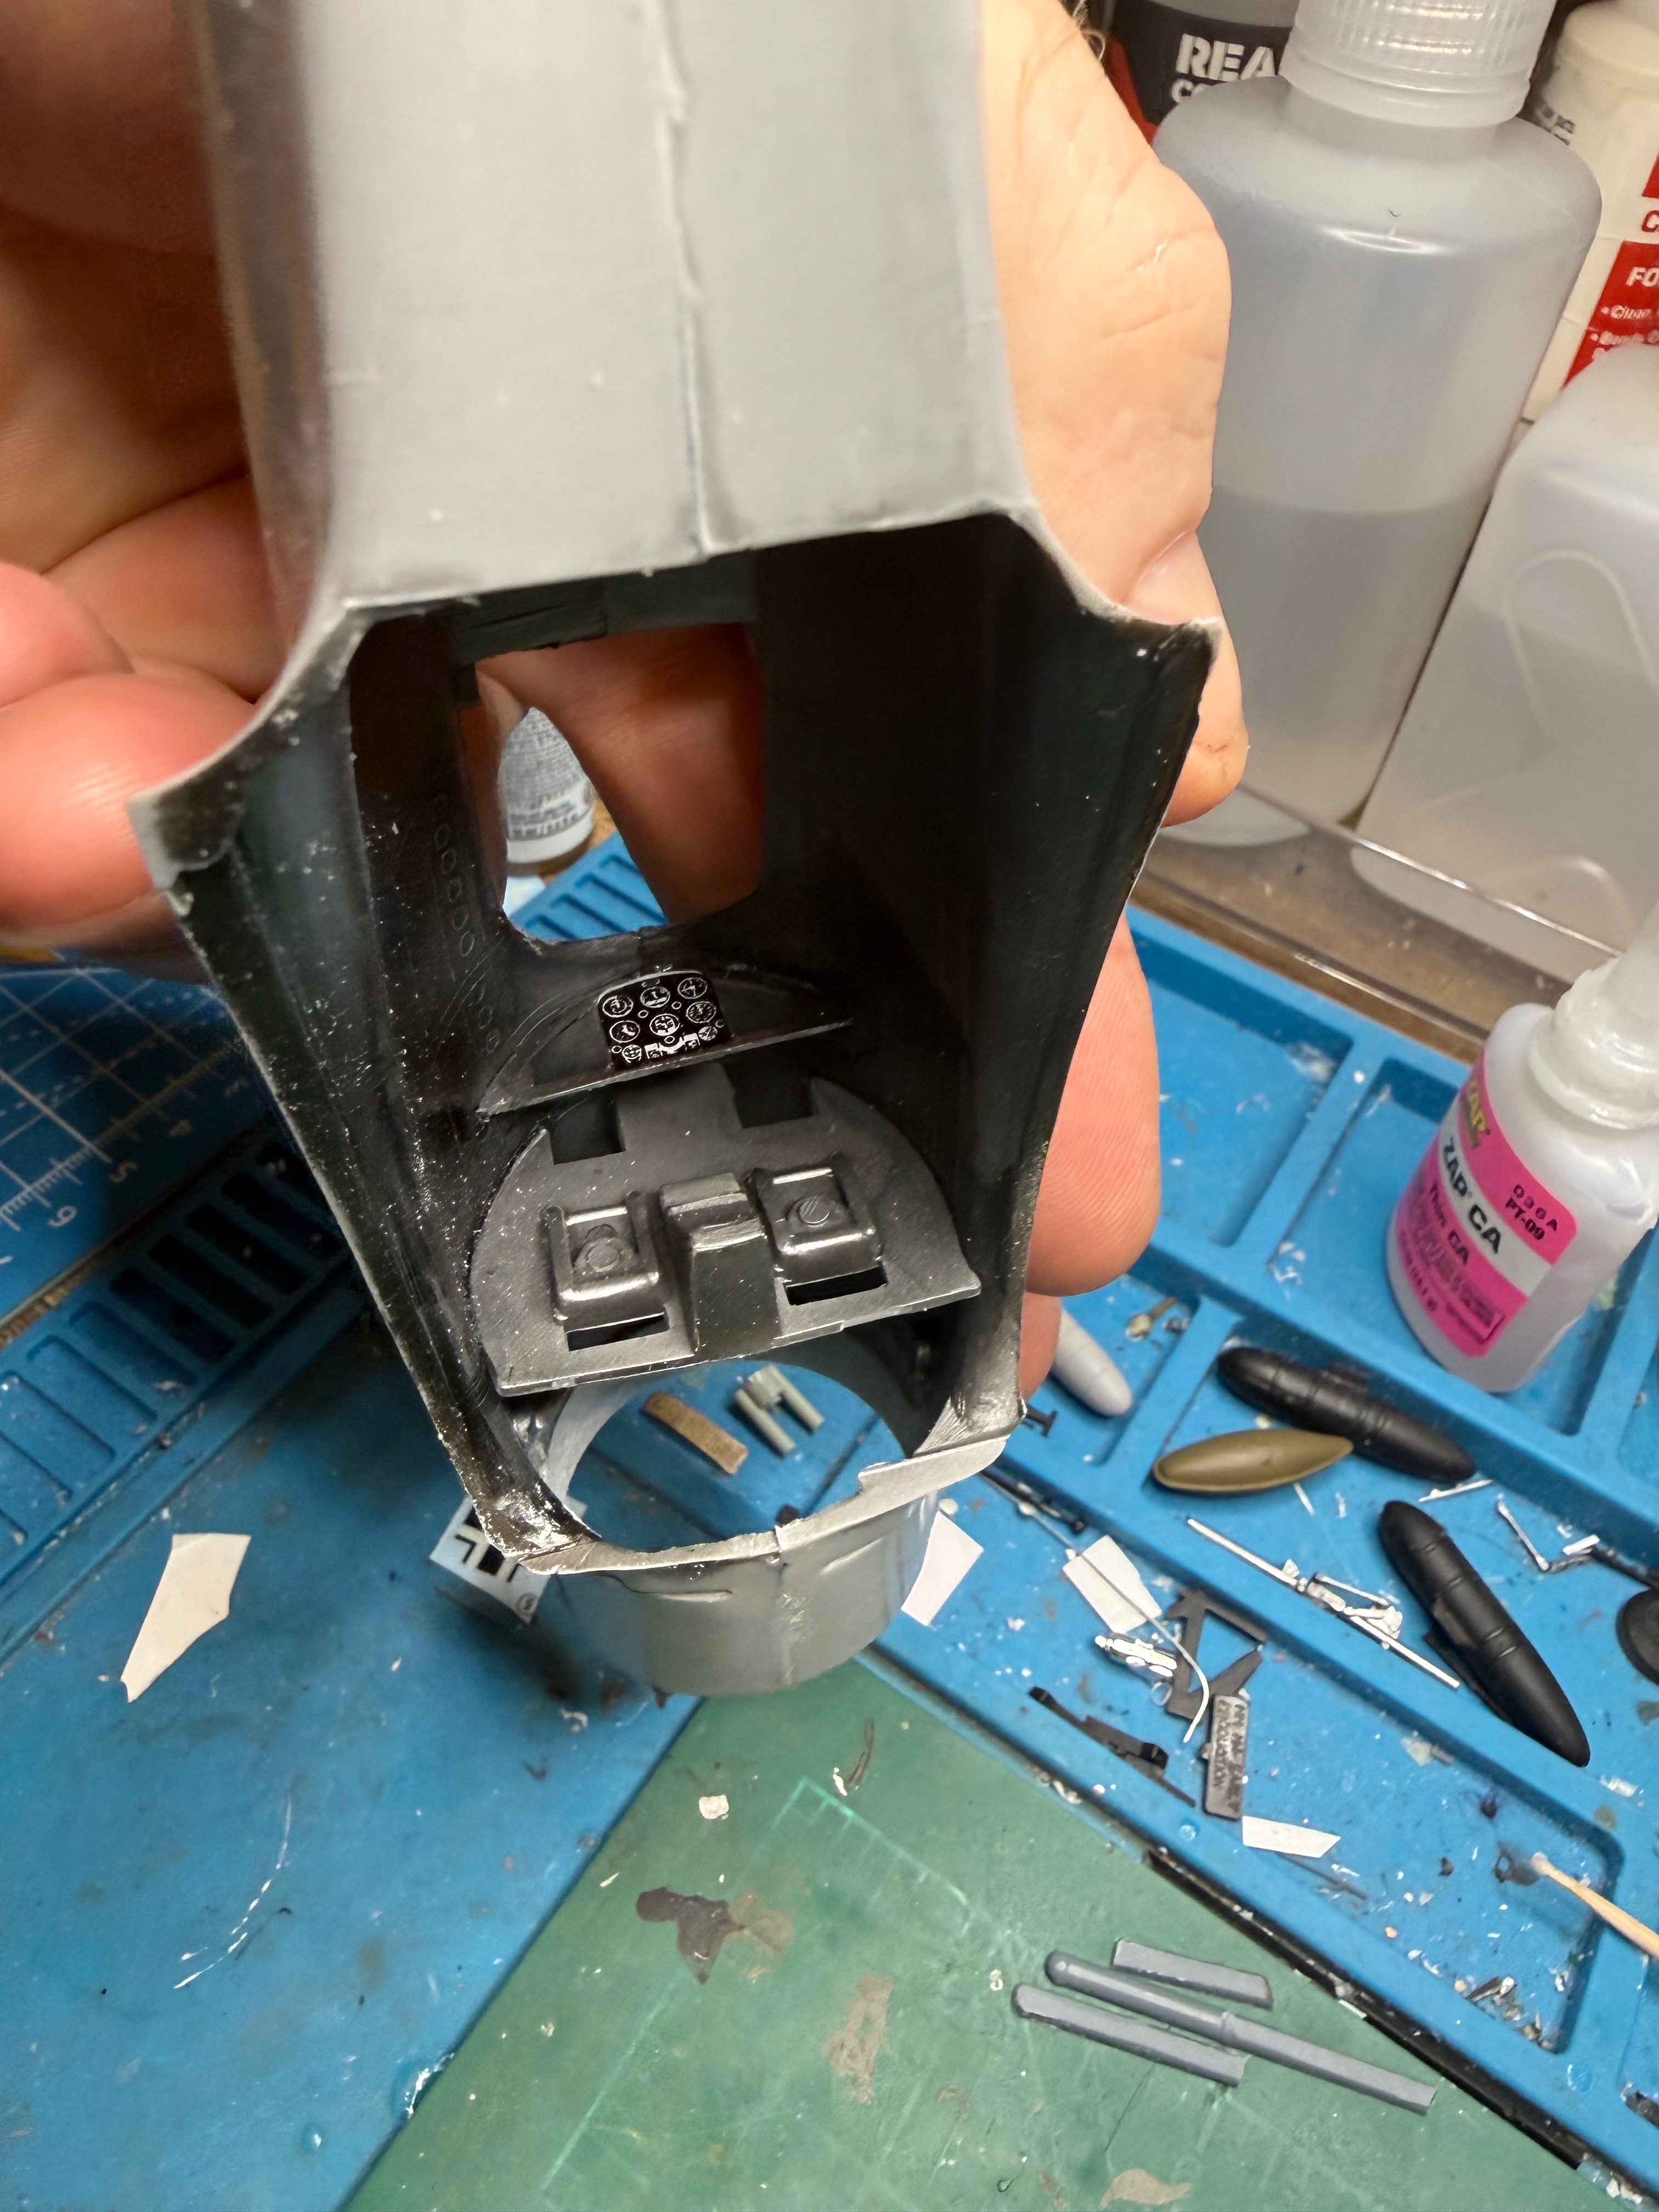
Here you can see there is no gap to remove cylinder heads so I did the unthinkable- gasp! I rocked em back and forth until they popped off!Very interesting kit. Tons of flash. I may have removed an important piece as I was removing some flash. The instructions are a one page diagram. For the guns it points to the general mounting area and states to drill and file gun grooves. The engine is actually pretty detailed. It includes a $15 ipms application. Wonder if they'll honor that price?
Attachments
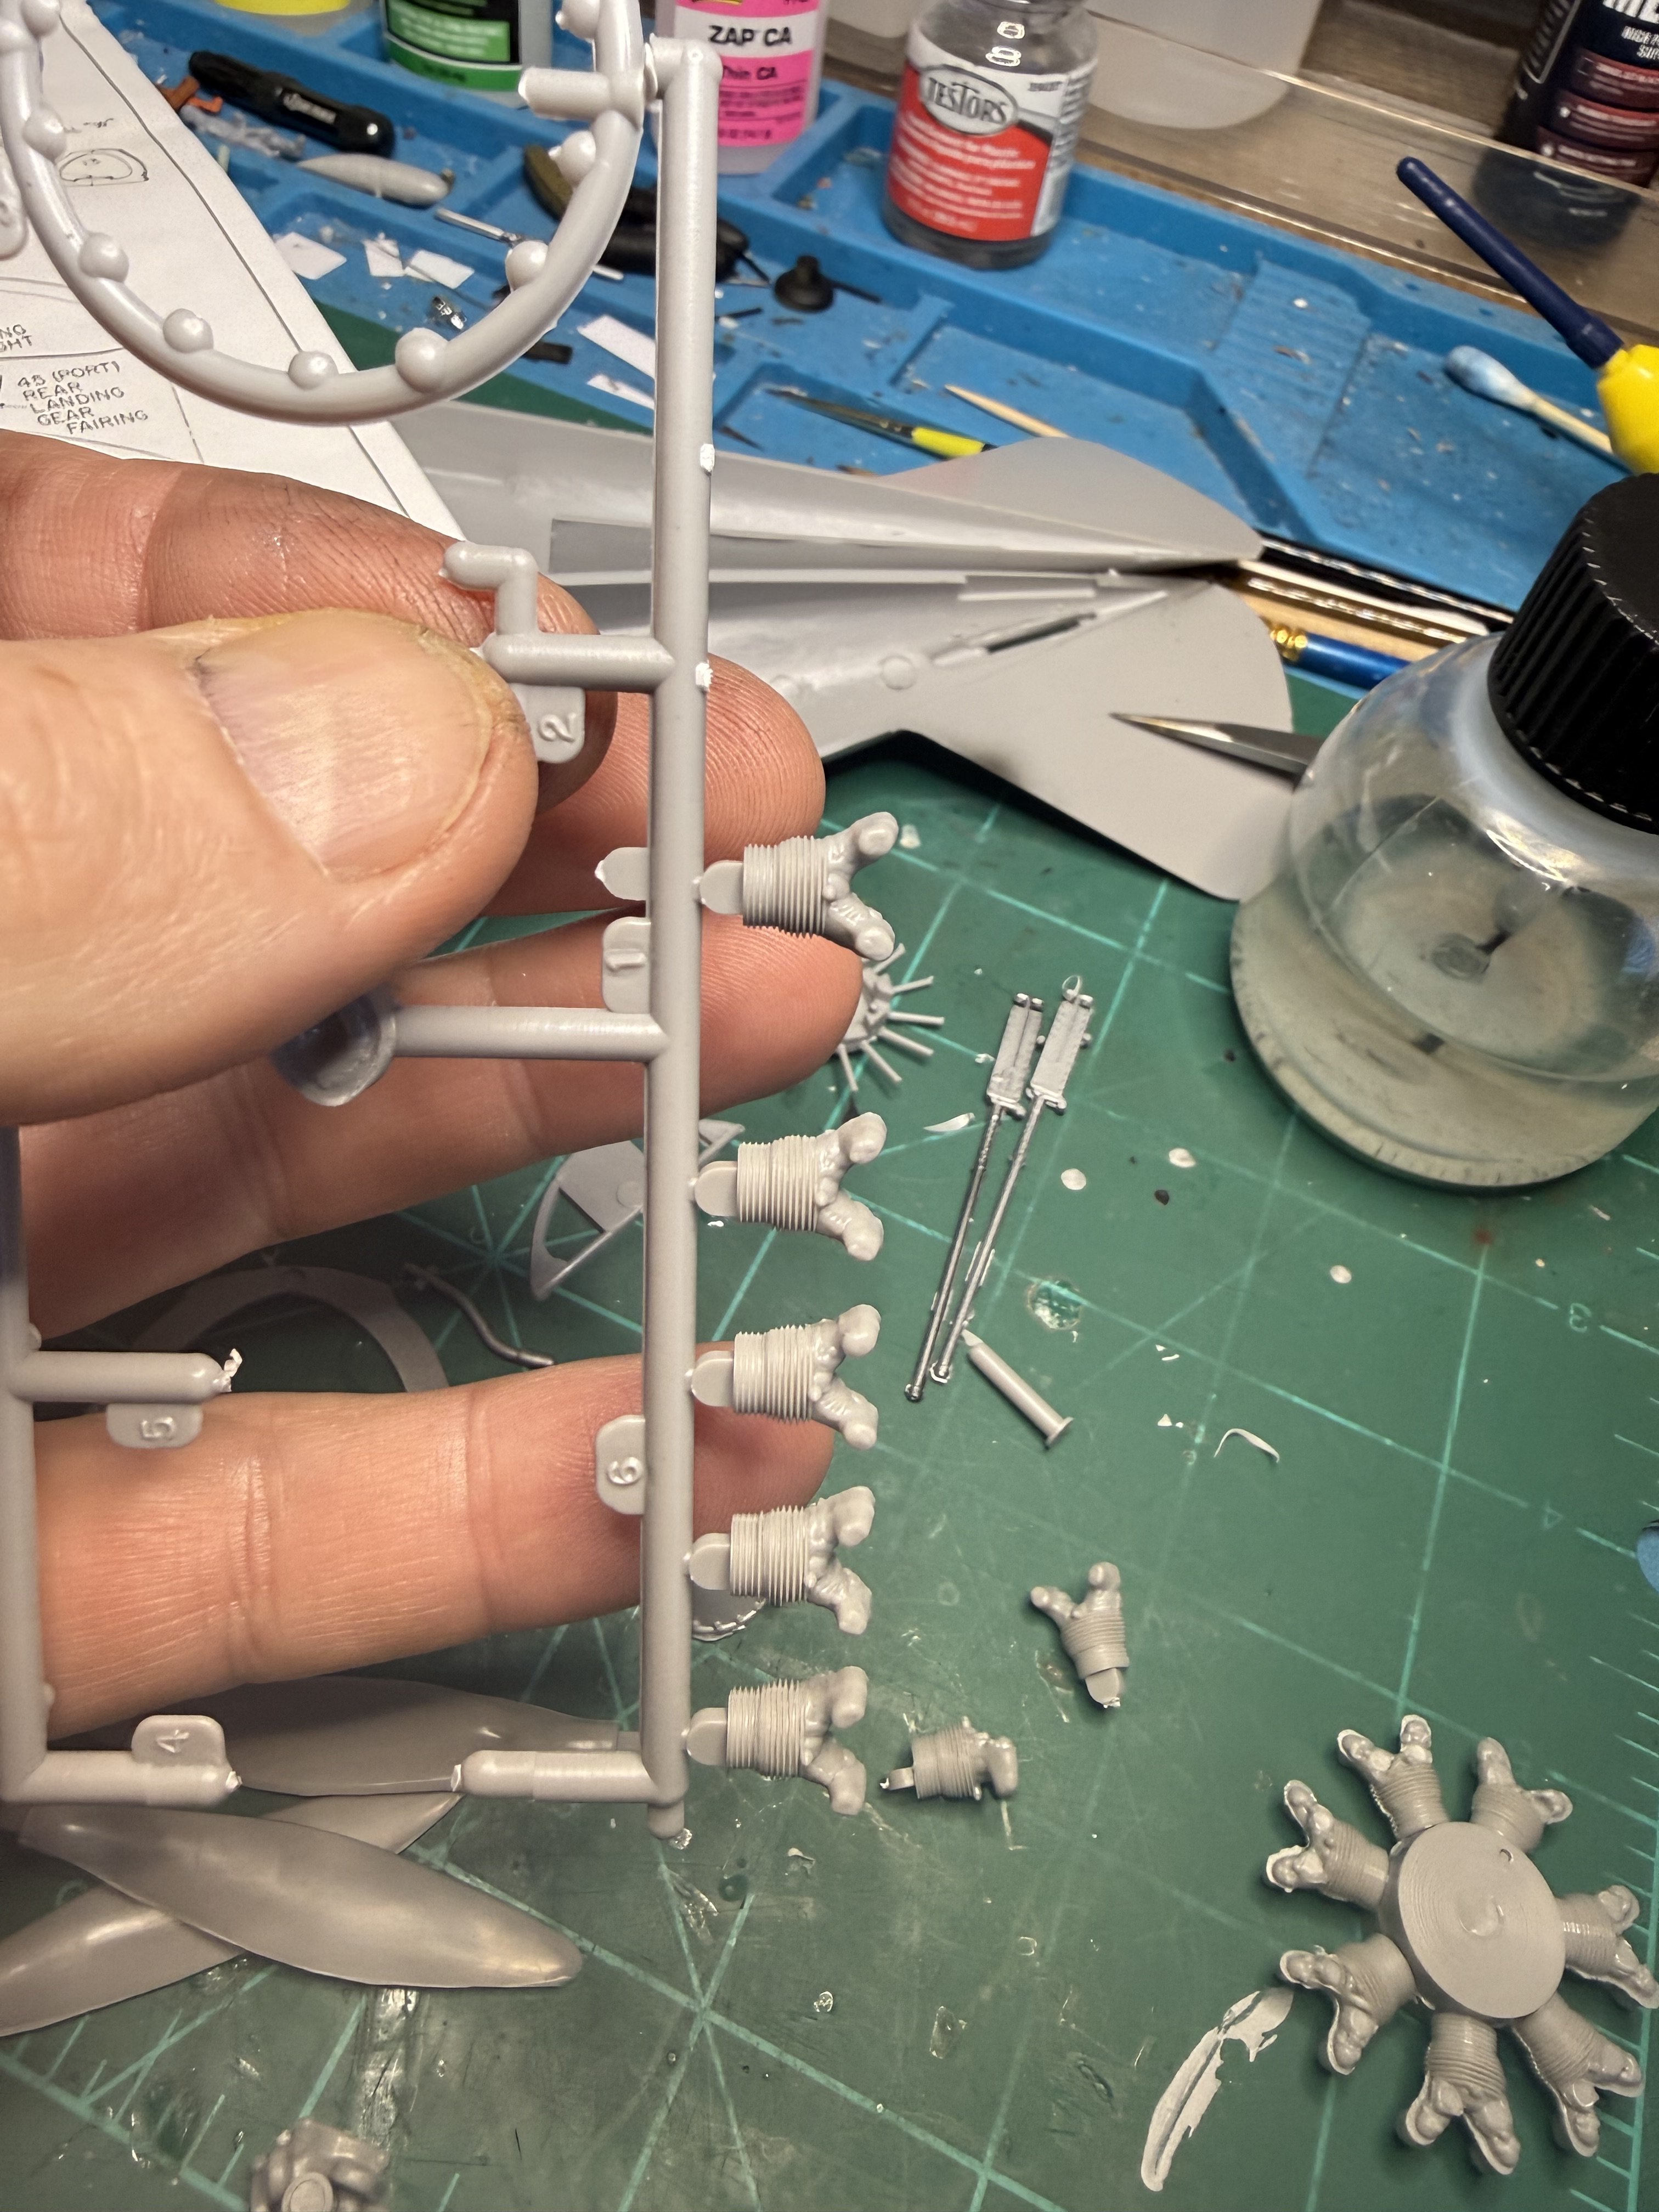
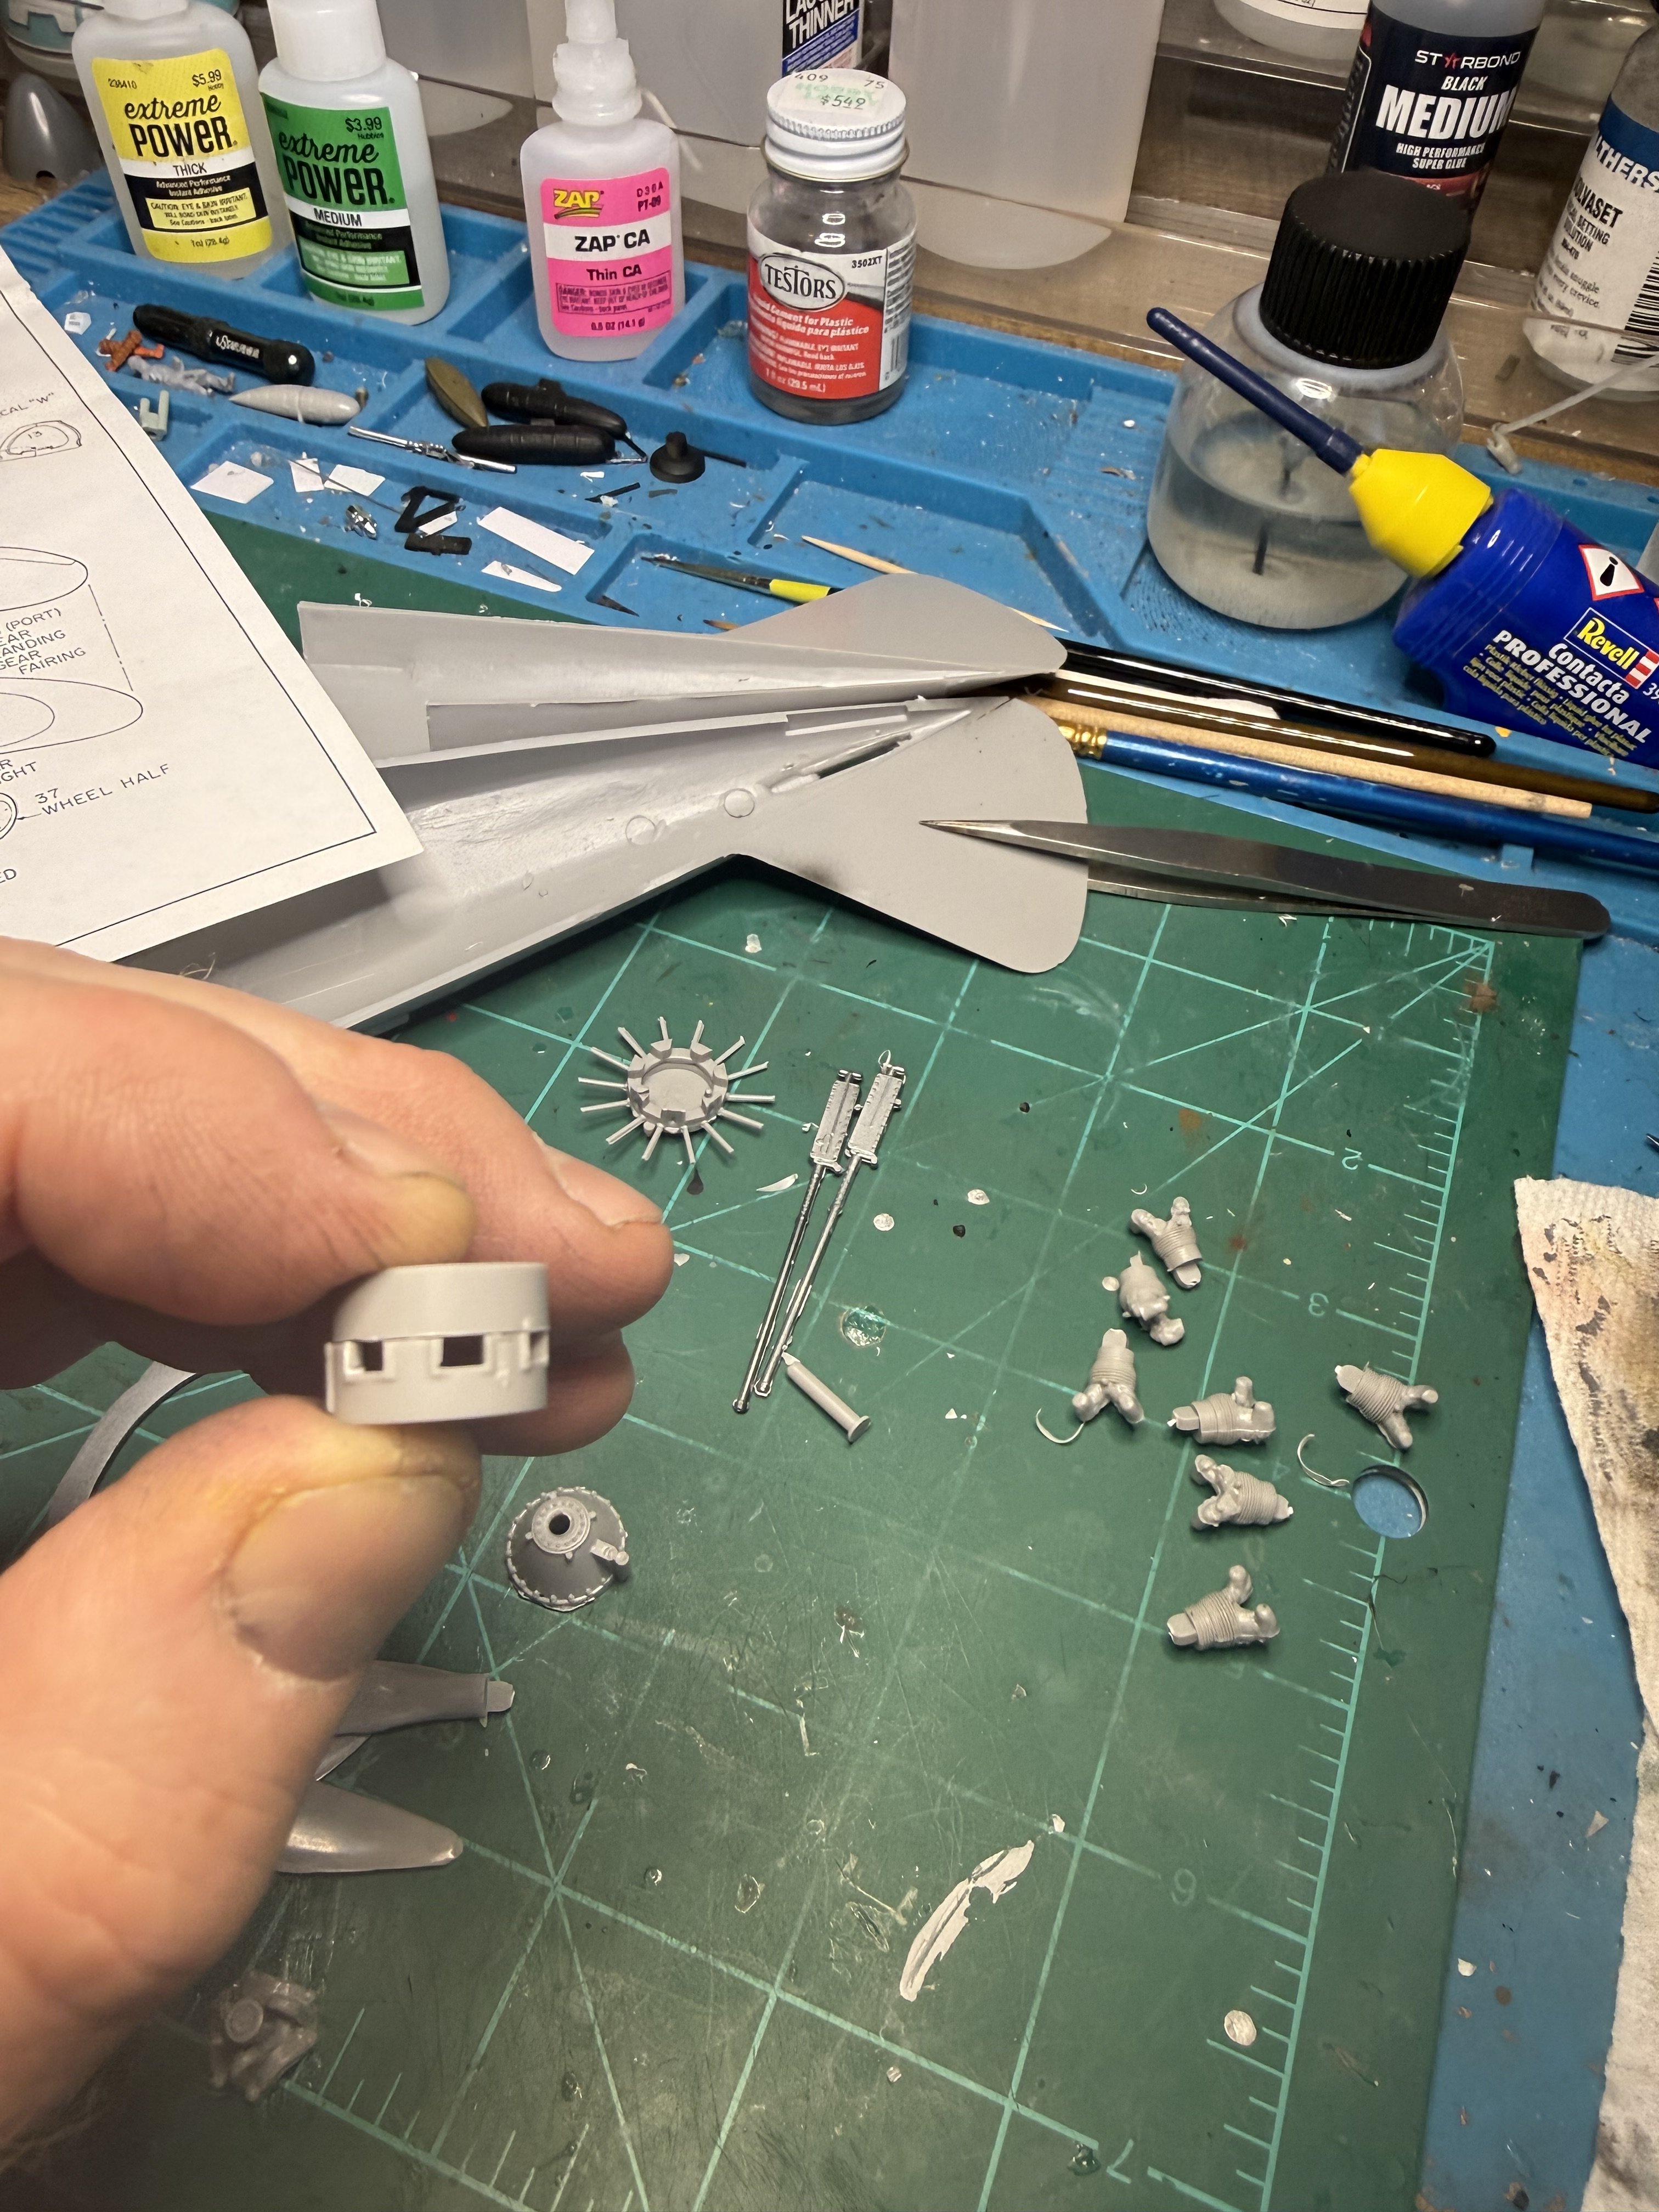
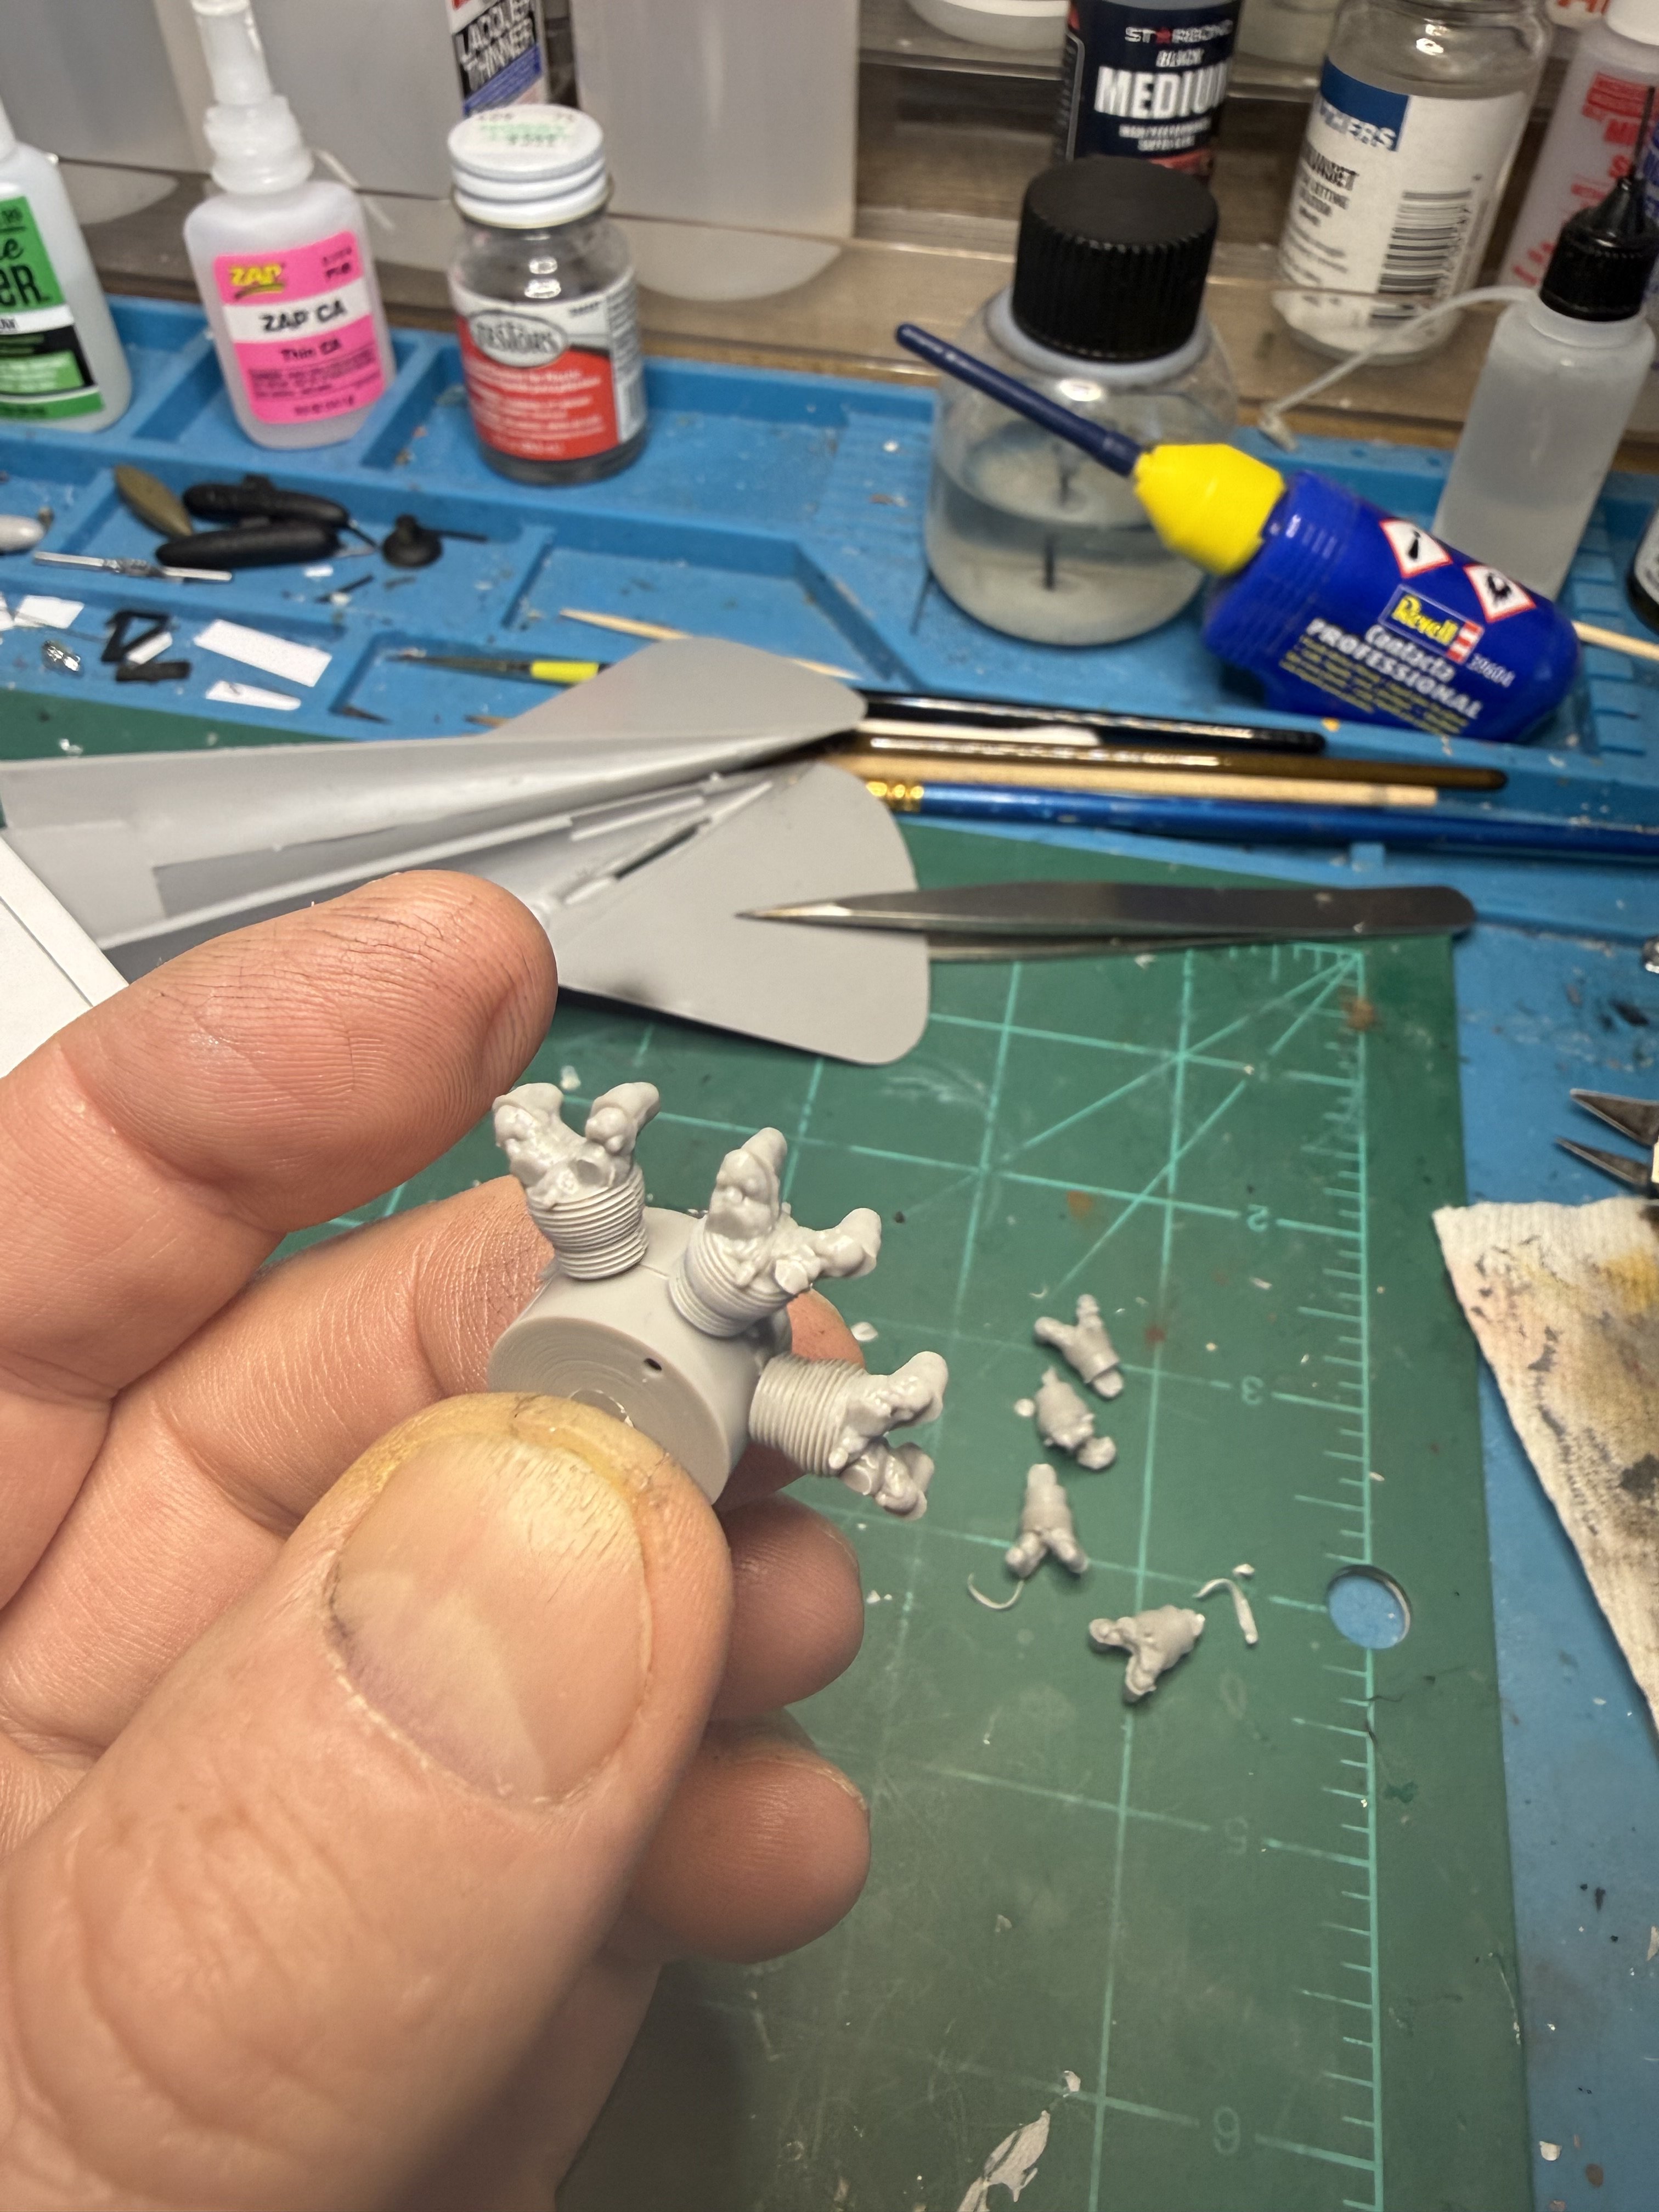
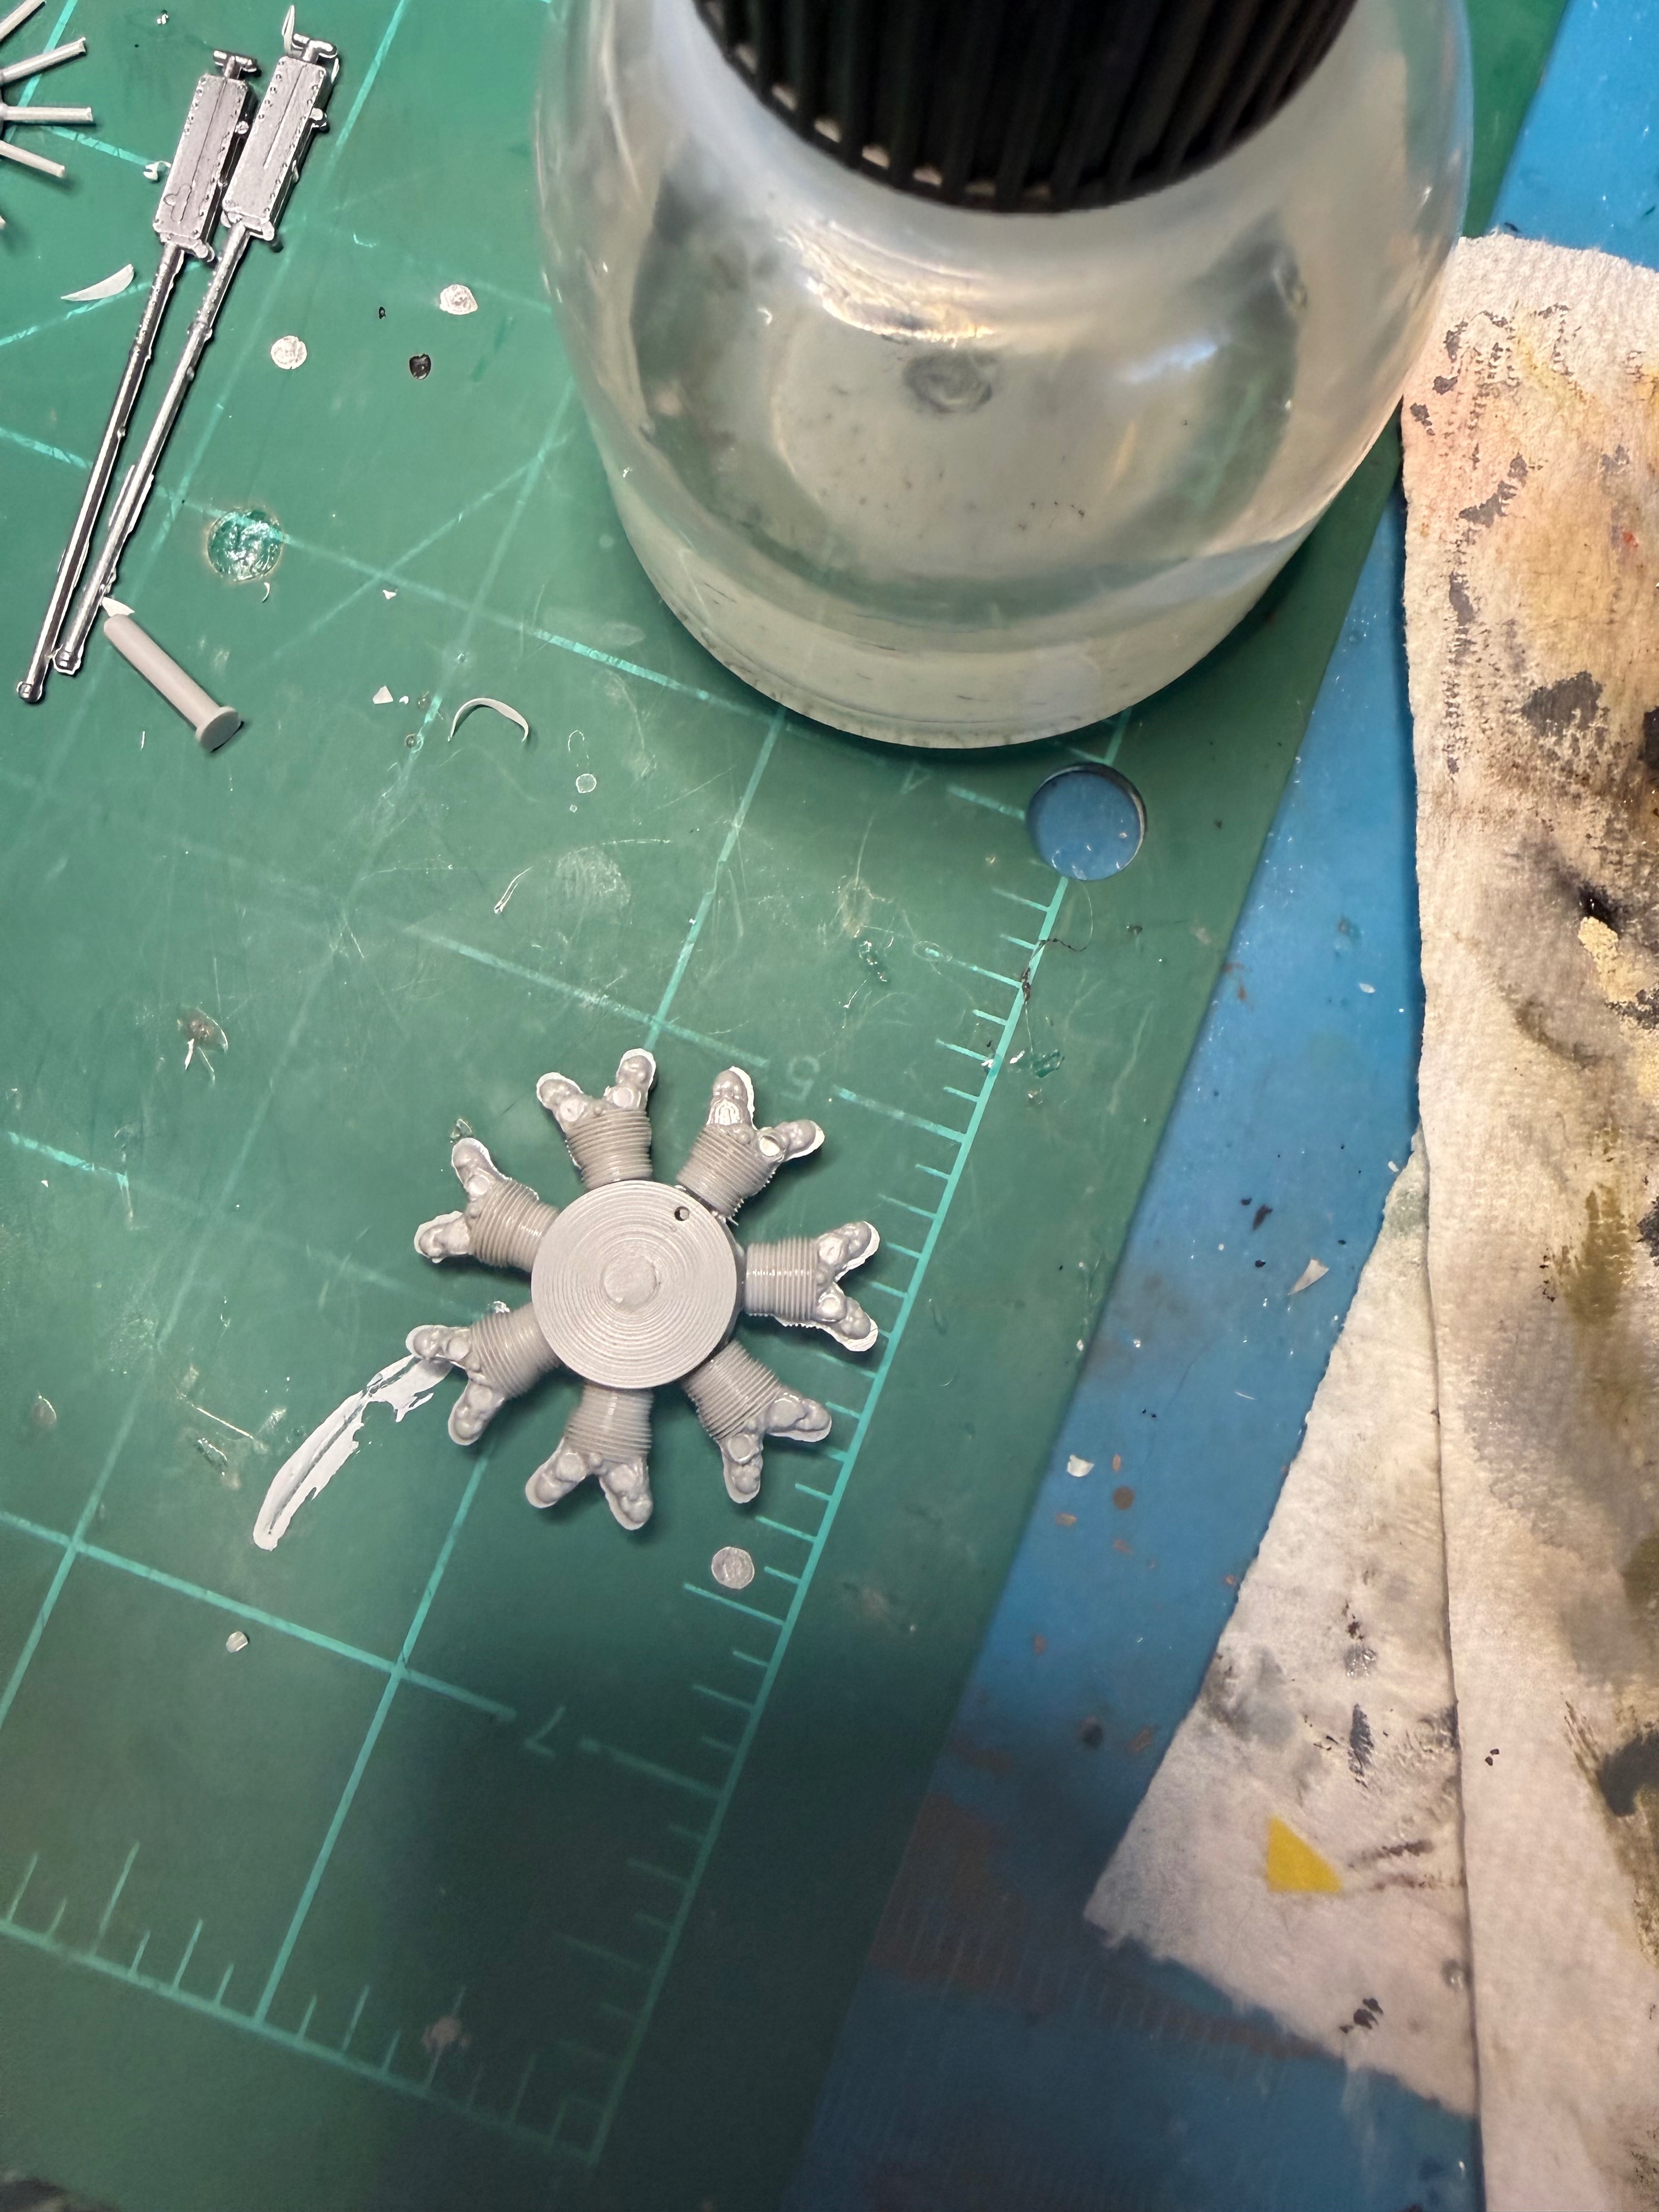
Put the fuselage together. I was looking online and saw gripes about this kit which I was surprised to see. I think it's a very interesting kit, largely due to its a plane that has not really been represented, it's a 1972 kit, and from the kit and instructions it appears there was a much different expectation and approach to kits back then. One of the gripes was lack of interior detail but it's not going to be seen and I'm not concerned about it. I drilled and formed the gun grooves today, tomorrow I'll test fit and adjust. I also drilled out the gun barrels but I'm not going to push my luck with that. I'd like the openings to be a little larger but done trust I can do that without messing the guns up.Here you can see there is no gap to remove cylinder heads so I did the unthinkable- gasp! I rocked em back and forth until they popped off!
Attachments

Jakko
Well-Known Member
Insert the tip of your modelling knife and carefully twist it around. This is more controllable than using a drill, letting you ream the opening out more and more until it's large enough. It will also let you "move" a hole that's off-centre, by opening it up on one side more than the other.I'd like the openings to be a little larger but done trust I can do that without messing the guns up.

the Baron
Ich bin ja, Herr, in Deiner Macht
We have to take the age of those modelers into account. As you note, the kit was issued in 1972, and for its time, it was top of the line. If those modelers complaining are younger, it can be that they have expectations that reflect their times. For example, I'm 61, and I grew up in the 70s building Monogram and Revell kits. I still love those kits, especially Monogram's 1/48 airplanes from the late 60s and into the 70s. I build repeats of them. But someone born in 2010, for example, with have different expectations and tend not to like those kits. Upshot is, take online comments or reviews with a grain of salt.Put the fuselage together. I was looking online and saw gripes about this kit which I was surprised to see. I think it's a very interesting kit, largely due to its a plane that has not really been represented, it's a 1972 kit, and from the kit and instructions it appears there was a much different expectation and approach to kits back then. One of the gripes was lack of interior detail but it's not going to be seen and I'm not concerned about it. I drilled and formed the gun grooves today, tomorrow I'll test fit and adjust. I also drilled out the gun barrels but I'm not going to push my luck with that. I'd like the openings to be a little larger but done trust I can do that without messing the guns up.


![Pampers Sensitive Baby Wipes, Clinically Proven, Fragrance Free, Unscented, Water Based, Hypoallergenic, Multi-Use, Hand Wipes 336 Wipes Total (6X Flip-Top Packs) [Packaging May Vary]](https://m.media-amazon.com/images/I/41KLBHu9CAL._SL500_.jpg)





As an Amazon Associate we earn from qualifying purchases. Product prices and availability are accurate as of the date/time indicated and are subject to change.
I take all online reviews with a cup of salt! I'll read the reviews to see what the complaints are but will often buy a poorly reviewed kit as the complaints do not bother me or I feel it's probably an inexperienced modeler complaint. I saw a post last week, by an older gentleman, on FB complaining about the fit of a kit and made a joke - which he misunderstood. I then pointed out it was a joke and it's ironic that we'll complain about fit and finish because we have to sand or putty but then will spend hours doing PE! In the end he laughed about it, or at least acknowledged the irony. At first I wasn't happy that the gun openings weren't even marked but it just added to the fact that this model is my build and that's a bit more satisfying in my opinion!We have to take the age of those modelers into account. As you note, the kit was issued in 1972, and for its time, it was top of the line. If those modelers complaining are younger, it can be that they have expectations that reflect their times. For example, I'm 61, and I grew up in the 70s building Monogram and Revell kits. I still love those kits, especially Monogram's 1/48 airplanes from the late 60s and into the 70s. I build repeats of them. But someone born in 2010, for example, with have different expectations and tend not to like those kits. Upshot is, take online comments or reviews with a grain of salt.
the Baron
Ich bin ja, Herr, in Deiner Macht
I think the complainers are the worst at HyperScale...


Edbert
Well-Known Member
- Joined
- May 16, 2024
- Messages
- 3,121
Ahhh, call it "old school" then!I rocked em back and forth until they popped off!
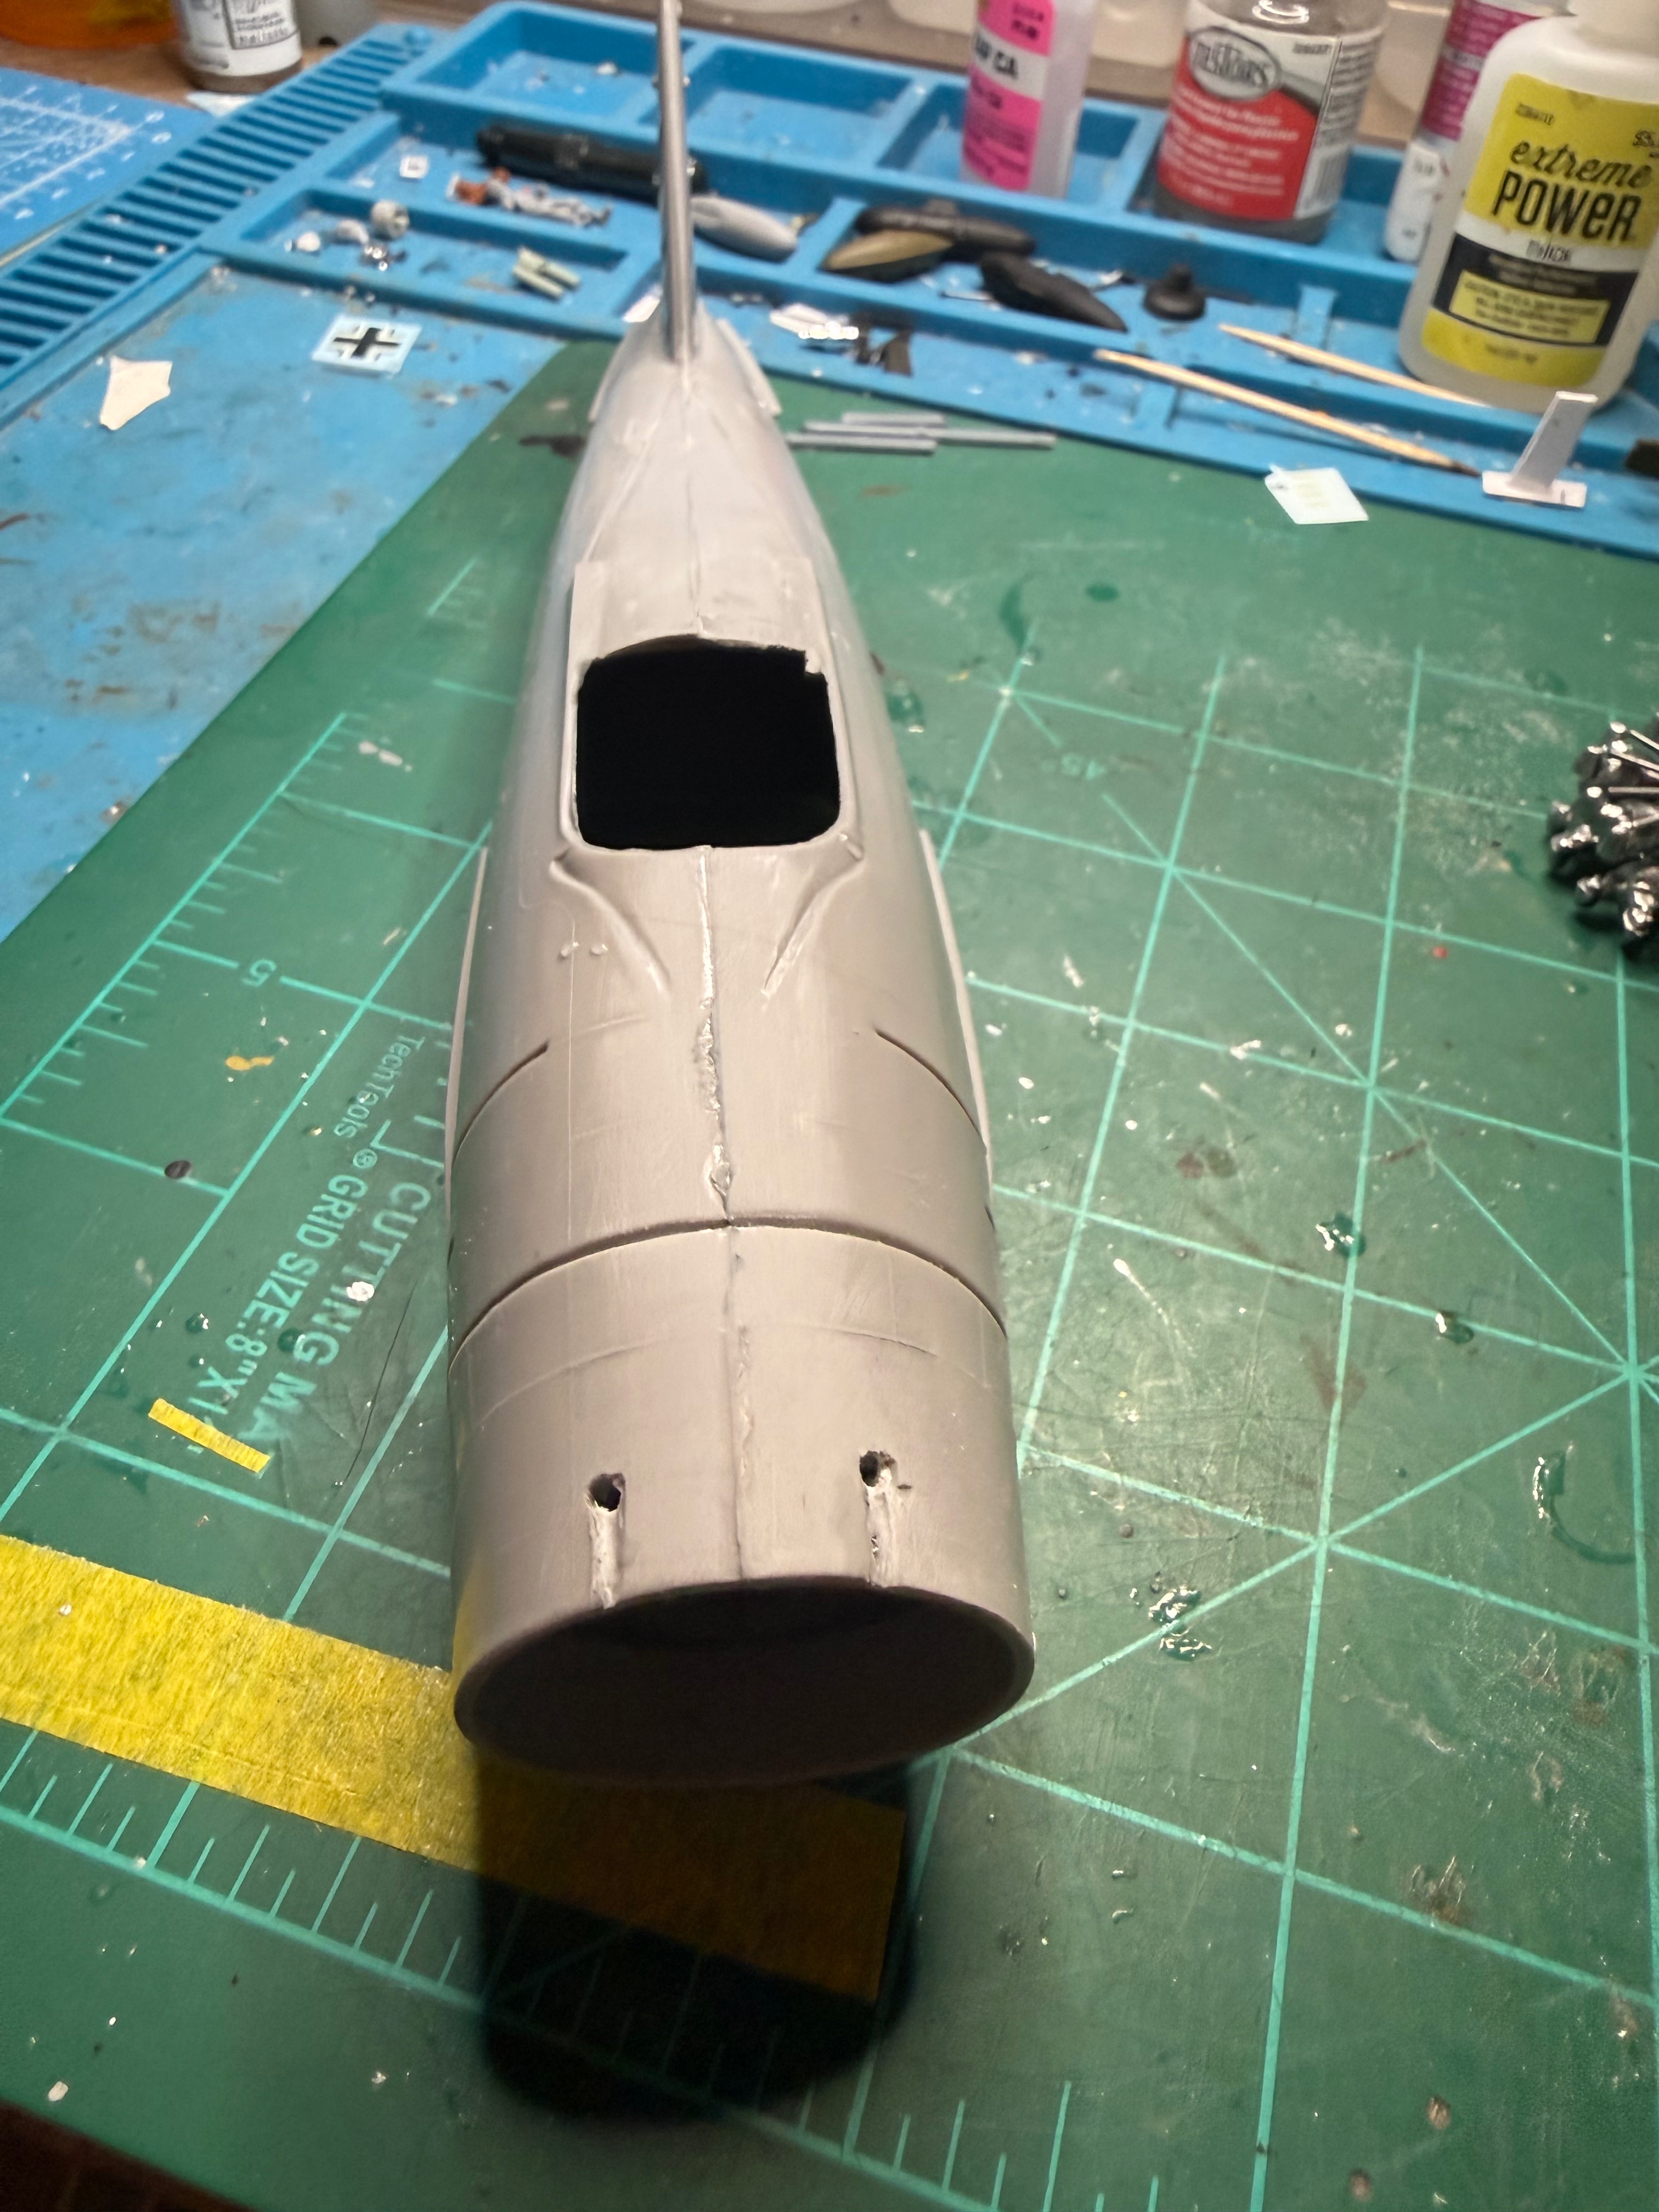
I had bought some thin aluminum and was going to cut away the cowling and add flaps but last night looking at the inside I don't see how I can put brace supports in due to the location of the motor. So I decided to try scribing. Scribing finally put me to sleep! Sucks going to bed at midnight and alarm going off at 440! Luckily I have some flexibility with my work schedule. I bought that thick tape used for label makers and used that as a guide. Worked quite well.Put the fuselage together. I was looking online and saw gripes about this kit which I was surprised to see. I think it's a very interesting kit, largely due to its a plane that has not really been represented, it's a 1972 kit, and from the kit and instructions it appears there was a much different expectation and approach to kits back then. One of the gripes was lack of interior detail but it's not going to be seen and I'm not concerned about it. I drilled and formed the gun grooves today, tomorrow I'll test fit and adjust. I also drilled out the gun barrels but I'm not going to push my luck with that. I'd like the openings to be a little larger but done trust I can do that without messing the guns up.
Attachments
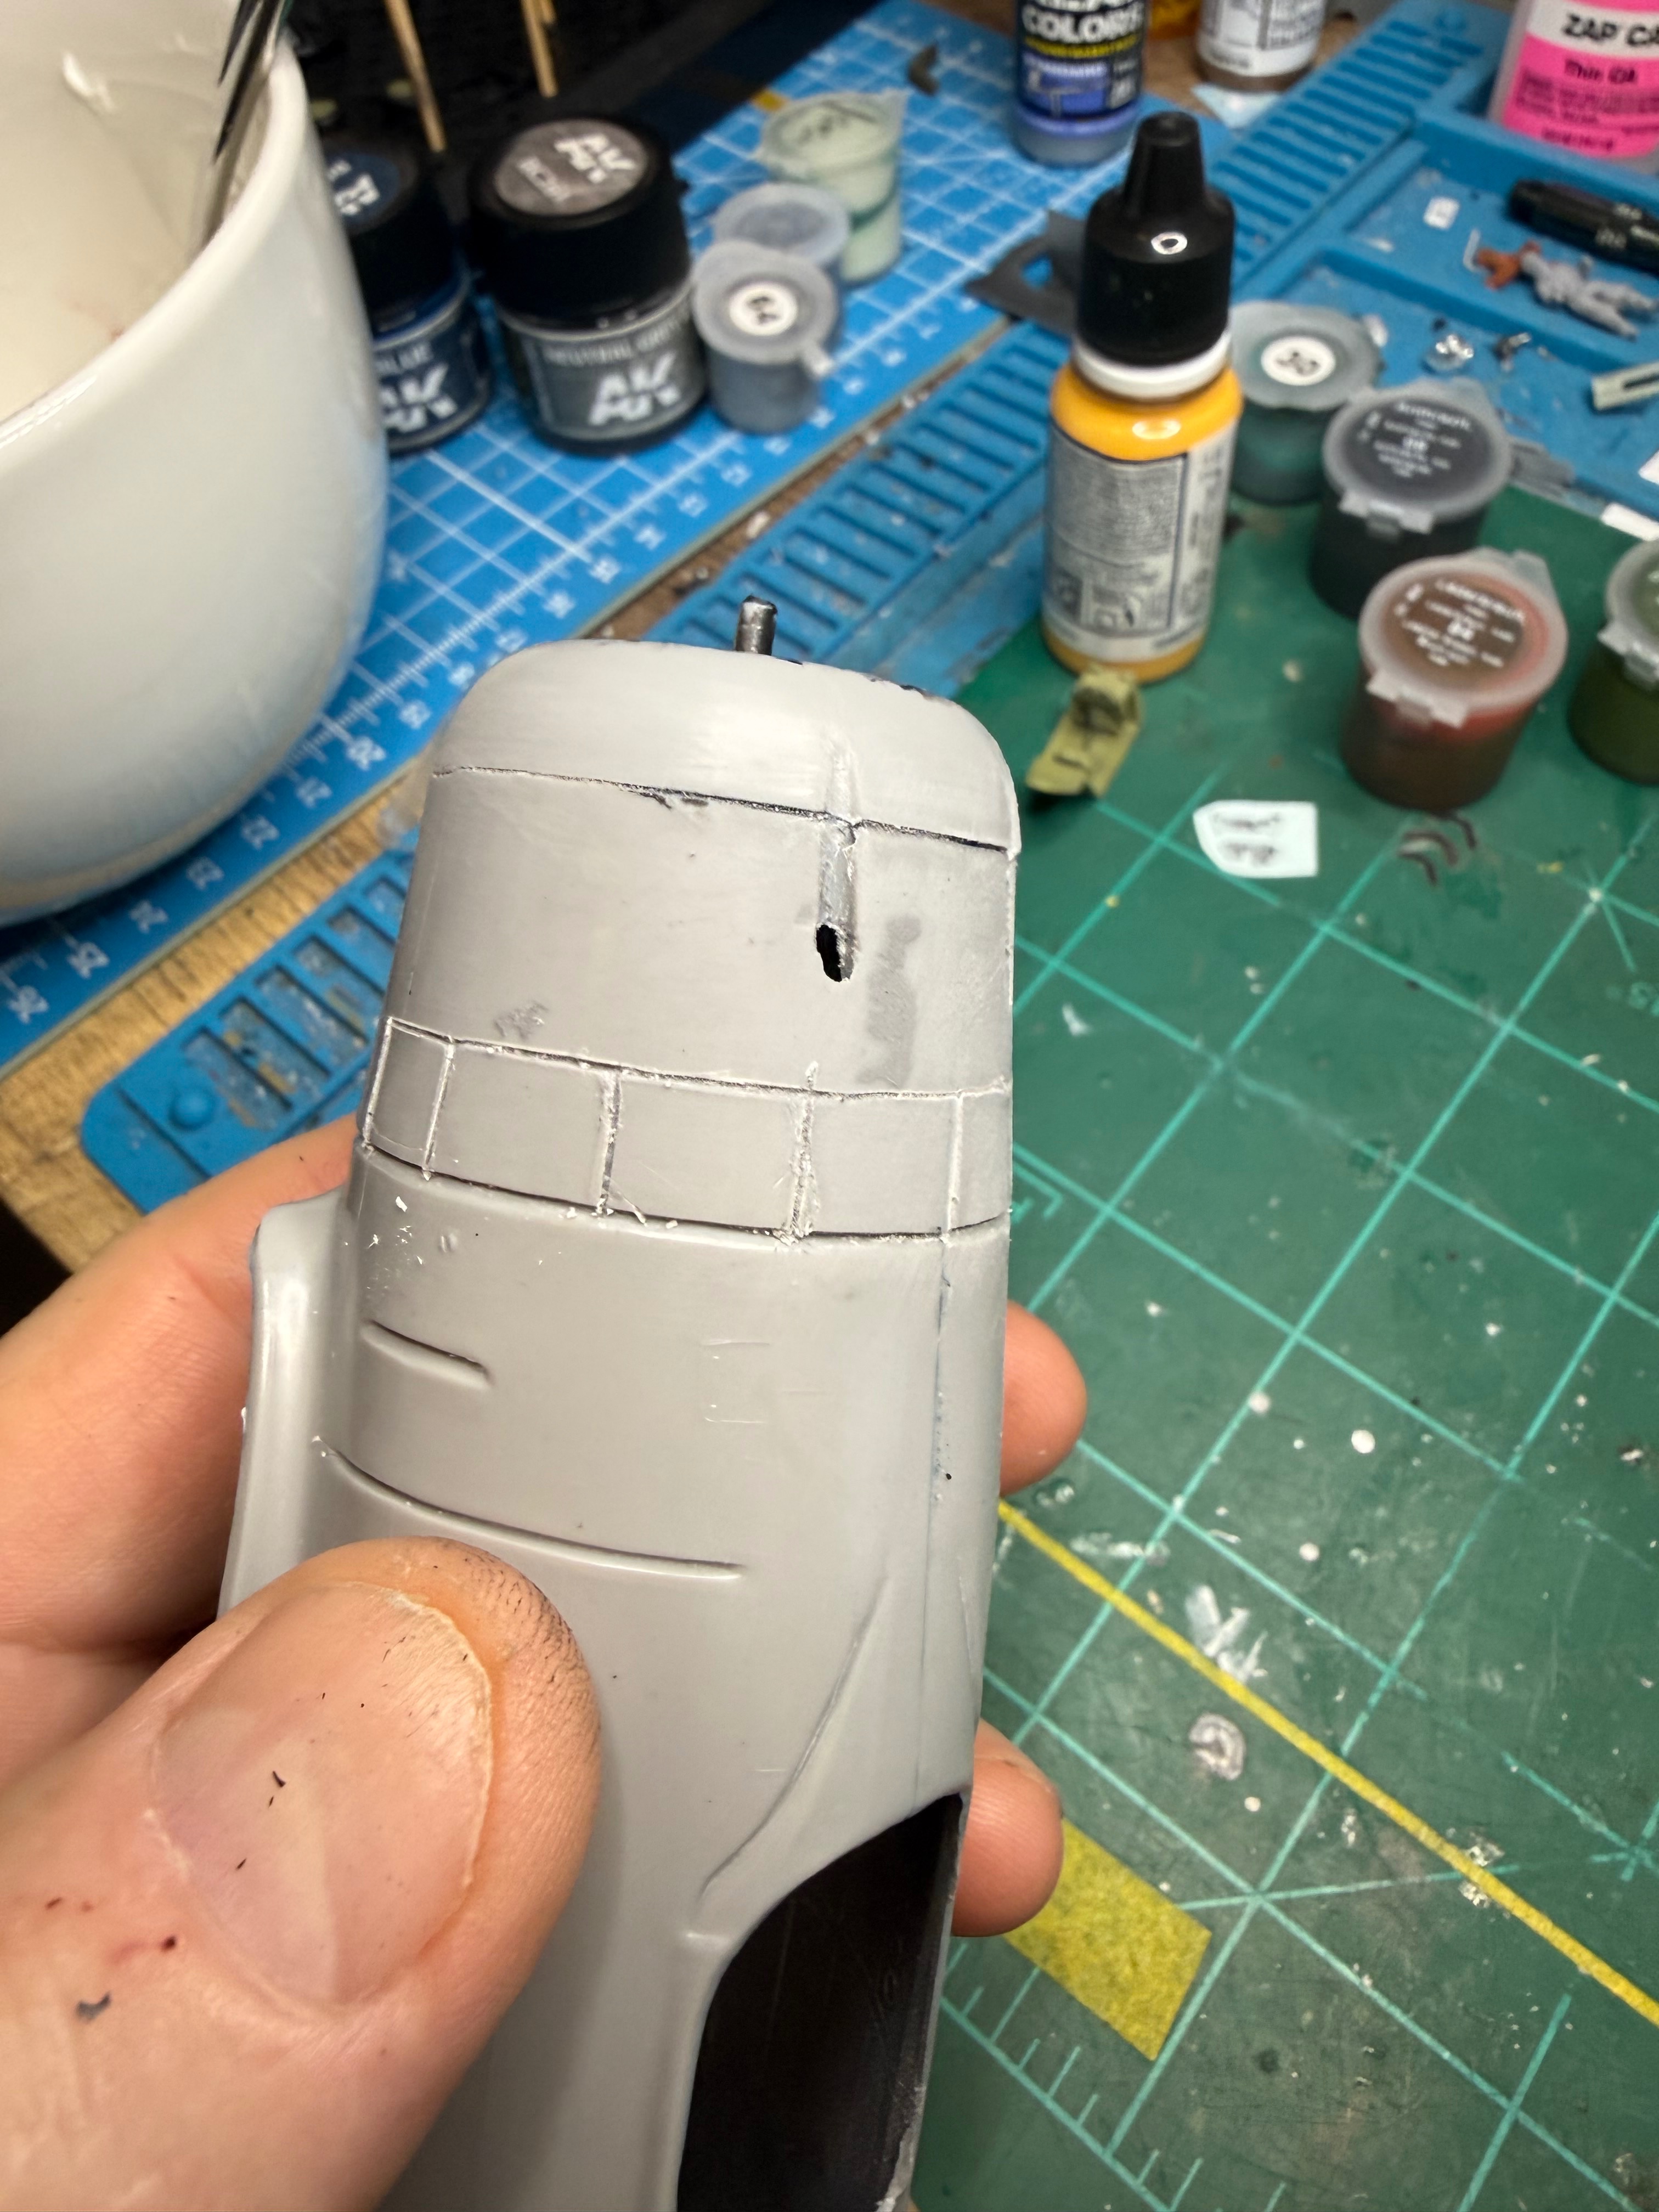

... and Elmer's glue! Great tips. You definitely have your wits about you in the wee hours!label makers
I'd rather be sleeping. Funny thing is I teach sleep hygiene to my patients!... and Elmer's glue! Great tips. You definitely have your wits about you in the wee hours!
Gotta say I like AK Laq black base way more than Alclads. It's already dry to the touch and I feel like I could lightly sand it already. I painted it this morning. It has a nice gloss to it.I had bought some thin aluminum and was going to cut away the cowling and add flaps but last night looking at the inside I don't see how I can put brace supports in due to the location of the motor. So I decided to try scribing. Scribing finally put me to sleep! Sucks going to bed at midnight and alarm going off at 440! Luckily I have some flexibility with my work schedule. I bought that thick tape used for label makers and used that as a guide. Worked quite well.
Attachments
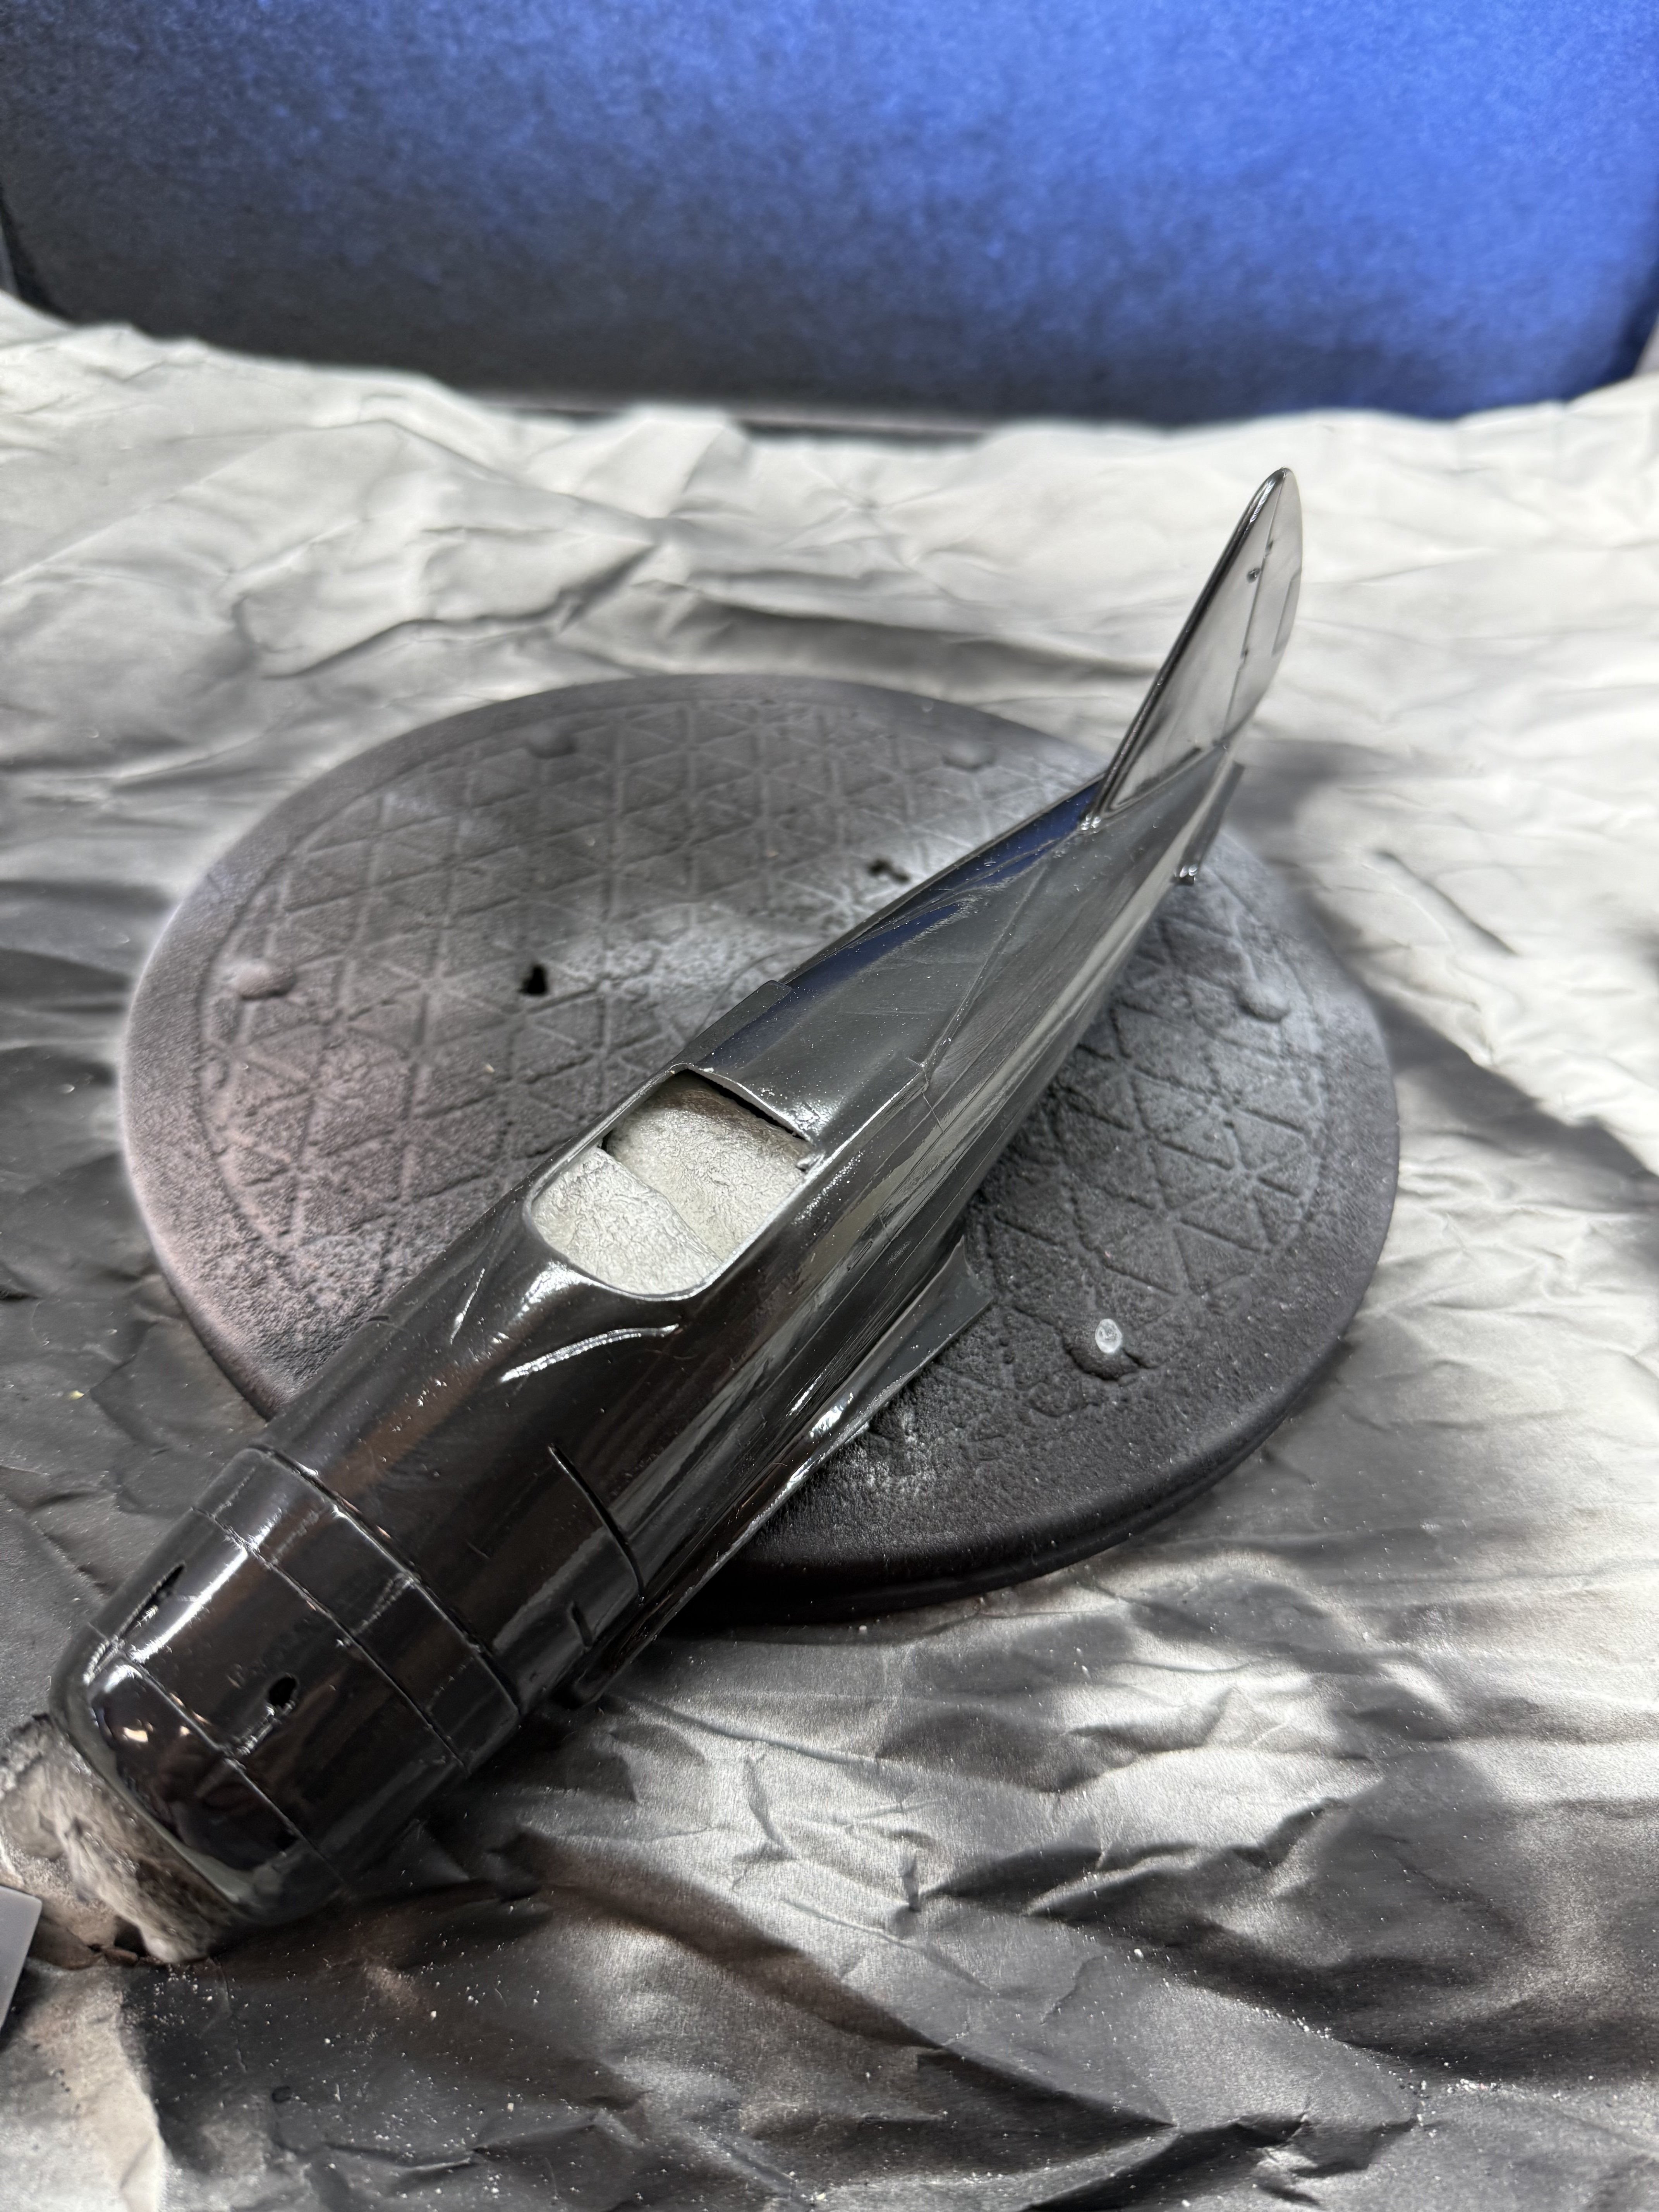
So I needed to get the anti glare painted in order to install the guns and needed to have guns installed before assembling the bottom section. A lot of this kit is left to the builder. For example the gun sight is mounted externally but the "directions" just point toward an area- and you have to know this part is the sight. I am really digging this faded OD and gloss black. I'm going to have to use that color scheme for a future build. Beware rivet counters!Gotta say I like AK Laq black base way more than Alclads. It's already dry to the touch and I feel like I could lightly sand it already. I painted it this morning. It has a nice gloss to it.
Attachments
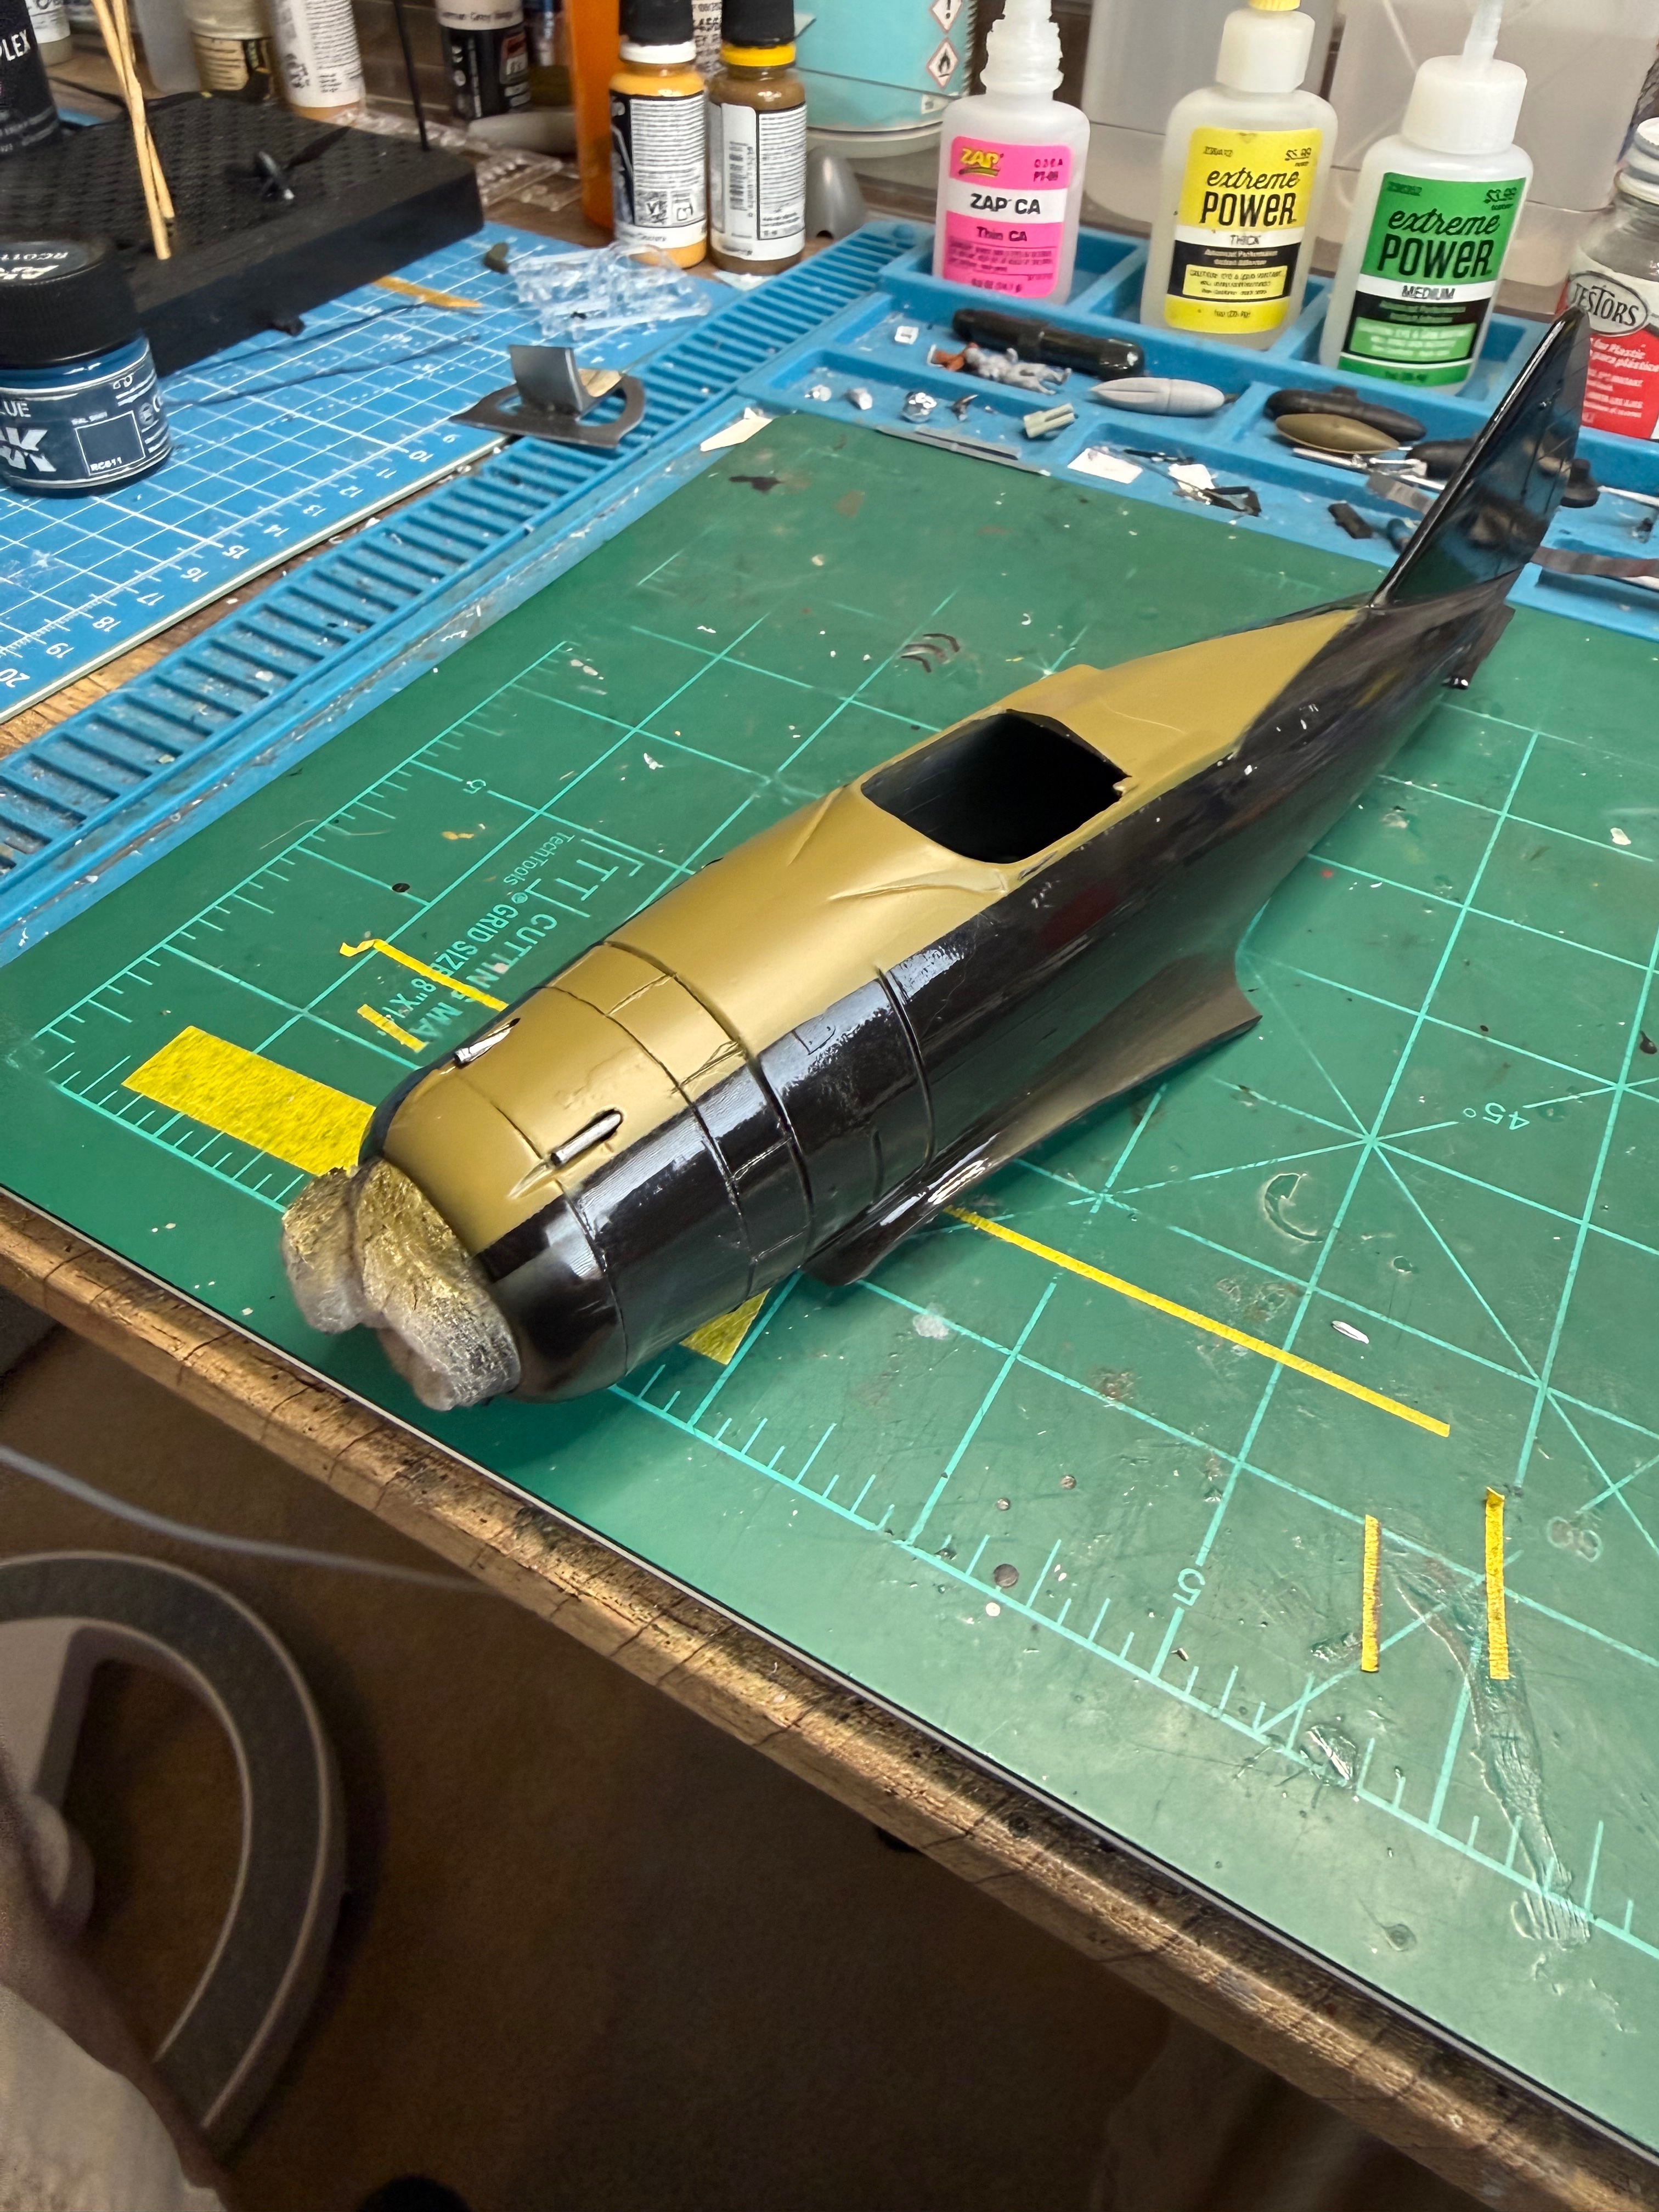
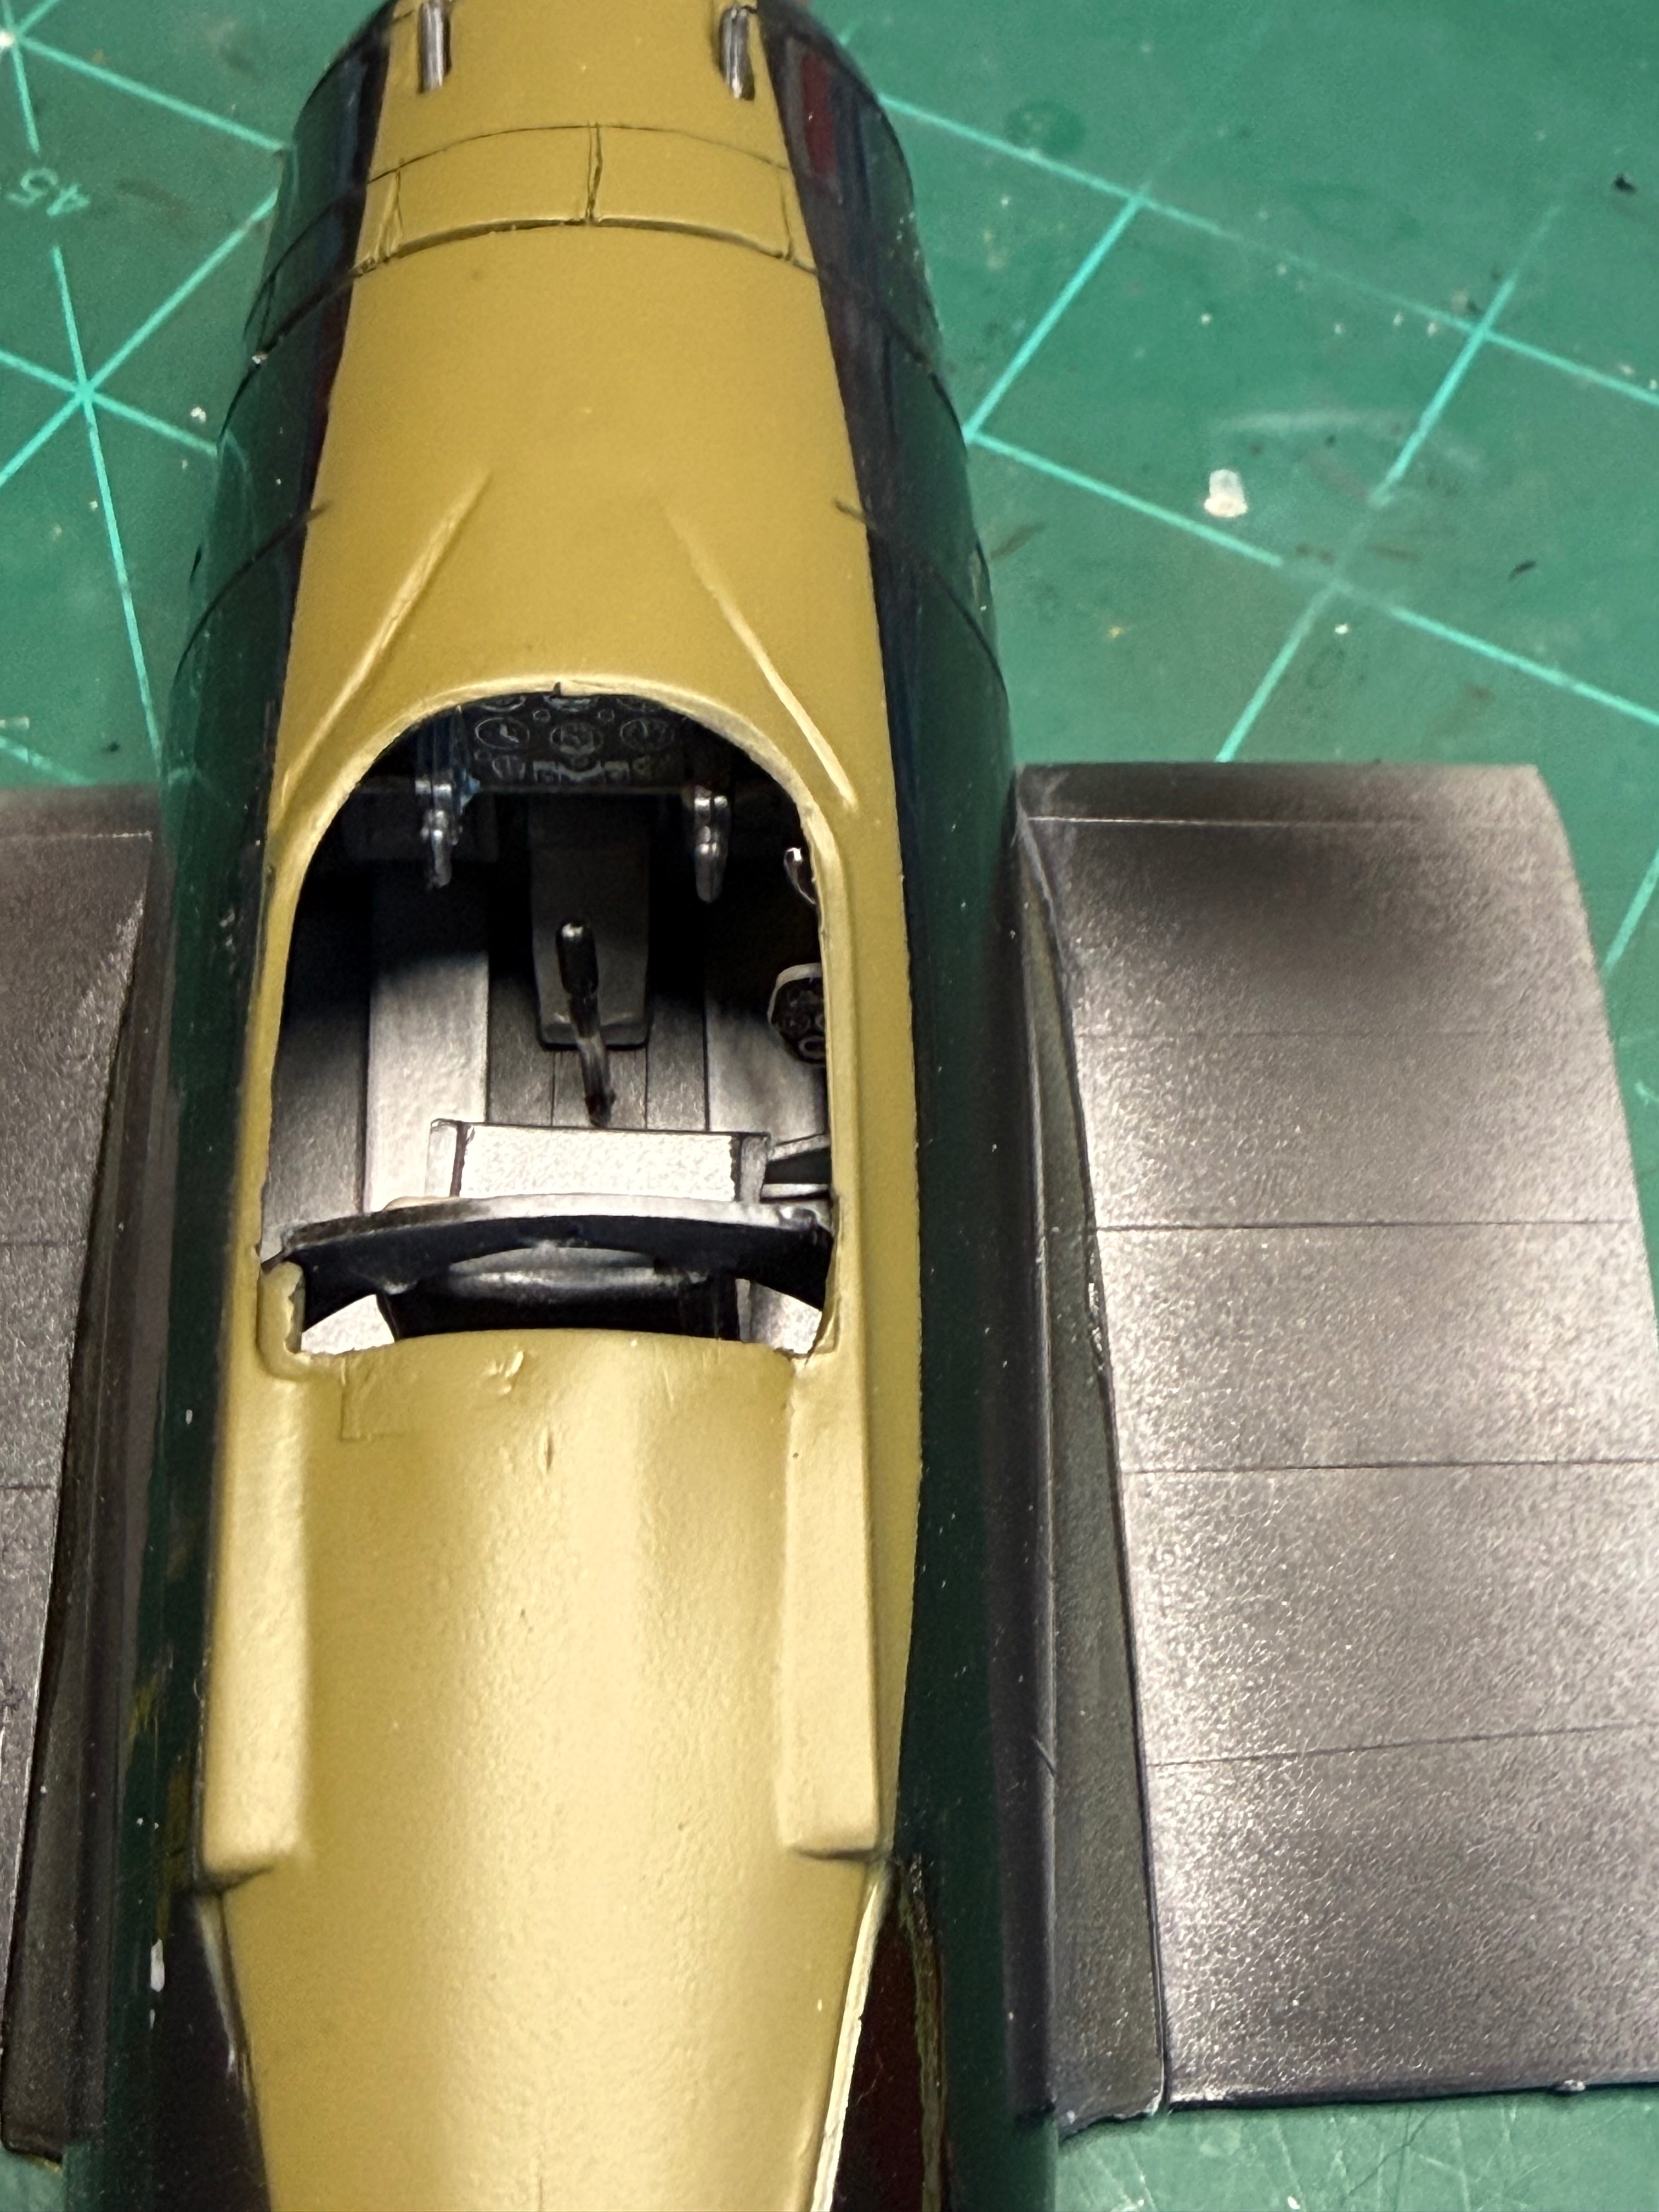
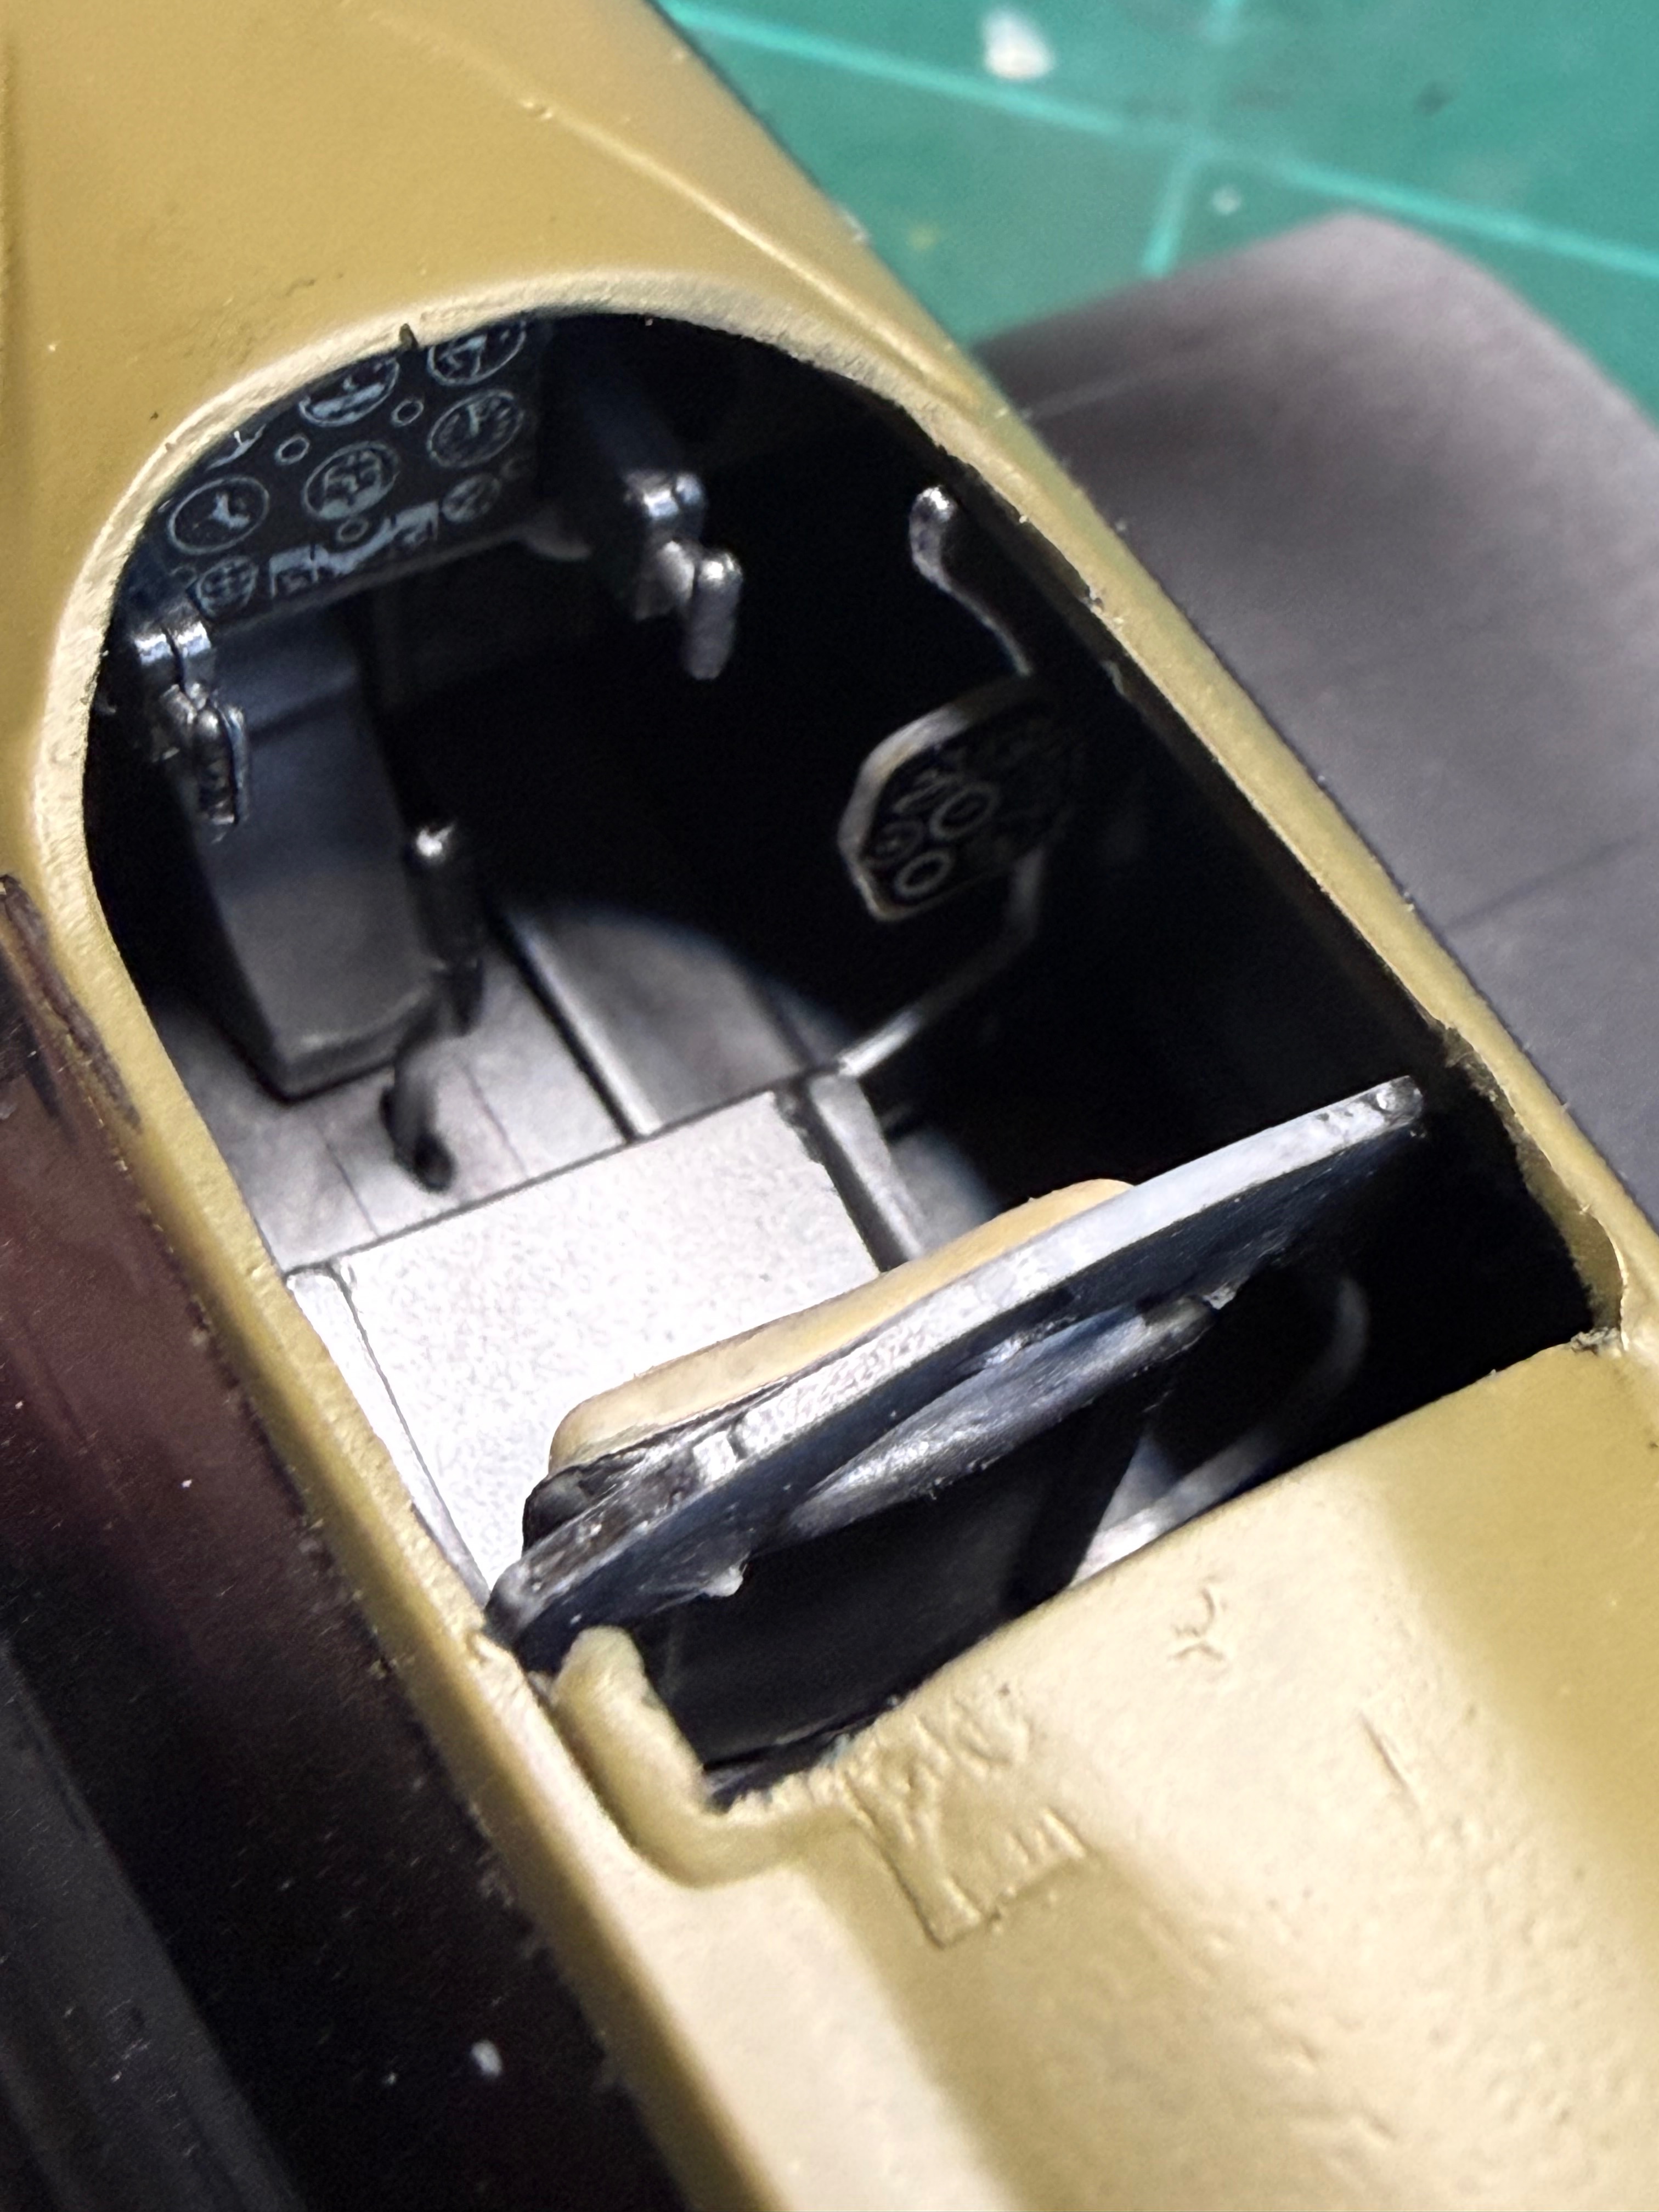
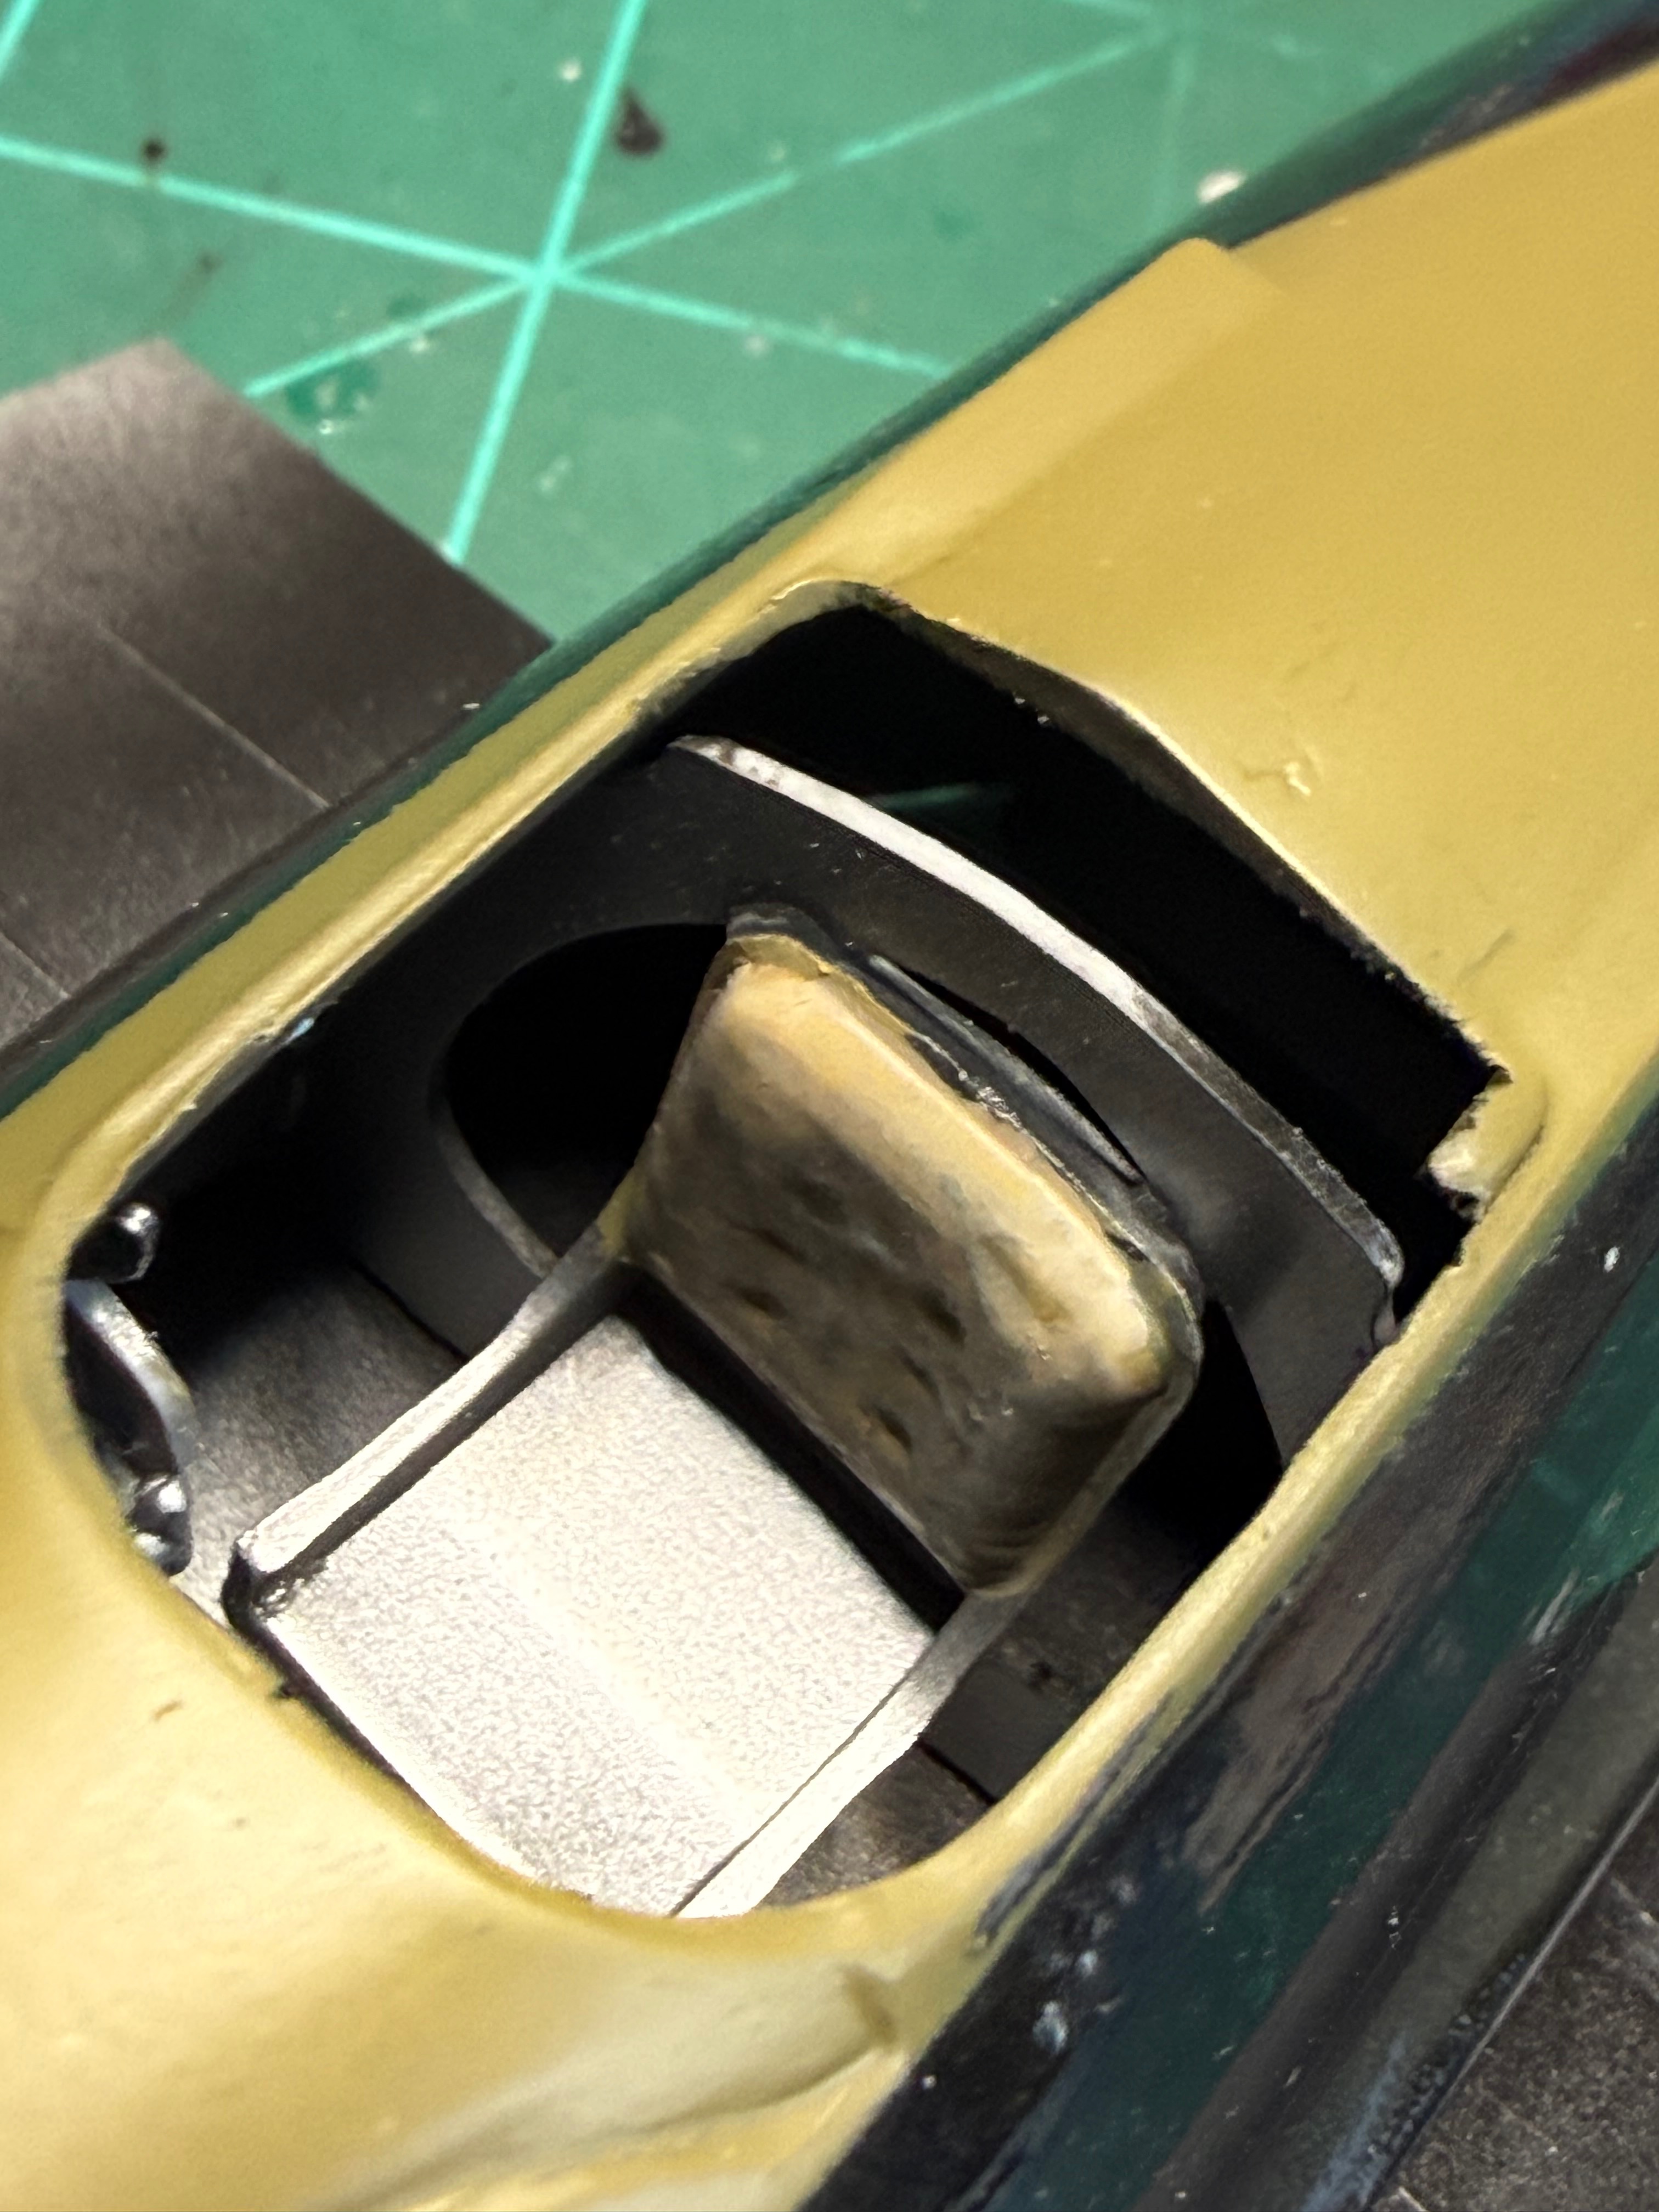
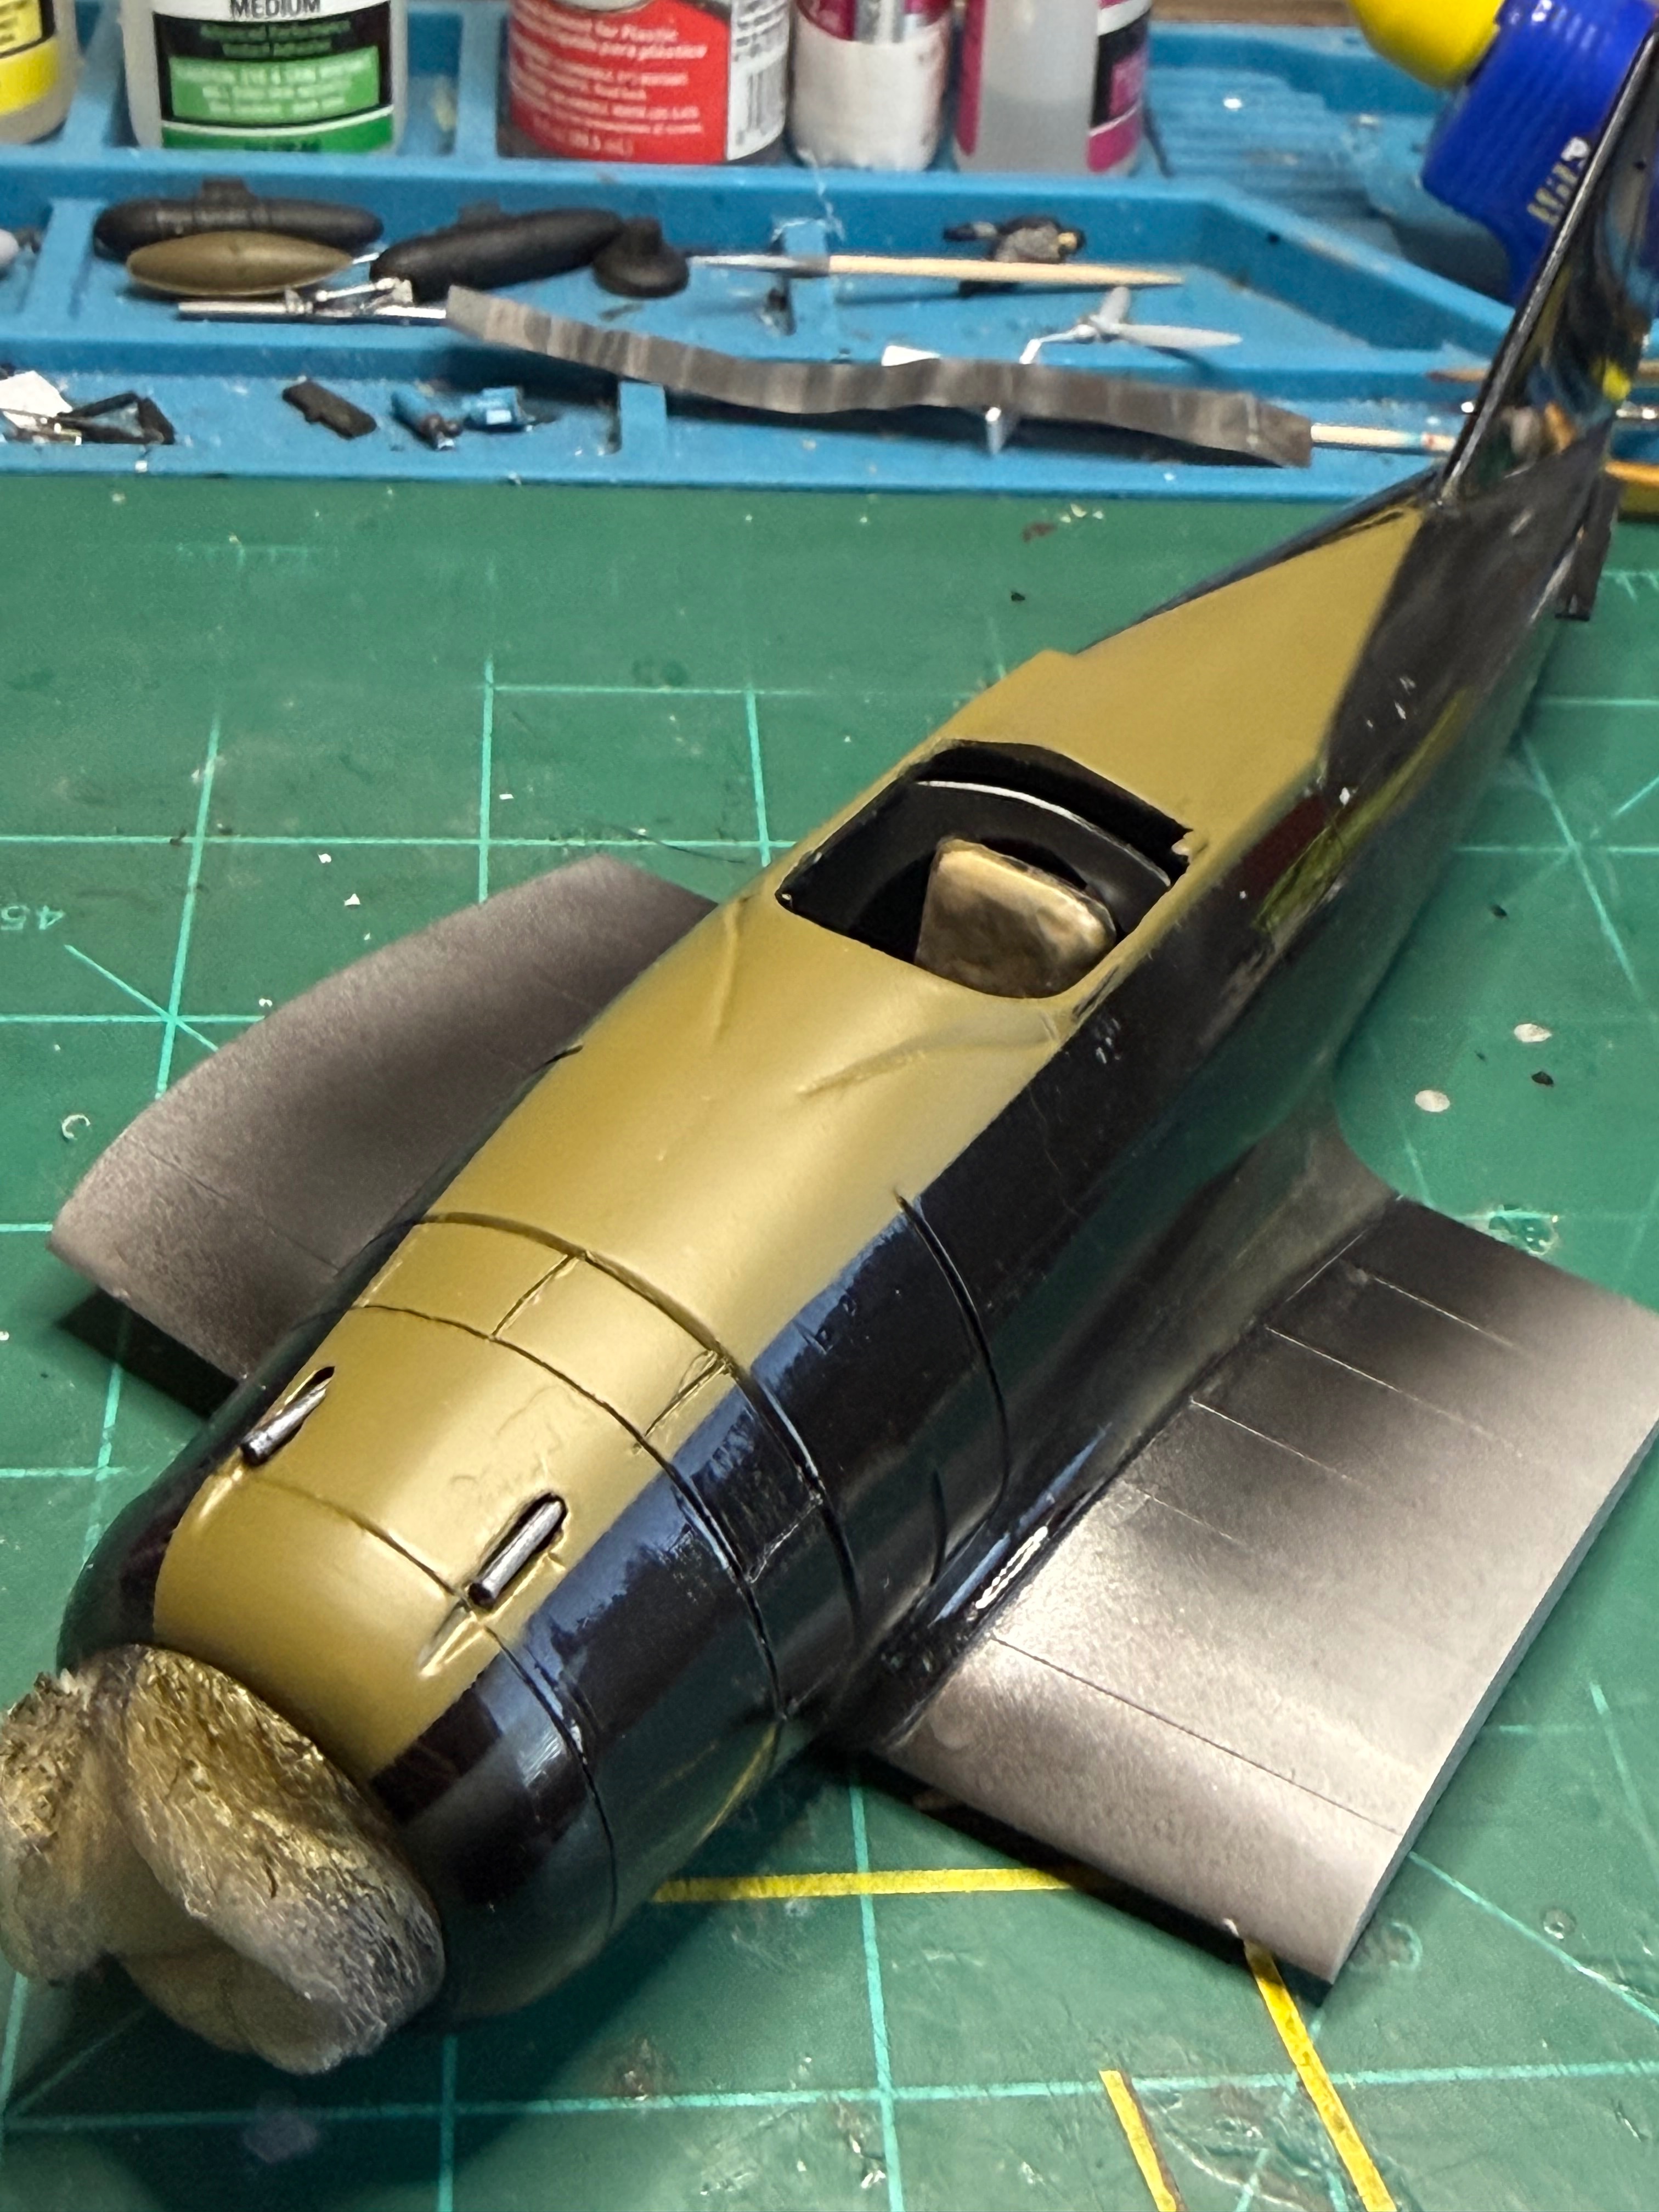
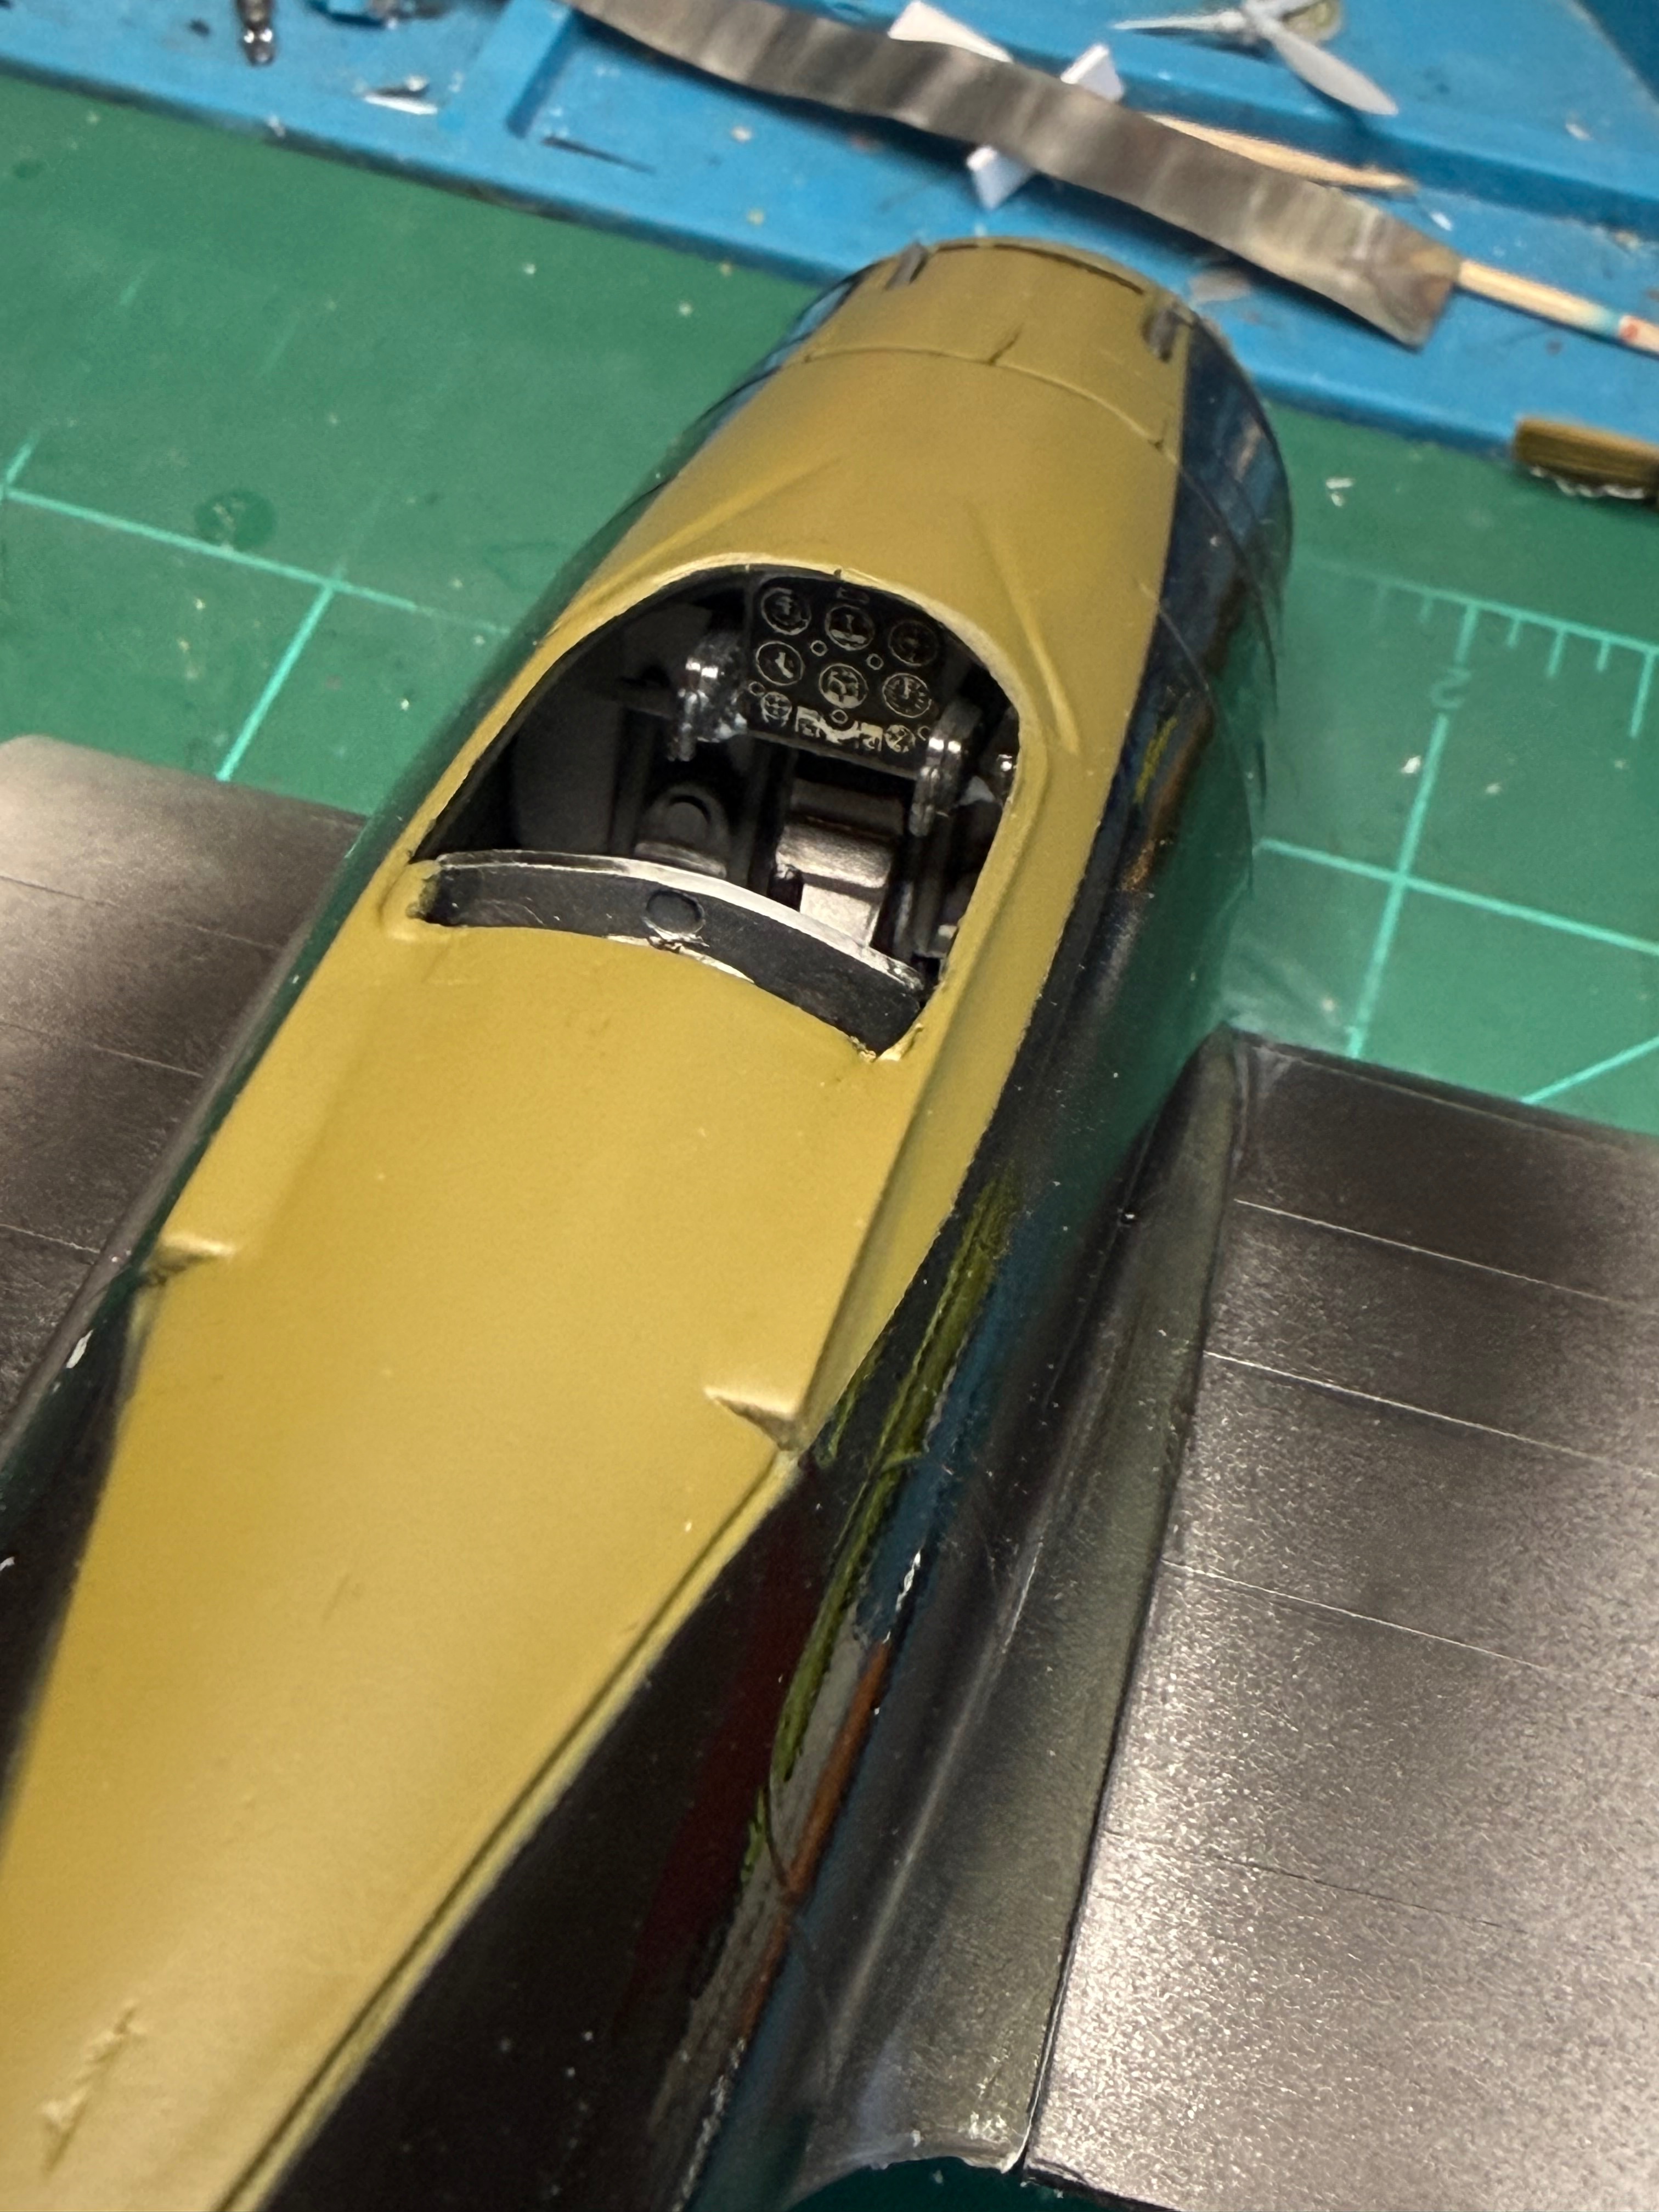
I ended up with substantial gaps. Placed some plastic cards in gap and used my thinned mix of Tamiya putty. Hopefully this doesn't turn into a project.So I needed to get the anti glare painted in order to install the guns and needed to have guns installed before assembling the bottom section. A lot of this kit is left to the builder. For example the gun sight is mounted externally but the "directions" just point toward an area- and you have to know this part is the sight. I am really digging this faded OD and gloss black. I'm going to have to use that color scheme for a future build. Beware rivet counters!
Attachments
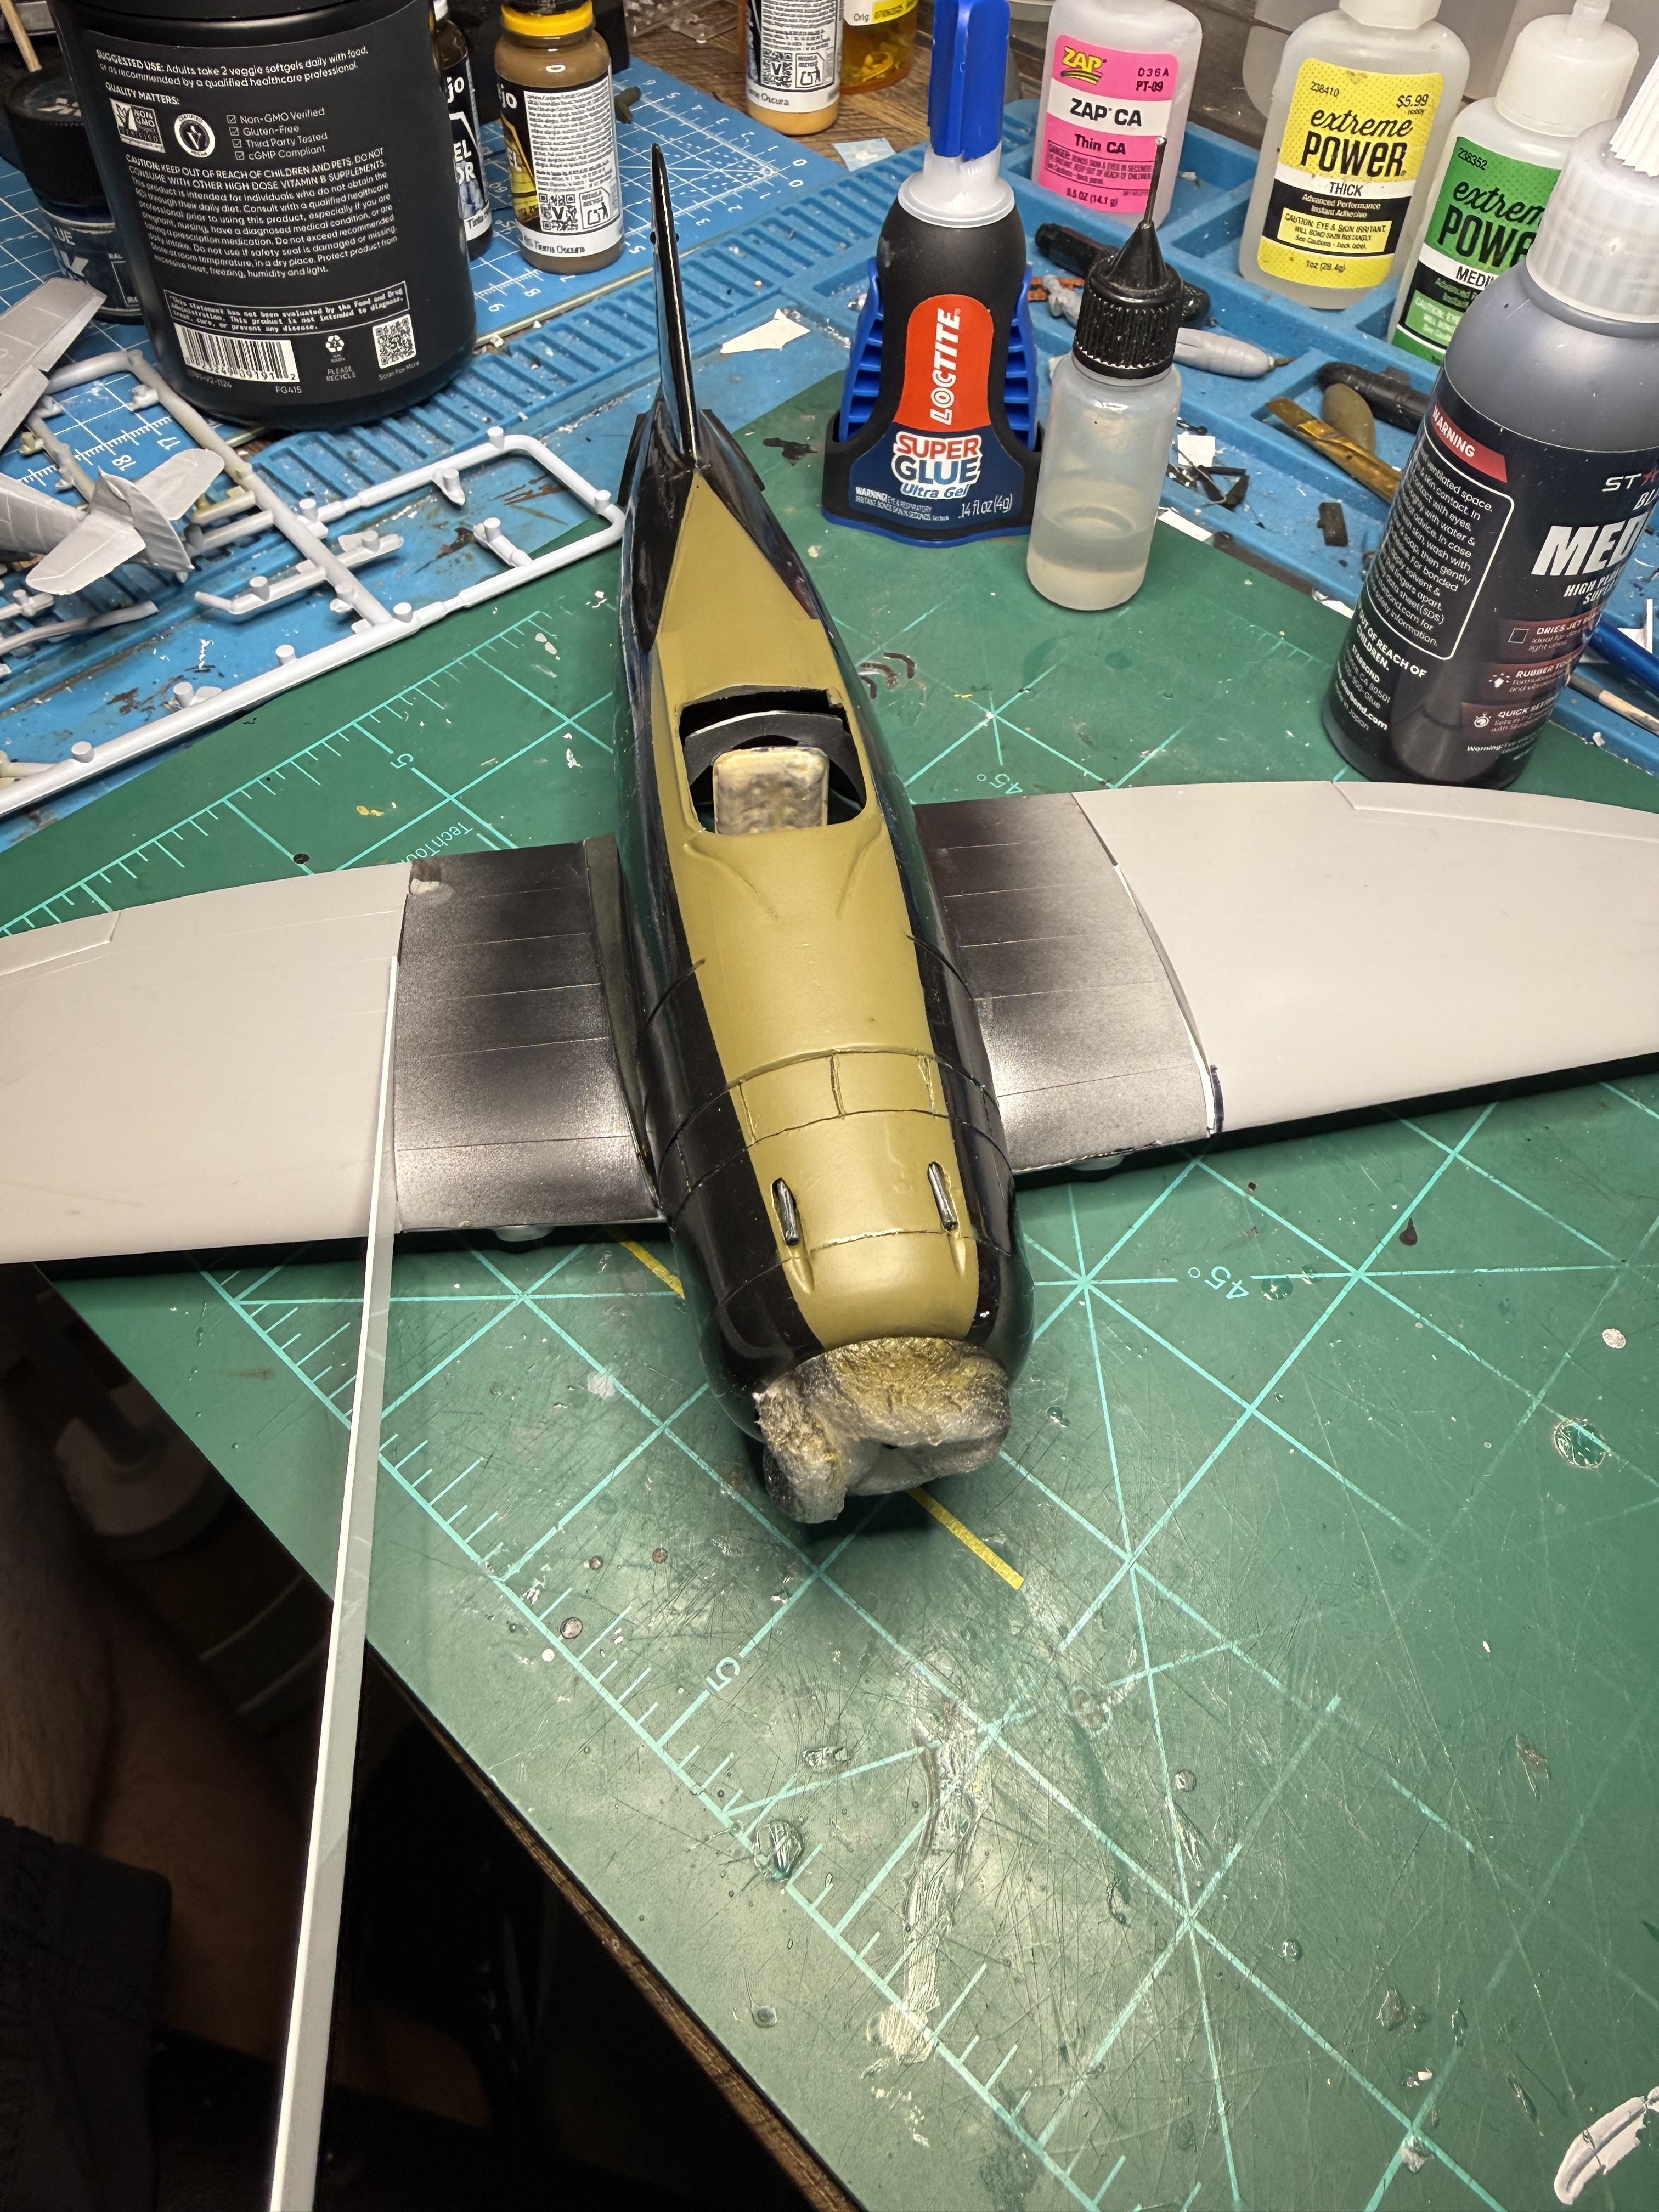
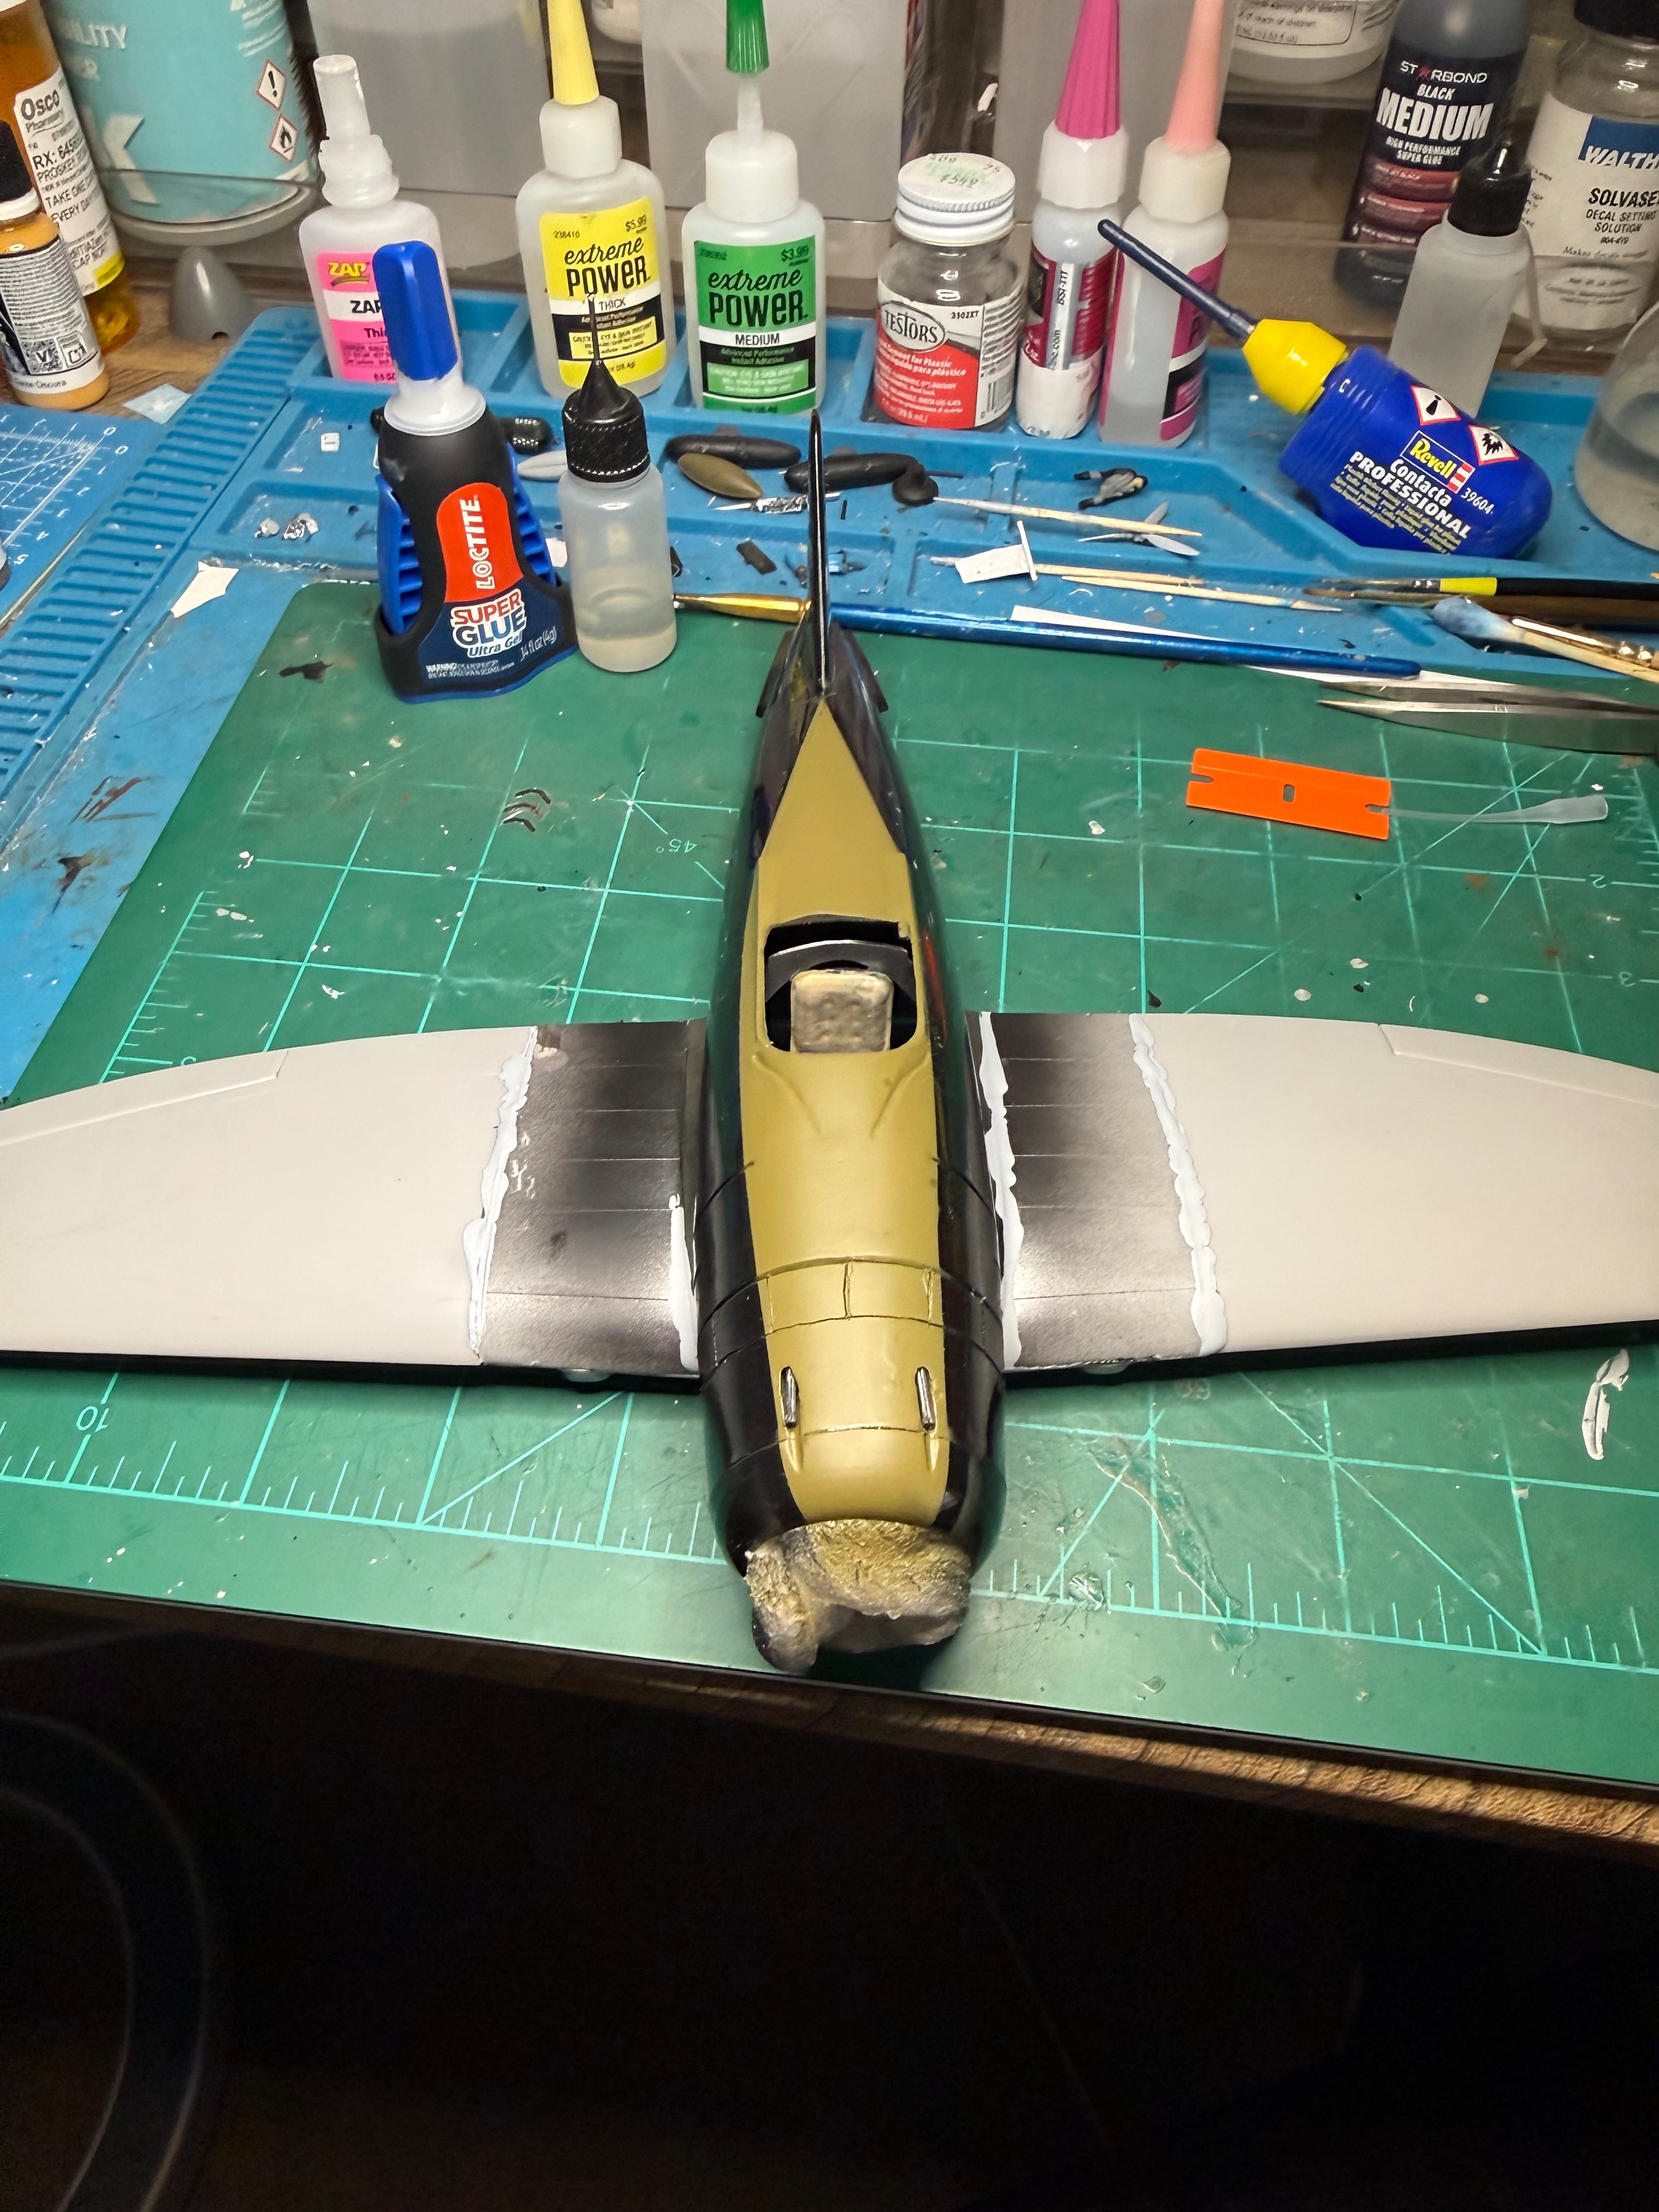
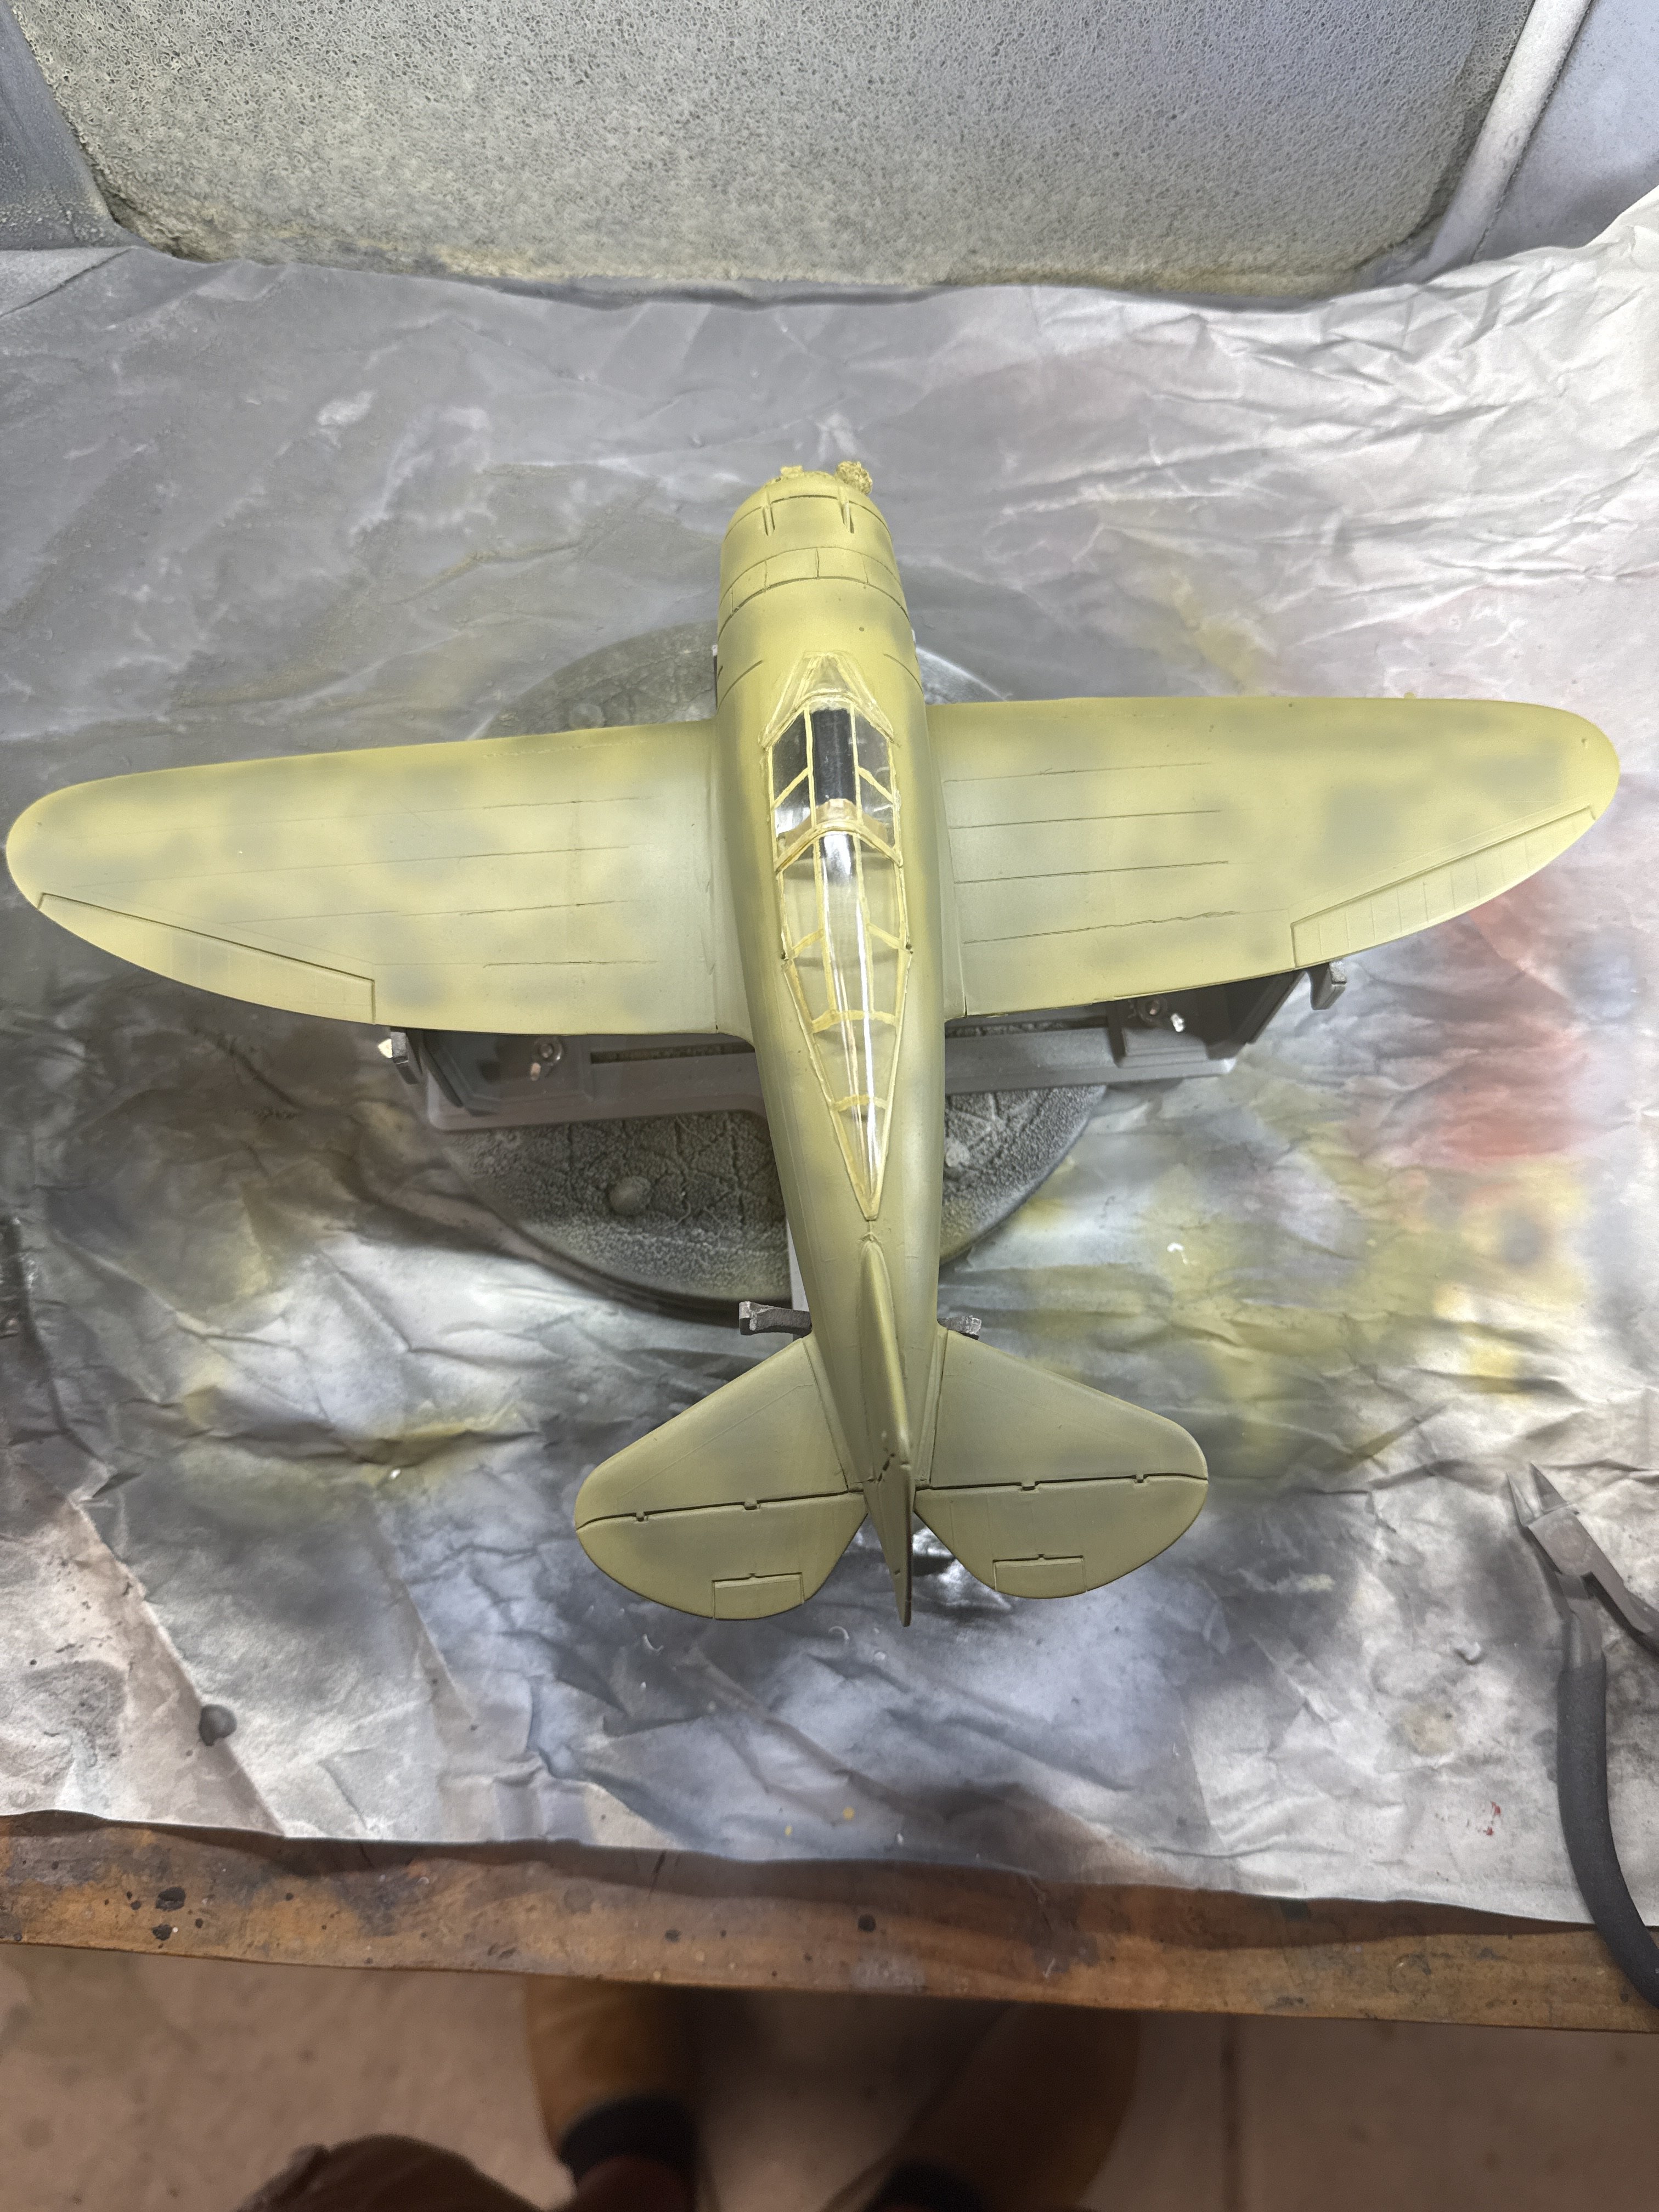
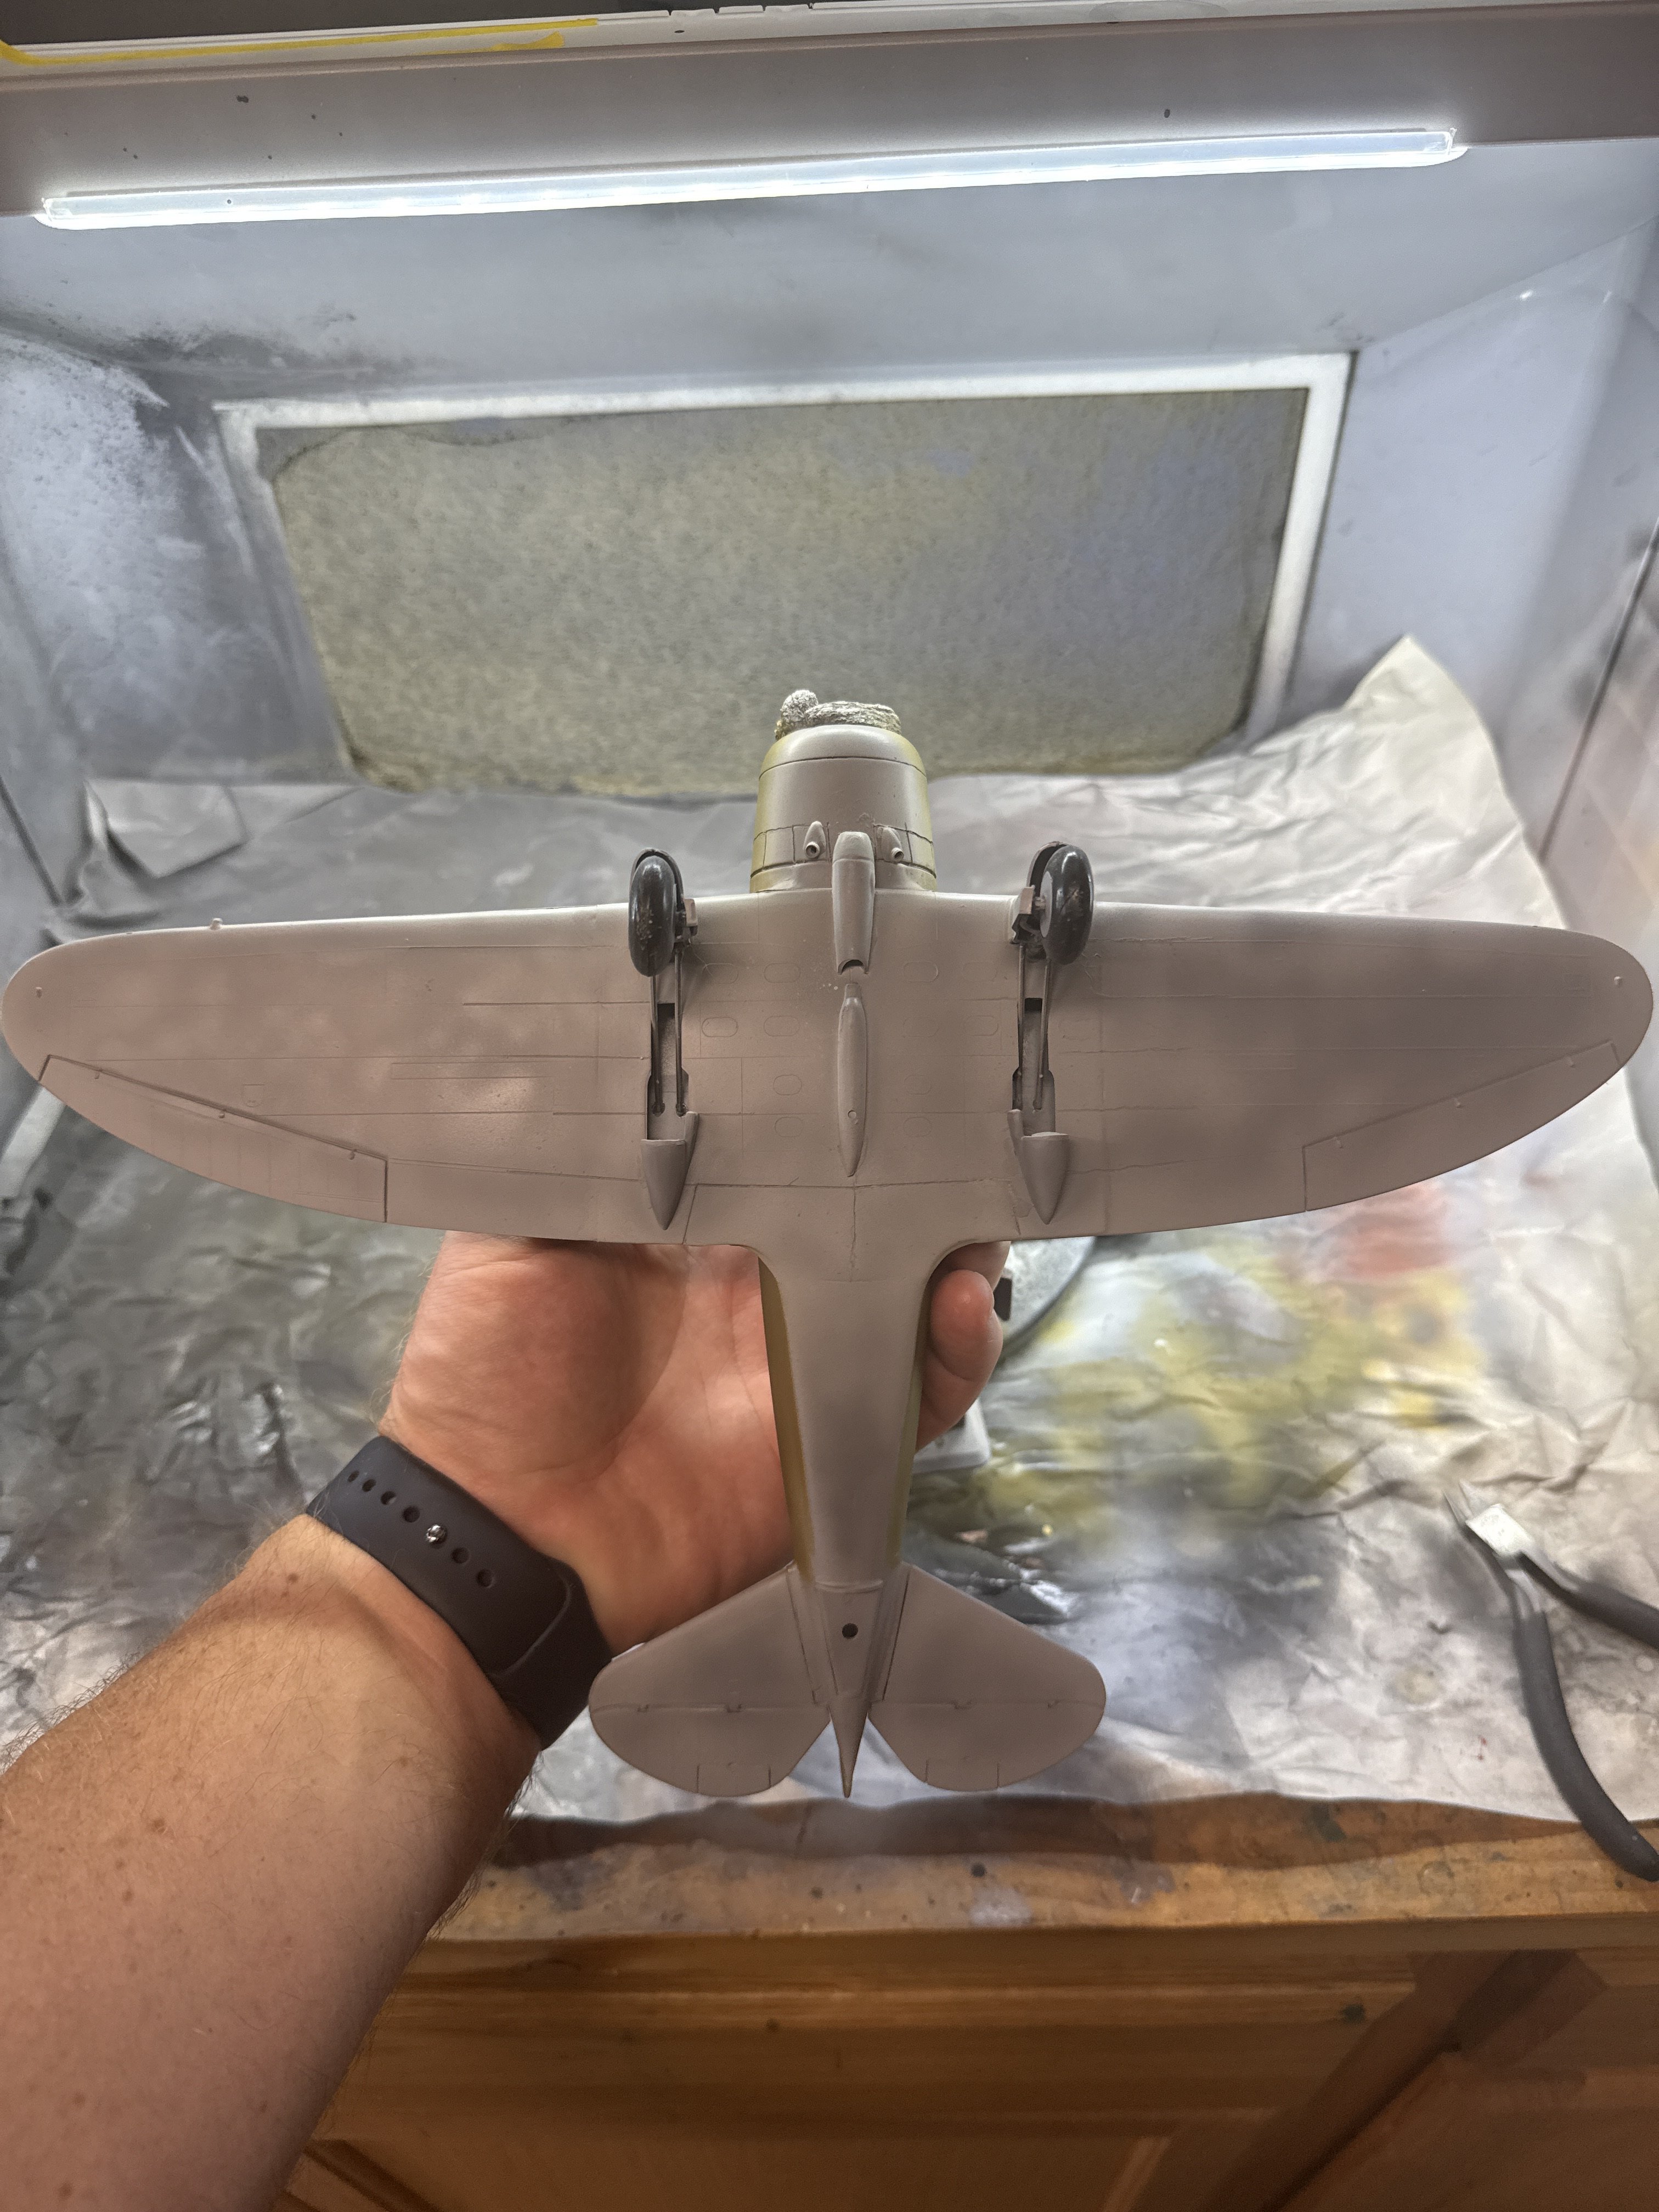
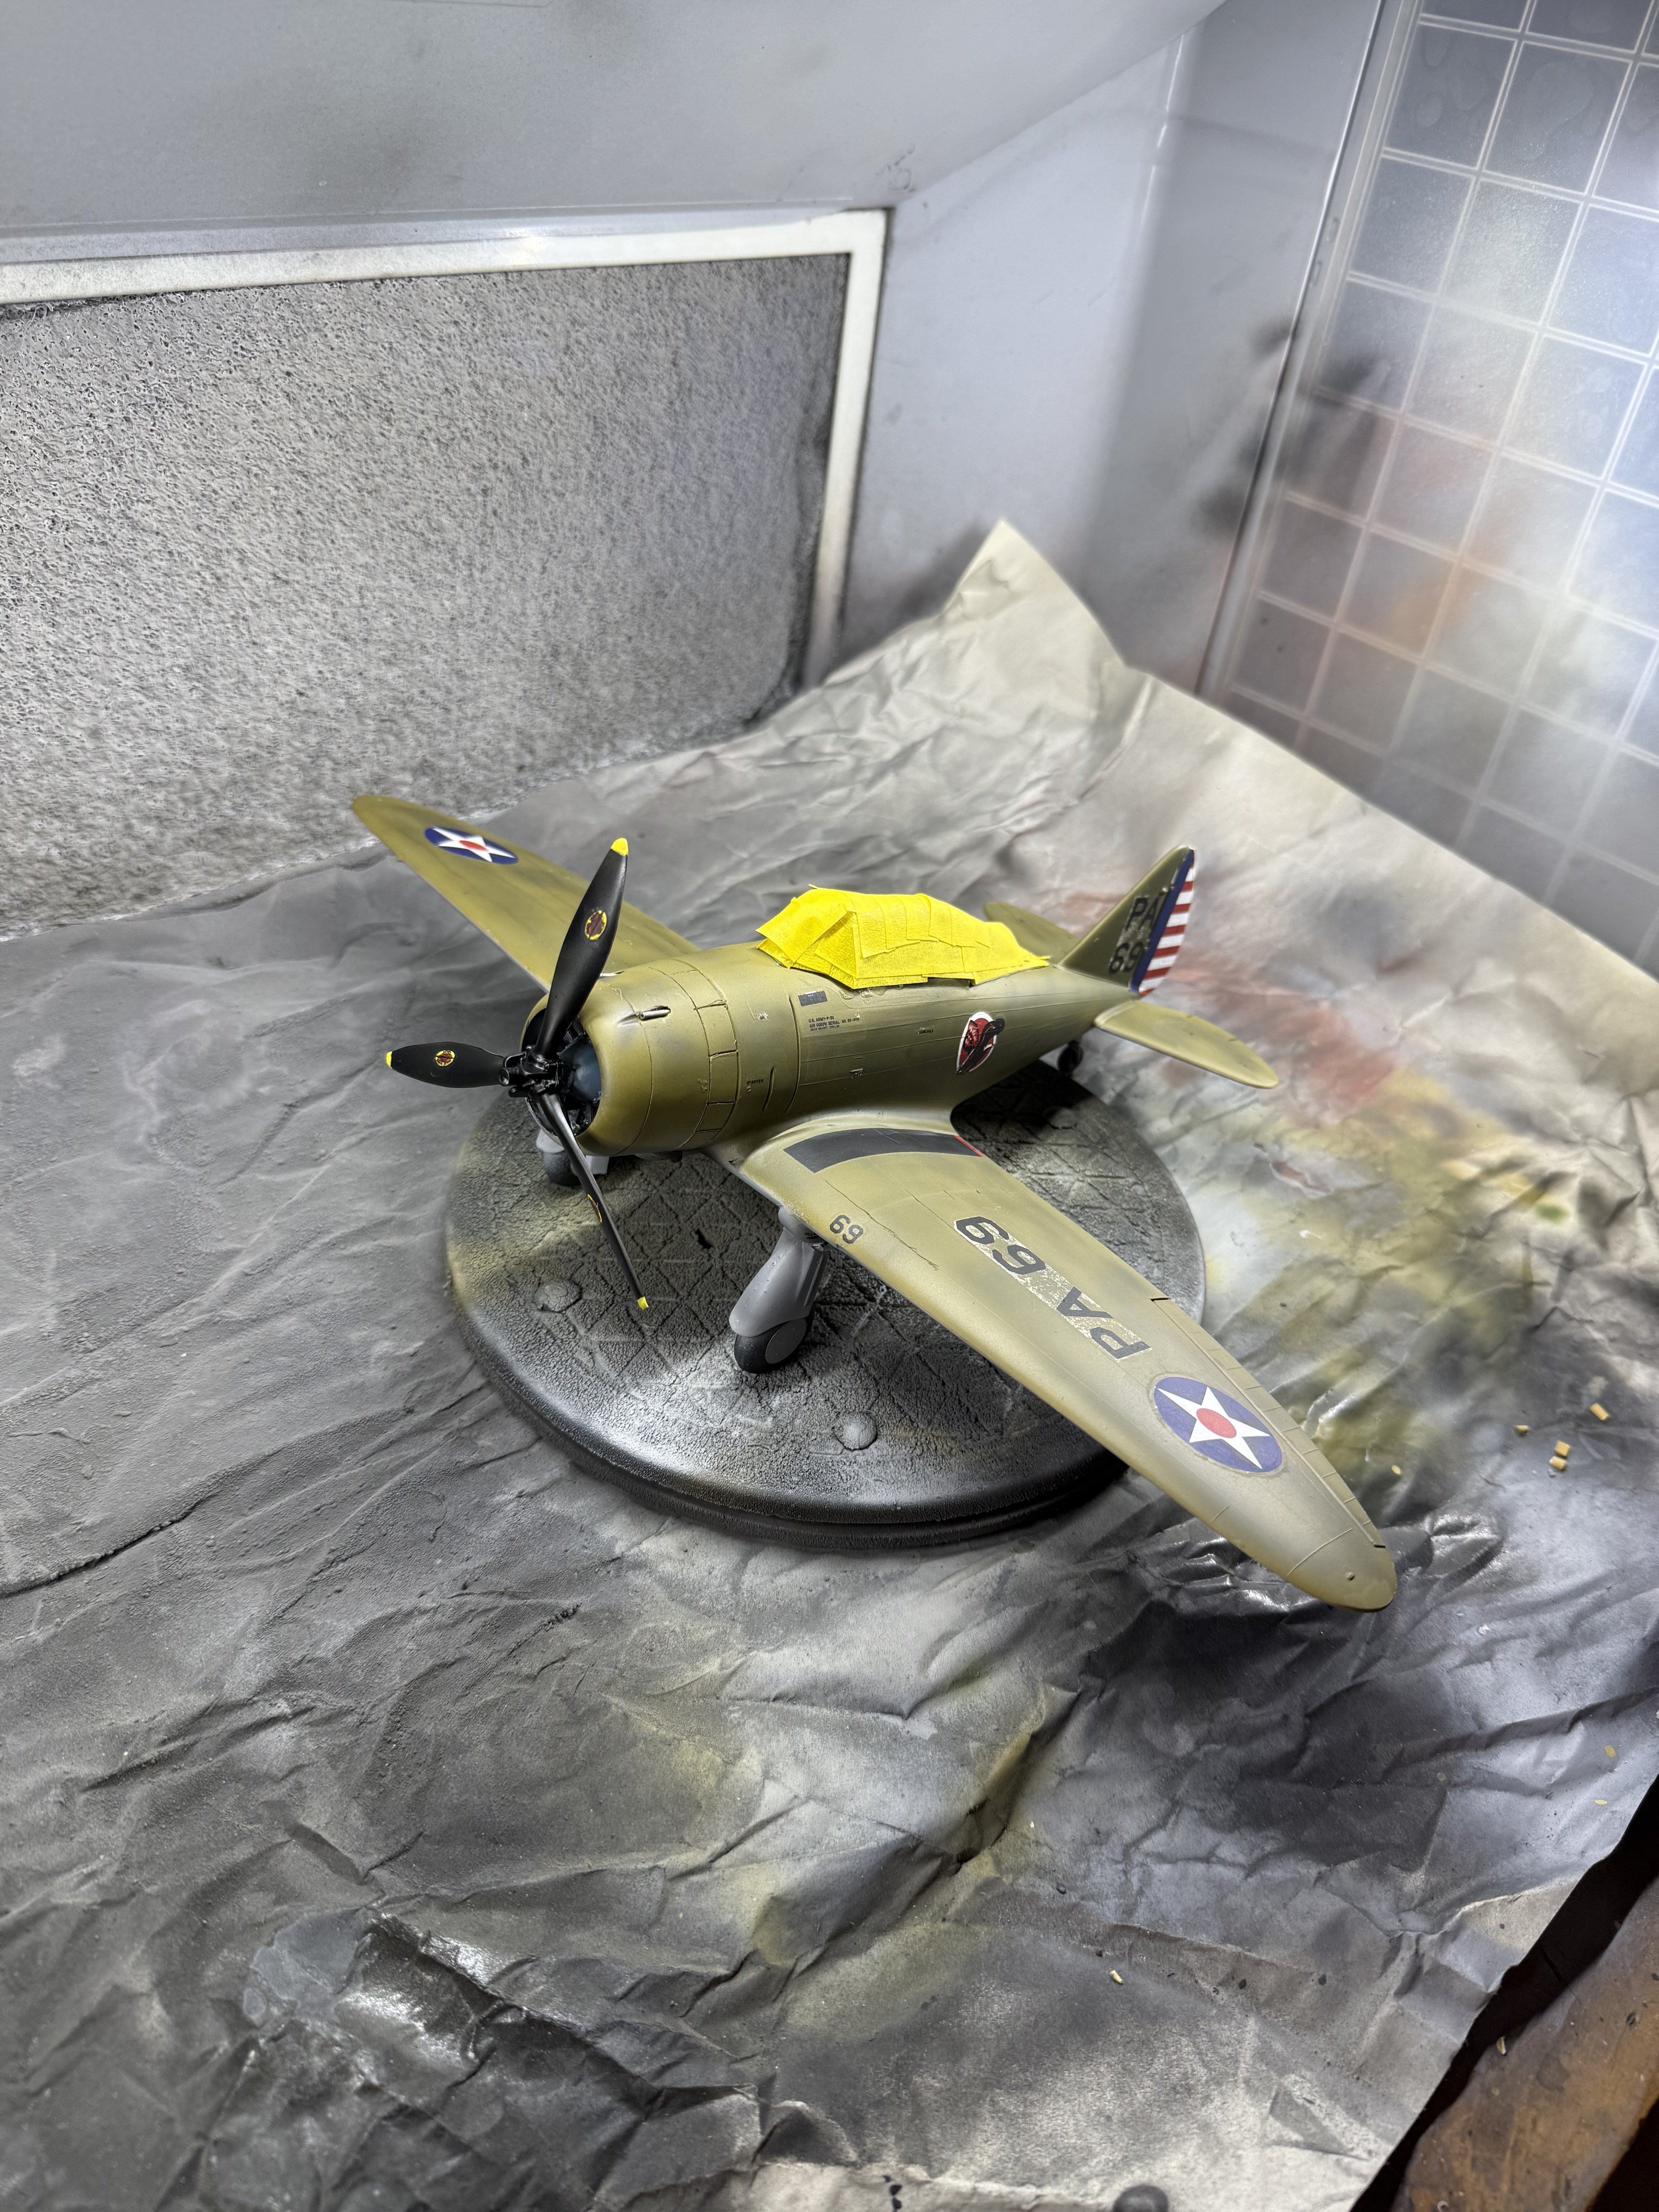
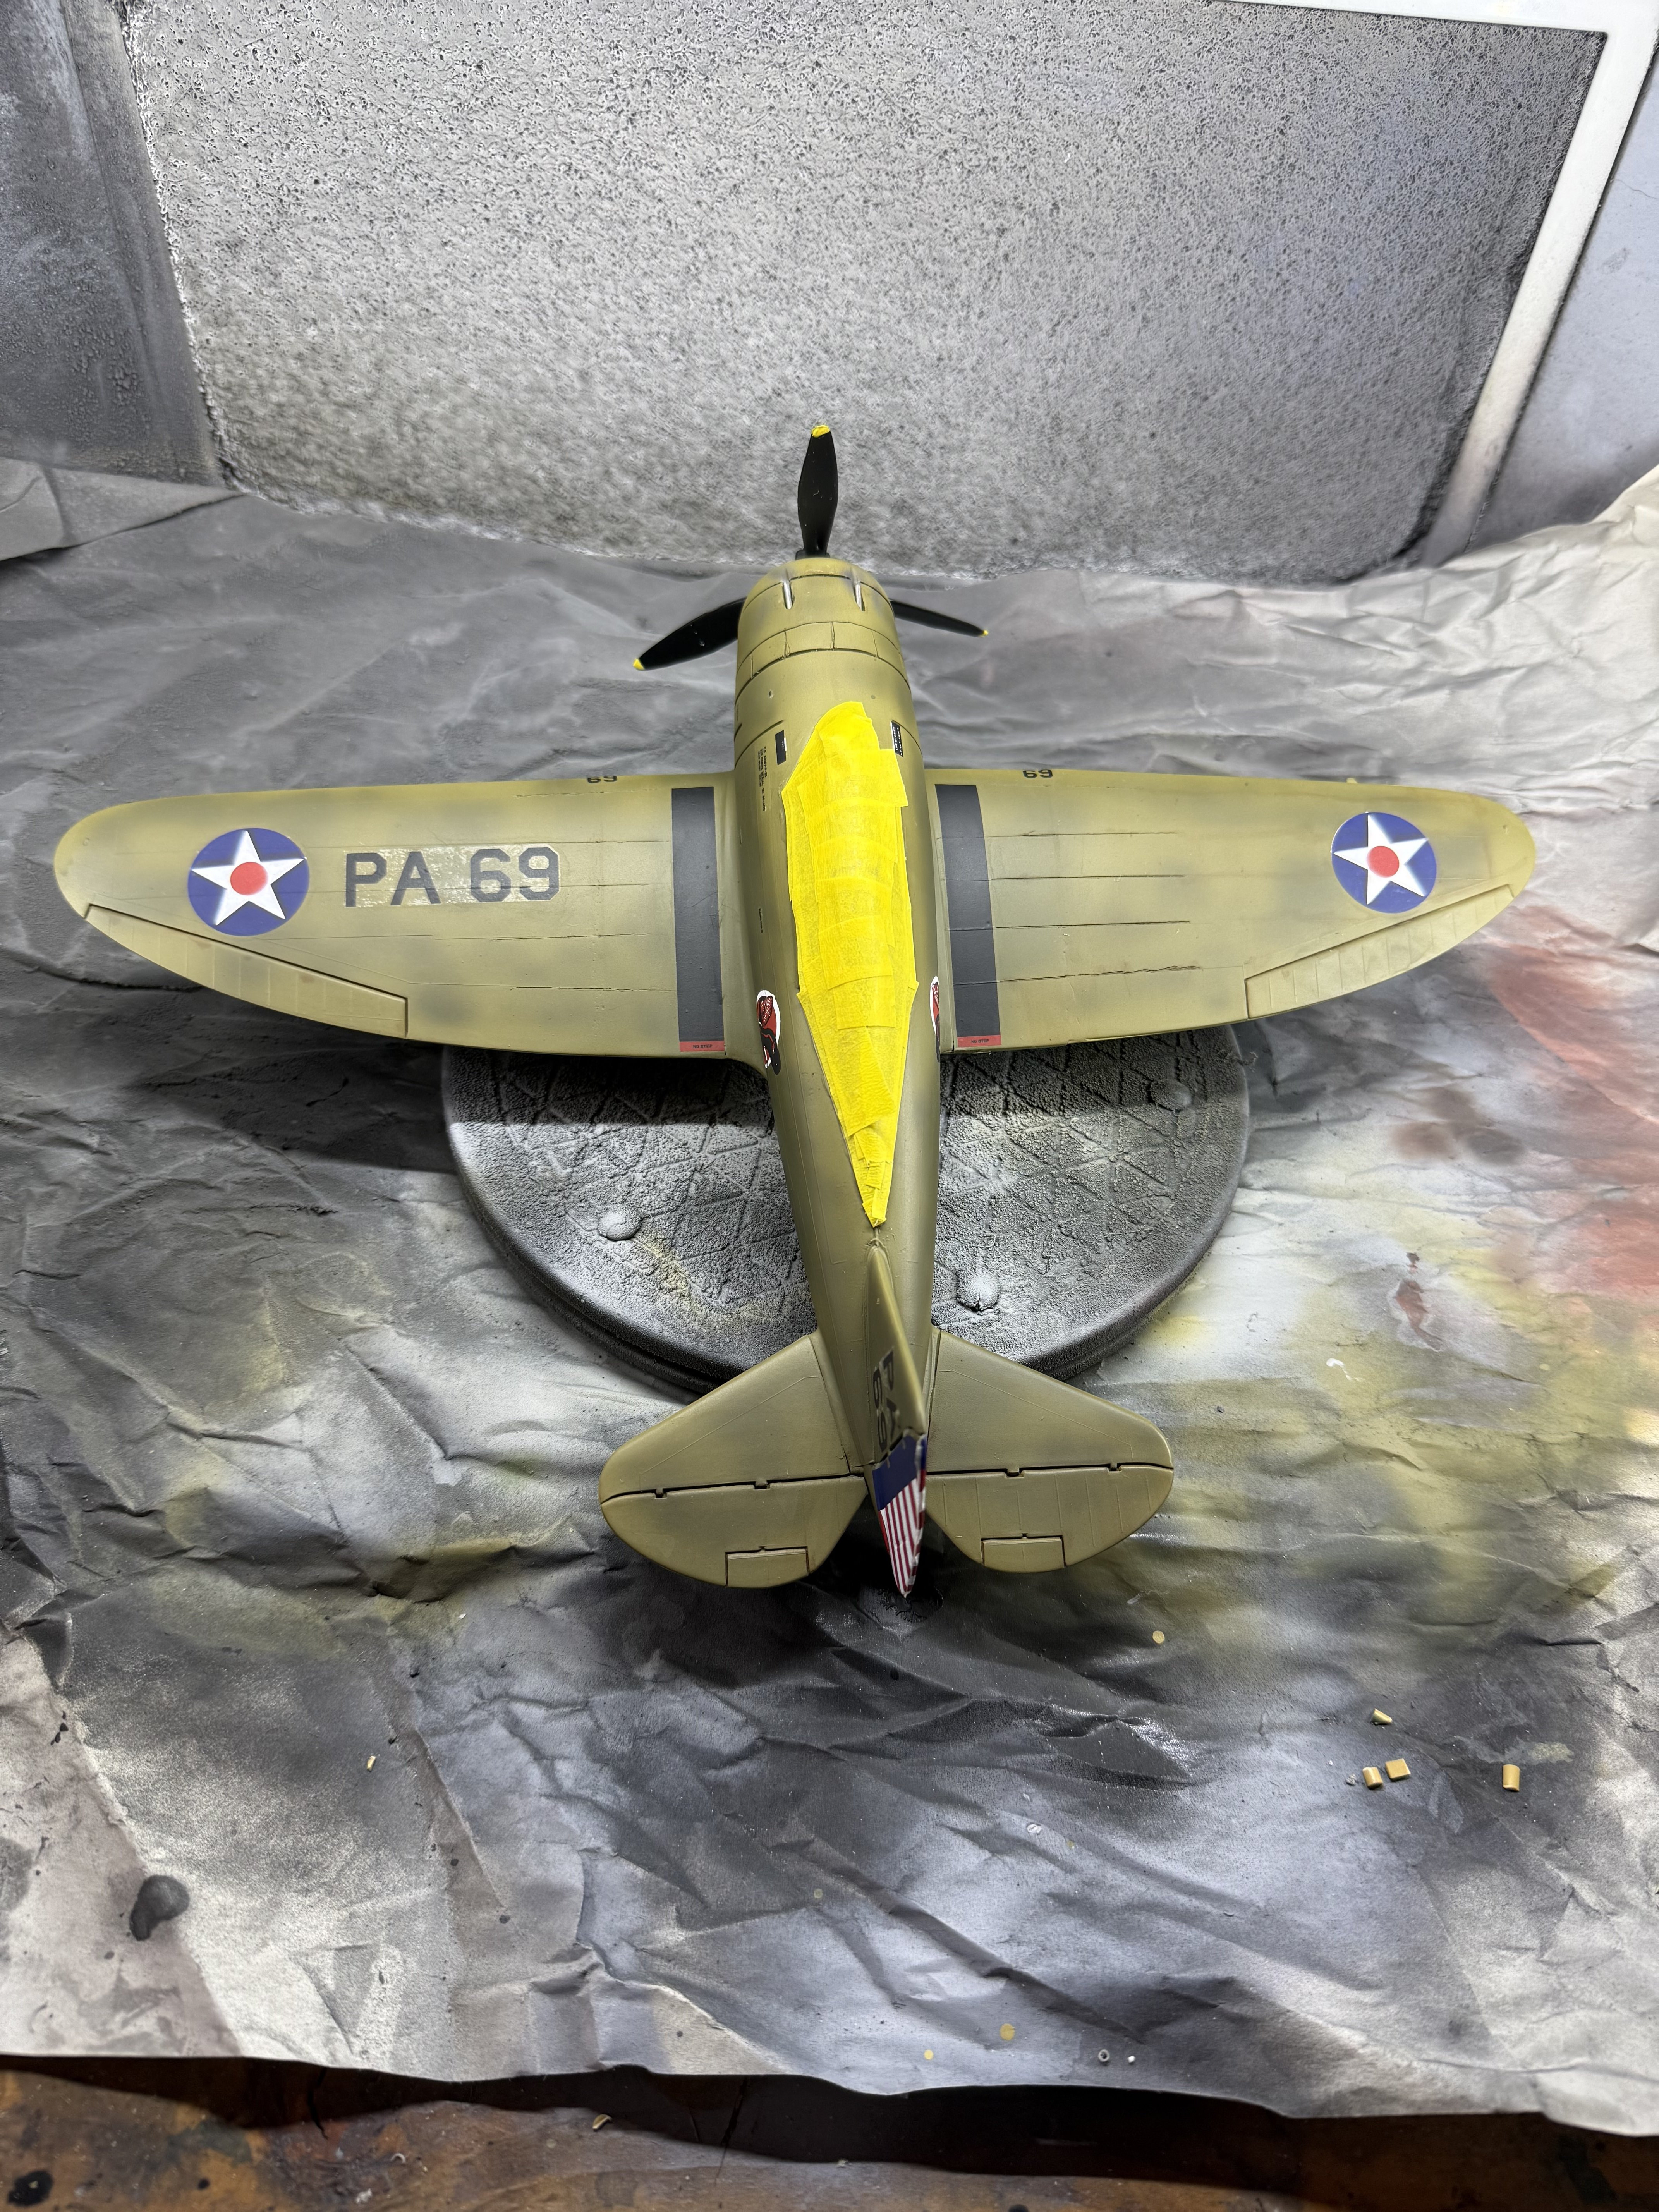
Finally did a bit more work on this project. A few mistakes. First color is supposed to be OD. I had black based it thinking it was all natural metal. Scribe lines are ok. I went too far on the cowling with the flaps and have the exhaust in place so I'm leaving it. Realized today I need to cut out the section for the tail wheel. I've never done this before so I scribed the outline and drilled some pilot holes. I hope this comes out ok. The diagram is confusing to me when it comes to the landing gear- and yes I chromed that! I thought I'd give it a little bling not sure that was a good idea. Sometimes I like to experiment with my builds. Huh. May as well have made it a natural metal finish too. Oh well.
Attachments
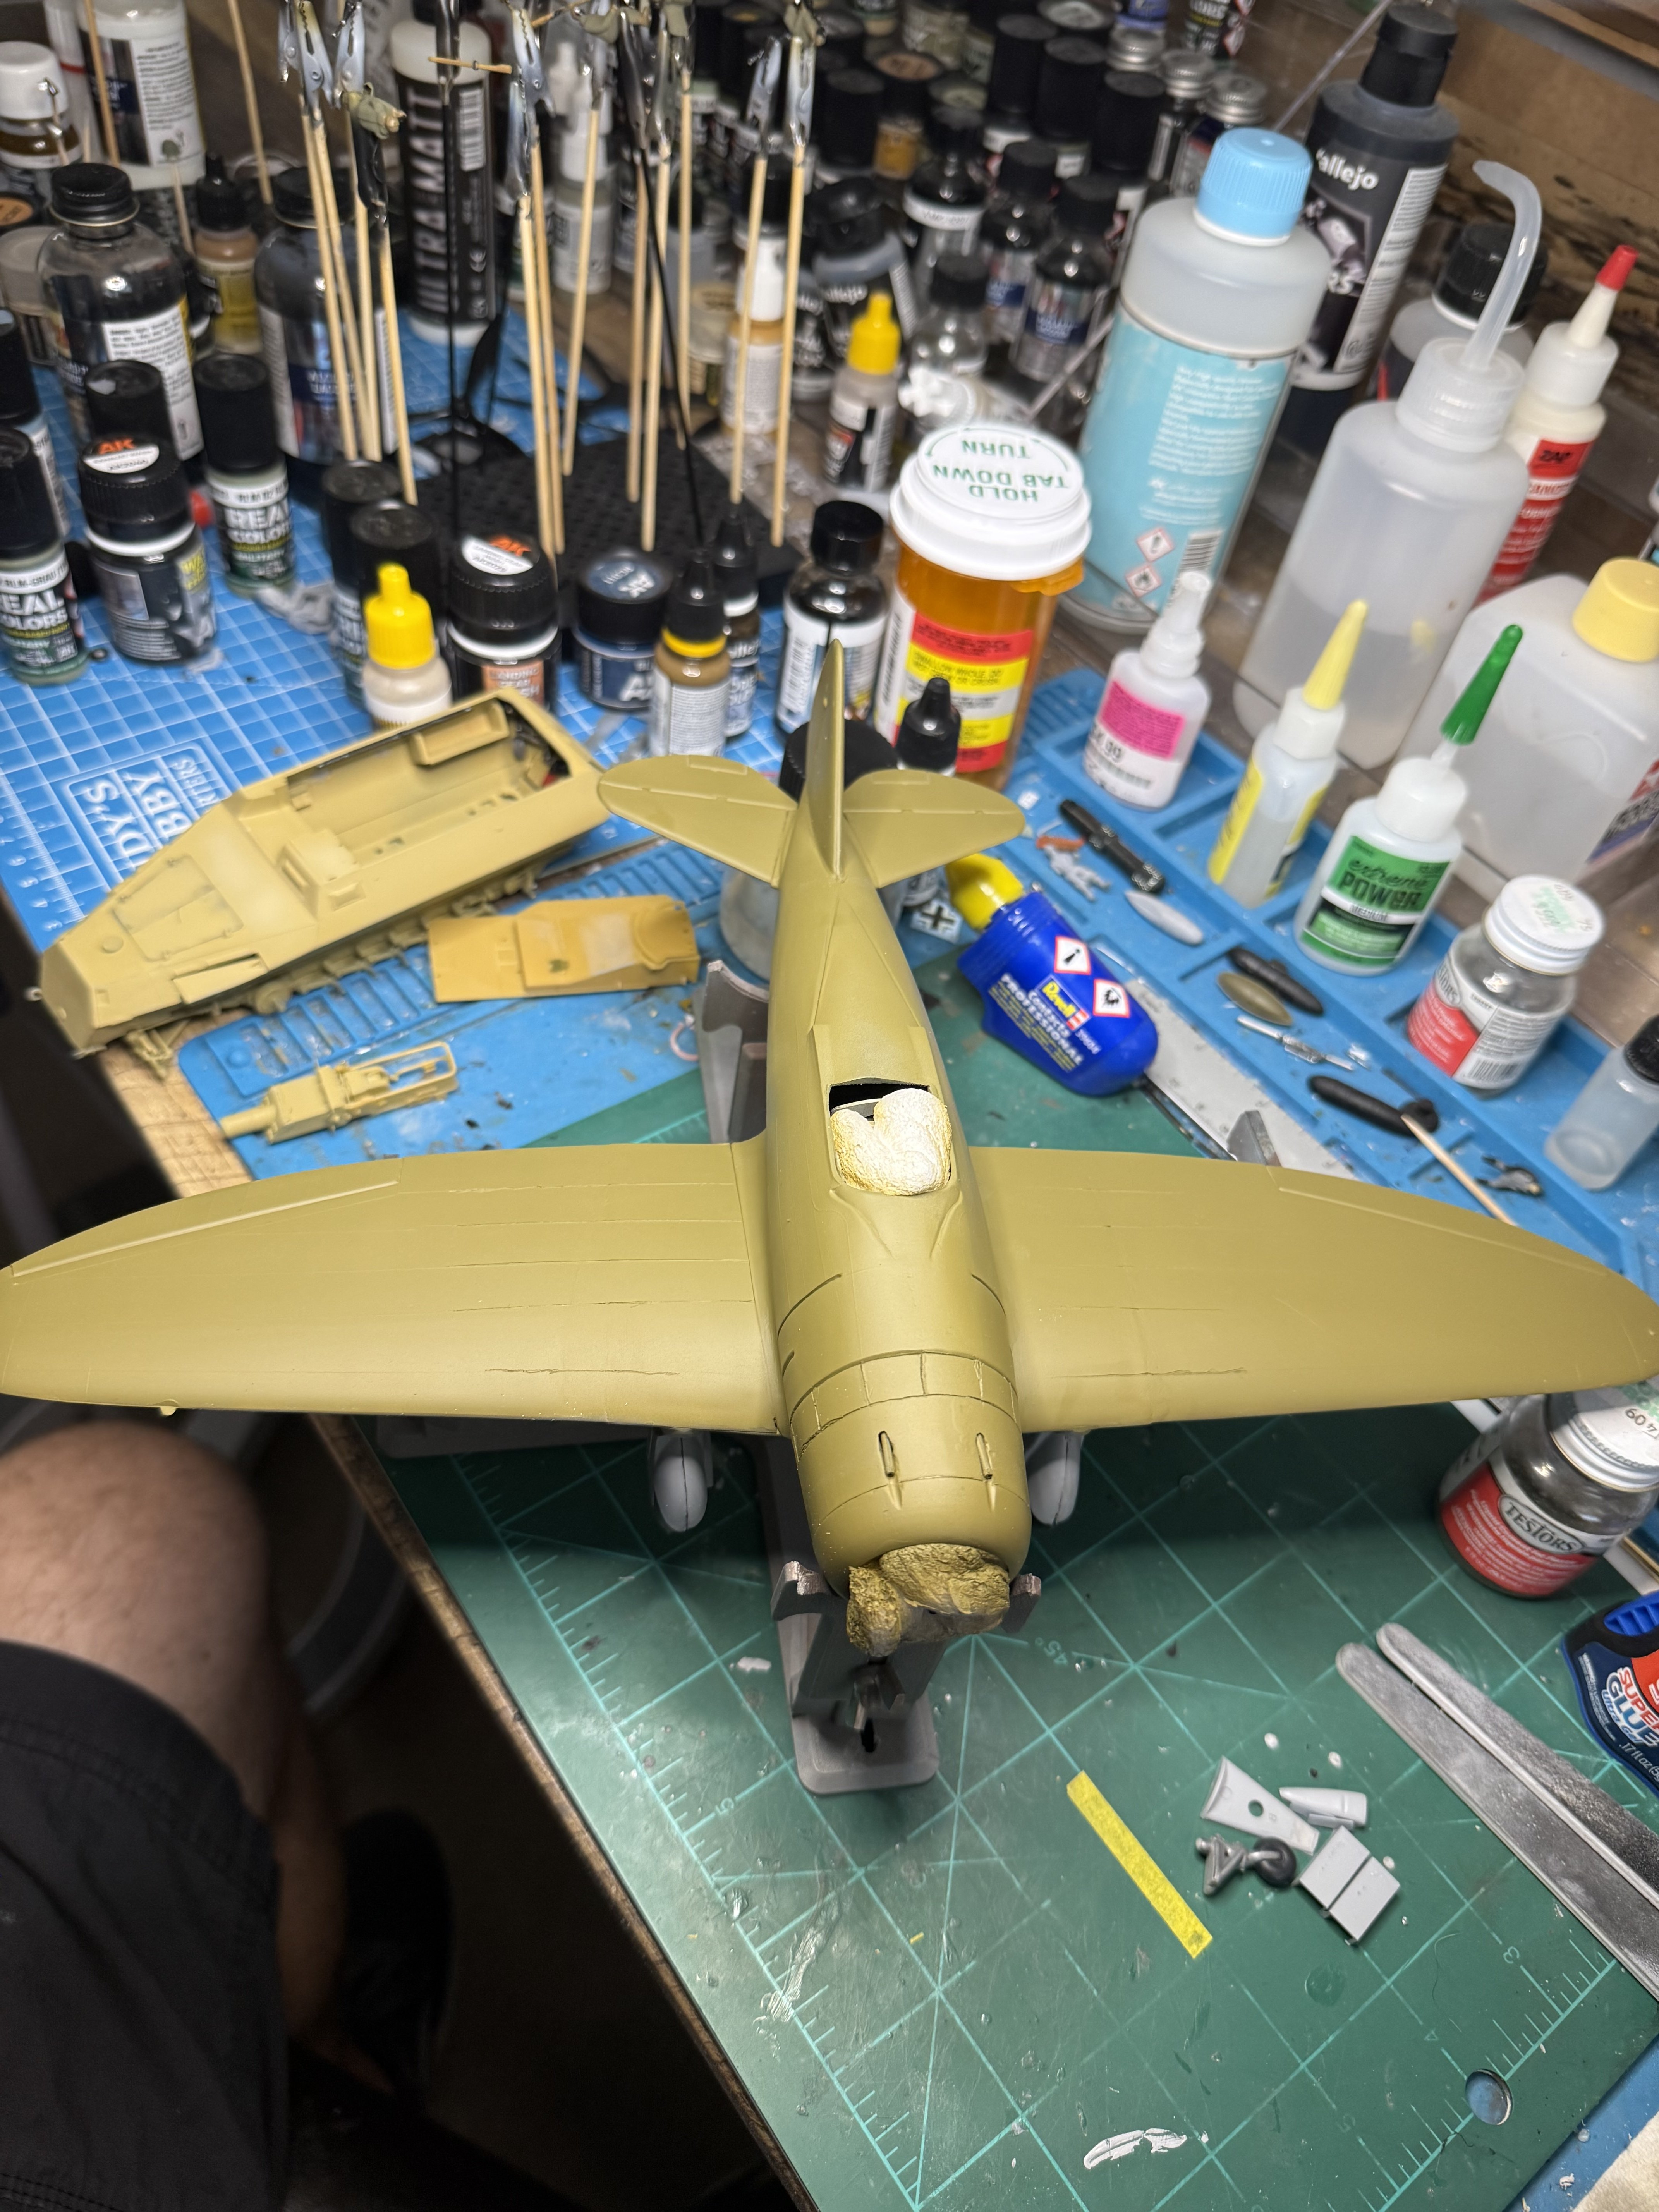
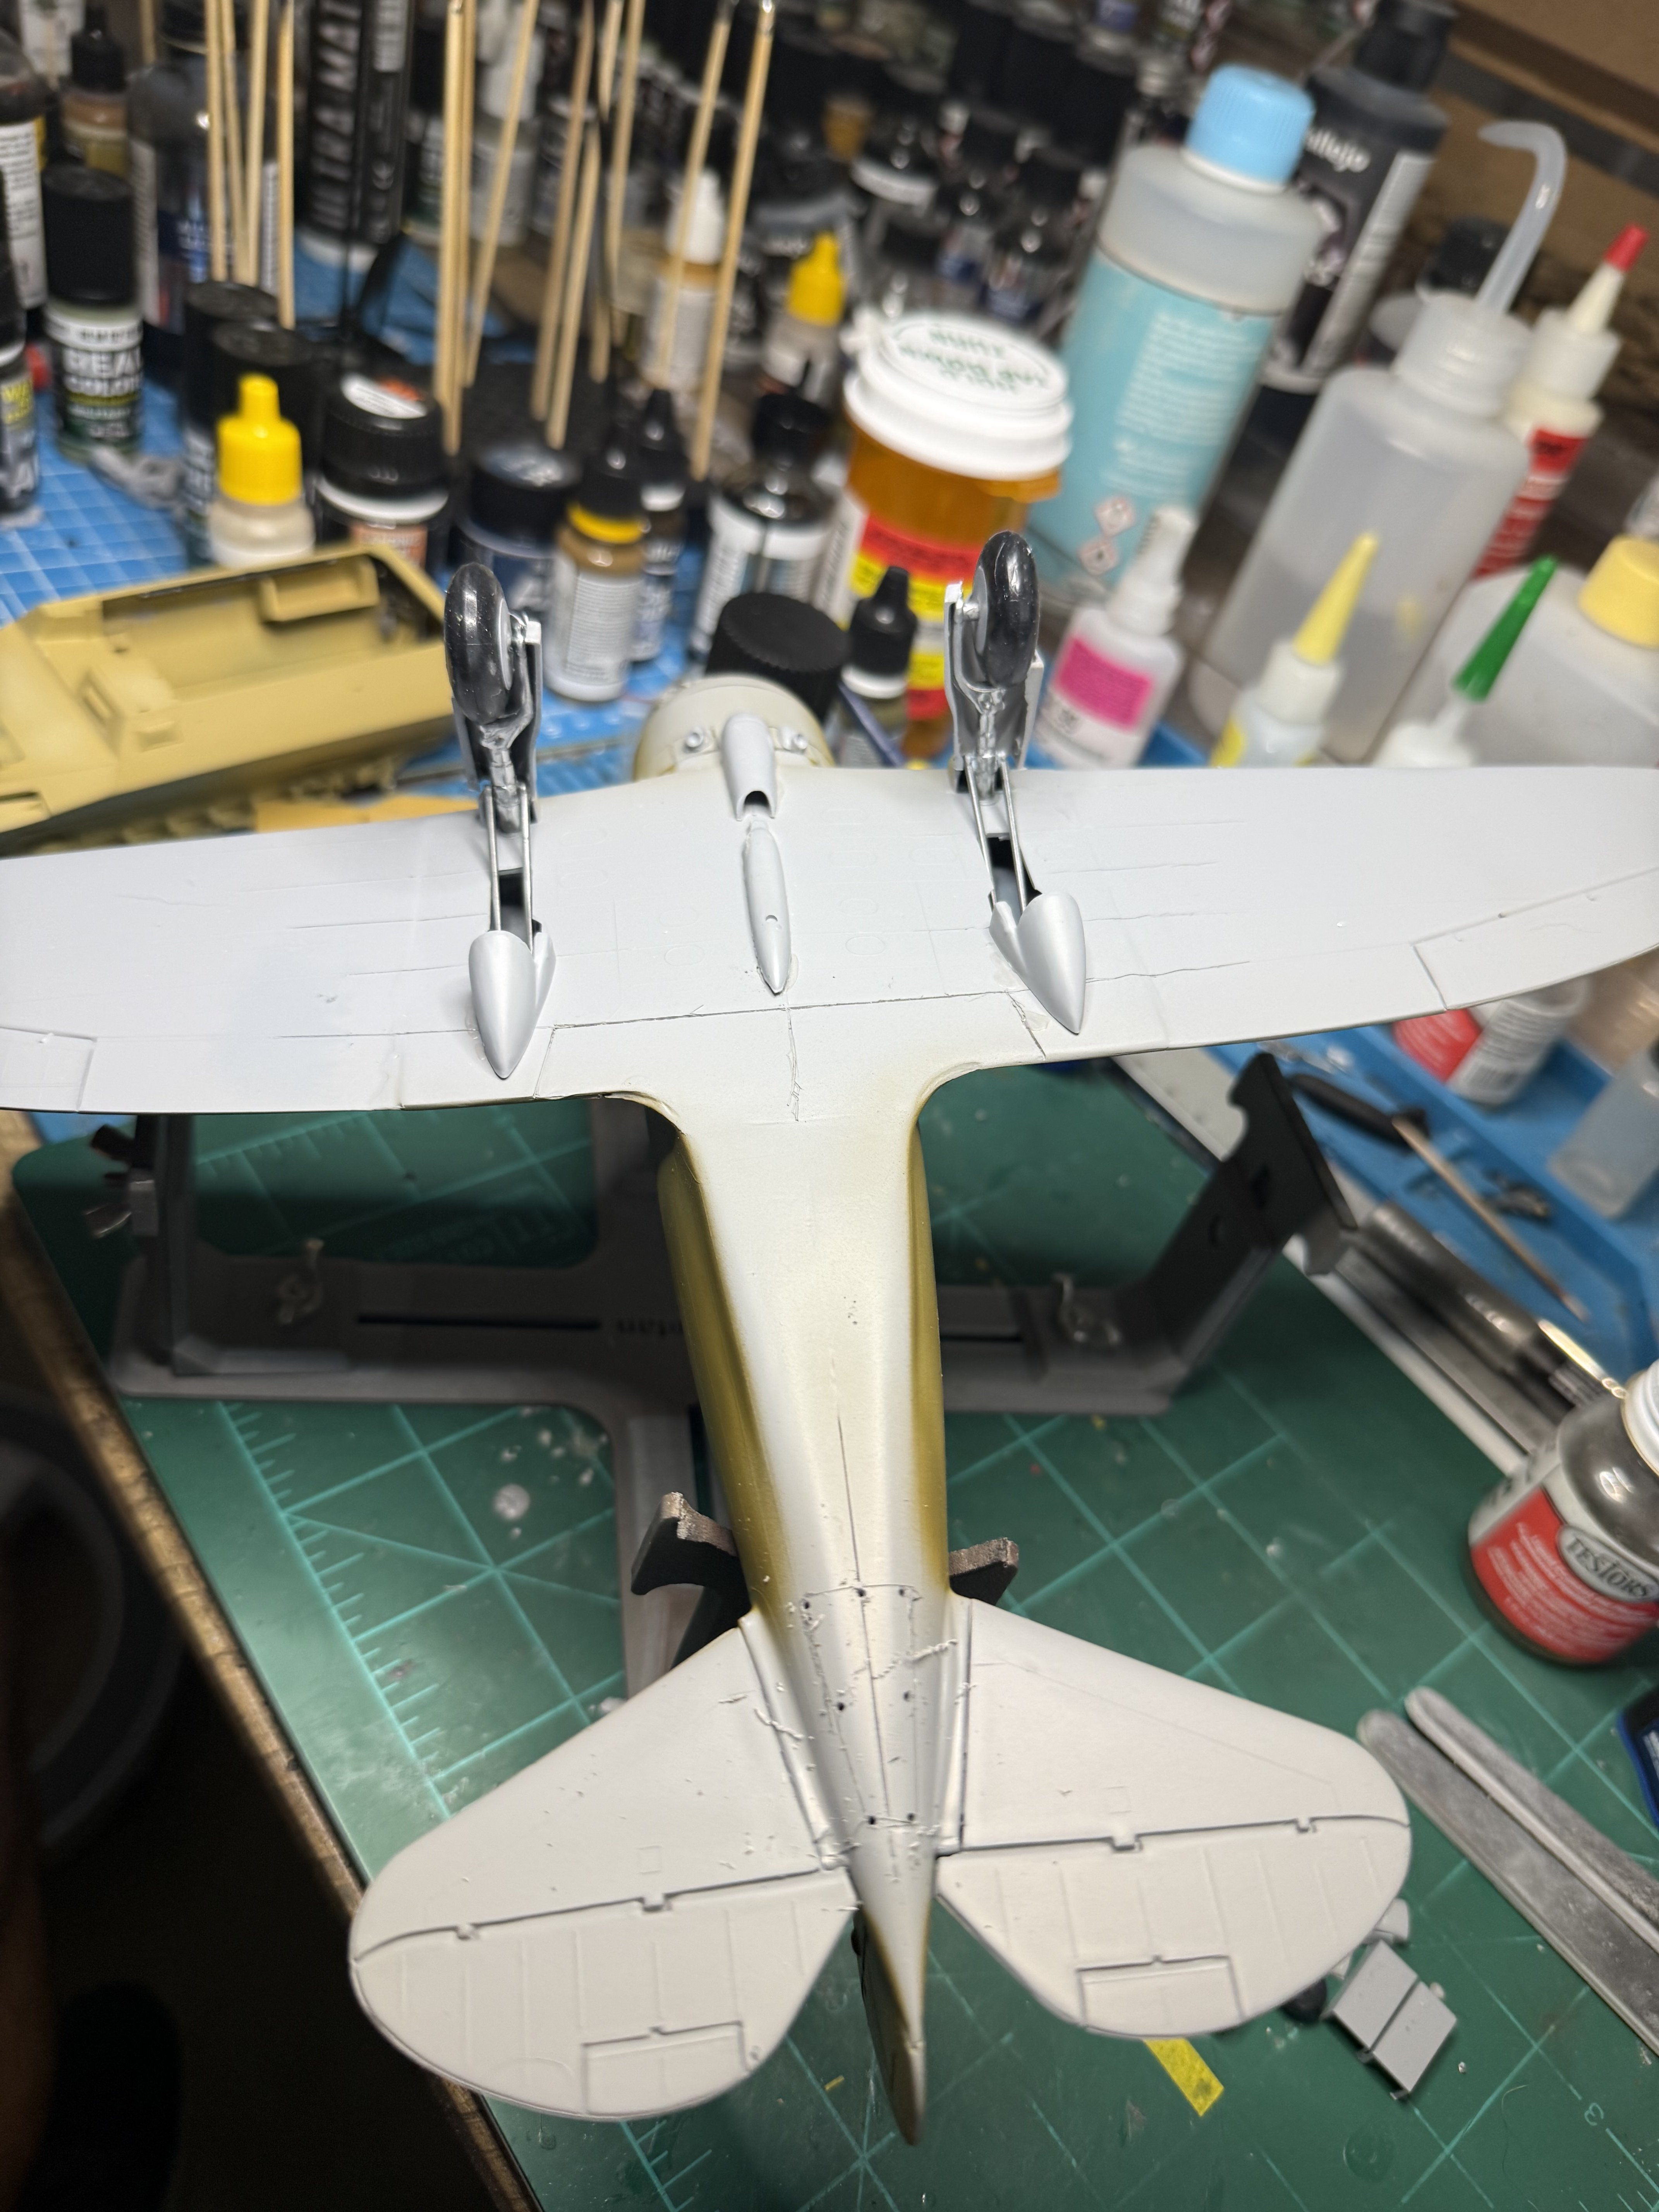
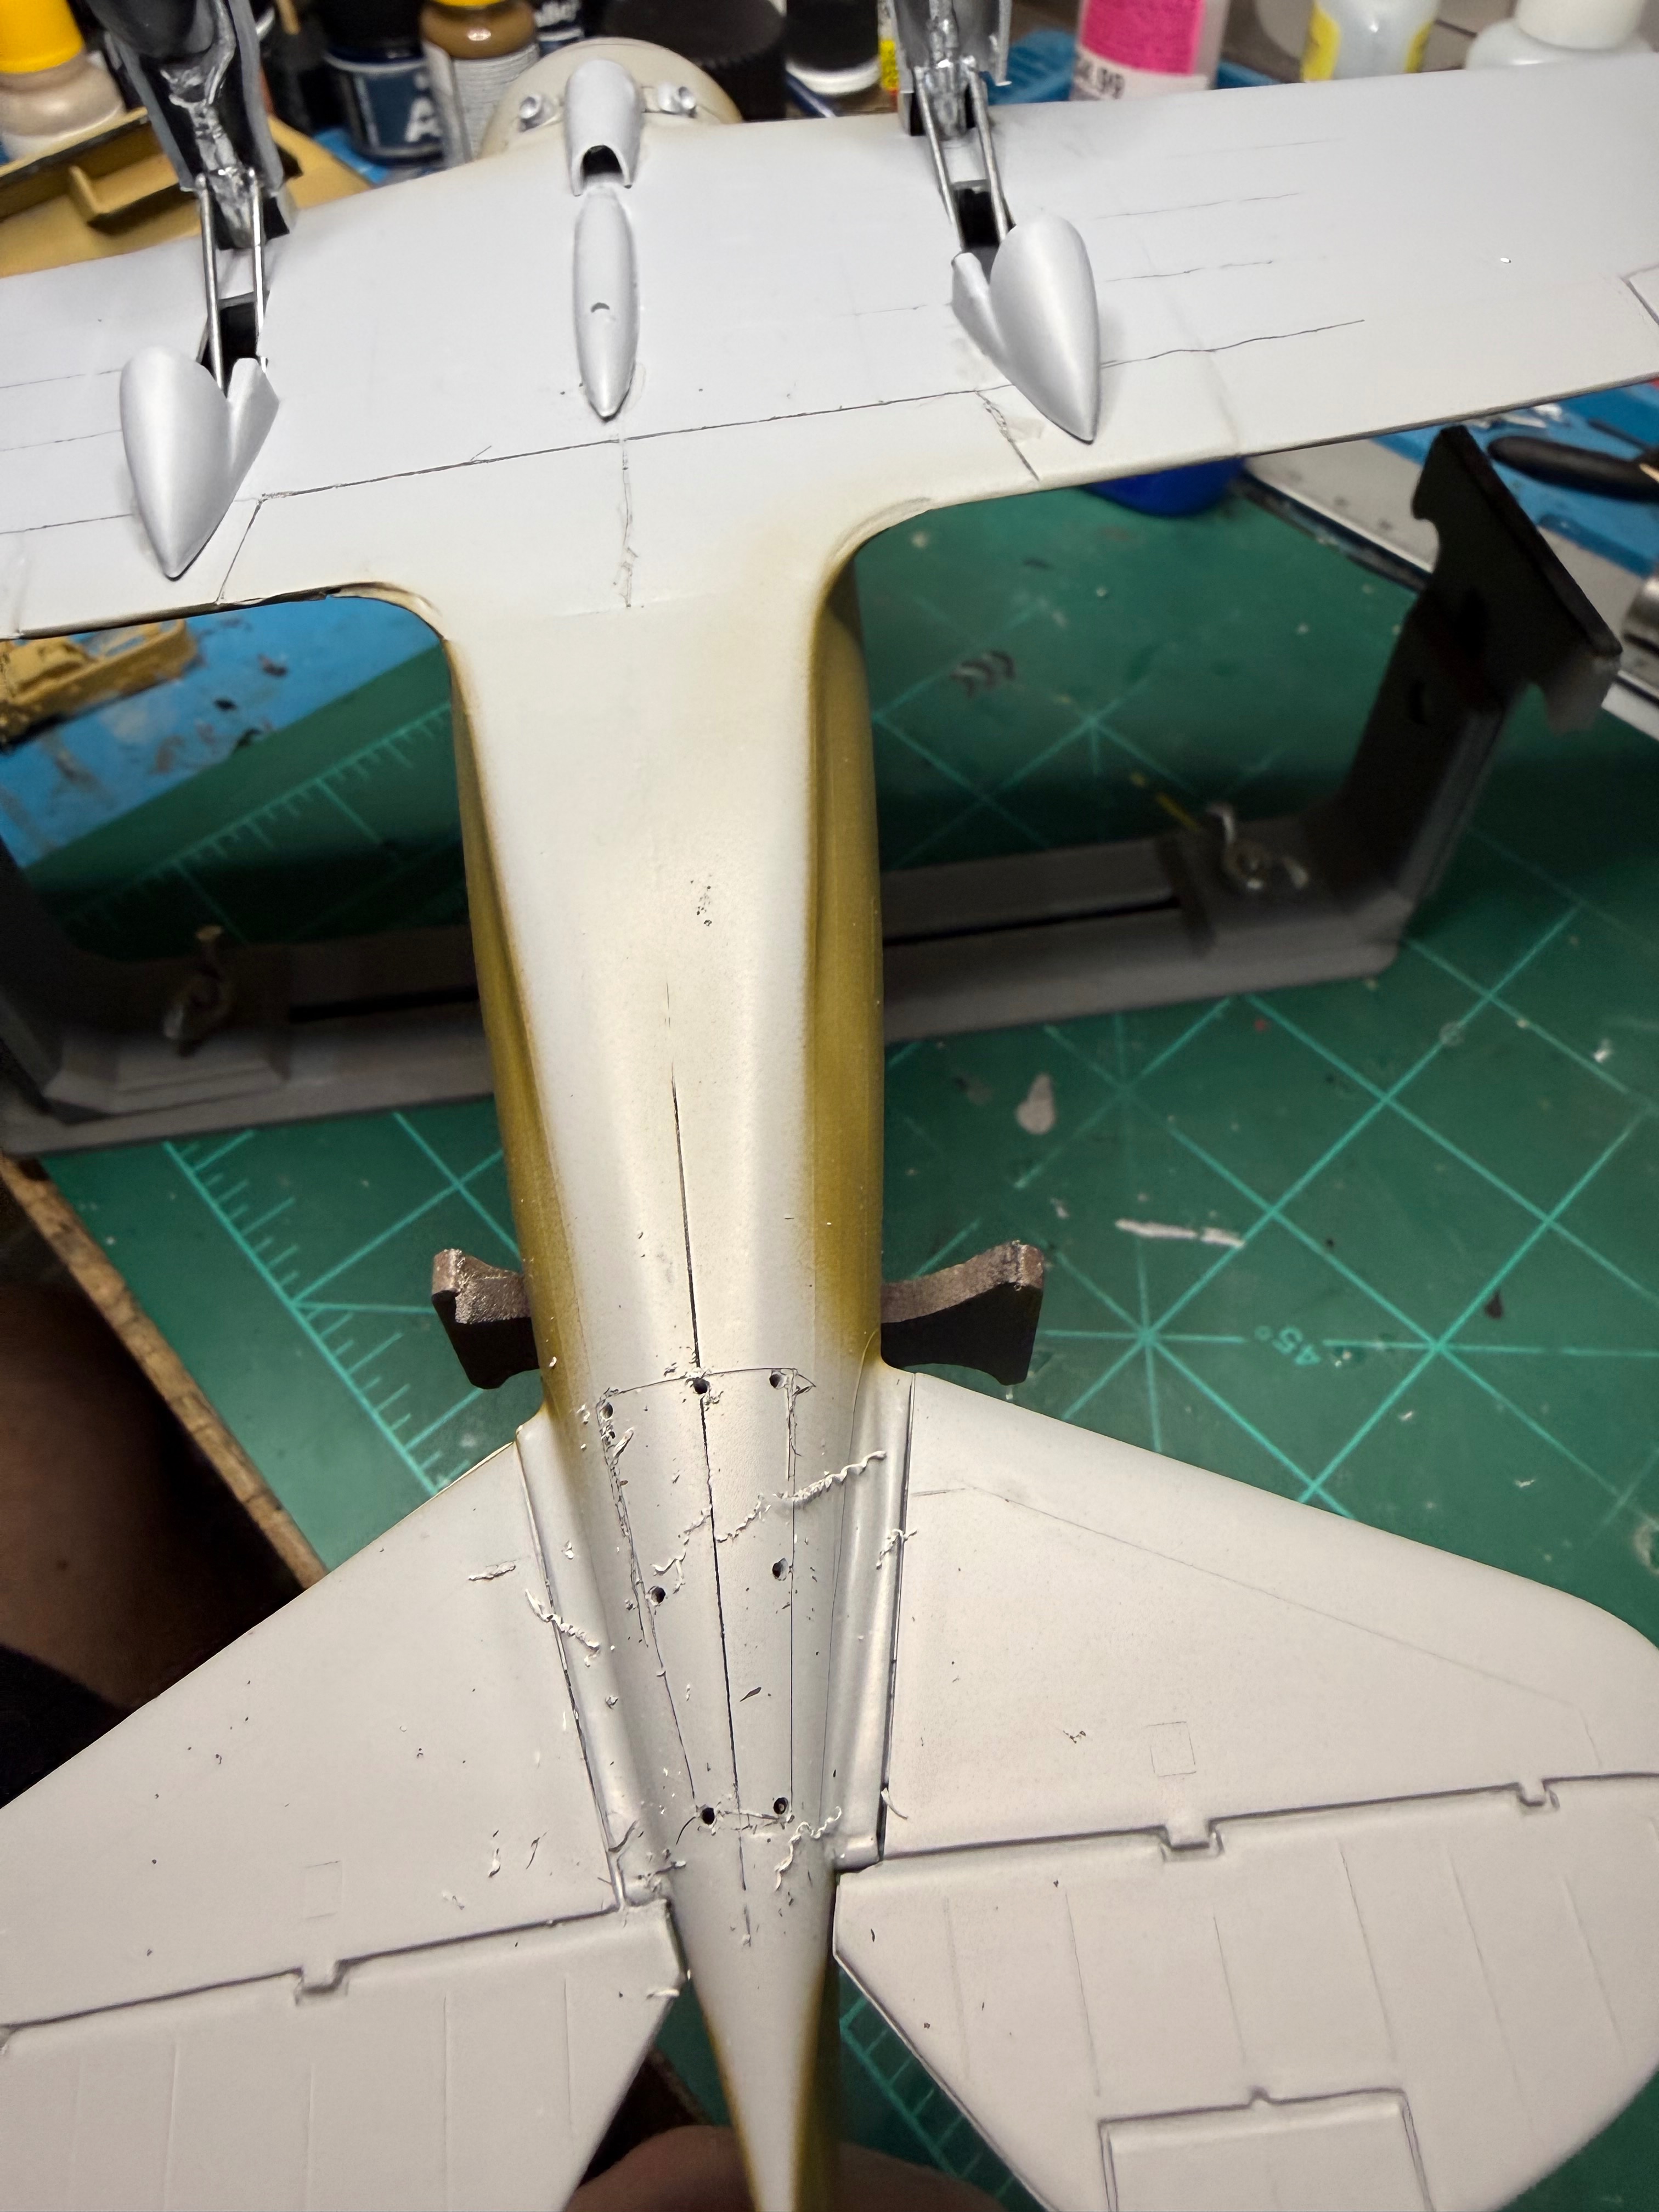
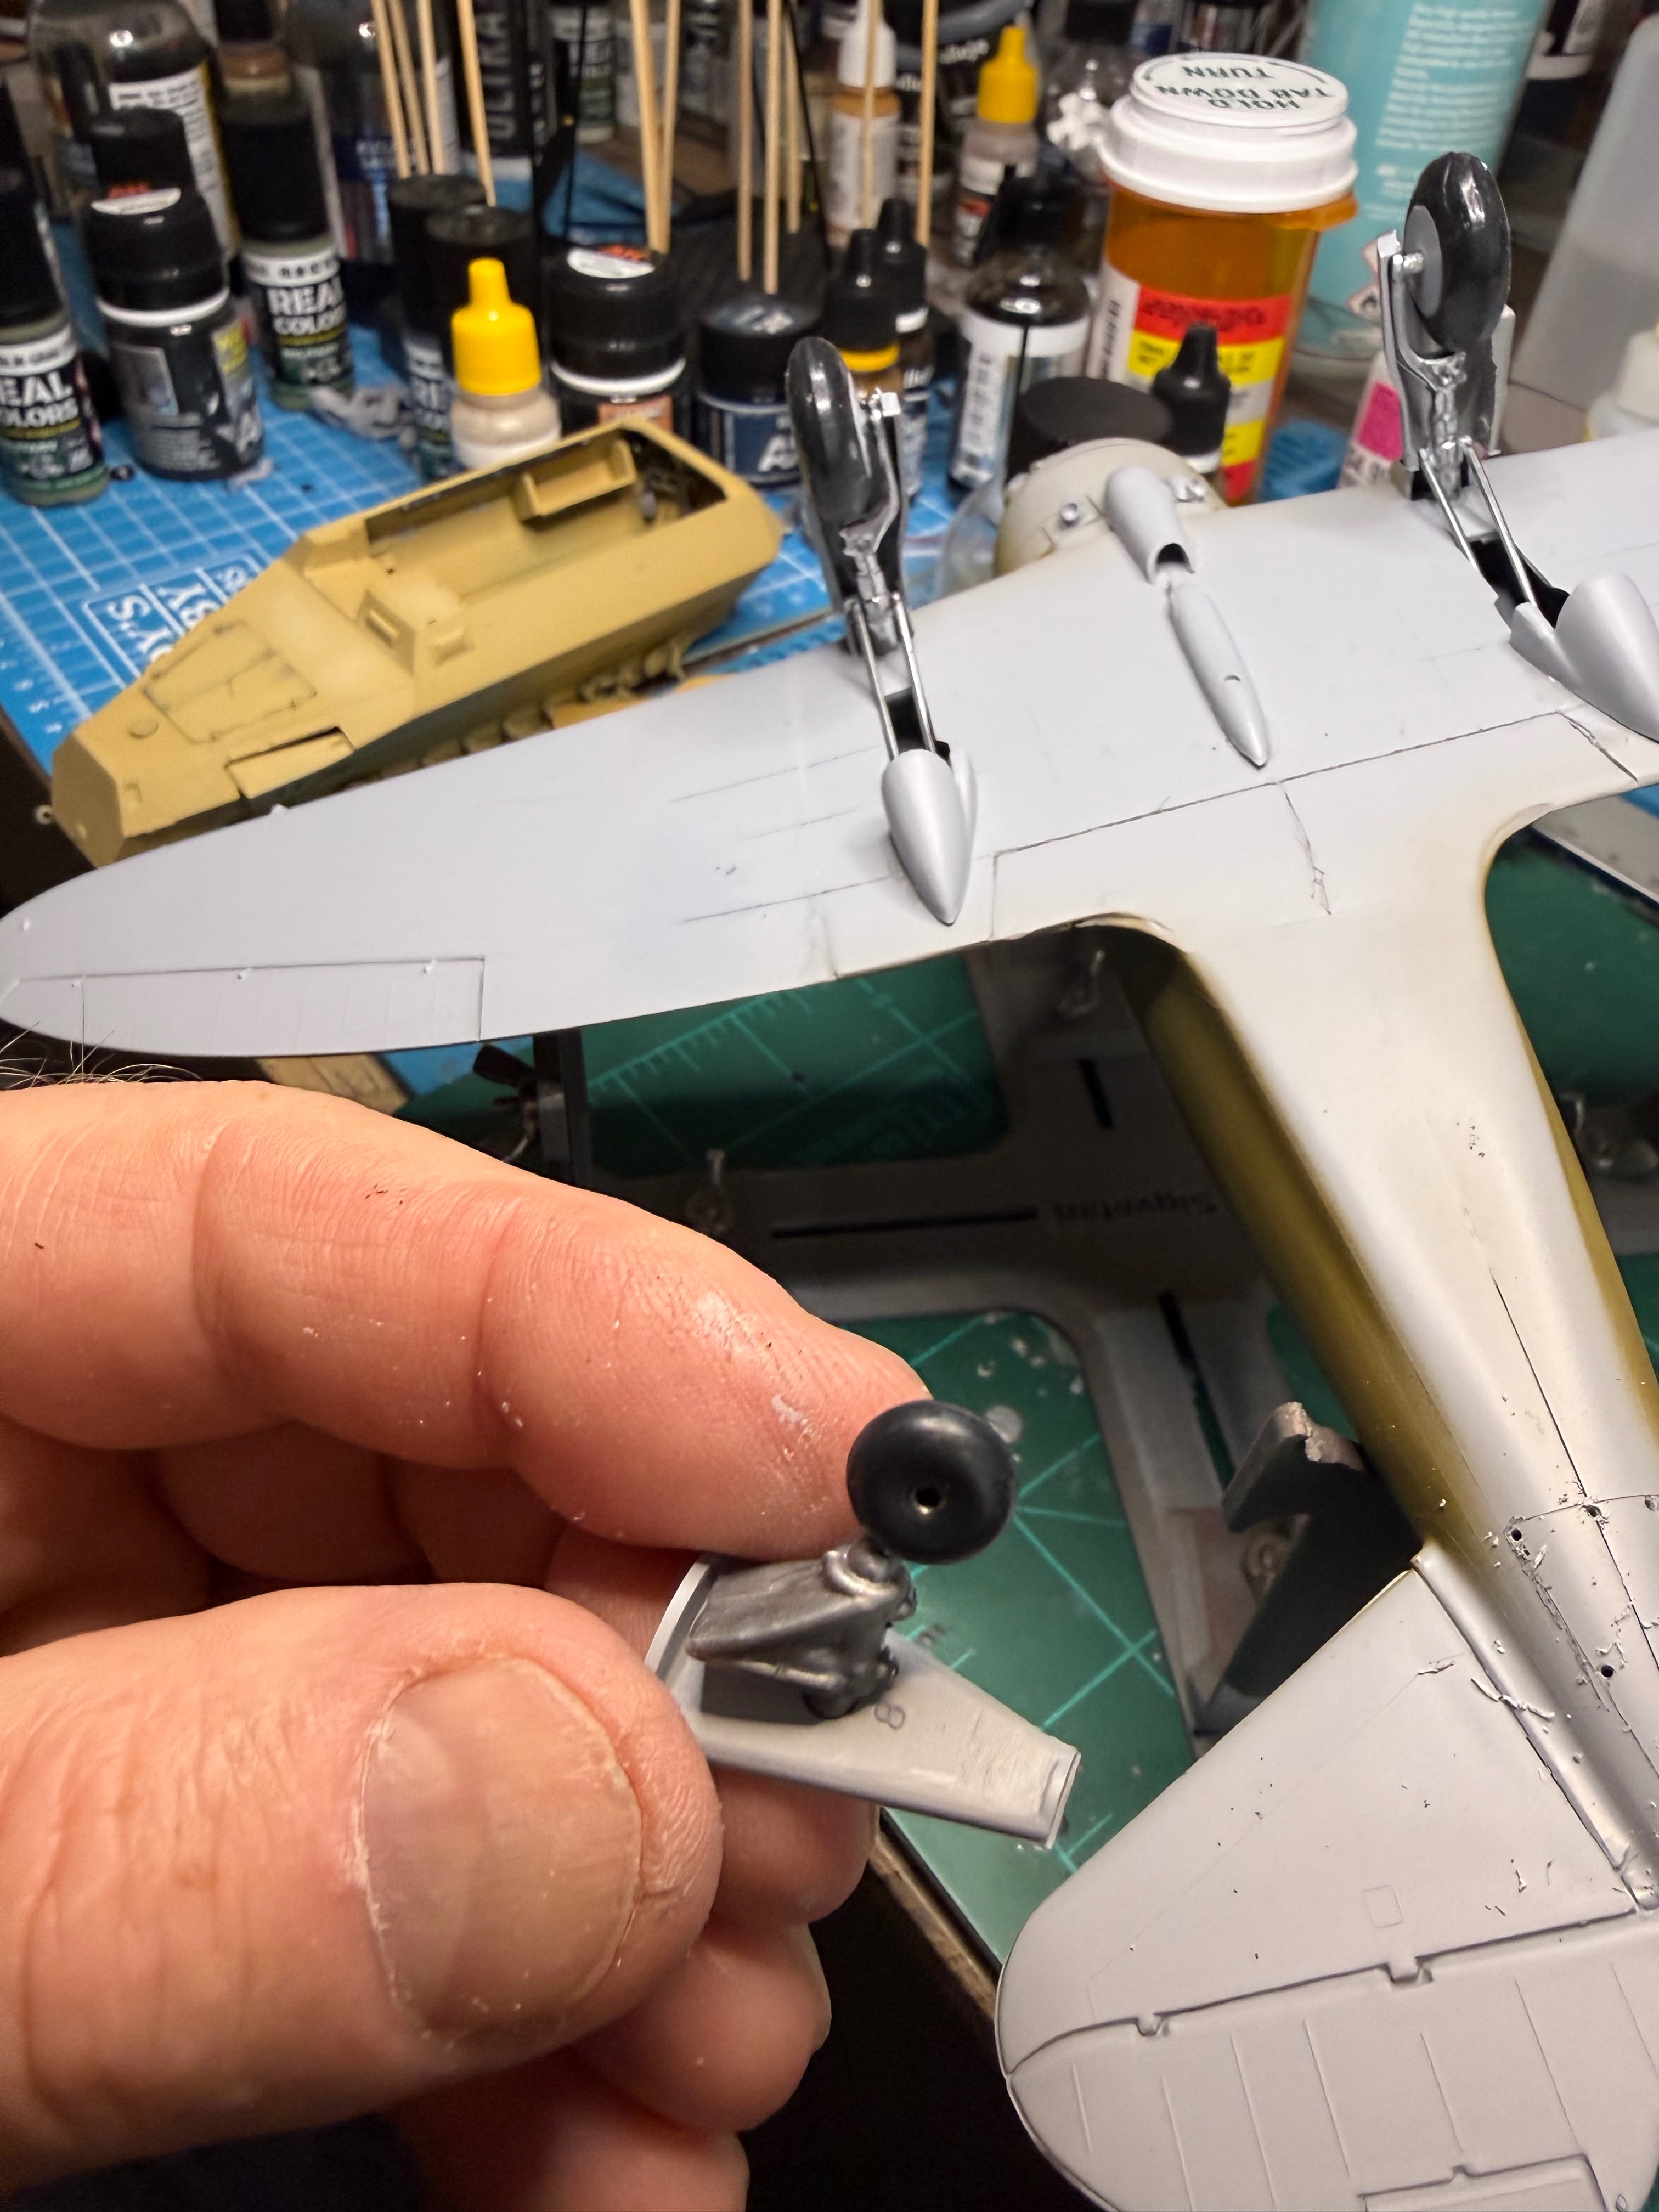
Nice...sometimes we push the envelope to see how it will work. How ya gonna know unless you try?
I agree and I consider this a form of art so I don't get bent out of shape over accuracy yet I usually try to be. That's why I had to laugh at myself just now as I was posting this. I ignored accuracy on chroming the struts and main landing gear but then adhered to accuracy in painting it OD even though I wanted to go with natural metal and had already prepped it for that finish! Humans are very interesting!Nice...sometimes we push the envelope to see how it will work. How ya gonna know unless you try?
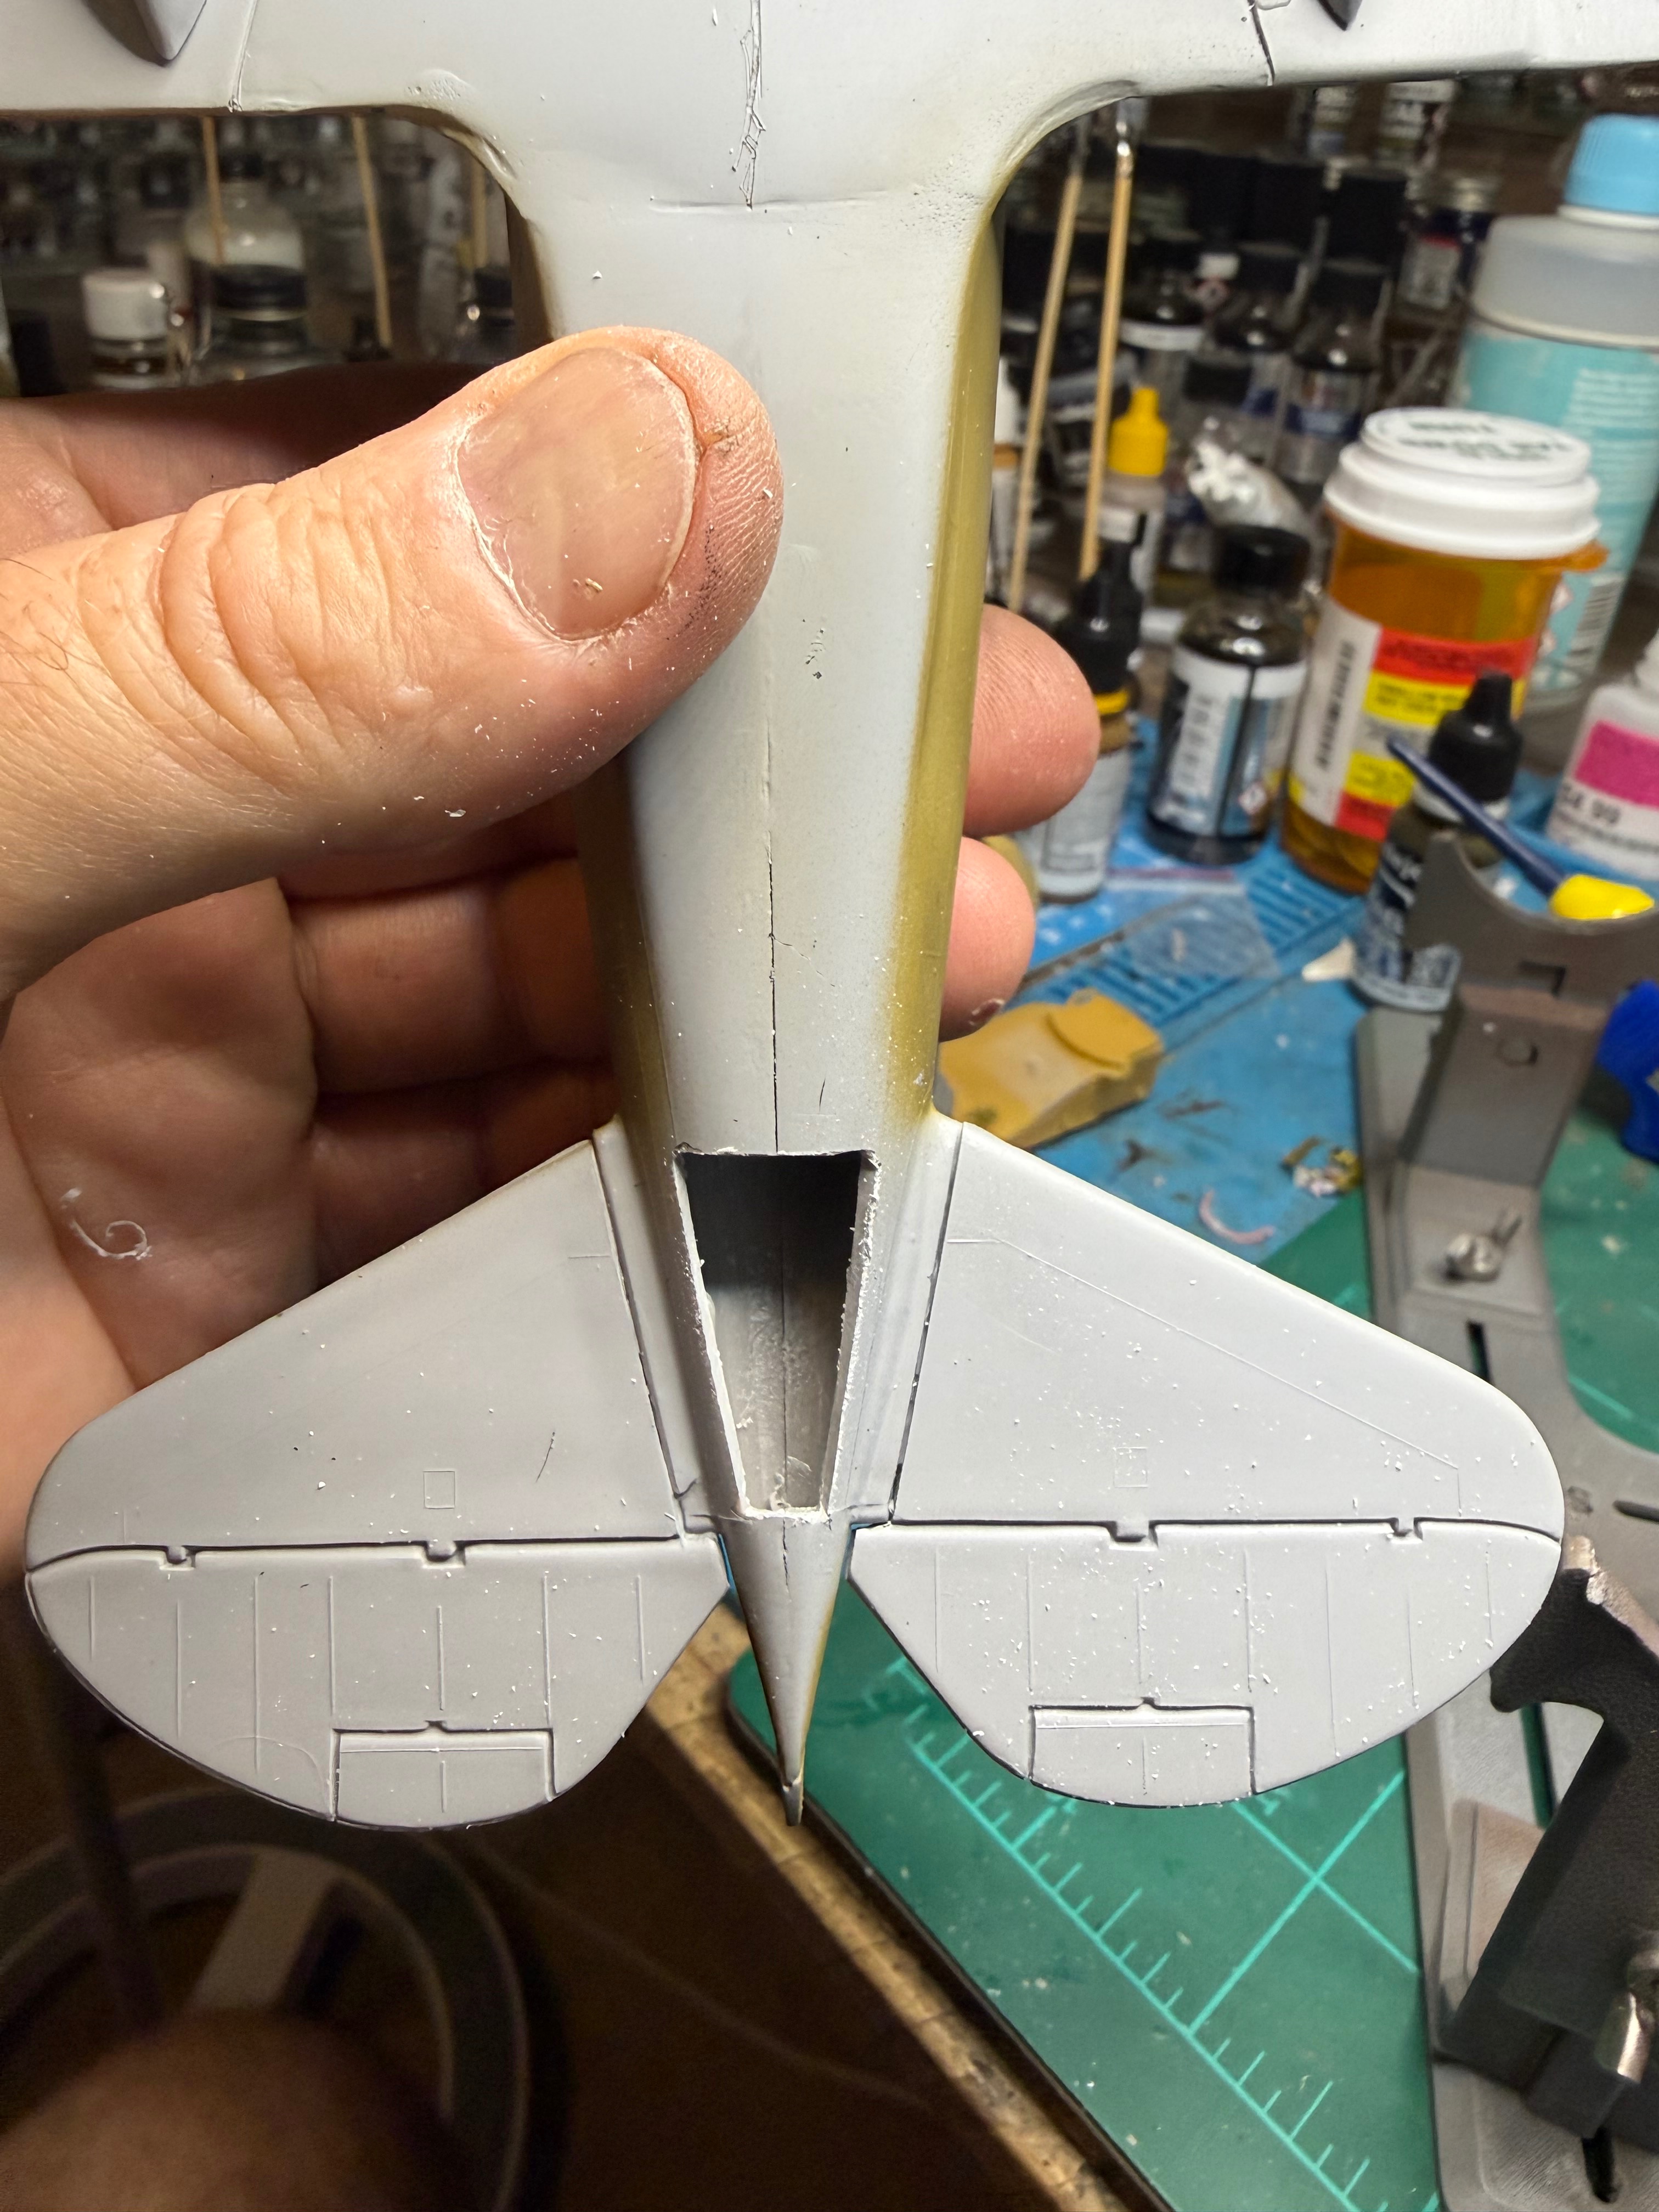
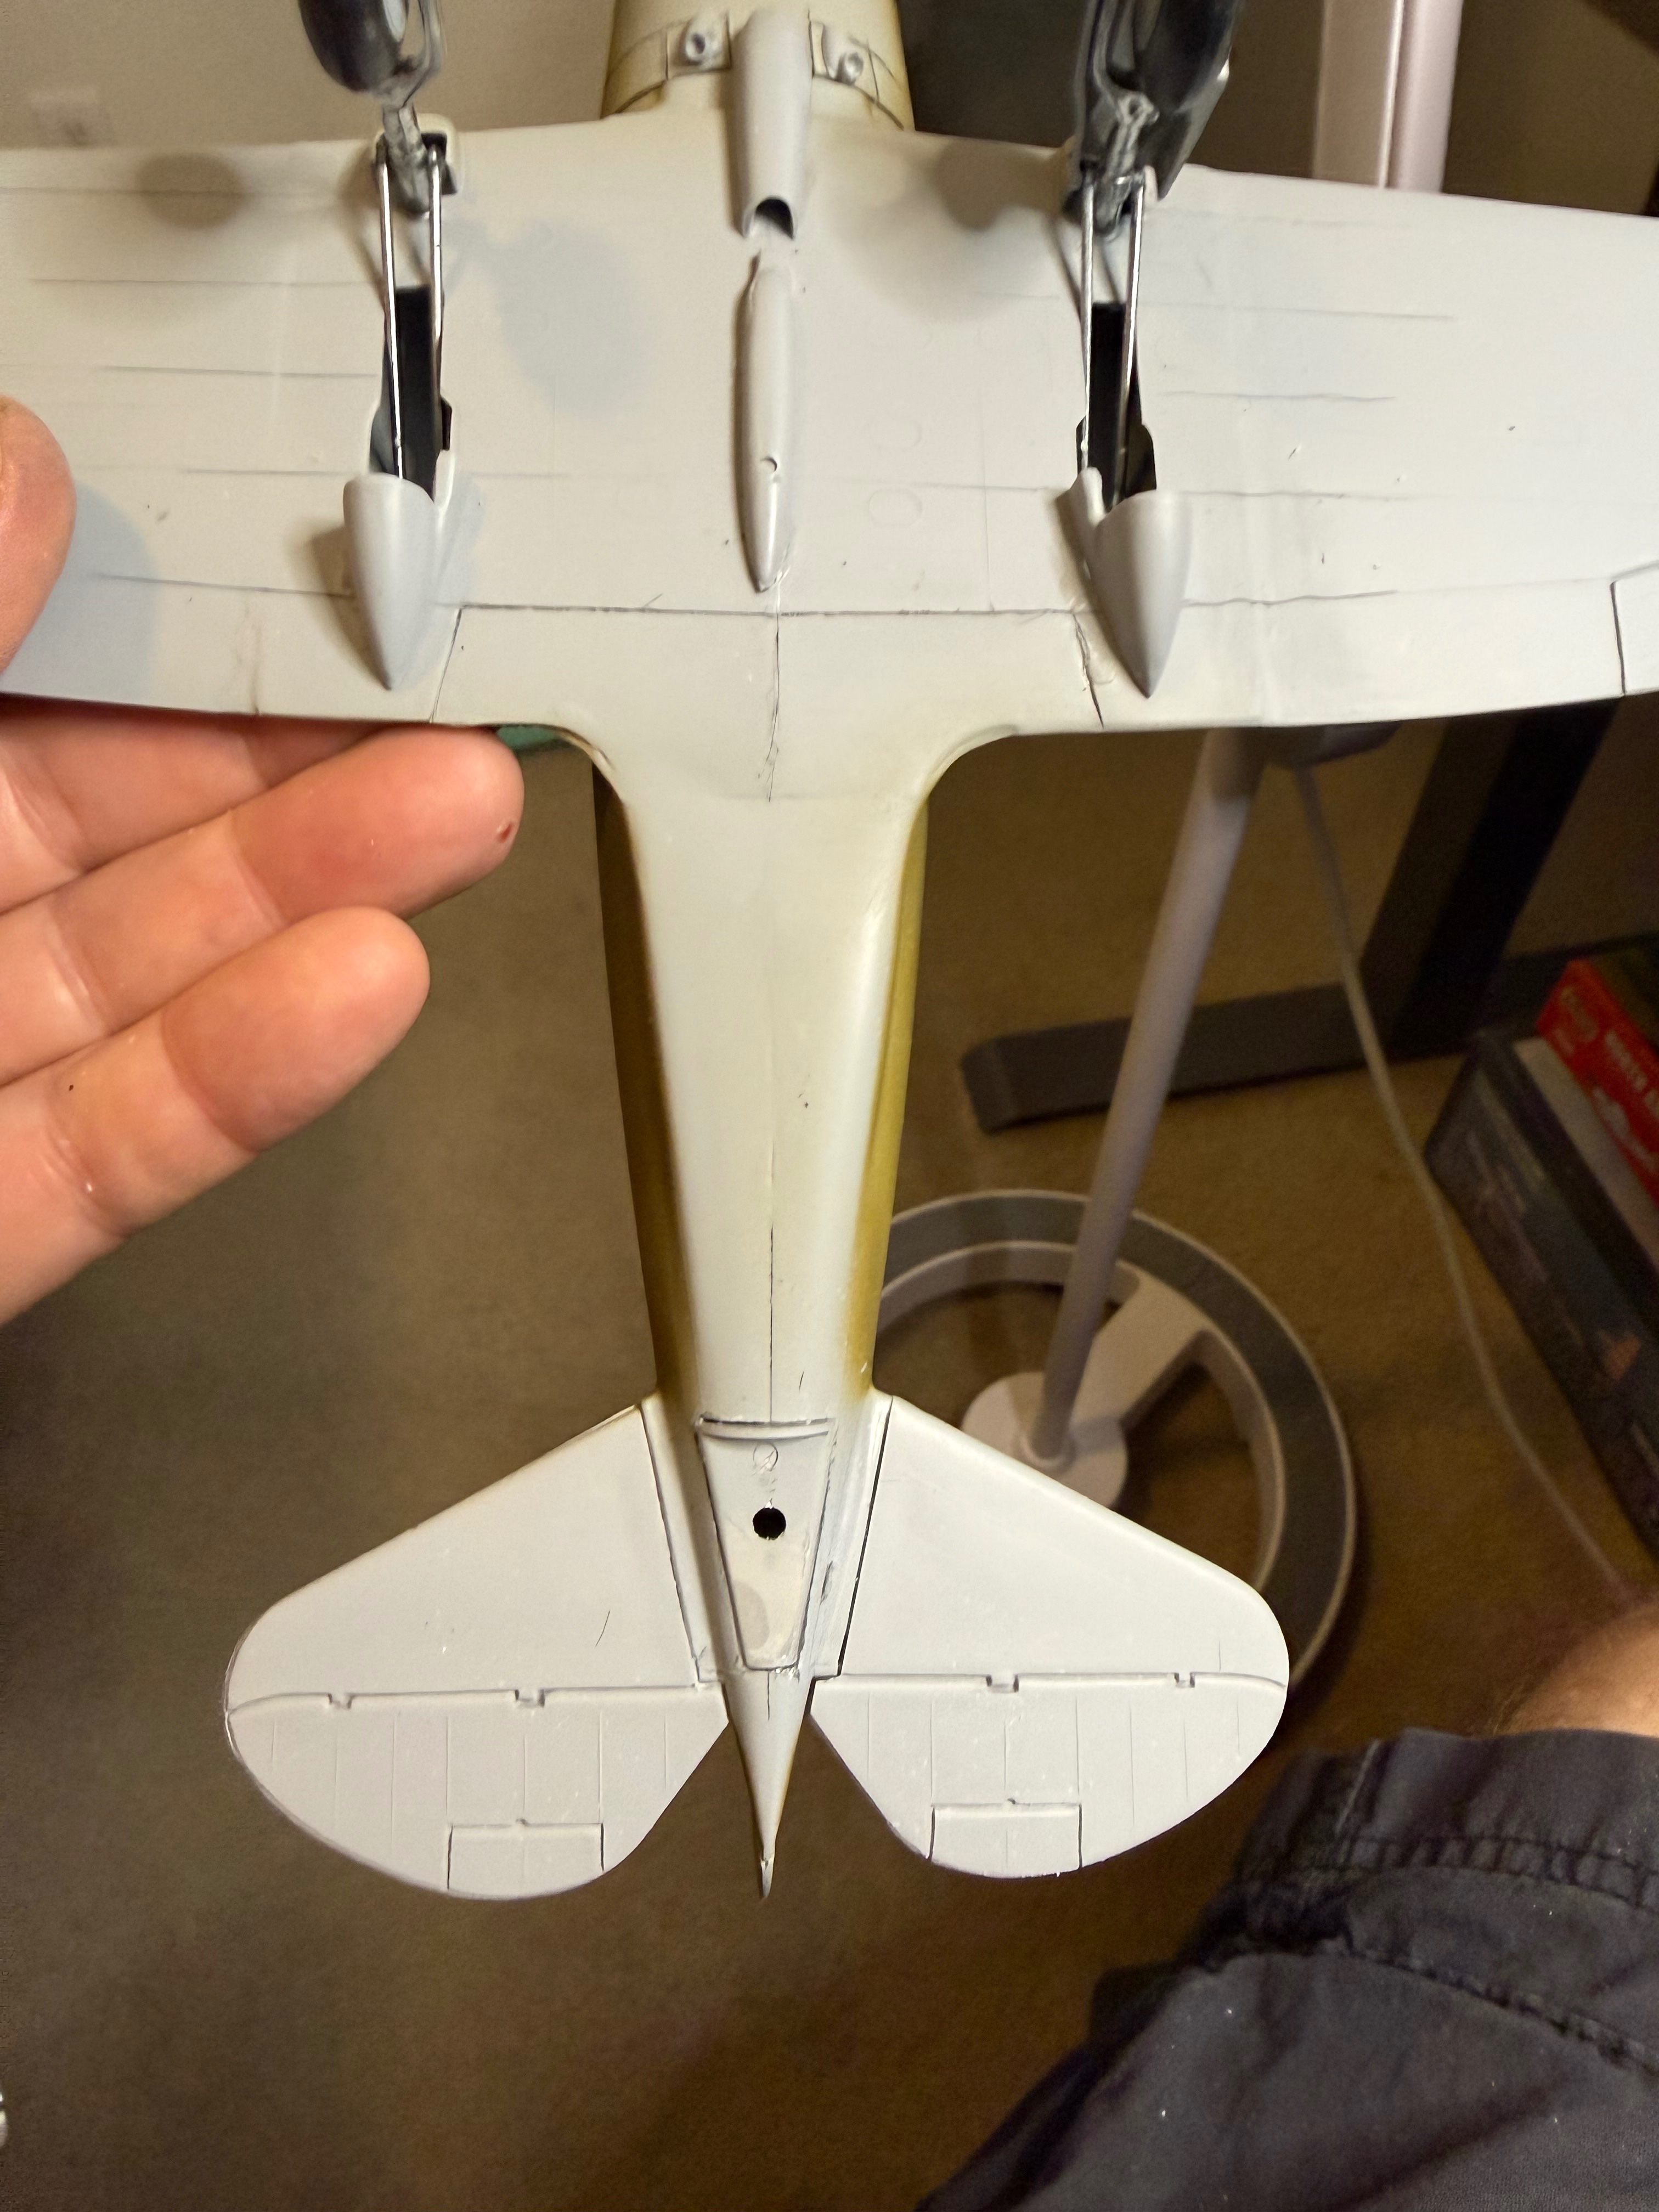
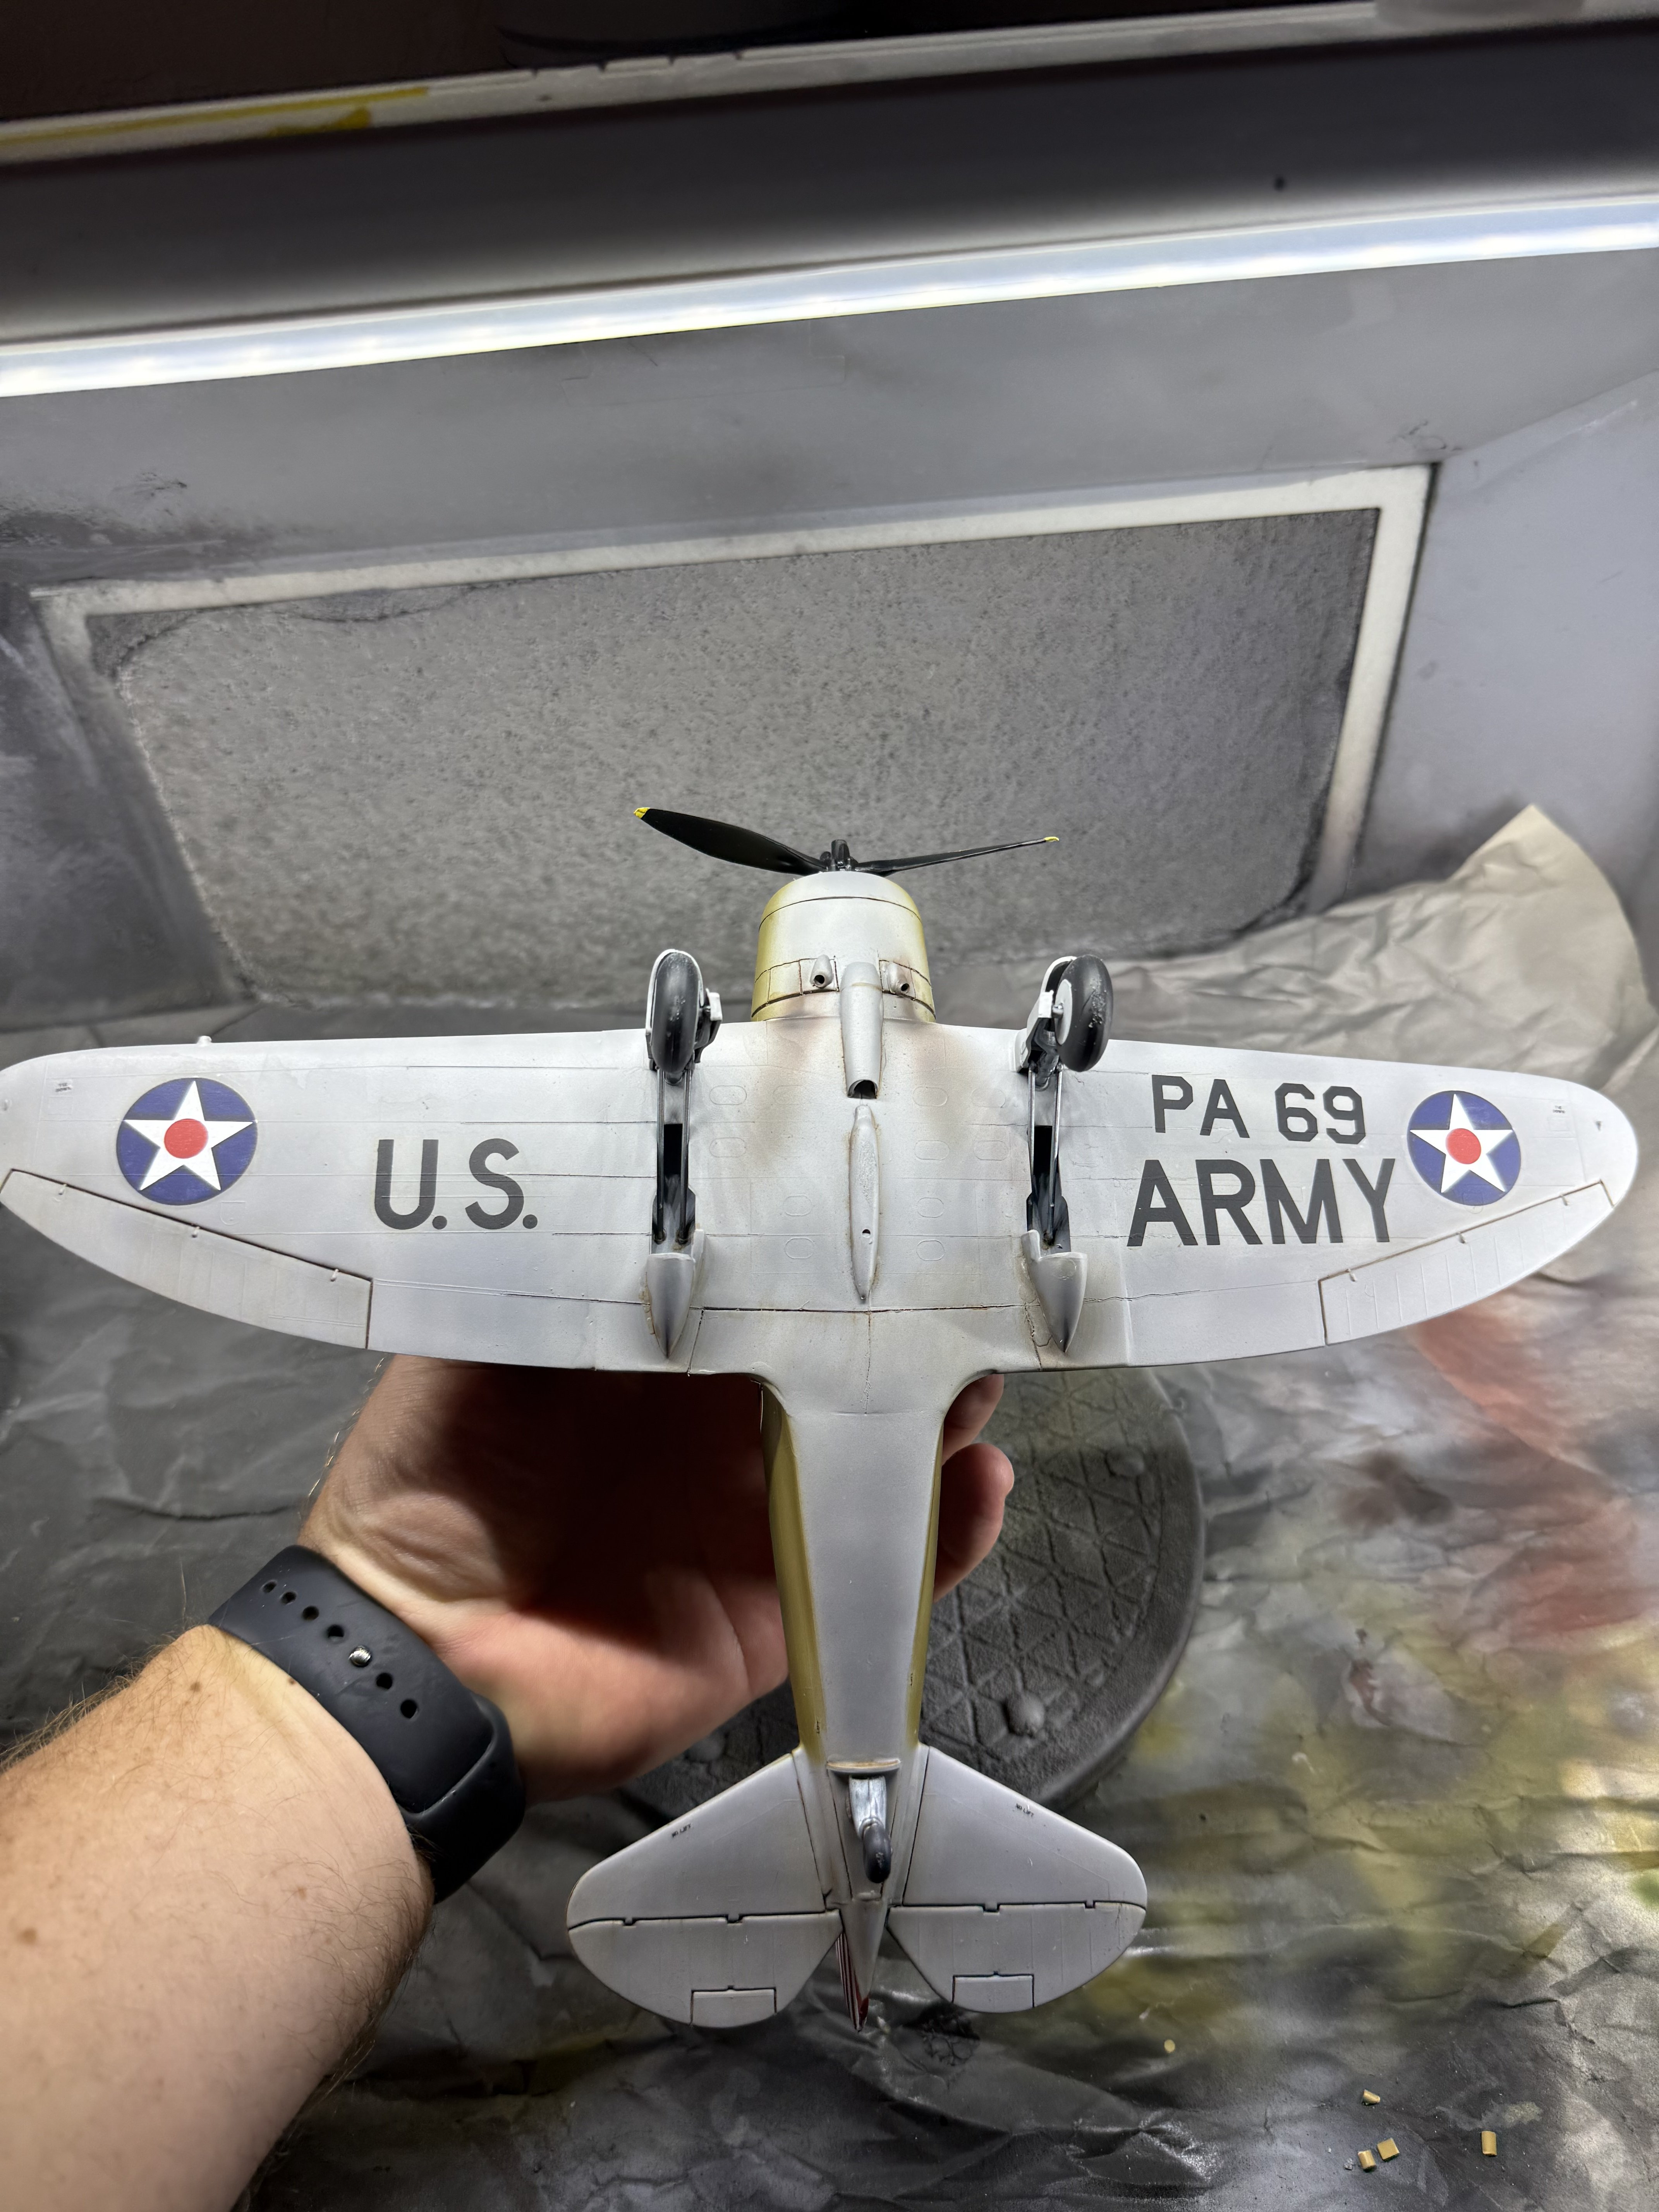
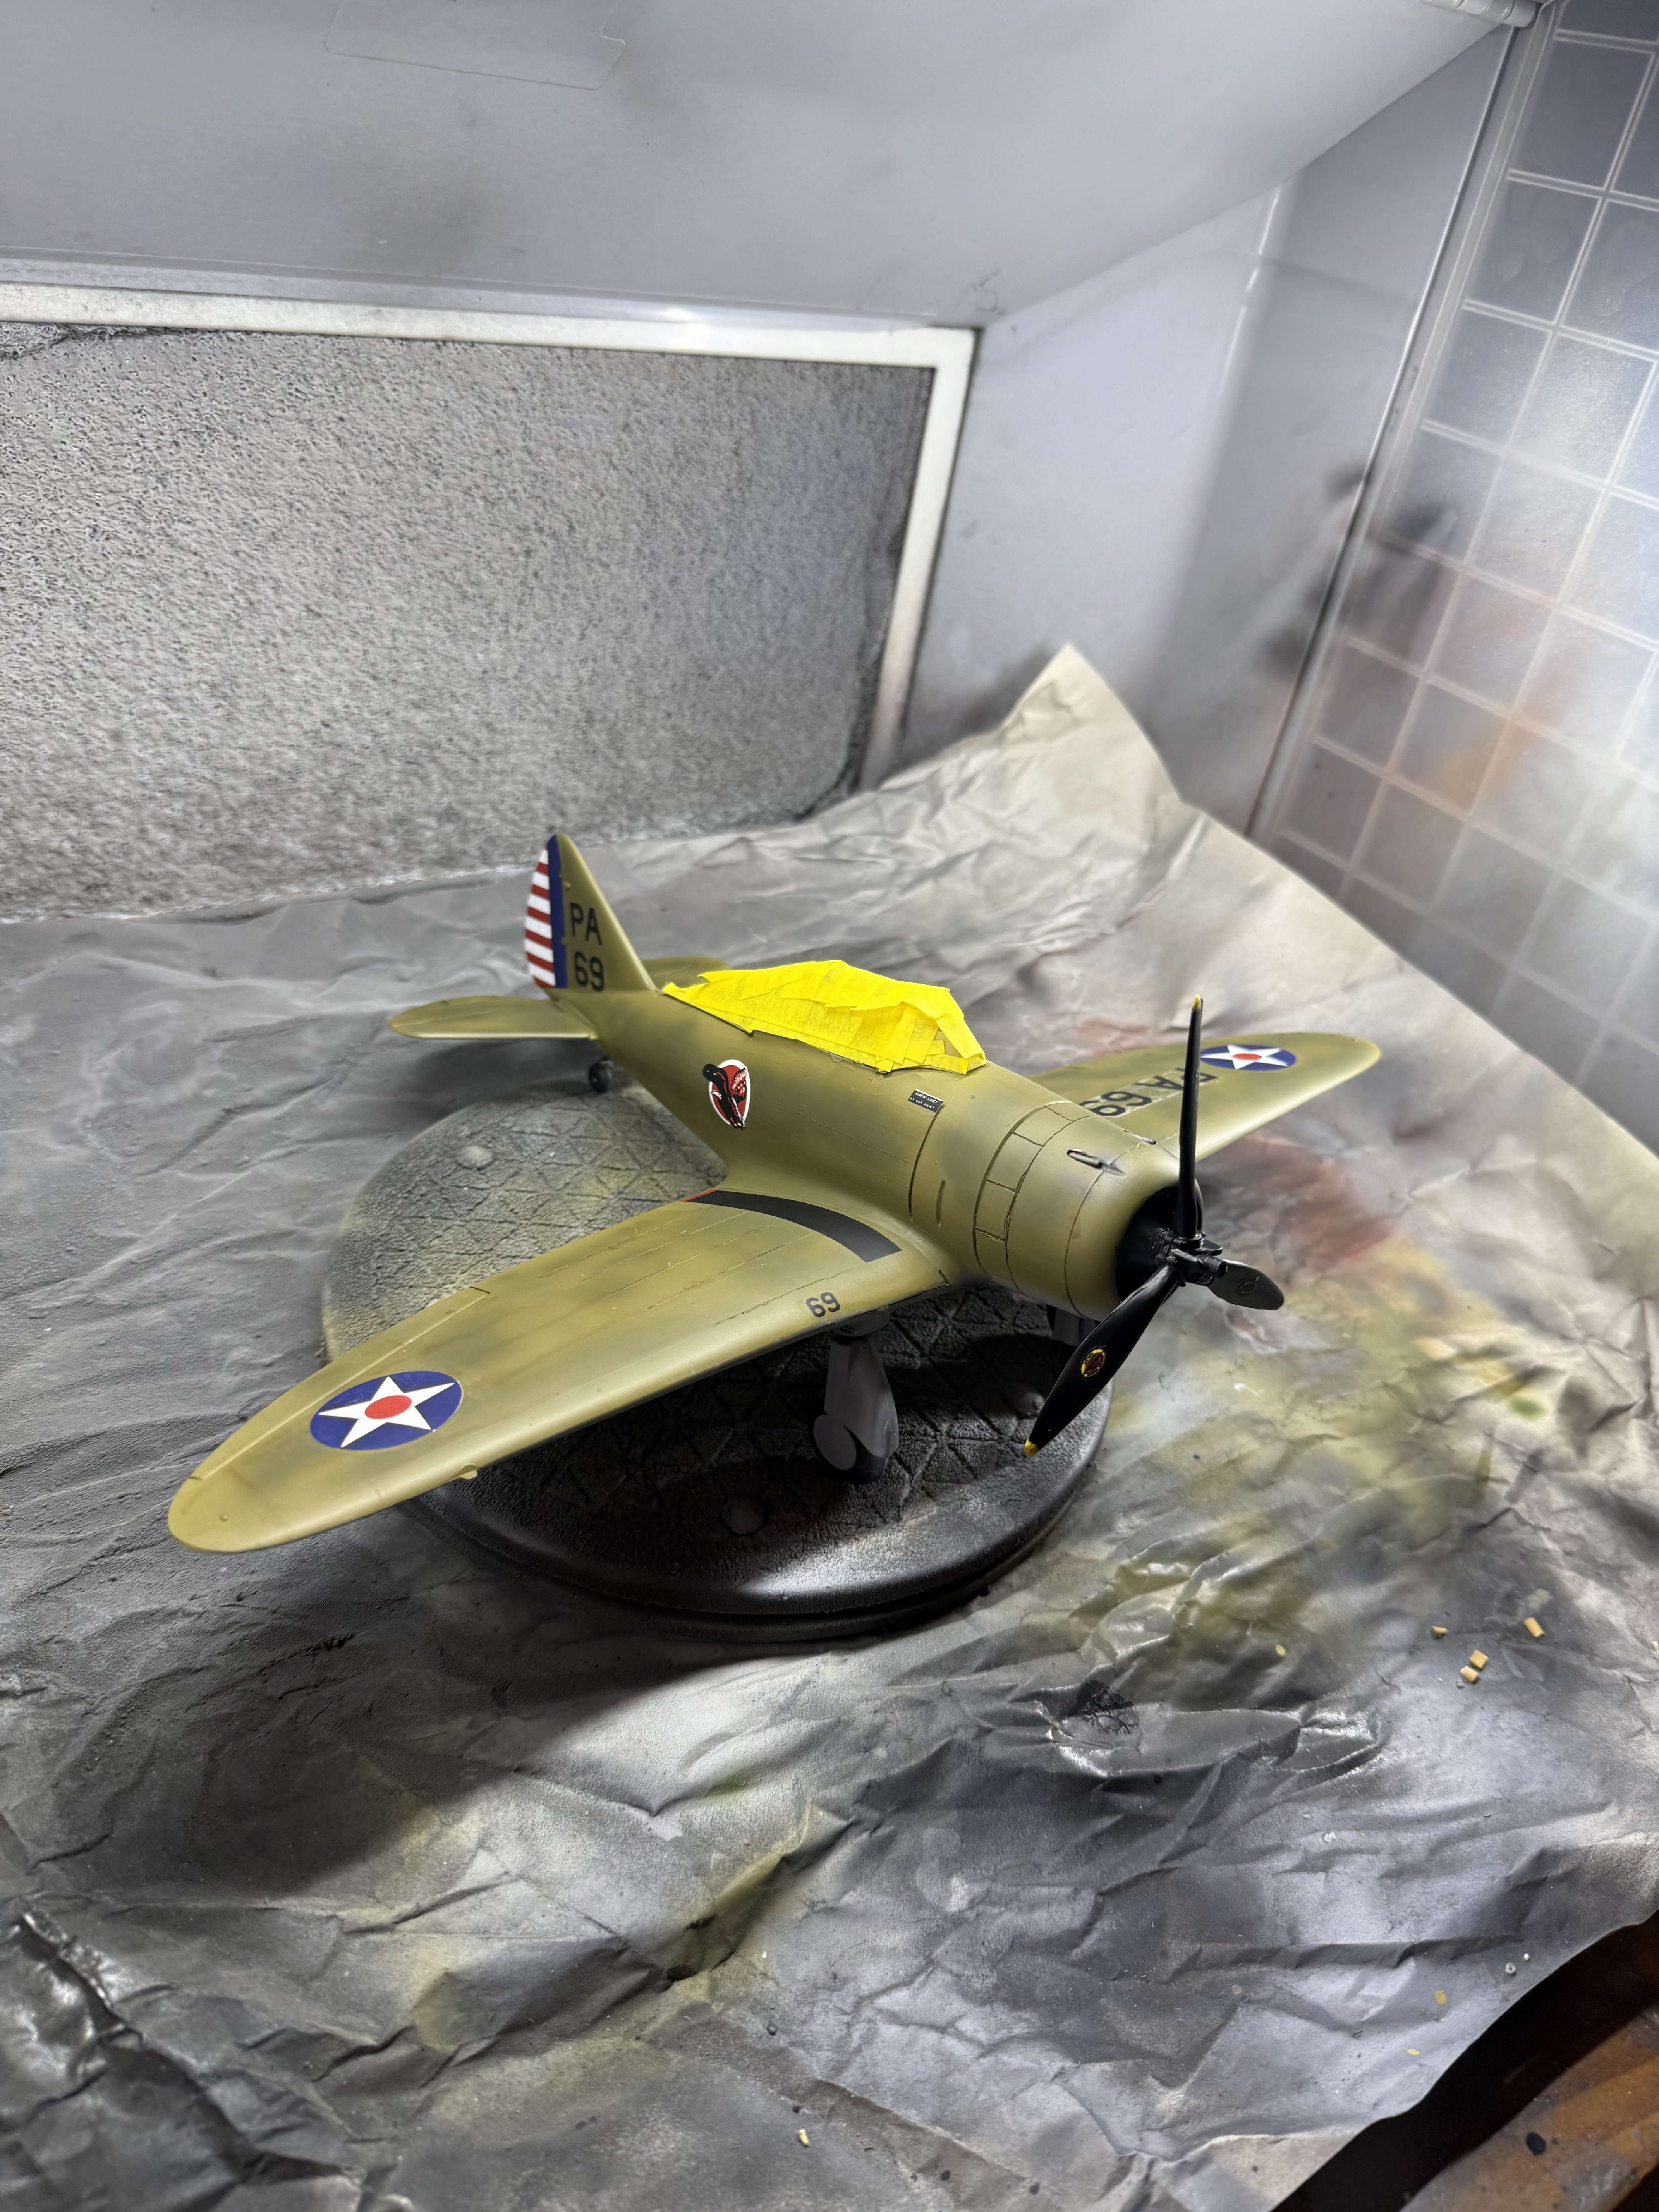
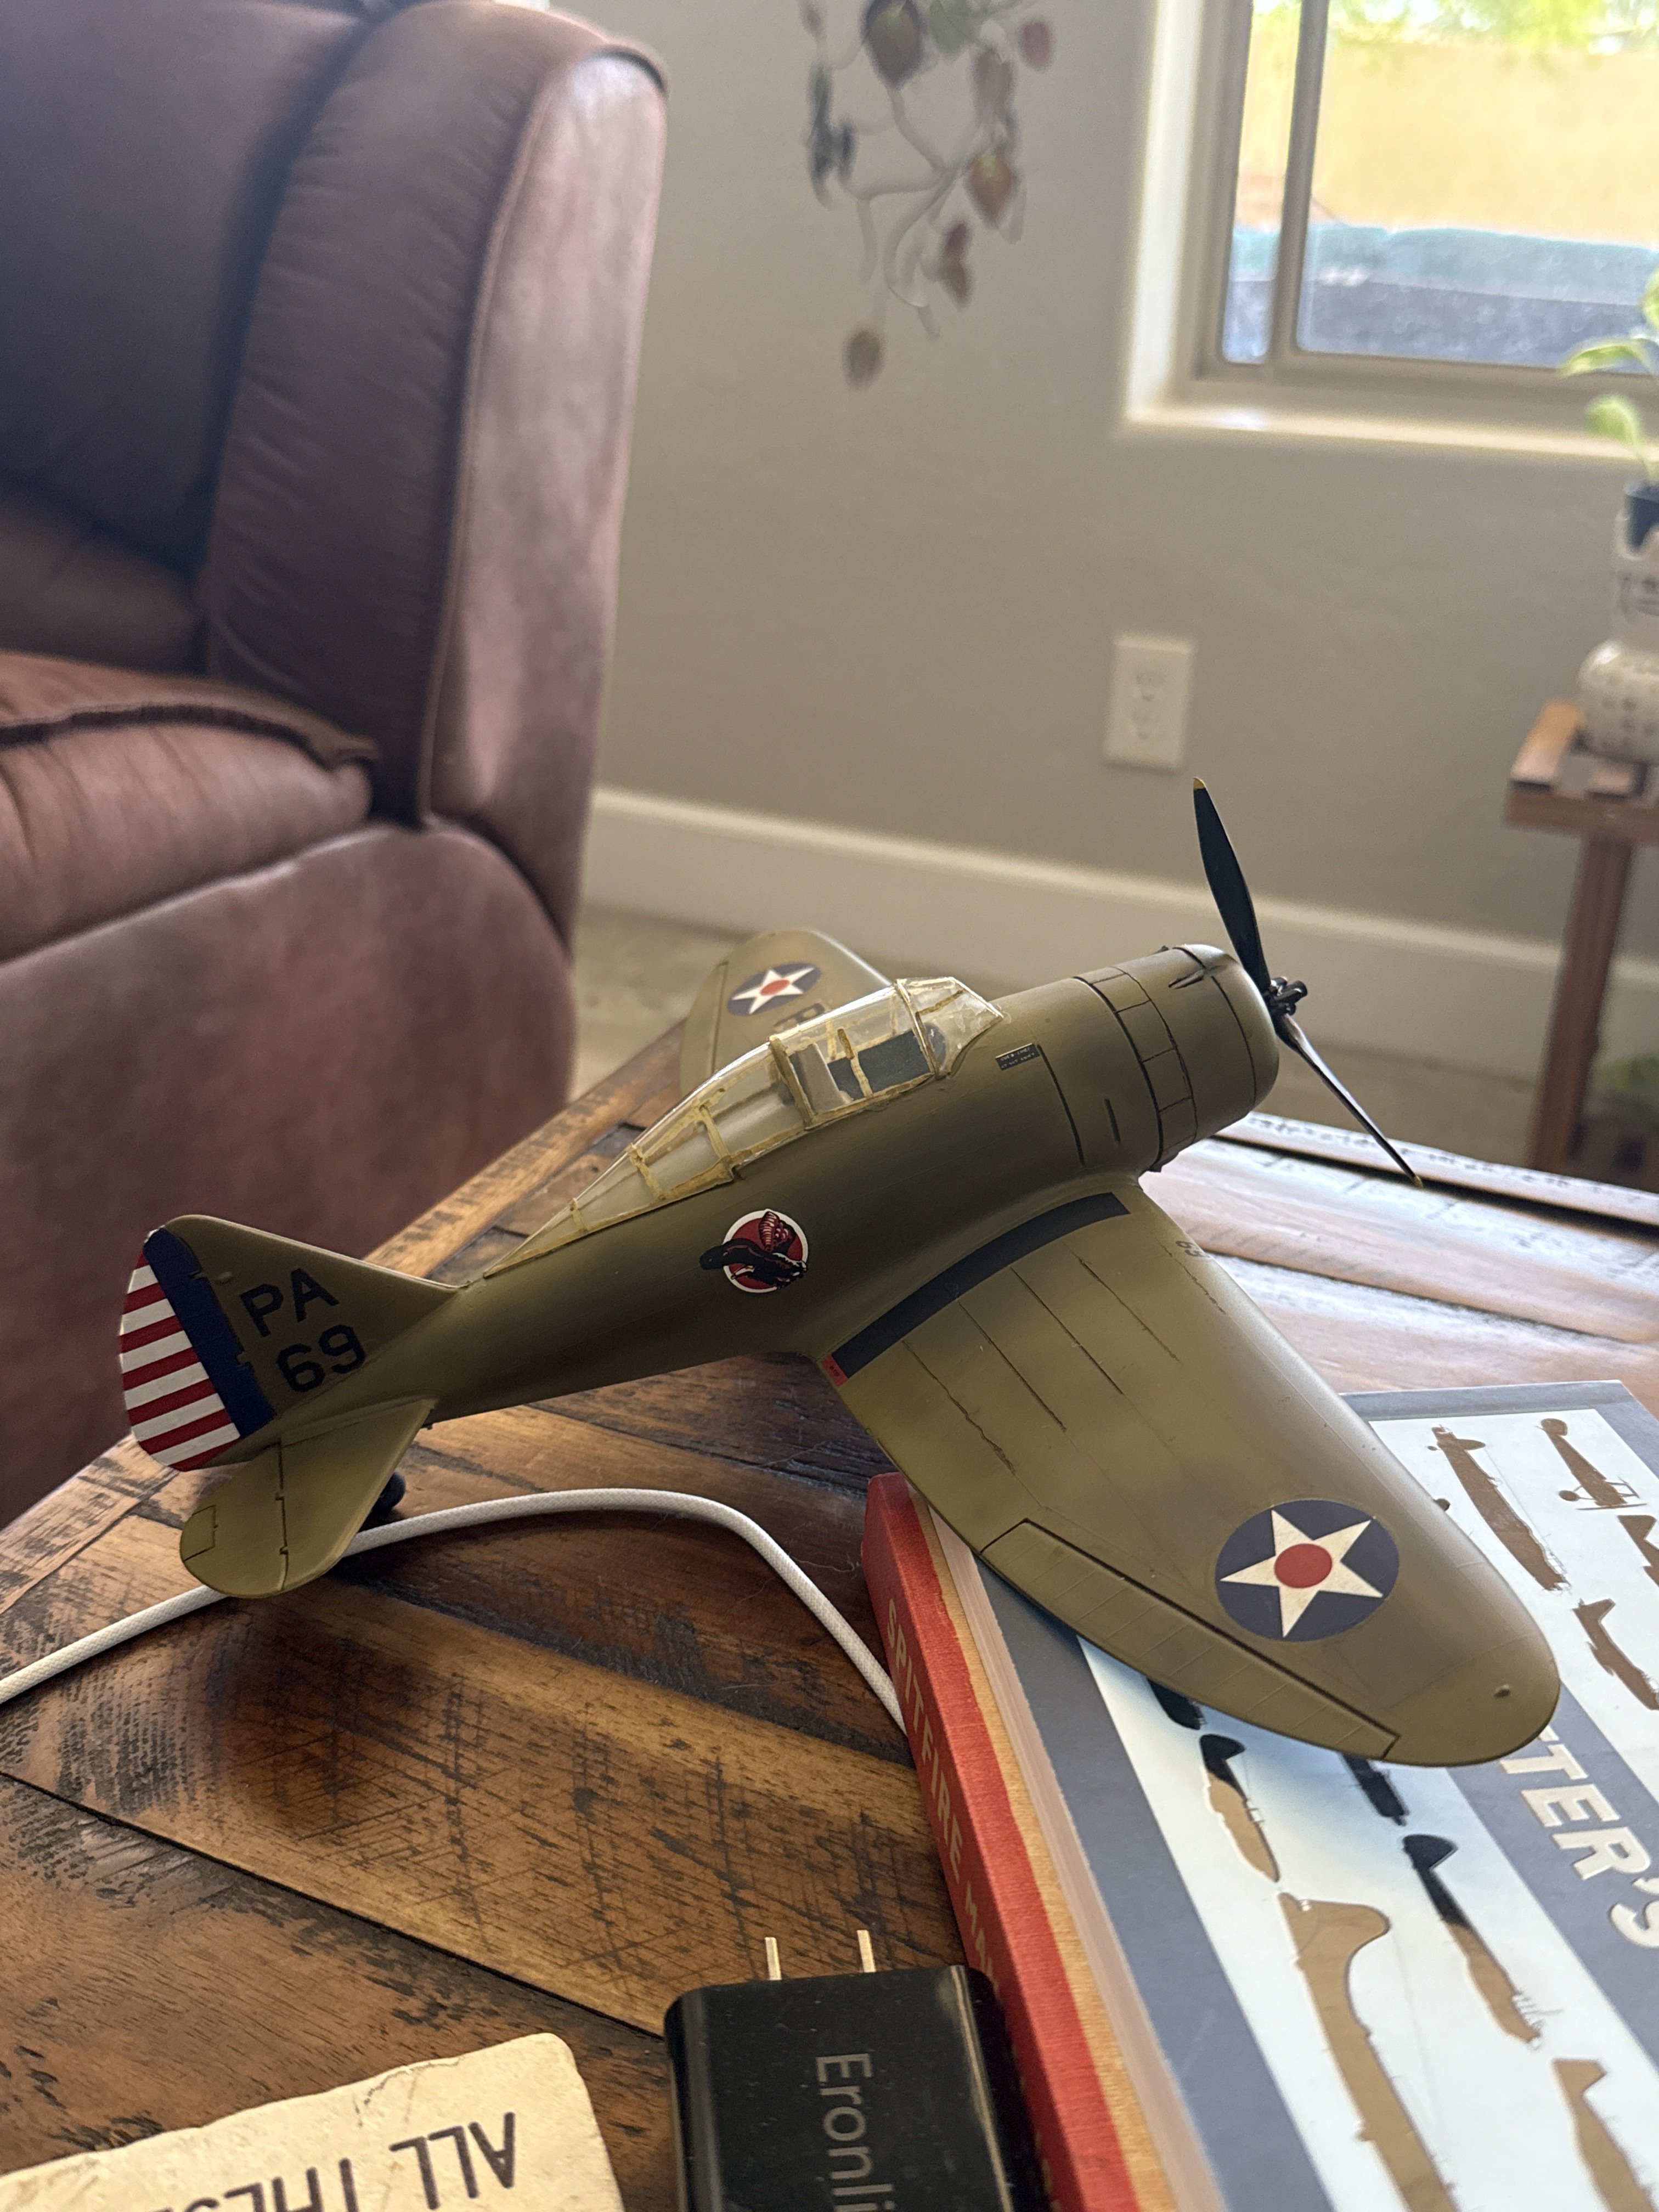
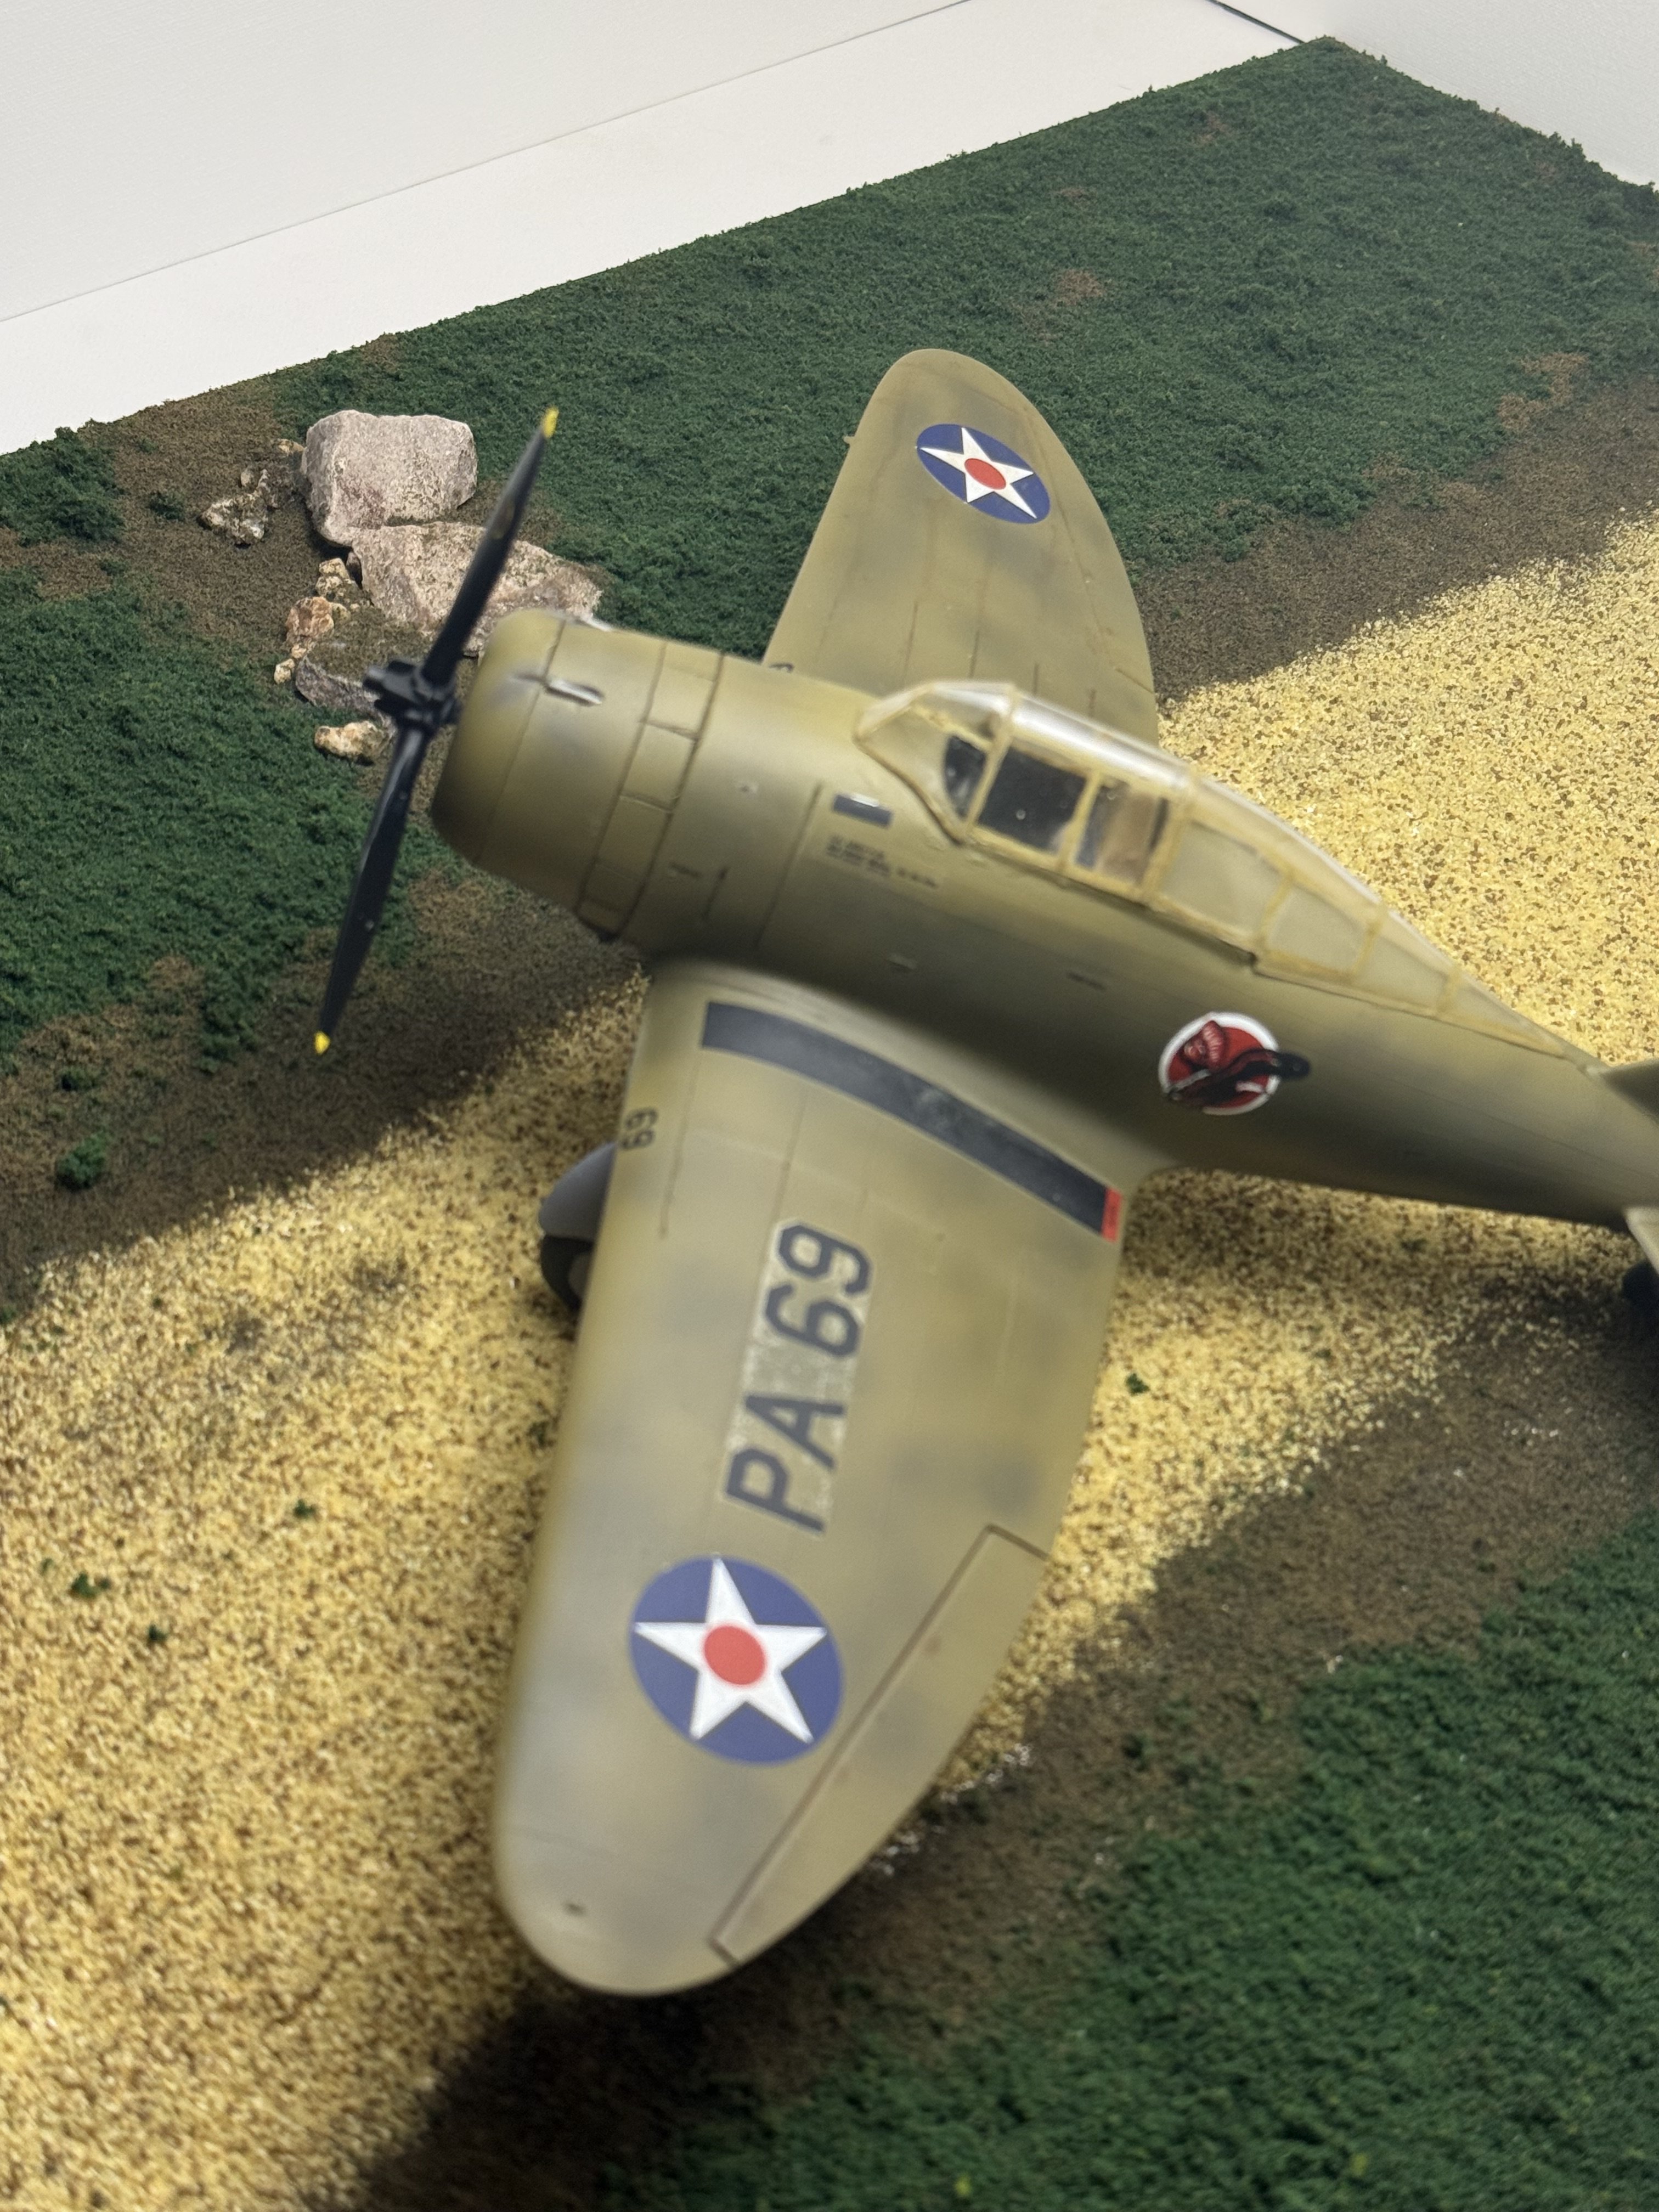
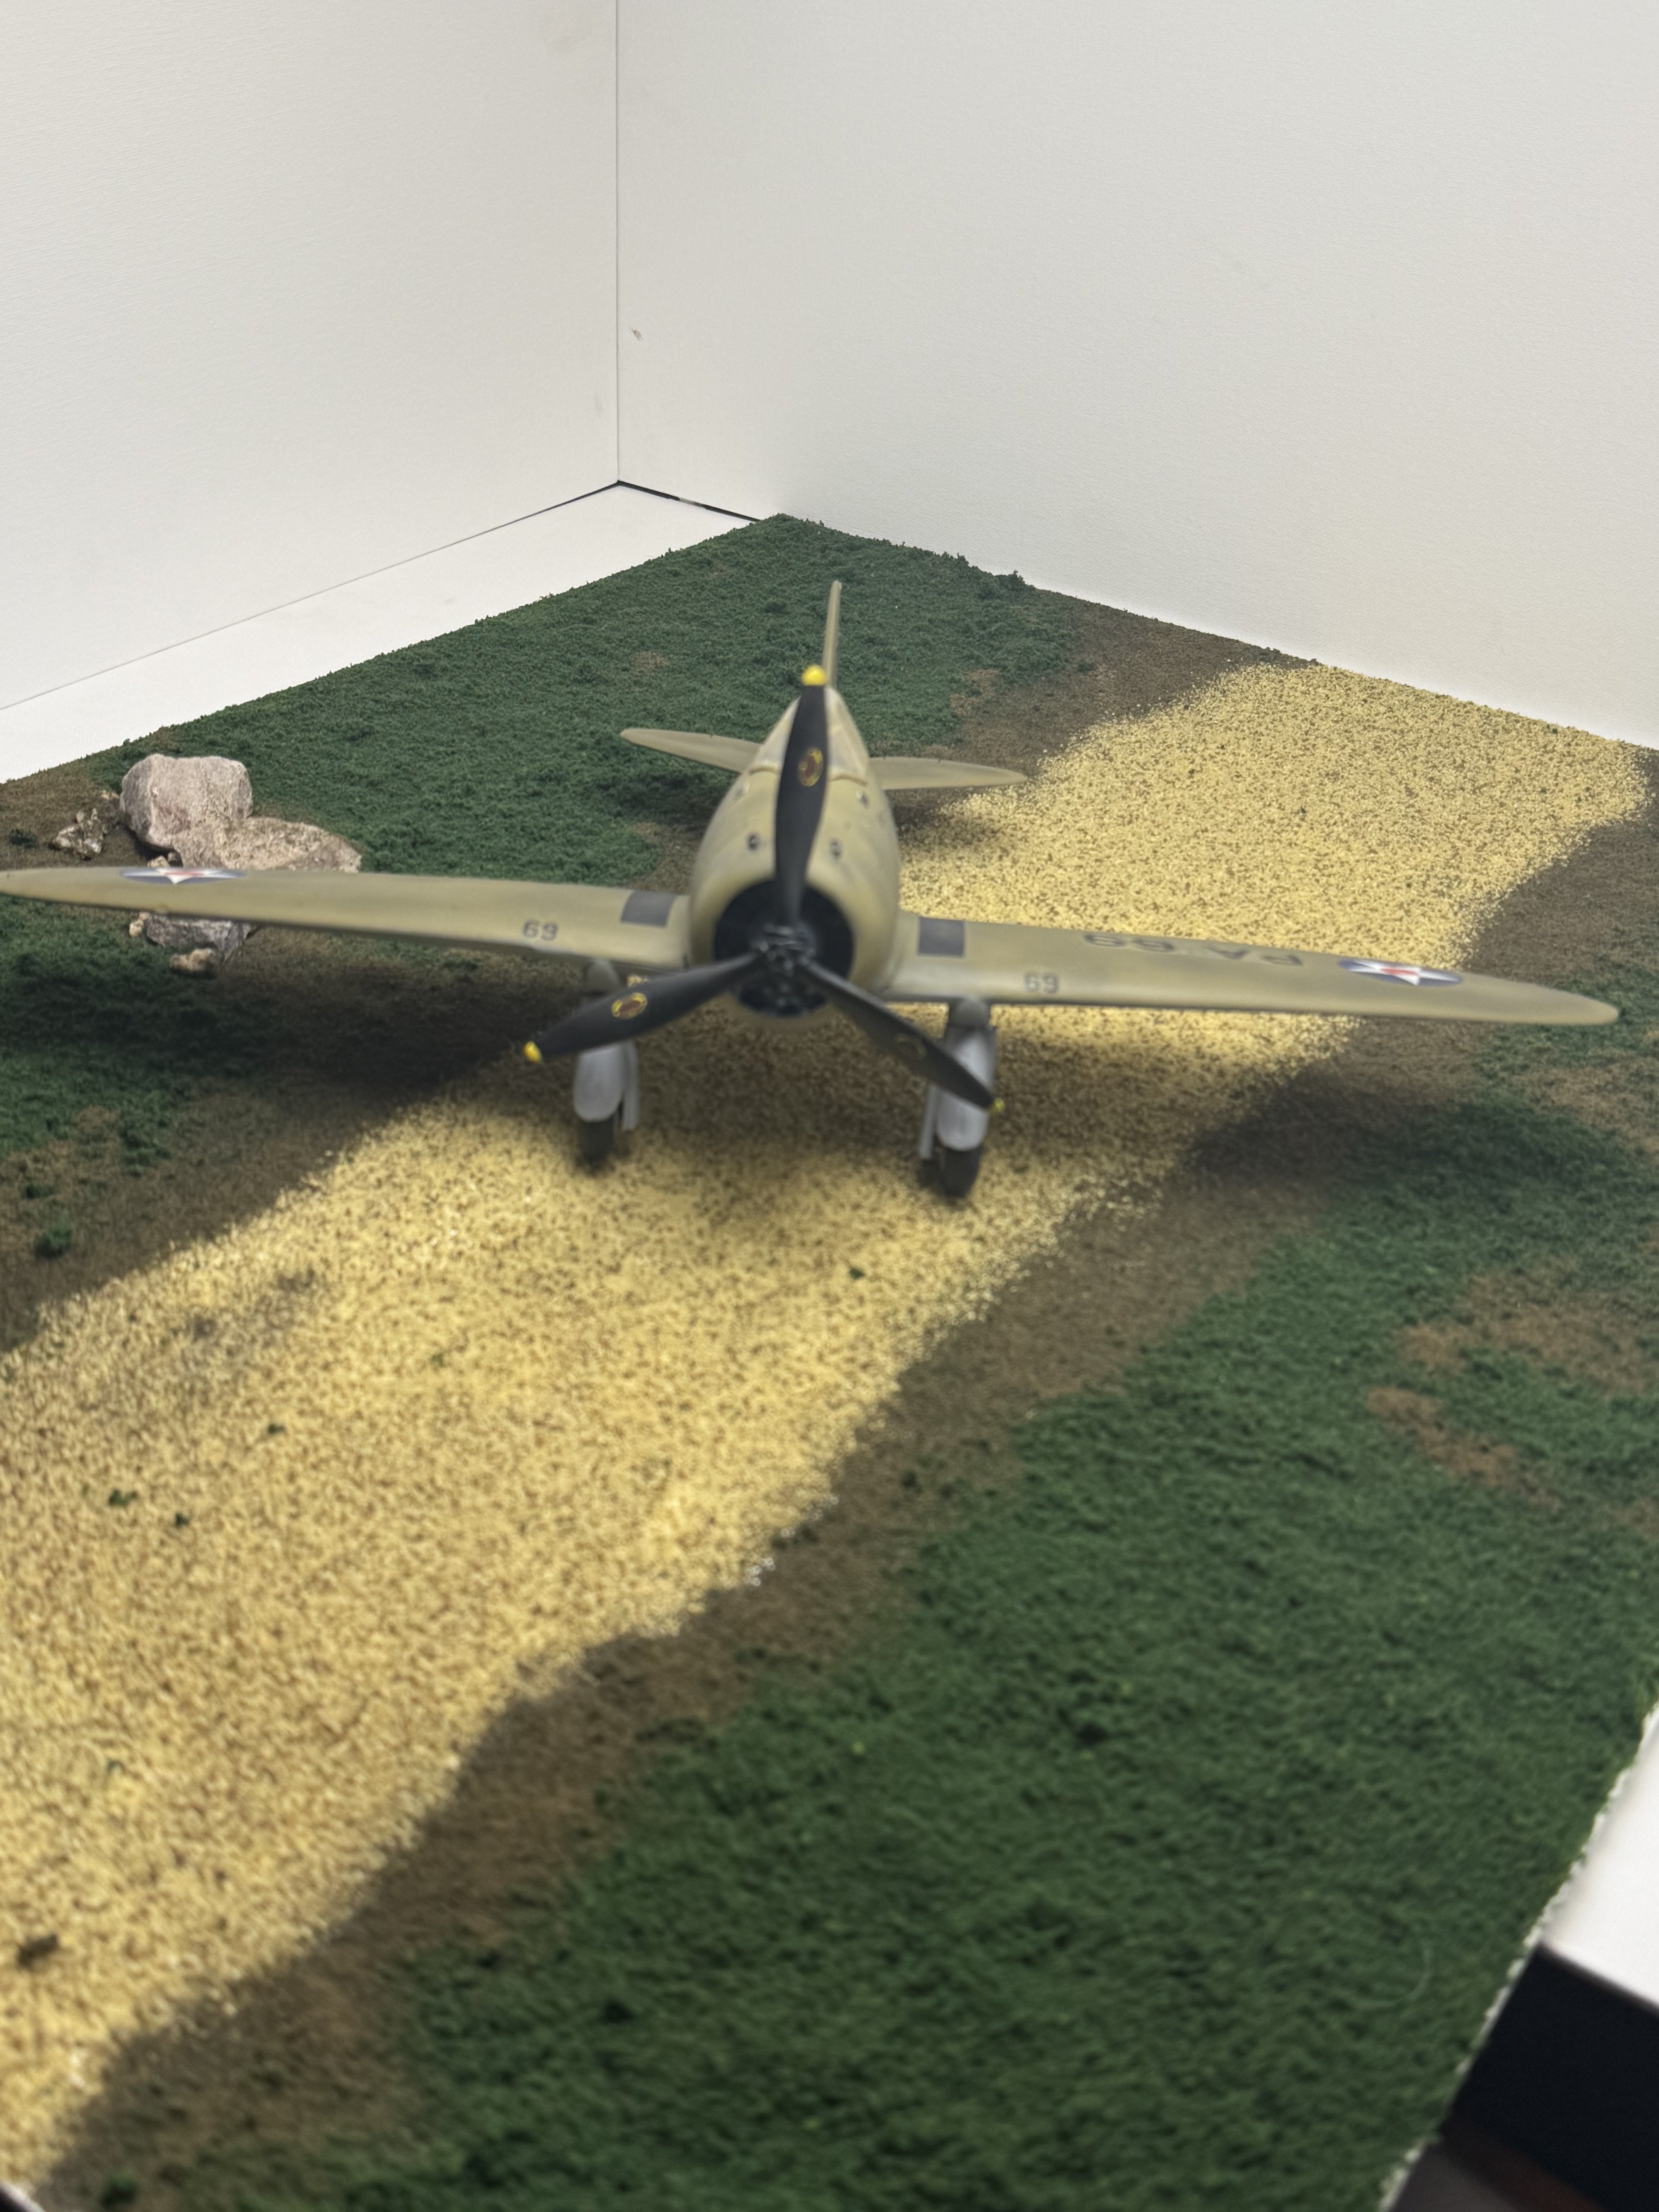
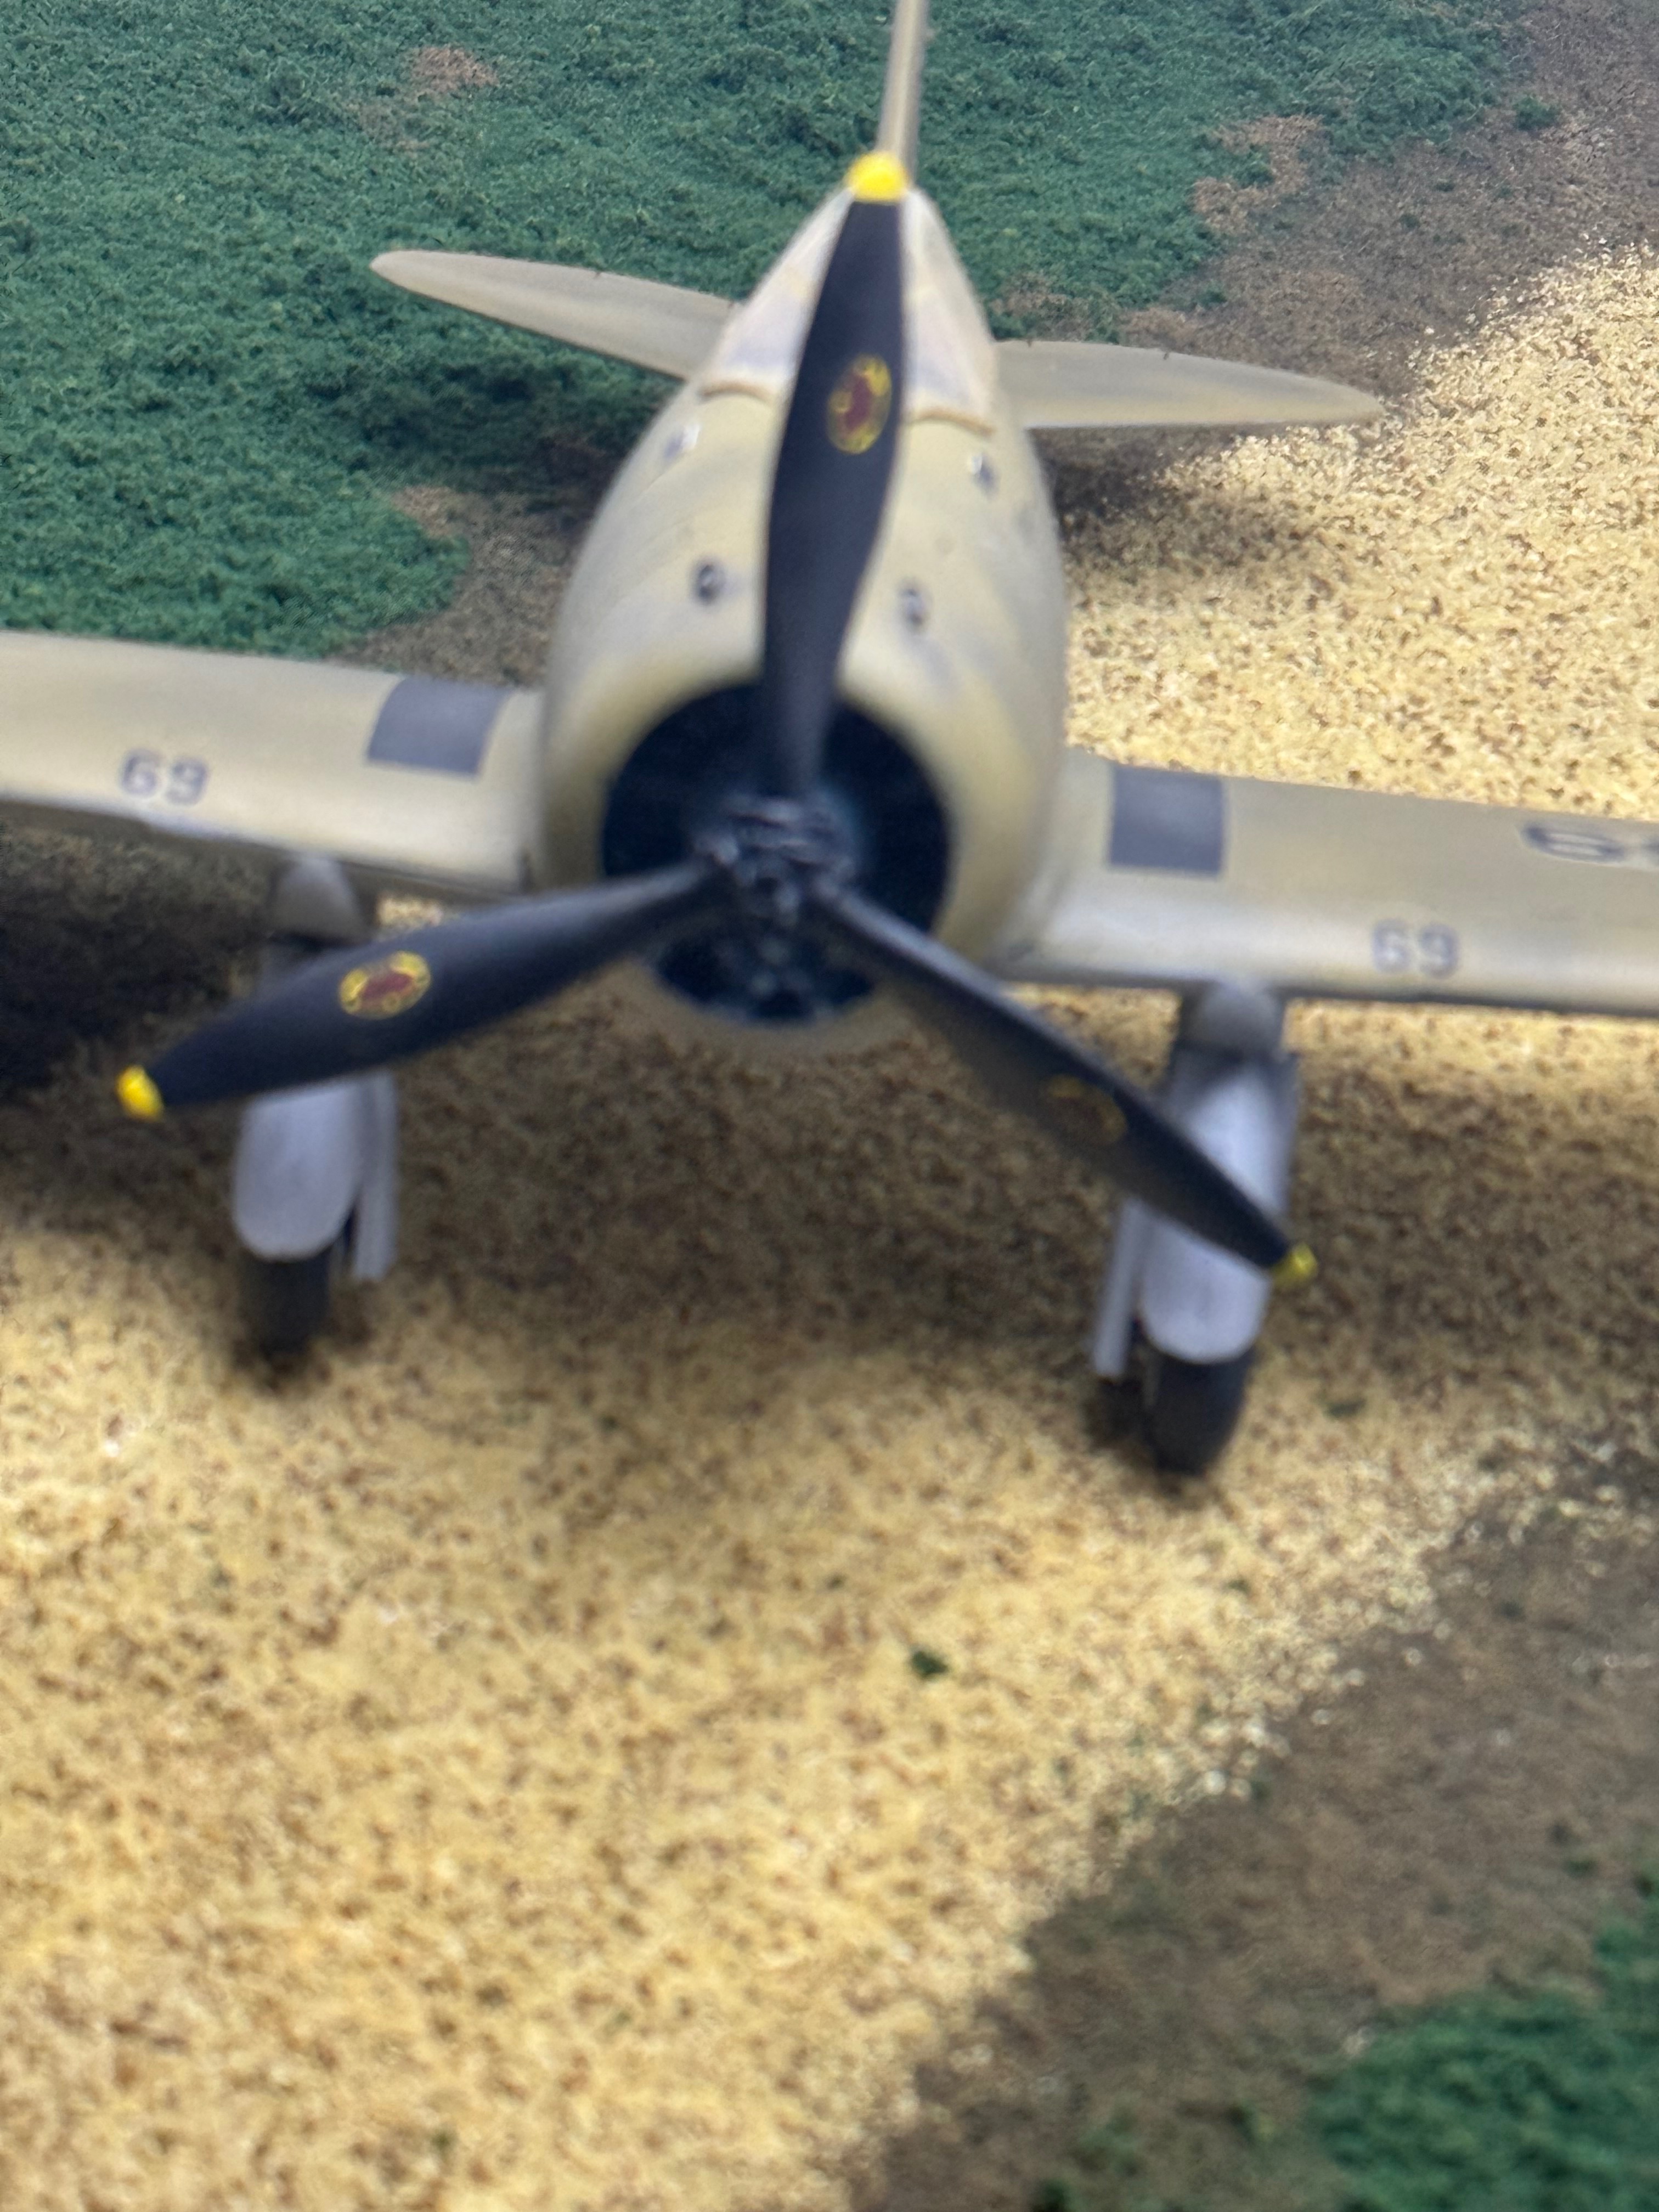
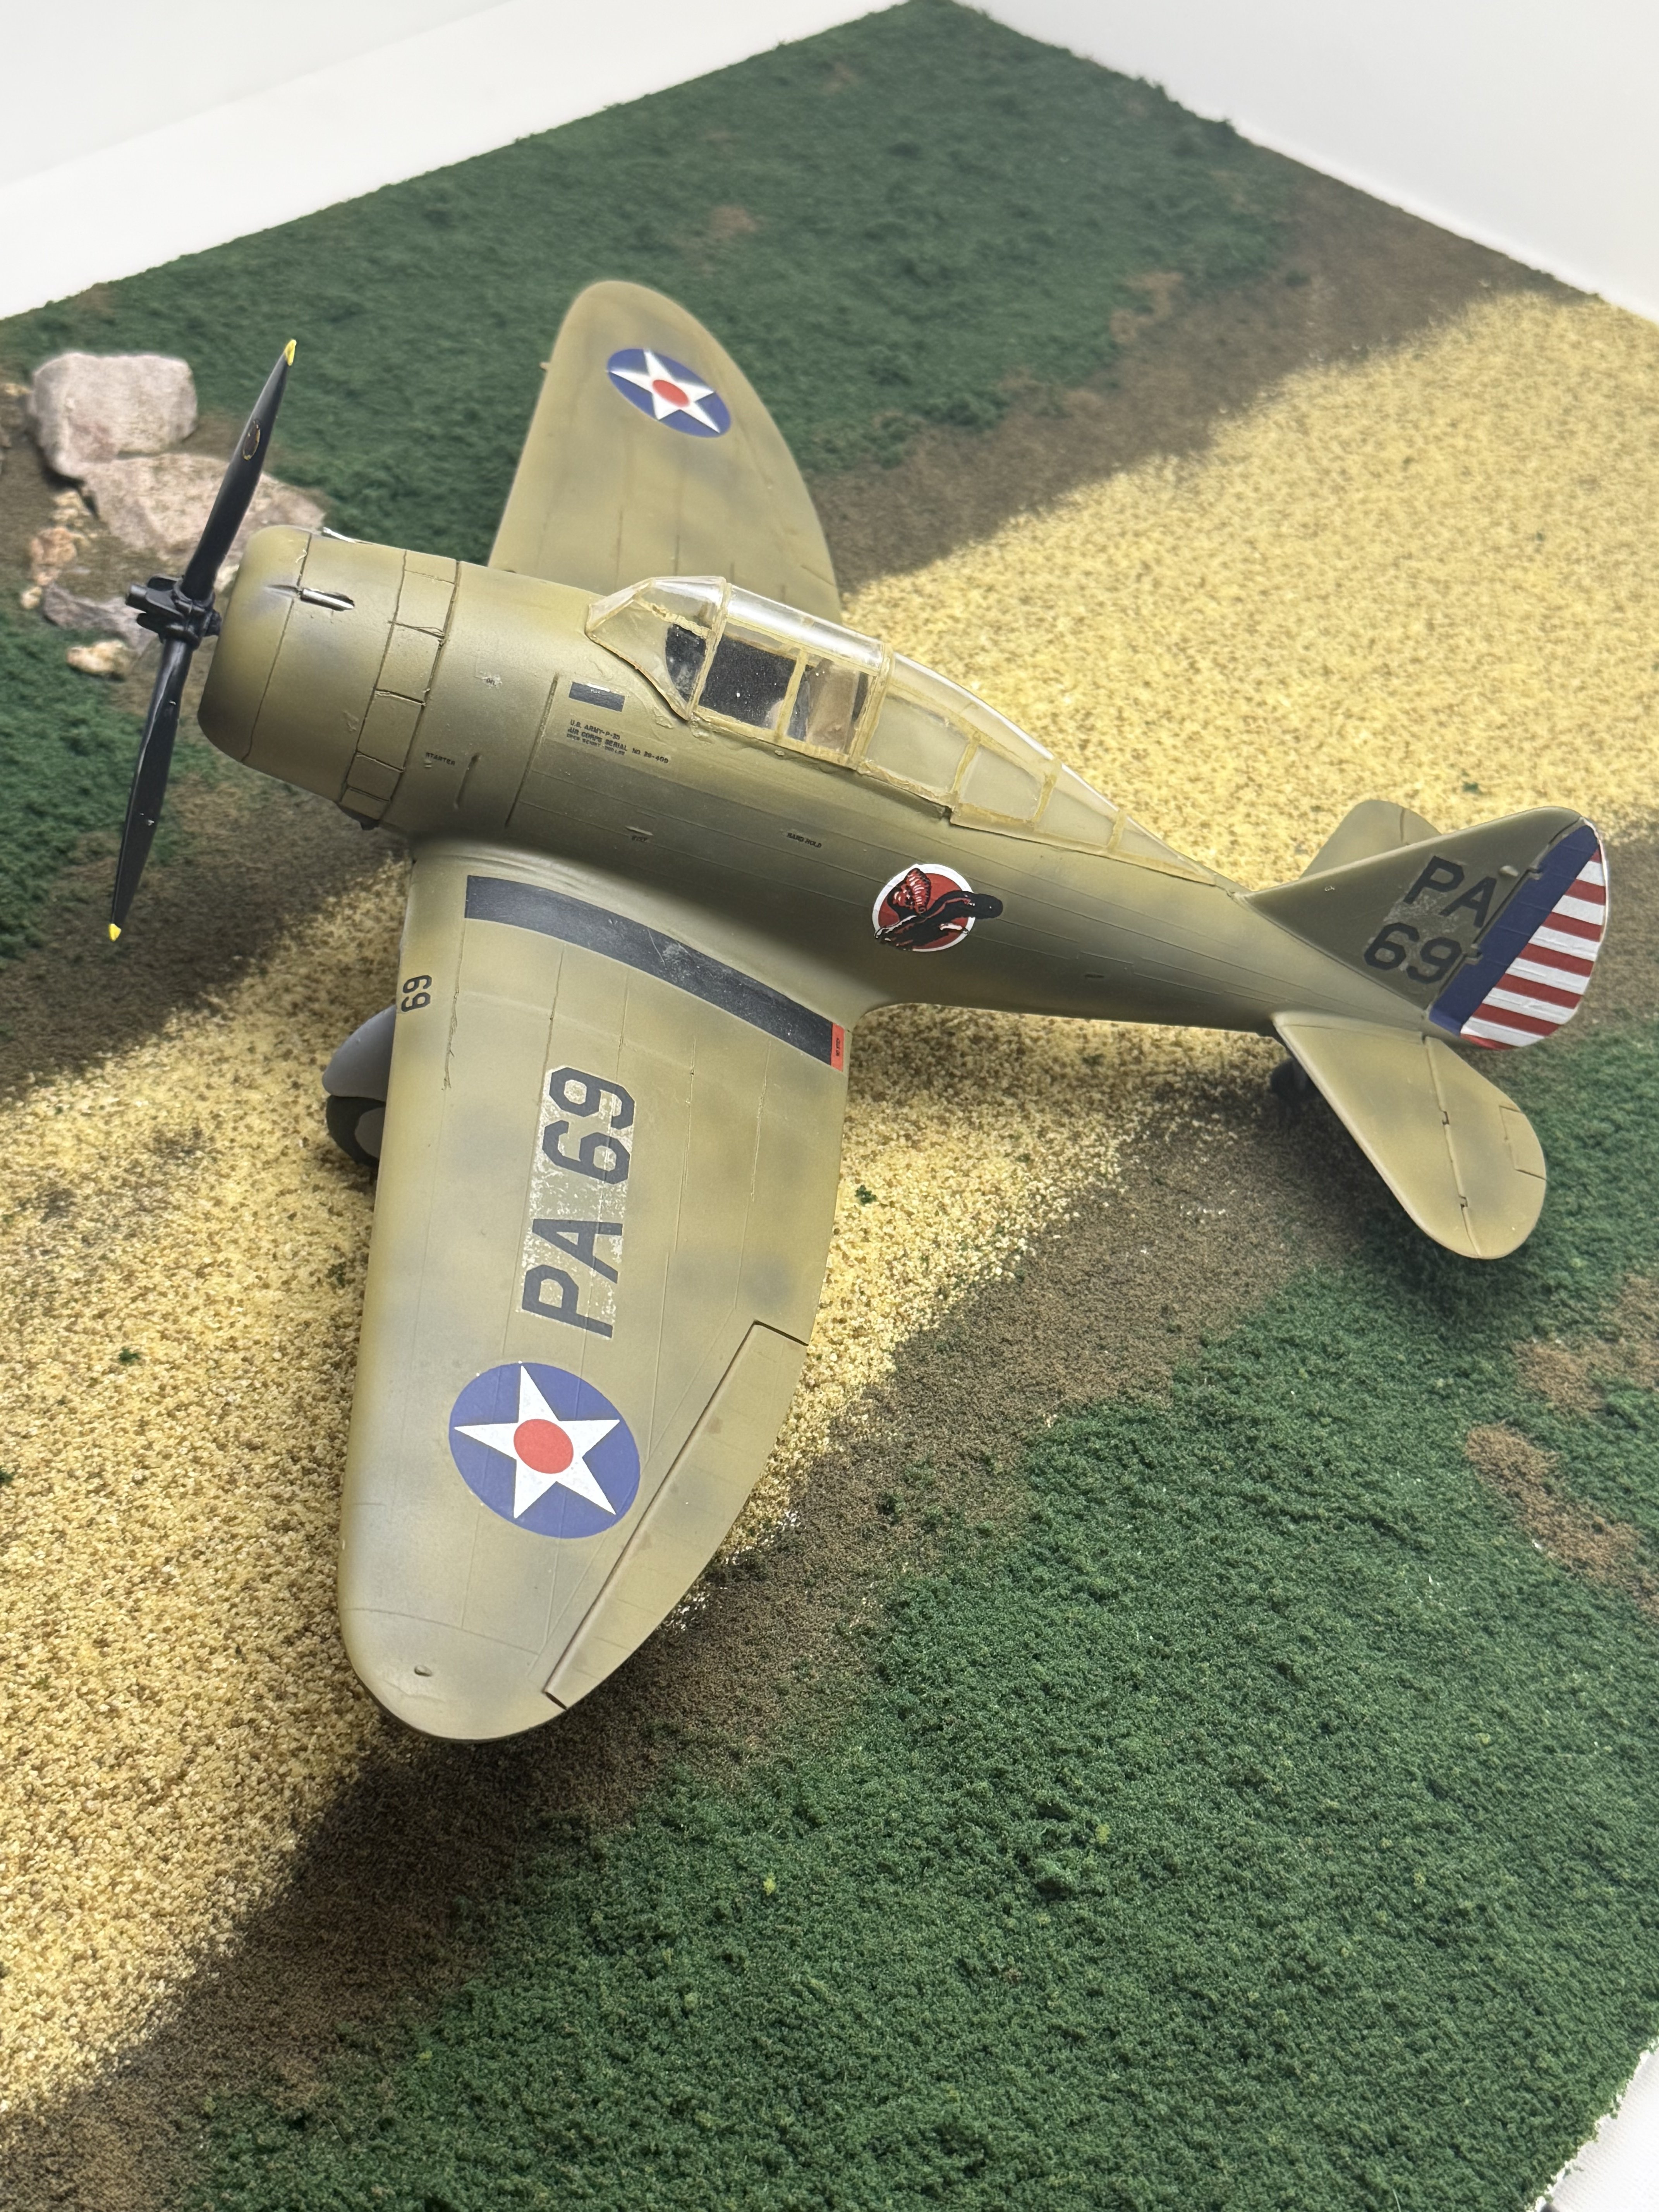
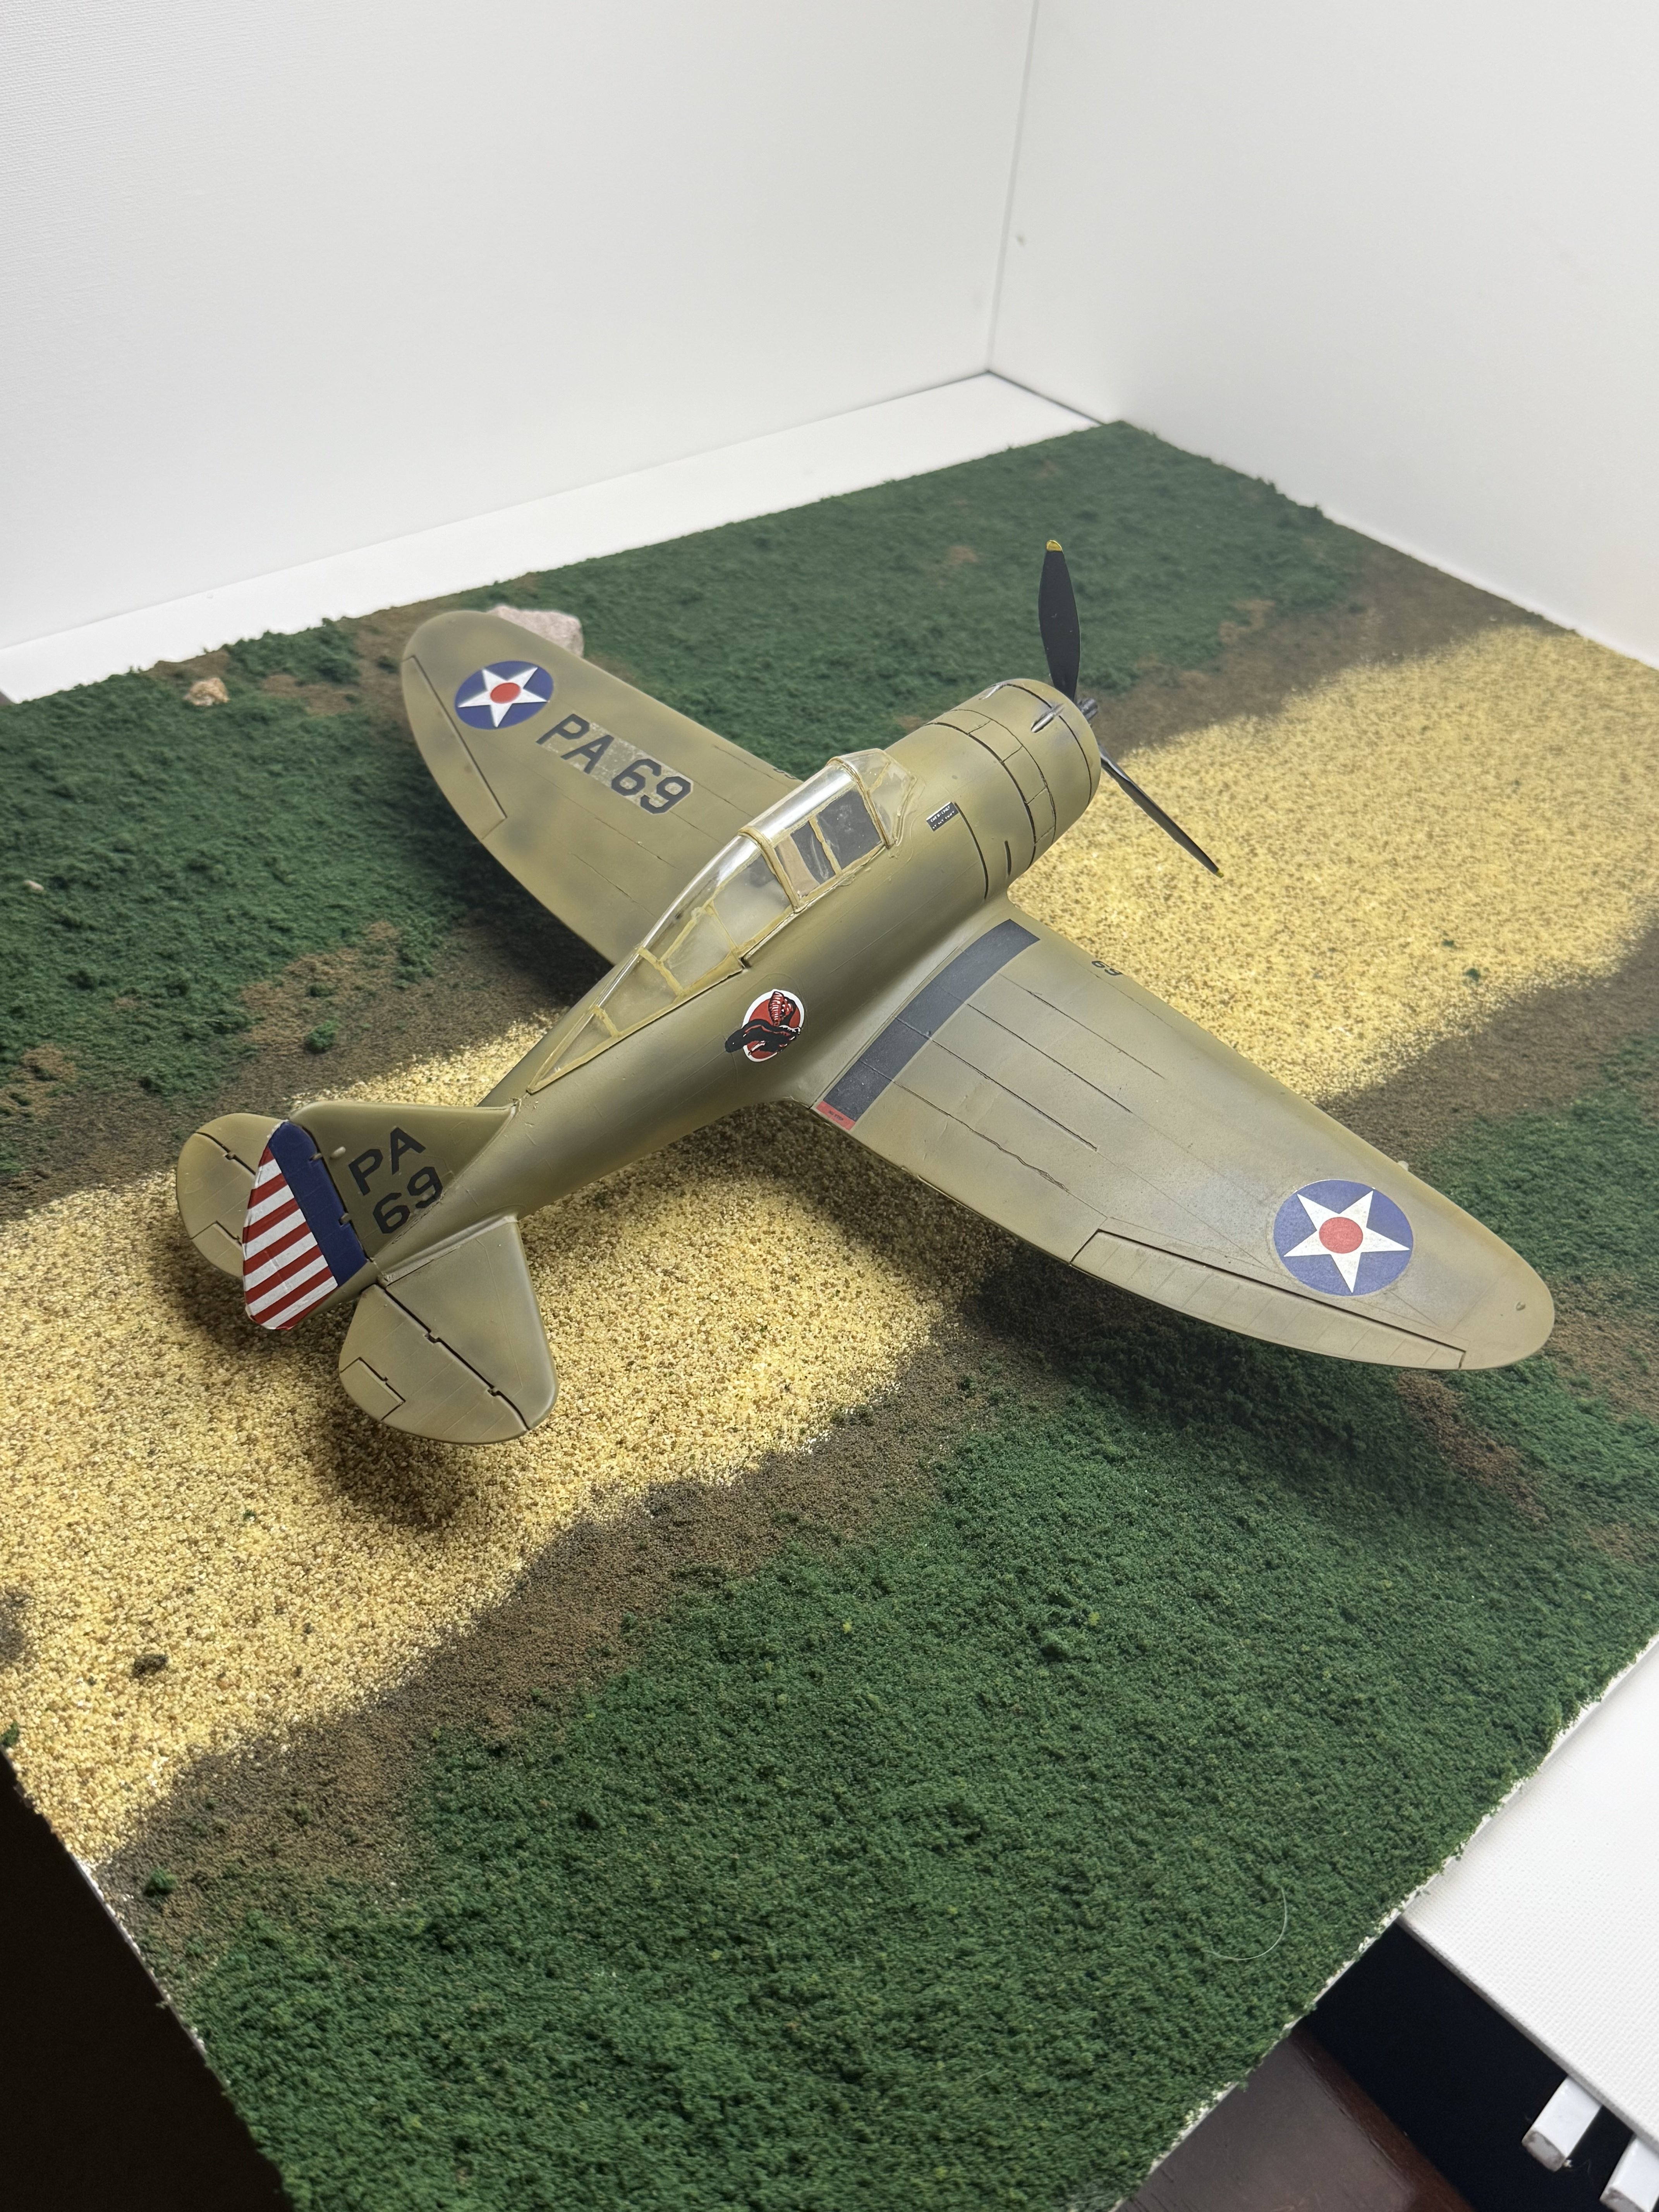
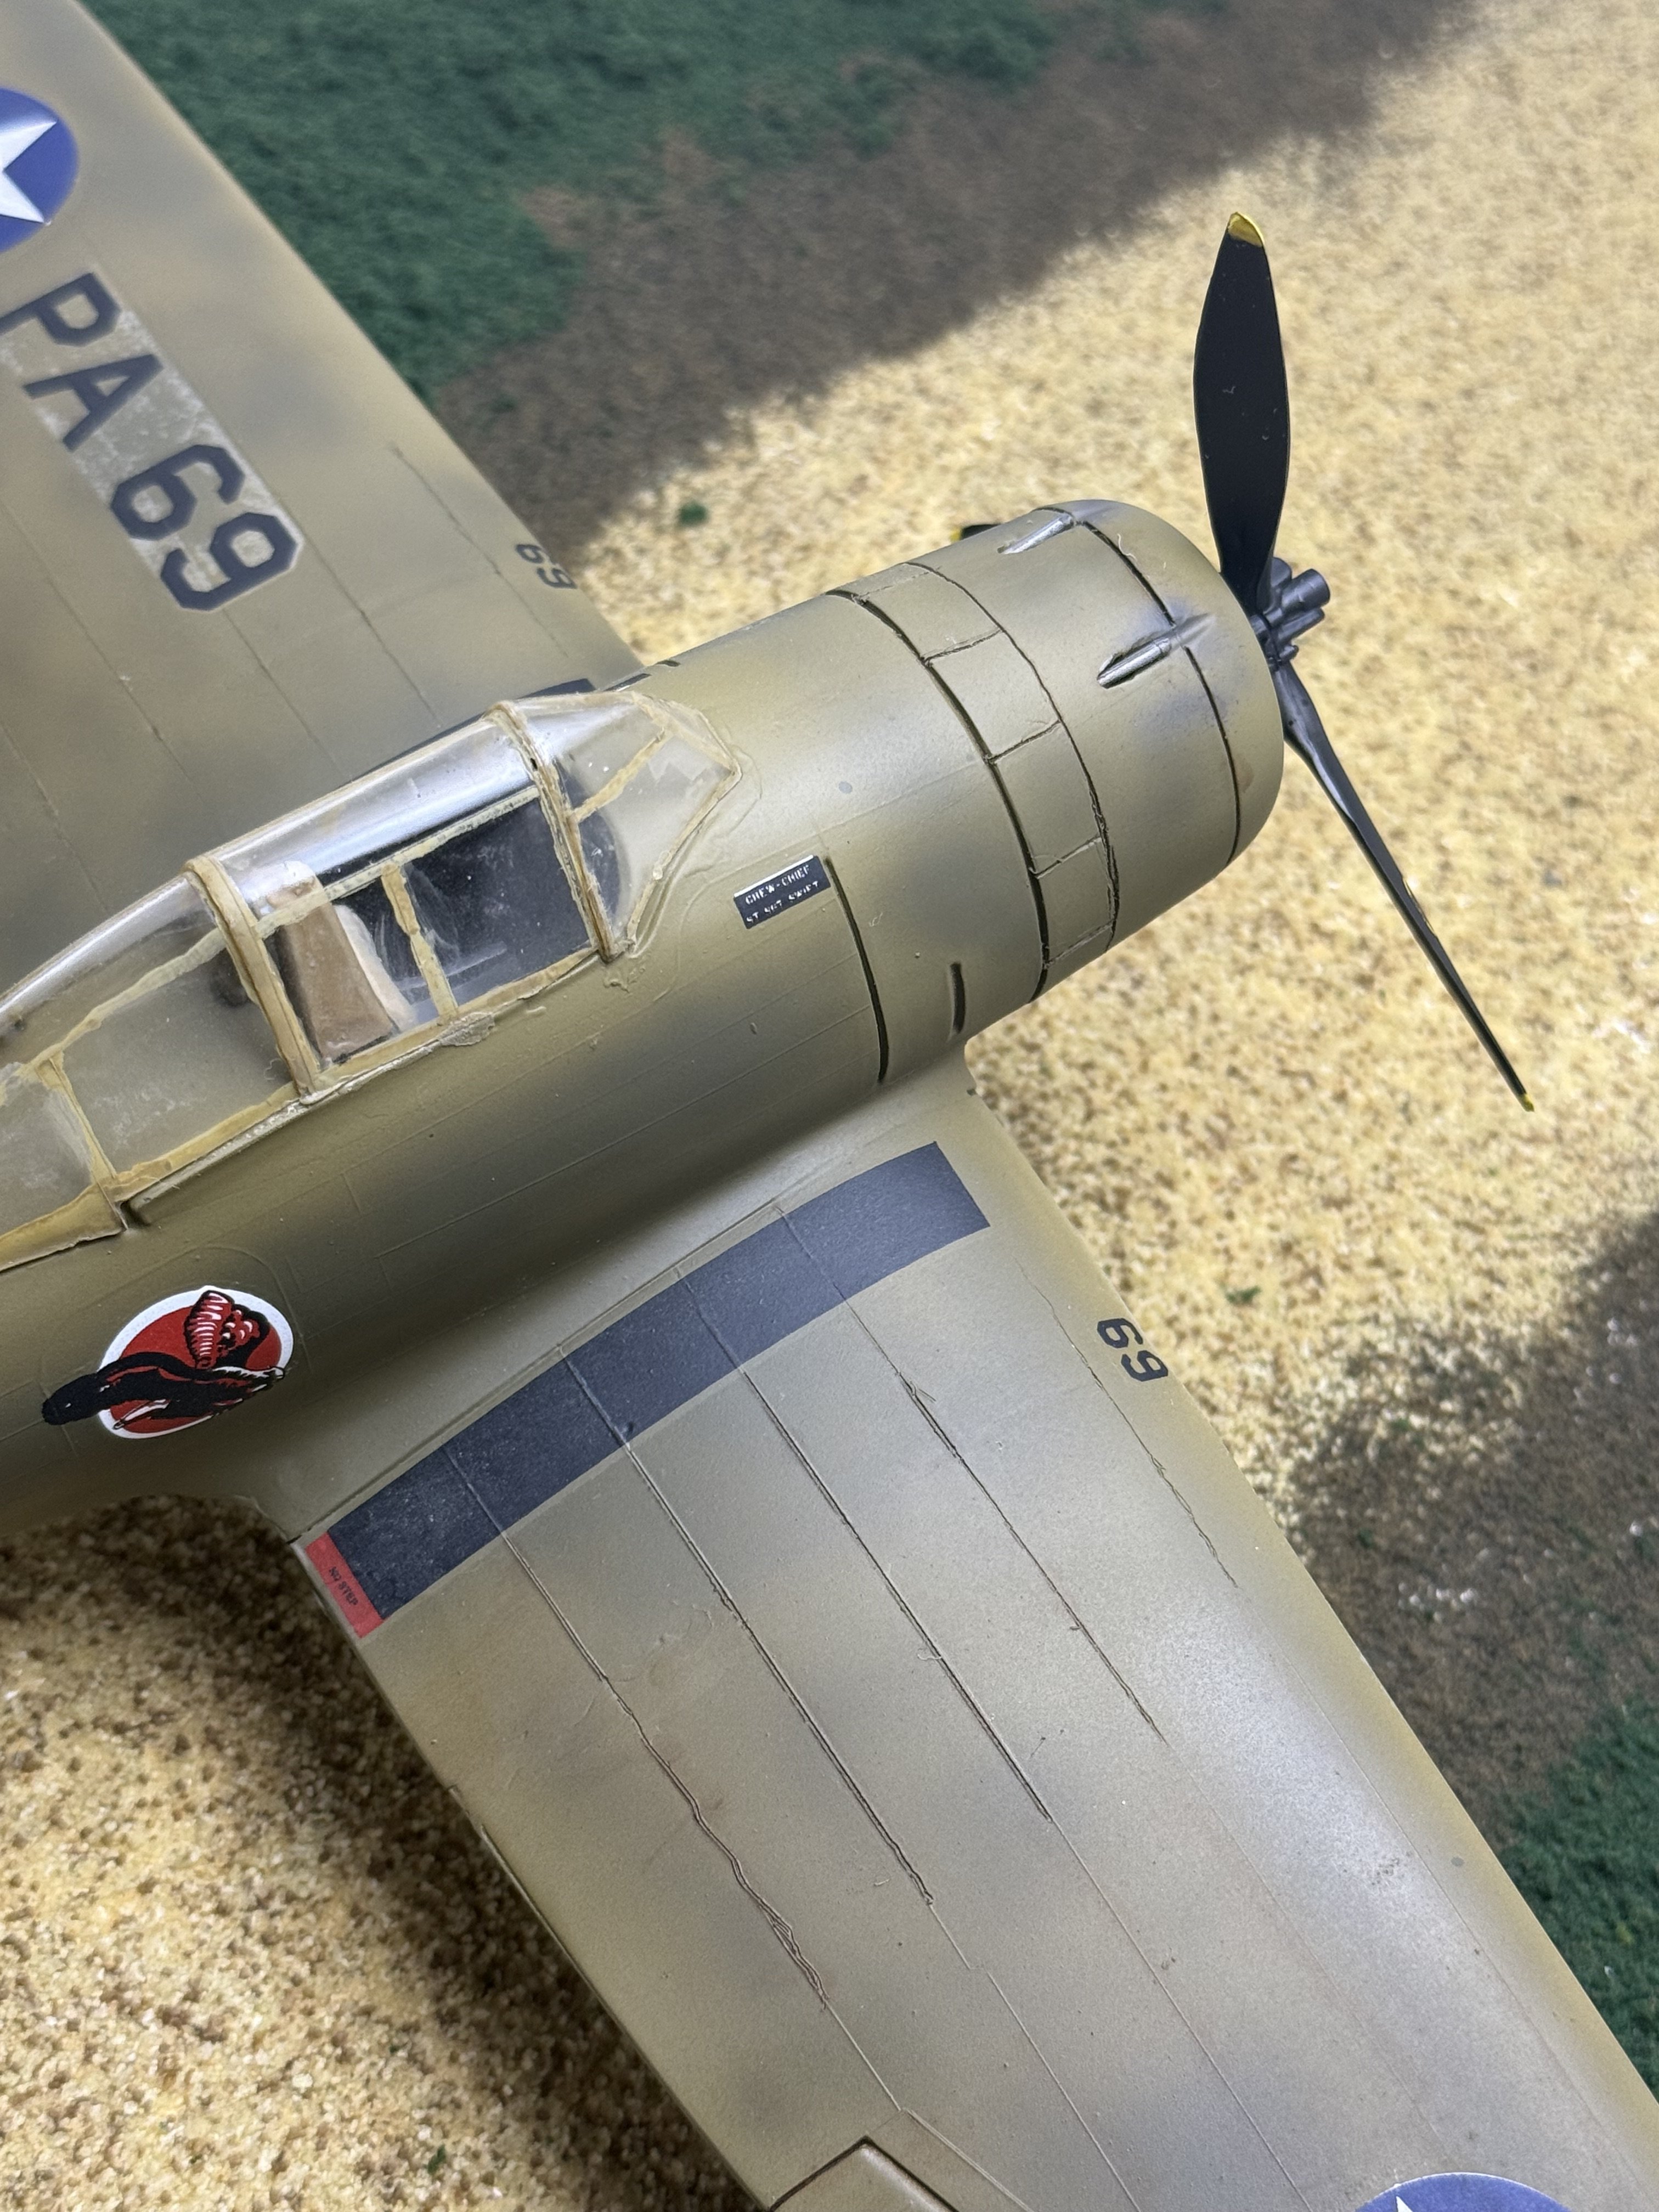
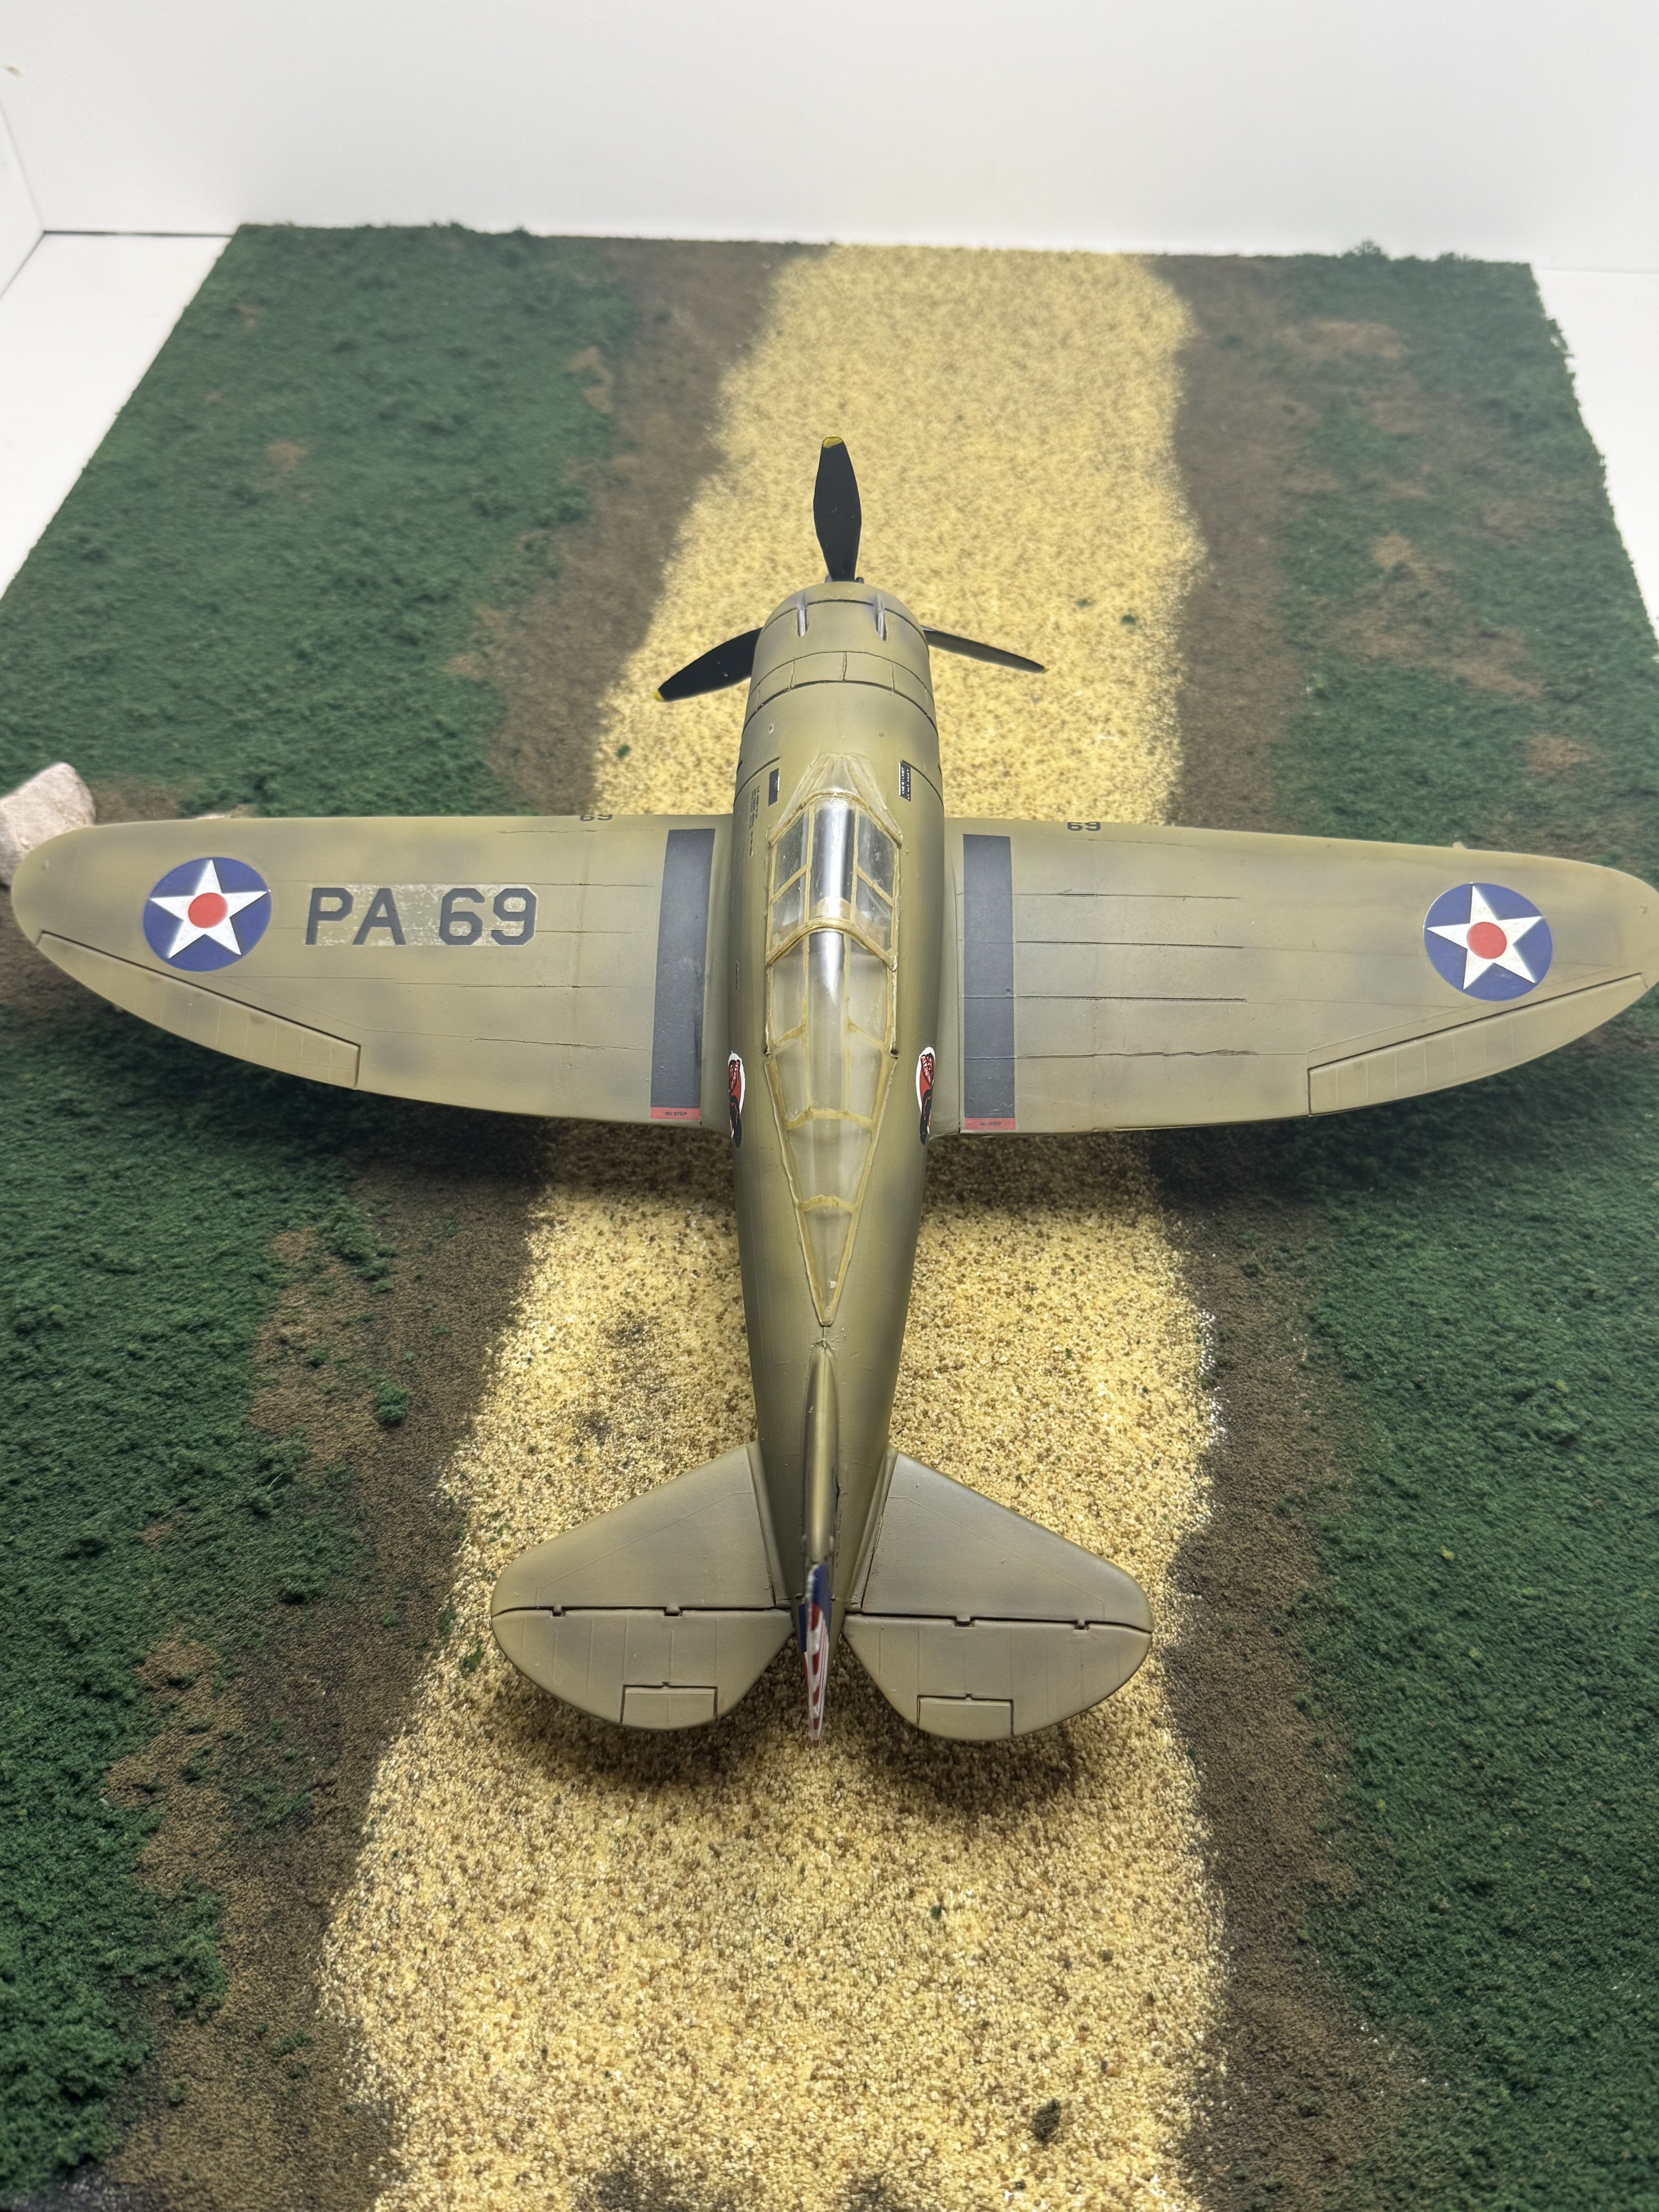
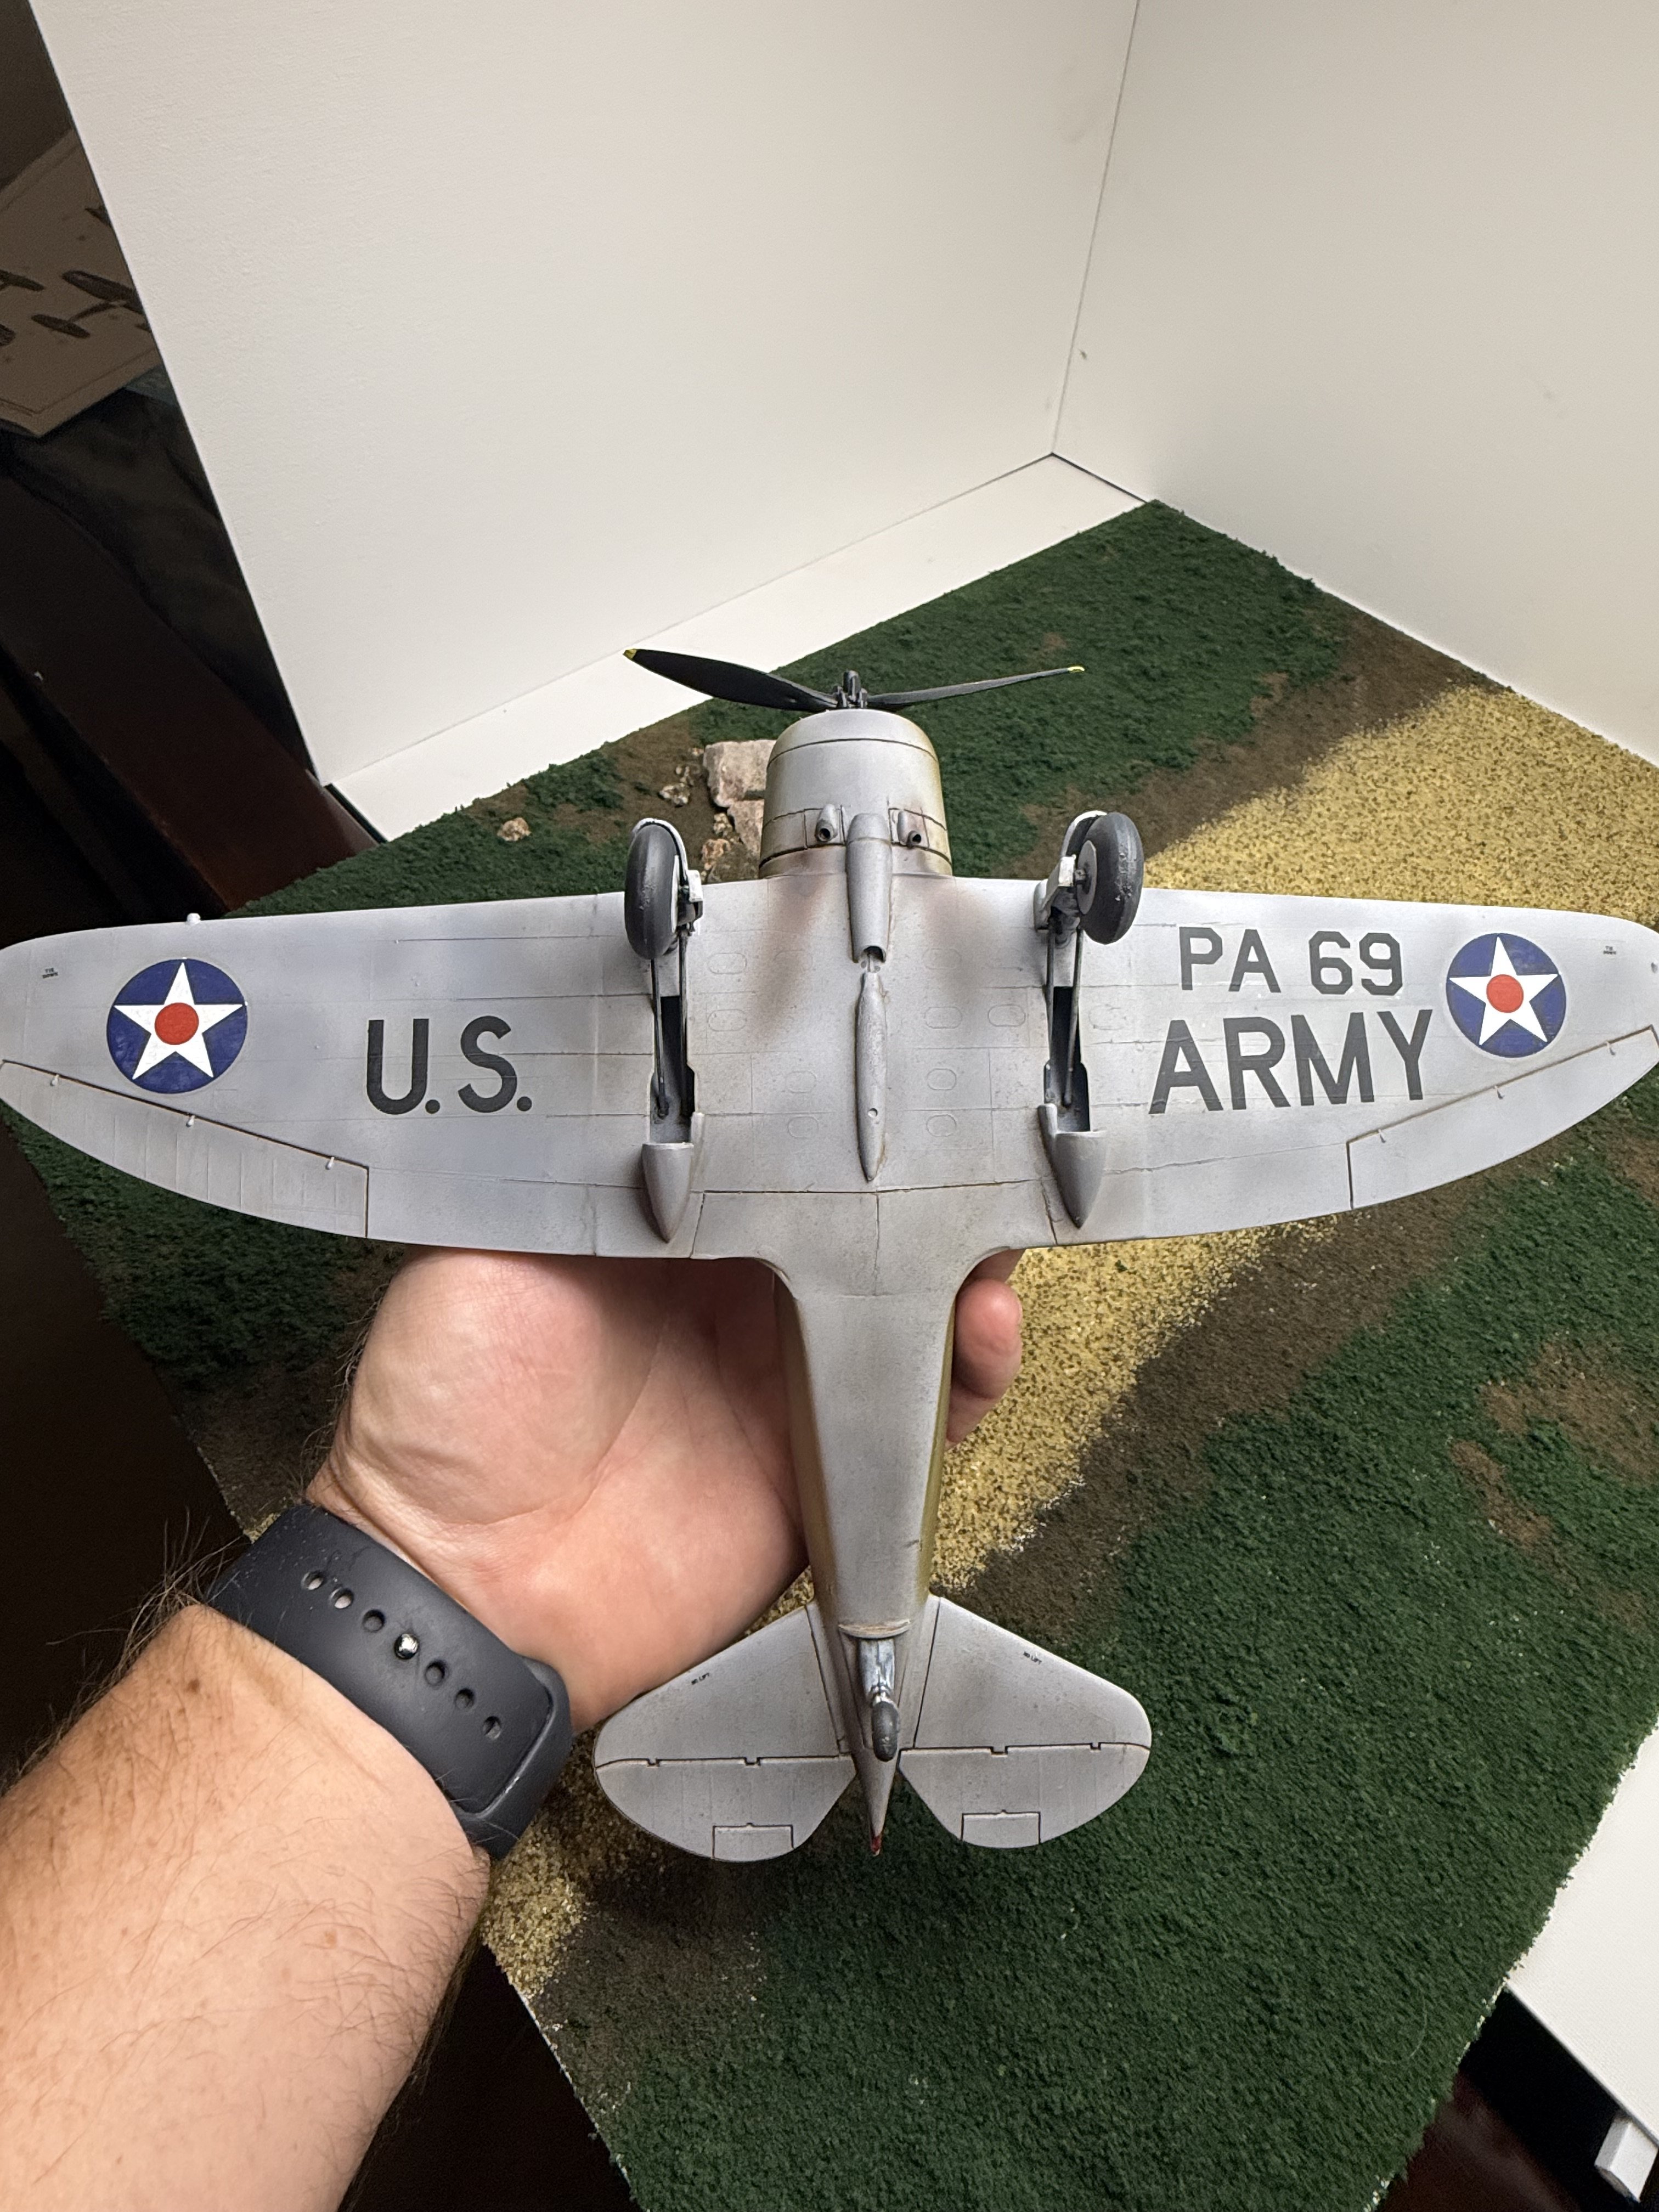
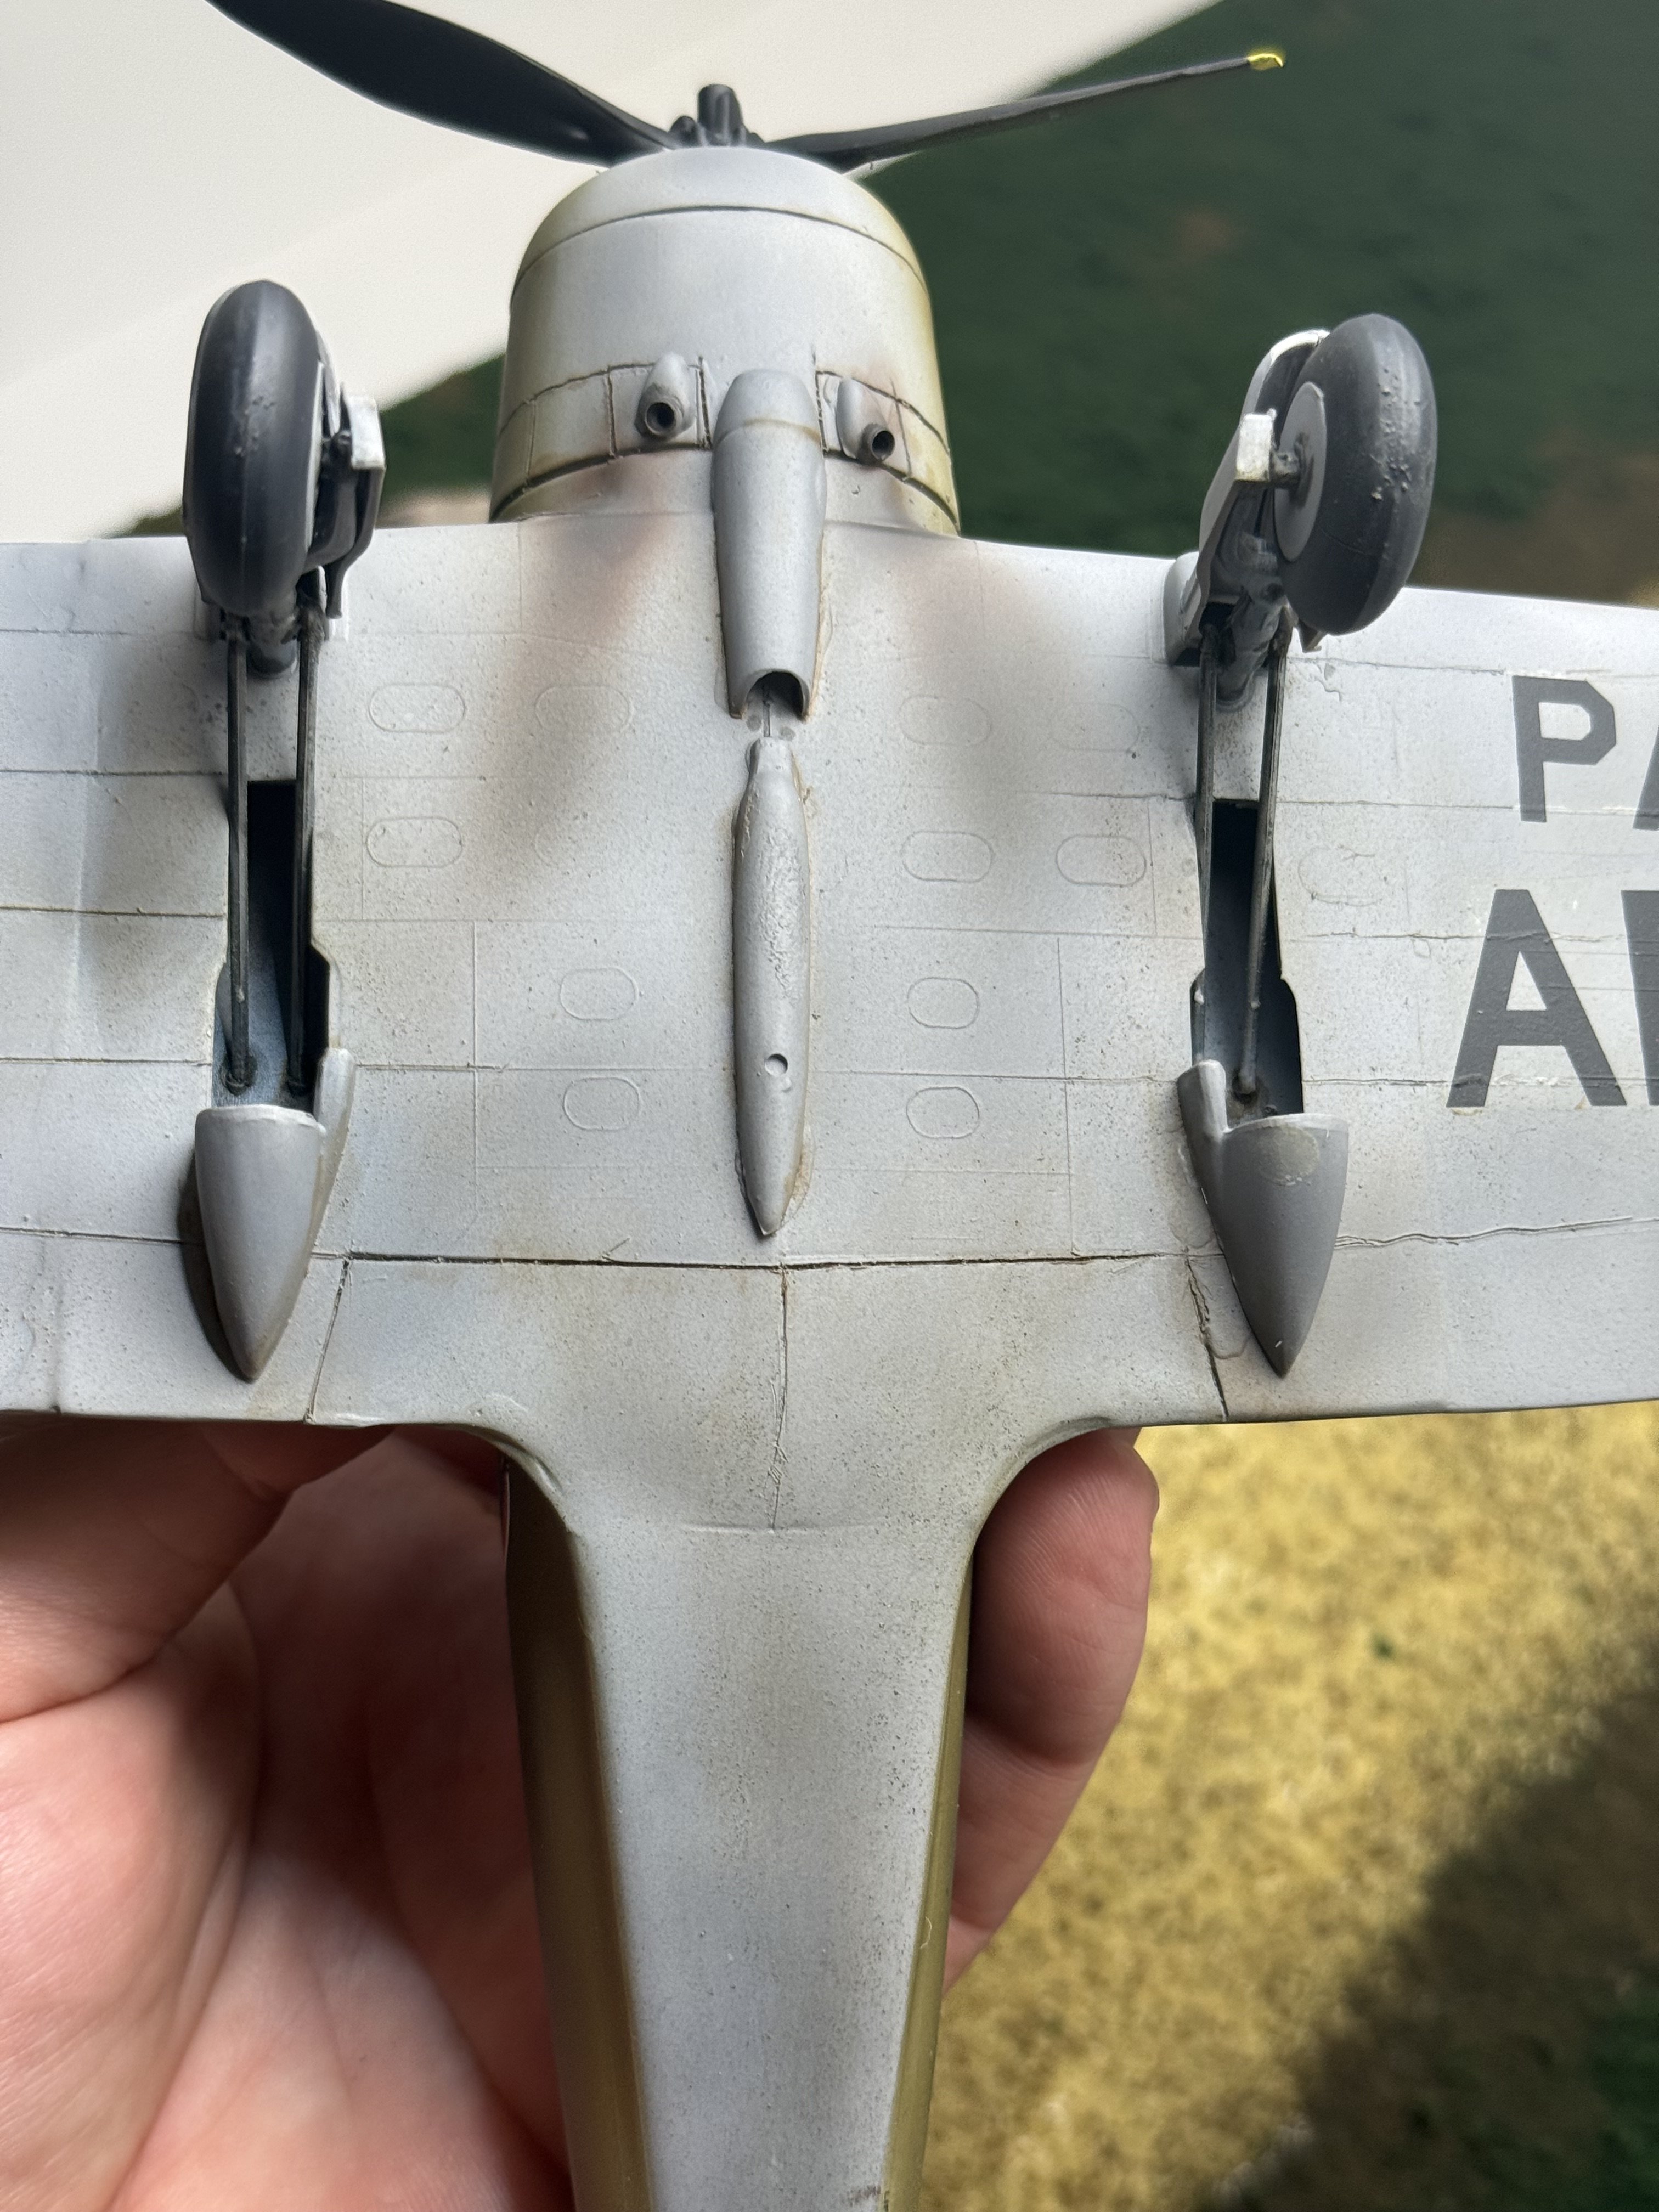
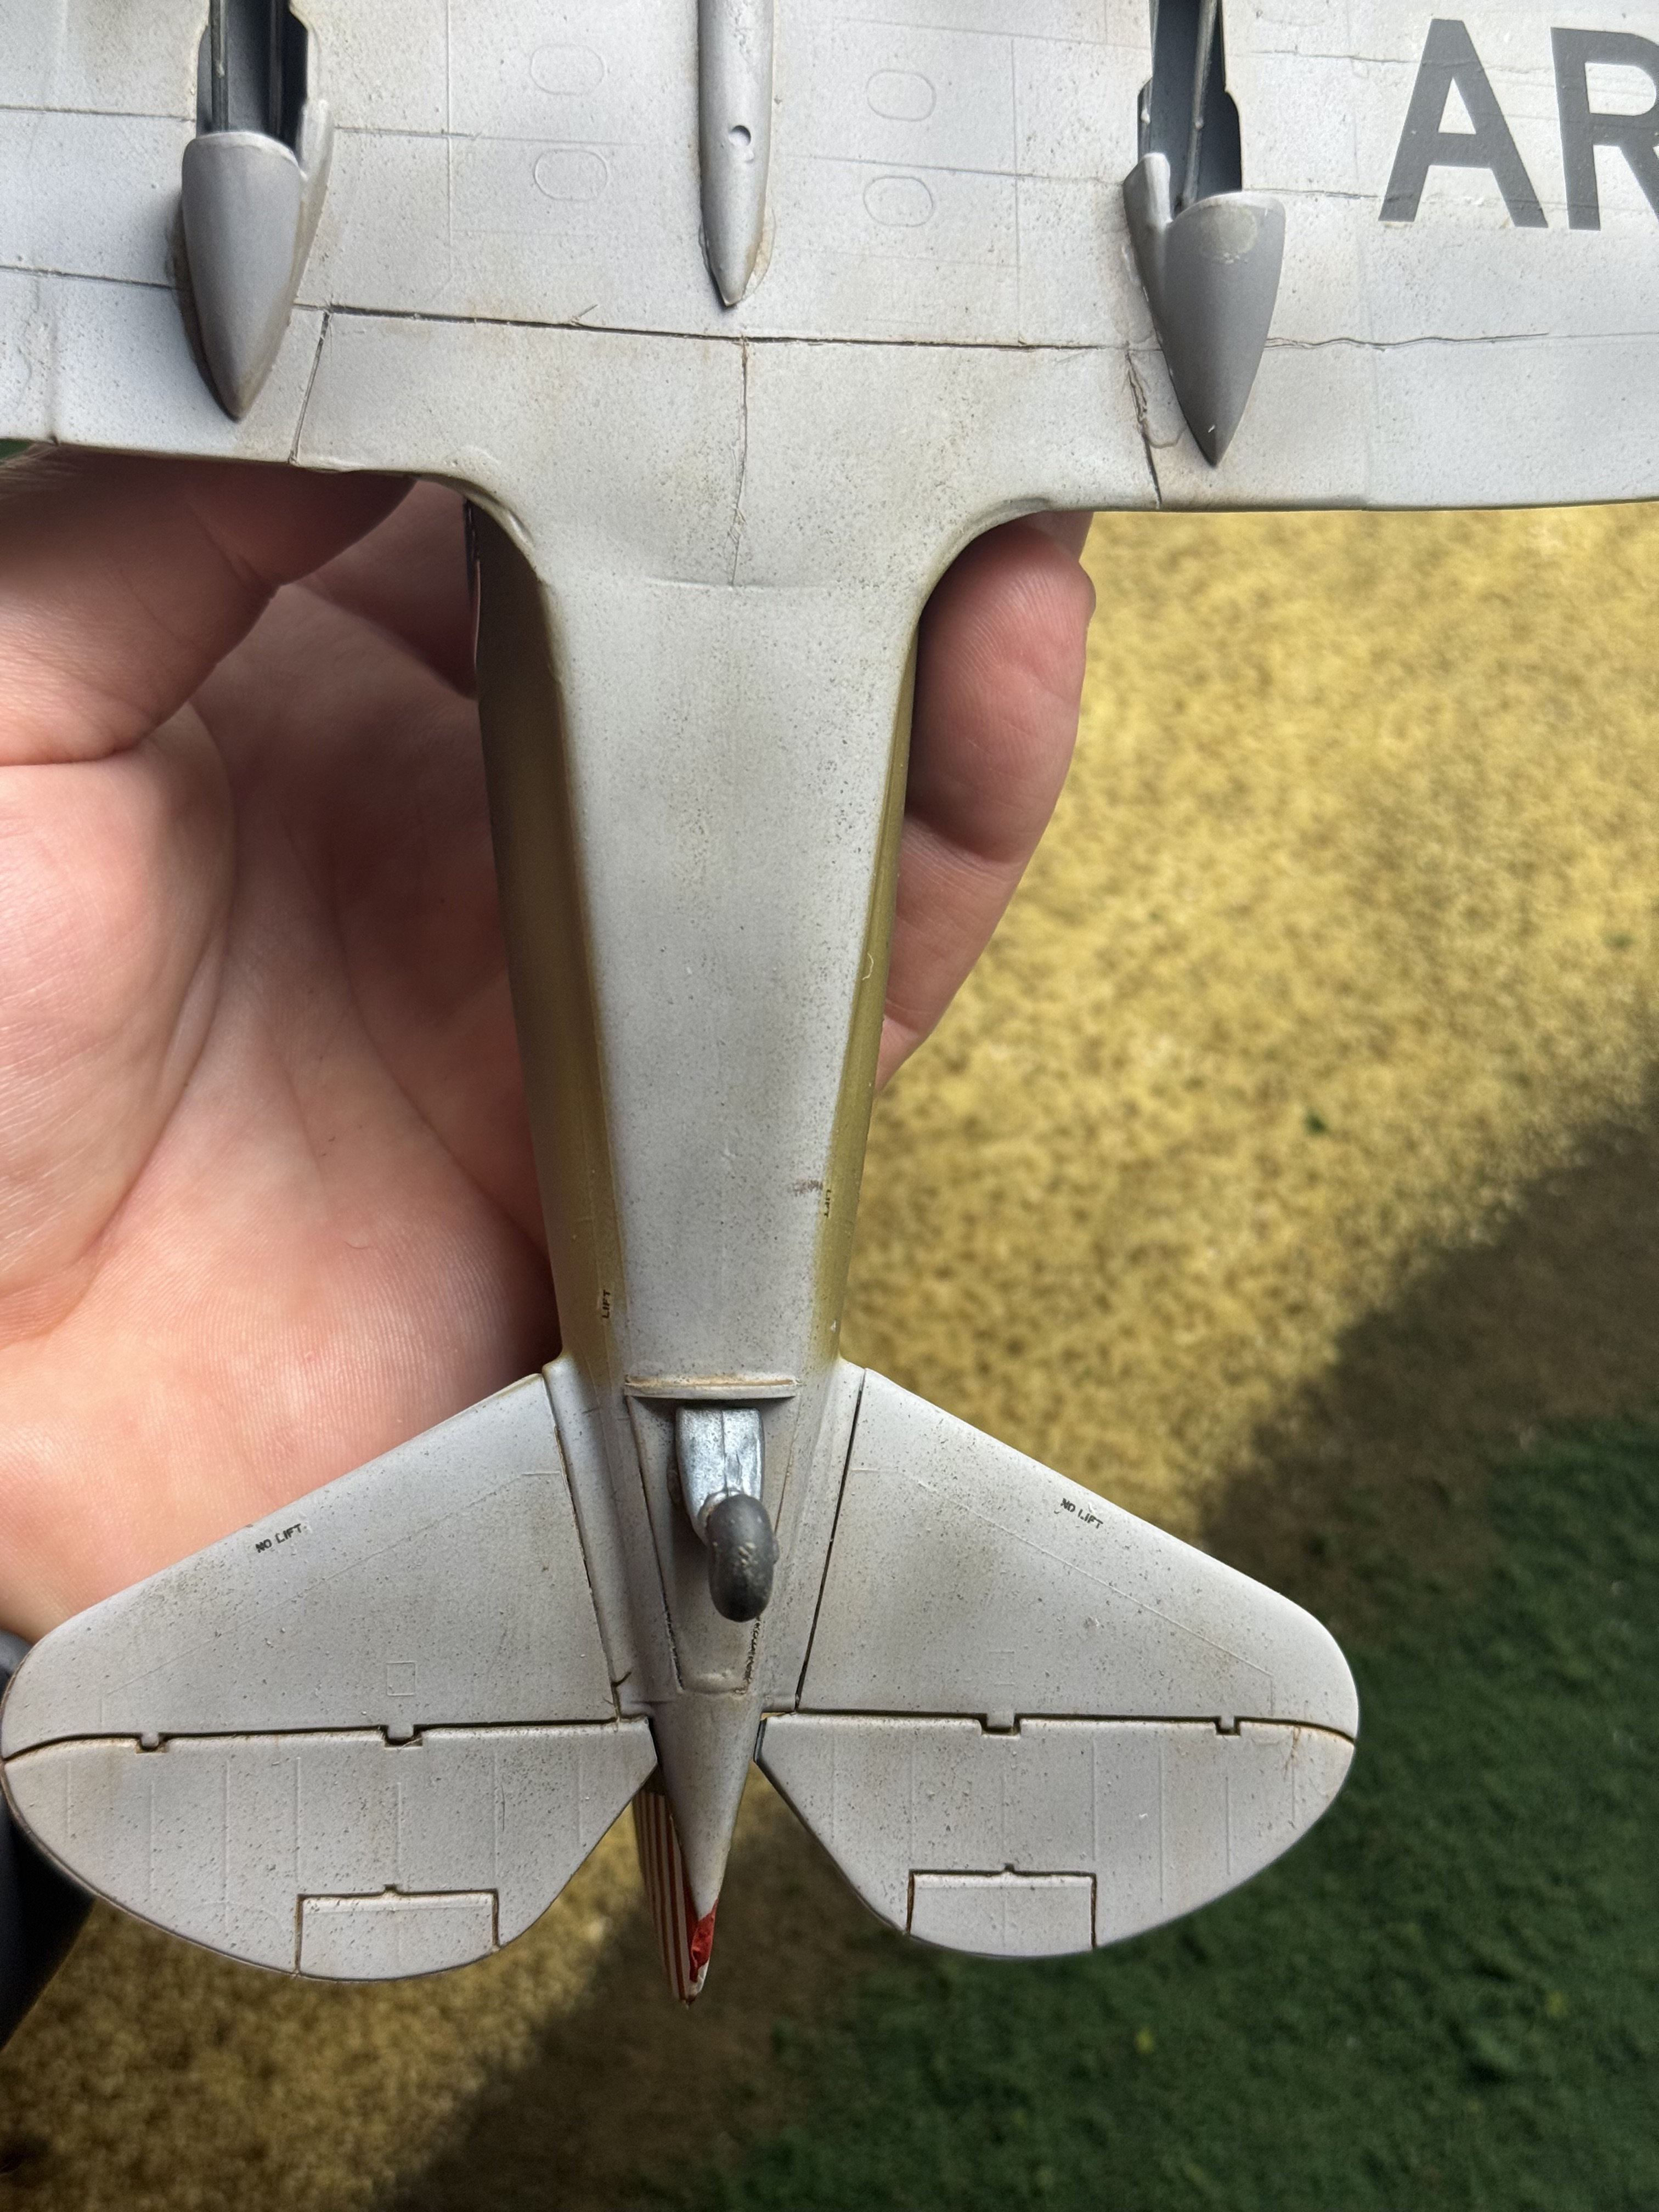
Not sure if I'm done at this point. I've done some weathering, applied the awful decals- 50 years old who would think they wouldn't be great? Not super pleased with my scribing or putty work on this one. Not my best work. I did enjoy that this kit was not a simple plug and play like Tamiya kits. Even something as simple as the gun ports- not provided, not even marked. So I had to mark it out and then create the grooves in the fuselage- actually build it. I guess that's the same satisfaction you guys that like to add all kinds of details or fix kit issues get. Huh. I learned something just now. Anyway, even with my mistakes I think it's a beautiful plane and I enjoyed building it.
Attachments
... In moderation, at least for me, it does get the old gears working, and makes smooth sailing all the more enjoyable!the same satisfaction

And very nice build, BTW!

Holz44
Well-Known Member
Absolutely love seeing the evolution of the pursuit planes in that era! The Lancer and Thunderbolt are evident in the Severski. I actually sold that kit when I decided (GASP!) to downsize due to moving. Great looking plane, great work!!
Thanks. I want to get the entire line done.Absolutely love seeing the evolution of the pursuit planes in that era! The Lancer and Thunderbolt are evident in the Severski. I actually sold that kit when I decided (GASP!) to downsize due to moving. Great looking plane, great work!!
user 22148
Well-Known Member
- Joined
- Oct 3, 2024
- Messages
- 497
nice - that's a really cool looking aircraft!

Thank you!nice - that's a really cool looking aircraft!
I liked doing the older kit. I've seen people complain d/t the extra work required but I don't see how it's any different than scratch building or adding on PE.Really nice job on this ancient kit. I have two in the stash that I am now motivated to digging into.


