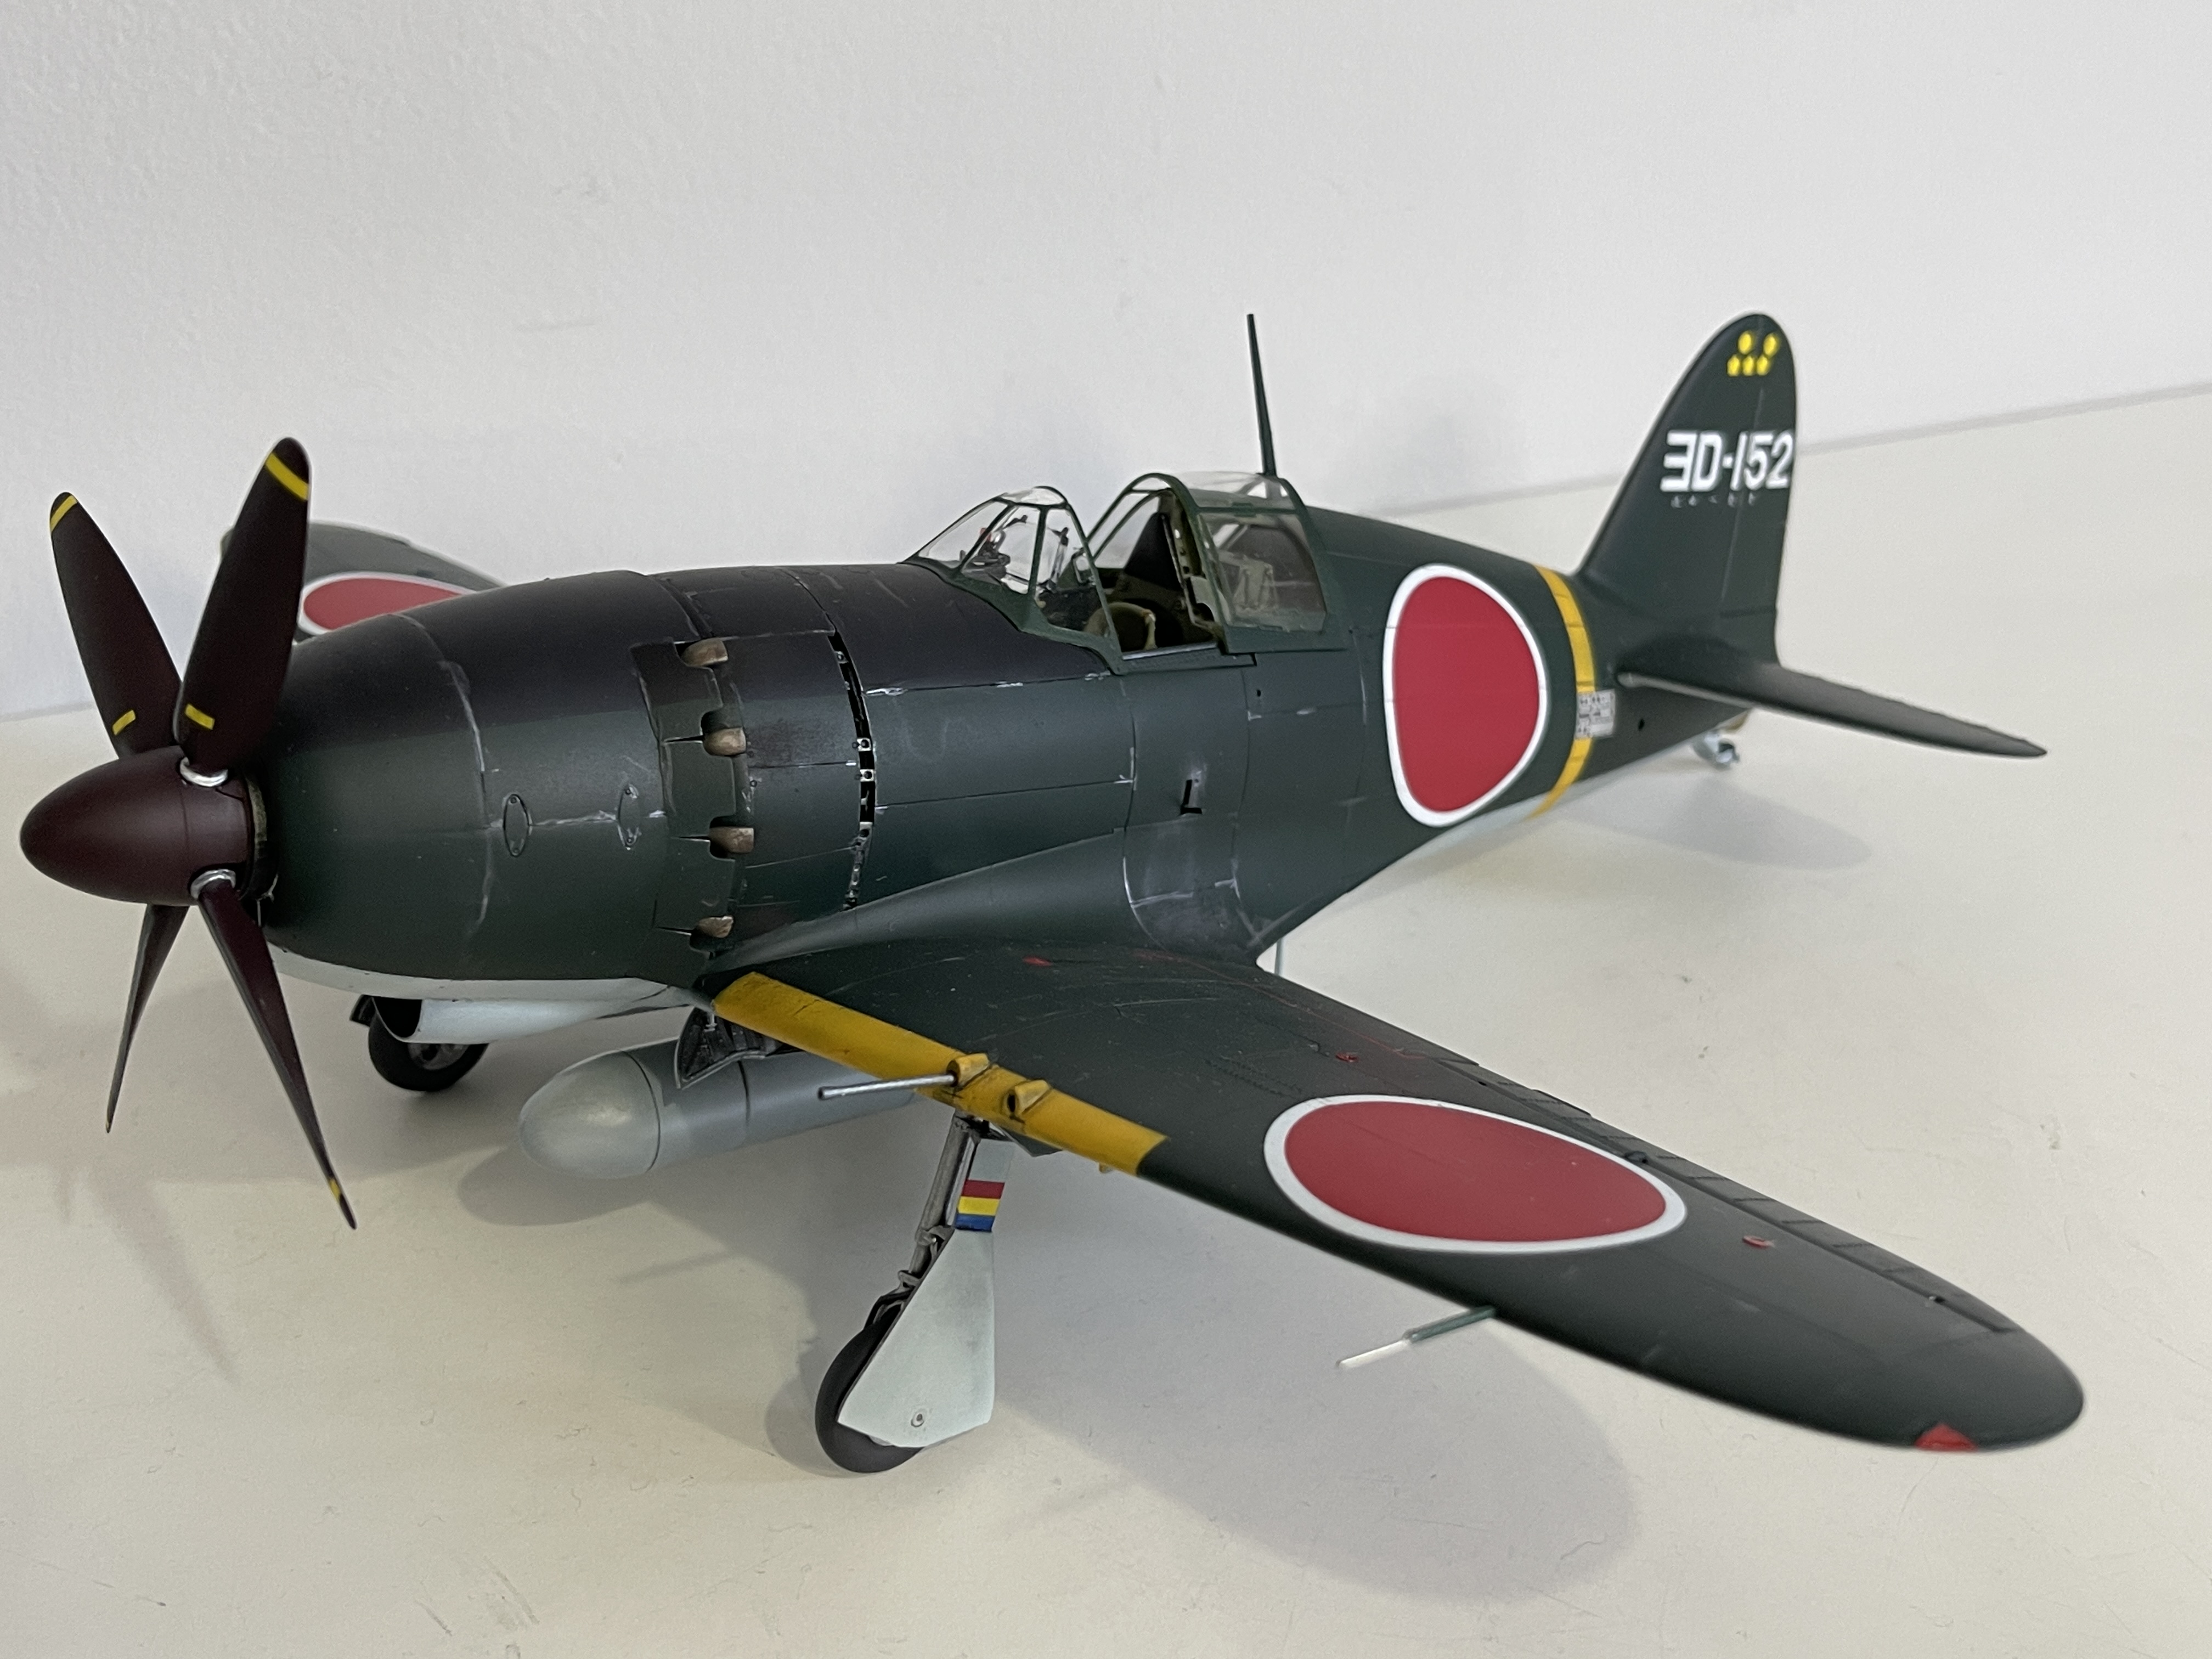
The 1/32 Revell Meteor

Scale Model Addict - Model Tips, Guides, Tools & Tech, Tutorials, and Community

Help Support Scale Model Addict:

BarryW

Well-Known Member
Joined
Apr 17, 2025
Messages
263
As some of you may know I am not a fan of Revel. First I have to say, I am speaking only of their 1/32 aircraft so others may have different experiences.

I have found that Revell have just two things in their favour, excellent decals and they are cheap. I have built a number of Revell 1/32 aircraft both new tooling and the old 'classics from 50 years ago.

I have found them very poor, made to a low price point and it shows. Often inaccurate and of mediocre fit at best. Their 1/32 AR196, now that was an exception, that's a really good kit. But I have no time at all for their 1/32 Spitfires, Bf109, FW190 and so on and would much rather spend three or four times as much for a Tamiya, Kotare or Zoukei Mura.

Then their Hurricane came along and what a good kit it is. Not the definitive Hurricane (Kotare are doing that). It went together faultlessly and I can simply find nothing wrong with it. Of course, one sunny day does not a summer make …. Now they have released this kit, the Meteor. I have the First Edition kit costing around £100, a premium price that you would expect to pay for a Tamiya but look at what's included.

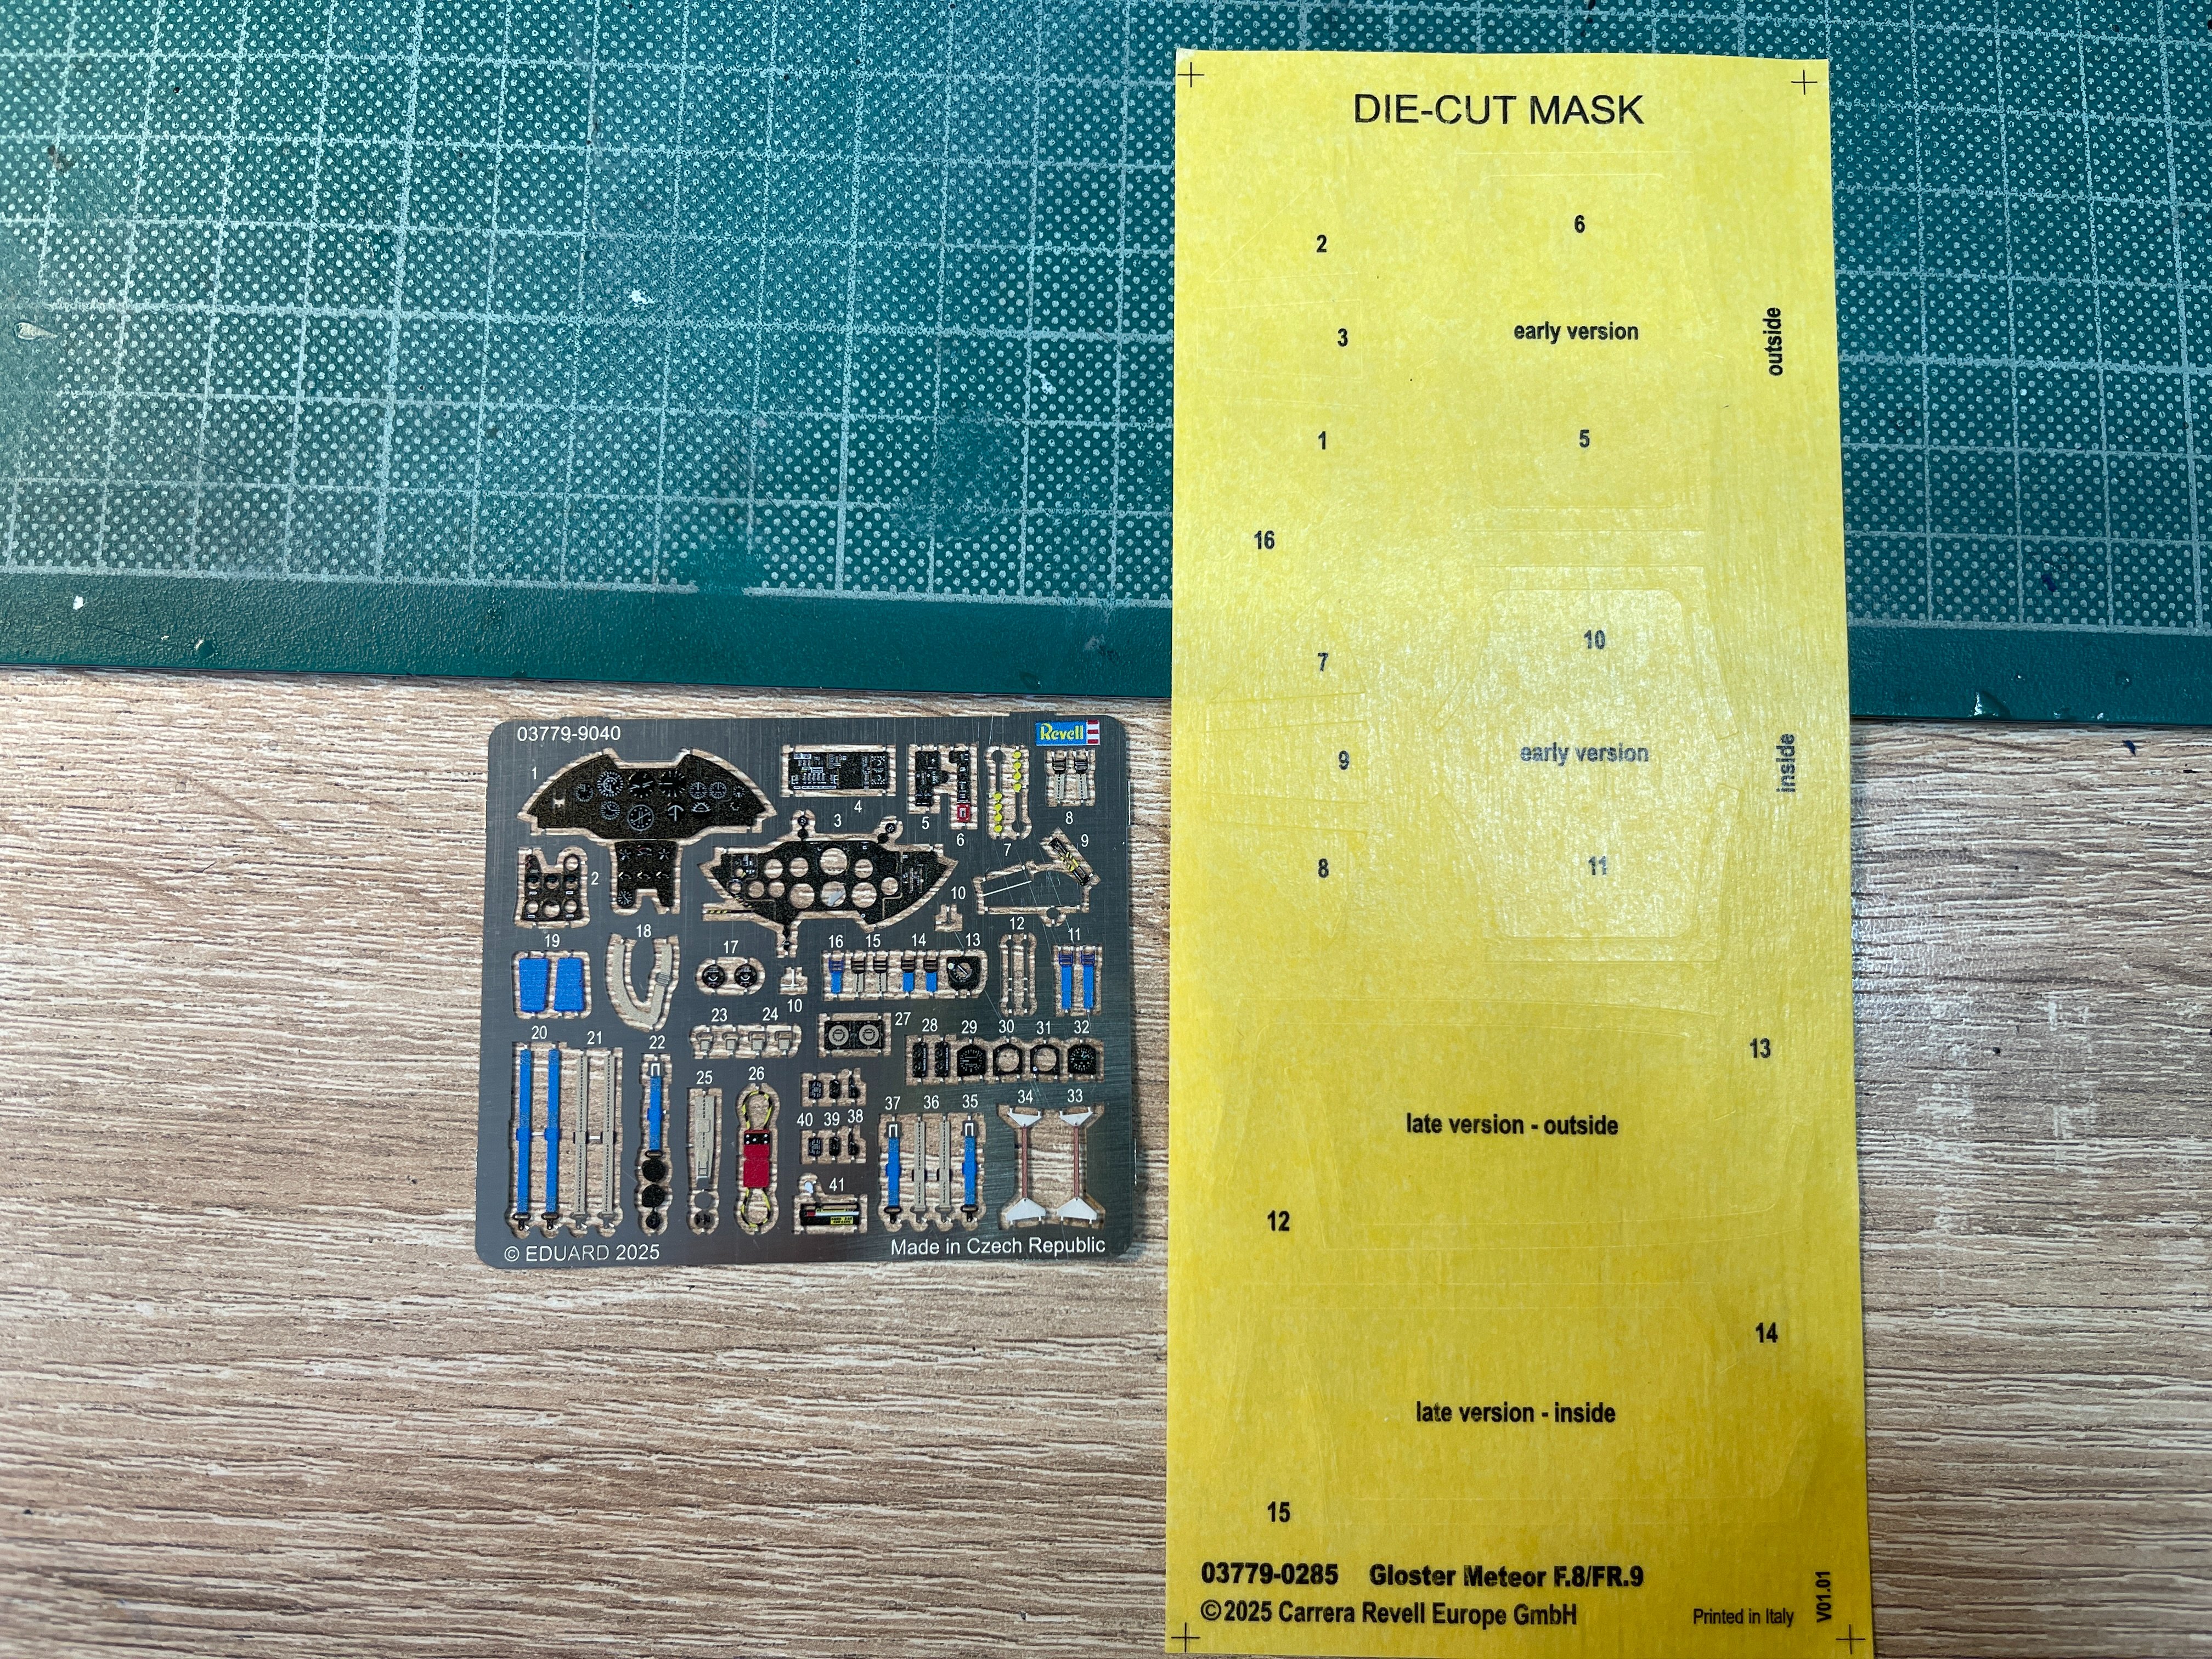
Paint masks
Coloured Photoetch with instrument panel and seatbelts.
A very nice poster
An excellent high quality reference book.

In other words you don't have to buy any aftermarket to build this kit.

Even the plastic itself is much better quality than Revels usual, it is crisp and finely detailed. We will see in this thread how it goes together but i have to say that it looks good in the box

Revell are shortly doing a standard release of the kit costing about £70 but without the etch, masks, book and with only three schemes rather than five.

I consider the First Edition to have been superb value with those extras.

So let have a brief look at it before I cut plastic.

The box lid
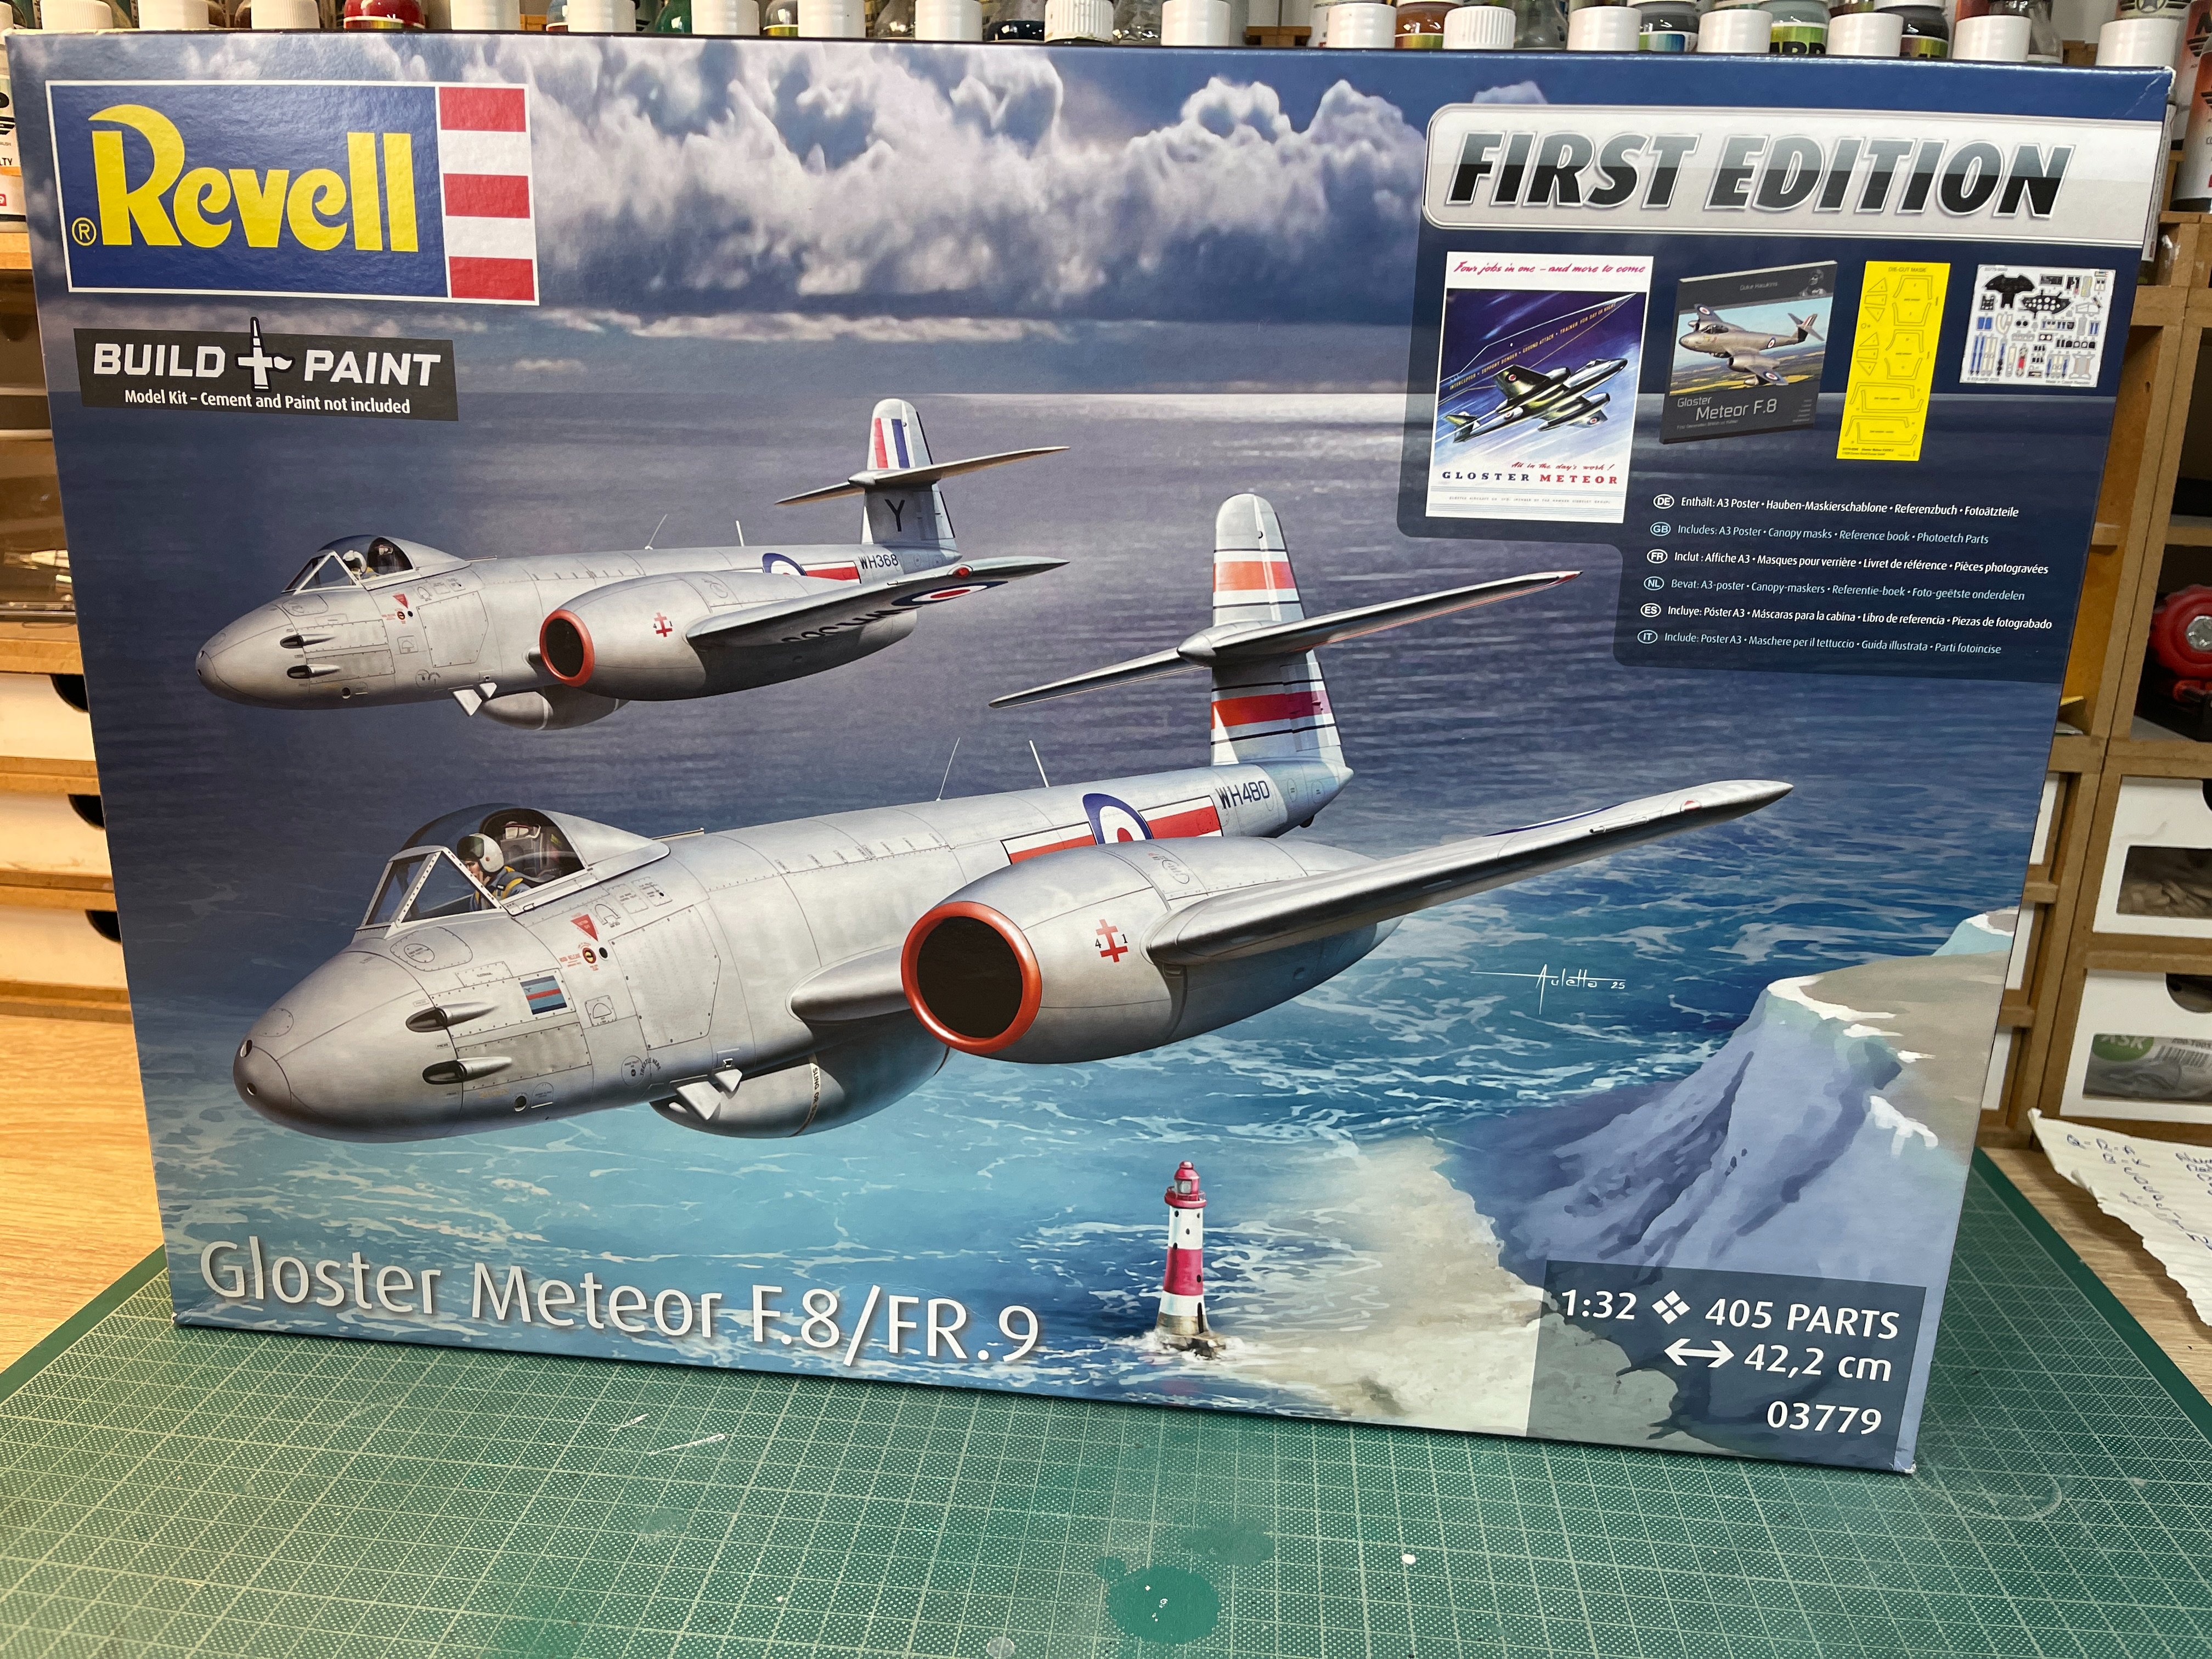
20260503_113601711_iOS.jpg


The superb reference book included that I expect to get good use of
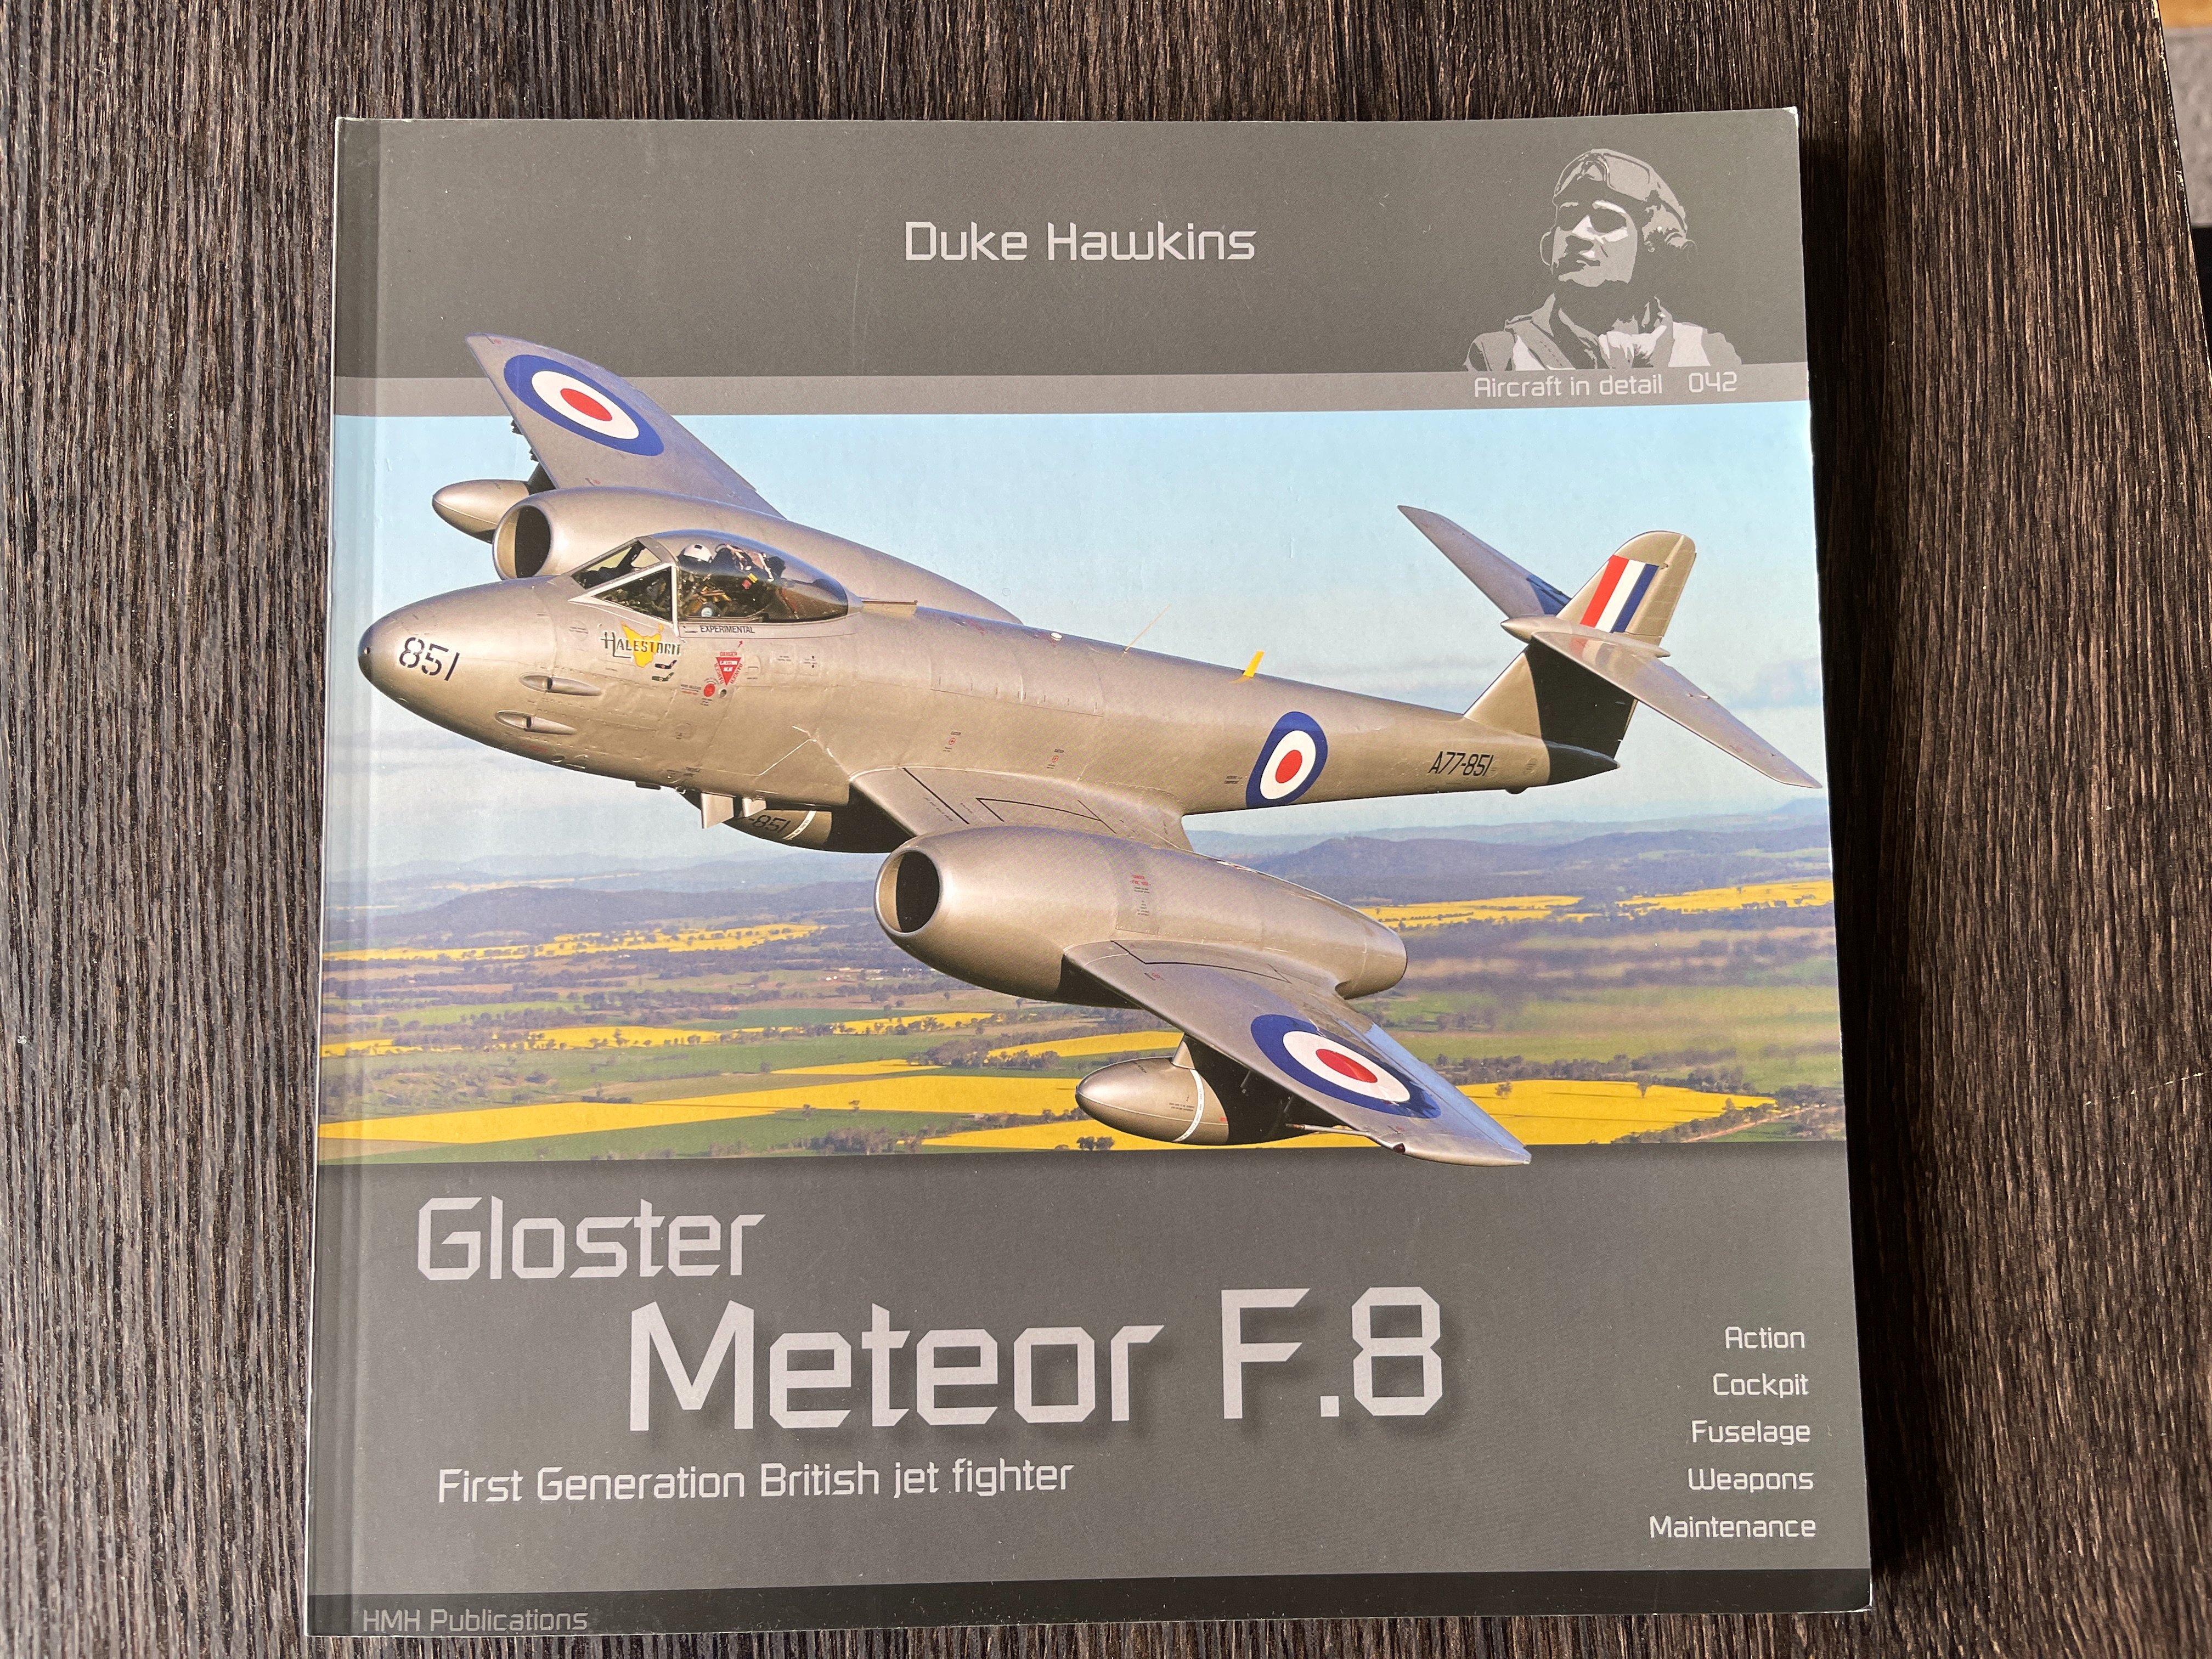
20260503_113807621_iOS.jpg

The masks and etch
20260503_113643424_iOS.jpg

The decals, always a strength of Revell
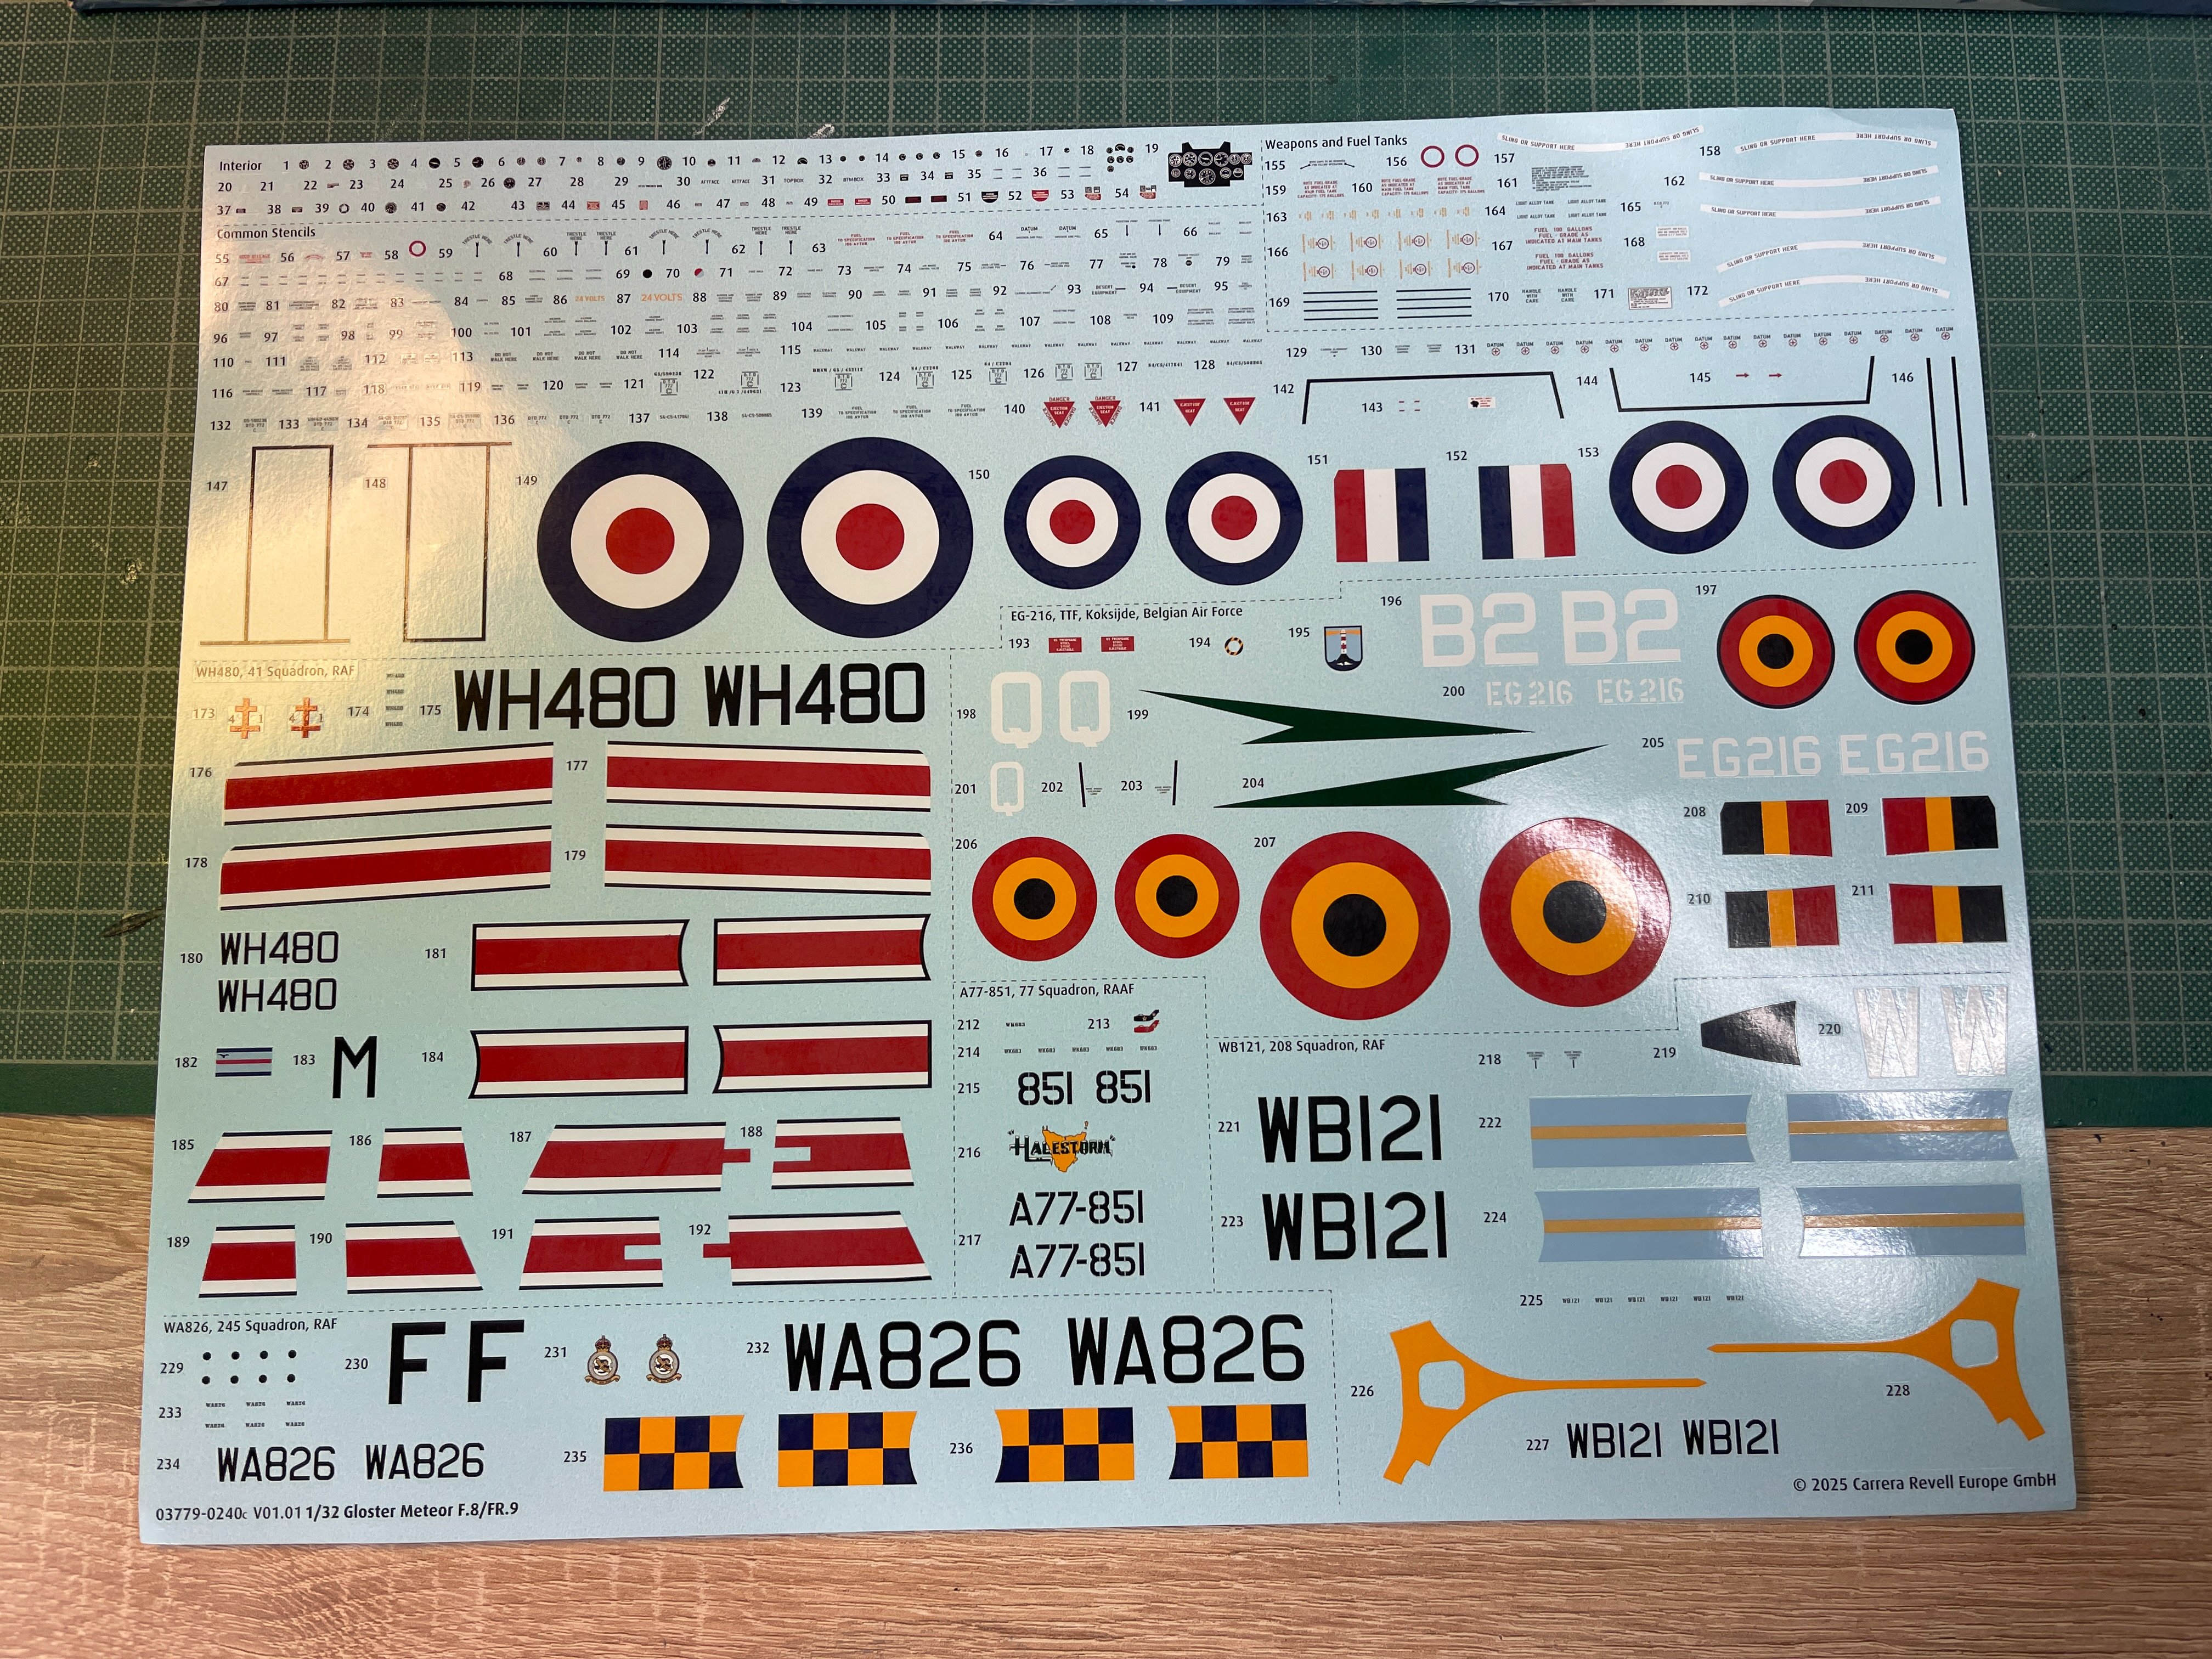
20260503_113658230_iOS.jpg

A shot of my workspace, all prepped to start. You can see the sprues to the centre/left on the rack labelled up to start.
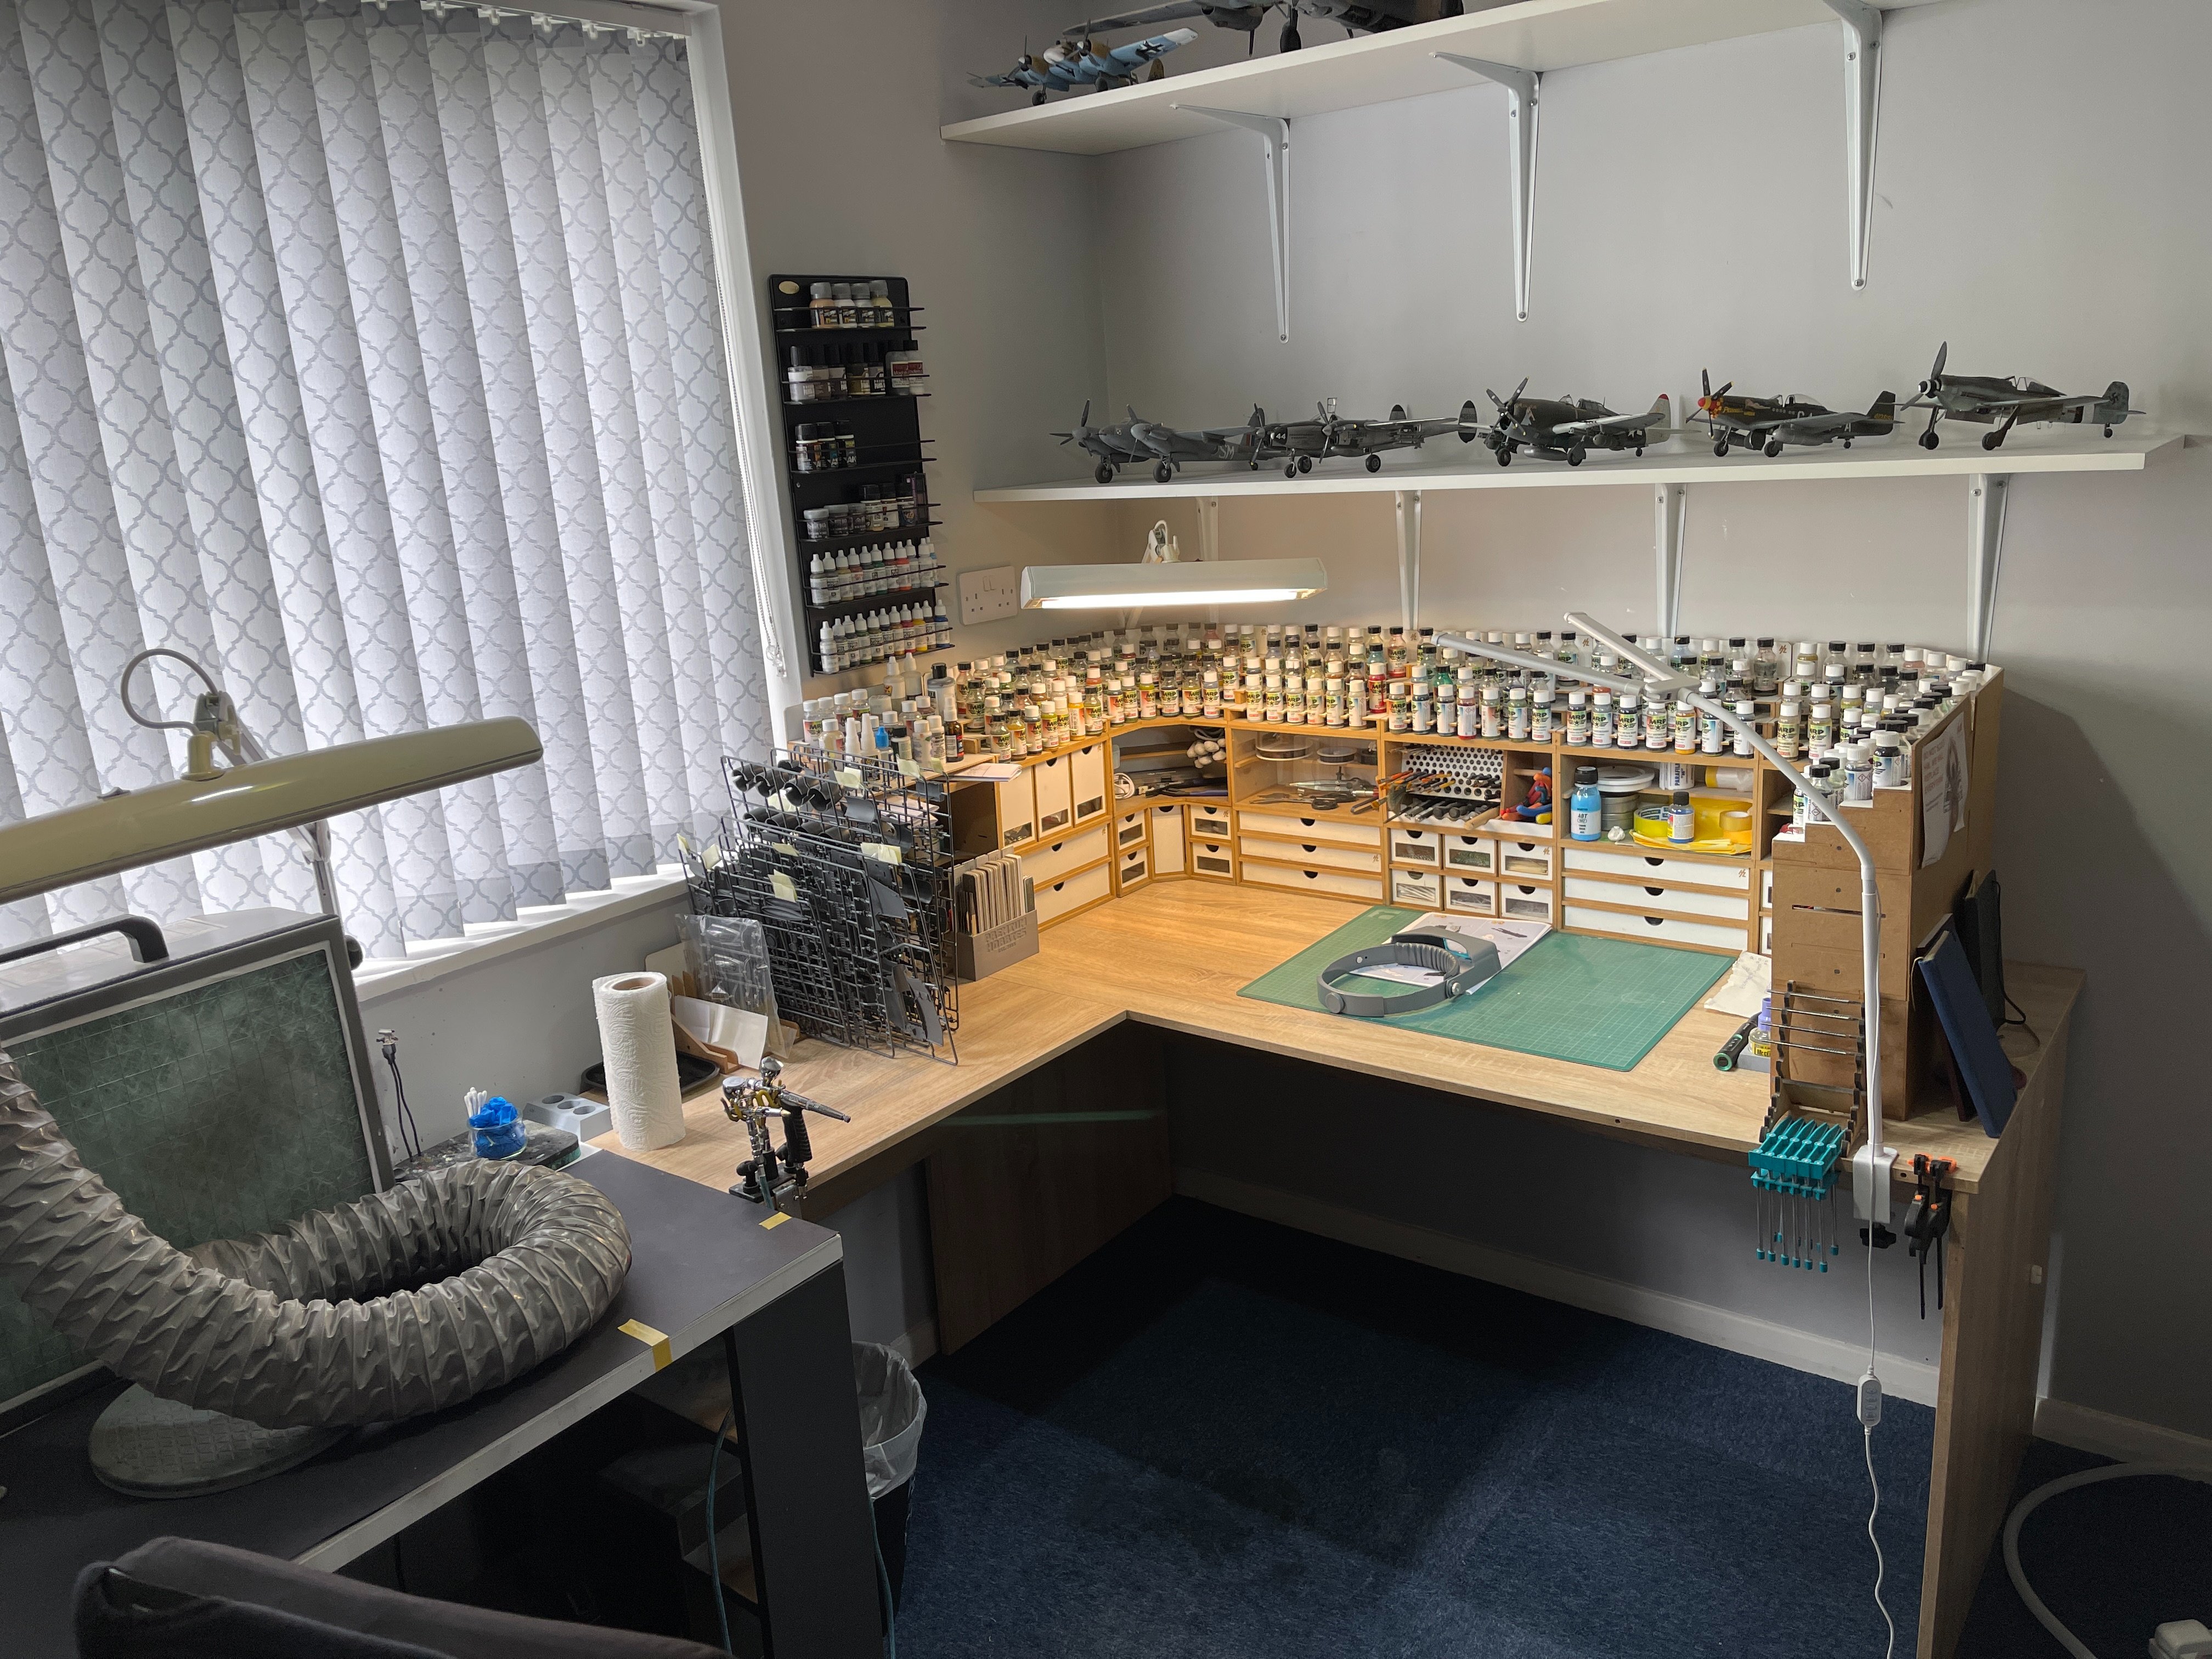
20260503_113931830_iOS.jpg


Finally I have decided to do the photo recce version of this aircraft. This is a Suez crisis aircraft with the yellow and black stripes but I may decide to depict this without those, as it looked before Suez. I do like to be a little different to most. This version is not offered with the standard release of the kit.
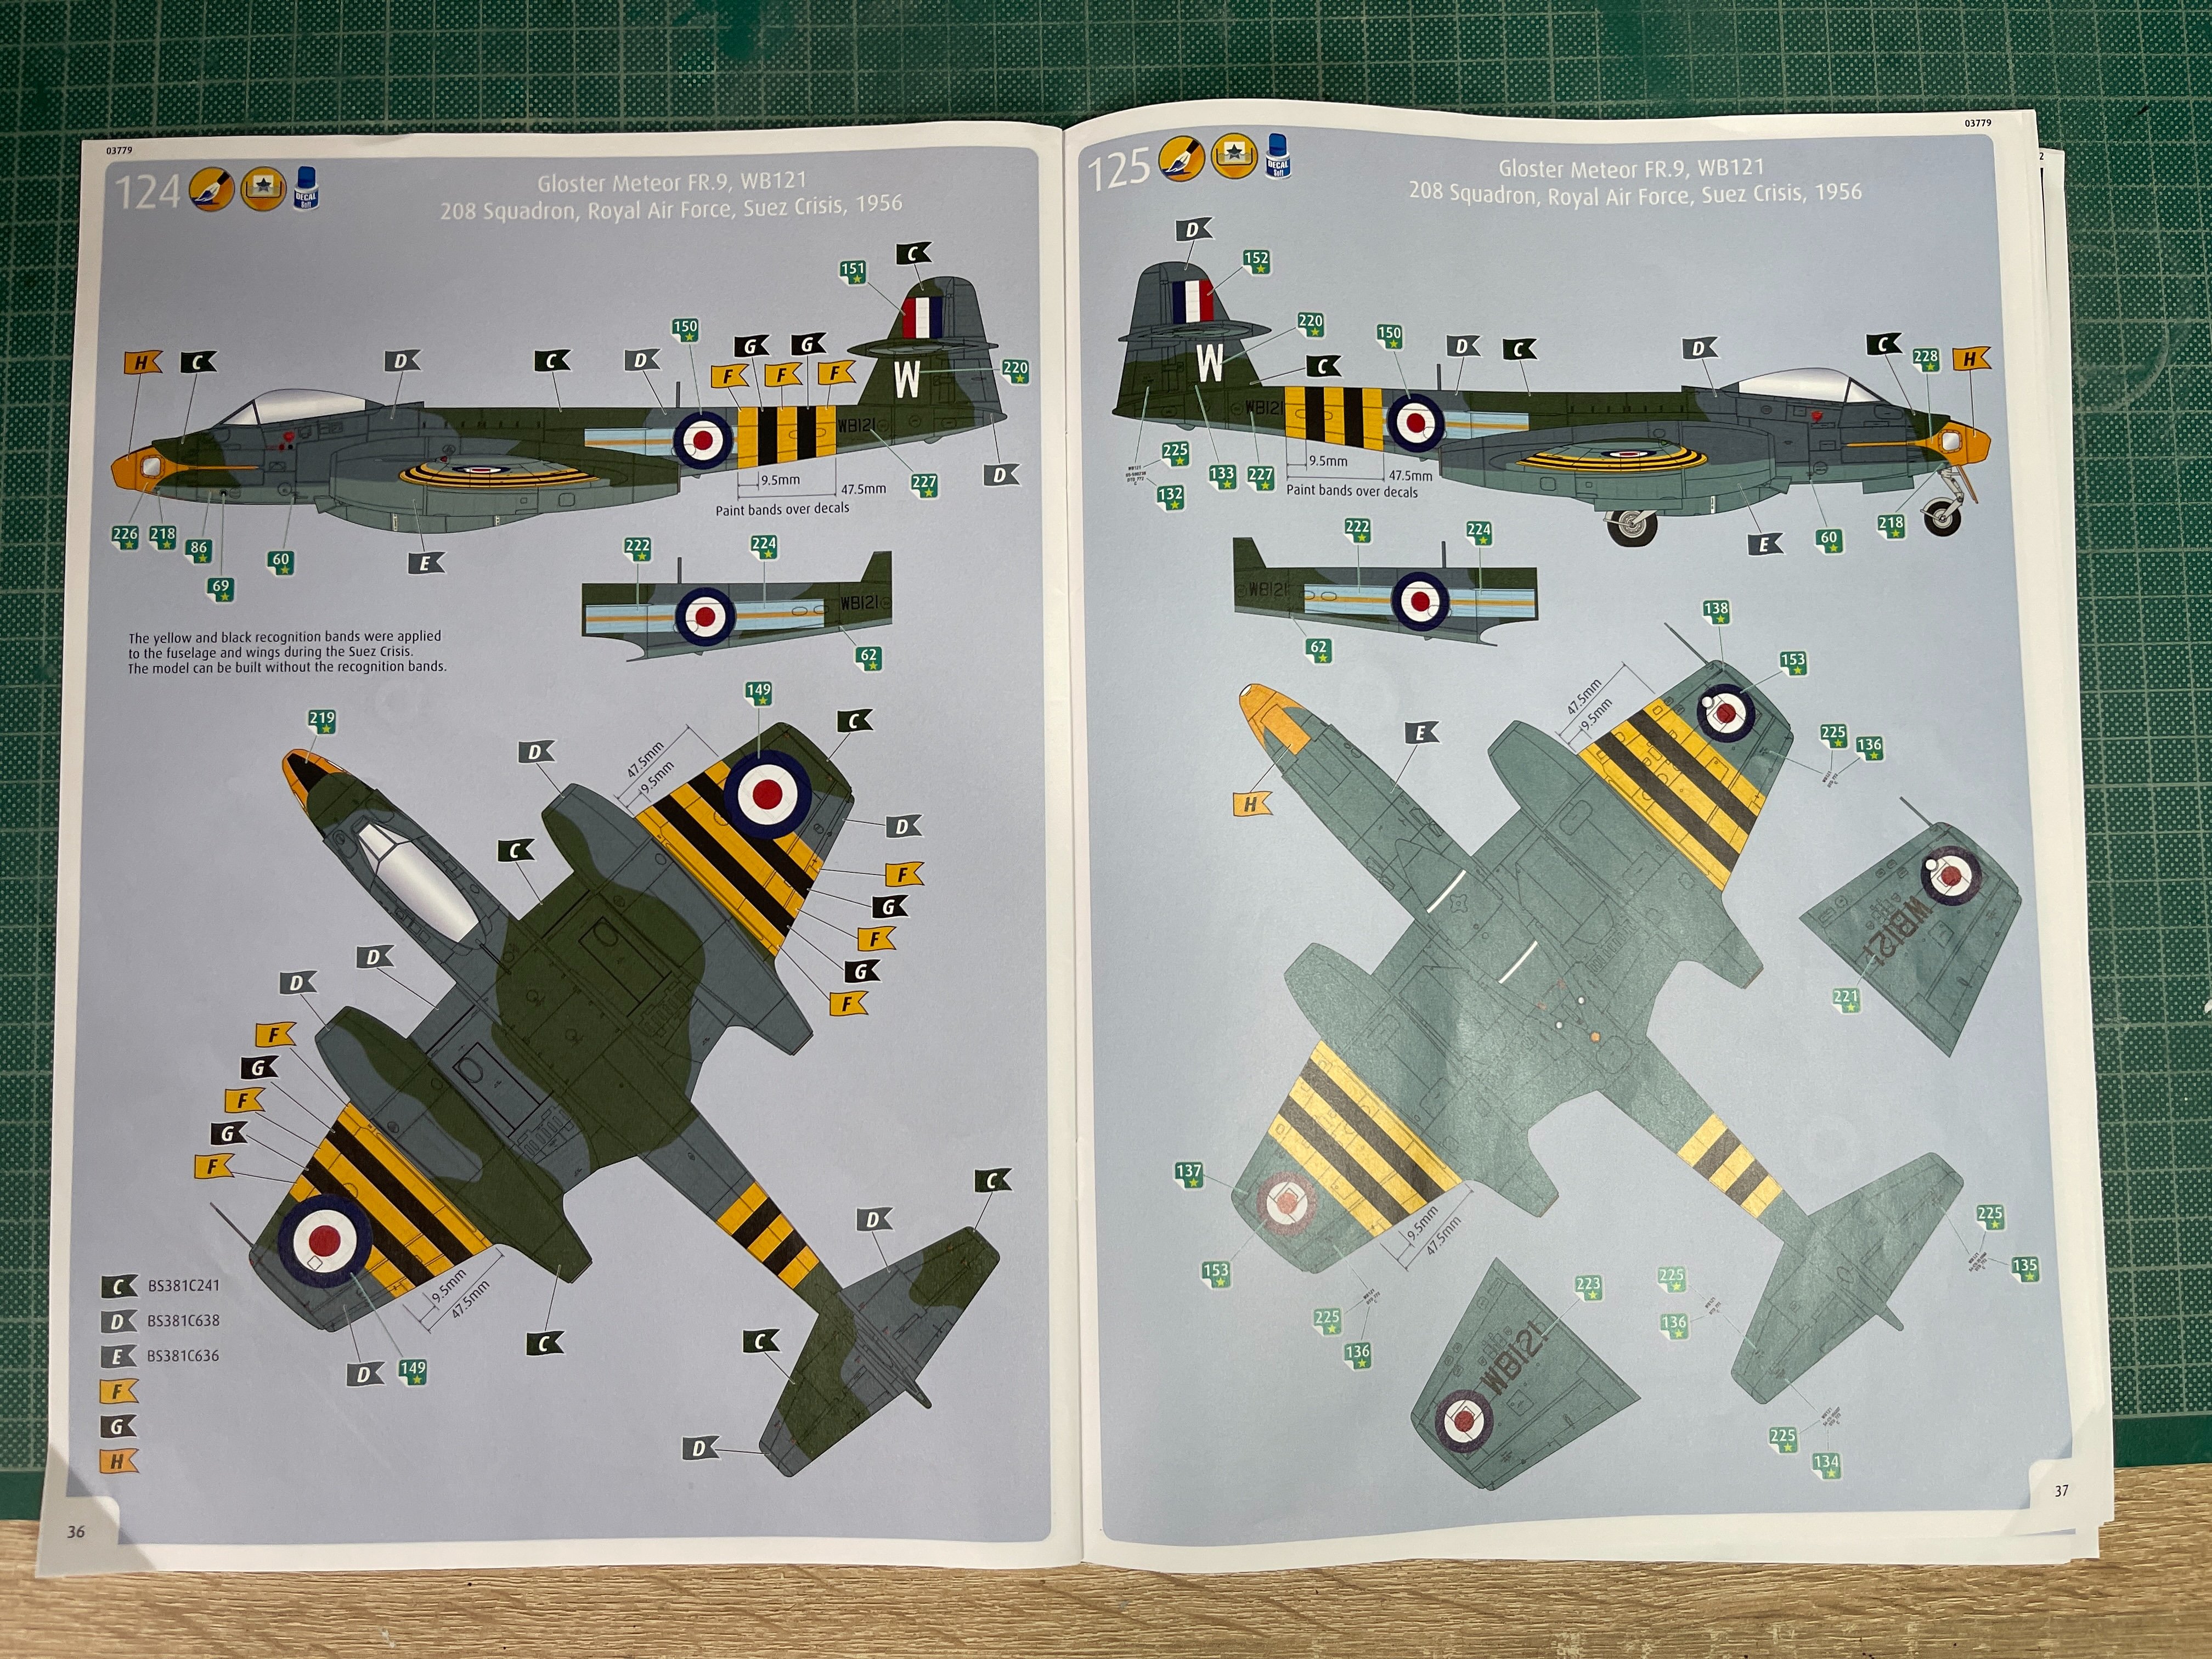
20260503_114226350_iOS.jpg


It may be a few days before I post again on this as I don't expect to actually cut plastic before Tuesday.
 
Very nice. Revell stepping their game up. I'll be looking forward to see how it goes. My opinion of Revell kits is pretty low.
 
Like Barry says, it varies a lot, and this is not helped by there having been two Revells in the past: USA and Germany. The Revell USA kits were, in my opinion, generally pretty mediocre while those of Revell Germany tended to be better. Not usually great kits, mind, but among Revell's better kits anyway.
 
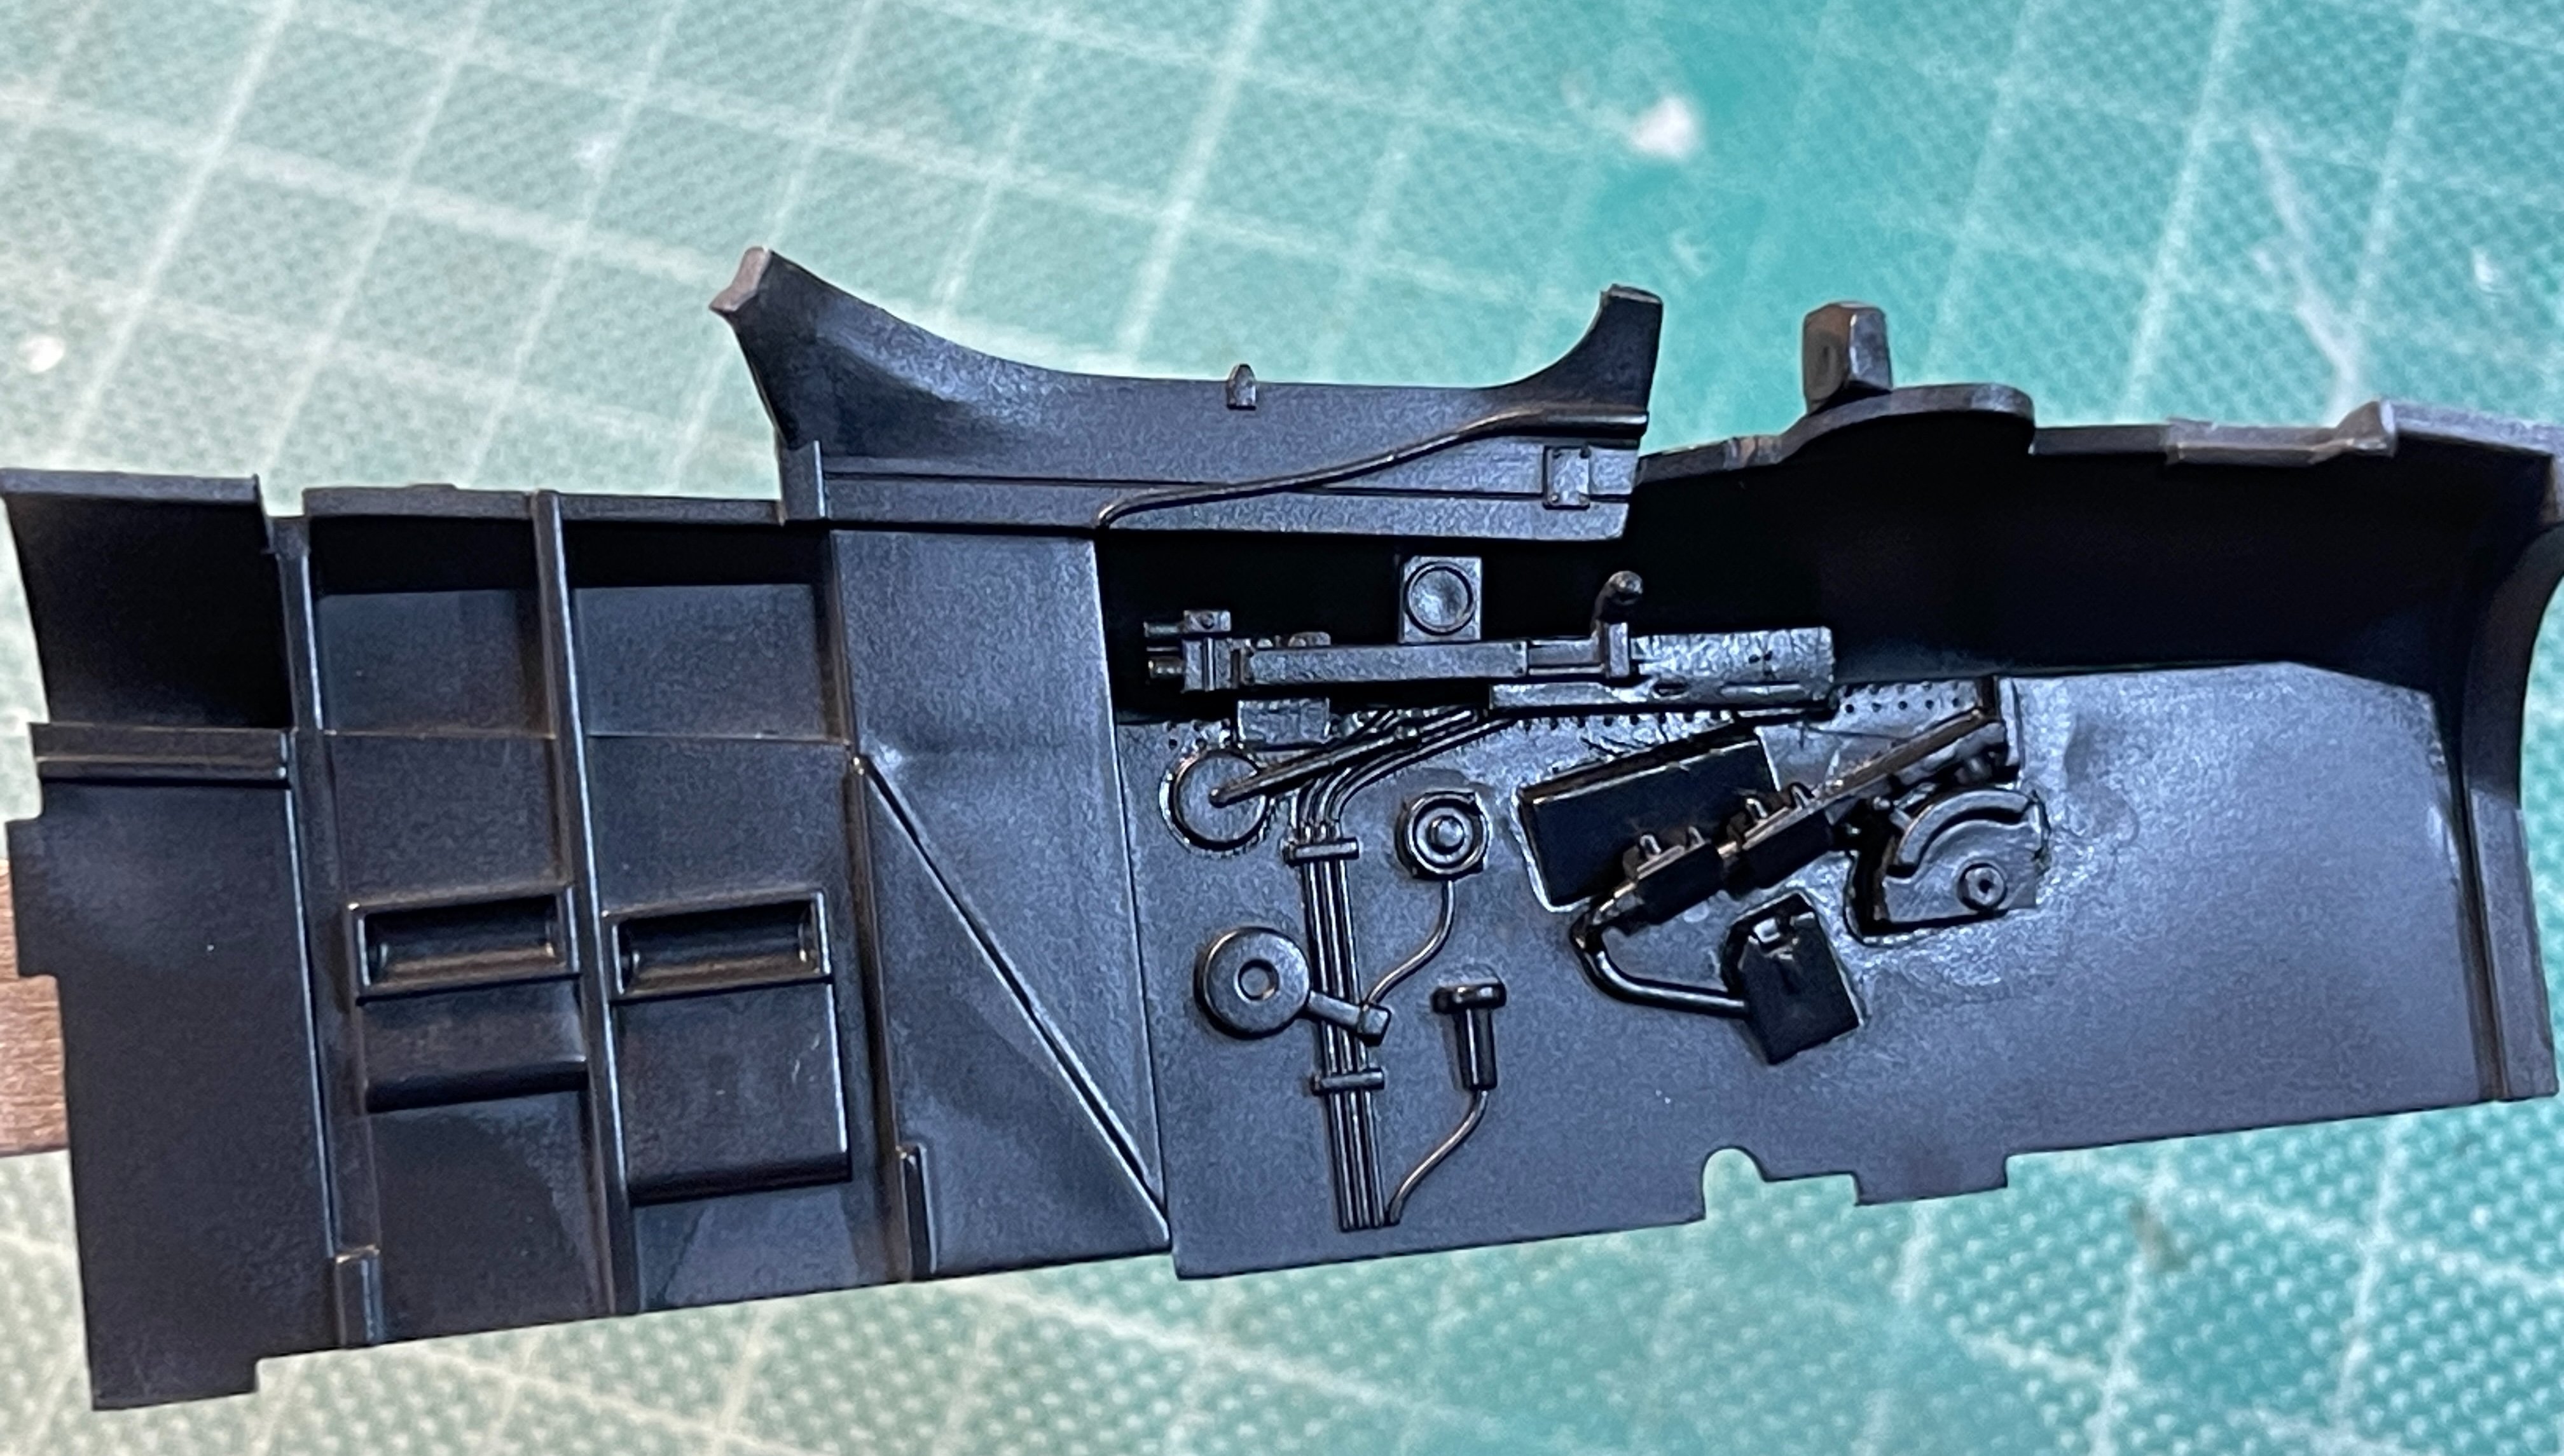
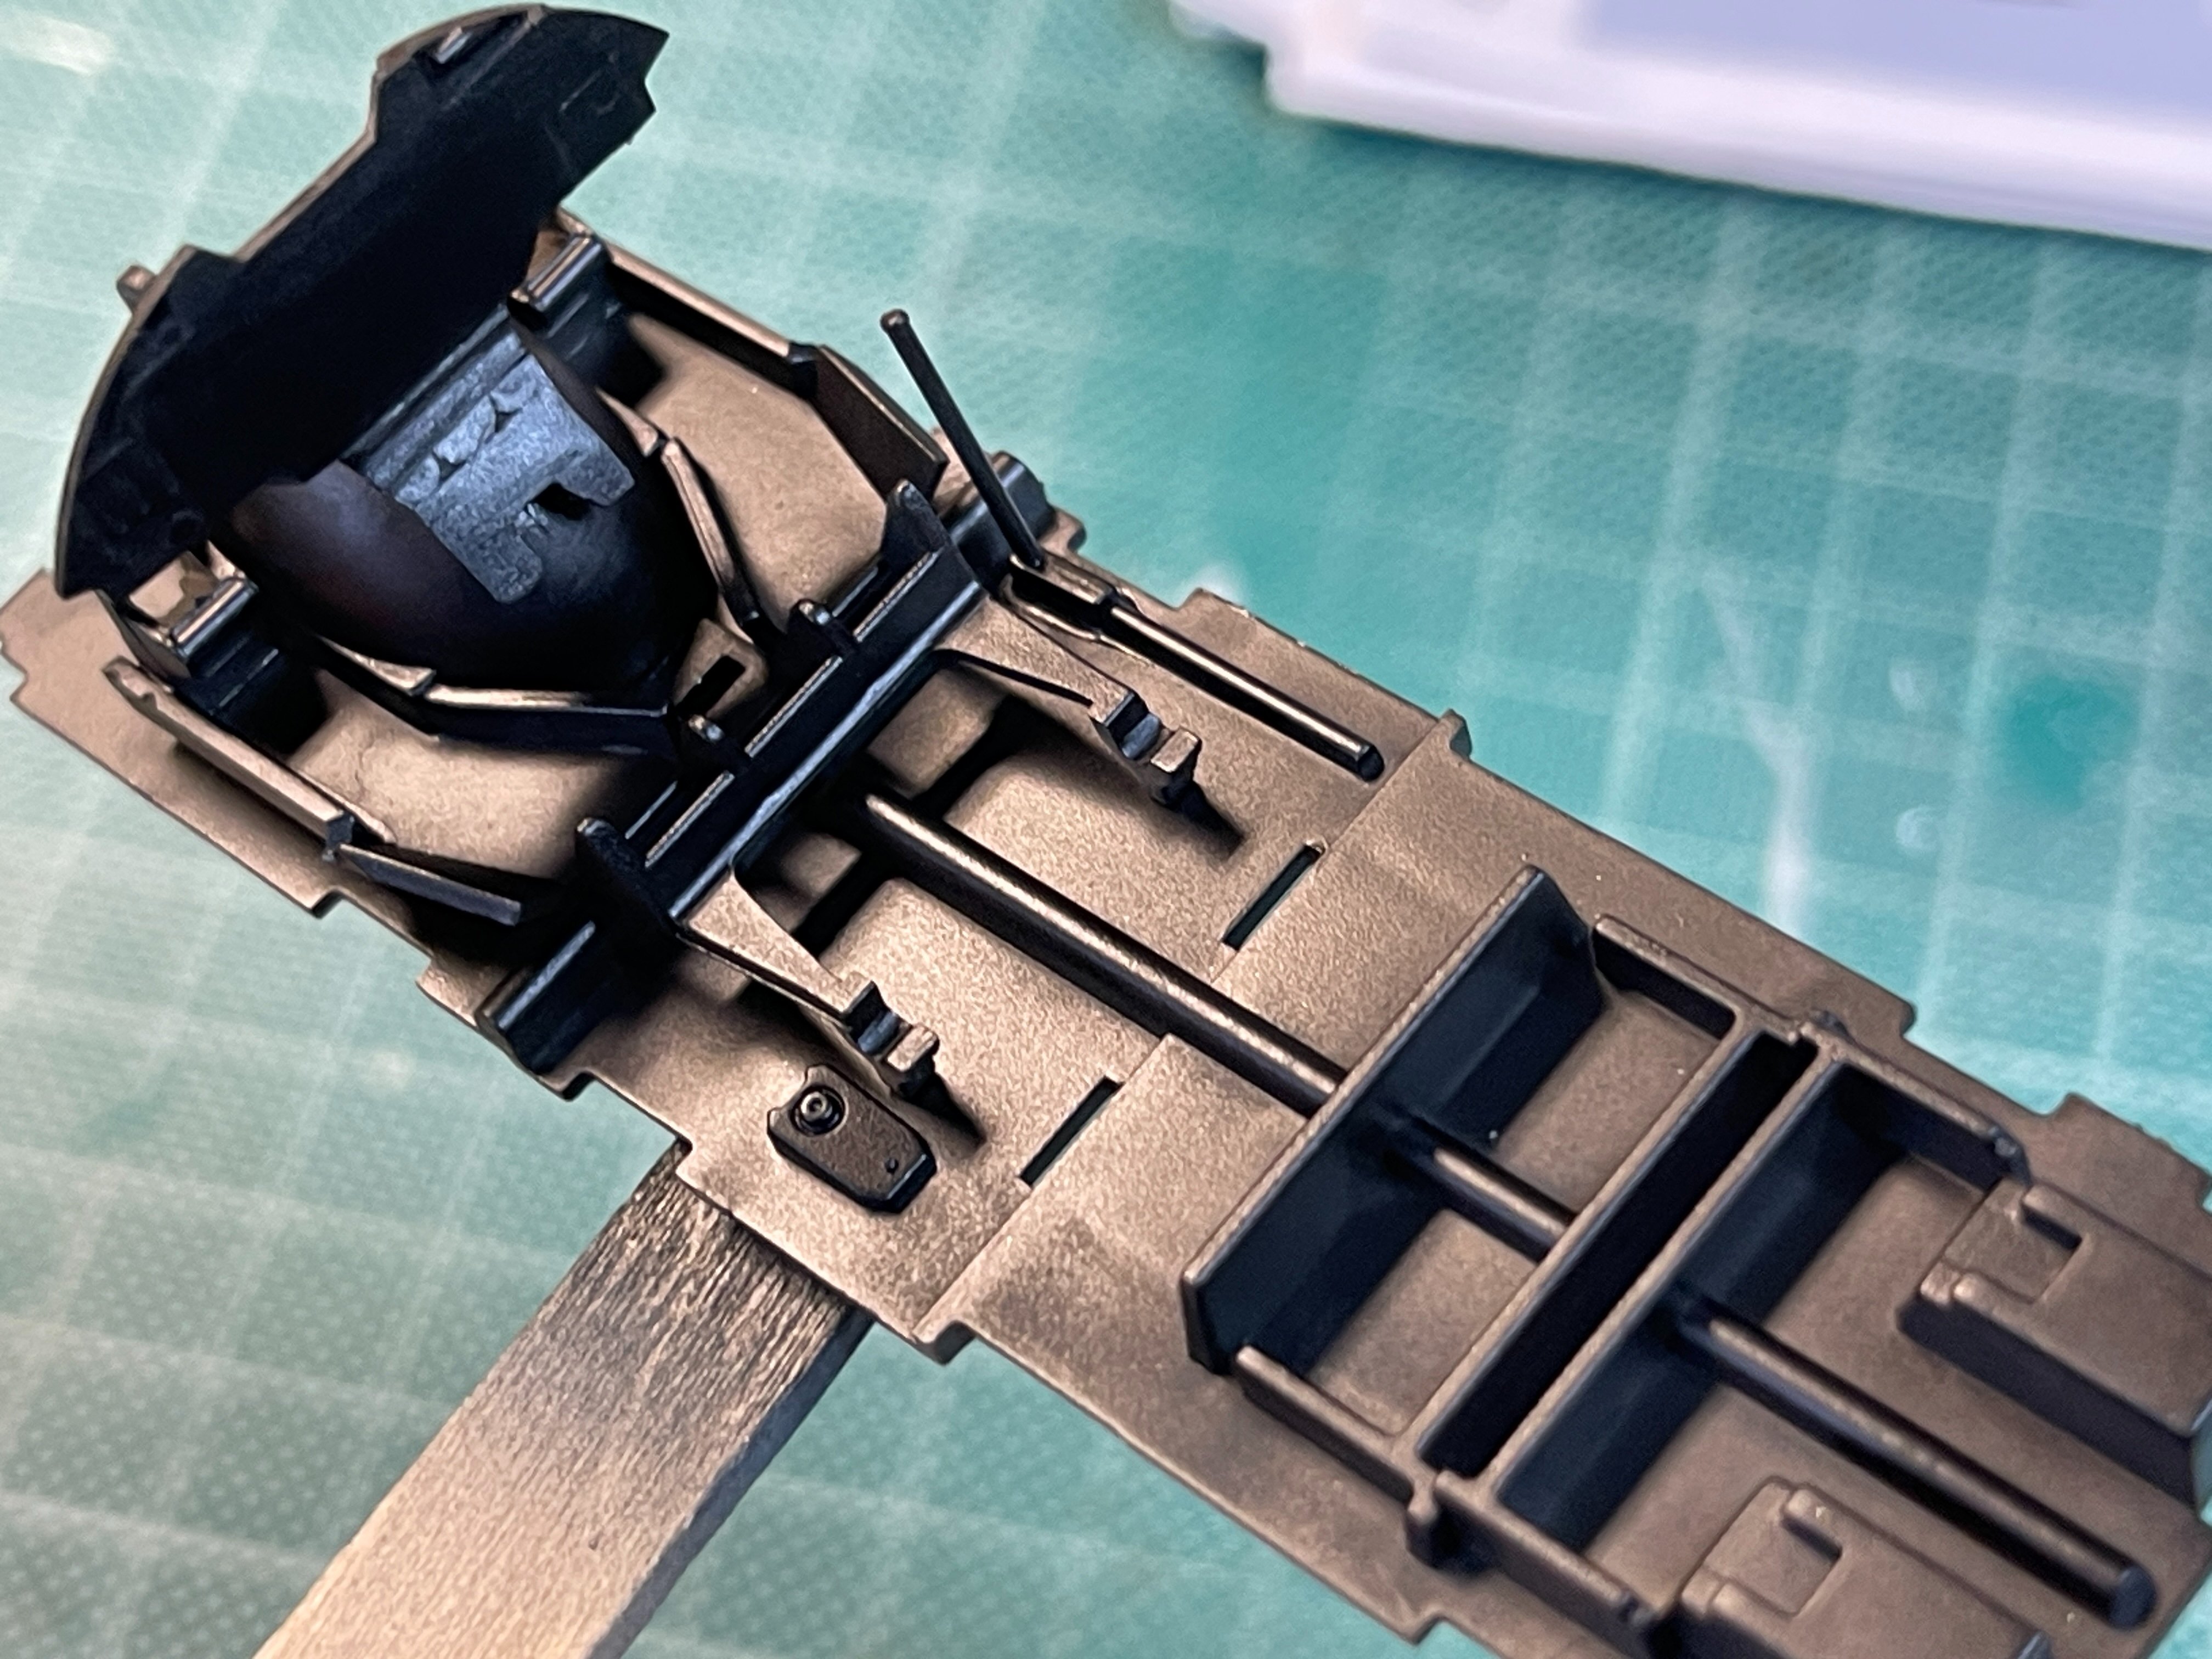
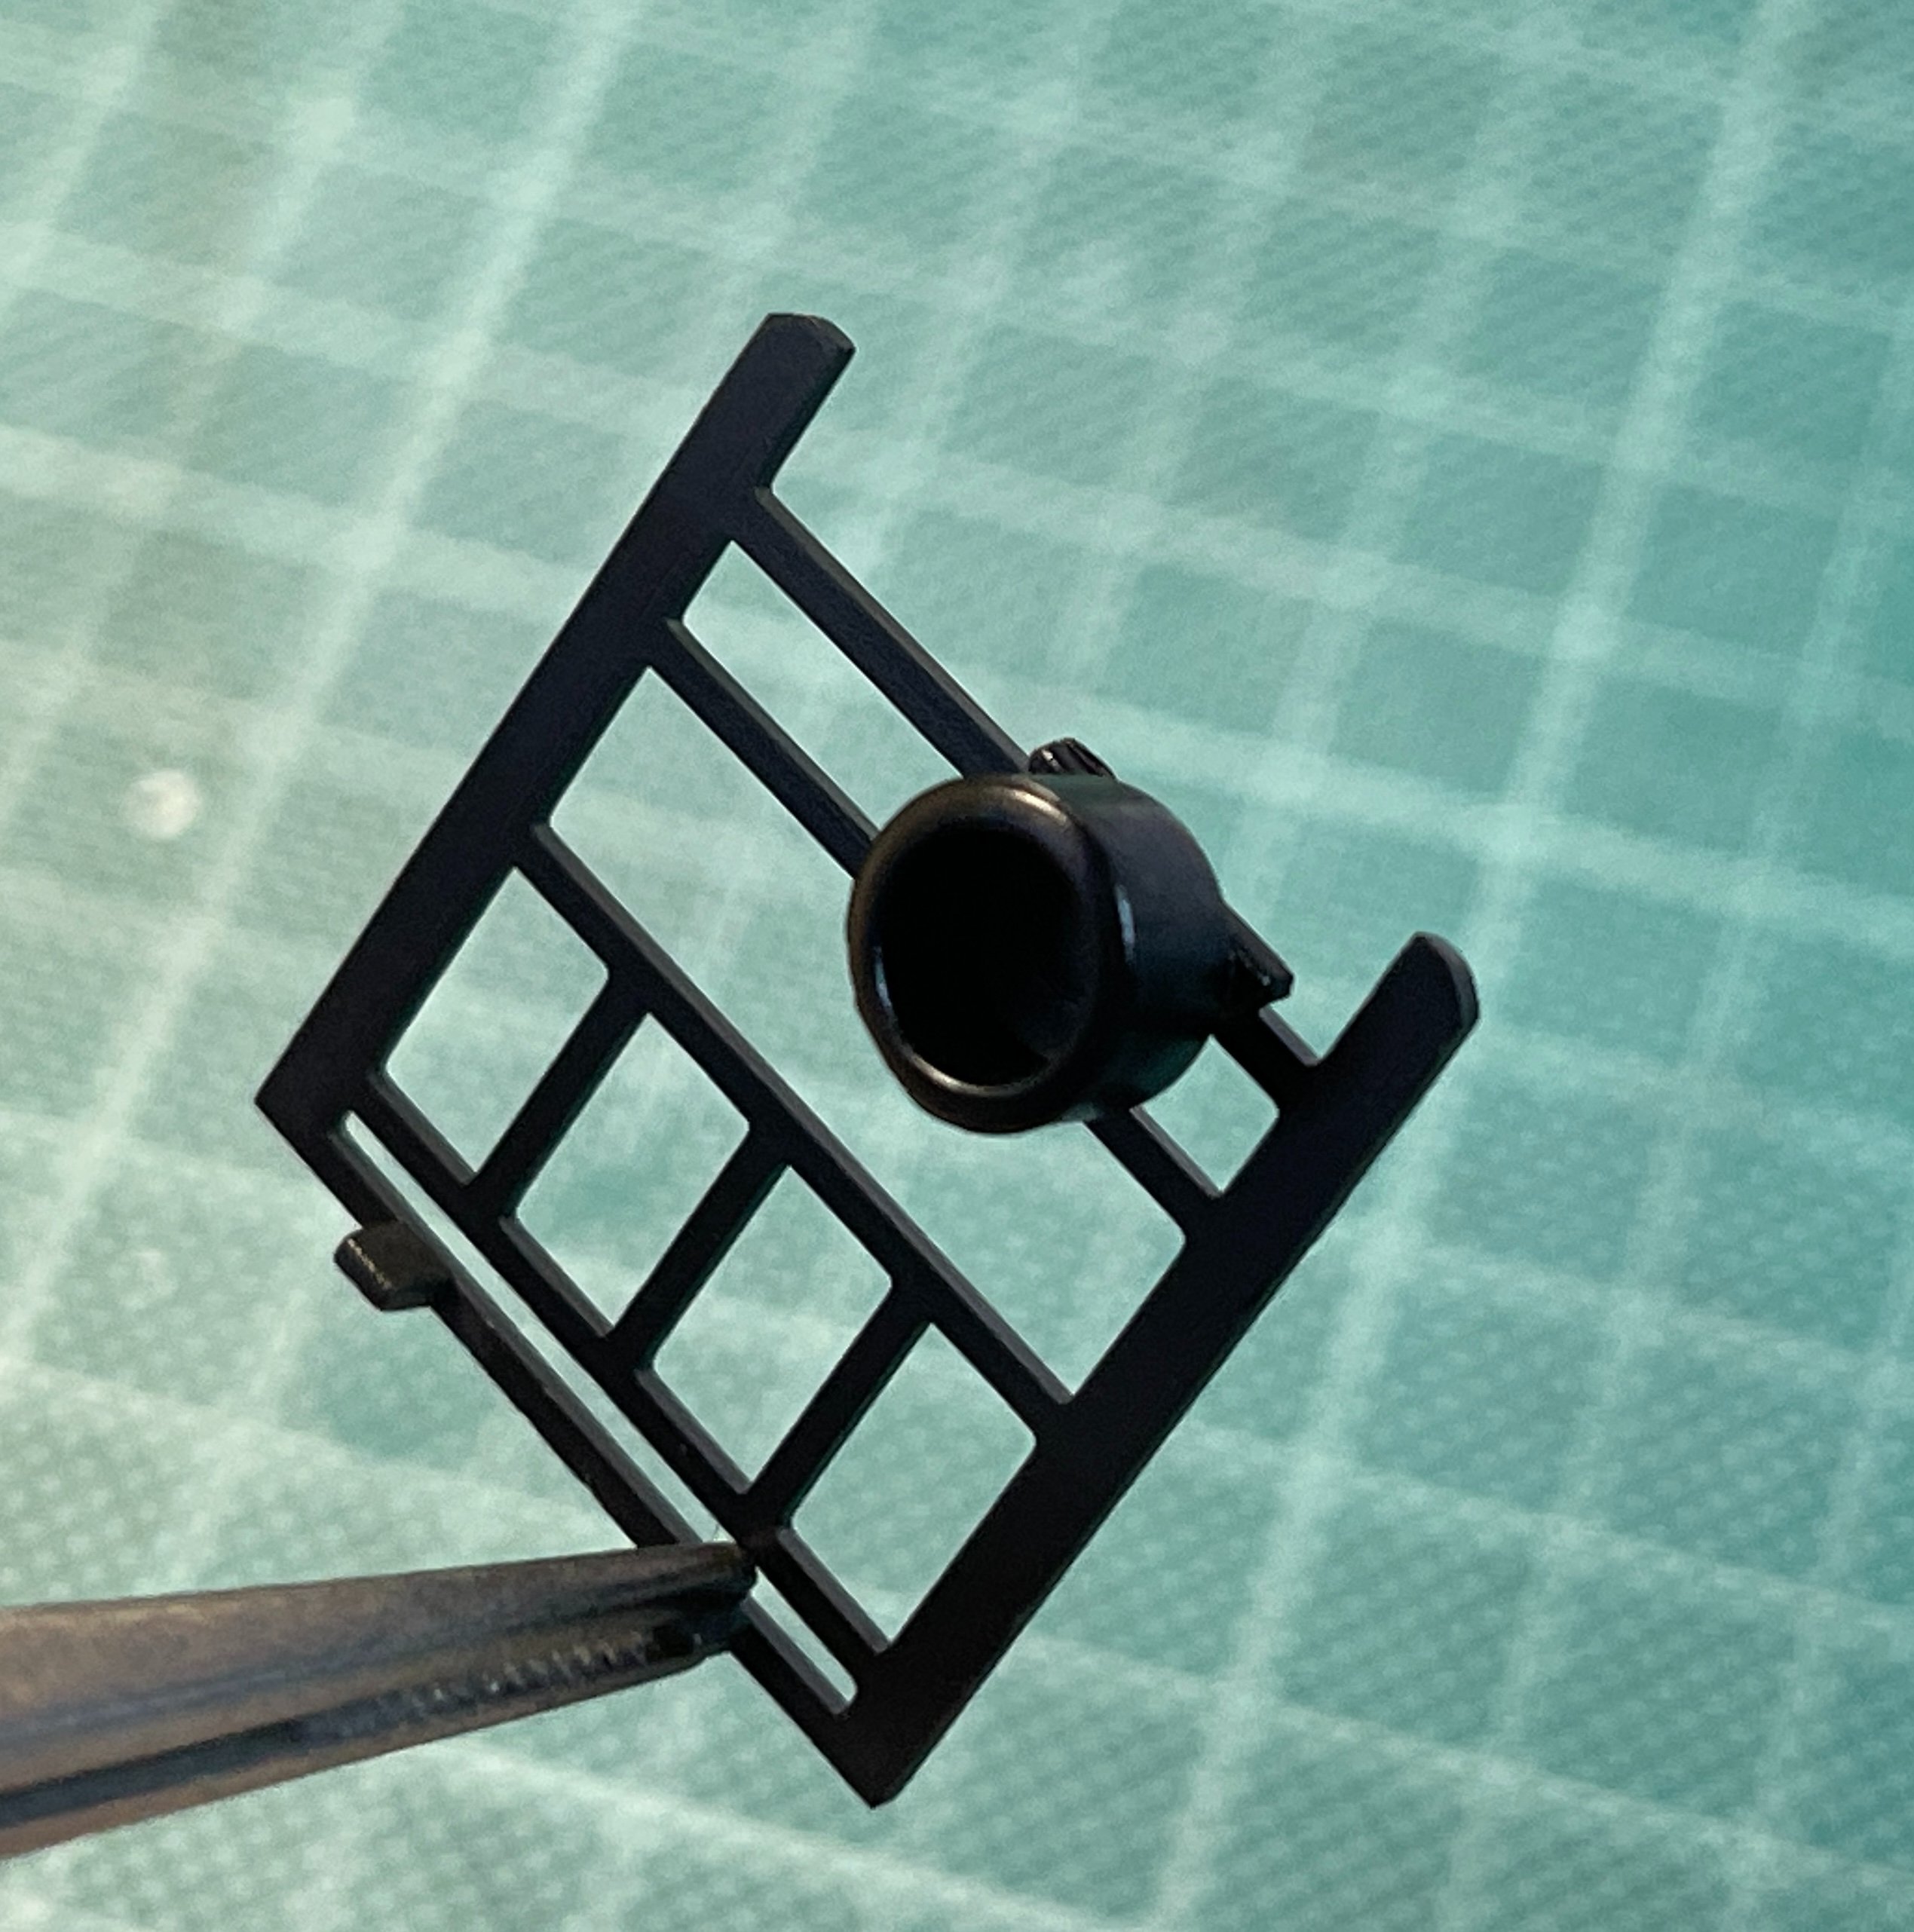
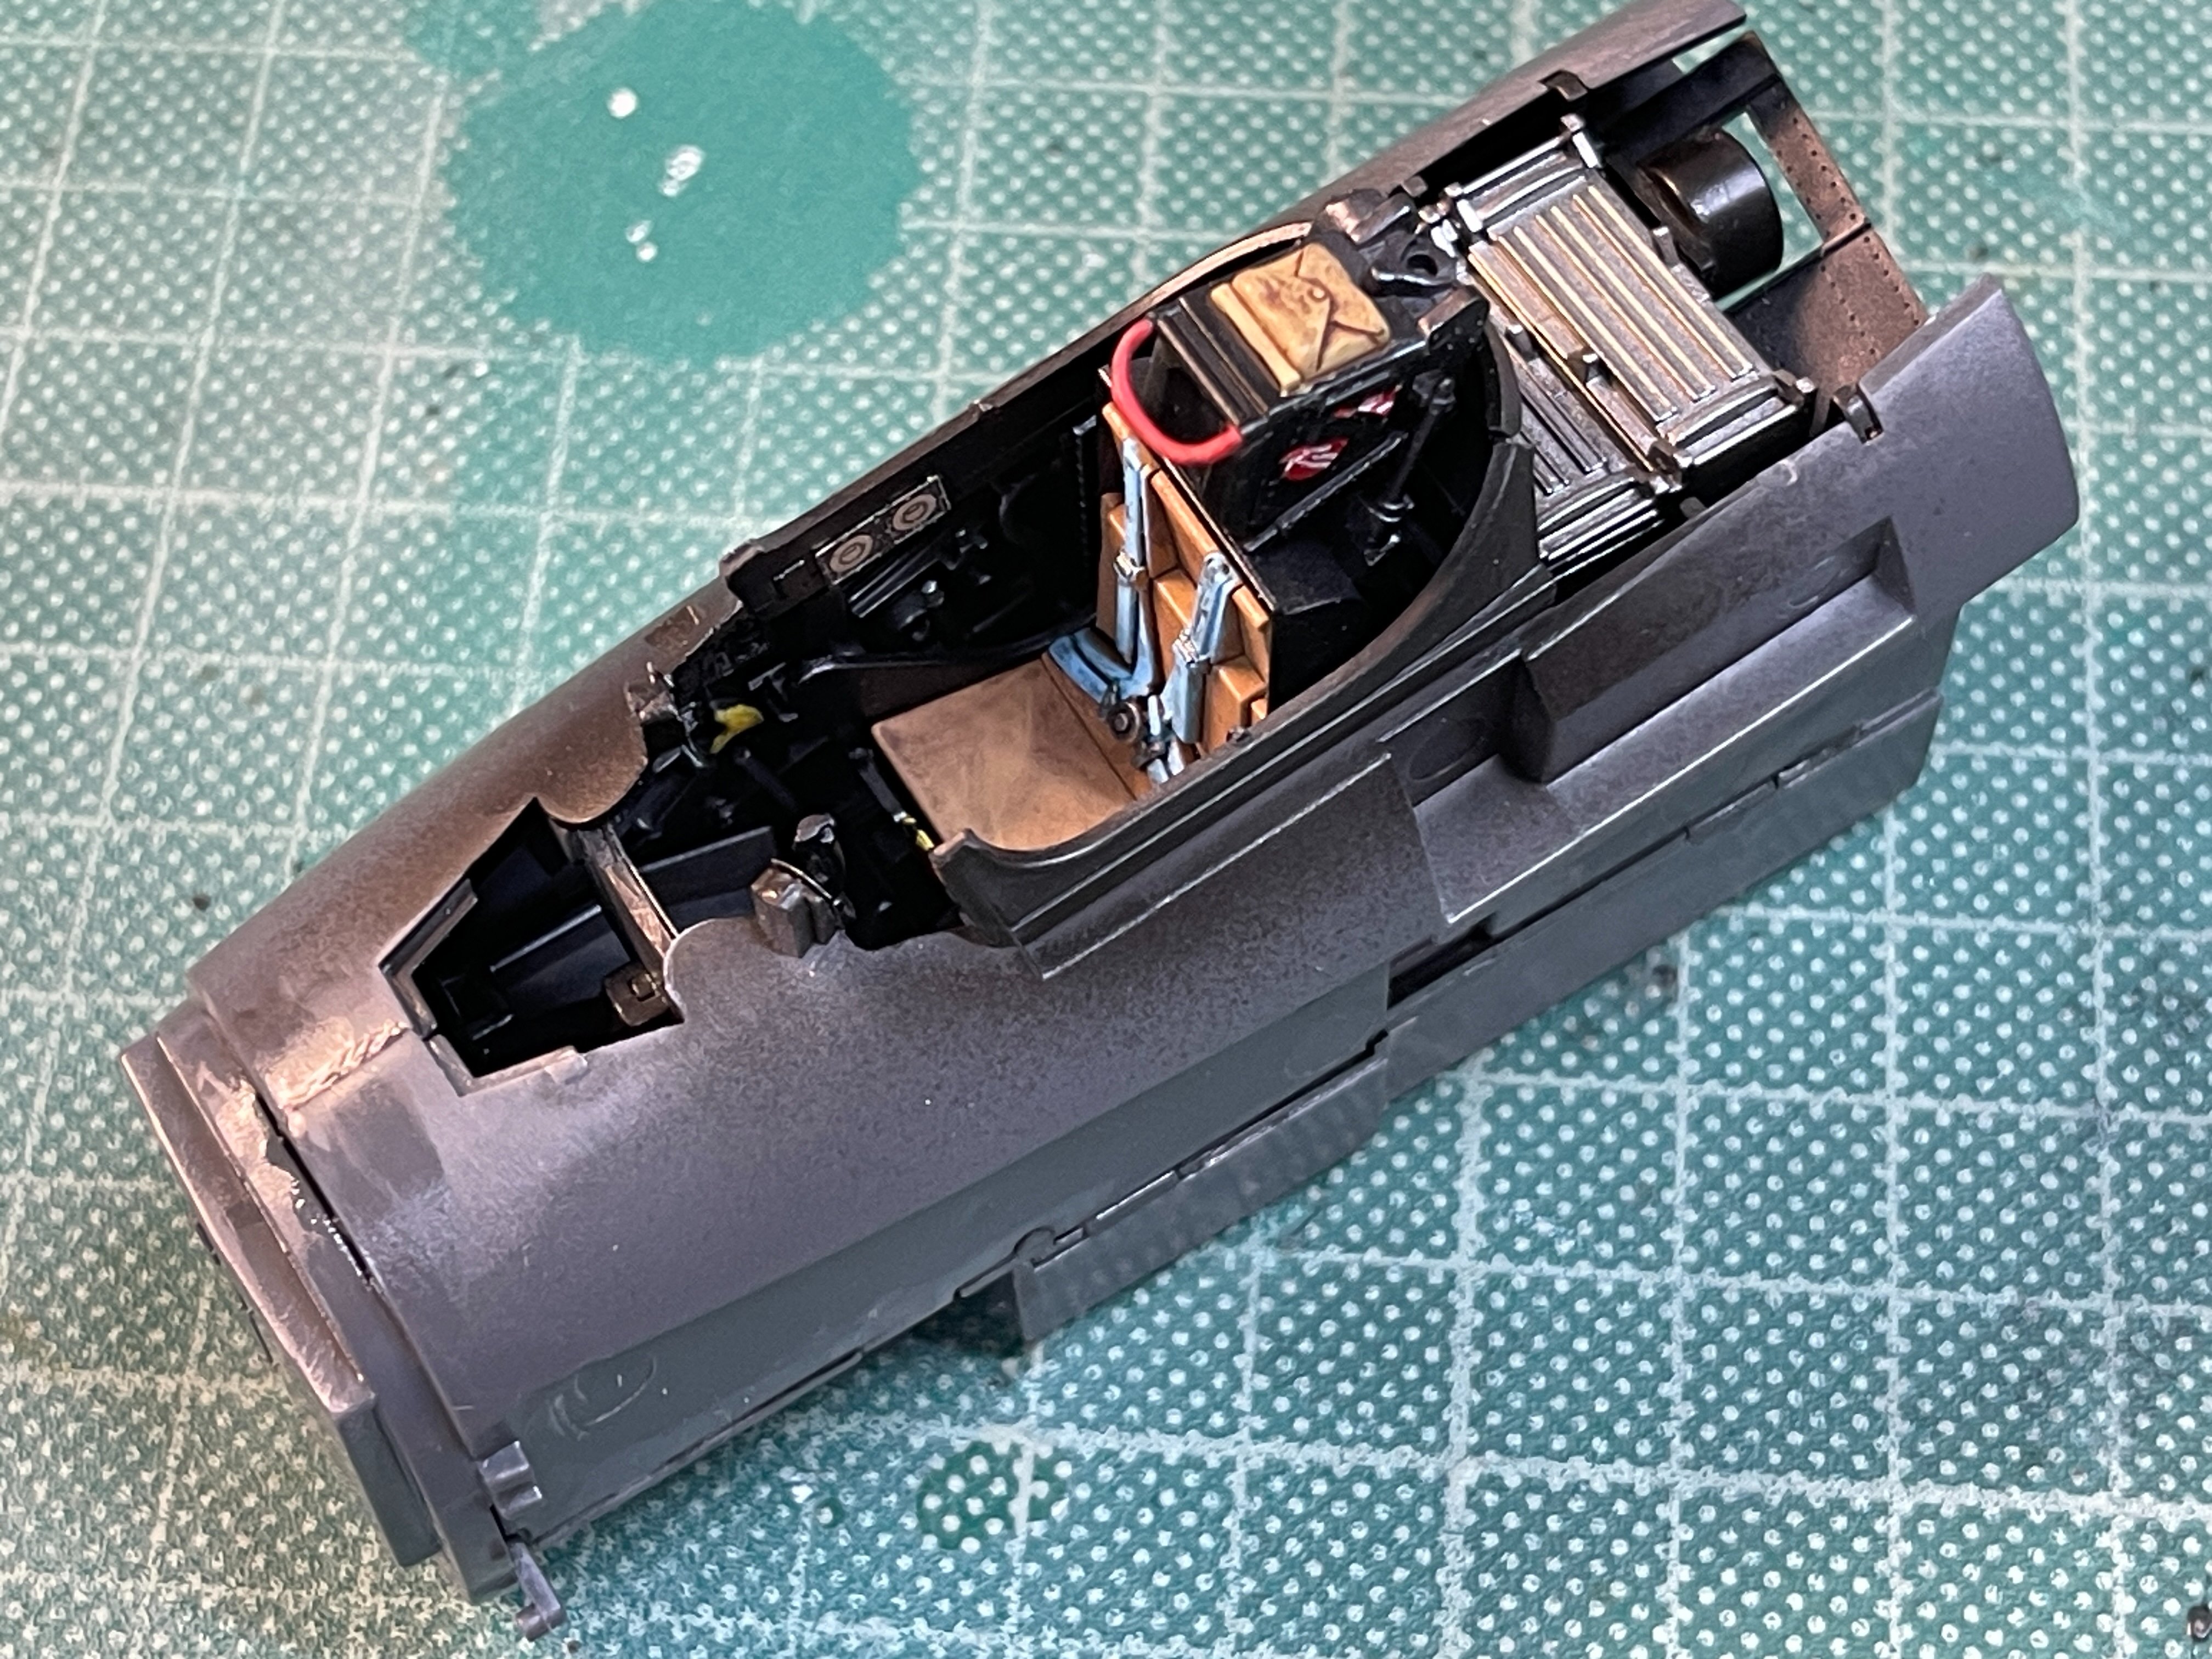
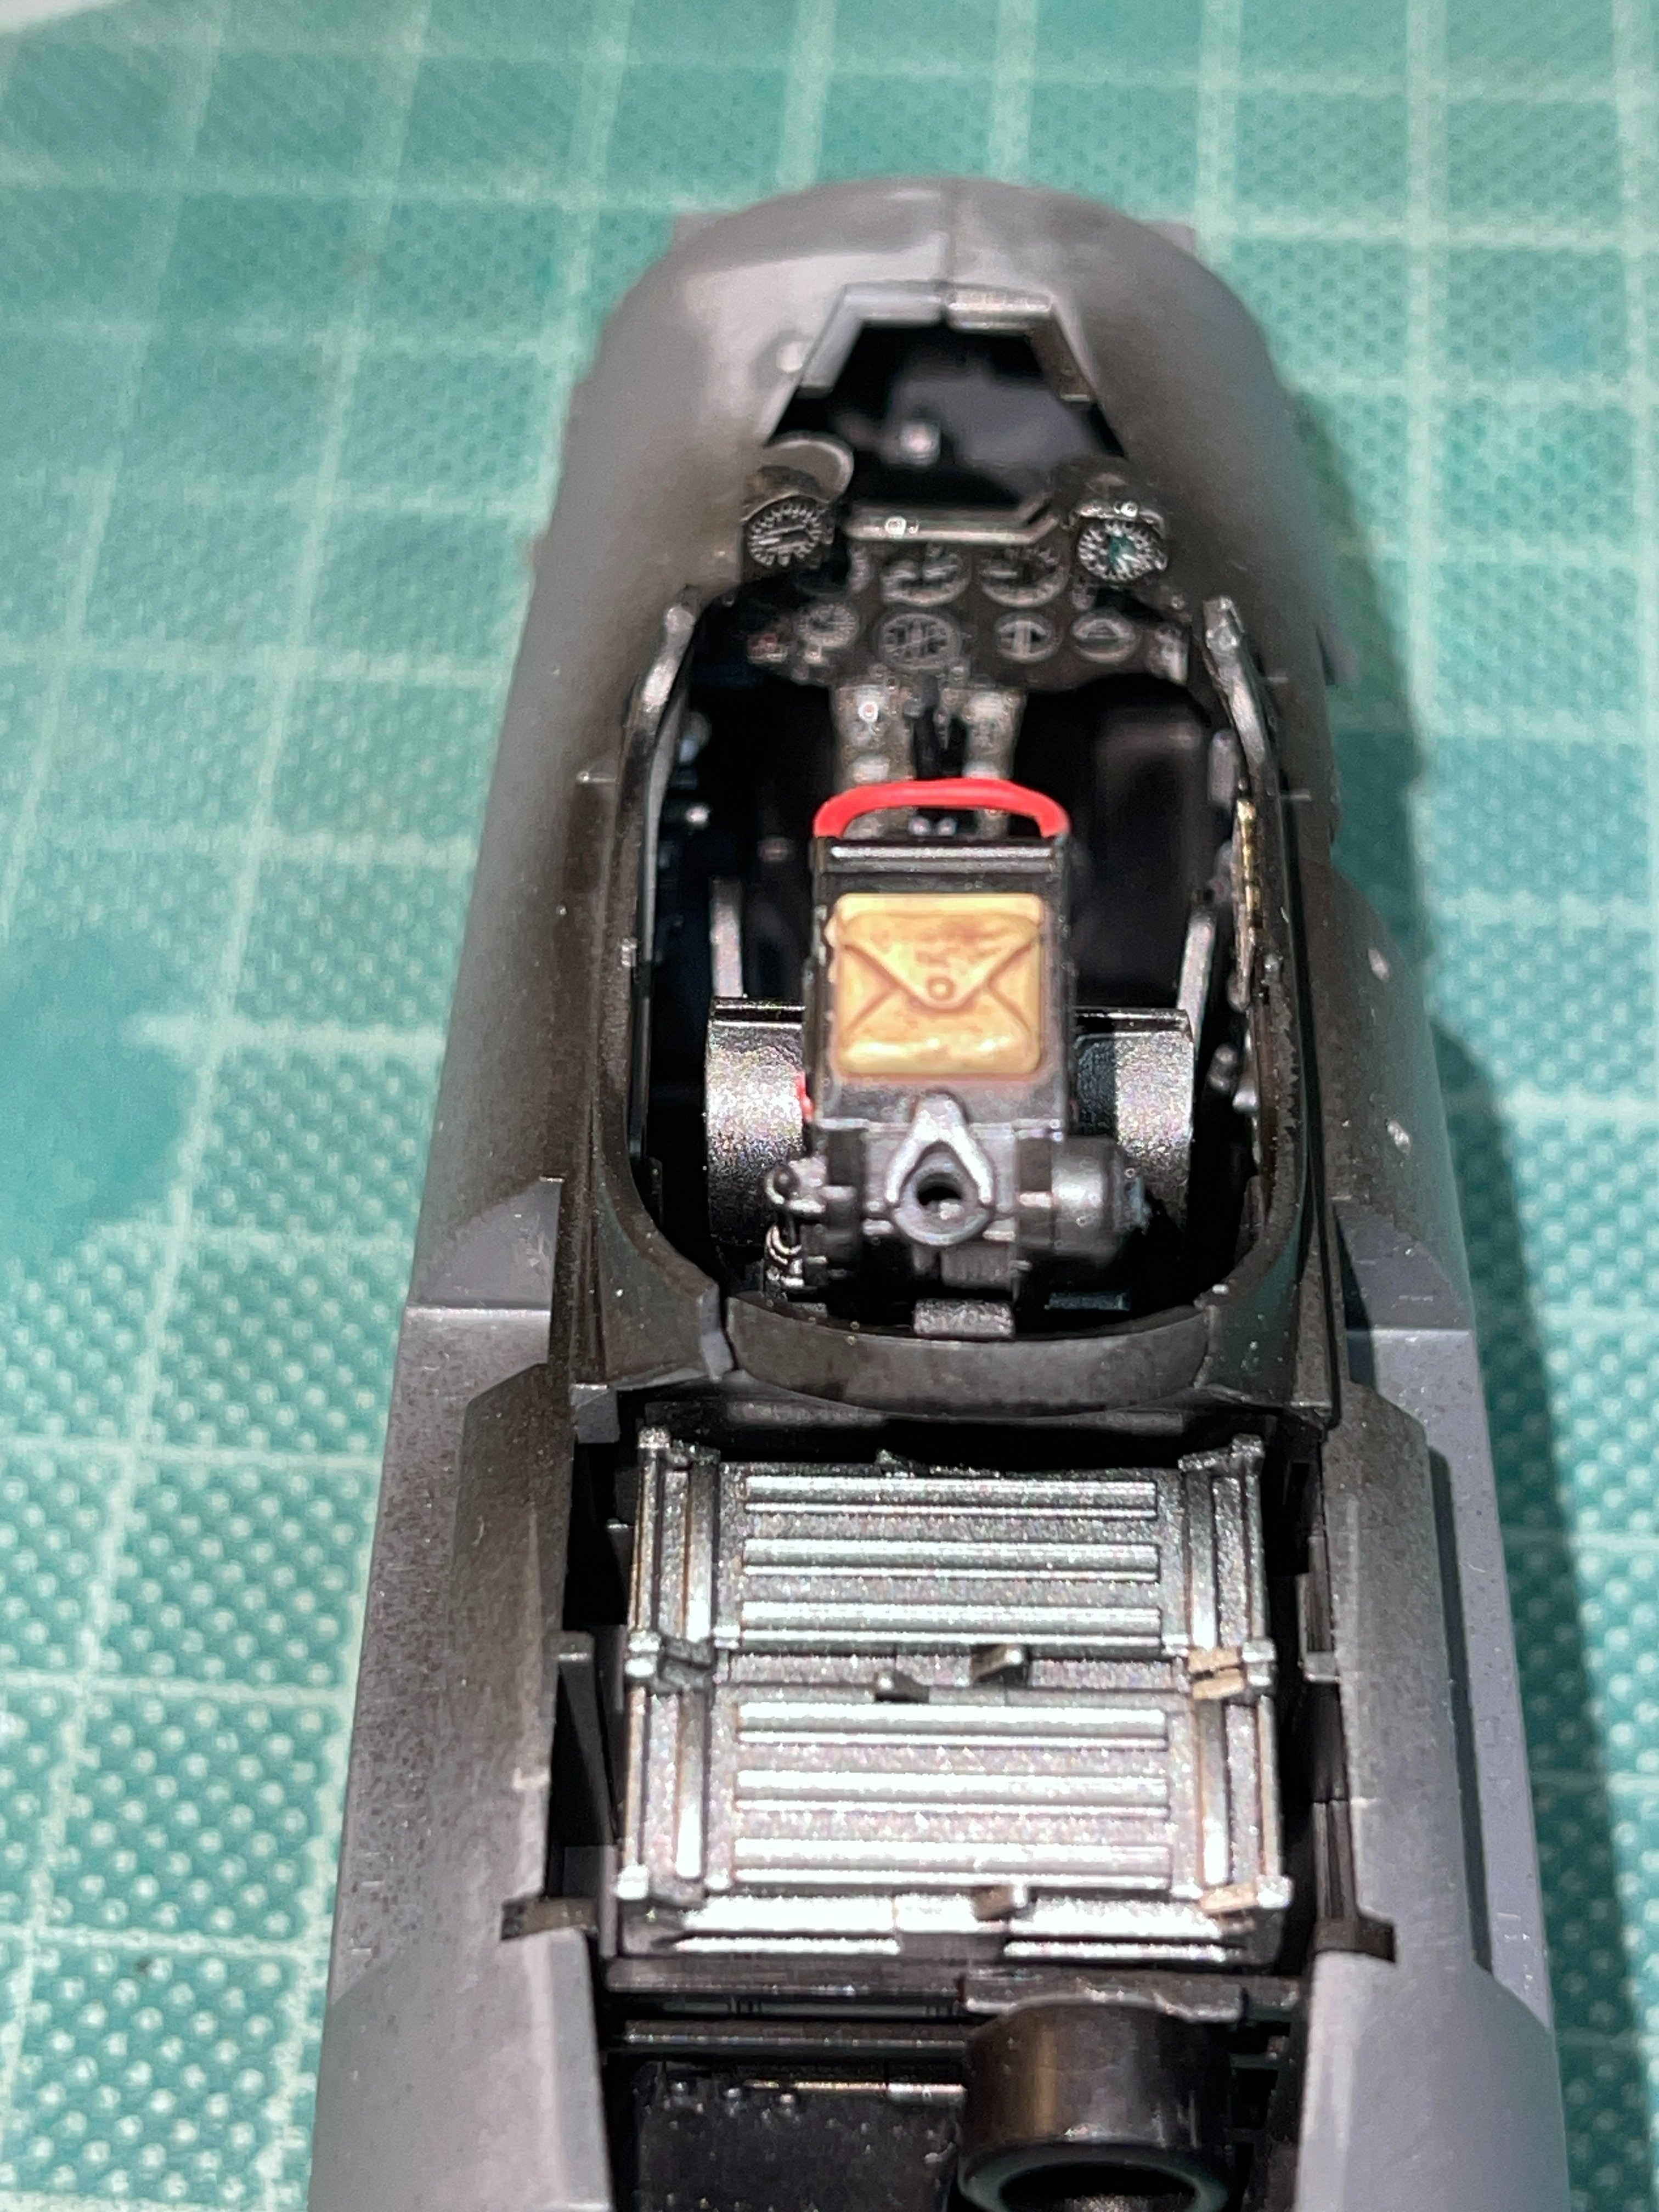
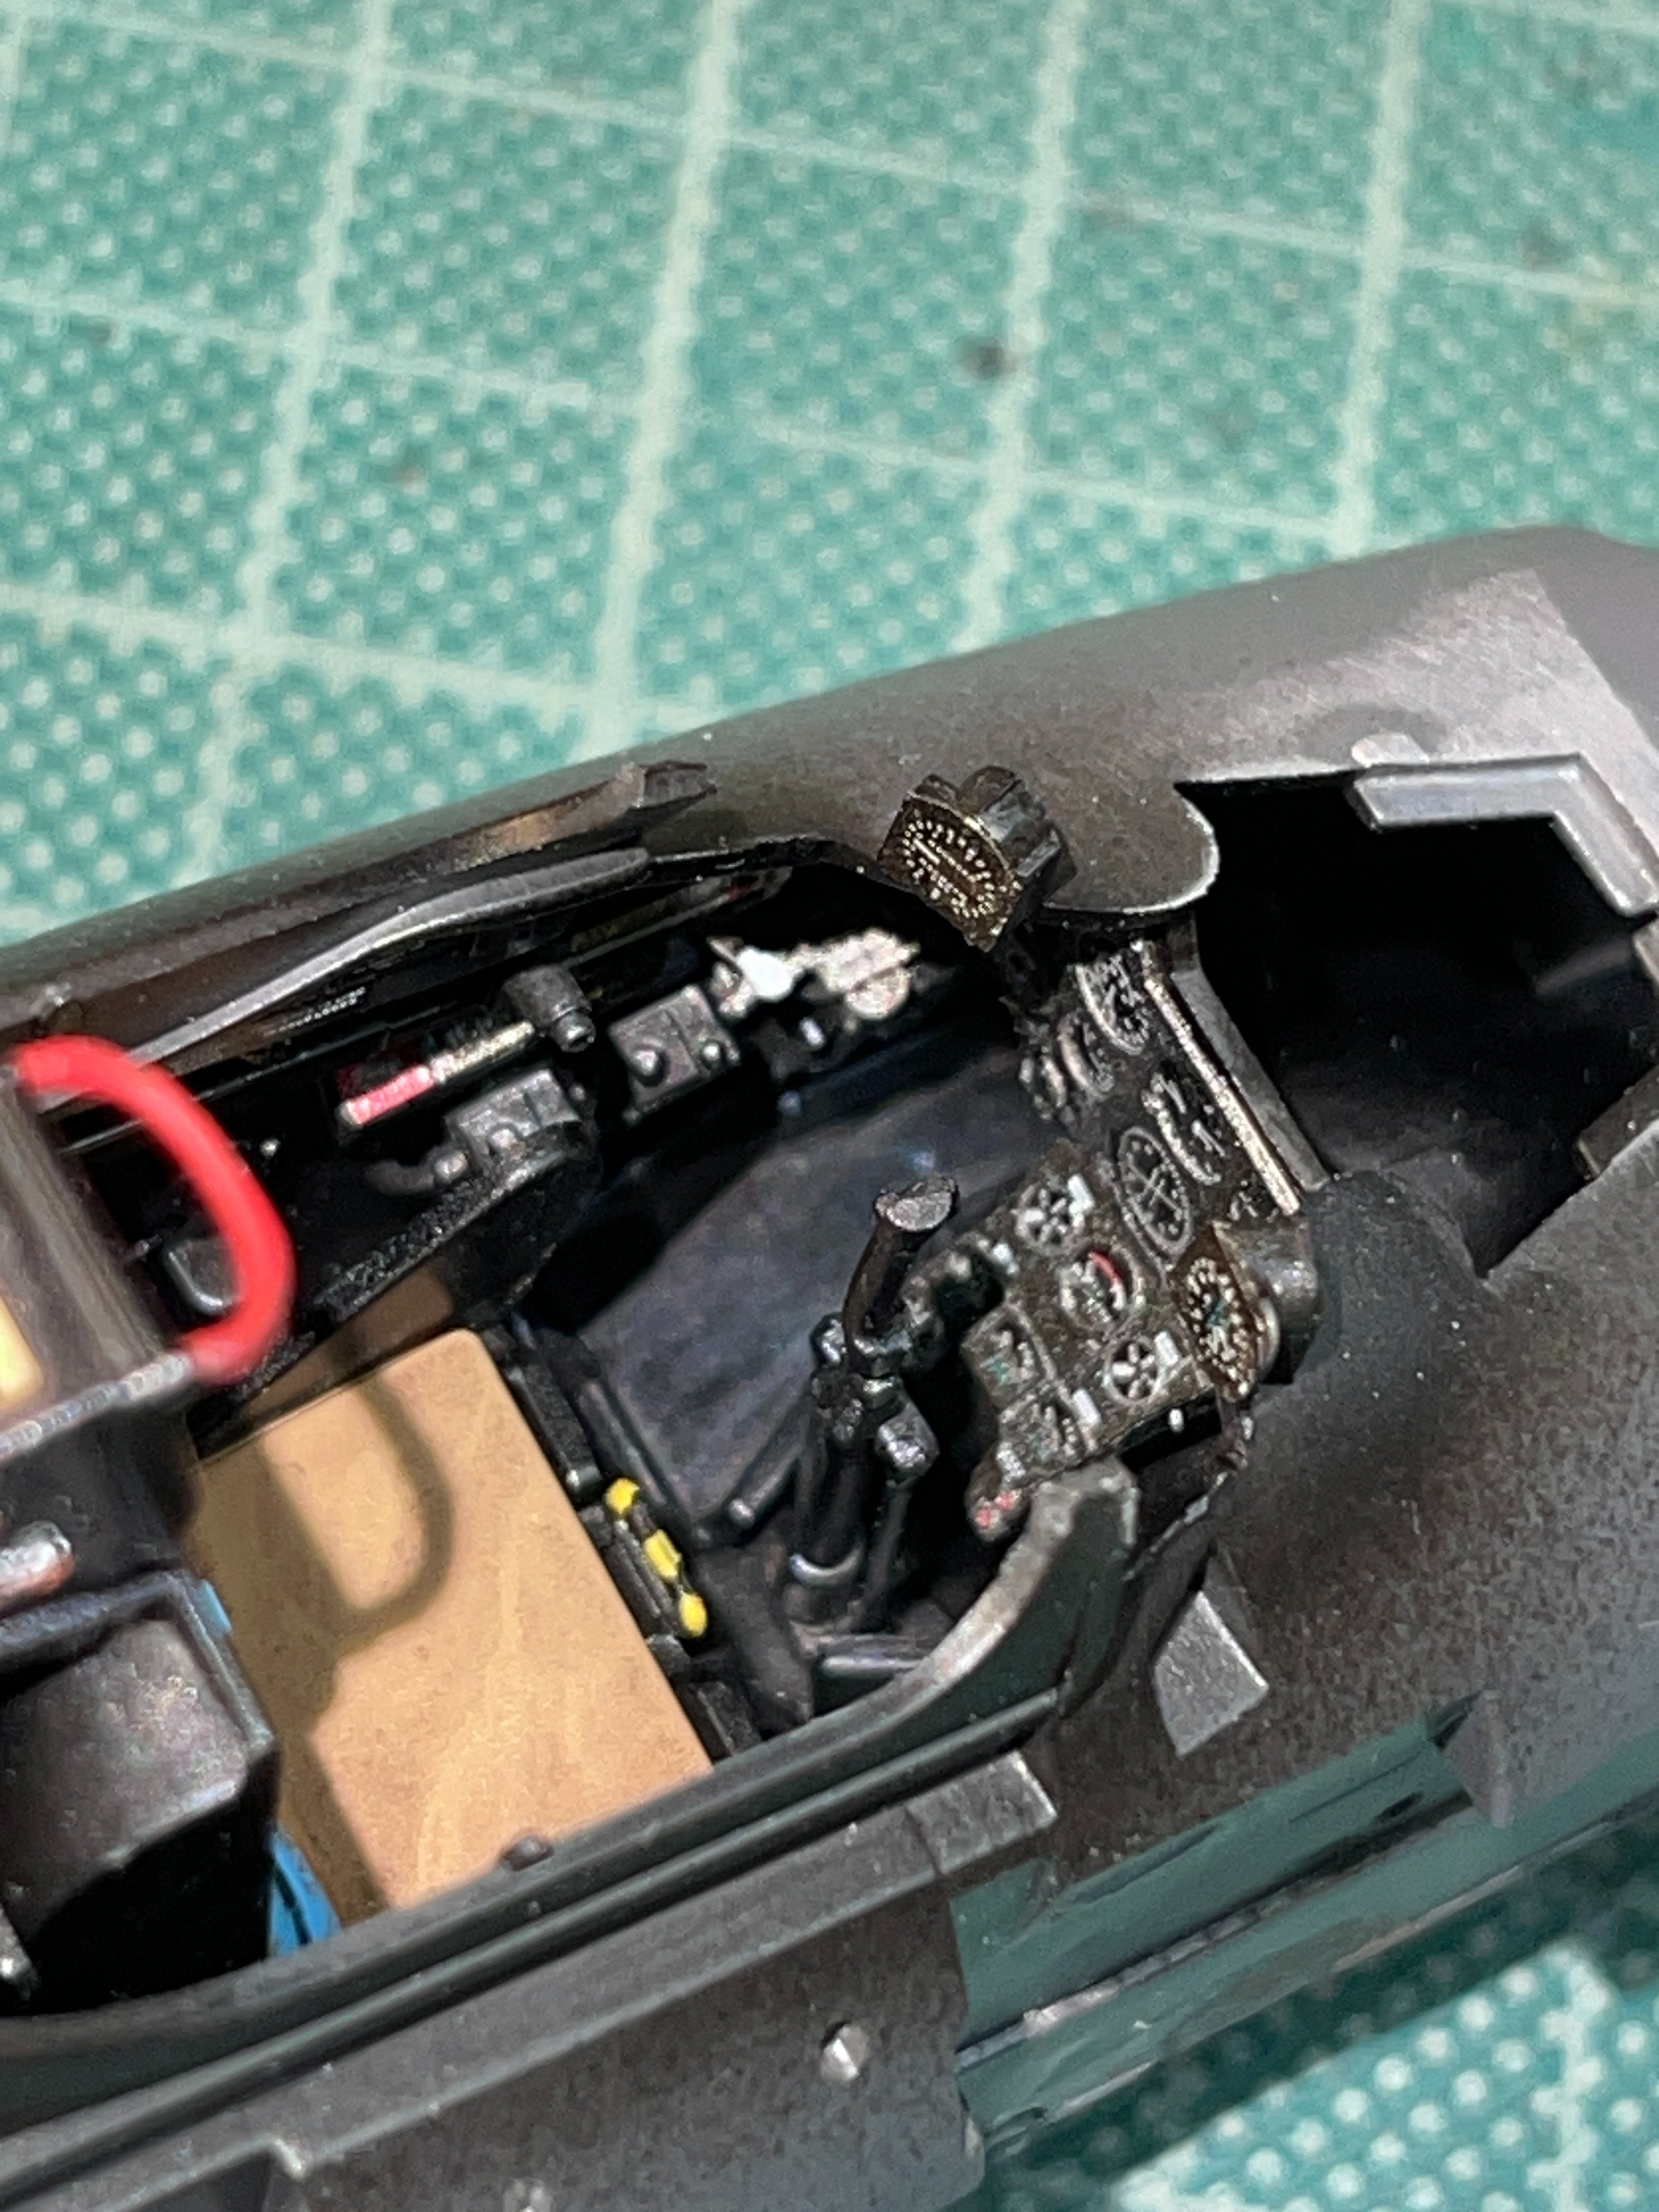
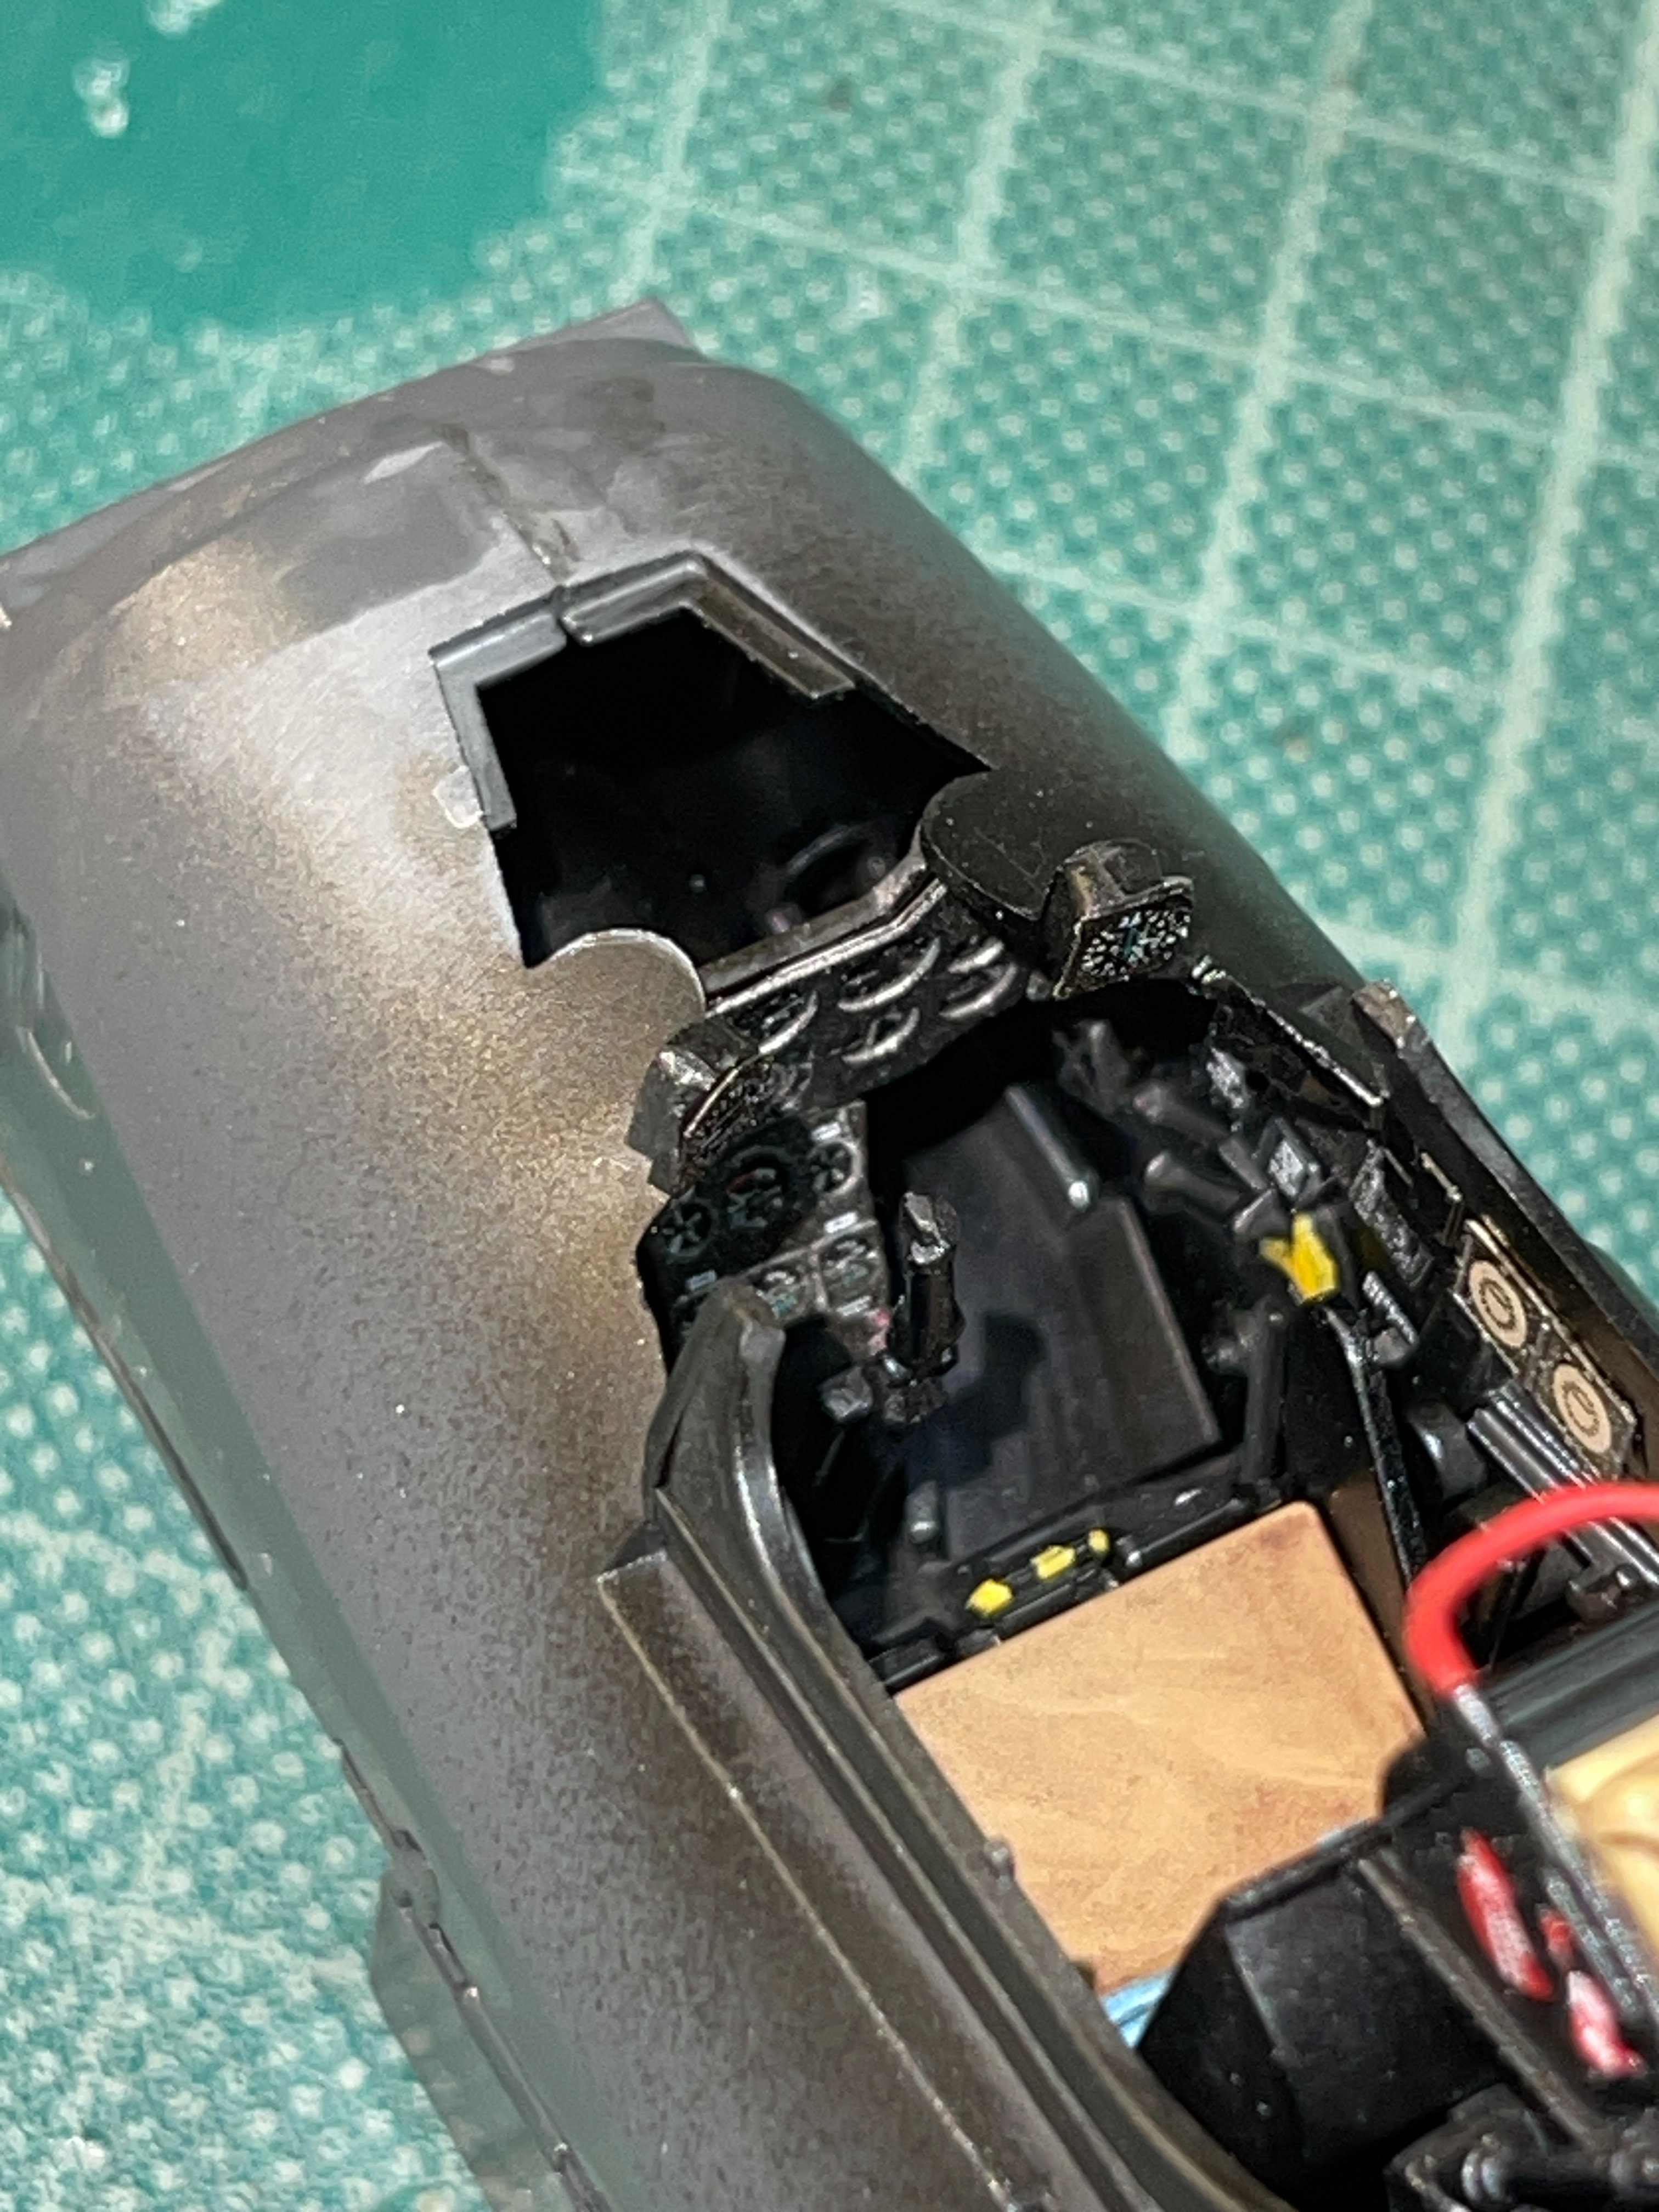
I have built the cockpit tub sub assemblies and I can say that fit is up to Tamiya standard so far, as is the quality of the plastic.

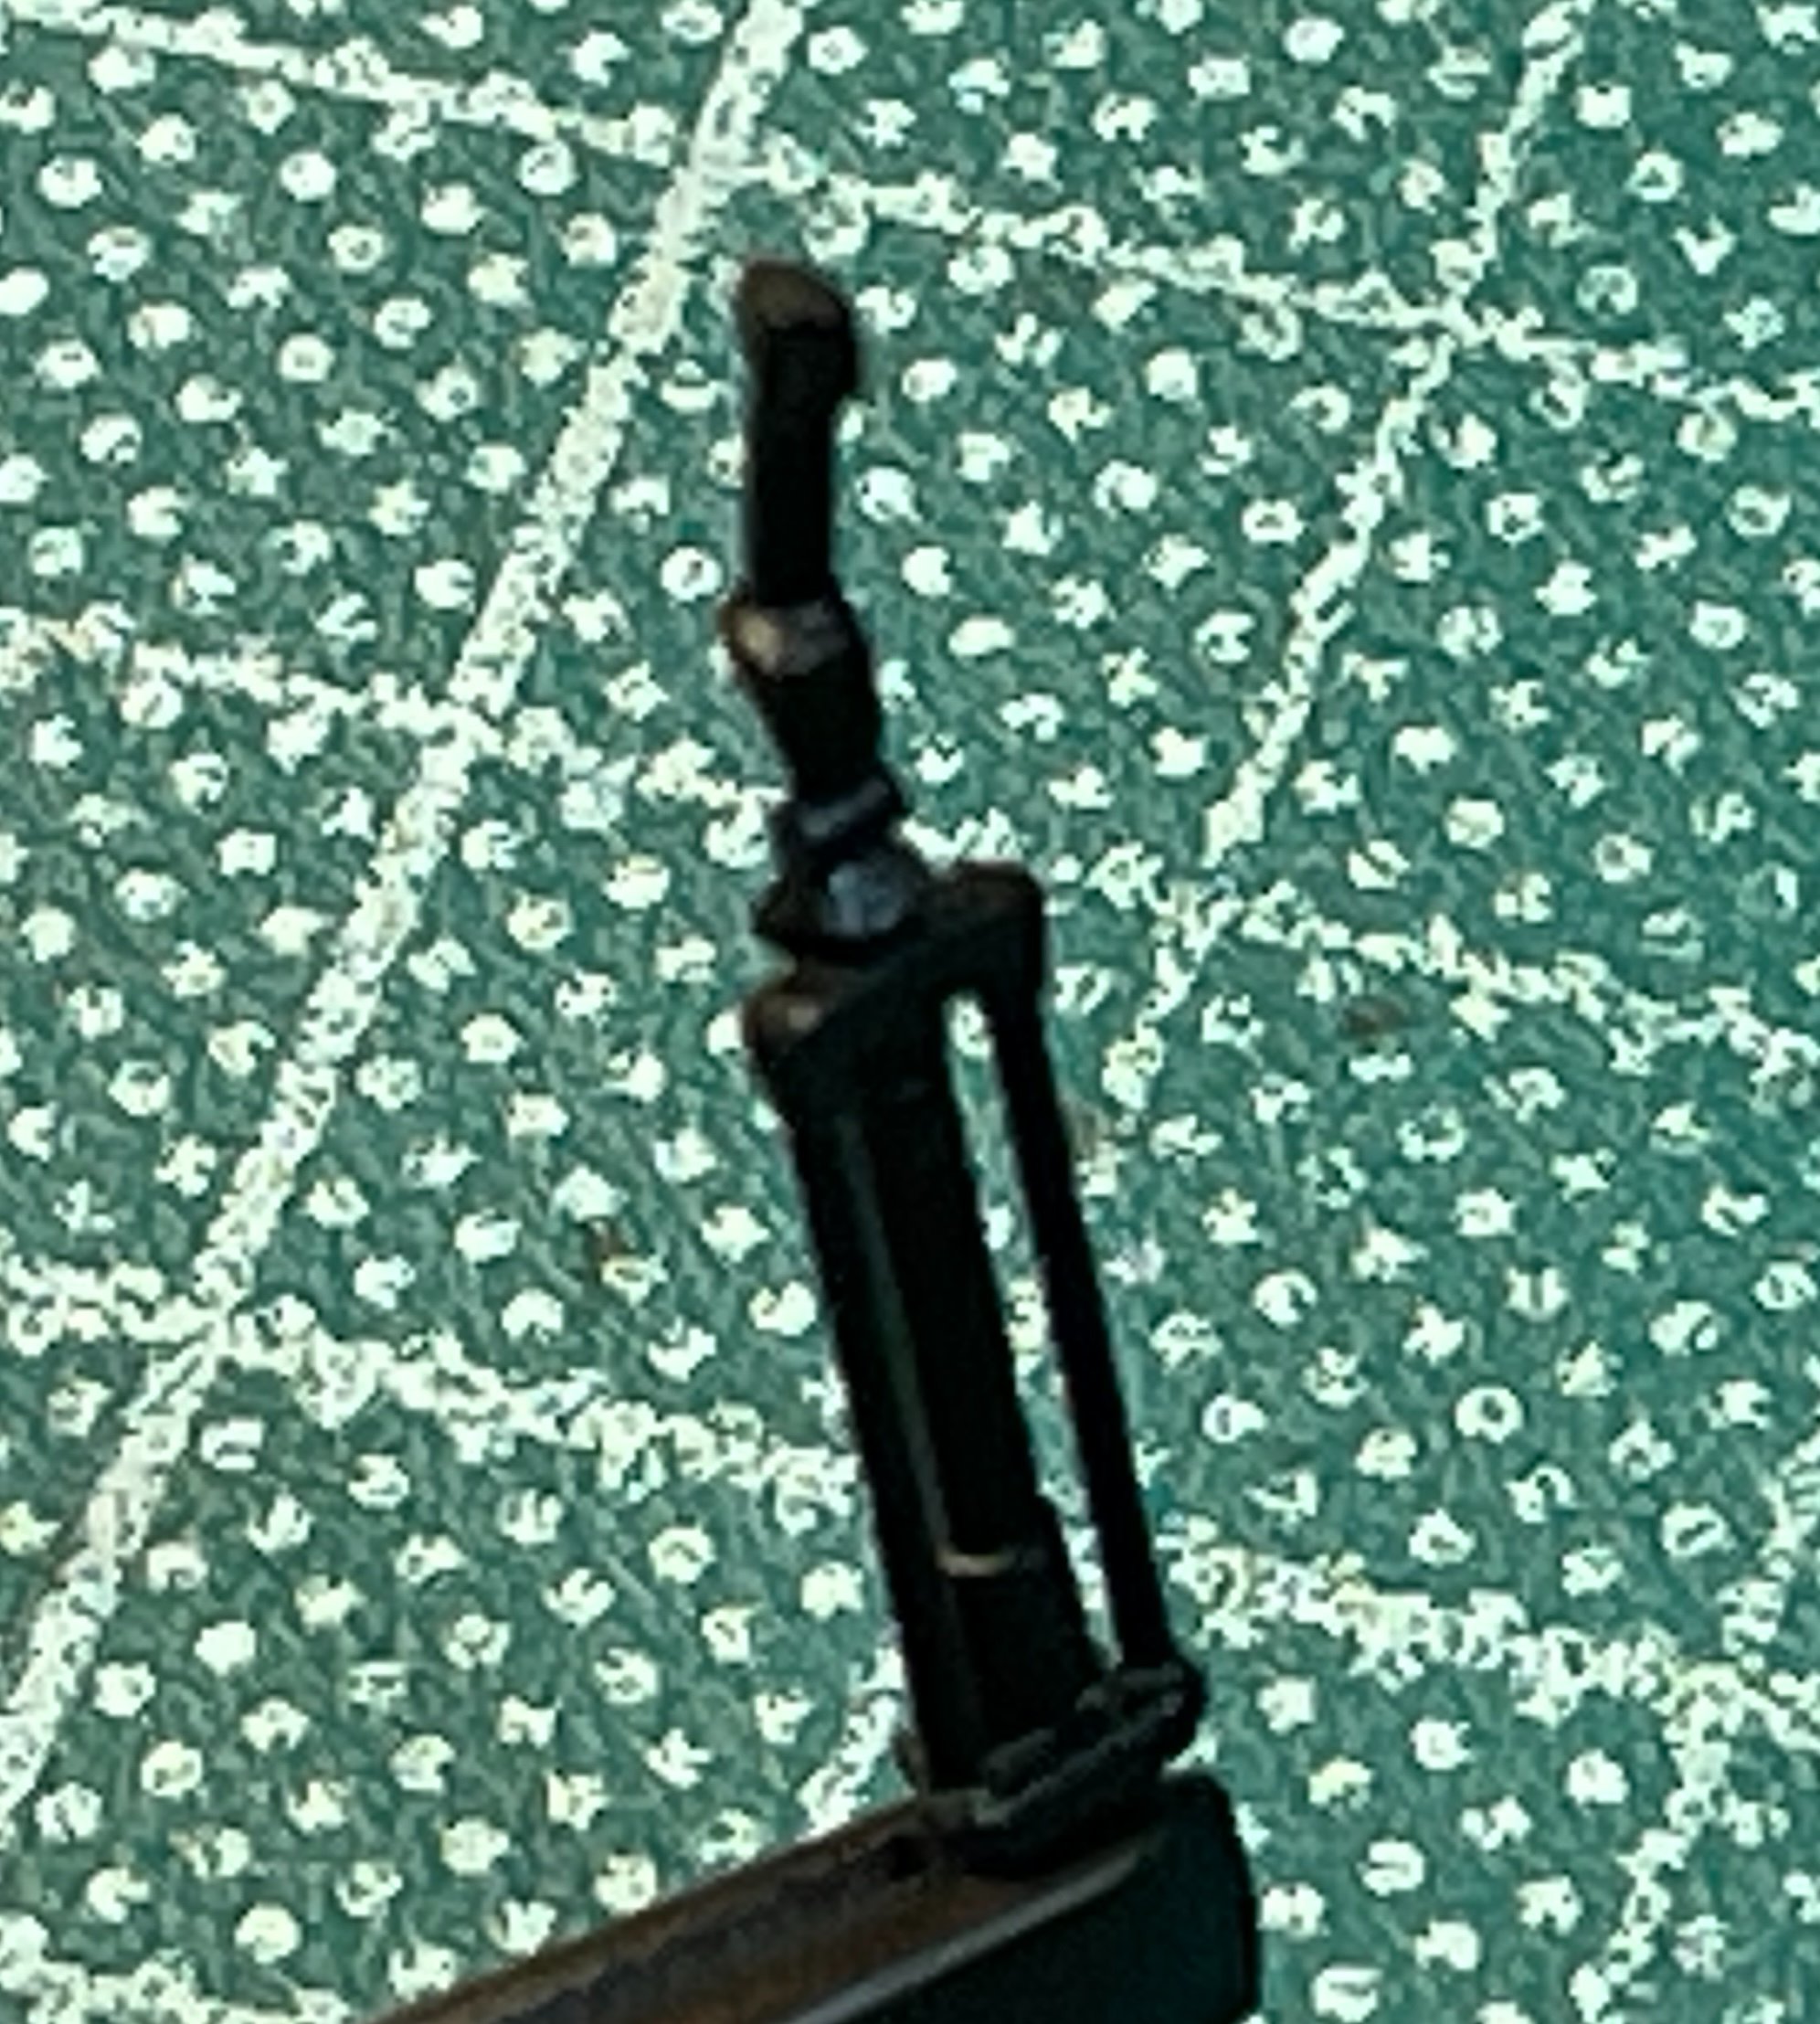
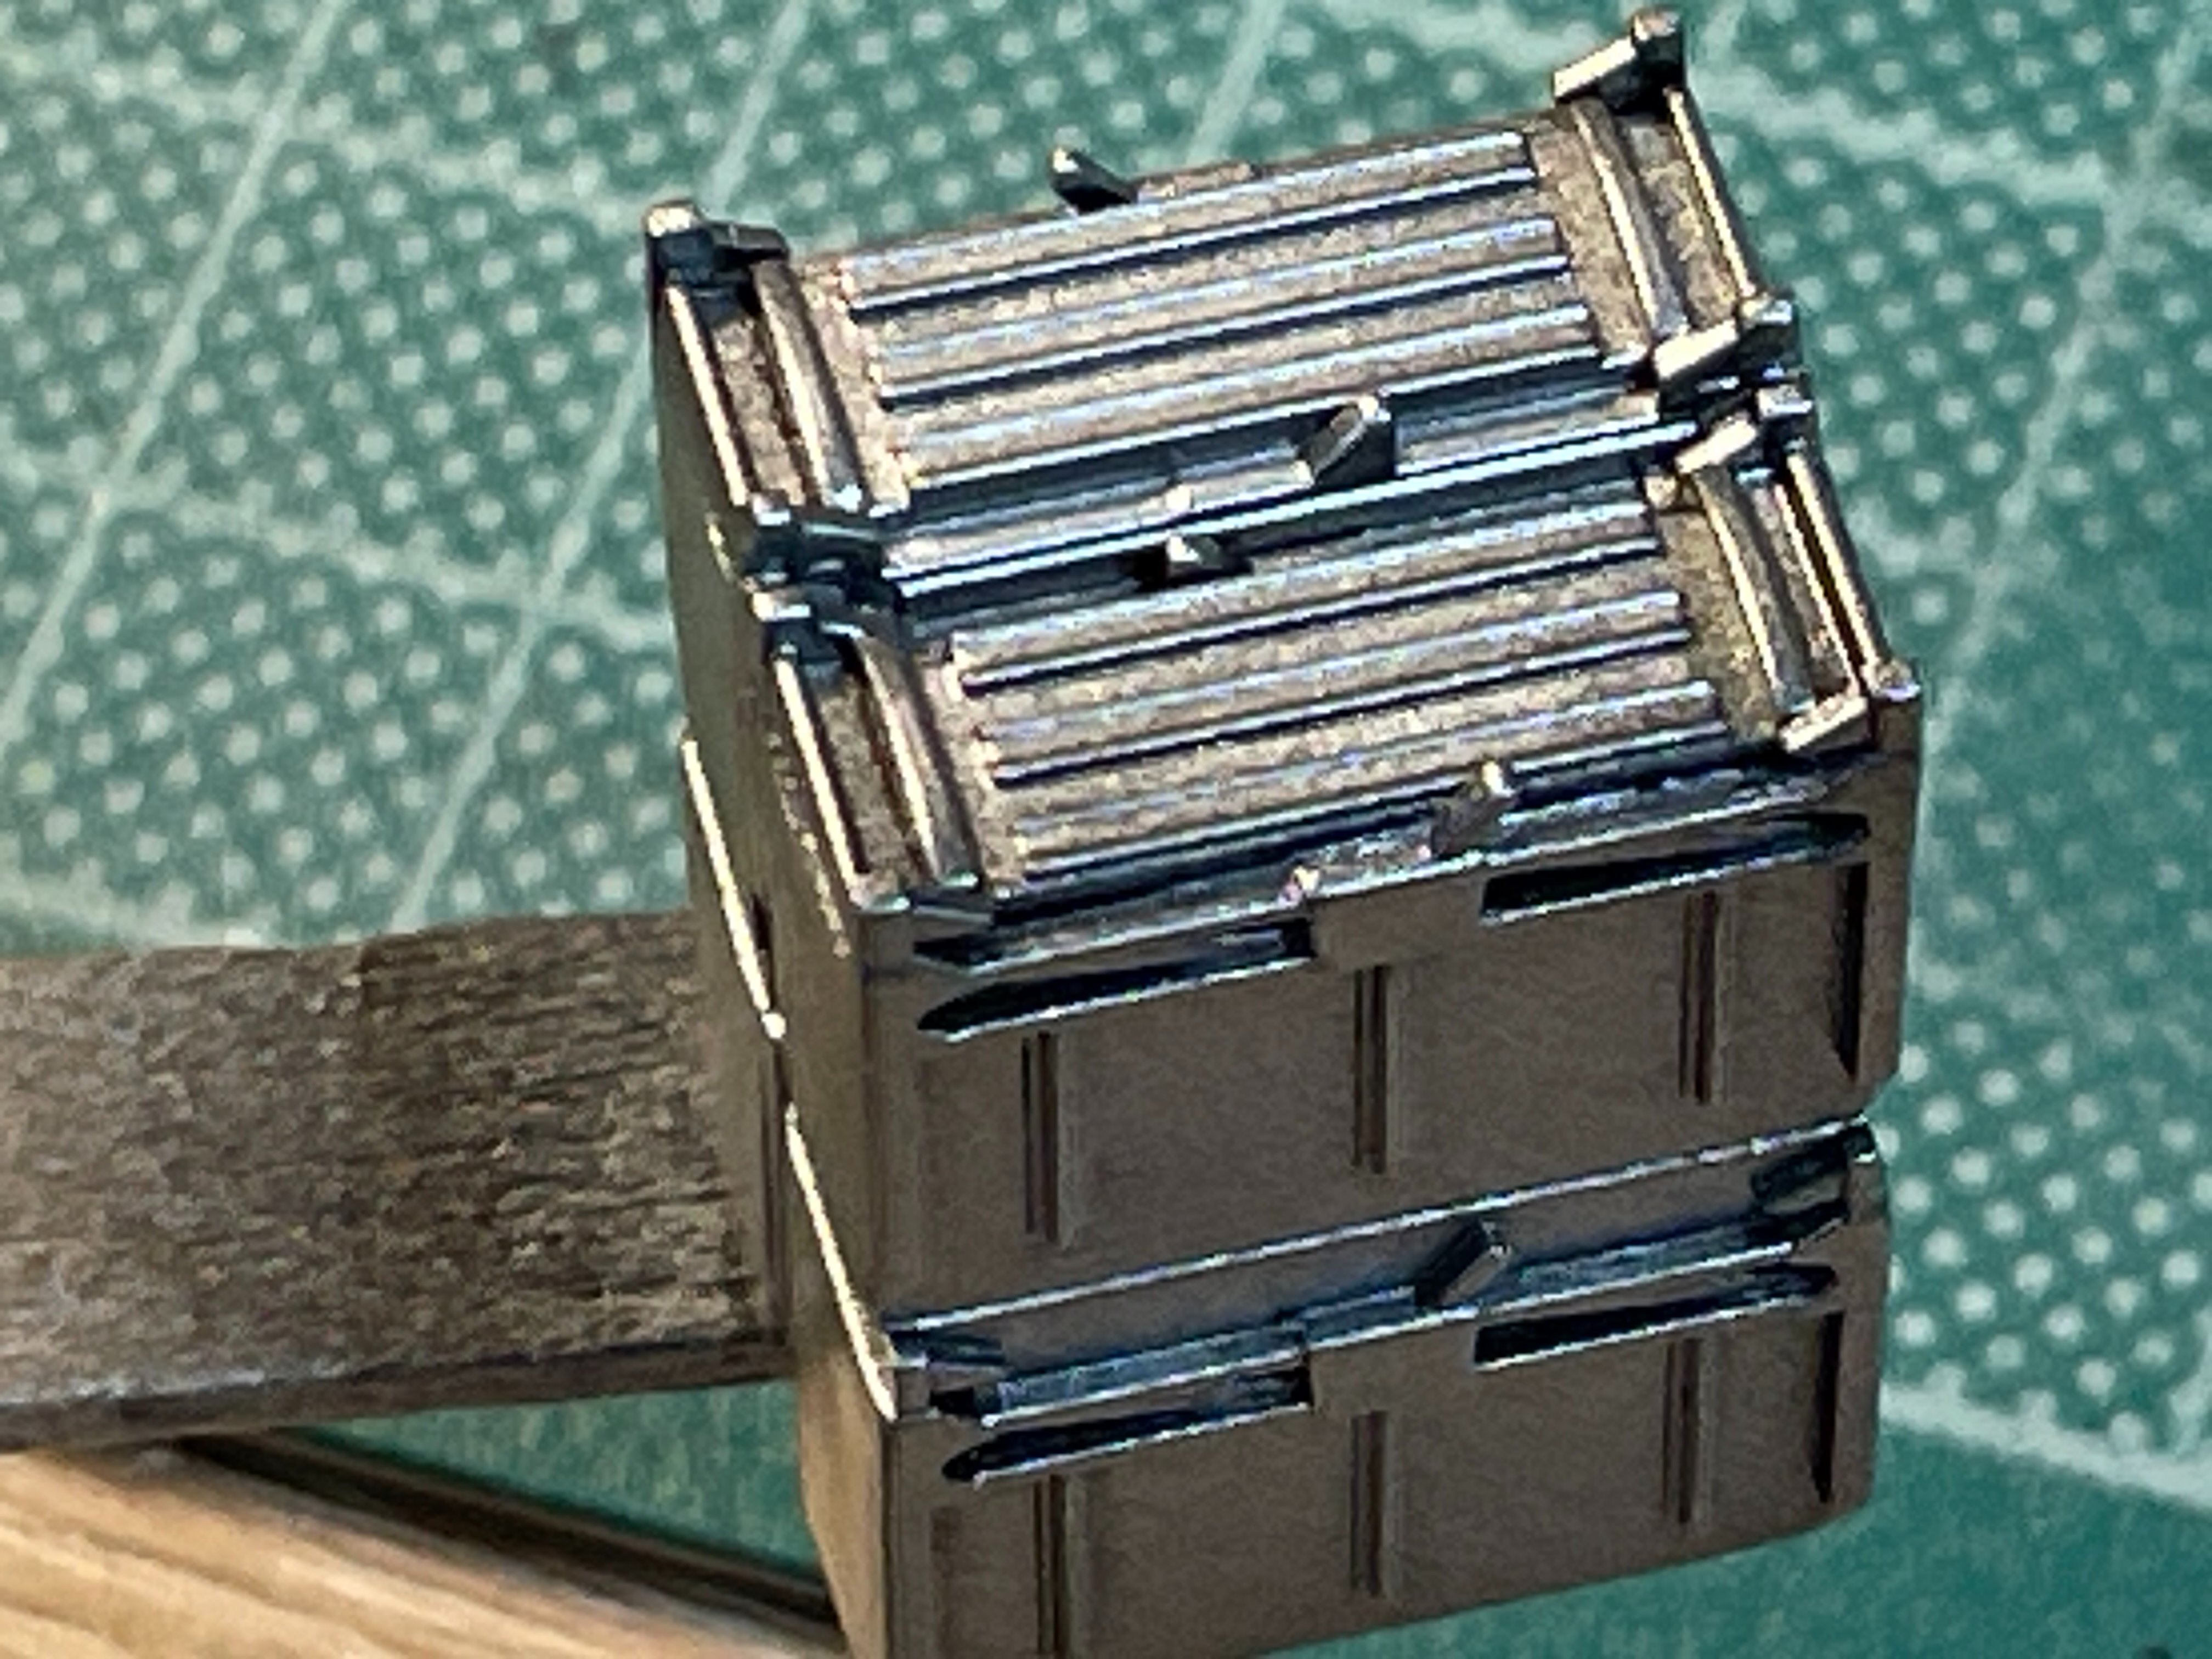
I removed the detail to make way for the p.e. set. I am not using all of it, for instance I have decided to use the seat with moulded in seabelts and not the etch. Also the impossibly small levers did not survive long enough to be painted let alone survive to actually be placed. this is why i much prefer the 3D decal sets.

I then applied base coats with the airbrush. Next I need to bring out the detail with dry brushing. I will use Uschi Metal Powders to provide a worn painted metal look. The etch will be applied and some placard decals as well. There will be some detail painting needed before washes are done.

I will post to show off how it looks when done.

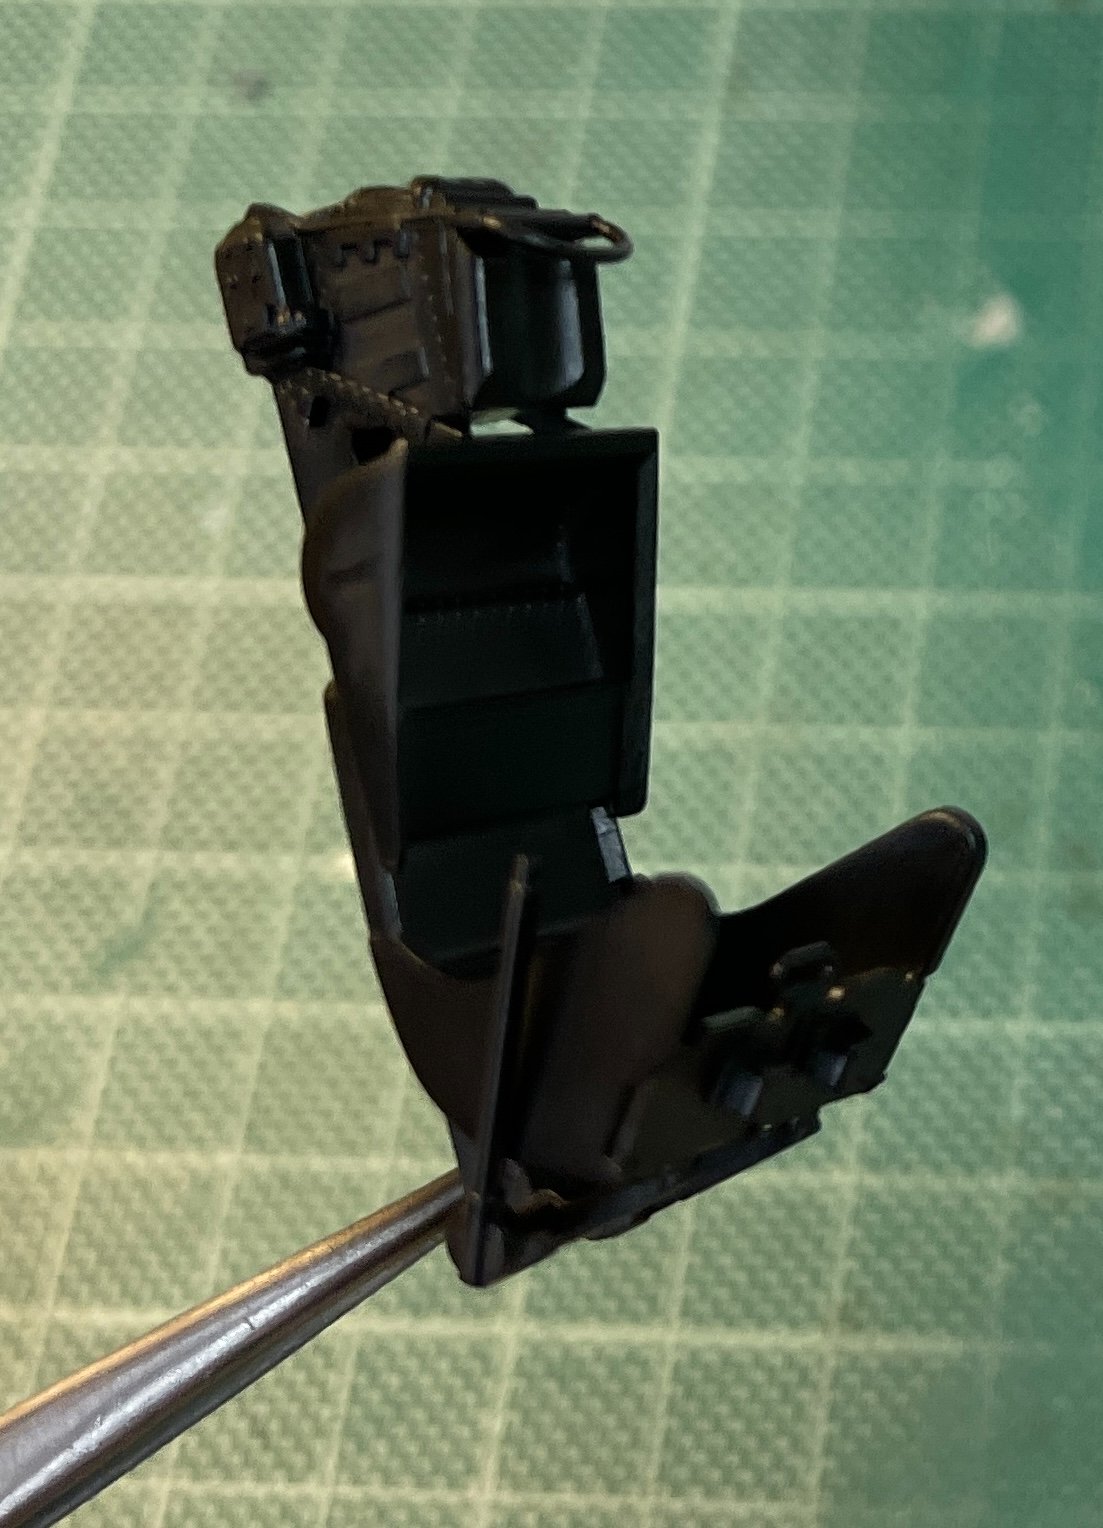
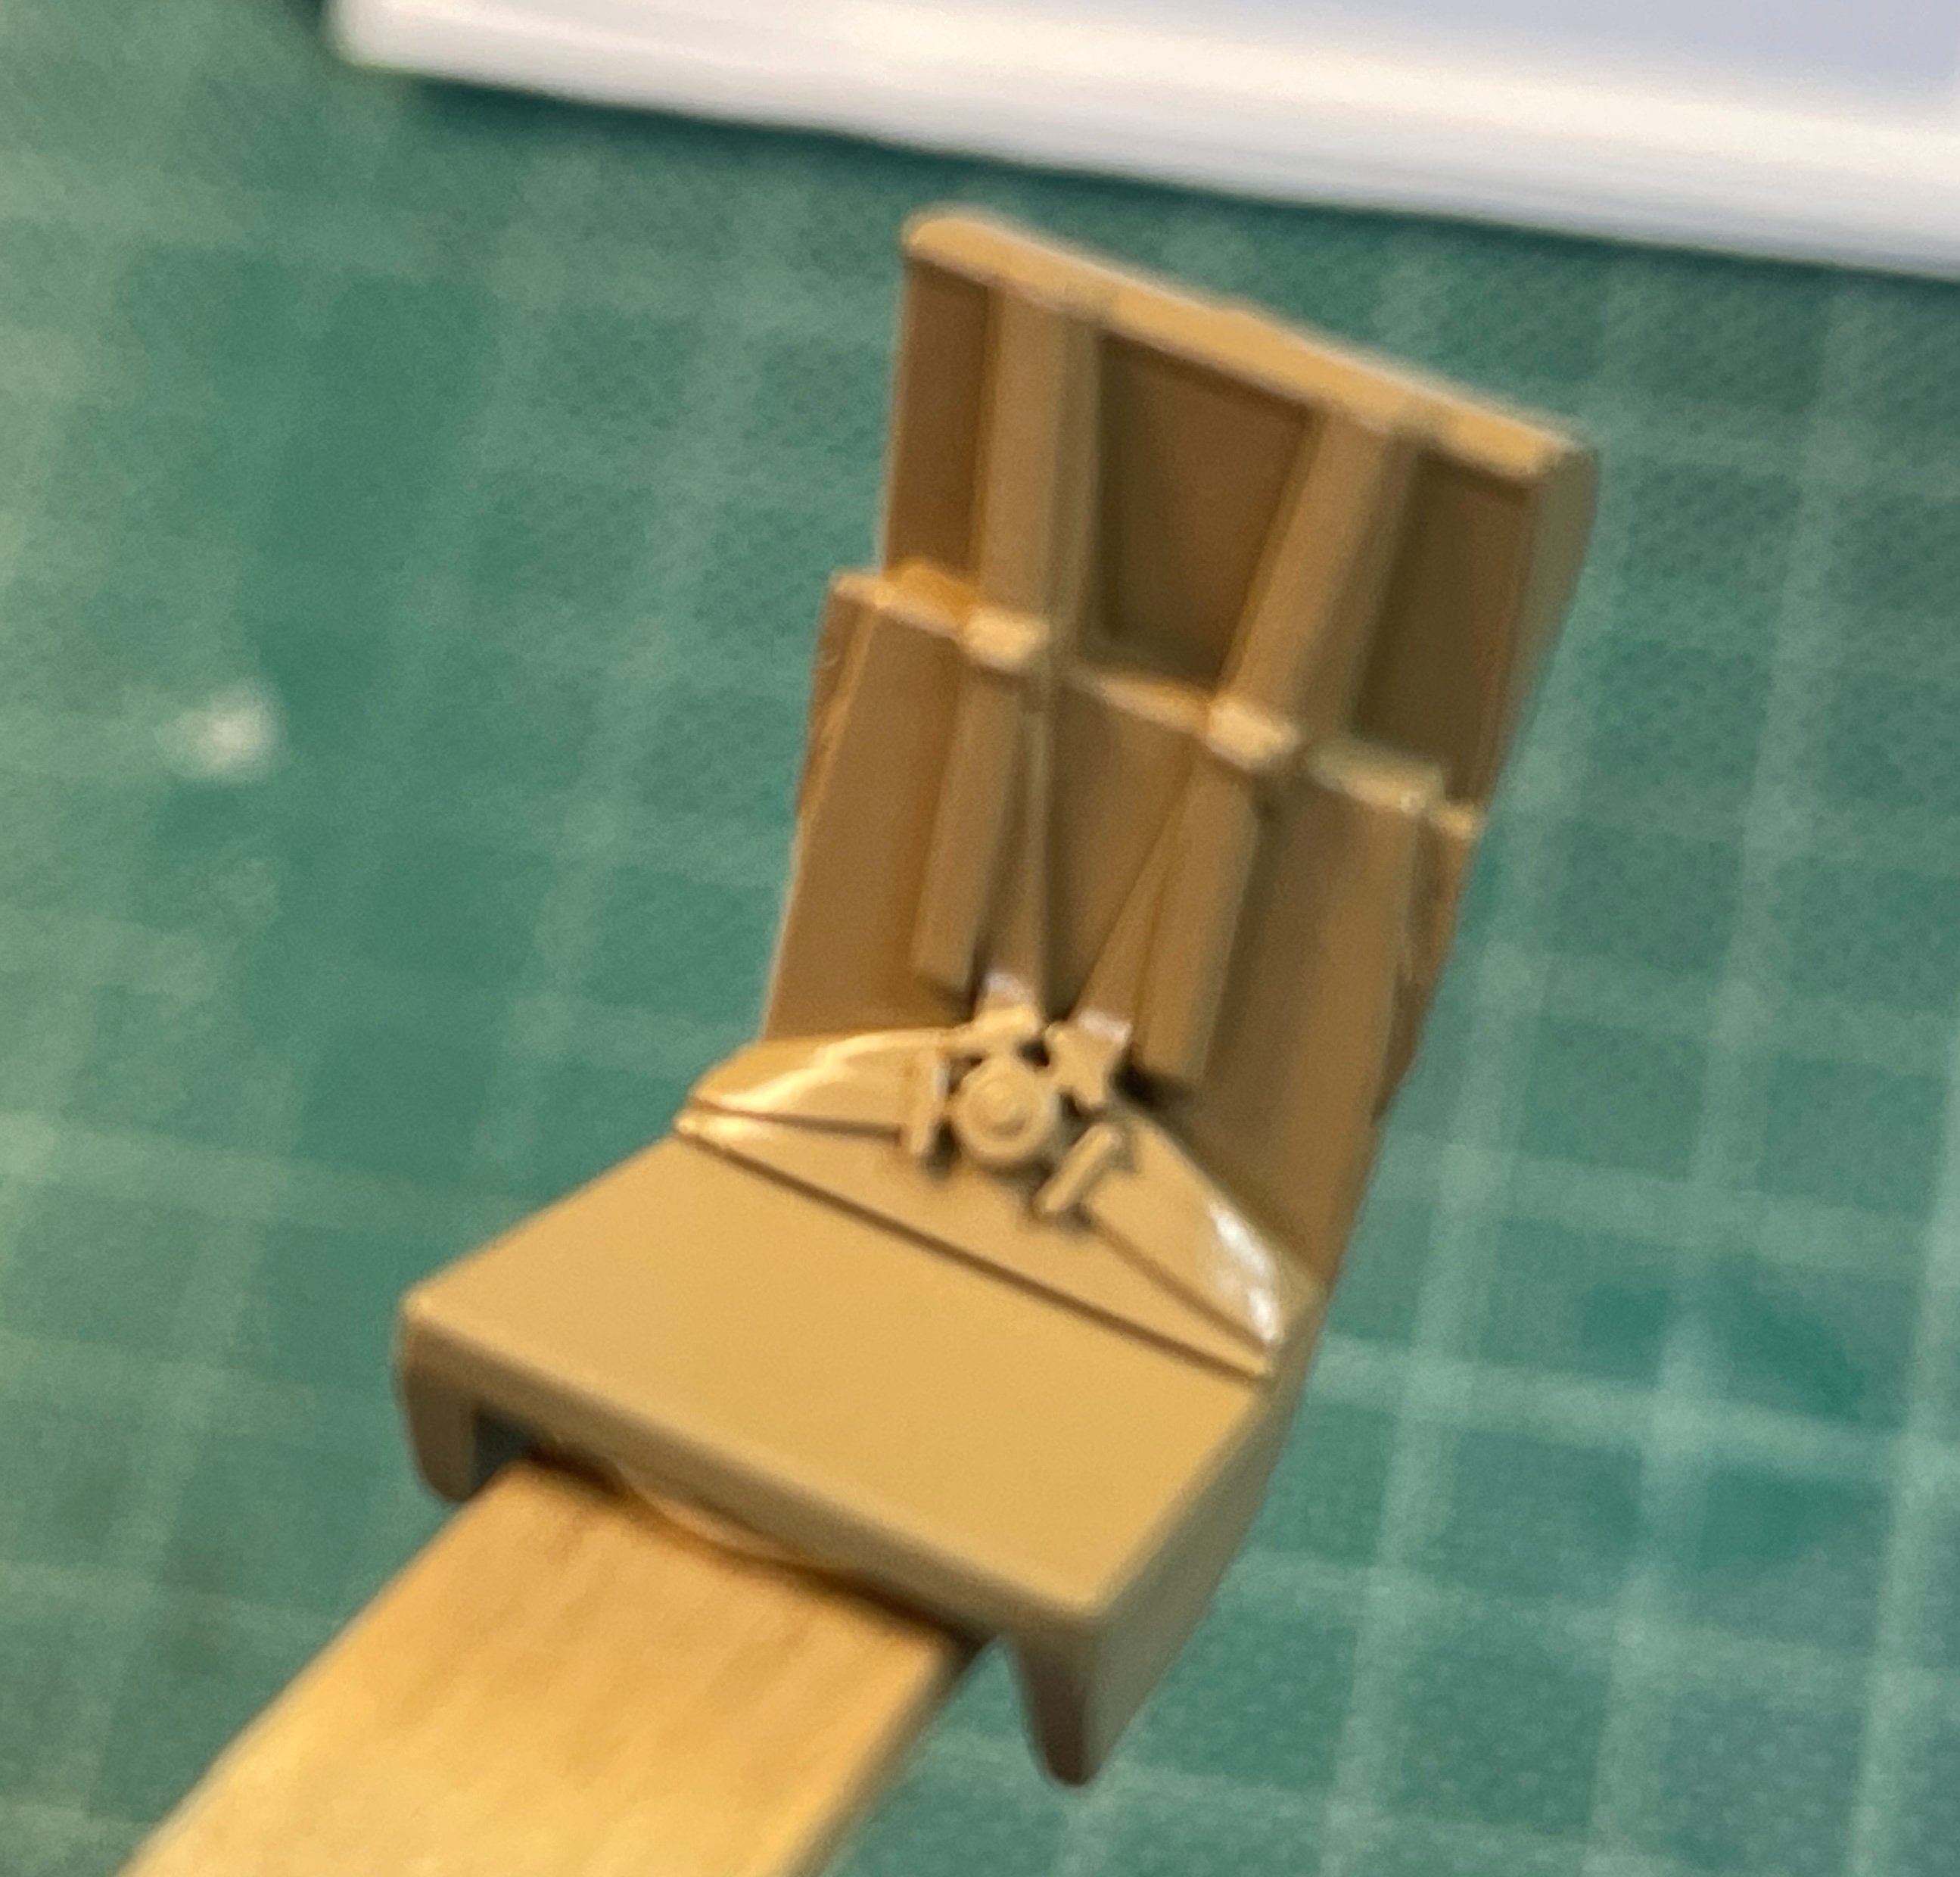
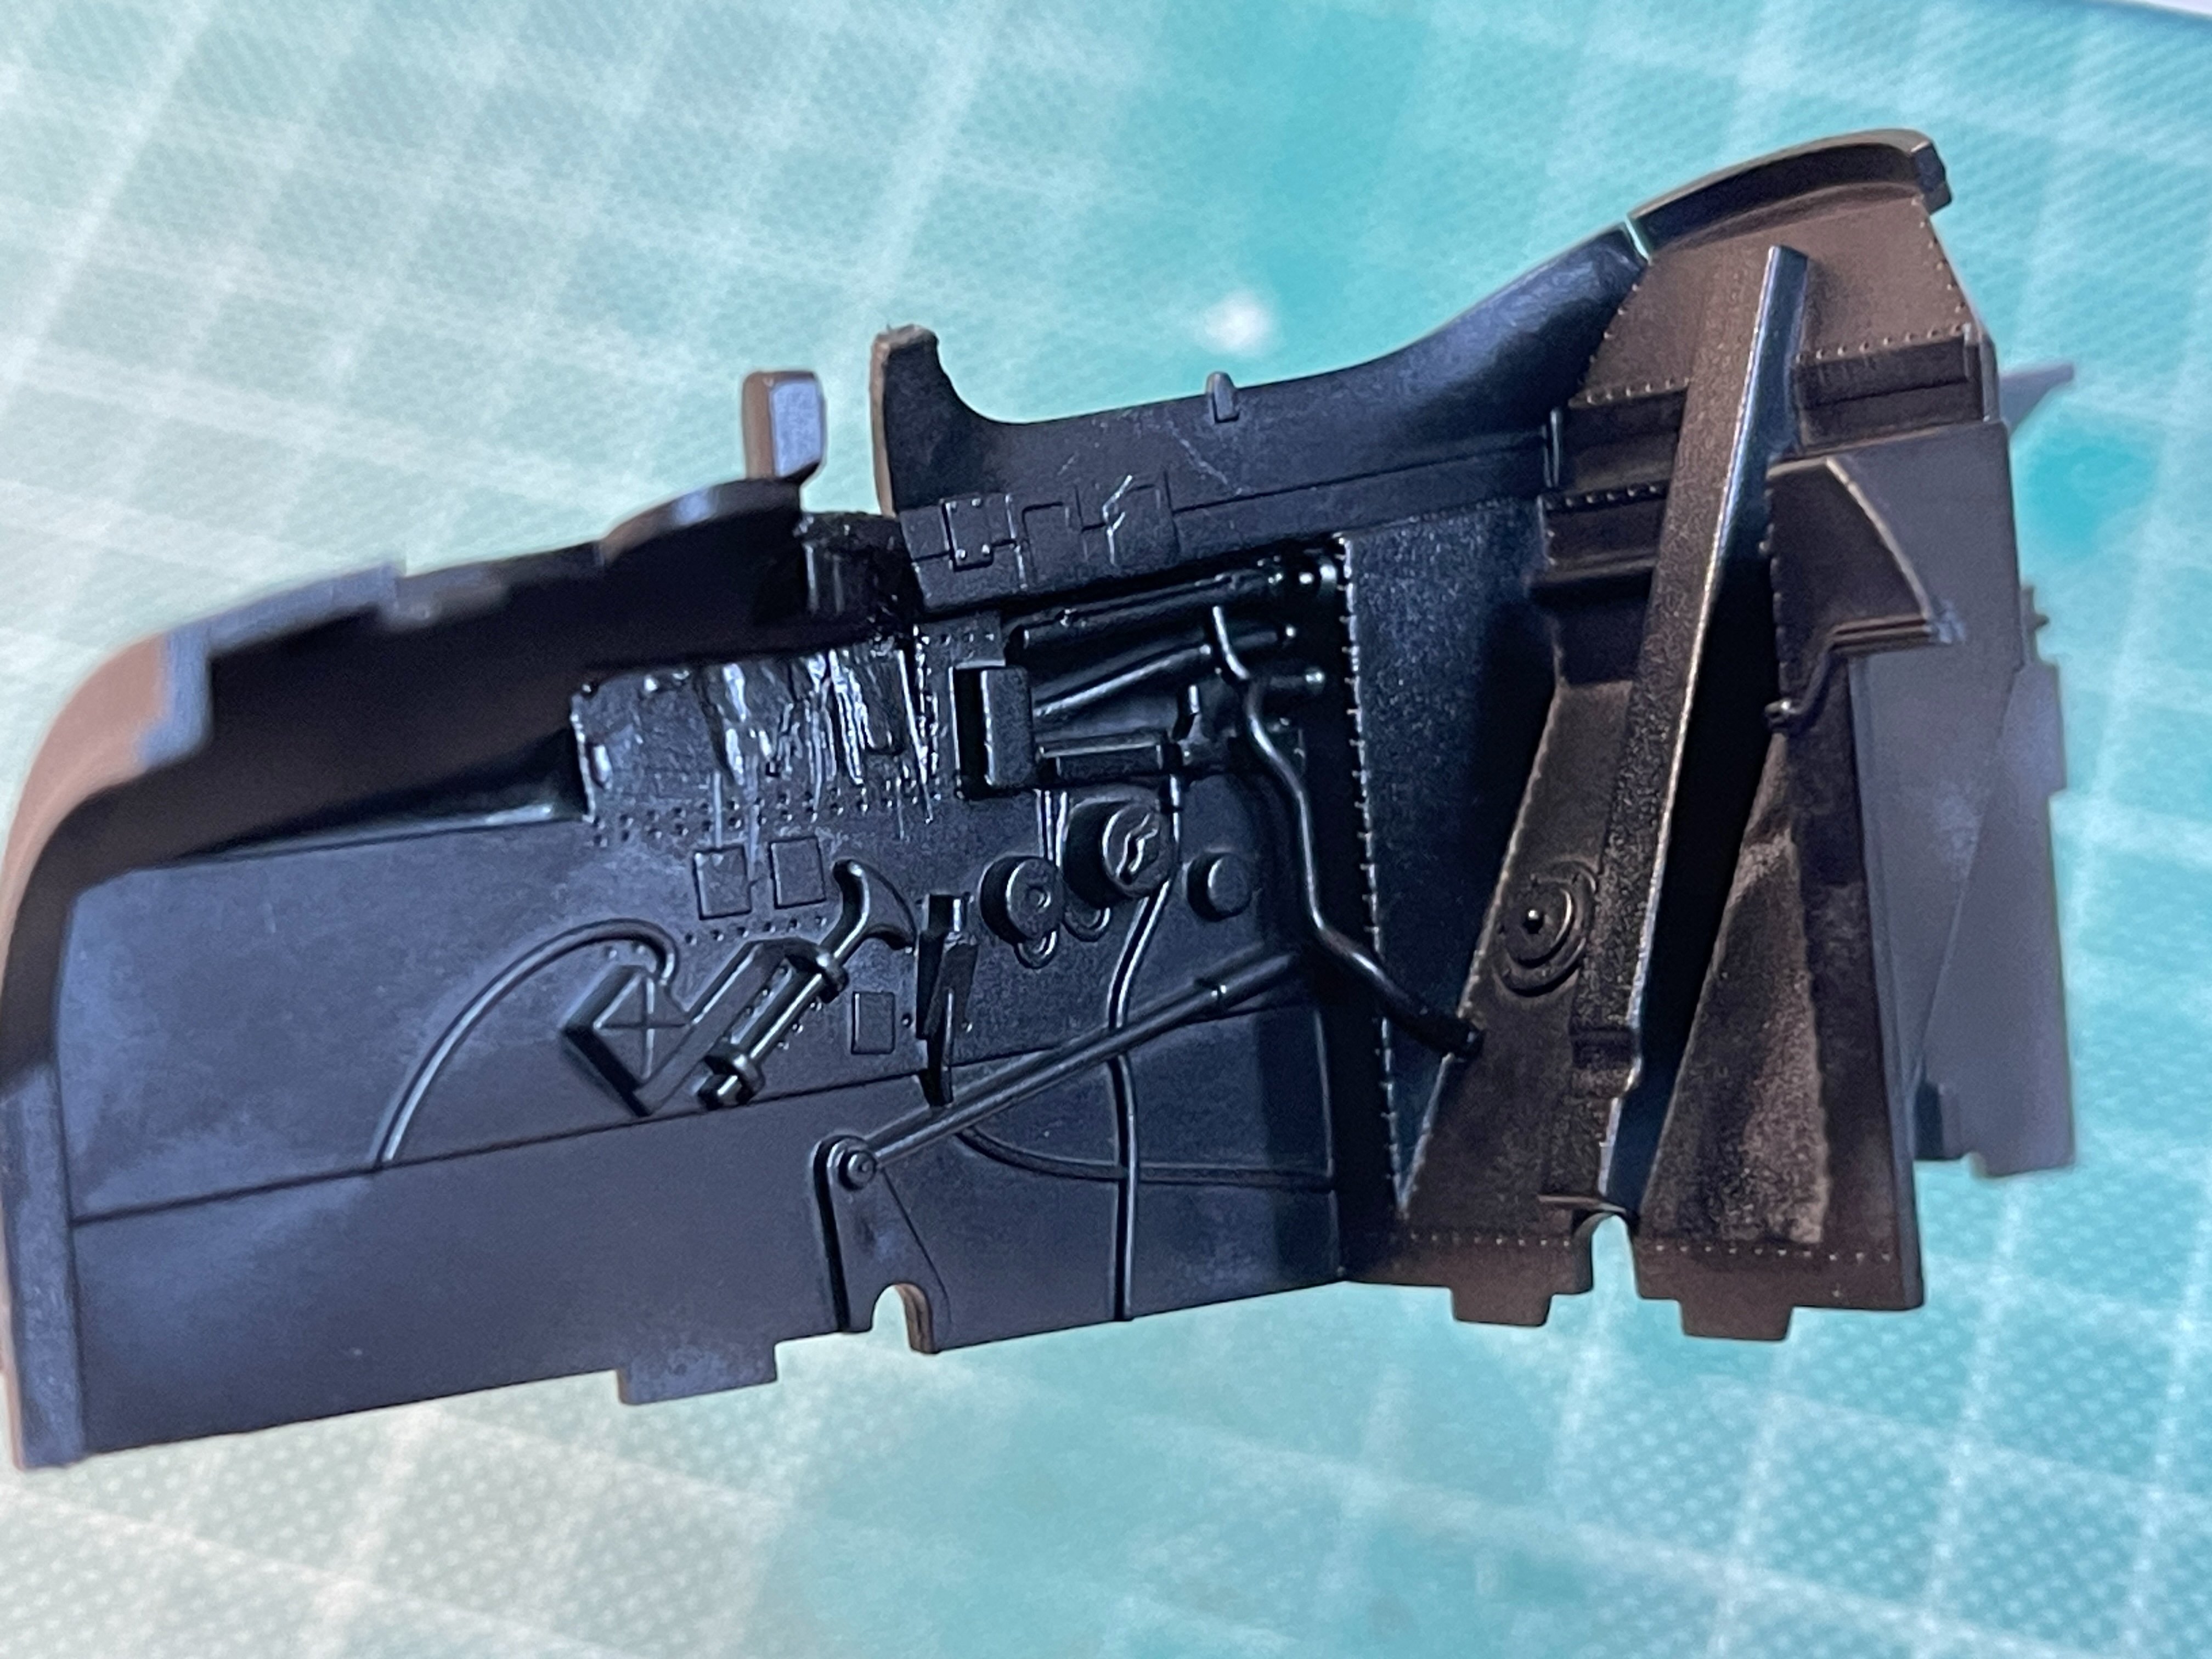
These are the subassemblies all ready with their respective base coats.

20260505_092234750_iOS - Copy.jpg

20260505_092322179_iOS - Copy.jpg

20260505_092332845_iOS - Copy.jpg

20260505_092341852_iOS - Copy.jpg

20260505_092357287_iOS - Copy.jpg

20260505_092404855_iOS.jpg

20260505_092446450_iOS.jpg

20260505_092523665_iOS.jpg

20260505_092500211_iOS.jpg
 
Just to add, the detail that I removed was beautifully executed and if you get the standard release then it will paint up nicely. The rough areas on the sidewalls are where p.e. will go, it looks a lot 'rougher' than it really is.
 
As an Amazon Associate we earn from qualifying purchases. Product prices and availability are accurate as of the date/time indicated and are subject to change.
To muddy them even further if you're into 1:76 or 1:72 scale military vehicle models, then Revell's 1:76 kits are ex-Matchbox, which are OK but only good if you're nostalgic for them like me. OTOH, some — but far from all — of their 1:72 scale military vehicles are ex-MACO, which are really good.
 
To muddy them even further if you're into 1:76 or 1:72 scale military vehicle models, then Revell's 1:76 kits are ex-Matchbox, which are OK but only good if you're nostalgic for them like me. OTOH, some — but far from all — of their 1:72 scale military vehicles are ex-MACO, which are really good.
I didn't realize Revell bought up Matchbox. Built a fair number of both as a kid.
 
Just to muddy the waters further, there was Revell-Monogram, and Revell-Pro.

From my limited experience, quality varied greatly.

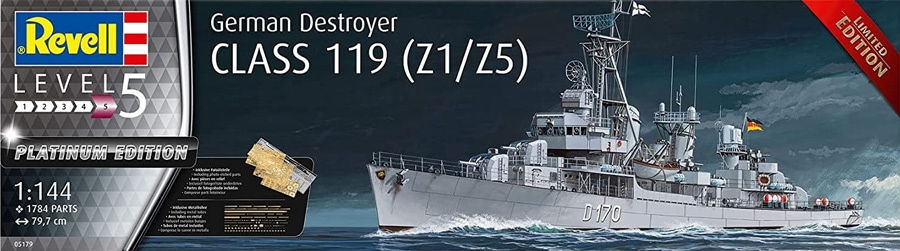
I can say their "Level-5" 1/144th ship is quite nice, with over 1,700 parts.

View attachment 188448
HI Edbert are you sure this tiny model has that many parts ? seems unbelivible
chrisb
 
HI Edbert are you sure this tiny model has that many parts ? seems unbelivible
chrisb
The part-count is right there on the front of the box. The destroyer is small in real life, but in 1/144th scale the model is almost 80cm long.
 
Last edited:
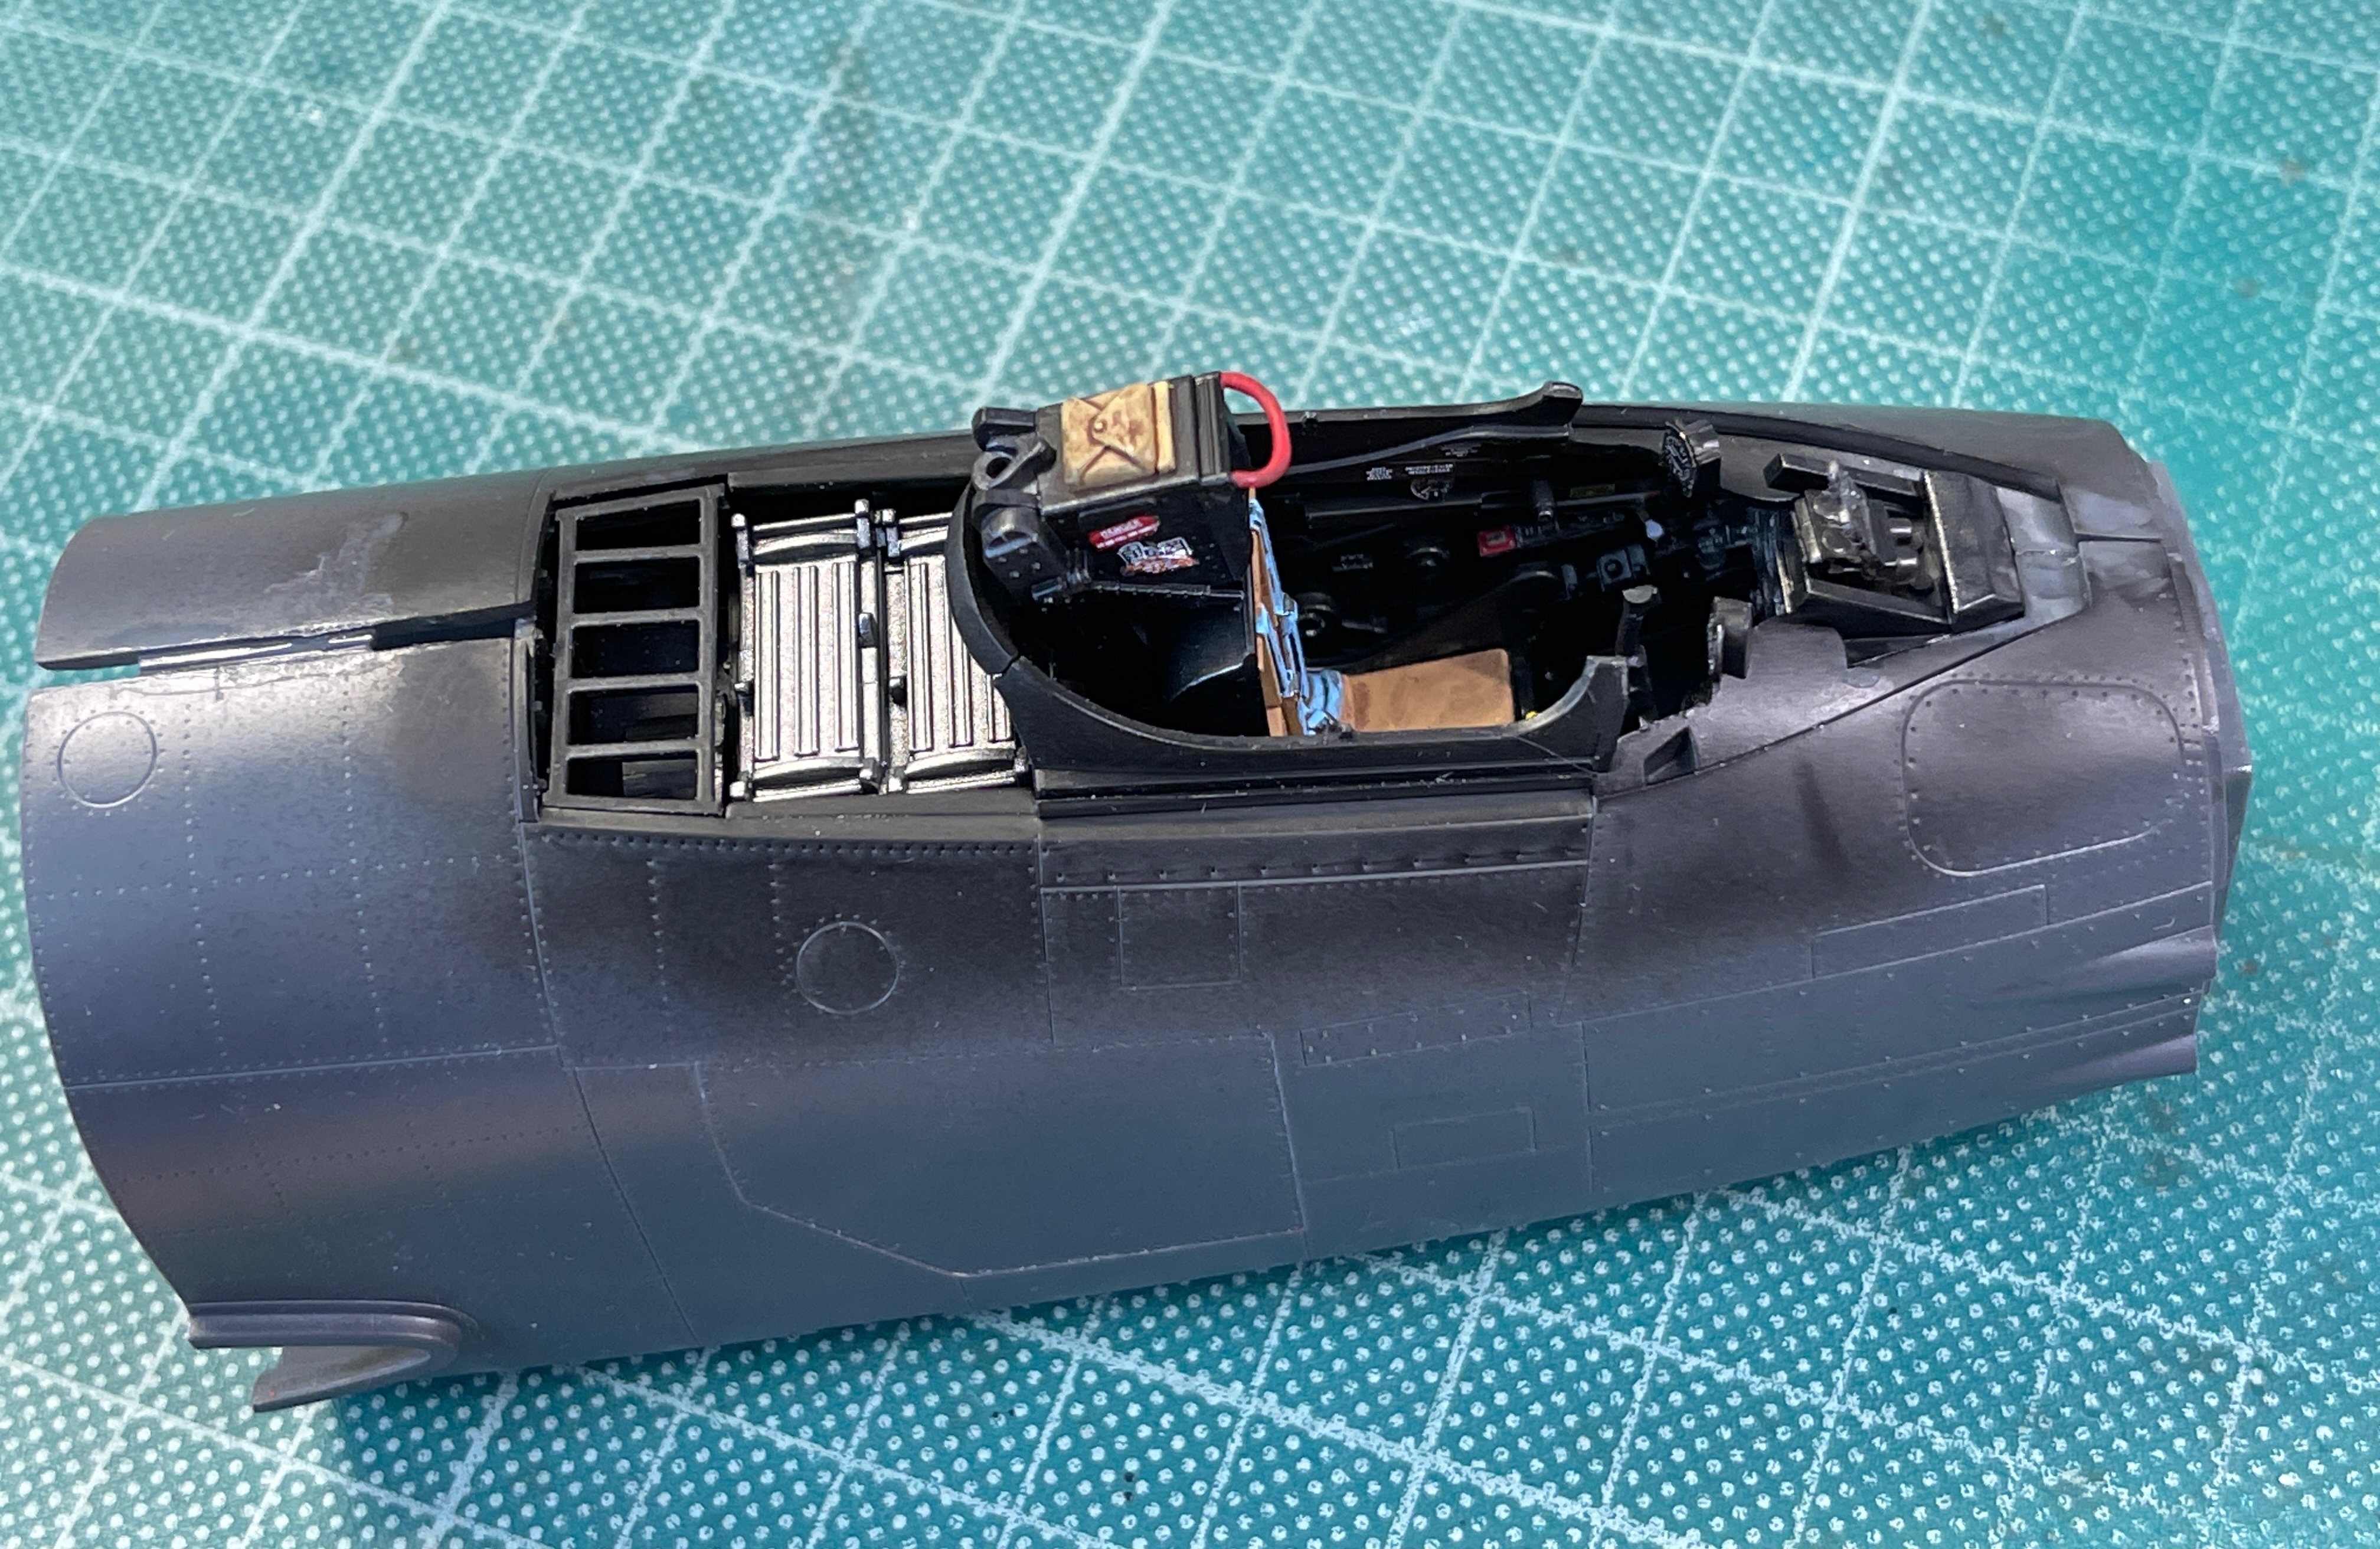
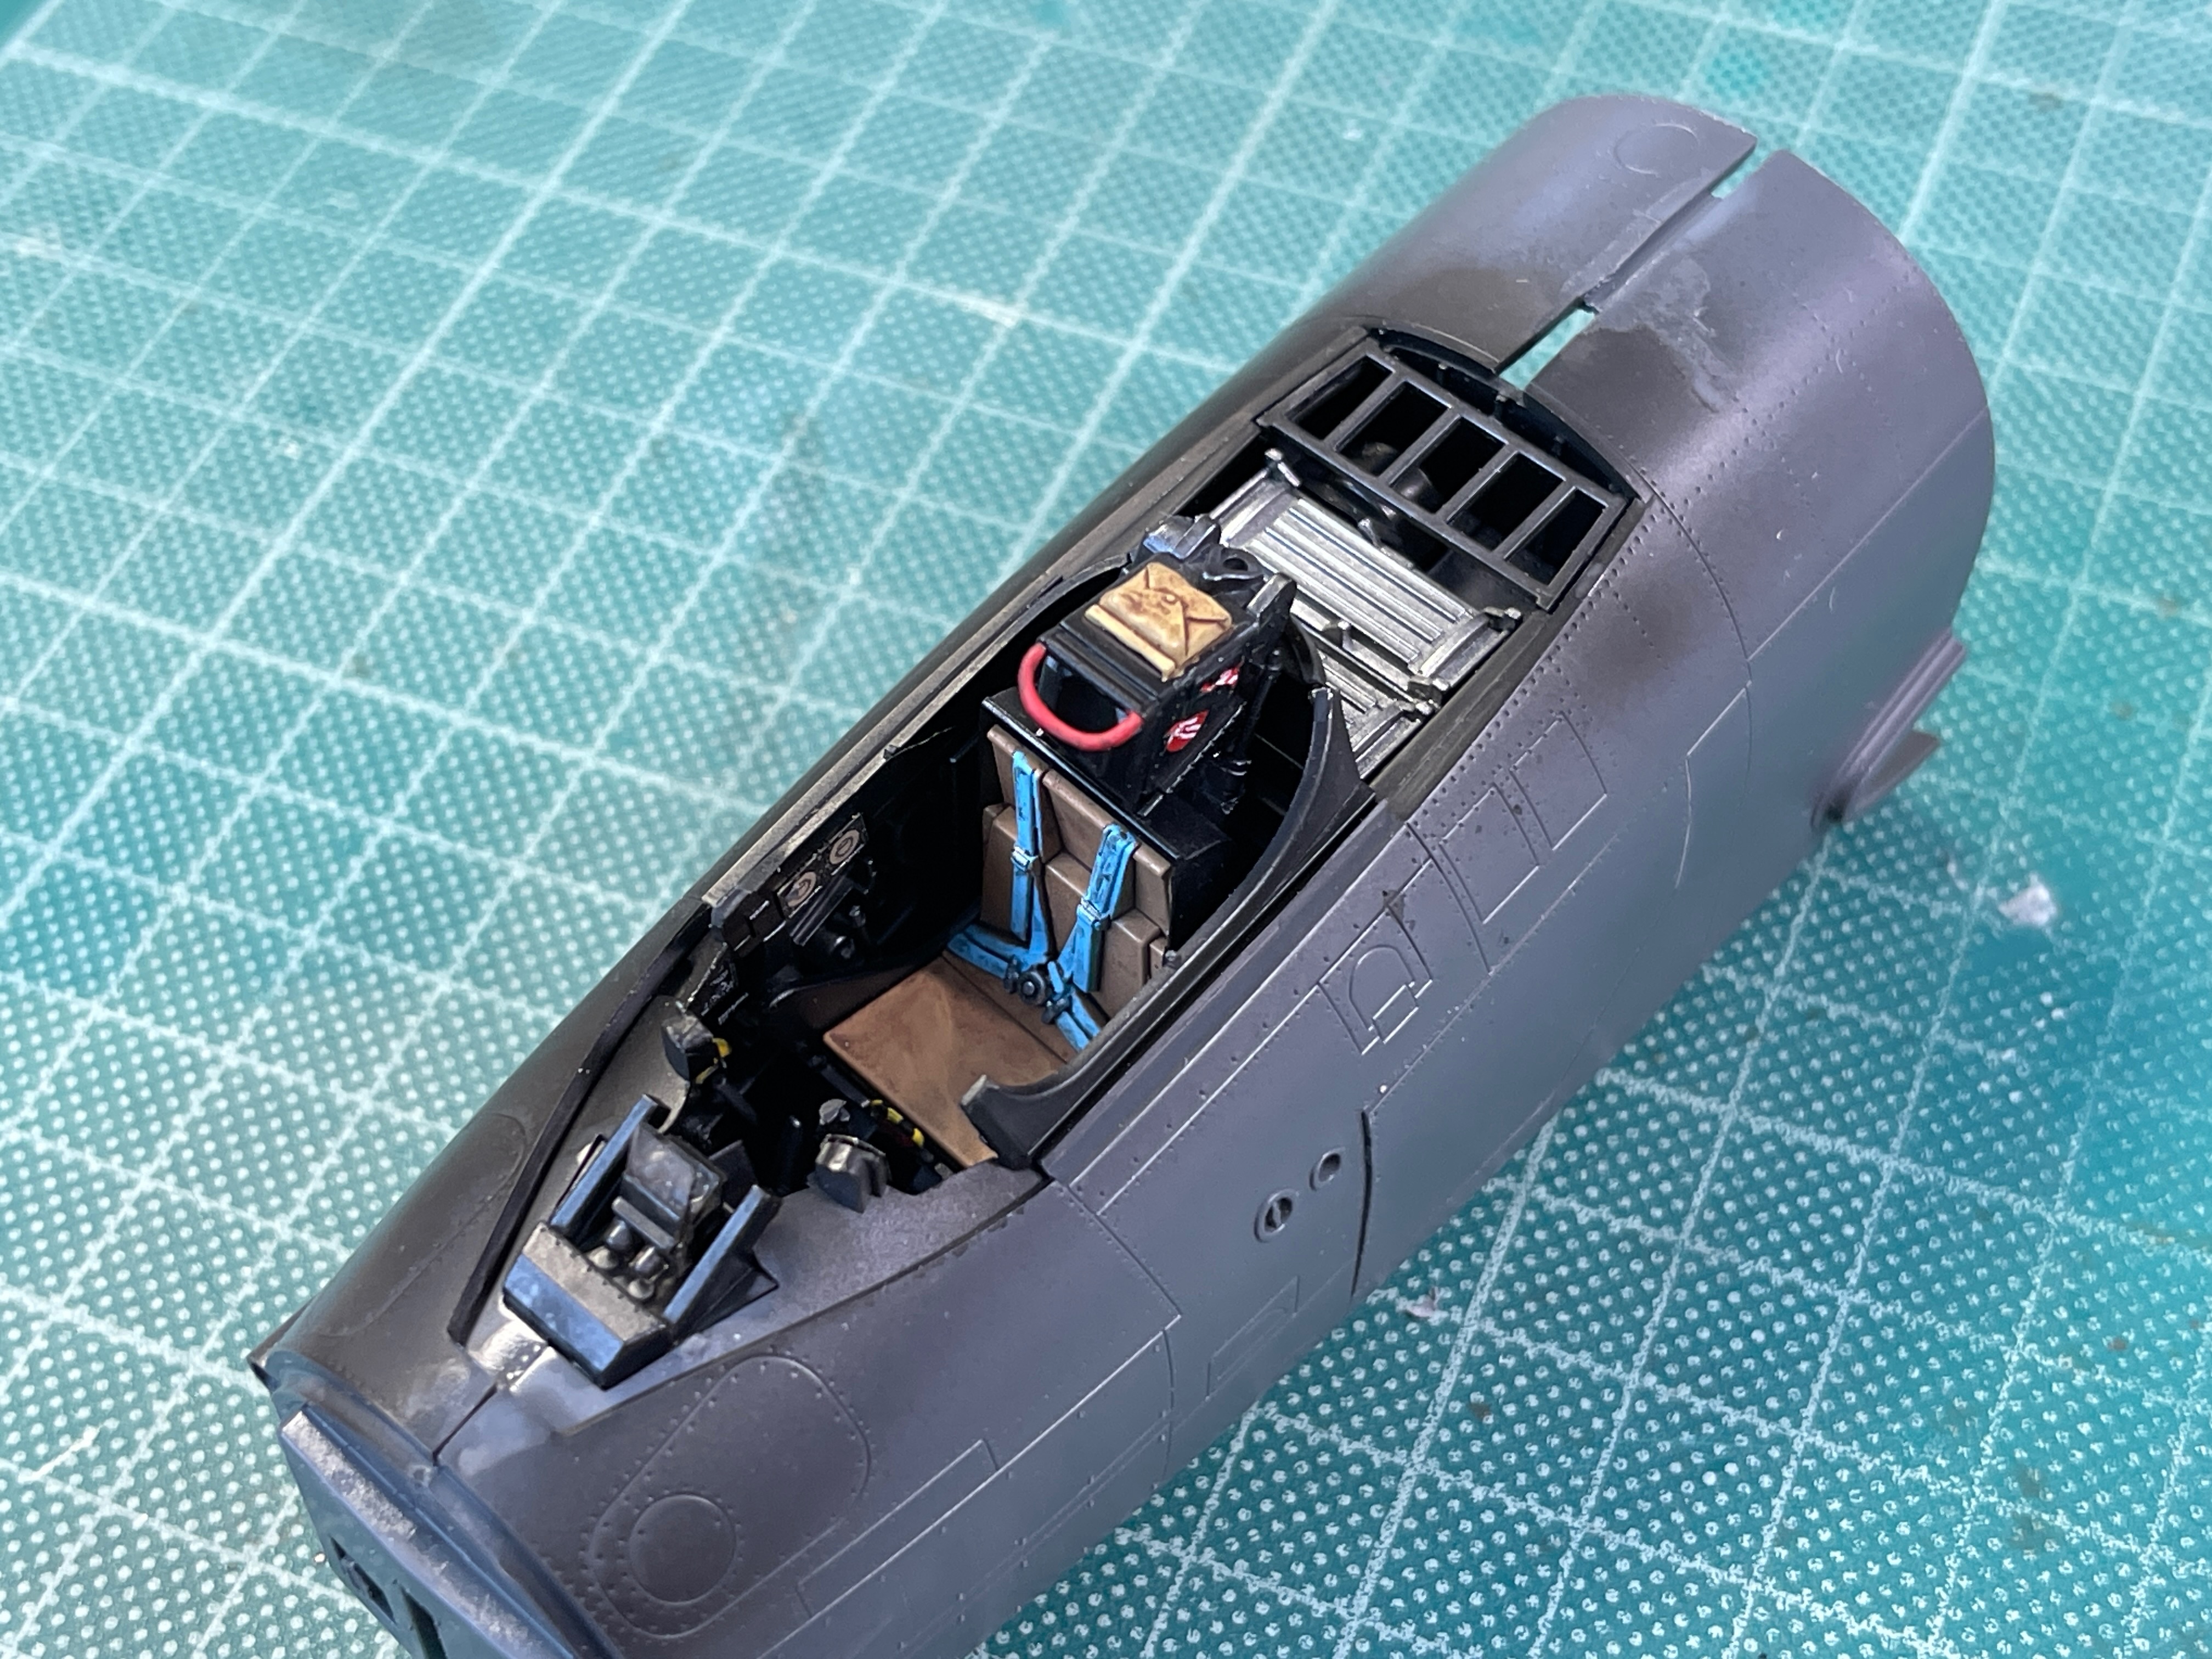
I have bult up the cockpit tub
20260506_101846293_iOS.jpg

20260506_102011820_iOS.jpg

20260506_102034601_iOS.jpg


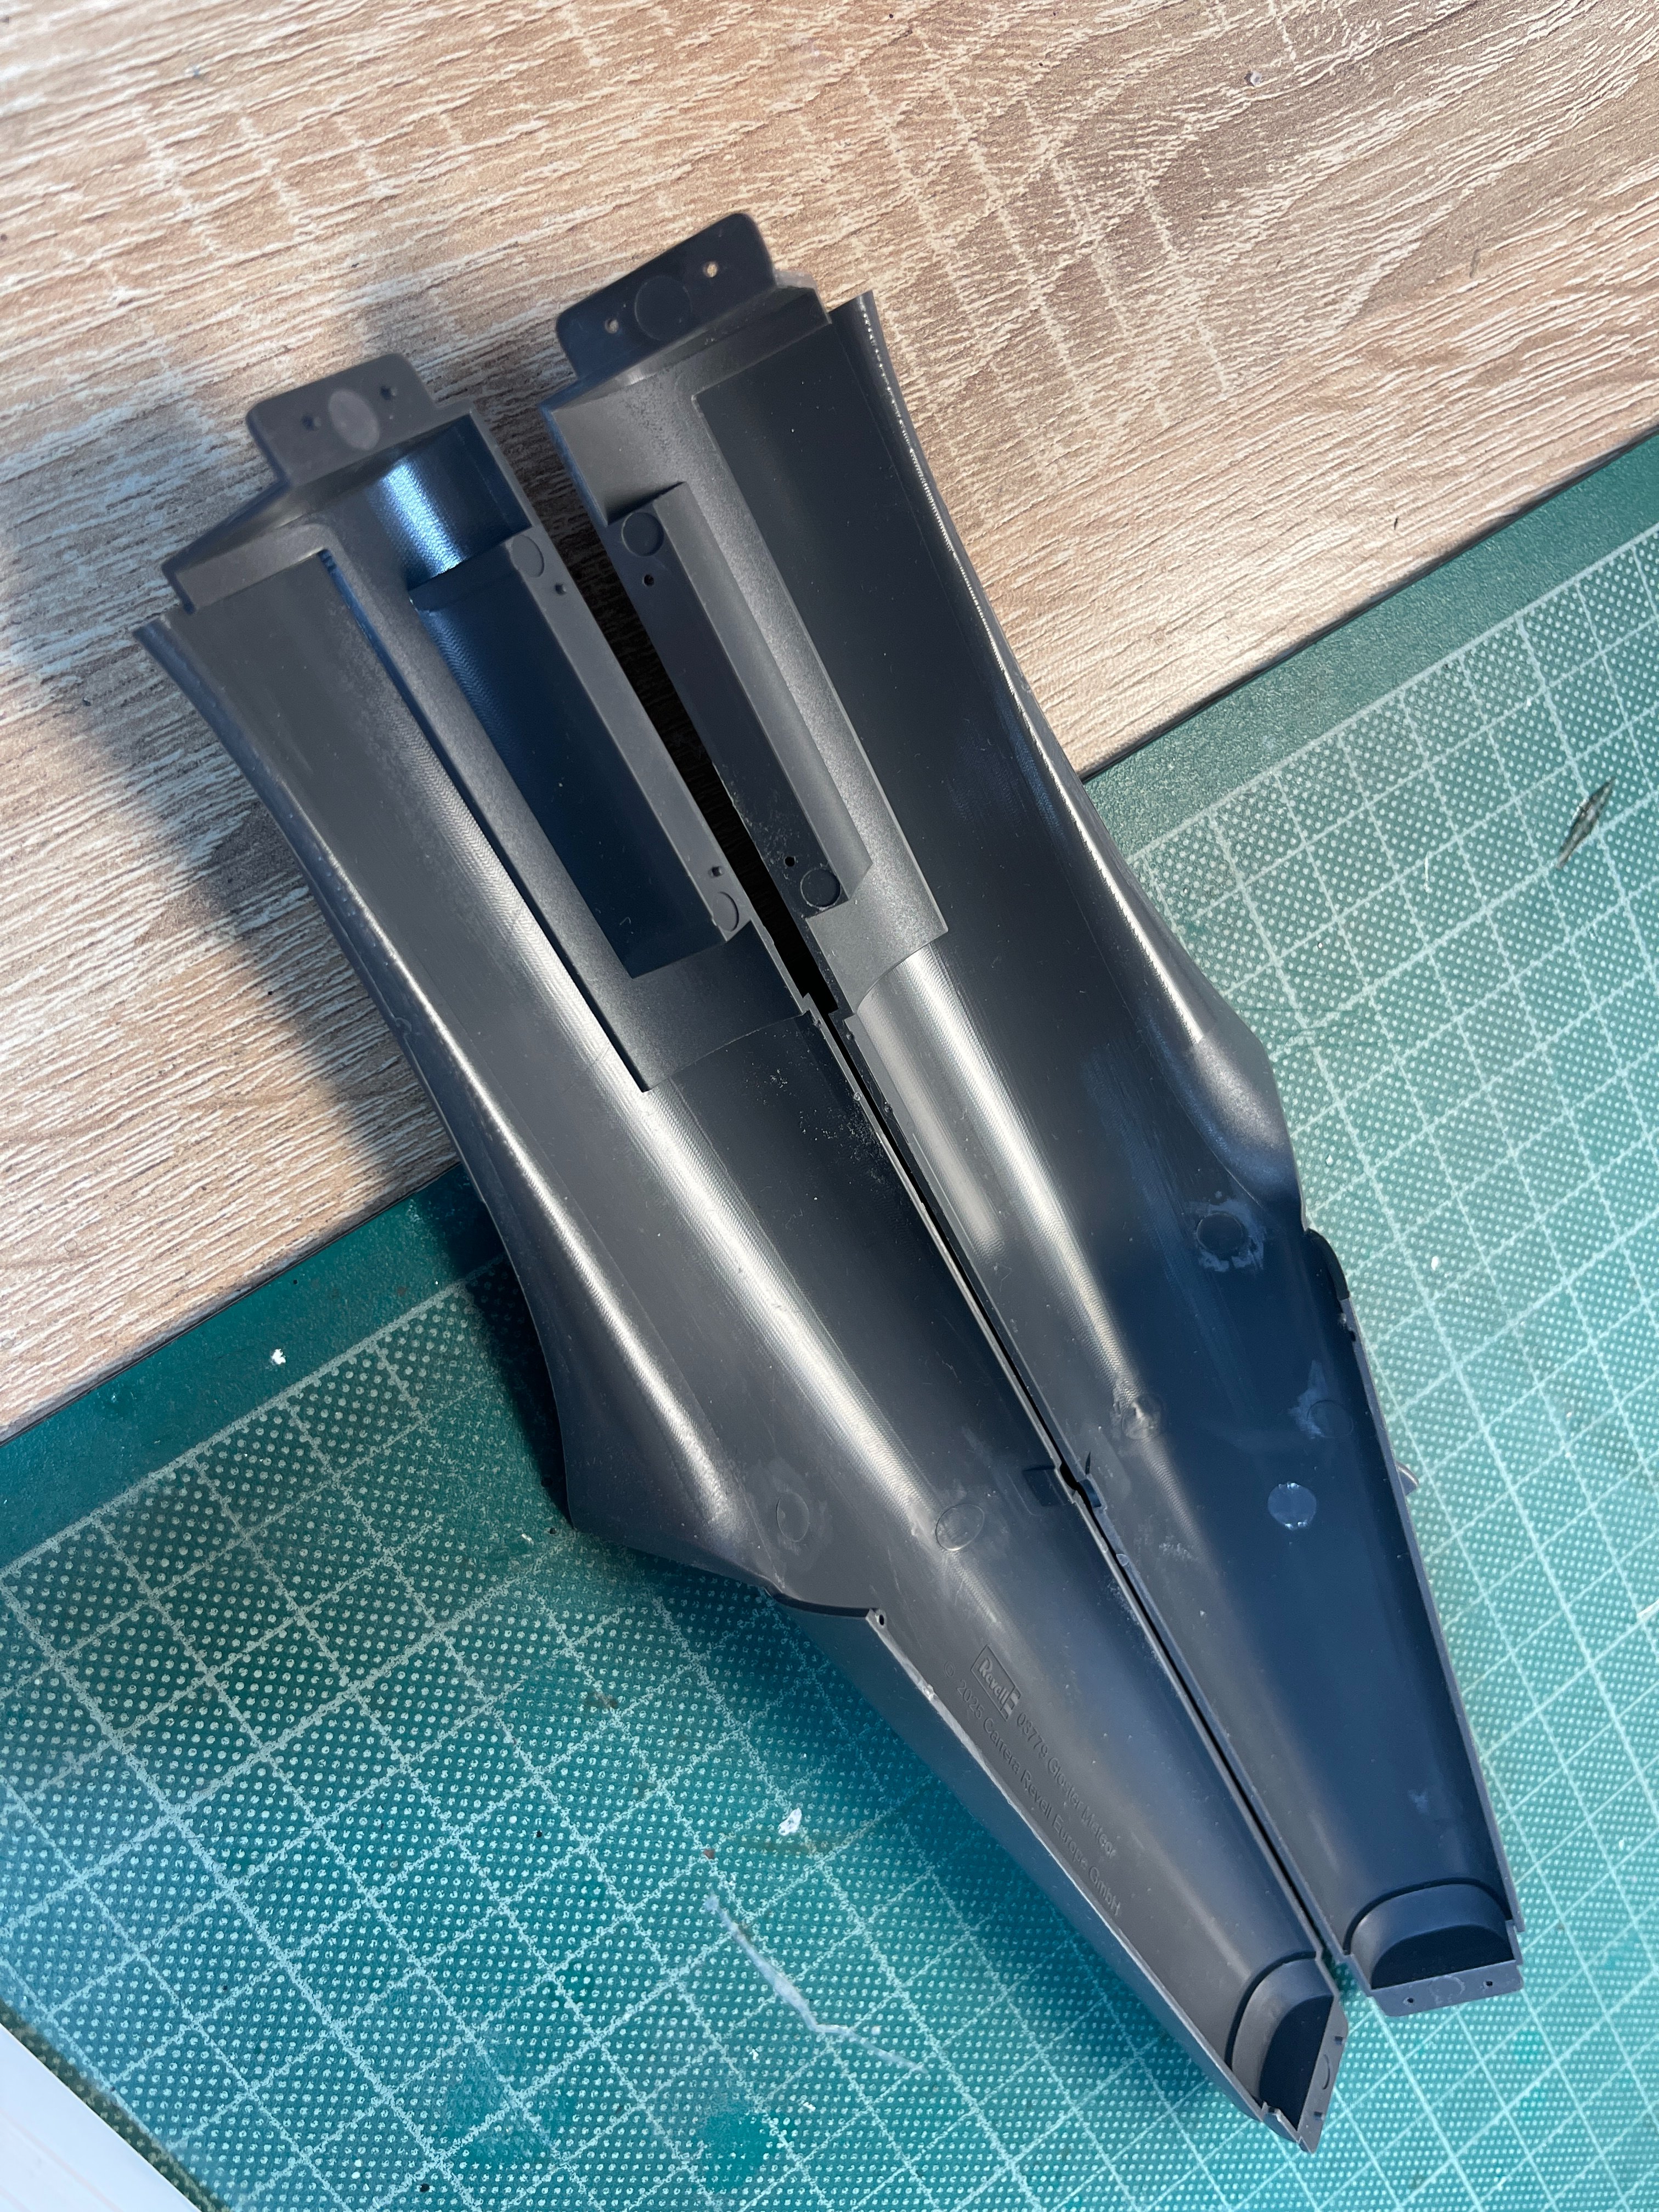
The fit and engineering is superb, almost Tamiya like.

20260506_102042195_iOS.jpg


below you can see the two main fuselage halves with the positive location points, superbly designed leaving no room for misalignment and very little sanding is needed, perfect fit.
20260506_123407596_iOS.jpg


I really cannot get over that this is a Revell kit, only Tamiya and Kotare have produced engineering this good in my experience.
 
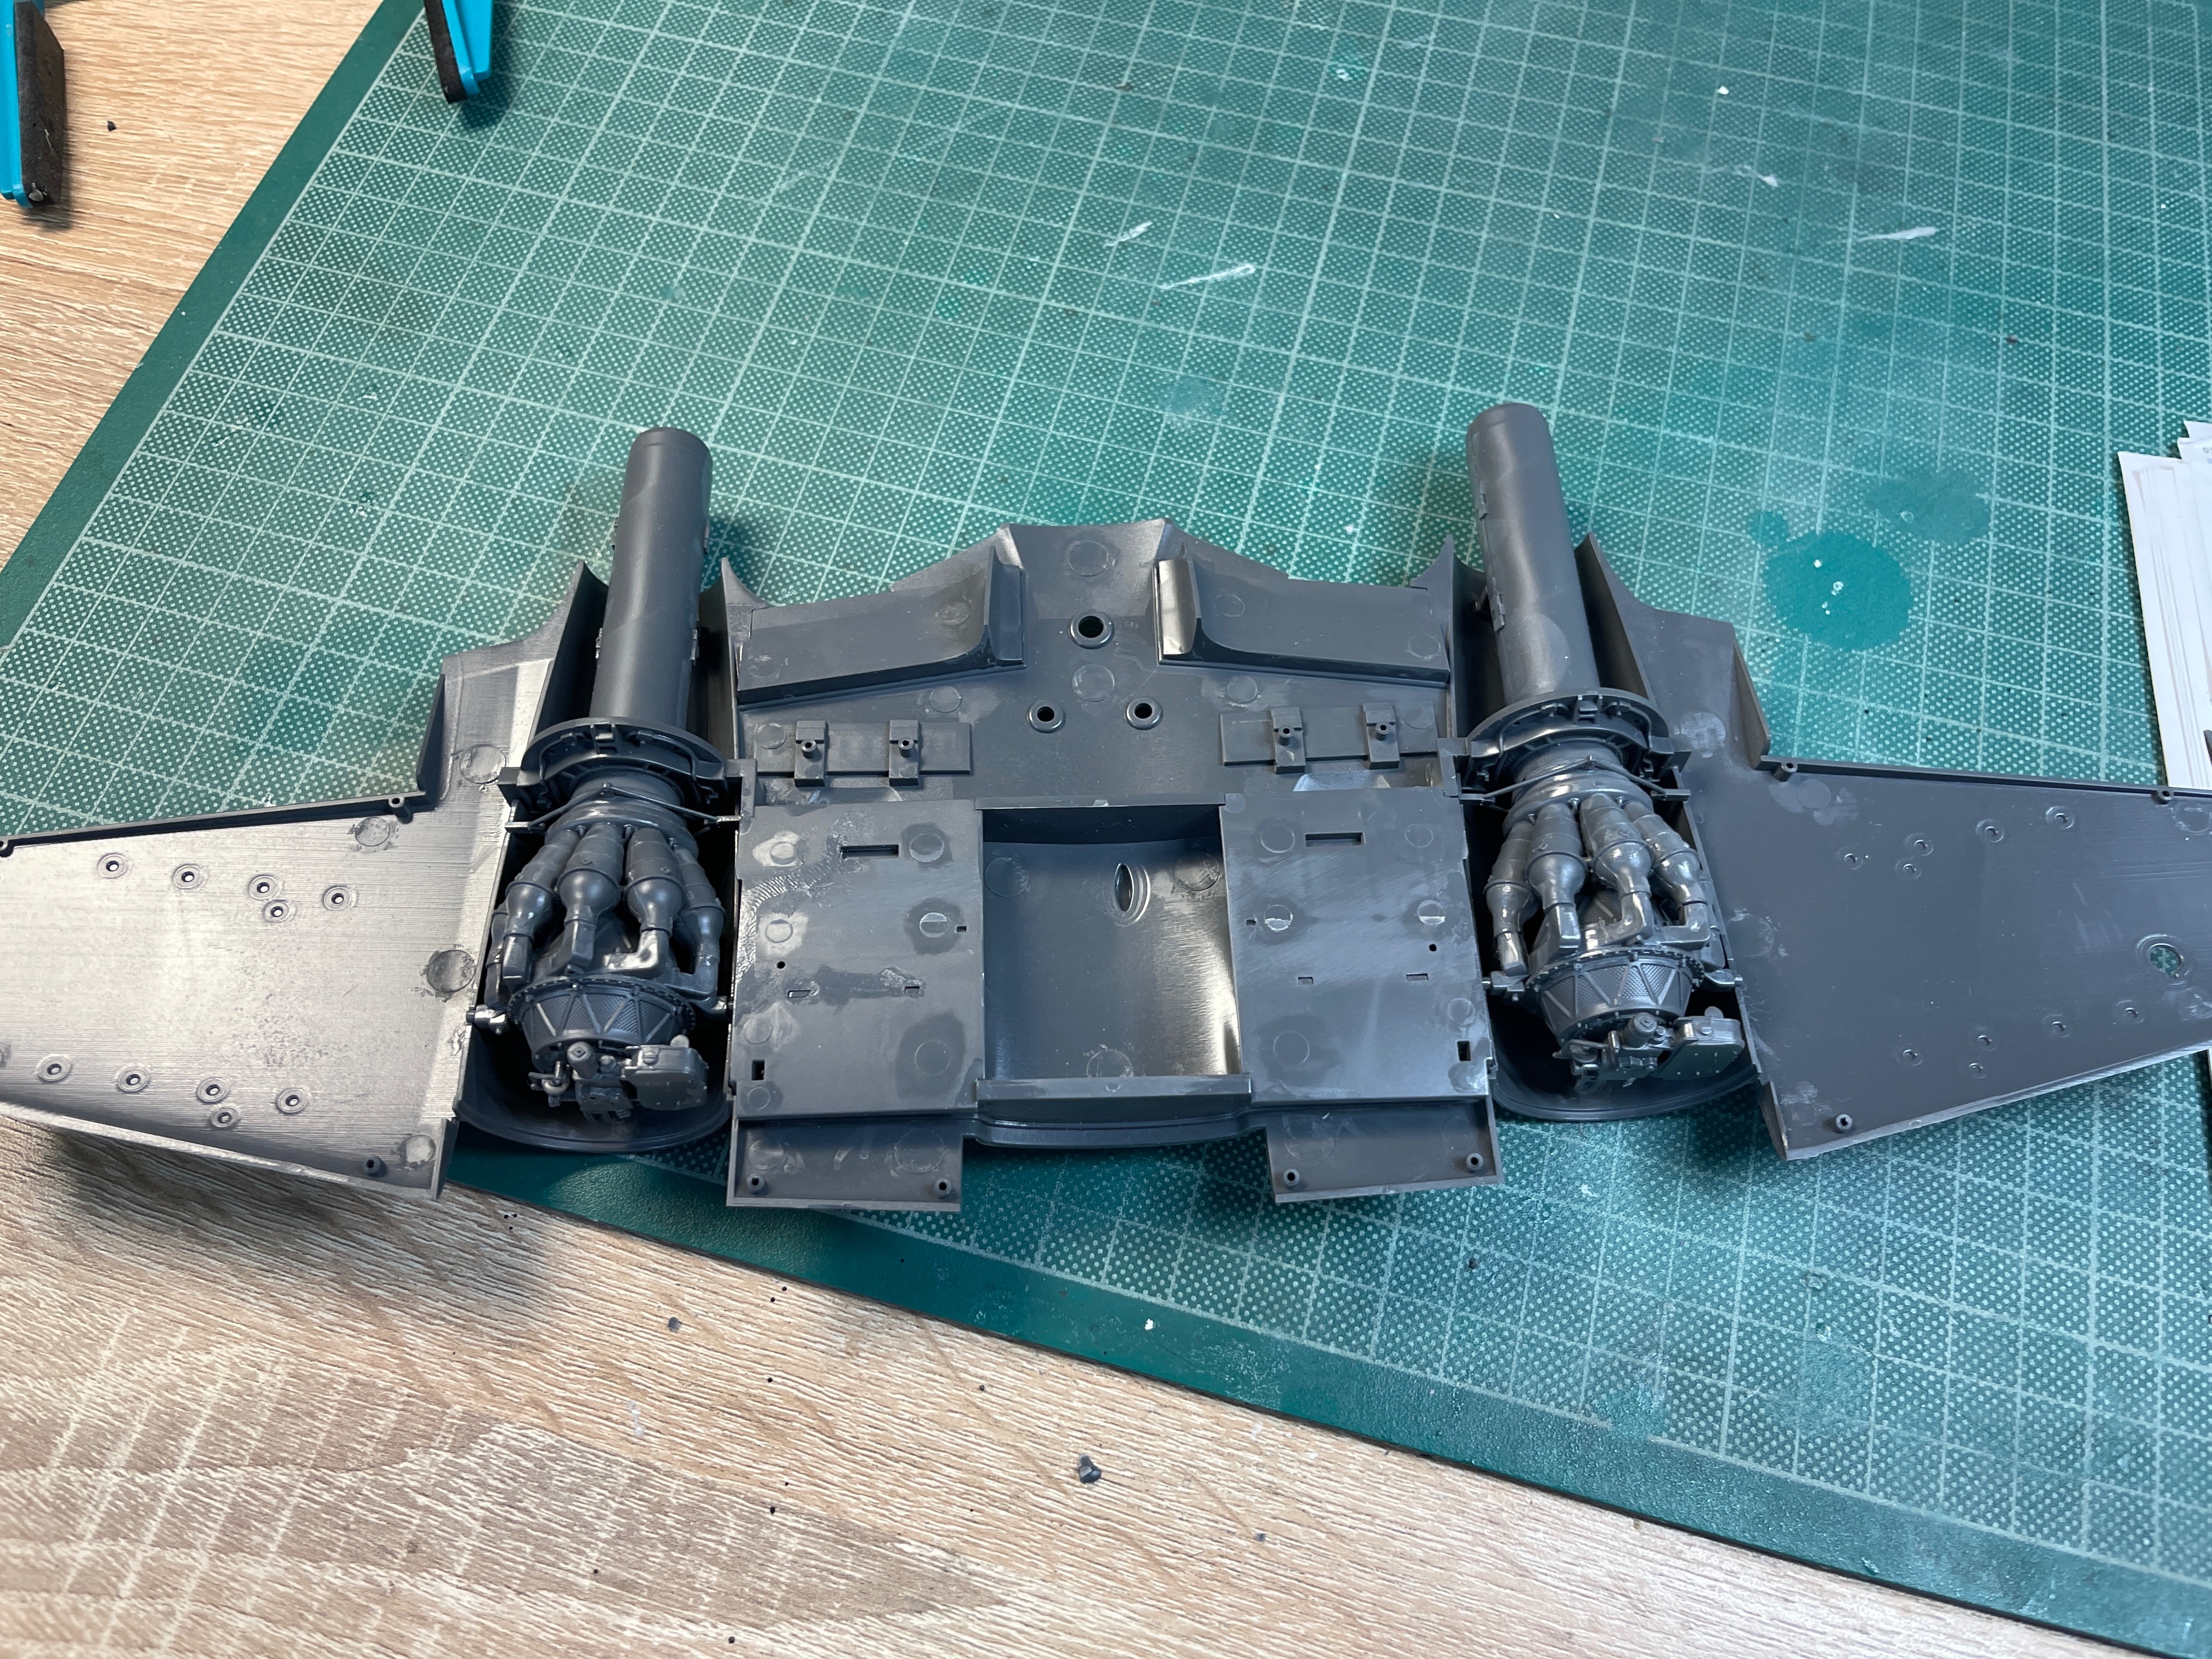
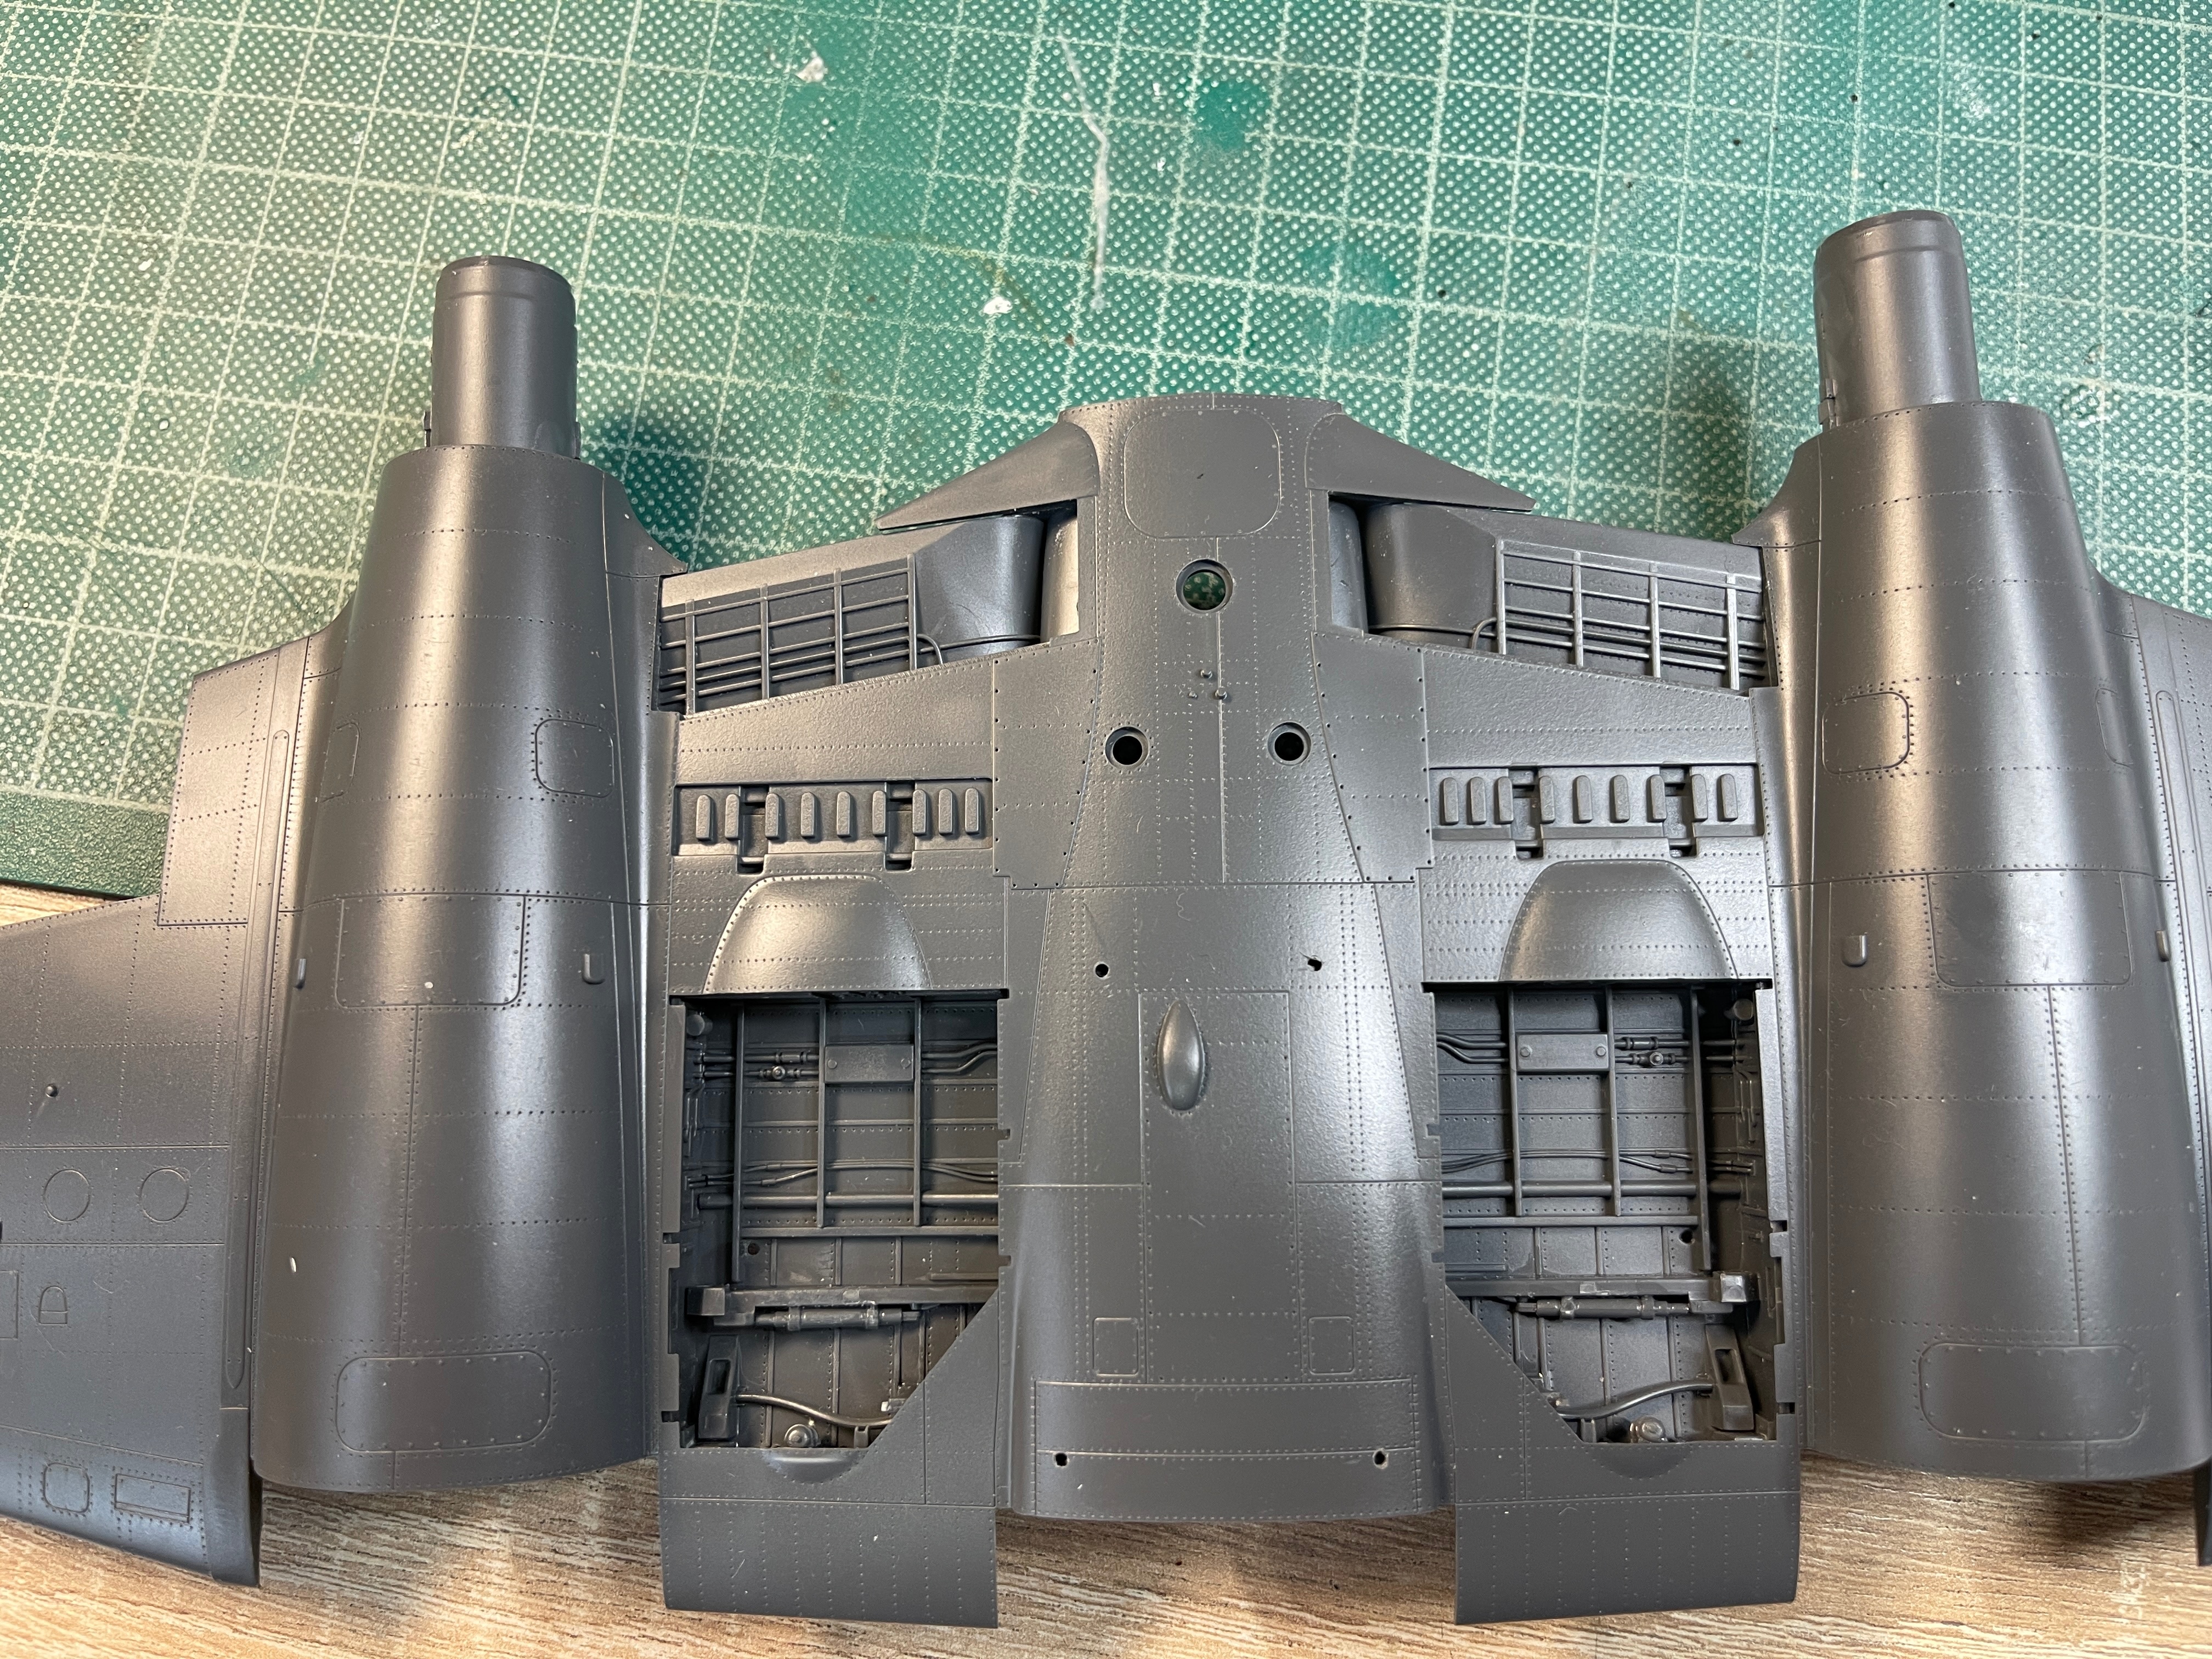
I have been working on the wings. Still no fit issues. It started with the excellent engine construction. As usual I won't have the panels open so I am not painting the engine but if that what you want then it would provide no problems

IMG_9234.jpeg


IMG_9235.jpeg


IMG_9236.jpeg

Superb detail as you can see. I did leave some engine detail off due to closing her up.
 
I haven't built a Revell kit in a while but I see what you're saying. I've always built 132nd planes and there was always something wrong. Engineering off just a little and you're right about the plastic because the plastic I see on this plane looks real nice. Great job so far
 
That looks really nice, I'm a bit surprised but very happy to see Revell has upped their game.
 
I haven't built a Revell kit in a while but I see what you're saying. I've always built 132nd planes and there was always something wrong. Engineering off just a little and you're right about the plastic because the plastic I see on this plane looks real nice. Great job so far
That's so true. With this Meteor they have really turned a corner, its a real treat to build and I speak as a Tamiya/Kotare/Zoukei Mura fan. I would suggest that you give a couple of the Revell 1/32s a try though, their newish Hurricane and the much older AR196 really are good kits, I mean very good kits, not to the standard of this Meteor release but nevertheless enjoyable builds. I would not rate any other Revell 1/32 at all.
 
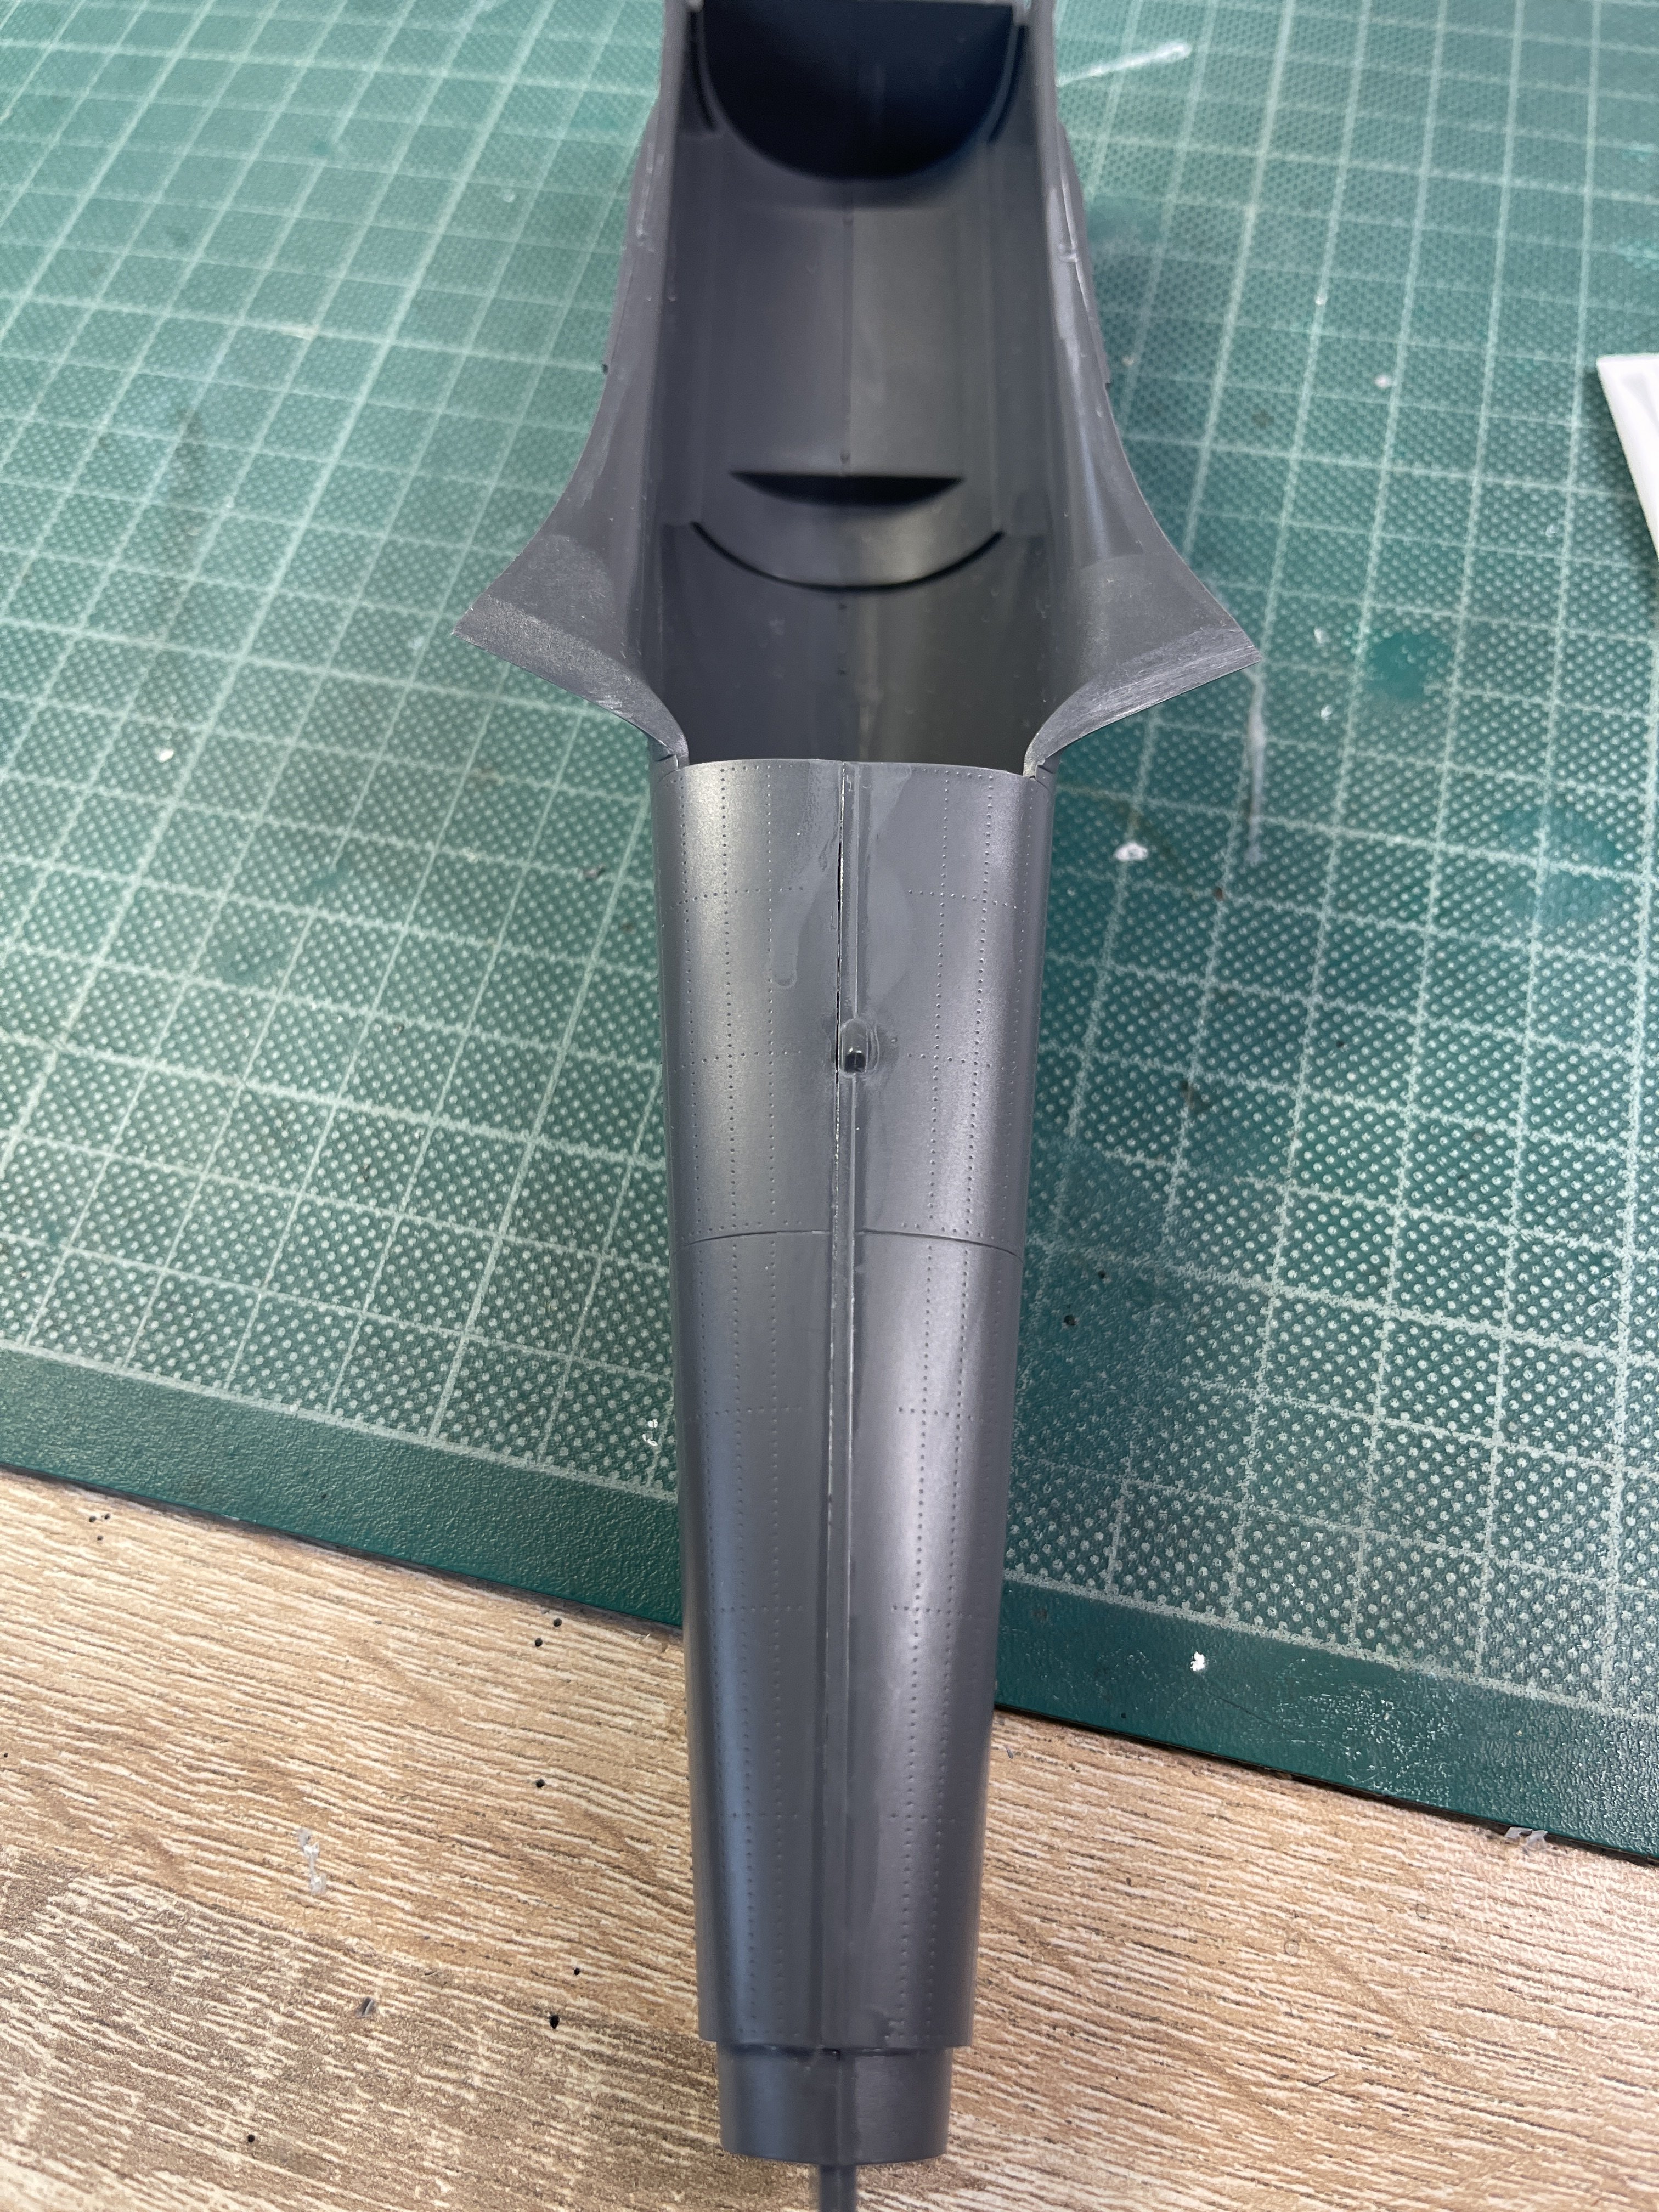
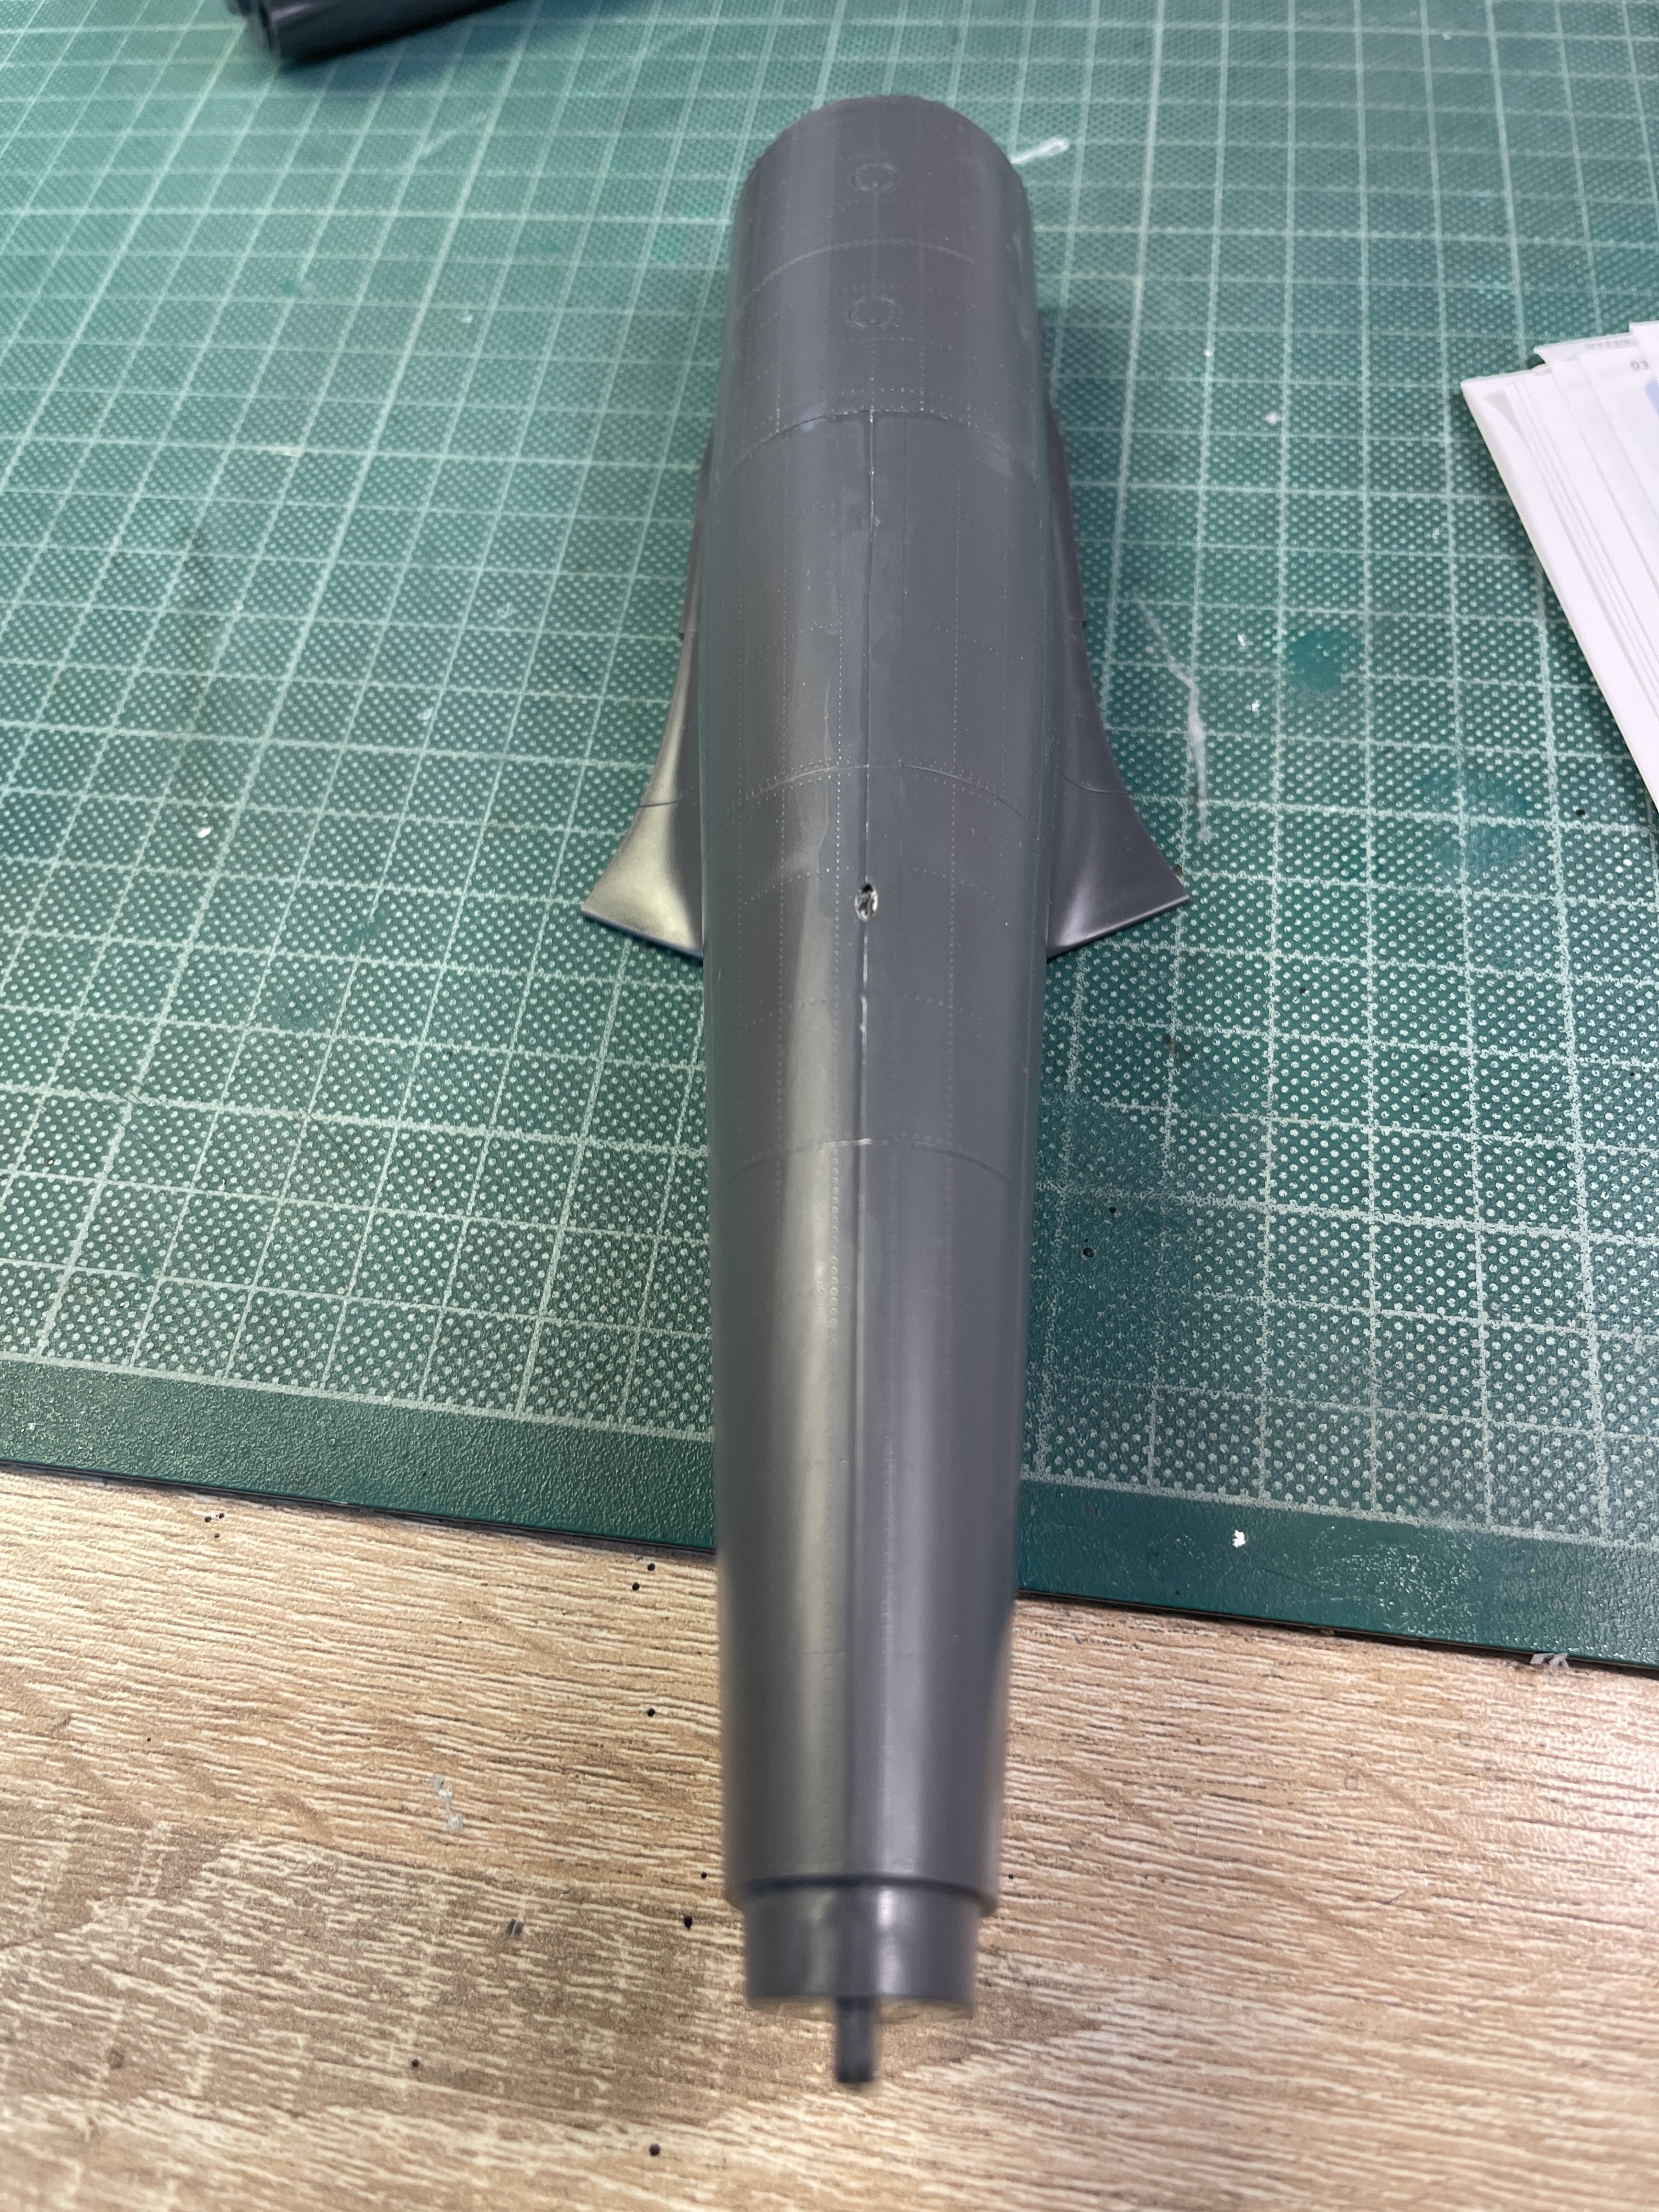
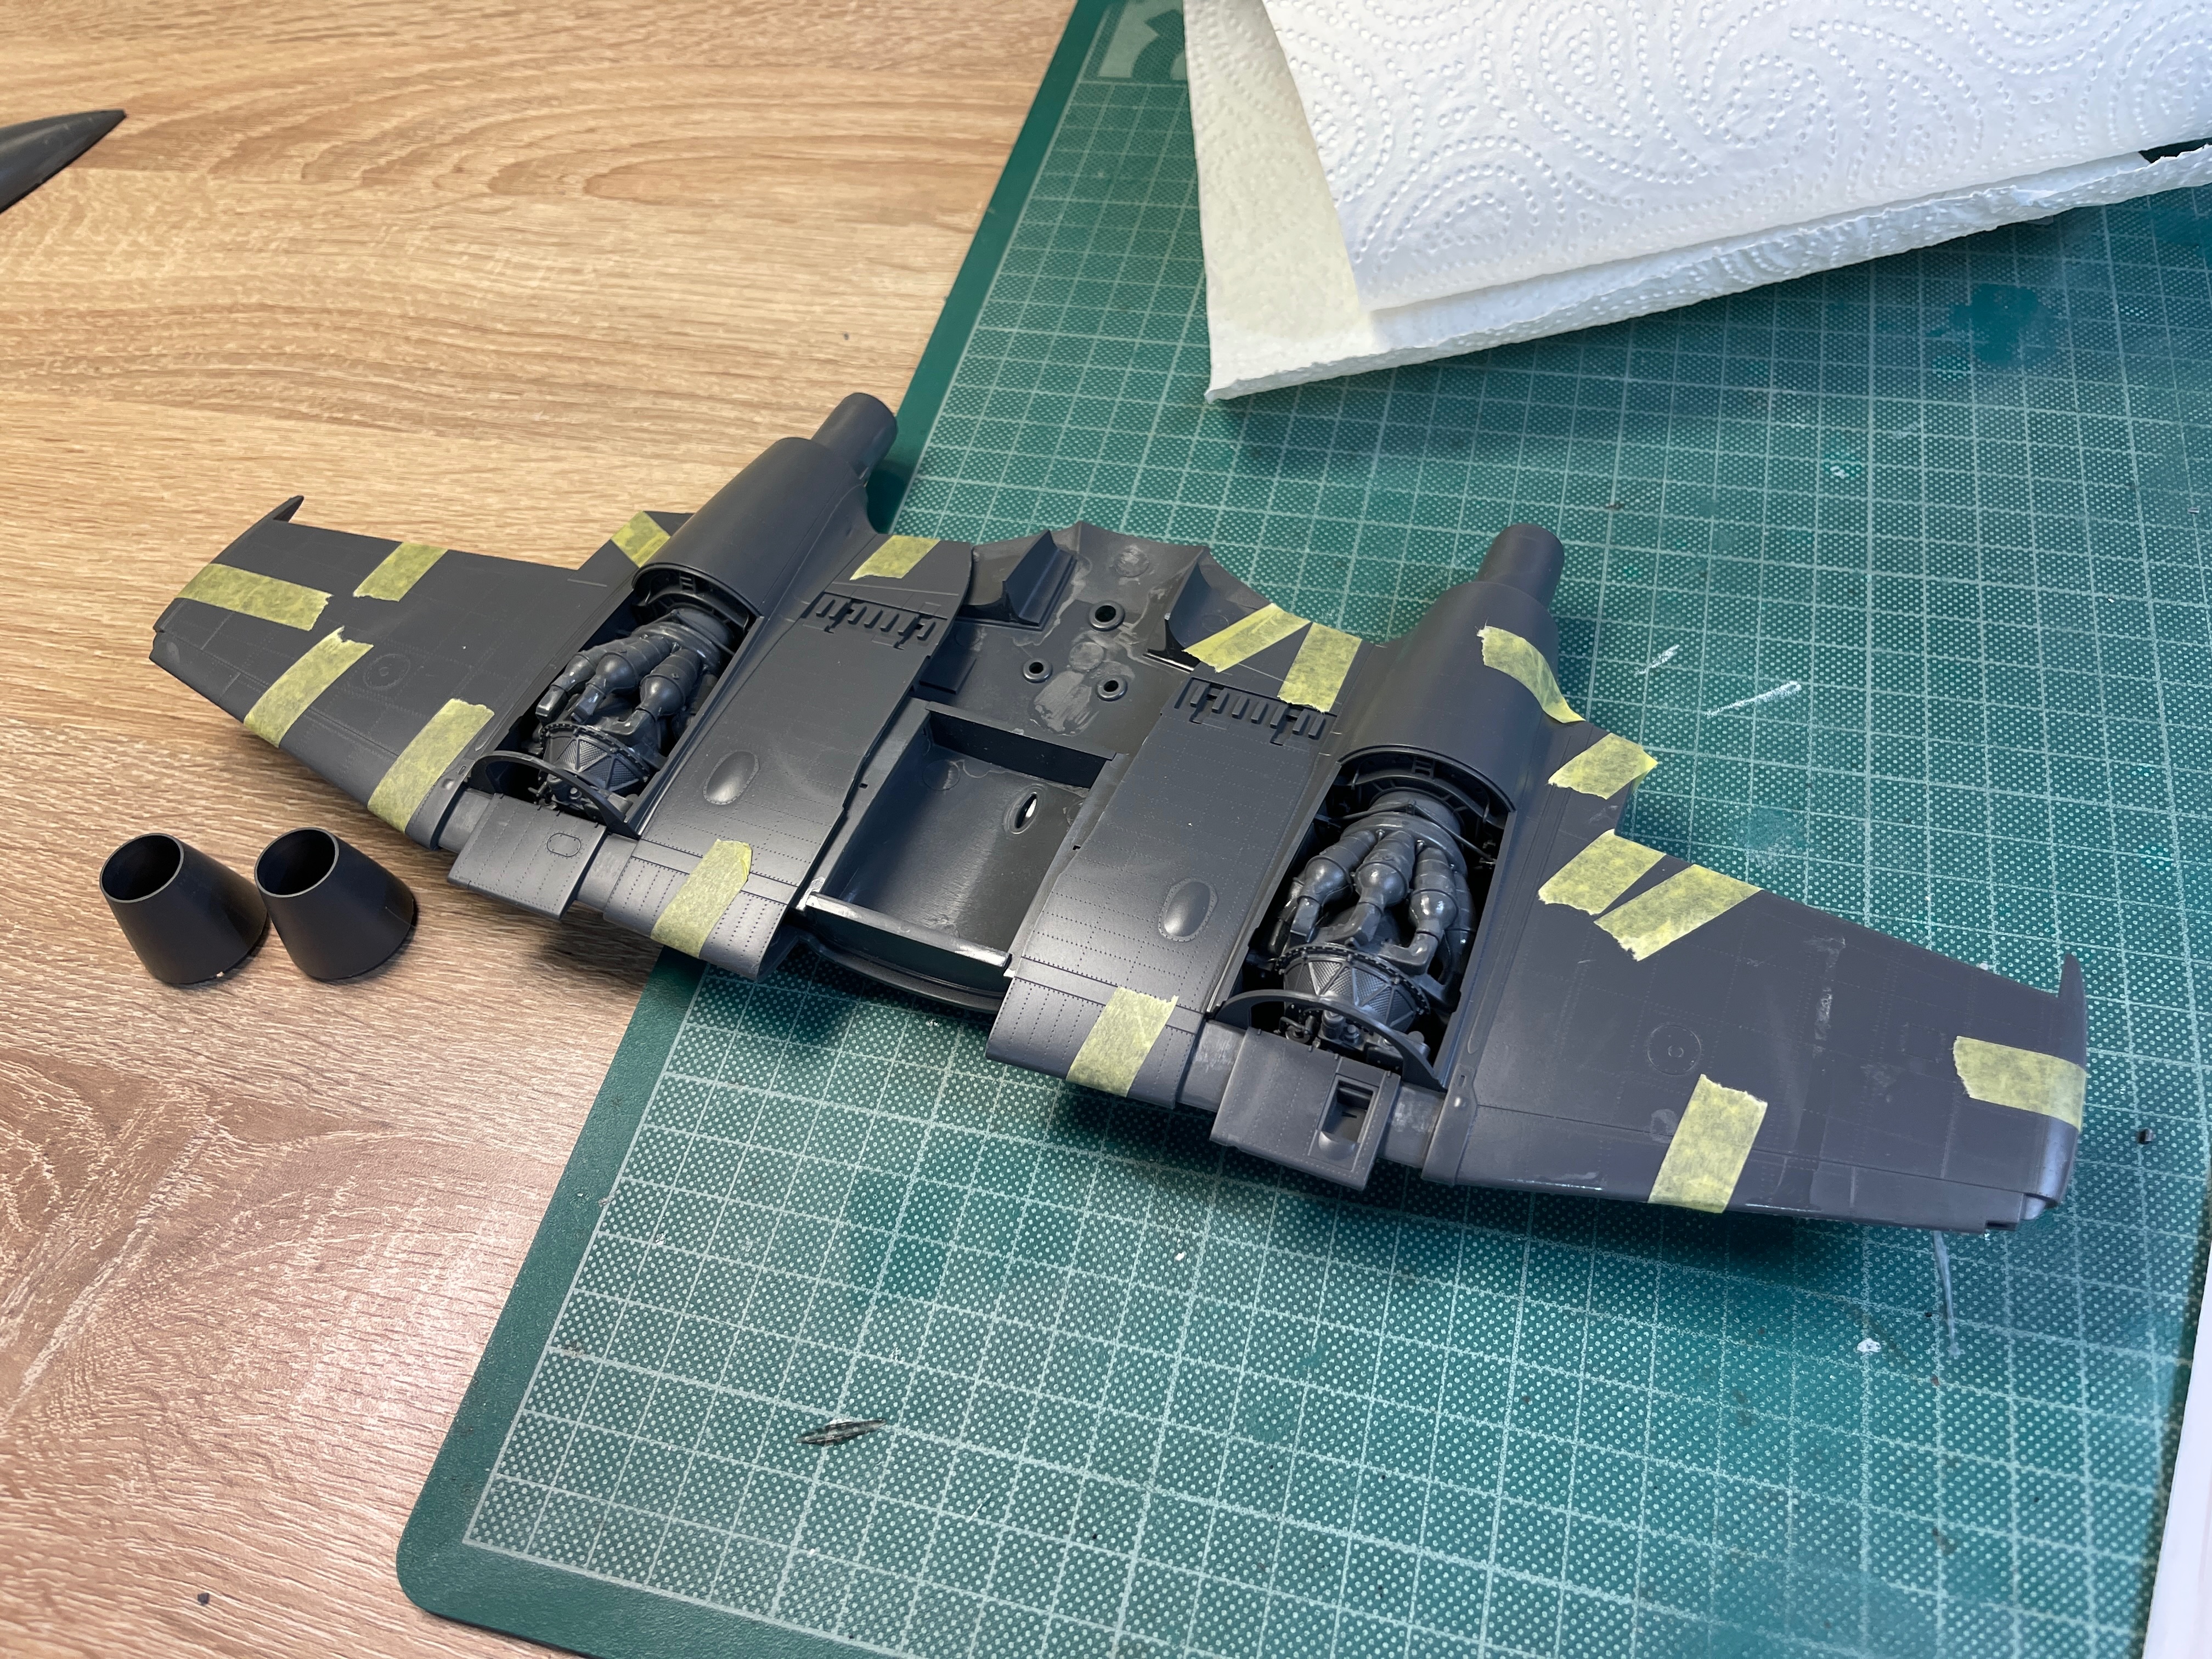
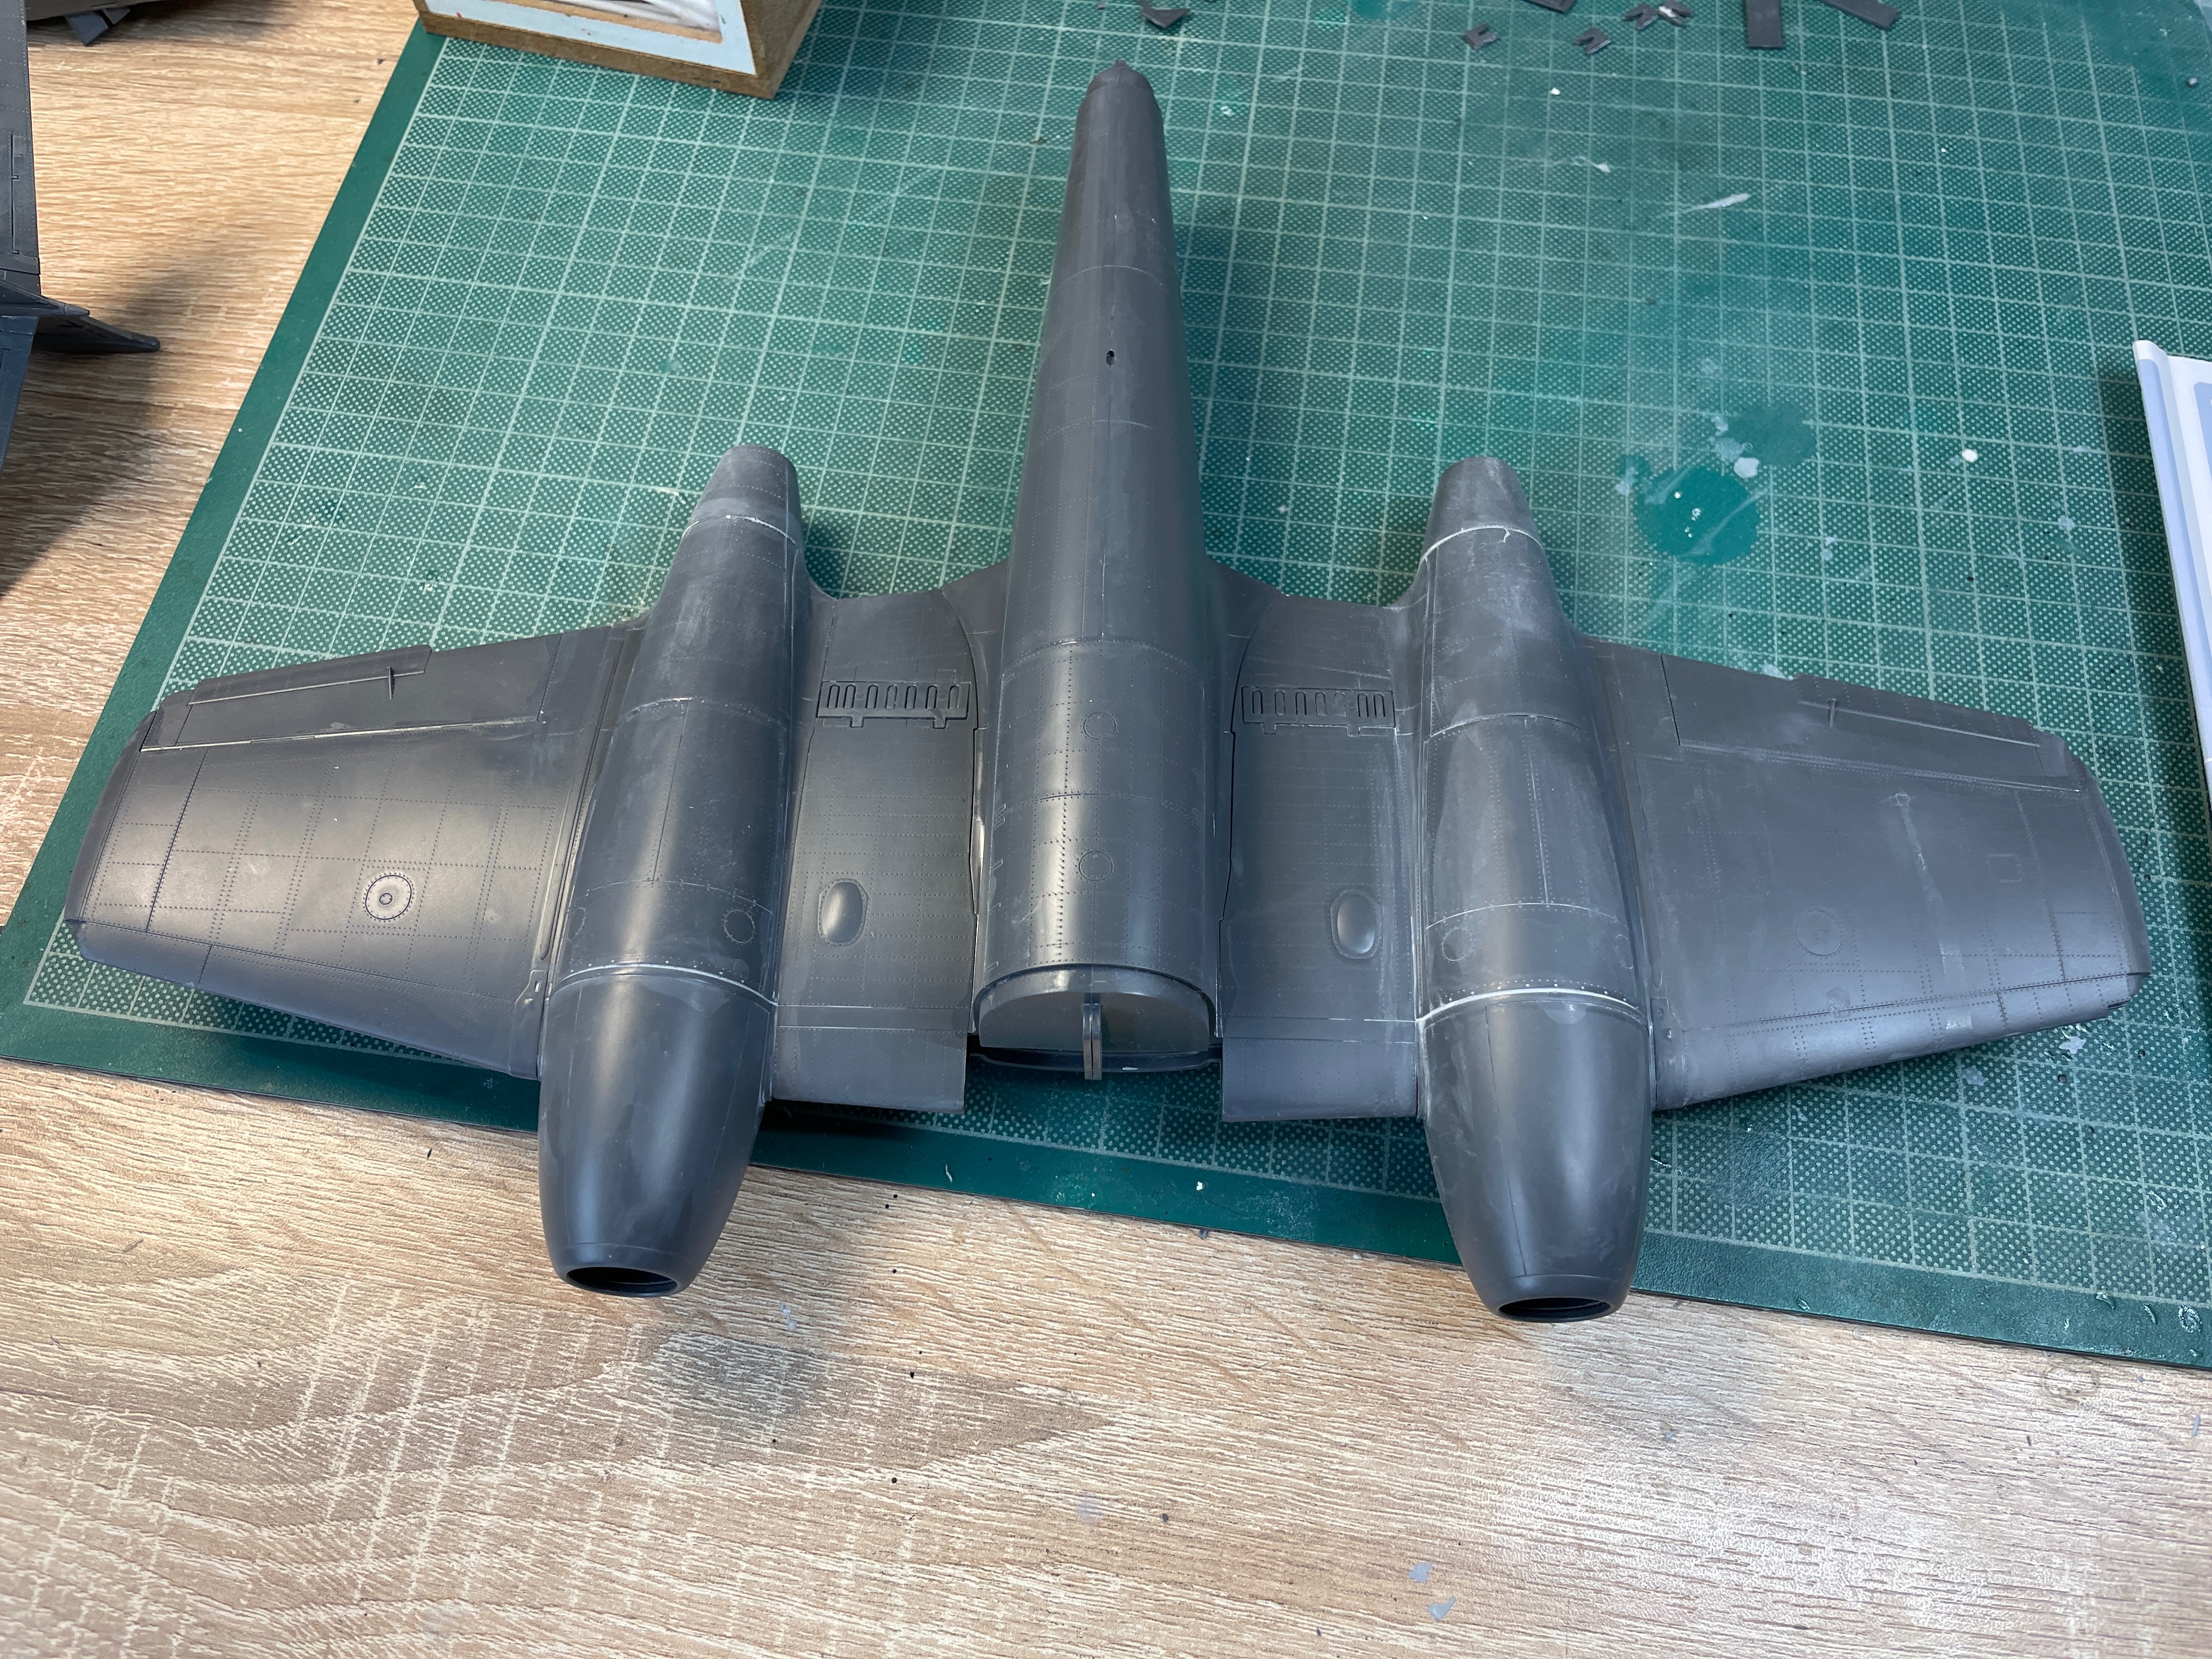
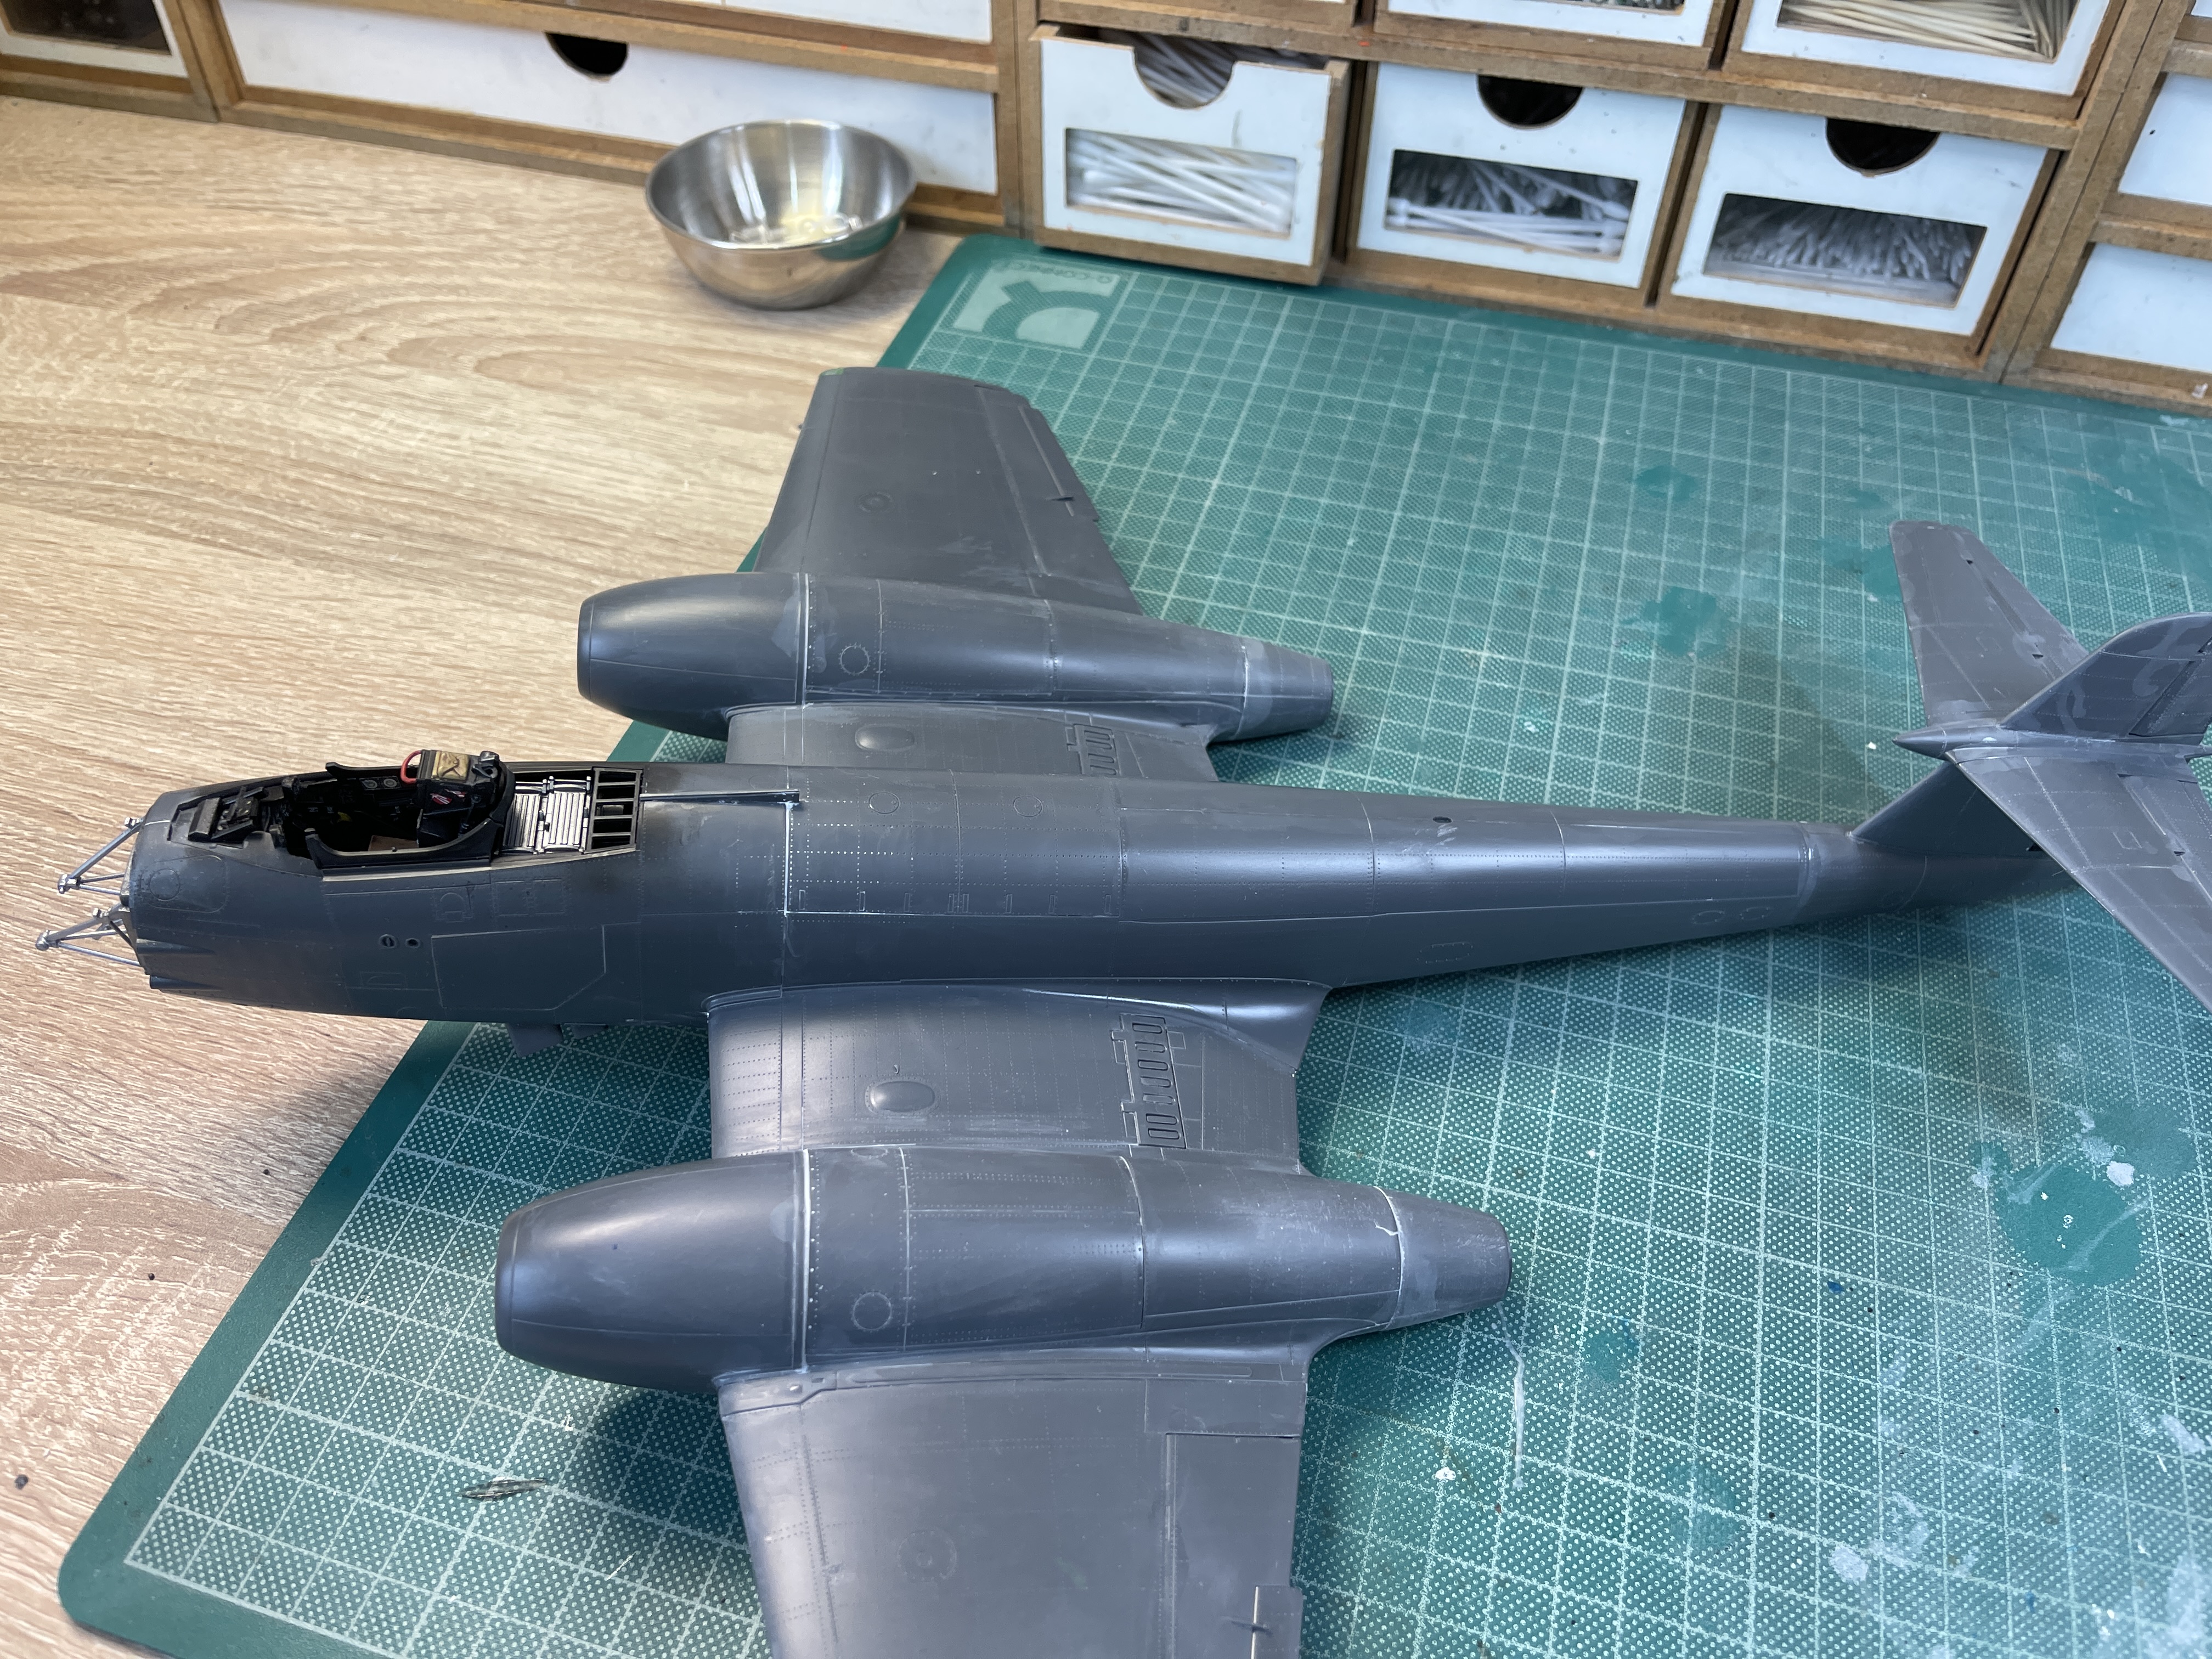
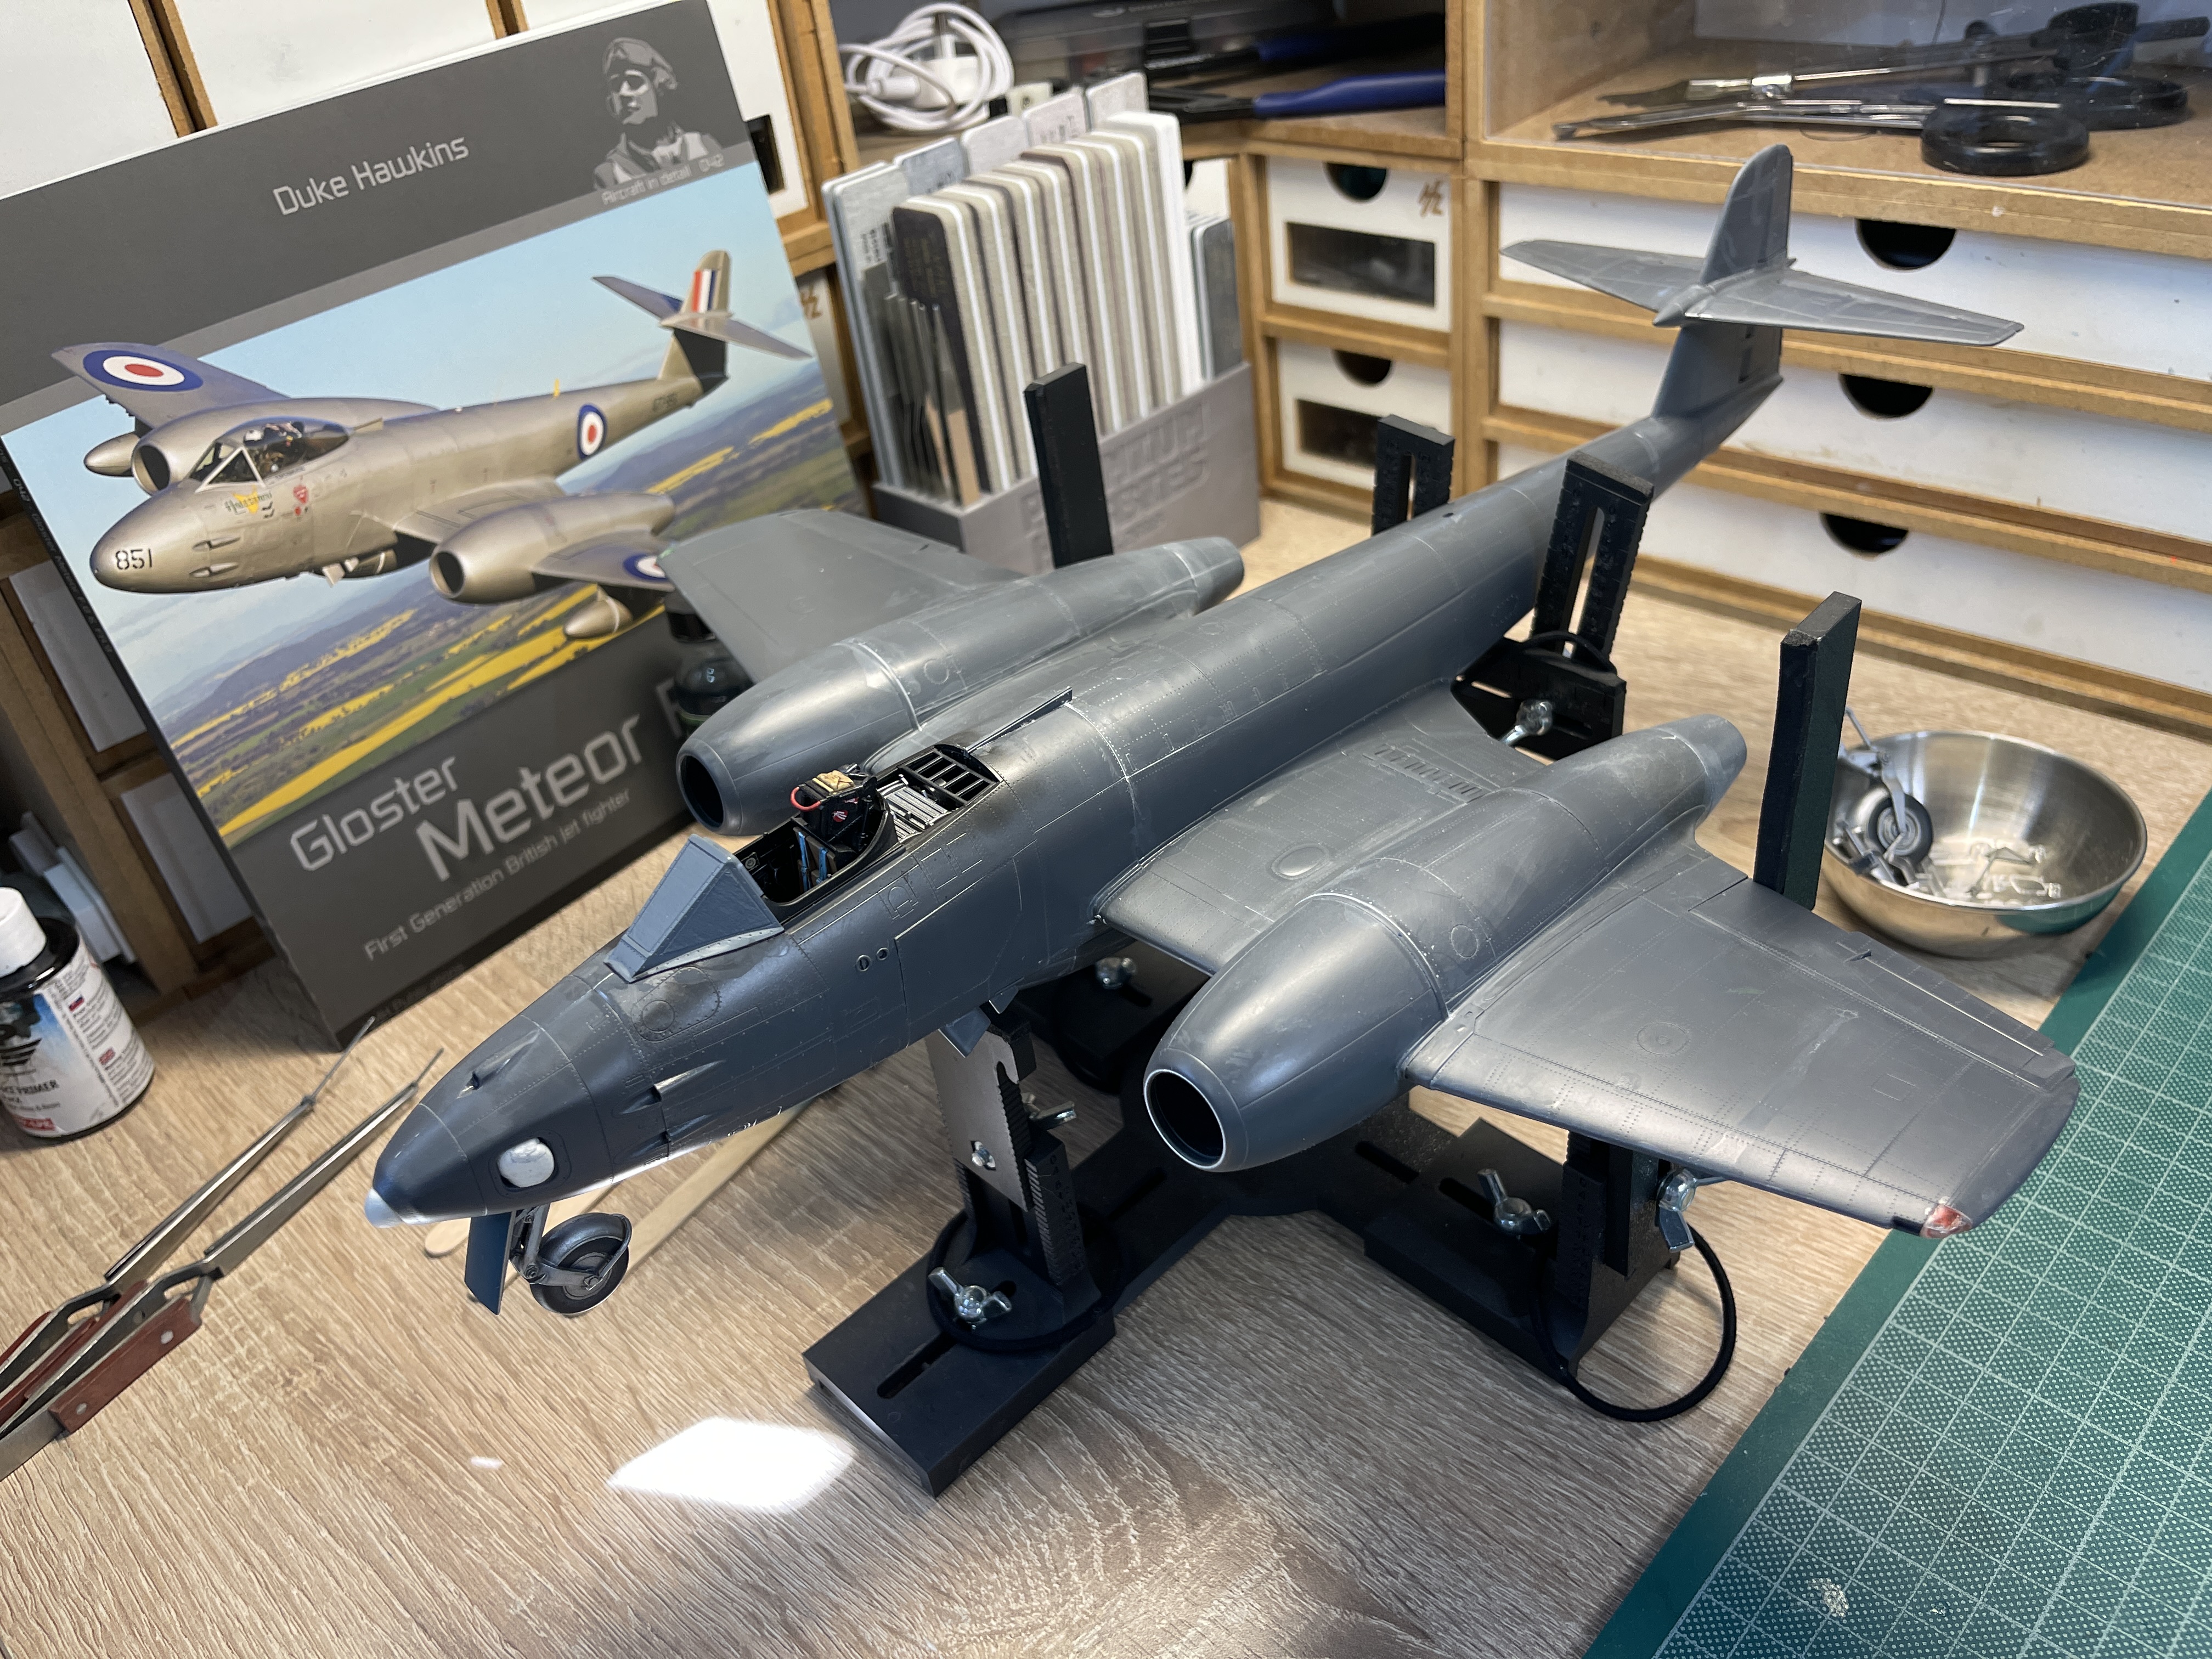
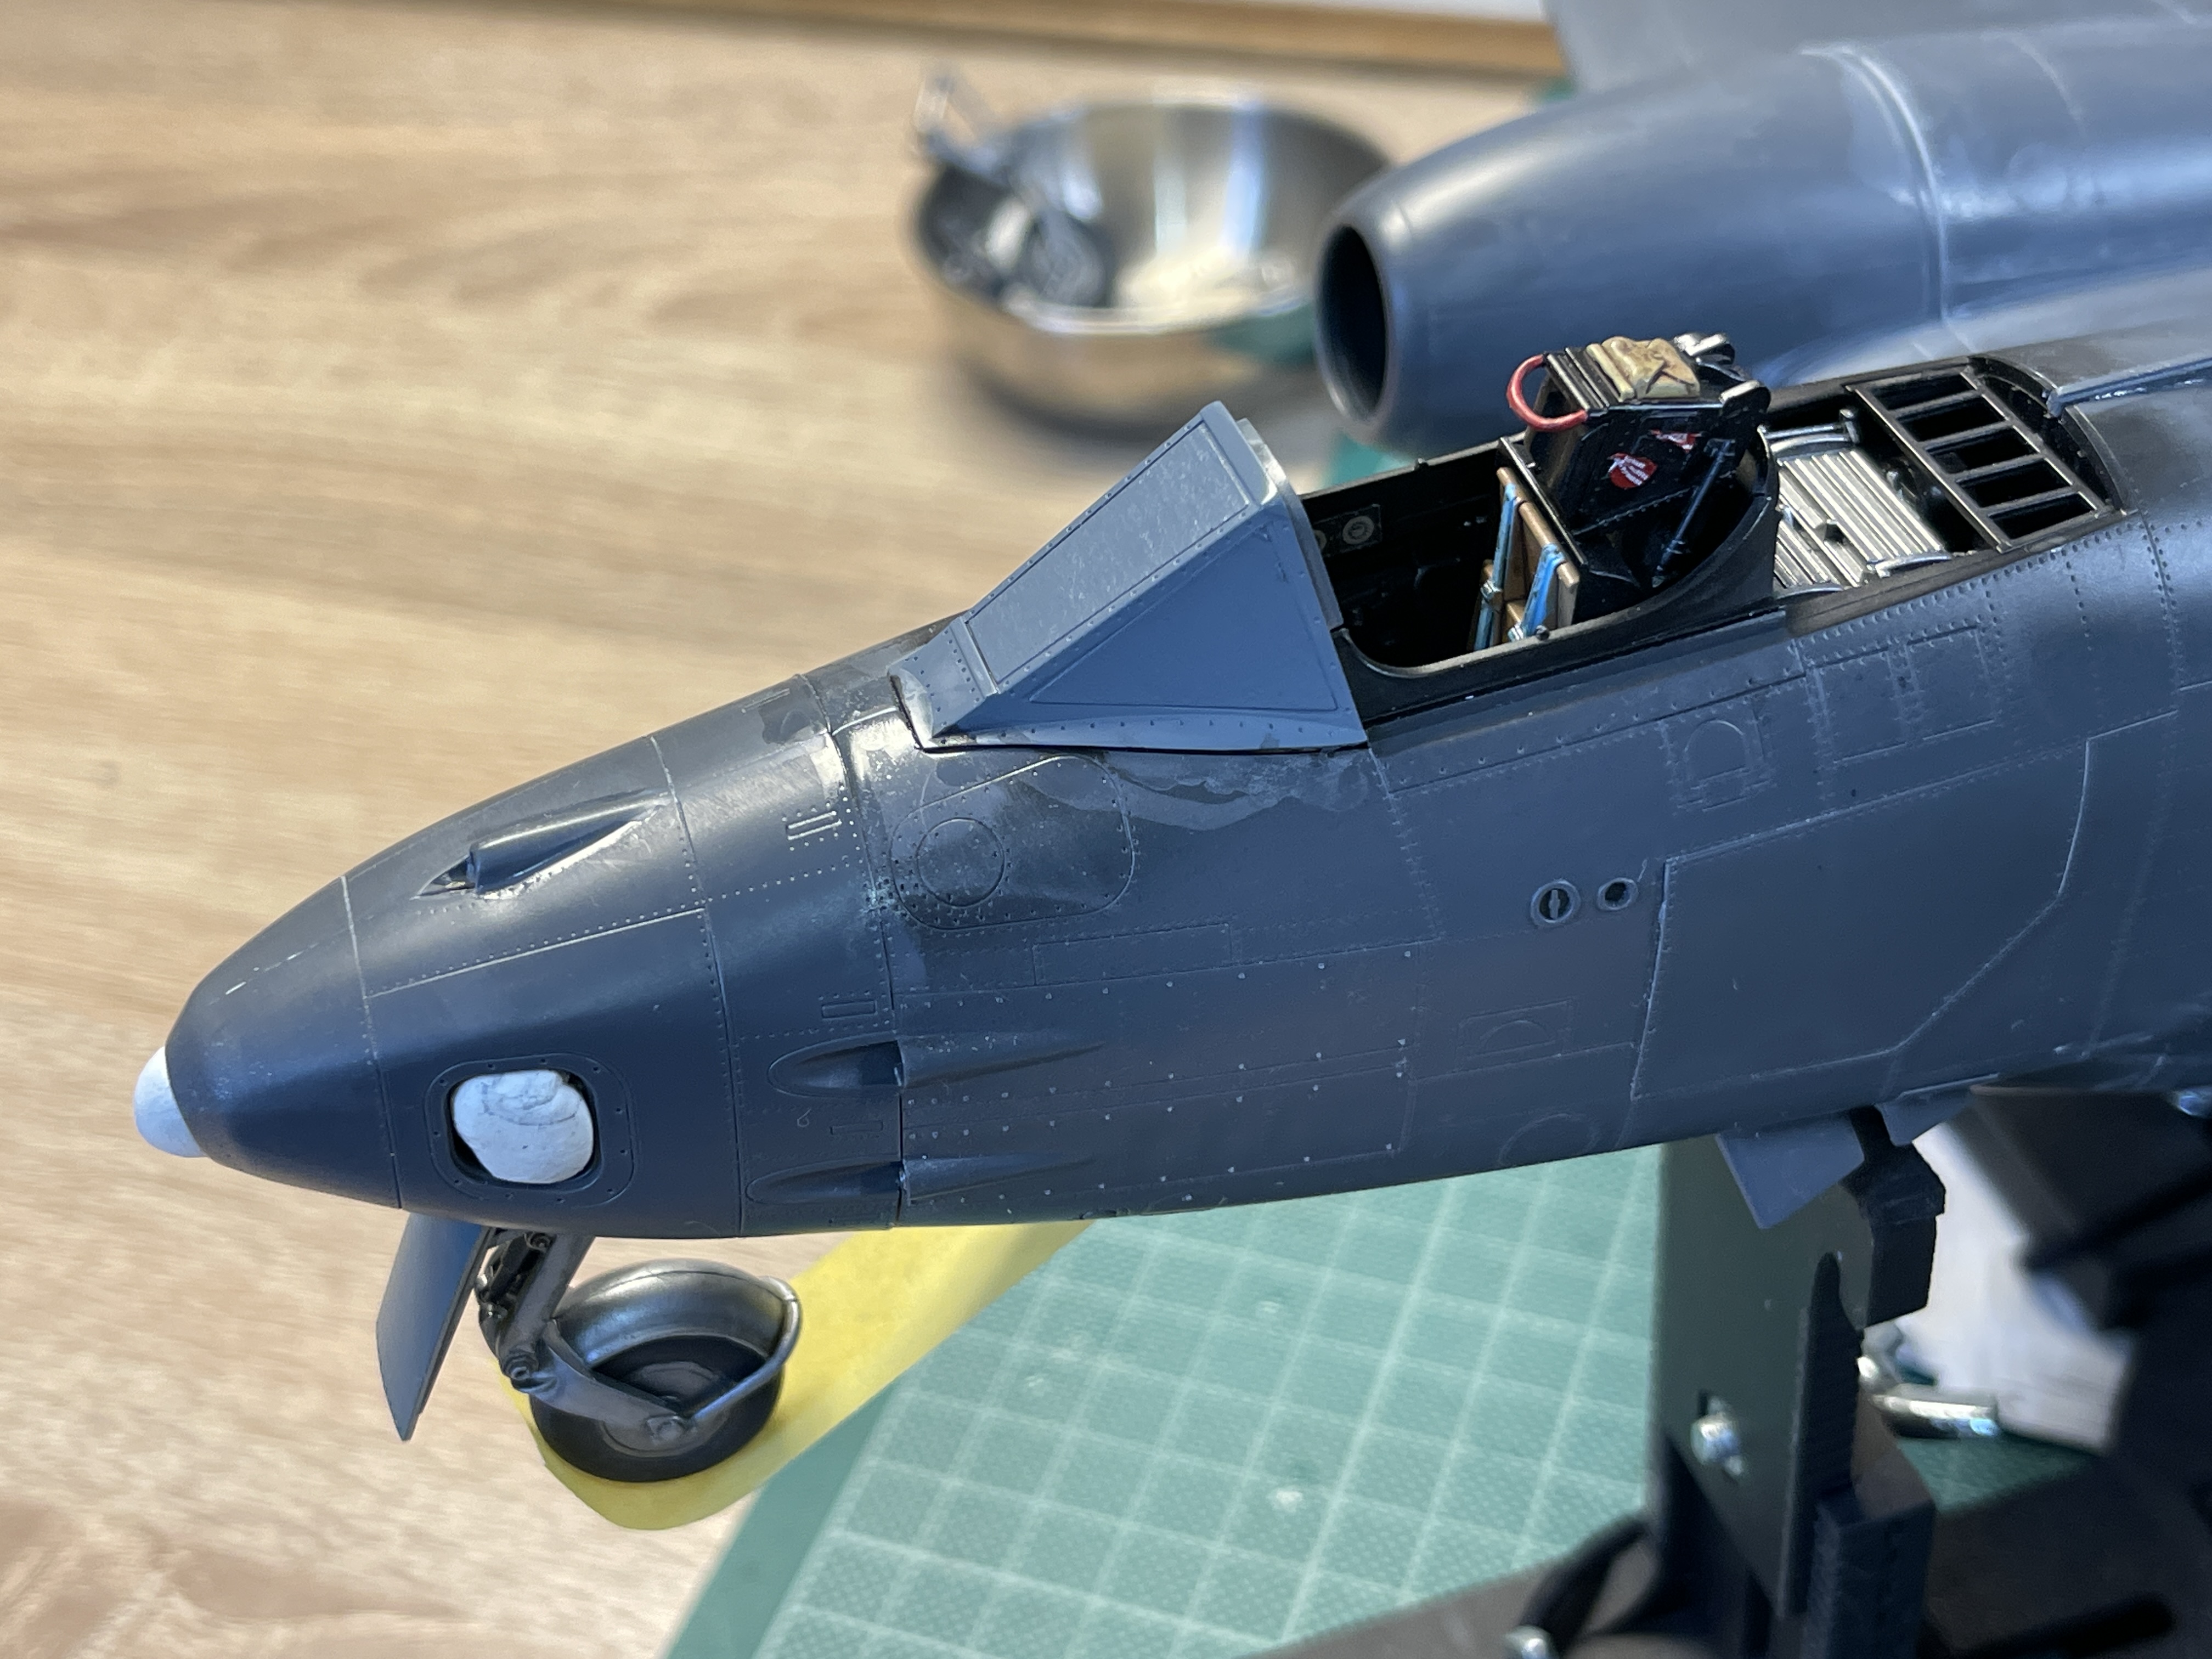
Main construction is close to finishing.

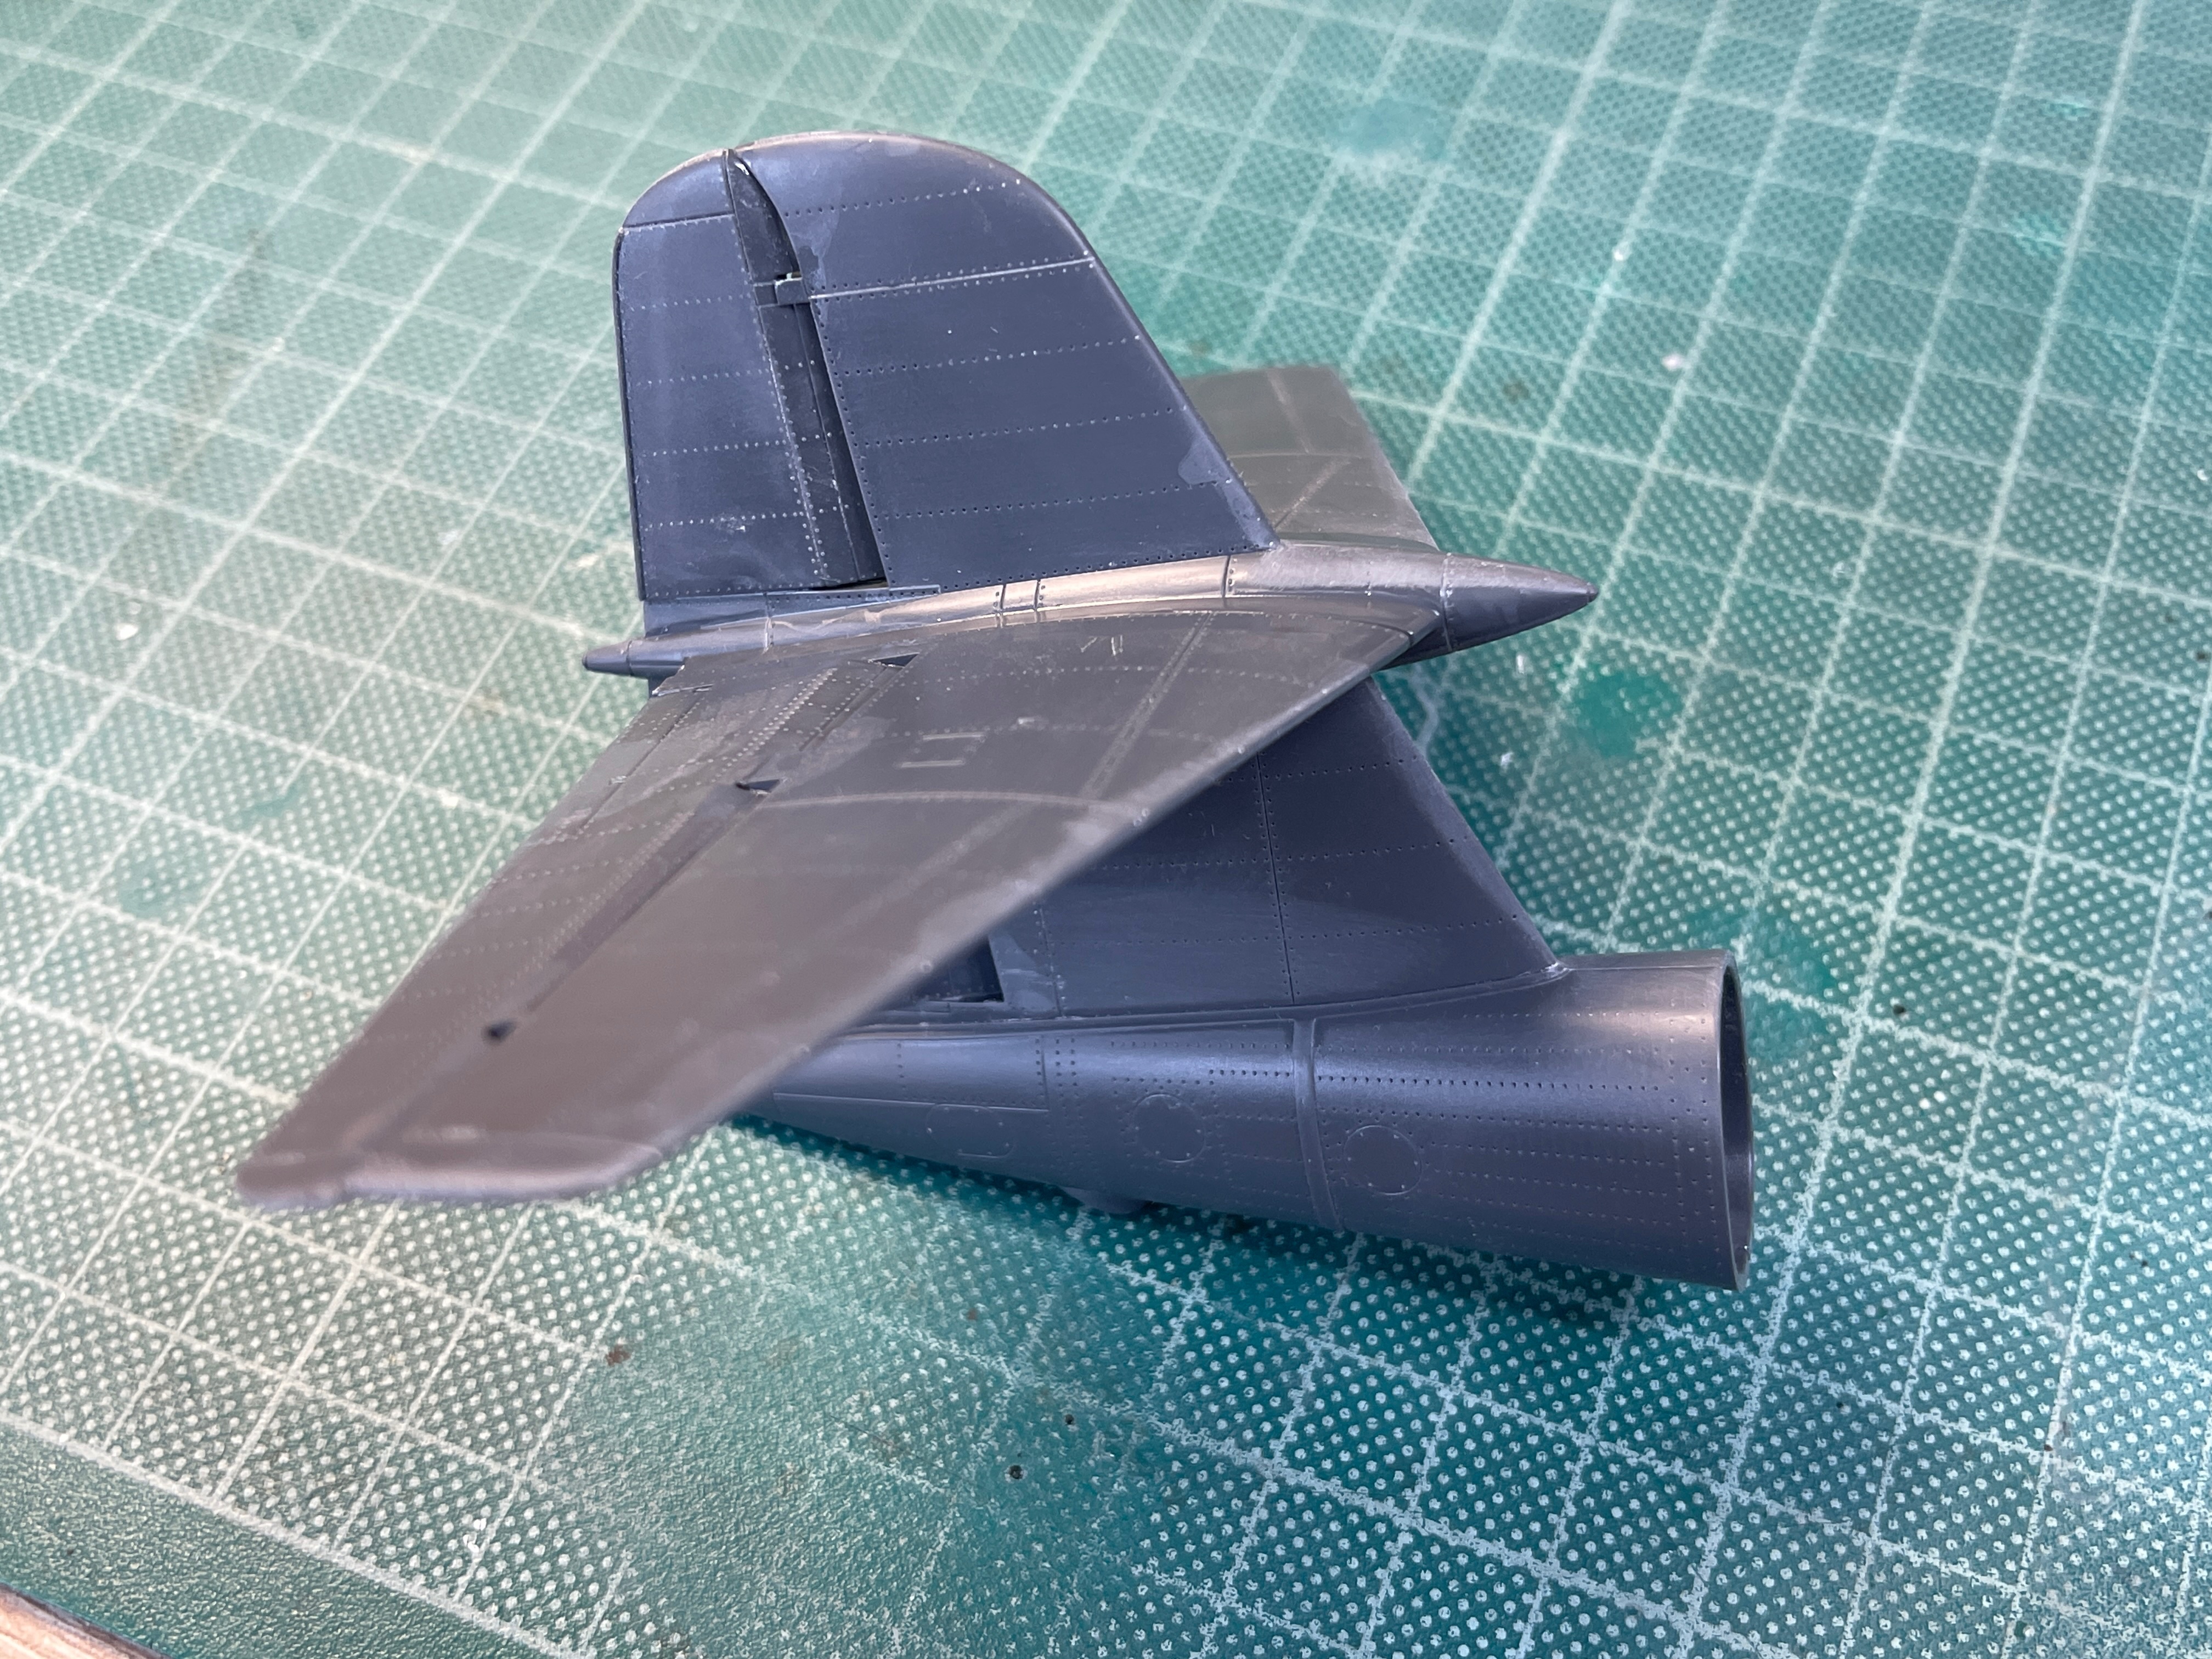
The central section is together. Do note that the filler is down to me not the kit. Two tips if you build one of these
1/ the tail pipes. Leave them with some freedom to flex and don't cement them into the cradles. That will enable the outer tail pipes to fit better.
2/ be careful to follow the instructions closely for the intakes. Again it takes very little to get it wrong.

I really need to restrict modelling to
1 hour sessions, not longer, simply because my medication causes a shorter attention span and fatigue, hence making some silly mistakes.

IMG_9239.jpeg


The tail fit perfectly. Also it will be a perfect fit to the fuselage. I will show that in the next post.

IMG_9237.jpeg


Apart from my own mistakes this kit is coming together perfectly and those mistakes were an easy enough fix.
 
I have built the cockpit tub sub assemblies and I can say that fit is up to Tamiya standard so far, as is the quality of the plastic.

I removed the detail to make way for the p.e. set. I am not using all of it, for instance I have decided to use the seat with moulded in seabelts and not the etch. Also the impossibly small levers did not survive long enough to be painted let alone survive to actually be placed. this is why i much prefer the 3D decal sets.

I then applied base coats with the airbrush. Next I need to bring out the detail with dry brushing. I will use Uschi Metal Powders to provide a worn painted metal look. The etch will be applied and some placard decals as well. There will be some detail painting needed before washes are done.

I will post to show off how it looks when done.

These are the subassemblies all ready with their respective base coats.

View attachment 188405
View attachment 188406
View attachment 188407
View attachment 188408
View attachment 188409
View attachment 188410
View attachment 188411
View attachment 188413
View attachment 188412
Is the metal powder the "etch" you refer to? I've not heard of this.
 
Is the metal powder the "etch" you refer to? I've not heard of this.
No, the etch is the photo-etch detailing set.

Metal powders are metallic pigments the best being Uschi, expensive but they last a long time, 15 years and over a hundred models in my case with plenty left. Uschi Van De Rosen developed them but I think they may be out of production. Others are available.
 
No, the etch is the photo-etch detailing set.

Metal powders are metallic pigments the best being Uschi, expensive but they last a long time, 15 years and over a hundred models in my case with plenty left. Uschi Van De Rosen developed them but I think they may be out of production. Others are available.
Thanks I'll have to look into this. I'm assuming you dry brush the powder on and set it with a chemical?
 
Thanks I'll have to look into this. I'm assuming you dry brush the powder on and set it with a chemical?
It can be used many ways. I sometimes dry brush to bring out detail (best on matt paint) with no need to 'fix it' in place. It is brilliant for depicting worn painted metal this way.

Sometimes I burnish it to create a shiny metallic or blue steel finish (I use three types, chrome, steel and iron). Again no need for any kind of fix solution. Best done on a Matt paint using a cotton bud. I also use a cocktail stick, I pick up a small amount on the end and rub it onto matt painted area to depict paint chipping. It's my favourite way to do chipping.

The Zoukei Mura Raiden has its chipping done that way, a mix of dry brushing and cocktail stick. I tend to prefer a lighter weathering on the basis of less is more unless my subject really demands a heavier weathering.
Zoom in and take a look.
IMG_6739.jpeg
 
No, the etch is the photo-etch detailing set.

Metal powders are metallic pigments the best being Uschi, expensive but they last a long time, 15 years and over a hundred models in my case with plenty left. Uschi Van De Rosen developed them but I think they may be out of production. Others are available.
I fear you may be right. I was looking to buy some just a few days ago but my Google searches have been fruitless so far.
 
I will take a look, but must admit I'd immediately set my mind on the Uschi having seen them on a build this week. Thing is can't even where I'd seen it but coming across your thread for the first time today (I also have this Revell Meteor First Edition kit) seems something is telling me I need these powders in my life...:)
 
Last edited:

Latest posts

Back
Top