BarryW
Well-Known Member
- Joined
- Apr 17, 2025
- Messages
- 263
I was not originally going to post this as a build thread, just as a completed build.
I have changed my mind 6 days into this build.
Before I say anything else, I am loving this build. The plastic is well engineered and so far has faultless fit.
This is one of DMBKs first two releases, the other being a DH Hornet. The Hornet is a low pressure limited run kit that I will be building soon, while this Sea Fury is a high pressure mainstream production kit which DMBK say will be more typical of their releases. They have announced an ambitious release schedule that covers both 1/32 scale and 1/48 scale kits and we have a lot to look forward to from them.
They are also a U.K. company and this Sea Fury was moulded in the U.K. (Hornet being outsourced to Ukraine). Future releases will also be U.K. mouldings (by the same U.K. company Airfix used for their 1/24 Spitfire IX)
Now for the kit box
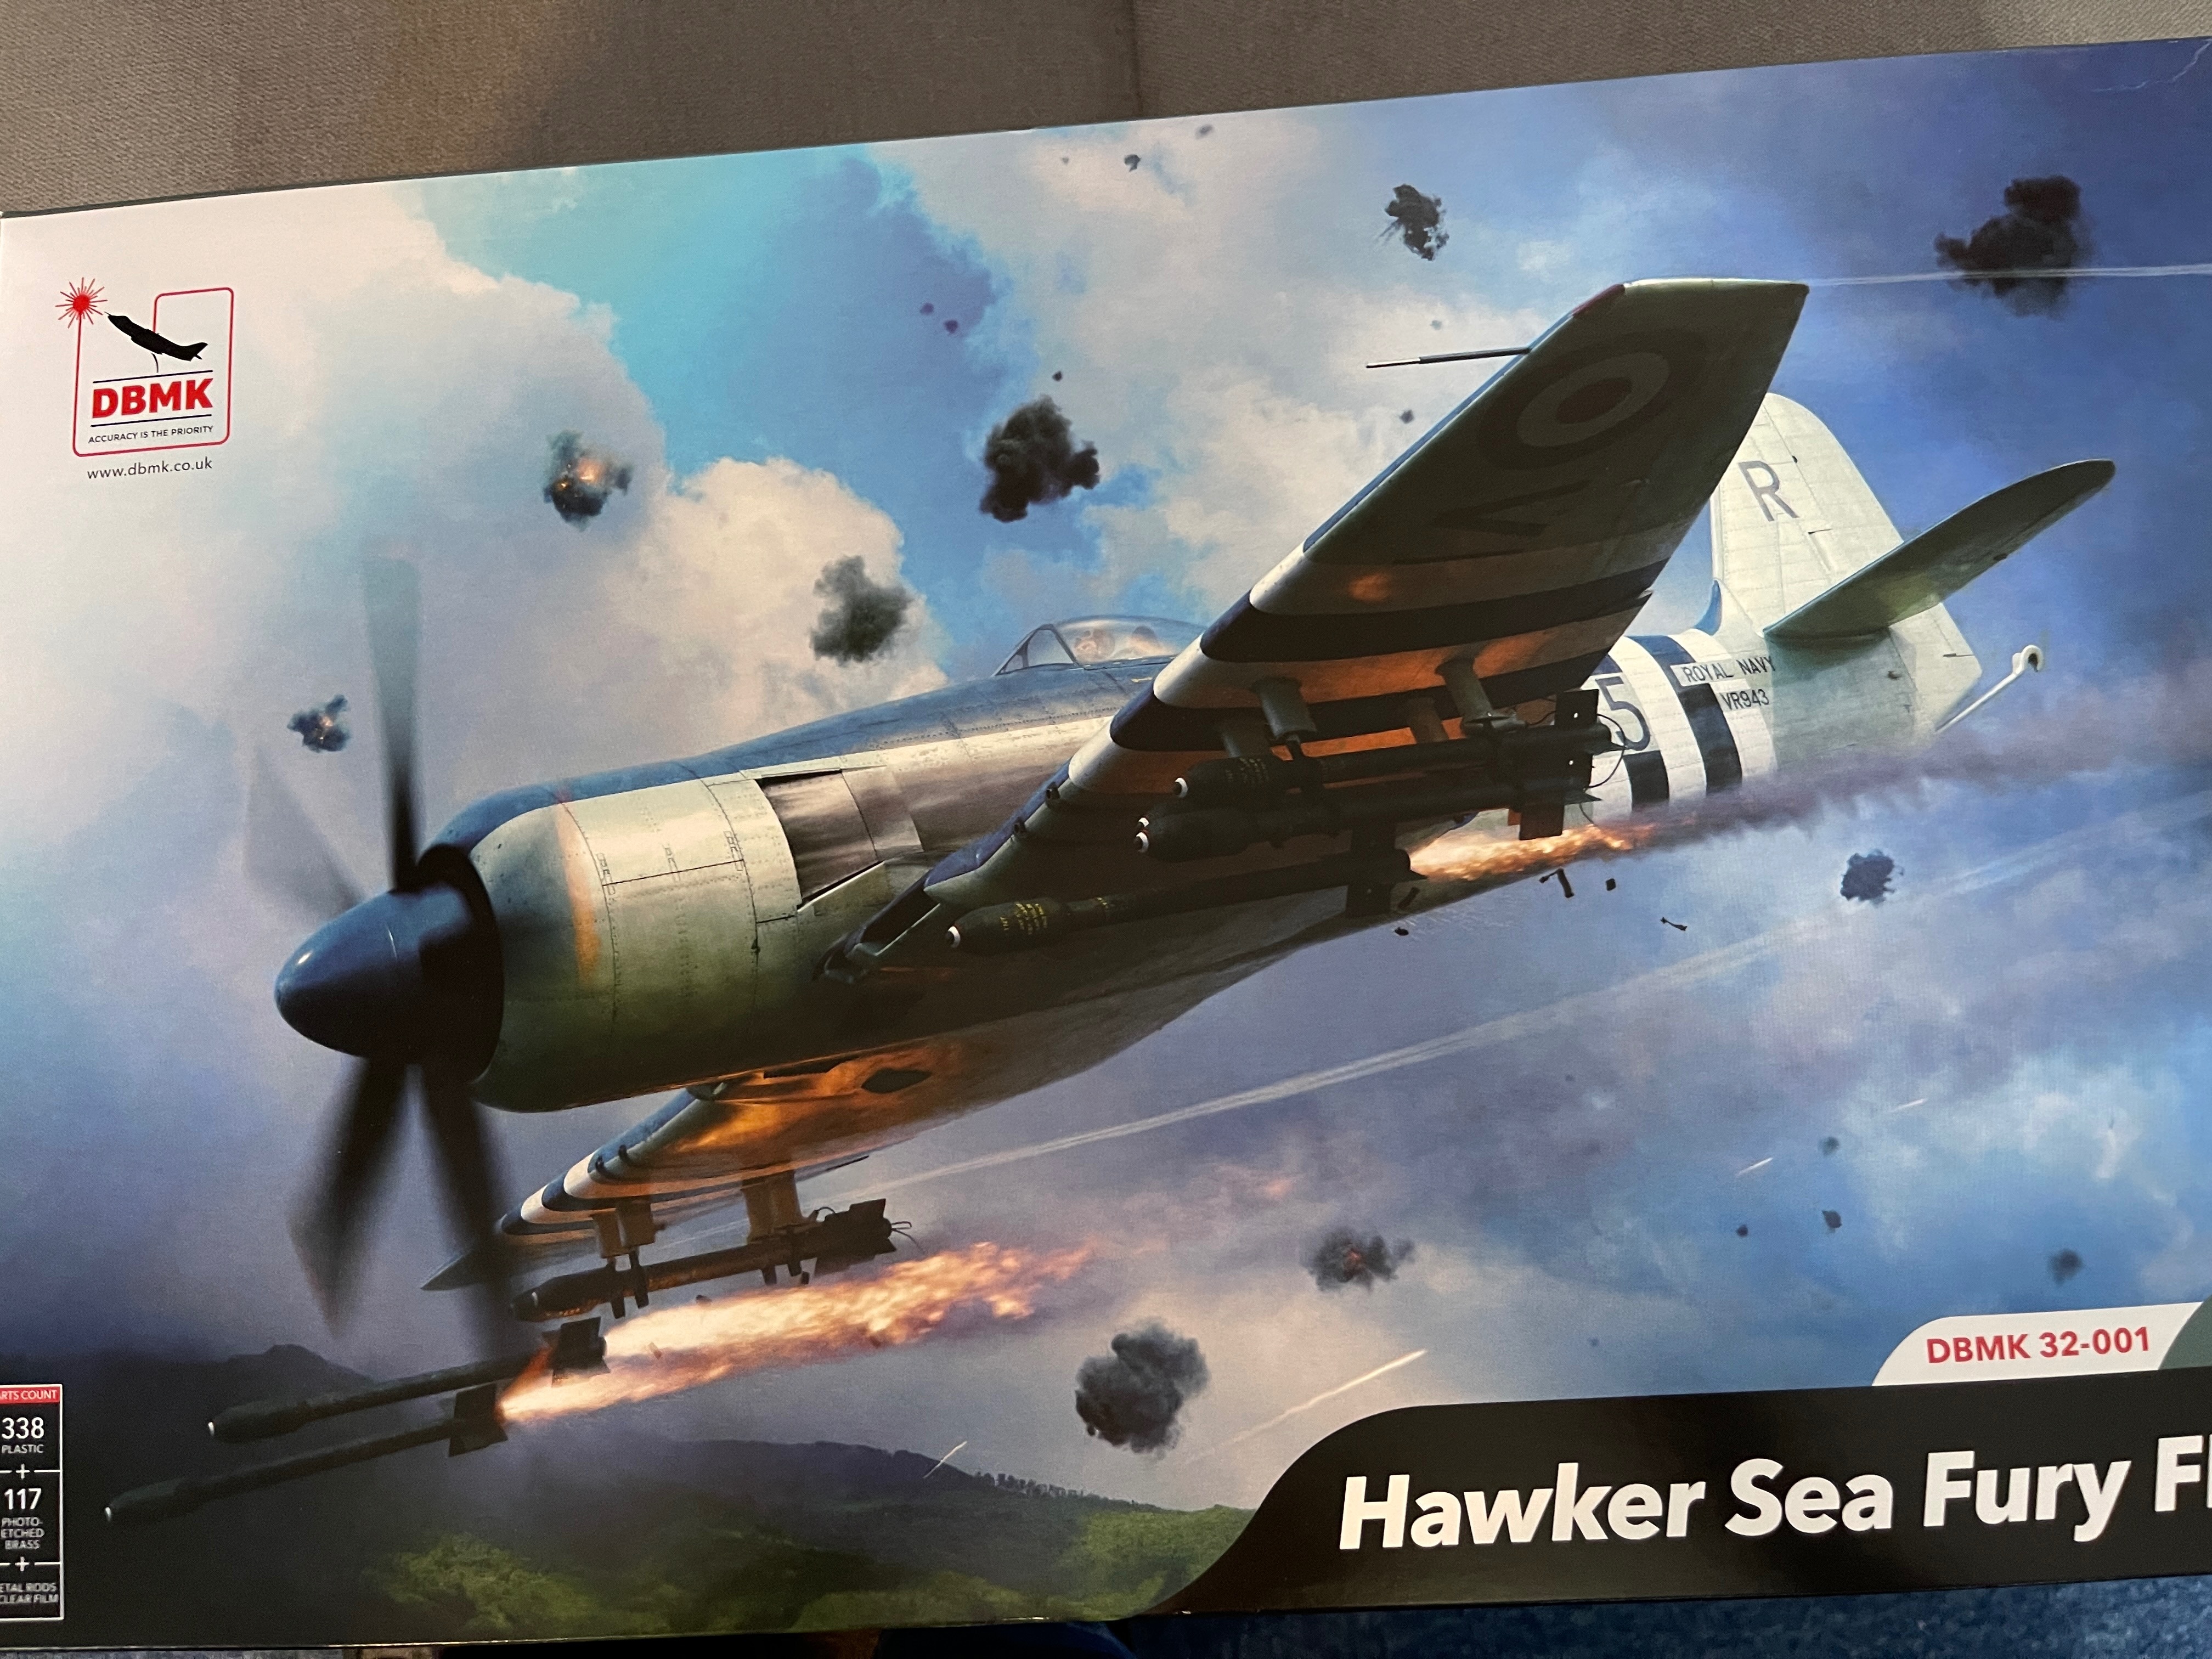
A beautiful box art.
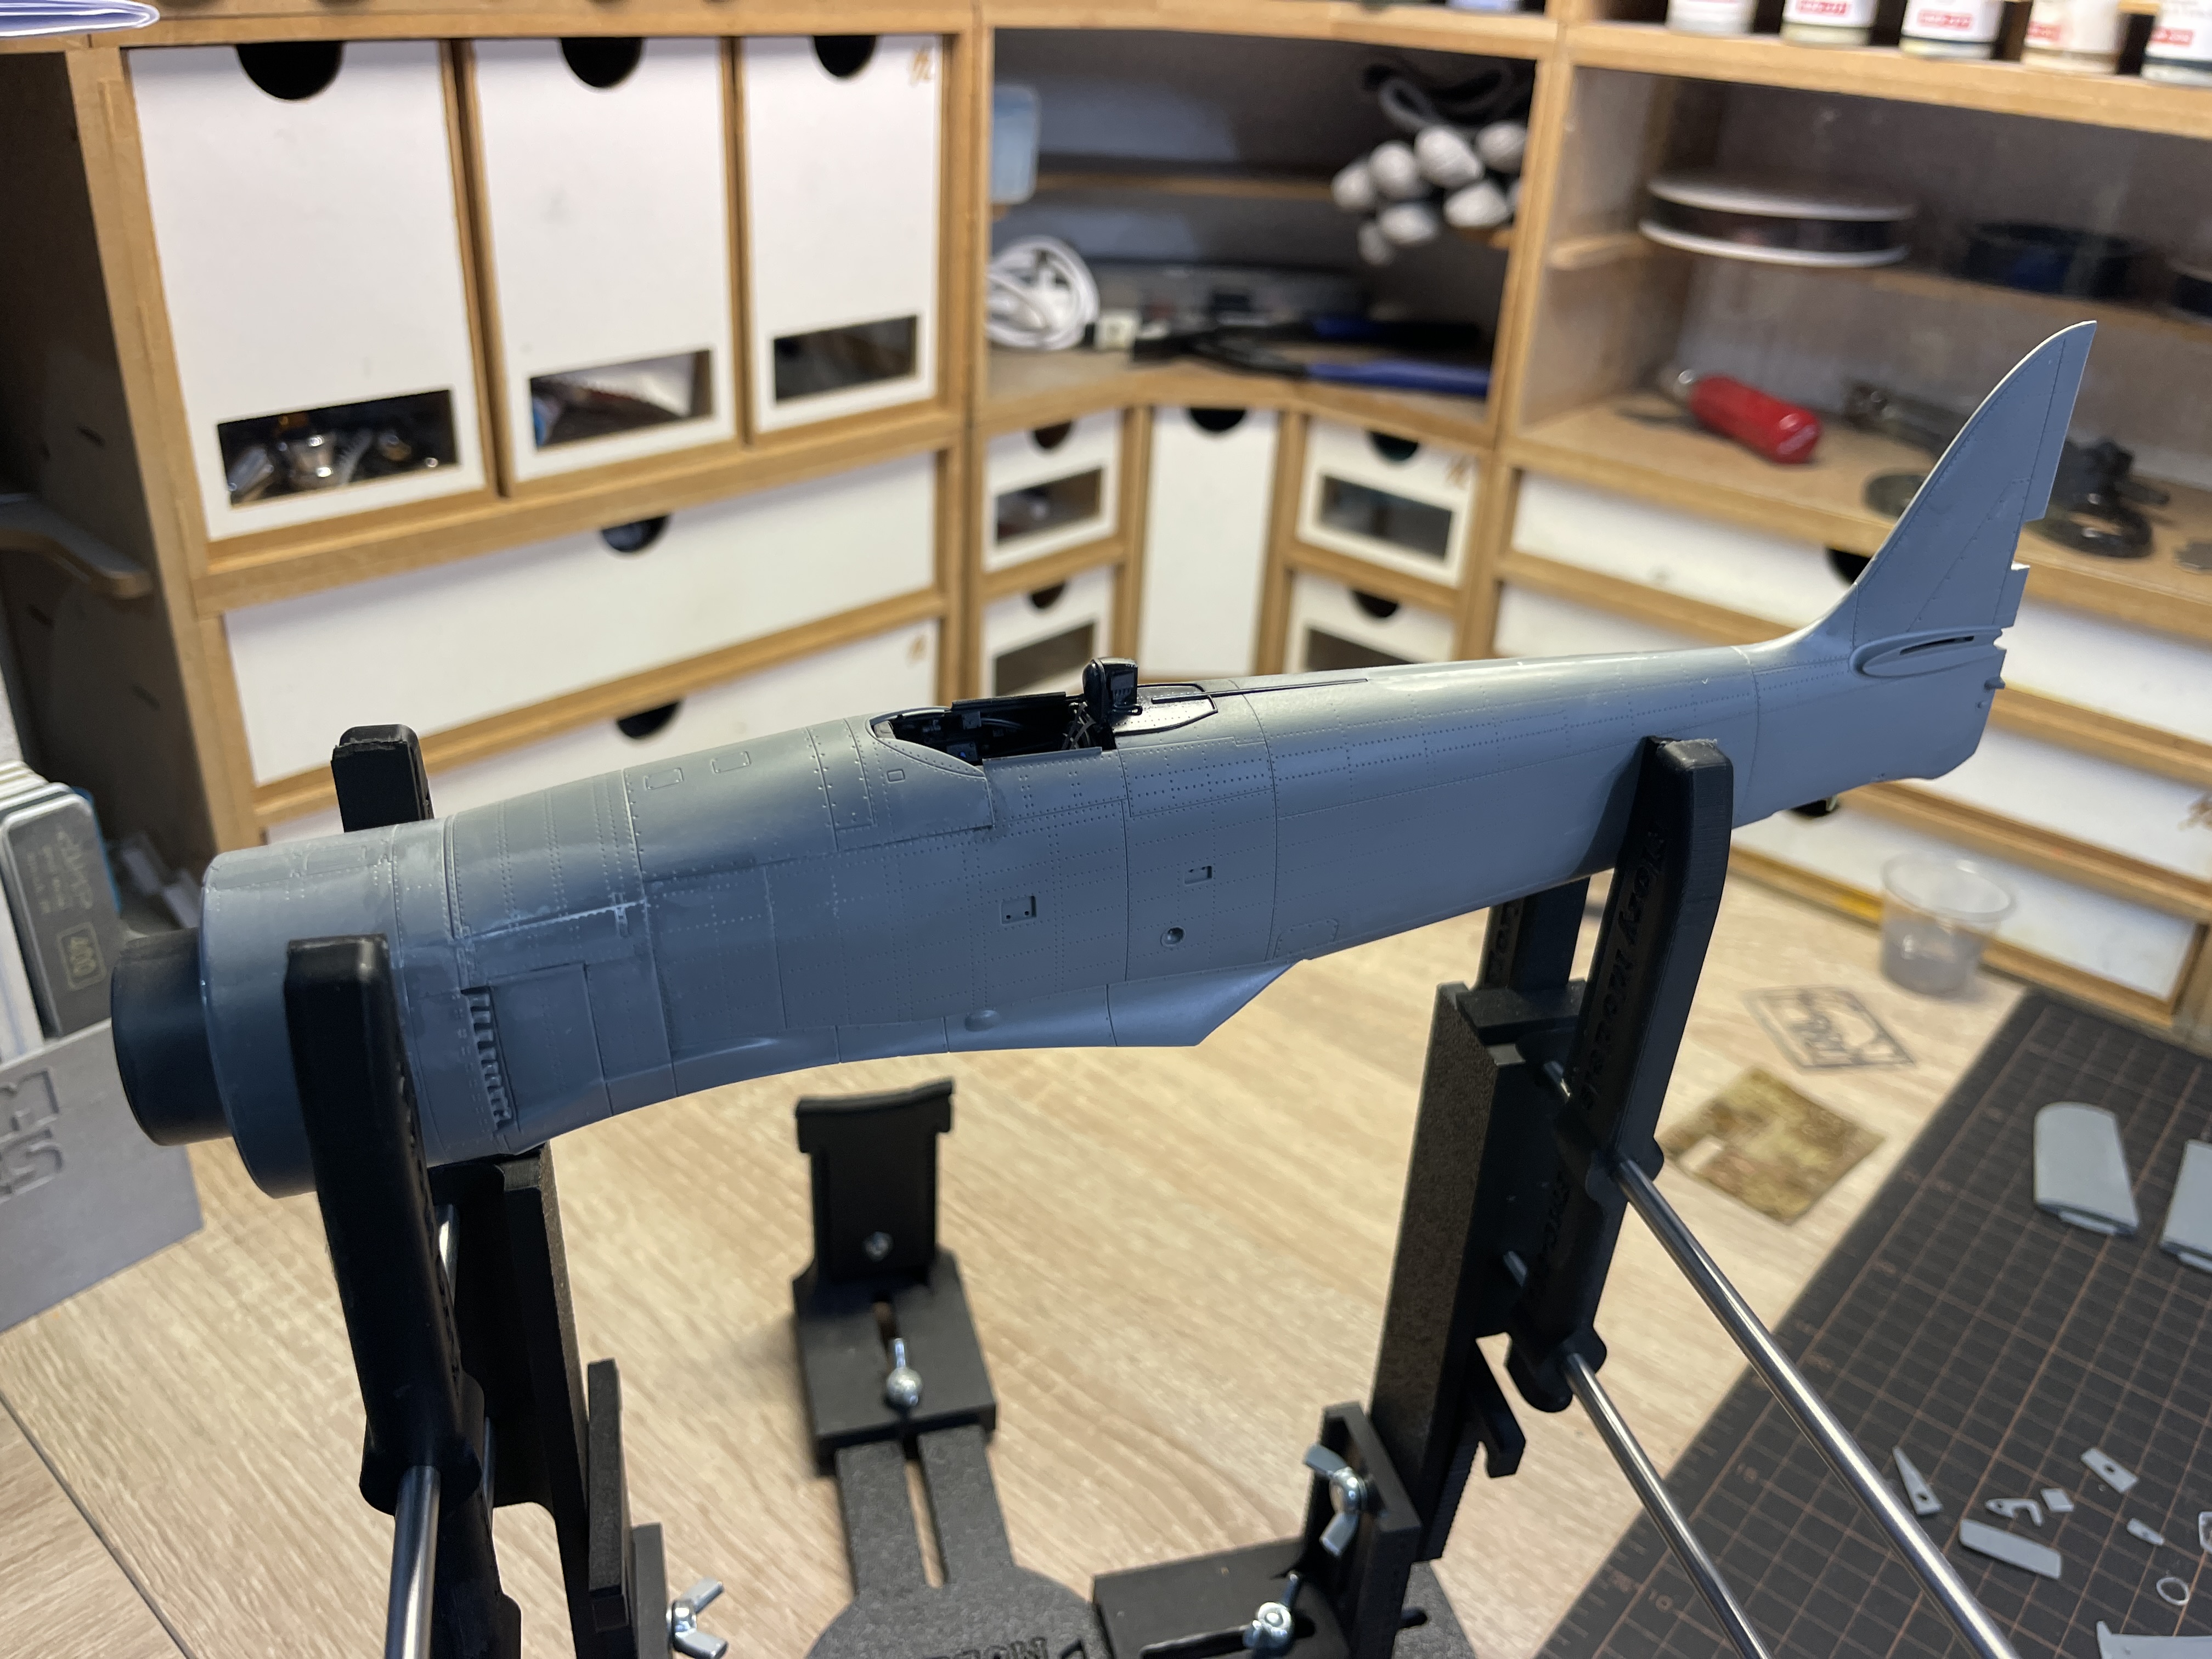
This is how far I have got in six days.
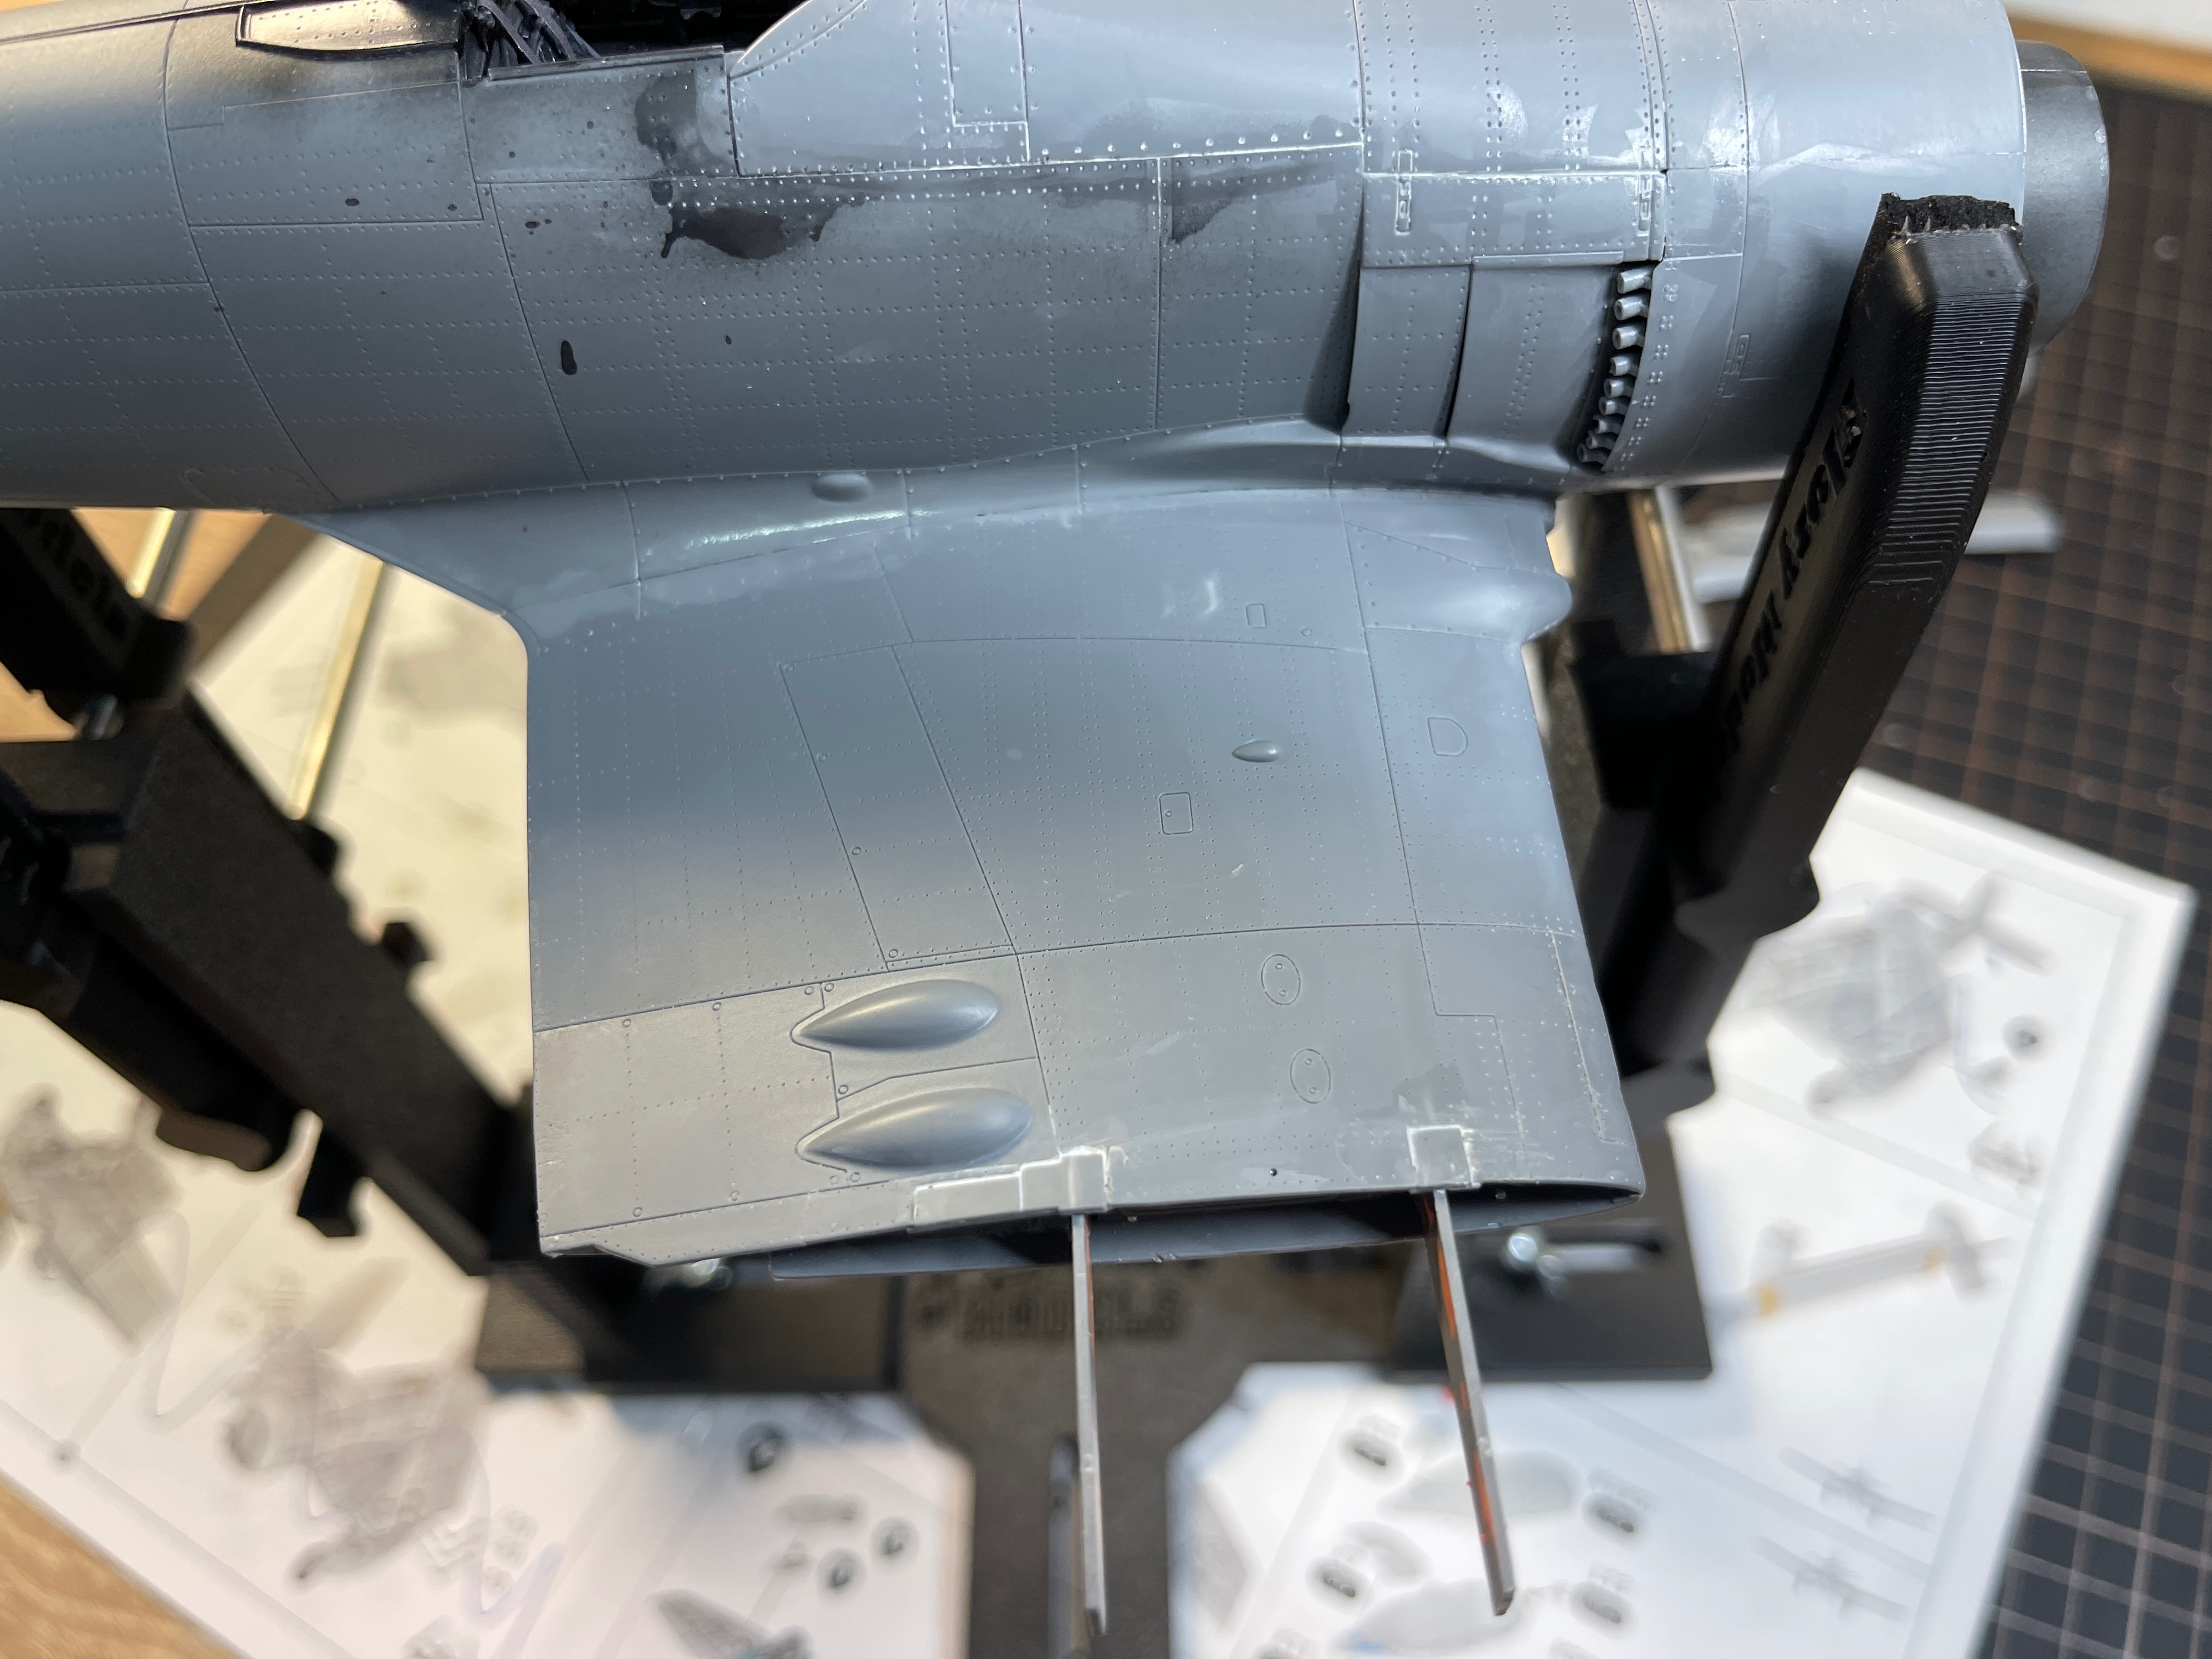
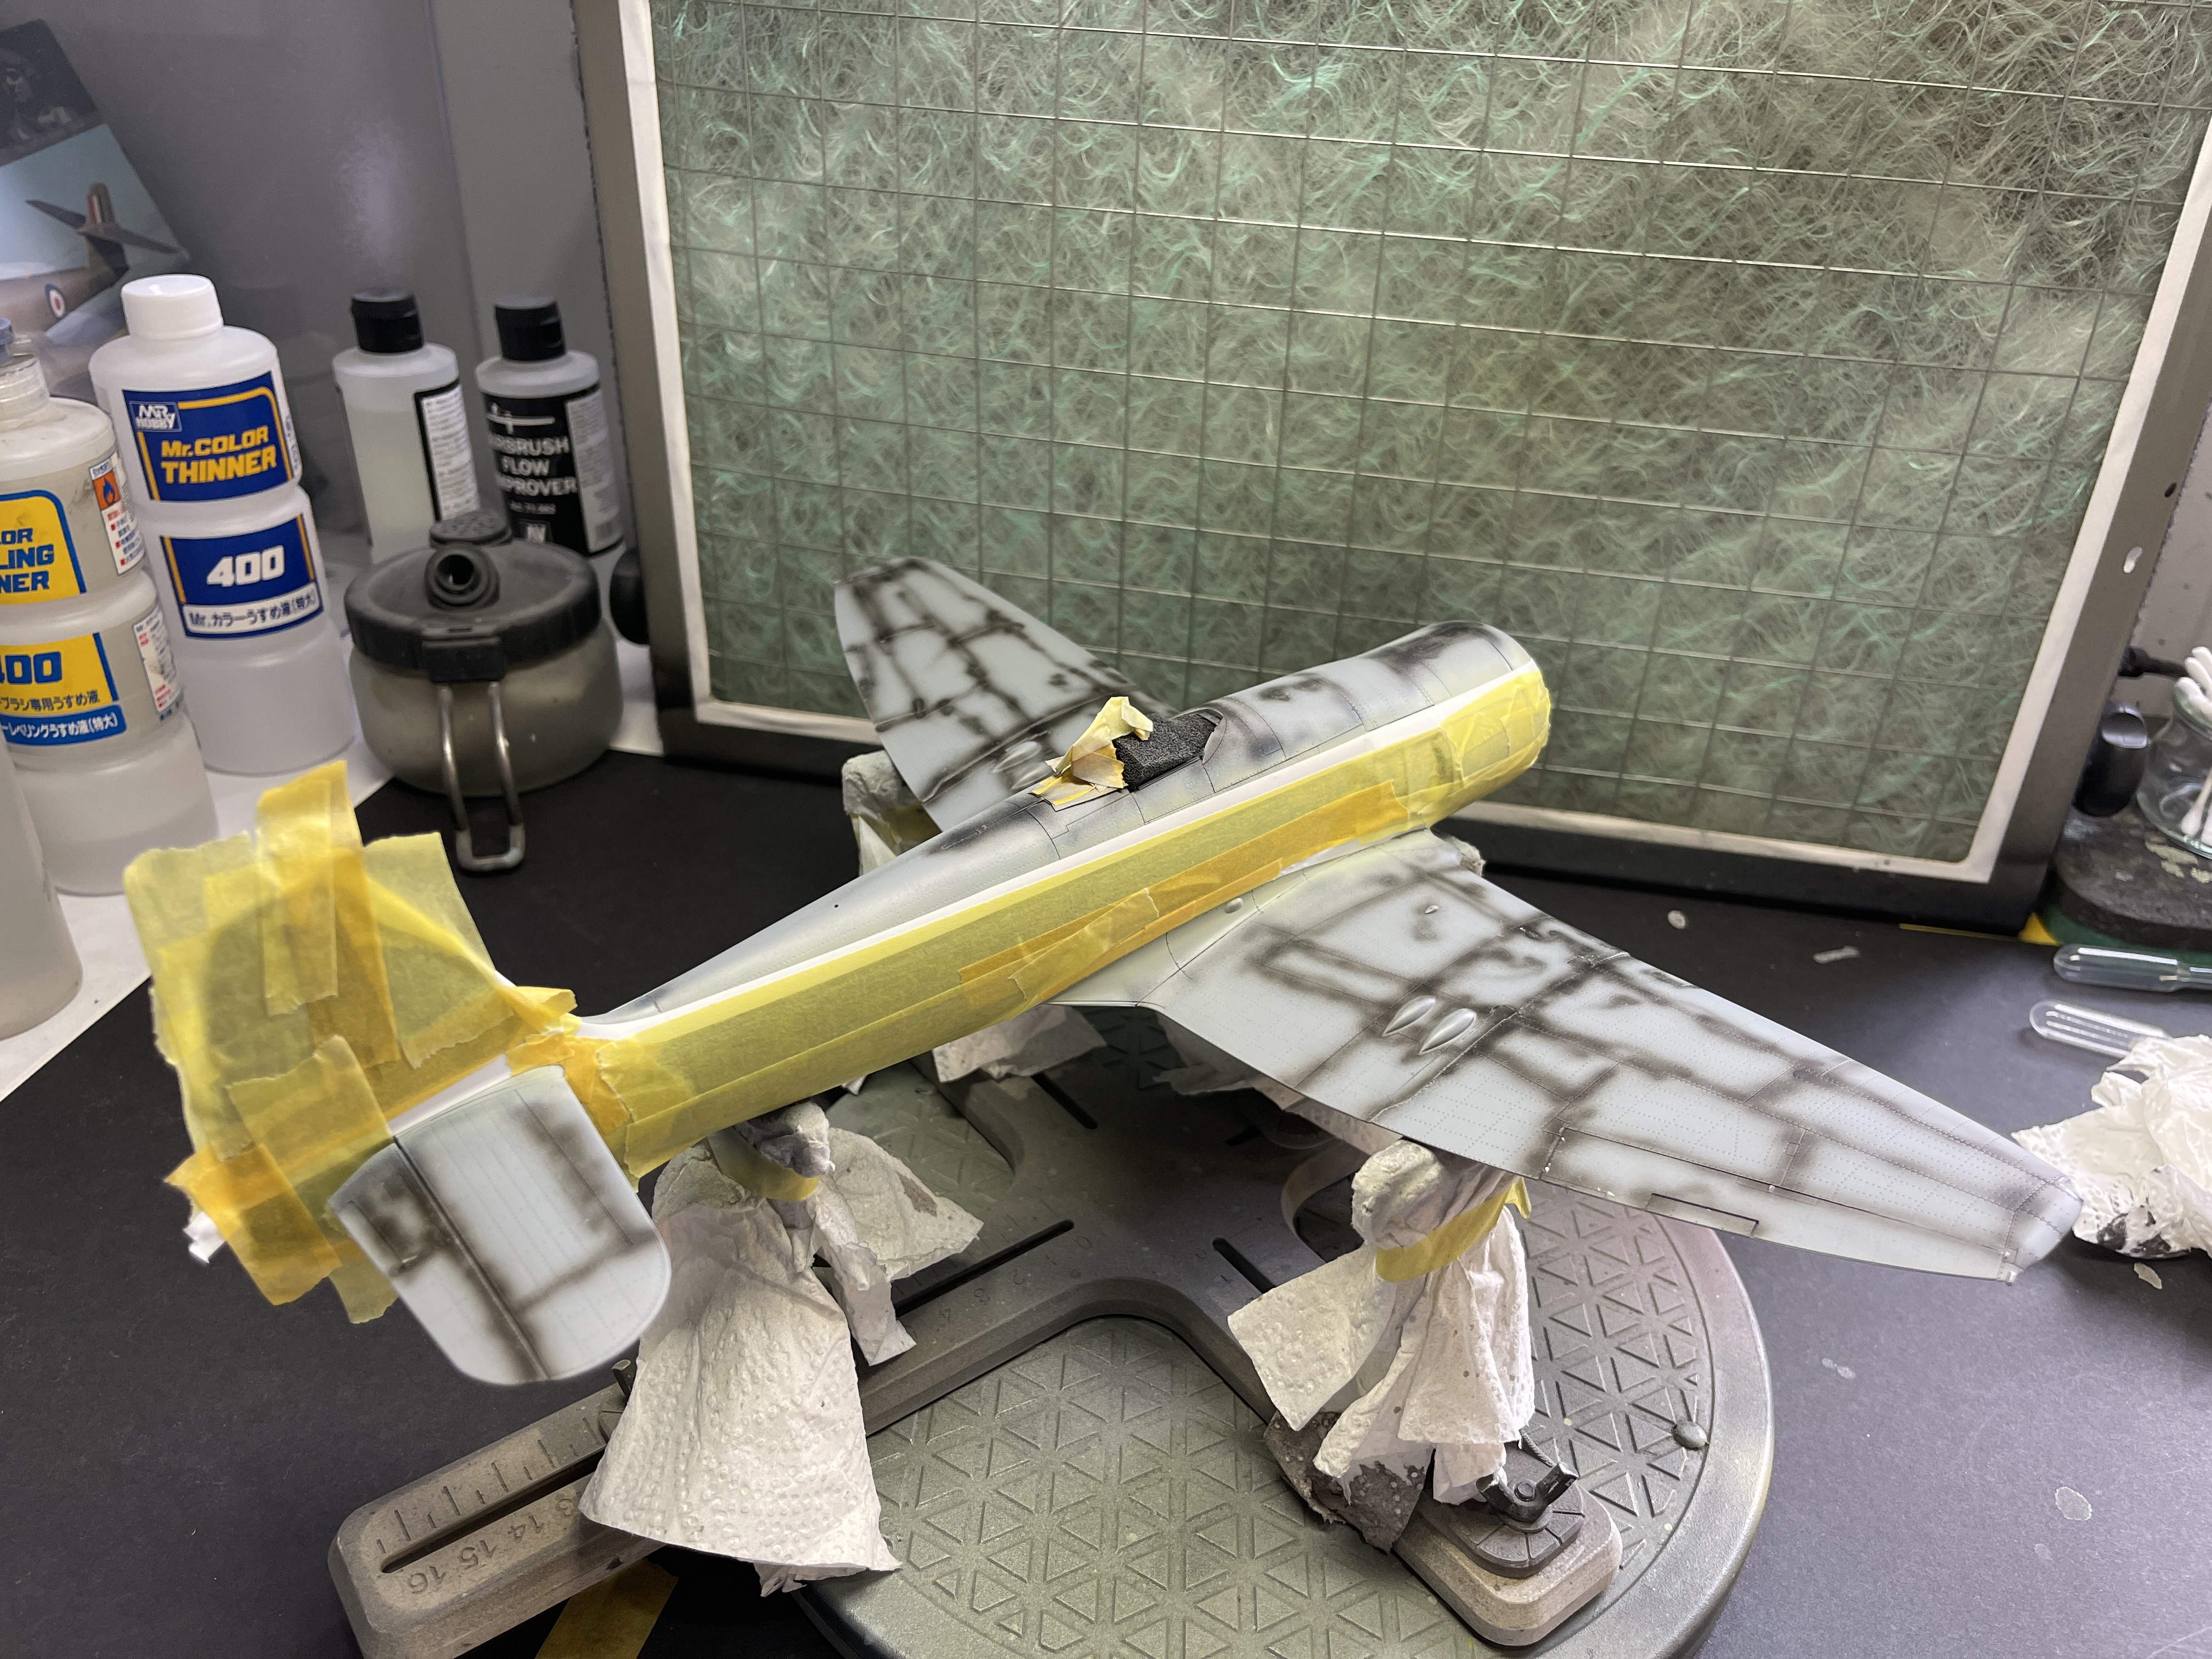
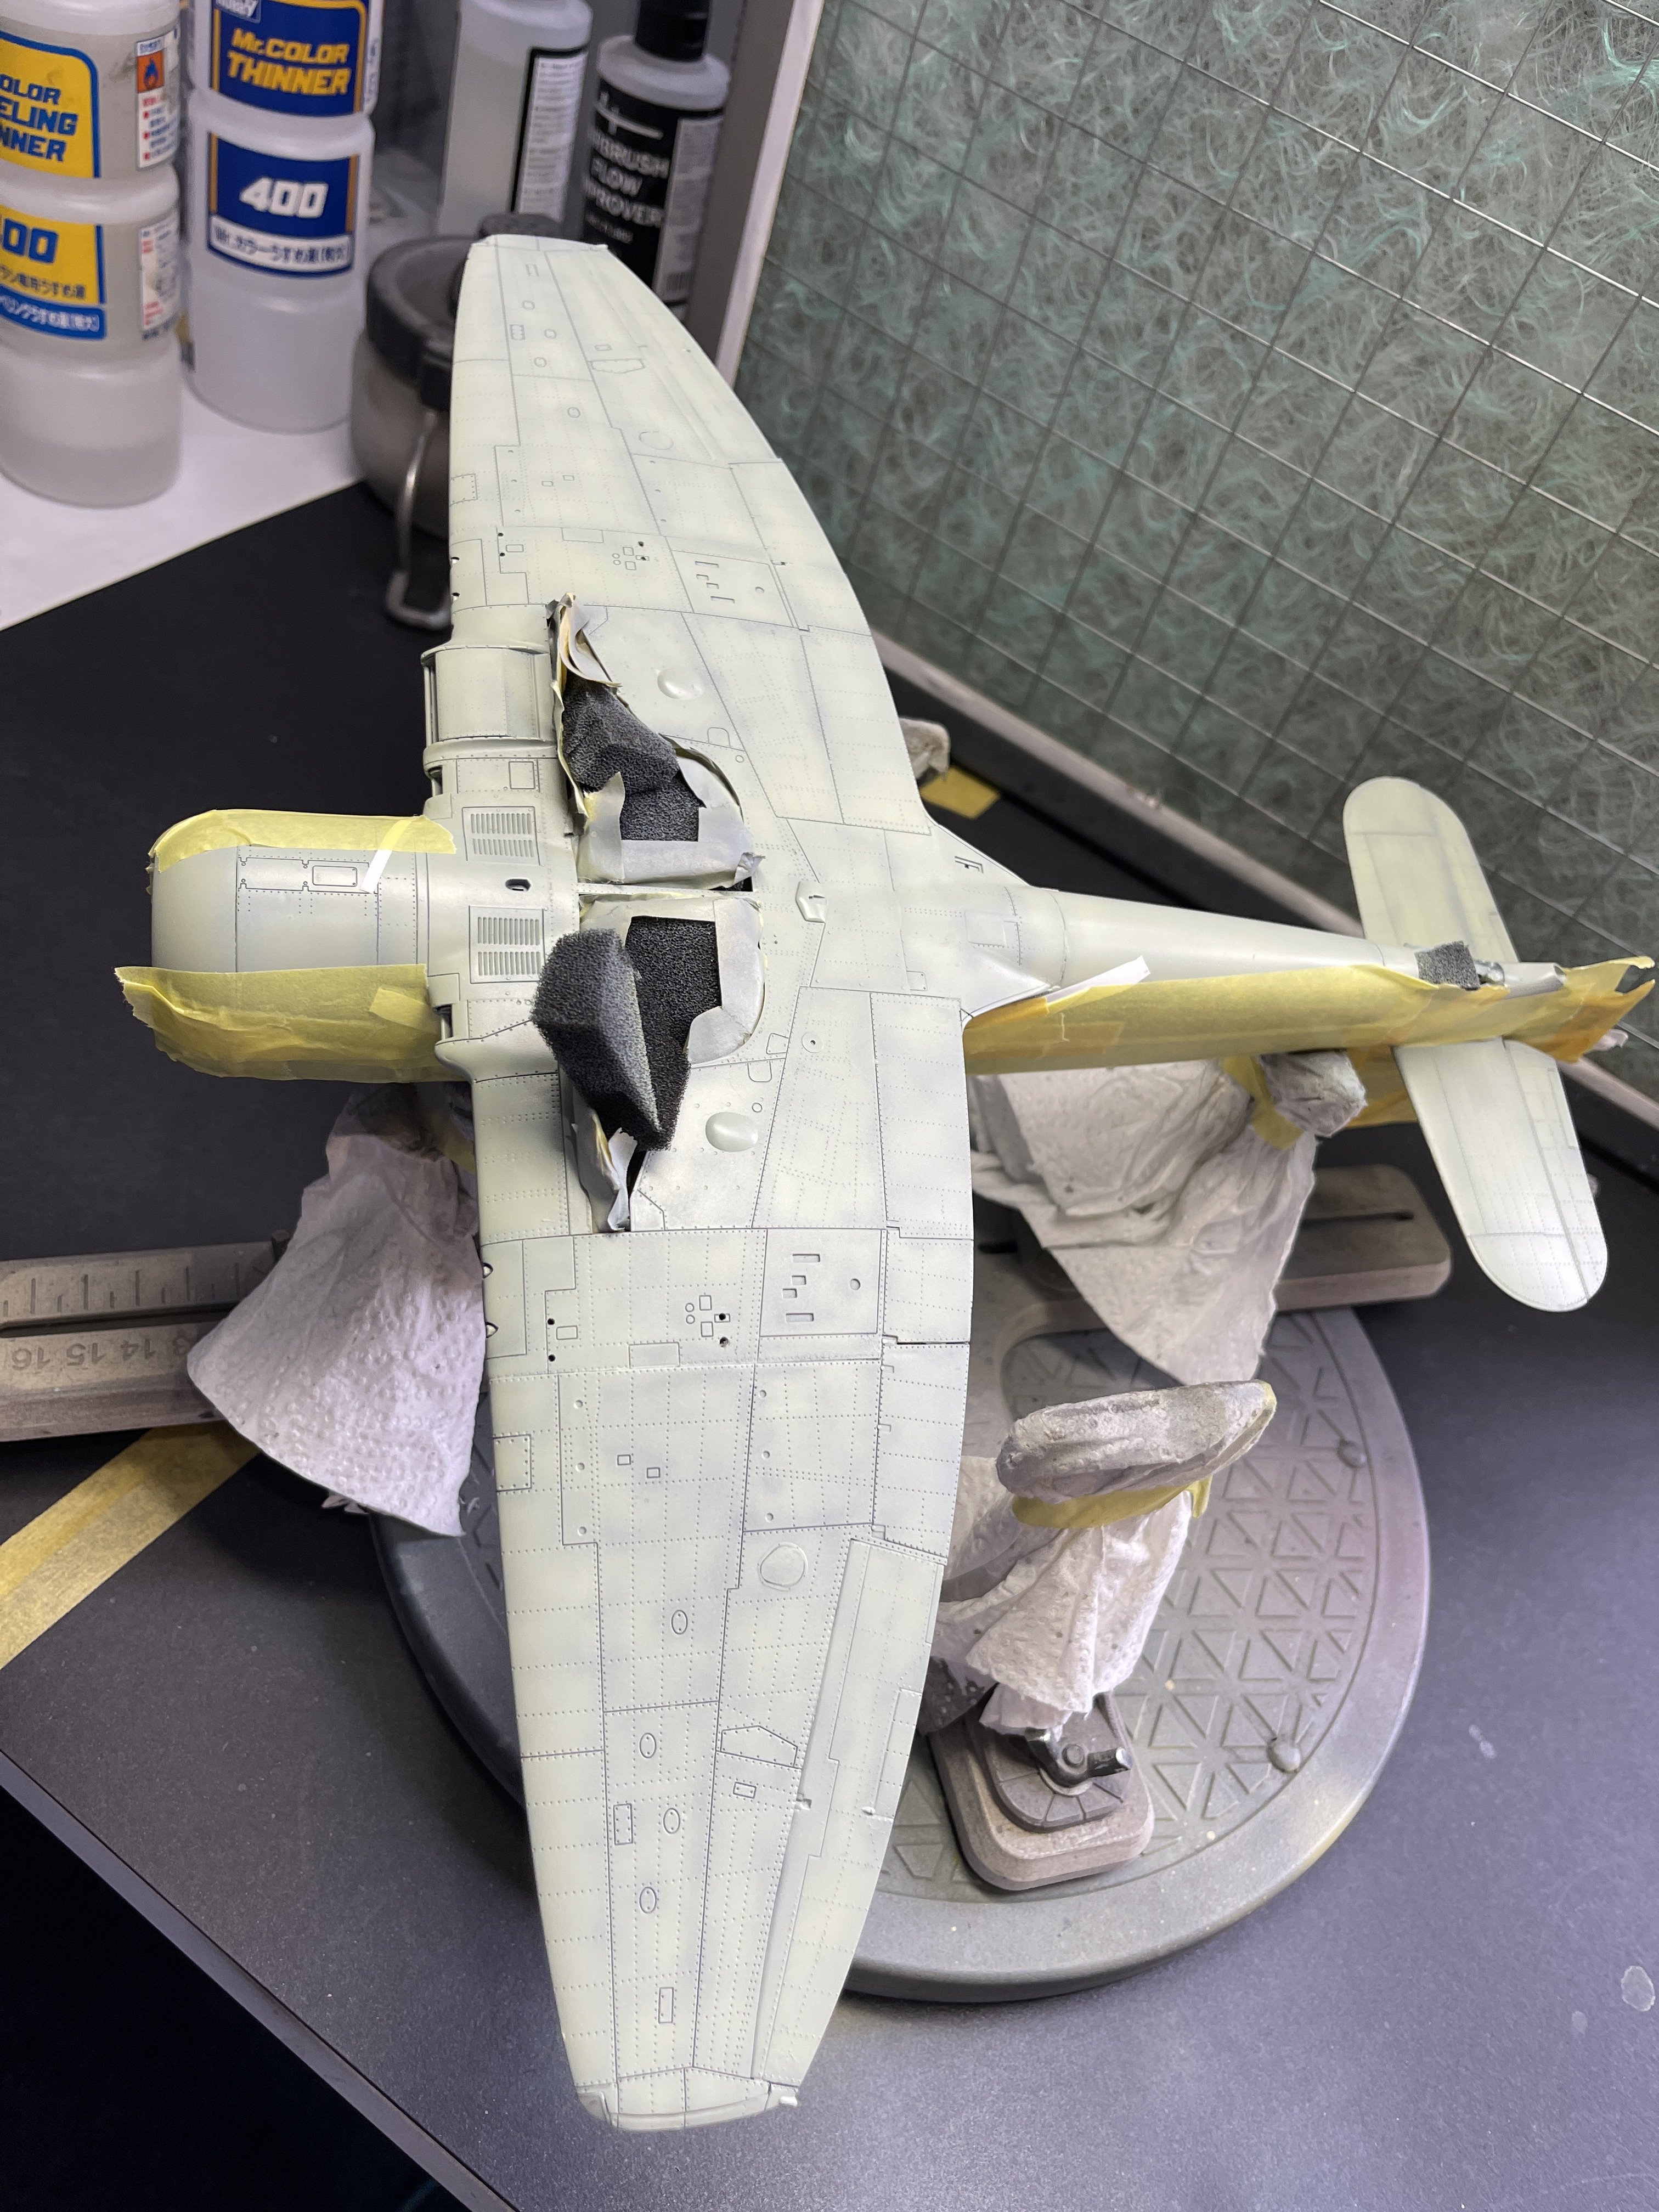
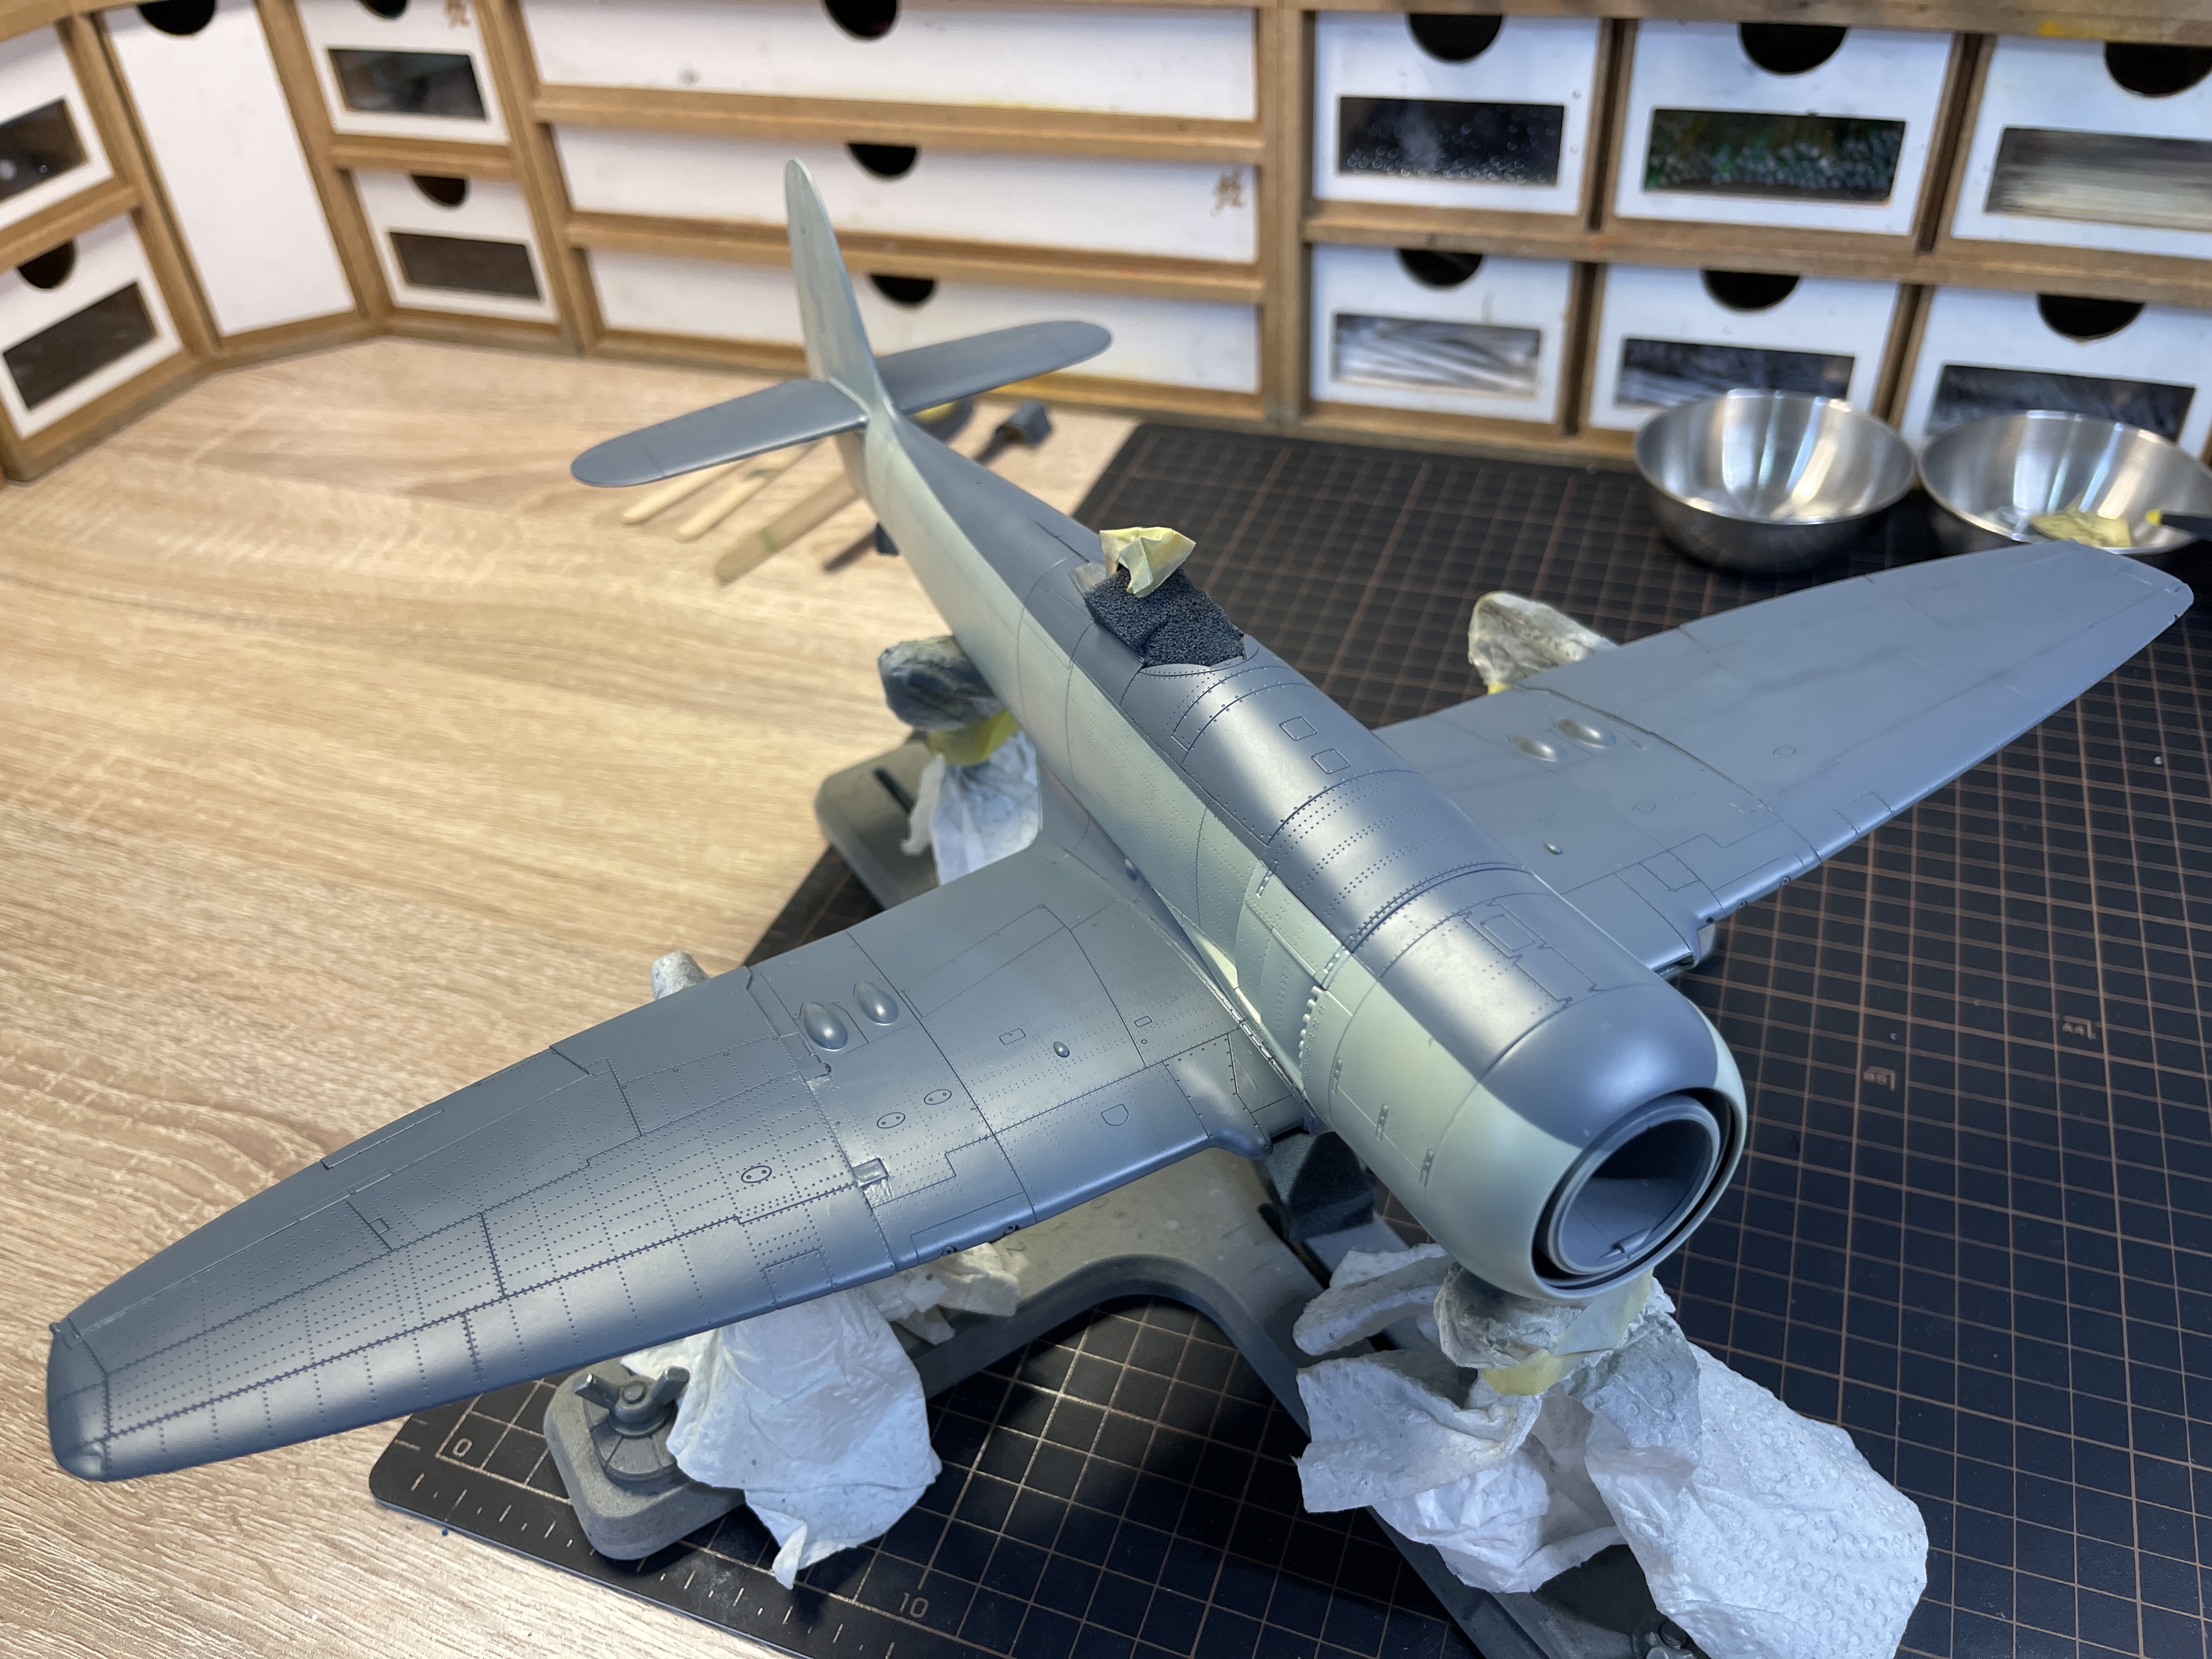
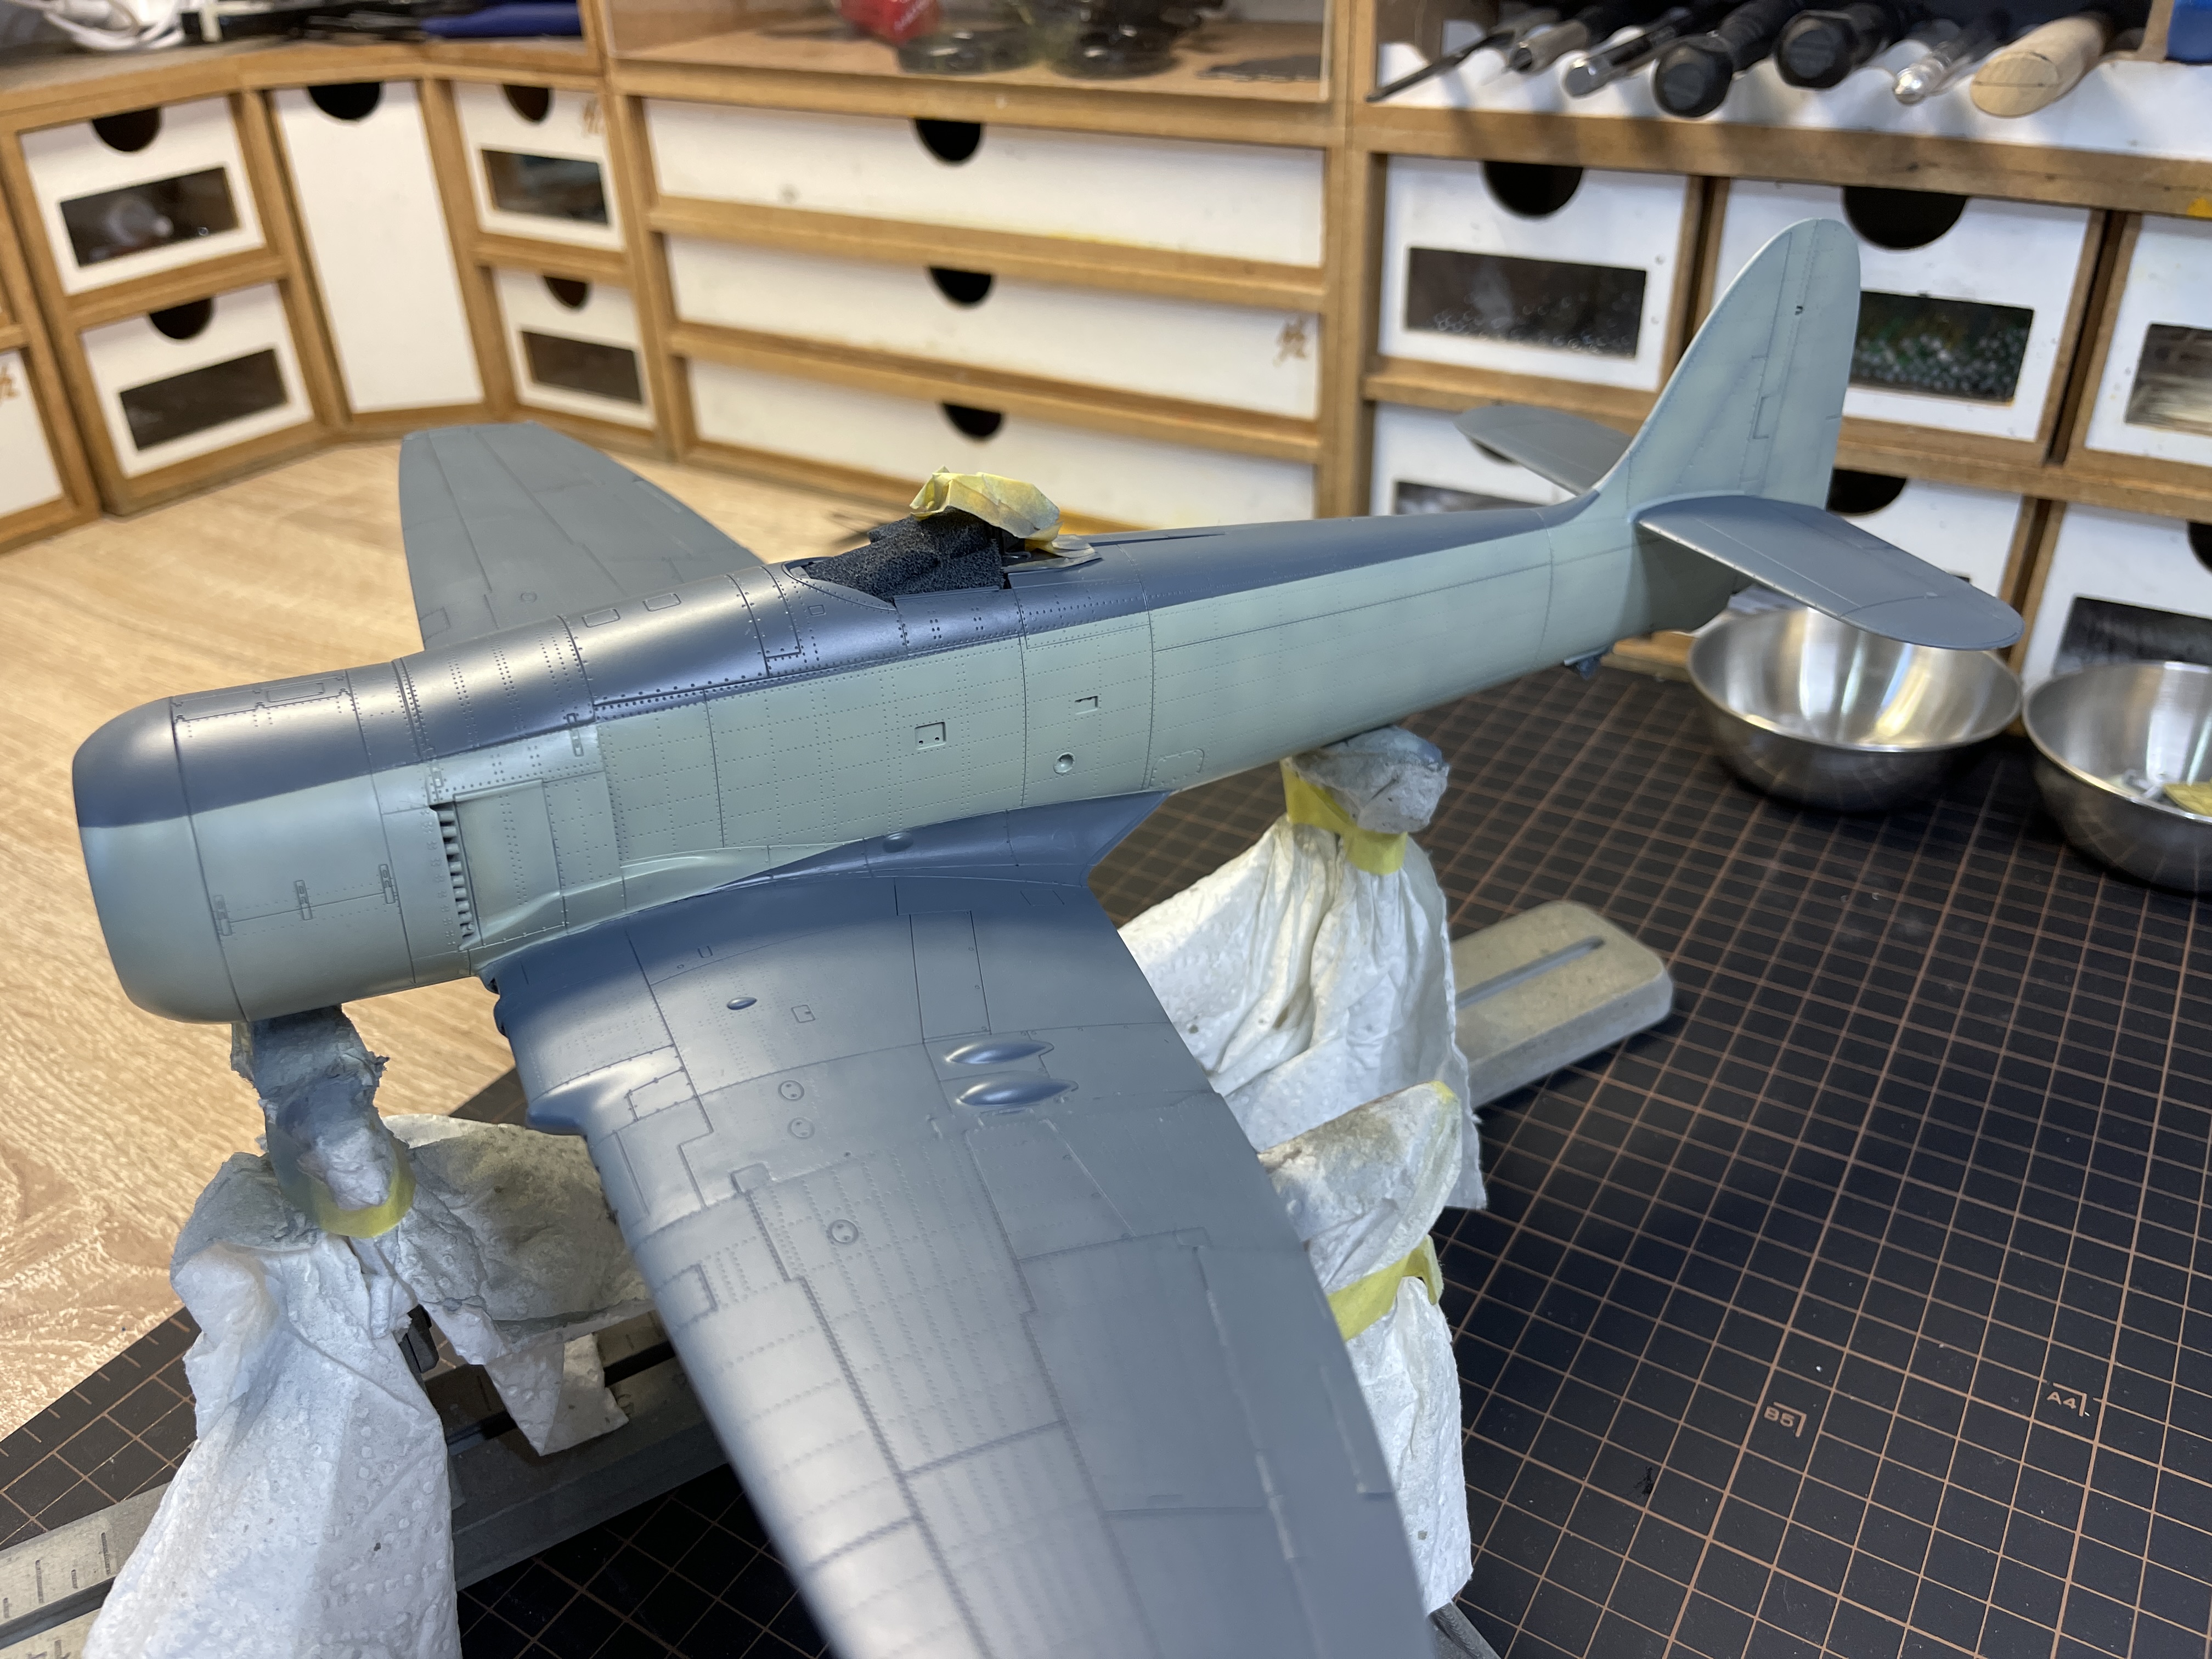
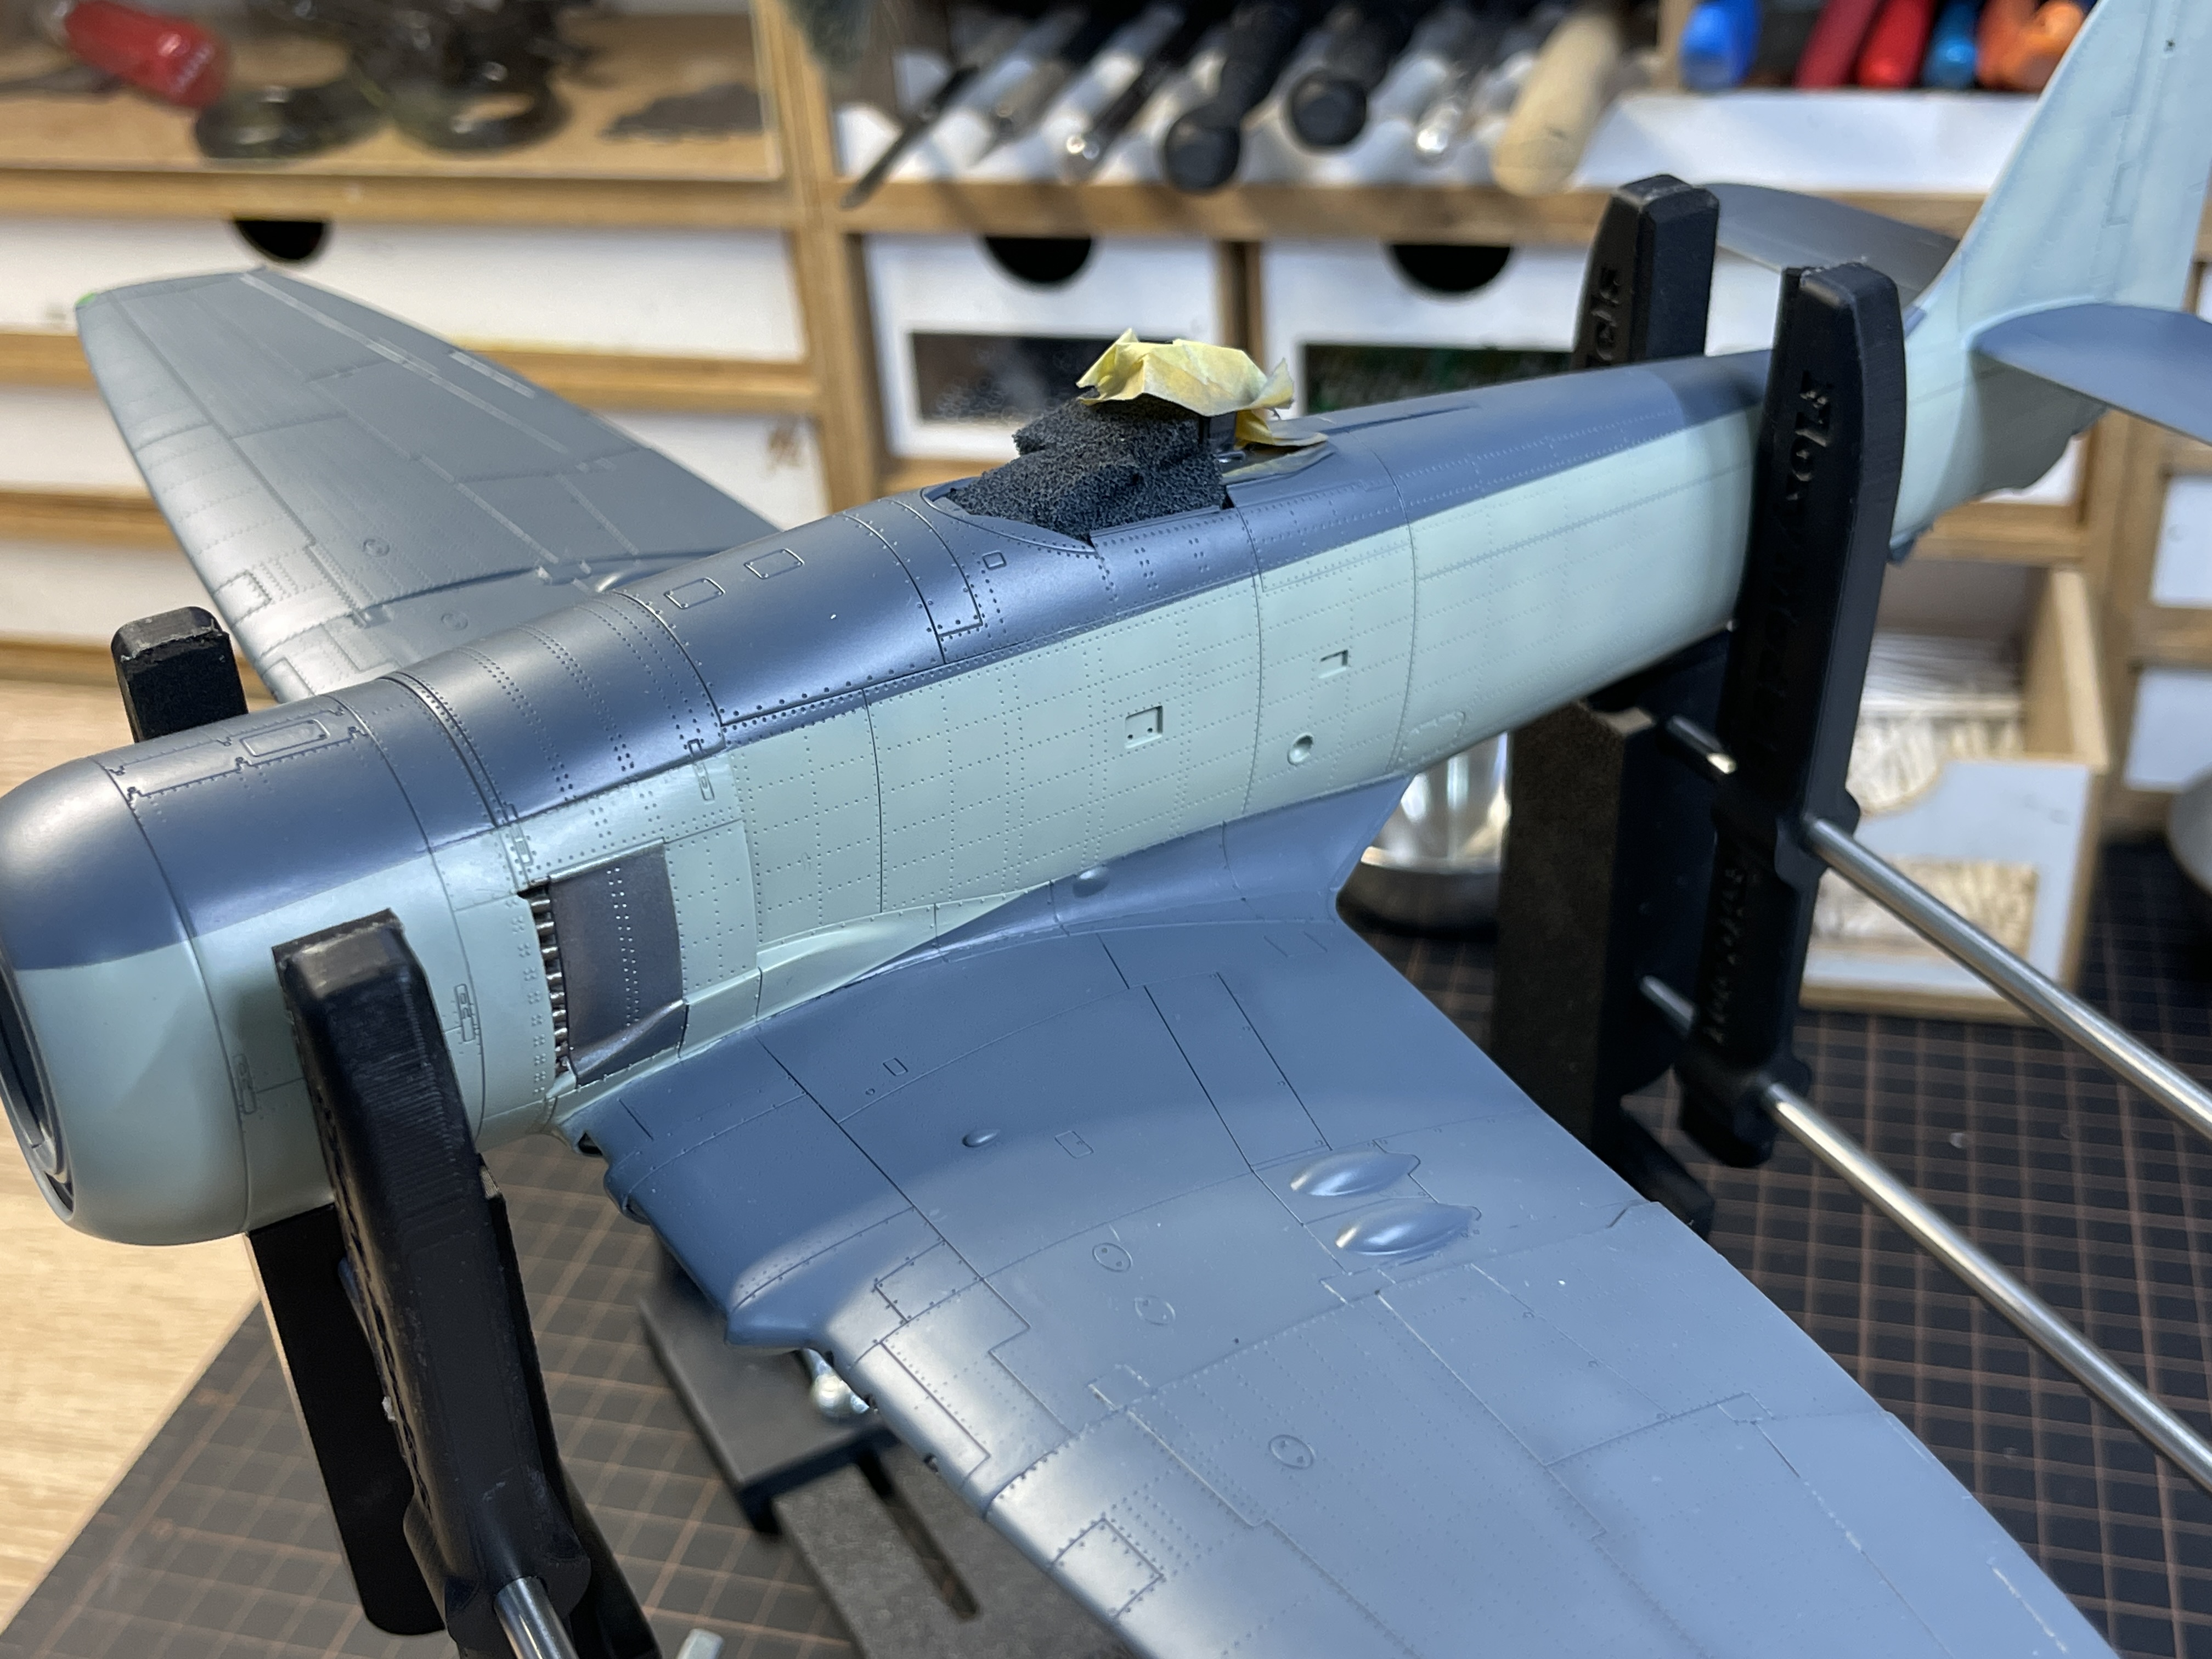
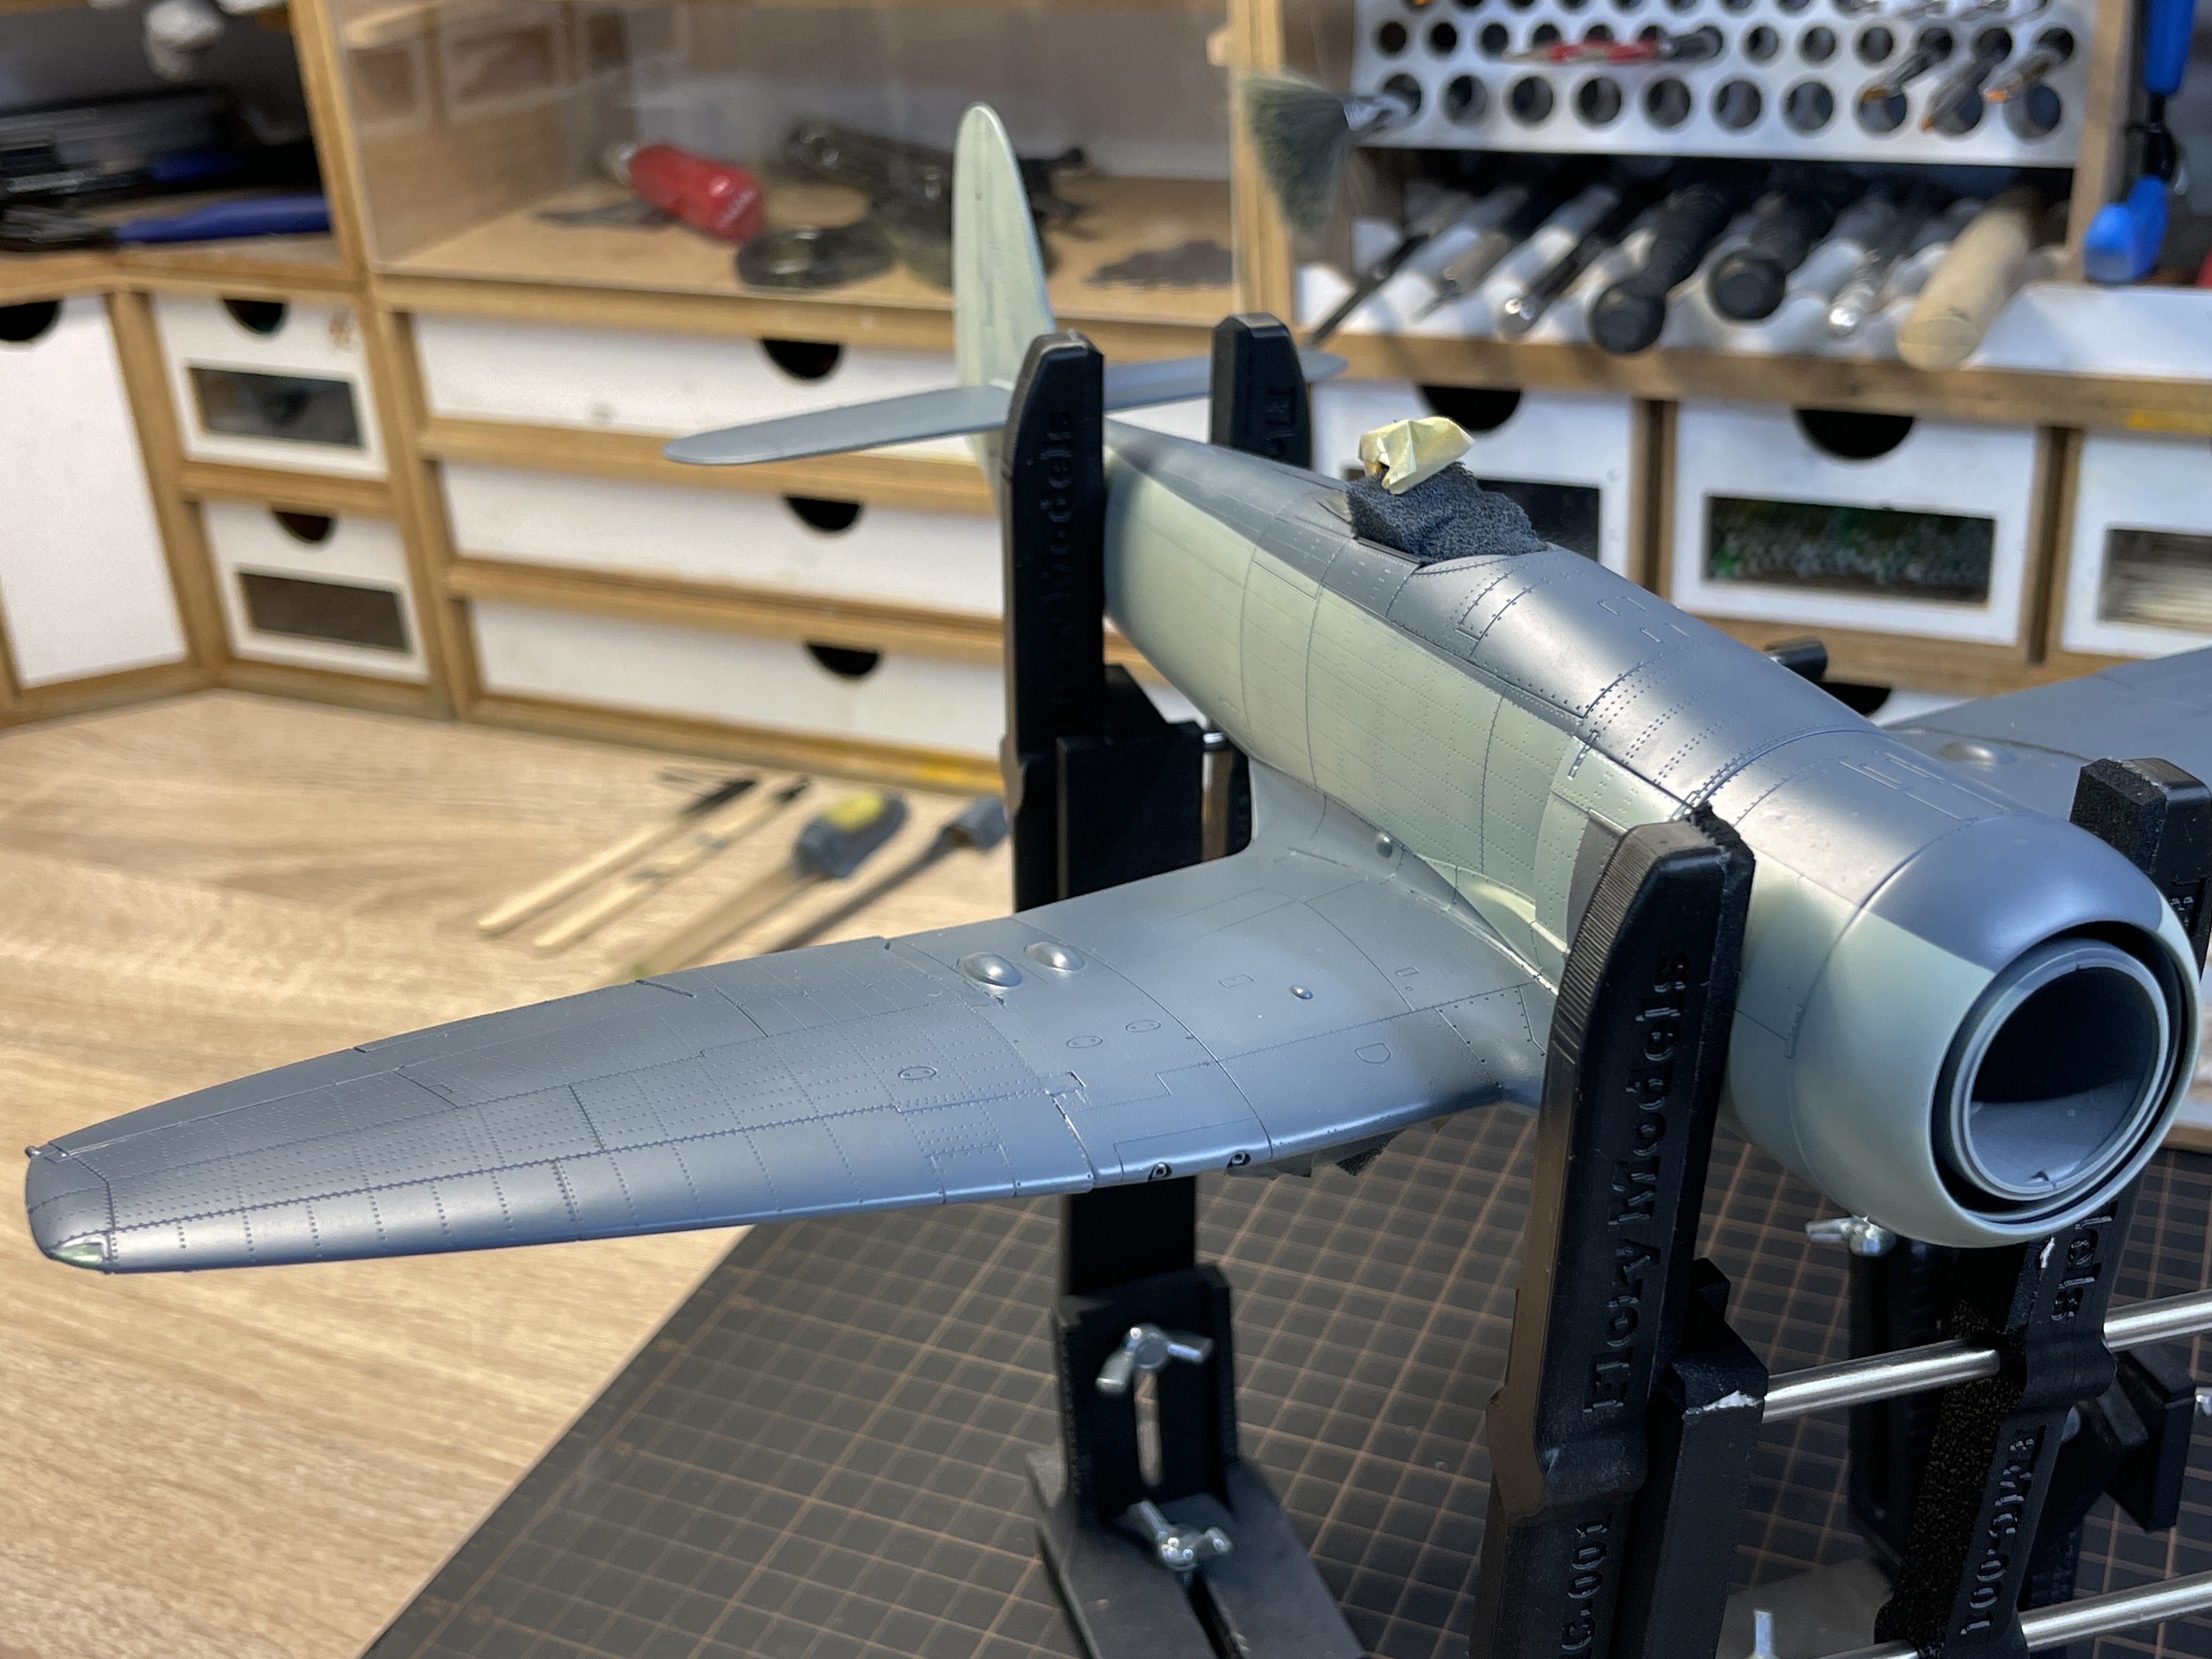
The main airframe. Minimal filler has been used
There is a lot of pe in this kit and I am not a fan of pe. Some of it is useful and by building the wings down rather than folded I will significantly reduce the amount of pe I actually use.
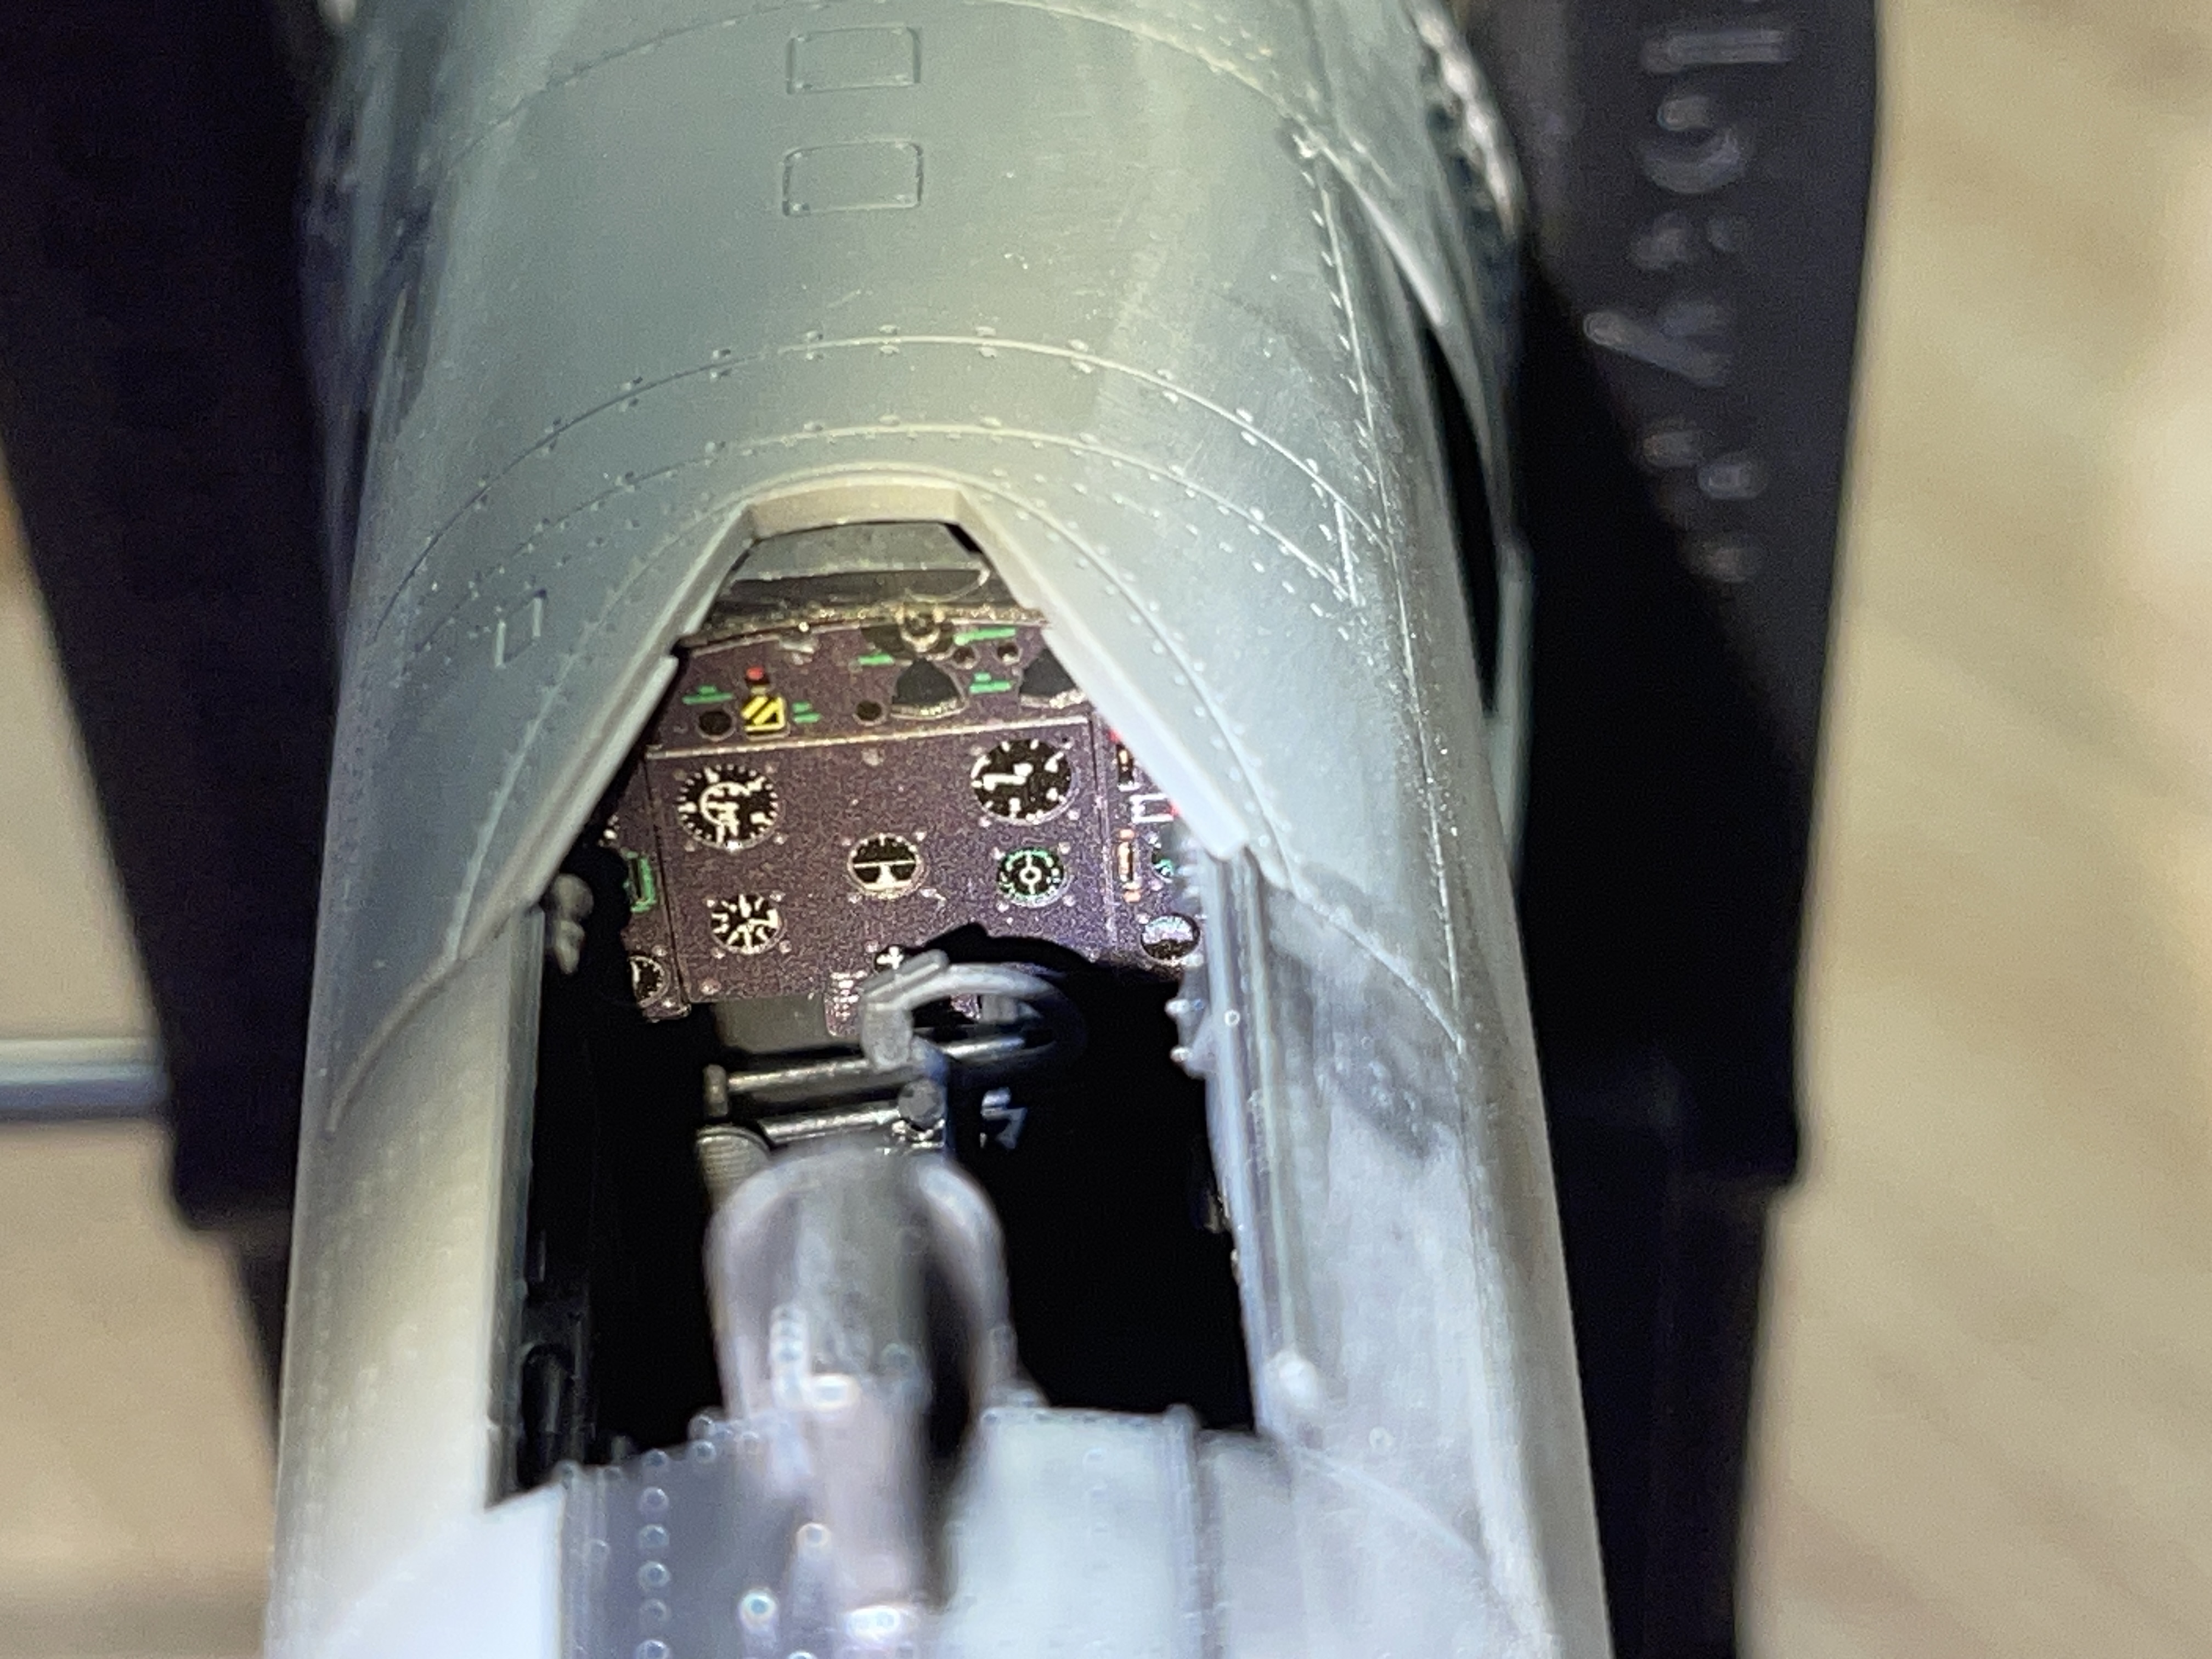
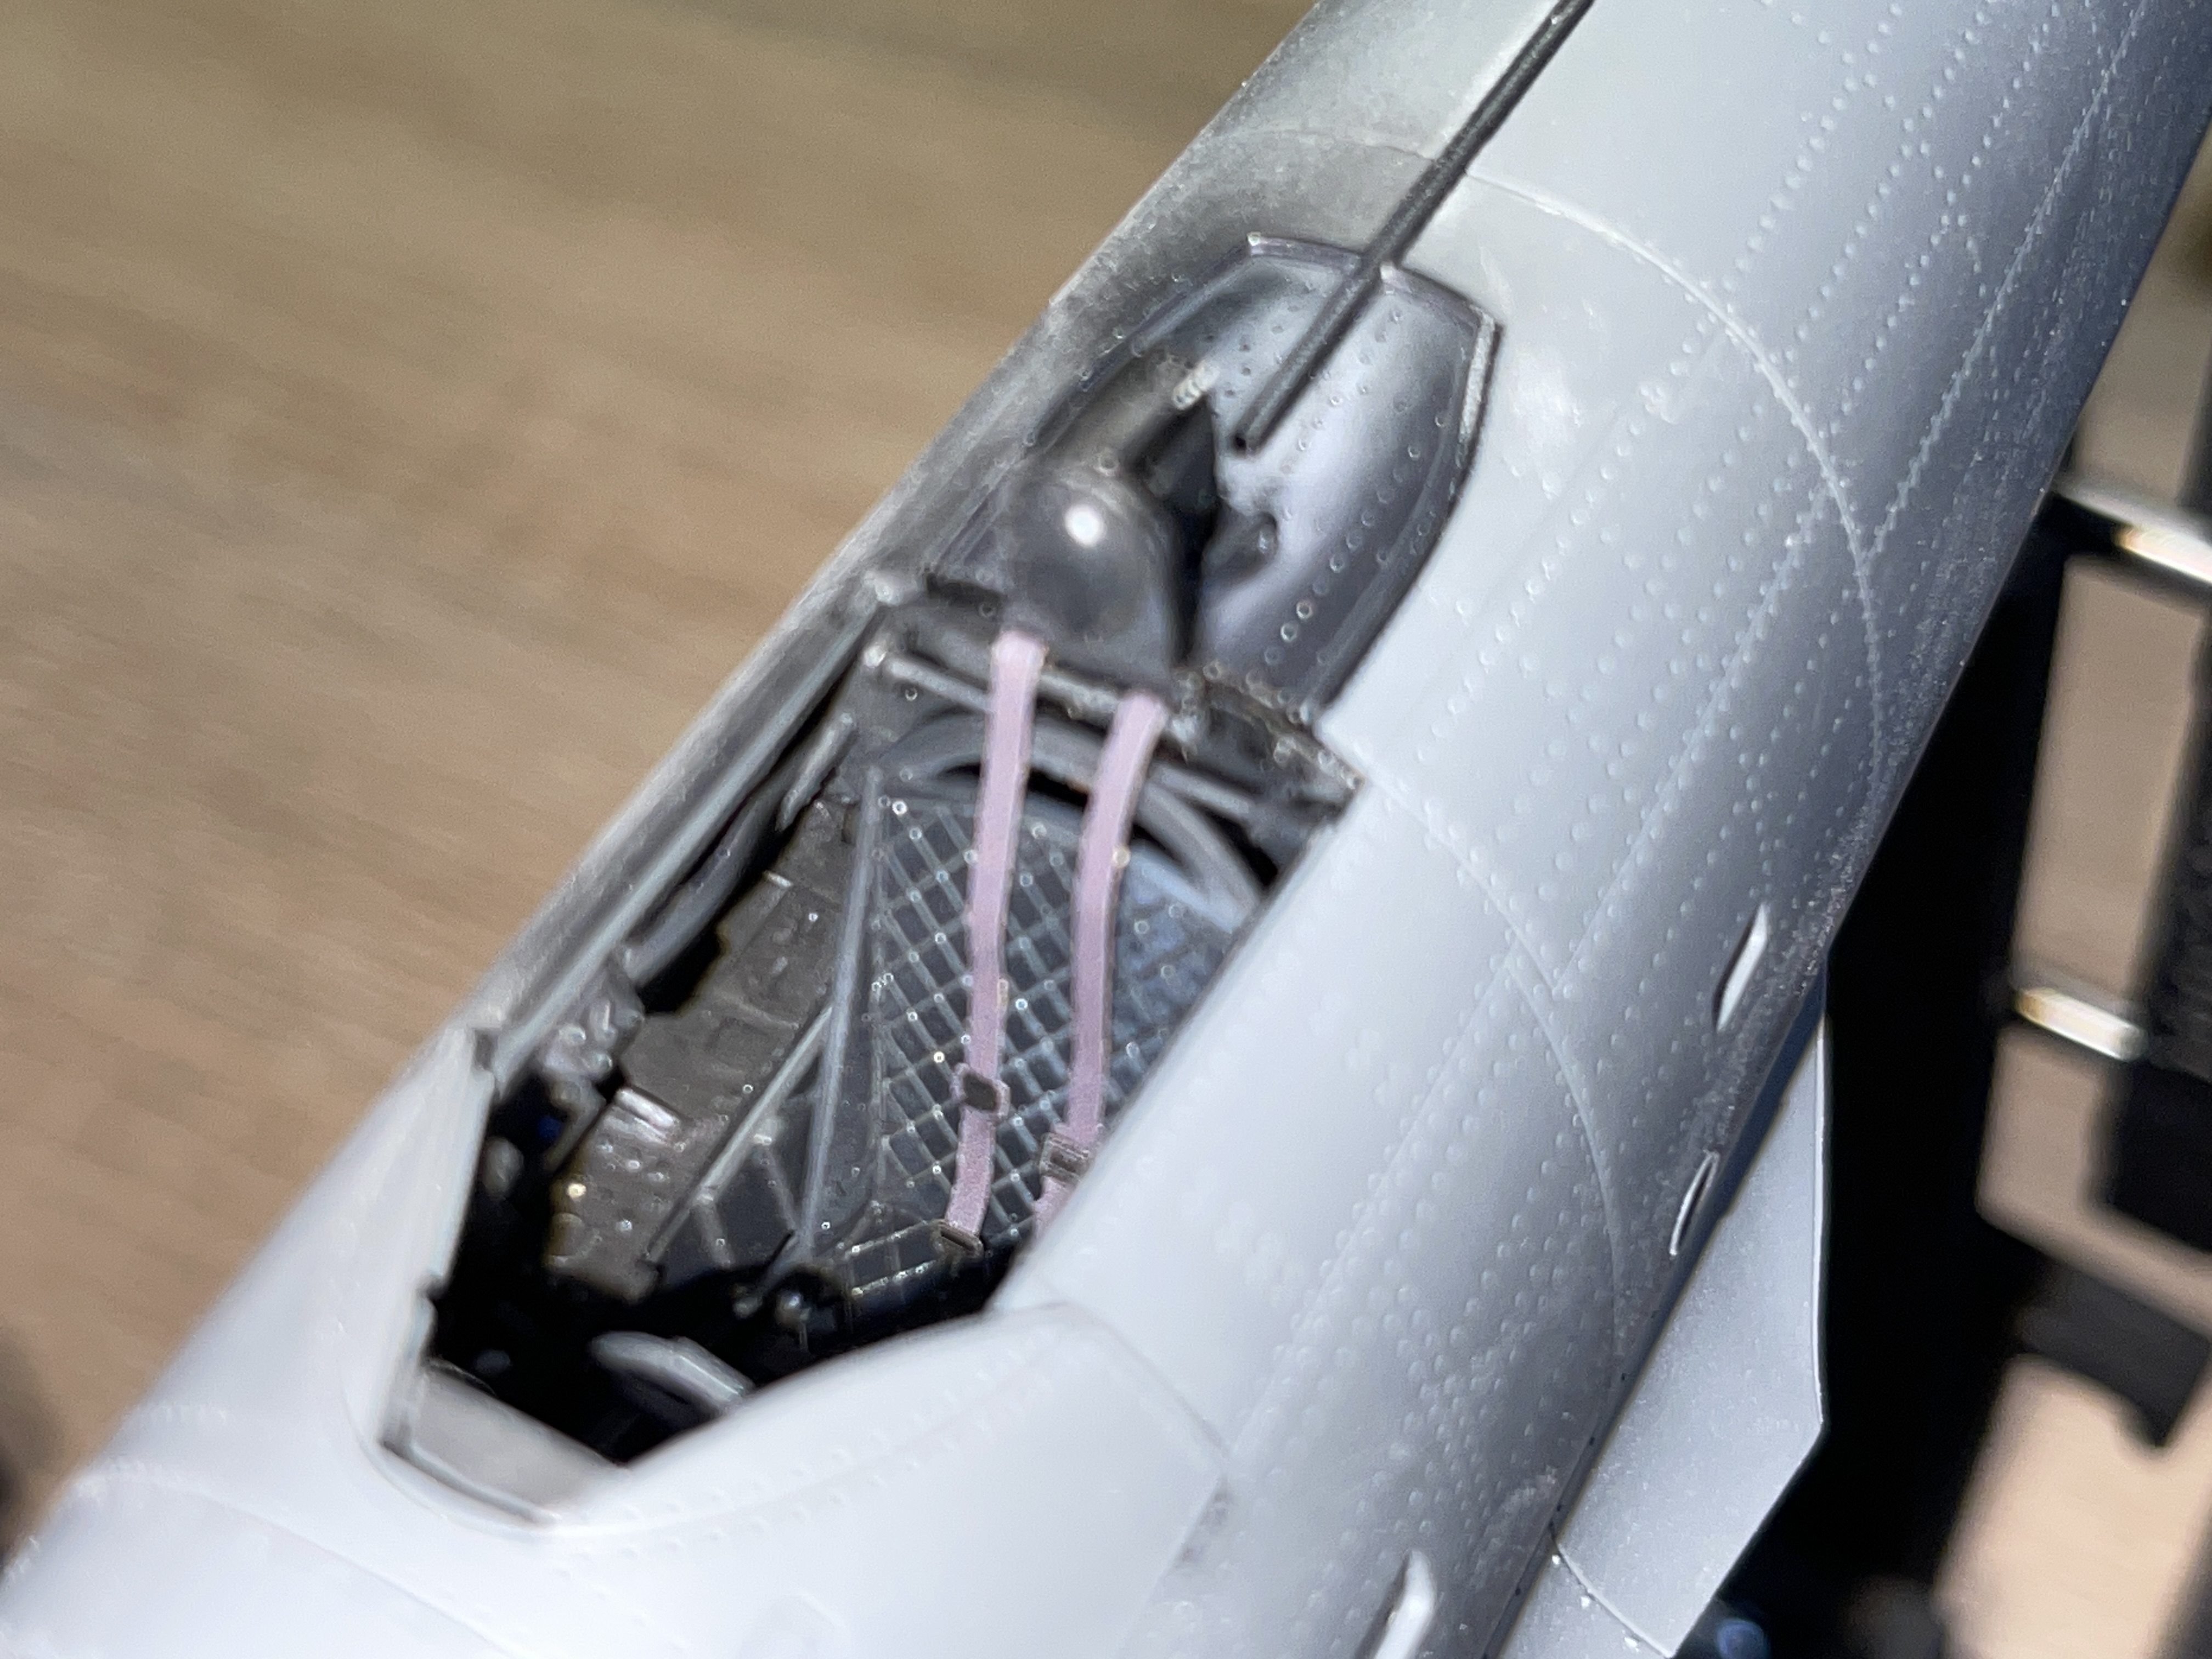
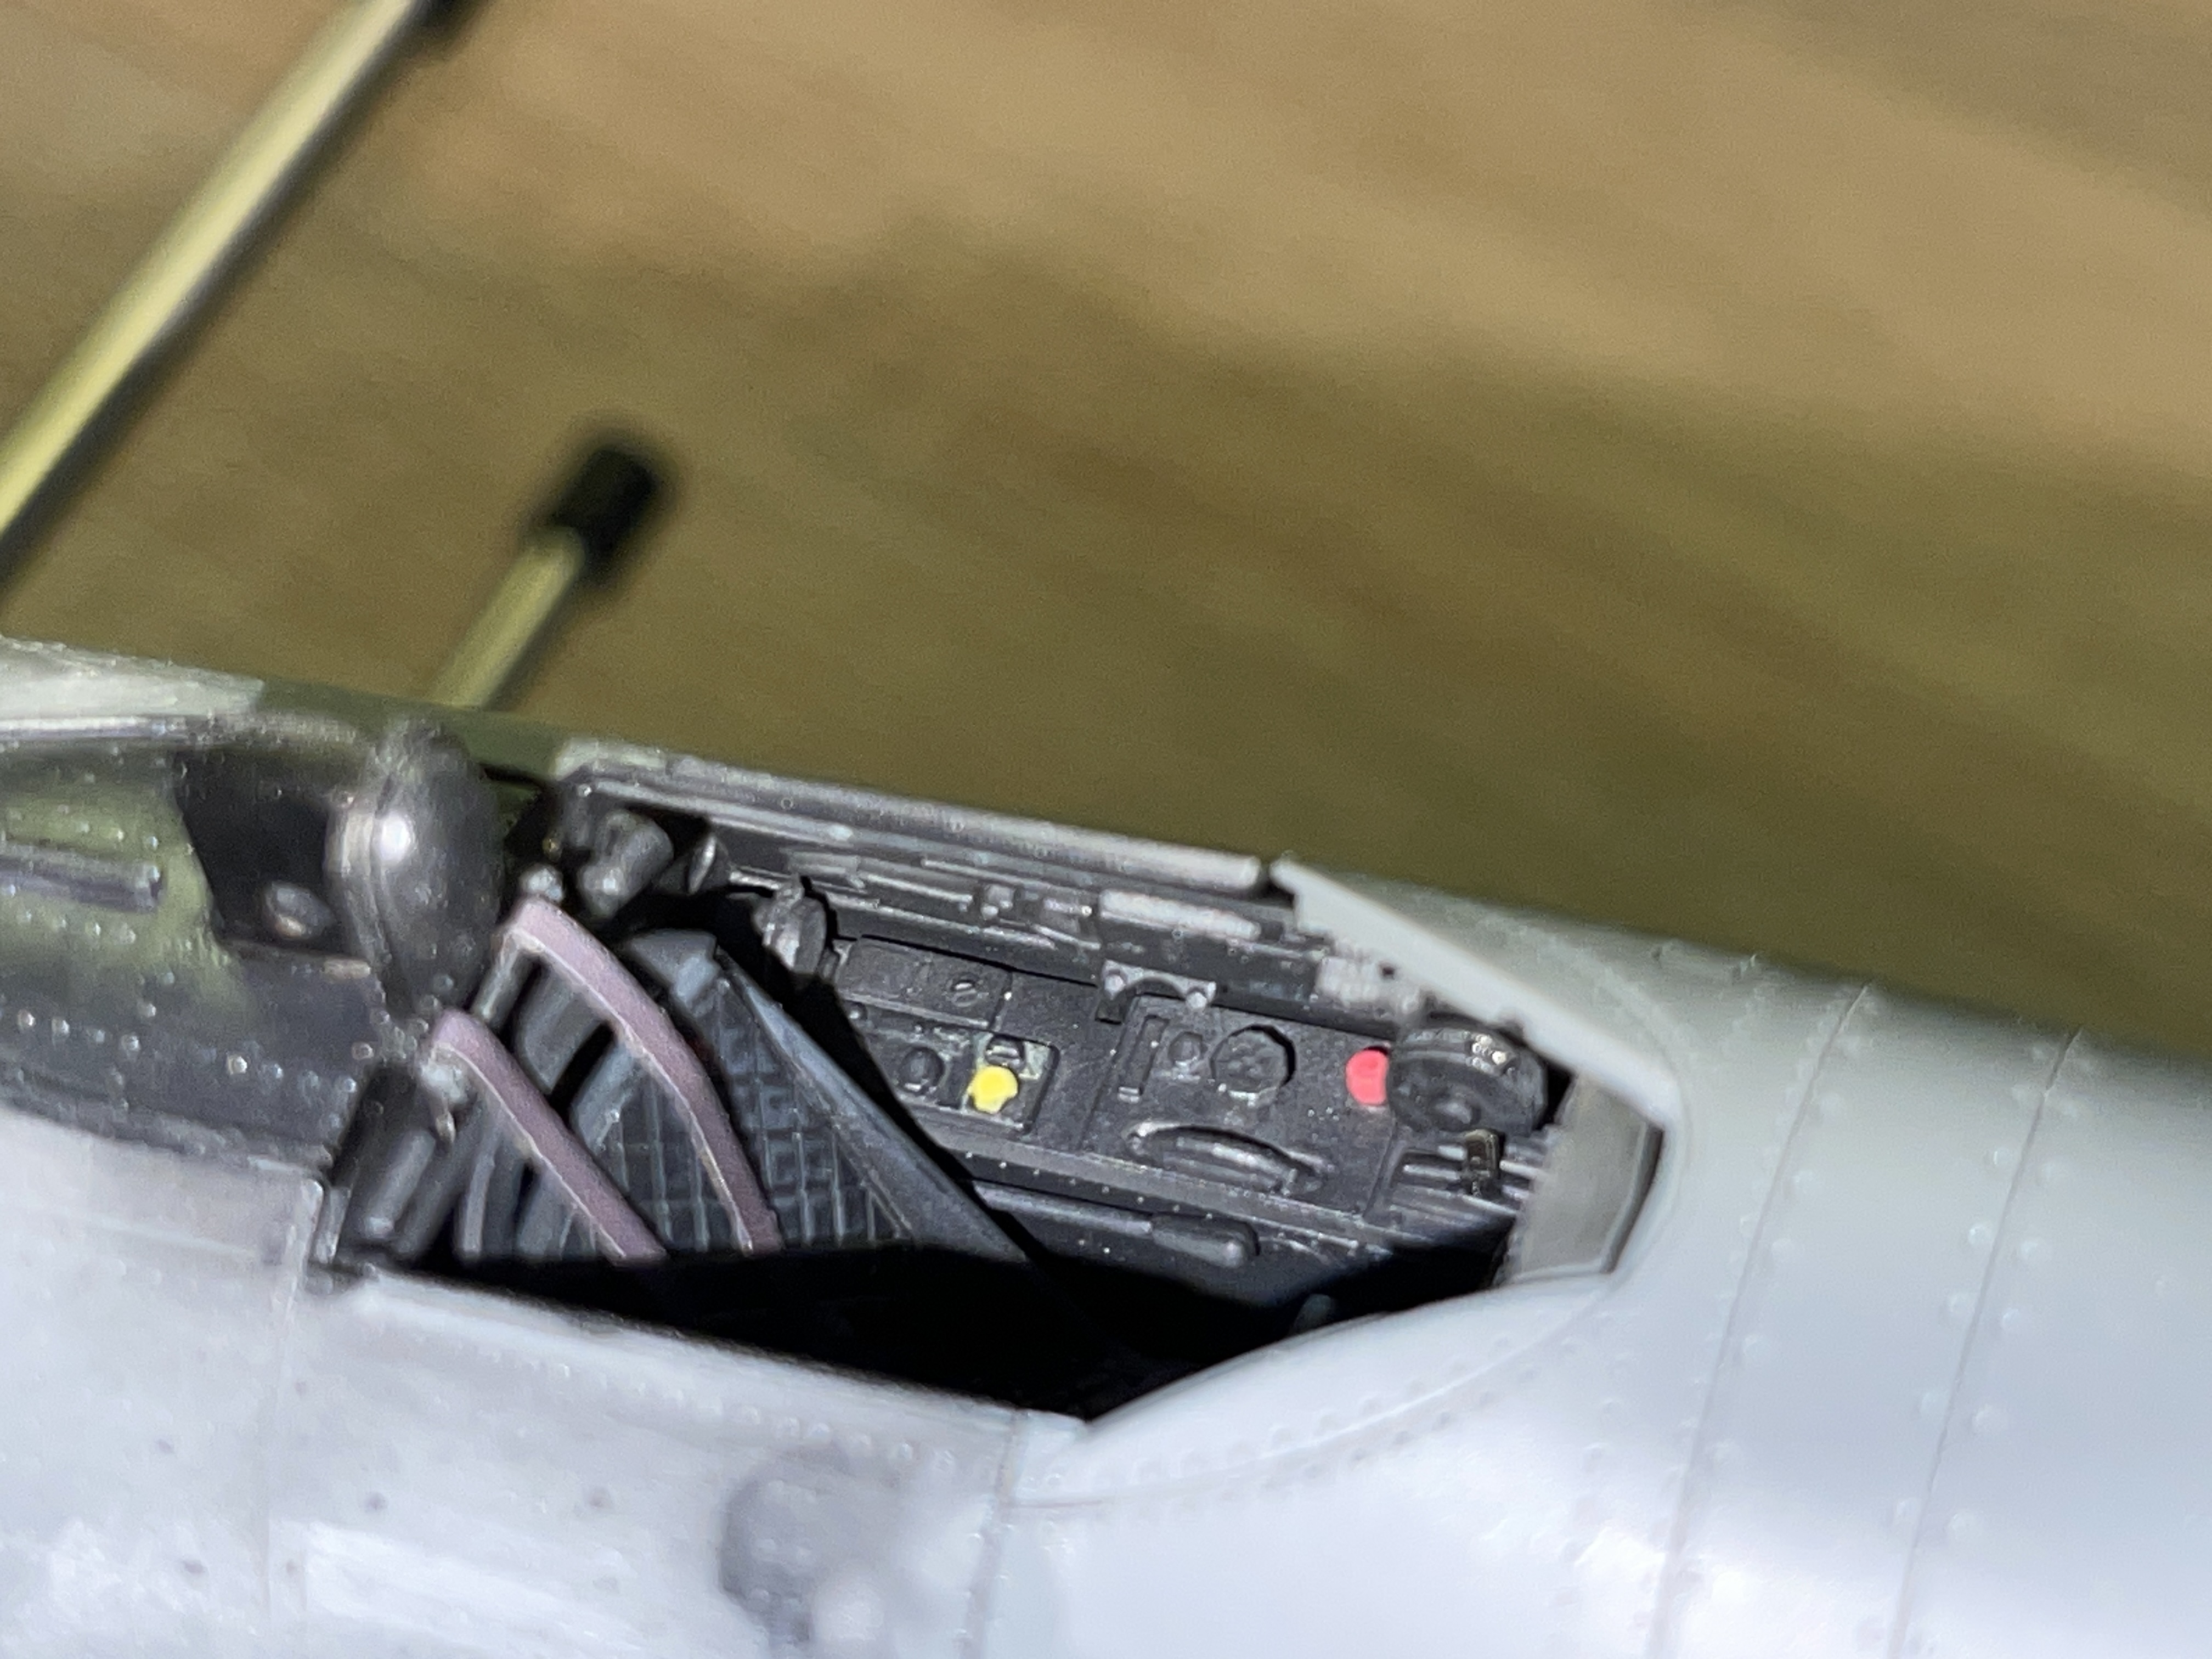
The good bits of this pe (Eduard produced pre painted) are the instrument panel and seat belts. This kit is engineered to take this and with the seat belts it really makes life easier to get them positioned in the right way. In the cockpit however a lot of very, very small pe levers need to be glued into the side panels, about 15/16 or so of them and that's never a good thing. By the time I closed the fuselage I actually had just 4 in place, the carpet monster had a field day, some lost during fitting, some knocked off between fitting and closing the fuselage. It is infuriating and whoever decided using pe in this way should be lined up against a wall and shot under charges of unusual and cruel punishment.
DMBK say that they are going for a mix of accuracy and buildability. By simply including all this pe (exceptions being the seatbelts and instrument panel) they have undermined both buildabiiity and accuracy. After all, how many people can honestly say they find gluing tiny barely visible levers into place has 100% success!! In this way they sacrificed buildability for accuracy and in so doing compromised accuracy! A better balance is needed here in future releases. I would like to have seen the levers moulded in in the manner of Kotare.
However I still ended up with a nice cockpit
A couple of parts have broken way
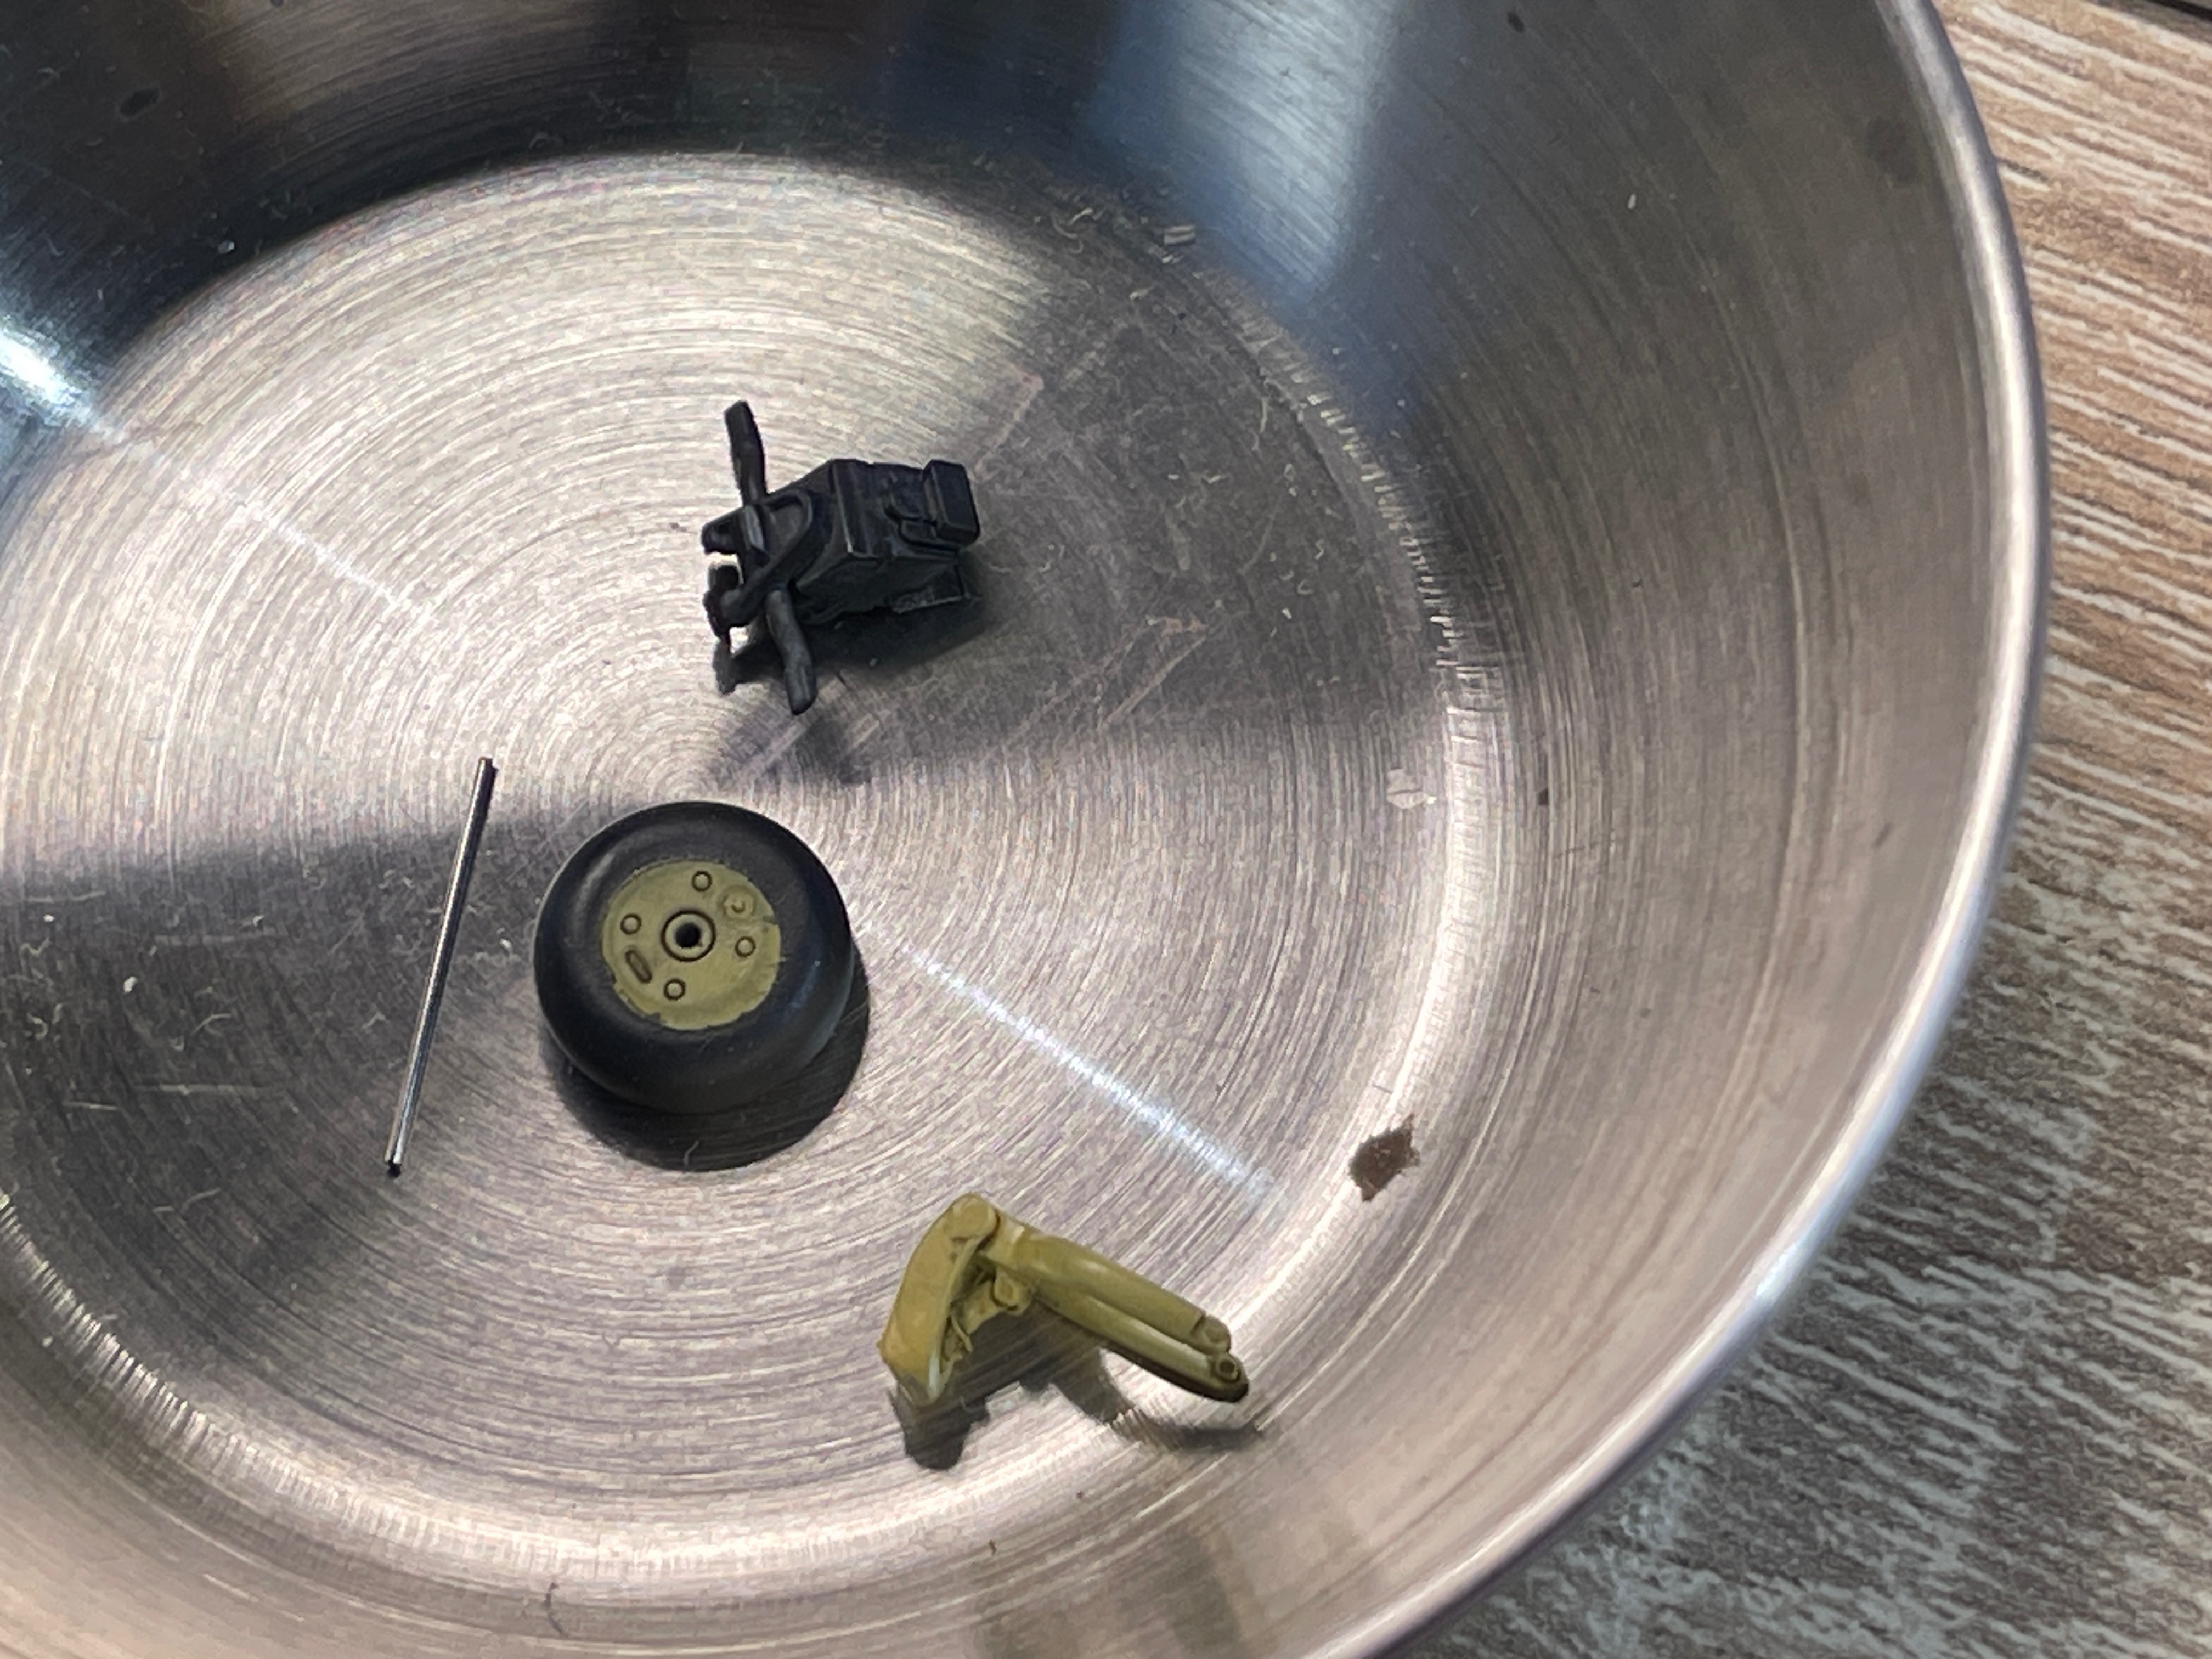
The tail wheel is very weak. I will drill it and use a metal rod to repair and strengthen it.
The gunsight, I will refit later. I spent a lot of time on that sandwiching a transparent piece between pe and gluing it into place. Very fiddly indeed. I would prefer not to have had that process and just have a transparent part to mask and paint. Again some compromise is needed for buildabiiity. In fact I feel lucky that the gunsight survived this process denying the carpet monster another tidbit.
The centre wing section built up.
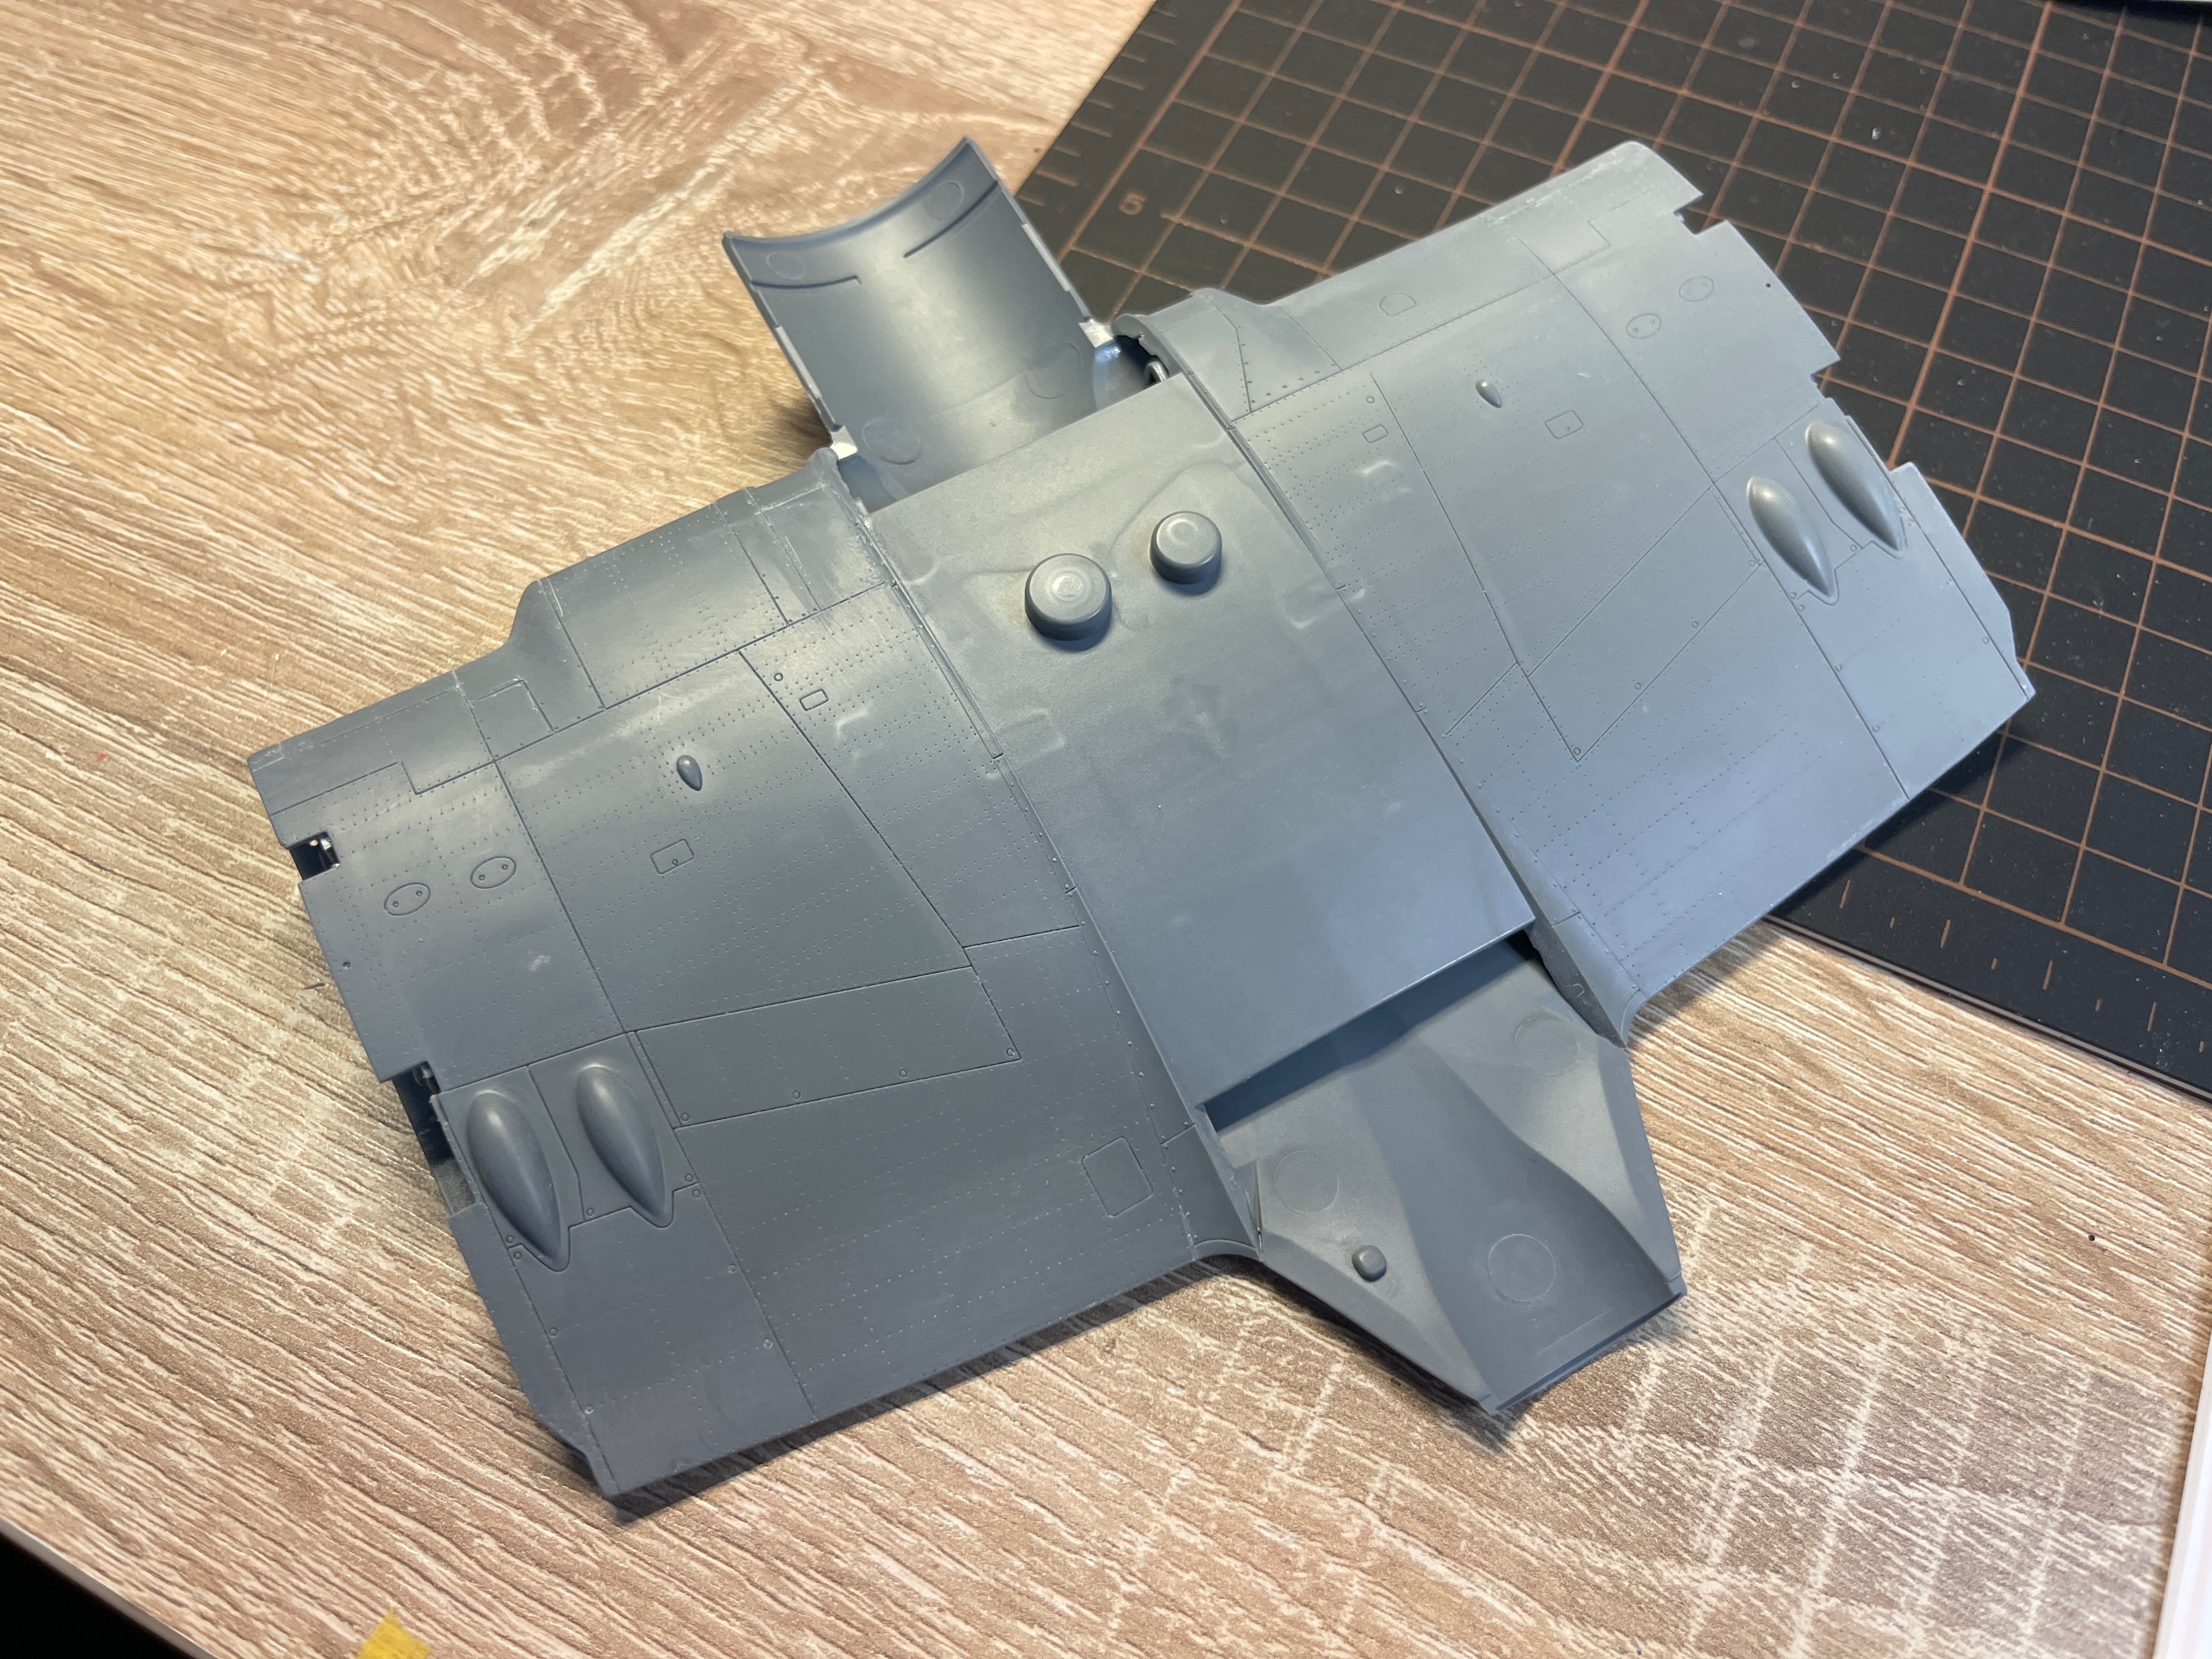
Good fit with just a little filler needed.
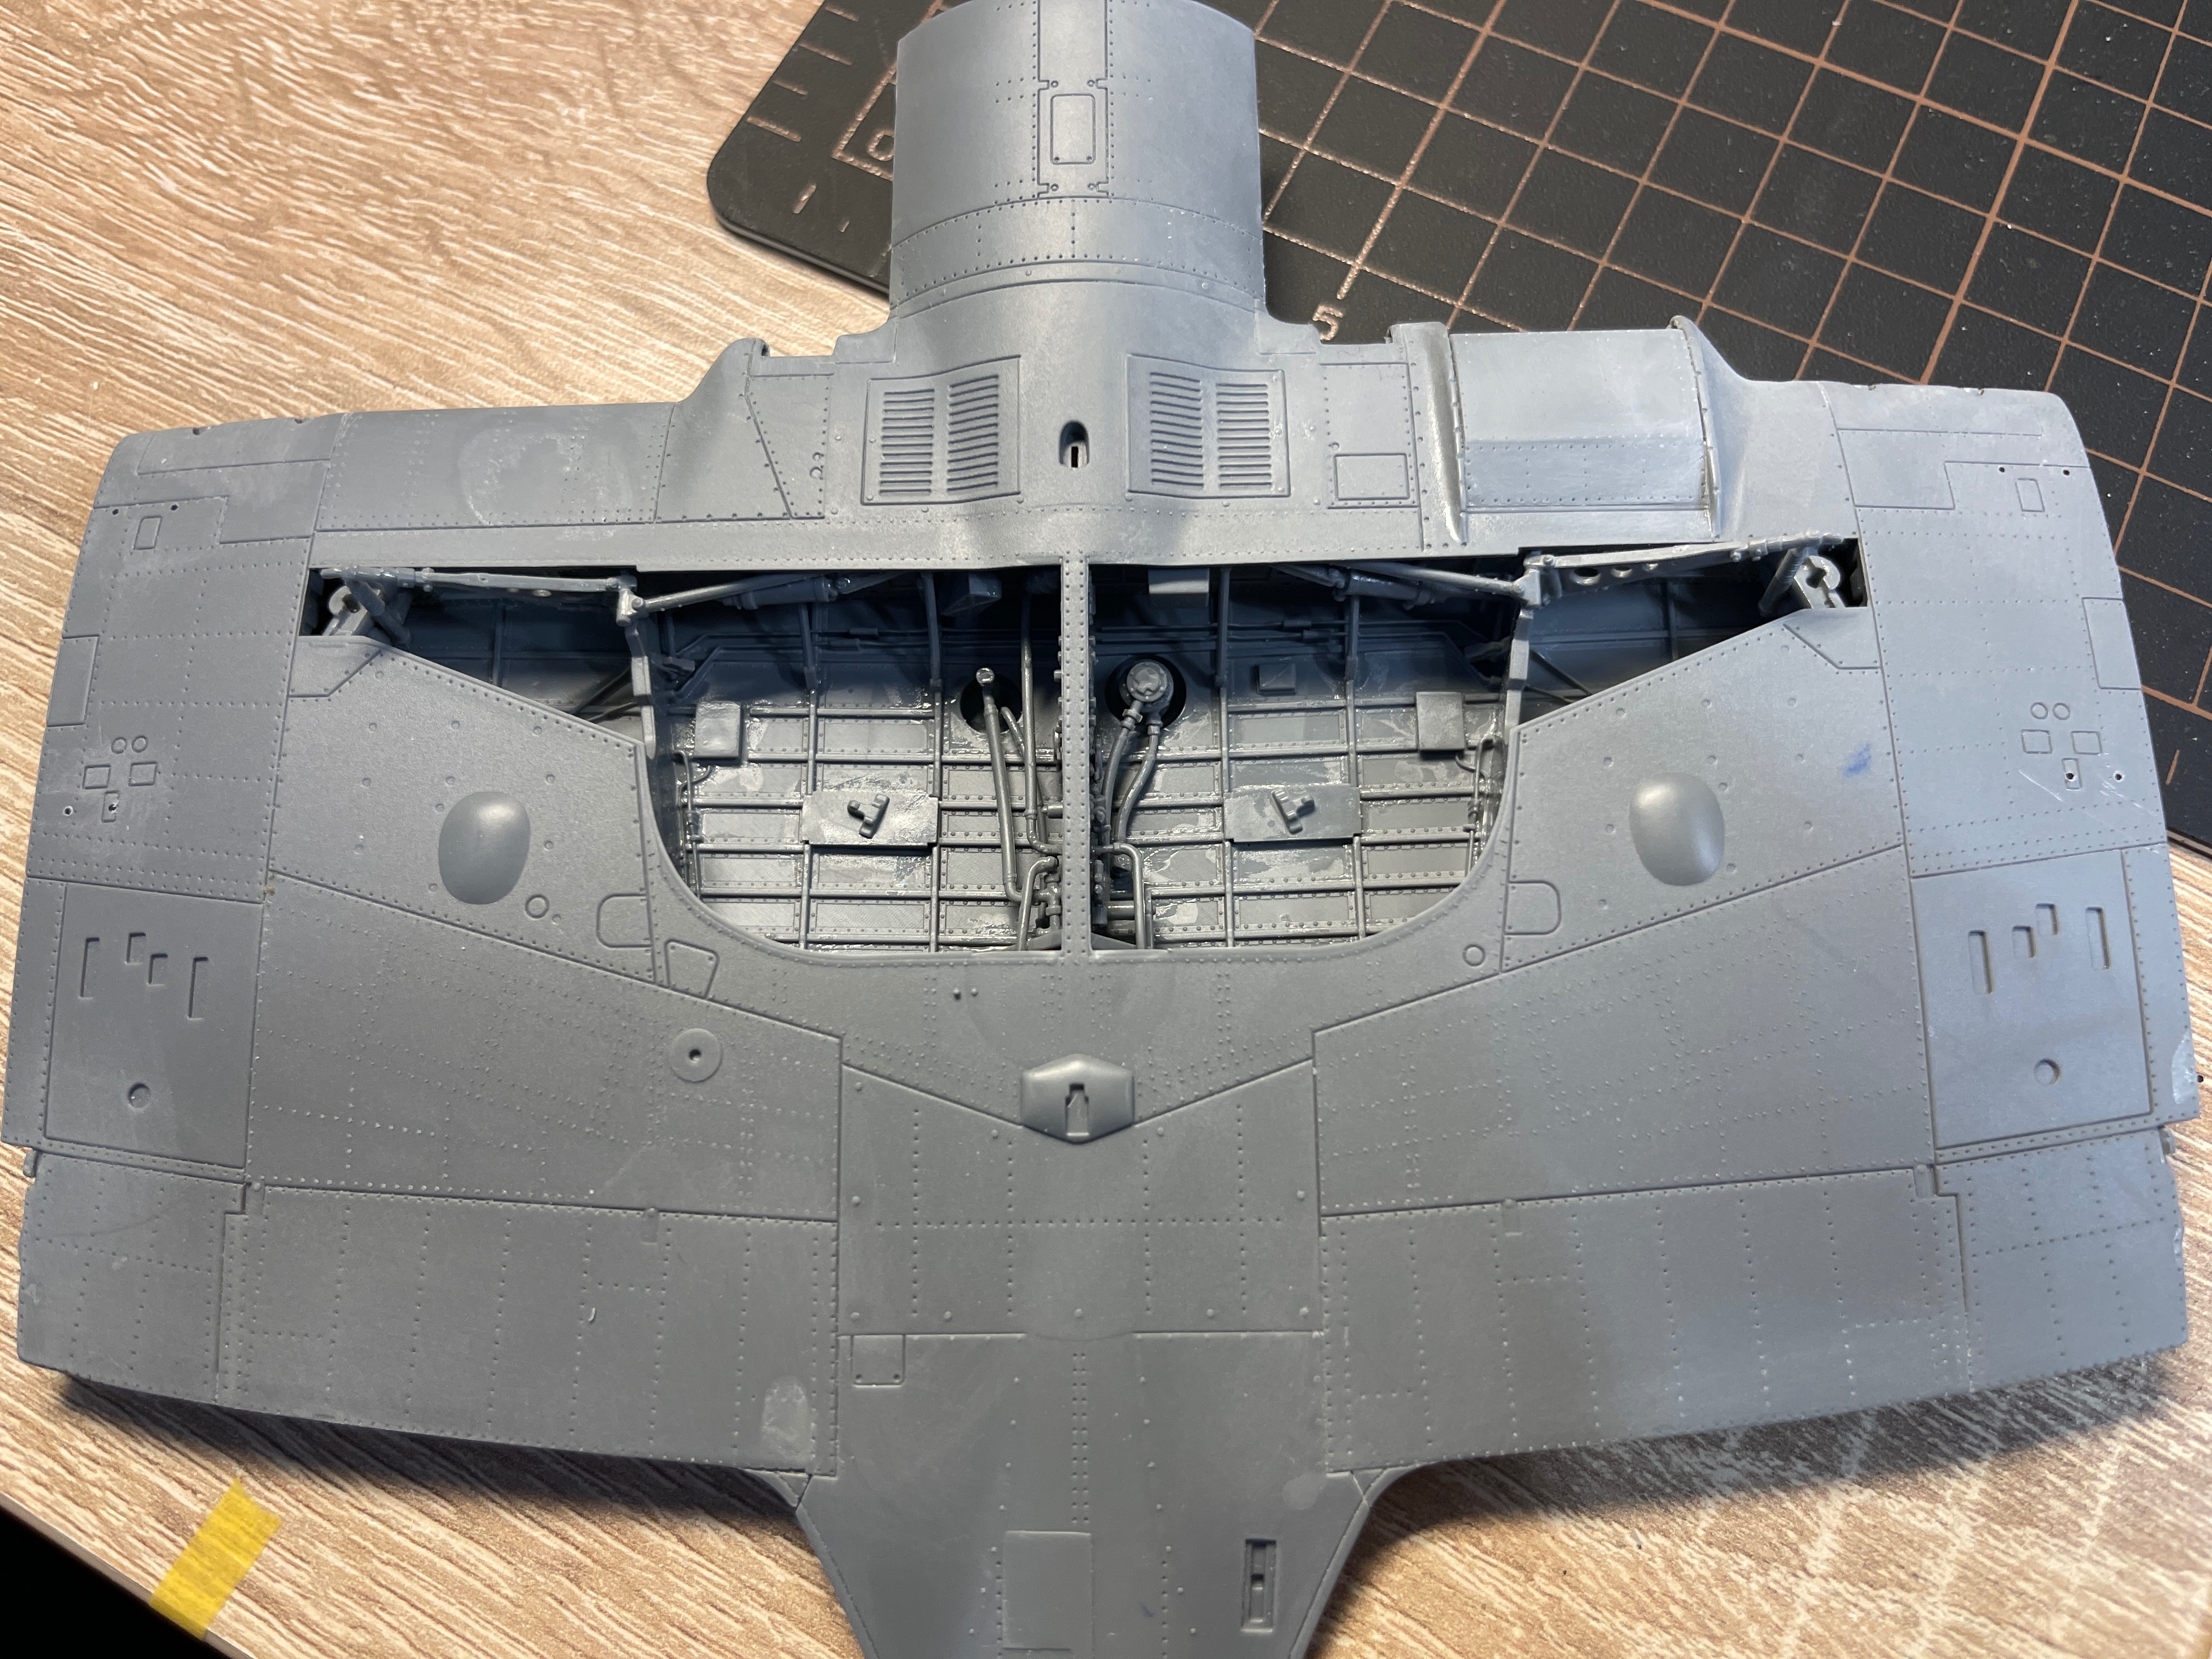
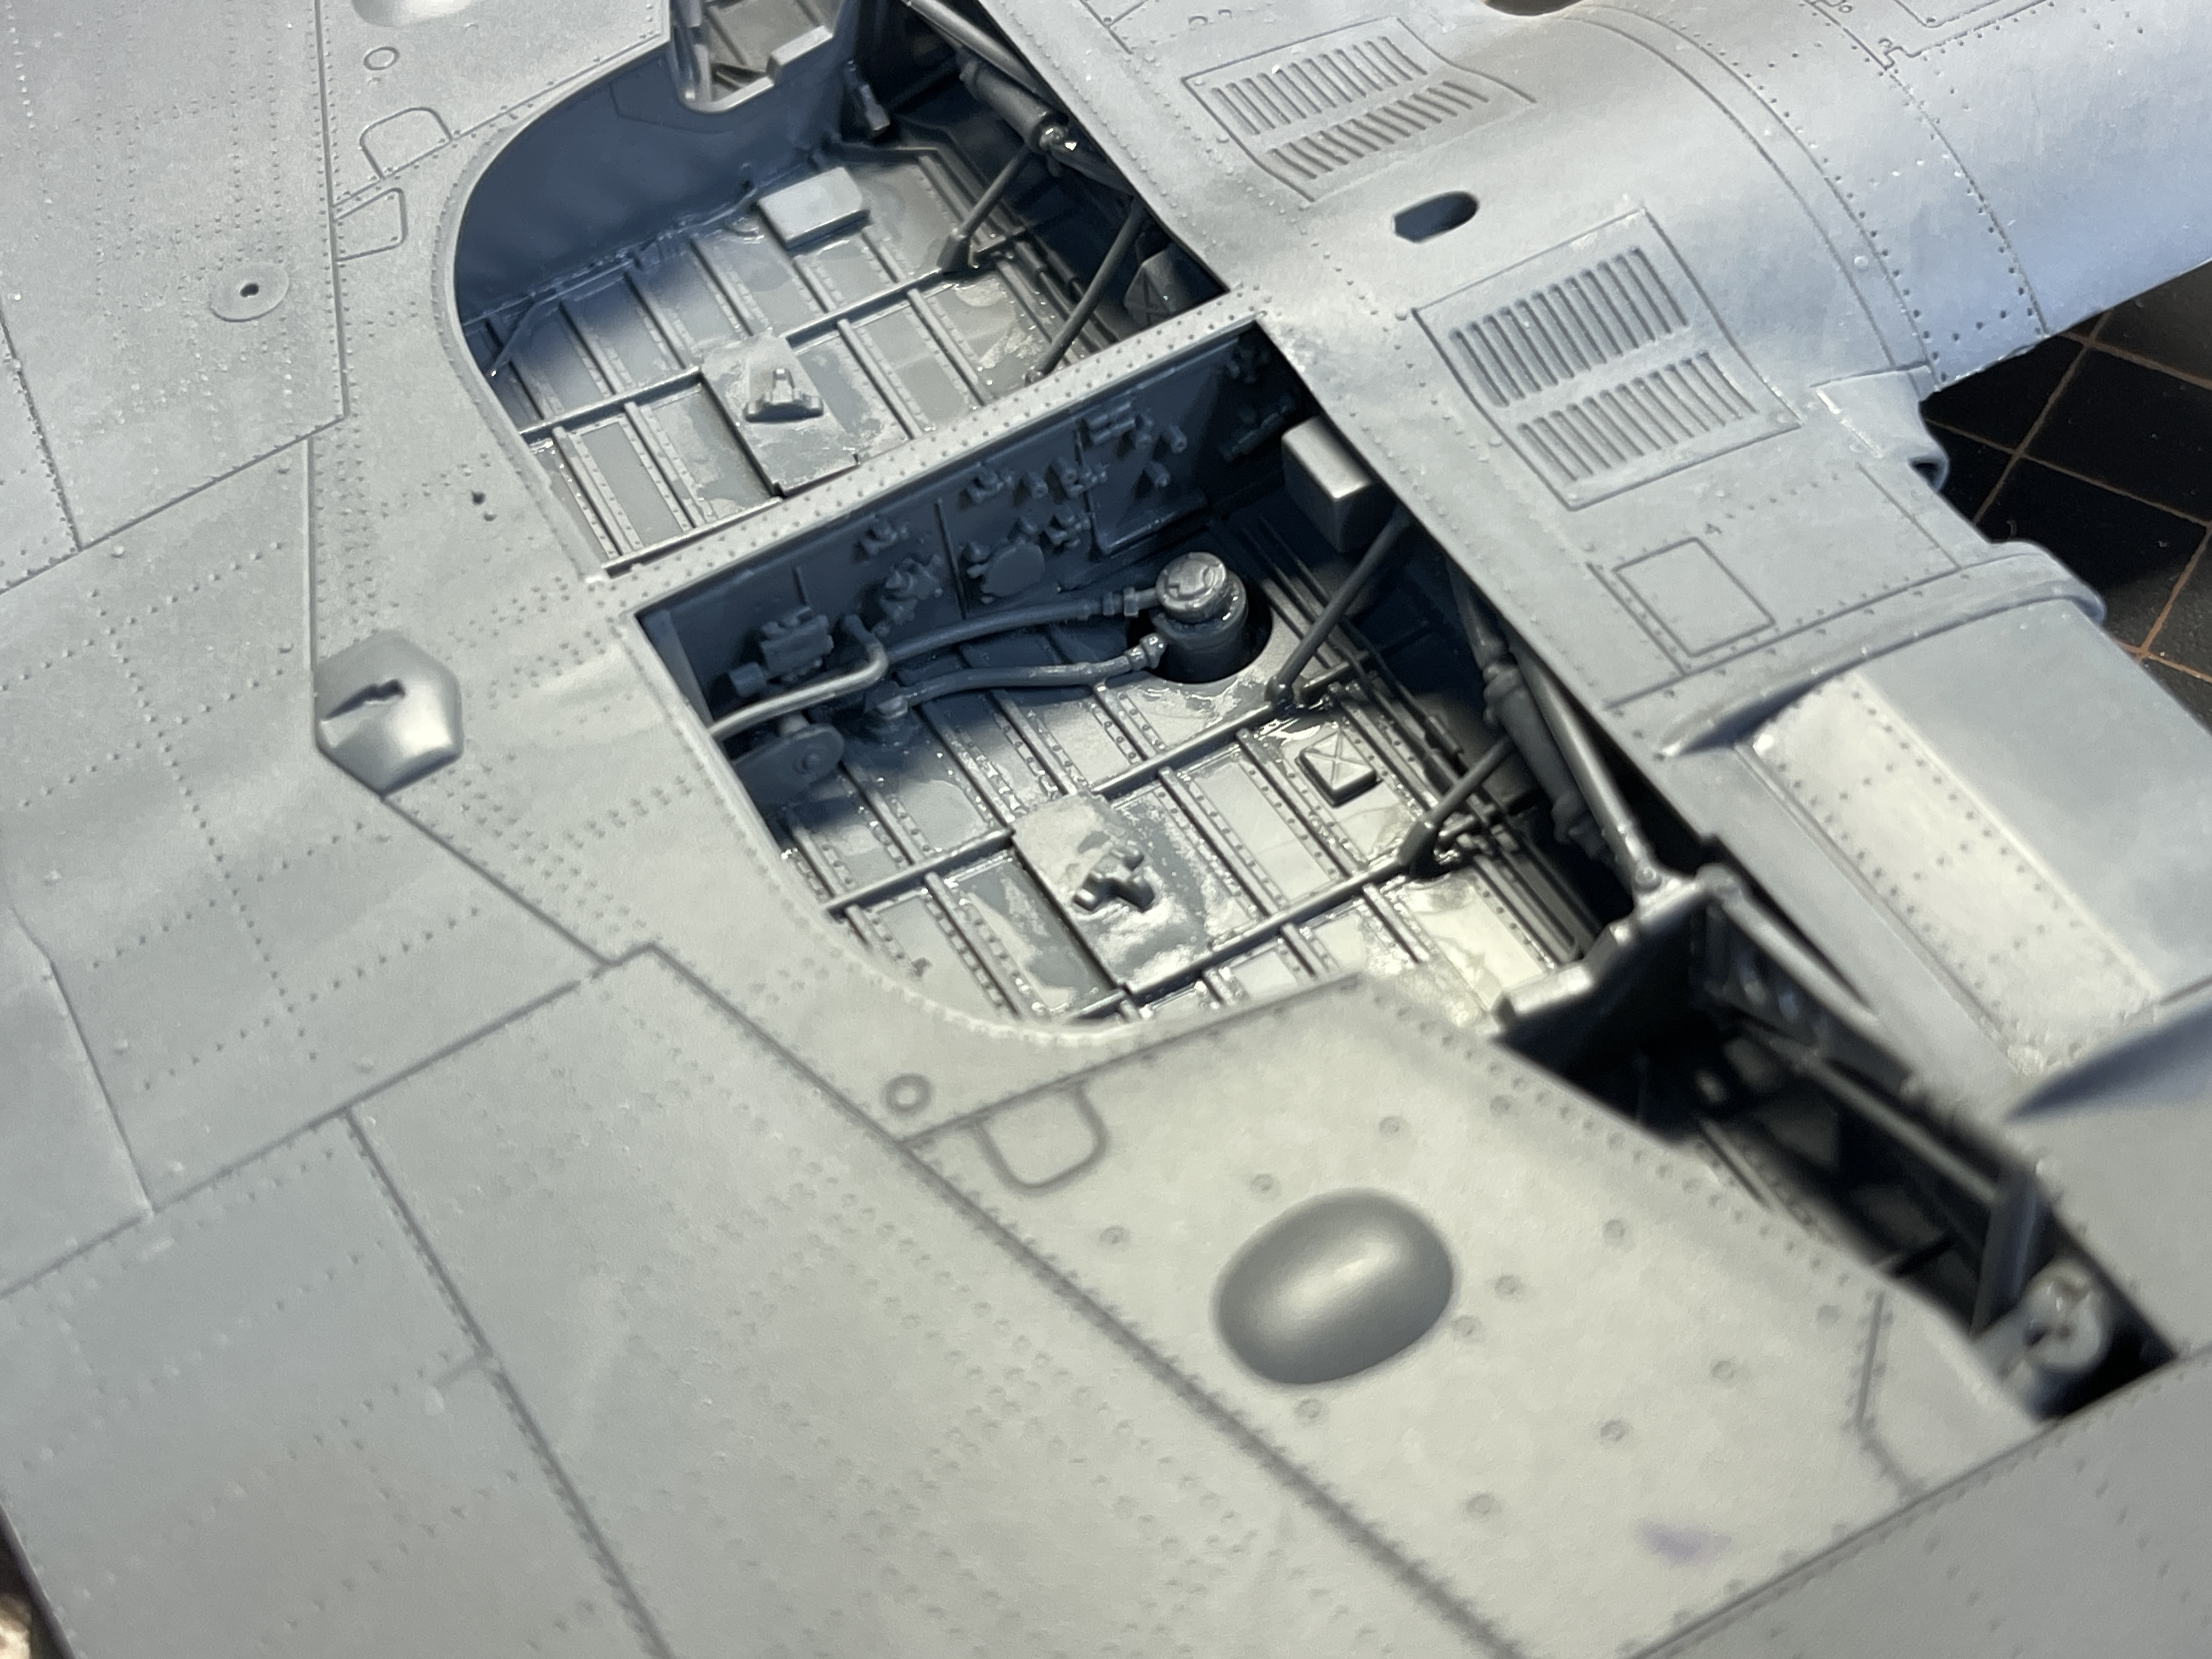
I spent hours on the wheel wells. A lot of plumbing needed to be fitted. To be honest I found that a little tedious even though I missed some out.
They provide a chart to wire the dividing bulkhead. To be honest I could not be bothered with that. It would have taken hours more for little gain as not a lot will be seen. I just stuck with the plastic parts. A few elements of pe is also included for this but, again I left it out, though there is one part of coloured pe that I will add after painting.
As you can see below even with what I did not bother with, I still have a really nicely details when well.
So that's where I am. A few other points
1- the instructions could be better, some part call numbering is wrong and the build sequence could be better in places. There is some vagueness in places but then that might be because I have been spoiled by my last half dozen builds being mostly Kotare and Zoukei Mura. Nothing here though was problematical. Easily sorted.
2 - the parts are generally well moulded, crisp and flash free. There are a couple of 'short shots' however and DMBK need to address this issue for future releases.
Whatever I have said, this is a great kit of a much needed Sea Fury in 1/32. Don't be put off by anything I have said. This is a great first release by DMBK and I look forward to many more.
I will post a few more progress shots along with a full range of completed photos when done.
I have changed my mind 6 days into this build.
Before I say anything else, I am loving this build. The plastic is well engineered and so far has faultless fit.
This is one of DMBKs first two releases, the other being a DH Hornet. The Hornet is a low pressure limited run kit that I will be building soon, while this Sea Fury is a high pressure mainstream production kit which DMBK say will be more typical of their releases. They have announced an ambitious release schedule that covers both 1/32 scale and 1/48 scale kits and we have a lot to look forward to from them.
They are also a U.K. company and this Sea Fury was moulded in the U.K. (Hornet being outsourced to Ukraine). Future releases will also be U.K. mouldings (by the same U.K. company Airfix used for their 1/24 Spitfire IX)
Now for the kit box
A beautiful box art.
This is how far I have got in six days.
The main airframe. Minimal filler has been used
There is a lot of pe in this kit and I am not a fan of pe. Some of it is useful and by building the wings down rather than folded I will significantly reduce the amount of pe I actually use.
The good bits of this pe (Eduard produced pre painted) are the instrument panel and seat belts. This kit is engineered to take this and with the seat belts it really makes life easier to get them positioned in the right way. In the cockpit however a lot of very, very small pe levers need to be glued into the side panels, about 15/16 or so of them and that's never a good thing. By the time I closed the fuselage I actually had just 4 in place, the carpet monster had a field day, some lost during fitting, some knocked off between fitting and closing the fuselage. It is infuriating and whoever decided using pe in this way should be lined up against a wall and shot under charges of unusual and cruel punishment.
DMBK say that they are going for a mix of accuracy and buildability. By simply including all this pe (exceptions being the seatbelts and instrument panel) they have undermined both buildabiiity and accuracy. After all, how many people can honestly say they find gluing tiny barely visible levers into place has 100% success!! In this way they sacrificed buildability for accuracy and in so doing compromised accuracy! A better balance is needed here in future releases. I would like to have seen the levers moulded in in the manner of Kotare.
However I still ended up with a nice cockpit
A couple of parts have broken way
The tail wheel is very weak. I will drill it and use a metal rod to repair and strengthen it.
The gunsight, I will refit later. I spent a lot of time on that sandwiching a transparent piece between pe and gluing it into place. Very fiddly indeed. I would prefer not to have had that process and just have a transparent part to mask and paint. Again some compromise is needed for buildabiiity. In fact I feel lucky that the gunsight survived this process denying the carpet monster another tidbit.
The centre wing section built up.
Good fit with just a little filler needed.
I spent hours on the wheel wells. A lot of plumbing needed to be fitted. To be honest I found that a little tedious even though I missed some out.
They provide a chart to wire the dividing bulkhead. To be honest I could not be bothered with that. It would have taken hours more for little gain as not a lot will be seen. I just stuck with the plastic parts. A few elements of pe is also included for this but, again I left it out, though there is one part of coloured pe that I will add after painting.
As you can see below even with what I did not bother with, I still have a really nicely details when well.
So that's where I am. A few other points
1- the instructions could be better, some part call numbering is wrong and the build sequence could be better in places. There is some vagueness in places but then that might be because I have been spoiled by my last half dozen builds being mostly Kotare and Zoukei Mura. Nothing here though was problematical. Easily sorted.
2 - the parts are generally well moulded, crisp and flash free. There are a couple of 'short shots' however and DMBK need to address this issue for future releases.
Whatever I have said, this is a great kit of a much needed Sea Fury in 1/32. Don't be put off by anything I have said. This is a great first release by DMBK and I look forward to many more.
I will post a few more progress shots along with a full range of completed photos when done.


![Pampers Sensitive Baby Wipes, Clinically Proven, Fragrance Free, Unscented, Water Based, Hypoallergenic, Multi-Use, Hand Wipes 336 Wipes Total (6X Flip-Top Packs) [Packaging May Vary]](https://m.media-amazon.com/images/I/41KLBHu9CAL._SL500_.jpg)