You are using an out of date browser. It may not display this or other websites correctly.
You should upgrade or use an alternative browser.
You should upgrade or use an alternative browser.
I
Ialarmu
Guest
Started the engine first. This is all OOB.
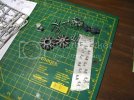
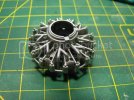
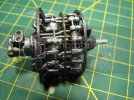
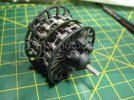
So far I'm really impressed with the level of detail this kit has to offer. 2 engine types to choose from is really nice...if I knew anything about the radial engines of this period I'd probably be ecstatic LOL!
I used Alclad aluminum for the pipes,Citidel Mithril silver for the cylinder heads and Tamiya acrylics(Hybrid mix's) for the engine mount.
I
Ialarmu
Guest
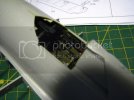
I got a good start on the pit,
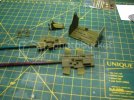
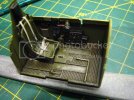
I somehow got the idea that I would try "lighting" the gauges so I drilled the lenses backing to make way for that but, looking at what was involved I chickened out.
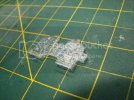
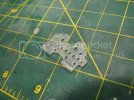
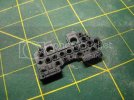
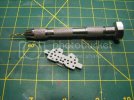
Maybe next time....., I tried to make the gauges stand out more but I think the panel is too thick so I just filled up the holes with white and gave the gauges the future treatment.
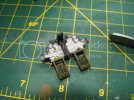
They don't stand out as much as I'd hoped but I'll live with it.
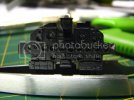


I somehow got the idea that I would try "lighting" the gauges so I drilled the lenses backing to make way for that but, looking at what was involved I chickened out.


Maybe next time....., I tried to make the gauges stand out more but I think the panel is too thick so I just filled up the holes with white and gave the gauges the future treatment.

They don't stand out as much as I'd hoped but I'll live with it.

Backbreaker
Member
- Joined
- May 6, 2009
- Messages
- 314
That's one hell of a kit, and your off to a great start.
A very nice clean build there Ialarmu.
I will be watching this one mate.
Joolz.
A very nice clean build there Ialarmu.
I will be watching this one mate.
Joolz.
speedster
Member
- Joined
- May 9, 2009
- Messages
- 119
Im with Joolz on this one Bud, Great looking kit great looking start there. your not building for the build off at P-47 Heaven!!! Paul..
Junkie
Active Member
- Joined
- Apr 24, 2009
- Messages
- 8,830
I'm with speedser who is with Joolz. I saw some big birds at the Shearwater model show today and it really got me wanting to build one, then I come home and see this. Great start to what's sure to be an amazing build.
schweinhund227
New Member
- Joined
- Jun 24, 2009
- Messages
- 2,511
She is massive in 1/48th I can only imagine how Big she must be in 32nd...
Great details so far !!!!
Keep up the good work !
Great details so far !!!!
Keep up the good work !
speedster
Member
- Joined
- May 9, 2009
- Messages
- 119
So i take it that the next group build is P-47 Thunderbolts then!!!!!! Paul... BIG ONES!
I
Ialarmu
Guest
Thanks for the kind words guys, I've been hitting this build hard this week, I only started it last weekend.
Another update,
Trumpeter has done something interesting but, unusual here.
They have designed this kit with the entire intake/outake manifold completely intact. I was not going to build it but had to as it's integral to the fit of the cockpit, and the fuselage.
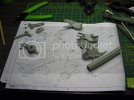
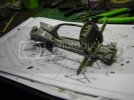
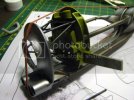
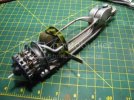
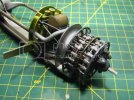
Much, Much dry fitting here, I would be lying if I said the fit here was good, I had to take a lighter and gently warm and bend some of the air pipes to fit the cockpit. we'll have a fight with putting the fuselage halves together tonight.
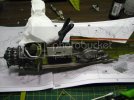
Wish me luck....
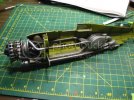
Another update,
Trumpeter has done something interesting but, unusual here.
They have designed this kit with the entire intake/outake manifold completely intact. I was not going to build it but had to as it's integral to the fit of the cockpit, and the fuselage.


Much, Much dry fitting here, I would be lying if I said the fit here was good, I had to take a lighter and gently warm and bend some of the air pipes to fit the cockpit. we'll have a fight with putting the fuselage halves together tonight.

Wish me luck....

I
Ialarmu
Guest
Had a go with the engine cowling, I also had to redo the wiring for the engine as I broke a few of them off during dry fit.
I have checkered decals for this paint scheme but, I tried the first one and found right away that not all 1/32 kits are created equal. Universal decals of this ilk can have real fit issues so, I decided to paint the checks on myself.
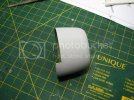
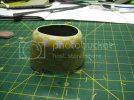
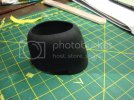
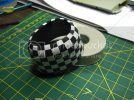
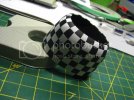
After paint was fully cured Approx 48 hrs or so, I distressed the paintwork with a fine sanding stick for a real "HEY I'm in theater and gonna Kick your butt!!" worn type look.
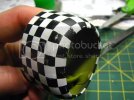
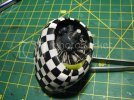
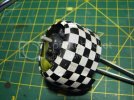
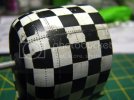
I also got the fuselage halves together, fit wasn't the greatest so I had to use a fair bit of CA and Kicker to get it right.
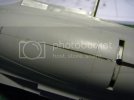
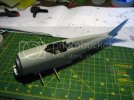
Thanks for looking guys!!
I have checkered decals for this paint scheme but, I tried the first one and found right away that not all 1/32 kits are created equal. Universal decals of this ilk can have real fit issues so, I decided to paint the checks on myself.


After paint was fully cured Approx 48 hrs or so, I distressed the paintwork with a fine sanding stick for a real "HEY I'm in theater and gonna Kick your butt!!" worn type look.


I also got the fuselage halves together, fit wasn't the greatest so I had to use a fair bit of CA and Kicker to get it right.


Thanks for looking guys!!
Grendels
Active Member
- Joined
- Nov 24, 2009
- Messages
- 9,092
This is going to be really nice when it is done. Keep it coming!
Junkie
Active Member
- Joined
- Apr 24, 2009
- Messages
- 8,830
So freaking cool. It's a huge kit. I have an issue of FSM here that has a feature article on that kit. You are doing a great job.
Carsenault
New Member
- Joined
- May 7, 2009
- Messages
- 845
That's the first tiem I've seen one of these being built, I must say that I am impressed, not only with the kit, but the build as well. Keep up the great work.
I
Ialarmu
Guest
Well group, another update we had some crummy weather here this weekend so I could only work on my P-47....DANG!!!
Anyways, I got the wings all together and sanded, I did a lot of dry fitting as the wingroots were terrible.
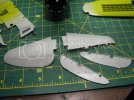
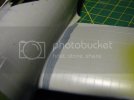
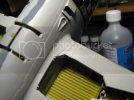
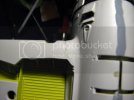
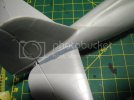
This is where I'm at right now, I still have some filling, sanding, scribing and rivet replacing to do, we'll see how the week goes I may be painting by the weekend, Man I love 9-5...!!
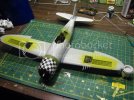
I had a yearning to paint after all that wing buisness so I had a play with the flaps. These will be shown on the model extended.
Decided to paint on the red portion on the flaps myself.
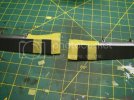
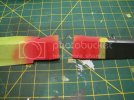
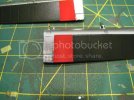
I mixed my own RAF sky colour, Is it close?
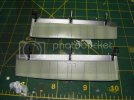
Anyways, I got the wings all together and sanded, I did a lot of dry fitting as the wingroots were terrible.


This is where I'm at right now, I still have some filling, sanding, scribing and rivet replacing to do, we'll see how the week goes I may be painting by the weekend, Man I love 9-5...!!

I had a yearning to paint after all that wing buisness so I had a play with the flaps. These will be shown on the model extended.
Decided to paint on the red portion on the flaps myself.


I mixed my own RAF sky colour, Is it close?

the Baron
Ich bin ja, Herr, in Deiner Macht
- Joined
- May 12, 2009
- Messages
- 1,965
Wow, very impressive! That's a great kit, and you're doing an excellent job with it. I'm really impressed by your home-made checkerboard on the cowling, very meticulous and clean masking, and it turned out great.
I'm with the others, you're giving me the itch to break out one of the 1/32 kits in my stash and end a 30+ year drought in building large scale ;D
I'm with the others, you're giving me the itch to break out one of the 1/32 kits in my stash and end a 30+ year drought in building large scale ;D
Junkie
Active Member
- Joined
- Apr 24, 2009
- Messages
- 8,830
Amazing. I'll have to get a 1/32 scale someday. Looks incredible.
elend
Member
- Joined
- May 6, 2009
- Messages
- 459
Man, that sure is awesome. Love that engine.
Steve_L
New Member
- Joined
- Oct 8, 2009
- Messages
- 115
Wow, I am impressed - can't wait to see more!!! Defenately a five star build!
I
Ialarmu
Guest
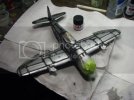
Update, I finally got some paint down. A lot of surface prep, I must have puttied,CA'd and painted the belly seems 5 times. It just kept cracking.
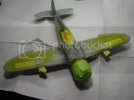
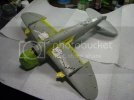
Primer coat on, It revealed even more things I had missed so back to the sanding sticks.
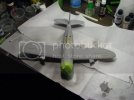
Alclad Aluminum...
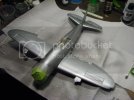
2 coats of future (brushed on)
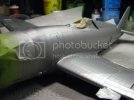
Preshading
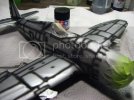
RAF sky applied to the belly section
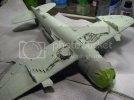
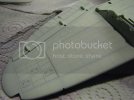
Next will be Invasion stripes on the wing bottoms.


Primer coat on, It revealed even more things I had missed so back to the sanding sticks.

Alclad Aluminum...

2 coats of future (brushed on)

Preshading


RAF sky applied to the belly section


Next will be Invasion stripes on the wing bottoms.

