Tamiya 1/48 F4F-4 Wildcat

hilld

New Member
Joined
Dec 26, 2010
Messages
227
I'm in, a bit late to the dance but I'm in! The Wildcat is an interesting subject for me. I've been watching Pacific on HBO and I am eager to build a plane from that theater.

tiff upload

October and November are busy for me so I don't expect to get a whole lot done, a little research and some initial building. Come December I should have more time to get into it!

image upload

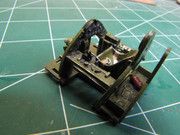
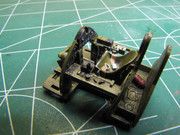
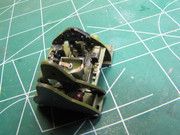
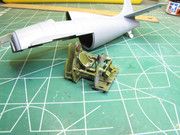
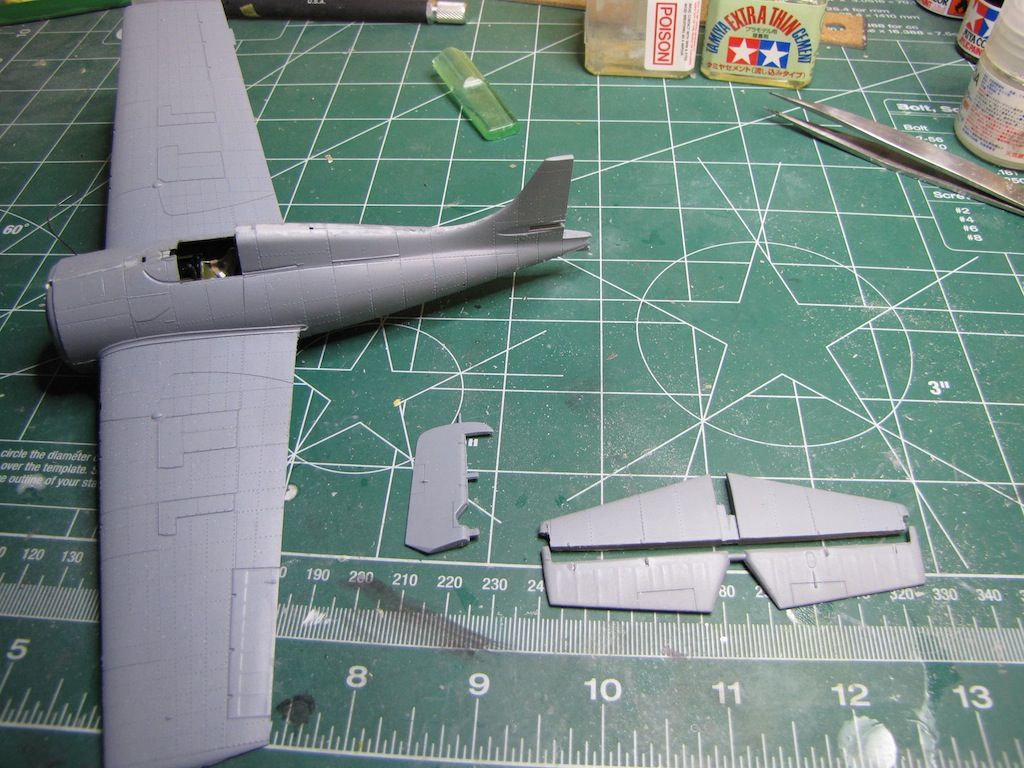
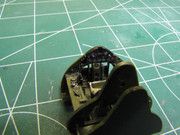
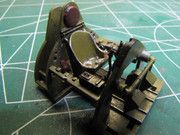
The Tamiya kit features great panel lines and very intricate landing gear. I'm not sure if I will use any aftermarket parts. I guess I do have time to order some if I do decide to.
 
That's a great kit. Simple to build and looks awesome when done. Definitely one of my favorites. You'll enjoy it.

If you worry about such thing the cockpit floor is wrong. It shouldn't have any sides so that the pilot can see through the bottom windows. ;)
 
Progress is slow. I'll be finished a major work project this week and I hope to get at this build then. I have painted the cockpit and glued the fuselage together. I'm toying with offsetting the rudder (should be easy with this kit) and cutting out flaps and elevators to re position them. Does anyone have experience doing this? Your tips would be appreciated.
 
We are up and running again! I have got the cockpit together and the fuselage halves done. The cockpit went together well. I did some fairly heavy weathering with lots of highlighting and a wash using a mix of black and brown tempra paints. I did end up cutting the floor, as per Shutterace's suggestion, using a new hobby saw I just picked up. I made the lap belt out of tinfoil and lead wire.


Next step is playing with the elevators and rudder. I'm still looking for suggestions on this if anyone has any ideas or tips.
 
I cut the elevator off last night. The surgery went well. I spent some time with a round file on the trail edge of the wing and I rounded the lead edge of the stabilizer. The fit is good. I just have to make 4 small plates for the connection and glue it into position.
 
IMG_3888.jpg


IMG_3882.jpg
 

Latest posts

Back
Top