Scratchy's Fine Molds 1/144 Millennium Falcon

I have the detailing finished on the landing gear, and pre assembled. I'll add the hoses to the wells at a later time, this way they won't break off, and some additional holes in the wells for some lights.

IMG_9377.jpg
IMG_9379.jpg
IMG_9381.jpg
IMG_9383.jpg

I'm working on the docking rings next. Adding /correcting the panel lines on the outside.
 
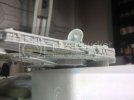
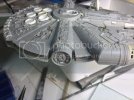
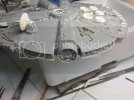
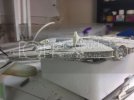
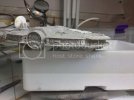
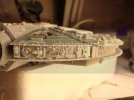
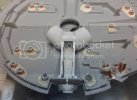
Some more work on the Falcon. I detailed the port and starboard docking rings, cleaning out the centre and and adding bits of styrene. I also modified the panel lines on the outside perimeter of the rings and added some pieces of styrene, and a little damage too.
I also started the sides, adding some additional parts, brass rod and more bits of styrene. Here's some images of the work.

IMG_9446.jpg
IMG_9444.jpg
IMG_9442.jpg
IMG_9440.jpg
IMG_9438.jpg
IMG_9436.jpg
IMG_9434.jpg
 
eh up buddy,wonderful work on pimping ya ride mym8.can you send us an image of the base of ya antenna dish theres some detail in there that i cant get any ref off.cheers peza ;)
 
I've said it before. I'll say it again. With the work you've done on this, it's hard to believe that's the 1/144 Falcon and not a bigger model.
 
Thanks for the kind words fellas.

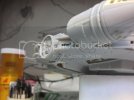
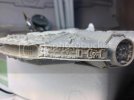
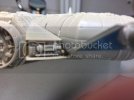
Here's some more work. I'm just finishing the side walls and not much work will be applied to these parts. This photo shows my two custom parts glued near the engine, I also scratched a detail piece to the end.
IMG_9458.jpg
IMG_9460.jpg

I added two small styrene bits to this section and I scratched this little detail bit from a piece of stretched sprue that I'm pointing with with my knife. I squared the back end and drilled a hole in the front to make it more representing of the kit part from one of those Tamiya racing car kits.
IMG_9464.jpg

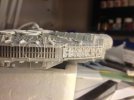
Here's another pic of the back port side. I scratched the flak 38 scope, three Scharnhorst parts and my custom parts are at the back end.
IMG_9468.jpg

thanks for following along.
 
ModelMakerMike said:
Mr. Scratchy, I suspect that you are not one to say.....
"Well, that's good enough."
;D

Well, yes and no, I wouldn't go that far. I think that it's more about taking the time and just building the model, and if it takes a little longer, then so be it. If I see something missing on a kit, and if it's something that would be possible to build, then I'll put it in.
Someday, I would really like to build the MPC Star Destroyer and MPC Millennium Falcon and detail it with custom parts to the ESB SD and ANH MF reference. I could see a lot of time invested in that. However, I do have a number of unfinished builds that have to be finished first.
 
I love your work.
I just need to take more time with my builds. It just seems that I have so many things needing to be done....
Need to solidify priorities.
Maybe I am a bit jealous of your abilities. However, when I was working on my Iron Clad build for the contest, I put a lot of time into constructing special pieces, and really enjoyed it. Haven't built anything since, I think I sometimes get a little too impatient.
;D
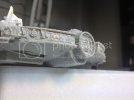
 
Thanks ModelMakerMike, I think it comes down to technique, good reference images and simplifying the build down to small detailed areas., but that's just me. Everyone has there own way.
 
Hello All,

Thank you Quaralane for the kind words!

Another small update. I drilled all the landing light holes in the bottom hull previously, and I filled them in with some clear resin. I used some masking tape on the inside to cover the holes so that the resin would stay in place.

I also made the LED bulb housings, at first, I utilized some aluminum foil and glued them around some styrene tube, but I changed things up and wrapped some copper foil around the tube and I also applied a square piece to the hull. I drilled a hole in the centre and aligned this with the clear resin hole in the hull. Just to prevent in light bleed through. Some A+B epoxy putty was used to keep everything in place.

I started working on the boarding ramp hallway. I lamented some .020" to some .040" pieces and I detailed the bottom with some .005" sheet for the "step" pattern at the edge.

IMG_9514.jpg

Here's a "walk up" view.

IMG_9532.jpg

I'm in the process of building a new set of ramp cylinders, and I have to add the details and hoses and cables for the walls. I'll light this area with fiber optic.

scratchy
 
wow buddy,that looks mint mym8,i love the tube for ya ramp.if you have no objections i`d like to do the same thing on mine!its a really good effect!!!top marks :eek:
 
cheers buddy,i`ll post ya my version when i get back onto my big old bird...thanks peza
 

Latest posts

Back
Top