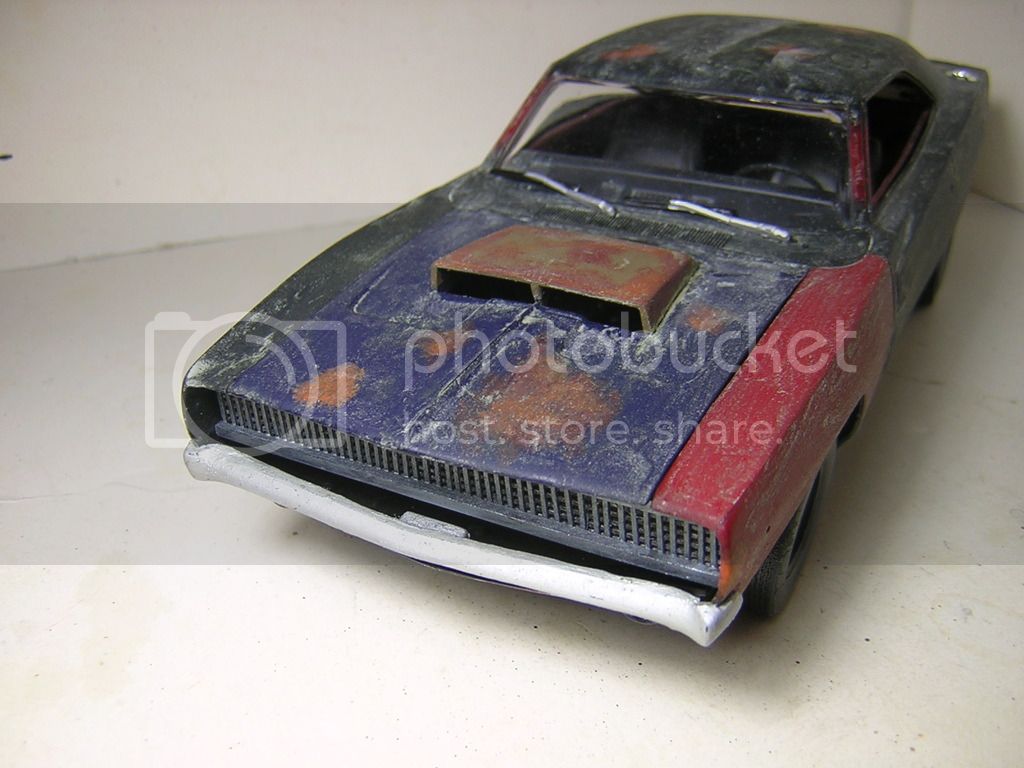
Roadkill '68 Charger - General Mayhem (FINISHED)

Scale Model Addict - Model Tips, Guides, Tools & Tech, Tutorials, and Community

Help Support Scale Model Addict:

sorien

Well-Known Member
Joined
May 13, 2010
Messages
97
City & State/Province
Milwaukie, OR
I've been trying to figure out what to do for the contest, if anything but today I had an epiphany.

I found this kit at my local Salvation Army for $2.90. It's missing a piece or 2 but nothing major..but for that price who cares.
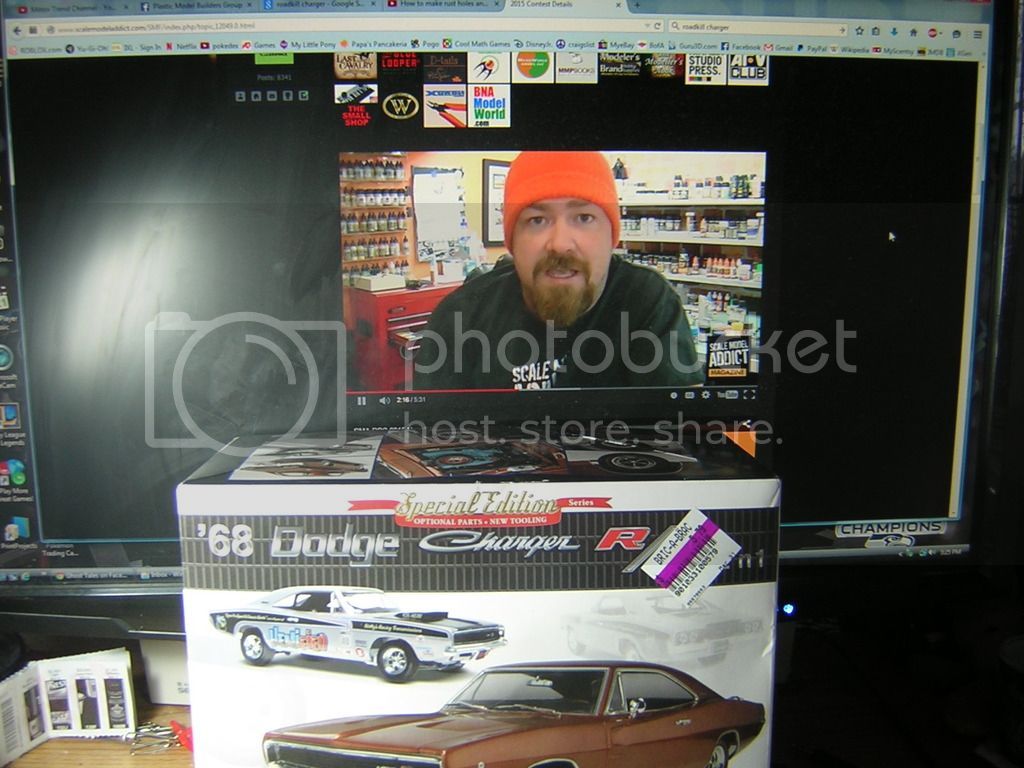
DSCN2031.jpg


So I decided on trying to build the General Mayhem '68 Charger from Hot Rod's Roadkill. Should fit nice with the "dirty" theme!
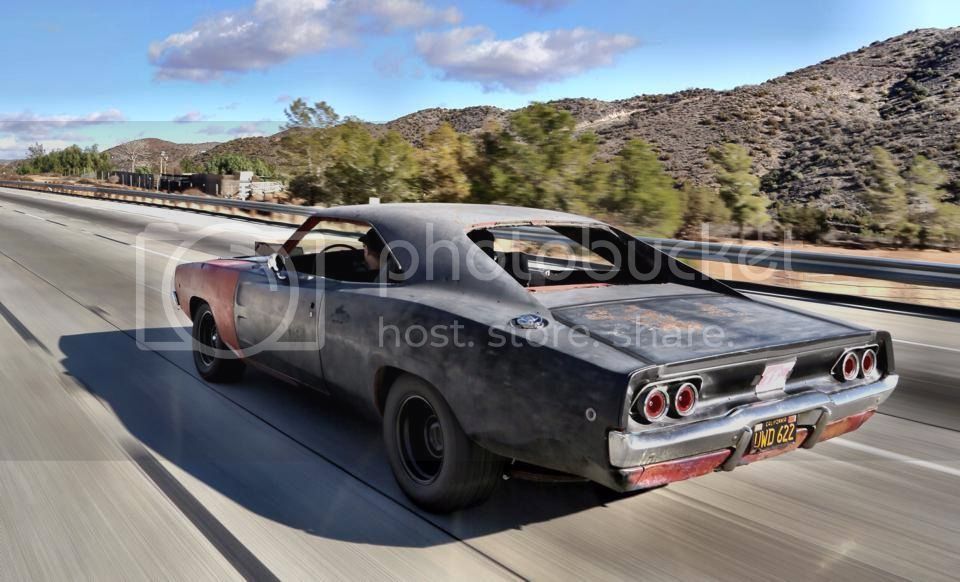
charger2.jpg


we'll see how it goes...
 
Re: Roadkill '68 Charger

I like your idea/ inspiration. Faded, rusted, mismatched; should be big fun to paint.
 
Re: Roadkill '68 Charger

Cool i love this car. Btw you can get replacement parts from revell
 
Re: Roadkill '68 Charger

I do like the concept of the post-apocalyptic concept, too :)
 
Re: Roadkill '68 Charger

I'm finally wrapping up my current commission so I had time to work on this.

Looking through pics of the car, I realized it has no interior and I wanted to replicate that.

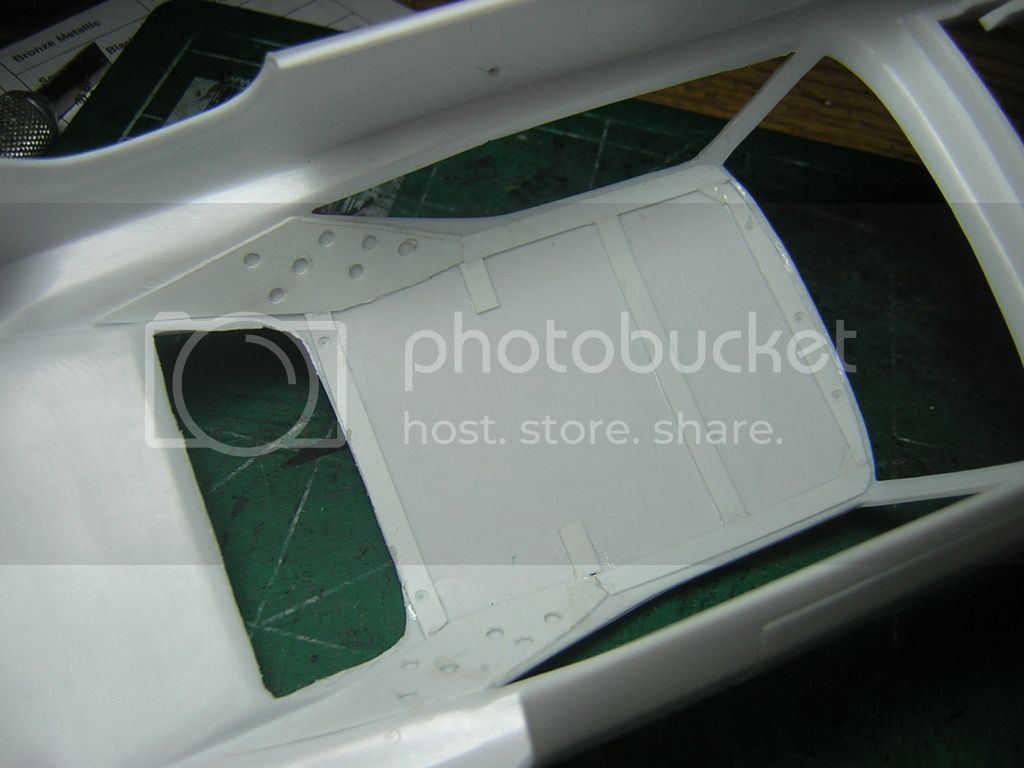
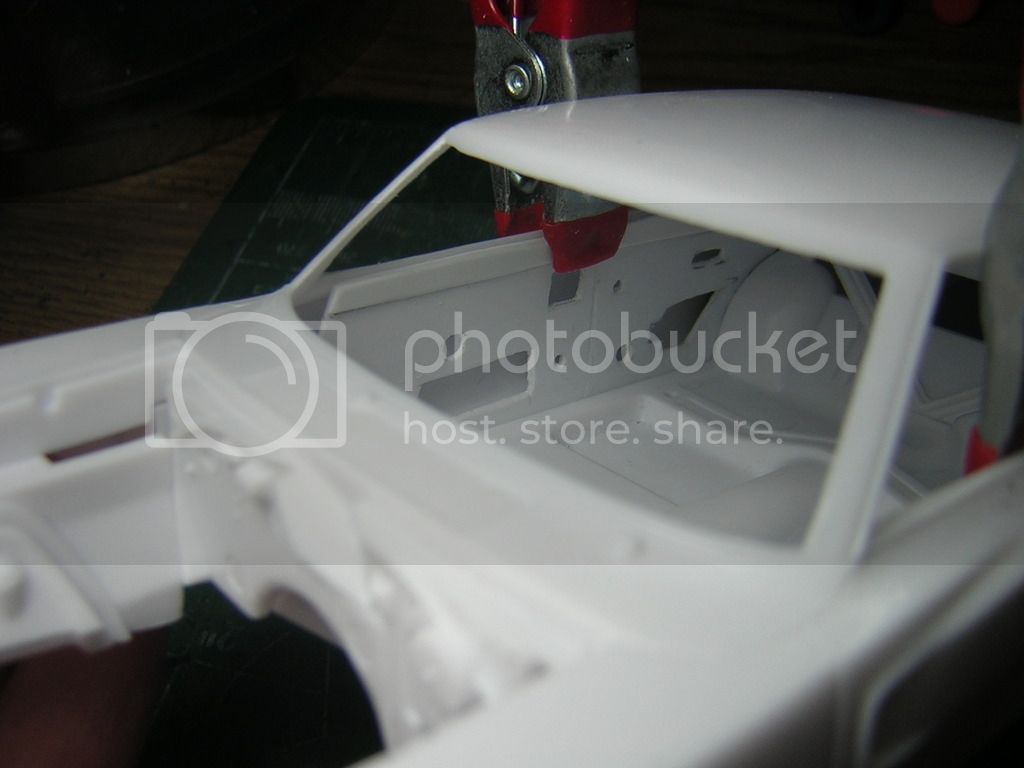
I started with sanding off the headliner texture and then built up something like the structure of the car with .020 plasticard. The work is based on the pictures but not meant to be super accurate.

DSCN2042.jpg


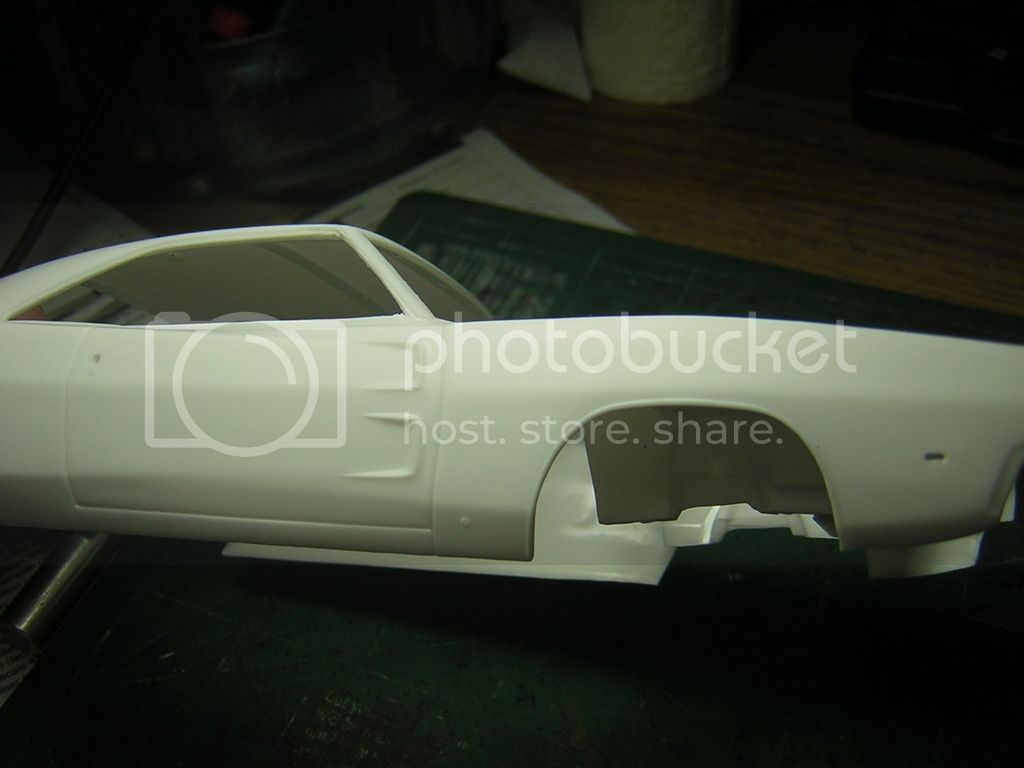
I also removed the wing windows, drilled out the door handle holes (no handles on this car!) and drilled out the front markerlights. The car has a '69 right fender so I made the square marker on that side and the round marker on the left fender. I also removed the front and rear window chrome.

DSCN2044.jpg


So far I'm pretty happy with it.

Next up is to tackle the floor pan and package tray.
 
Re: Roadkill '68 Charger

Day 2 of the build

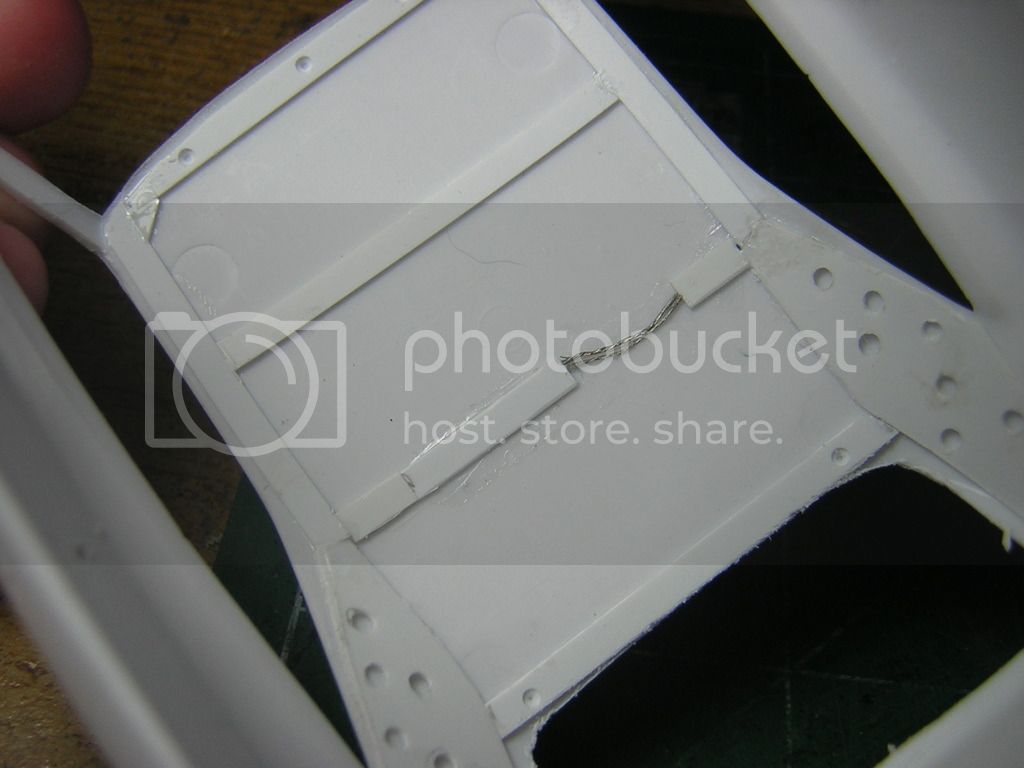
First, I fixed the roof by extending one of the braces and then adding wires for the dome light (again, based on pics of the car). I also filed down the wheel well chrome.

DSCN2046.jpg


On the interior I spent most of the night sanding down the carpet texture. Then I started on the package tray looking up pics of the actual part online. It still needs some fine tuning but still very happy so far.

DSCN2045.jpg


For the rest of the floor pan I just need to carve out grooves like seen in the above pic. Not sure how I'll do that yet..
 
Re: Roadkill '68 Charger

Day 3 and the interior is just about done.

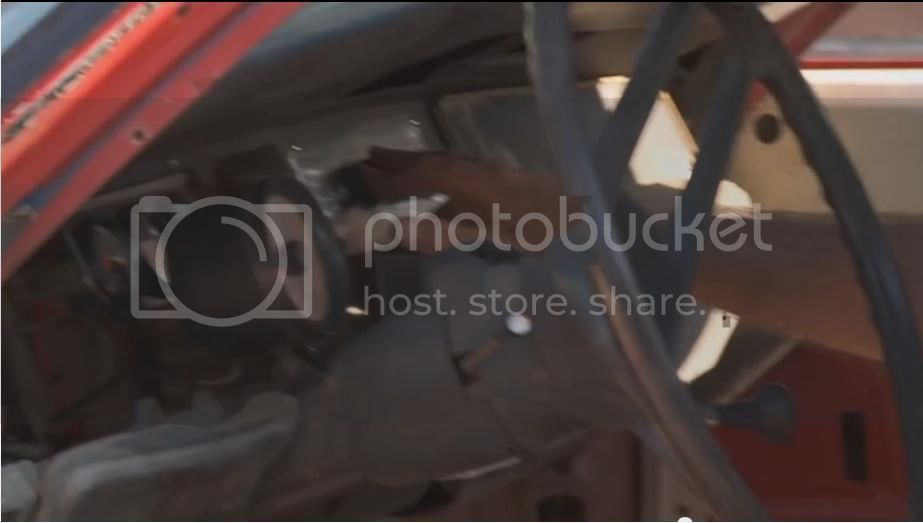
First, the dashboard. Here is the best screen cap from the youtube video
chargerdash.jpg


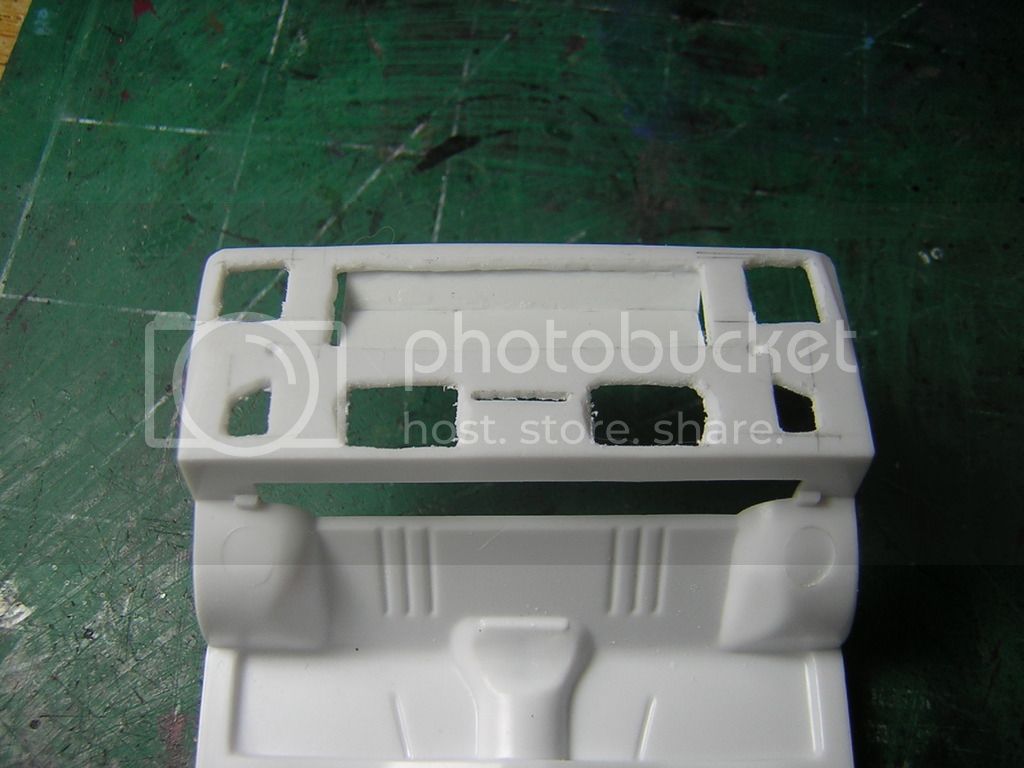
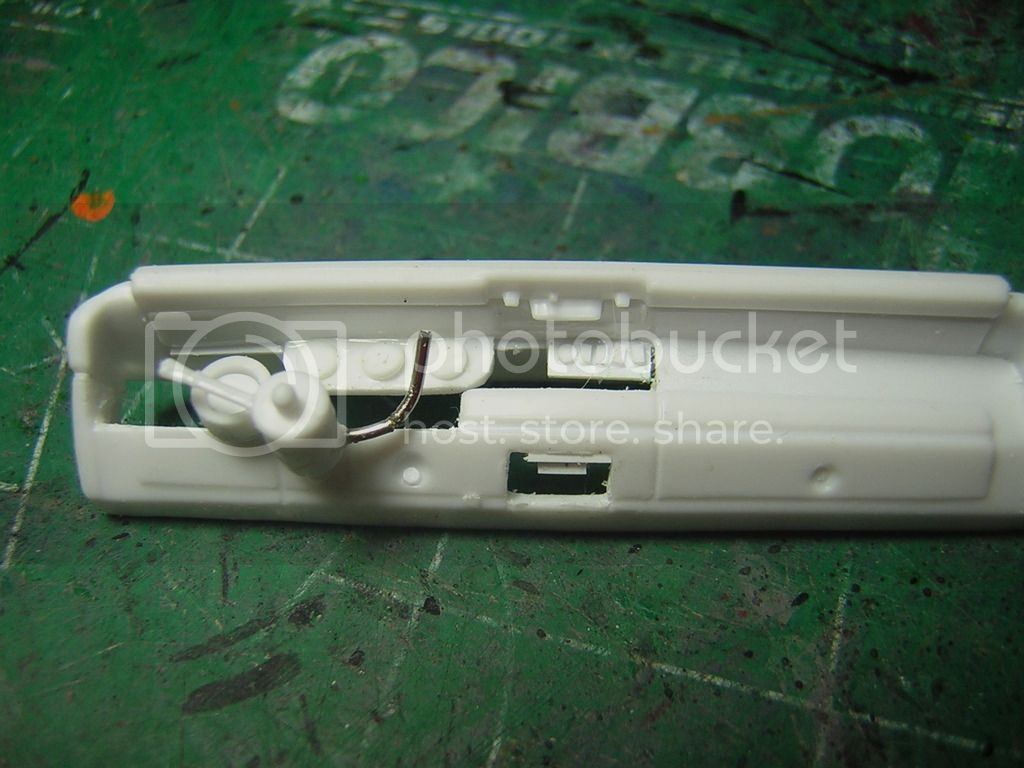
Now my scratch built version
DSCN2047.jpg


I especially like the Tach which is a 1/8" rod inside a 3/16" tube.

The sides of the interior are separate piece so I copied them and cut new ones out of .030" card and once again looked up pics to try and get a good idea of what the structure looks like.

DSCN2049.jpg


I really like how the package tray looks through the rear window.

DSCN2048.jpg


So it will be a few days before I get back to it, I have another project with an impending deadline..
 
Re: Roadkill '68 Charger

Found the YouTube video you're basing this on; I'll be watching it when I get down to the bench tonight. Looks like I have a new YT channel to binge on.
Keep up the good work.
 
Re: Roadkill '68 Charger

its already getting into shape just like the photo reference :D
 
Re: Roadkill '68 Charger

Awesome kit...even better price and a perfect start!! Looking forward to following along!! Keep up the carnage!! ;D
 
Re: Roadkill '68 Charger

OK finally got back to it a little

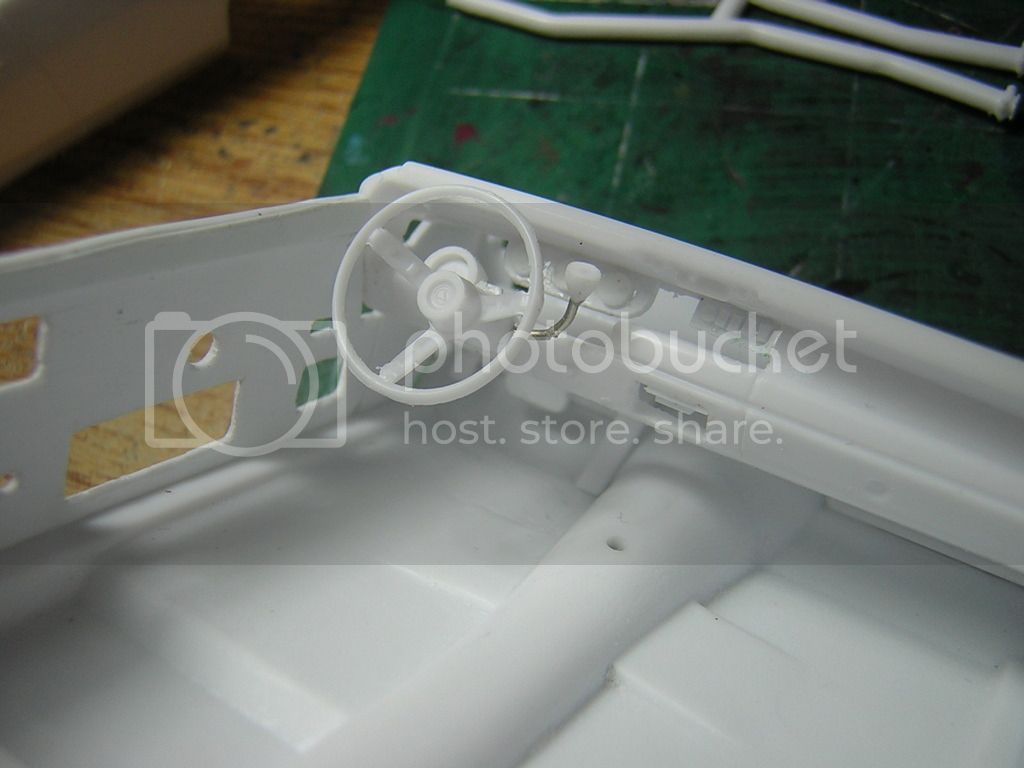
Finished the dash by carving out a shift nob from a bit of sprue.

I also had to get rid of the clutch pedal as the General Mayhem is an auto. Yes it means the trans will be wrong but eh, close enough.

DSCN2075.jpg


Now a question: anyone have any ideas on making ripped seats? Only method I found involved masking tape and that does not sound like a good long-term solution.
 
Re: Roadkill '68 Charger

Nice job on the column! It's all the little things that will jump out at you in the end!

As for the seats, you can try undermining the plastic from the underside with a dremel until the area you wish to have ripped is thin enough to cut easy and peel open. Possibly some foam (makeup sponge or finer) for the cushioning material.... ;D You could try tissue as well...ct an opening in the plastic, cover the seat with tissue spanning over the cutout. Then when dry, slice and peel open. Also would give a little texture to the seat. ;D Play around with it!! Good luck
 
Re: Roadkill '68 Charger

Wow! it's been a while since I touched this with so much other stuff going on, mostly Warhammer commission work.

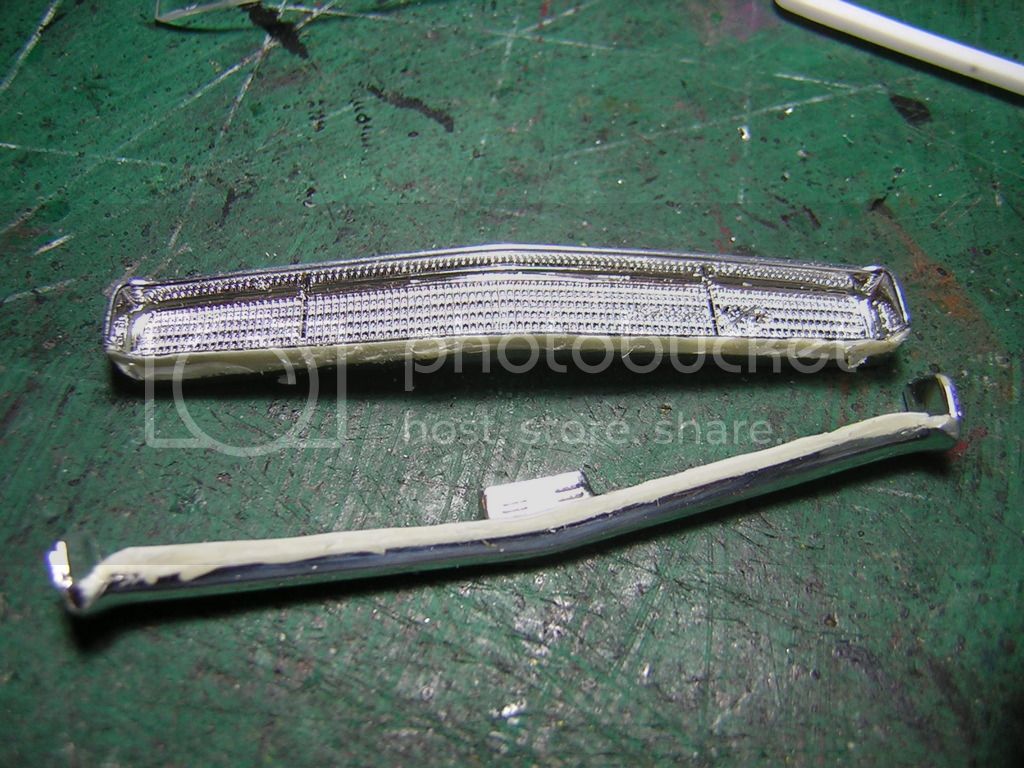
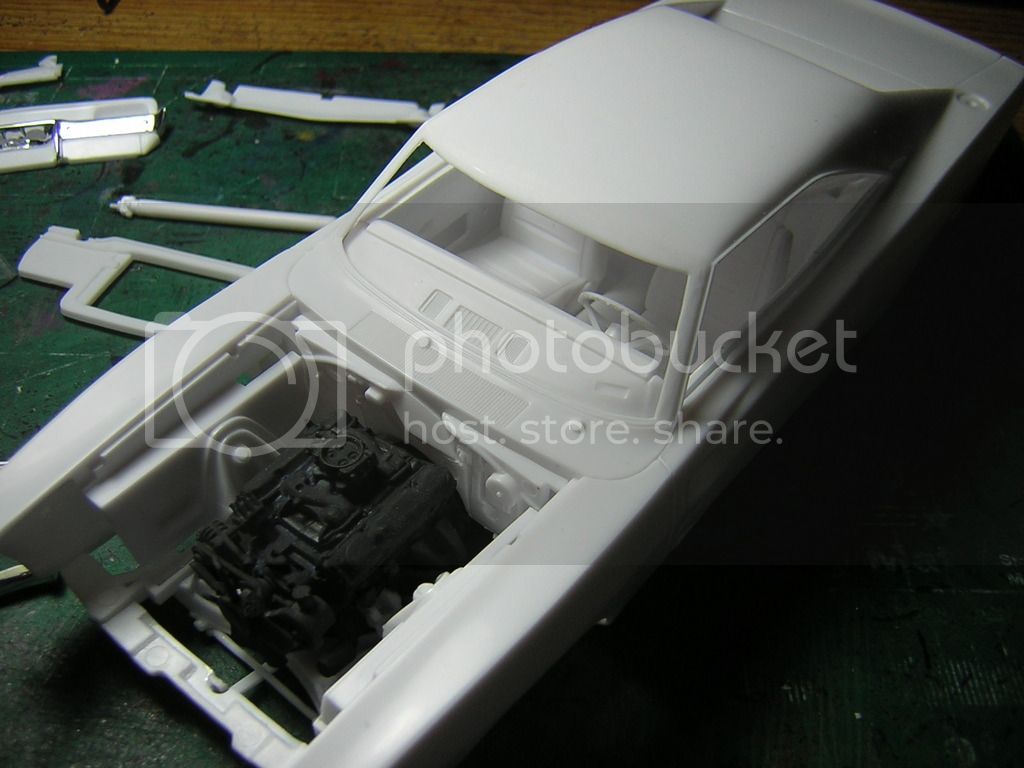
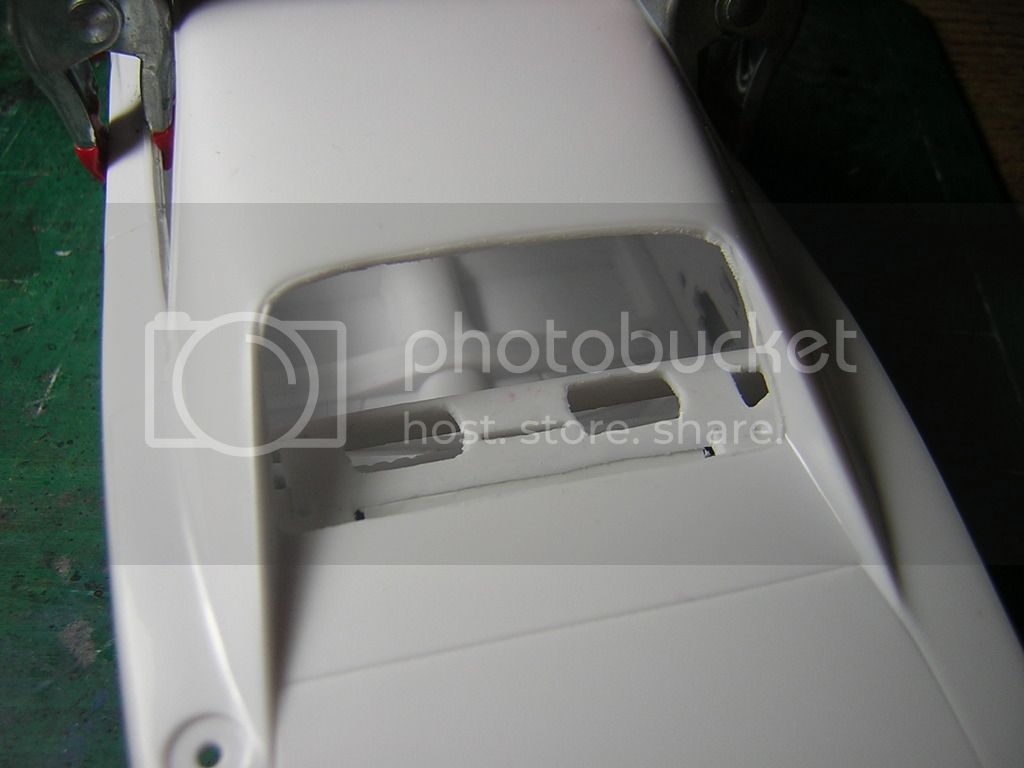
But tonight I broke the car back out. I carved down the windshield to fit around my modifications, and then cut the front bumper off the stock grille. I was going to work on the exhaust but didn't have anything big enough to make the glass packs on hand.

Engine did get de-chromed, built and primed. Running out of time so I passed on making ripped up seats.

Only fabrication left is the exhaust and front grille. Time to get priming and painting!

DSCN2141.jpg

DSCN2139.jpg
 
Re: Roadkill '68 Charger - General Mayhem

I'm very happy the deadline was extended once again, as I was going to be hard pressed to get it done by Sunday.

Especially when working on the wheels tonight I found I had lost/thrown away the adapters that sticks them on the car. So I had to fabricate something.

Also finished building the exhaust and stripping the last of the chrome. I'm just going to use VMA aluminum.

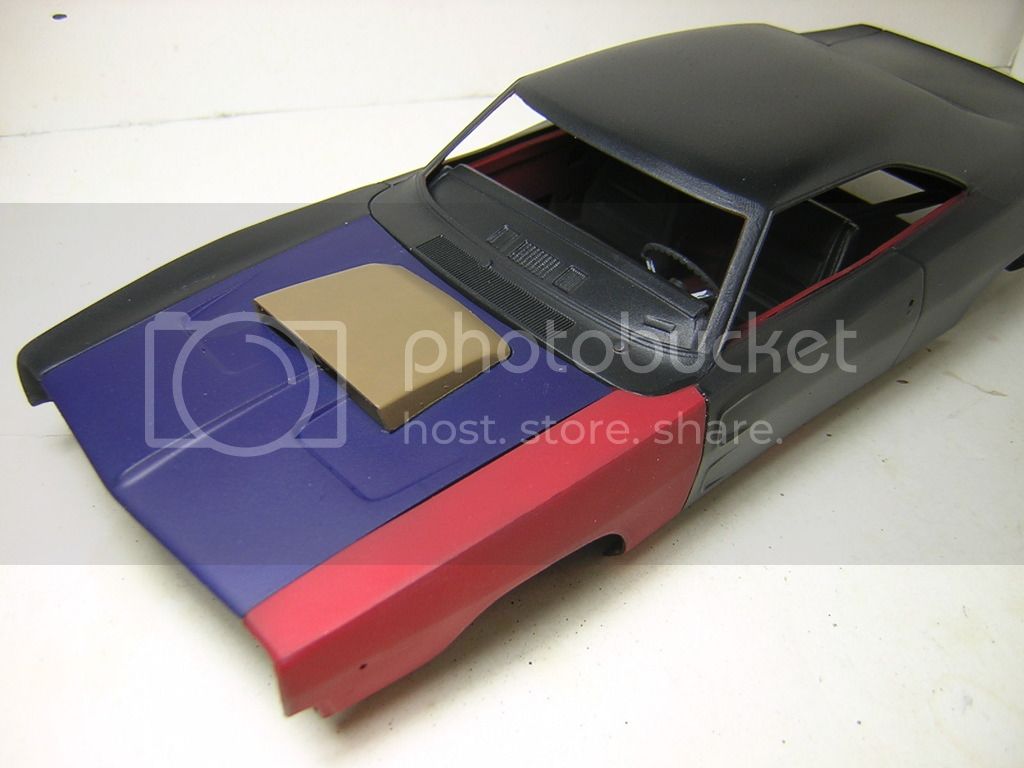
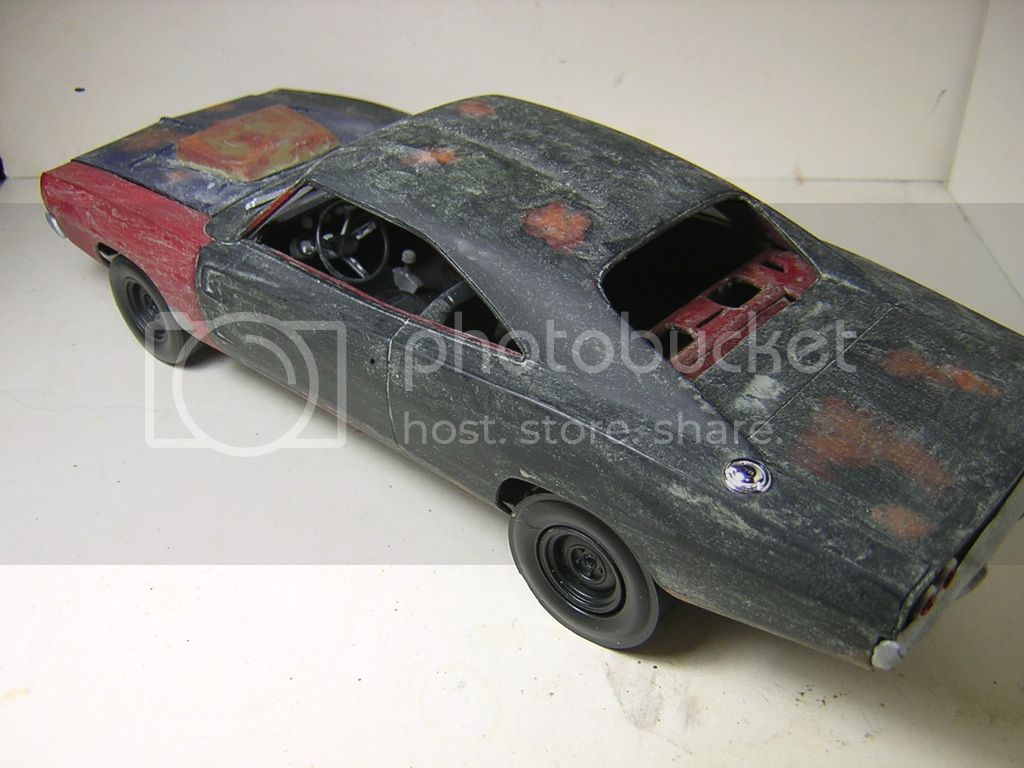
But anyway..paint! Have to work on rust and weathering next.

DSCN2166.jpg
 
Turns out I follow you on Youtube and saw your video post there. O_o

The model turned out fantastic. Looks great.
 

Latest posts

Back
Top