Eagle-1
Well-Known Member
- Joined
- Jan 16, 2014
- Messages
- 1,142
I got to meet and play golf with a P-61 pilot that had three aerial victories in Europe.
I hope you Thanked him for us!


I got to meet and play golf with a P-61 pilot that had three aerial victories in Europe.

Well, keep on keepin' on, looking great!!!Thank you, you old "show how it's done" group build buddy! I still say I'm "box stock" because any details are just replacements for what's there and not a complete replacement of anything.
I apologize for being so far behind with this, but it is coming along...
In my usual fashion.
Rob.
Strictly box stock ol' buddy.Well, keep on keepin' on, looking great!!!
At some point I'll give mine a go, still dealing with residuals of the move....Strictly box stock ol' buddy.
Rob.

Absolutely. His name was Al Jones.I hope you Thanked him for us!

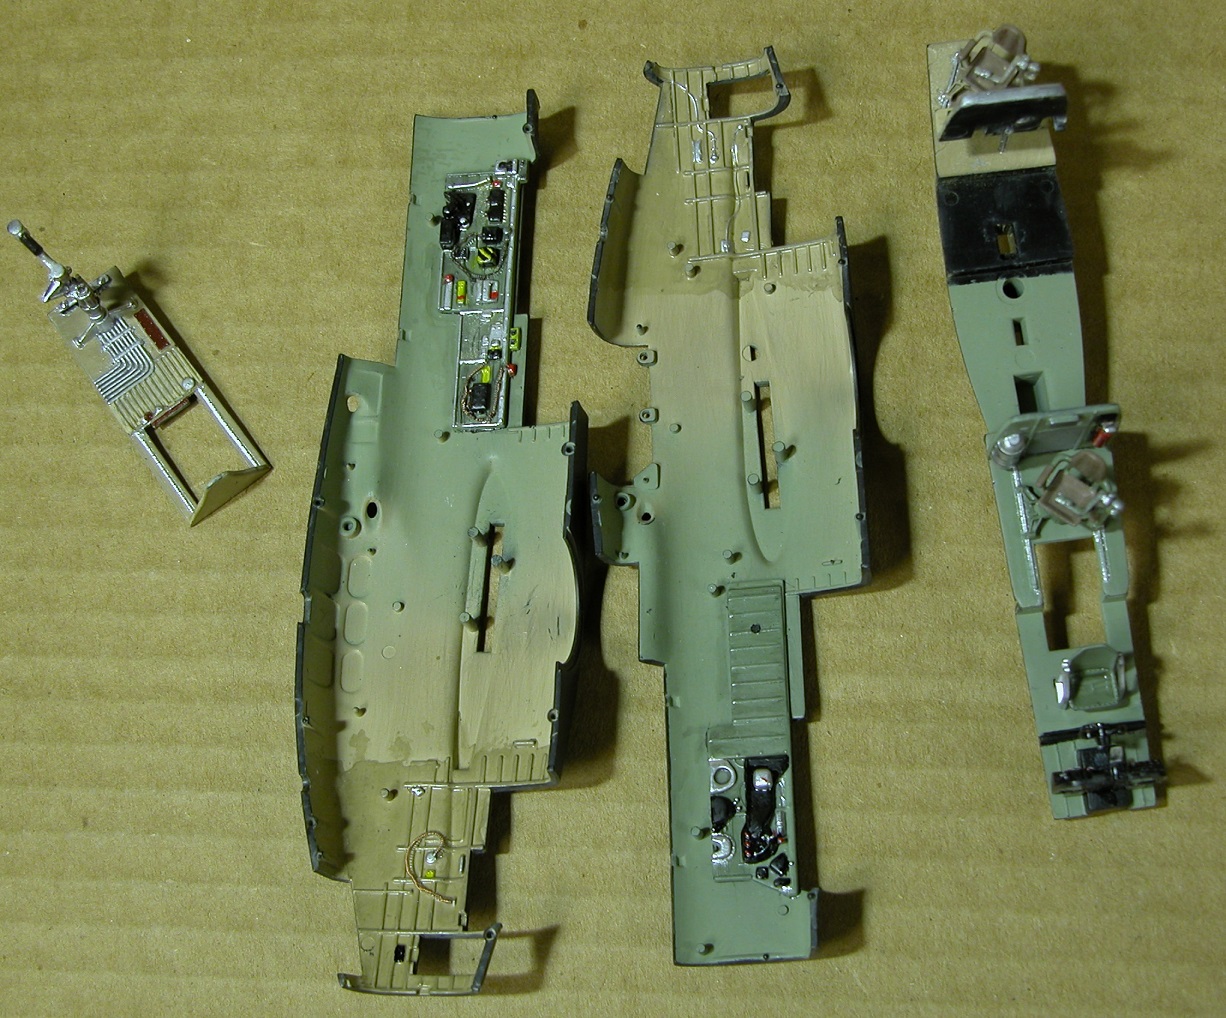
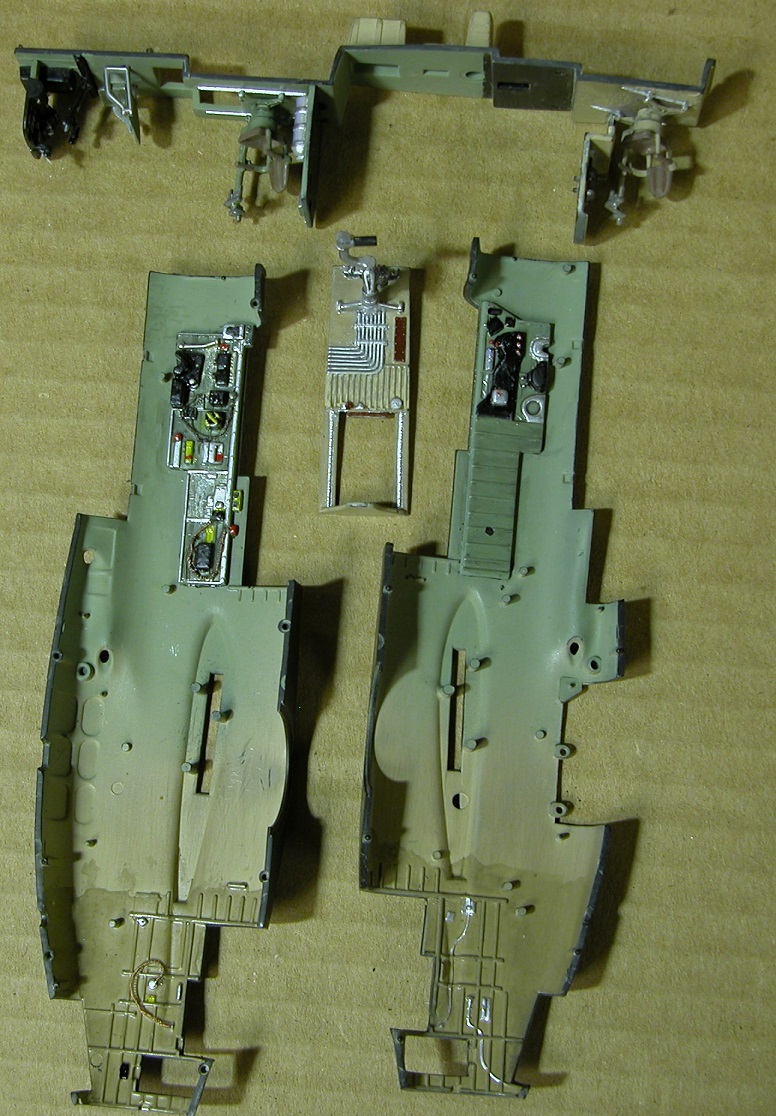

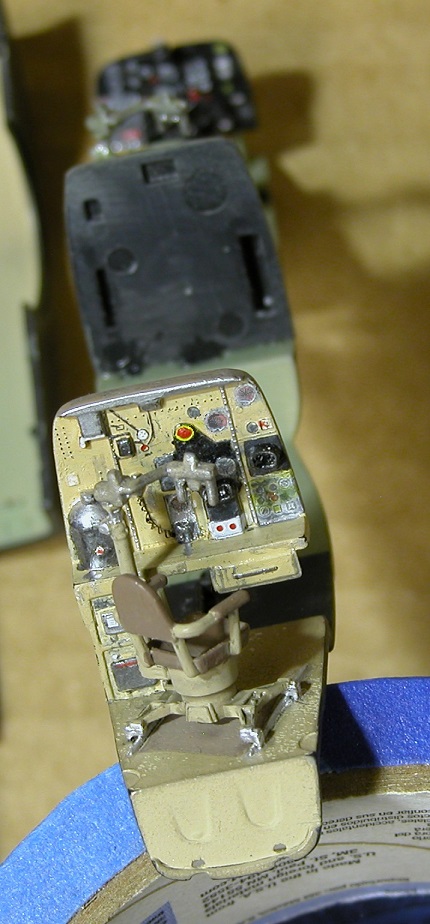

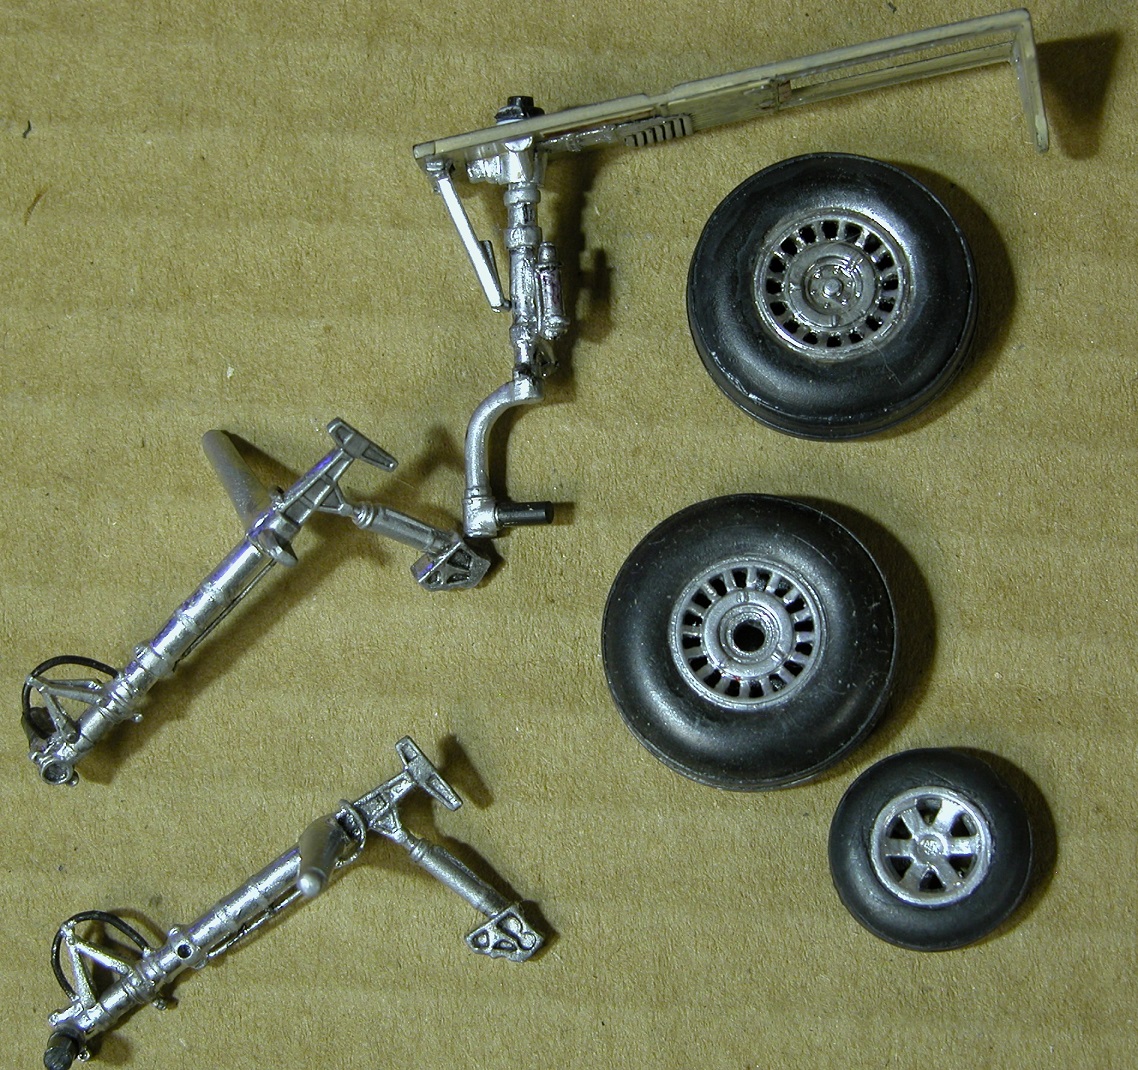
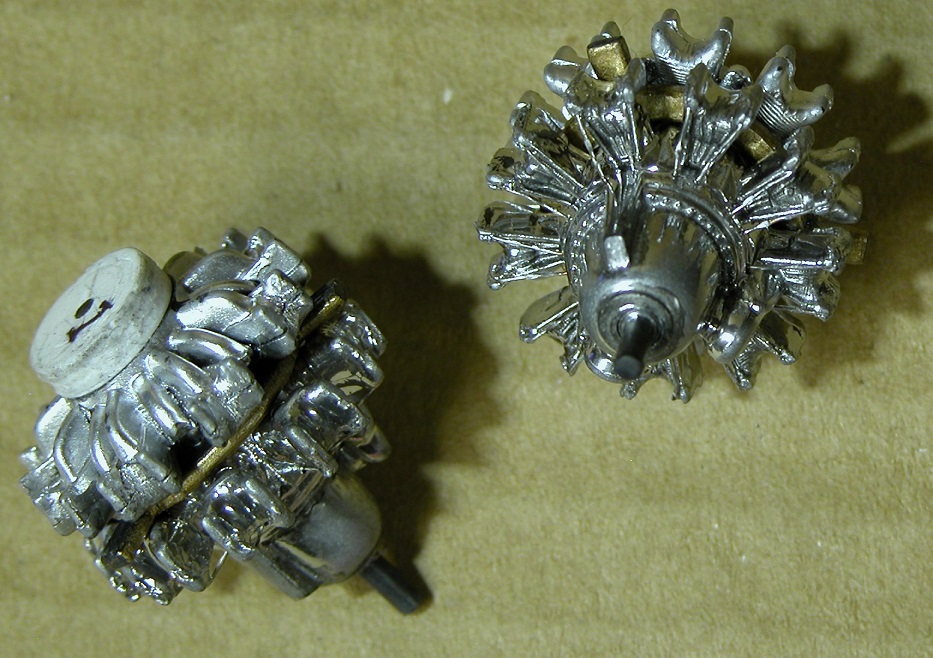
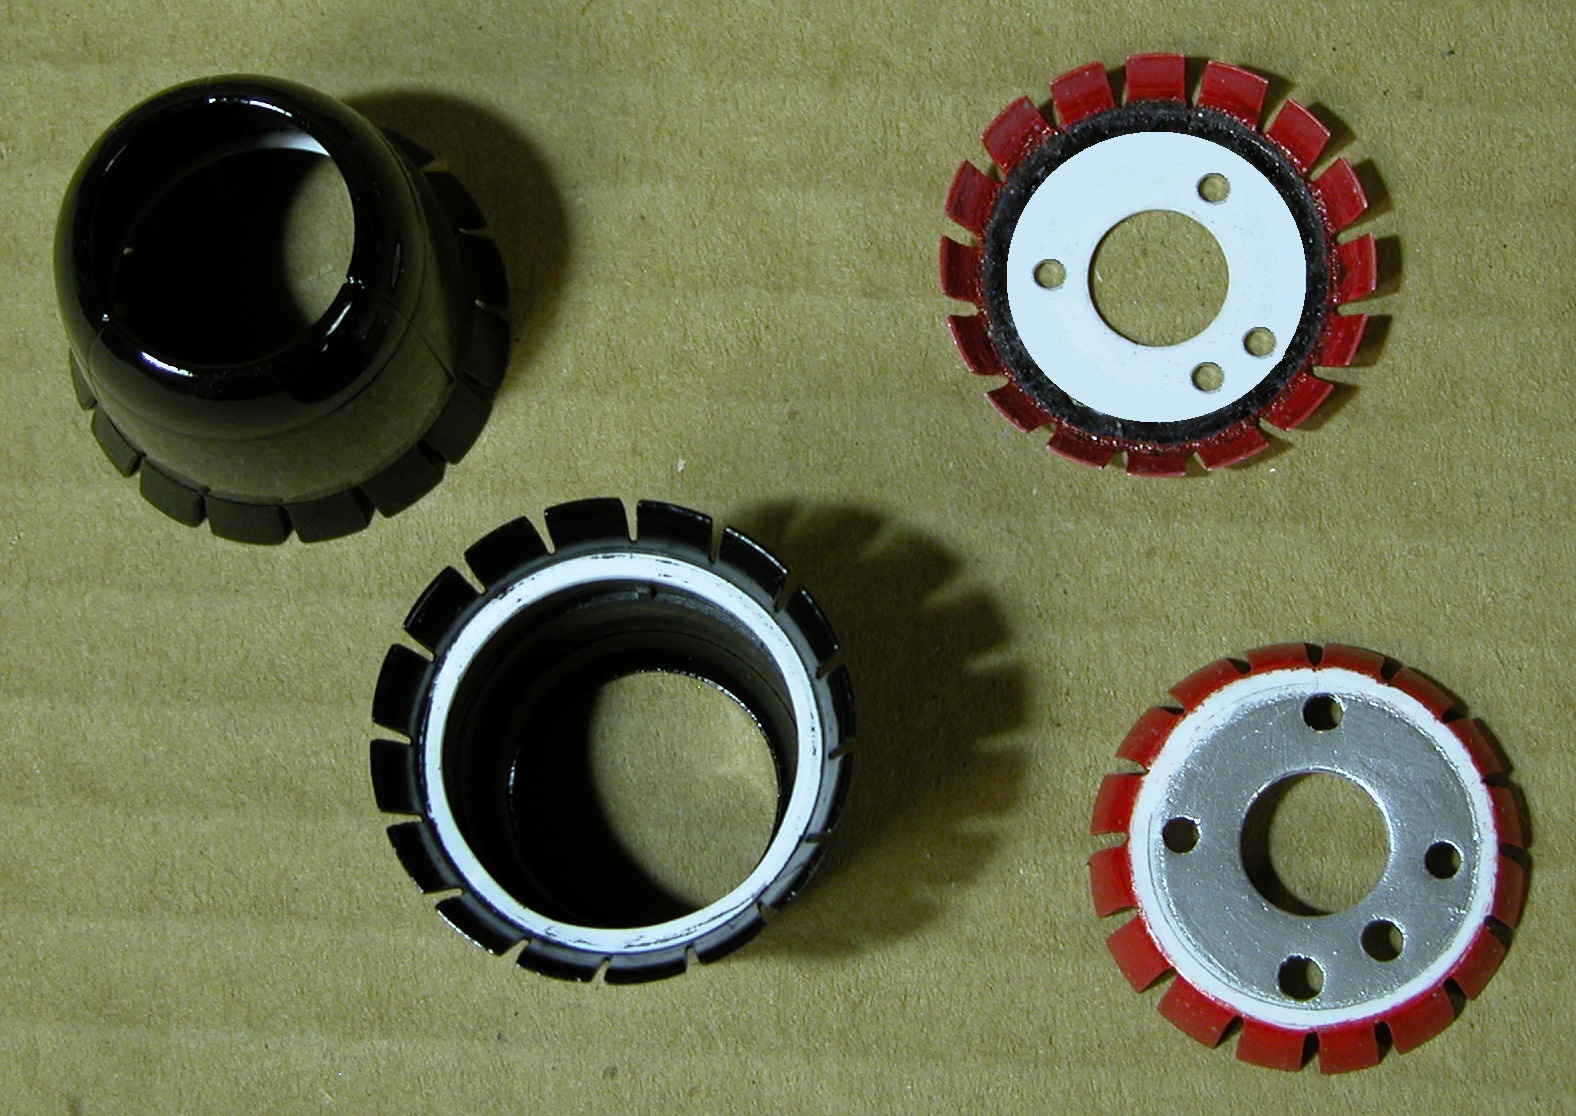
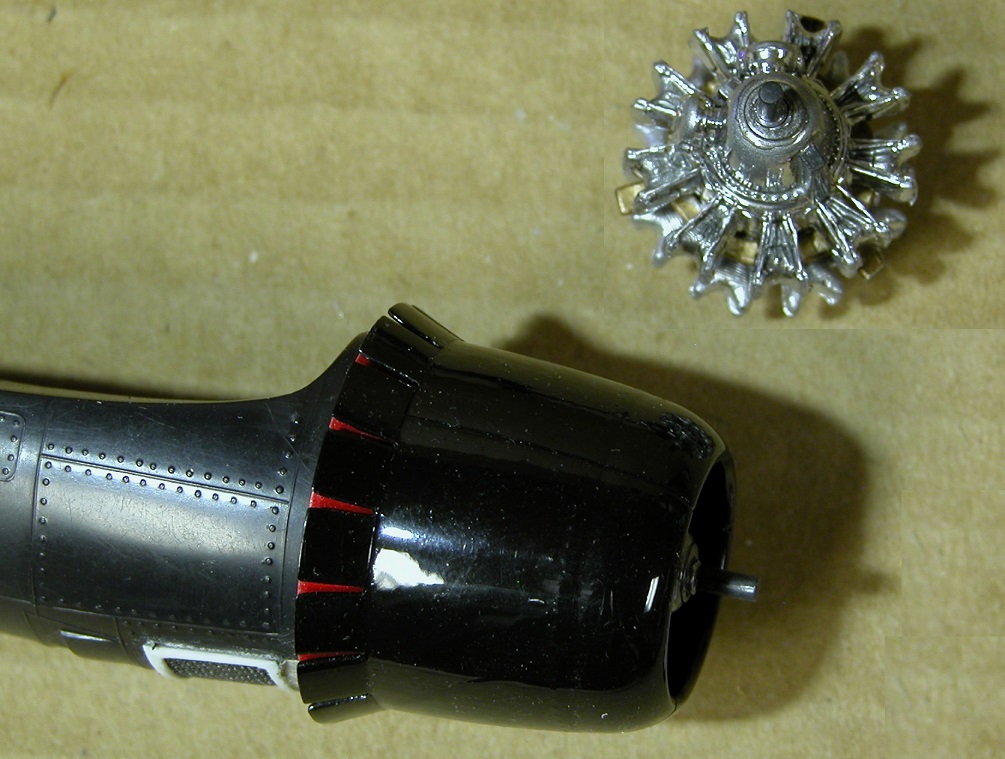

The details are fantastic. PanthermanOk, just to add more to a group build that most have long moved on from, here's to revive it from time to time.
I've done about as much hand painting as I can stand, but that is wrapping up now.
View attachment 134434View attachment 134435
View attachment 134436
View attachment 134437
View attachment 134438
I did a little wheel work and here's how that came out. I opened them up and added some tread.
View attachment 134439
Here, as I said before, are a little more of the modifications.
Since I wanted both engine cowl sections open, as mentioned, I picked up that extra set of parts. Both the left and right booms will be the same on mine with open cowl flappy thingys. On the originals, each cowl flap is filled in between the sections. From what I can tell, there is another flap section just behind the outer cowl flaps on a real plane that probably open the outer cowlings. I don't know for sure because I can't find a picture of any engines from the rear showing forward in this area, so I just figured there is and made some. On many of these planes on display today, those inner flaps are colored and I think it looks nice, so mine will be red.
Here's what I'm talking about as many that haven't seen this kit won't know what I'm talking about, but those that have built it will understand.
I dressed up the engines a little.
View attachment 134440
Here's the inner flaps I made.
View attachment 134441
Here's how it all fits together. Those new flaps will now hold everything together and fit on those dowel pins for alignment and that main center pin will hold it all to the boom section.
View attachment 134442
It should be alright? Anyhow, moving slowly down the track.
Rob.
The details are fantastic. Pantherman
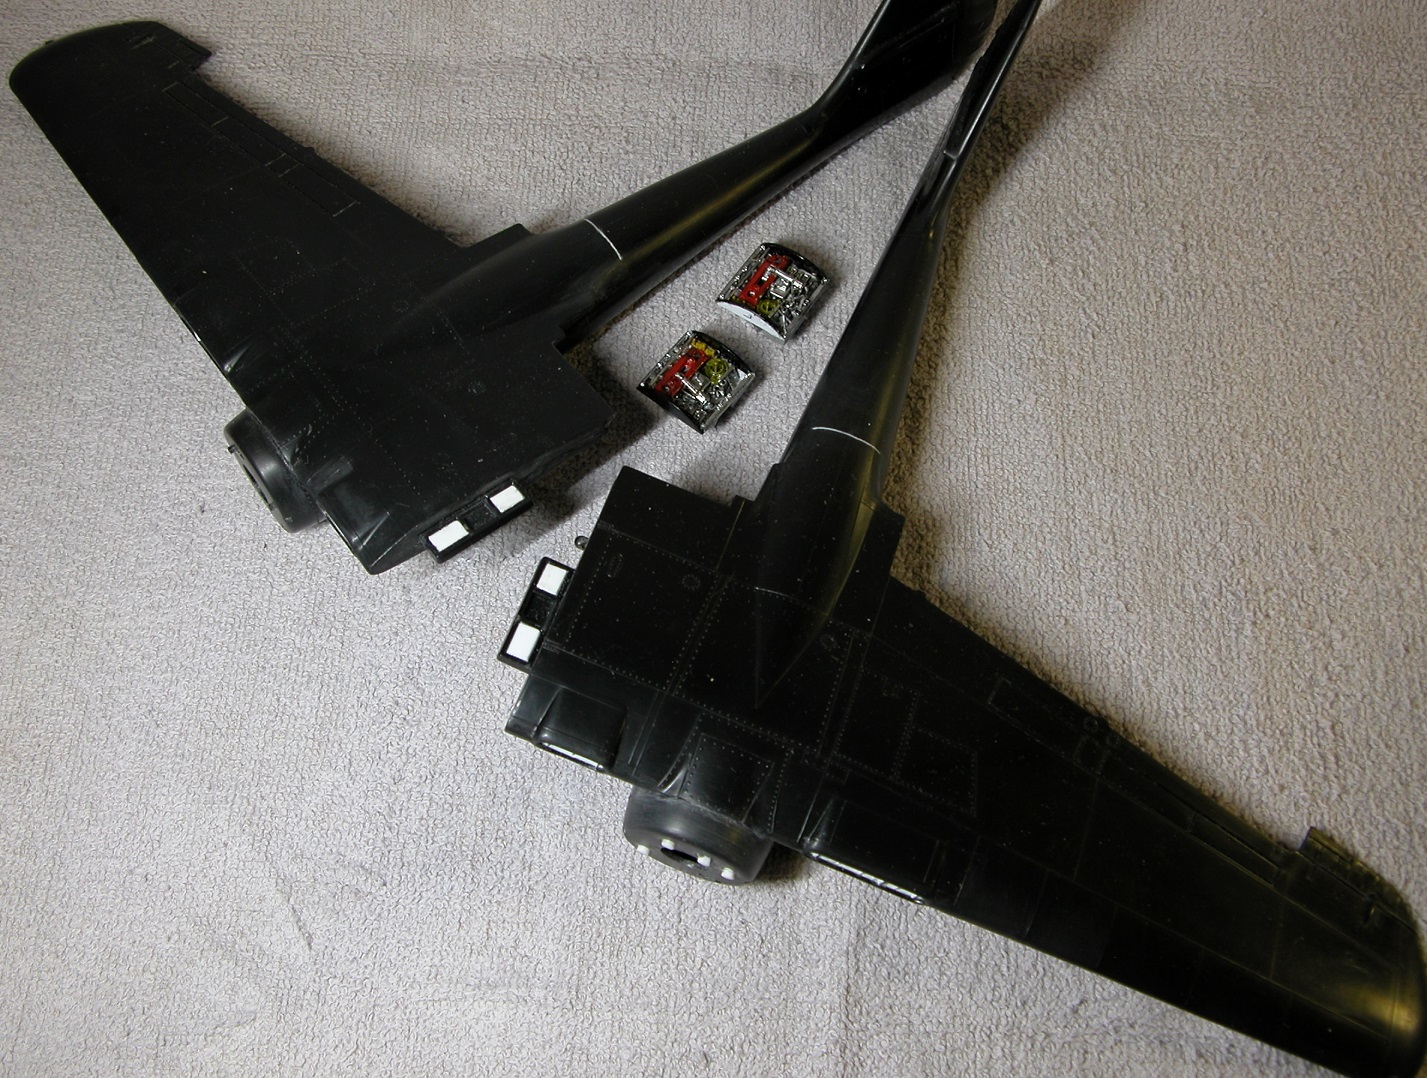

Awesome noodlin, toolin, squishin and simulatin!.

That's some mighty impressive work. Thanks for the mention, hope it helped. Can't wait to see the finished build. PanthermanA little closer! I really need to slow down some. As y'all know, I work at a break-neck, high stress pace that would kill a normal modeler. I do not recommend it.
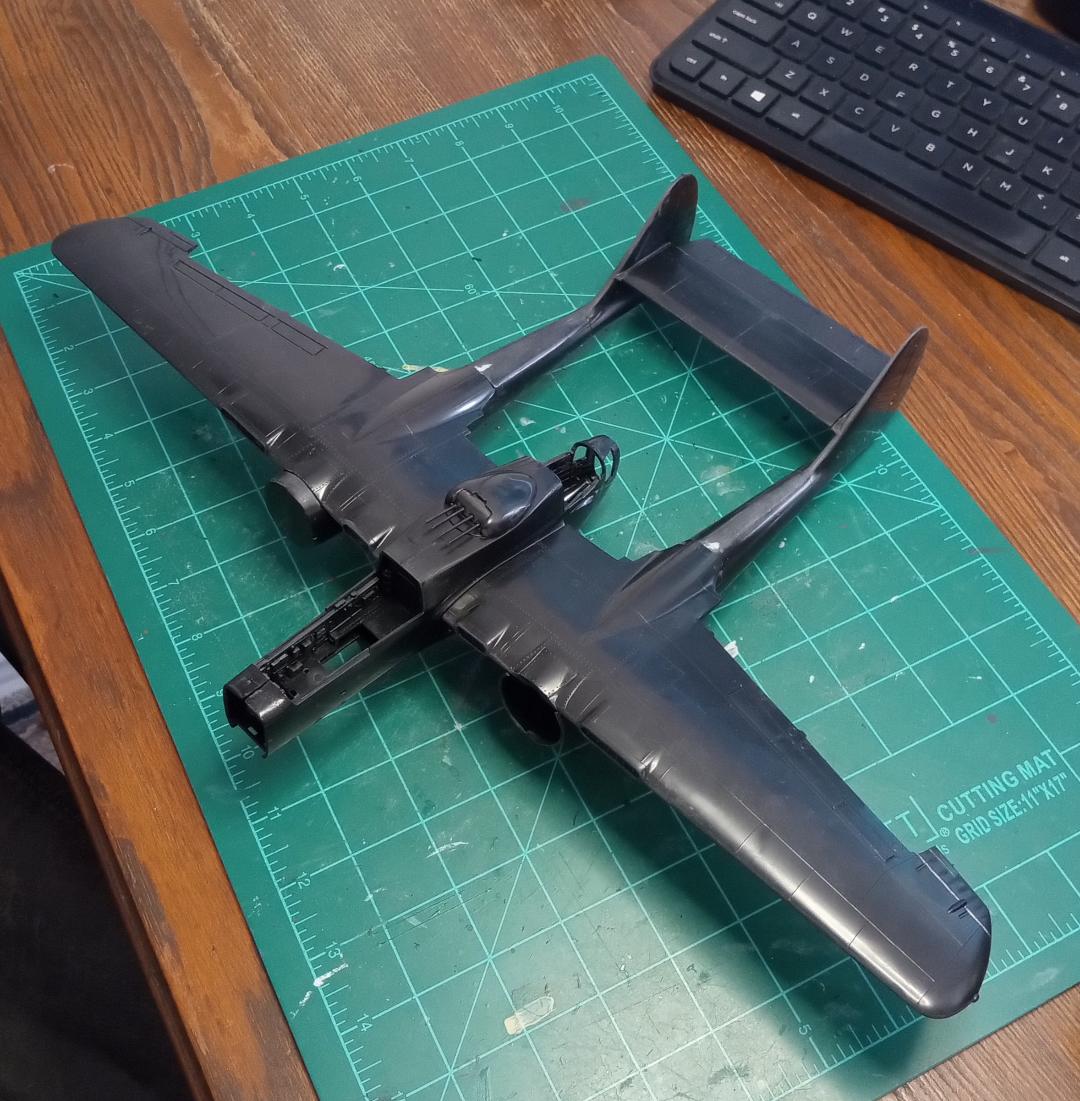
I have attached the "booms" to the "wings". Still no filler. I did, however, have a small gap just behind each wing where they attach to the boom. Instead of filler, I was able to add some .010 sheet styrene into the slot and smooth out the area. All I can do is hope it's slick when paint goes on.
View attachment 135862
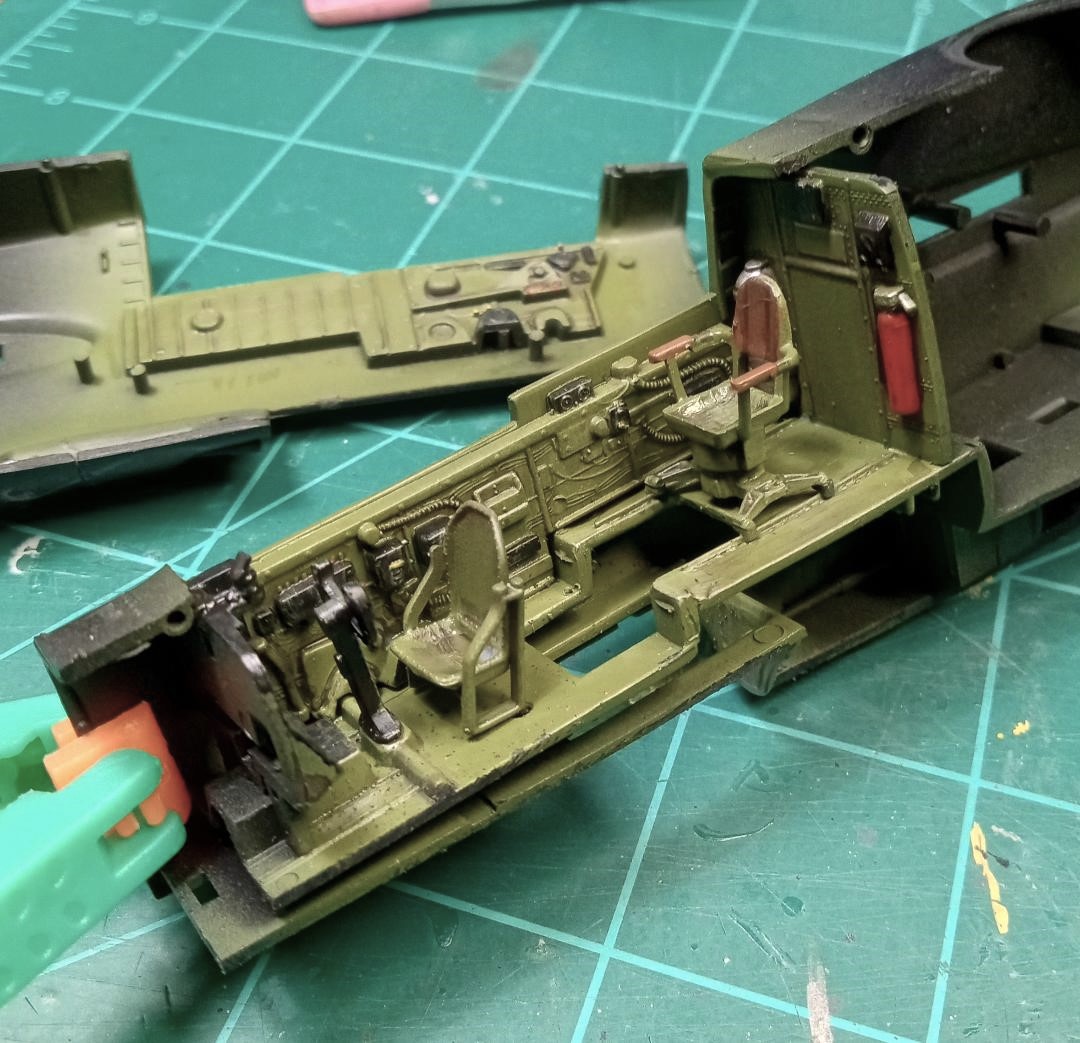
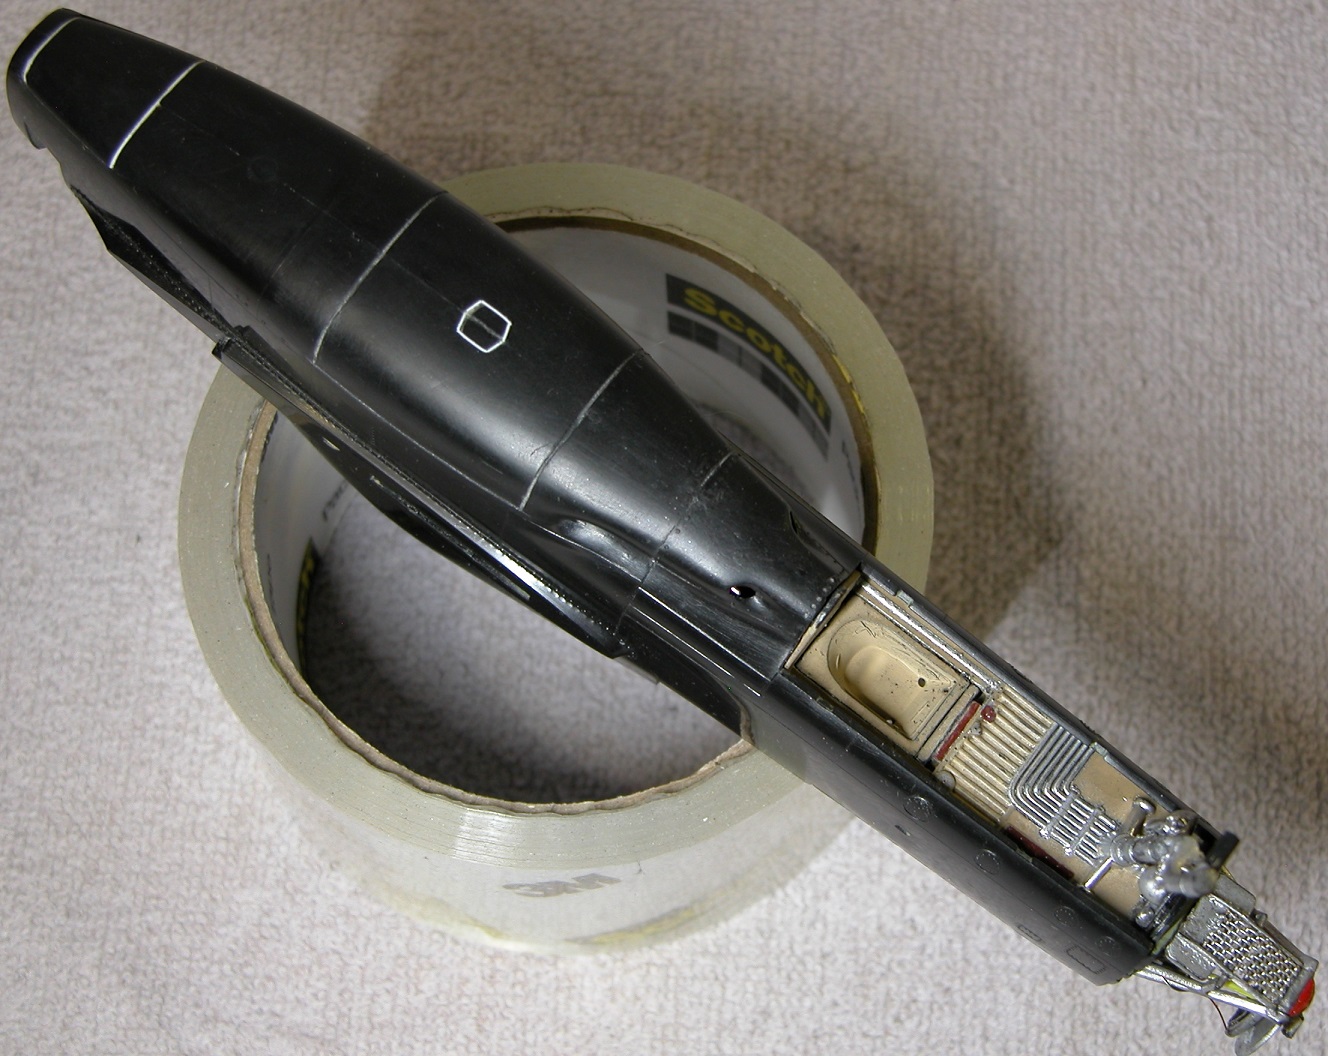
To go with the "new" see through mesh I added under the boom sections, I wanted something in there to see now. I know y'all ain't gone believe me, but all them noodles and pipes are EXACTLY what's on the real thing. I can't prove it and I couldn't find one stitch of research to back that up, but trust me.
100% accurate.
View attachment 135856
Here's what you see through that mesh. Not alot, but a little sumpim-sumpin.
View attachment 135863
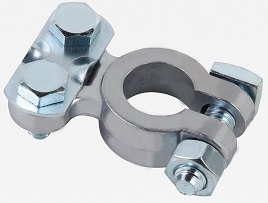
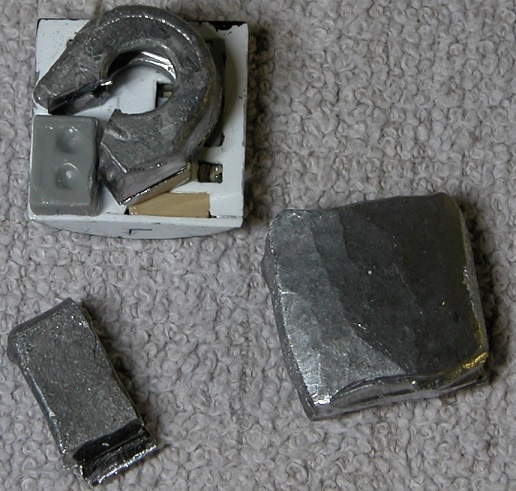
I also took Pantherman's sage, sound and professional expert advice and want this thing to rest on all them wheels, so I added weights. Ok, P-man said 60 grams. What I used is a cut-up, squished and flattened post type battery terminal. Solid lead, so I figured it'll work. By the time I got through with the trimming and cutting and smashing, it ended up at around 28 grams in each wing boom and this will all be mounted right behind the engines.
View attachment 135858
View attachment 135857
I ended up with what I put in the wings right at P-man's suggestion. I wanted to be sure, so more went into the nose section. I had to improvise once again and find some weight material, so to the nose section I have added 1 .44 magnum 300 grain soft hollow point, half a .357 Magnum 180 grain soft hollow point and 3 .22 Long Rifle bullets. I squashed 'em flat and fit them into the area P-Man said to in the nose area just behind the radar plate for the model, which is an open area. This all added up to about 22-24 grams more, so I should be alright. Total, about 70 grams. Ish.
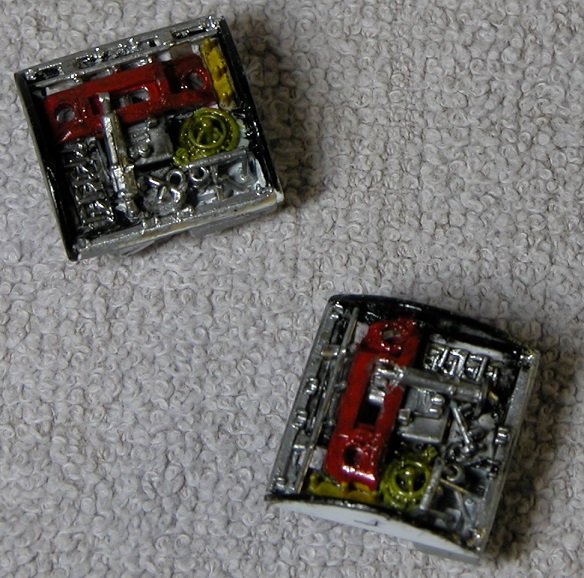
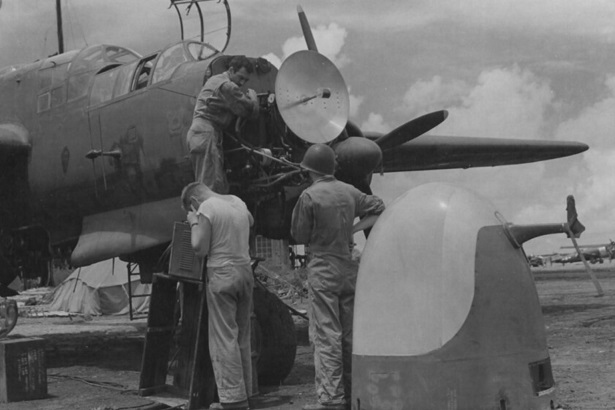
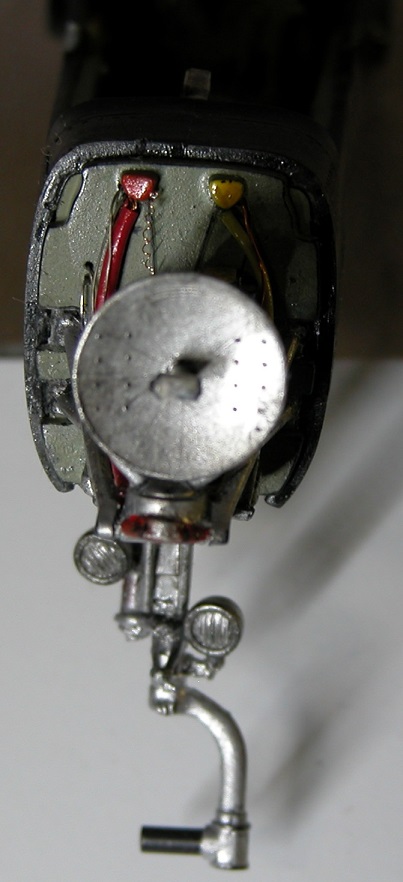
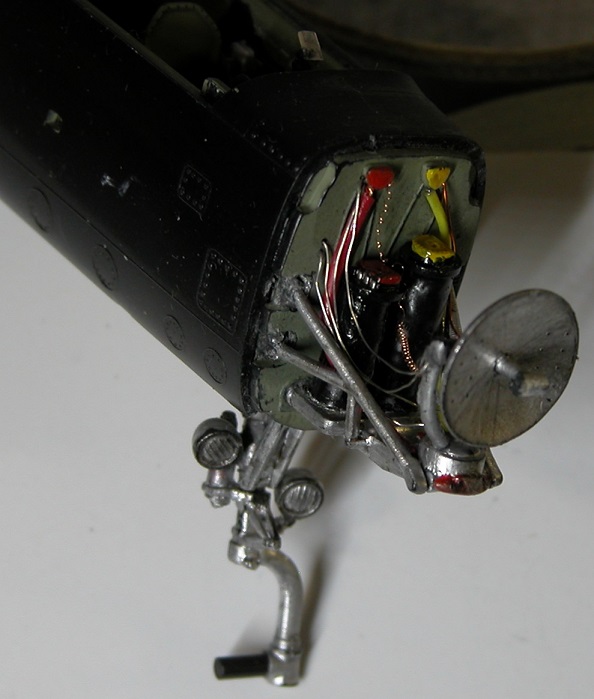
I didn't add anything to the nosecone, because just like P-man mentioned, I wanted to display the radar. Saying that, I built the radar, added a little detail to it like springs, hinges, tubes, wires, coils and such trying to simulate what I seen in pictures of it.
View attachment 135859
Here's what I ended up with.
View attachment 135860
View attachment 135861
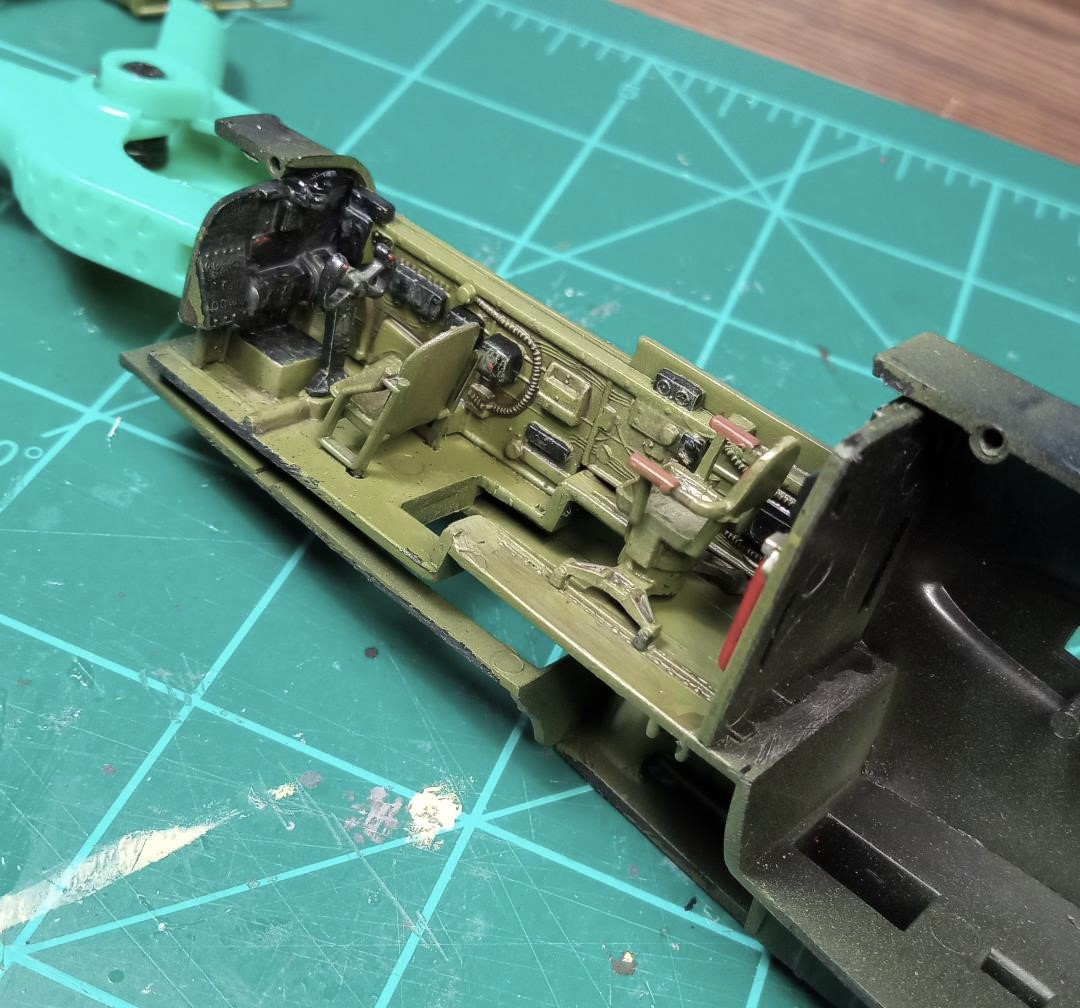
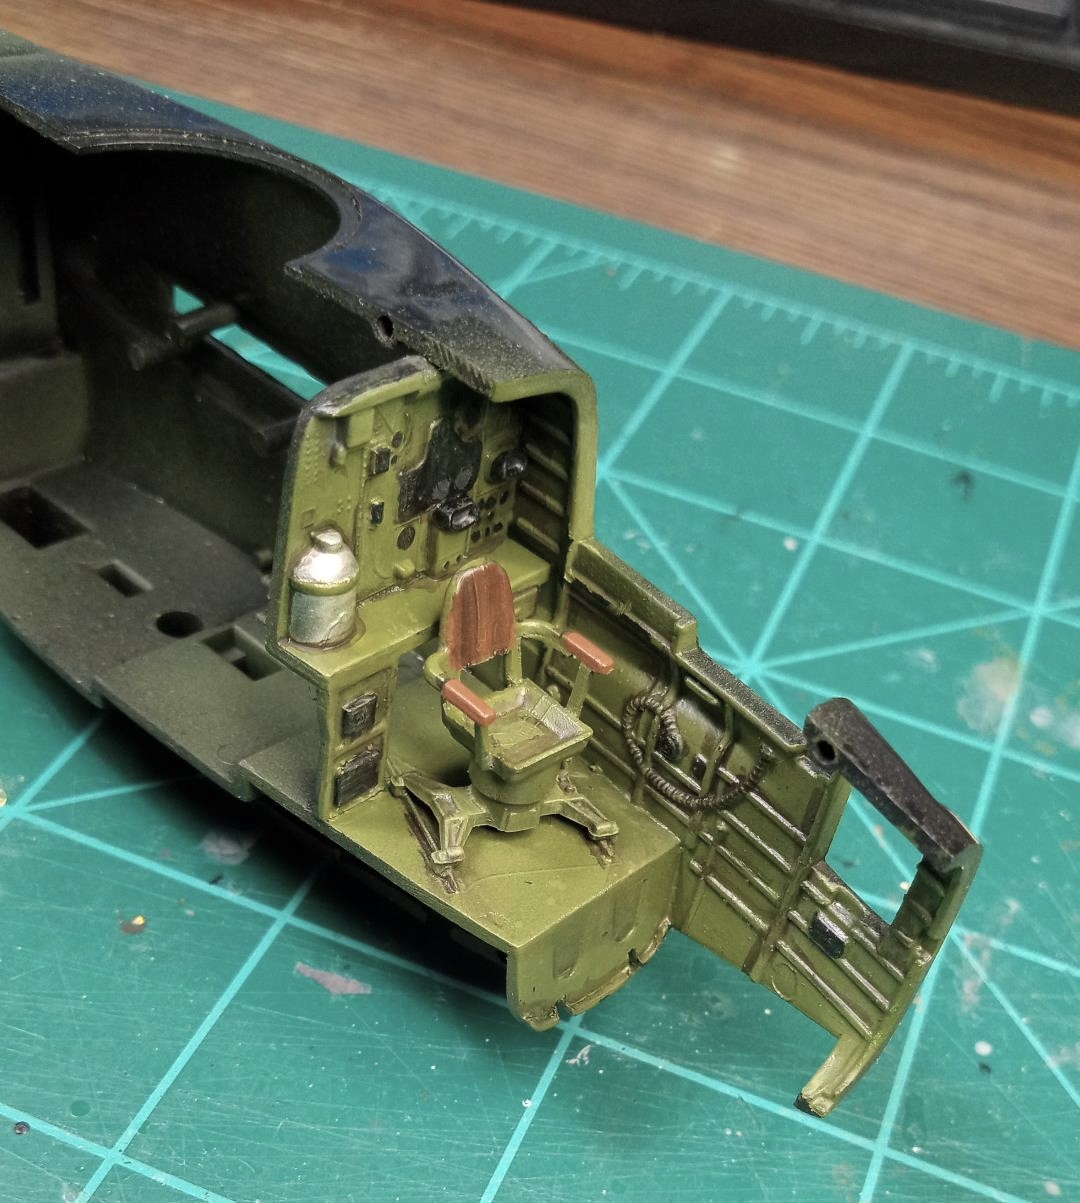
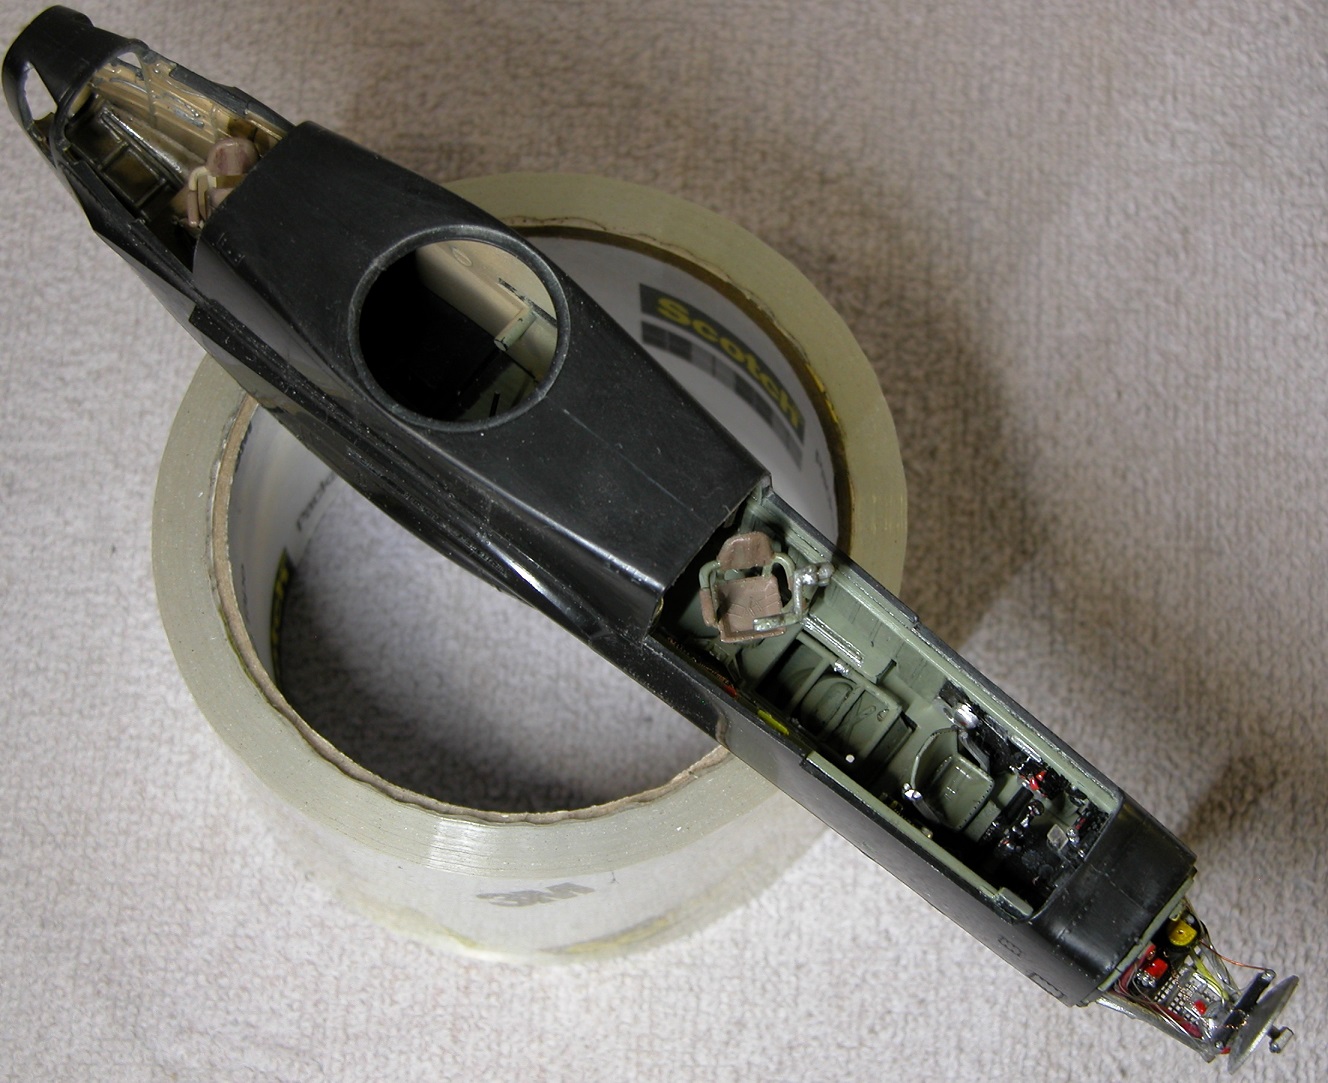
I've also got the main fuselage assembled. I plan to have this thing all buttoned up, so I had to do a little filling along the bottom.
View attachment 135864
That very rear hatch seems to have never been meant to be closed on a finished model and I ended up having to add some styrene at both ends and smooth all that out. Here again, paint will tell how this came out.
View attachment 135865
I've had to deviate from the normal assembly steps listed in the instructions having this all "flight ready". The internal guns are mounted, but I have cut each gun tip off, drilled both sides of the barrels and will add each tip back once this is all painted.
There's where we are.
Rob.


That's some mighty impressive work. Thanks for the mention, hope it helped. Can't wait to see the finished build. Pantherman
I have two of these in the stash. Thanks for the inspiration—and a little intimidation. Now I'm going to want them to look like yours!
Like Pantherman said, very impressive work.
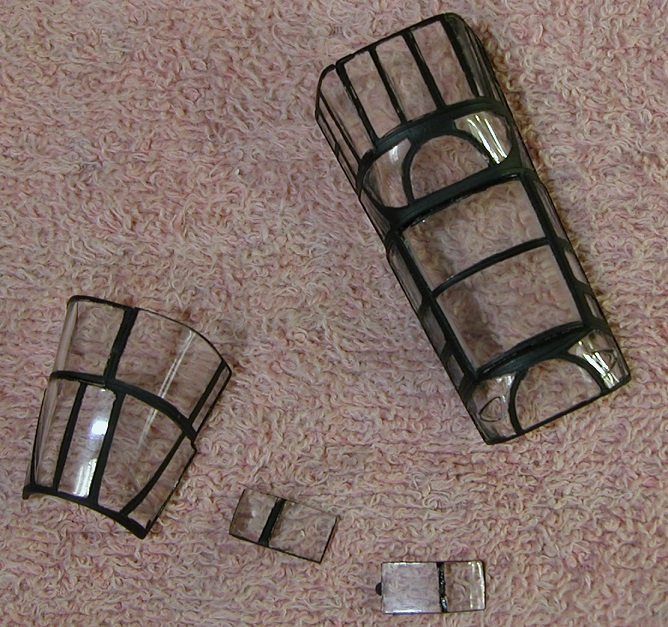
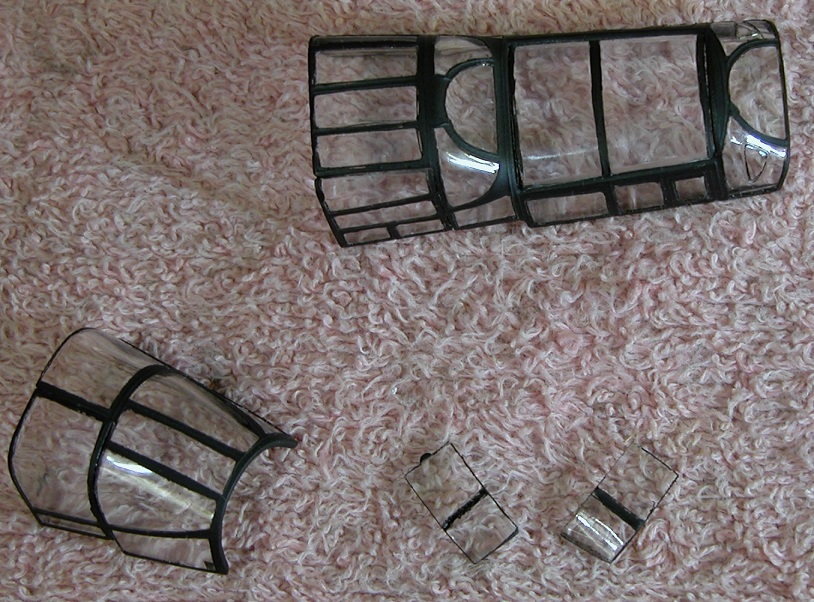
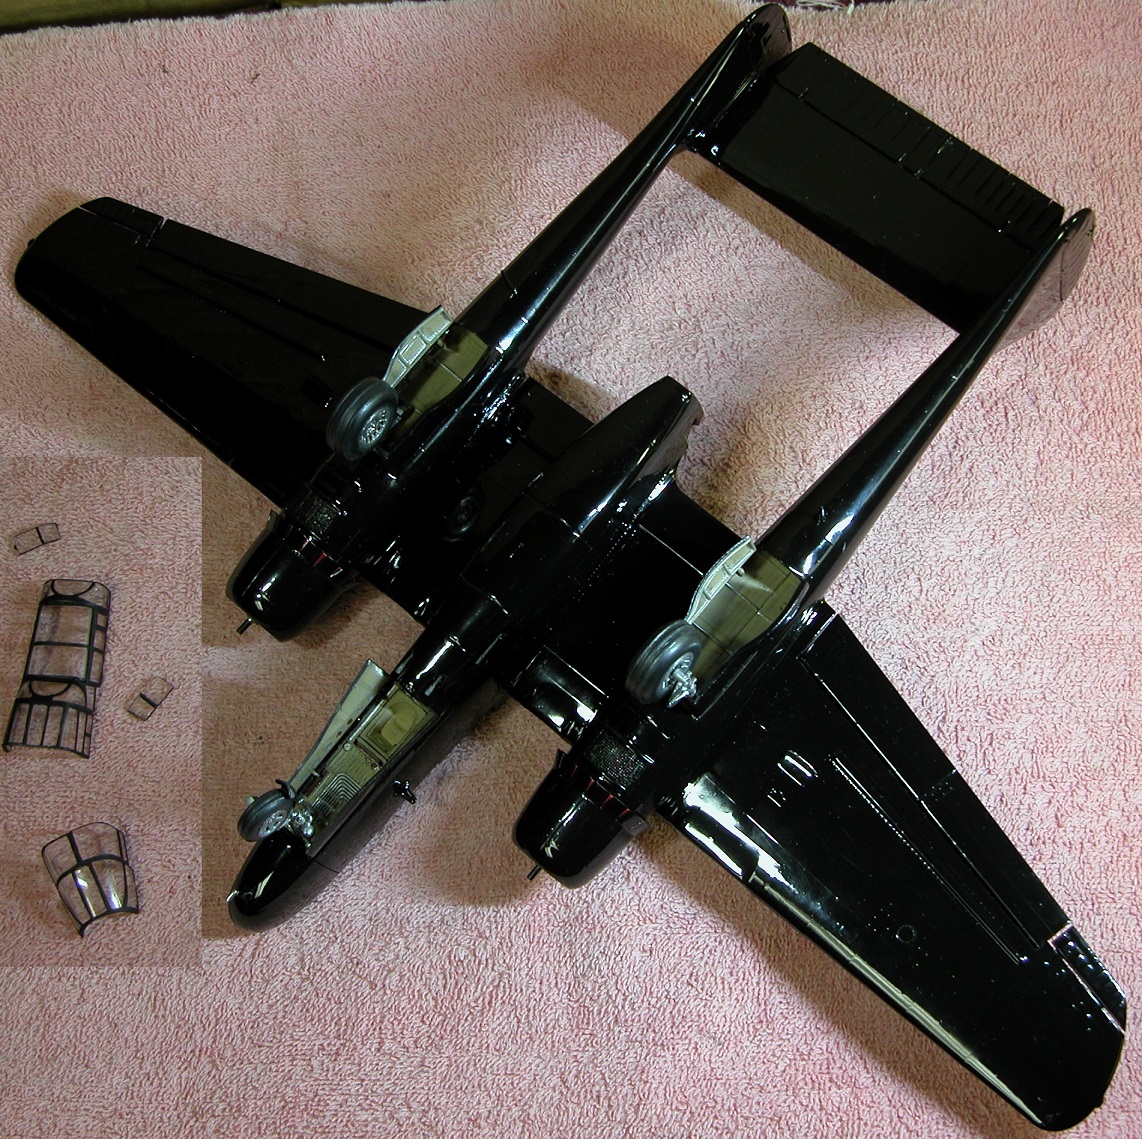
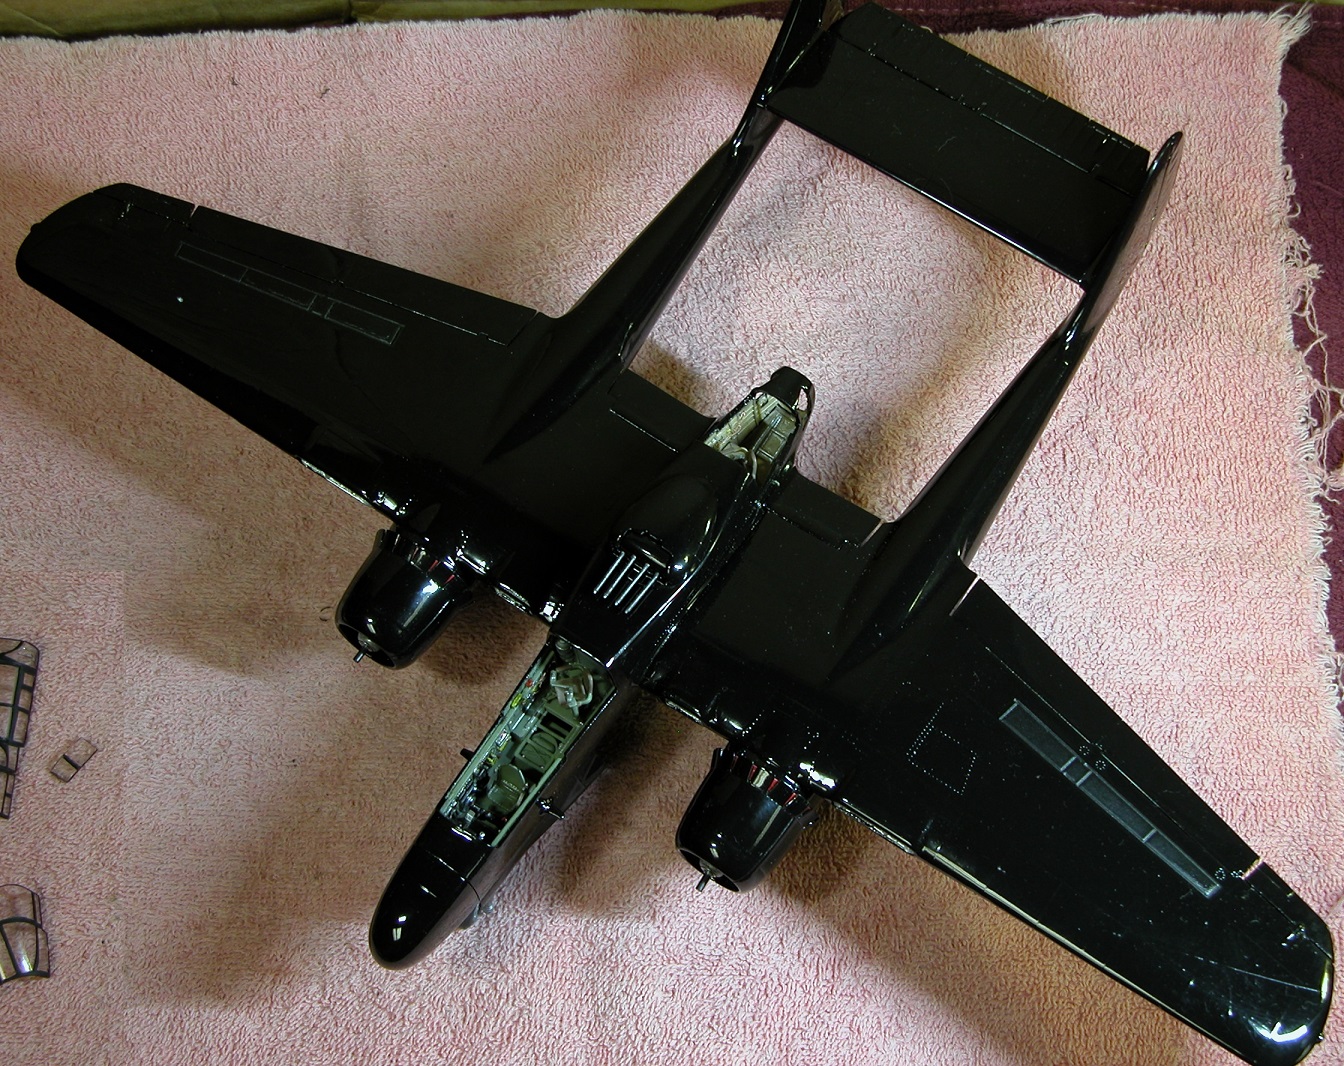
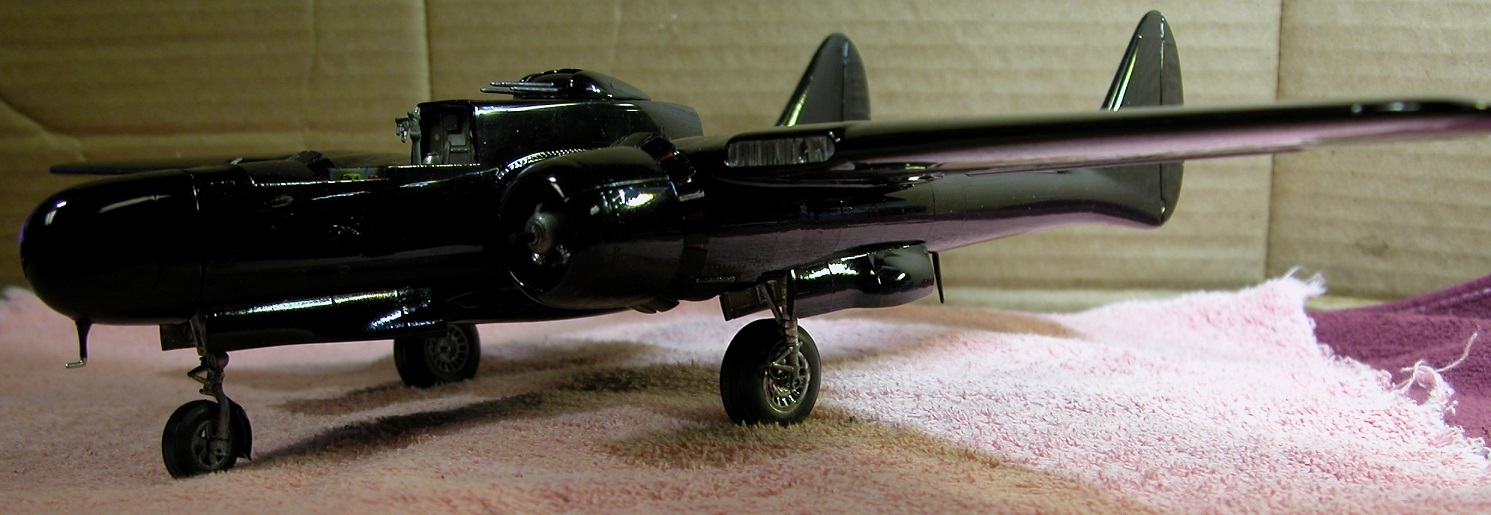
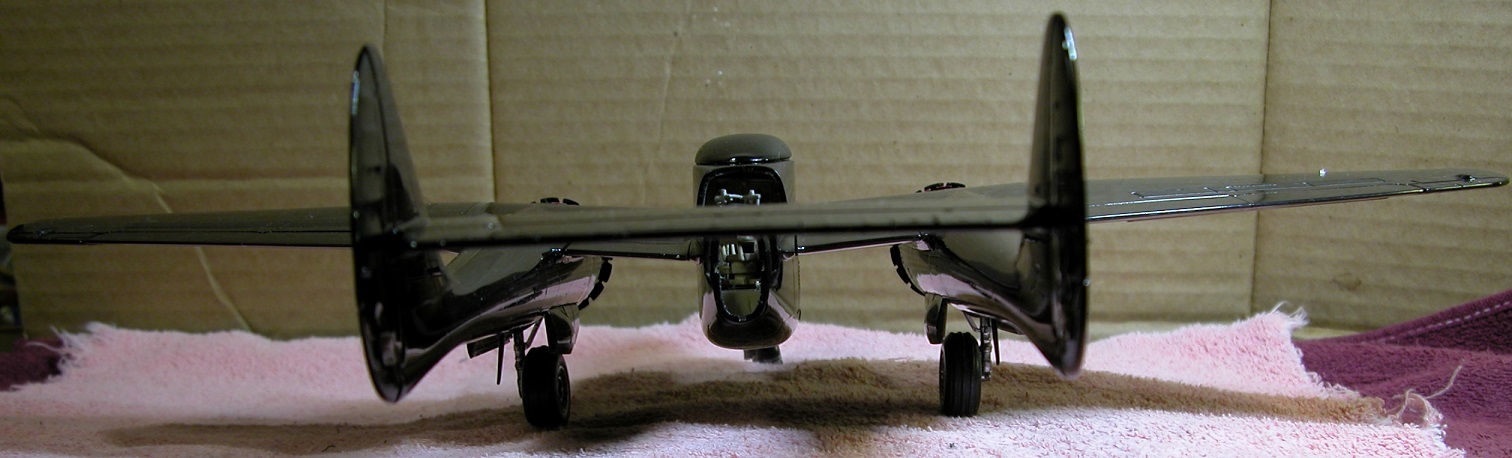
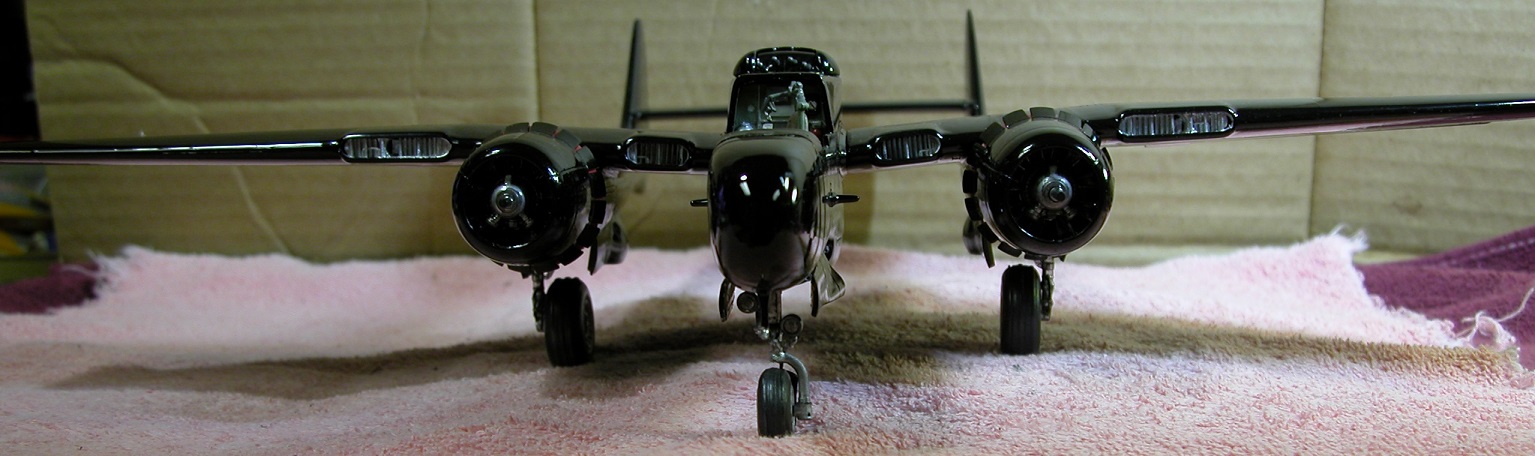
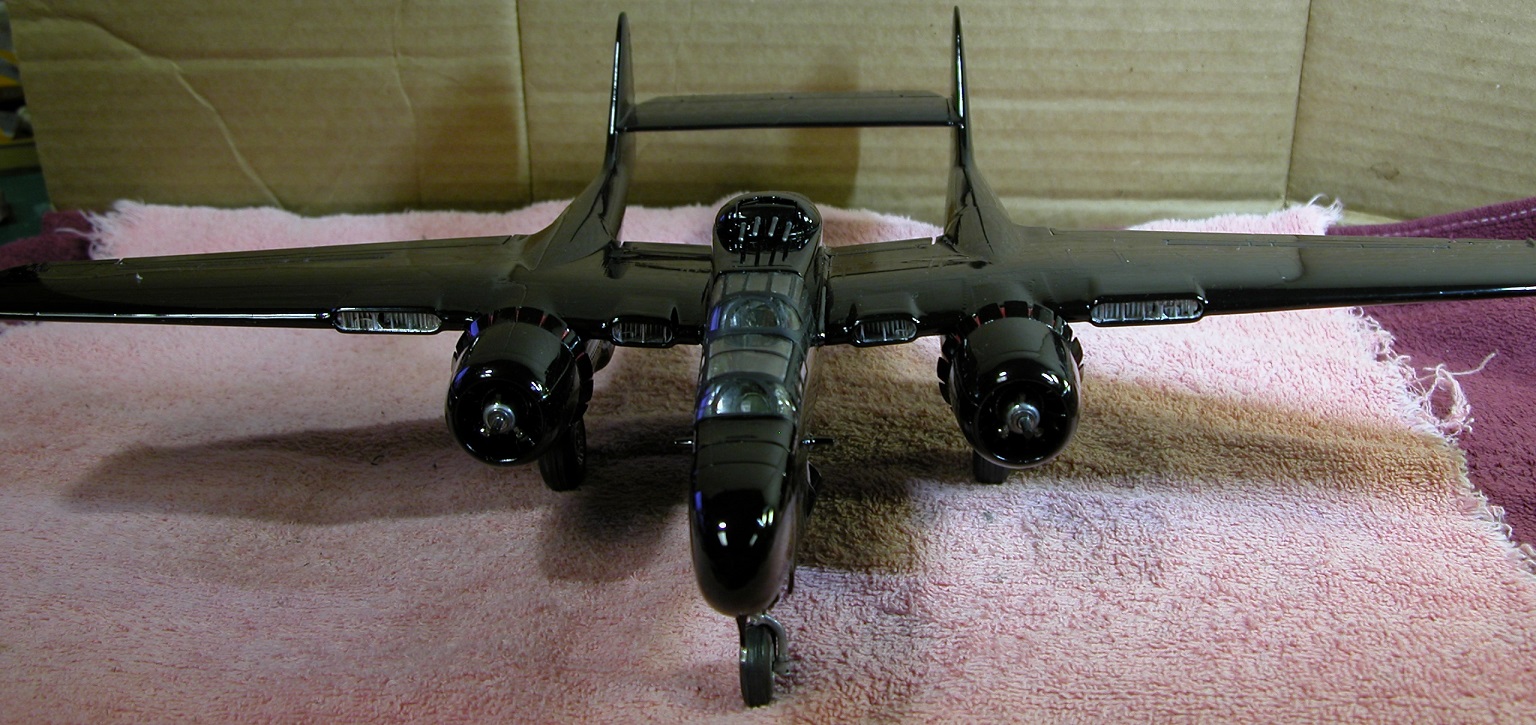
looks great! The Batplane's got nothing on this night flyer!progress
looks great! The Batplane's got nothing on this night flyer!
I use the same thing. It works well with Biplanes too.
I tried this build, and had so many fitting issues.Got a few more bits done, mainly just the dreaded canopies to finish. Pantherman
View attachment 119465View attachment 119466View attachment 119467
Much appreciated. PanthermanIt's a shame I missed this GB when is started a few years ago - it's the kind of insane looney build I would have signed up for. Having heard nothing but bad about this kit, and having just read through all 14 pages, can I say that you builds have all looked fantastic!