
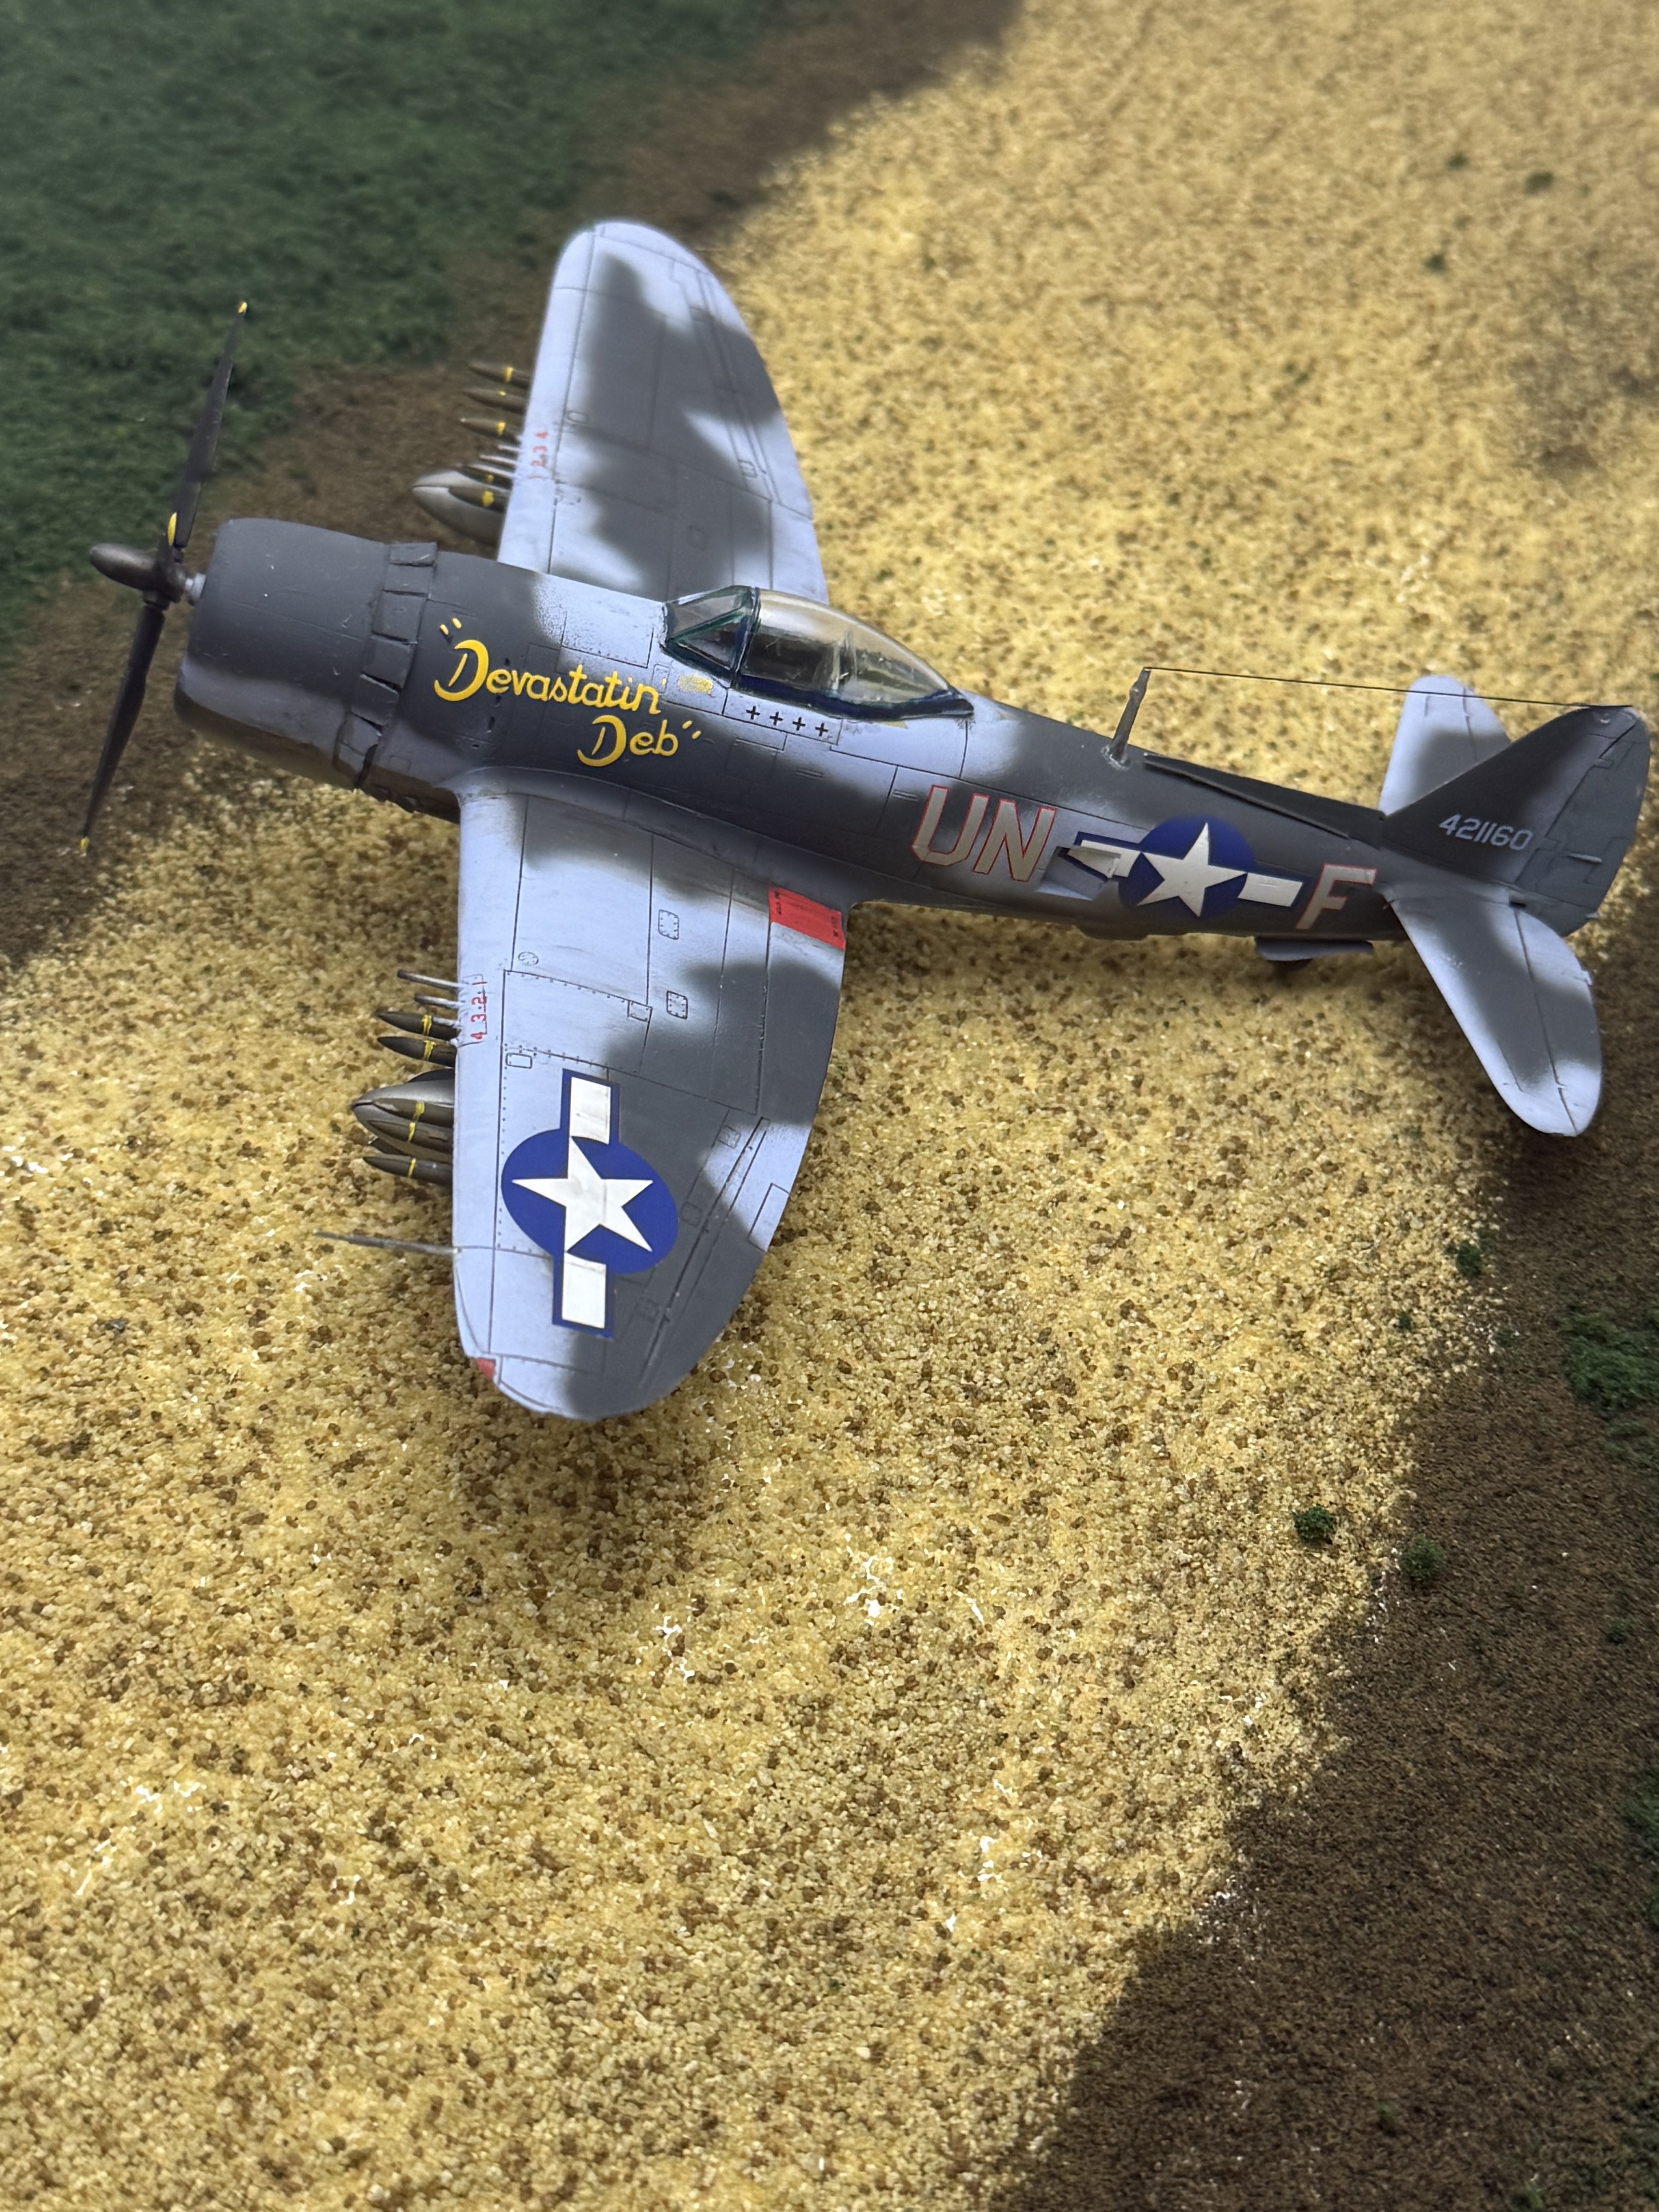
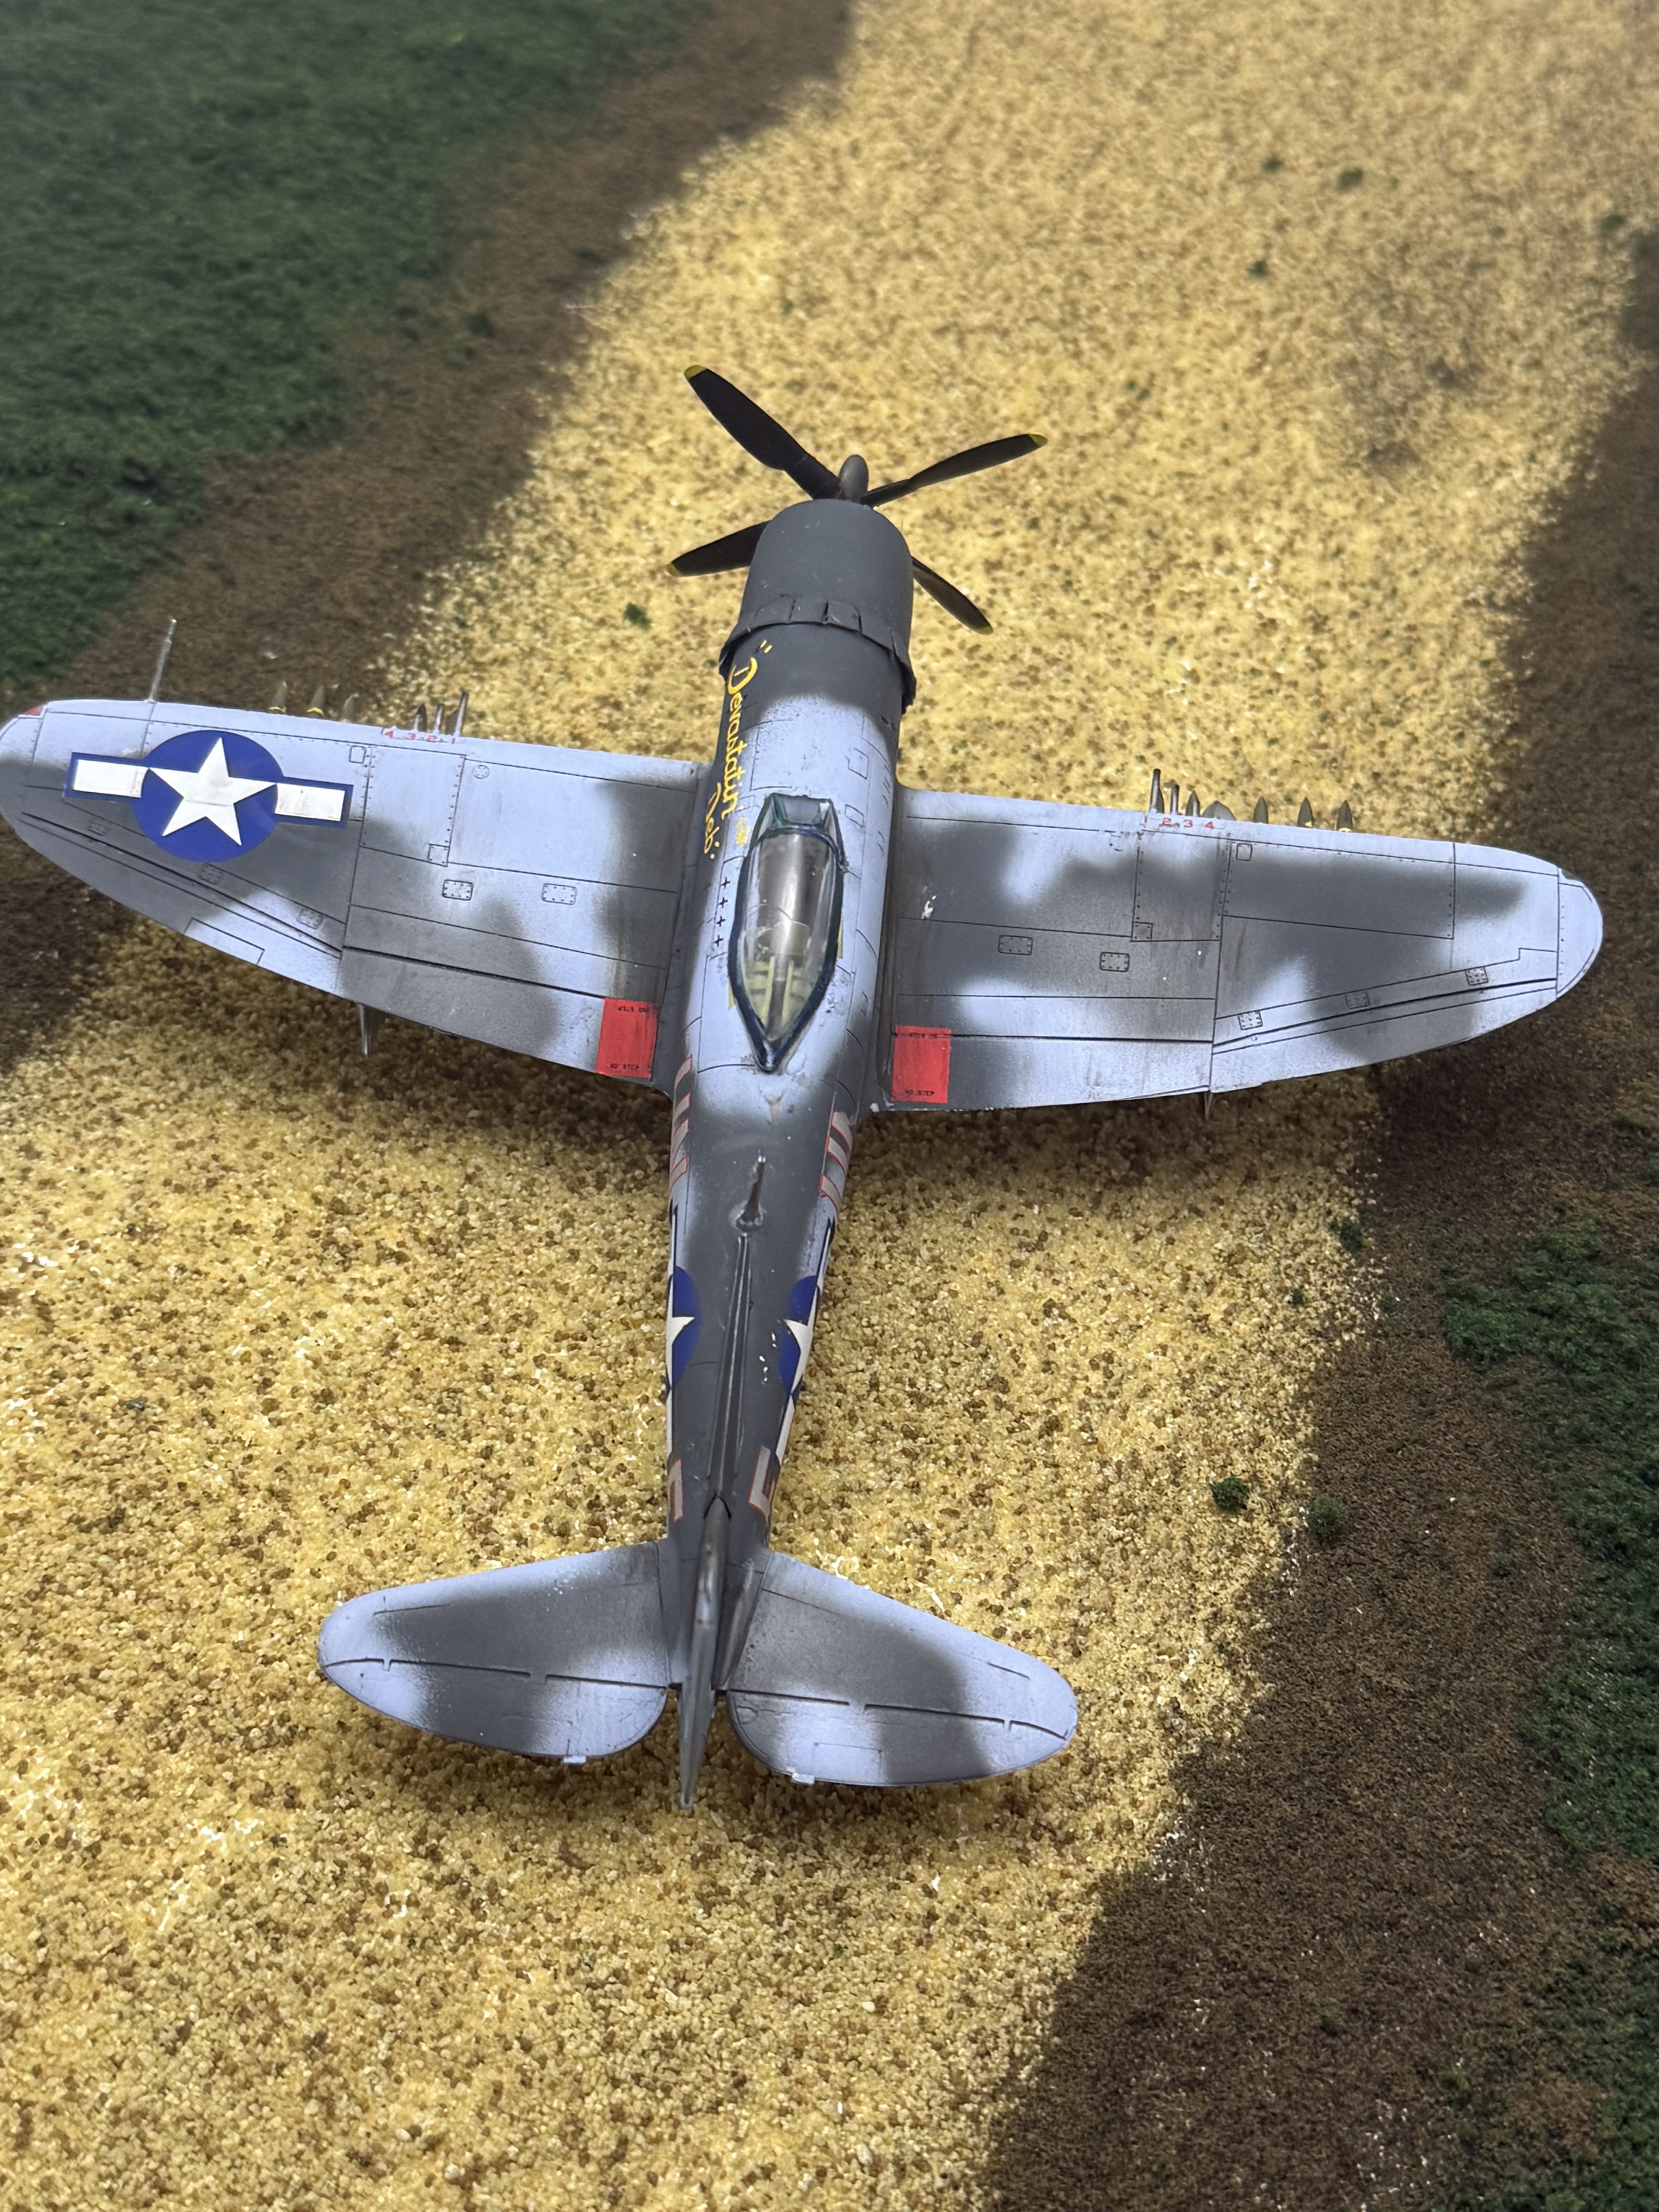
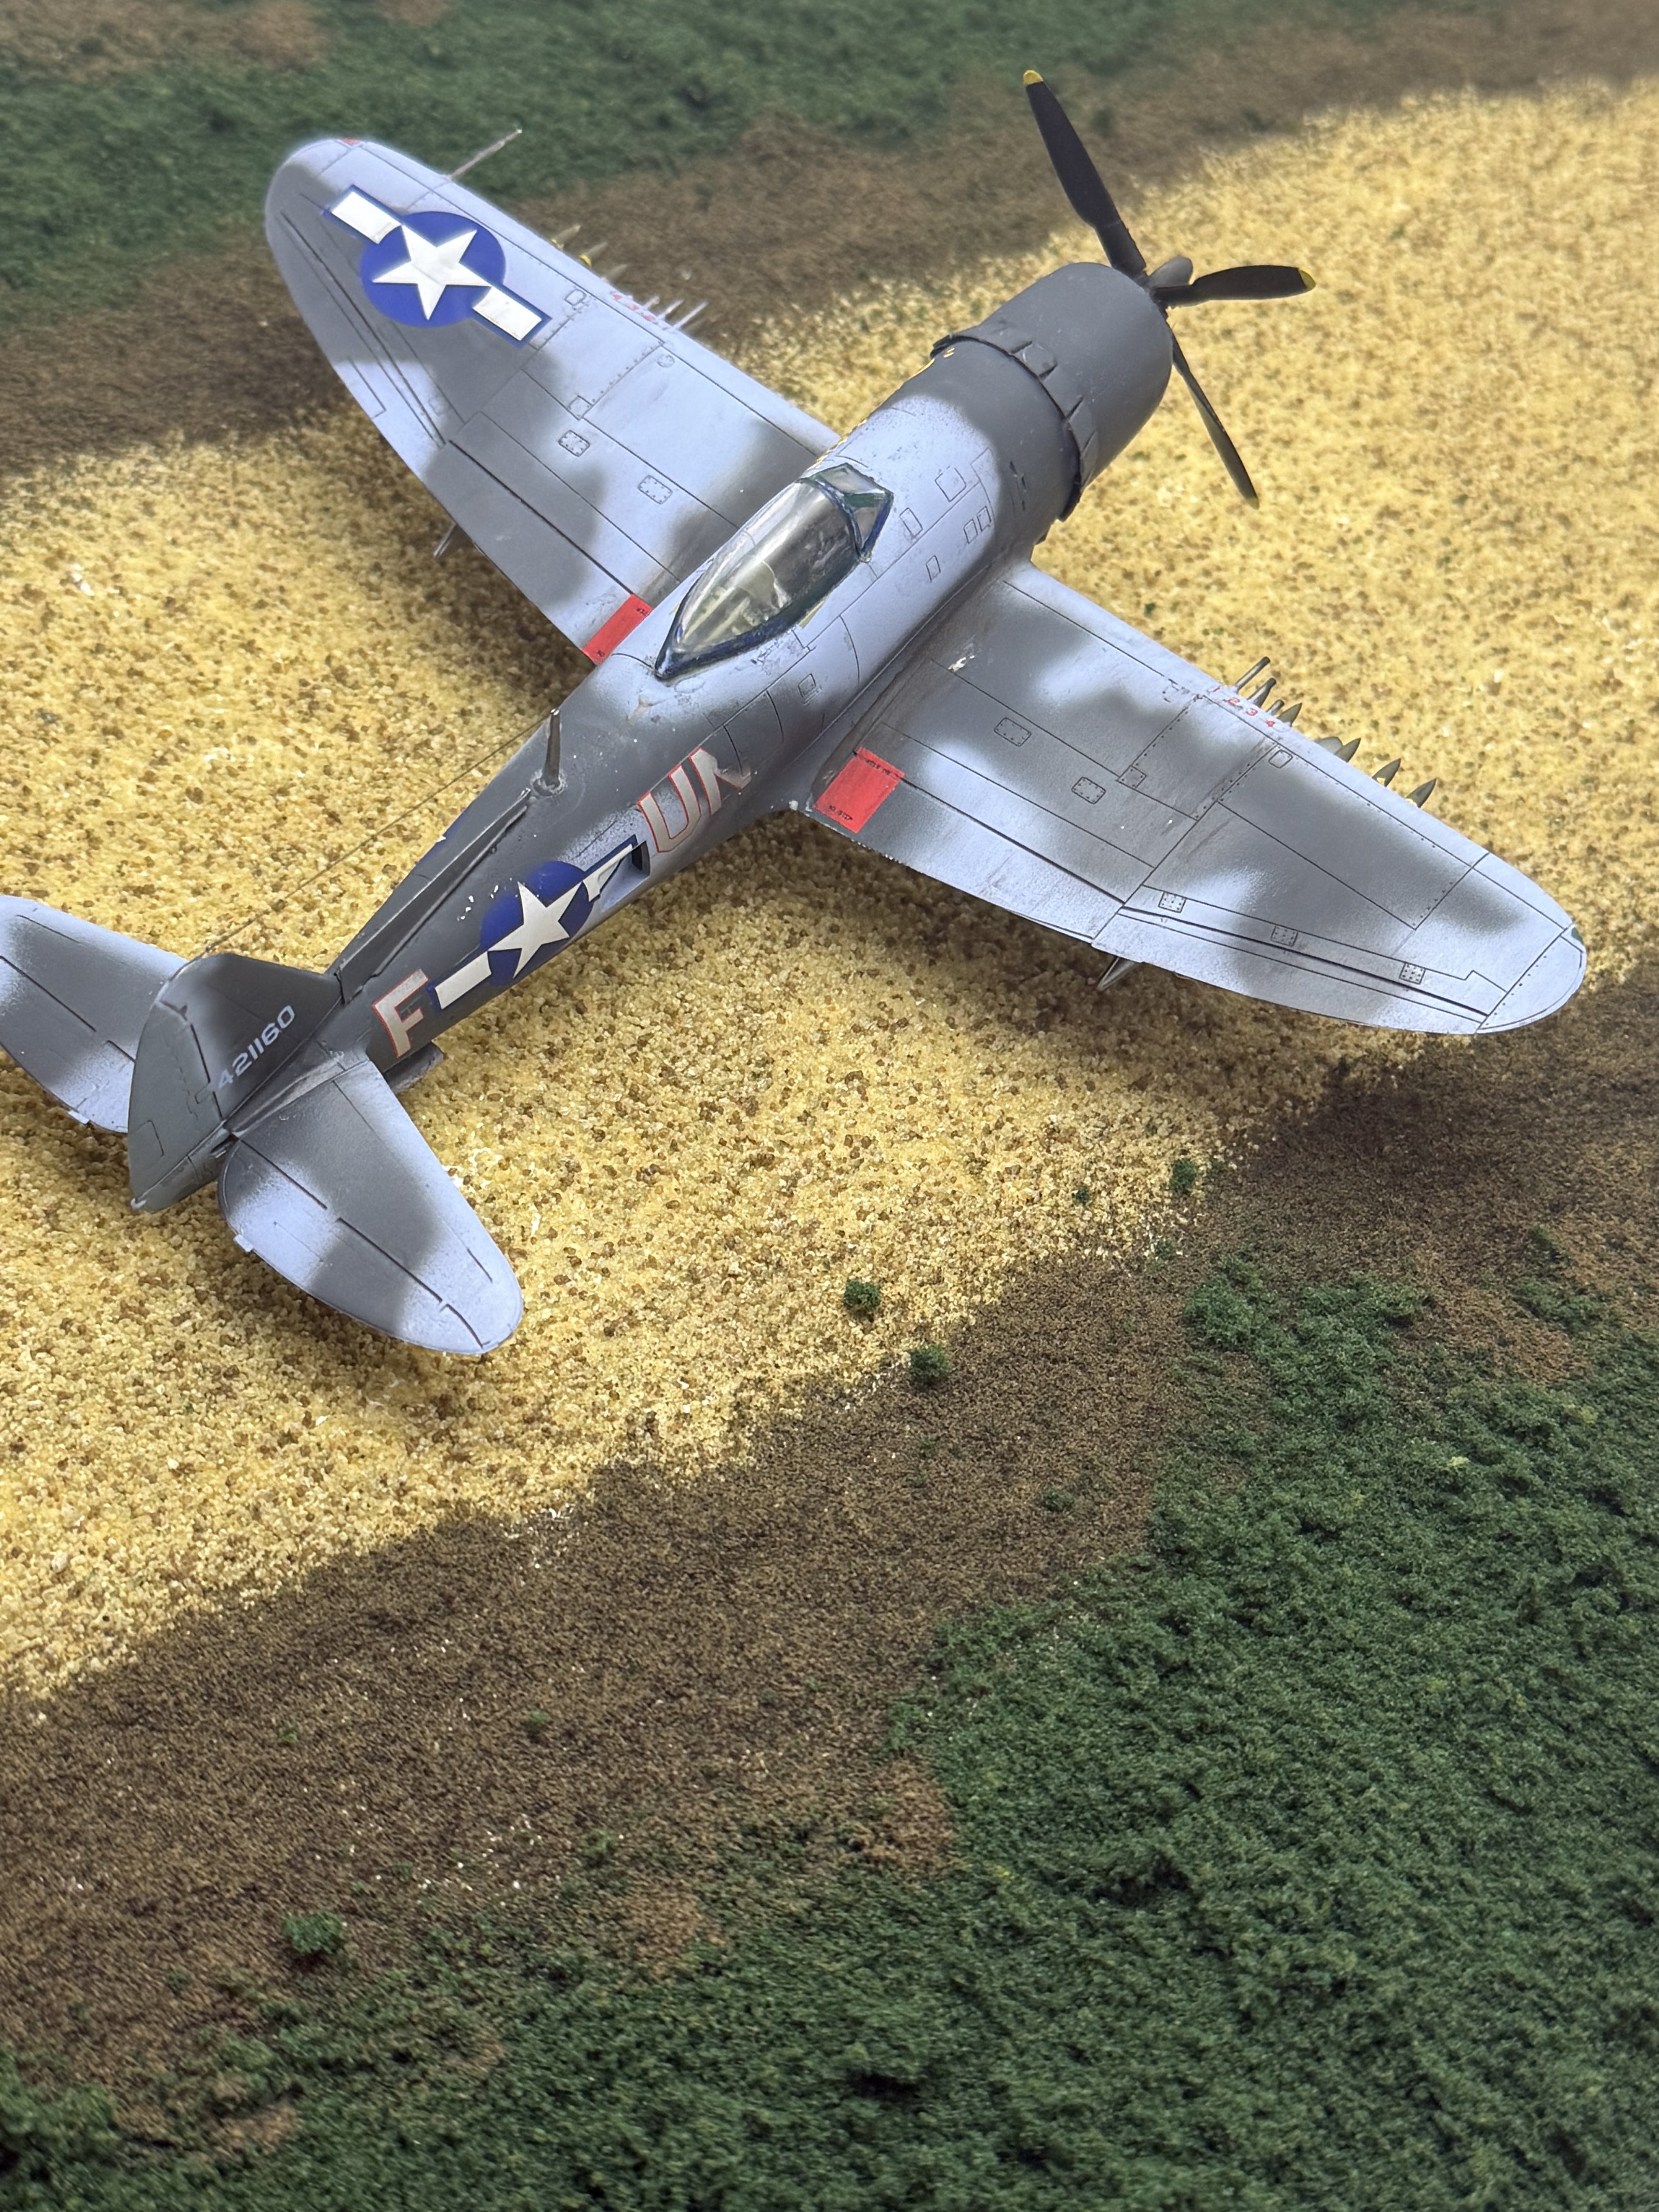
I forgot to post this quick build. It's an OOB build so nothing exciting to see in cockpit anyway. Fit isn't great for the cowling. Had to sand the inside of the cover quite a bit to get it to sit right. It's an old kit so it's to be expected. Also had to trim the bracing for the engine A lot to get things to fit. I probably removed half the plastic or close to it. I'm trying to do the lineage of the p47. This is second model of the lineage. I've got the p35 which I'll probably build next and then a razorback. Need to find the p43 and p47N and I'll be good.

You are using an out of date browser. It may not display this or other websites correctly.
You should upgrade or use an alternative browser.
You should upgrade or use an alternative browser.
Revell P47M thunderbolt 1/72
- Thread starter Ron2
- Start date
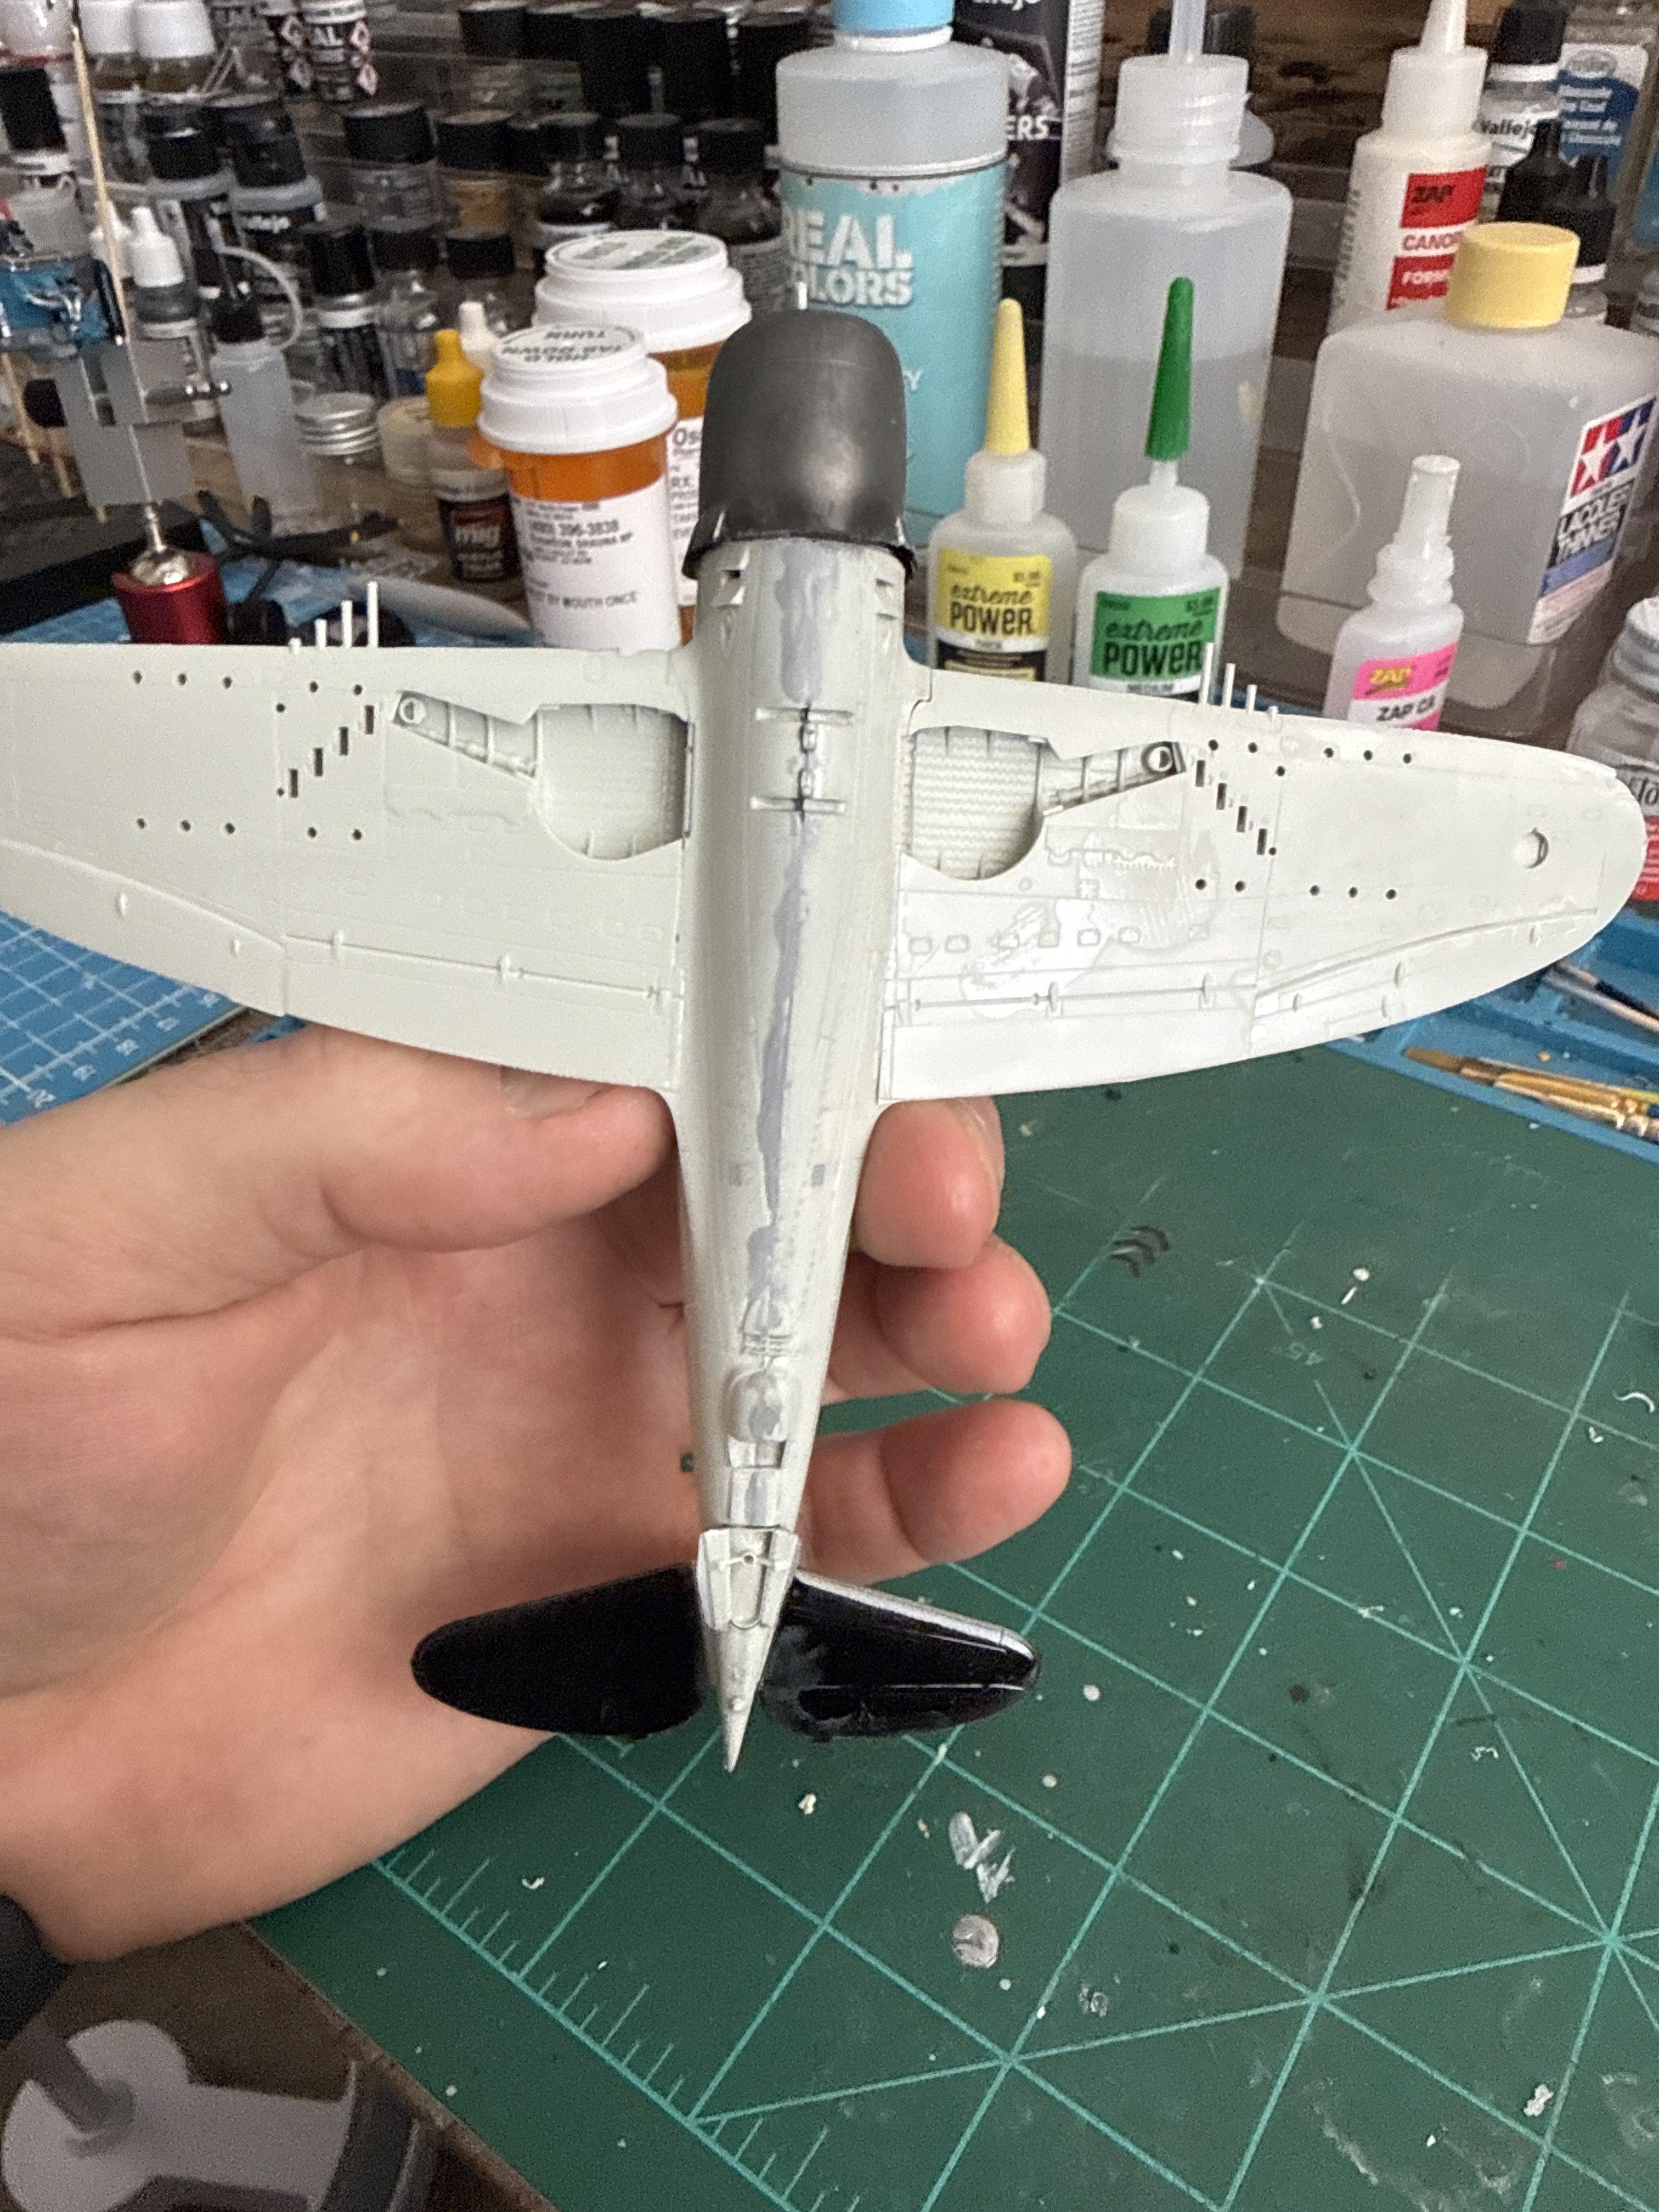
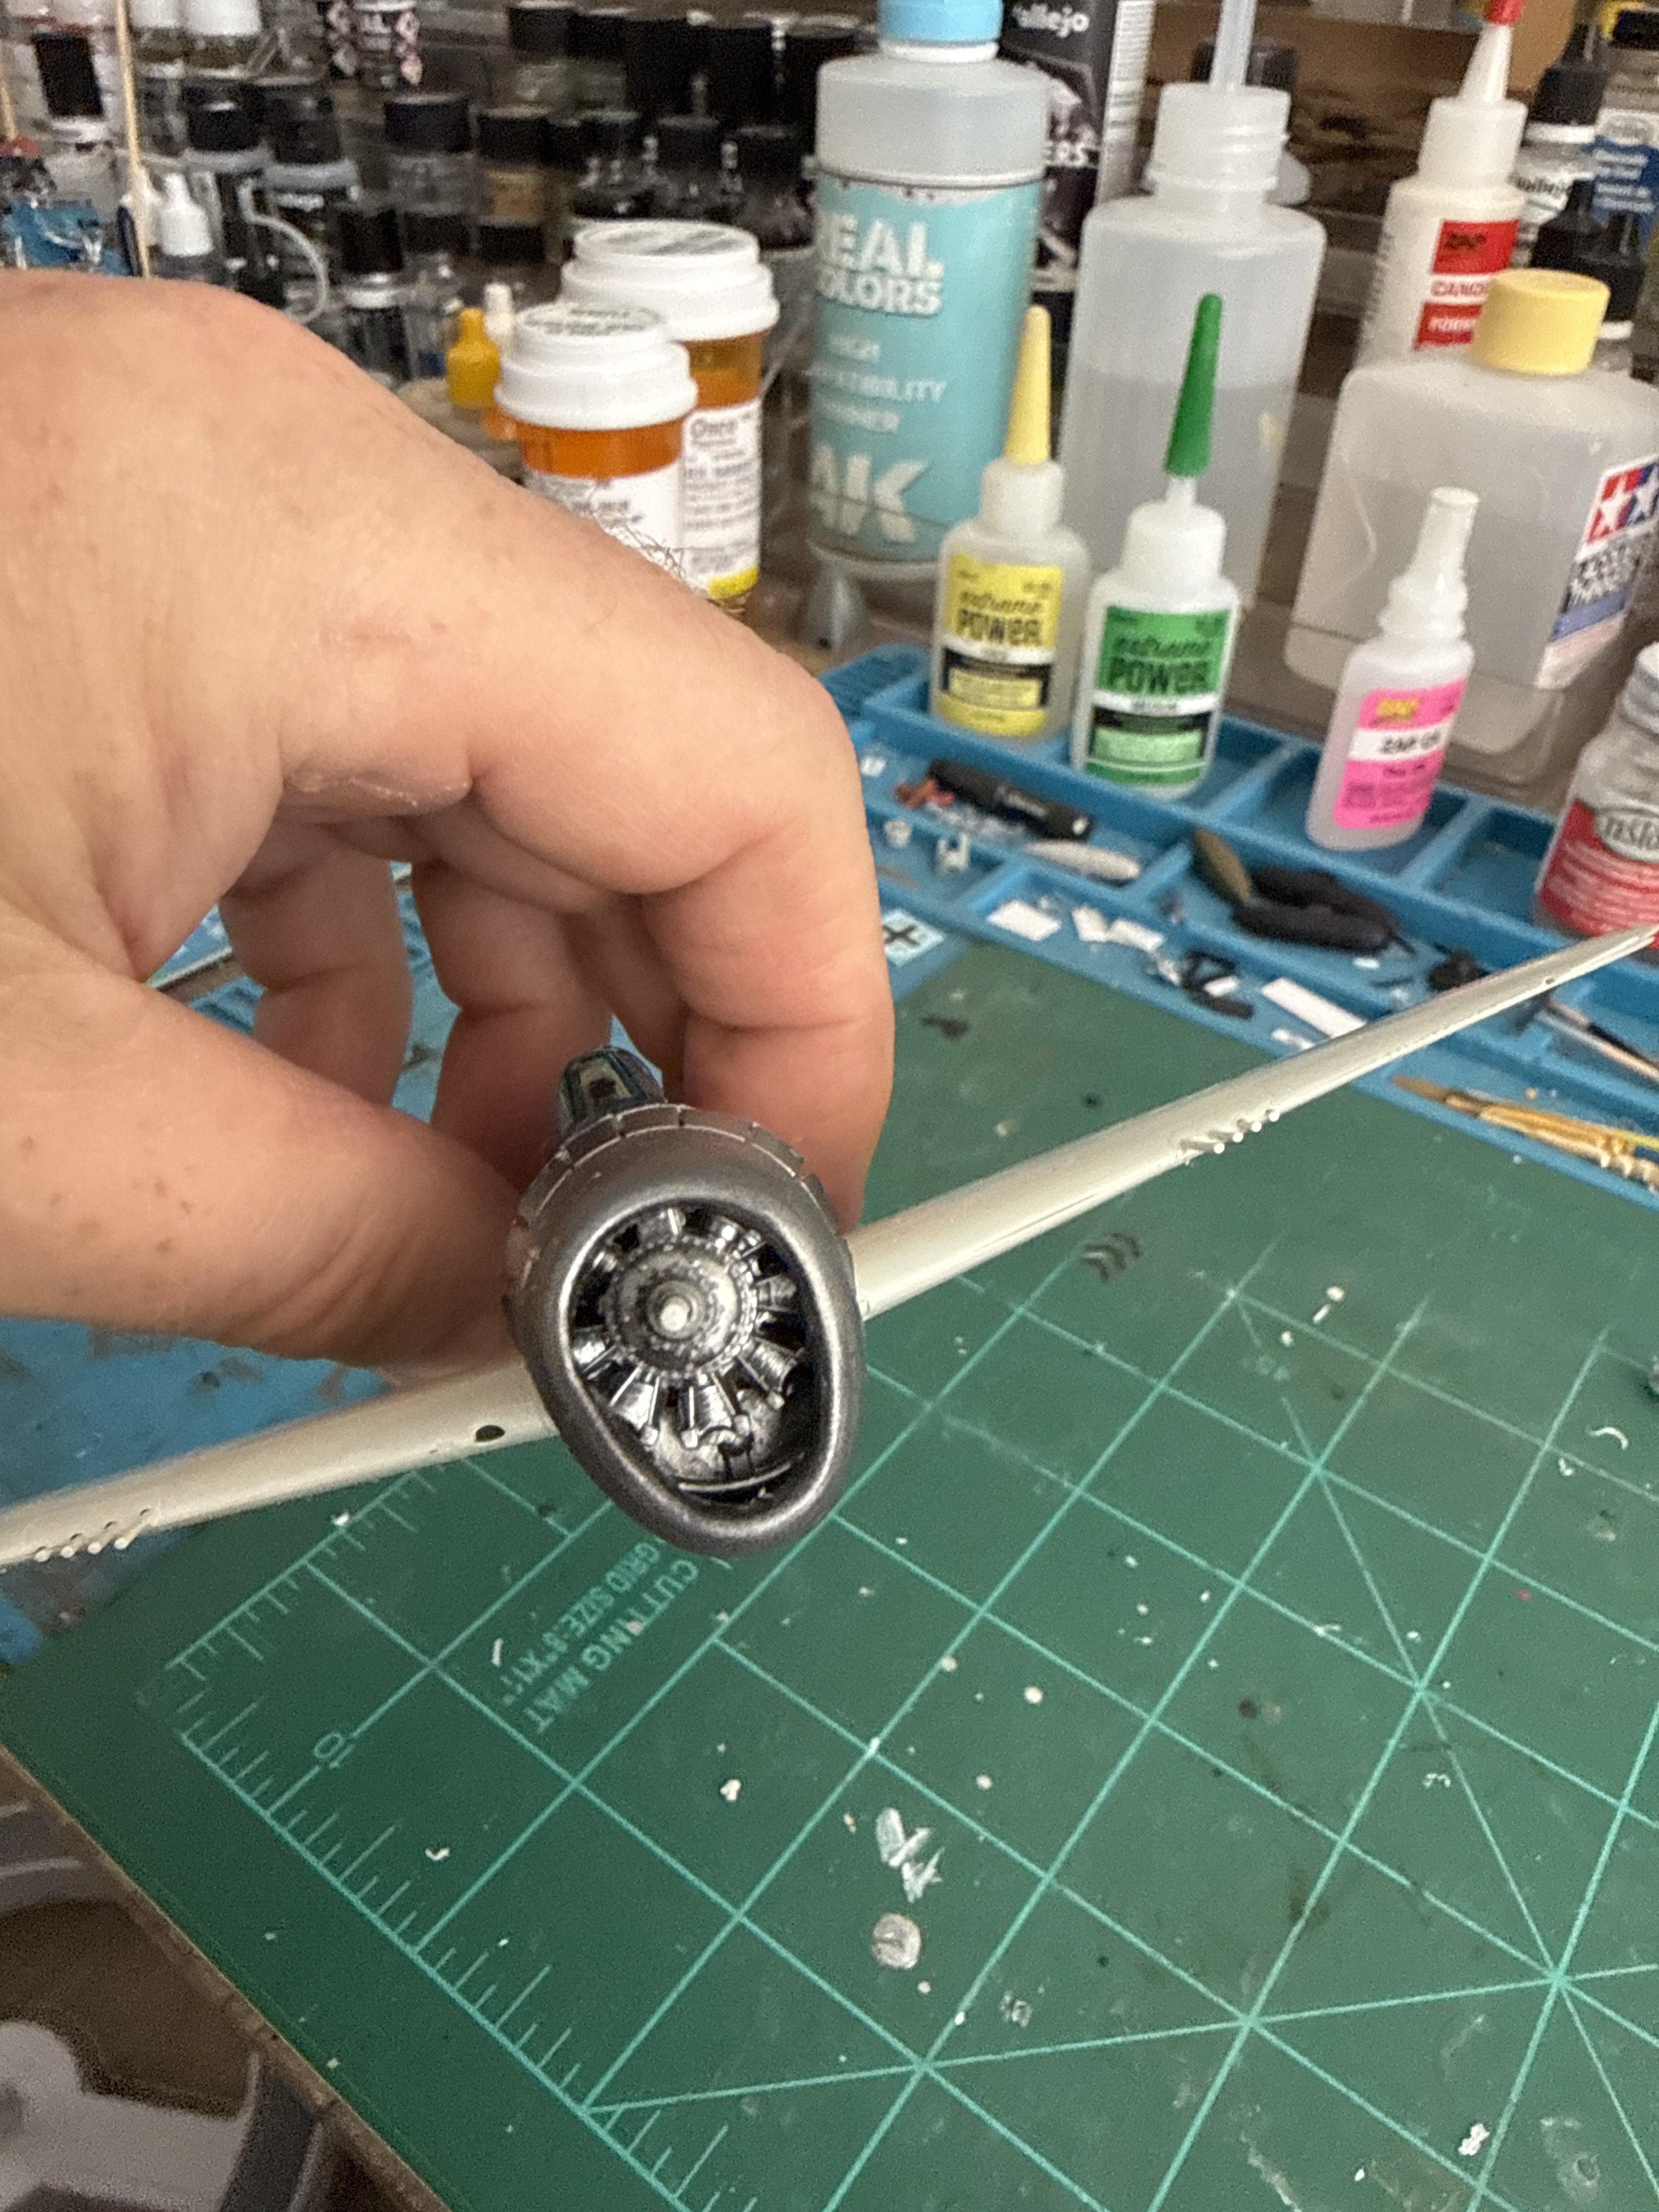
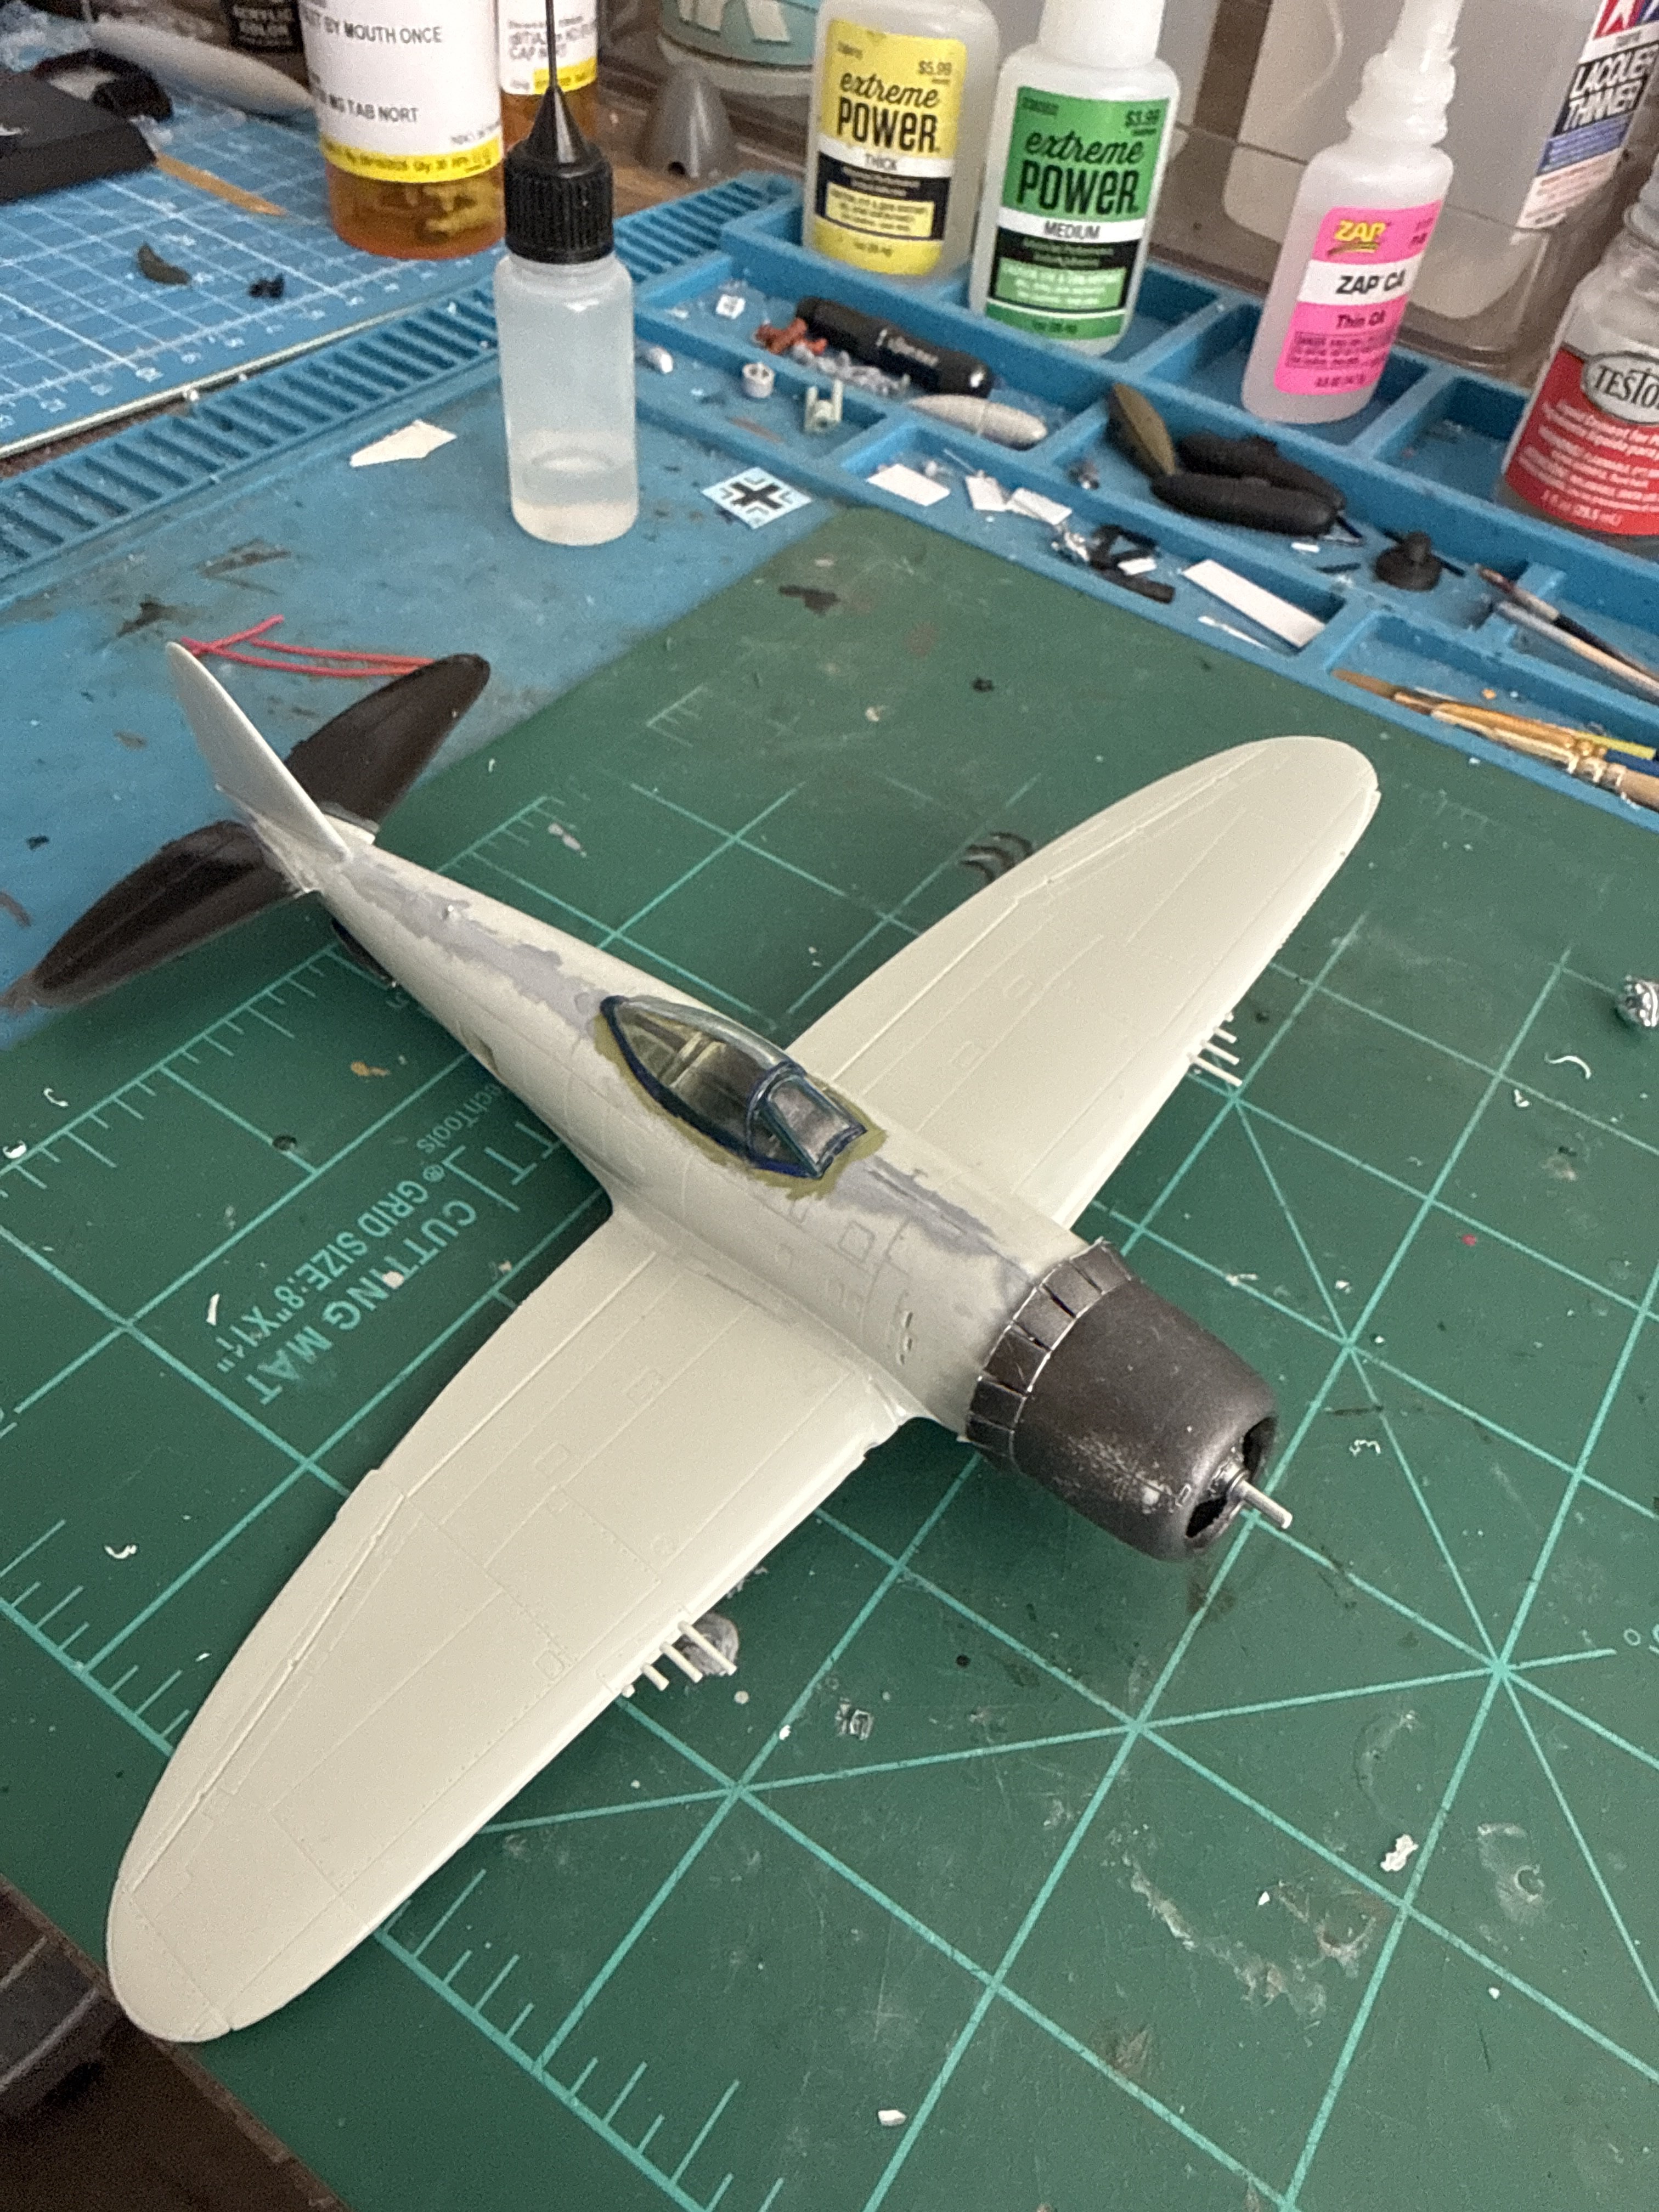
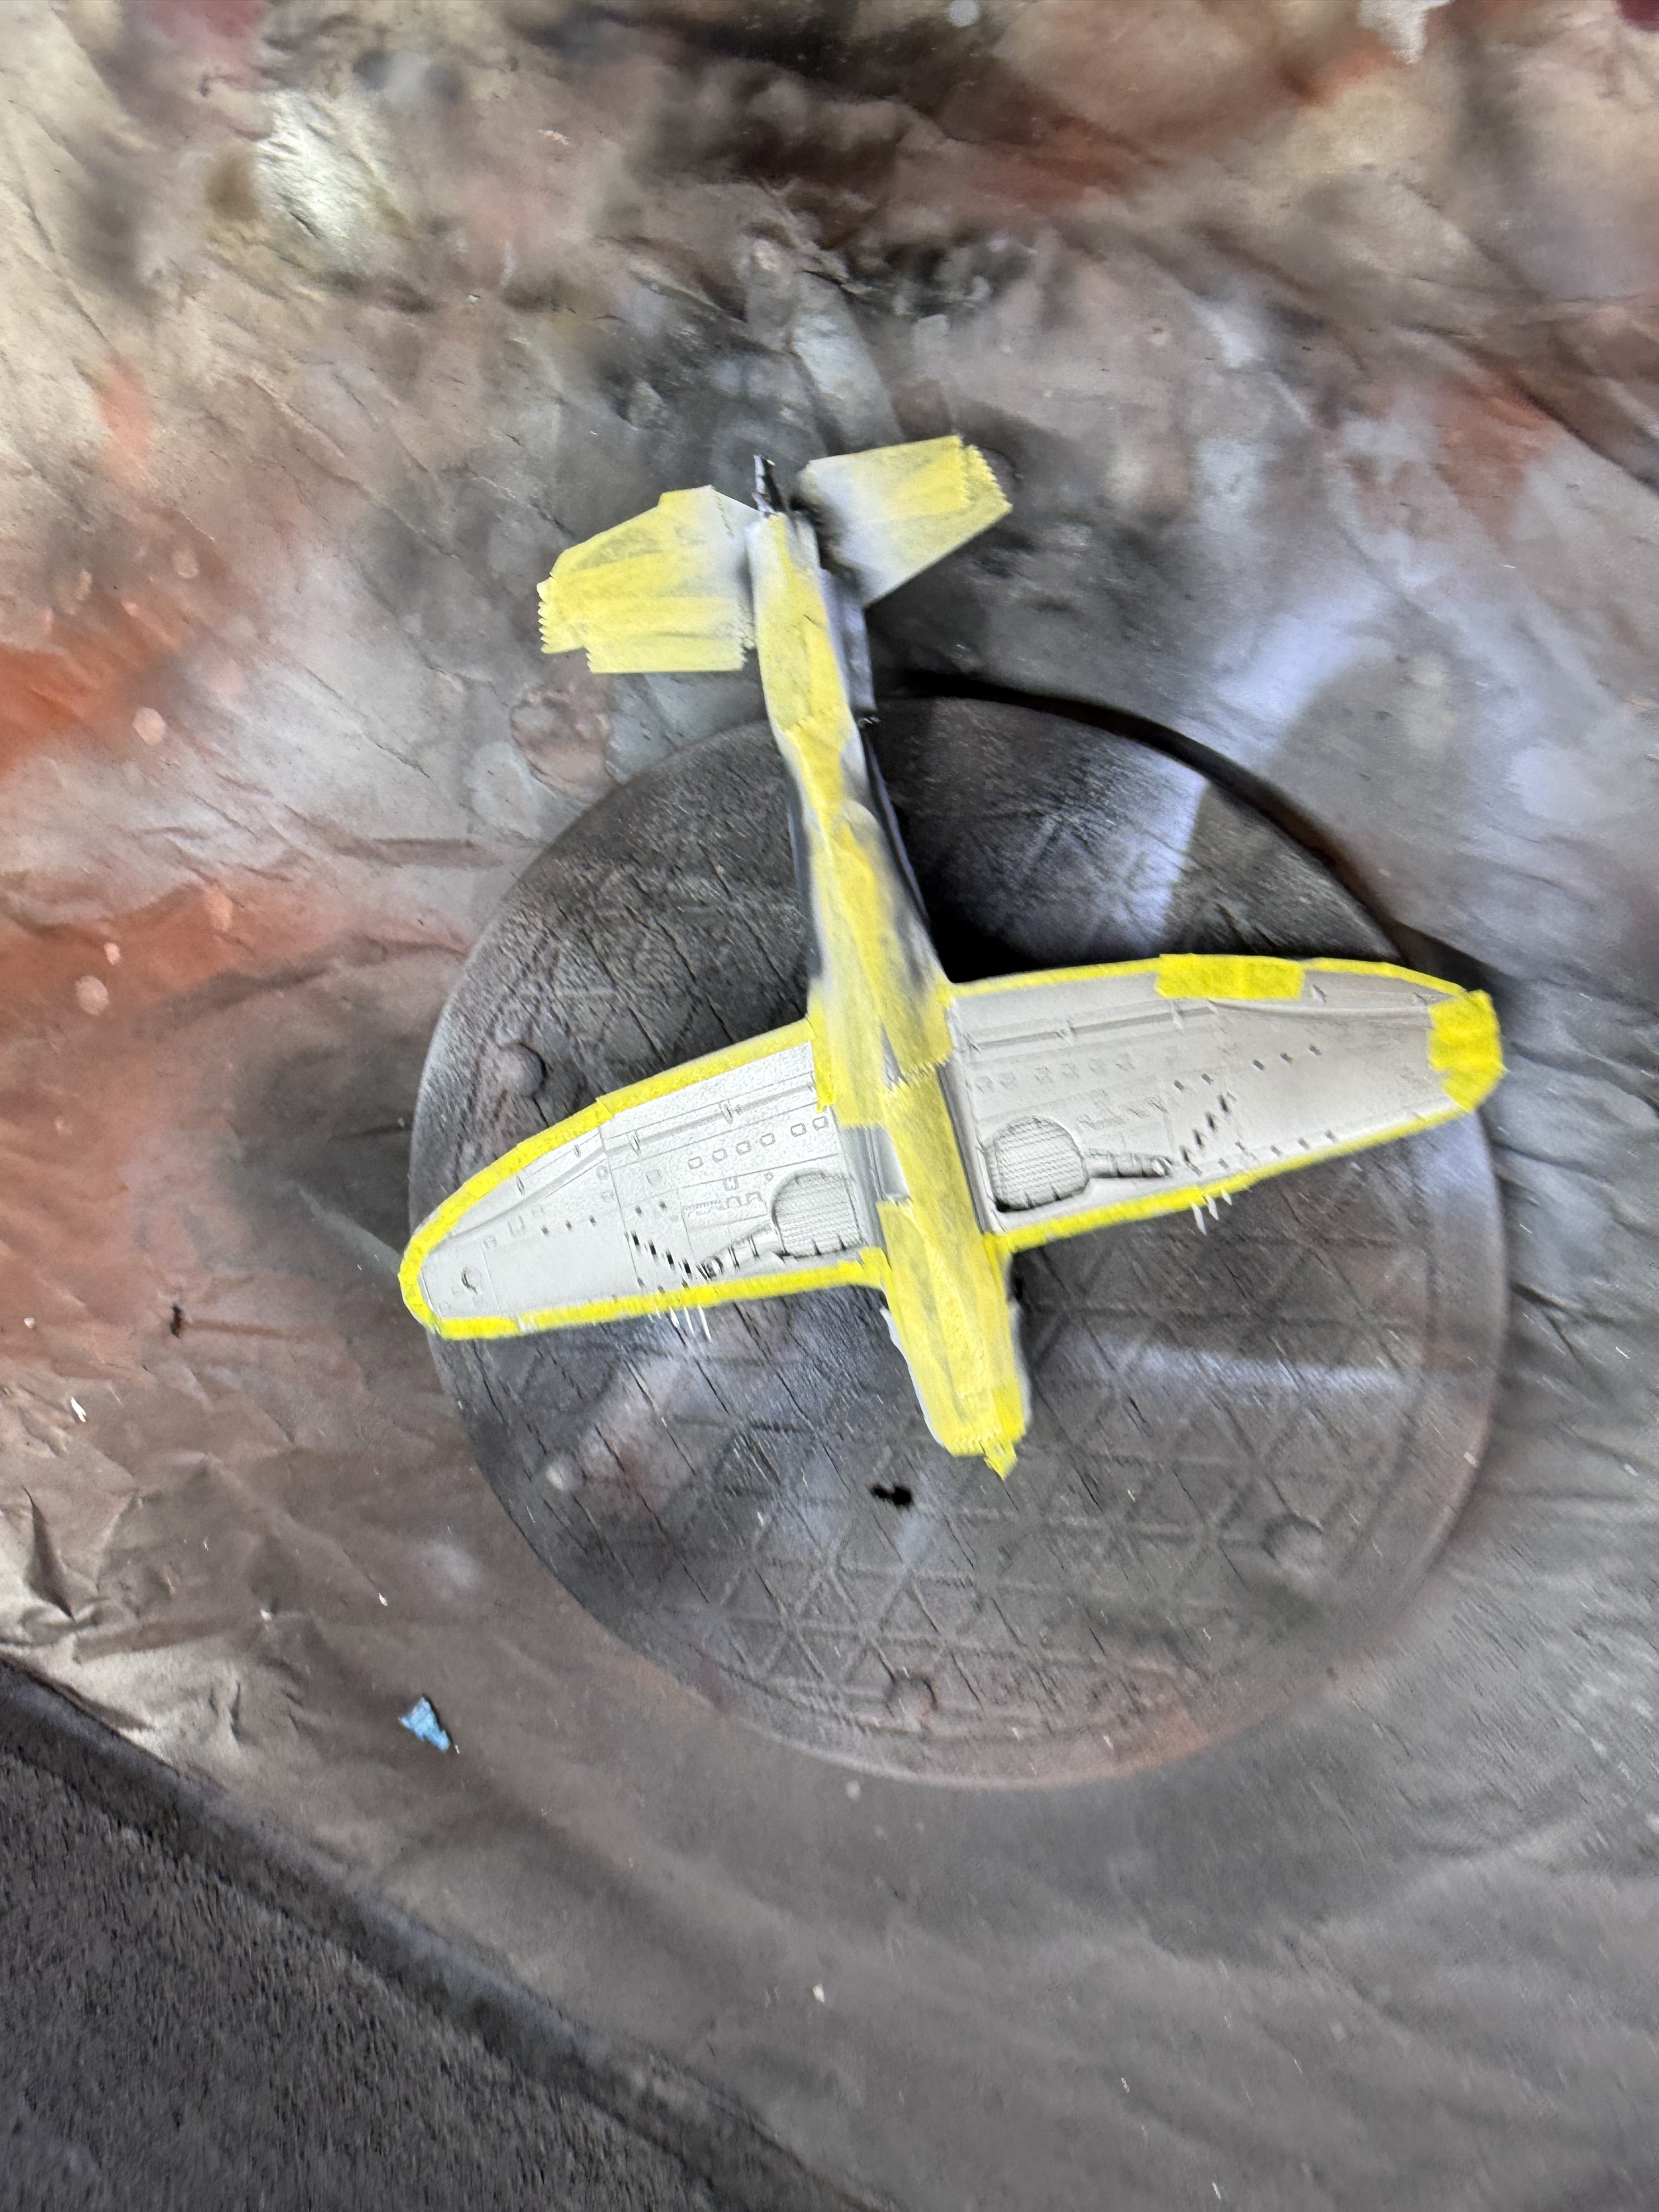
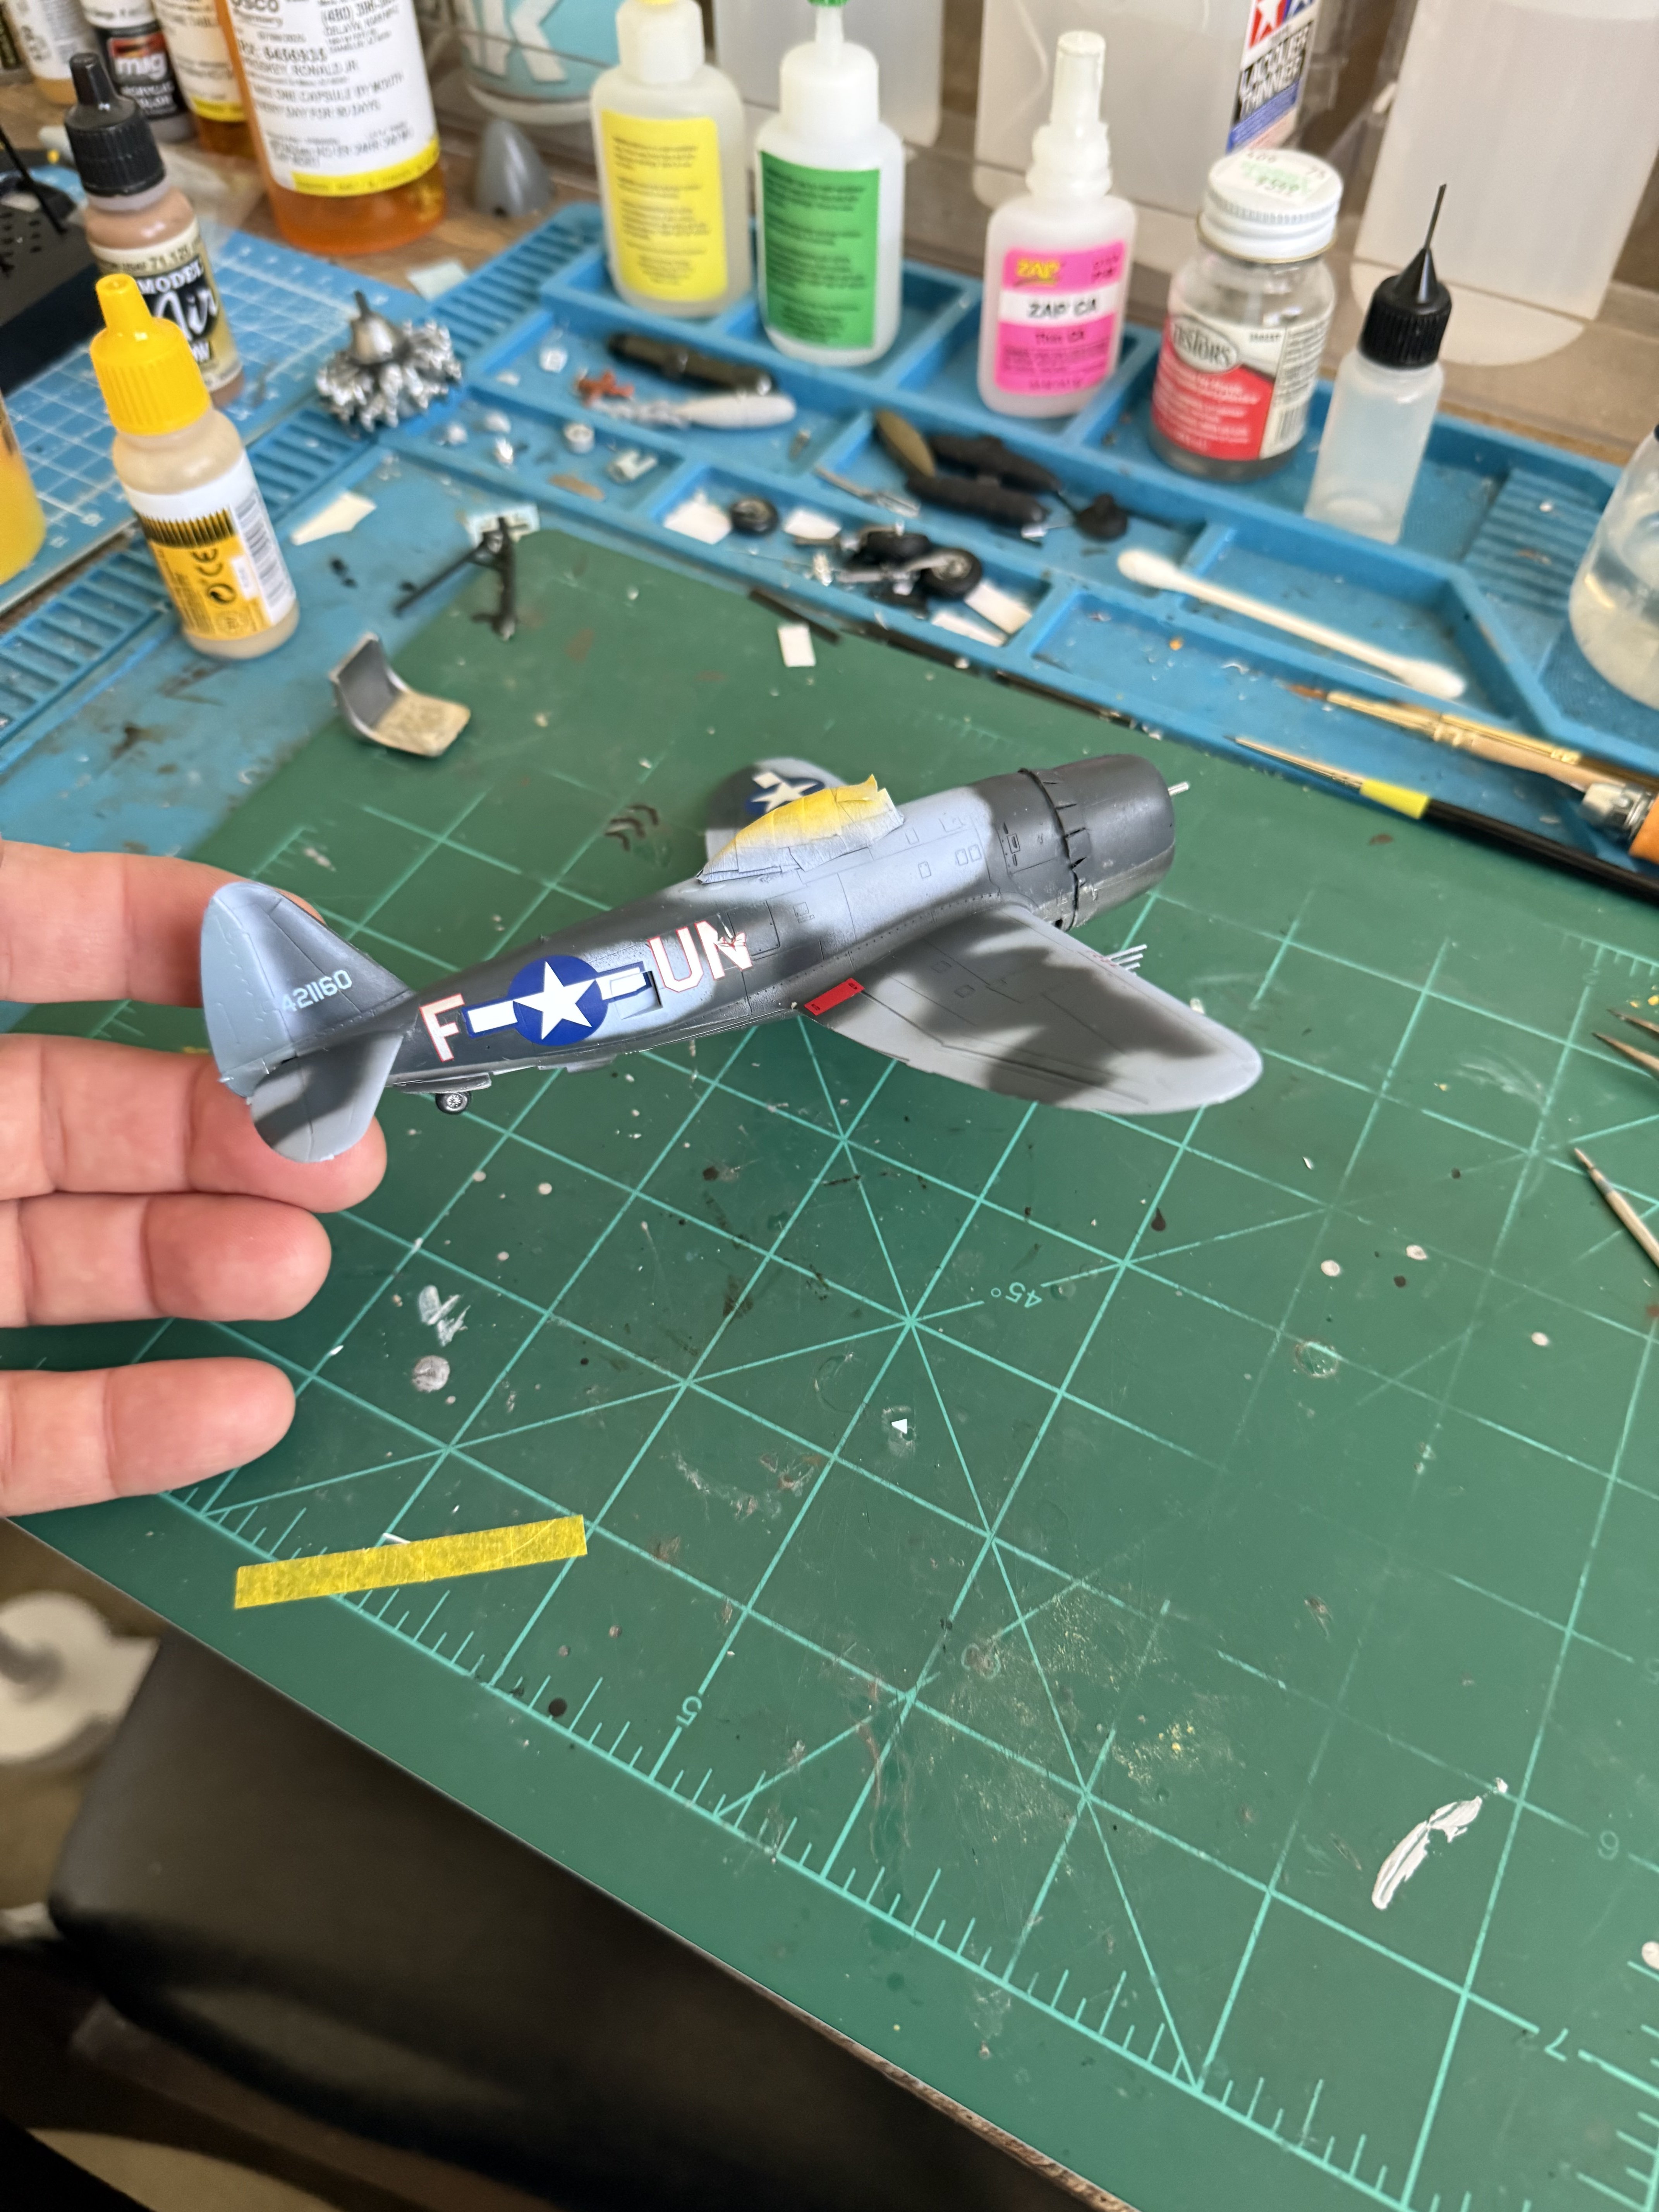
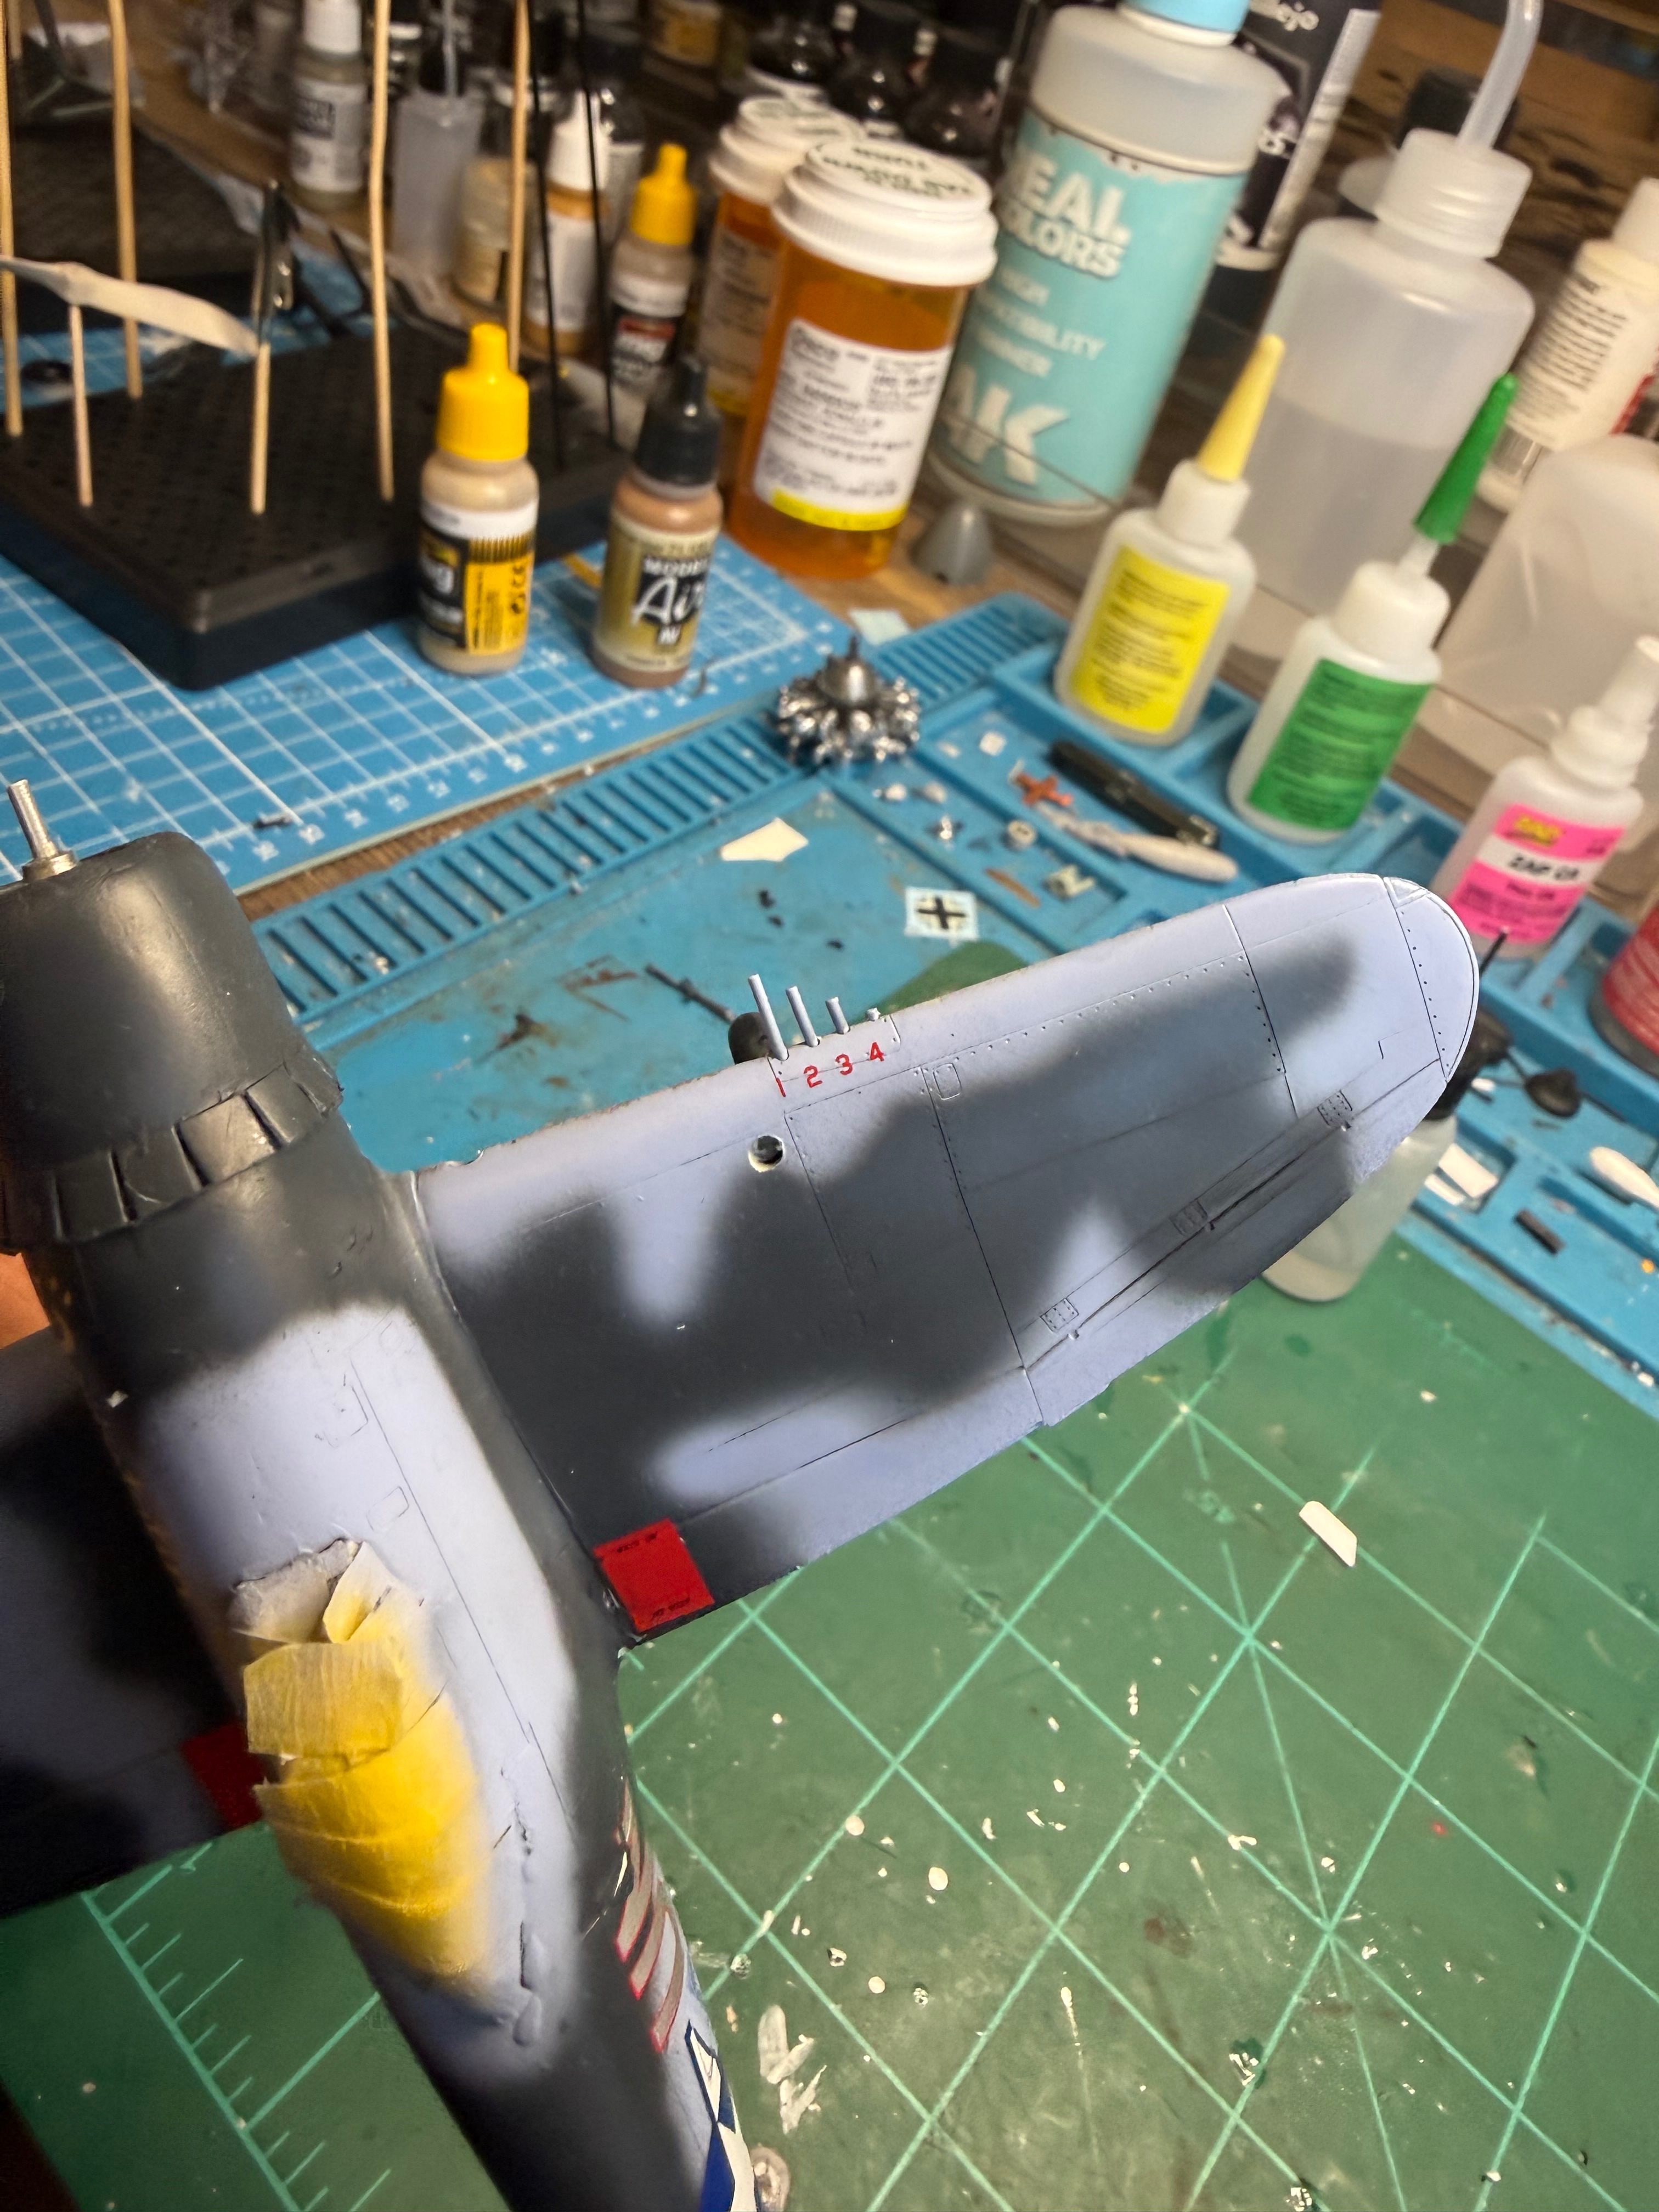
Top coats done today. This azure blue sure seems like an odd color for camouflage.I forgot to post this quick build. It's an OOB build so nothing exciting to see in cockpit anyway. Fit isn't great for the cowling. Had to sand the inside of the cover quite a bit to get it to sit right. It's an old kit so it's to be expected. Also had to trim the bracing for the engine A lot to get things to fit. I probably removed half the plastic or close to it. I'm trying to do the lineage of the p47. This is second model of the lineage. I've got the p35 which I'll probably build next and then a razorback. Need to find the p43 and p47N and I'll be good.
Attachments
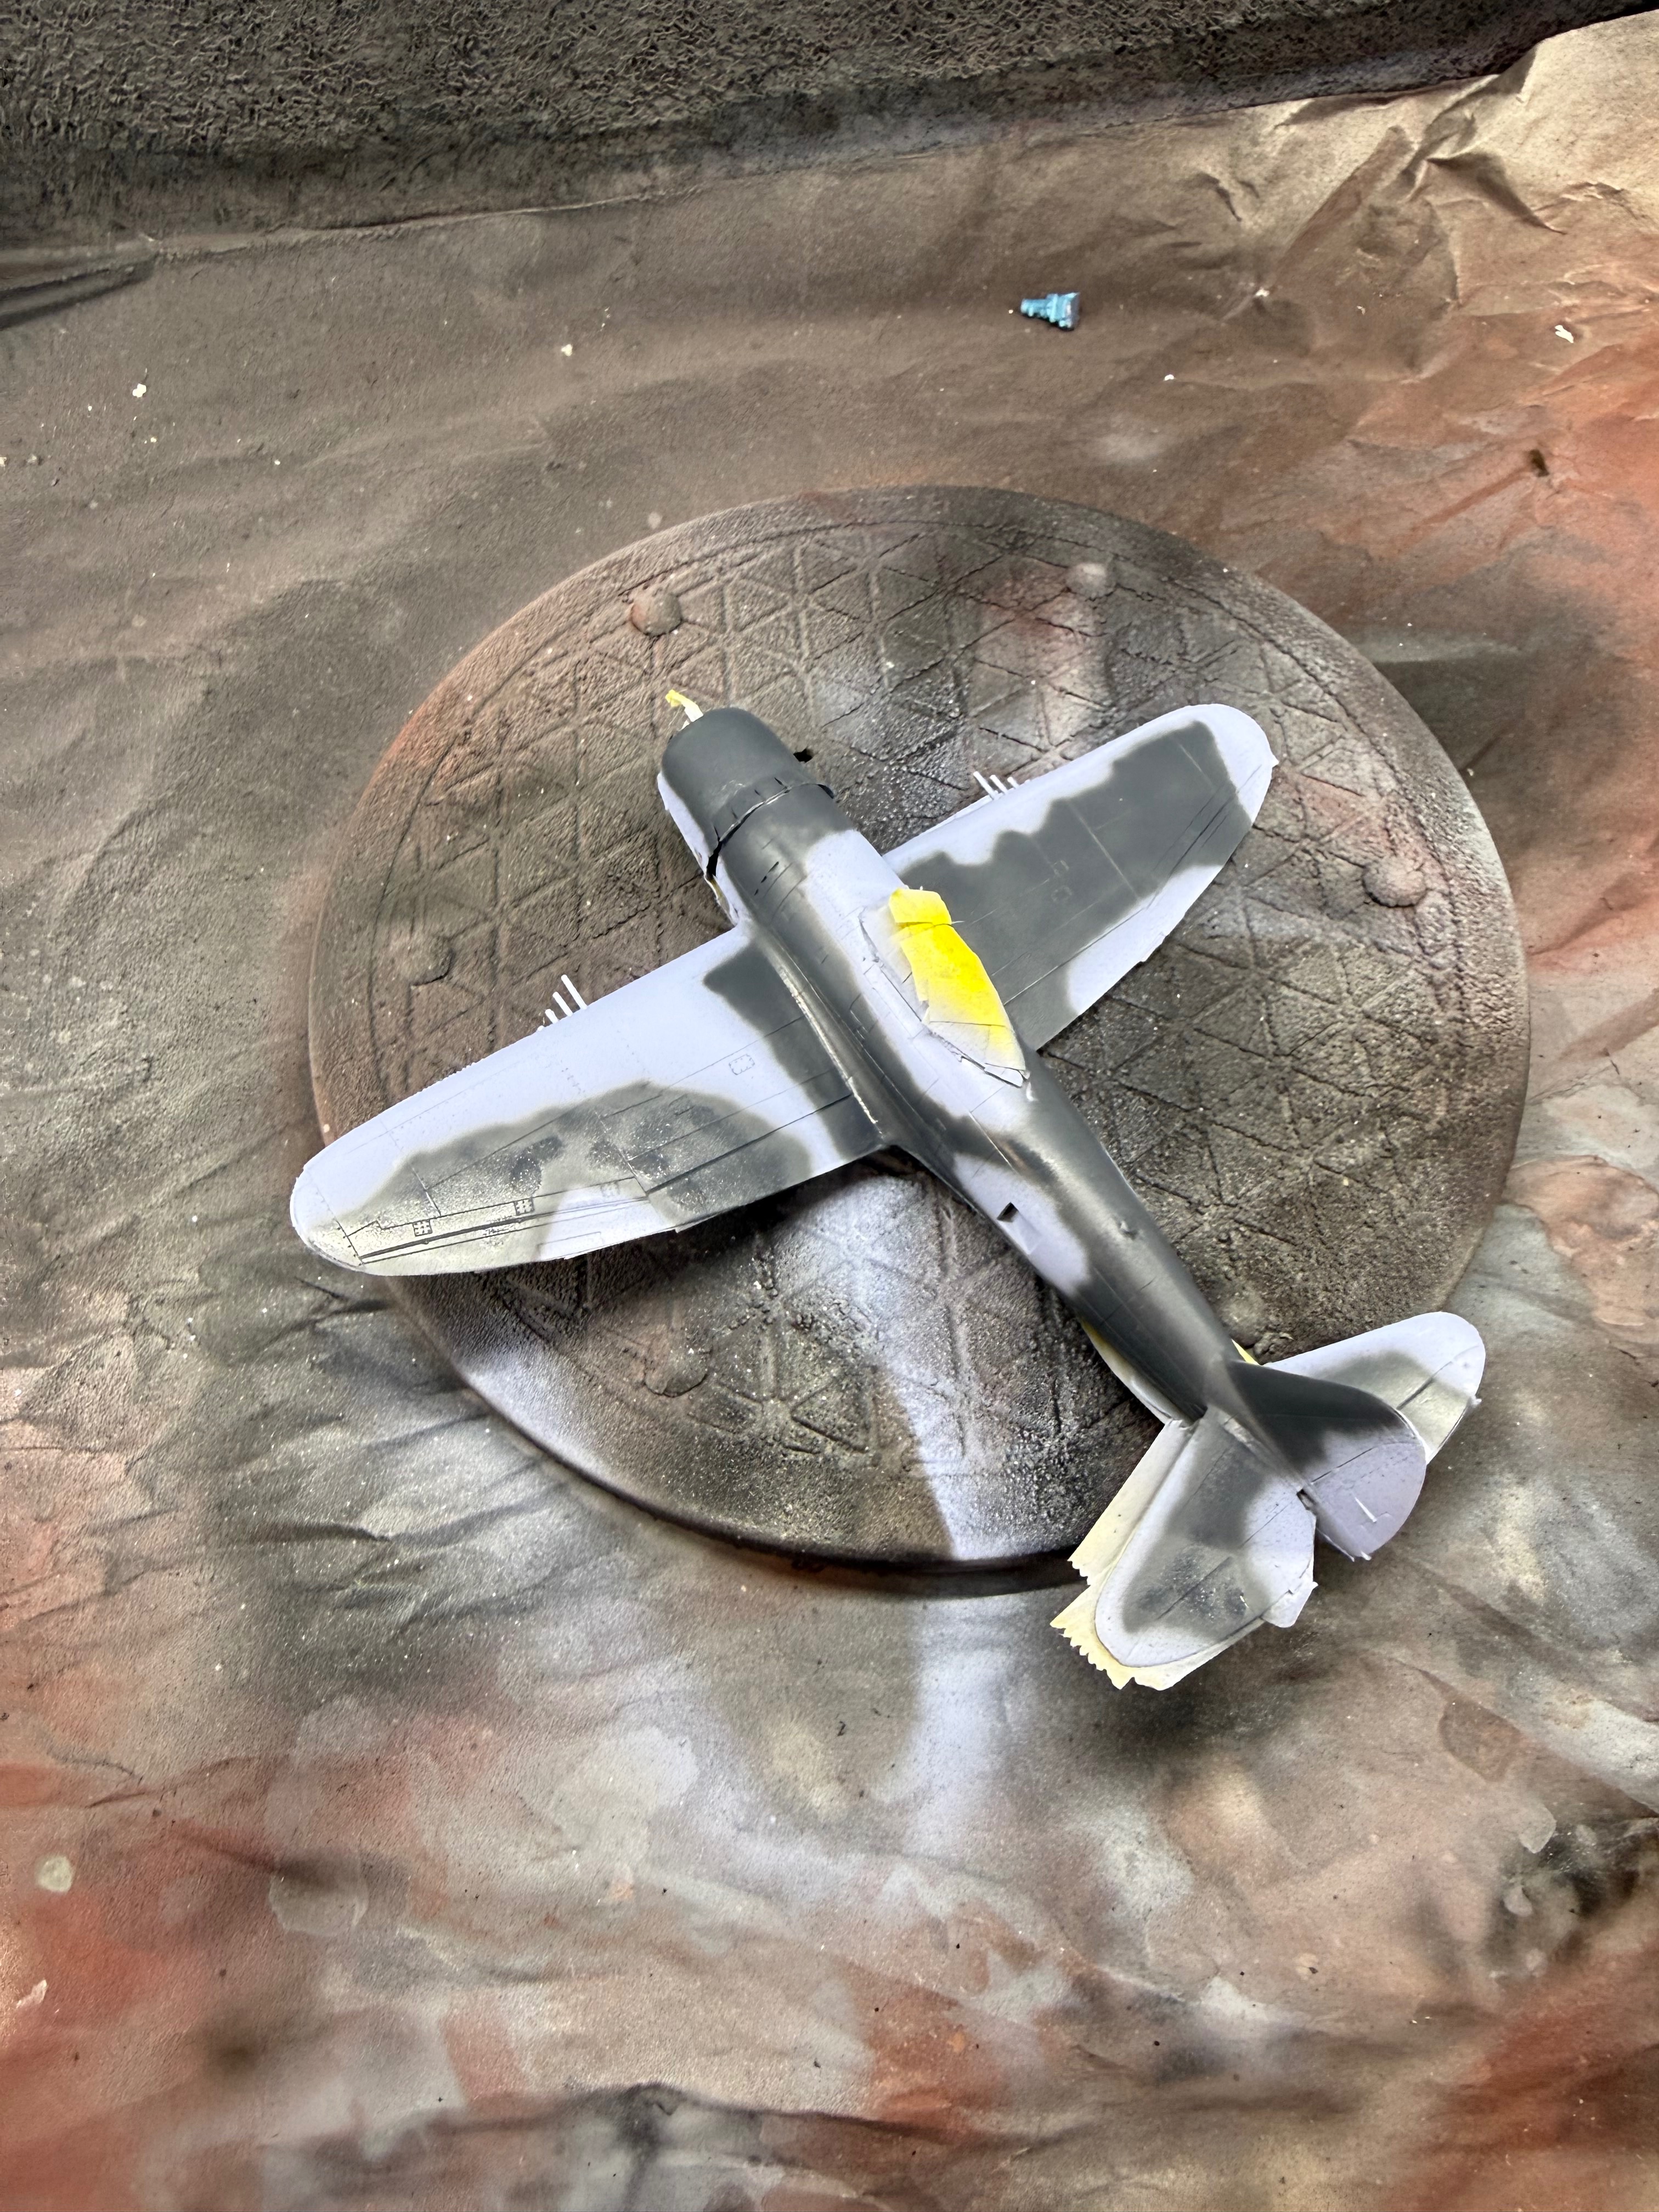
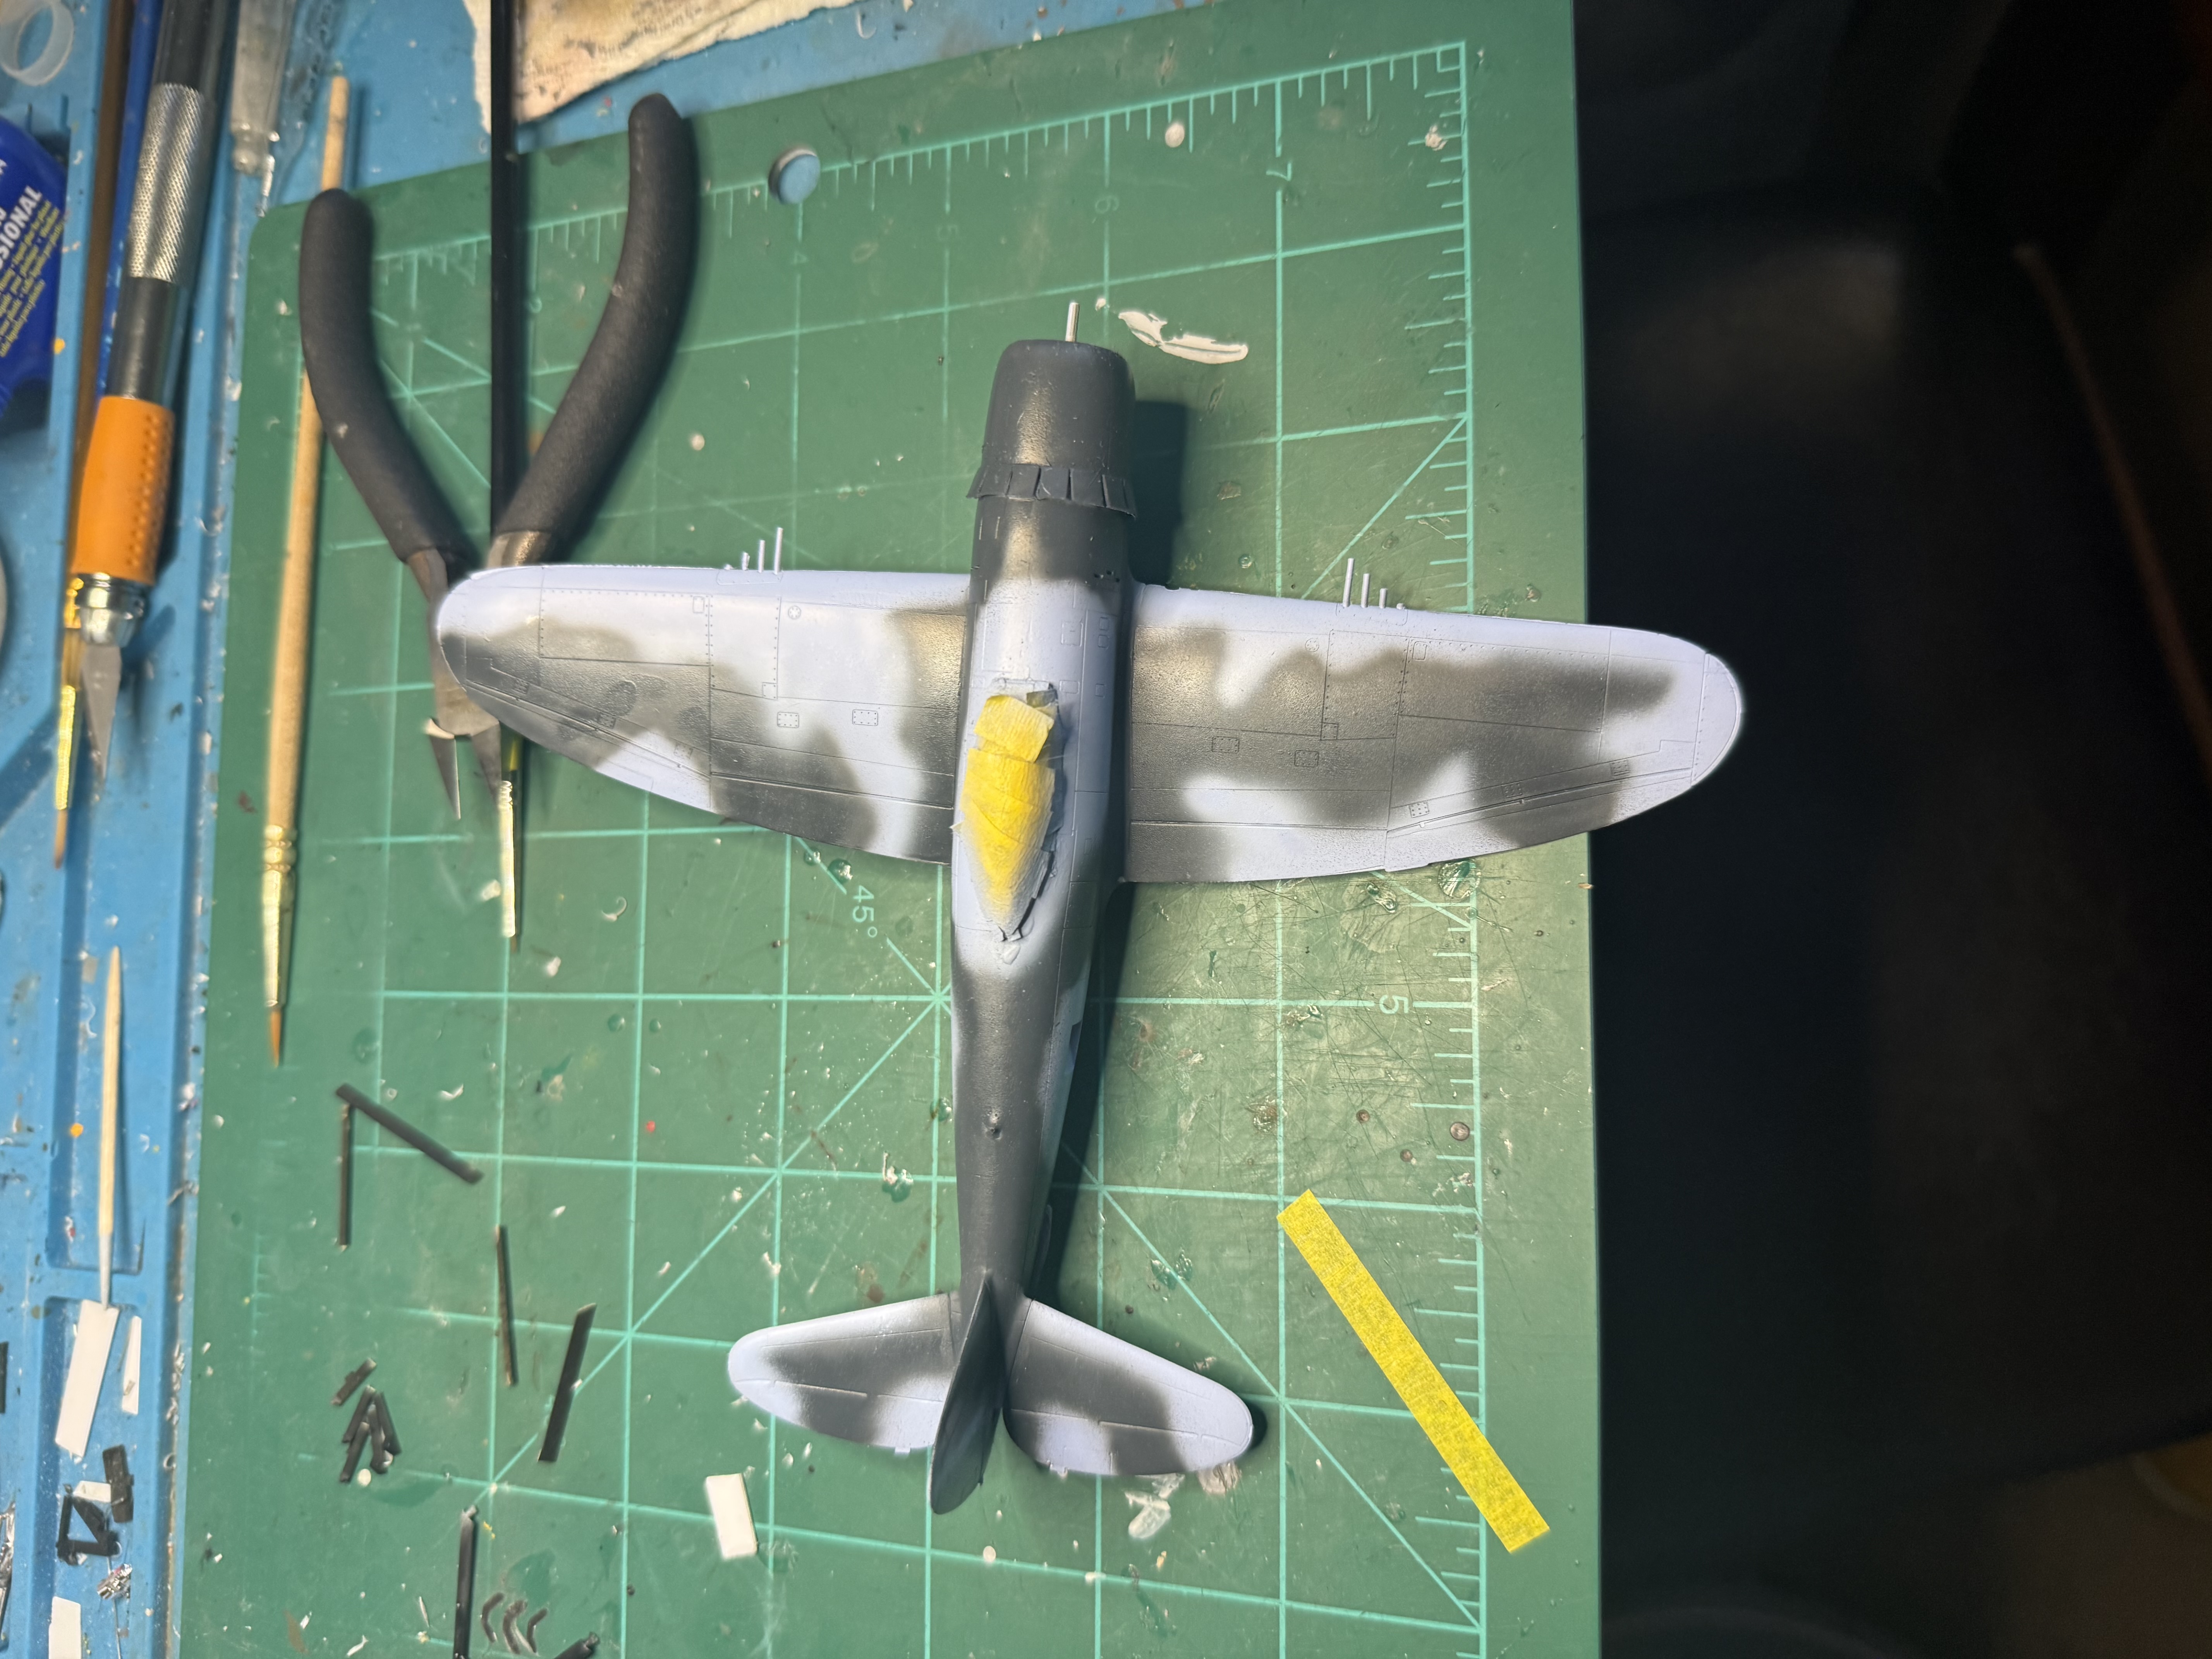
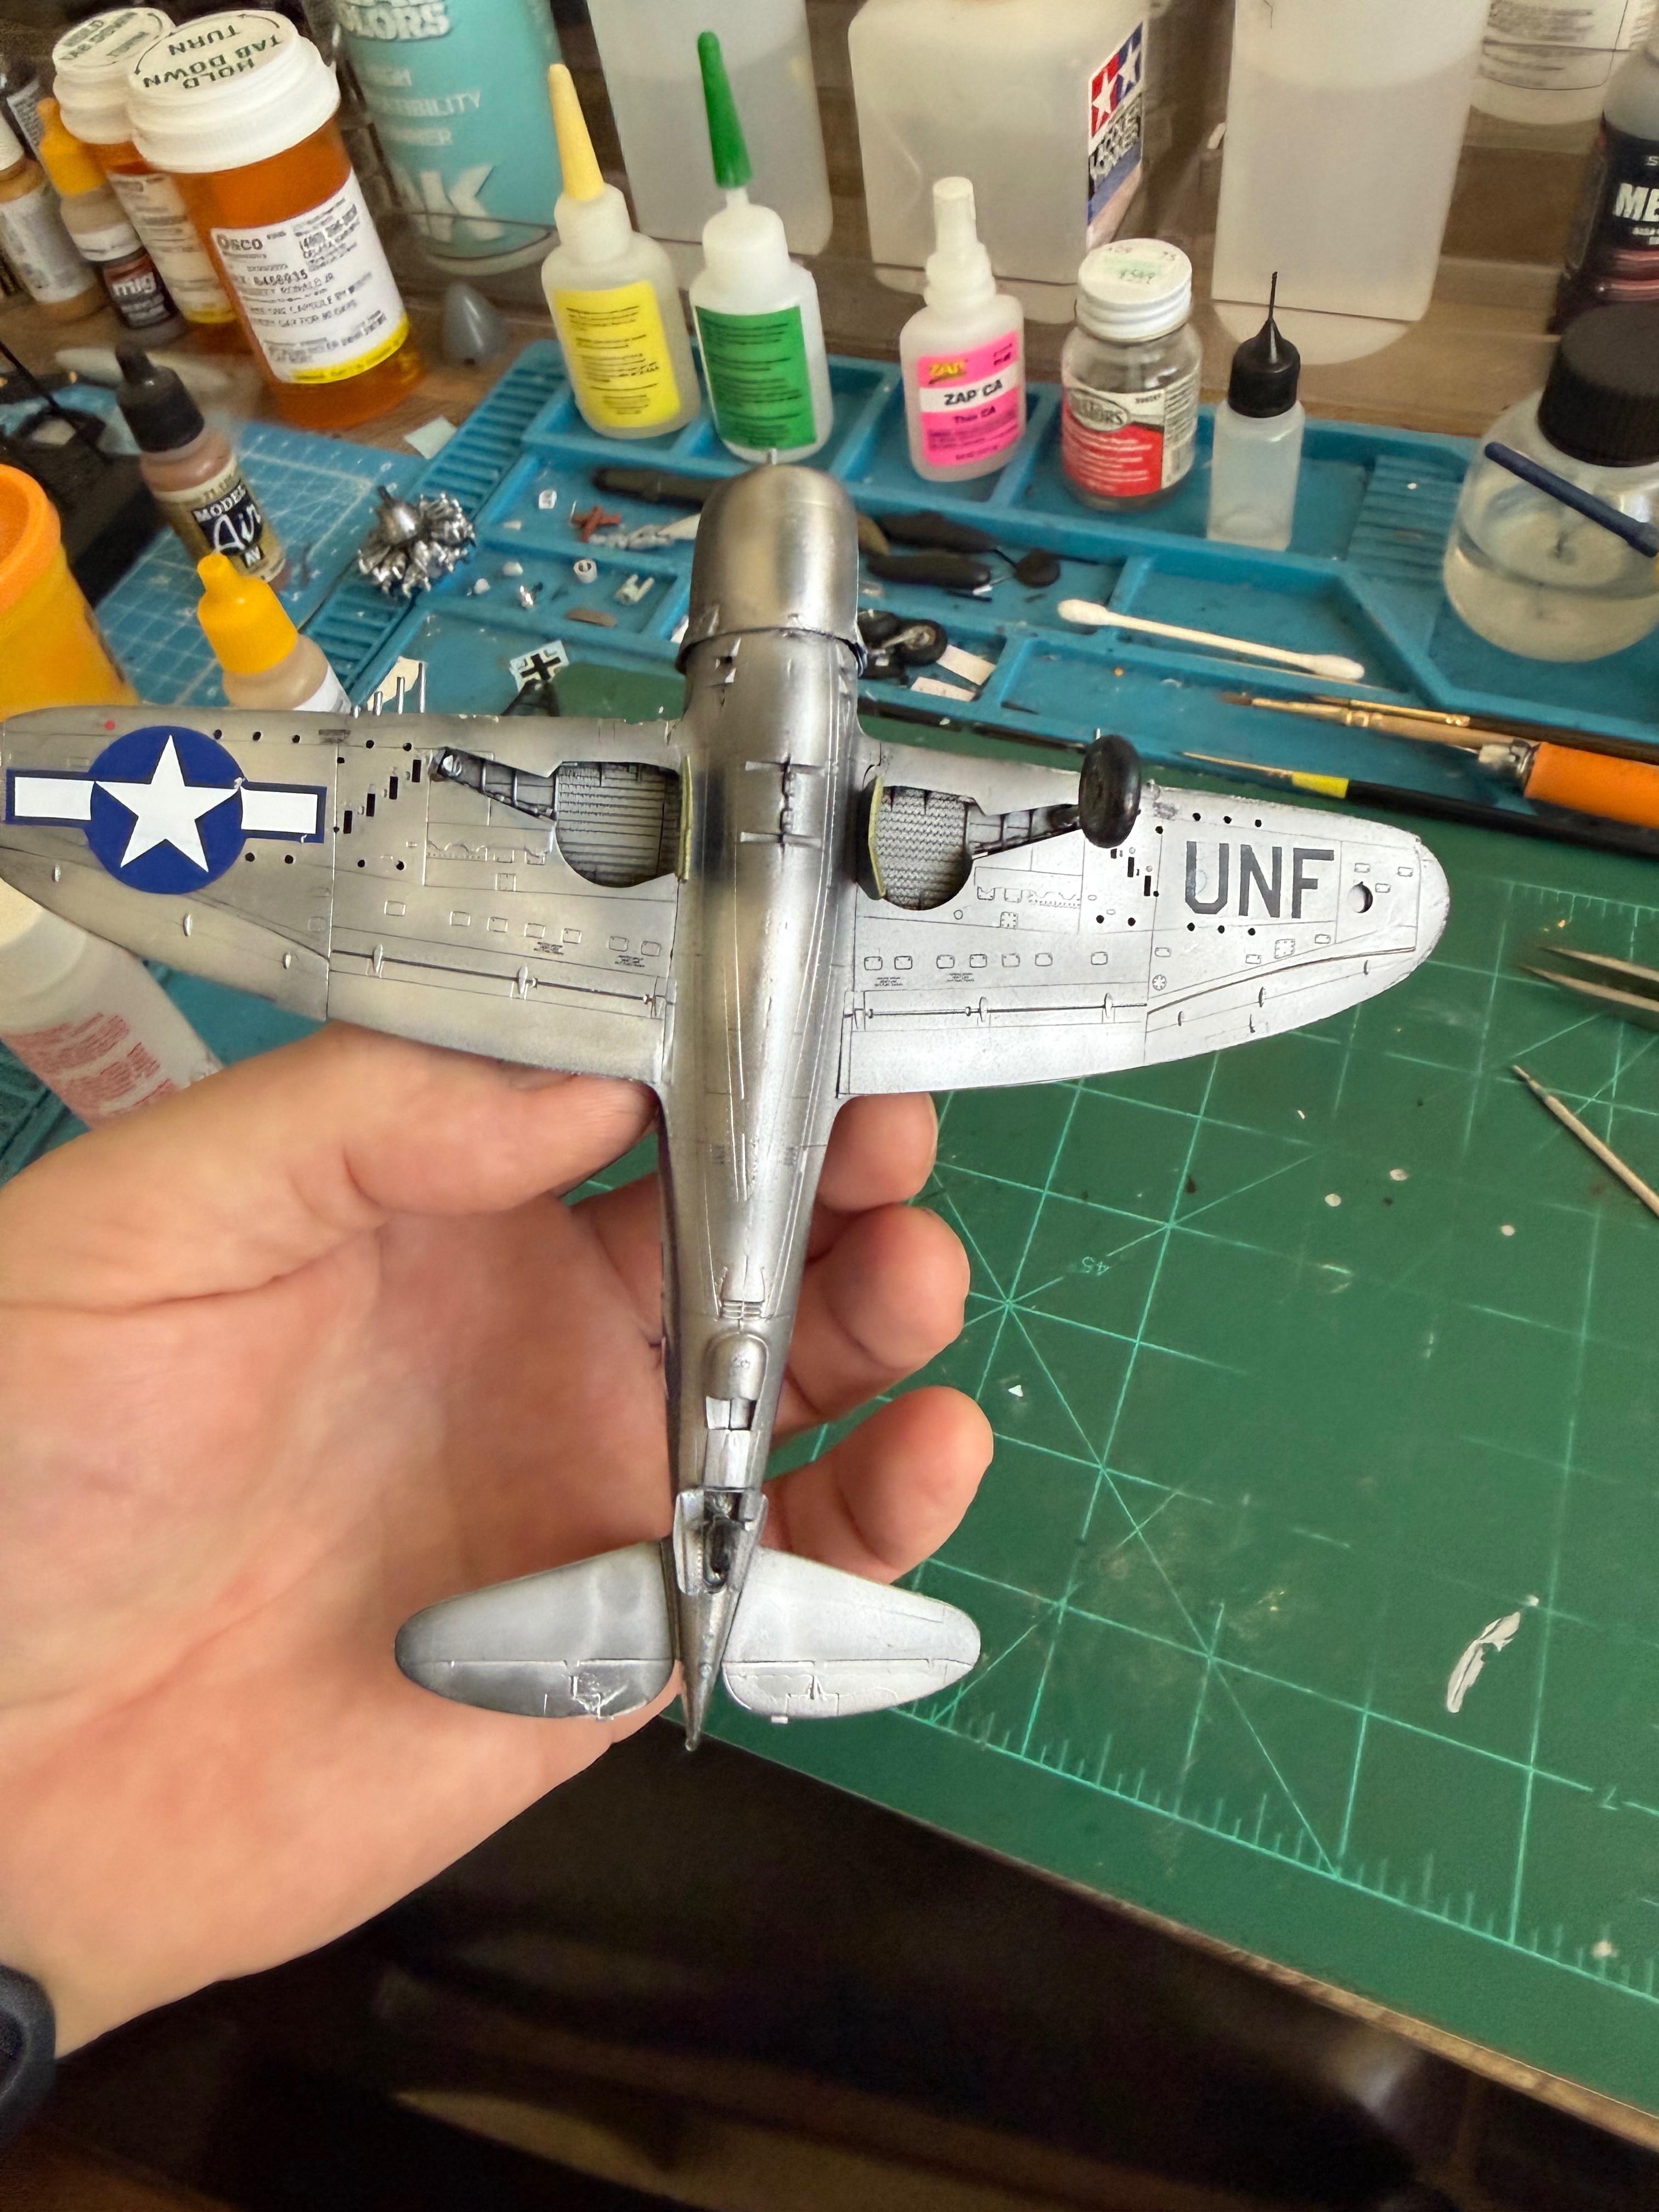
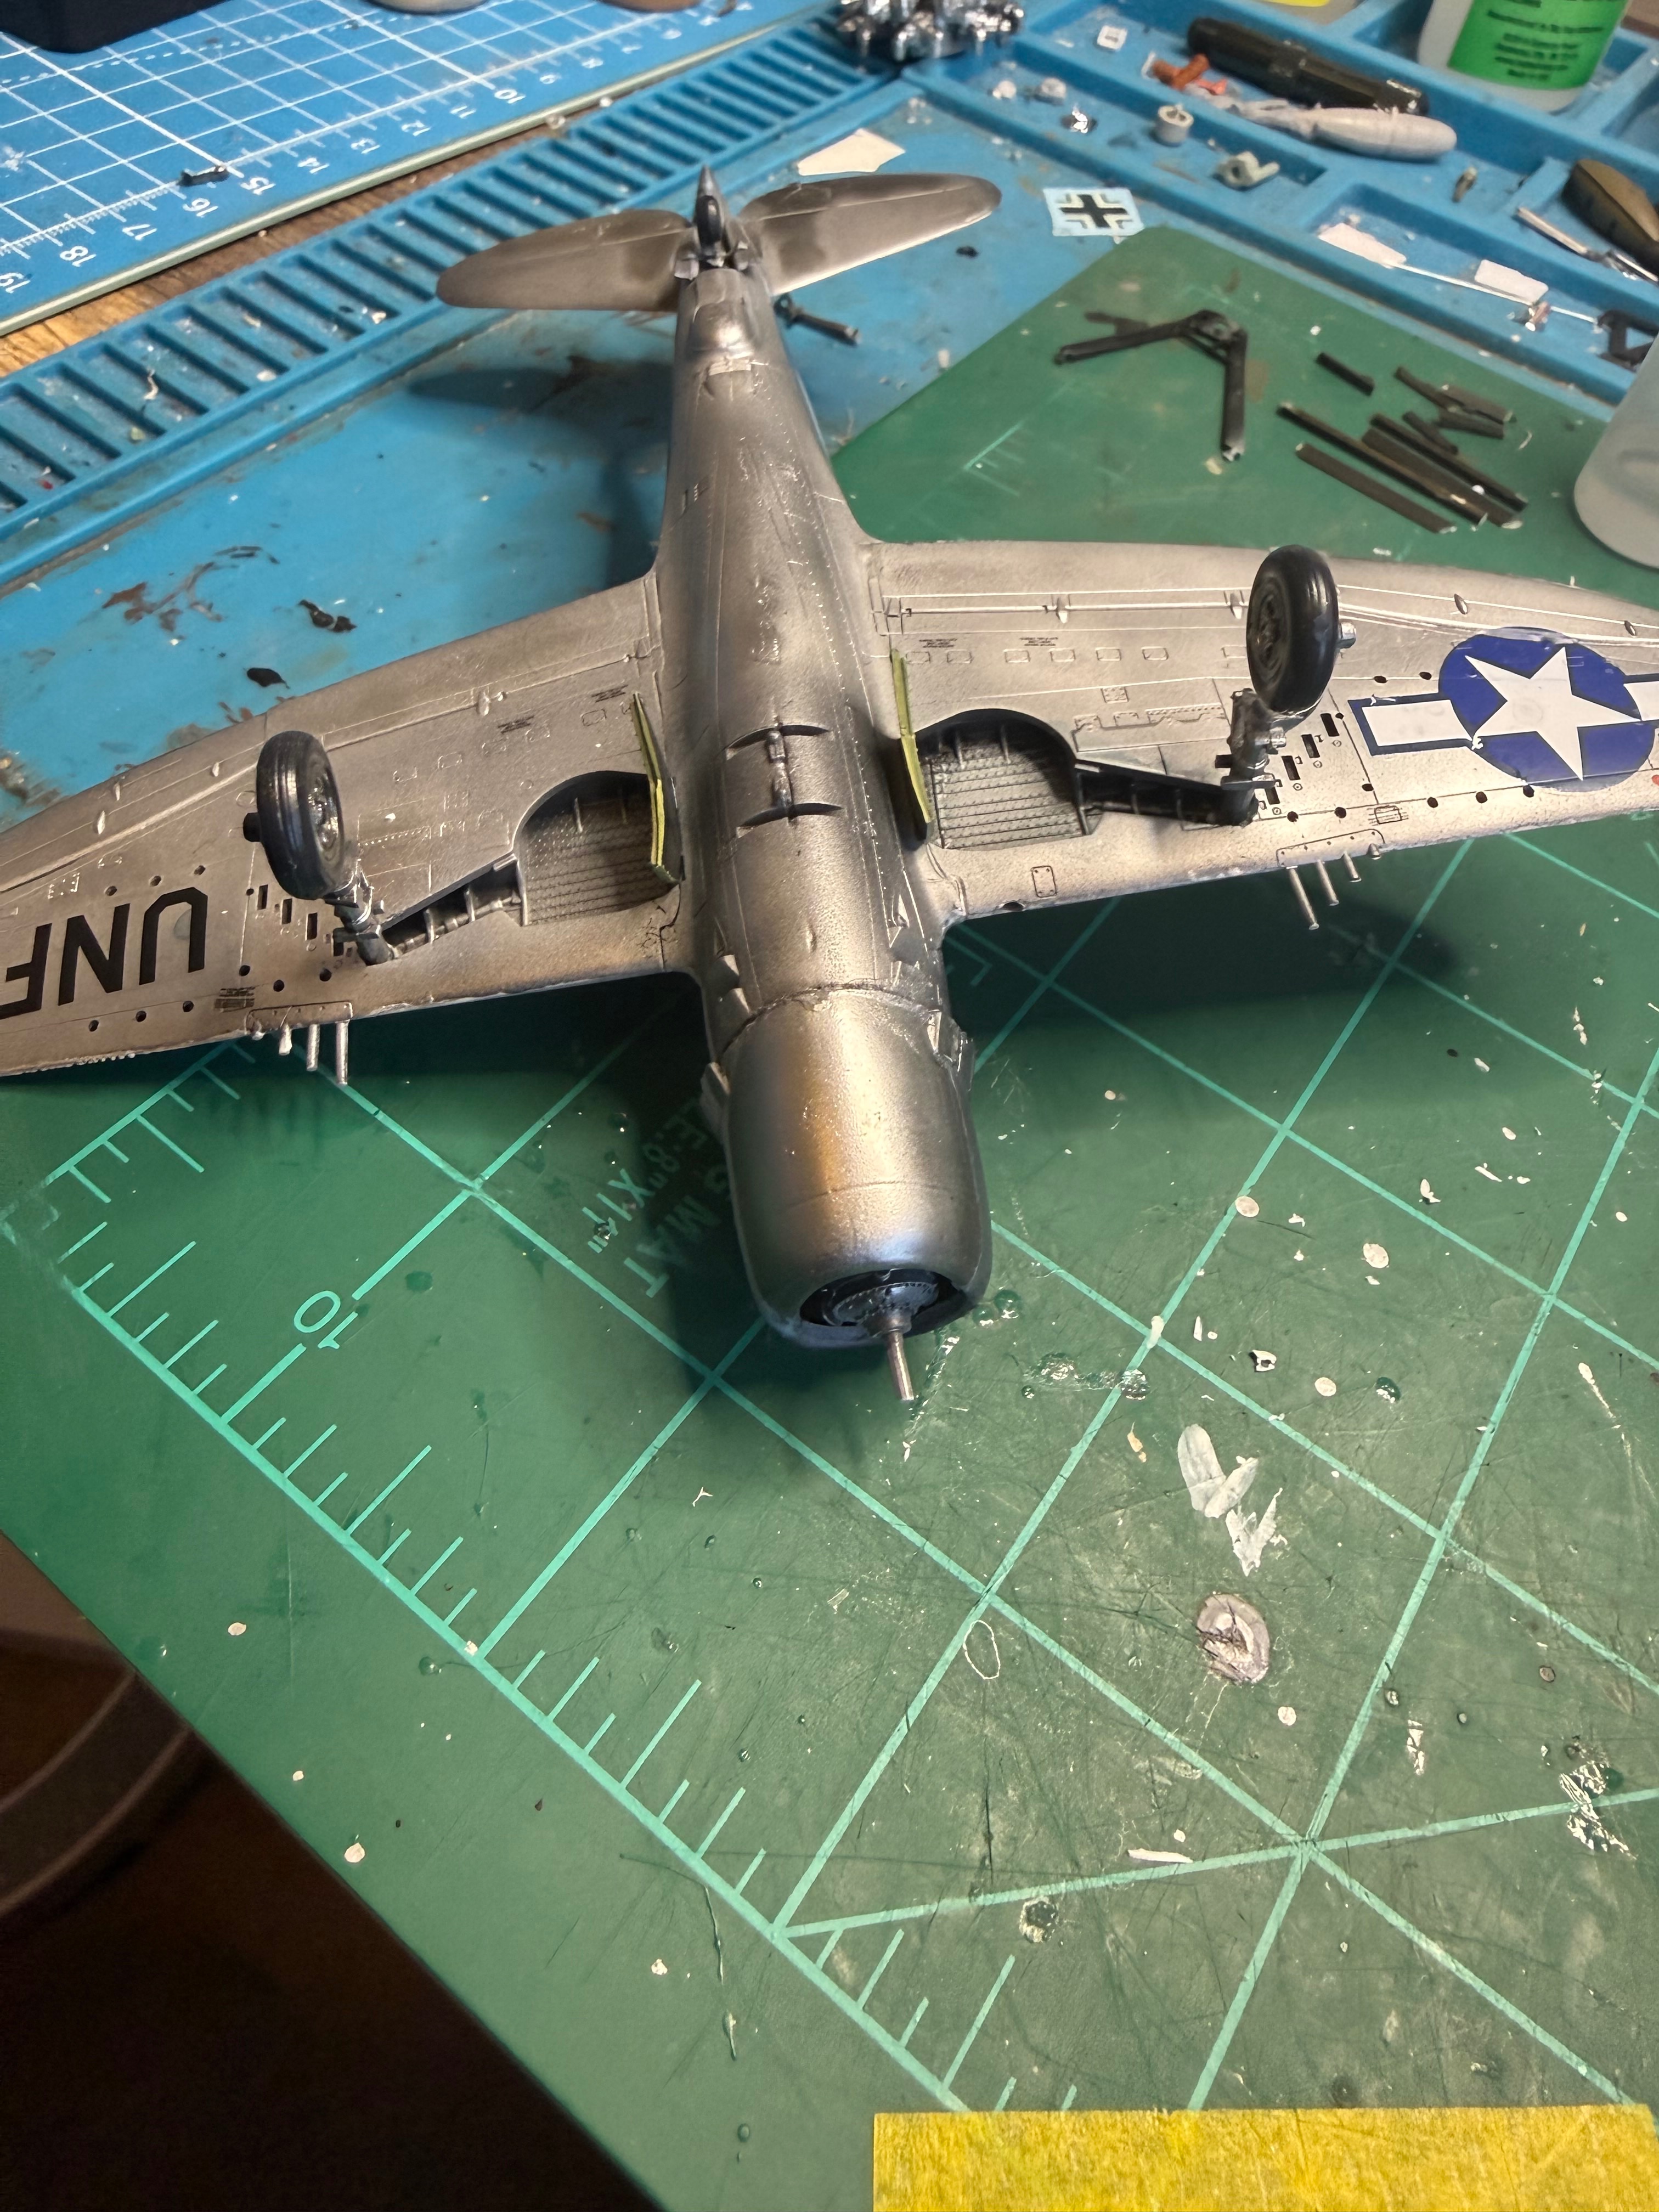
Made some adjustments to the camo and applied two other shades of aluminum to bottom. It sure that the aluminum adjustment shows in this pic. Tomorrow I hit it with varnish and then decals and weathering.Top coats done today. This azure blue sure seems like an odd color for camouflage.
Attachments
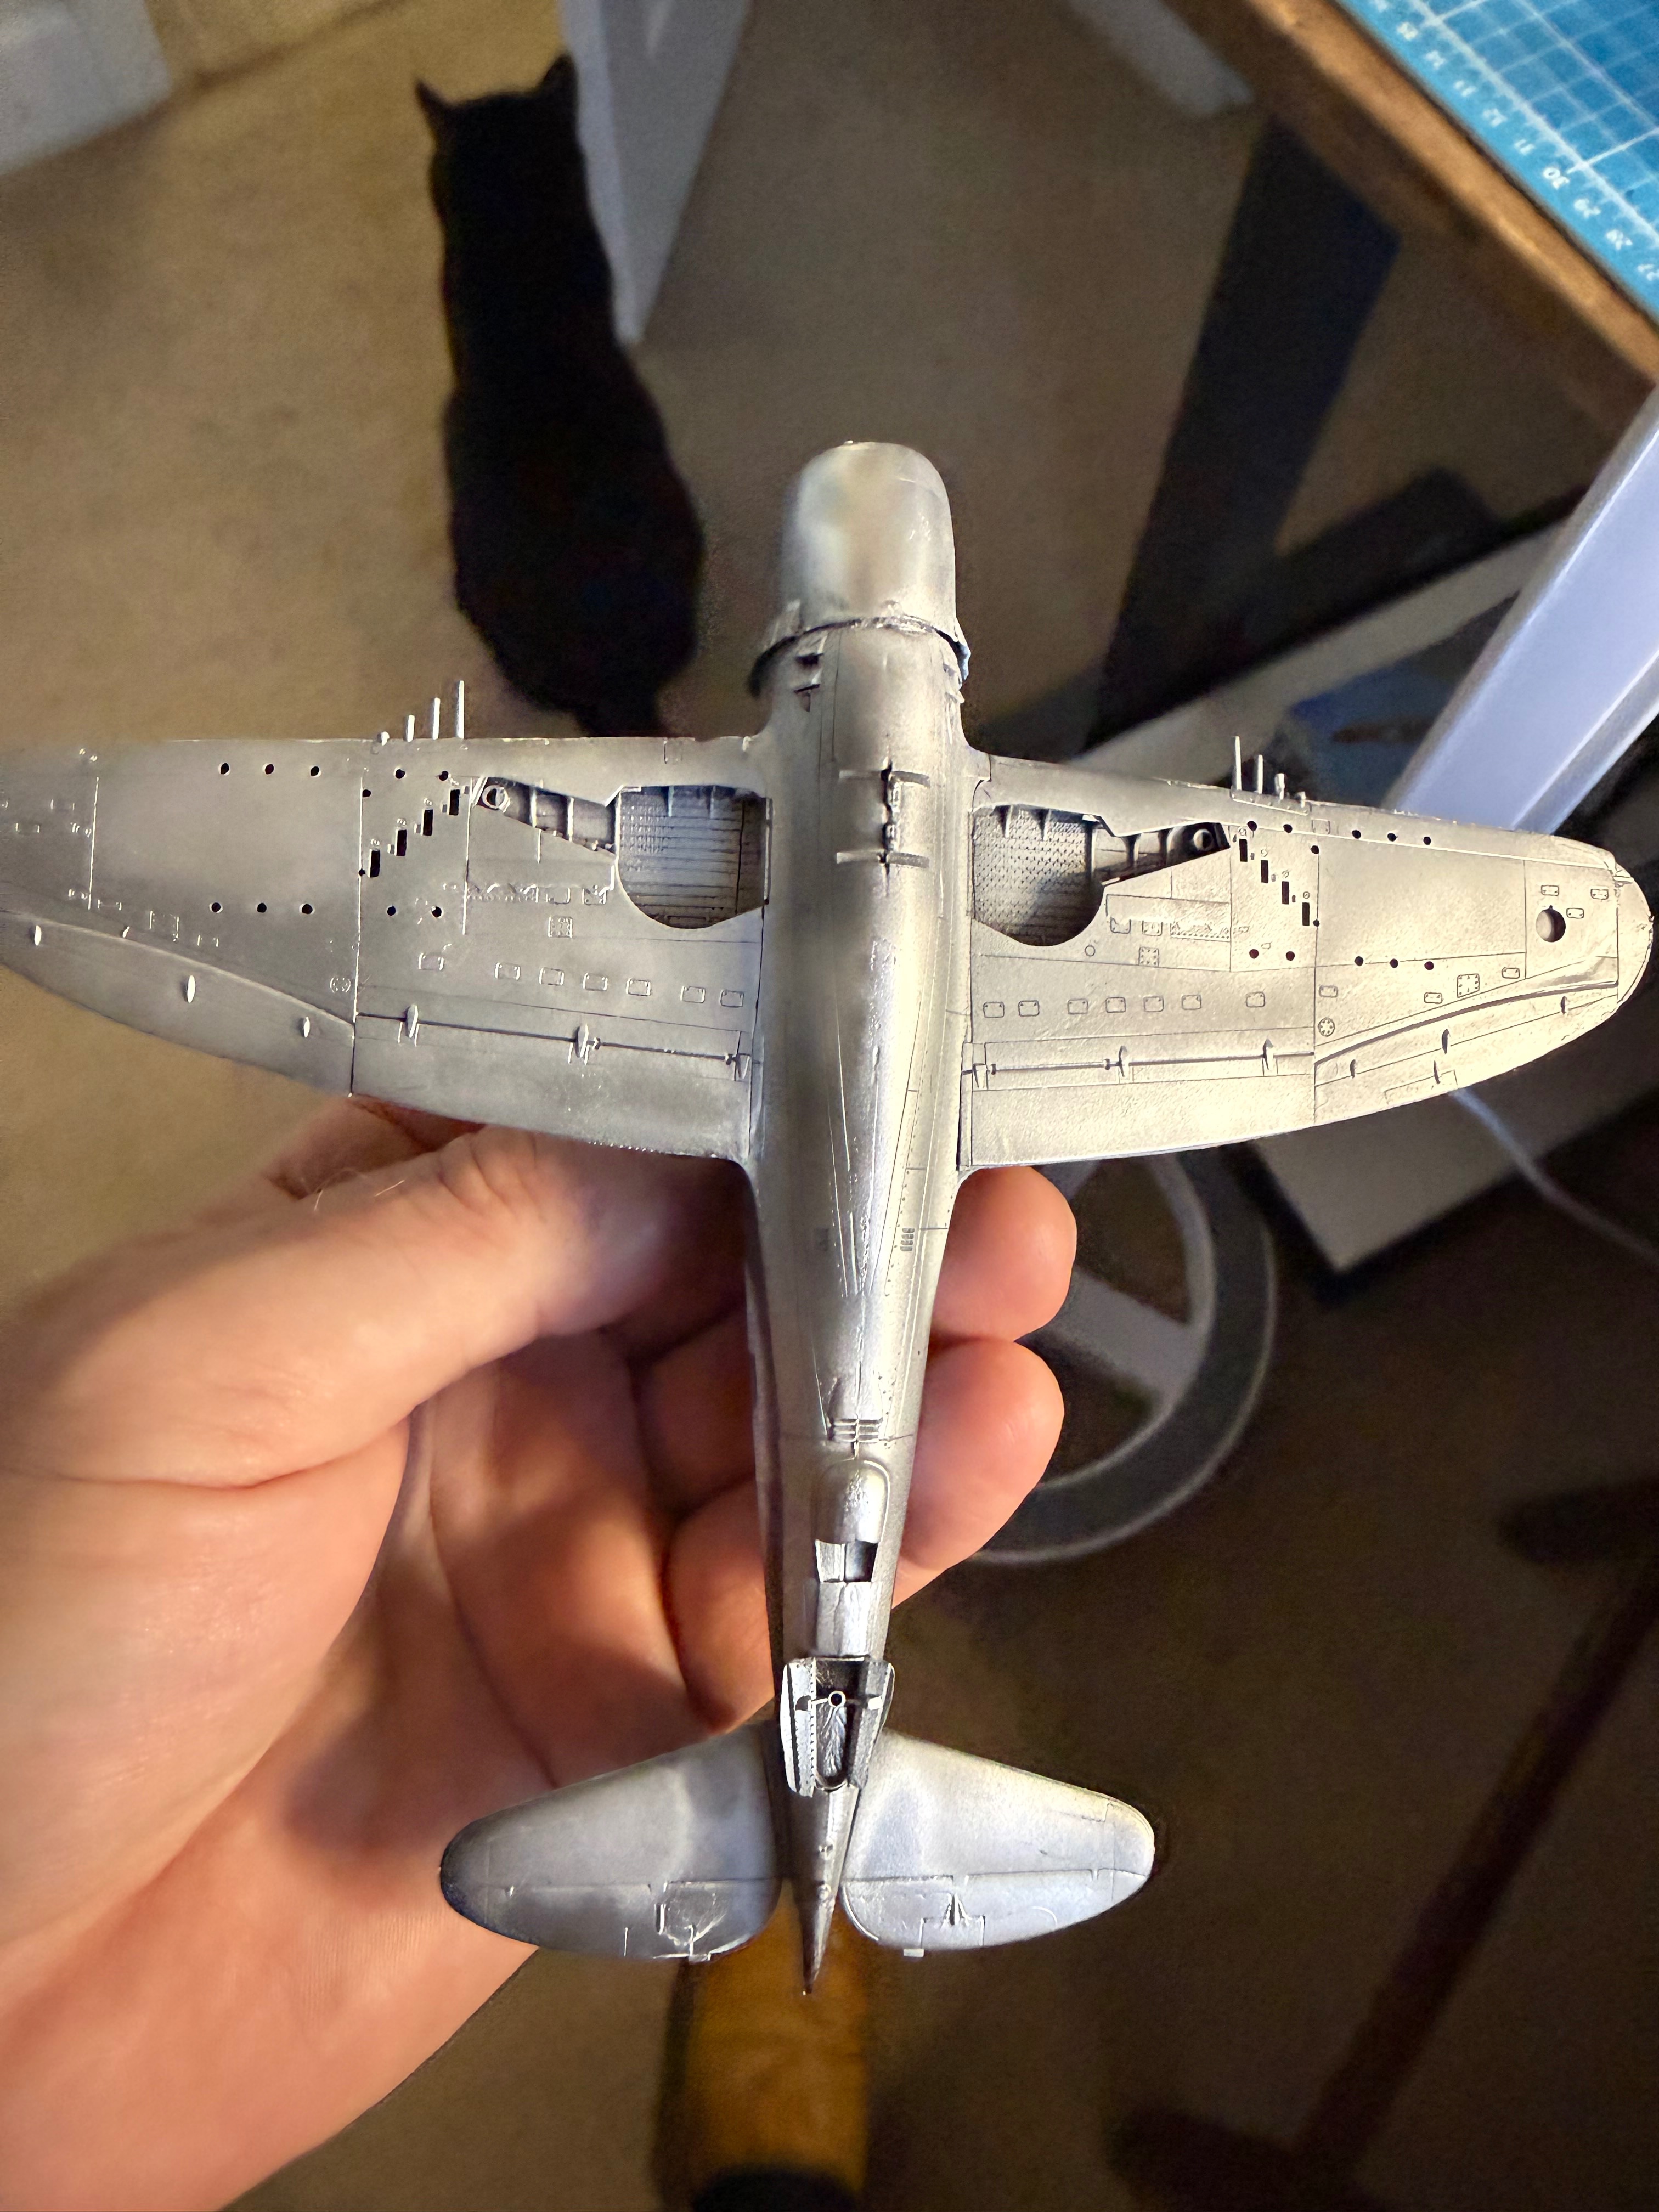
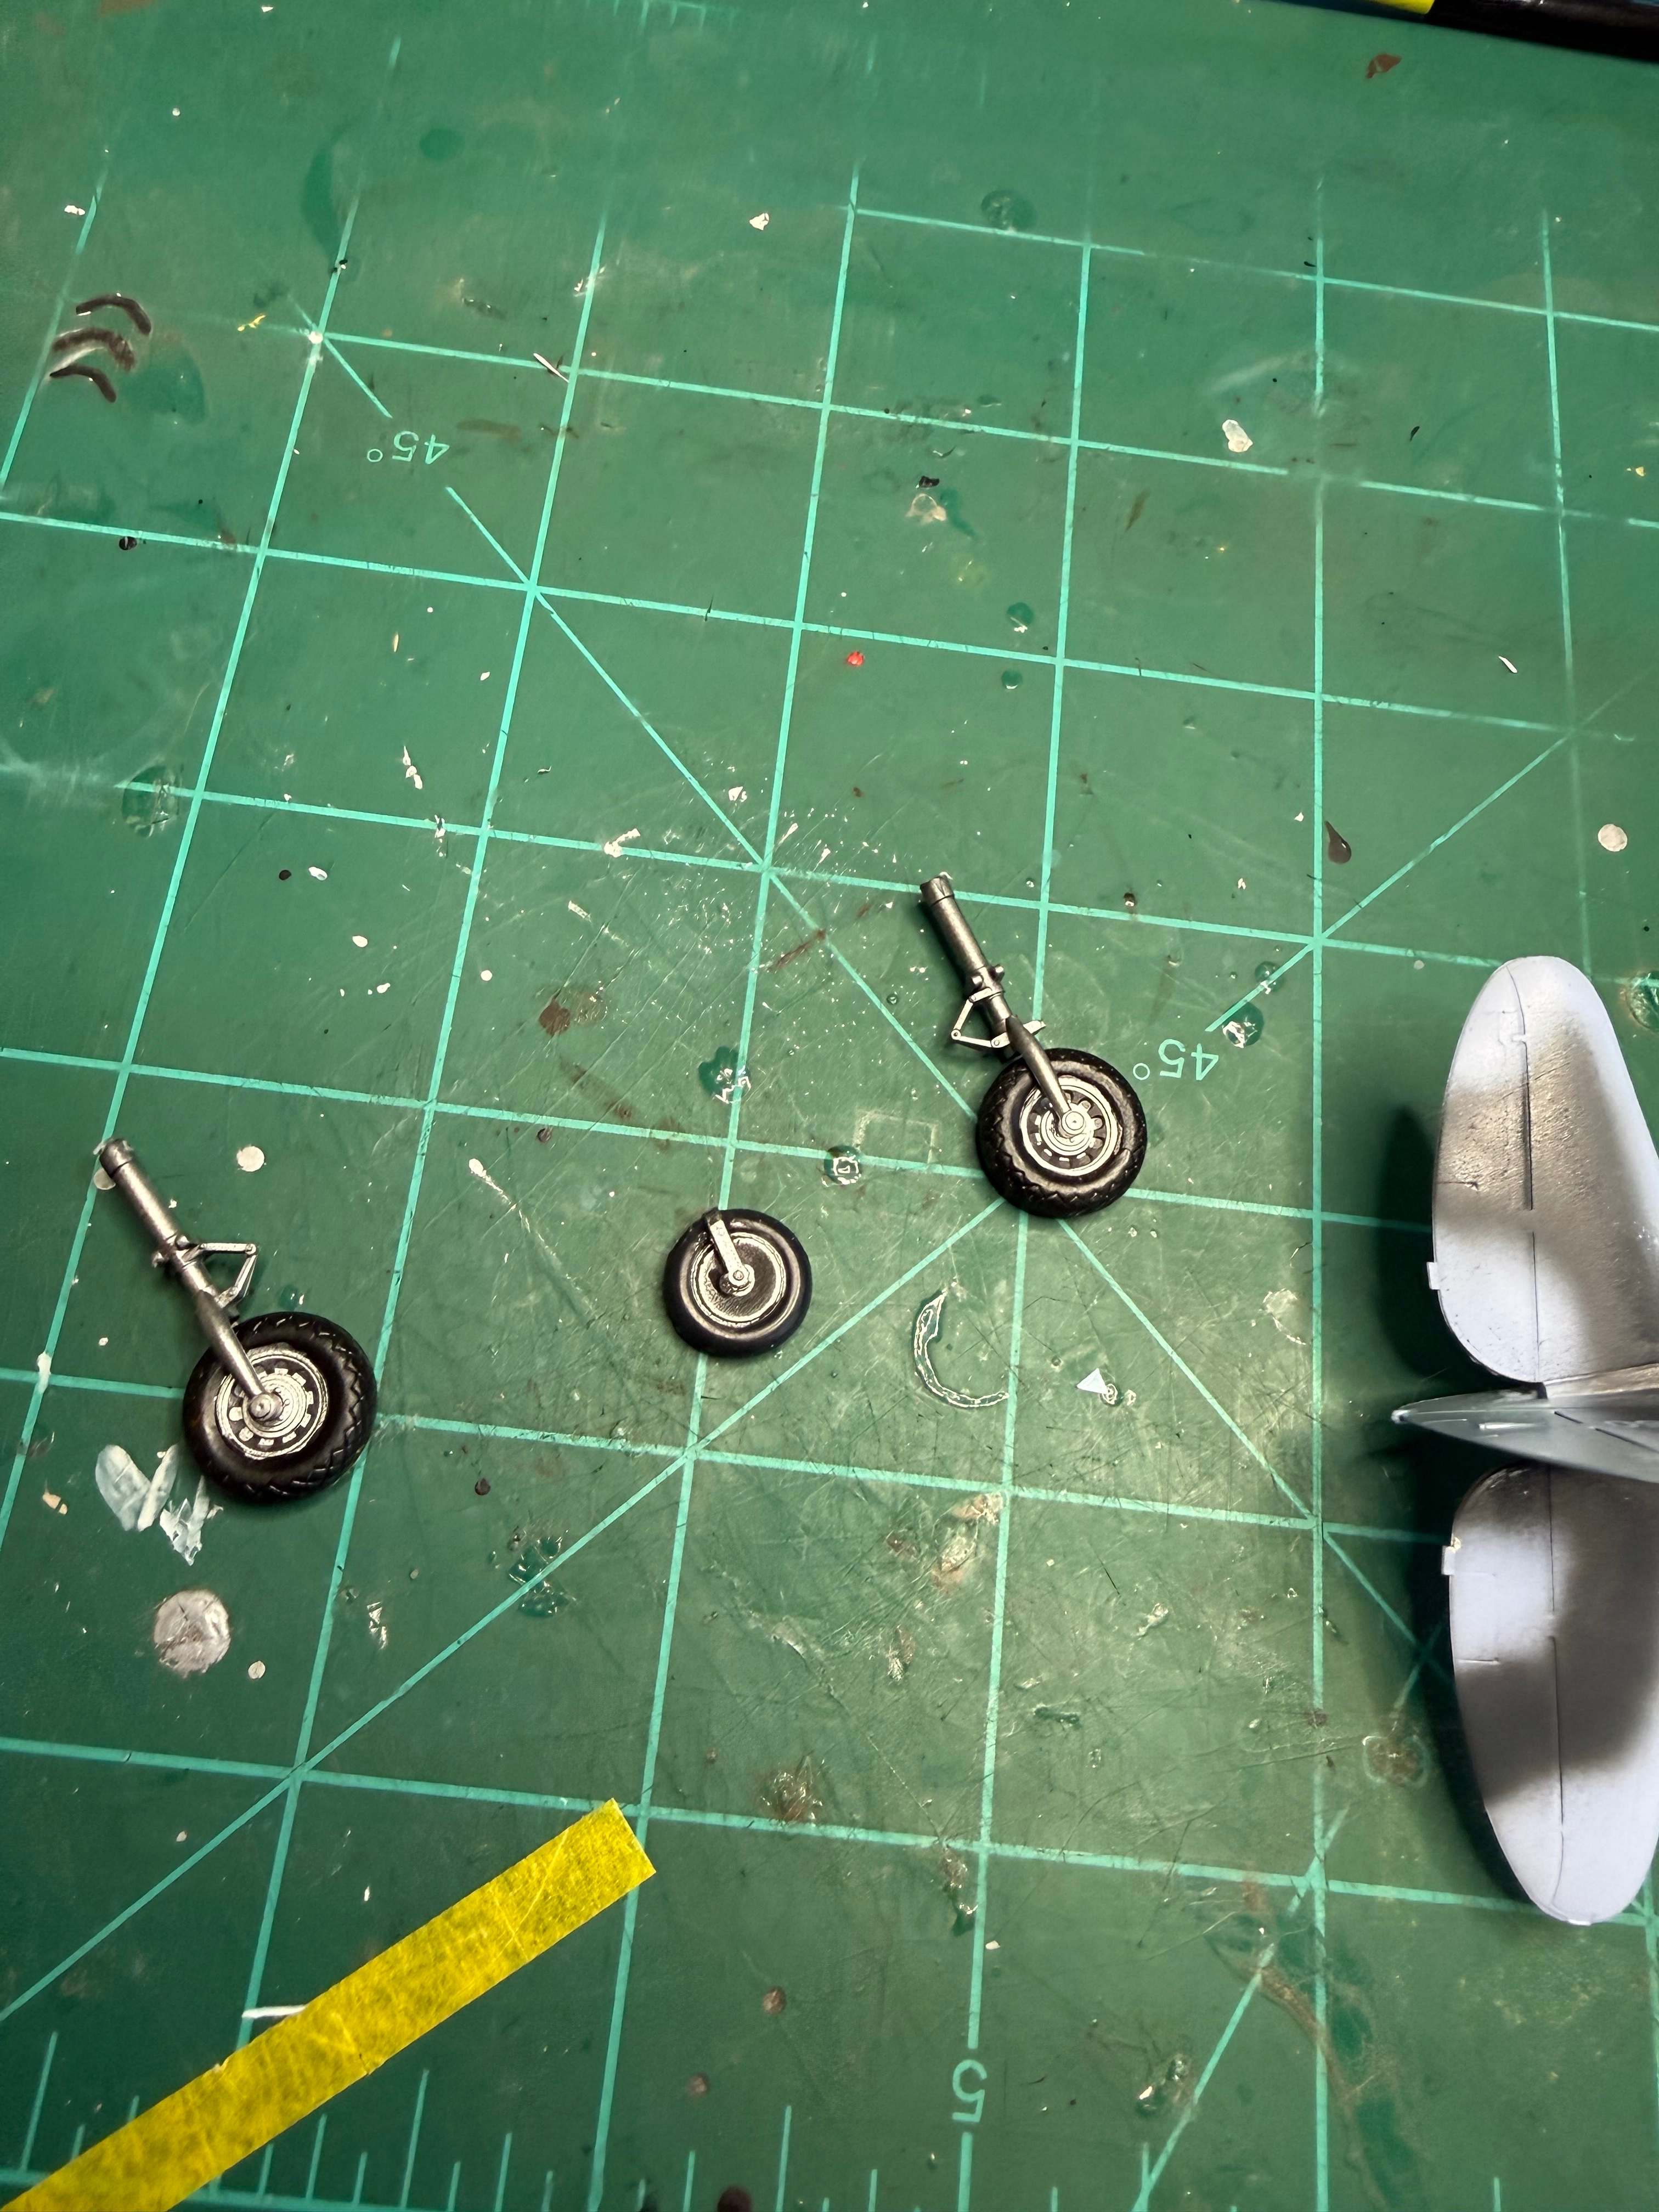
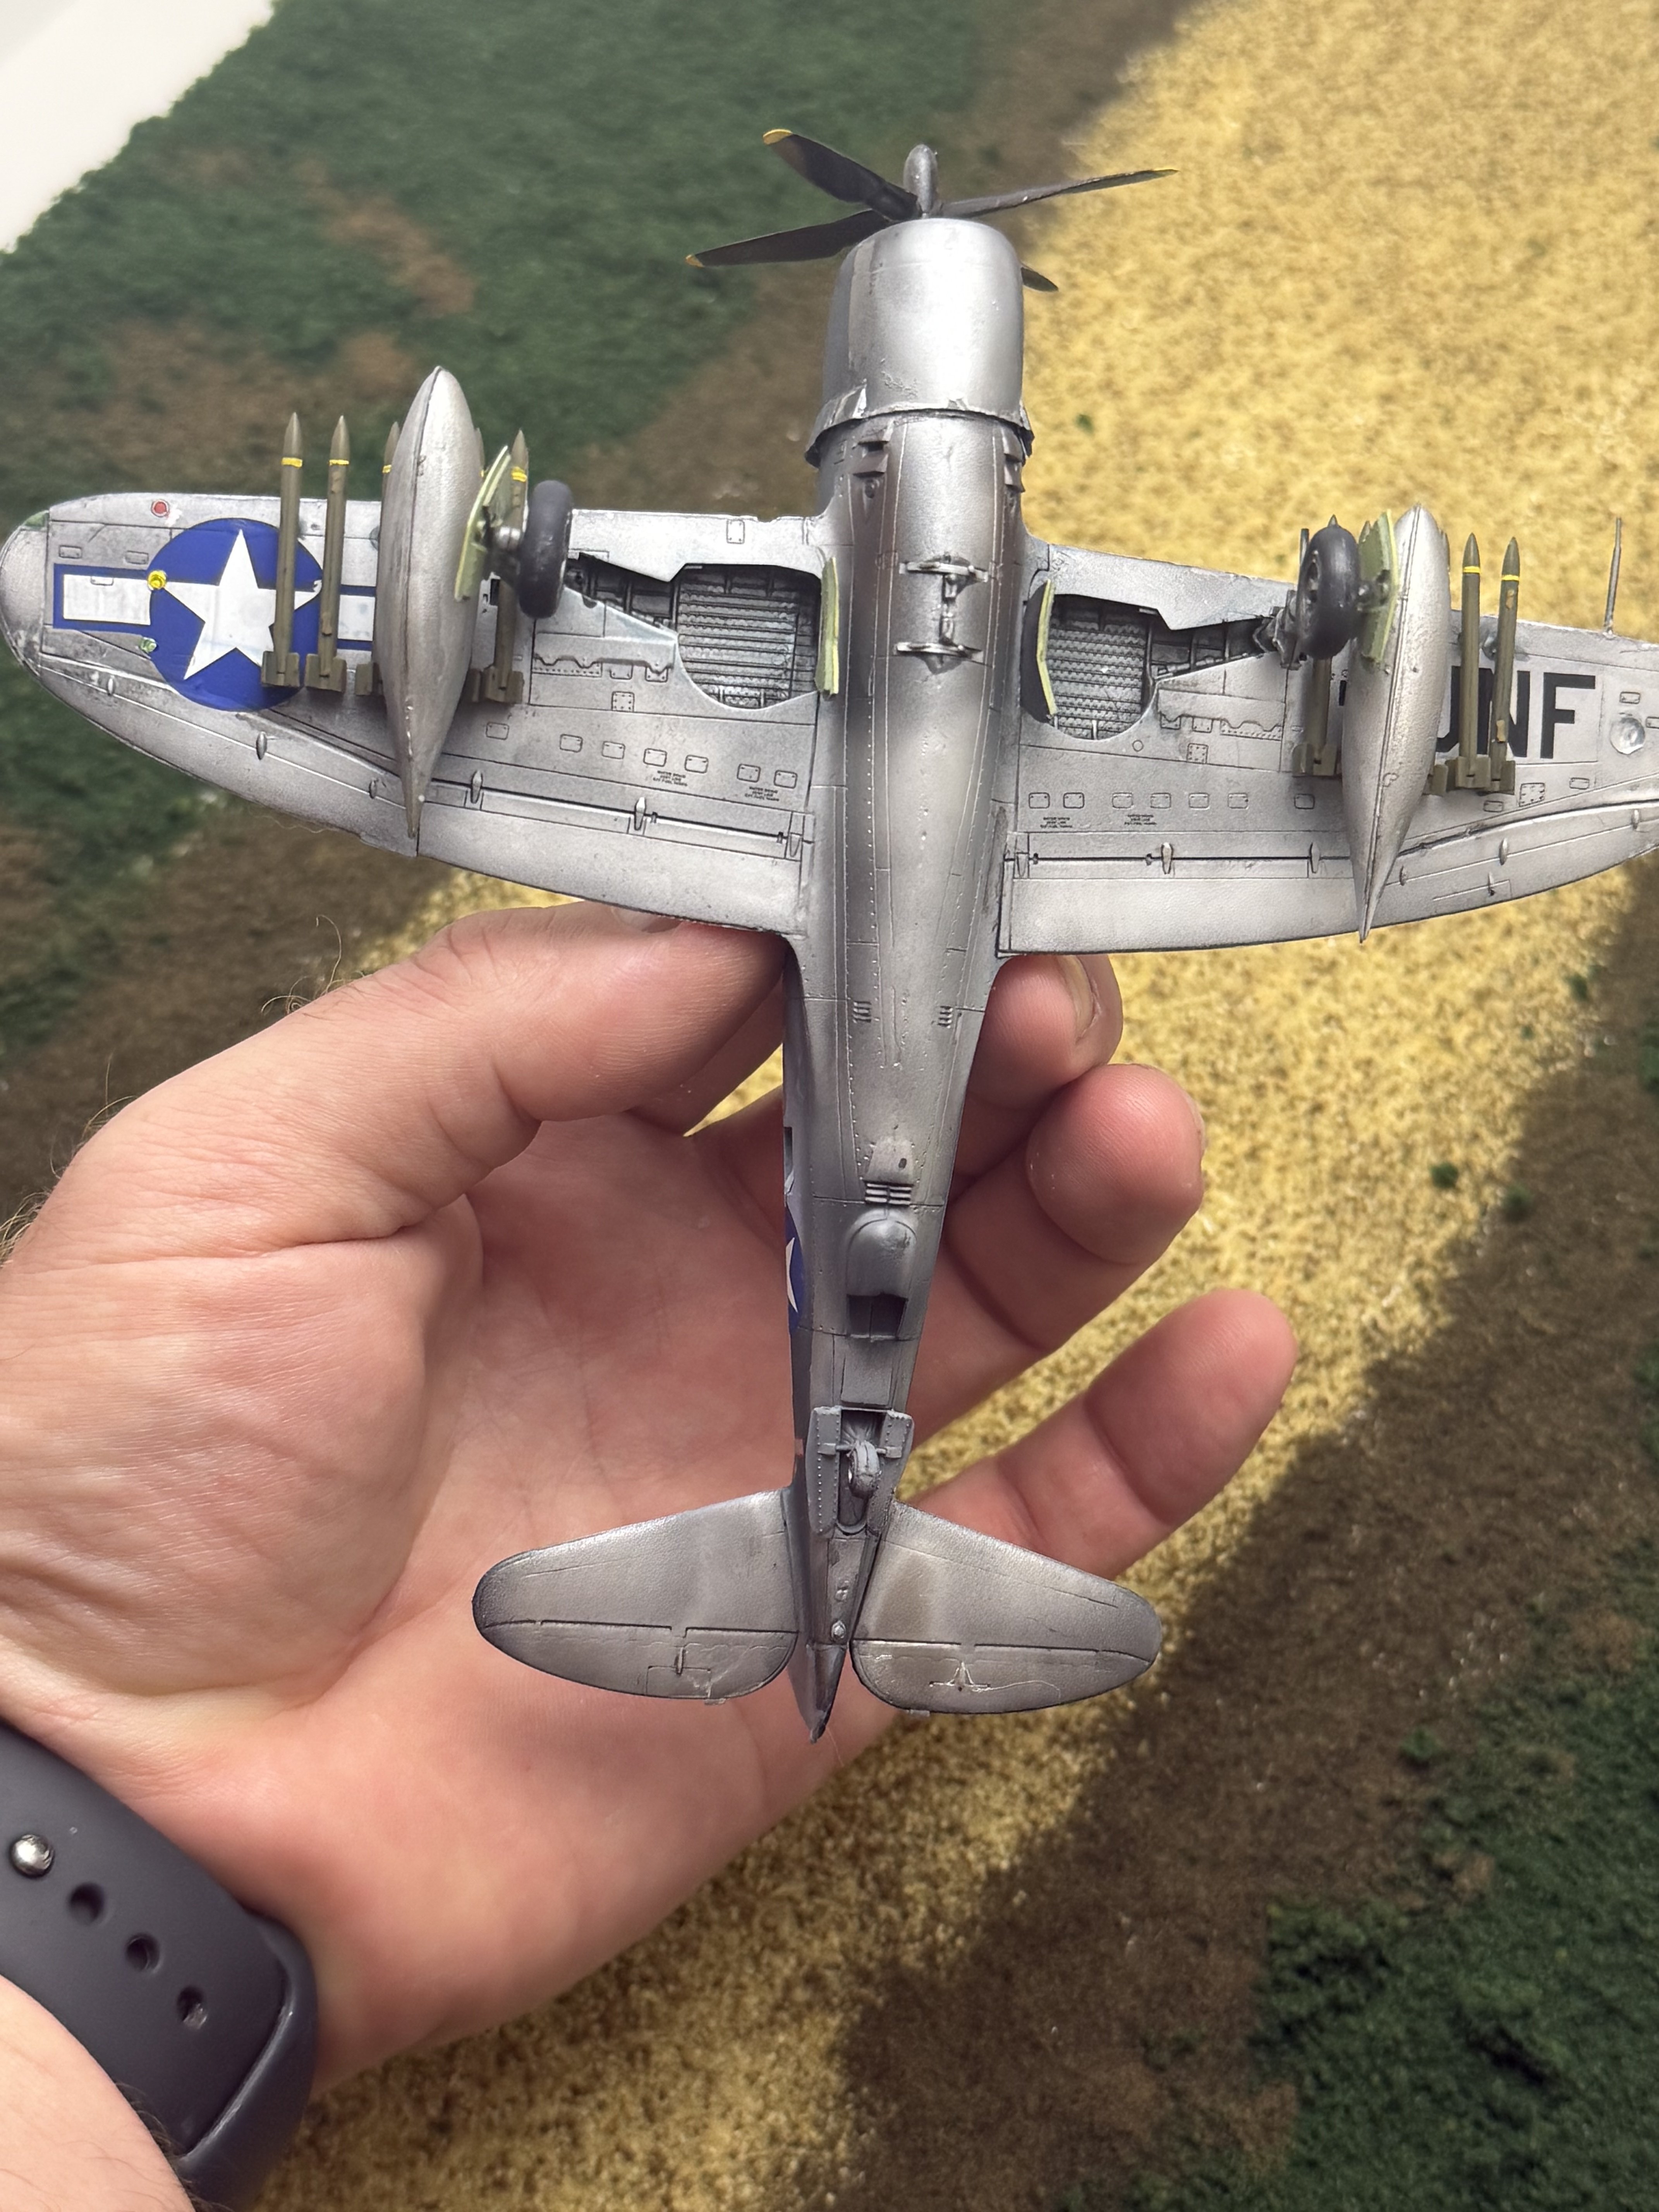
Everything was going well then I snapped the wheel strut at base. T try ing to fix that I managed to snap the strut just posterior of the wheel. Then I glued the strut upside down. Then I decided to go to bed. Lying in bed I remembered having a spare set of struts and wheels that might be close in size. I'm going to try to use these spare struts but use the kit wheels because these other wheels are noticeably larger. We'll see how she turns out.Made some adjustments to the camo and applied two other shades of aluminum to bottom. It sure that the aluminum adjustment shows in this pic. Tomorrow I hit it with varnish and then decals and weathering.
Attachments
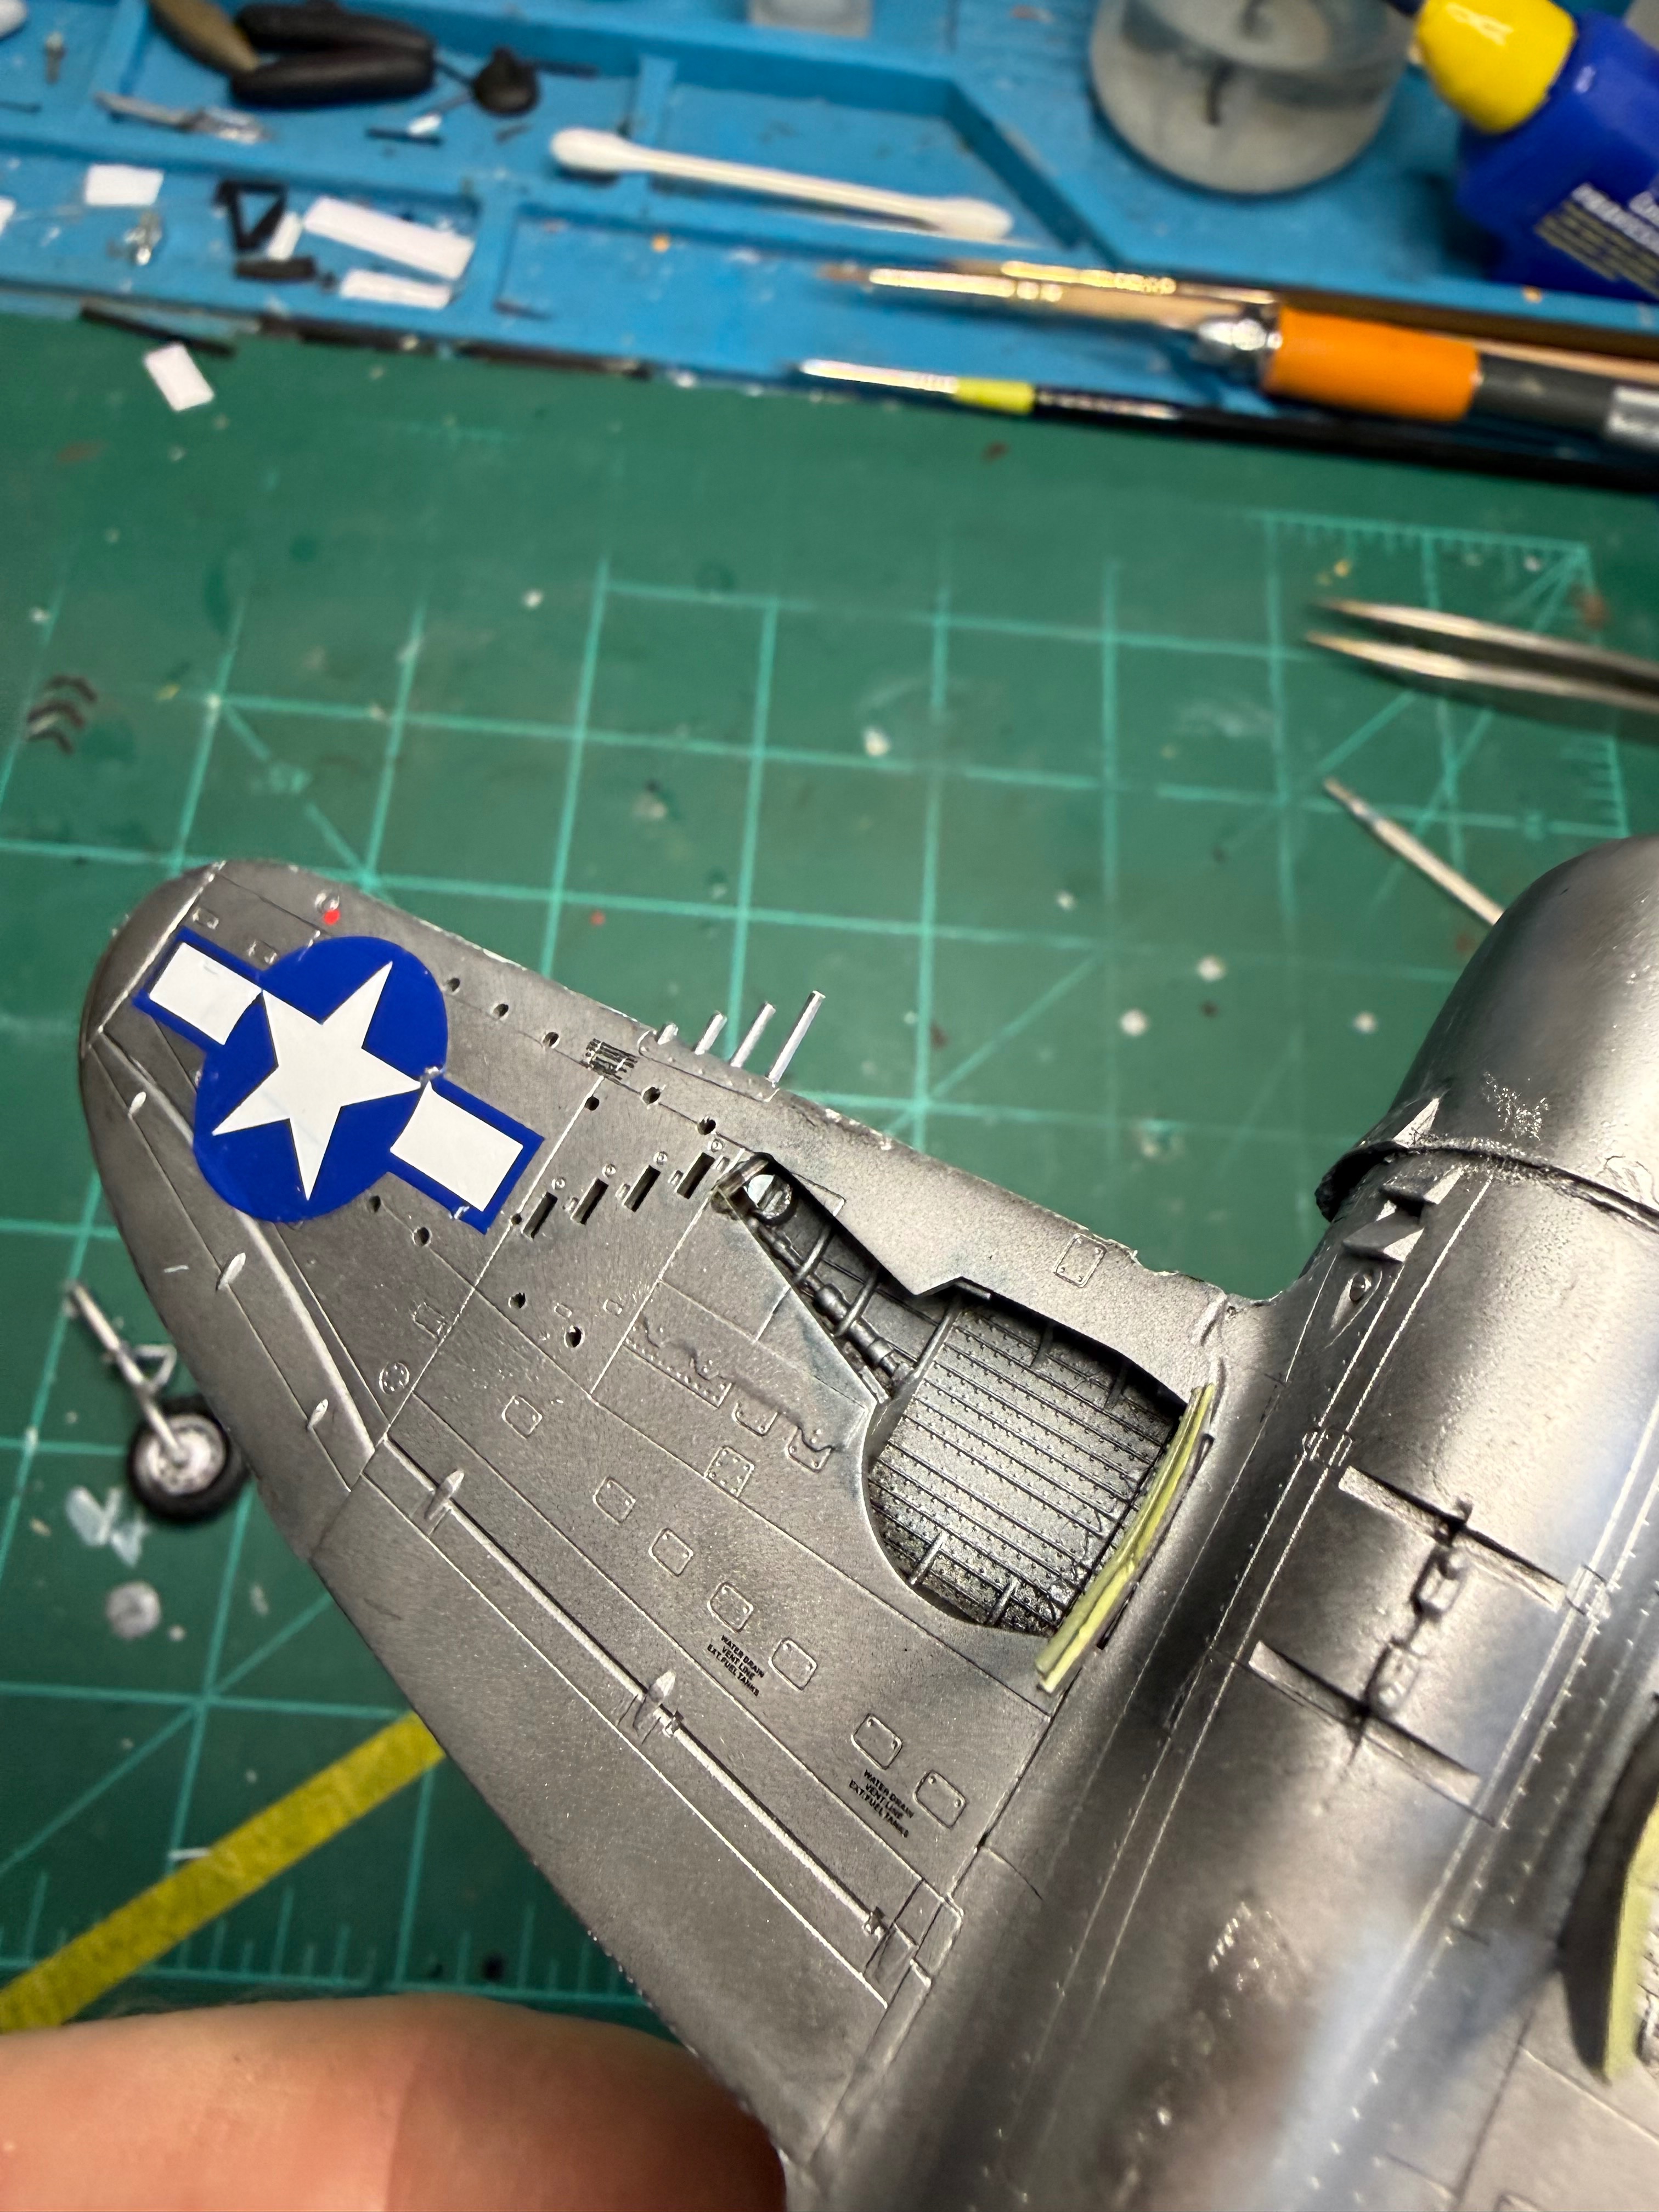
Now to fix this hole I drilled through the wing! HahaRepaired!
Attachments


![Pampers Sensitive Baby Wipes, Clinically Proven, Fragrance Free, Unscented, Water Based, Hypoallergenic, Multi-Use, Hand Wipes 336 Wipes Total (6X Flip-Top Packs) [Packaging May Vary]](https://m.media-amazon.com/images/I/41KLBHu9CAL._SL500_.jpg)






As an Amazon Associate we earn from qualifying purchases. Product prices and availability are accurate as of the date/time indicated and are subject to change.

I can sympathize with your situation!struts
I've been several days positioning, gluing, removing, adjusting, cursing, then starting all over again, futzing with the landing gear of my Skua.
It might be my first plane, but definitely not my first build... Combination of poor instructions, no clear reference photos, parts that don't fit, and kit engineering that I've since discovered is just wrong.
But we persevere, and we get there... Eventually.
You put it so eloquently but mine was just a matter of applying too much force- both times! I'm sure I had quite the look on my face when I was drilling out the previous strut and realized I had drilled through the top wing!I can sympathize with your situation!
I've been several days positioning, gluing, removing, adjusting, cursing, then starting all over again, futzing with the landing gear of my Skua.
It might be my first plane, but definitely not my first build... Combination of poor instructions, no clear reference photos, parts that don't fit, and kit engineering that I've since discovered is just wrong.
But we persevere, and we get there... Eventually.
- Joined
- Apr 29, 2024
- Messages
- 1,574
Paint on the bottom of the plane looks excellent

BOATMAN
Well-Known Member
- Joined
- Oct 7, 2024
- Messages
- 2,175
YES Ron2 an B/B both of you sound like you both have my probs of things goin wrong Ron AN B/B poor instruckions oh dear but you both will like me get there in the end its just a case of persevere an try an enjoy the build even if you do feel like bin it but dont
ATB TO YOU BOTH
chrisb
ATB TO YOU BOTH
chrisb

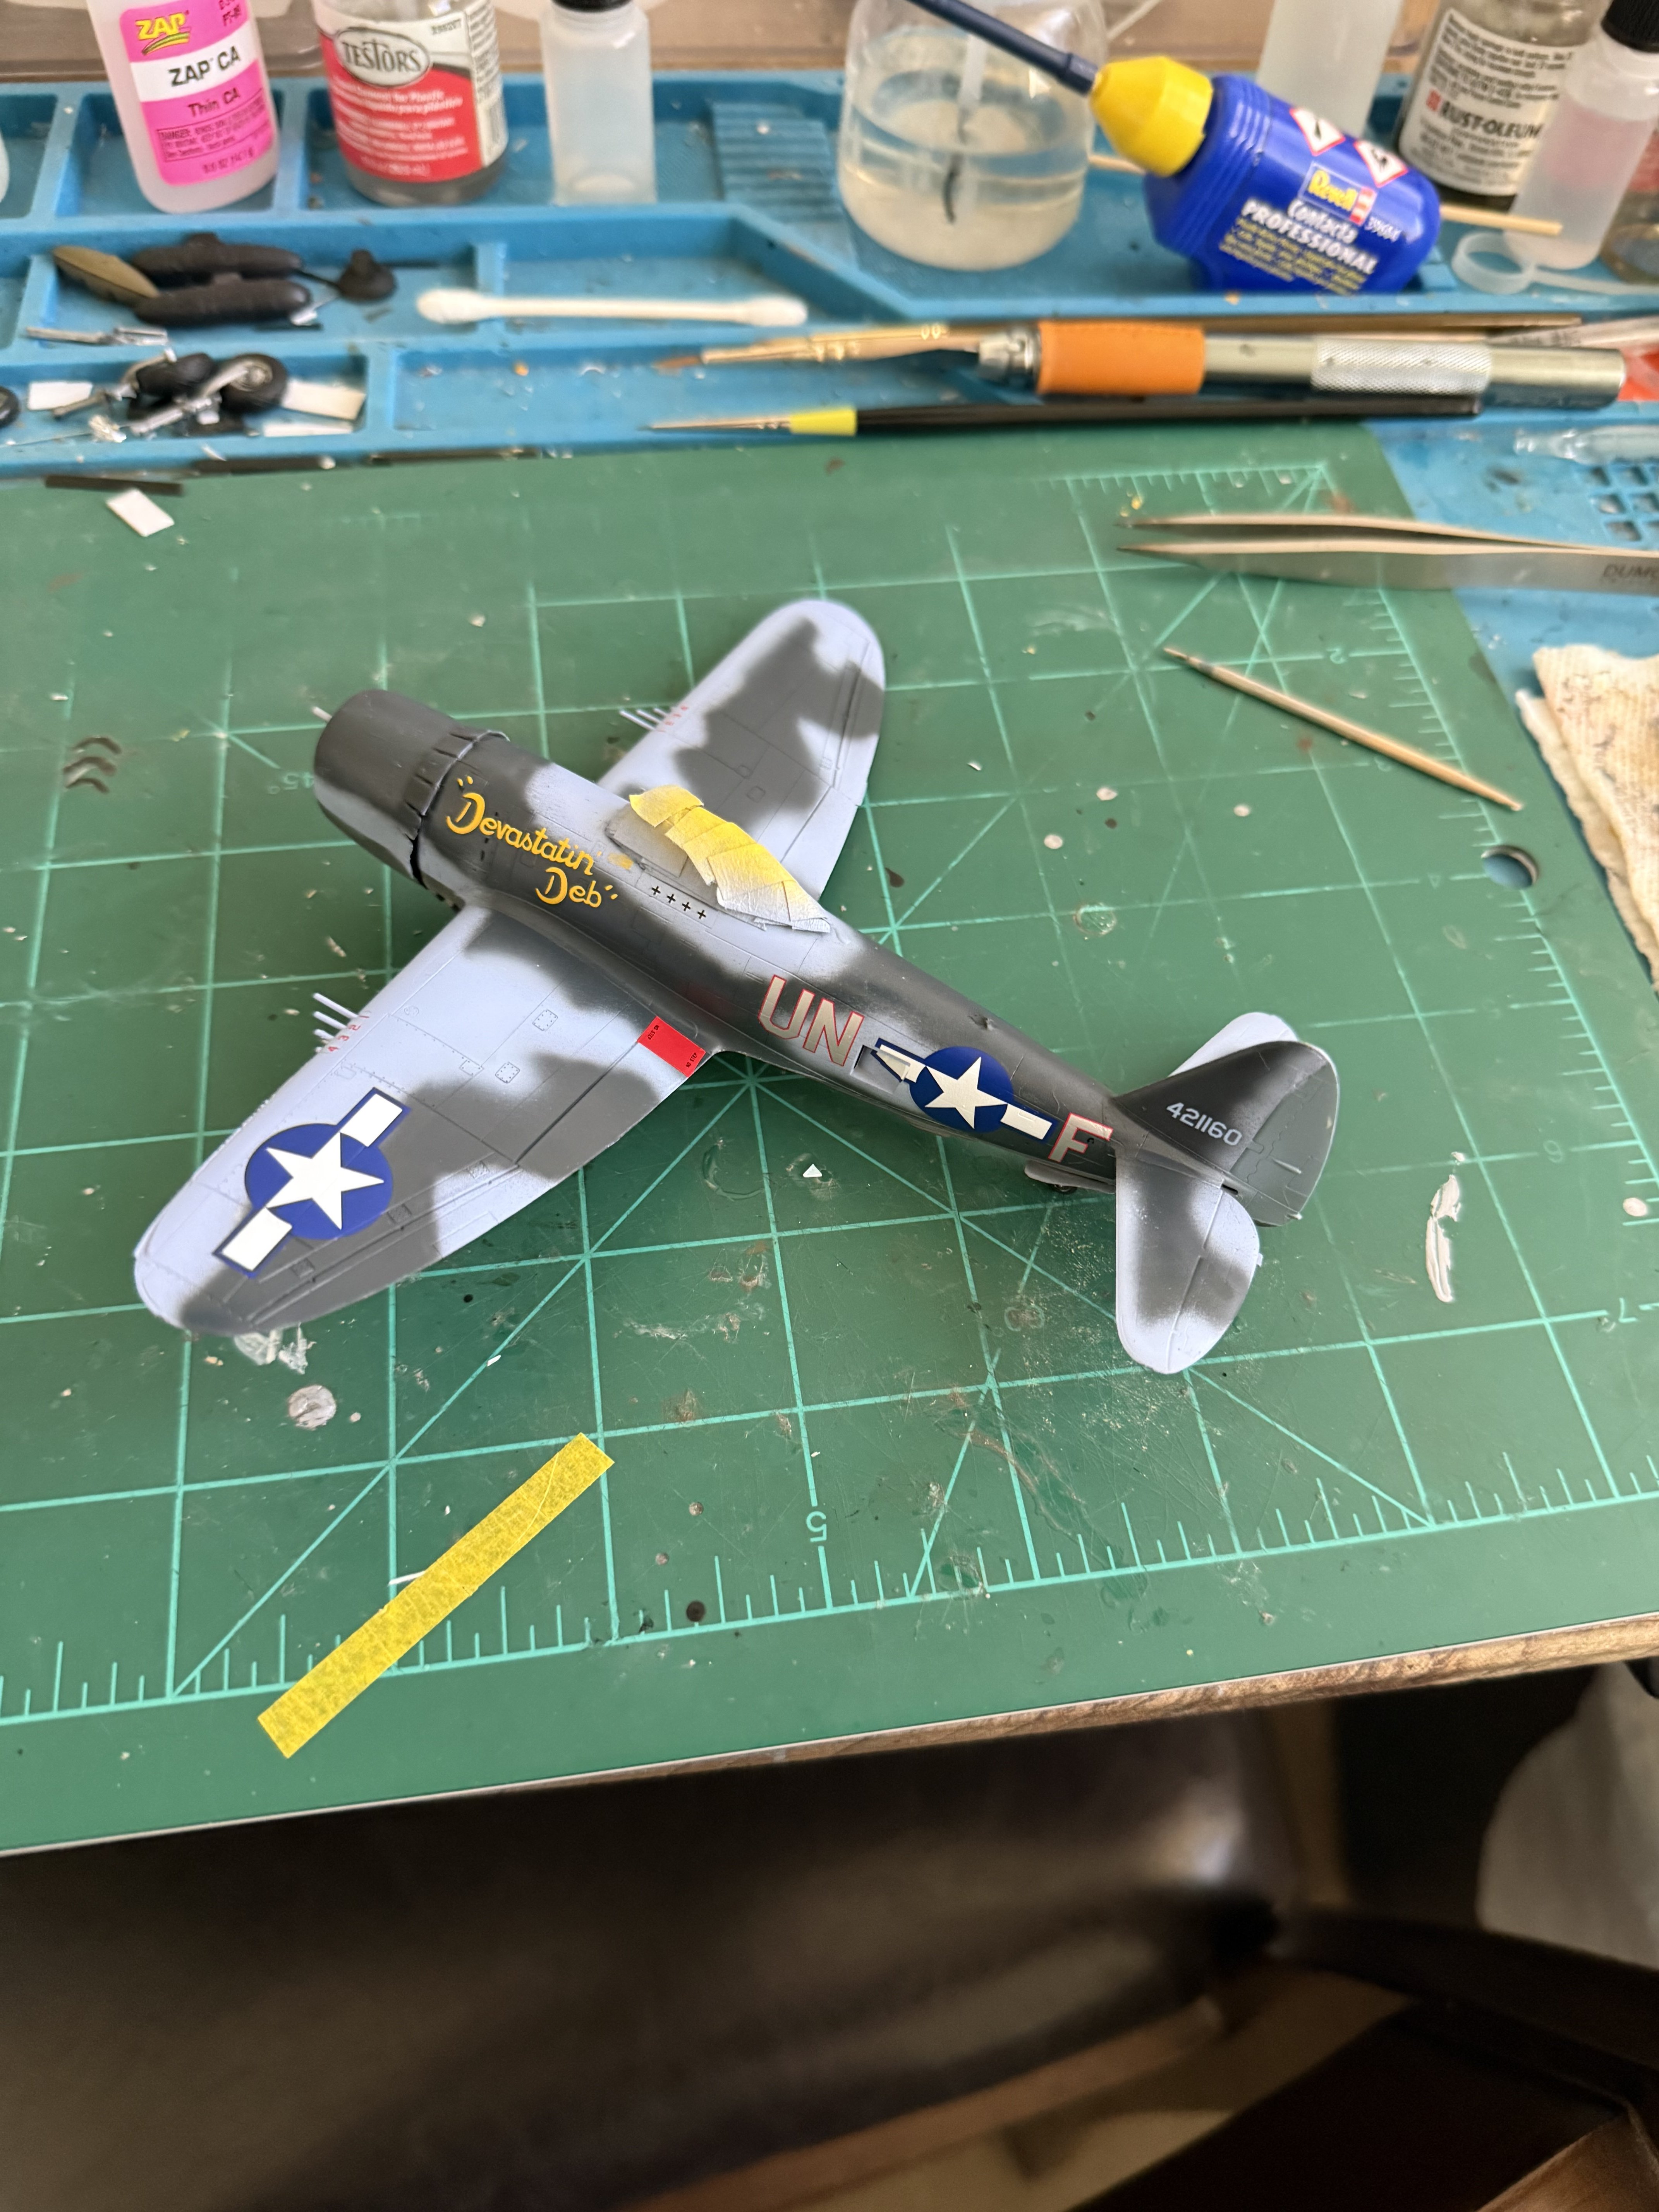
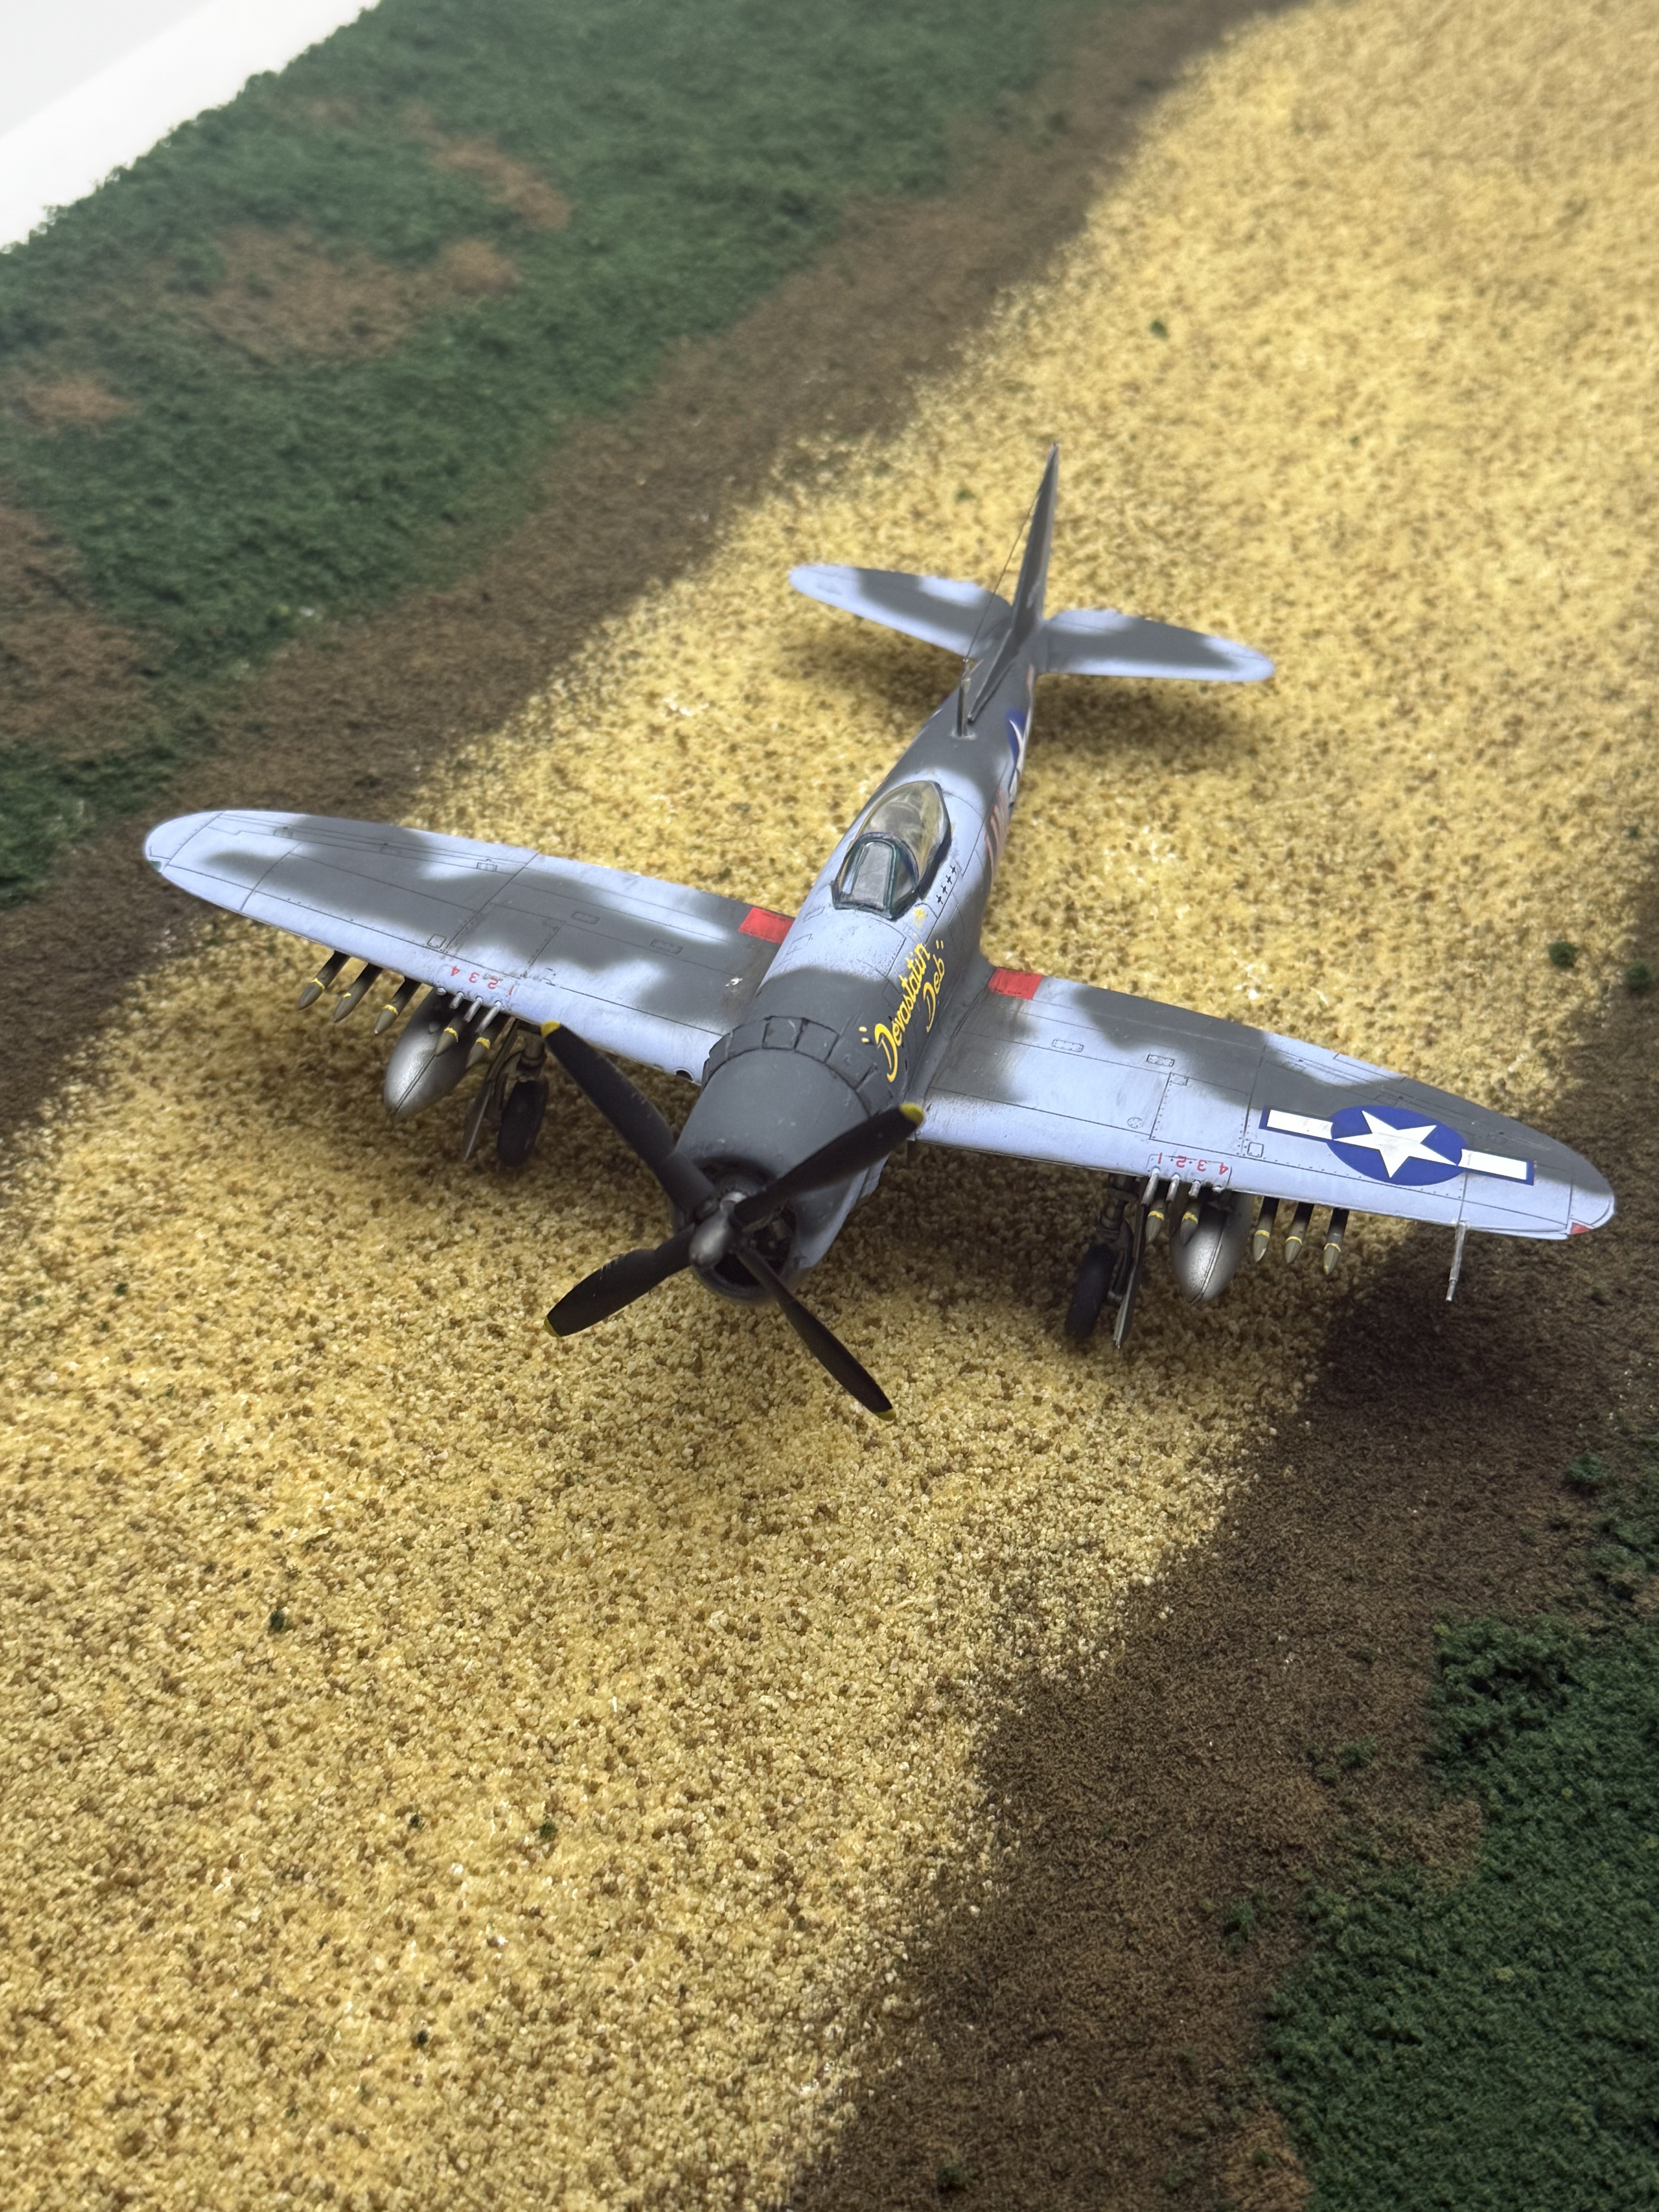
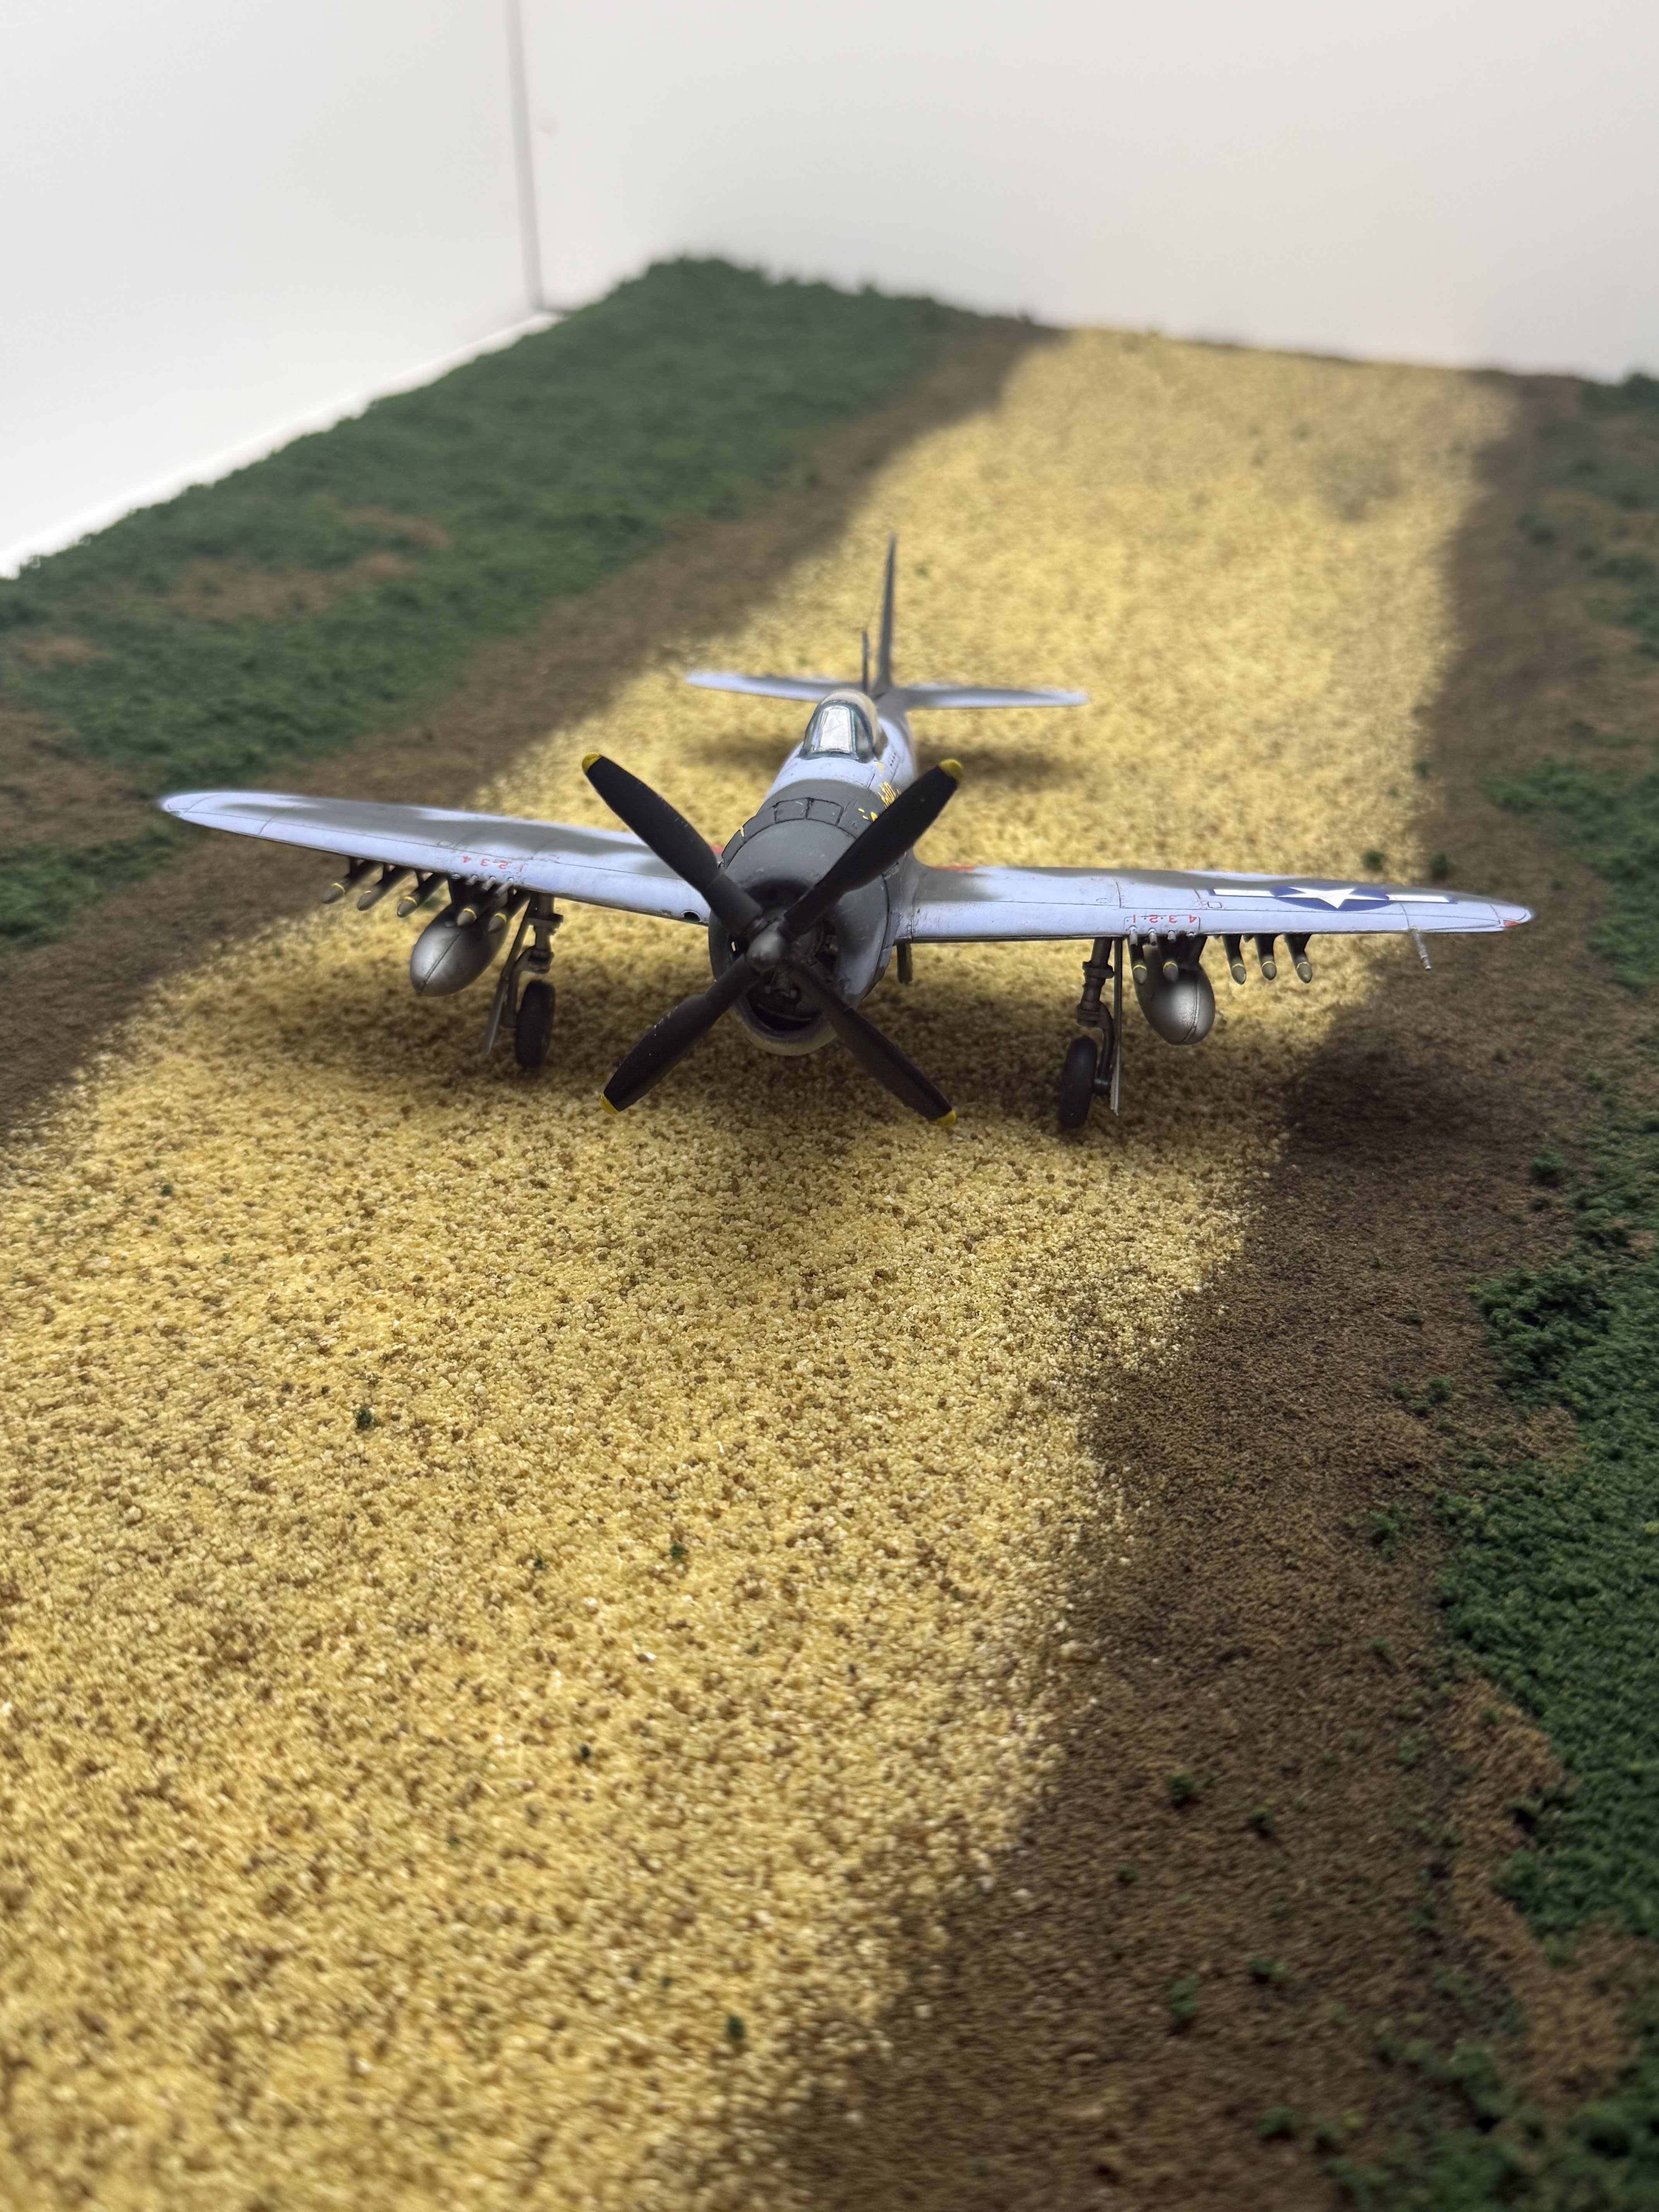
wrapped this up tonight. Fairly happy with it but do not care for this azure blue. I replaced the struts with another kits struts and it's passable.Now to fix this hole I drilled through the wing! Haha
Attachments
- Joined
- Apr 29, 2024
- Messages
- 1,574
I don't know. I think the camouflage looks pretty darn good
Thank you!I don't know. I think the camouflage looks pretty darn good
- Joined
- Apr 29, 2024
- Messages
- 1,574
You don't mind some critique do you? I hope not. You can critique my stuff all you want. I would love it. Here's my critique of your plane. It looks kind of funny with the lighter color in front of the pilot right in front of the windshield.
It does. Normally I paint that flat black but -I need to double check on that. Thanks.You don't mind some critique do you? I hope not. You can critique my stuff all you want. I would love it. Here's my critique of your plane. It looks kind of funny with the lighter color in front of the pilot right in front of the windshield.
So actually yes and no. They didn't use black but original has a small strip of the dark blue around the canopy and i elected to skip that.You don't mind some critique do you? I hope not. You can critique my stuff all you want. I would love it. Here's my critique of your plane. It looks kind of funny with the lighter color in front of the pilot right in front of the windshield.
Attachments
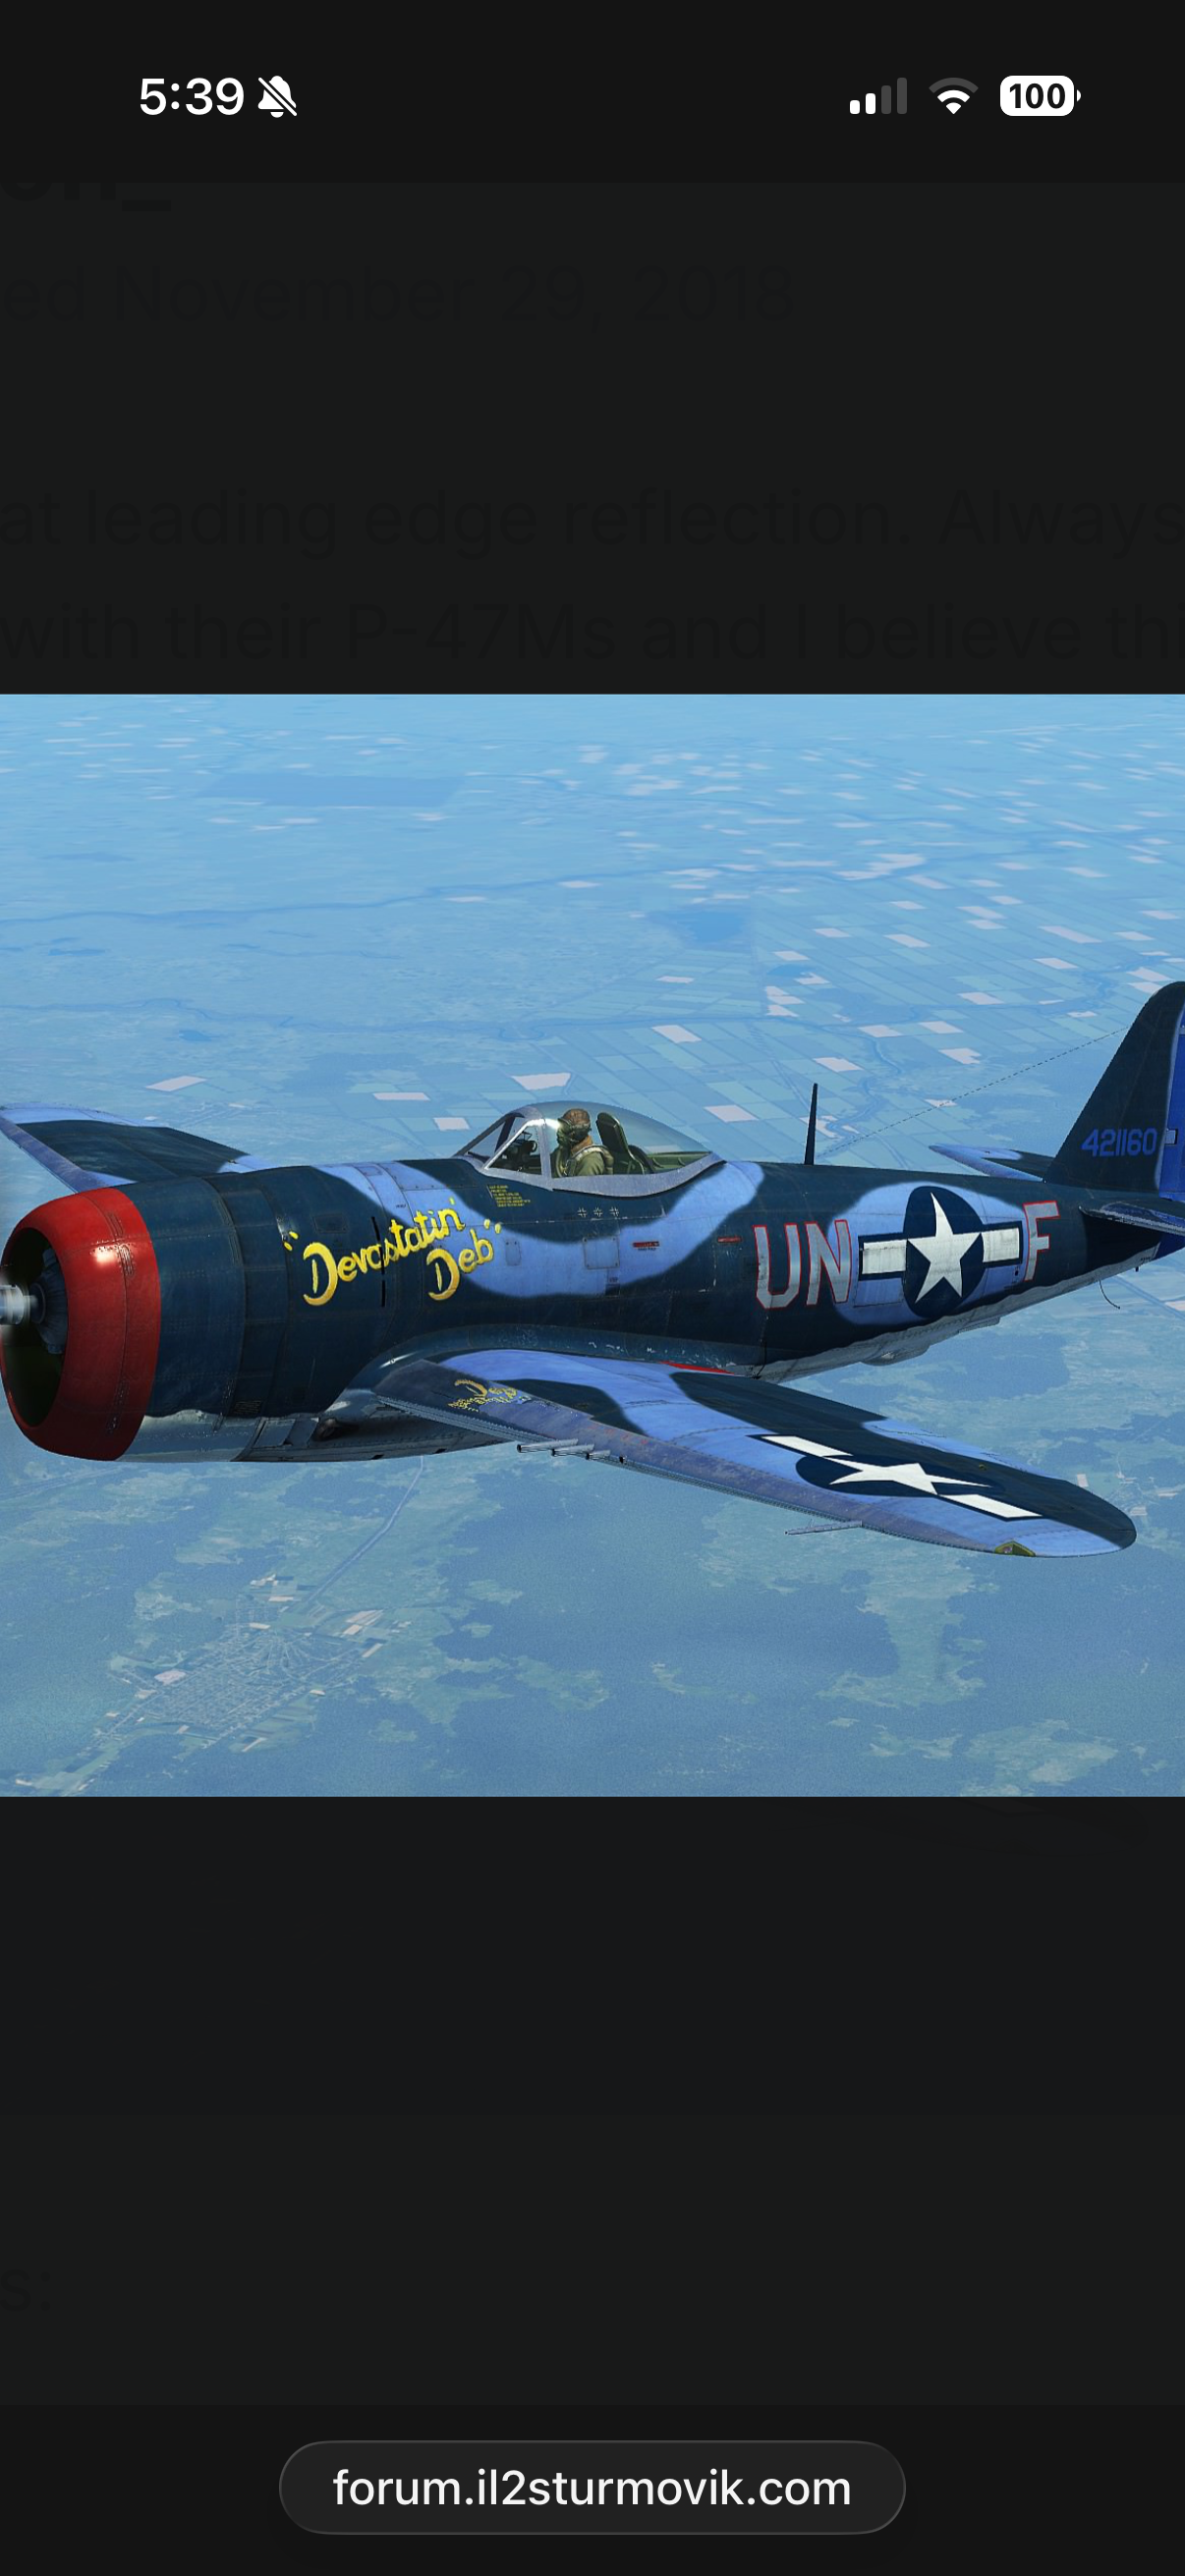

I agree the azure blue looks a bit light. You can always say it's sun bleaching.wrapped this up tonight. Fairly happy with it but do not care for this azure blue. I replaced the struts with another kits struts and it's passable.
Sun bleaching it is!I agree the azure blue looks a bit light. You can always say it's sun bleaching.

Jakko
Well-Known Member
This is a controversial subject, AFAIK. Some people say it is, others say it isn't, and both have reasons why.scale factor where a color applied to 1/72 would always be lighter.
Thanks!I think it looks great. Colors from internet photos are subject to a lot of variations. Only way to be sure is matching FS numbers, then you can throw in scale factor where a color applied to 1/72 would always be lighter.

Seriously? Well that sucks. Too late now.My two cents: your reference photo is from the game IL2, it's some gamer's idea of what it should look like. I wouldn't count on that source to be historically correct, if that's what you're going for.
I did some web wandering. I was able to find lots of images with the paint scheme as you have done it, but no photos of the actual aircraft. I found no photos to prove you wrong, and lots to suggest that you have it right. Enjoy what you've done there.
It was the scheme included with the kit so I wasn't worried. Bottom line is I liked the scheme just wasn't too fond of the azure blue. I don't think I'd use that blue again.I did some web wandering. I was able to find lots of images with the paint scheme as you have done it, but no photos of the actual aircraft. I found no photos to prove you wrong, and lots to suggest that you have it right. Enjoy what you've done there.


