Revell 1:72 Scale GATO Class Sub

martin9428

Member
Joined
Sep 7, 2021
Messages
50
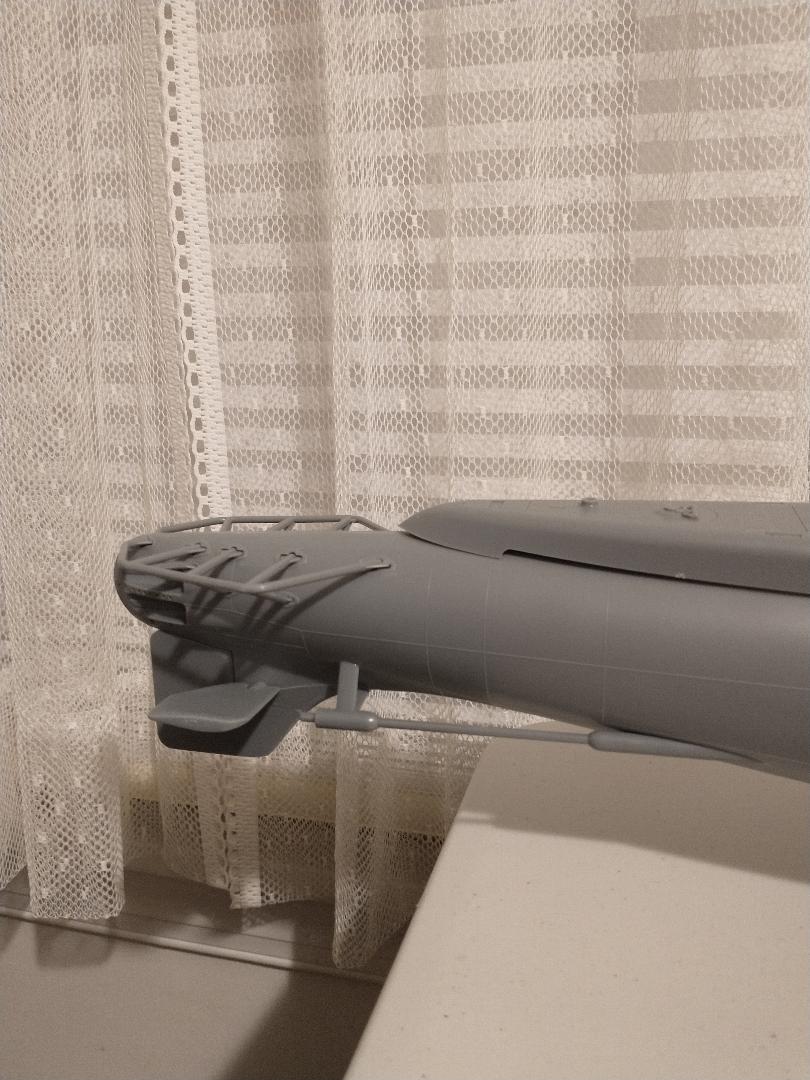
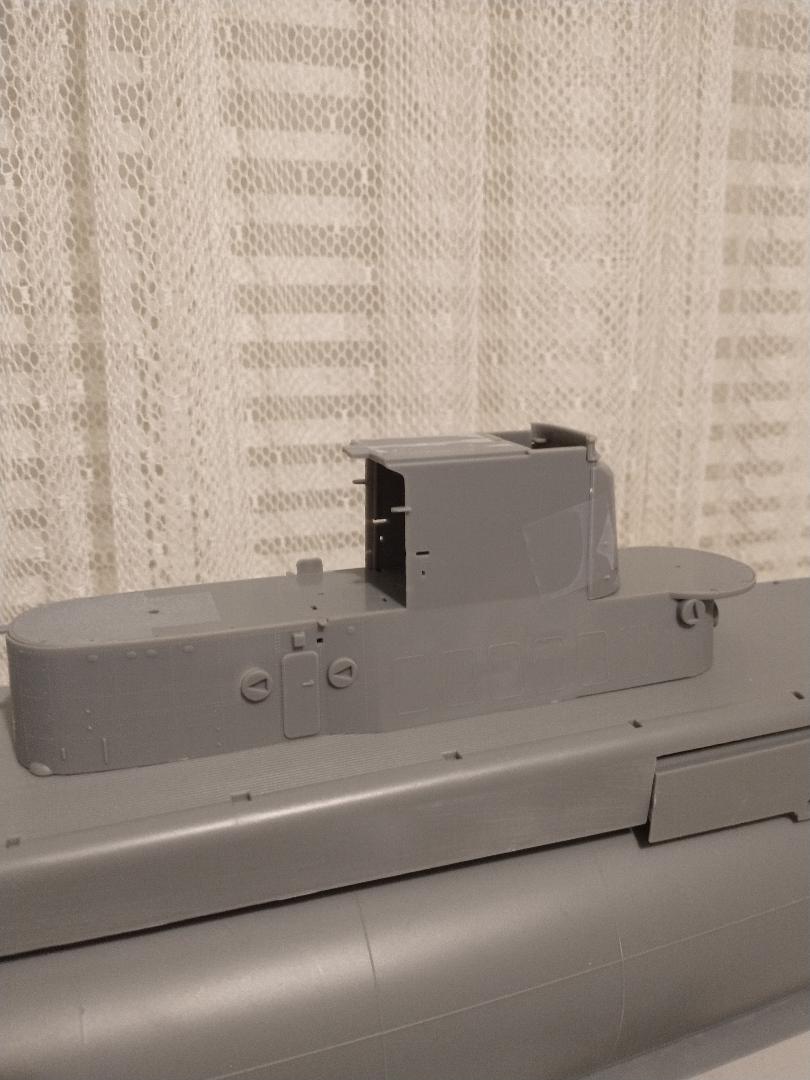
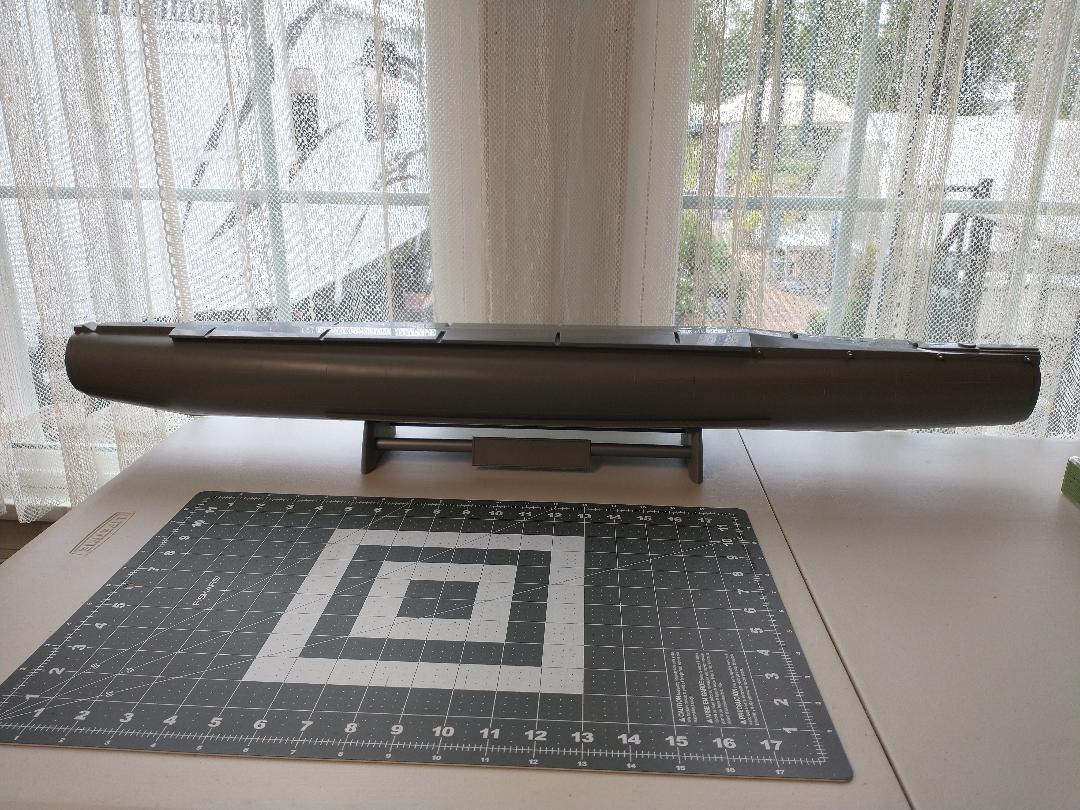
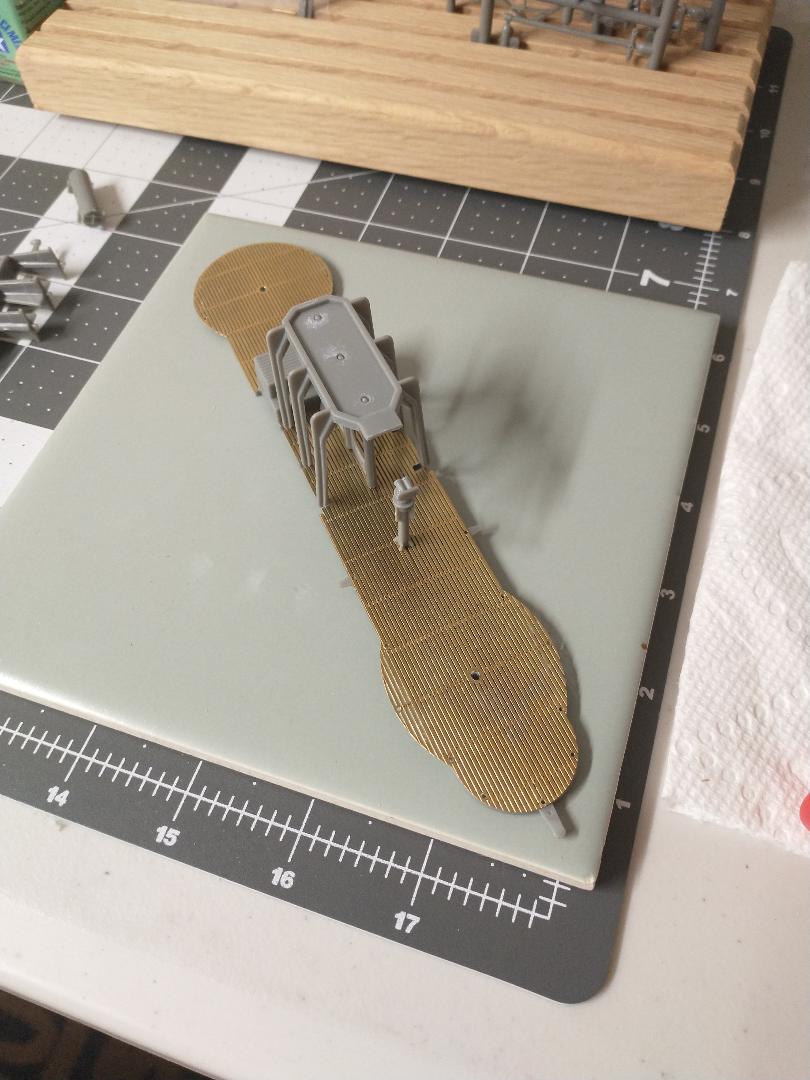
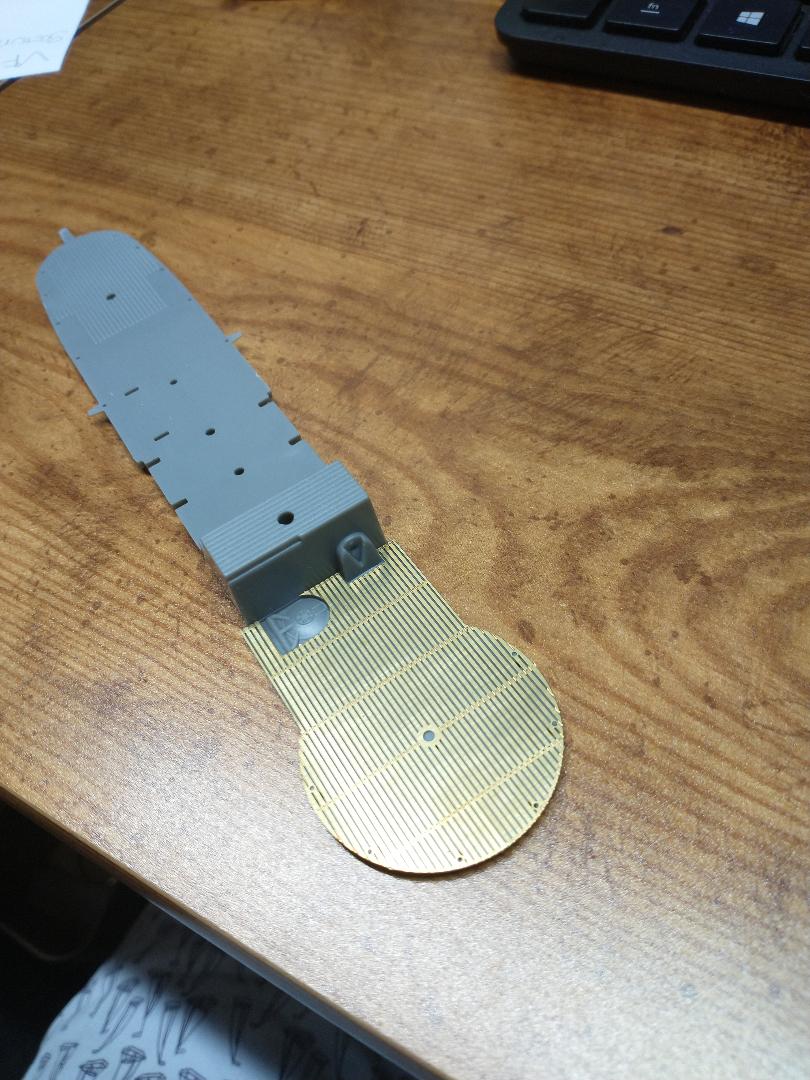
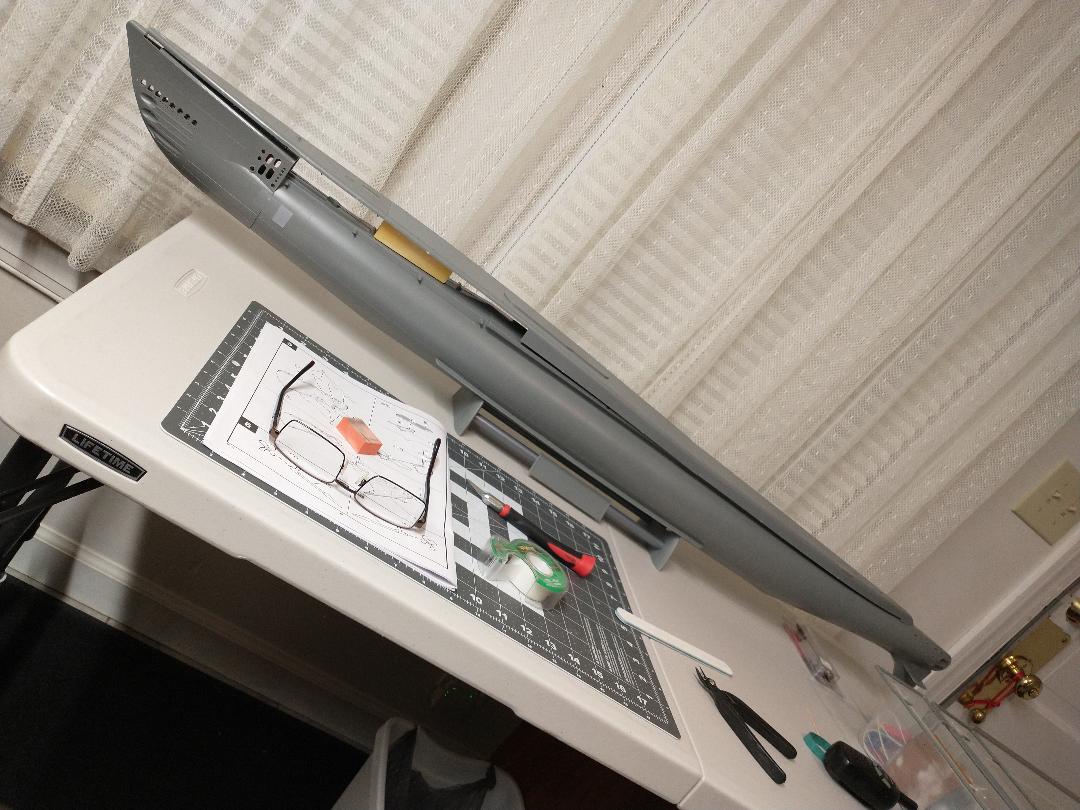
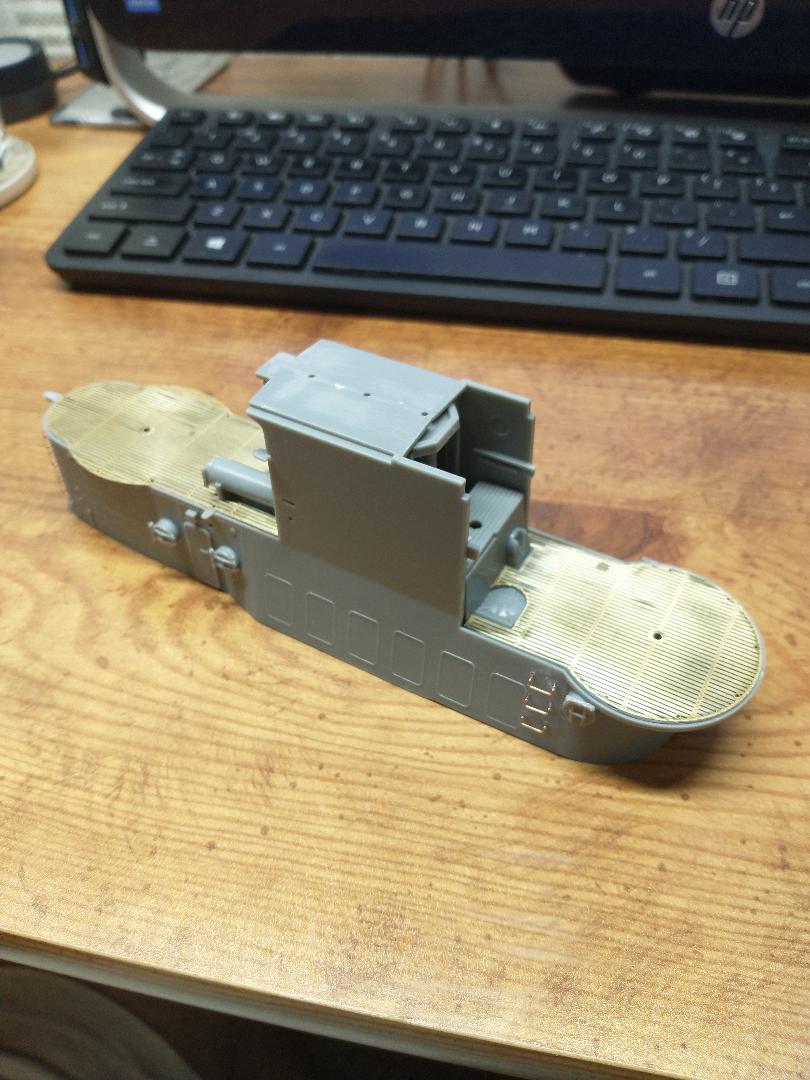
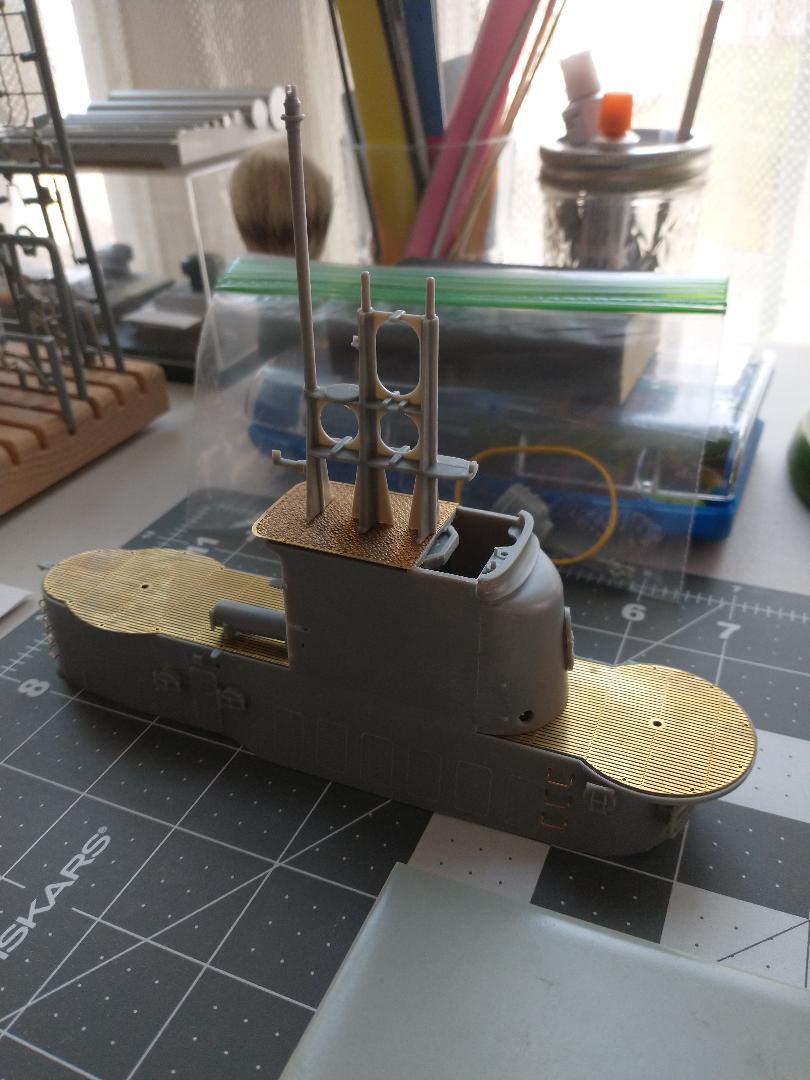
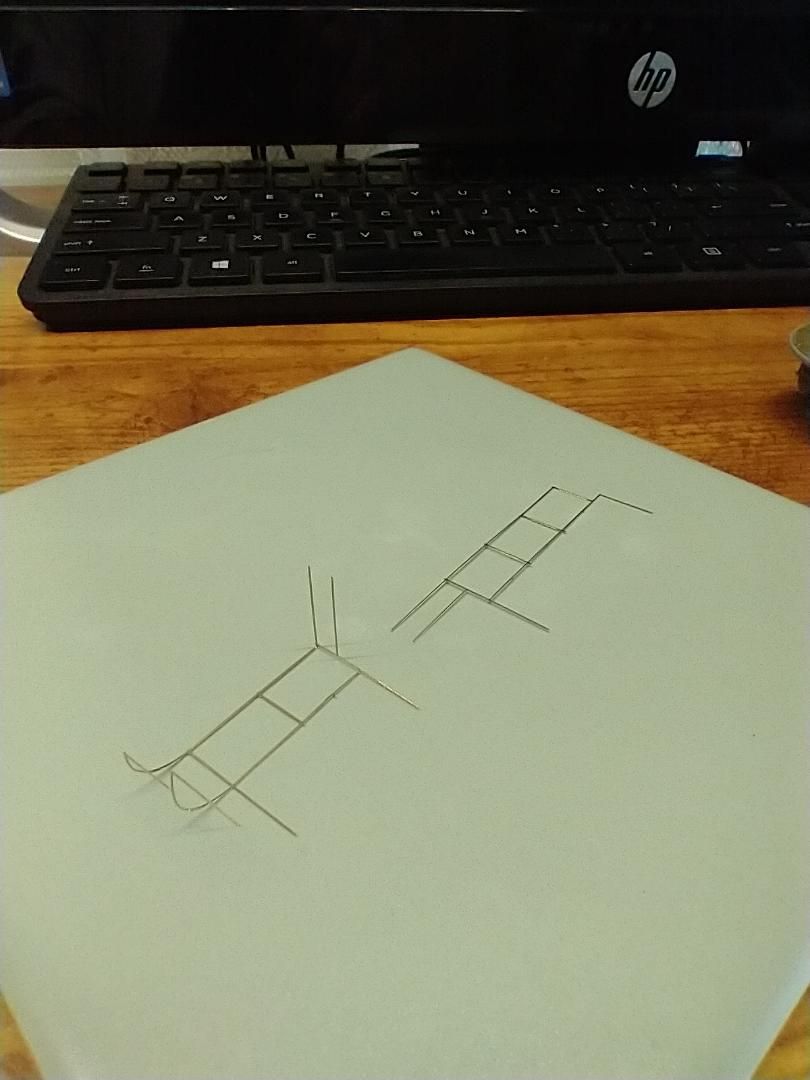
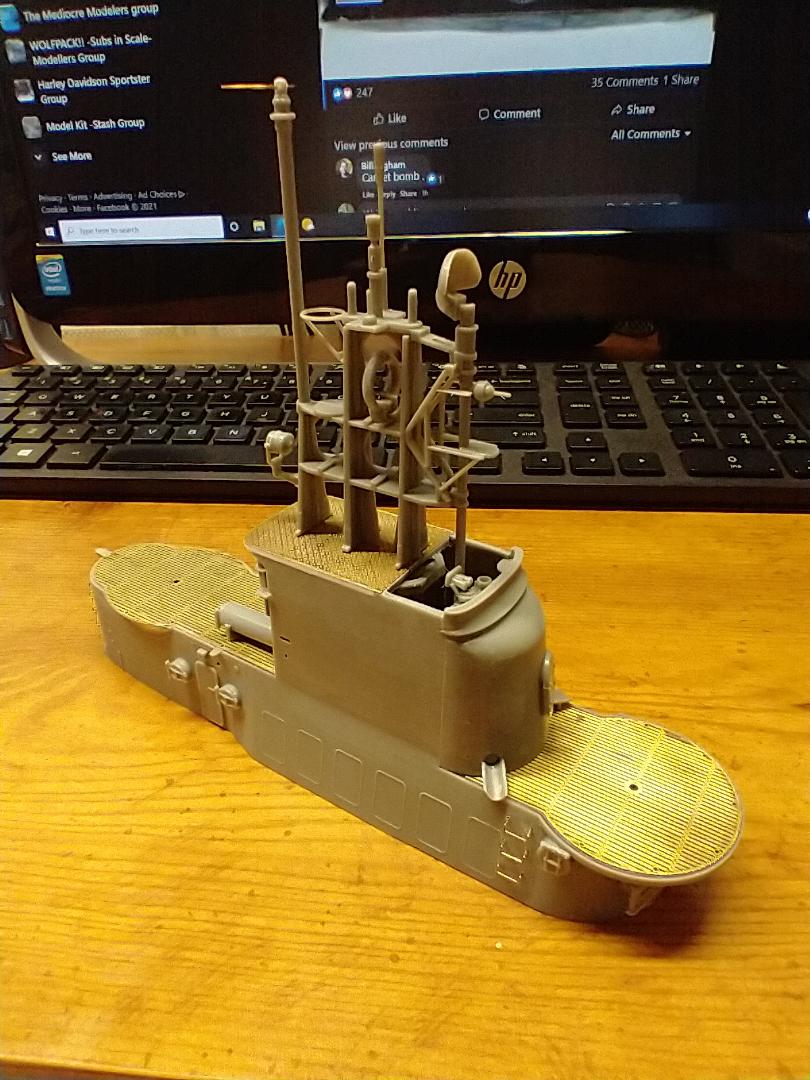
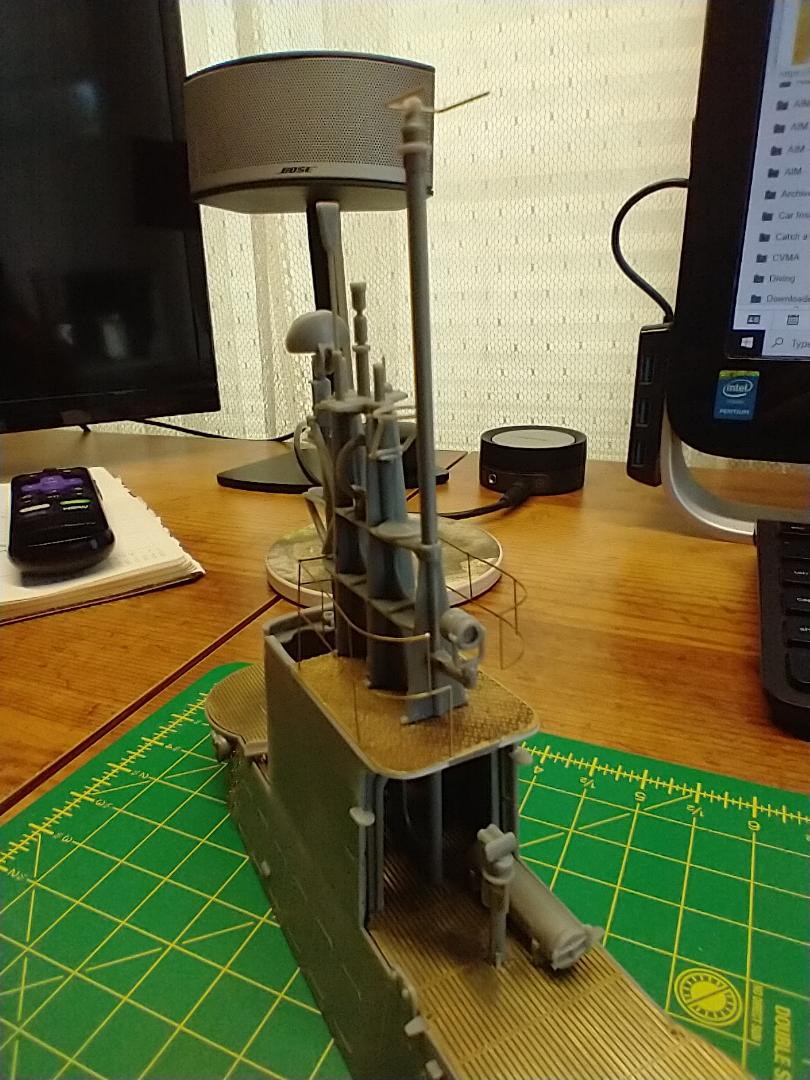
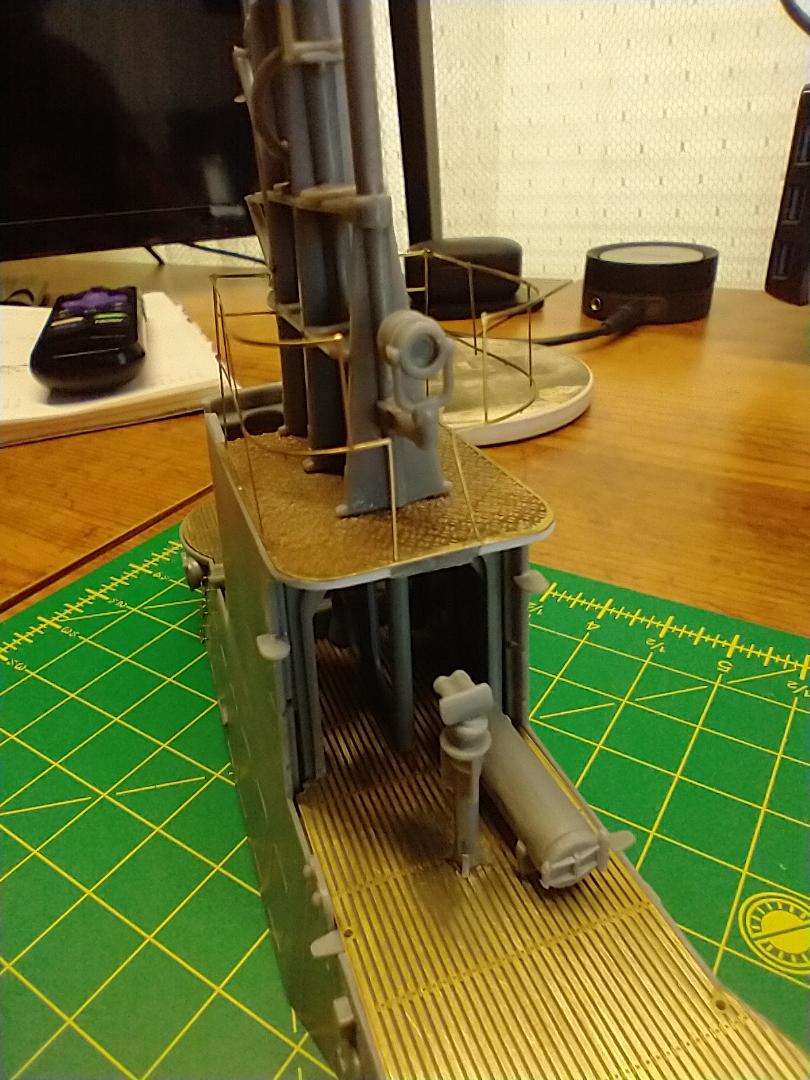
I posted some pictures in my Introduction but, will post the progress here as a build report. So, this kit is big at just over 52" which makes it a challenge to build on my modest 4' table/work bench. I have to tell you, the fit and finish of this model is much, much better than I remember of the 1970's Revell kits and very little if any flash. The one thing I have noticed(which isn't necessarily a bad thing) is the softness of the plastic which makes working seams a dream but, can be a bit fidgety getting off the sprue sometimes and pieces weld together nicely. I bought a set of aftermarket PE for the kit as well as EZ Line for the rigging and is my first attempt at using either. Progress is slow as my wife broke her ankle while we were skydiving so, I am attending to her needs as well as house/ yard so, most nights I may be to tired to work on it but, I do a piece or two while sitting at the computer. I hope you enjoy the progress, be it, slow.
 

Attachments

  • thumbnail (1).jpg
    thumbnail (1).jpg
    117.7 KB · Views: 11
  • thumbnail (2).jpg
    thumbnail (2).jpg
    131.9 KB · Views: 11
  • thumbnail (3).jpg
    thumbnail (3).jpg
    88 KB · Views: 11
  • thumbnail (4).jpg
    thumbnail (4).jpg
    184.6 KB · Views: 11
  • thumbnail (5).jpg
    thumbnail (5).jpg
    100.3 KB · Views: 11
  • thumbnail (8).jpg
    thumbnail (8).jpg
    145 KB · Views: 10
  • thumbnail (10).jpg
    thumbnail (10).jpg
    114.8 KB · Views: 10
  • thumbnail (9).jpg
    thumbnail (9).jpg
    131.9 KB · Views: 10
Slow progress as I figure out this PE. I did some work on the sail last night and have a little filling and a little styrene work and then the little bits and pieces and railings, which I'm not looking forward too
 

Attachments

  • thumbnail (16).jpg
    thumbnail (16).jpg
    96.8 KB · Views: 1
Made a very little progress on the sail as I only work on it when I'm in the mood, to avoid rushing it and make mistakes. Anyway, I cut some strips from a styrene sheet to fill gaps on either side, also added the two small pieces of PE under the rear deck which are part of the support structure. A little filling and fine sanding and I'll be able to start adding the small bits, super structure and PE railings which look so thin, I'm a little intimidated by it.
 

Attachments

  • thumbnail (17).jpg
    thumbnail (17).jpg
    100.2 KB · Views: 3
Folded and bent the first railing and already messed up cutting off tree by cutting two supports. Luckily I made the mistake on both. I will try to glue the uprights once the railing is in place
 

Attachments

  • thumbnail (23).jpg
    thumbnail (23).jpg
    64.1 KB · Views: 3
  • thumbnail (22).jpg
    thumbnail (22).jpg
    136.1 KB · Views: 3
I really messed them up and believe I can rectify some of them but......they're attached and look fairly decent for my first ever PE and railing.
 

Attachments

  • thumbnail (25).jpg
    thumbnail (25).jpg
    138.7 KB · Views: 4
  • thumbnail (26).jpg
    thumbnail (26).jpg
    132.4 KB · Views: 4

Latest posts

Back
Top