Omega 7 Helicarrier
- Thread starter Quaralane
- Start date
Quaralane
Well-Known Member
- Joined
- May 22, 2009
- Messages
- 11,263
All right.
Update time on the Omega 7 Helicarrier "Columbia"
Using the Eduard etch set, I placed 1/700 hatches in various locations on the ship.
Where I could, I used locations provided by the kit. In other places, I improvised
Bridge Island
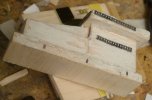
Various locations around the hull
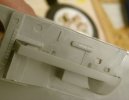
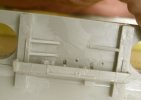
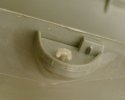
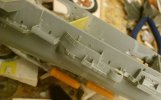
Got the interior of the hangar primered, as I likely won't be able to get at it very well once the deck is in place
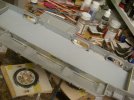
Using a series of steps and clamps, I glued the flight deck to the hull.
Fair warning to those using this Saratoga kit, the deck does NOT fit without help.
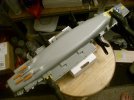
Hoverfan mounts glued to the hull. I didn't mess around here, I used Gorilla Glue
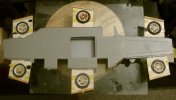
Decided to rework the aft thruster setup to give the impression of a much more substantial power plant.
Using various syringe caps, I set up a pair of quad thrusters and glued them to a balsa back plate
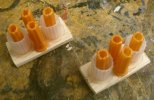
Then, I glued a brace piece to the back plates.
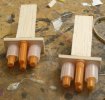
That done, I mounted them to the hull with Gorilla Glue. They'll be trimmed, shaped, and the sections filled later
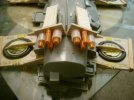
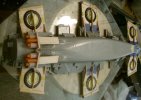
Using Aves, and a few other bits, I set to work finishing the gaps on the underside in my hoverfan mounts
Youtube link:
Omega 7 Helicarrier-SMA 2013-Part Six
Update time on the Omega 7 Helicarrier "Columbia"
Using the Eduard etch set, I placed 1/700 hatches in various locations on the ship.
Where I could, I used locations provided by the kit. In other places, I improvised
Bridge Island

Various locations around the hull


Got the interior of the hangar primered, as I likely won't be able to get at it very well once the deck is in place

Using a series of steps and clamps, I glued the flight deck to the hull.
Fair warning to those using this Saratoga kit, the deck does NOT fit without help.

Hoverfan mounts glued to the hull. I didn't mess around here, I used Gorilla Glue

Decided to rework the aft thruster setup to give the impression of a much more substantial power plant.
Using various syringe caps, I set up a pair of quad thrusters and glued them to a balsa back plate

Then, I glued a brace piece to the back plates.

That done, I mounted them to the hull with Gorilla Glue. They'll be trimmed, shaped, and the sections filled later

Using Aves, and a few other bits, I set to work finishing the gaps on the underside in my hoverfan mounts


Youtube link:
Omega 7 Helicarrier-SMA 2013-Part Six
ModelMakerMike
"It's Slobberin' time""
- Joined
- May 28, 2011
- Messages
- 1,838
Hopefully you made some big progress and this Bad boyee this weekend!
8) 8) 8)
8) 8) 8)
Quaralane
Well-Known Member
- Joined
- May 22, 2009
- Messages
- 11,263
Deadline is fast approaching for this girl to be finished.
So, without further ado, here is the next update on the helicarrier build.
Added more detail to the bridge island with some more of the guns from the ParaGrafix Galactiuca etch set.
I used these to create the impression of the sensors you'd find on a real world carrier
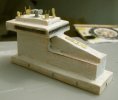
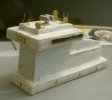
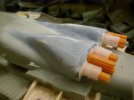
Trimmed up and filled the thruster supports, as well as scultping a 'housing' for them out of Aves Apoxie Sculpt to better integrate the thrusters into the existing hull
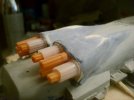
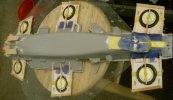
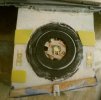
On the advice of my younger brother, I added some large washers to the upper fans to detail them better.
I also decided NOT to use the screening I'd originally planned to use as it would have obscured any detail you might see.
As a bit of added detail, I added one of the etch Galactica guns to the middle of the fan motor to hide the center hole.
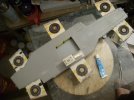
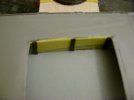
Using some sheet styrene, I filled the opening between my hangar wall and the flight deck.
On both long sides of the opening, I glued strips of sanding screen to stand in for the elevator's lift mechanism
WE HAVE PAINT!
I started with a coat of Krylon grey primer from rattlecan
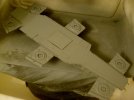
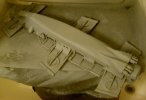
I officially christened the ship "Columbia" by gluing the nameplates from the Galactica etch to places on the stern and the bow
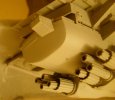
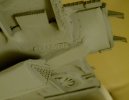
I gave the lower hull an overall coat of the Vallejo light grey surface primer to match what I'd done on the bridge island, and to lighten the overall color
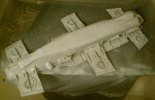
On the upper hull, I only sprayed the lift fans the lighter grey as I've noticed that most carrier decks seem to be darker than the rest of the hull.
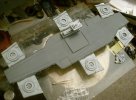
After decanting some paint from the rattlecan into a jar, I used the airbrush to paint the thrusters in Testors Graphite Dust Lacquer.
I also opted, as a bit of color breakup to use the same color on the fans and the actual gun mounts
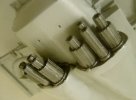

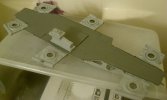
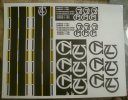
On my computer, I drew up some runway strips at the right size, then printed them along with some extra "Omega 7" markings
Youtube link:
Omega 7 Helicarrier-SMA 2013-Part Seven
So, without further ado, here is the next update on the helicarrier build.
Added more detail to the bridge island with some more of the guns from the ParaGrafix Galactiuca etch set.
I used these to create the impression of the sensors you'd find on a real world carrier


Trimmed up and filled the thruster supports, as well as scultping a 'housing' for them out of Aves Apoxie Sculpt to better integrate the thrusters into the existing hull


On the advice of my younger brother, I added some large washers to the upper fans to detail them better.
I also decided NOT to use the screening I'd originally planned to use as it would have obscured any detail you might see.
As a bit of added detail, I added one of the etch Galactica guns to the middle of the fan motor to hide the center hole.


Using some sheet styrene, I filled the opening between my hangar wall and the flight deck.
On both long sides of the opening, I glued strips of sanding screen to stand in for the elevator's lift mechanism

WE HAVE PAINT!
I started with a coat of Krylon grey primer from rattlecan


I officially christened the ship "Columbia" by gluing the nameplates from the Galactica etch to places on the stern and the bow


I gave the lower hull an overall coat of the Vallejo light grey surface primer to match what I'd done on the bridge island, and to lighten the overall color

On the upper hull, I only sprayed the lift fans the lighter grey as I've noticed that most carrier decks seem to be darker than the rest of the hull.

After decanting some paint from the rattlecan into a jar, I used the airbrush to paint the thrusters in Testors Graphite Dust Lacquer.
I also opted, as a bit of color breakup to use the same color on the fans and the actual gun mounts


On my computer, I drew up some runway strips at the right size, then printed them along with some extra "Omega 7" markings

Youtube link:
Omega 7 Helicarrier-SMA 2013-Part Seven
unttld
Mechanical
- Joined
- Nov 8, 2012
- Messages
- 268
Thought this upcoming kit from Fantastic Plastic might interest you. http://www.fantastic-plastic.com/SHIELDHelicarrierCatalogPage.htm
Those guys have a bunch of rad kits.
Those guys have a bunch of rad kits.
