Quaralane
Well-Known Member
- Joined
- May 22, 2009
- Messages
- 11,262
All right, here we go with my first entry in this year's Big Spring Contest.
I'm taking a "mulligan" on one of my builds from the 2013 contest, namely the Omega 7 Columbia Helicarrier.
This time around, I have a plan.
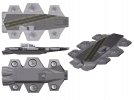
I started by building a 3d version of her in Google Sketchup that looks more like the SHIELD version from Avengers than a real-world carrier with fans tacked onto the sides of the deck.
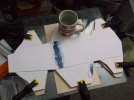
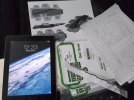
Proof of start, and showing that this one is going to be a serious scratch build project.
There's no kit for this. Going to be fun
Started out by gluing two 3/16" slabs of balsa together along the edge, then cut it roughly to length.
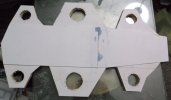
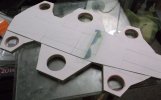
With that done, I measured out the 1mm styrene pieces for the main flight deck.
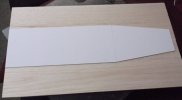
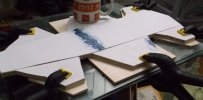
Flight deck pieces were glued down to the balsa with Gorilla Glue. Used Gorilla Glue because of the large amount of surface that I was gluing.
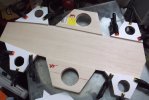
Next step was to take some .5mm styrene and lay out the fan support skins.
Those were then glued down with 5 min. Epoxy.
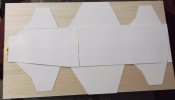
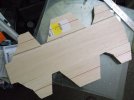
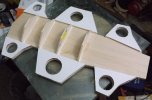
Once the Epoxy had been given a chance to set, I went in and trimmed off the excess balsa from the main form.
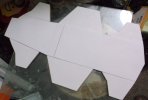
Right now, she's about 21" long x 12" wide
Youtube link:
http://www.youtube.com/watch?v=u4skPMH2B3k
I'm taking a "mulligan" on one of my builds from the 2013 contest, namely the Omega 7 Columbia Helicarrier.
This time around, I have a plan.
I started by building a 3d version of her in Google Sketchup that looks more like the SHIELD version from Avengers than a real-world carrier with fans tacked onto the sides of the deck.

Proof of start, and showing that this one is going to be a serious scratch build project.
There's no kit for this. Going to be fun

Started out by gluing two 3/16" slabs of balsa together along the edge, then cut it roughly to length.
With that done, I measured out the 1mm styrene pieces for the main flight deck.

Flight deck pieces were glued down to the balsa with Gorilla Glue. Used Gorilla Glue because of the large amount of surface that I was gluing.
Next step was to take some .5mm styrene and lay out the fan support skins.
Those were then glued down with 5 min. Epoxy.

Once the Epoxy had been given a chance to set, I went in and trimmed off the excess balsa from the main form.

Right now, she's about 21" long x 12" wide
Youtube link:
http://www.youtube.com/watch?v=u4skPMH2B3k

