Moebius Viper Mk.II

nimrod77

New Member
Joined
May 6, 2009
Messages
87
My wife has told me that I was obsessing (AS IF!!) over my other project, so I decided to get the modelers block.... um.... un blocked by doing something straight out of the box and just for fun. So I broke out my Moebius Models 1/32 Viper Mk.II from the new BSG.
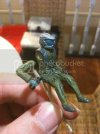
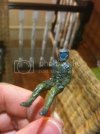
Started with the Pilot..
3b58f40c.jpg
c6ed3113.jpg
I really enjoyed painting this figure. Was fun and got to try out some new techniques. Painted with enamels in olive drab for the flight suit and highlighted with yellow by dry brushing... Followed up with a black enamel wash.

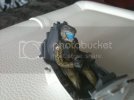
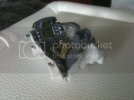
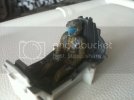
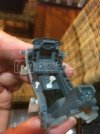
Followed with the traditional Cockpit. Dials are all decals with the main colour of the cockpit being Gunship Grey. I decided that as I was going to pose her in flight that no one would notice that the dial decals are out of register (Fun remember) and went with the kit stuff. No PE here!!
423ddf23.jpg
And Pilot in his office...
6766daa9.jpg
ab997ce8.jpg
8dc9eb4b.jpg
ff852d32.jpg

Hope you like it, I am really enjoying this one!!
Cheers all!

Nimrod
 
Looking good so far.
Sometimes, an out of the box build is just what the old block needs
 
Done some more on the Viper over the last week...

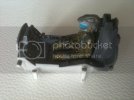
Cockpit and driver installed..
8aa28598.jpg

Engine intakes fitted...
89b13995.jpg
Front intake cleaned up and partially painted...
506c7ae2.jpg

Had to fix some sink marks on these....
5c0dcb1e.jpg

Got a nasty gap to fill now though..
165ca7e5.jpg

All in all a very nice and easy kit to build, especialy with the sanding as there are no panel lines to speak of!!!!!!!!!
77a7205b.jpg

More to come..
 
Done a little more and am ready for paint.
I added some oxy hoses from guitar string behind the ejection seat.
e1d1c439.jpg

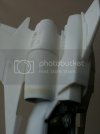
I had a hard time filling the seams along the upper engine cowl....
8bac5ee9.jpg
cd34e4ff.jpg

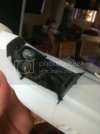
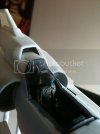
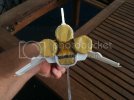
I decided to drill out the reaction thrusters.
69fd40bb.jpg
c74d4c3a.jpg
5560bef0.jpg
 
It does look good!!! Thank you for pointing out the problems with the kit. I have one in my stash, and it is always nice to know where the problems are.
 
Grendels said:
It does look good!!! Thank you for pointing out the problems with the kit. I have one in my stash, and it is always nice to know where the problems are.

I second Grendels comment, I also have this kit in my stash.
 
I did a little more.

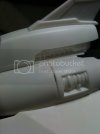
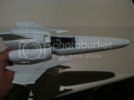
I have glued on the engines and canopy...
f8176905.jpg

I have painted the canopy black to give the inside a nice black frame..
33ec2d37.jpg

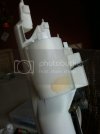
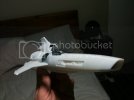
And now I have primed the whole thing in Mr Surfacer 500. Gota love Mr Surfacer!
b9f68be7.jpg
dc2b73b8.jpg

More to come, just gotta get rid of a couple of scratches and average seams around the engines...
 
Looking good. What are you thinning the Mr Surfacer with? Are you airbrushing it?
 
Quick update.
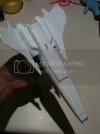
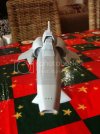
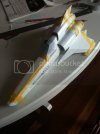
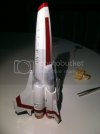
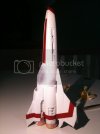
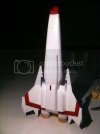
Painted her in insignia white and then spent tonight masking her up for her Crimson stripes. PITA, but at least it's done now. More paint tomorrow.
dd48ddf4.jpg
11672507.jpg
Bottom..
c72cc6c6.jpg

I actually think that it looks kinda cool with the inverted yellow stripes :)
Scott Girvan said:
Looking good. What are you thinning the Mr Surfacer with? Are you airbrushing it?
Scott,
Yes I airbrushed it on after thinning it with General Purpose thinners. Works a treat but make sure that you clean your brush really well after your finished as Mr.Surfacer will gunk up quick once the thinners dry out. Nothing a good blow through with GP thinners and a couple of cotton buds wont fix.
HTH!

More to come..
 
Wow, that looks great. Looks like it builds up fairly quickly too. I like the way you are doing it right now, pretty much what I wa splanning for my own Viper. A word of caution about the decals though. I read online somewheres, maybe here, that the insignia decals that go on the painted wing stripes were printed without a background layer, so they are quite translucent as a result. The ones on the decal stripes are ok. I was planning on using those, and just trimming the section where the insignia is. If there is any color mis match between the painted stripe and the decal stripe, it would simply look like the original insignias were painted over so the BSG-75 insignias could be applied over them.
 
You can also get the Mr. Surfacer 500 and 1000 in a spray can, pre-thinned, and ready to use for those that are timid in putting it through your airbrush.

And of course in stock at Elm City Hobbies! ;D ;D ;D
 
Grendels said:
Great work so far!!! and do let us know about the decals if they cause any problems.

I read somewhere that you can thin Mr. Surfacer with lacquer thinner.

http://www.swannysmodels.com/Surfacer.html

Laquer thinner is perfect for thinning Mr. Surfacer. I have an old Aztec airbrush which I use exclusivly for spraying Mr. Surfacer; I hate blowing liters of laquer thinner around so I just unscrew the nozzle and store it in a small jar of thinner. The next time I use it, it just takes a quick blast of thinner to clear out the gunk.

Great work on the MKII!
 
Carsenault said:
Wow, that looks great. Looks like it builds up fairly quickly too. I like the way you are doing it right now, pretty much what I wa splanning for my own Viper. A word of caution about the decals though. I read online somewheres, maybe here, that the insignia decals that go on the painted wing stripes were printed without a background layer, so they are quite translucent as a result. The ones on the decal stripes are ok. I was planning on using those, and just trimming the section where the insignia is. If there is any color mis match between the painted stripe and the decal stripe, it would simply look like the original insignias were painted over so the BSG-75 insignias could be applied over them.
Thanks for the heads up :) I will give both a go and report back. If one style is no good then I can put the cut out insignias over the top anyway.
Thanks for looking in!
Nimrod
 
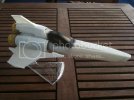
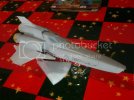
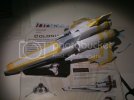
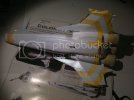
And now the stripes are on! Copied the decals for the sizing and shape, done in insignia red as per the kit instructions. Had to fix a few little errors where the masking hadn't taken properly, and still have a few more to fix. Nothing a brush won't fix though!

bd2b2eb9.jpg
c66d1439.jpg
b87fbb72.jpg

More to come!
 

Latest posts

Back
Top