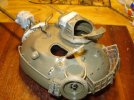
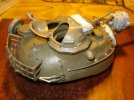
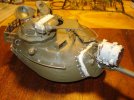
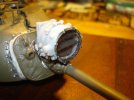
M-48A3 VIETNAM

Great start, Mr.T. Lots of nice details to go with it. Gotta love those motorized holes
to close up on those Tam kits.
Keep the good work up!!! Bill.
 
PANZERMAN said:
Great start, Mr.T. Lots of nice details to go with it. Gotta love those motorized holes
to close up on those Tam kits.
Keep the good work up!!! Bill.

Thanks Panzer! I hate those holes!
 
MrT,

Nice to see someone taking ground less traveled with this M48. I wounder what the date on the lower hull was/is on this kit is. ;D Looks like you put some great work into it and giving it much needed TLC. This should build up into a rather nice display. :D
 
errains said:
MrT,

Nice to see someone taking ground less traveled with this M48. I wounder what the date on the lower hull was/is on this kit is. ;D Looks like you put some great work into it and giving it much needed TLC. This should build up into a rather nice display. :D

Thanks!! I hope it will be.

T
 
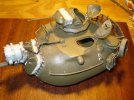
As they say "The Jungle Never Sleeps". As most of you know I hate roadwheels so I can only do so much wheel stuff and then I work on somethin else. In this case it is the turret which is now about 98% done. That is except the paint. Let's take a little trip and see how things turned out.

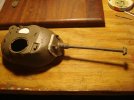
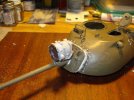
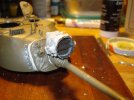
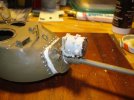
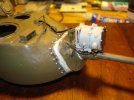
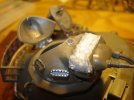
We begin with basic turret construction. As with most Tamiya kits assembly is pretty much hassle free, but with the age of the kit there is some flash that needs to be removed. With basic construction complete I set about makeing the mantlet cover. I promise I will do a SBS on this the first chance I get.

DSC07132.jpg

DSC07133.jpg

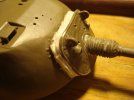
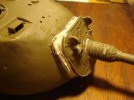
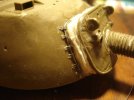
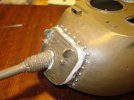
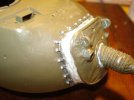
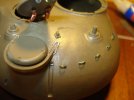
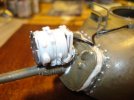
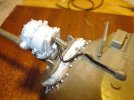
I needed to add several details to the mantlet cover that were not included in the kit or were under size. The rear of the mantlet cover has a beaded edge on the back of the cover so used solder wire to make this. The most promenent part of the cover is the retaining clips that hold it to the turret face. The kit features are small so I replaced them with strips of lead foil adding a small piece of styrene rod for bolt head. A little time consuming, but worth it.

DSC07134.jpg

DSC07135.jpg

DSC07160.jpg

DSC07161.jpg

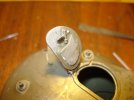
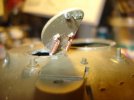
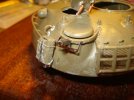
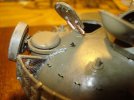
Next I moved on to the loaders hatch. The ejector pin marks were removed and a PE handle was added. The best part of the loaders hatch in outside with the handle and those large springs that aid in opening and closing the hatch. The molded on handel was replaced with a wire one and the molded on springs were replaced with ones made of copper wire.

DSC07162.jpg

DSC07163.jpg

next came adding details to rear of the turret. The vent parts were added. Then I added some weld bead made out of solder wire and then textured with a sculpting knife. On the very back of the turret are some loops designed to hold straps that were molded on. These were replaced with one made of copper wire.

DSC07164.jpg
 
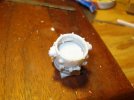
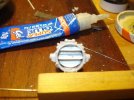
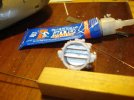
Since this will be a Marine Patton (RAH) I was presented with a problem. Most early Marine tanks coming in country did not come equiped with rectangular search light, but rather an older round version used in the fifties. I have been planning this project for some time so the search was on to find this version of the search light. Thing were looking pretty unlikely that I would find one and then I came across a old Dragon M-46 kit and low and behold the kit comes with the very light I needed. My joy was tempered by the fact that it came with no clear lens instead where the lens was supposed to be was solid. Also inside the light was a set shutters that woul have to be built. So I set to work and drilled and cut out the front of the light to open it. I then made the shutter and a lens made of clear plastic. to complete the light.

DSC07165.jpg

DSC07166.jpg

DSC07167.jpg

DSC07168.jpg

DSC07169.jpg

One of things that make this light interesting is that it has lots of wiring. I made a small junction box on the back of the light for all the wire to come from and wired the light.

DSC07170.jpg

DSC07171.jpg

DSC07172.jpg

DSC07173.jpg
 
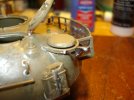
I moved to the turret side where a railing, lift ring and a jerry can was added. PE was added to the Jerry can to replace molded on detail.

DSC07174.jpg

DSC07175.jpg

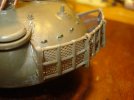
Next was the turret basket with PE mesh.

DSC07176.jpg

I added a PE spare roadwheel rack to the rear ventilater.

DSC07177.jpg

DSC07178.jpg

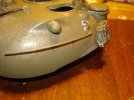
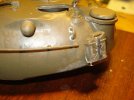
The last thing was the commanders cupola pretty strait foward. I added some PE details and the dust cover over the top. Here are some images of the nearly finished turret comments and questions are always welcome and thanks for looking.

DSC07179.jpg

DSC07180.jpg

DSC07181.jpg

DSC07182.jpg

DSC07183.jpg

DSC07184.jpg

DSC07185.jpg
 
I would imagine you're getting that thousand yard stare long about now Terry. ;D

Tony lee
 
Tony lee said:
I would imagine you're getting that thousand yard stare long about now Terry. ;D

Tony lee

Hahahahah I got some sleep last night.

T
 

Latest posts

Back
Top