Jaitea's Falcon Projects

Thanks very much Q & peza

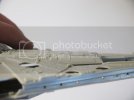
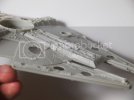
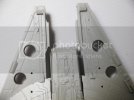
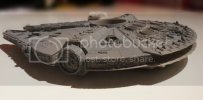
I did a wee bit of work on the 1/144 & brought the mandibles in slightly

I marked out where I'll be cutting:
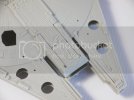
lines1.jpg
improvement.jpg

No serious cutting on the outer surface, just a scalpel slice:
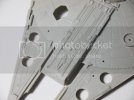
score.jpg

More serious work on the inside, making a trench:
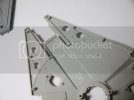
almostthere2.jpg

Holding up to the light shows how thin the plastic is being shaved away on the cut line:
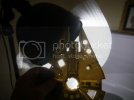
almostthere.jpg

Eventually it breaks off with (hopefully) hardly any damage to the surface details:
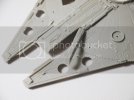
detach.jpg

Both sides of the jaw done & re-attached....the length of the jaw was also shortened:
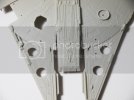
glued.jpg
glued2.jpg

In comparrison with the un-modded lower Jaw:
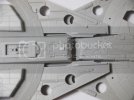
compared.jpg
topdone.jpg

Jump forward a couple of nights & I've done the lower jaw also, and used the same technique to cut through the mandibles,......only leaving them still attached at the outermost to allow them to swing in

This is what I mean:
Mandibles

Both hulls done:
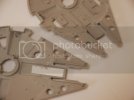
mandiblescut.jpg

Locate both hulls together and I pulled the mandibles closer inwards and taped the tension with electrical tape.
Then I glued the position

Tape removed:
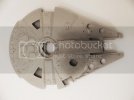
mandiblesglued.jpg

Thanks for looking

John
 
Thanks Q, this kit is a lot of fun!

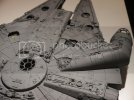
Just adding pieces, removing some moulded pipes and replacing with stretched sprue:
ring2blur.jpg
Ring3blur.jpg
Starboard2blur.jpg
FrontBlur.jpg
DockingRing.jpg
Starboard.jpg
portside.jpg

It really will be soon that there'll be some colour on her!!
Thanks for looking

John
 
Thanks peza

......right, back on to the MPC Falcon.

It really has been a while (apart from finishing that foot) since I really paid any attention to it
There were areas that were a bit rough, so I've went over them again.

I attached the cockpit tube,.....only to discover that it was pointing upwards, so a bit of heat was applied to the hull to bend the hull level

cockpittube2.jpg
cockpittube3.jpg
While I was at it I removed a couple of the moulded pipes & replaced them with wire:
cockpittube.jpg

You cant really see here but I cut 3/4 of the docking tubes along where they join the hull & put spacers in to make the walkway look slightly taller:
Cockpittube4.jpg

Thanks for looking guys

John
 
Thanks Q, I've done another mod to the cockpit, a member of The Replica Prop Forum (Haystack Hair) mentioned that the cockpit looked a bit too far out from the mandibles, so right enough I needed to join the cockpit to the mandible:

cockpitfix4.jpg
cockpitfix1.jpg
cockpitfix2.jpg

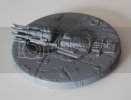
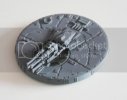
I made a quad gun using the barrels from the original parts and parts I'd cast off another Prequel model
Turret3.jpg
Turret1.jpg
Turret2.jpg

Still more details to be added & tidying up

Thanks for looking
John
 
Hey Q, thanks

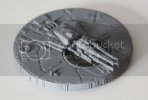
I posted images of the top turret, and I've finished the bottom one but broke it down a bit and showed my progress:

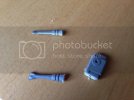
The moulded & duplicated part from (I think) the Episode 1 STAP droid kit
The original parts from the MPC:
Quadguns5.jpg
Quadguns.jpg
Quadguns3.jpg
Quadguns6.jpg
Quadguns7.jpg
Quadguns8.jpg
Turrets.jpg

I still am not happy with the cockpit tube & panels around it....I've taken it of & on so many times that its getting really messed up looking:
Unhappy2.jpg
Unhappy.jpg

So off again .....removed all surface detail on the hull etc:
Newpanels2.jpg
Newpanels.jpg
Newpanels3.jpg
NewPanels4.jpg
newcorridor.jpg
newcorridor2.jpg

Still a bit of tyding up to do on this part (pipework needs resized etc)

Then onto the cockpit interior

Thanks very much for looking
John
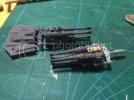
 
Looks like you're having progress, though

Kind of reminds me of my current fight with the Enterprise
 
Thanks Q,....yep glad to get back to it & I'm much happier with the changes I've done
I really couldn't even tackle a clean build like the Enterprise let alone light it also, but I've got faith in you, you'll get it done

On to the underside

Because of the thinning of the sidewalls & making the docking rings larger, the docking walkways needed a bit if work to increase their size, so a little bit of panel work will hopefully sort that out:

Newpanelsunder3.jpg
Newpanelsunder2.jpg
newpanelsunder.jpg

Just a bit more panel work to be done around the rings & some pipework in the rings,....then perhaps paint or the cockpit interior

Thanks very much for looking

John
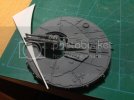
 
Hey John,
Been a while, lots of catching up to do... As always, your patience, attention to details and skills amaze me.
You're the man when it comes to the Falcon, no question.

Cheers,
Frank
 
Jurasikfrank said:
Hey John,
Been a while, lots of catching up to do... As always, your patience, attention to details and skills amaze me.
You're the man when it comes to the Falcon, no question.

Cheers,
Frank

Thanks Frank, dunno about that ::) Maybe just Falcon mad!! ;D

Quaralane said:
A lot of work, JOhn.
But I think it'll pay off for you soon enough

Yeah Q, I really think I'm almost finished the modifications & I'm pretty much happy with what I've done.....the only thing different I would have done would have been fixing the curvature of the hull, that should have been the first correction, everything else builds on that,....a lot of the mods I've done are me trying to compensate for the hull.....I'd like to see how my old friend Ozzy is getting on with his MPC

If I were to do it again or advise anyone doing a radical MPC Falcon build,...build an internal structure for the ship to hold it's shape, because once you cut into the hulls they can distort and warp


On to the Turret window on the lower turret,..I was going to put the original piece in & black out the windows.....but I thought I'd have a go with removing the windows & leaving the frame......took a few hours, but I'm happy with the way it turned out:
TurretWindow.jpg
TurretWindow2.jpg
TurretWindow3.jpg

Eventually finishing the details on the docking rings:
DockingRingsDetail.jpg

Thanks very much for looking

John
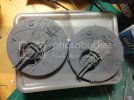
 
--shakes head--
Wow. You removed the windows...on the 1/144? Incredible patience there
Or is this on the MPC?
 
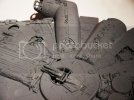
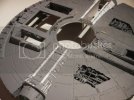
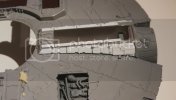
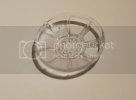
No way could I do that on the 1-144, its the MPC.......but, I did buy from Scratchy the frames, dish & tiny parts for the 1-144:

Dishampwindow.jpg
newwindows.jpg

Scratchy IS the true master......with tiny hands!!

I'll post more images of the 1-44 when I add a it more to it

John
 
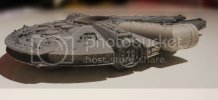
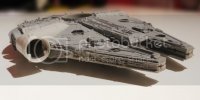
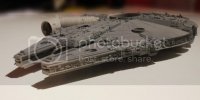
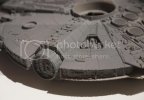
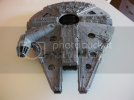
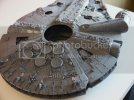
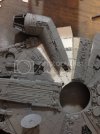
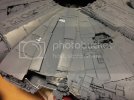
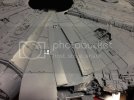
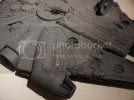
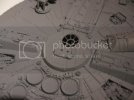
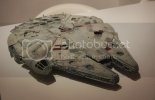
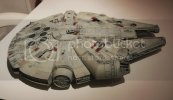
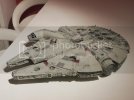
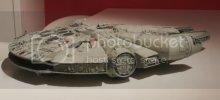
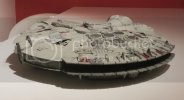
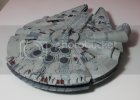
I couldn't wait to paint her:

7.jpg

Just the paint scheme,....no weathering yet.....

6.jpg

I know it's still rough......overspray etc

5.jpg

I'm not gonna start weathering till I'm happy with the panel painting

4.jpg
3-1.jpg
2-1.jpg
1-1.jpg


Thanks very much for looking:

John
 
Thanks very much Quaralane for the encouragement

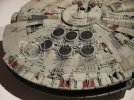
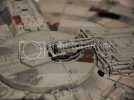
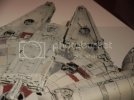
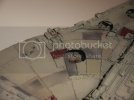
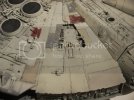
Tidied up the painting a bit more,.....added some more panel shades
Next on to the wee black lines on panels & some decals,.....then the underside

highlight.jpg
Lower2.jpg
Lower.jpg
High.jpg

John
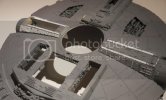
 

Latest posts

Back
Top