Biskup
New Member
- Joined
- Aug 27, 2010
- Messages
- 1,876
Ok here's the way that I know and which I use to make molds.
1. Using cardboard or plastic or old packs for salads, ice cream etc. We are making box to contain the element that we want to make mold of
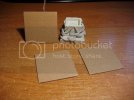
2. We build up the box using any method you want only important thing is that it needs to be tight.
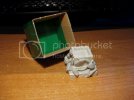
3. Next we glue in the element we want to copy. If the shape of the element is complicated you can bras on to it some kind of motor oil or lubricant (it needs to be really thin best are those in spray) in this stage you need to be careful not to over do it so you won't lose the details.
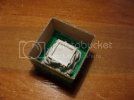
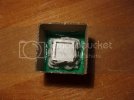
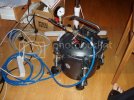
4. This is my pressure and vacuum chamber which I'm using to make molds and casts.
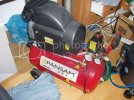
5. This is the compressor I'm using to power up the chamber.
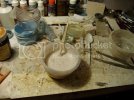
6. Next stage is to mix up silicone that I use to make molds. I'm using Mold Max 30 it's a silicone type material which I hardens but after that is very elastic which makes him very good to use for molding.
7. After mixing silicon with the hardener I put it in to chamber.
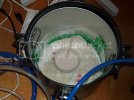
8. Now I making vacuum which is pulling out of the silicone all air which got in to during mixing stage. I'm leaving it under vacuum for about 10 minutes.
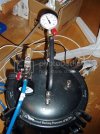
9. Here is silicone after vacuum.
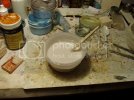
10. Now we are purring it in to the box with element trying to make the stream as thin as possible and trying to pure in to the lowest part of the box. Because I was making picture my stream was thick.
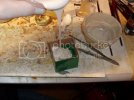
11. Here is the box already filed with silicone.
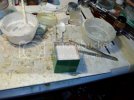
12. Now we are puting the box in to the chamber... AGAIN...
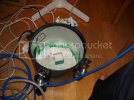
13. And we are making vacuum once again allowing all the air that got in to the box during purring to get out. Again we are leaving it under vacuum for 10 minutes.
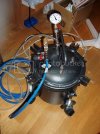
14. After vacuuming we take the box out because the silicone needs air to harden. Now we have to wait for about one day so the silicone will harden.
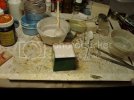
15. After silicone hardens we cut the box.
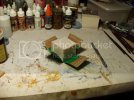
16. Now we take the box of and we are left with silicone and out original sculpt.
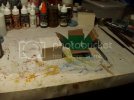
17. Next stage is to take out the sculpt and we are ready to make copies.
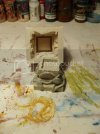
18. We prepare the same amount of resin. I'm using Smooth Cast. I also add couple of drops of gray matt paint so the cast won't be so shiny and will look better. Of course if you mix it properly
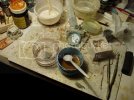
19. We mix the resin.
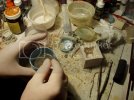
20. Resin is finally mix and we are ready to pure it in to a mould.
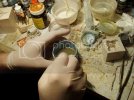
21. Now we pure the resin in to the mould carefully making sure it will be filled in entirely.
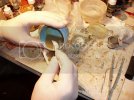
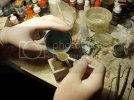
22. After we fill the mould with the resin we put in to pressure chamber.
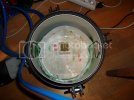
23. We need to make sure to sill the chamber properly so that there won't be any leaks.
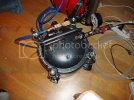
24. Now we apply pressure. I normally apply about 4 atmospheres and we leave the mould to harden (under pressure).
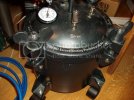
25. After time needed for the resin to harden we can open the chamber and take out the mould.
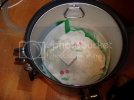
26. Now we take out the cast from the mould.
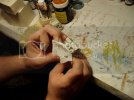
27. Finished now we have mould, original sculpt and a cast and we can make as many cast as we wonî–¹
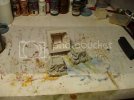
The black spots on the cast are because the paint was a bit old, but it doesn't change the cast in any way.
THE END
Hope it was a bit helpfully.
If you have any questions feel free to ask.
Cheers
Lukasz
P.S. If I posted in wrong section please move it to more suitable place.
1. Using cardboard or plastic or old packs for salads, ice cream etc. We are making box to contain the element that we want to make mold of

2. We build up the box using any method you want only important thing is that it needs to be tight.

3. Next we glue in the element we want to copy. If the shape of the element is complicated you can bras on to it some kind of motor oil or lubricant (it needs to be really thin best are those in spray) in this stage you need to be careful not to over do it so you won't lose the details.


4. This is my pressure and vacuum chamber which I'm using to make molds and casts.

5. This is the compressor I'm using to power up the chamber.

6. Next stage is to mix up silicone that I use to make molds. I'm using Mold Max 30 it's a silicone type material which I hardens but after that is very elastic which makes him very good to use for molding.

7. After mixing silicon with the hardener I put it in to chamber.

8. Now I making vacuum which is pulling out of the silicone all air which got in to during mixing stage. I'm leaving it under vacuum for about 10 minutes.

9. Here is silicone after vacuum.

10. Now we are purring it in to the box with element trying to make the stream as thin as possible and trying to pure in to the lowest part of the box. Because I was making picture my stream was thick.

11. Here is the box already filed with silicone.

12. Now we are puting the box in to the chamber... AGAIN...

13. And we are making vacuum once again allowing all the air that got in to the box during purring to get out. Again we are leaving it under vacuum for 10 minutes.

14. After vacuuming we take the box out because the silicone needs air to harden. Now we have to wait for about one day so the silicone will harden.

15. After silicone hardens we cut the box.

16. Now we take the box of and we are left with silicone and out original sculpt.

17. Next stage is to take out the sculpt and we are ready to make copies.

18. We prepare the same amount of resin. I'm using Smooth Cast. I also add couple of drops of gray matt paint so the cast won't be so shiny and will look better. Of course if you mix it properly

19. We mix the resin.

20. Resin is finally mix and we are ready to pure it in to a mould.

21. Now we pure the resin in to the mould carefully making sure it will be filled in entirely.


22. After we fill the mould with the resin we put in to pressure chamber.

23. We need to make sure to sill the chamber properly so that there won't be any leaks.

24. Now we apply pressure. I normally apply about 4 atmospheres and we leave the mould to harden (under pressure).

25. After time needed for the resin to harden we can open the chamber and take out the mould.

26. Now we take out the cast from the mould.

27. Finished now we have mould, original sculpt and a cast and we can make as many cast as we wonî–¹

The black spots on the cast are because the paint was a bit old, but it doesn't change the cast in any way.
THE END
Hope it was a bit helpfully.
If you have any questions feel free to ask.
Cheers
Lukasz
P.S. If I posted in wrong section please move it to more suitable place.
