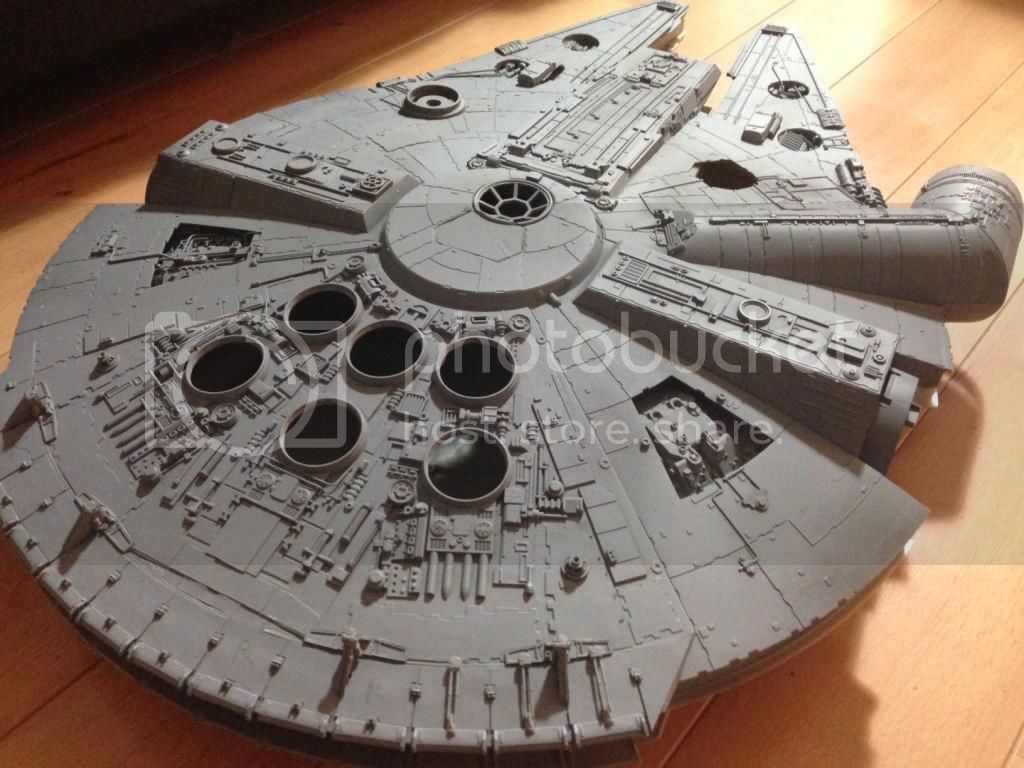
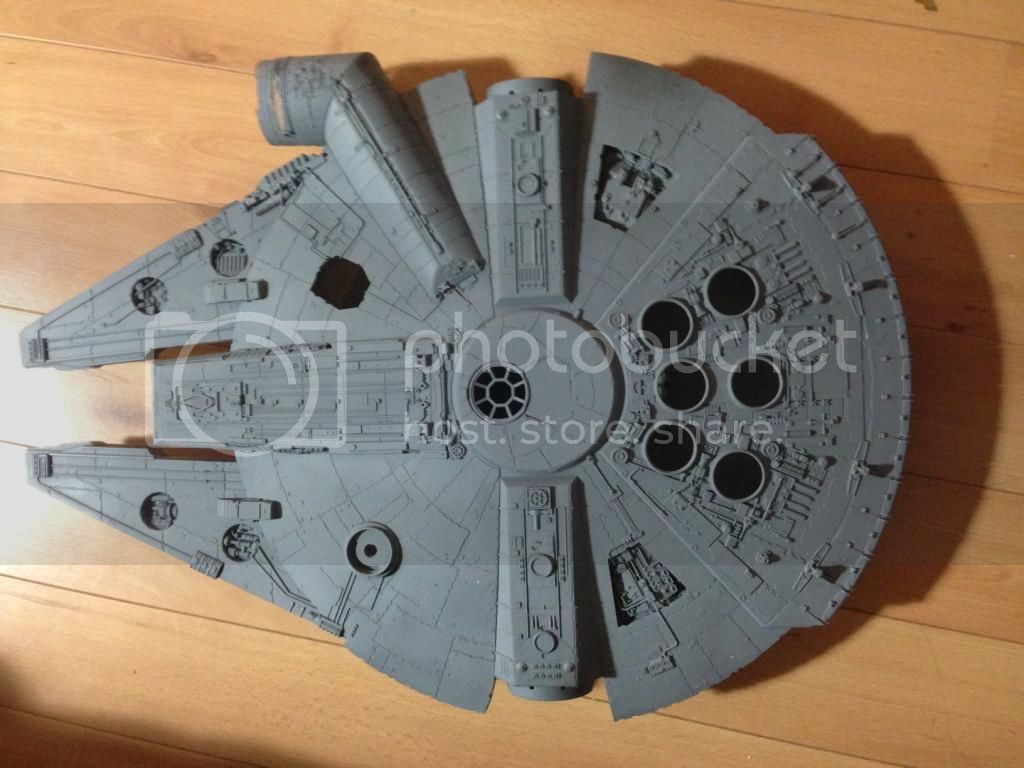
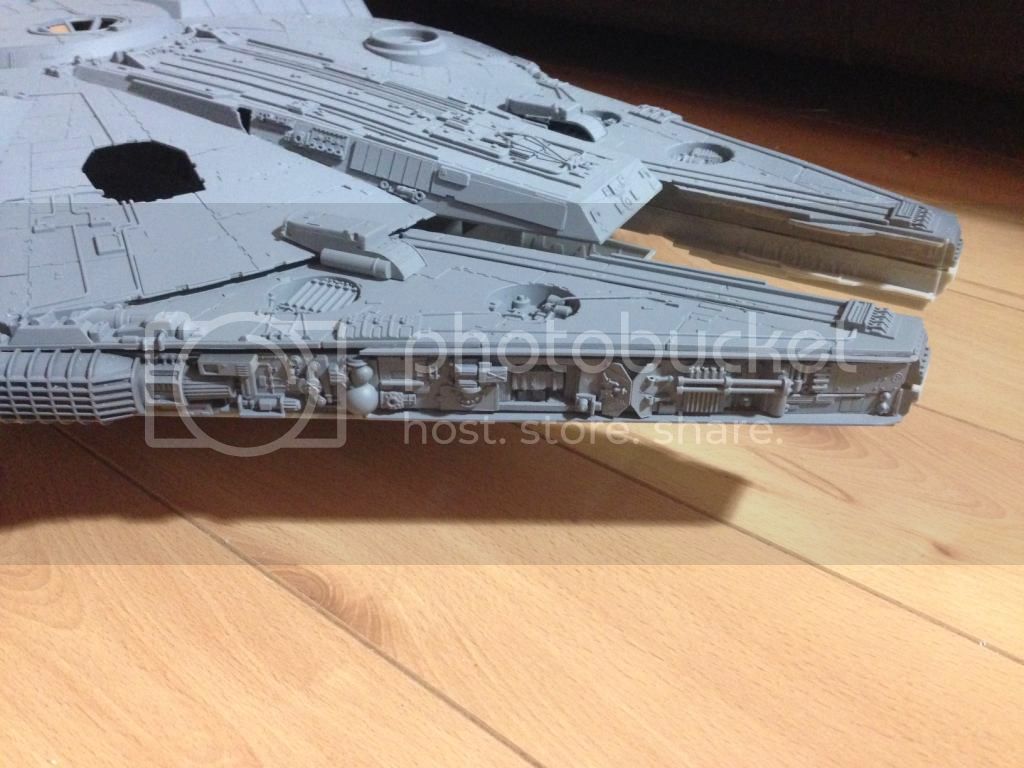
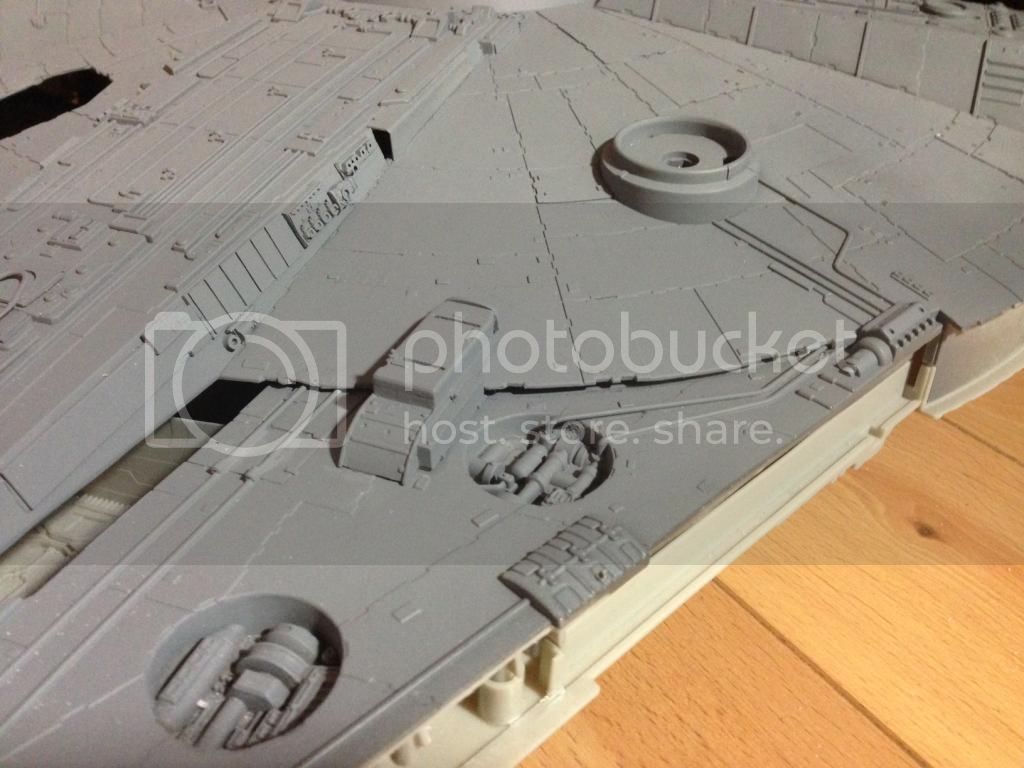
Hasbro Hero Millennium Falcon Modification

Scale Model Addict - Model Tips, Guides, Tools & Tech, Tutorials, and Community

Help Support Scale Model Addict:

Nice work, its also good to see how well the Hasbro falcon and how it can be improved. I got mine about two weeks ago.
 
Get stuck in guys, thanks for the comments ;D

So I finished the Fuel pressure thing & made a mould of it,.....thinking of making a vacuum chamber,.....I had a bit of trouble with bubbles

FuelMaster.jpg


They're not attached yet,....just set on at the minute:

Fuel1.jpg


Fuel2.jpg


Thanks very much for looking

John
 
Wow buddy,ya motoring on with the engine end mym8.top job,
i did read somewhere if you have trouble with air bubbles cast ya
bits on a washing dryer for the vibration brings the air to the top...
now I've only red this i don't know if its true,but worth a stab at!
top work buddy looking all the extra's you've put into this one ace :o
 
As an Amazon Associate we earn from qualifying purchases. Product prices and availability are accurate as of the date/time indicated and are subject to change.
Thanks very much guys for the comments

I've been doing a bit of overtime in my work work, so I'm only getting back to whats important now!!

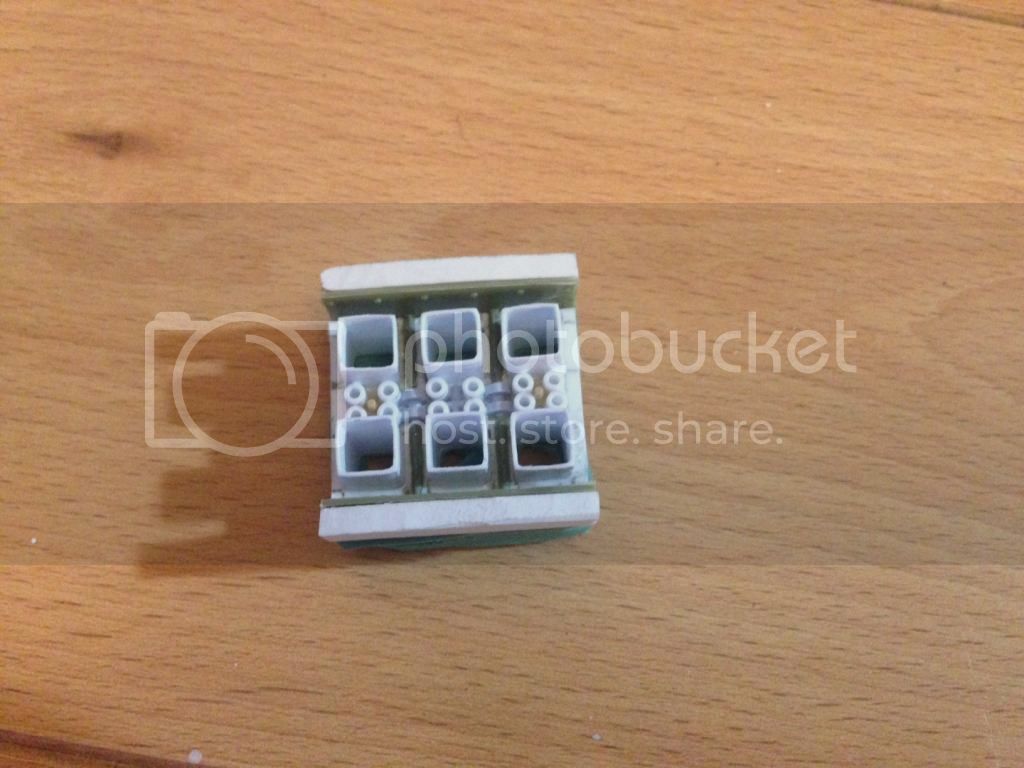
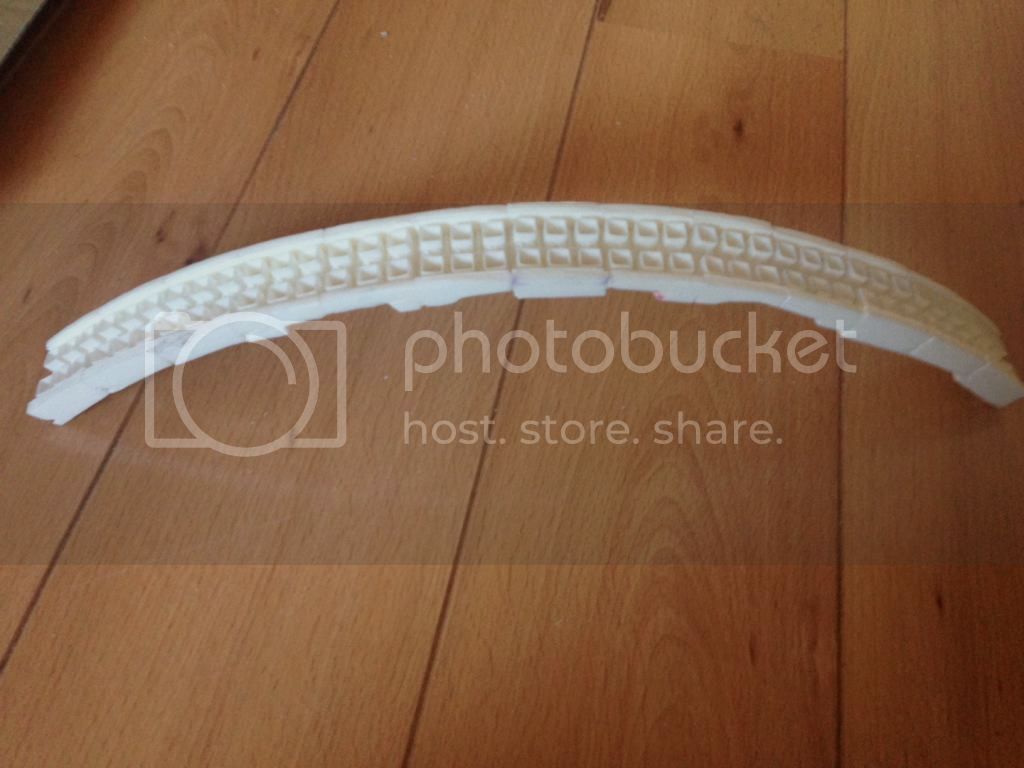
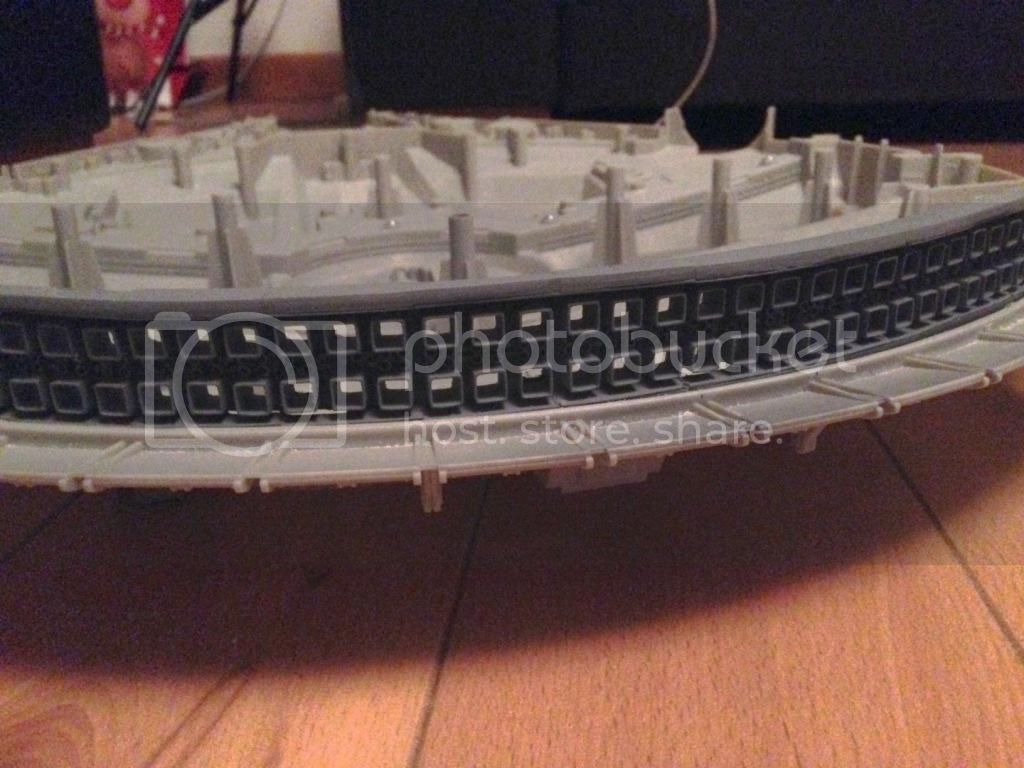
So the past couple of days I've been working on the engine nozzles,....I made it from plasticard, tubes & some kit-parts

IMG_1595.jpg


...and I moulded it,.....I need to have 13 of them......3 done

IMG_1596.jpg


I need to drill out some parts & remove the engine section of the Hasbro

IMG_1598.jpg


Thanks very much for looking

John
 
peza said:
Wow buddy,ya motoring on with the engine end mym8.top job,
i did read somewhere if you have trouble with air bubbles cast ya
bits on a washing dryer for the vibration brings the air to the top...
now I've only red this i don't know if its true,but worth a stab at!
top work buddy looking all the extra's you've put into this one ace :o
This is pretty much how they get the air out of concrete. They use a big wand that vibrates.

Nice work on this!
 
Hi guys, thanks for the comments,.....more updates on the engine nozzles....

....hard to get them in a curve

IMG_1600.jpg


626bf2ec-556a-4ffd-9432-0656f06edcfe.jpg


IMG_1604.jpg


IMG_1607.jpg


Now that this bit is done I'm gonna move on to the sidewalls

Thanks for looking

John
 
Eh up buddy,nice work on the engine vents!!!!they look sweet...
I've gone into full envy overload!!!!!lol,once I'm ready I'll send ya my version..
TOP JOB MYM8 :o
 
Just catching up on this thread. Very awesome modelling man. This is looking killer.
 
cargoman5126 said:
Have been watching your progress..great work and much inspiration to work on one..thank you

Thanks cargoman,...have you got one....I'd like to see your progress

Quaralane said:
Main engine's looking pretty good there

Thanks Q,....my hands are hacked to pieces,.....I have 3 cuts & 1 blister doing all that cutting,filing & sanding

peza said:
Eh up buddy,nice work on the engine vents!!!!they look sweet...
I've gone into full envy overload!!!!!lol,once I'm ready I'll send ya my version..
TOP JOB MYM8 :o

Absolutely no problem peza,....I'd say yours will look more refined

Scott Girvan said:
Just catching up on this thread. Very awesome modelling man. This is looking killer.
Thanks Scott.....gonna cheat a wee bit in next post.....a guy on RPF bought double parts from shape ways (3D printed)
and I'm buying some of the parts off him,.....I was intending to model those parts myself & cast them but I've taken the easier route

Thanks for the support guys

John
 
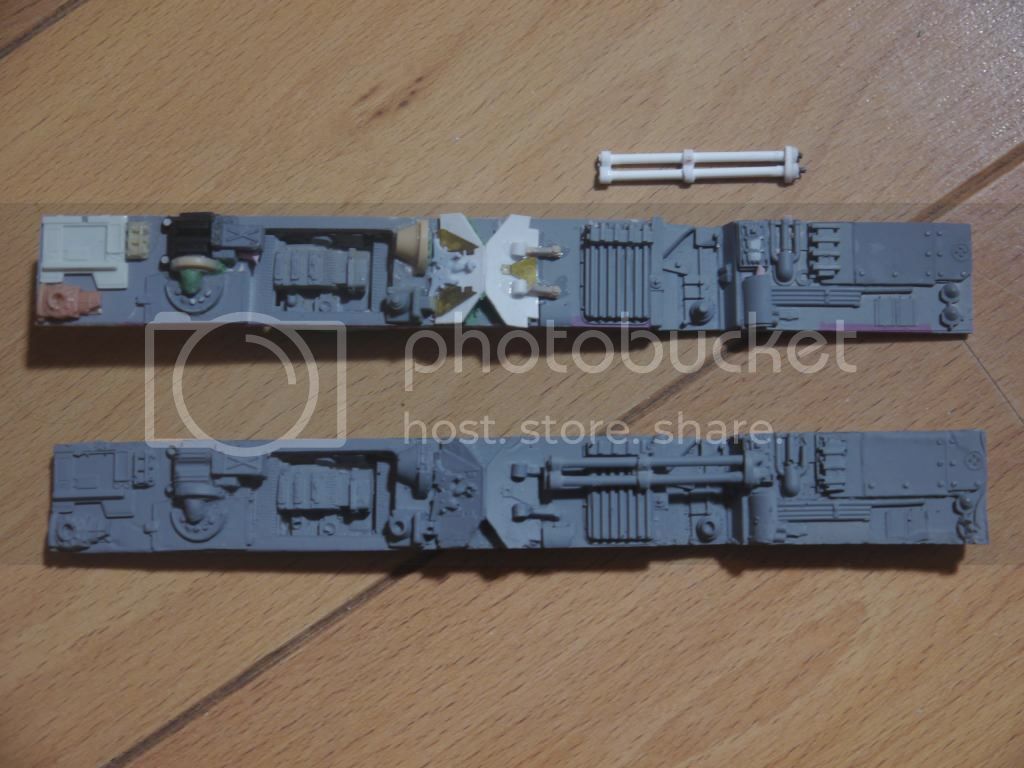
....some sidewall fun:

I made the Starboard mandible wall,....I decided to try & keep as close to the original as I could.....although the original is very flat & has a lot of areas where there are no details.....so I added a bit of depth
The top is the build,....the bottom is the cast:

wall%201.jpg


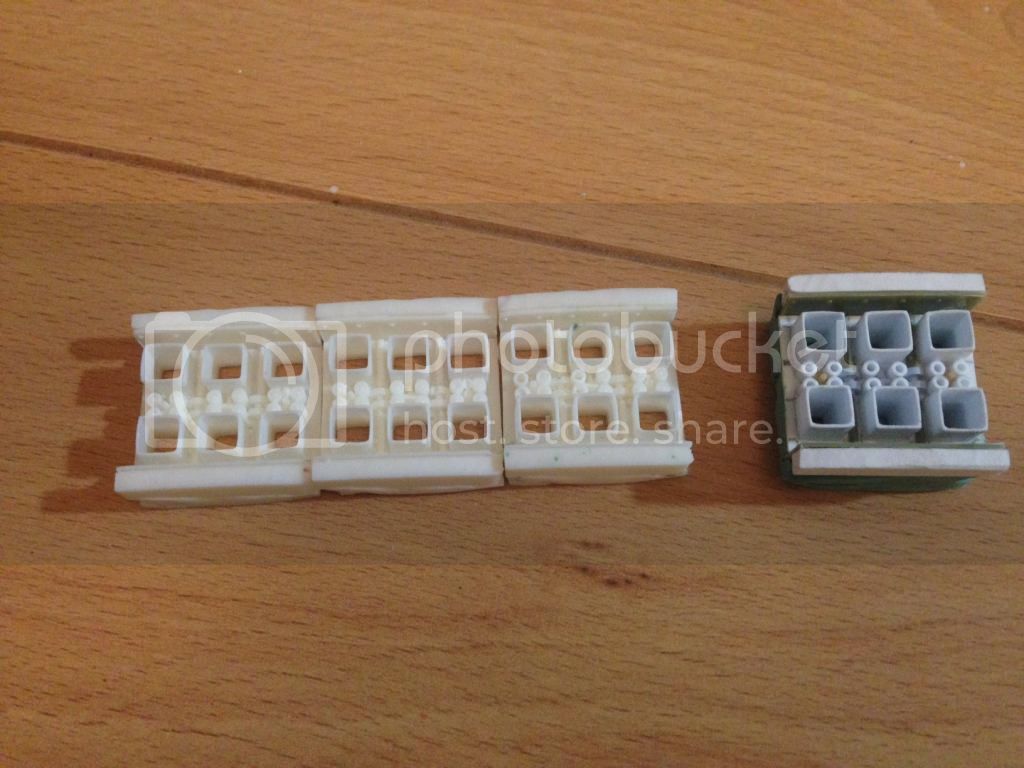
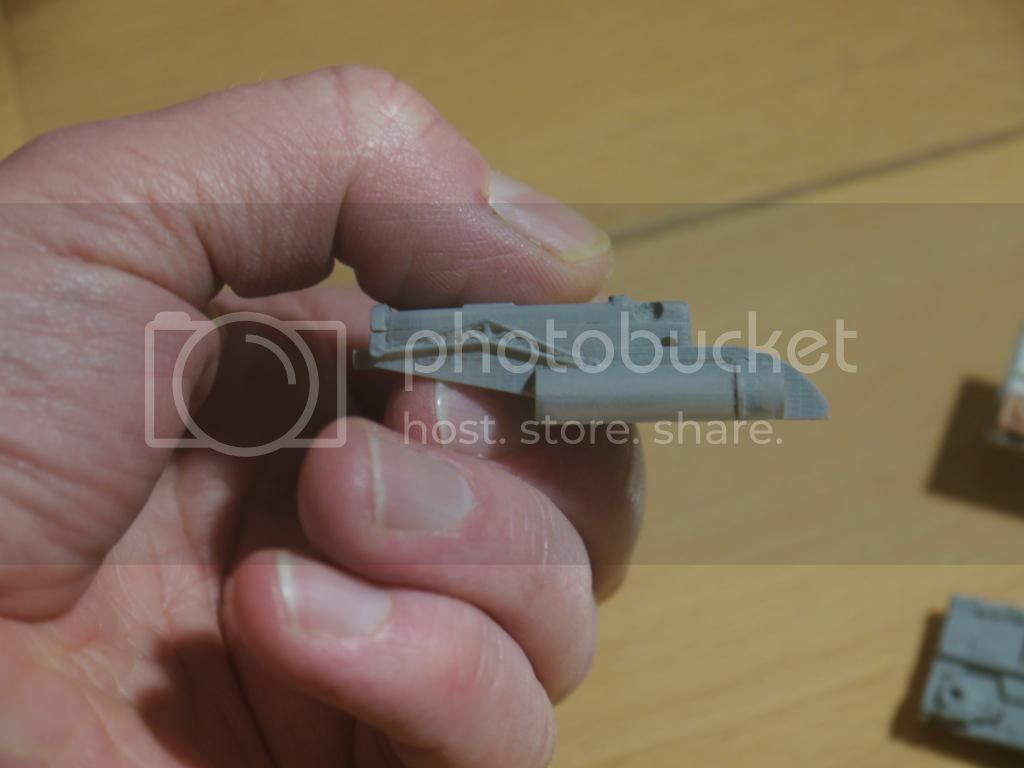
I bought some of Tony's (FZ6) ShapeWays parts from a member on the RPF who accidentally bought double of a few parts,....
I got the actuator rods,...which need modified to fit my ship & the F1 boxes

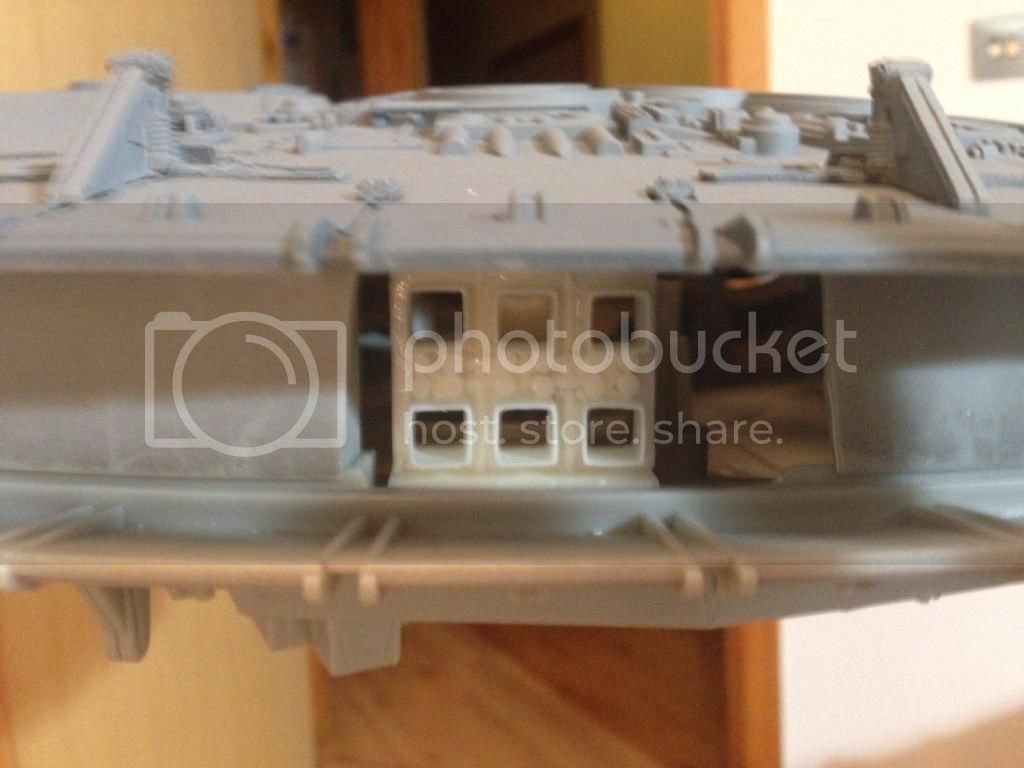
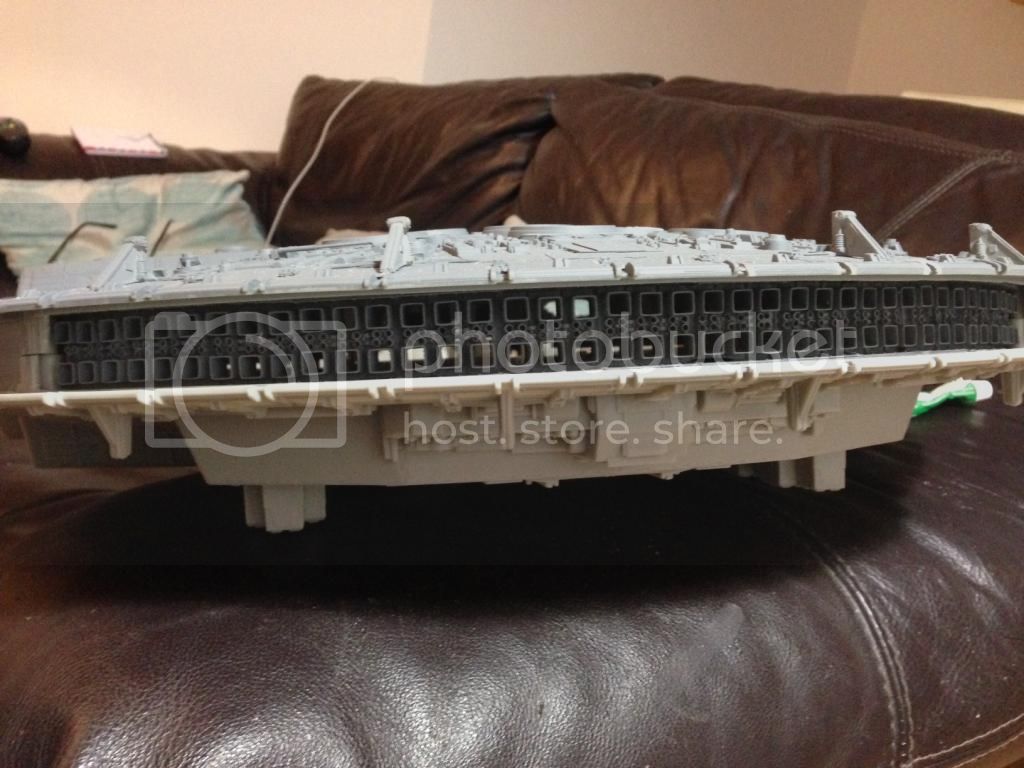
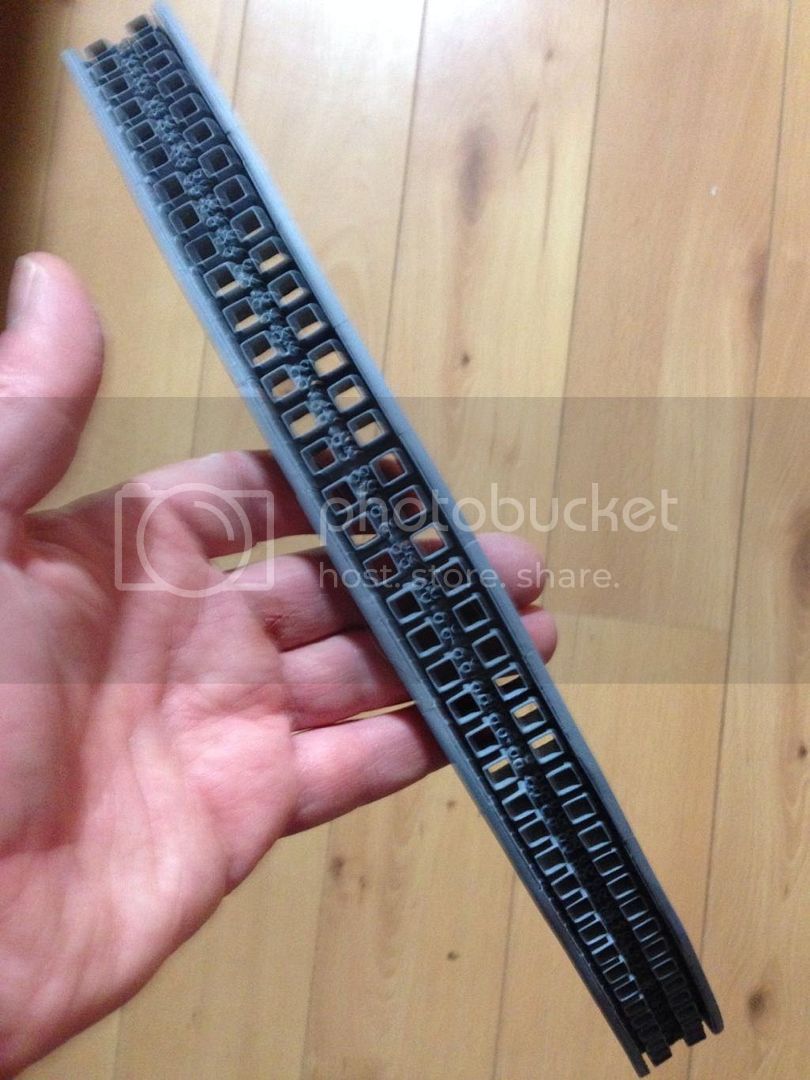
I lowered the height a bit of the boxes:
new%20boxes.jpg

side.jpg


The area where the old boxes were removed need filling
boxes%20gone.jpg


Thanks for looking
John
 
Eh up buddy,lookin sweet mym8 nice work on the side detail.have you any images of the top section bit between the mandibles?i know the bottom section fires the torpedoes but i have no ref photos of the top inner bit?
p.s any news on the ARC cannon mym8...keep up with the top work dude
 
Thanks Peza, I'll have a look & see if I have any photos of that,...The ARC cannon was a bit of a pain to replicate,.....but I think Ive got it sorted now,.....there will be a flash/seam line that will need getting rid of.....cleaned up

Thanks Gag,.....this one isn't as amazing as your project

Thanks John,.....I'll honestly get some parts sent this week,......I couldn't let them go as they were


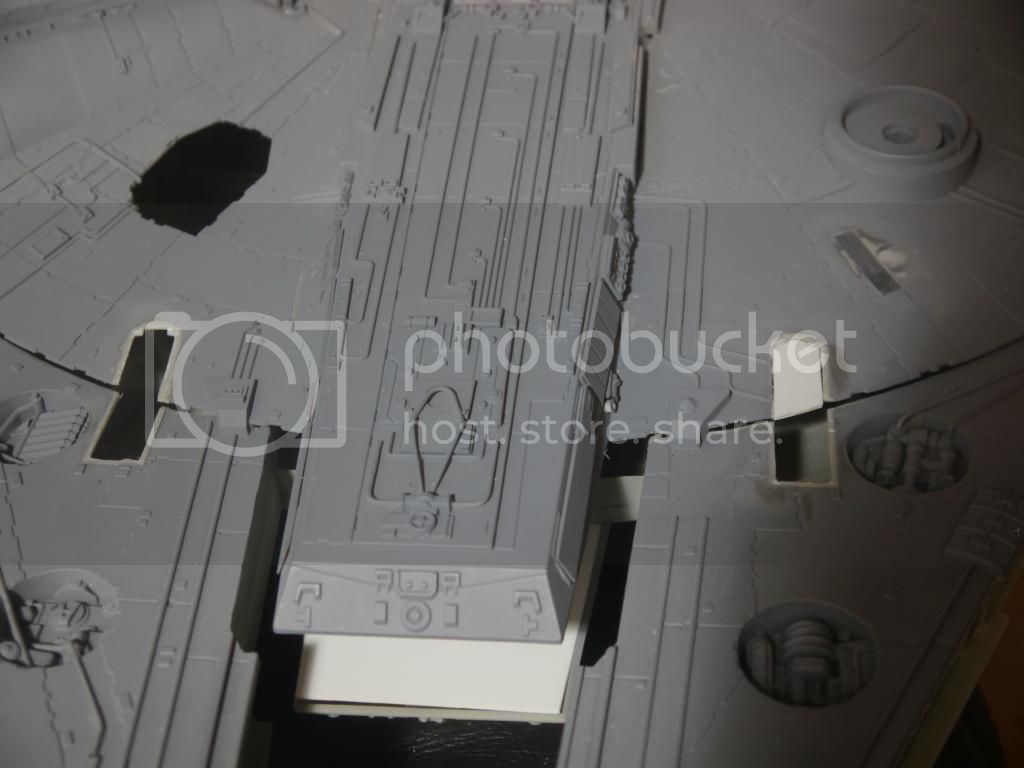
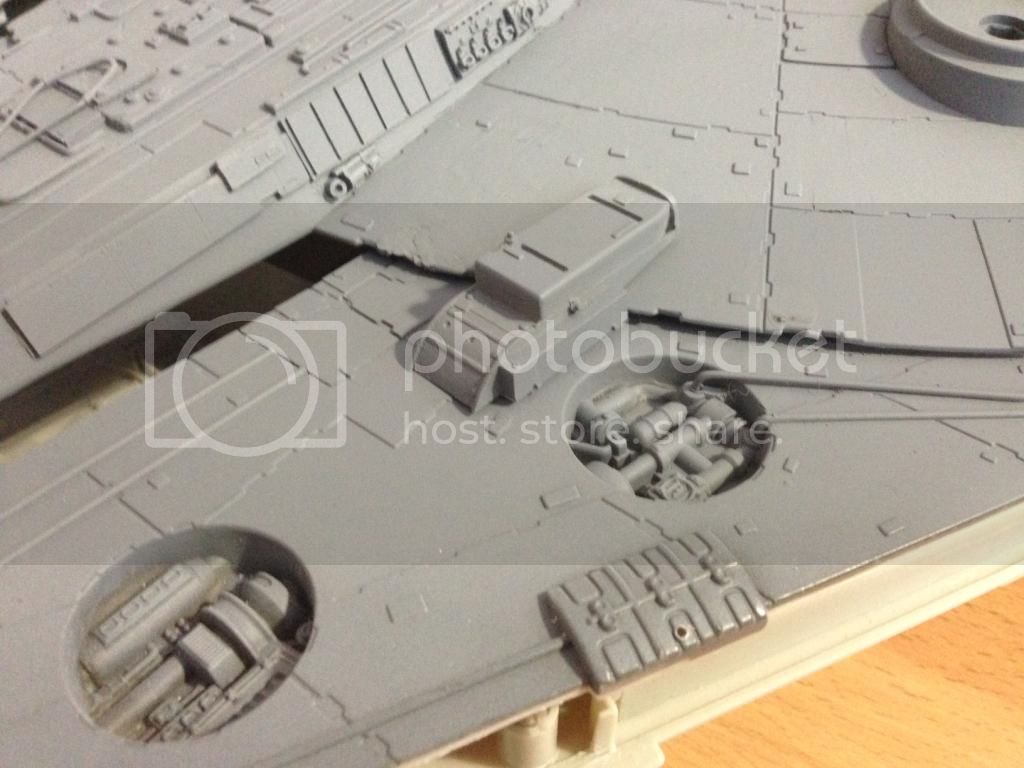
OK.....Because the boxes have an open area, you can see under the part,....the mandibles need that area repaired,...so I spent a bit of time filling in holes & gaps

IMG_1621.jpg

I also removed some of the pipes,....which I'll have to replace:
IMG_1619.jpg

IMG_1622.jpg


Thanks for looking

John
 
Thanks John

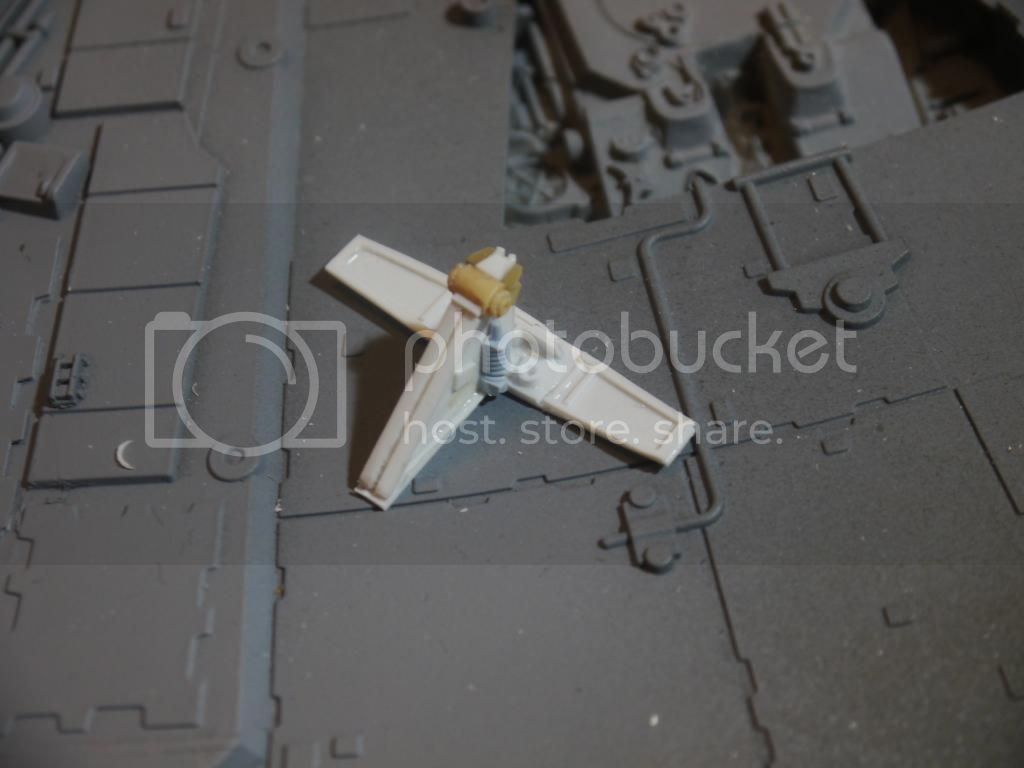
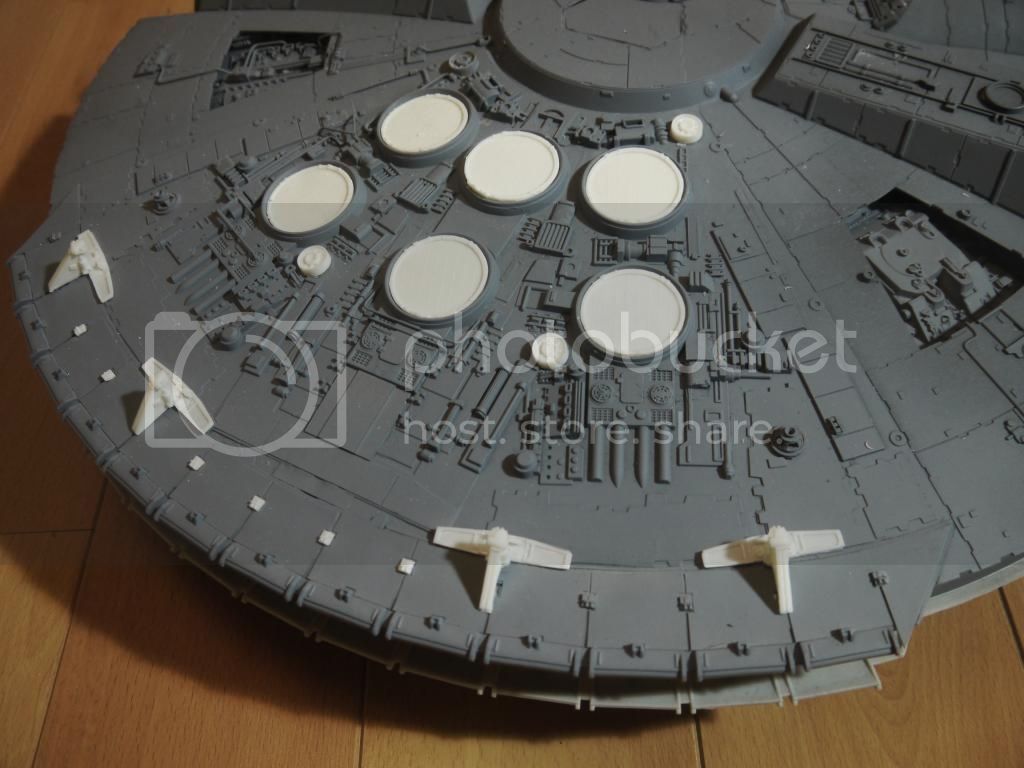
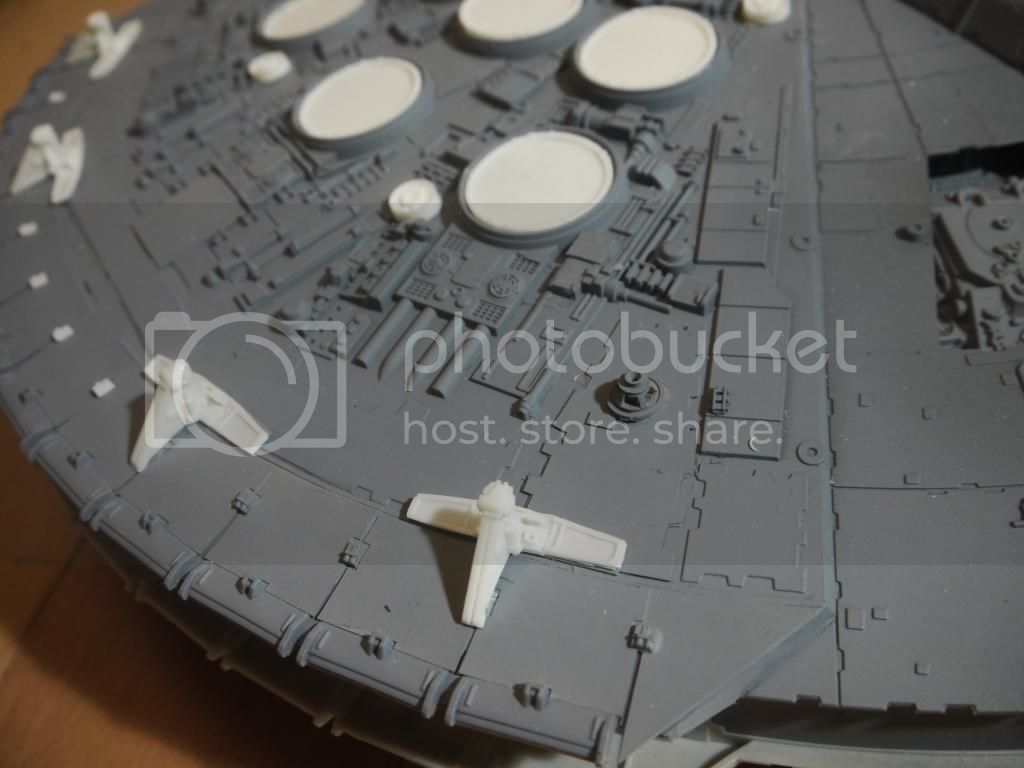
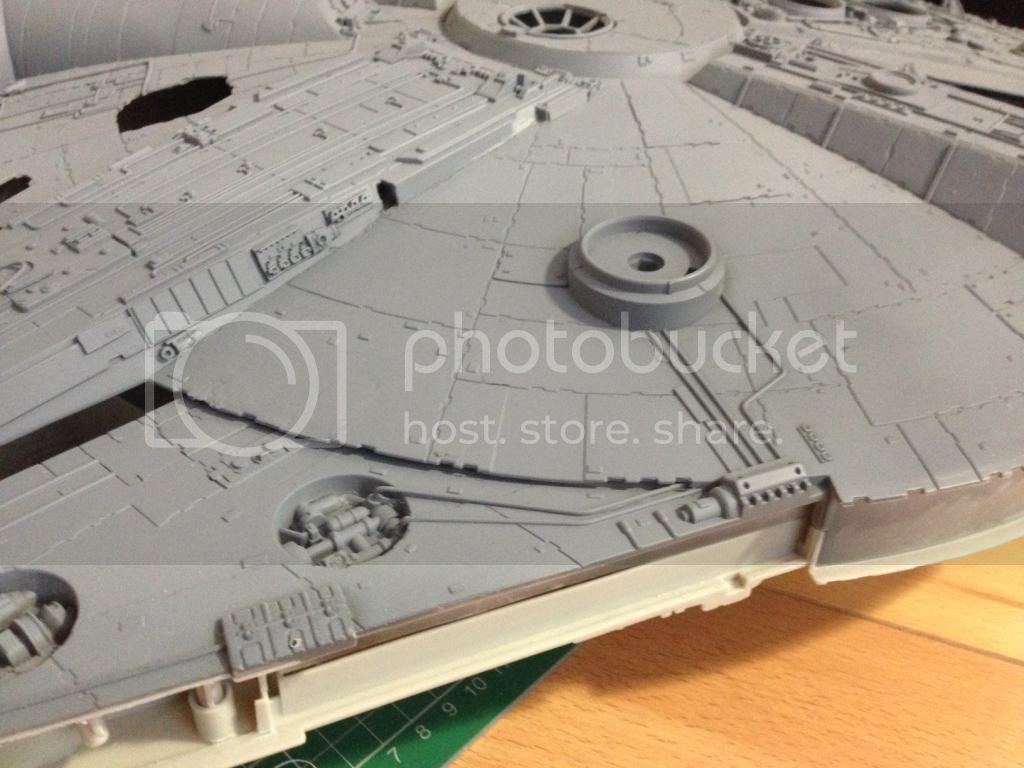
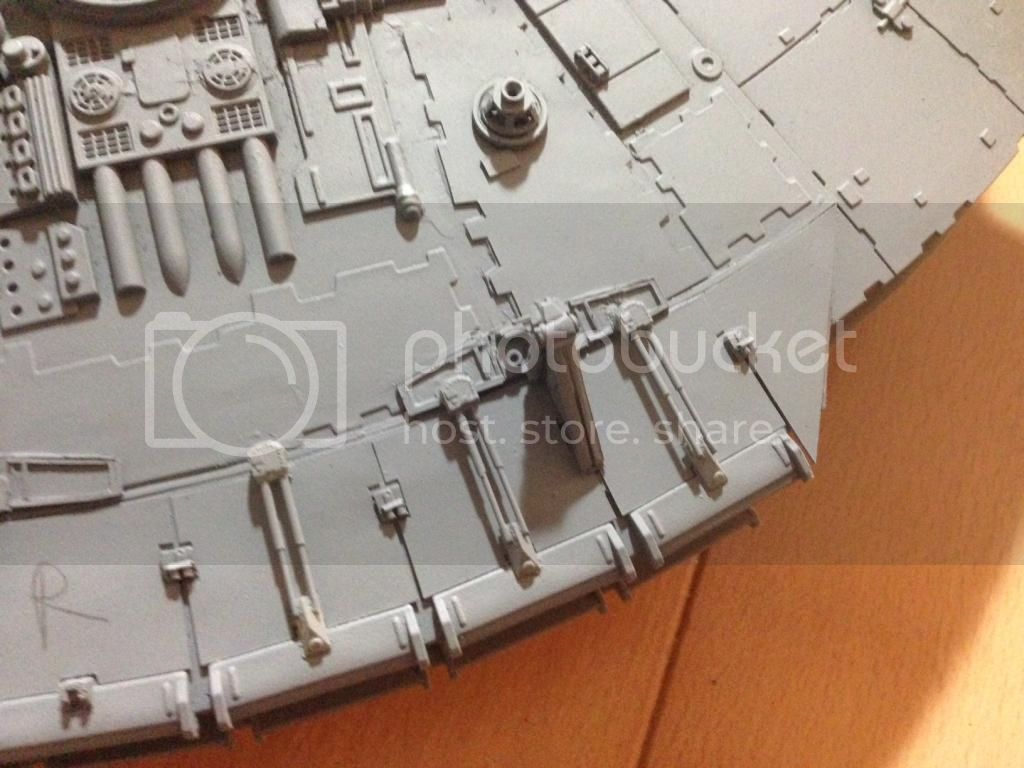
As I said I bought some of FZ6 (Tony's) parts off Samster,....the 2 F1 boxes & the thruster actuator rods...the rods were designed to replace the rods which were on this toy,...but I made the plates a bit larger....(cause they are larger on the 32")...so the rods are a wee bit shorter, so I lengthened them:

IMG_1623.jpg

IMG_1624.jpg

IMG_1625.jpg

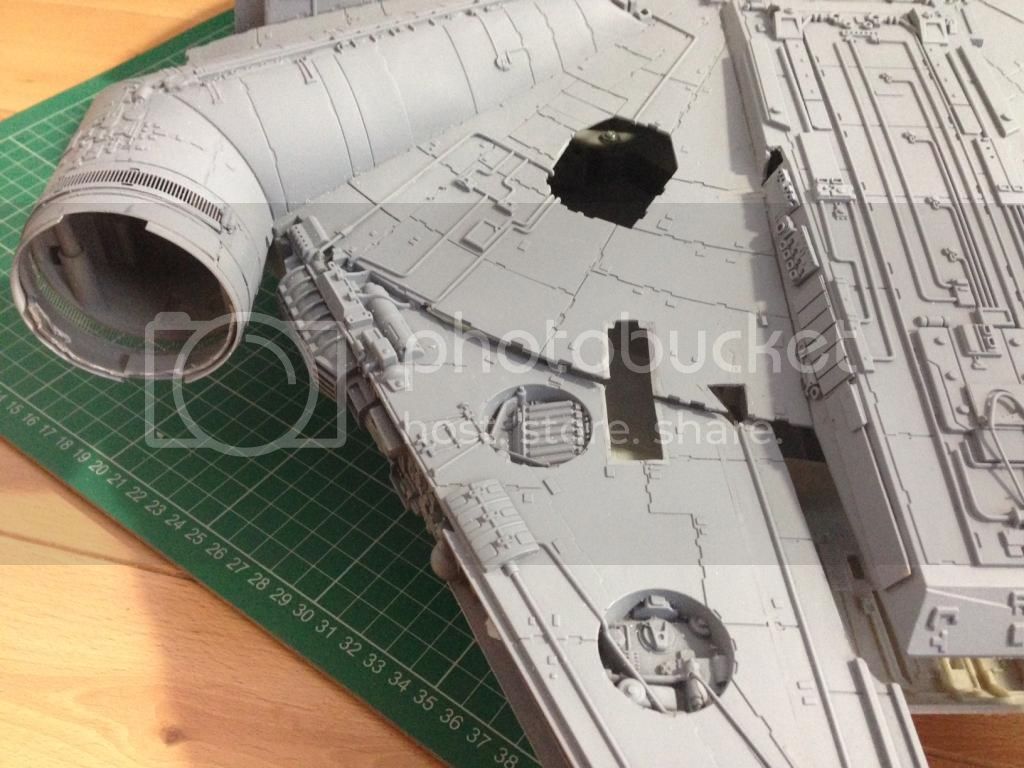
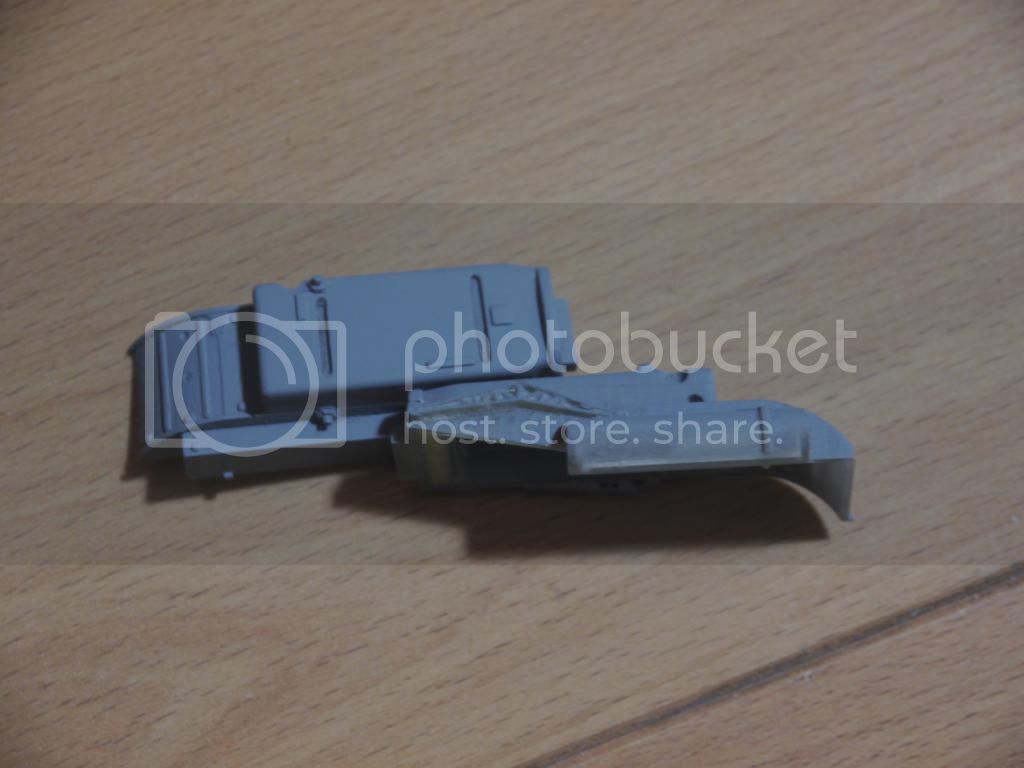
The sidewall dry-fitted:
IMG_1626.jpg


I opened up the vent things on the jaw & made new walls for it with card
IMG_1627.jpg

Thanks very much for looking

John
 

Latest posts

Back
Top