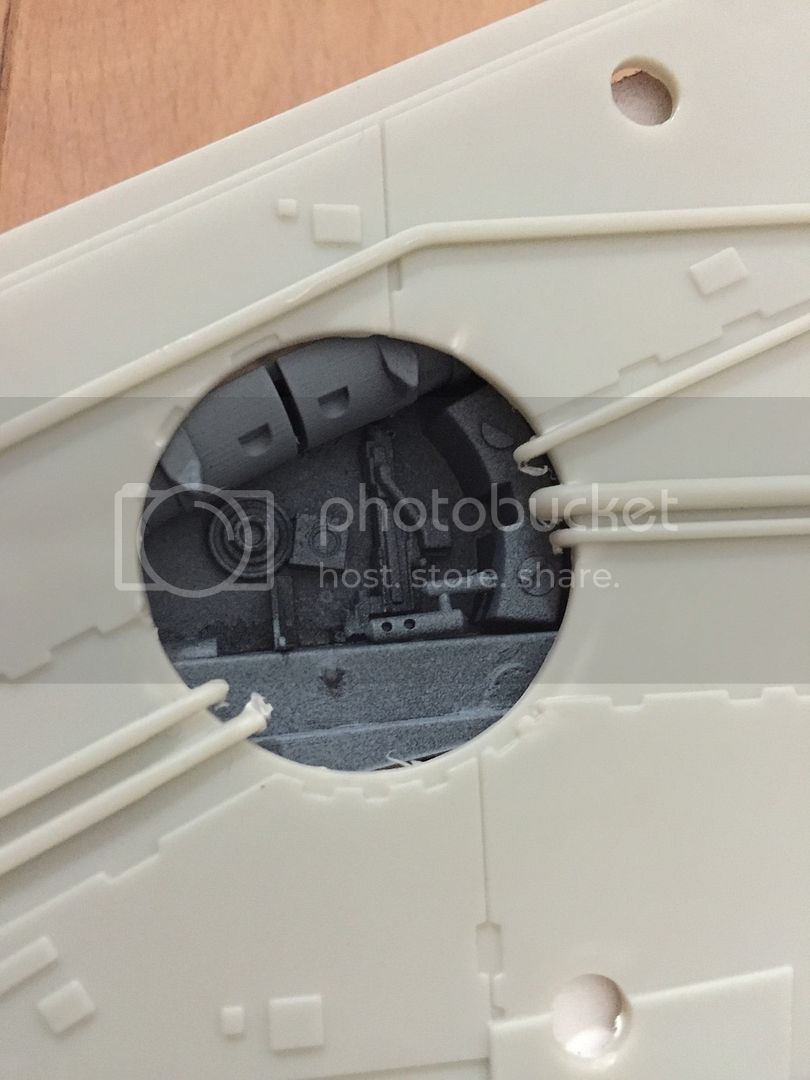
Hasbro Hero Millennium Falcon Modification

Scale Model Addict - Model Tips, Guides, Tools & Tech, Tutorials, and Community

Help Support Scale Model Addict:

Jaitea said:
Thanks Peza, I'll have a look & see if I have any photos of that,...The ARC cannon was a bit of a pain to replicate,.....but I think Ive got it sorted now,.....there will be a flash/seam line that will need getting rid of.....cleaned up

Thanks Gag,.....this one isn't as amazing as your project

Thanks John,.....I'll honestly get some parts sent this week,......I couldn't let them go as they were


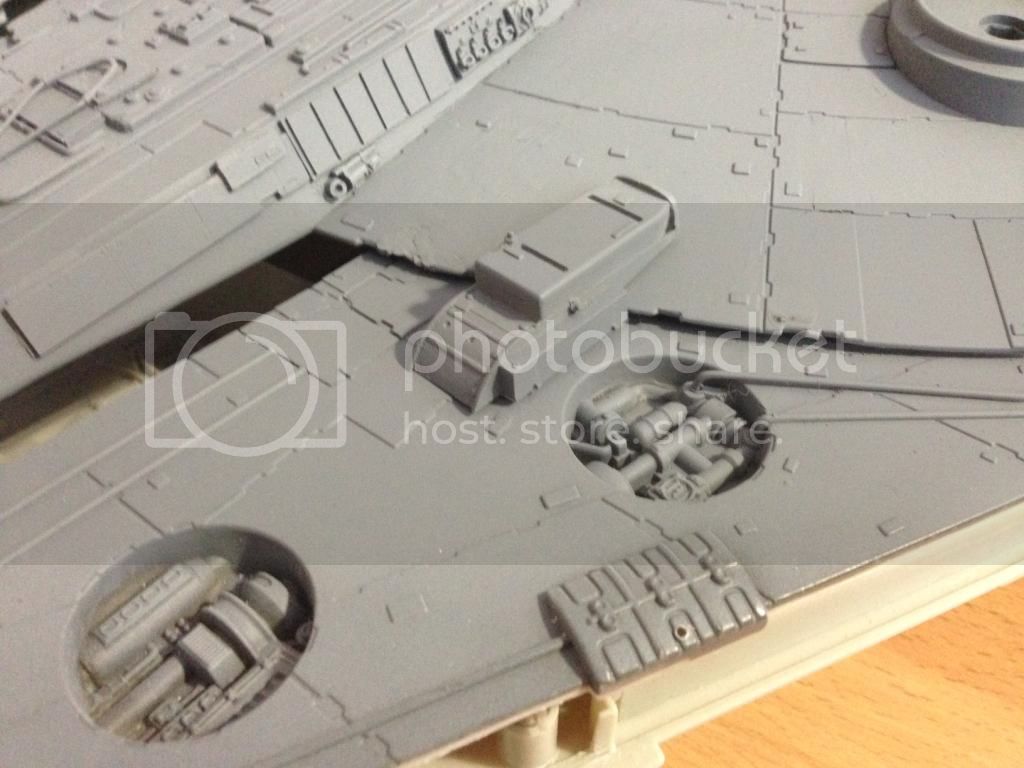
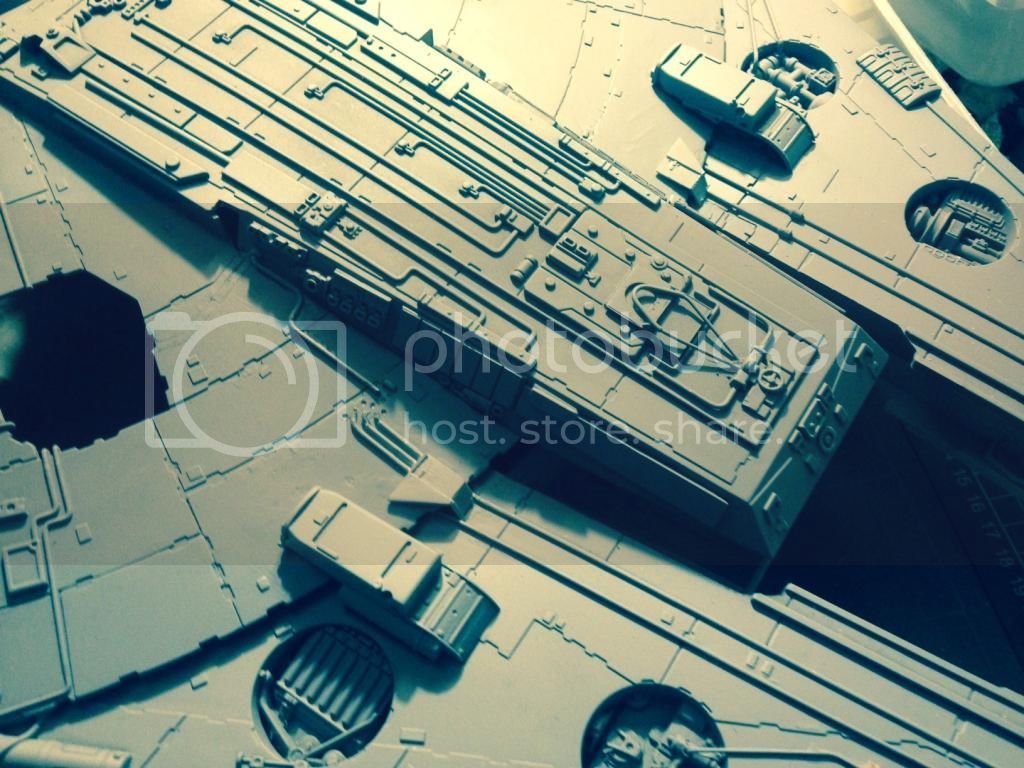
OK.....Because the boxes have an open area, you can see under the part,....the mandibles need that area repaired,...so I spent a bit of time filling in holes & gaps
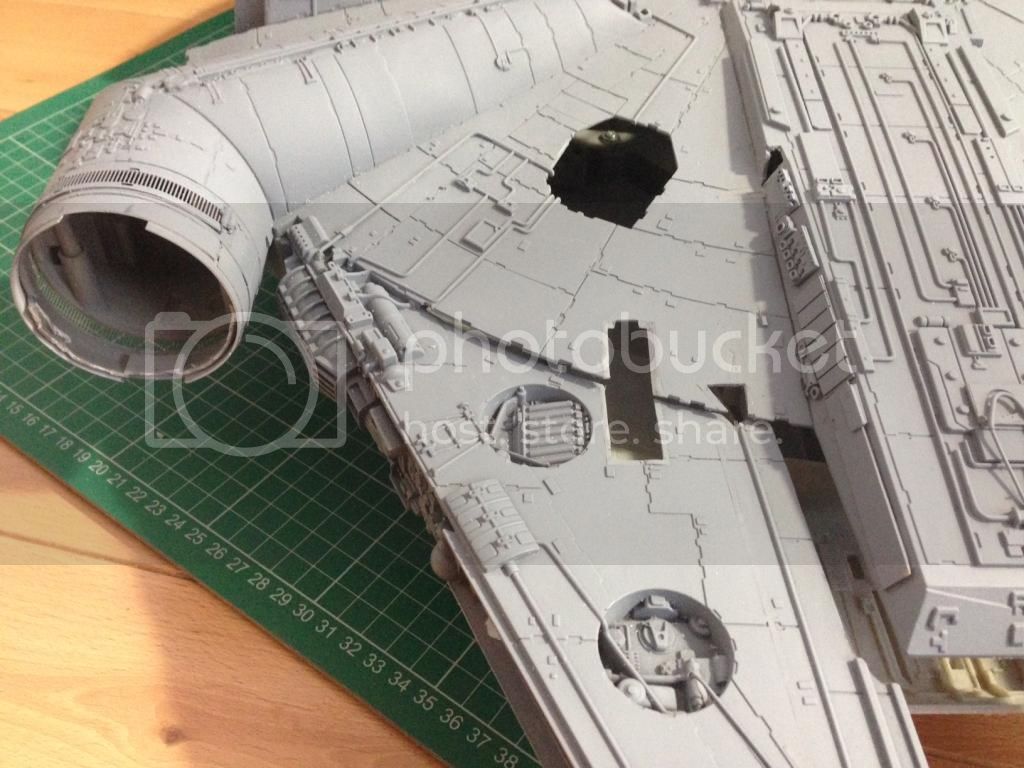
IMG_1621.jpg

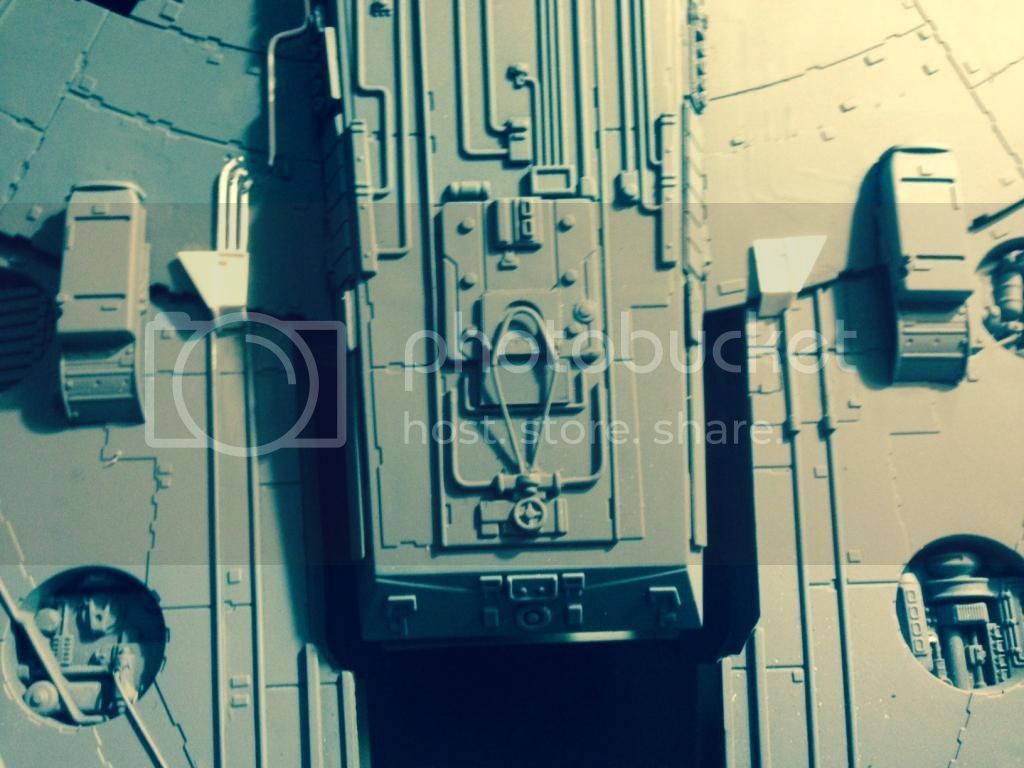
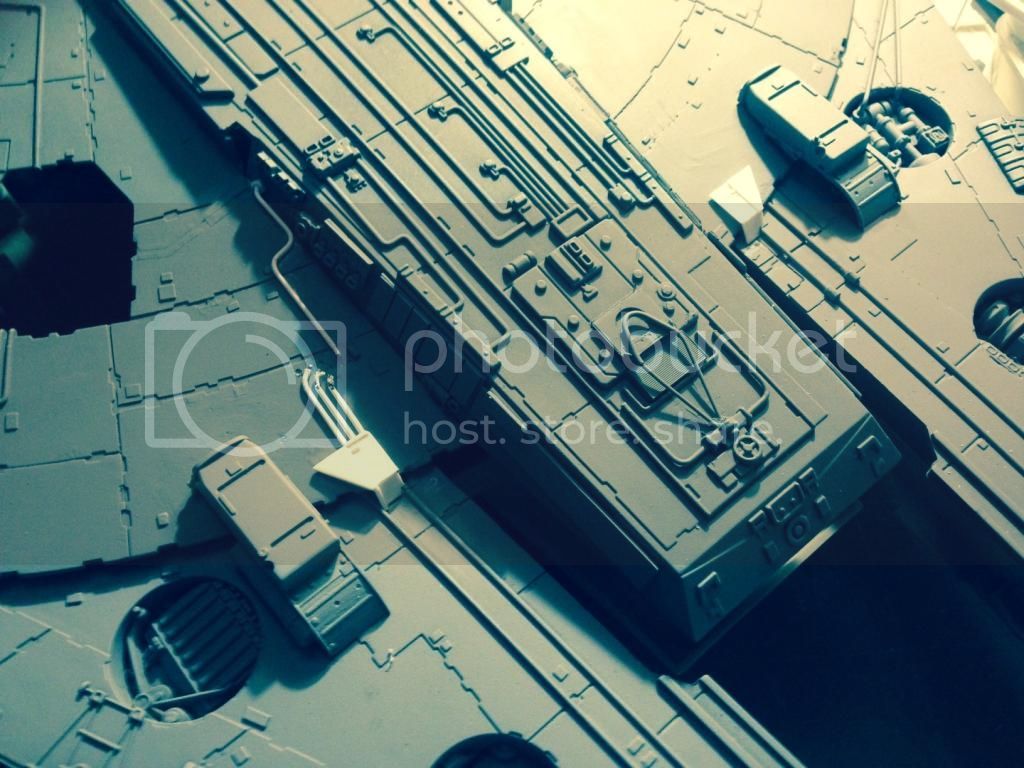
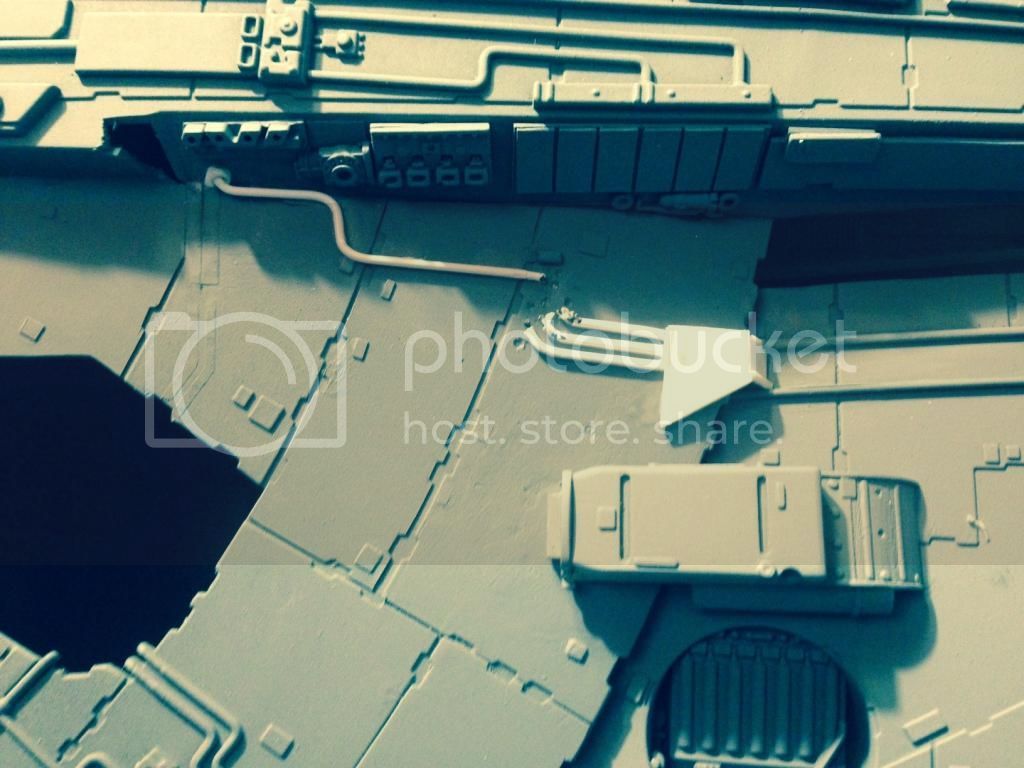
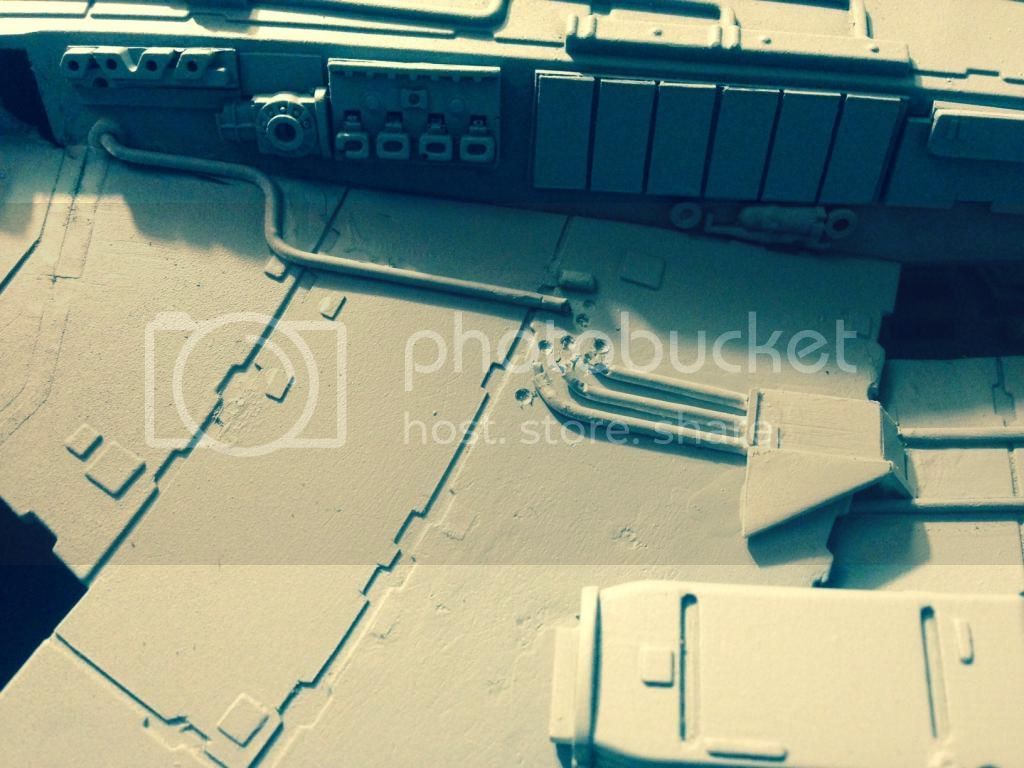
I also removed some of the pipes,....which I'll have to replace:
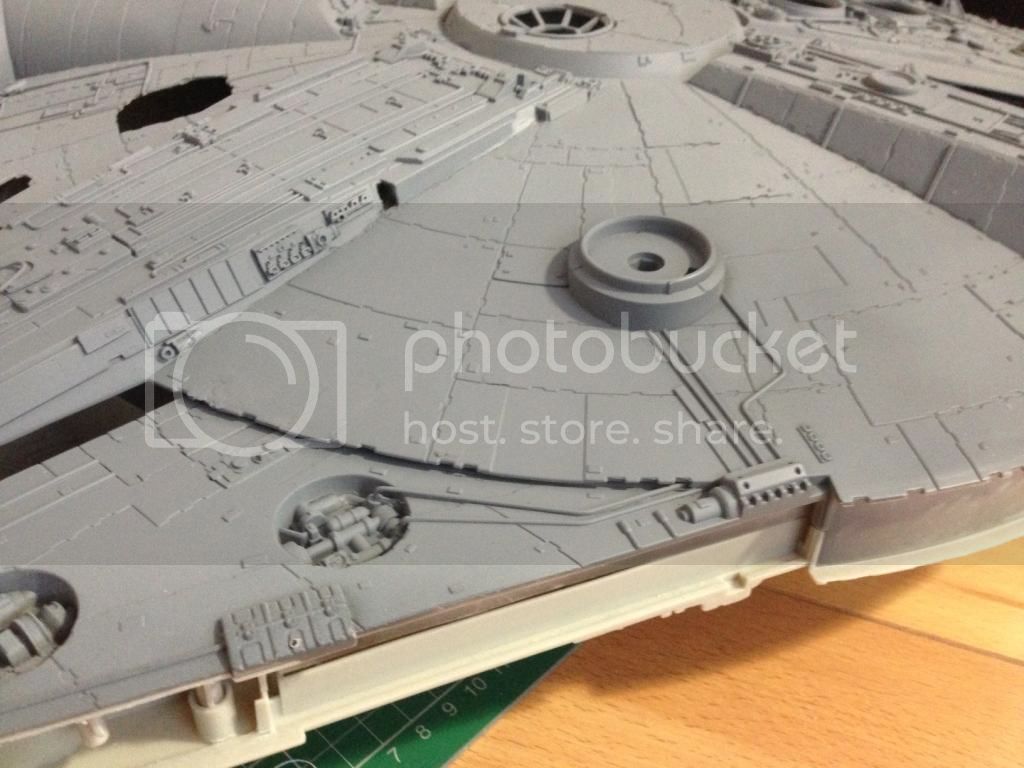
IMG_1619.jpg

IMG_1622.jpg


Thanks for looking

John

cheers john your a star!i trust your judgment mym8...
once again thanks peza
 
Thanks very much for your comments guys.....Q theres gonna be tonnes of the original toy left,........(on the floor)
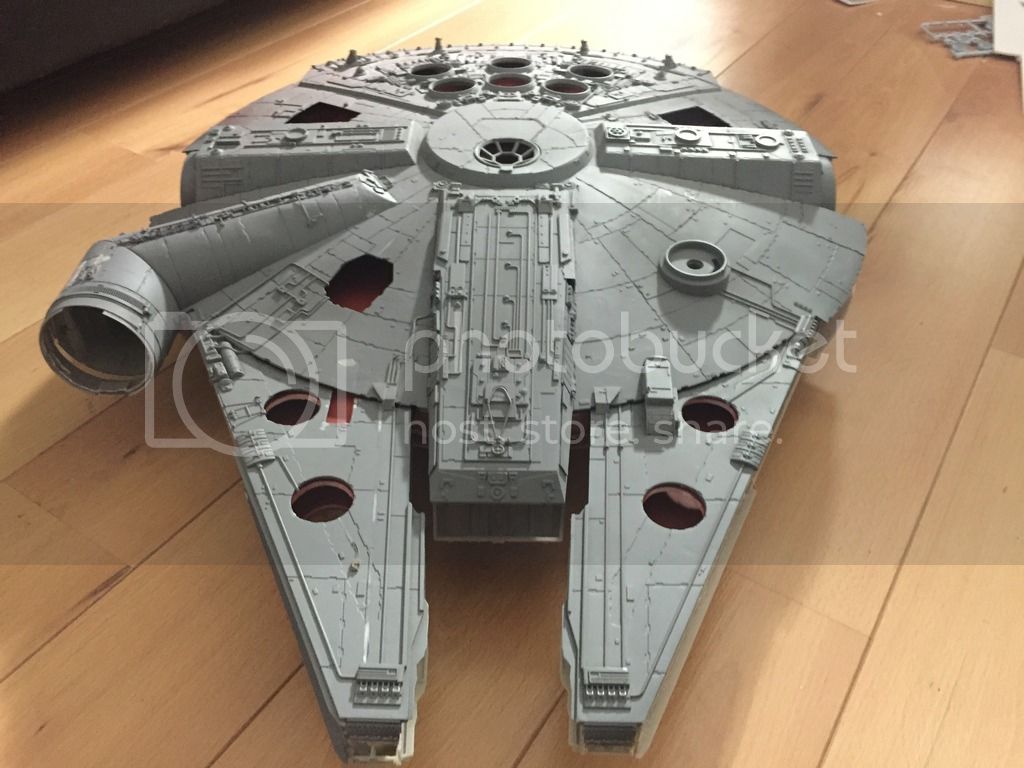
......na the good thing is you can stop really anywhere,....paint it up & it should still look like the Falcon......its knowing when to stop!!!

Some wee bits added:

FullSizeRender.jpg


FullSizeRender-1.jpg


FullSizeRender-2.jpg


FullSizeRender-4.jpg


FullSizeRender-3.jpg


Thanks very much for looking

John
 
Yeah brilliant, and that's what I like about that 'model' when I'm finished fiddling I can just slap some paint on and it'll look ok.
 
Thank you very much for the comments guys

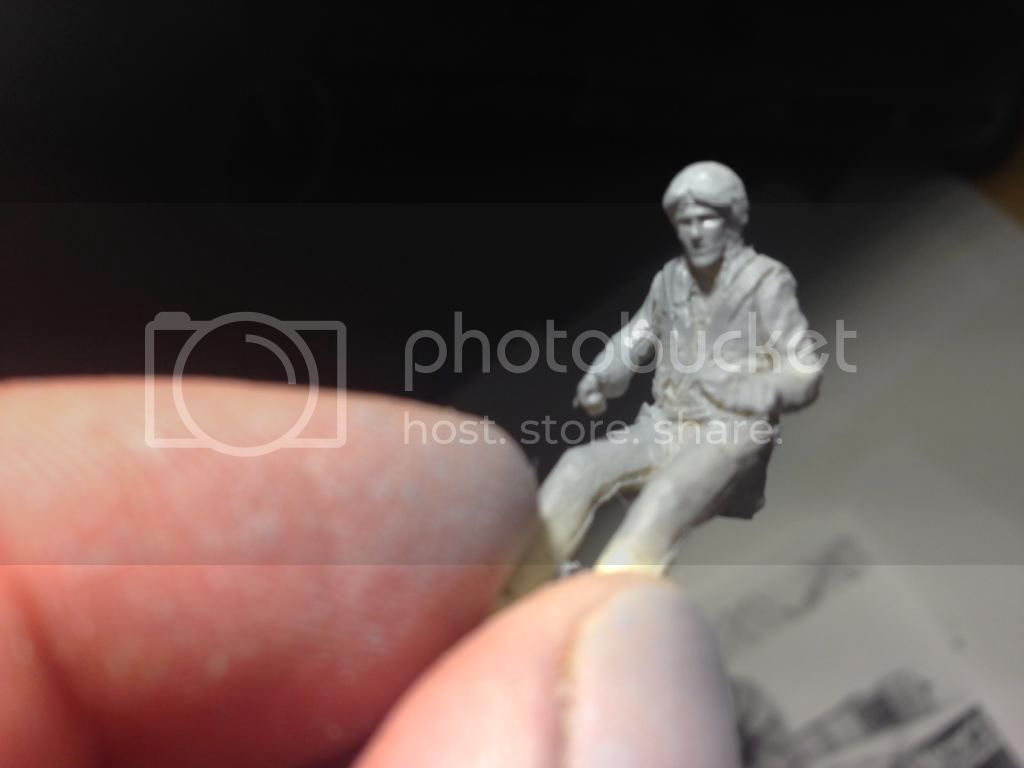
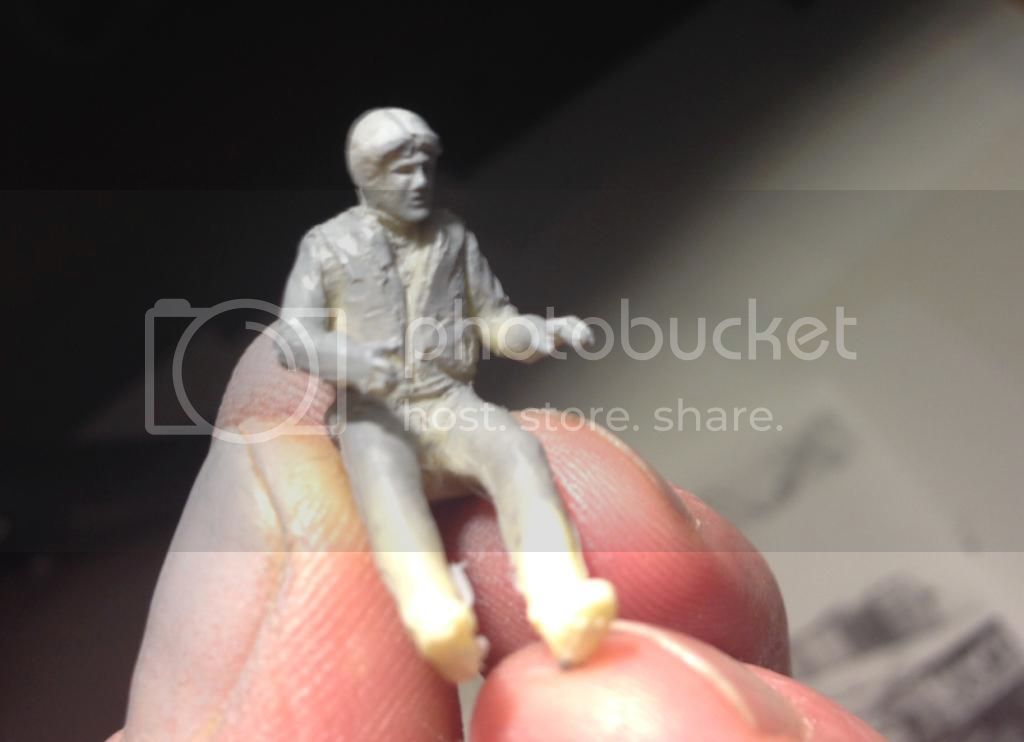
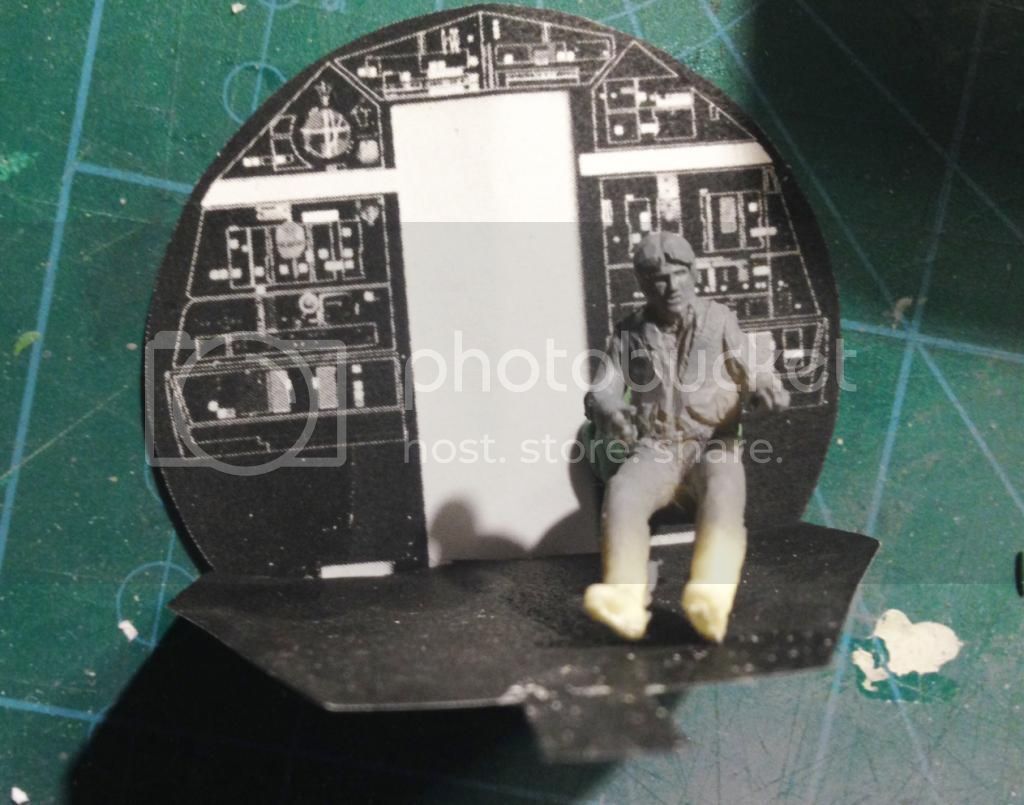
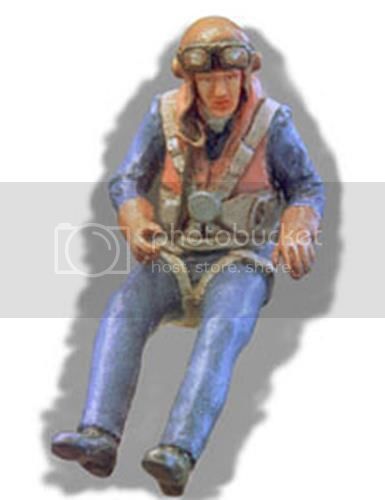
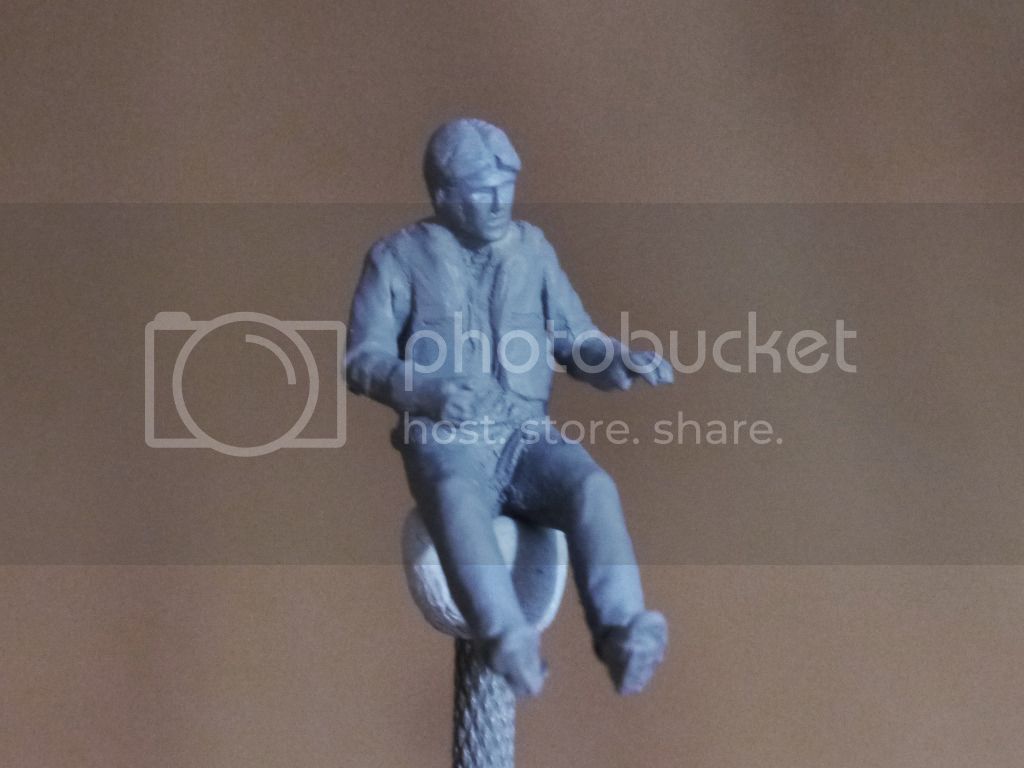
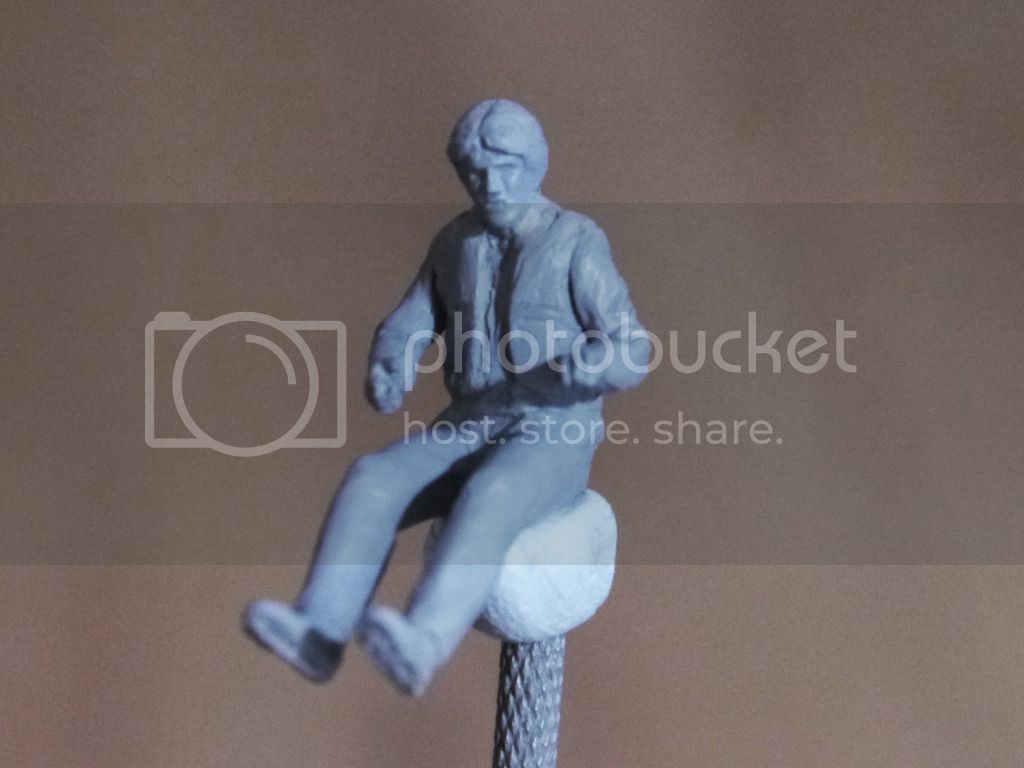
OK,.....while I'm waiting for my 1/48 Chewie that is with the Bandai AT-ST,....I picked up a wee resin pilot figure in 1/48 for a fiver (£5)

Still a bit more to carve off,....his goggles carve up to make nice centre parting hairstyle
IMG_1674.jpg


IMG_1675.jpg


This paper scan of the DeAgostini cockpit insert (reduced by 10%) as a test
IMG_1676.jpg


_12.jpg


Hopefully the Chewie figure works out proportionally to the pilot

John
 
As an Amazon Associate we earn from qualifying purchases. Product prices and availability are accurate as of the date/time indicated and are subject to change.
Thanks very much guys

I've tidied the Han pilot a bit.....
Han%202.jpg

Han.jpg

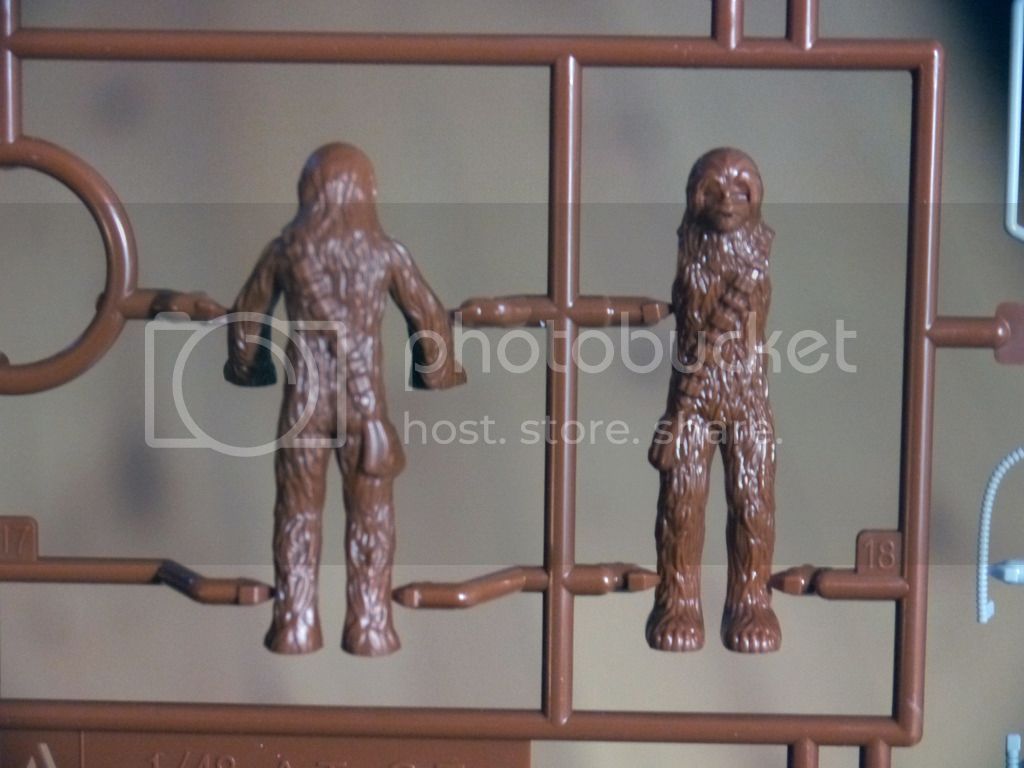
The Bandai AT-ST arrived & this is the Chewie figure that came with it,....Im hopefully going to mould it & modify the cast to make him seated
Chewie.jpg


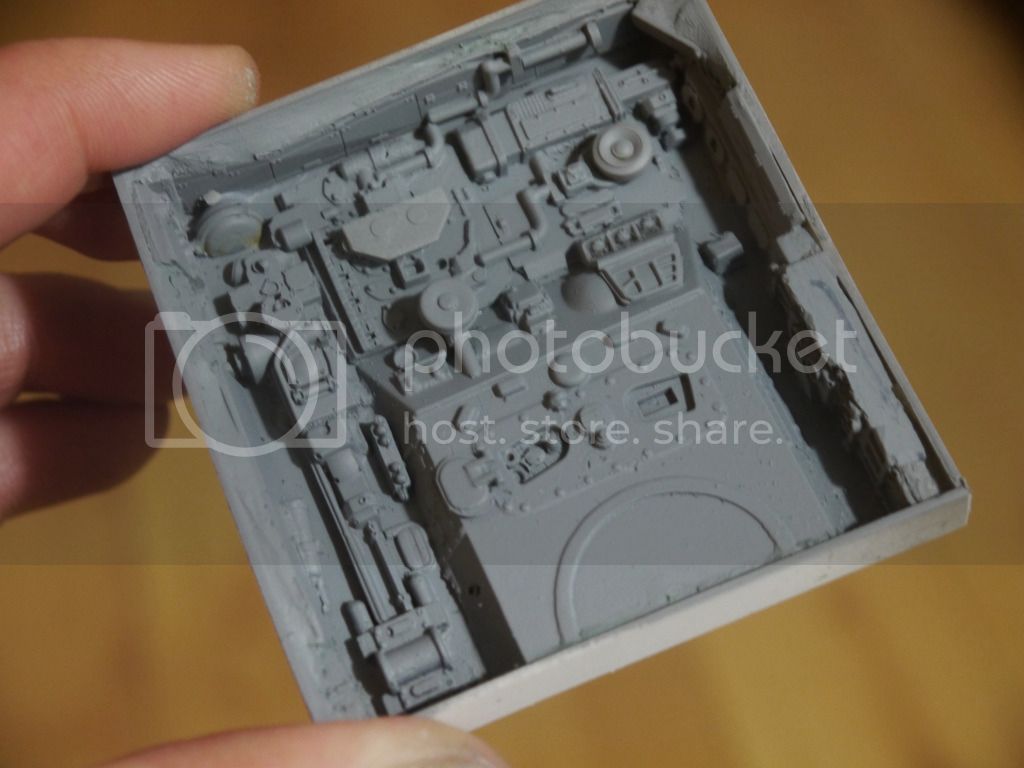
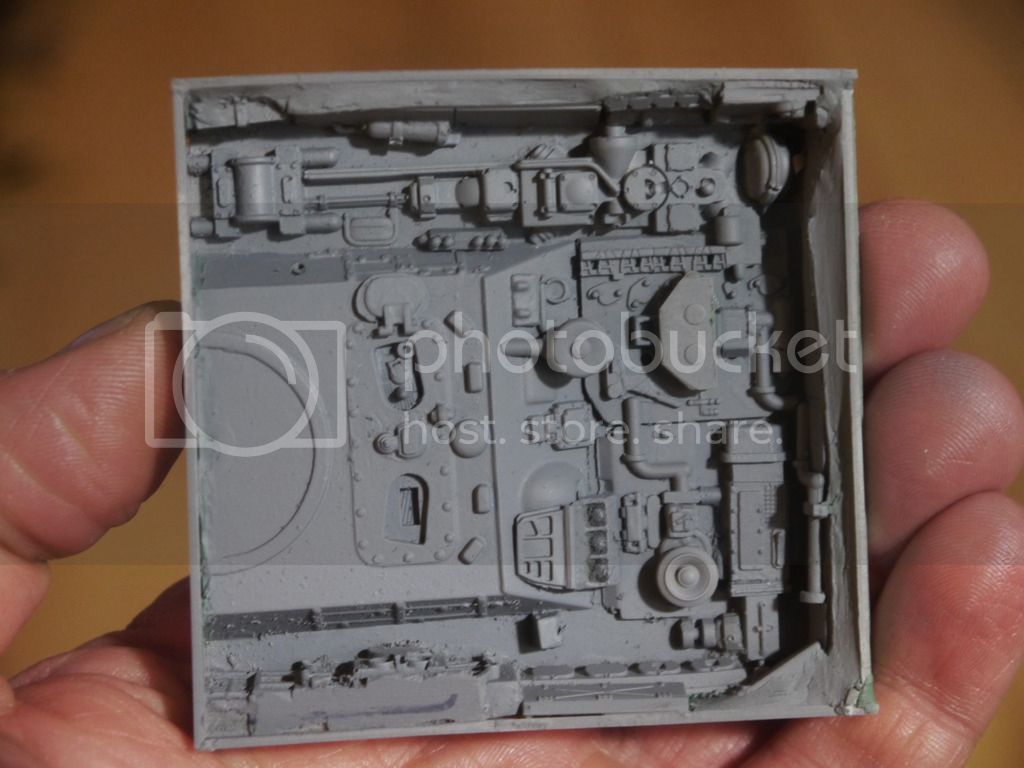
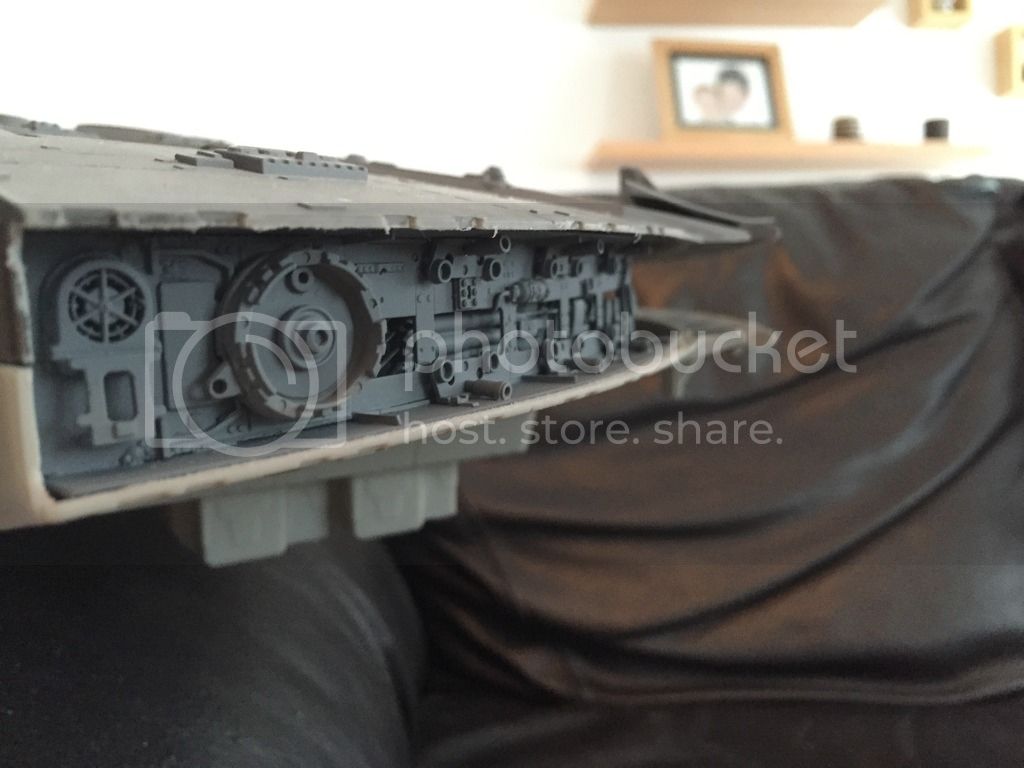
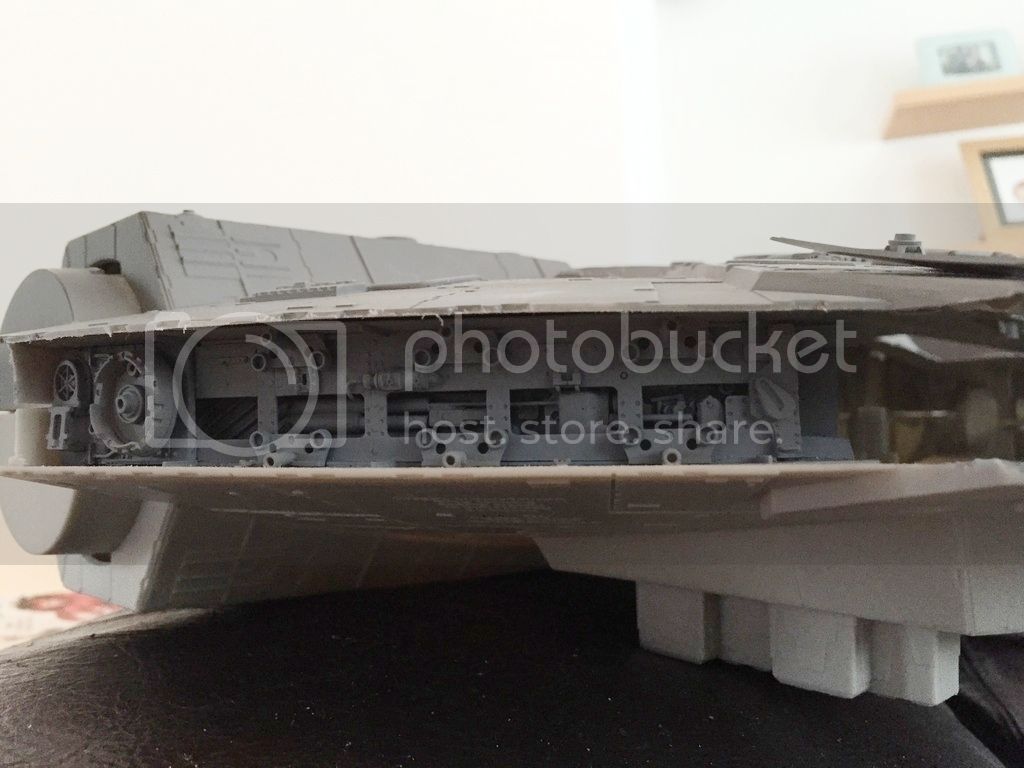
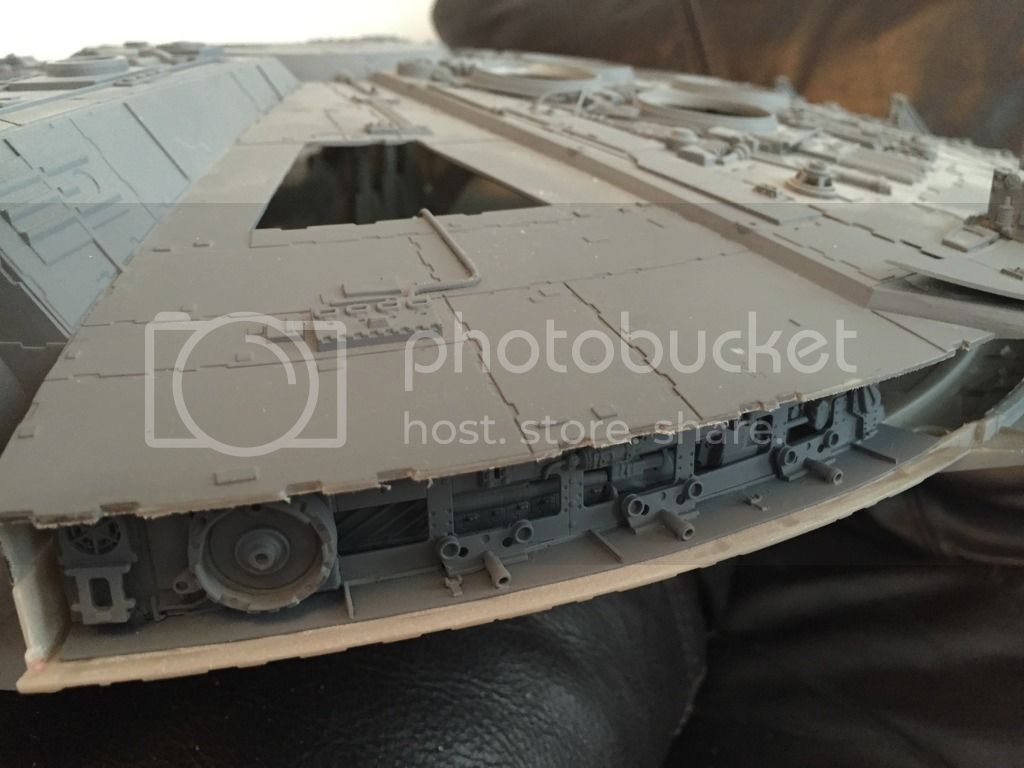
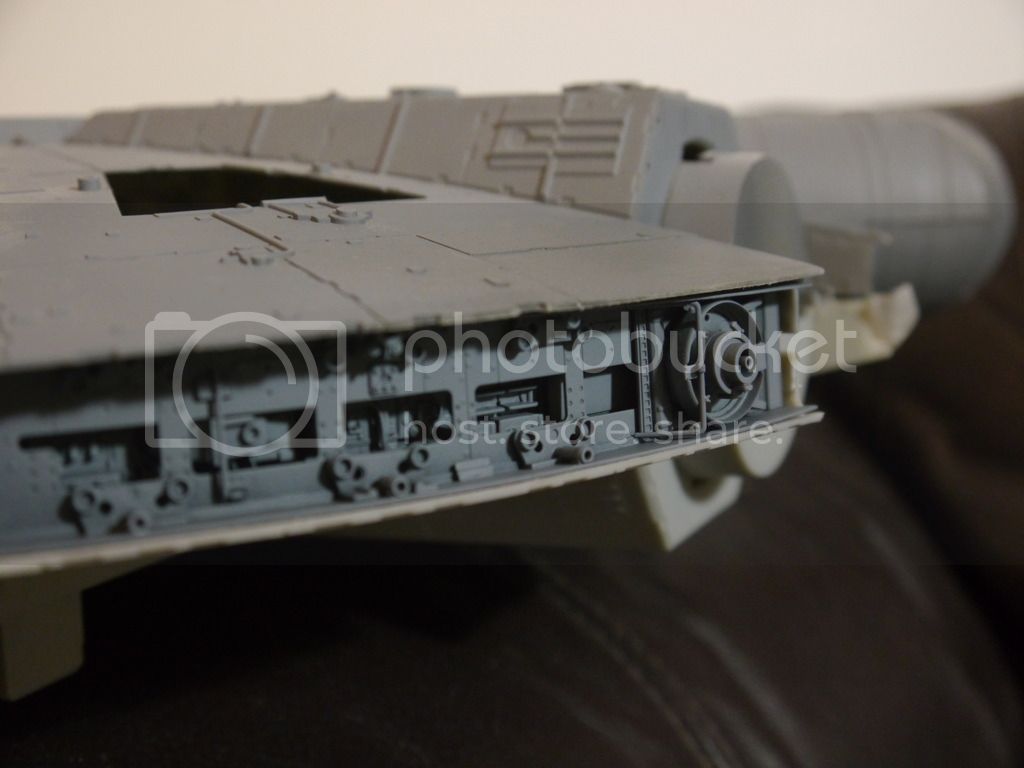
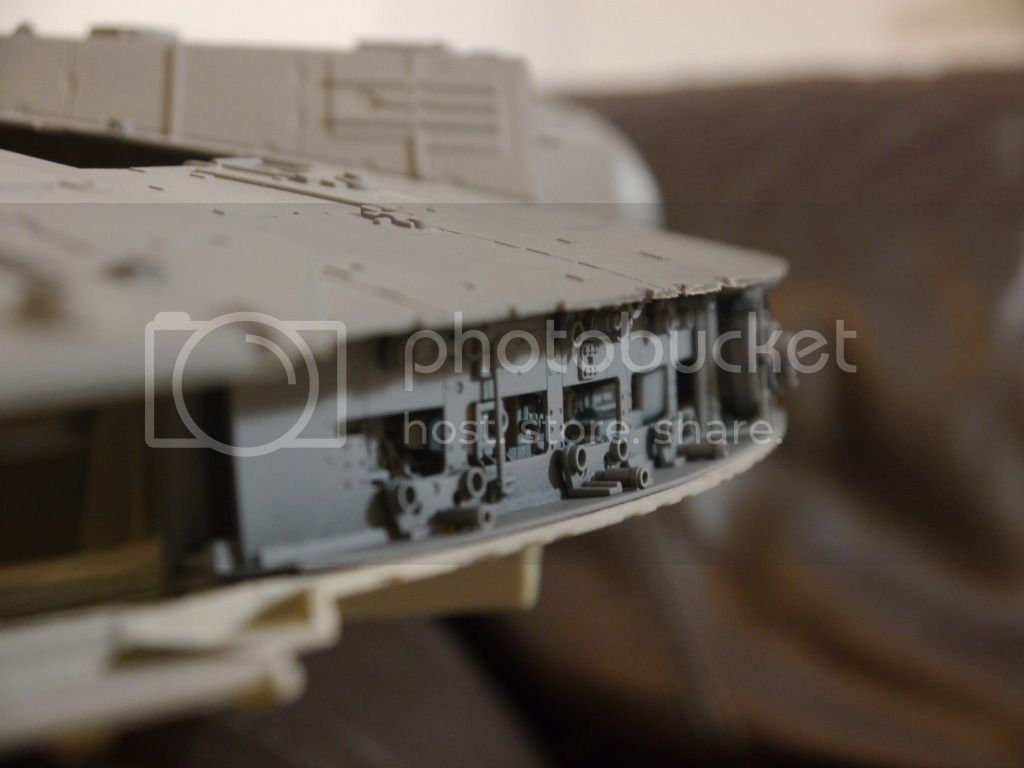
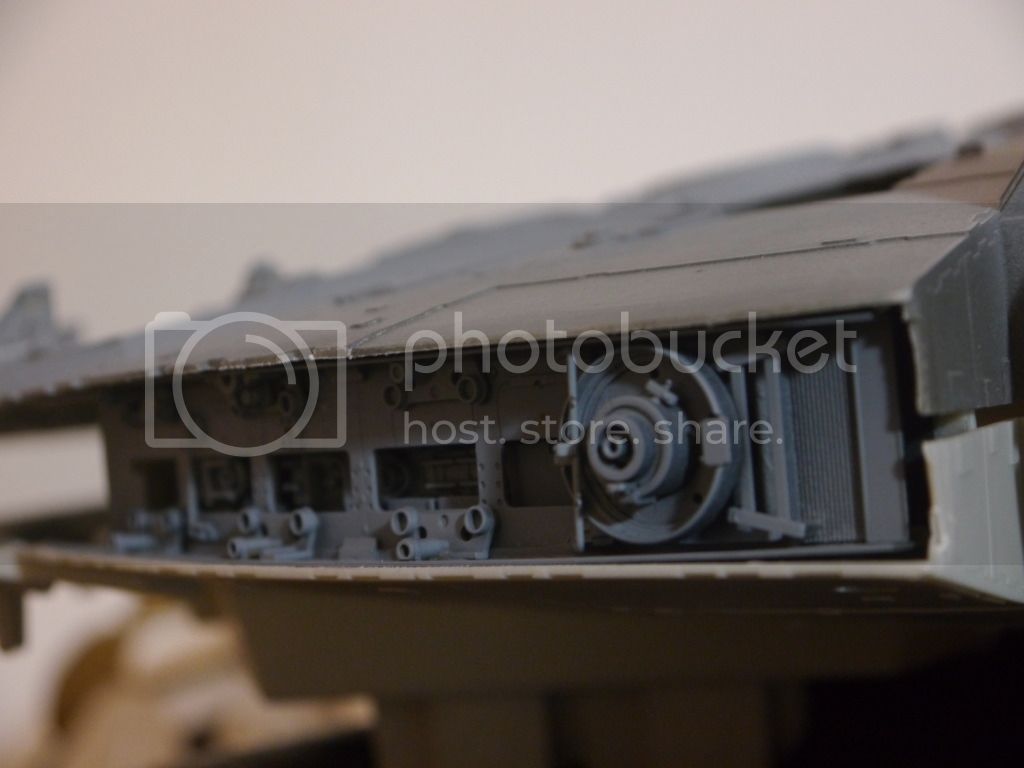
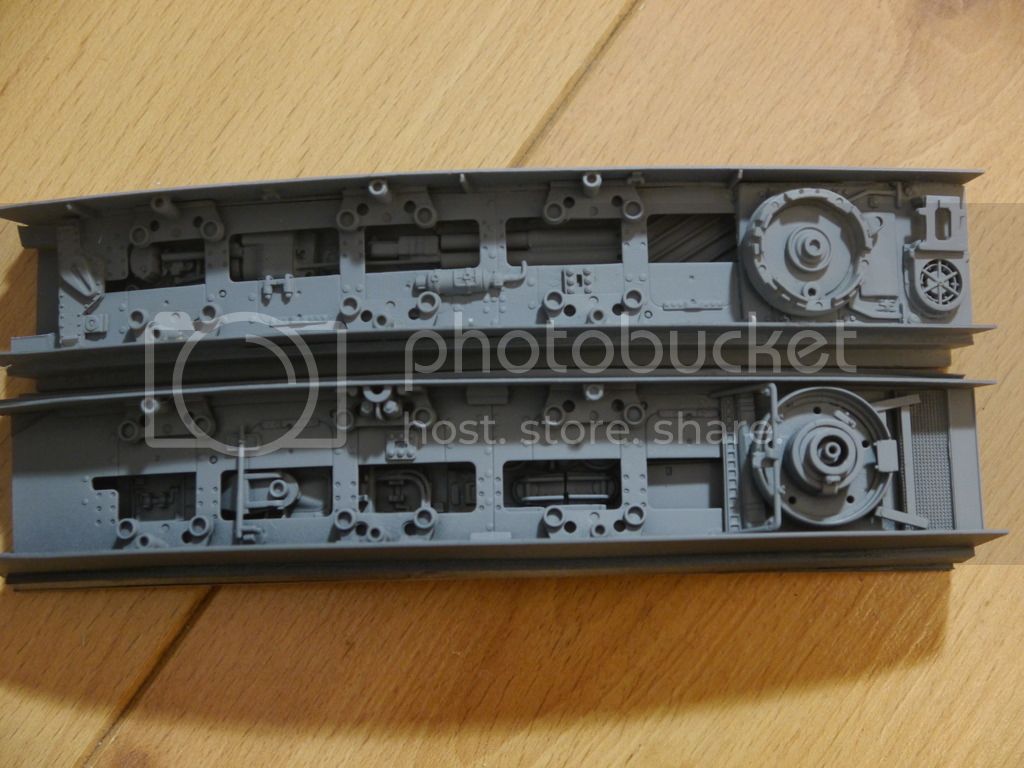
I've been busy reworking the 2 open areas,.....thing is when I started these I was just trying to improve the open areas that were on the Hasbro Falcon,....using parts similar that was on the 32".......now I'm going back and refining the details,......I'm not going 100%,....because I don't have all the original parts,....but I'm trying to make it closer to the 32" using whats in my parts box
open%20ares%202b.jpg

Open%20area%202a.jpg

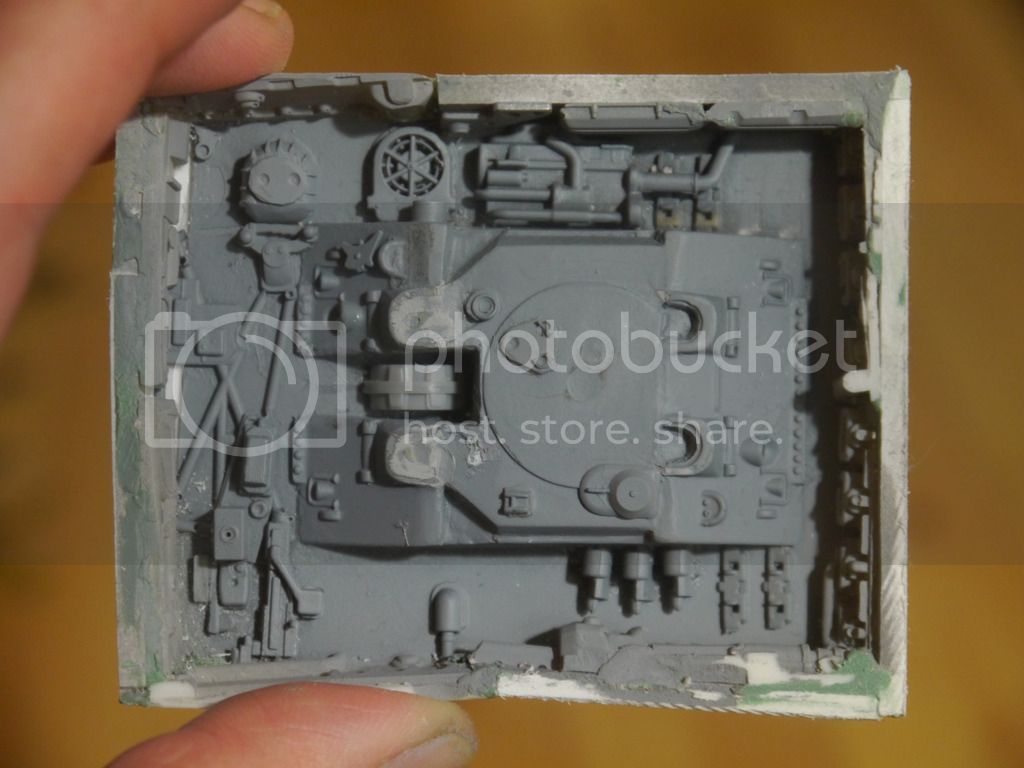
Just re-started on this one:
open%20area.jpg


Thanks for looking
John
 
Coming along nicely. Han looks ace. I'm sure Chewster can be seated...cast a few.
 
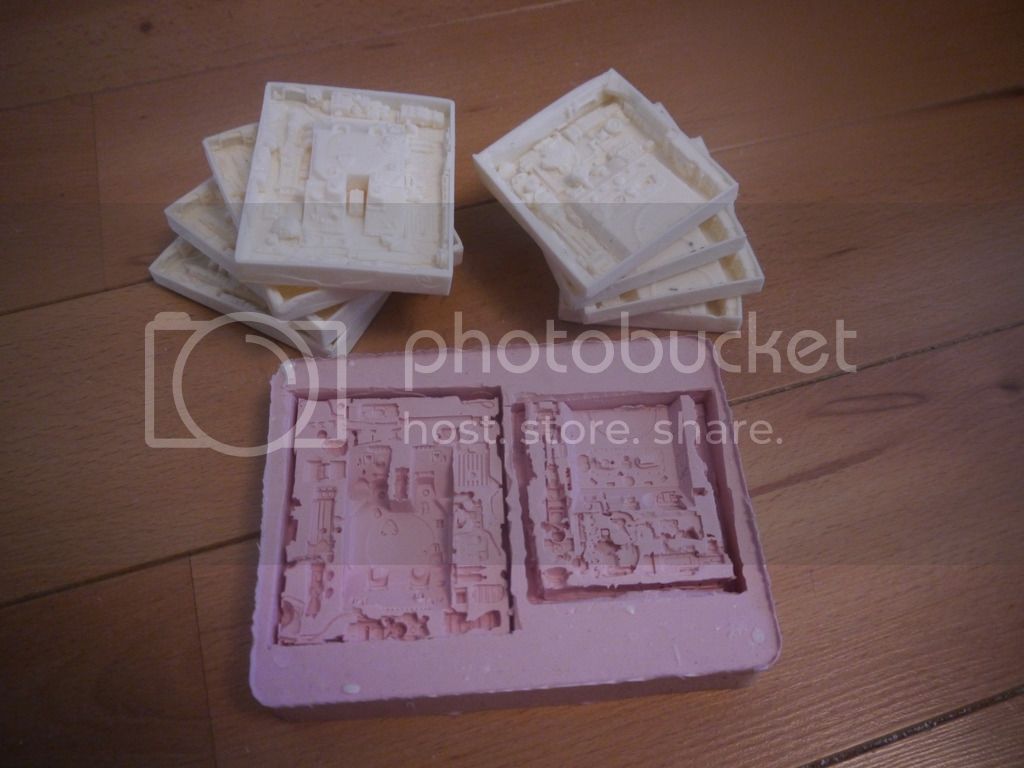
I got new moulds done of 2 inserts & casting has turned out great,....the first ones out had a few bubbles but are fixable

Parts.jpg


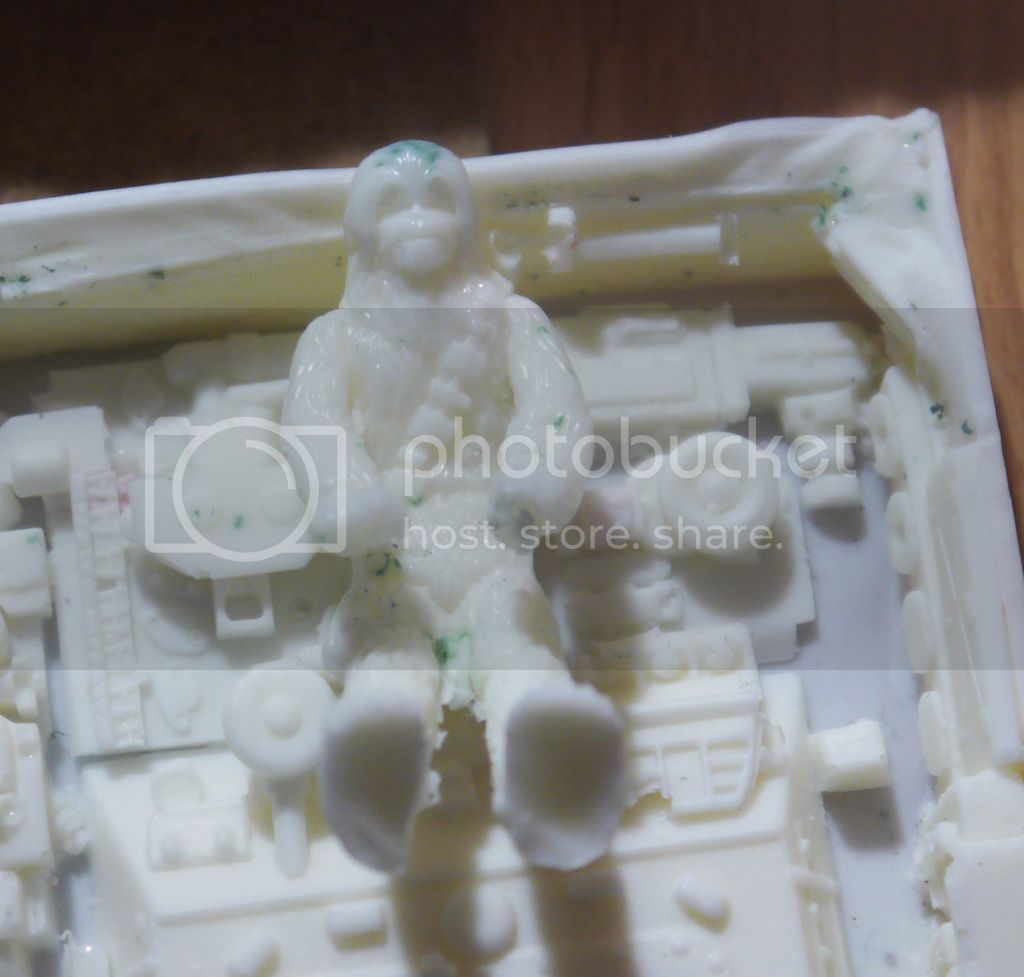
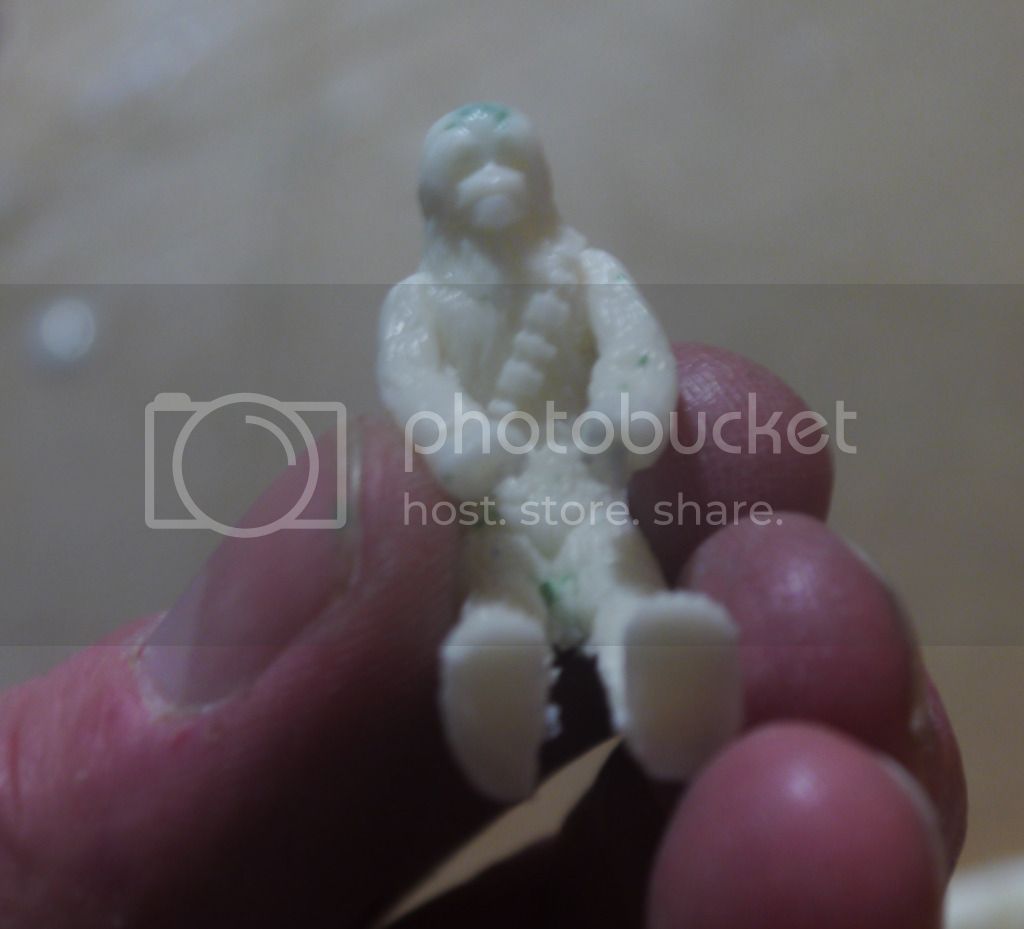
.....& Bandai Chewie:
Chewie%203.jpg

Chewie%204.jpg


J
 
This is coming along very well. Han looks perfect and I expect Chewie will trim up to match.
 
Thanks Jake

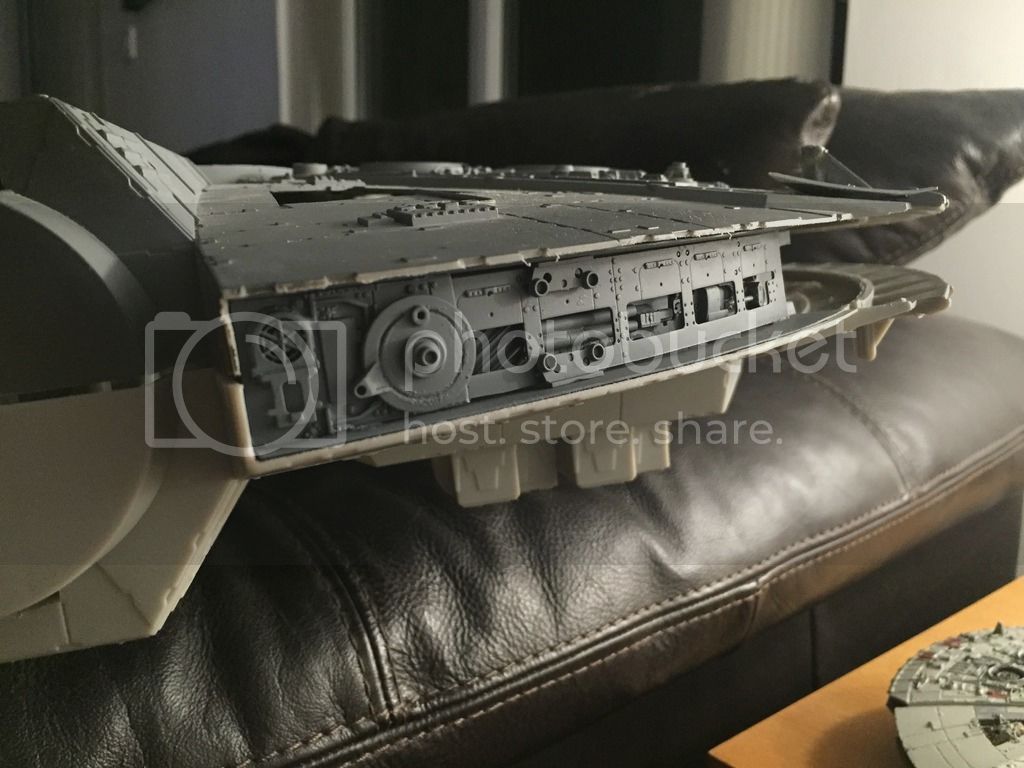
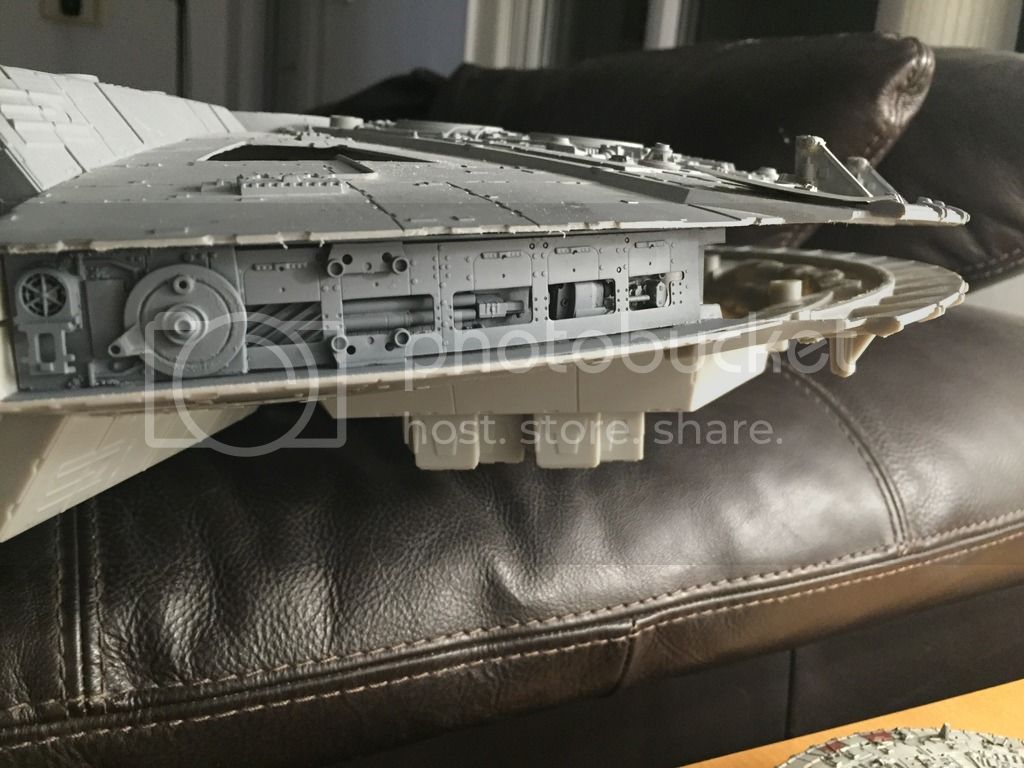
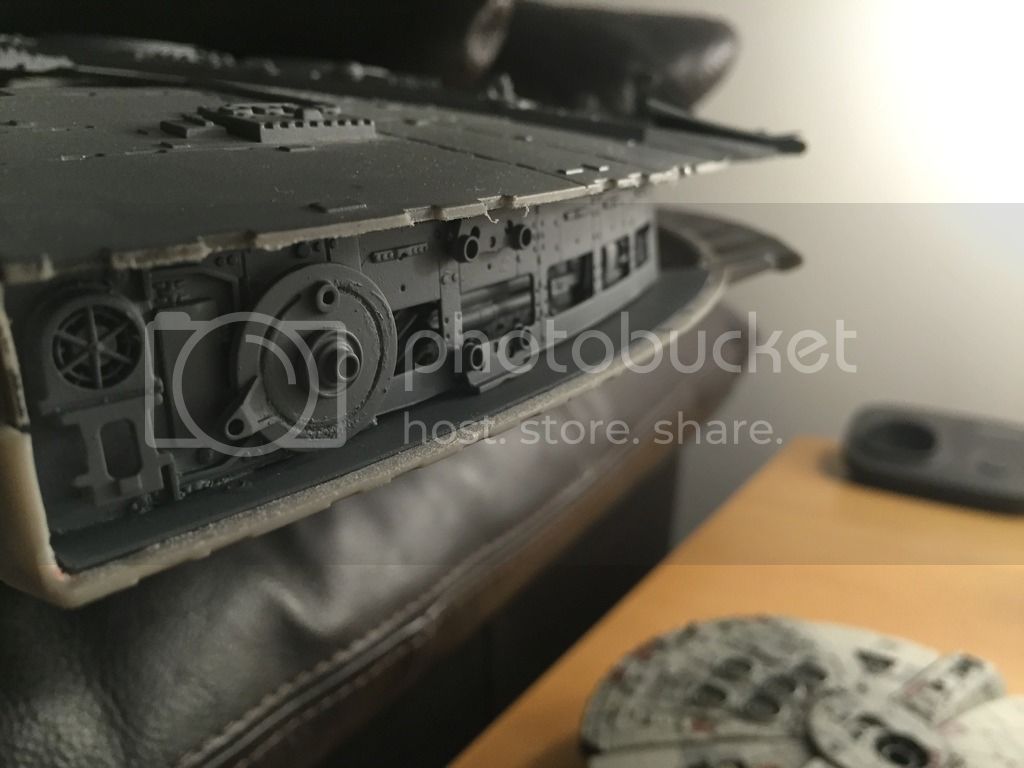
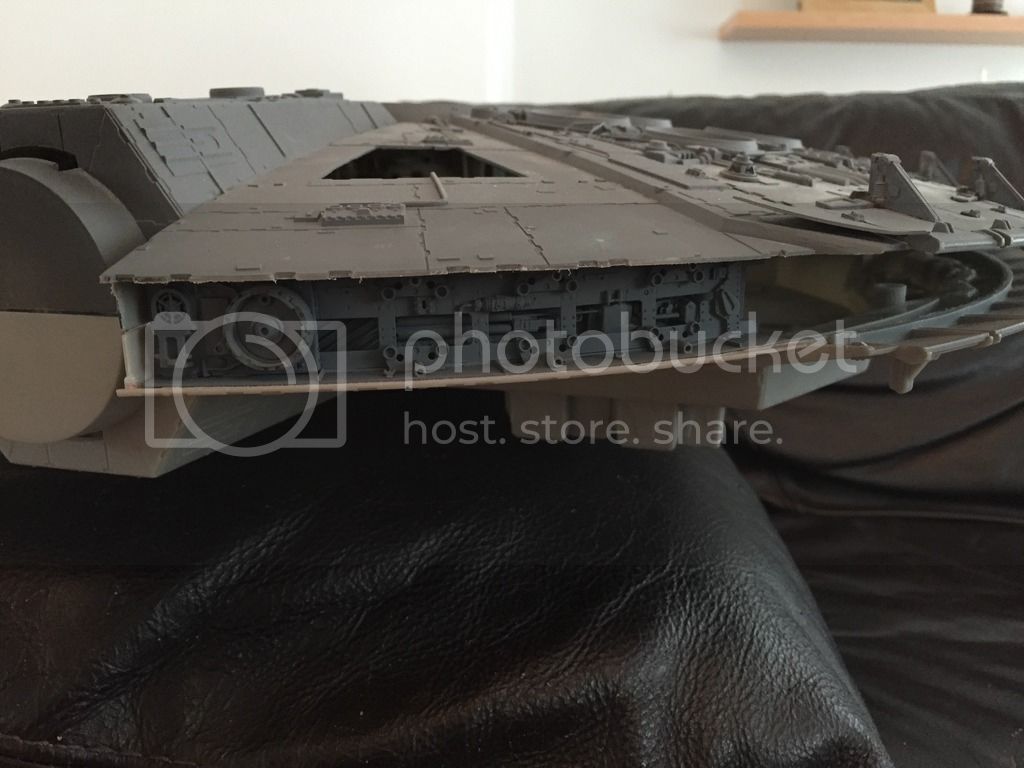
Did a bit of mucking about last night,....I used similar parts that are on the SS 32" Falcon but did it slightly different,....just to add more depth

IMG_3770.jpg

IMG_3771.jpg

IMG_3772.jpg

IMG_3773.jpg


Thanks for looking
John
 
I really like the extra depth this is adding. The multiple levels of detail look great.
 
Hagoth said:
I really like the extra depth this is adding. The multiple levels of detail look great.

Thanks Hagoth,...the 'Bandai break' made me look at this project differently,....before I was analysing the 32" model & trying to stick to that look,....then with John Simmons RC parts on his Hasbro Falcon, made me think why not just make it look cool,...use parts that have the same style that ILM might have used

Constantine said:
That's some mighty fine detail'en ya got going on there! :)

Thanks Constantine,...I'm trying to make her more functional,....more to look at


LrdSatyr8 said:
That looks awesome bro! Love the work you've done on this so far! Love the recessed areas in the sidewalls!

Thanls LrdSatyr8,...The walls are gonna be deeper in than the 32" similar to the 5 footer,....& hopefully more going on in there,,....I'm looking forward to doing the engines

JohnSimmons said:
Really like that J

Thanks John,....it's a pity about the poor Matilda MkIII that was sacrificed for this model ;D

John
 
Jaitea said:
Thanks Hagoth,...the 'Bandai break' made me look at this project differently,....before I was analysing the 32" model & trying to stick to that look,....then with John Simmons RC parts on his Hasbro Falcon, made me think why not just make it look cool,...use parts that have the same style that ILM might have used

I really like your new perspective here. It keeps coming to my mind. As I have thought about it I realized this is a big part of what makes watching someones build process so interesting to me especially when it comes to Sci-Fi kits. Each variation and "Cool" tweak makes it unique and adds depth to the story behind the kit. Those deep recessed areas accomplish that beautifully here. You've made an impression on me with this that I will use to improve my own projects. Thank you for sharing.
 
Thanks very much guys,.....It really comes down to finding something that you think looks cool.....I just found it too hard trying to make it accurate and easily cast-able

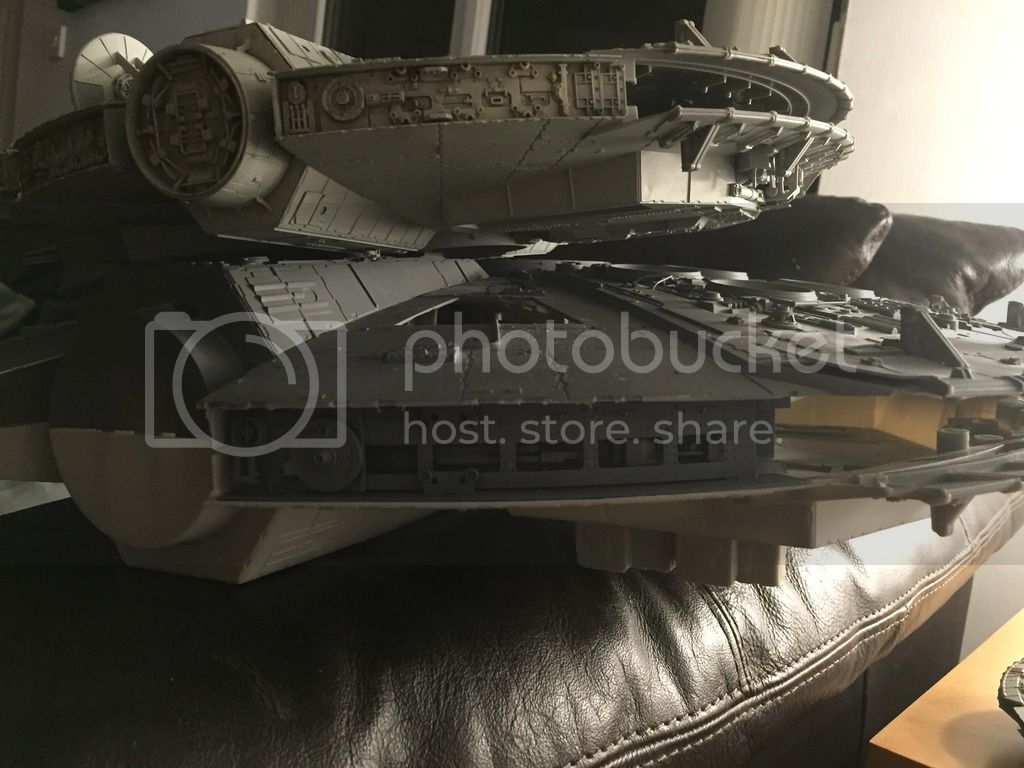
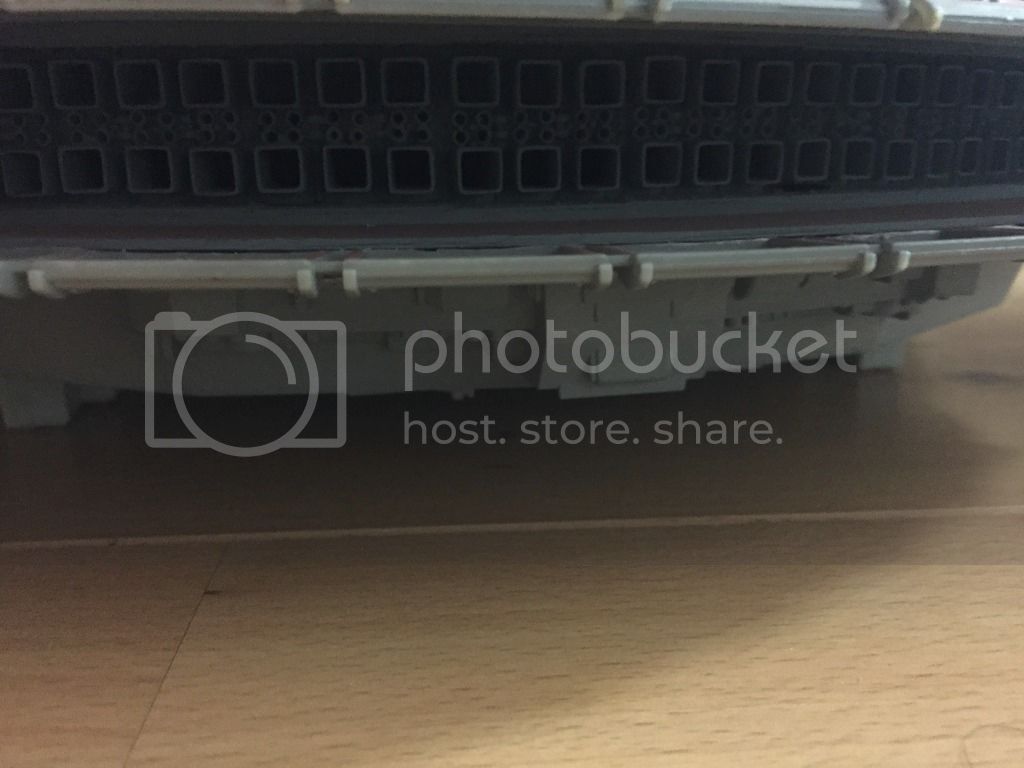
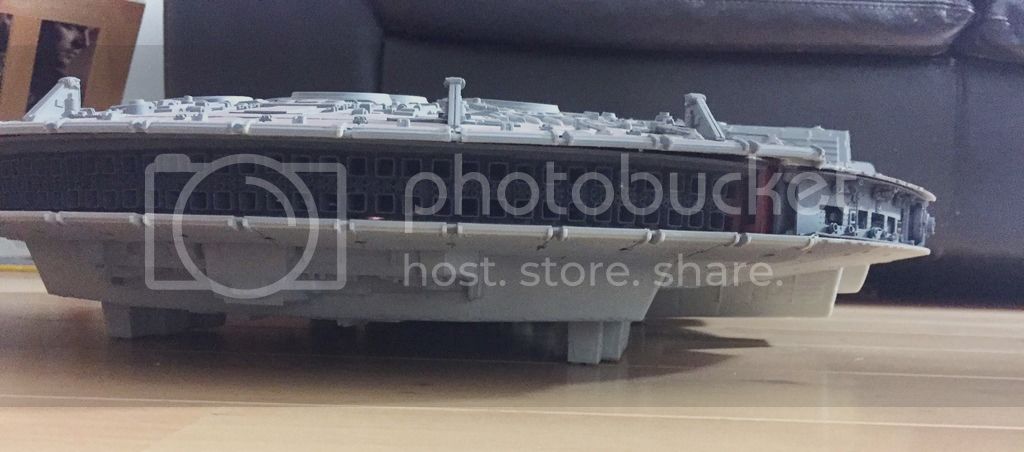
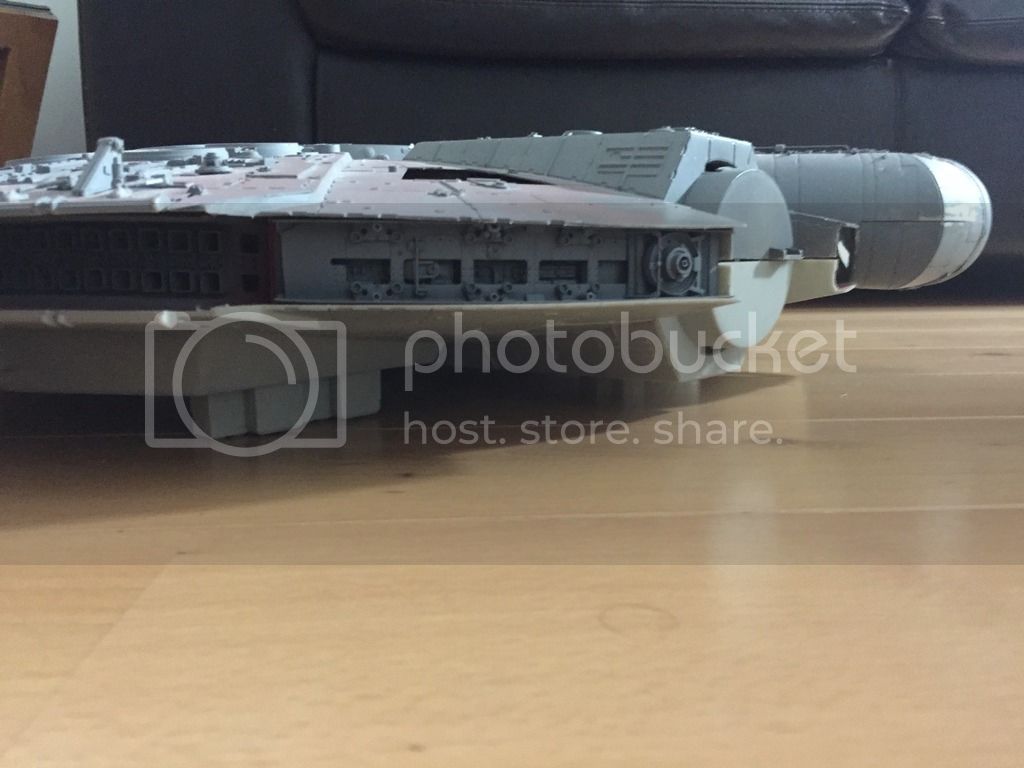
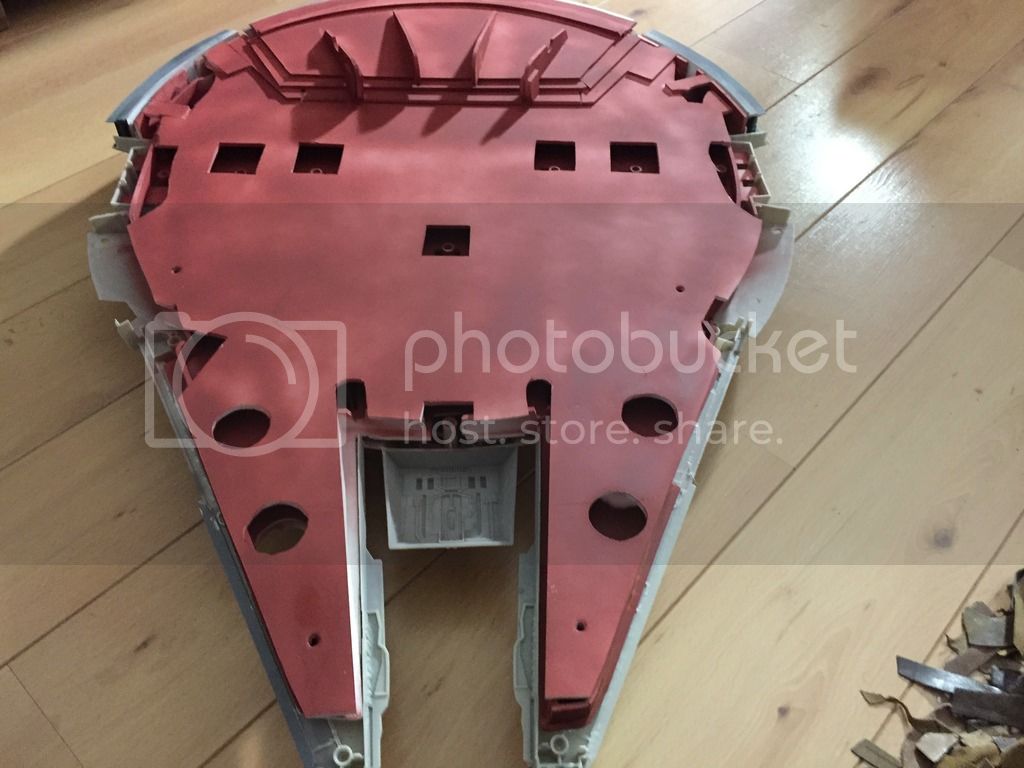
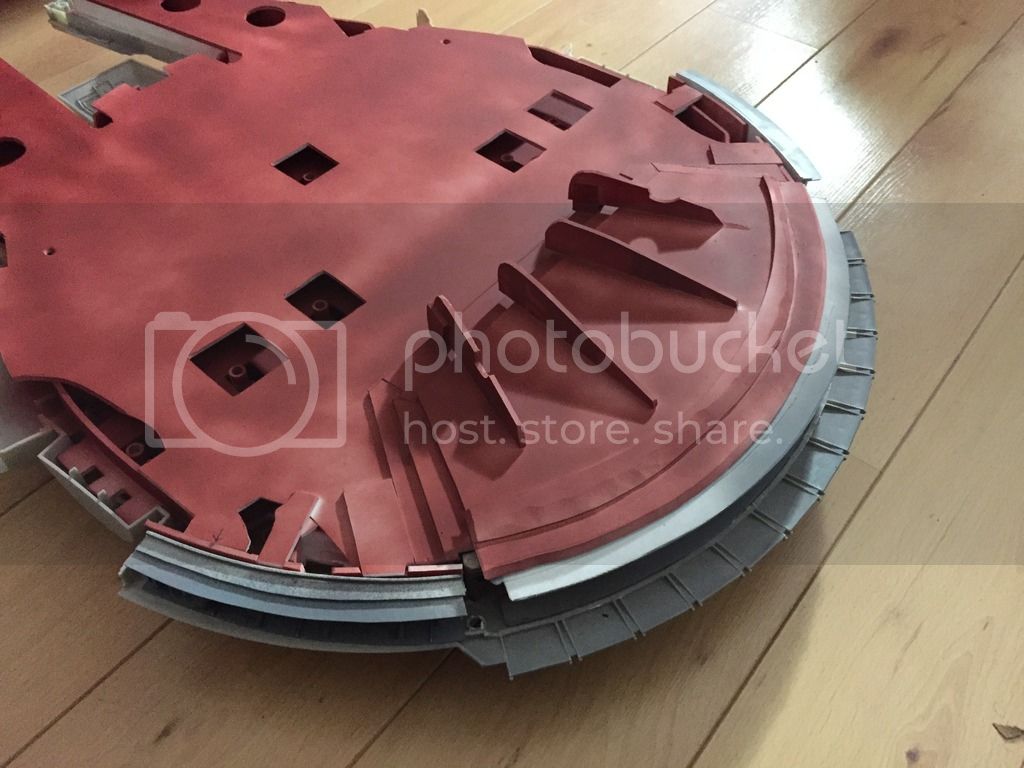
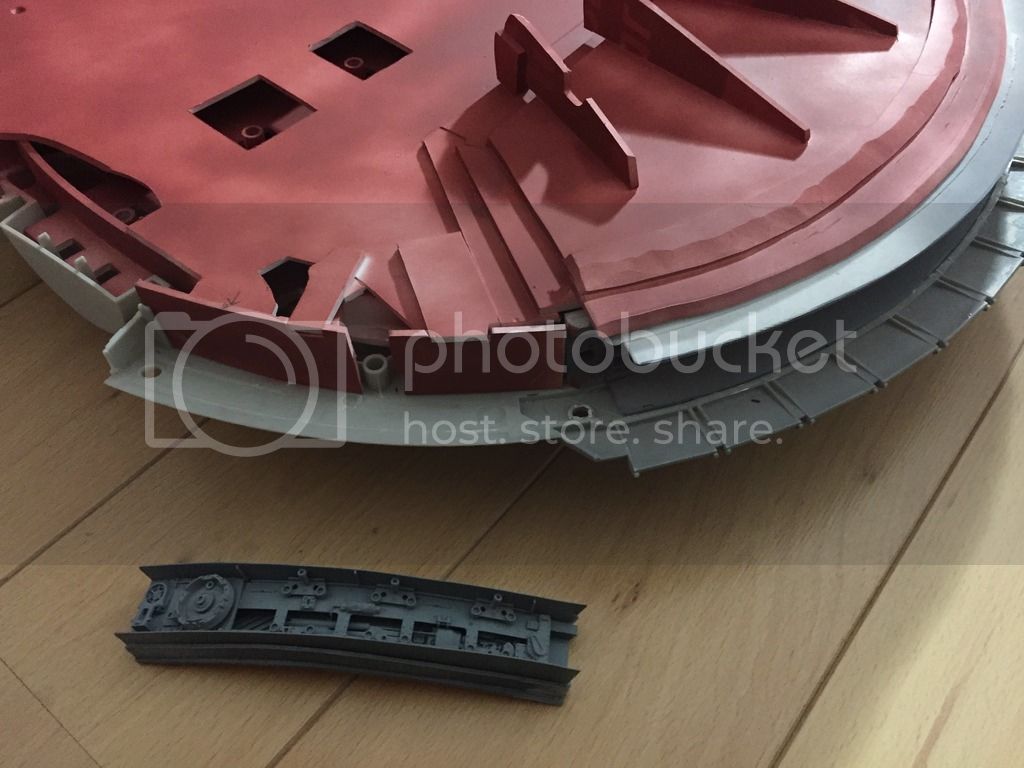
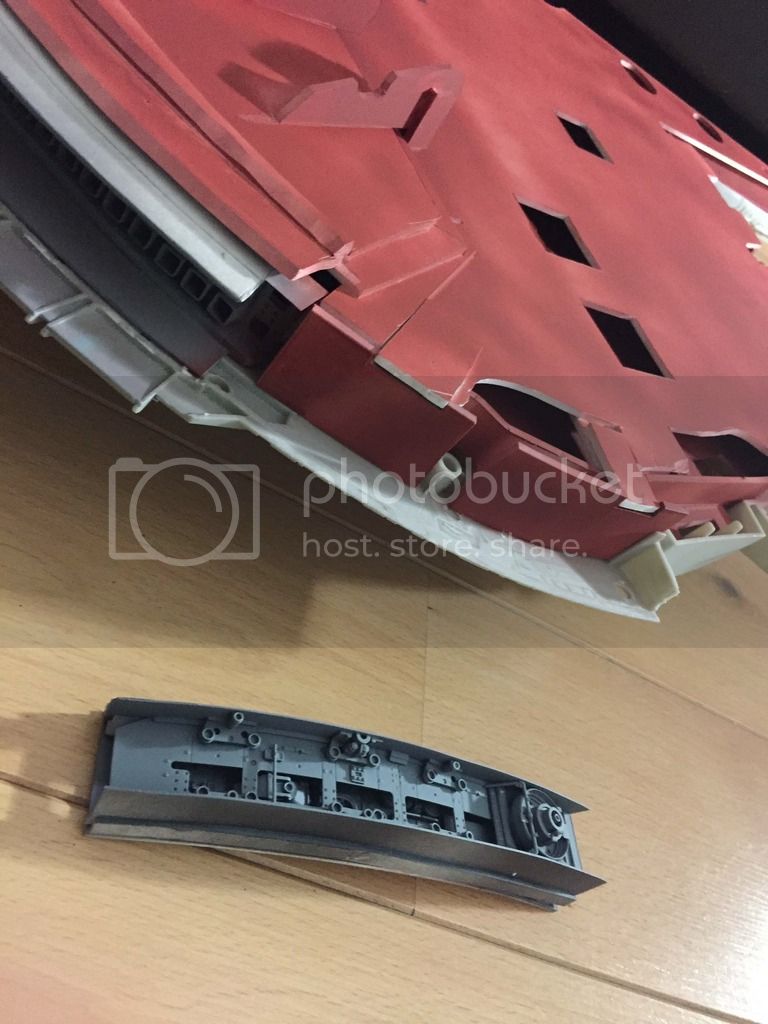
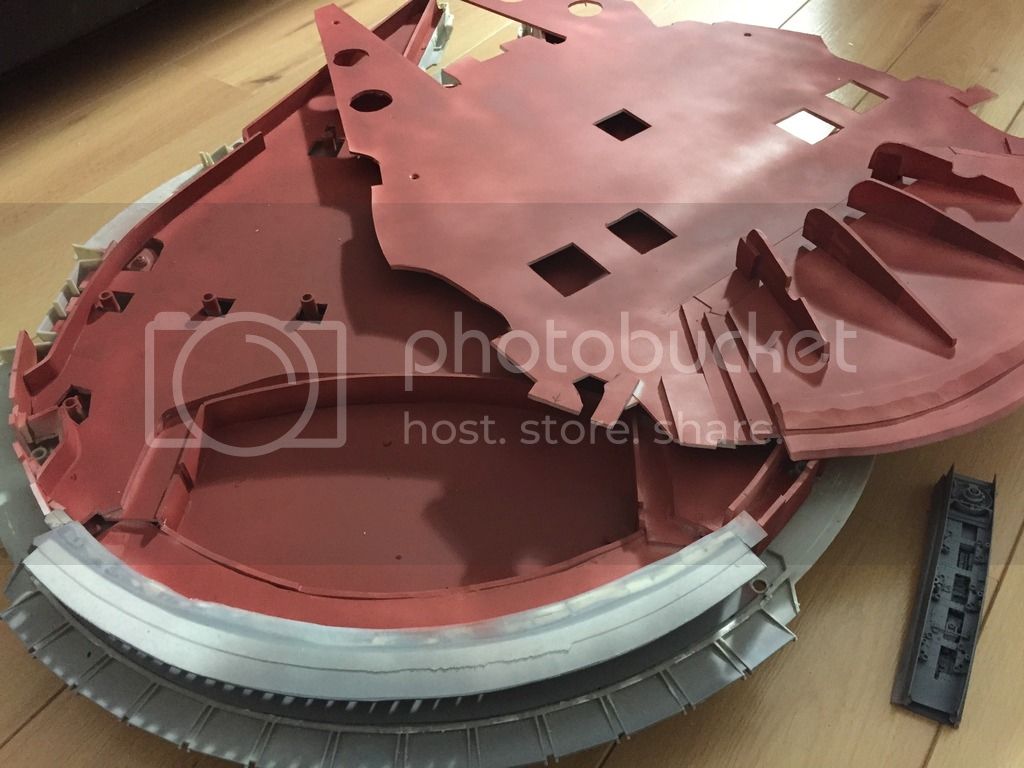
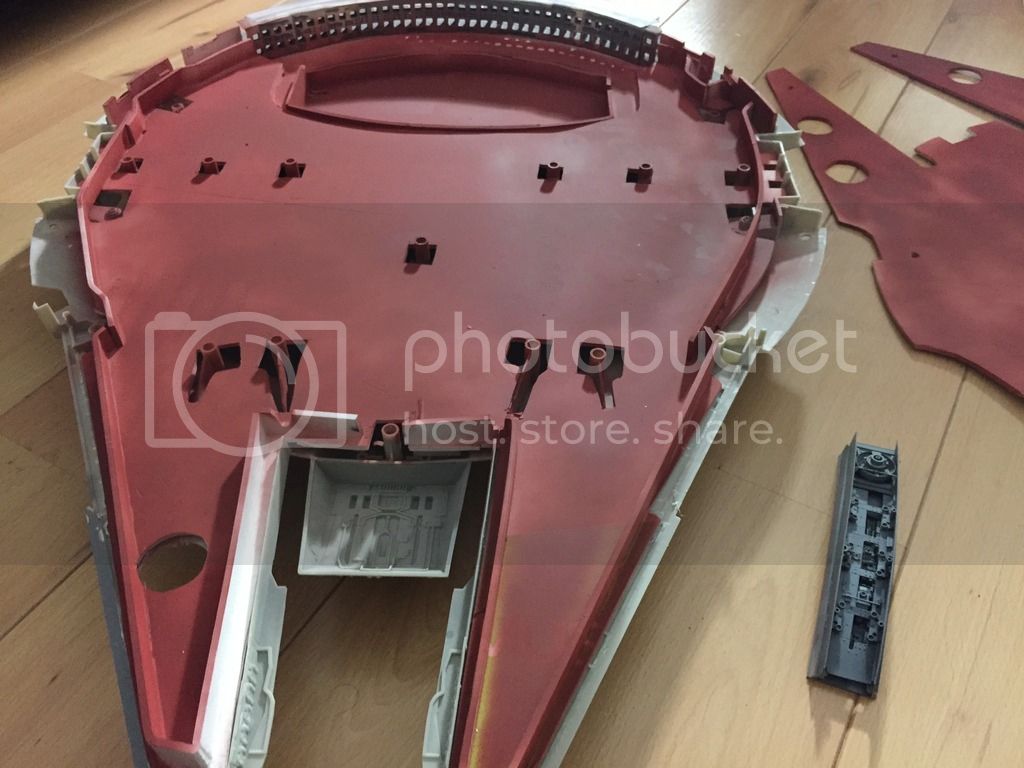
Remember all that time ago when guys were making nice frames for the interior of their Falcons,....& I said no.....I didnt think I'd need one......well......when I started chopping more bits off this bird,....she started flapping about like a real feathered bird,.....so I got some of my favourite stuff,.....Foamalux.....& started cutting & supergluing

So a quick look at where I am......the engines are now glued into the interior structure:
IMG_3953_zpsqkrpqedi.jpg

IMG_3954_zpsa5t8yjyi.jpg


A view from above with the pits removed....some other parts fell off also....oops:
IMG_3957_zpsxnqfwfin.jpg


The 2 rear side walls slot in:
IMG_3955_zps9r89dx1i.jpg


Top off:
IMG_3958_zpssoh6fr4w.jpg

IMG_3959_zpshsfznspt.jpg

IMG_3960_zpseksbwjvq.jpg

IMG_3961_zpsaajidzmt.jpg


Space for lighting:
IMG_3962_zps9vbyiz8r.jpg


Gonna work on the pits in here:
IMG_3963_zpsaq6cxgat.jpg


Thanks for looking

John
 
That's some good vodka isn't it..? .. Topoff
The detail in your build, is beyond my experience master, the engines alone,...phhtt
Coming along nicely Jaitea 8)
 
Thank you Belugawrx,....It's been that long ago since I made those engines

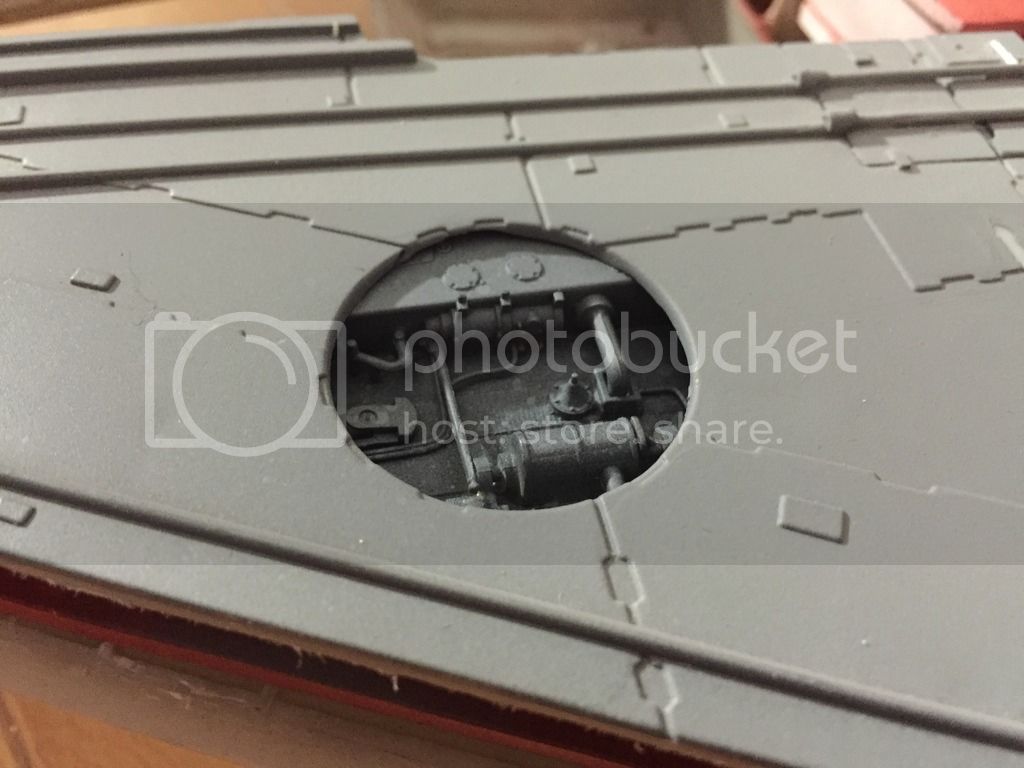
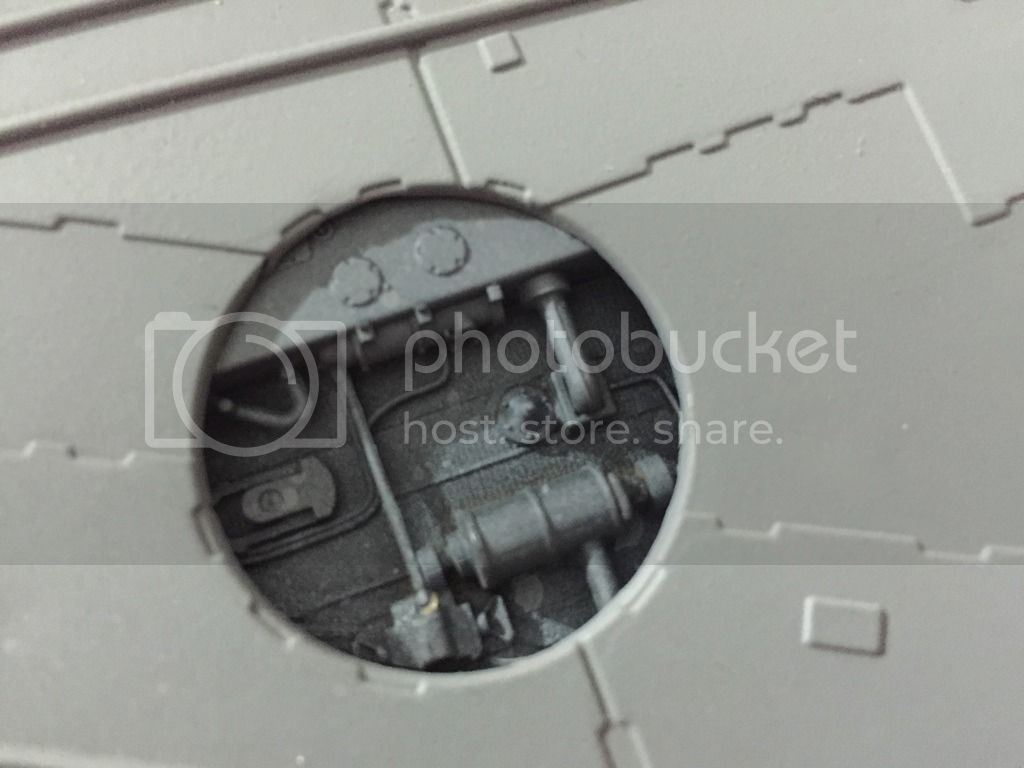
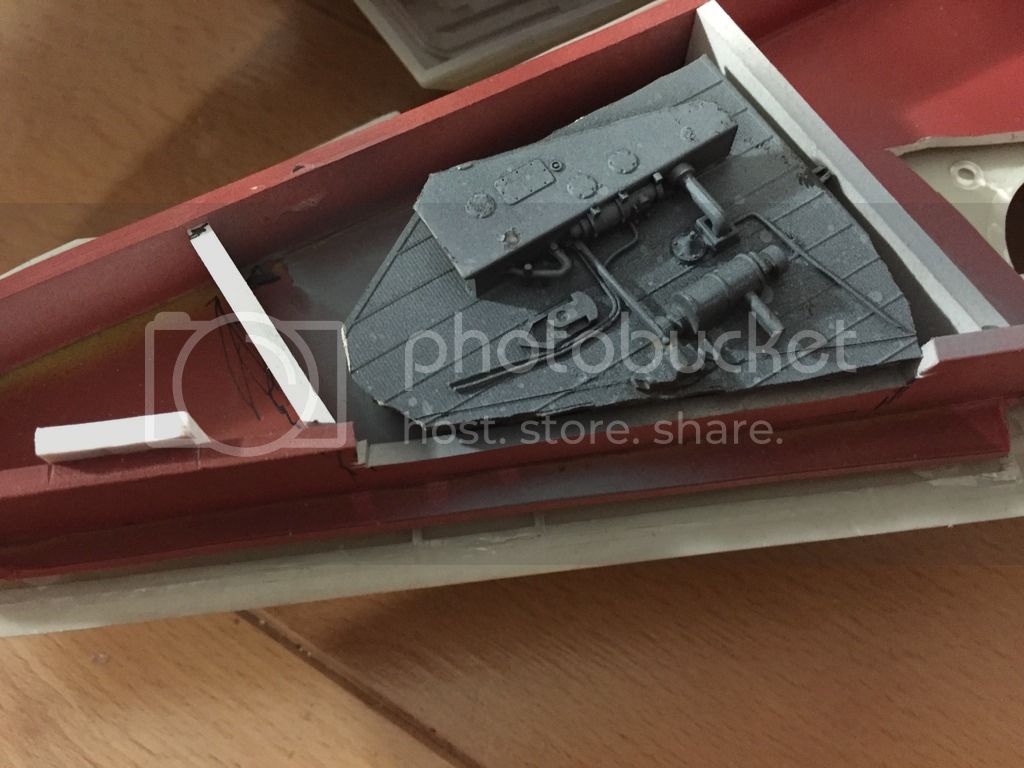
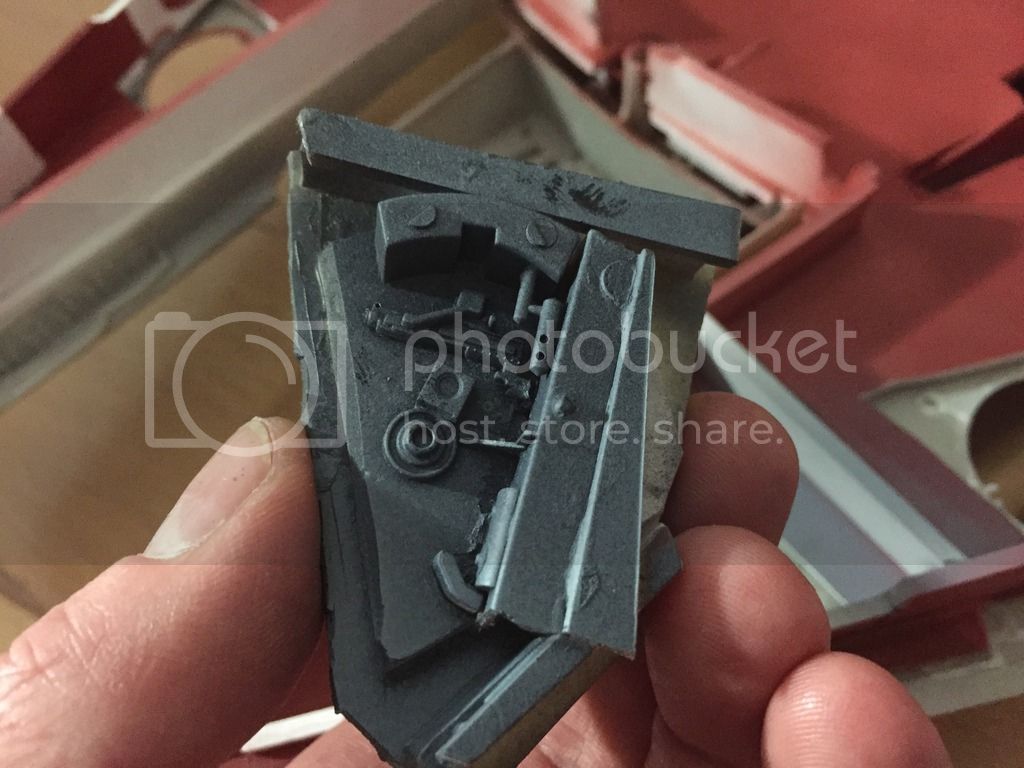
Some more done:

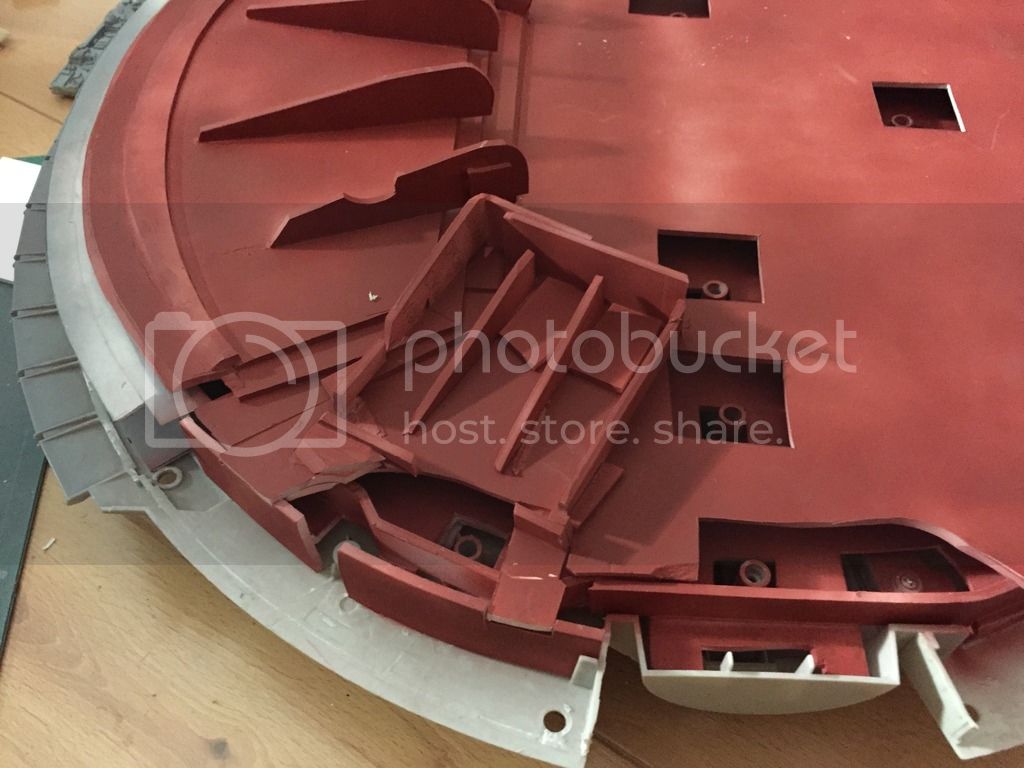
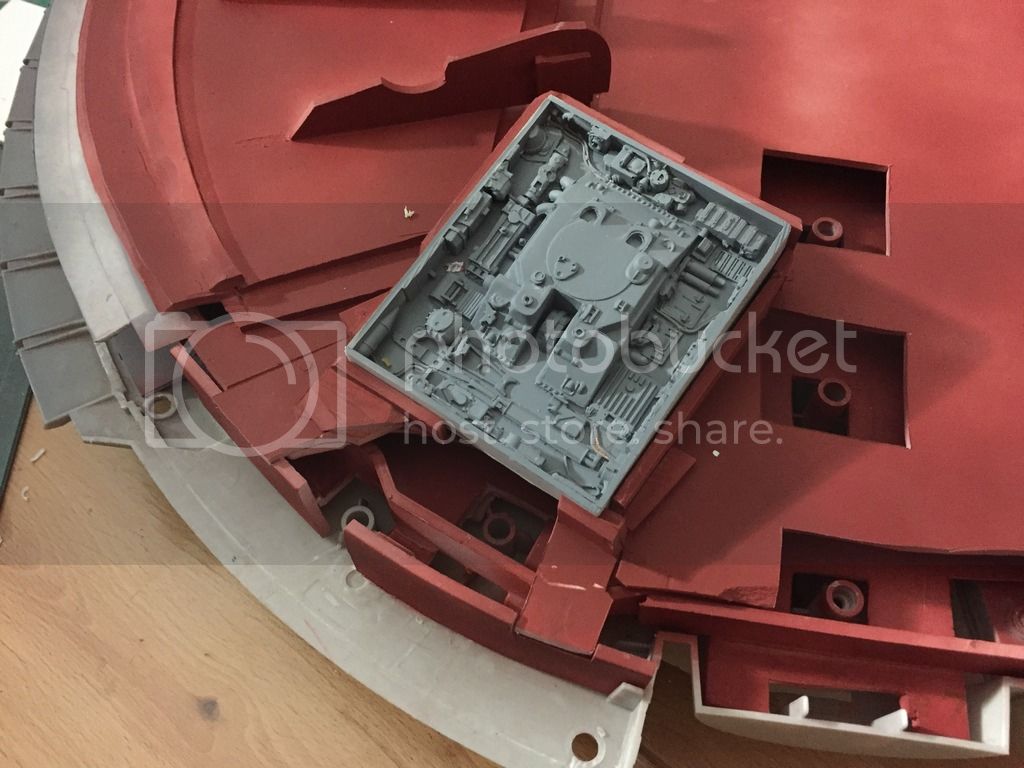
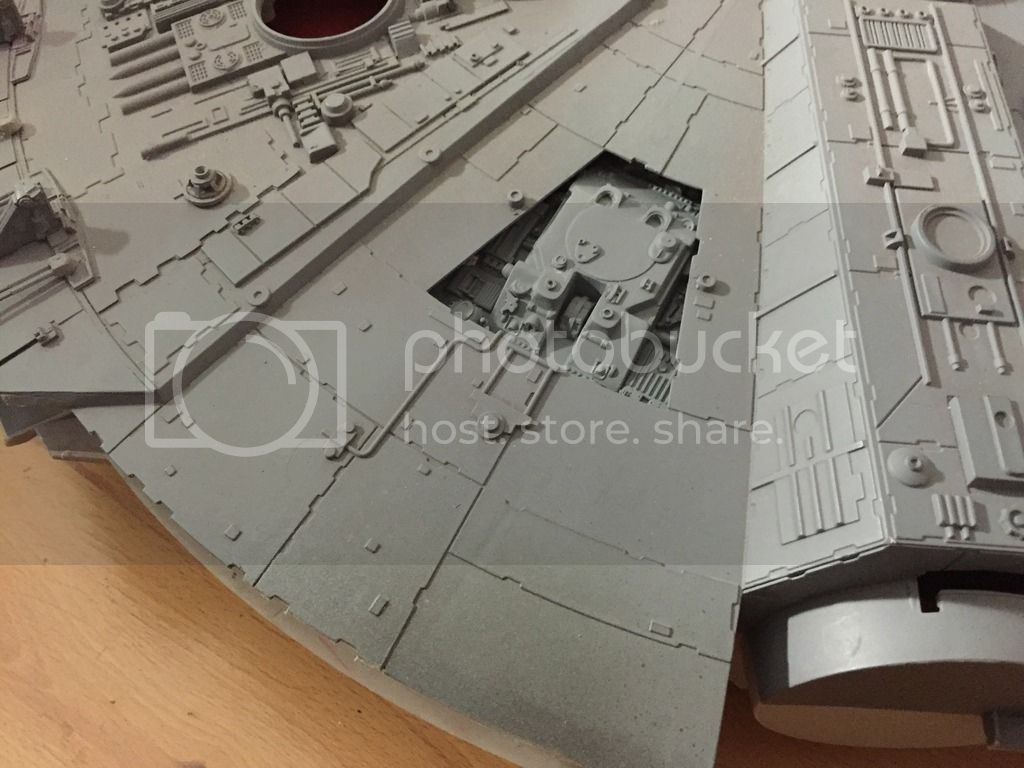
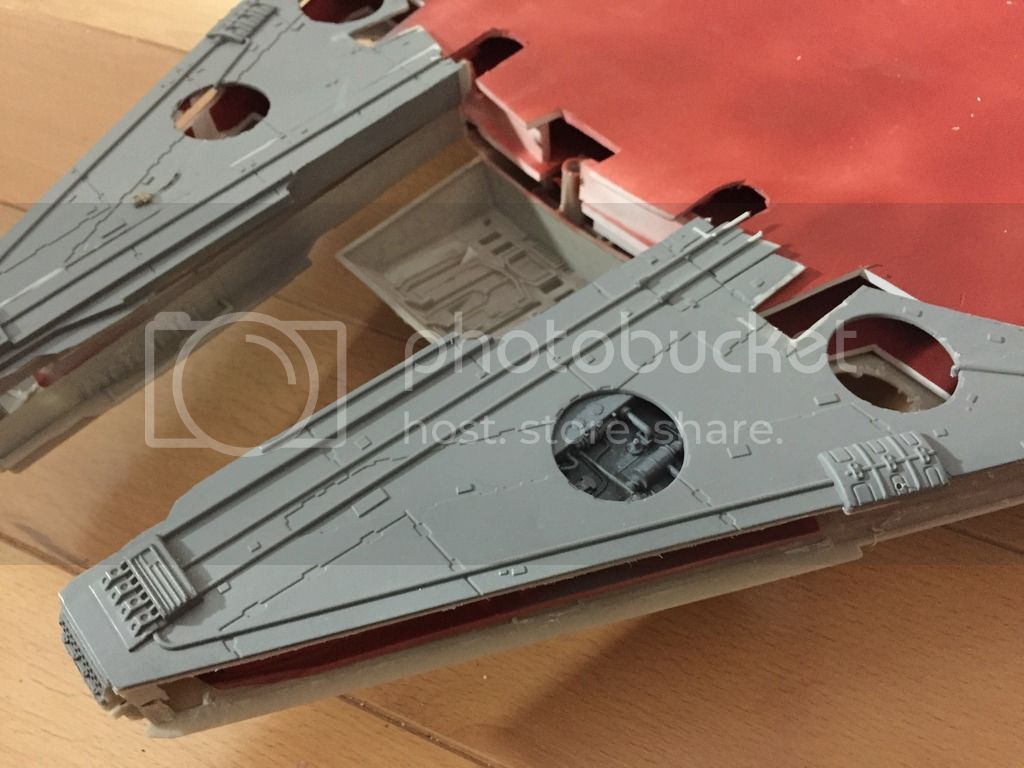
I made a holder for one of the access bays:
IMG_3972_zpsnjh4upcu.jpg

IMG_3973_zpsy56l9le1.jpg

IMG_3974_zps1sxxulh8.jpg


& 1 down,....3 more to go for the circular pits:

IMG_3964_zpsnhttvfkb.jpg

IMG_3965_zpsxyxjrqst.jpg

IMG_3966_zps4ou0lert.jpg

IMG_3967_zpsmhniybhx.jpg


& turned over:
IMG_3968_zps1irh1axq.jpg

...view of it in place on underside
IMG_3971_zpszhl1vykr.jpg


Thanks for looking

John
 

Latest posts

Back
Top