Group Build: F/A-18A-G Super Hornet/Growler

Scale Model Addict - Model Tips, Guides, Tools & Tech, Tutorials, and Community

Help Support Scale Model Addict:

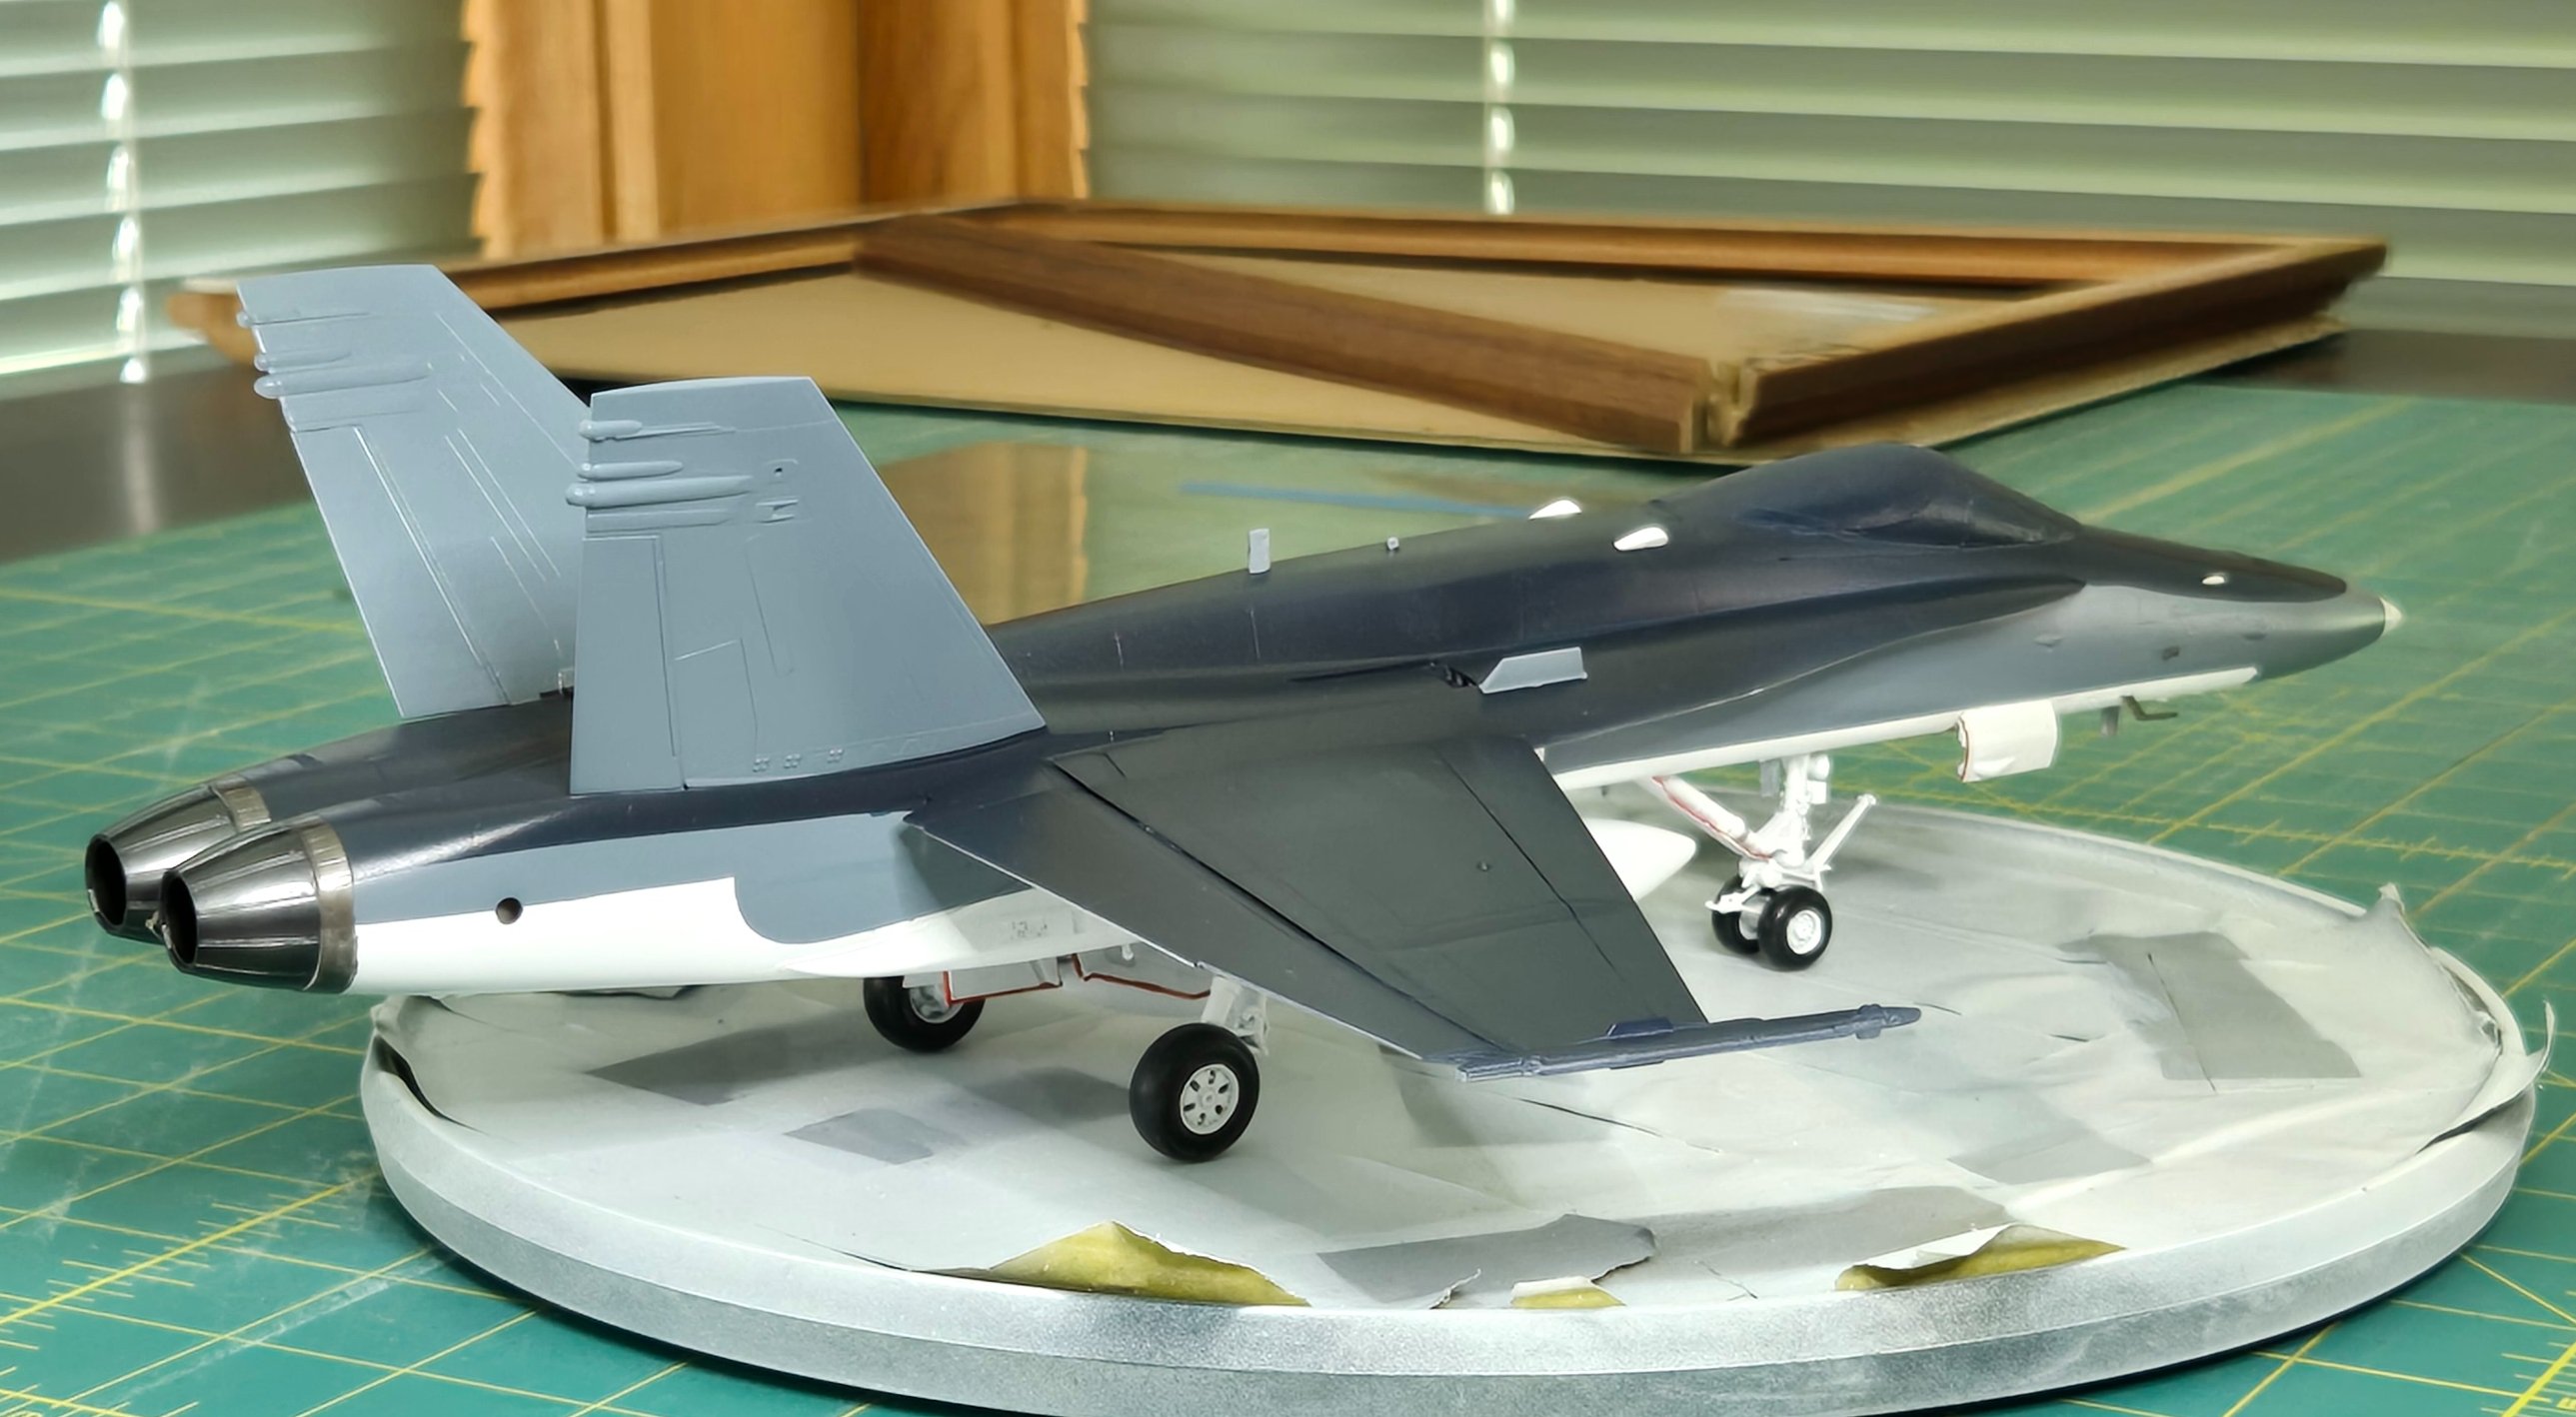
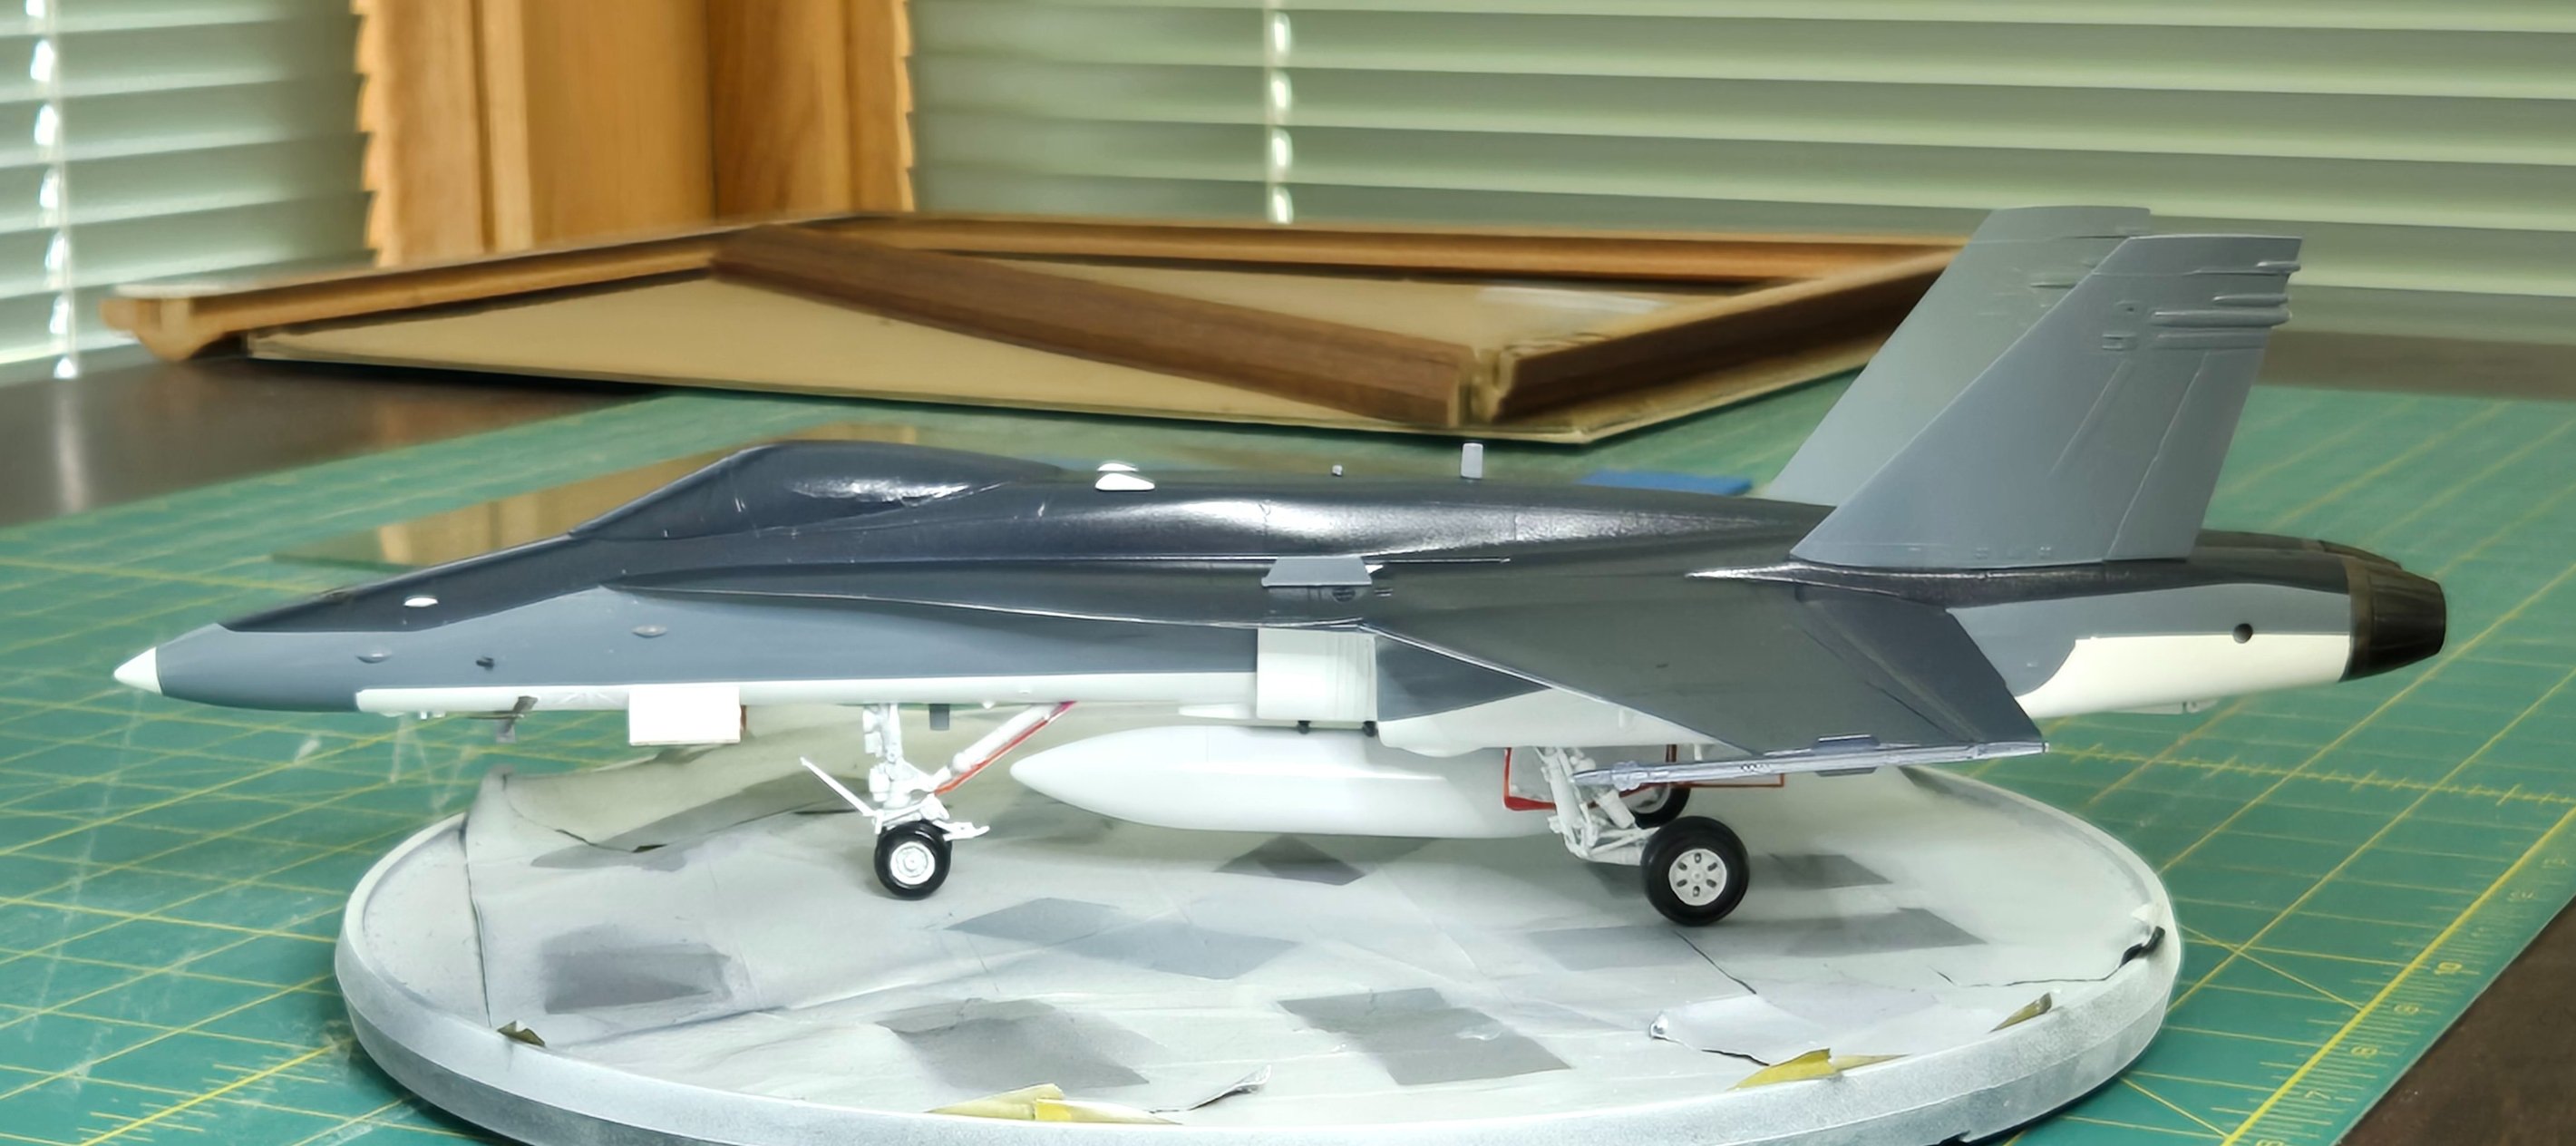
@MRDuczz Looking good! That saves color changes and need to paint more than one color other than primer! The thread has been quiet for some time, I also hope to change that in the next couple days, as all my upgrade parts are ALL finally in! I think this is going to be the most upgraded parts I've ever put on a single aircraft build in my life, so this will definitely be interesting.
 
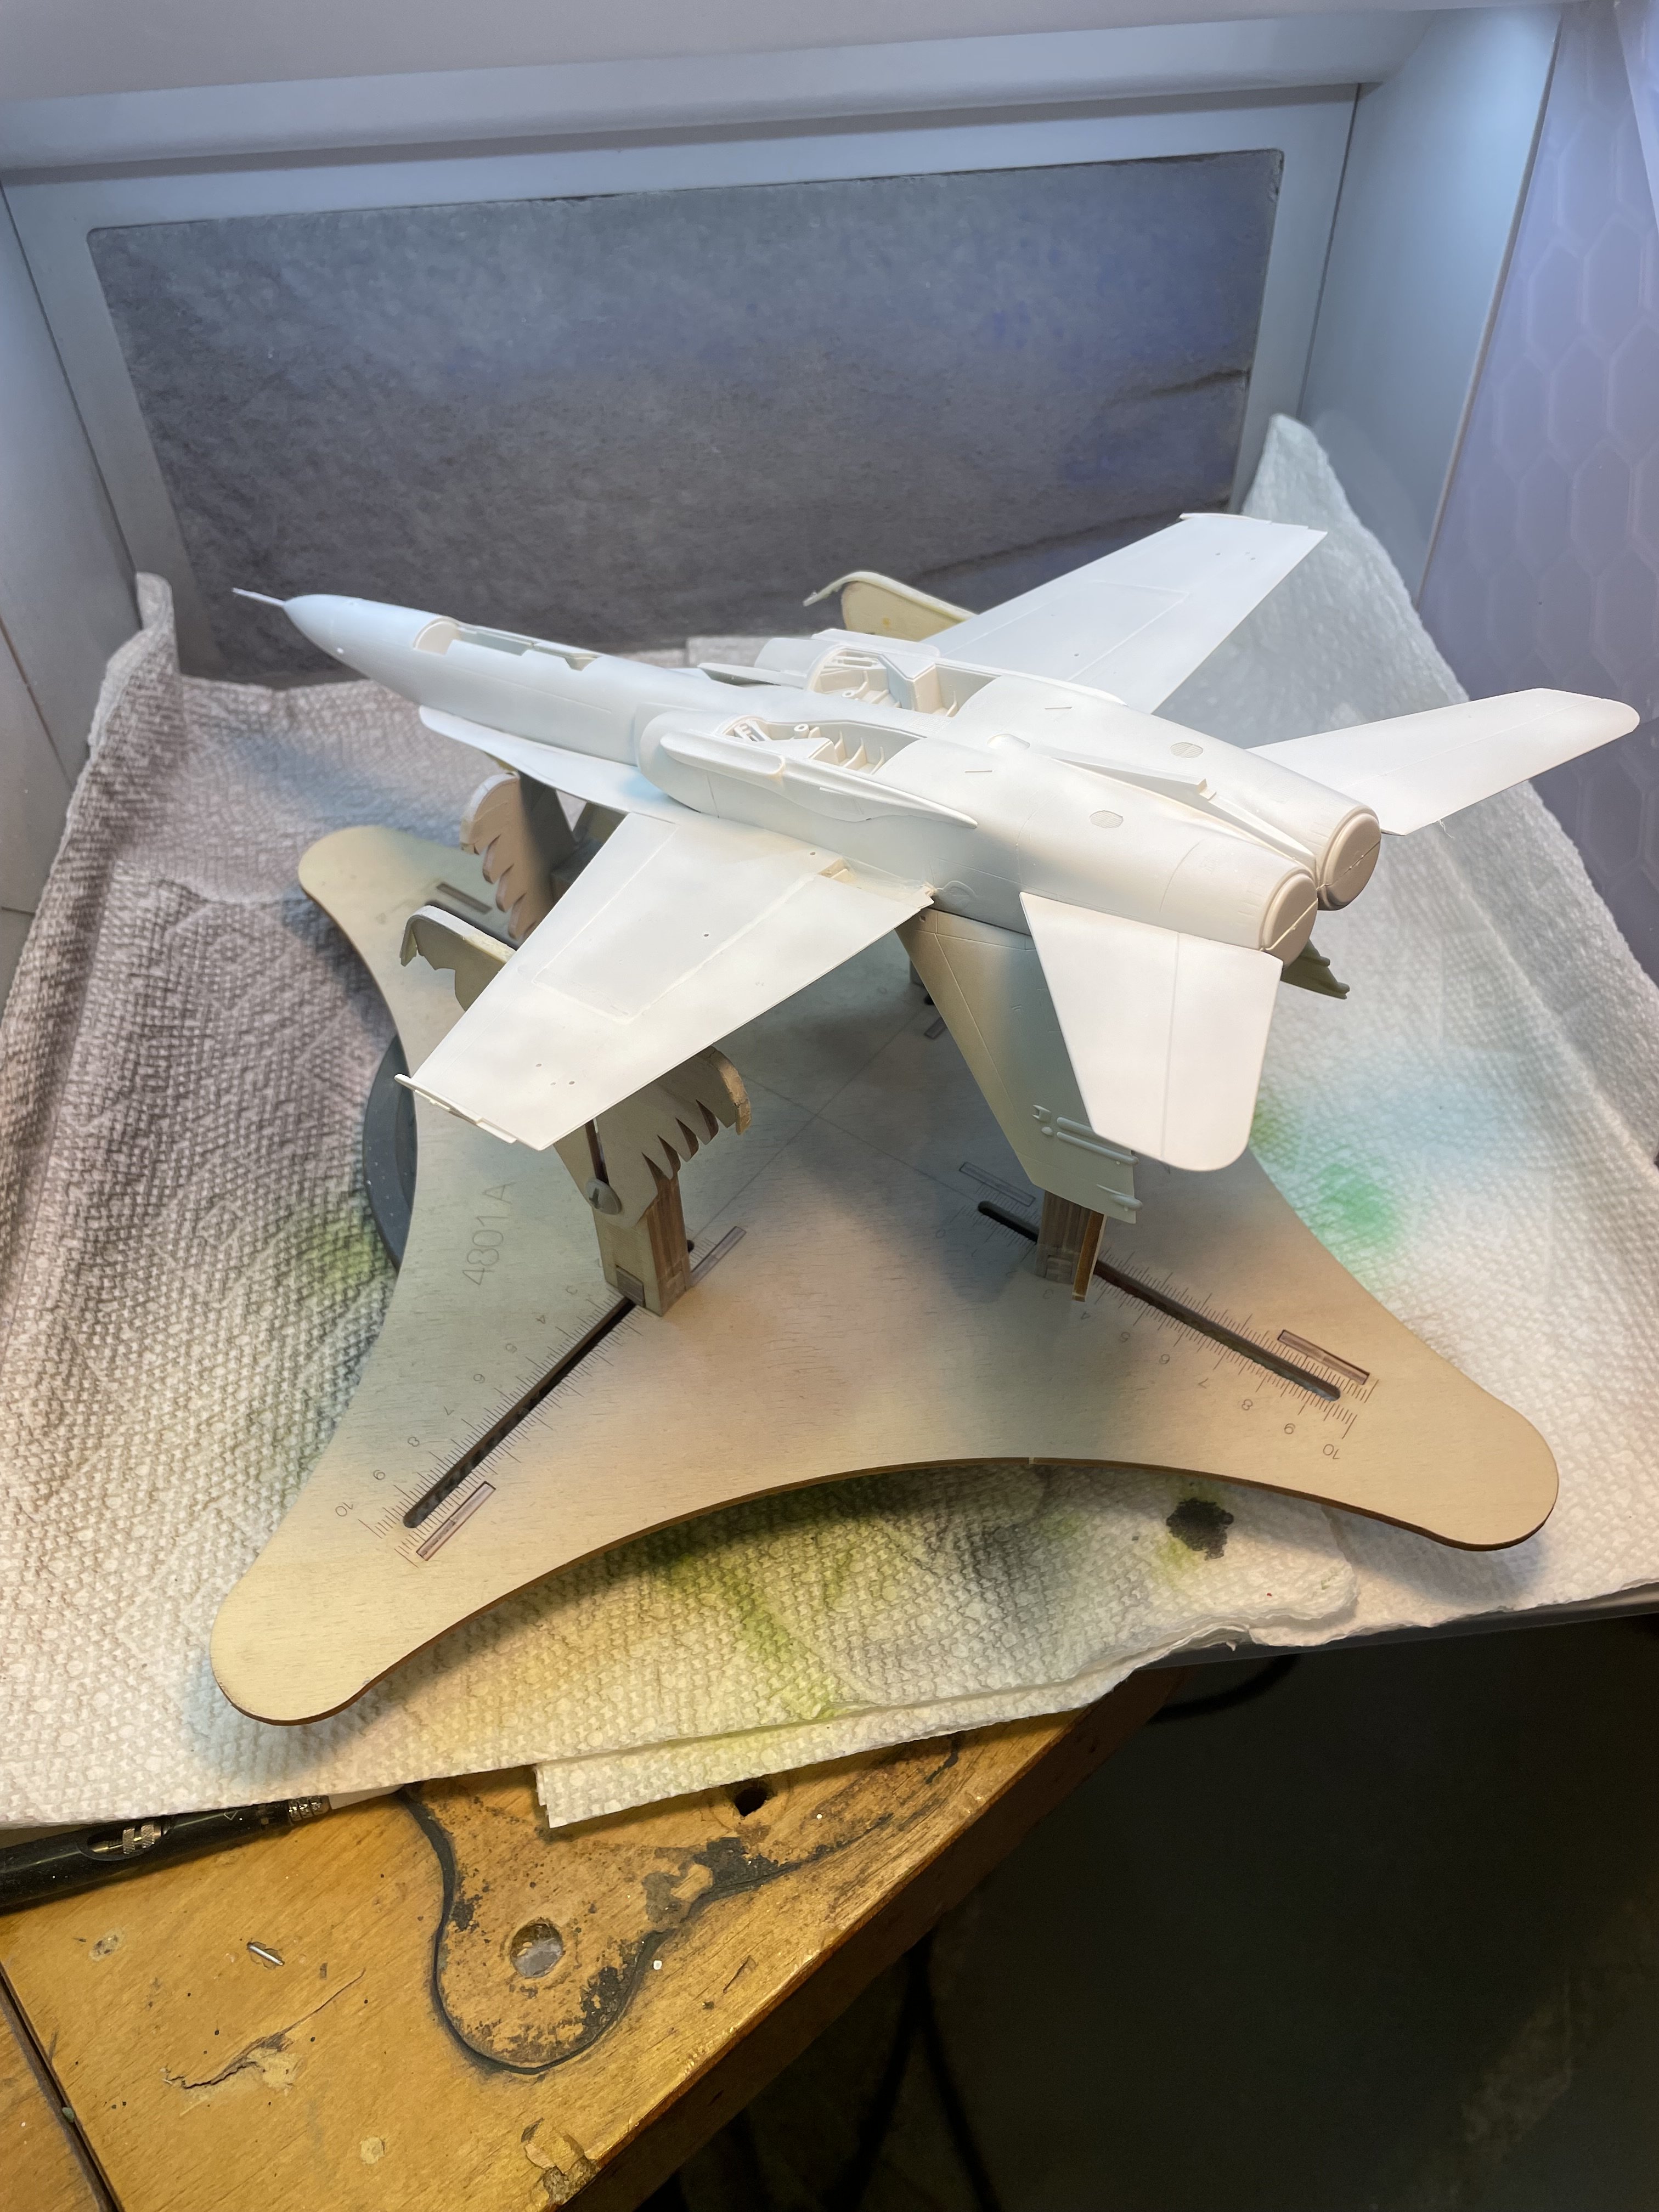
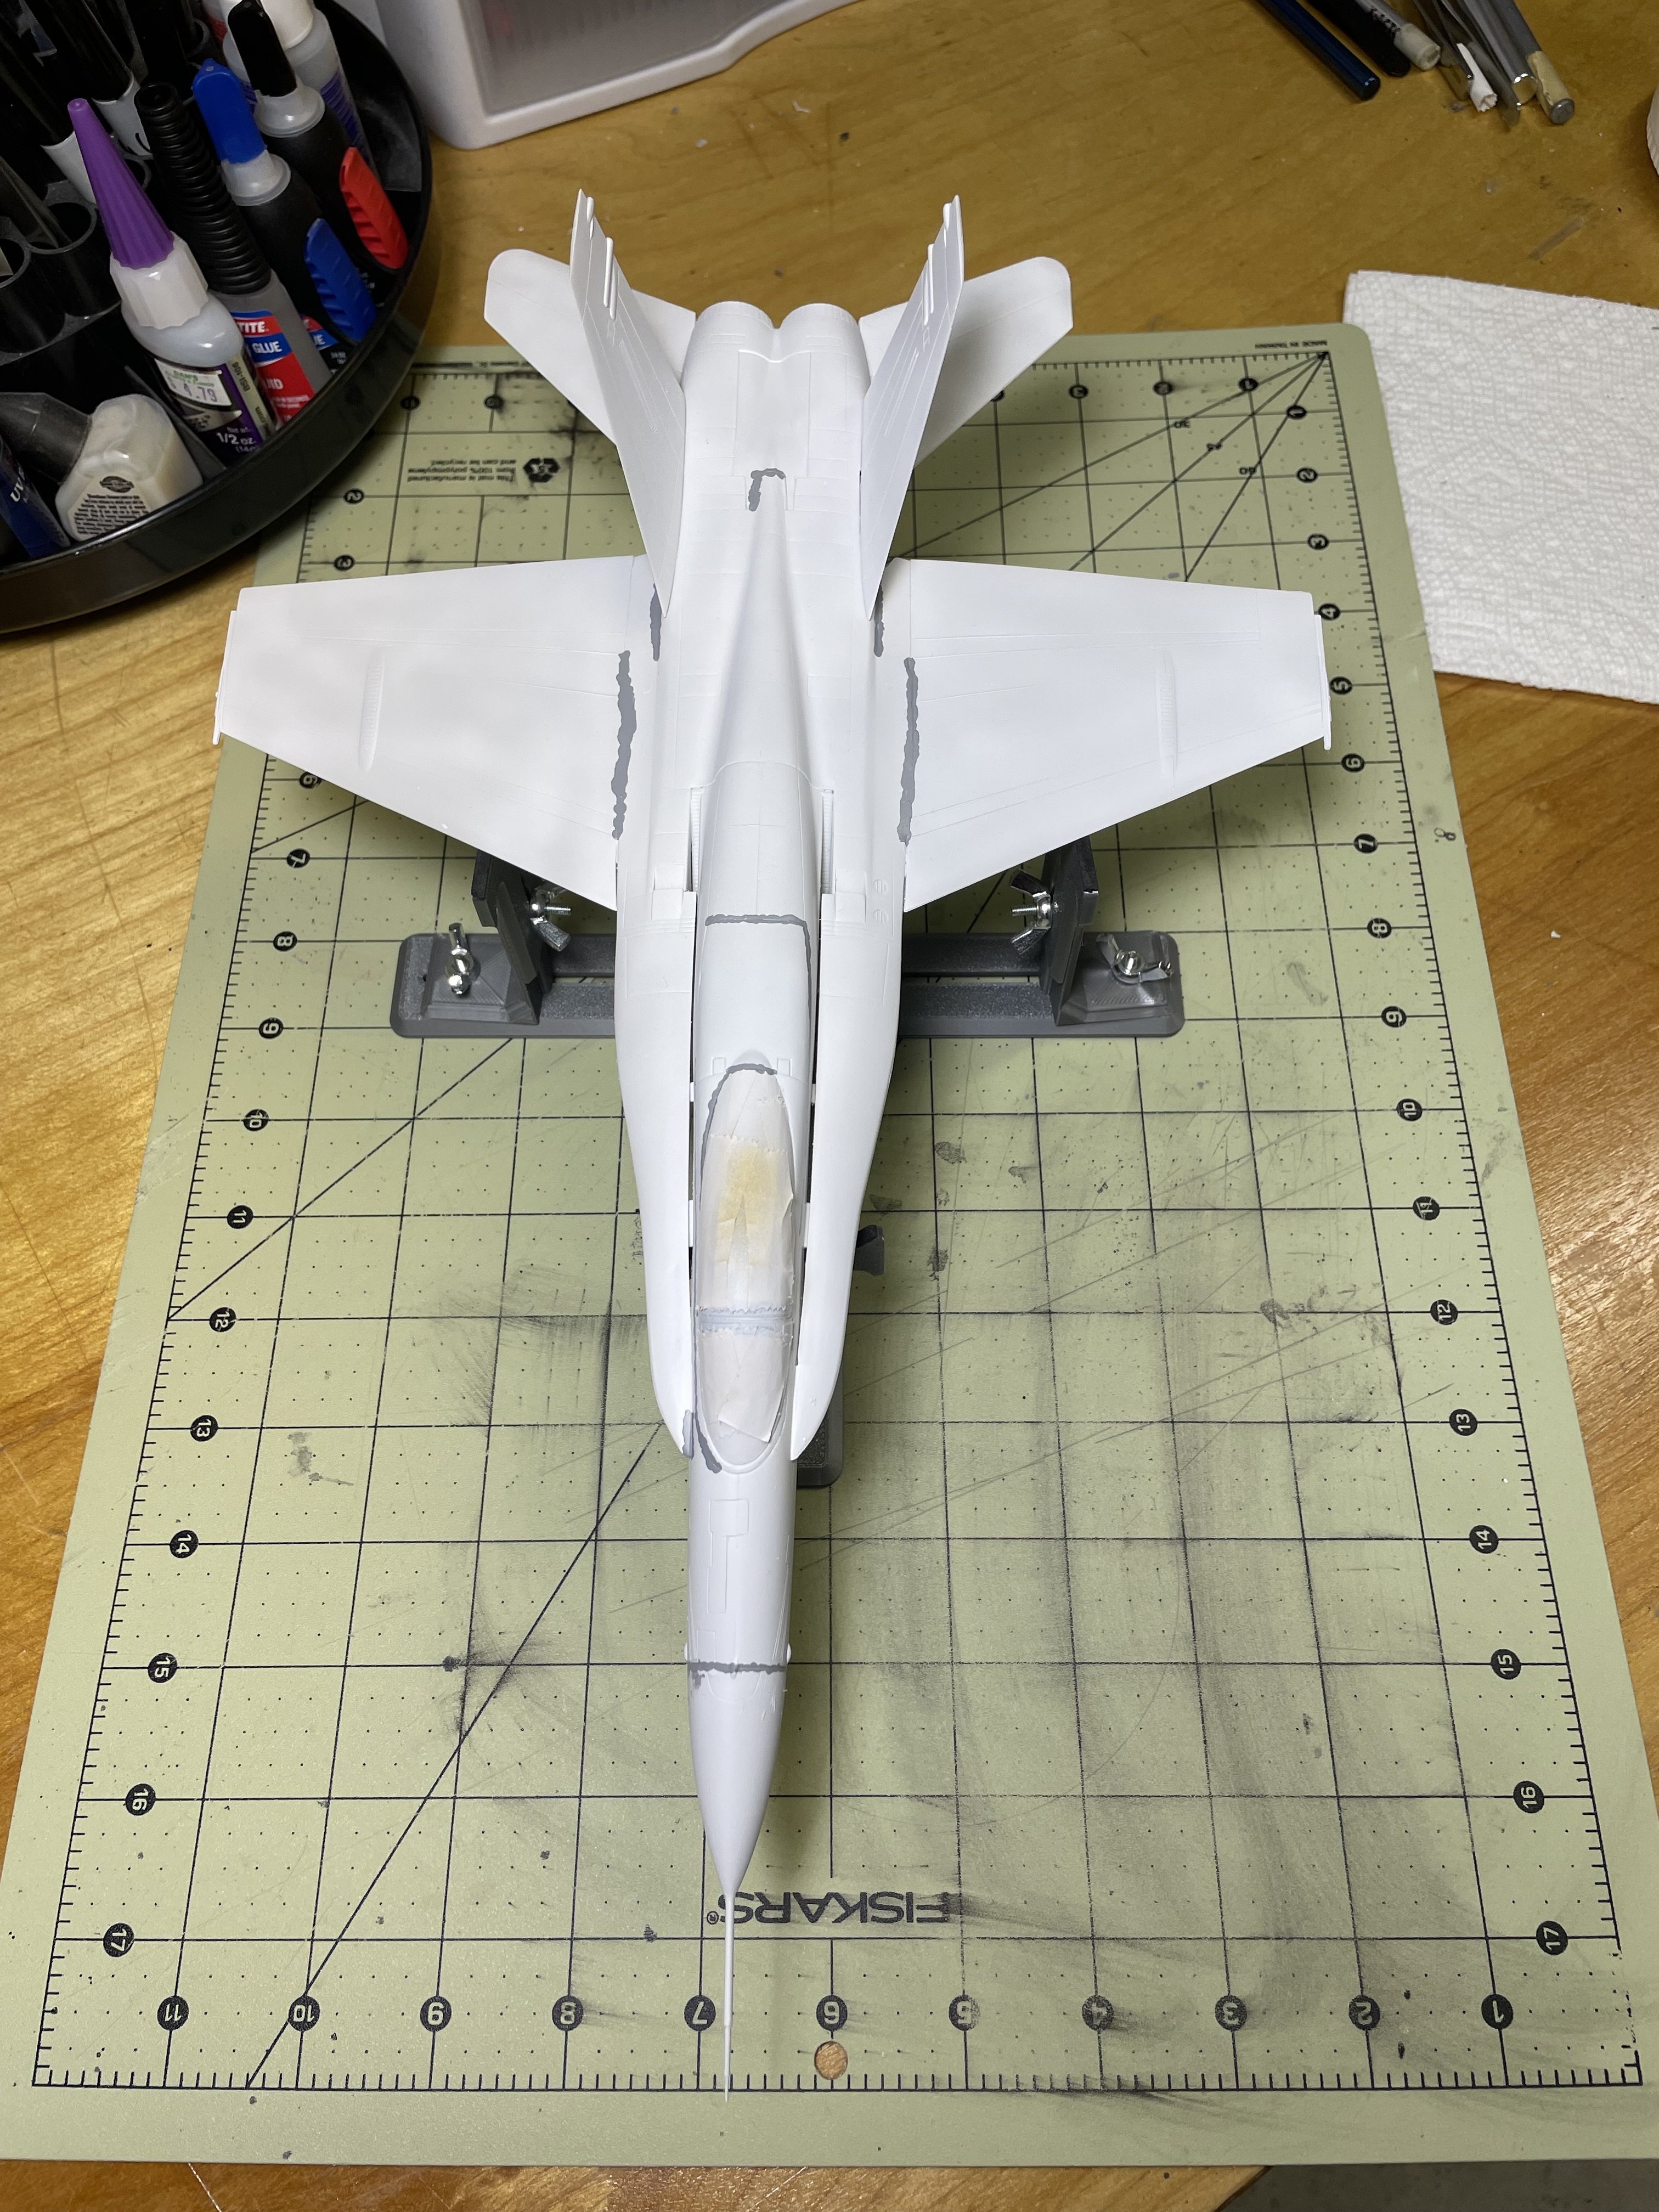
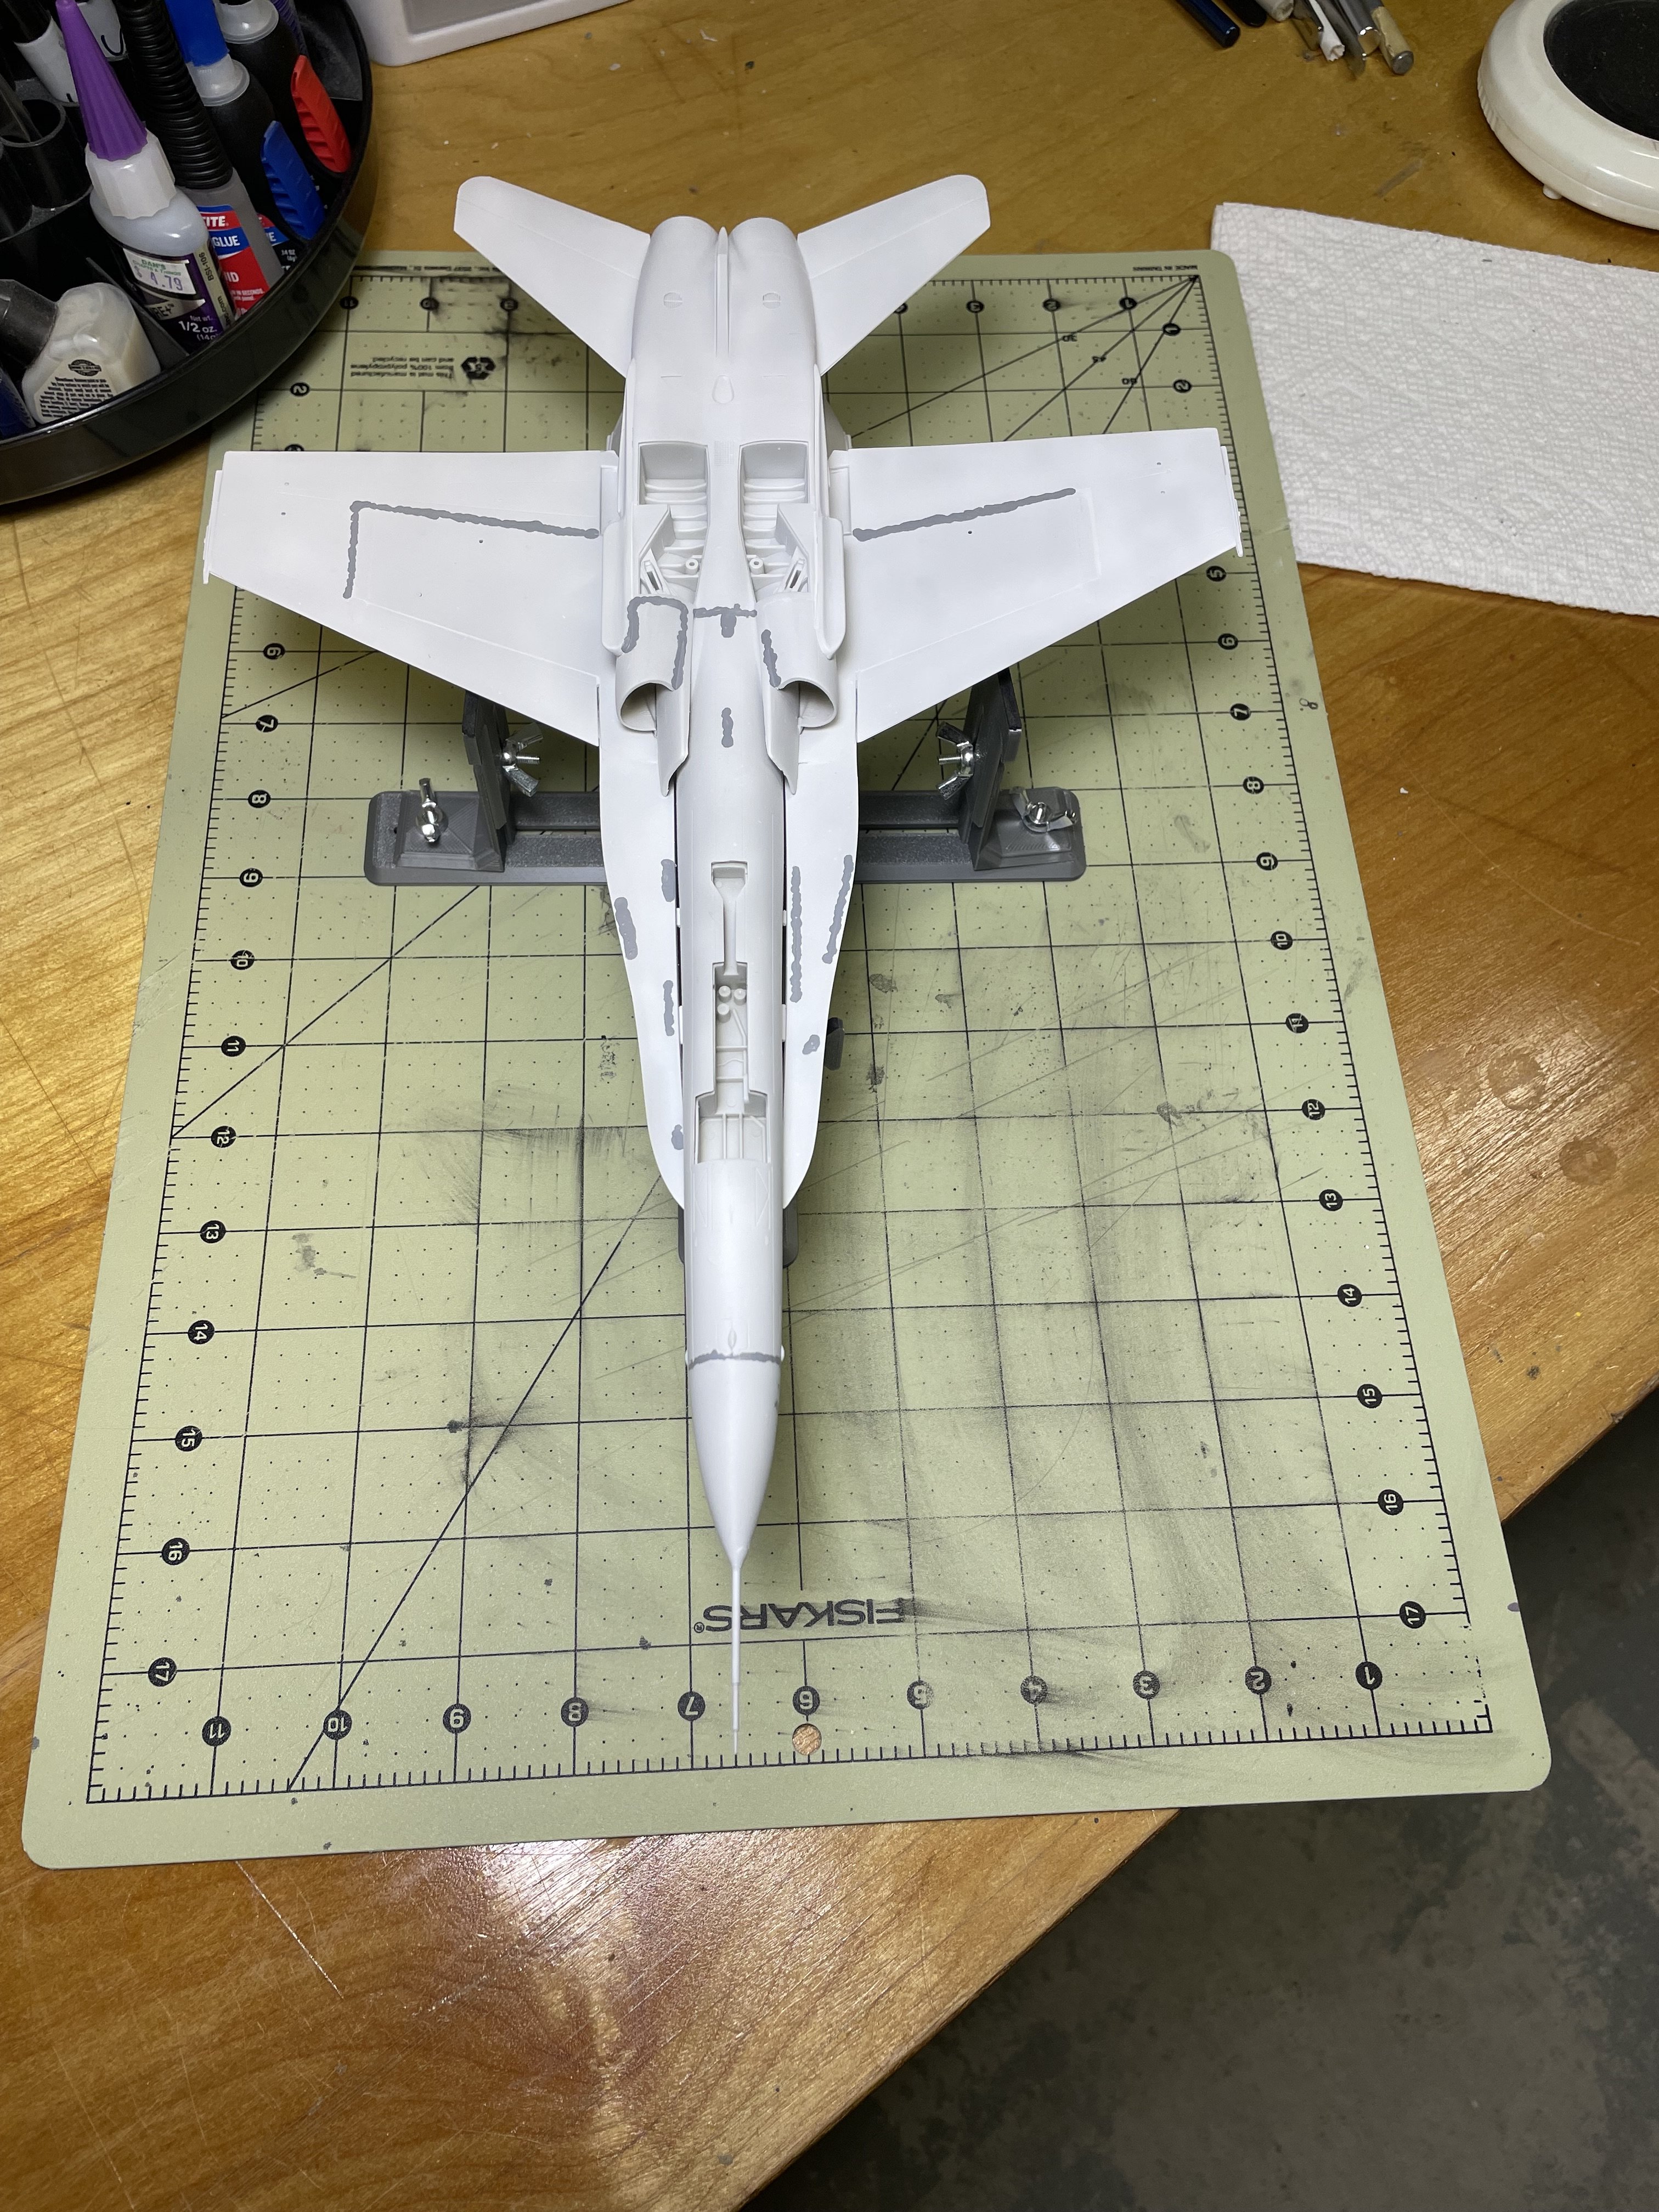
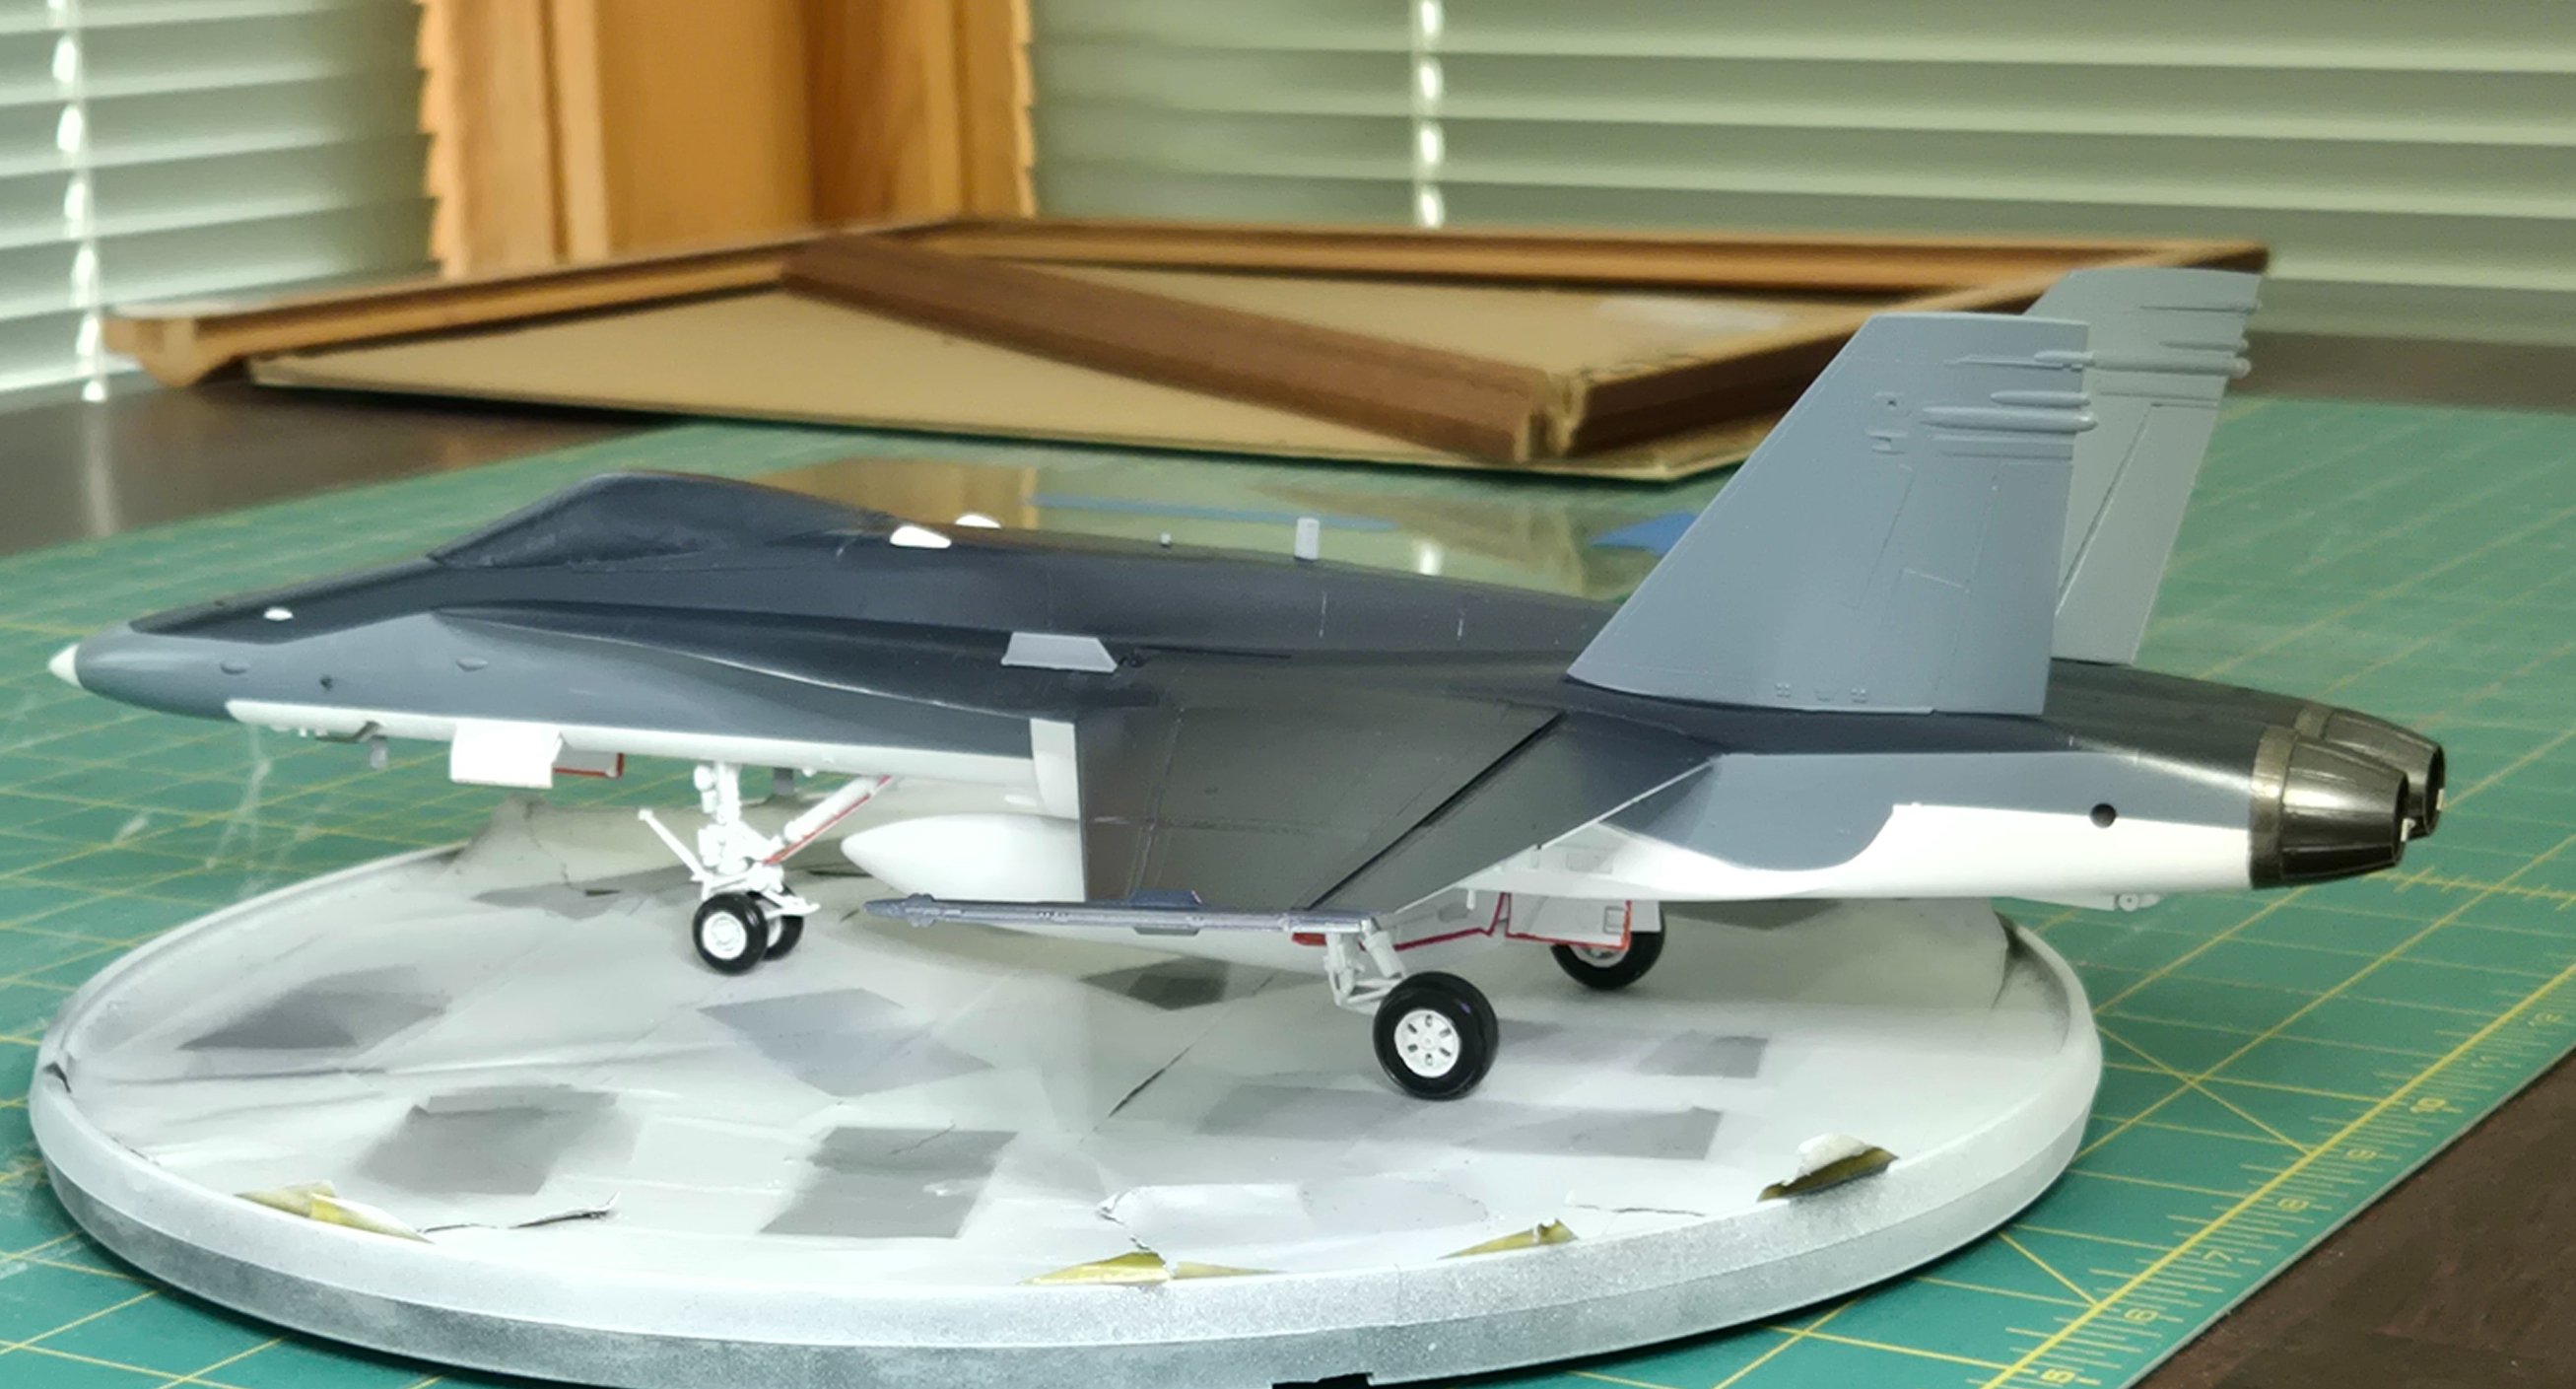
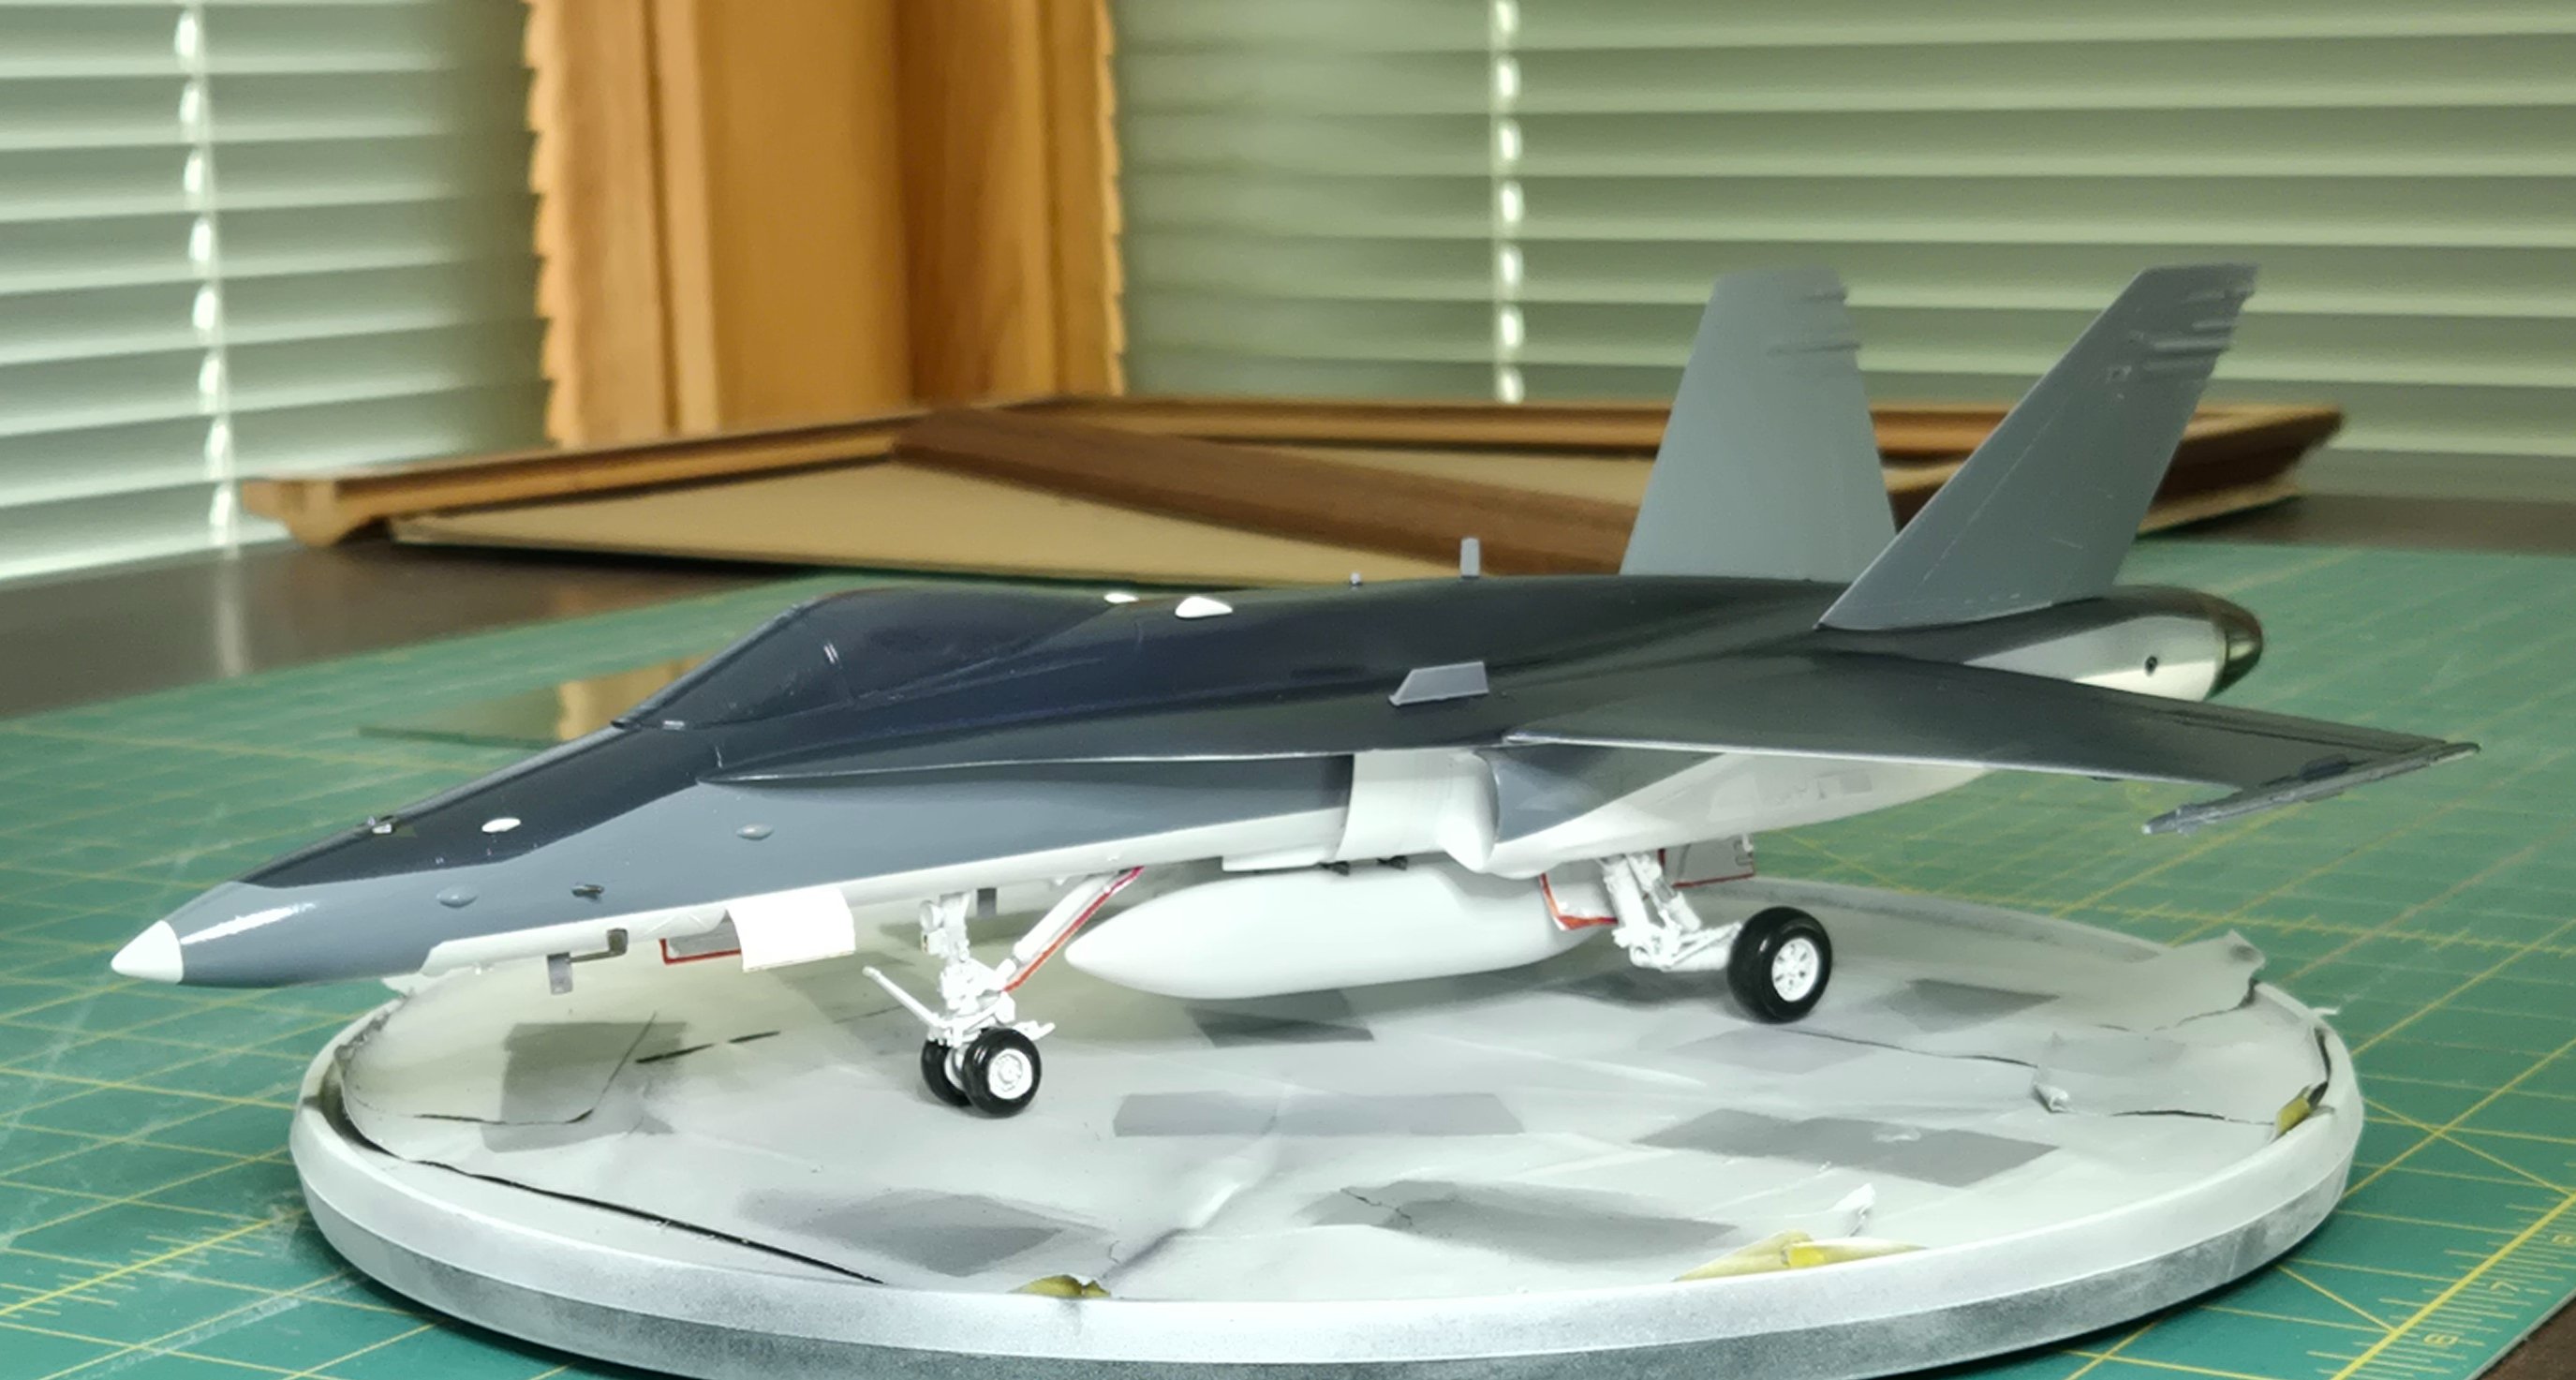
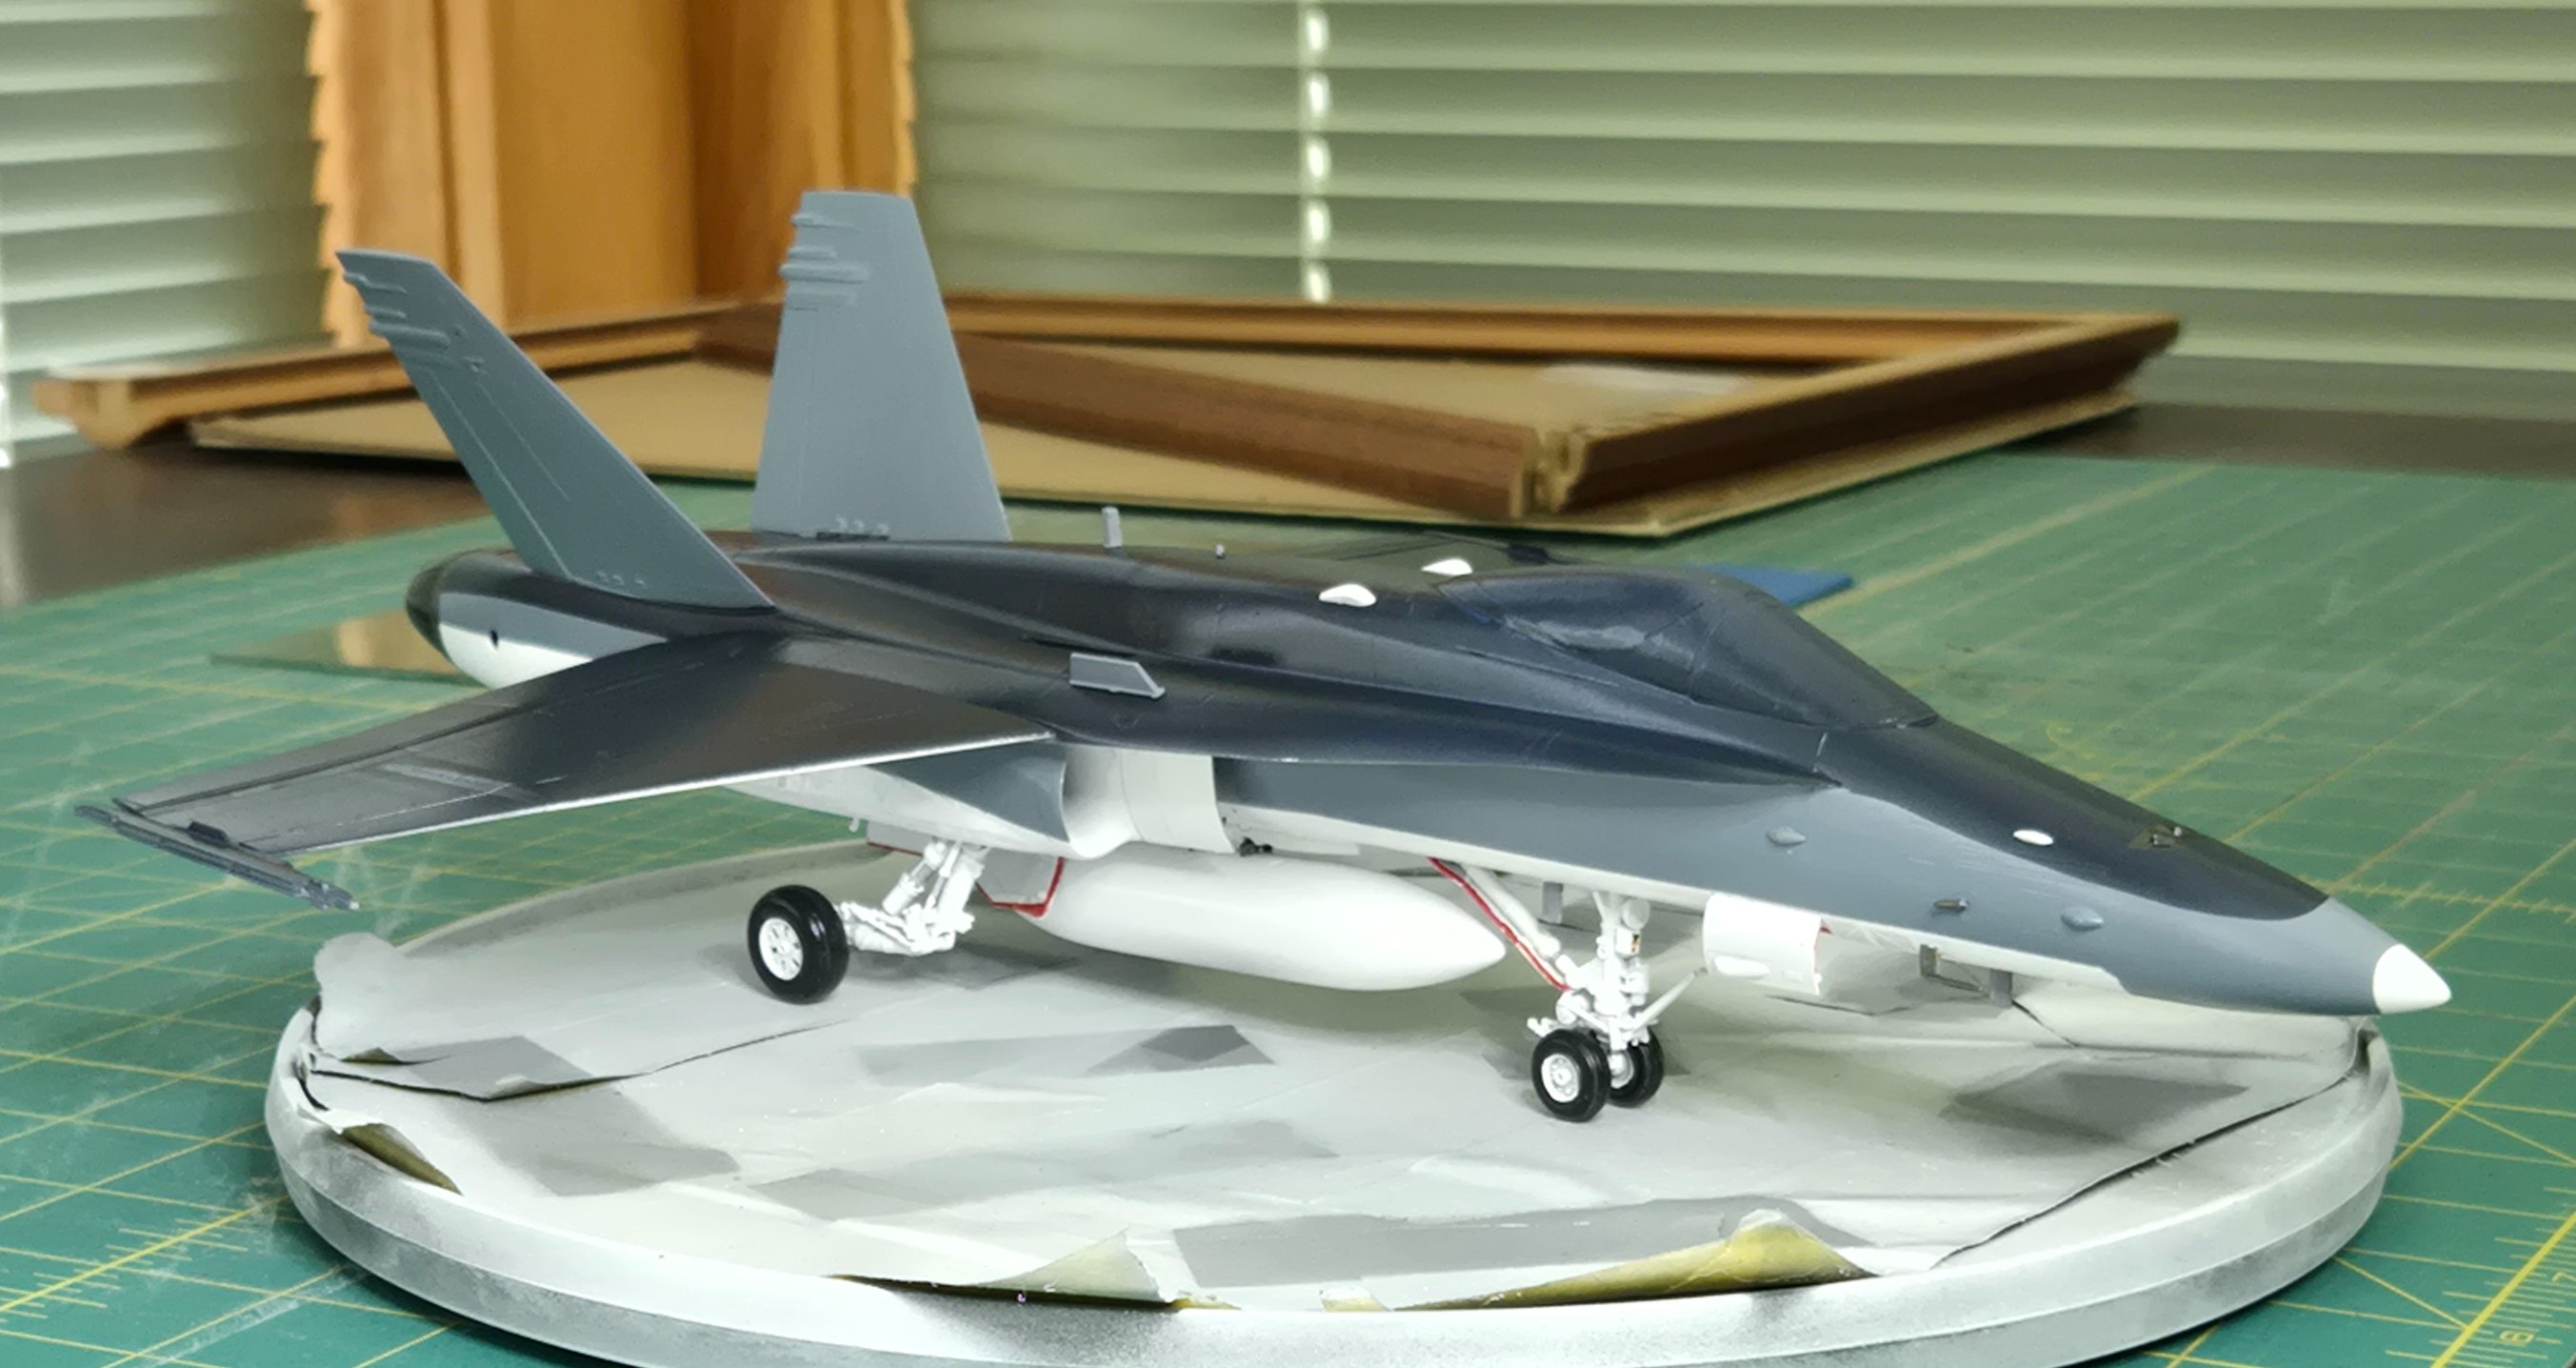
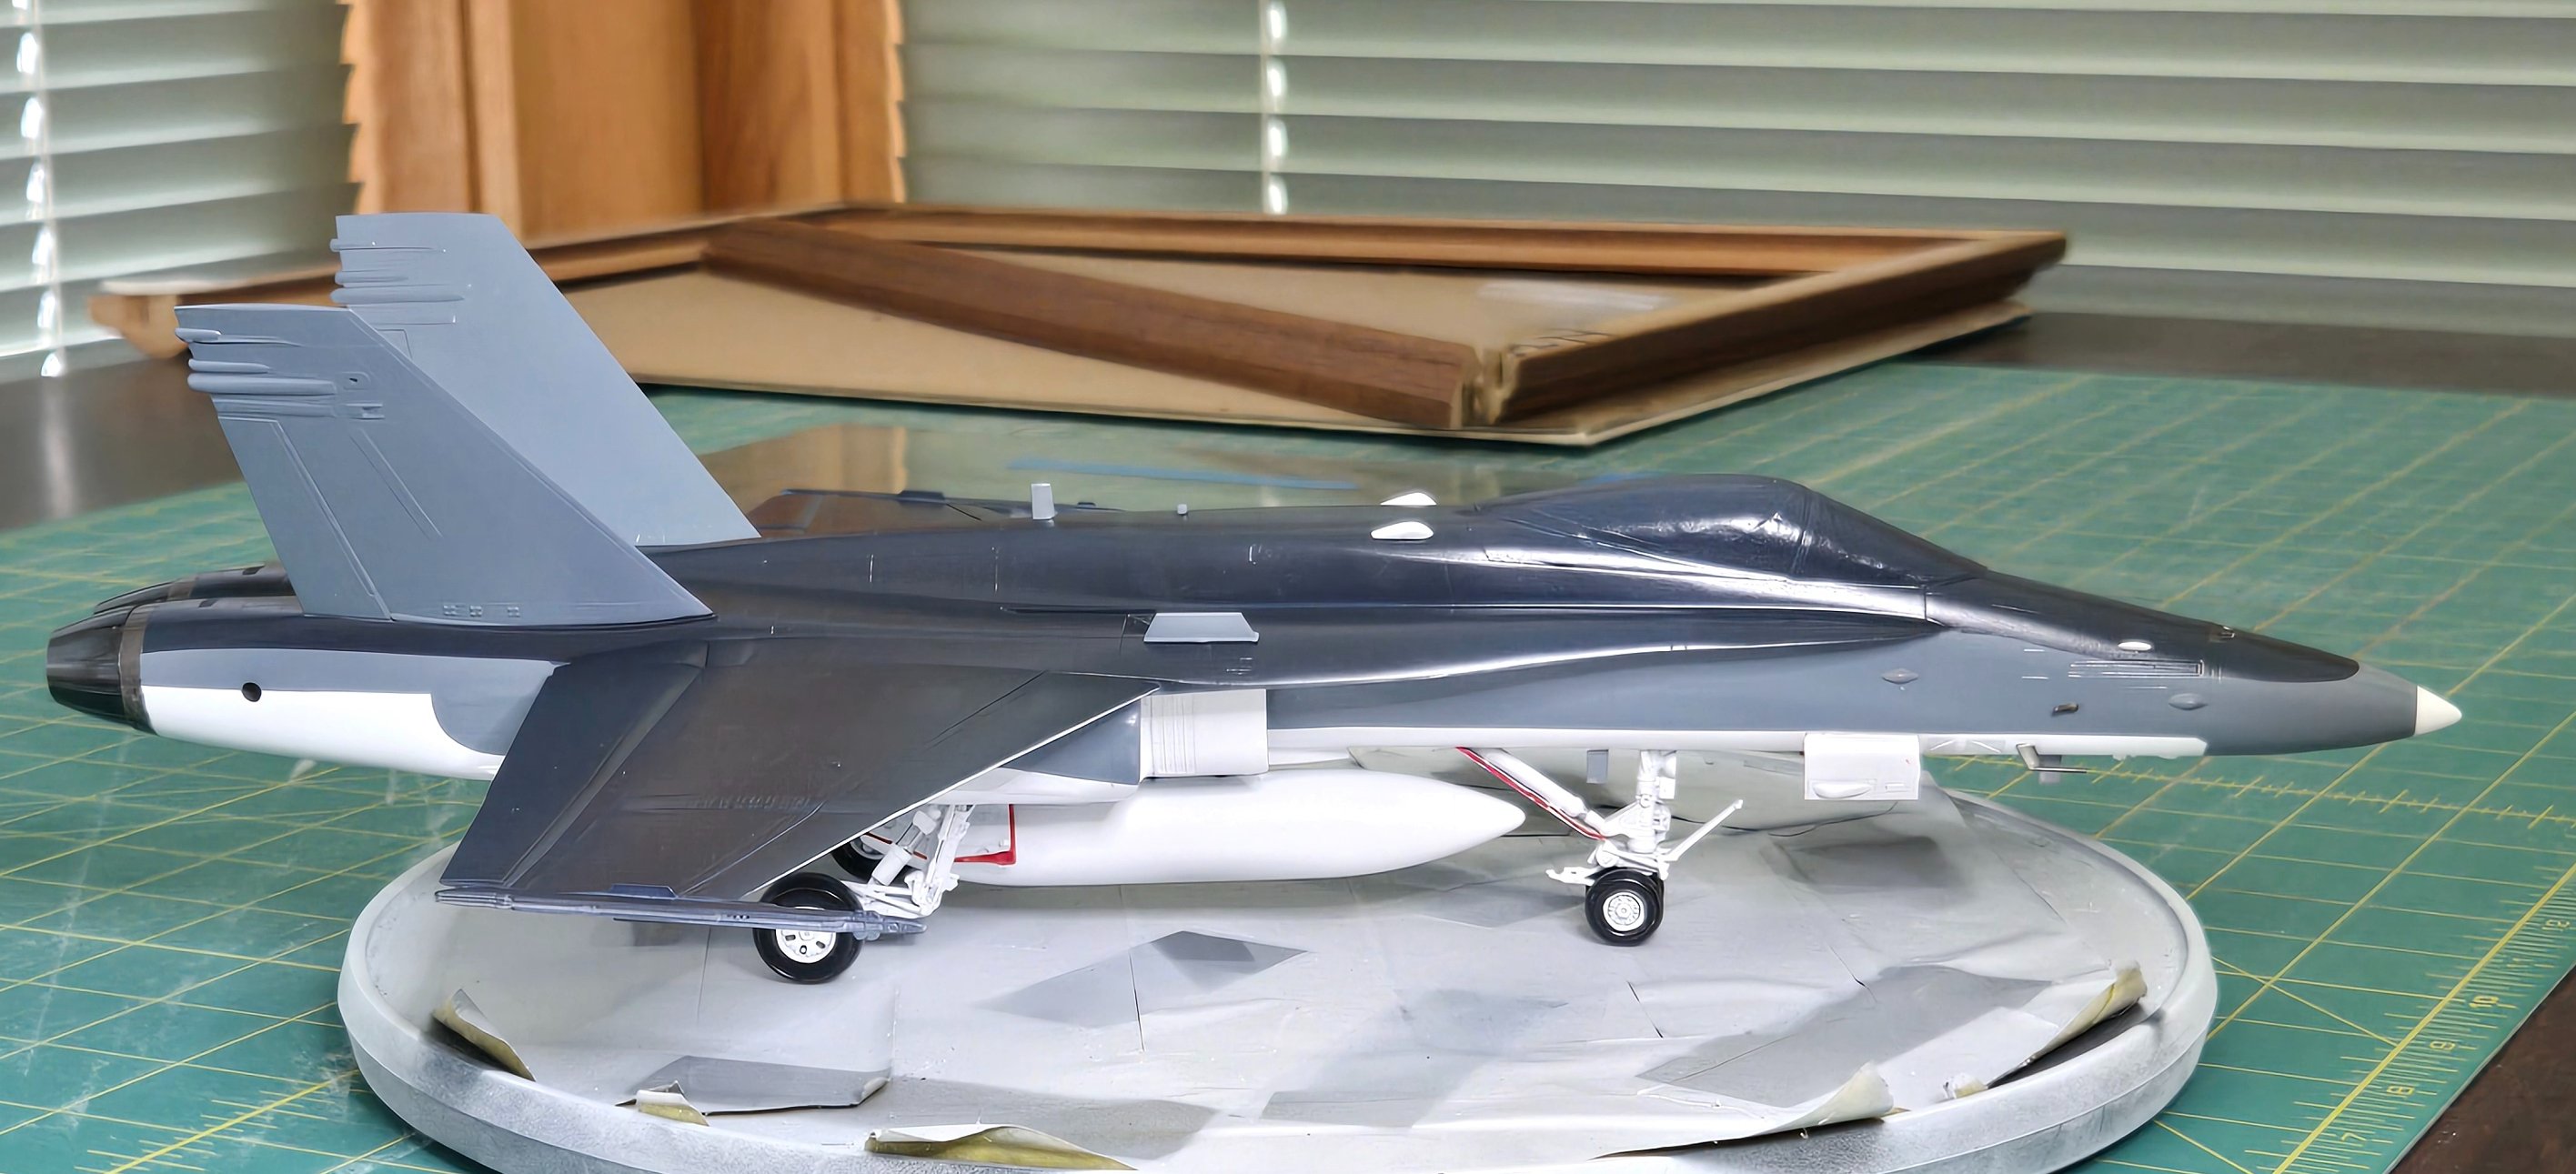
I primed with Mr. Surfacer 1500 White. Found areas that need some more work so I filled those with Mr. Surfacer 1000. Waiting till that's dry to sand some more.
 

Attachments

  • IMG_4531.jpeg
    IMG_4531.jpeg
    1.5 MB
  • IMG_4544.jpeg
    IMG_4544.jpeg
    1.9 MB
  • IMG_4543.jpeg
    IMG_4543.jpeg
    2.1 MB
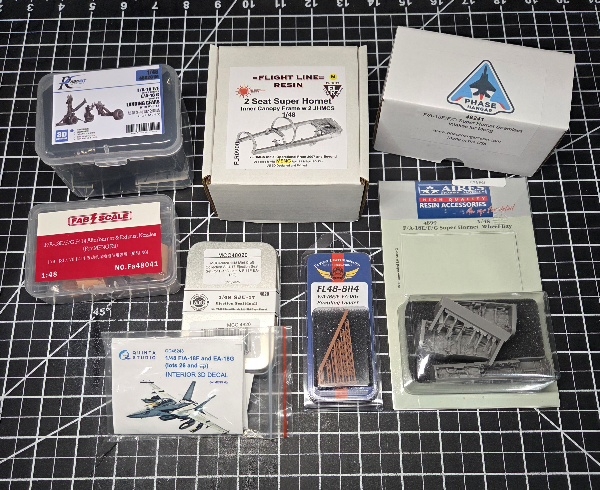
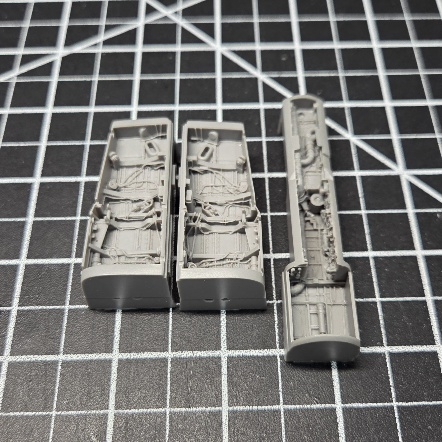
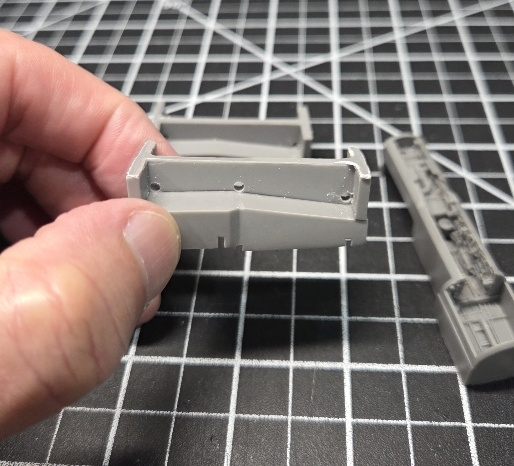
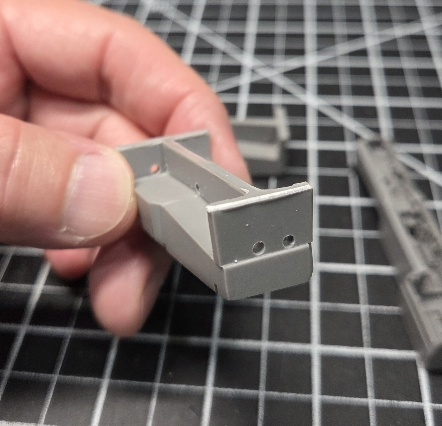
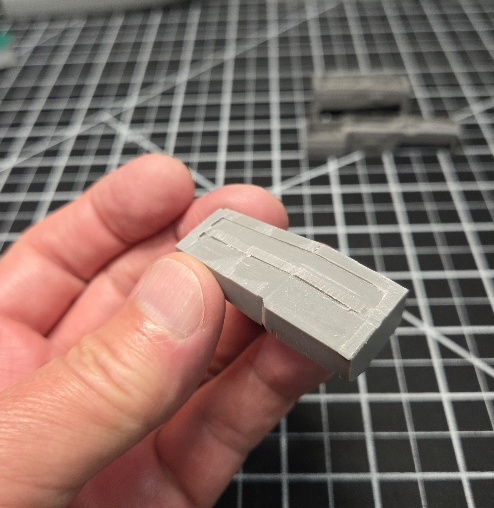
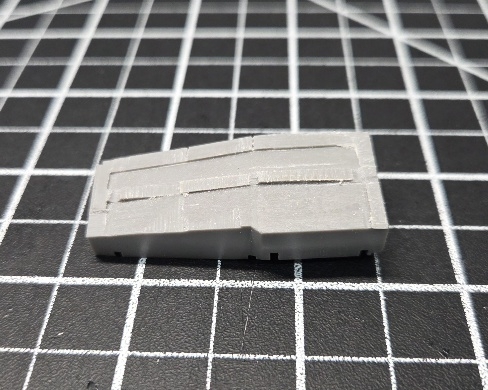
So here is a quick look at all the upgraded parts that will be going on my Meng FA-18F. All the parts I decided on are 3D printed resin, other than the Aires resin cast wheel bays set. I had a set of resin cast ejection seats, that were a step up from the kit parts, however, I found Mini Craft Collection 3D printed ejection seats that just take them to an otherworldly level of detail! Plus they are the later version of the SJU-17 seats that this build requires.

I have to say, cast resin parts are a great upgrade, but the cutting and sanding required from the casting blocks can be time consuming as well as hazardous. This is why I have found that finding quality 3D printed parts are a better fit for my approach, plus they tend to be slightly more pliable than the more rigid cast resin.

They are also printing parts with so much detail, they rival the actual parts on the real aircraft! I'll let them speak for themselves throughout the build, as I hope to get some good detail photos of them along the way. Stay tuned, the real building for my project starts now...lol.

4432.jpg
 
Long day today, but I definitely need some bench time to unwind. So I've pulled out the upgrade sets and I'm going through them along with the kit to make sure there is good fitment, and getting ahead of the curve for modifications that the kit part or upgrade will need to work seamlessly.

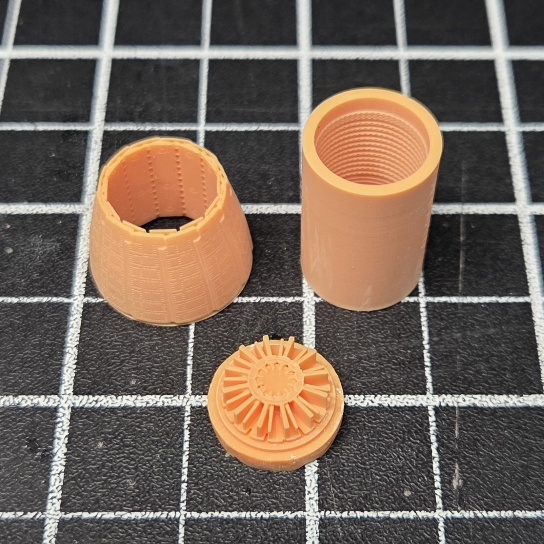
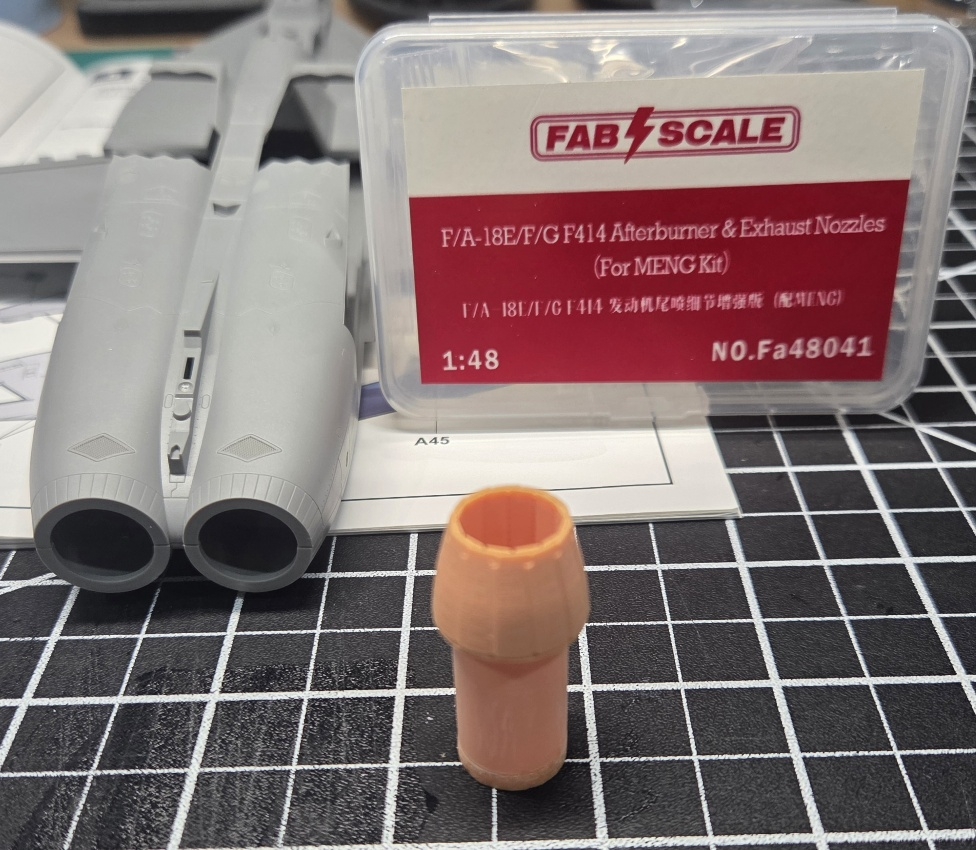
I started with the Fab Scale Exhaust Nozzles, which appears to be 3D printed, but the resin is pretty brittle and hard, which seems more cast resin like. Either way, working carefully with the parts to get them cleaned up so they are ready to paint, assemble, and fit to the kit when I get to those steps.

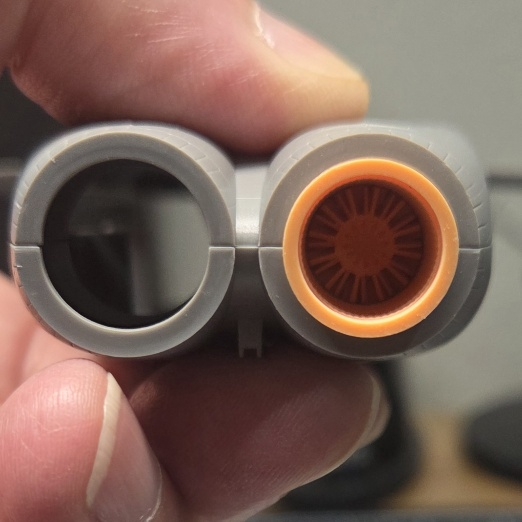
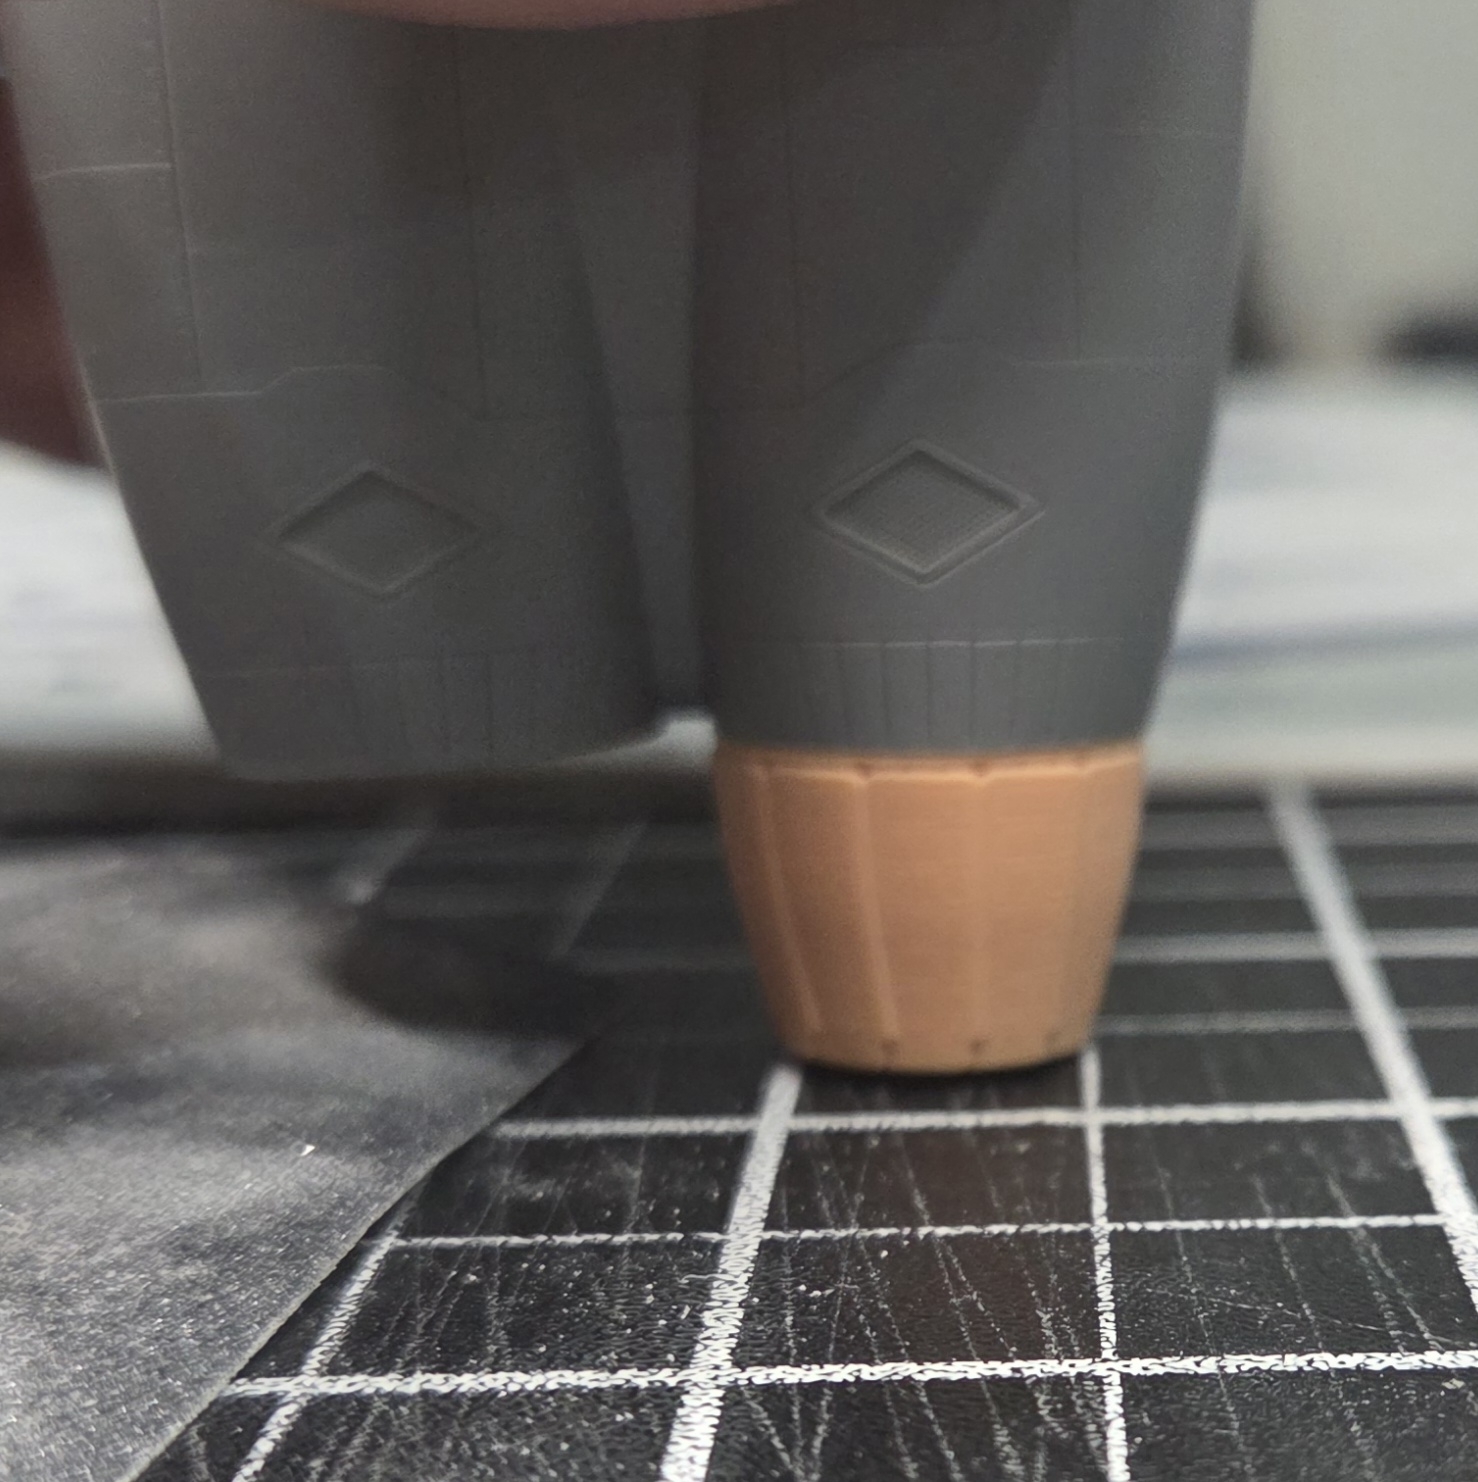
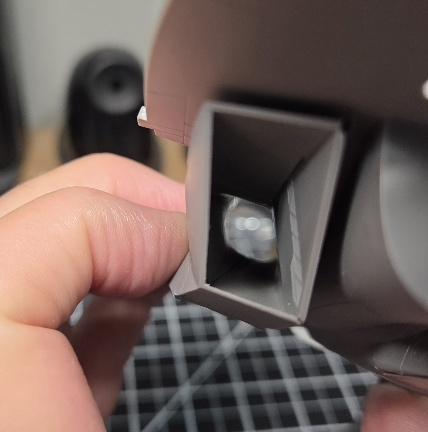
After getting the parts ready, the important dry fit shows they made the parts to drop right into the airframe without having to widen the mouth of kit, which I was extremely happy to find out. I've seen many other exhaust upgrade sets that require hollowing out the ends to get the new parts fitted. Here are some images of the fitting process.

4734.jpg

4731.jpg

4732.jpg

4733.jpg


I'll get this upgrade set cleaned up and ready, then store them until needed for the build. This way I can get all the upgrade sets tested, fitted, and modified as needed so I don't have to make the assembly and finishing stages any harder than it has to be.
 
Last edited:
As an Amazon Associate we earn from qualifying purchases. Product prices and availability are accurate as of the date/time indicated and are subject to change.
@blakeh1 Thank you Sir! Yes, I saw the reel on the collision the day it happened, terrible loss of Growlers, but outstanding function of the safe ejection of the pilots and EWO's and that no life was lost! Terrible condition to find themselves in, but man were they the calm in that storm!

I heard a comment from one of the spectators that described it as it was like watching two eagles in a "death spiral". Pretty accurate description.
 
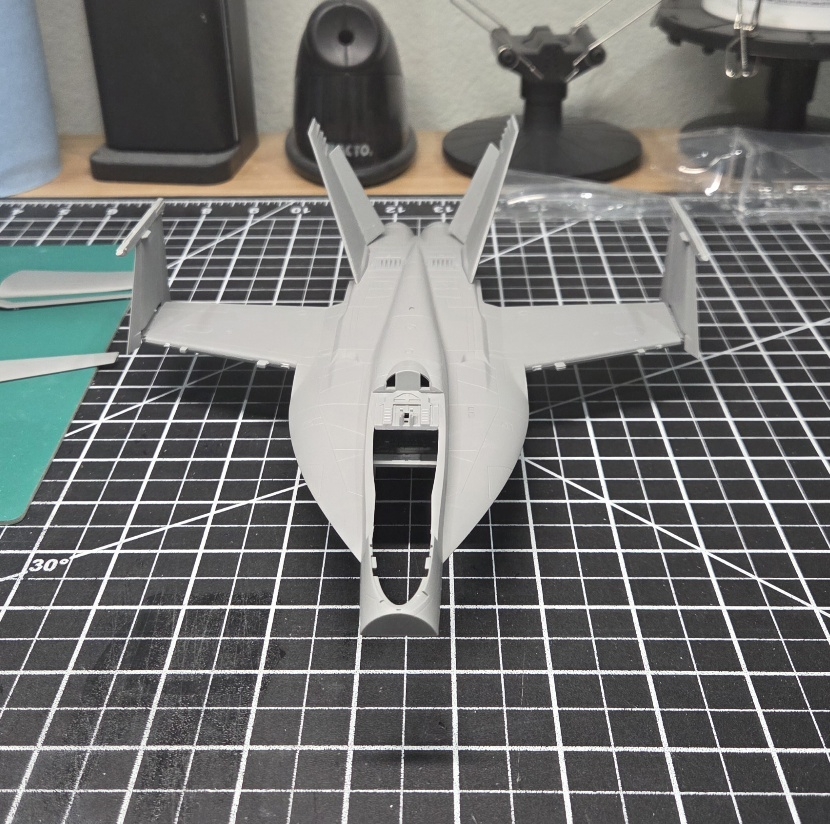
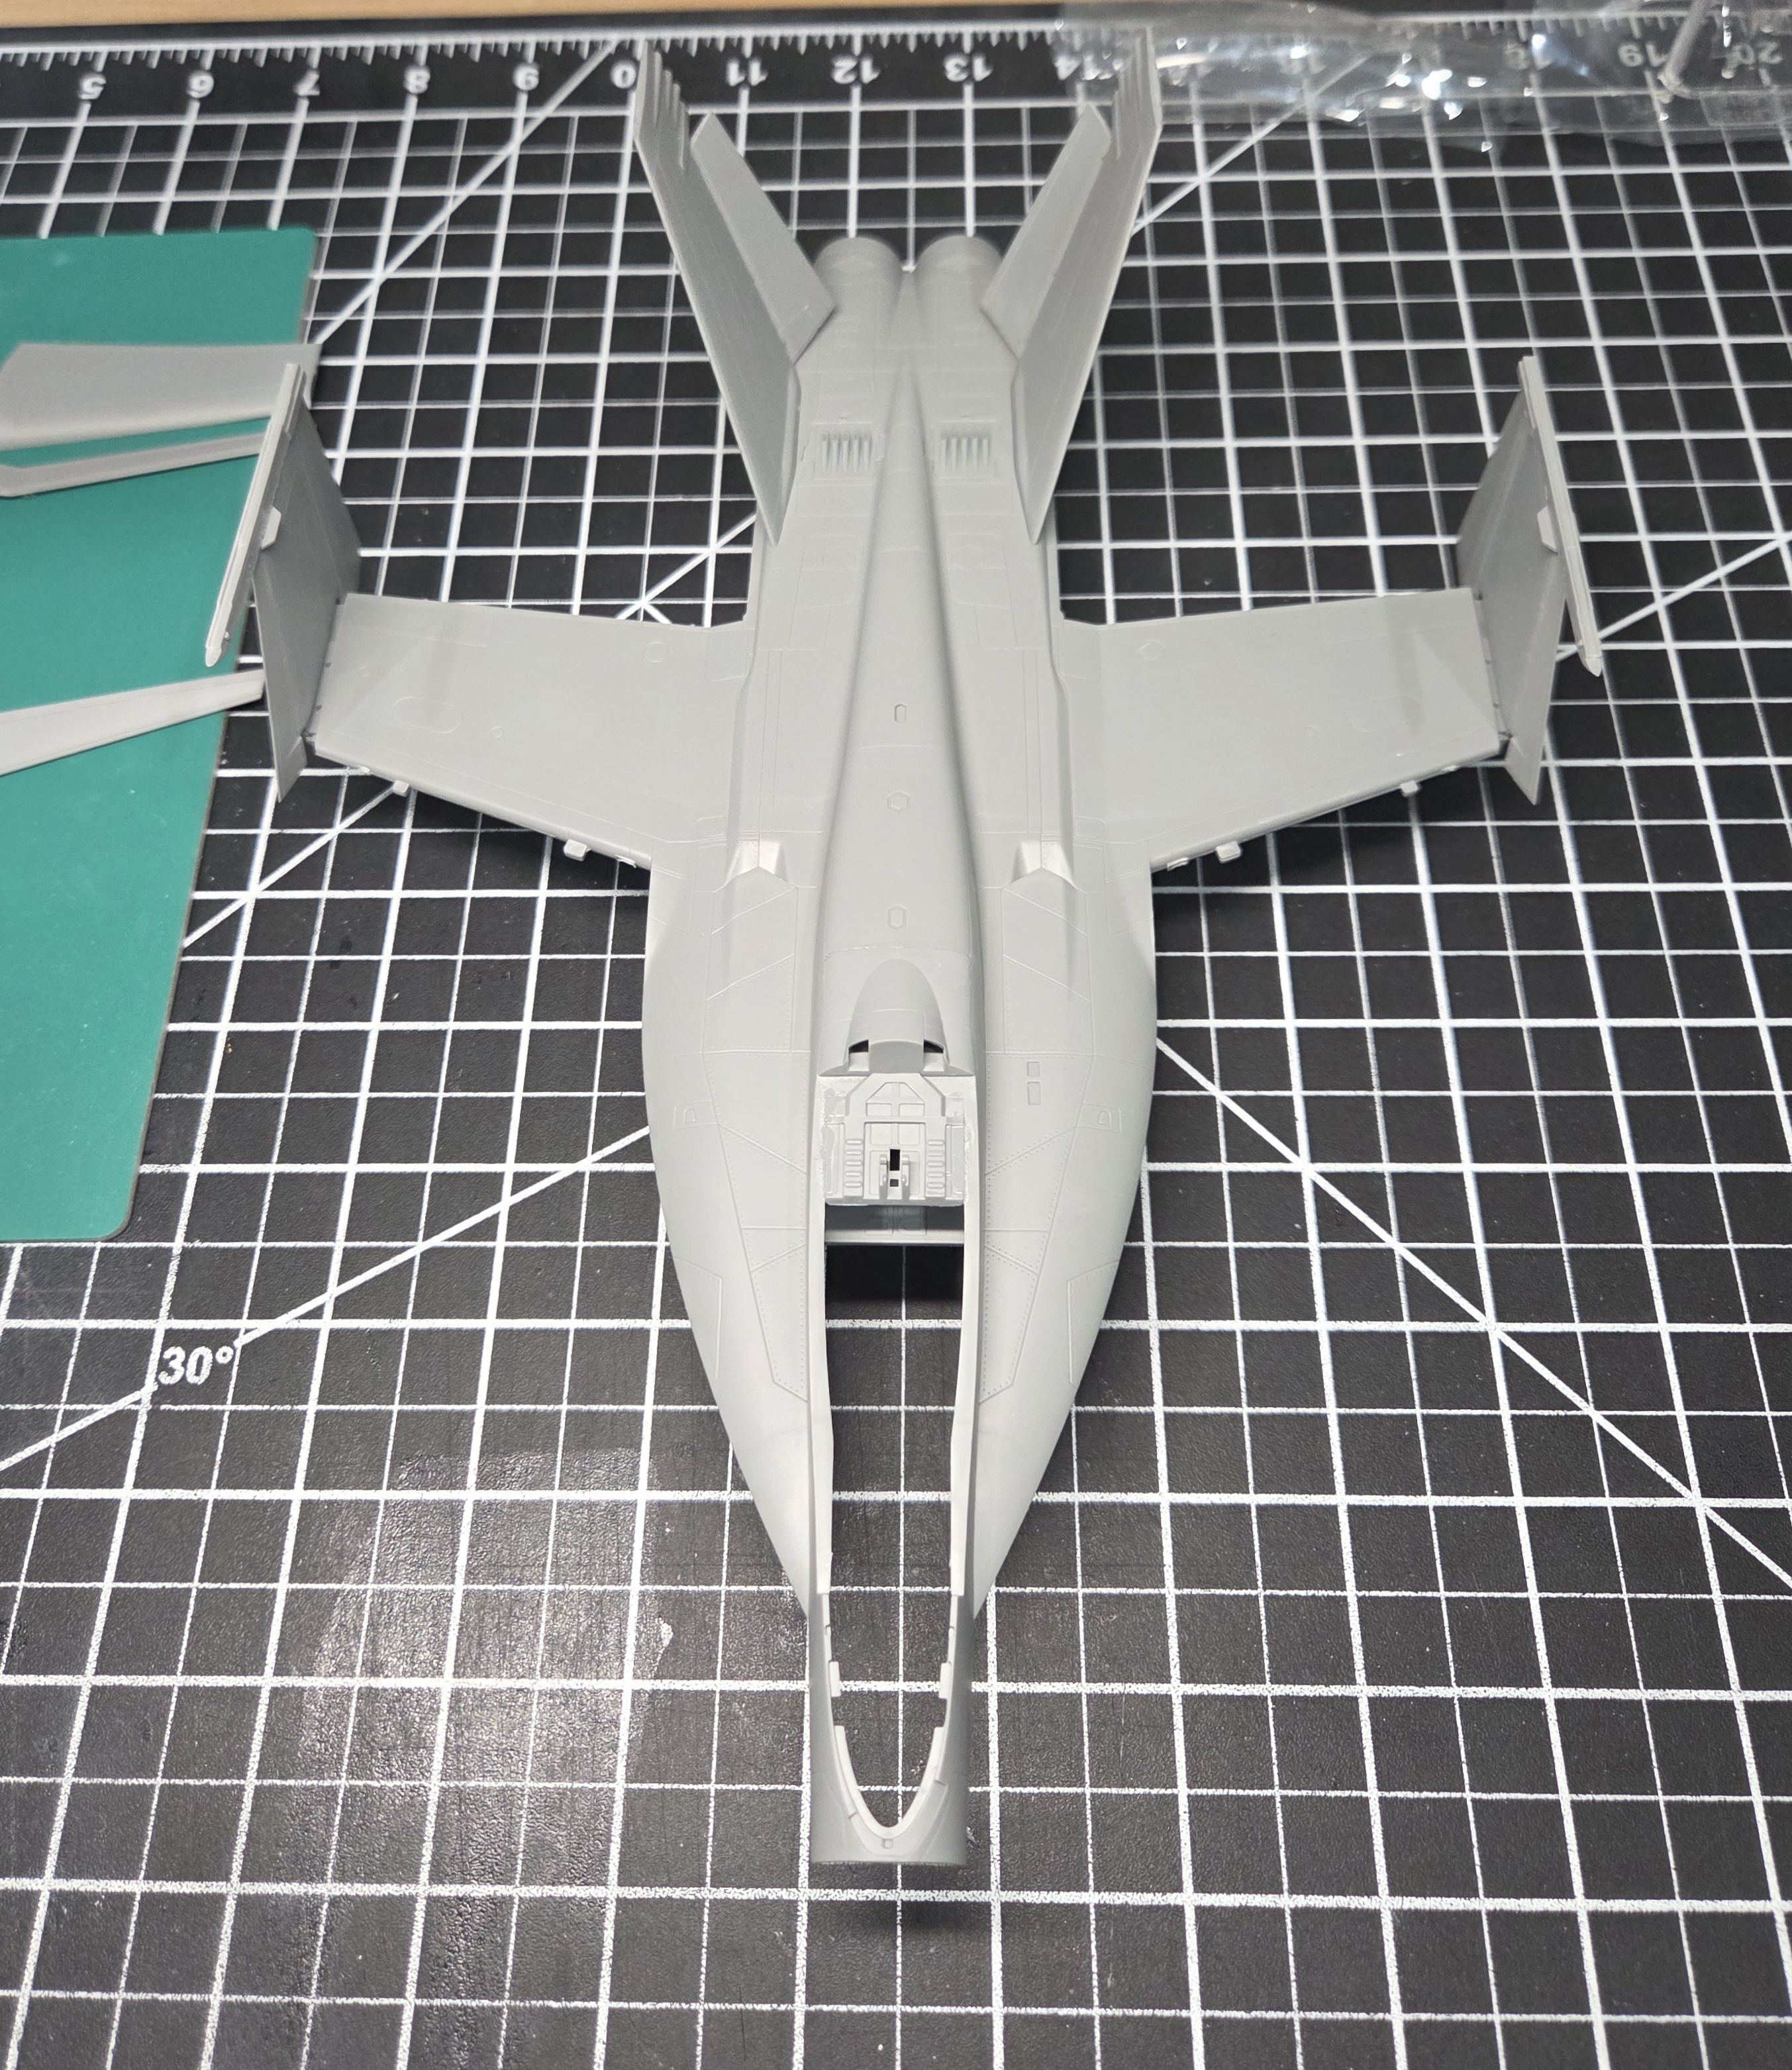
Just a little bit of an update on the build at this point. My build will be a static dio as far as the aircraft is concerned on the flight deck, so I've been working the control surfaces of the wings getting them positioned as parked on deck, preparing it before moving forward launch. I started with the wing tips folded, with the leading edges extended, and the flaps retracted. The vertical stabilizers are positioned with the rudder toed-in, which my reference photos show for the way I'll display the aircraft. The main wing control surfaces will be positioned in the extended positions when I get to that point.

The tub and front landing gear will be tackled next, which is pretty extensive work with the resin upgraded landing gear bays. It requires a lot of modifications and removal of the interior walls of the forward fuselage to fit properly. Hope to have more detailed photos and progress to show soon.

Anyway, here's a look thus far...

4981.jpg

4980.jpg
 
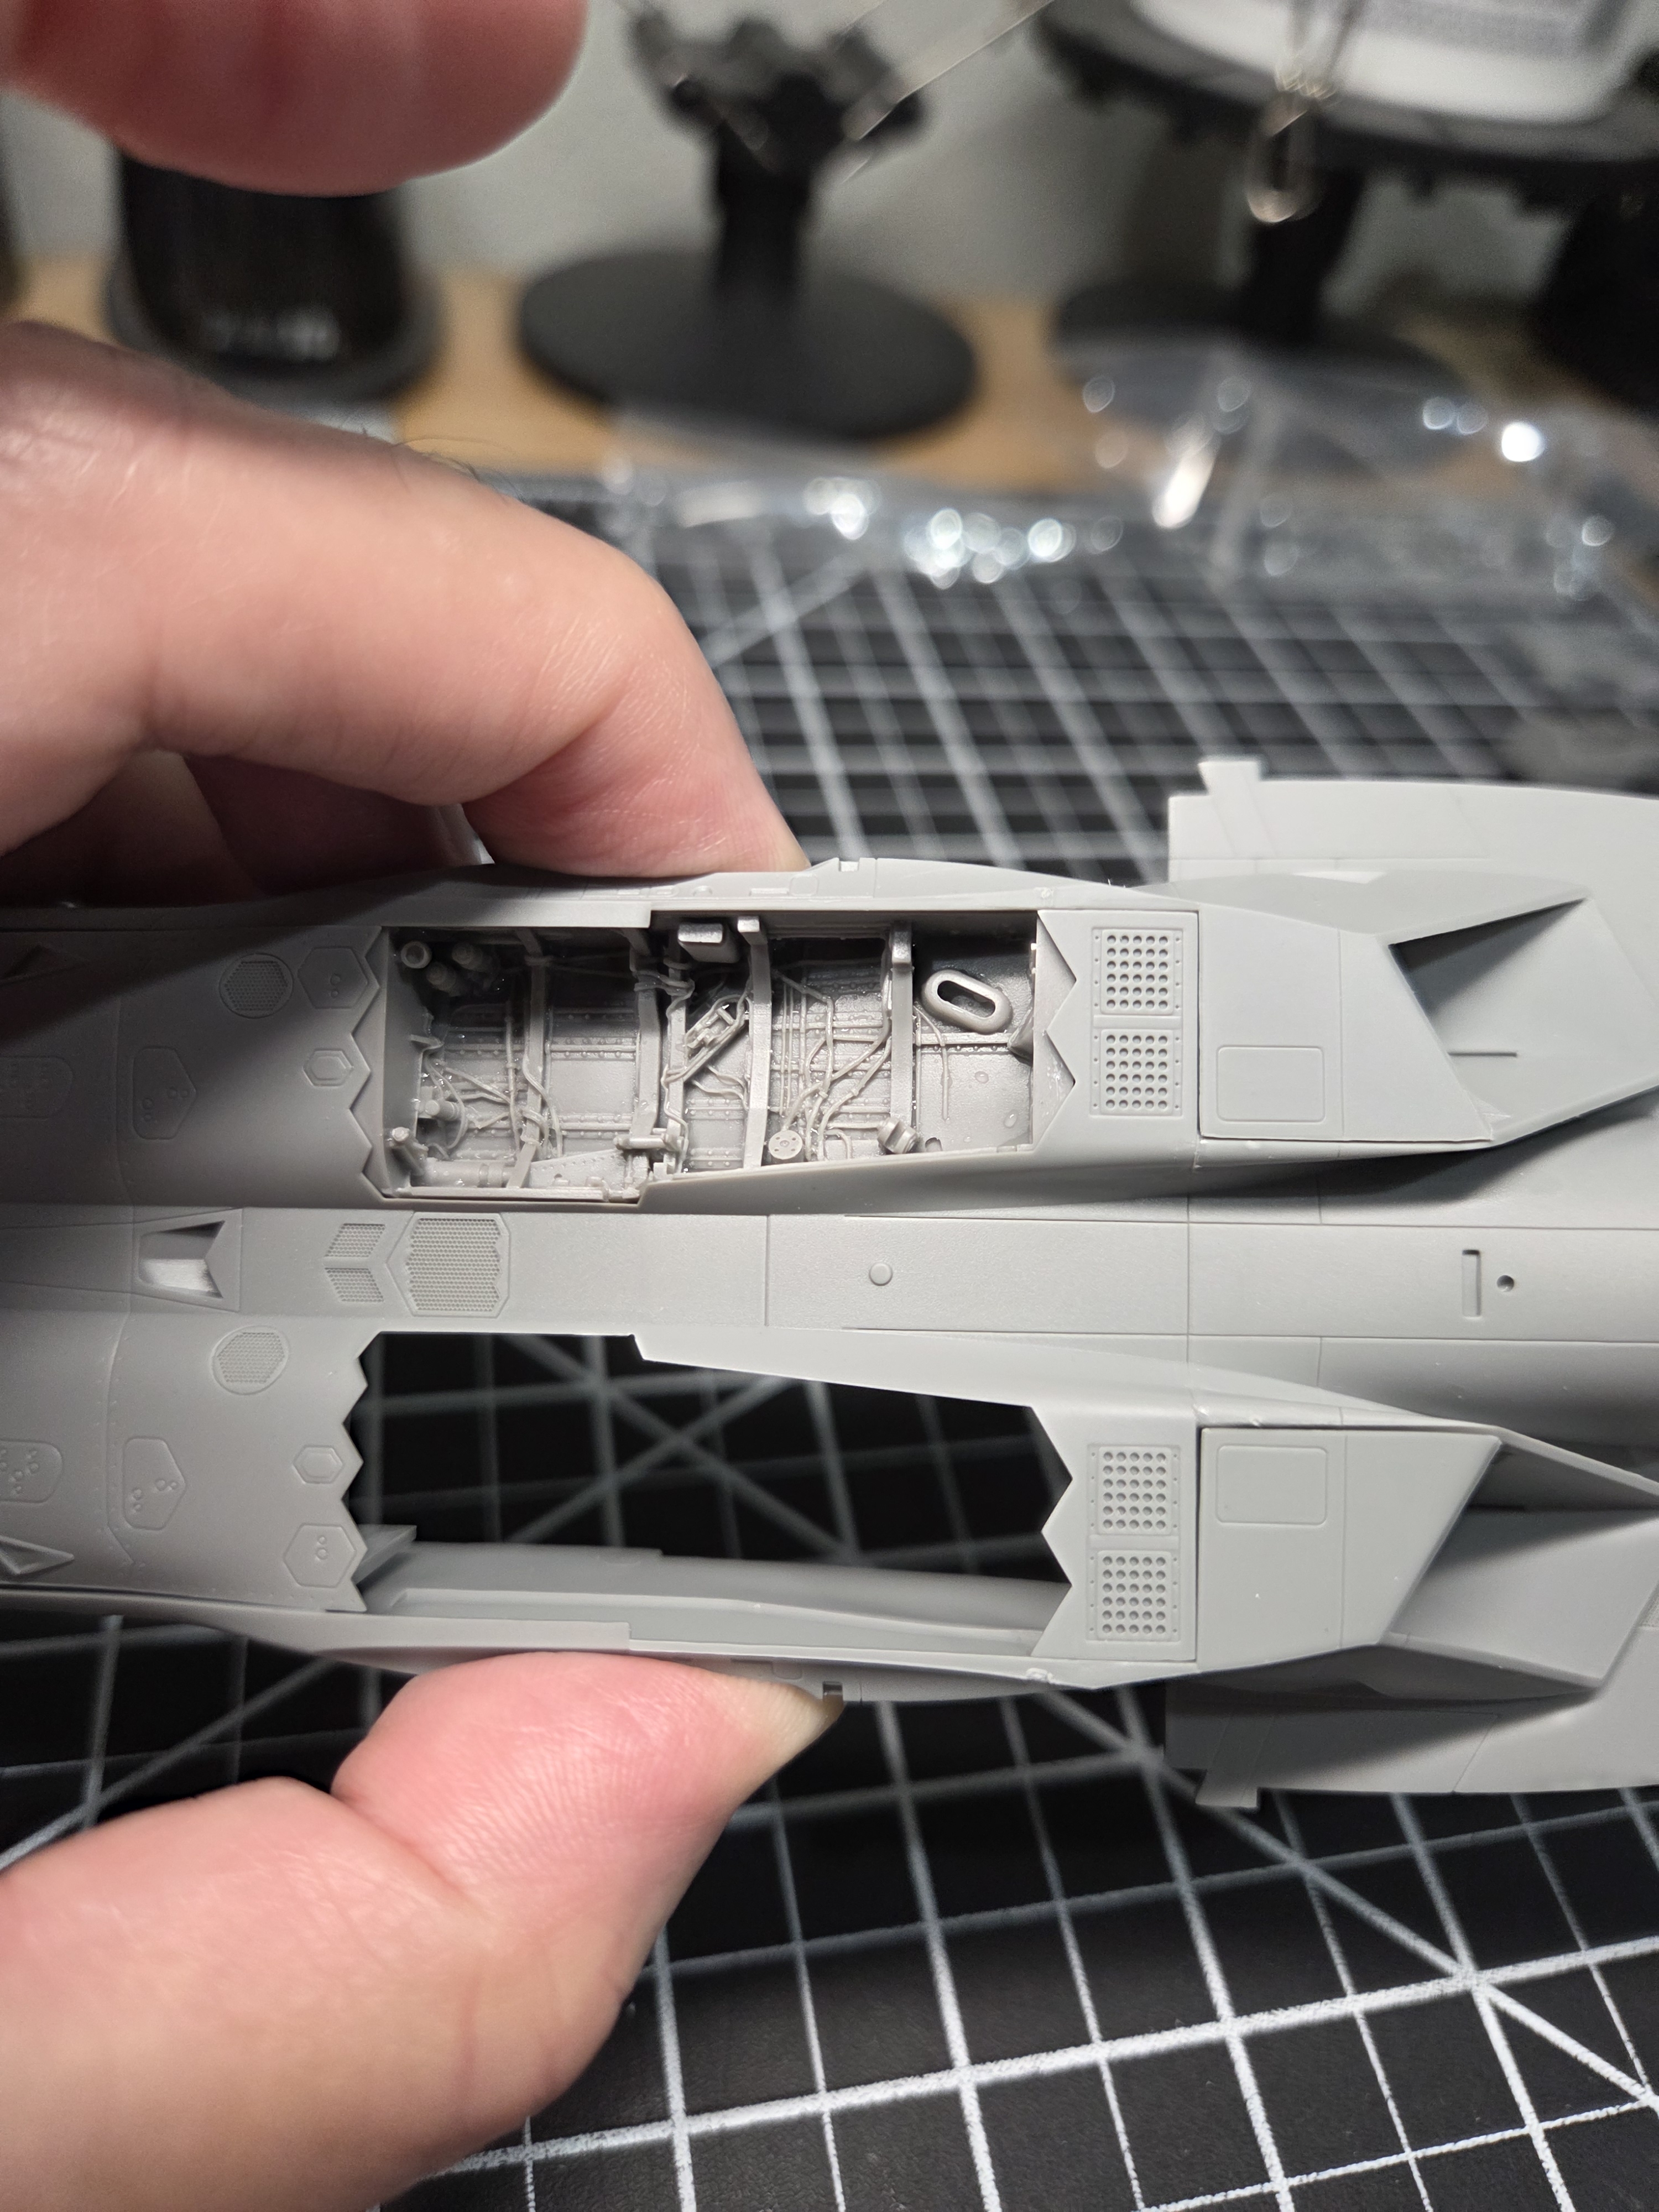
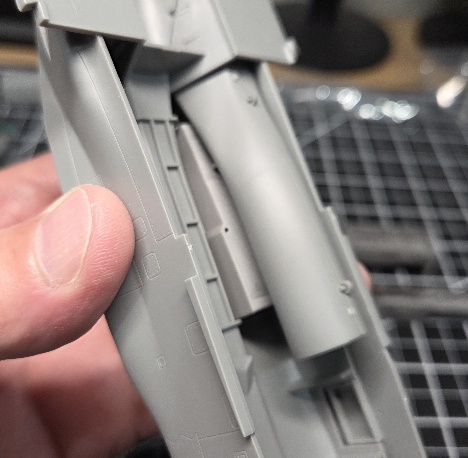
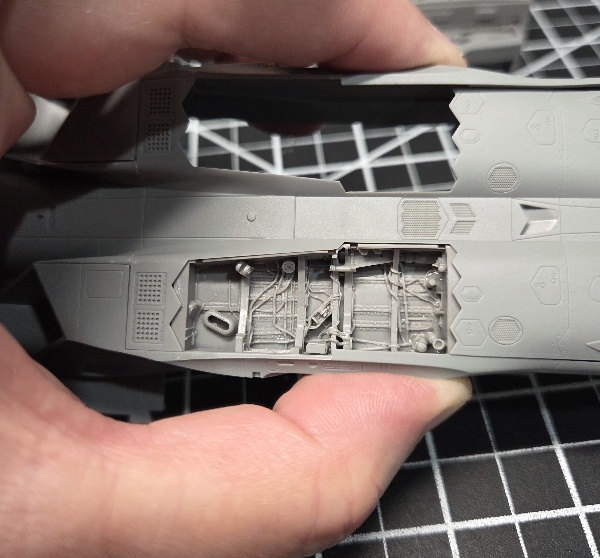
On to the lower fuselage, particularly the landing gear bays, which need cleaned up and large portions of the cast resin removed to fit properly in the kit. I went with the Aires upgrade set in cast resin. They have very detailed relief and probably the closest match to the actual wheel bays I have seen. They will require a little interior modifications, since they will be fitted with 3D printed resin and metal landing gear upgrades over the kit parts.

A quick look at the bays as you receive them.

5016.jpg


To remove all the extra casting, I first drilled pilot holes so that when using the fine saw, I wouldn't cut into the bays, and would remove small sections at a time to avoid binding up the saw on long cuts. Then it was just a matter of wet sanding them down to a flush level.

5017.jpg

5018.jpg

5023.jpg

5024.jpg


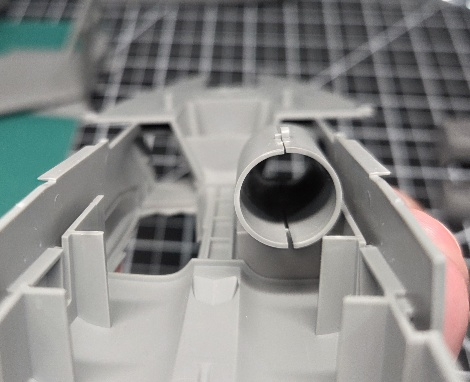
I then proceeded to do a simple test fit of the bay in the lower fuselage and inserted the kit provided intake. However, the intakes will be replaced with 3D printed resin seamless intakes printed in color. (Saves the painstaking task of painting the interiors of the intakes). Here are some images of the test fit and how well the new bays will work.

5025.jpg

5027.jpg

5028.jpg

5029.jpg

5031.jpg


The front wheel bay requires a lot more work, as the interior of the two piece fuselage will need the walls thinned out so that the bay fits correctly. There is no need to fit the cockpit tub onto the bay, rather it attaches to the upper fuselage half on its own. Hope to get more done in a day or two, so that I can button up the bays and focus on completing the cockpit. More to come shortly...
 
Last edited:
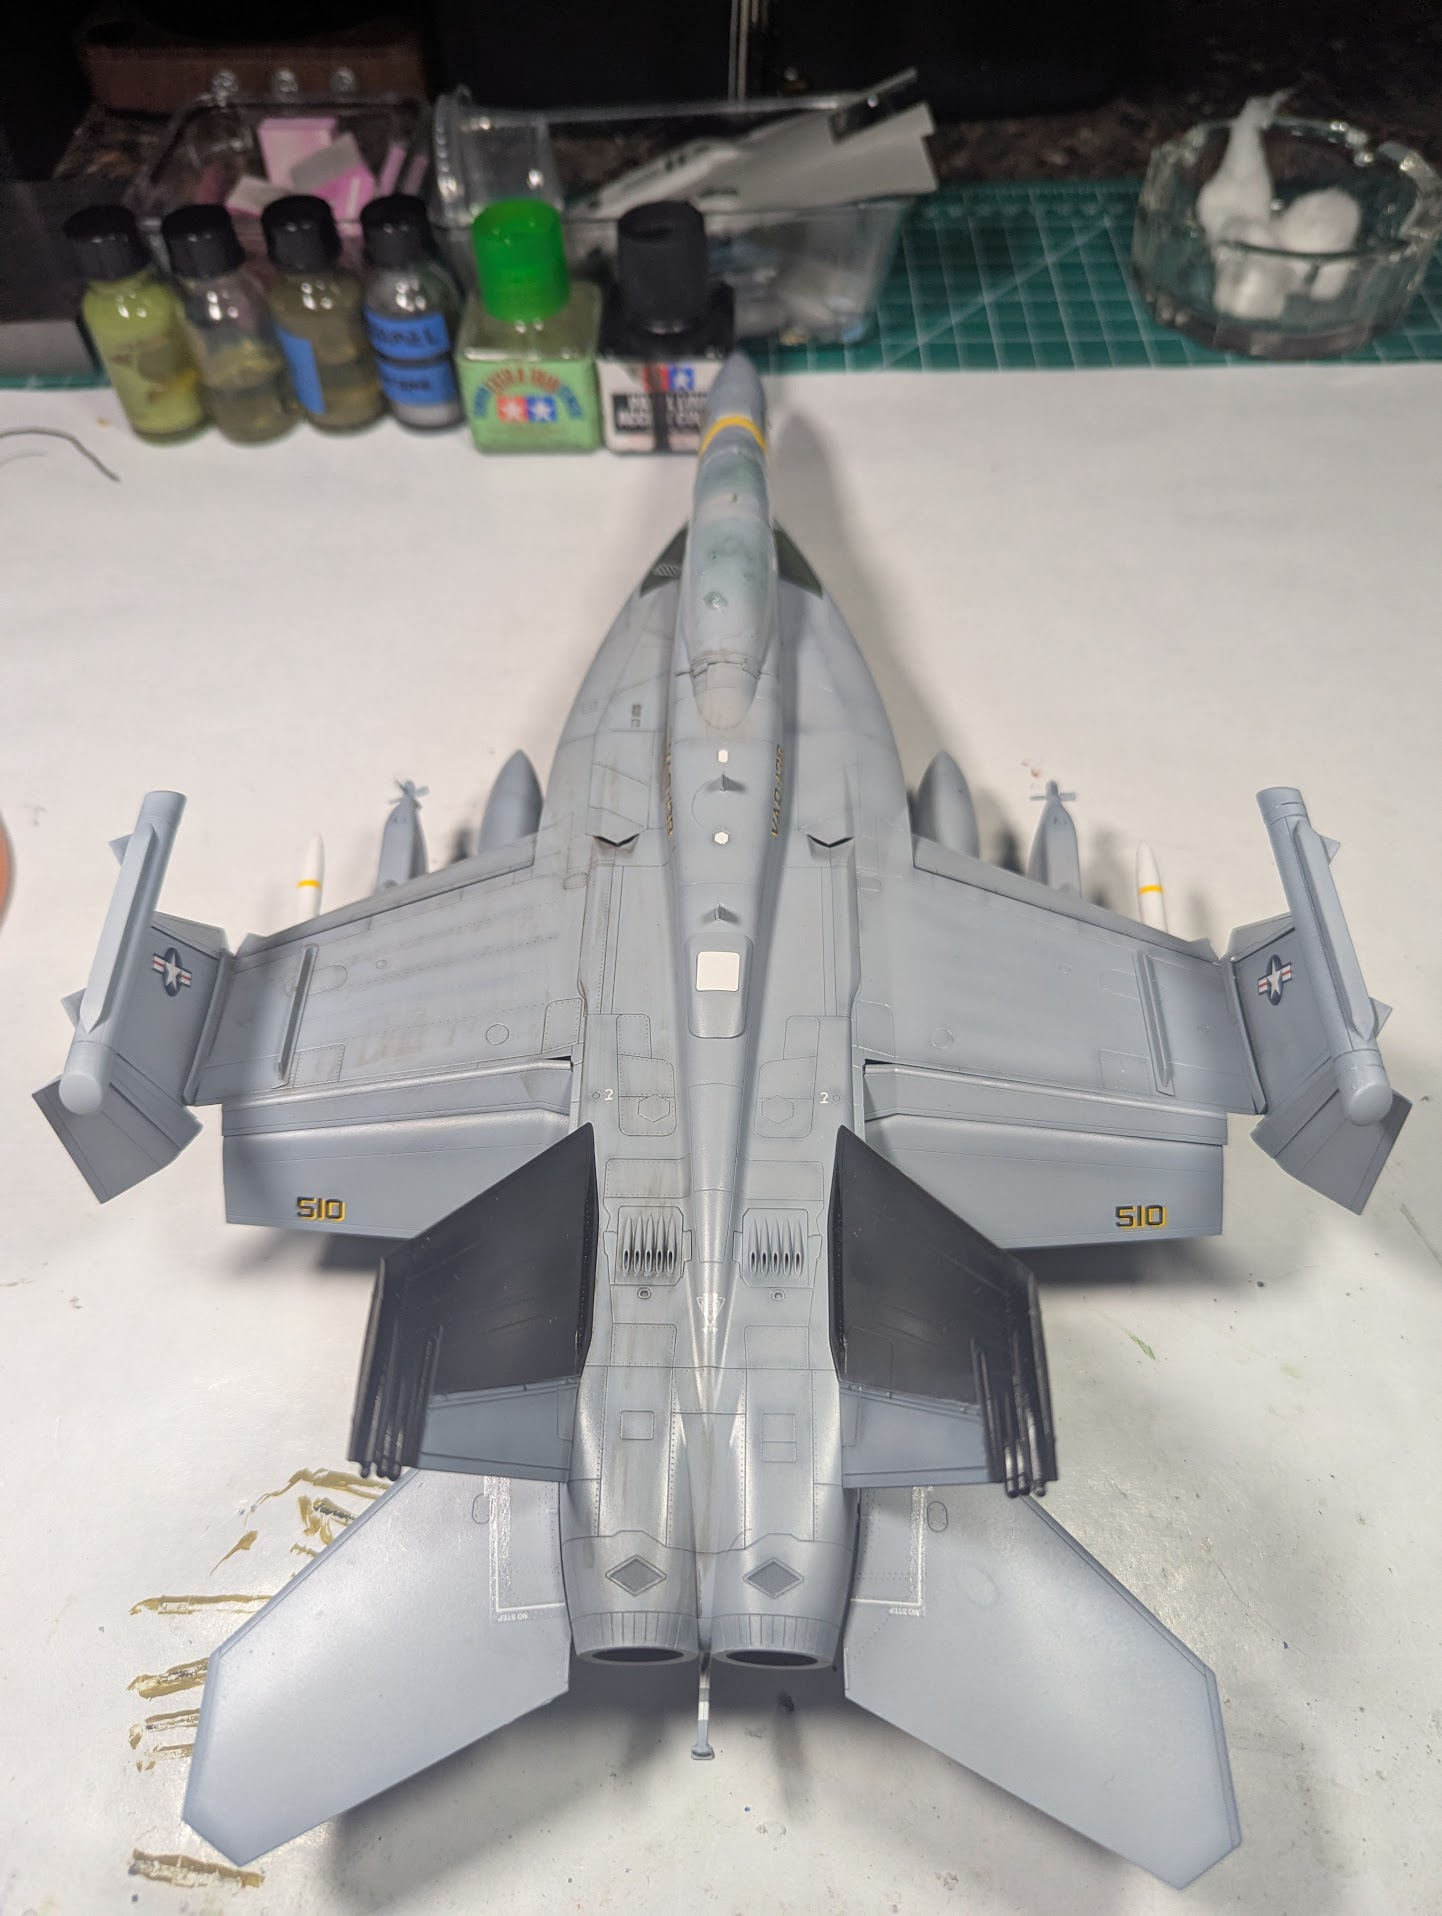
I've decided that I will add a bit more dirt and maybe some more post-shading on mine. Gonna keep it modest since I am using the high-vis insignias, they were treated better when not deployed and running sorties all day and night.

Trying to finish up a bunch of WIPs, the Growler is just one of them.
 
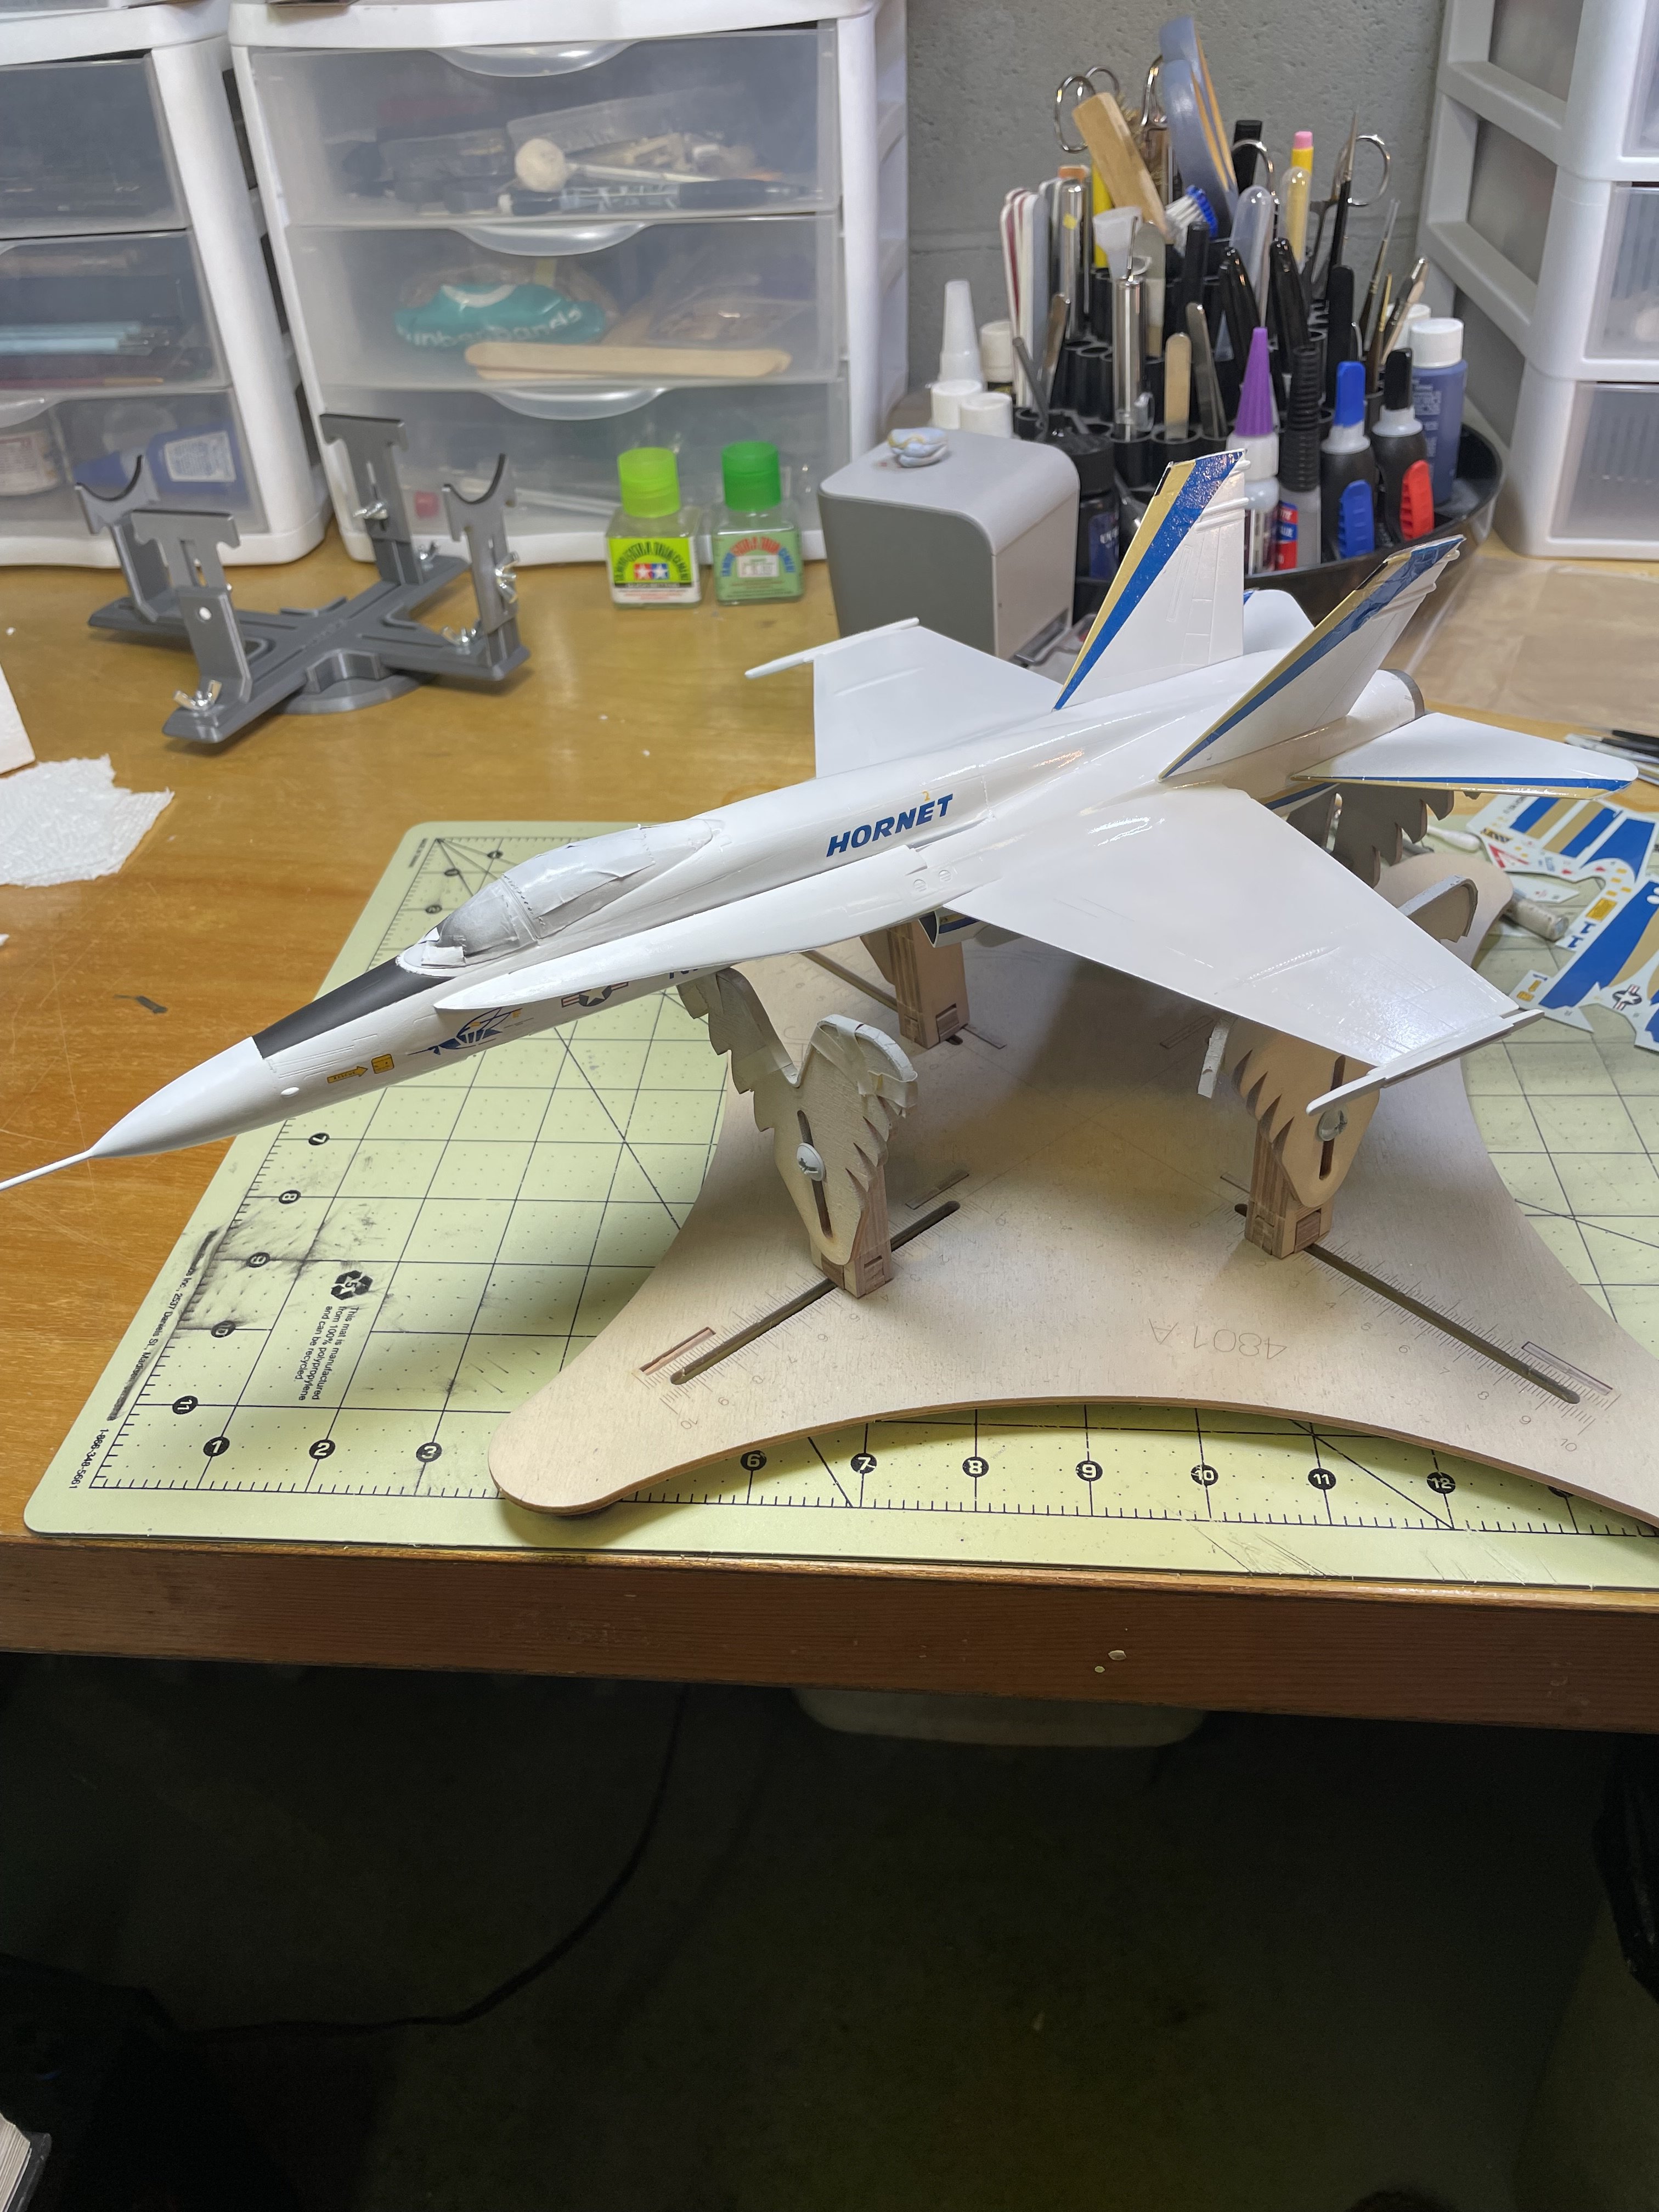
I have started to apply the decals. These I got second hand and they came from the Monogram kit. Not an exact match for this Testors kit and I'm finding subtle differences between what's on the decal sheet and the photos I'm using as a guide. Both are for preproduction aircraft No. 1 but it's interesting seeing the little differences.
IMG_4625.jpeg
 
Looks great Wig! I remember building the prototype a long timne ago, maybe 1979, maybe a bit later. But I made a mess of it, unlike you!

I know I've been dragging my ass in this GB, not as much as my buddy Dan, but you know how he is! I keep saying I'll work on it but don't'. Well today I did!

Here's my most recednt activity.

1780013219930.png

Port side is dirtied up a little, starboard in next, unless I change my mind.

Needs more footprints and smudges on the crew-side, I'll work on that.
 
@Edbert I don't know what you are talking about! I'm already done with this build, I just post things slowly, much like my military days, always the first ones in, and the last ones out!

Anywho, your build looks great! Love the weathering, even for a CAG bird, doesn't look over weathered! I'm going to have to build Mengs G and E to go with my F. I'll end up with a 1/48 scale CVN on display! 😂
 
Port side is dirtied up a little, starboard in next, unless I change my mind.

Needs more footprints and smudges on the crew-side, I'll work on that.
So, you're obviously using post shading of some type to dirty it up, what's your technique for that? It looks great!
 

Latest posts

Back
Top