Jantk14
Well-Known Member
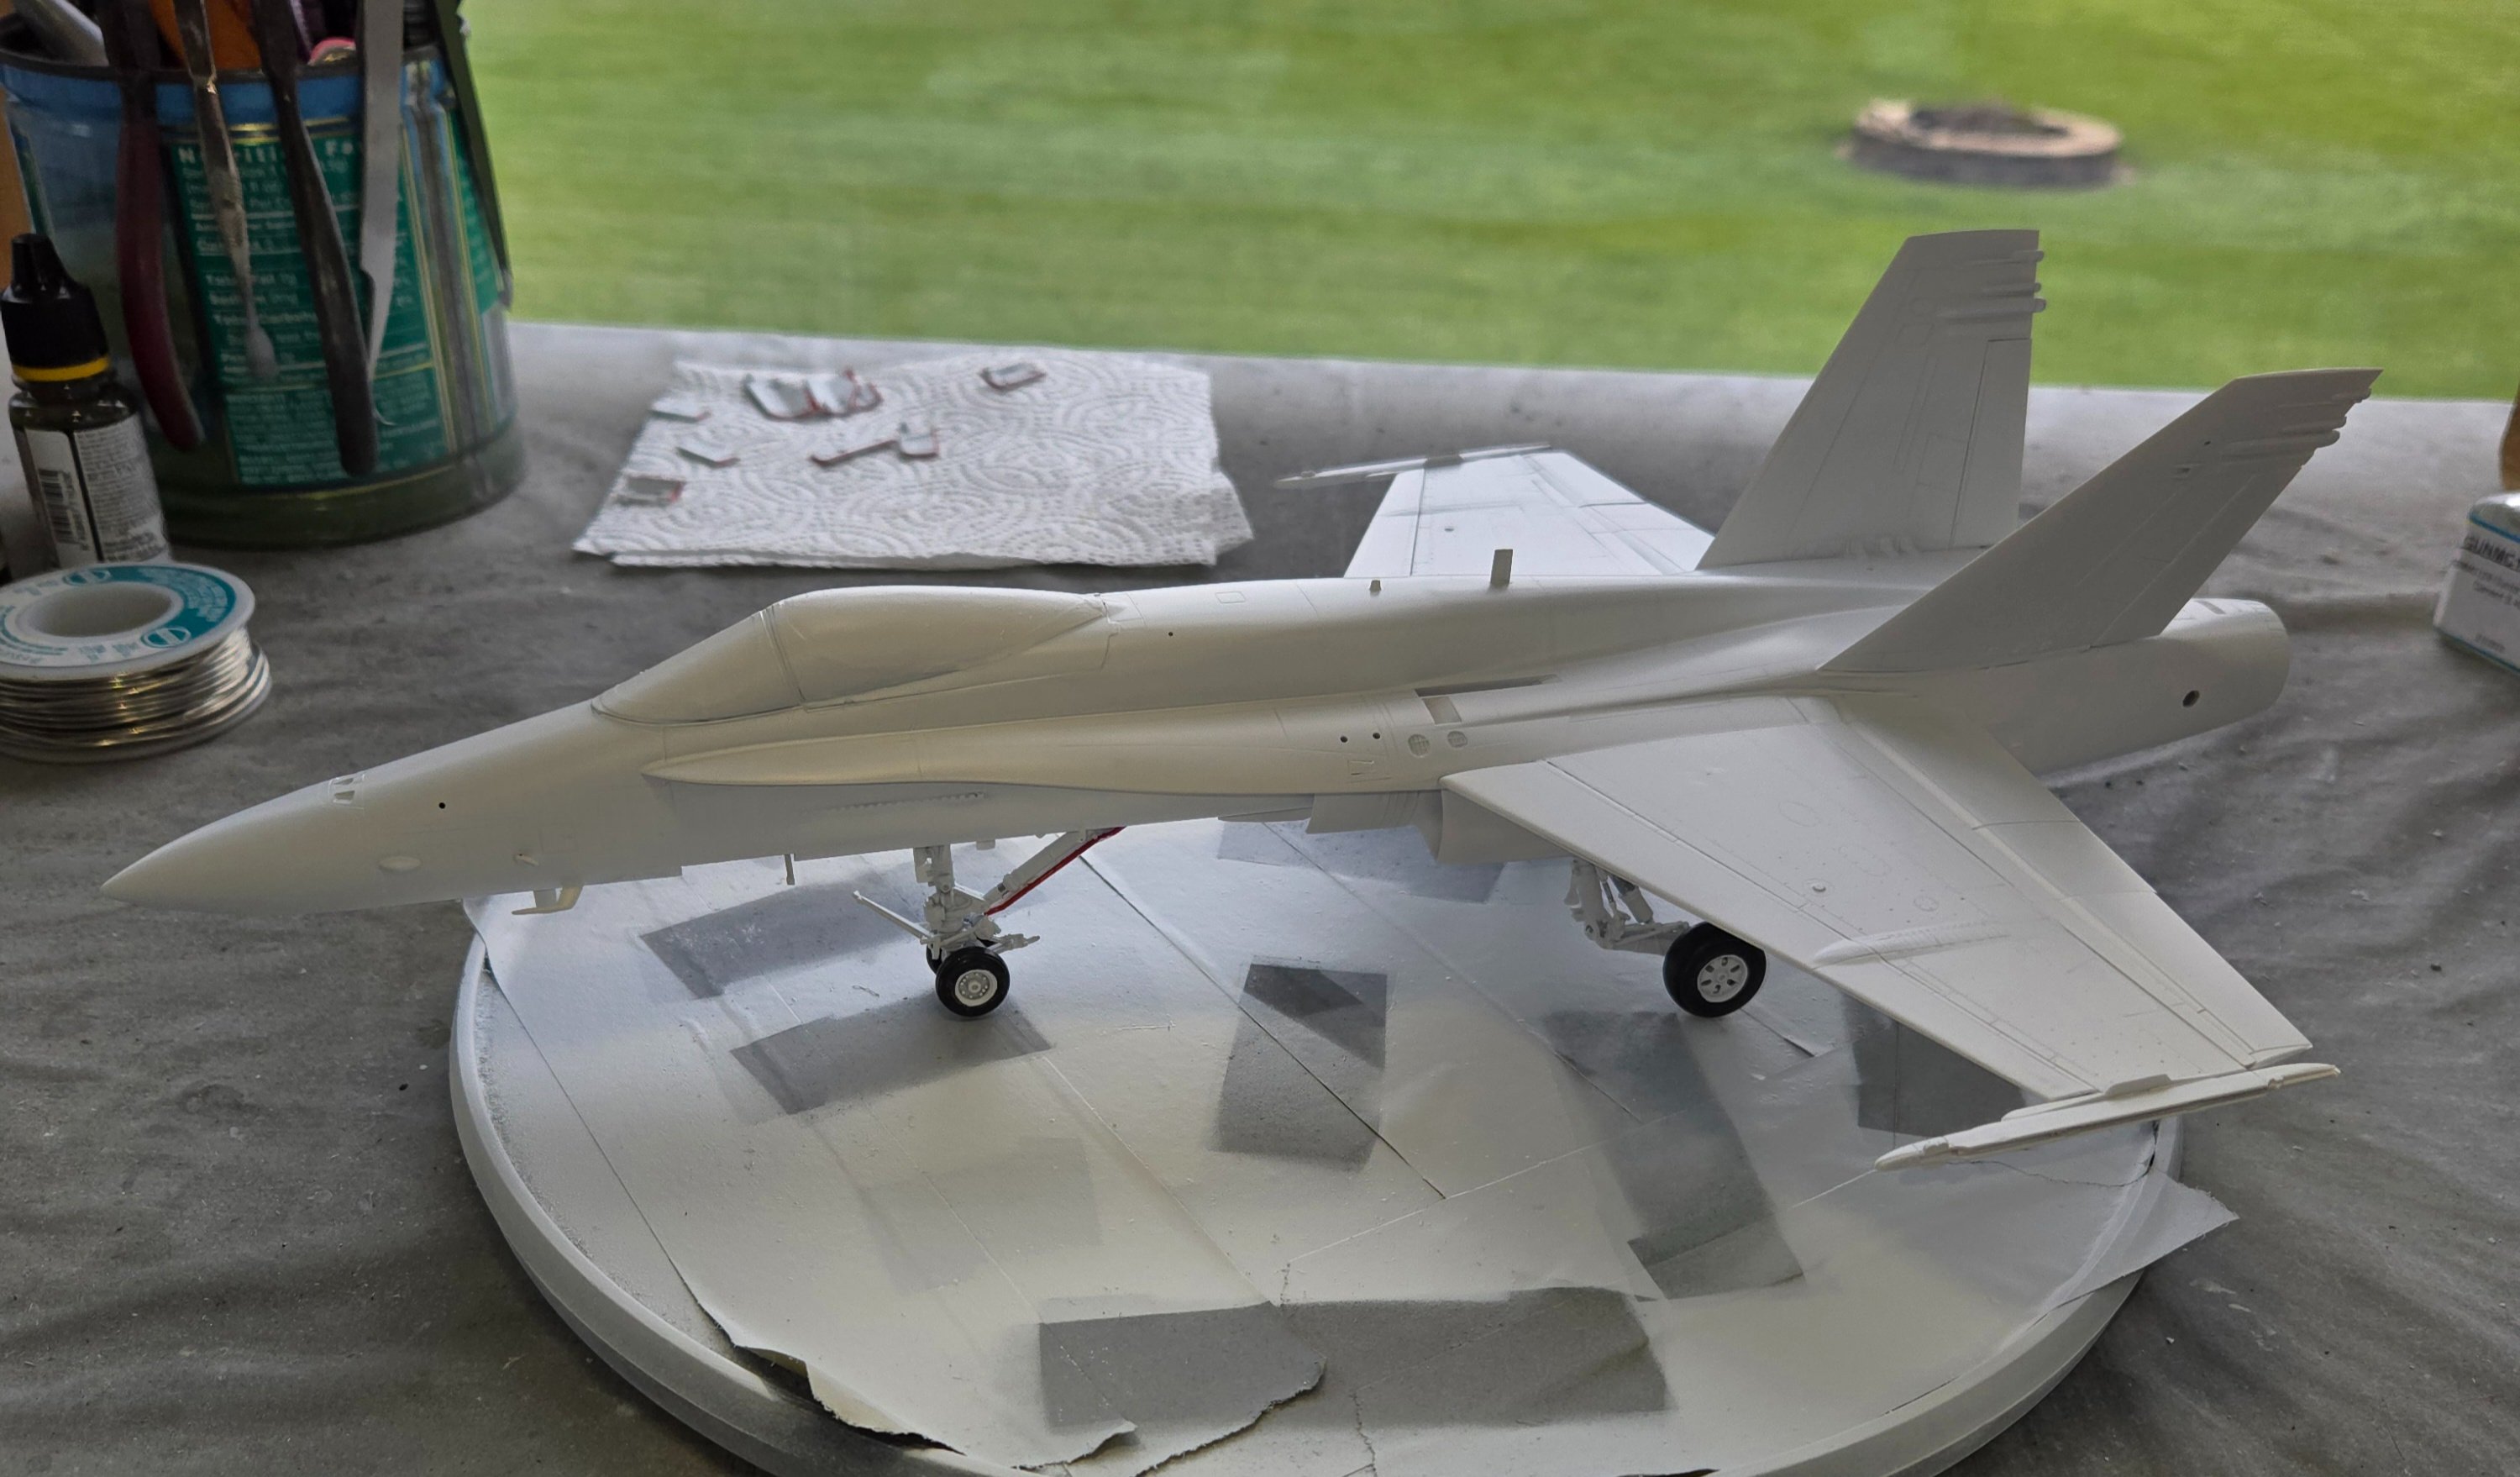
Got most of the decals on. Only two disasters. About par for me, but I covered them up well.
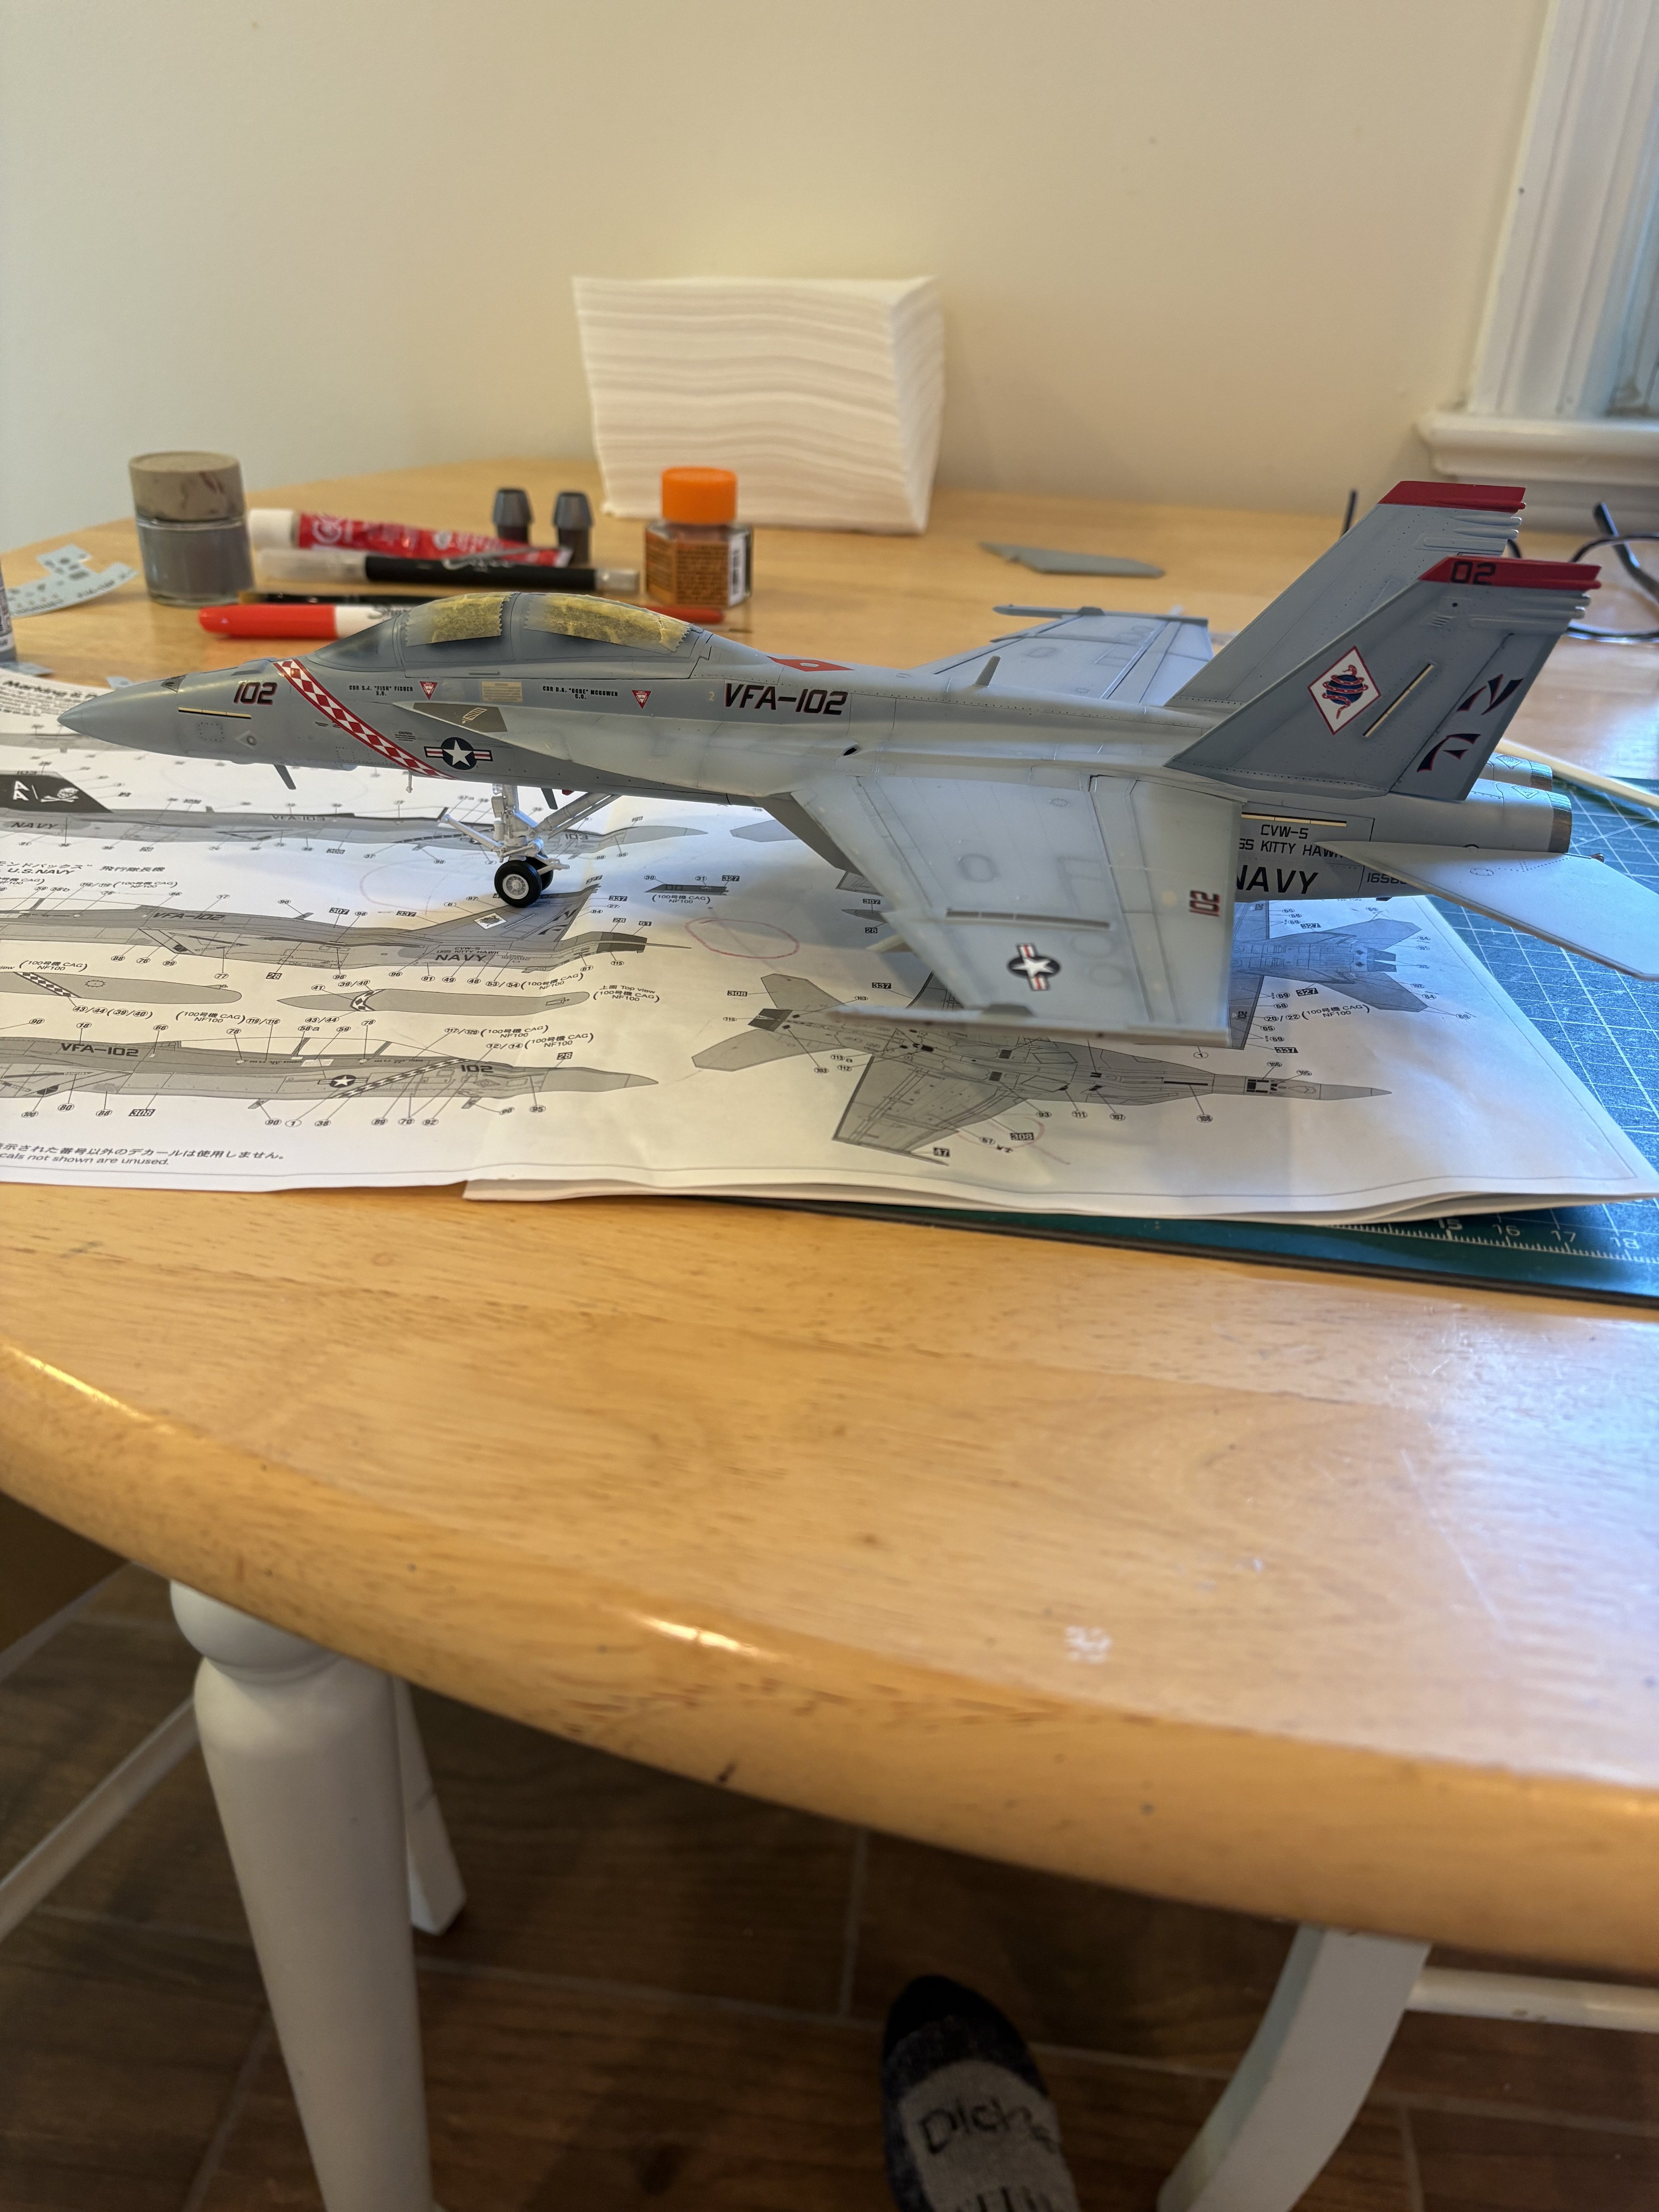


I think my intense lights were washing it out a bit in the cell phone shots. But after a day I decided it was good to clear coat. That was yesterday, planning on doing some stickers tonight.from what I'm seeing, it's still very subtle, but you have eyes on, so it may look different in person under lights

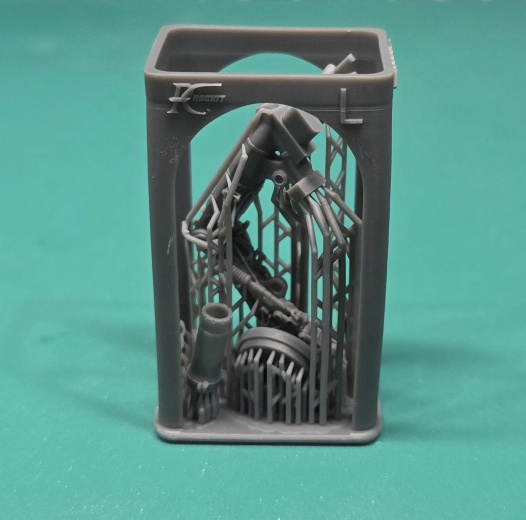
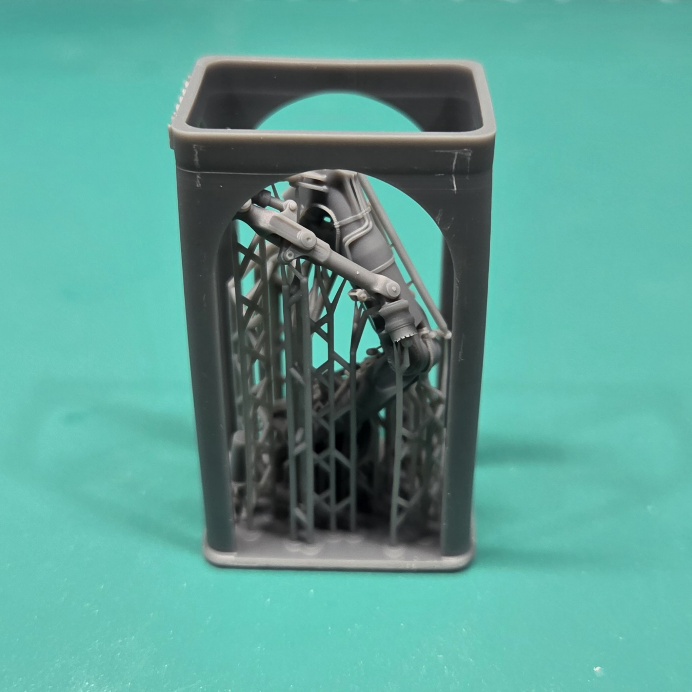
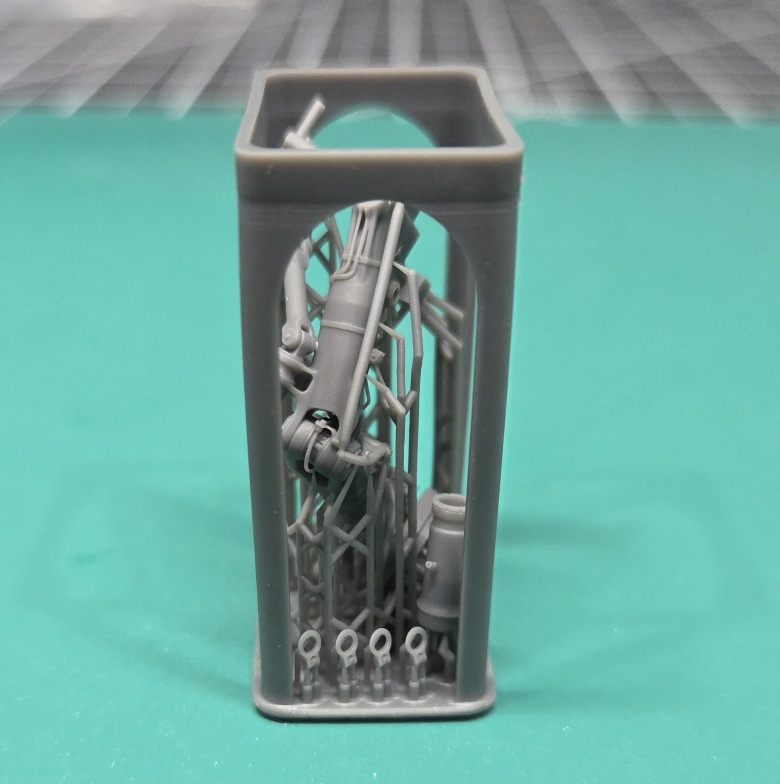
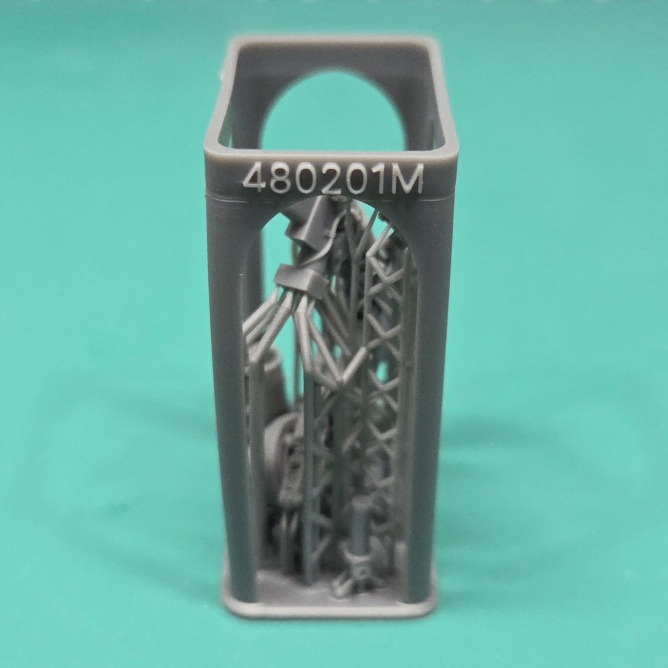
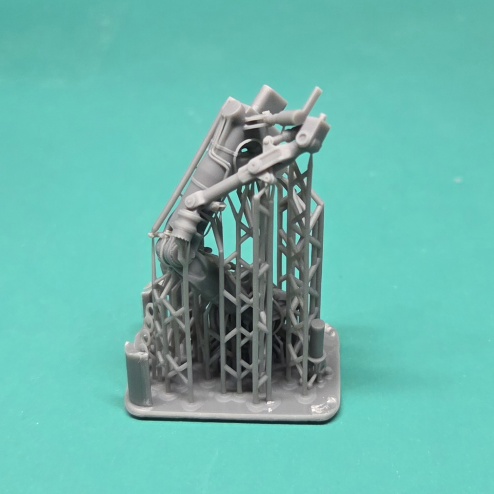
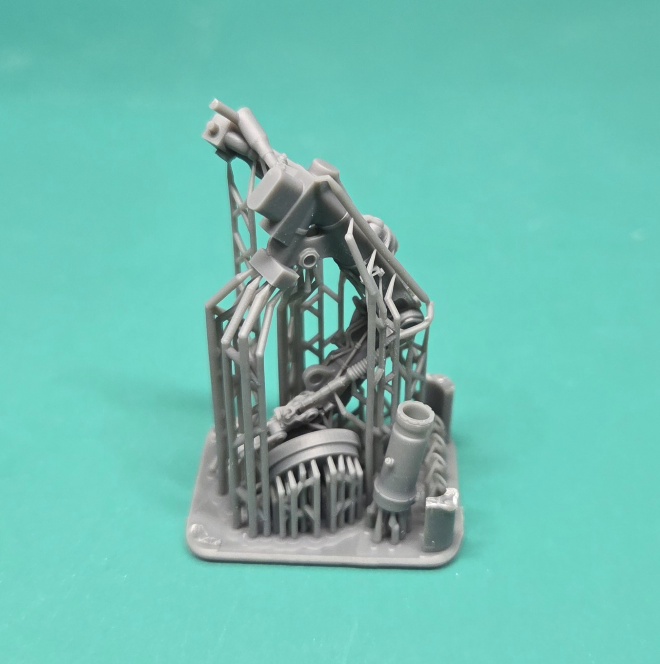
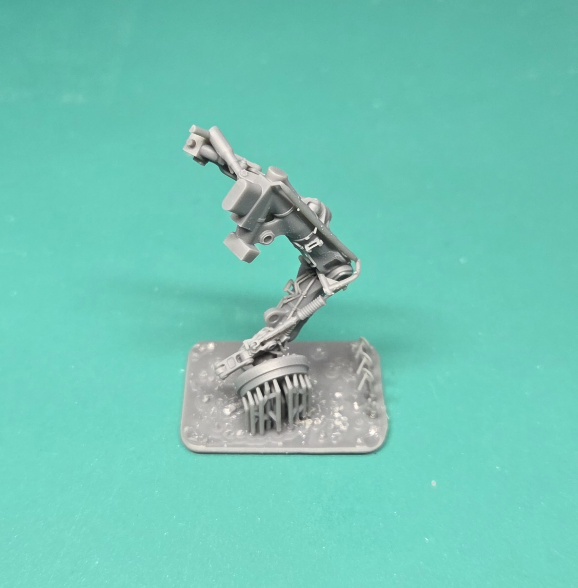
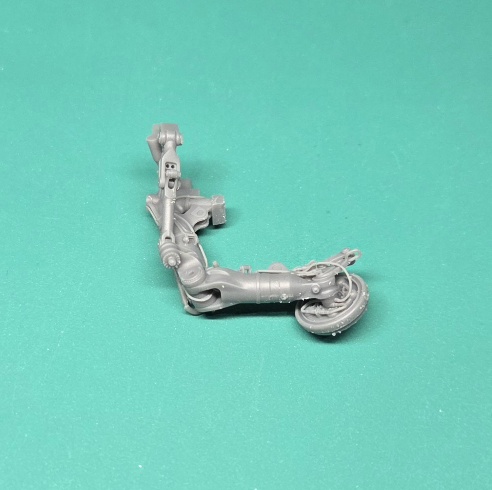
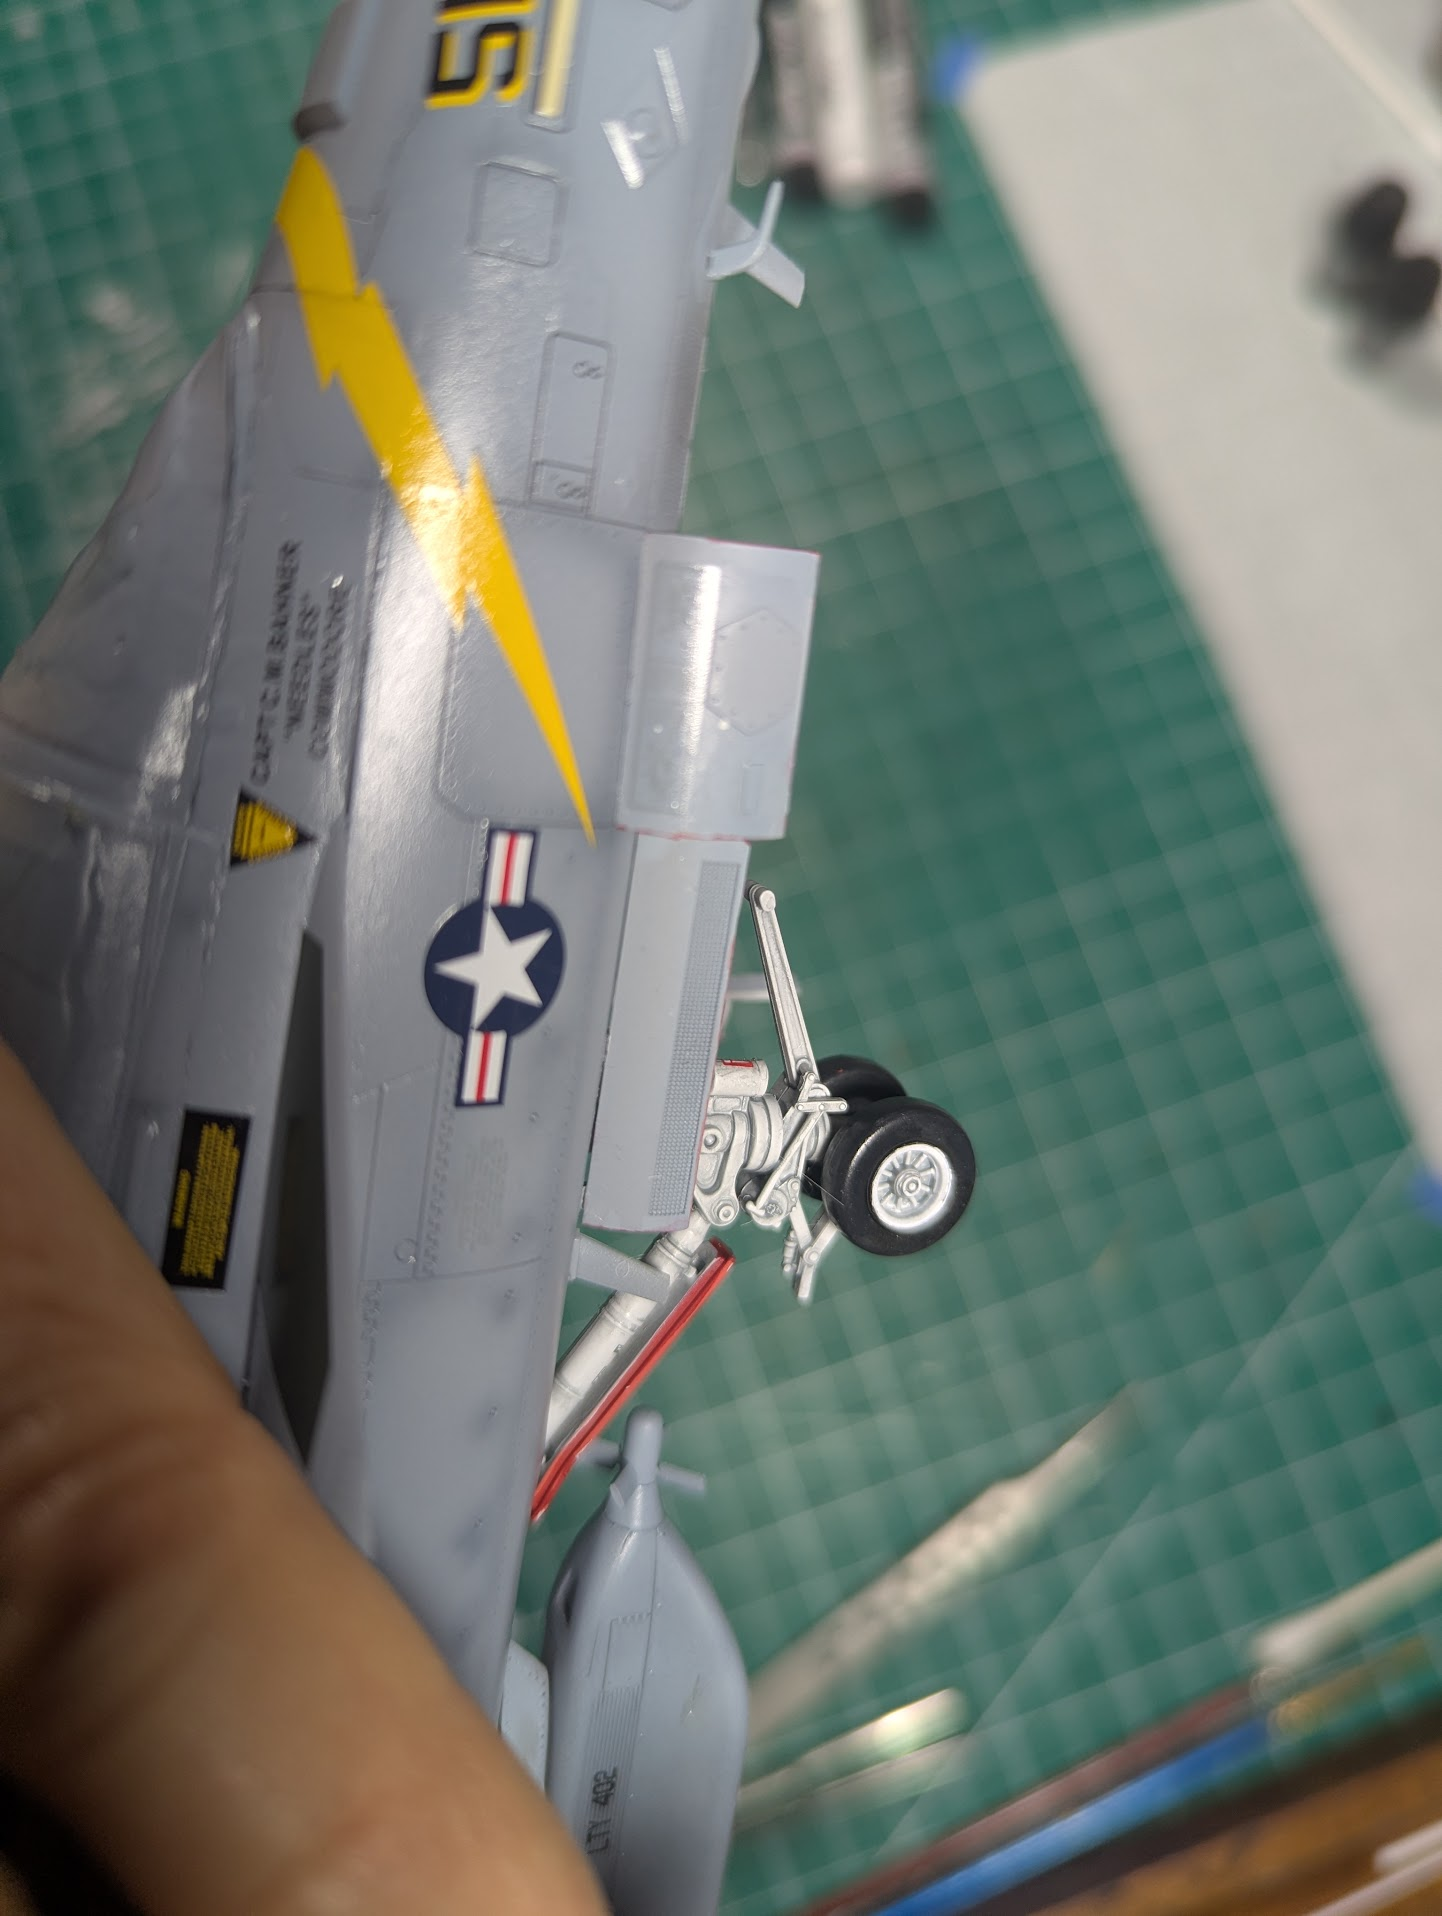
 The bottom of the bay needs a lot removed from the molded part, this is where the intakes will fit in later, so the next step is to get that part of the bay ready and test fit the aftermarket intakes to the bay and kit air frame to make sure all is well. Hope to have that done in the next few days so I can move onto the cockpit and bay to make sure they work together in the fuselage halves. anyway, here are the gear and bay for the left rear.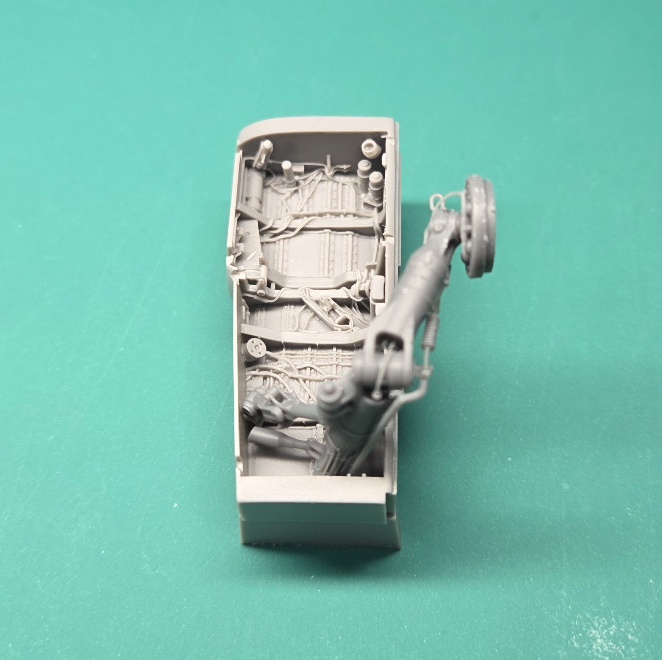
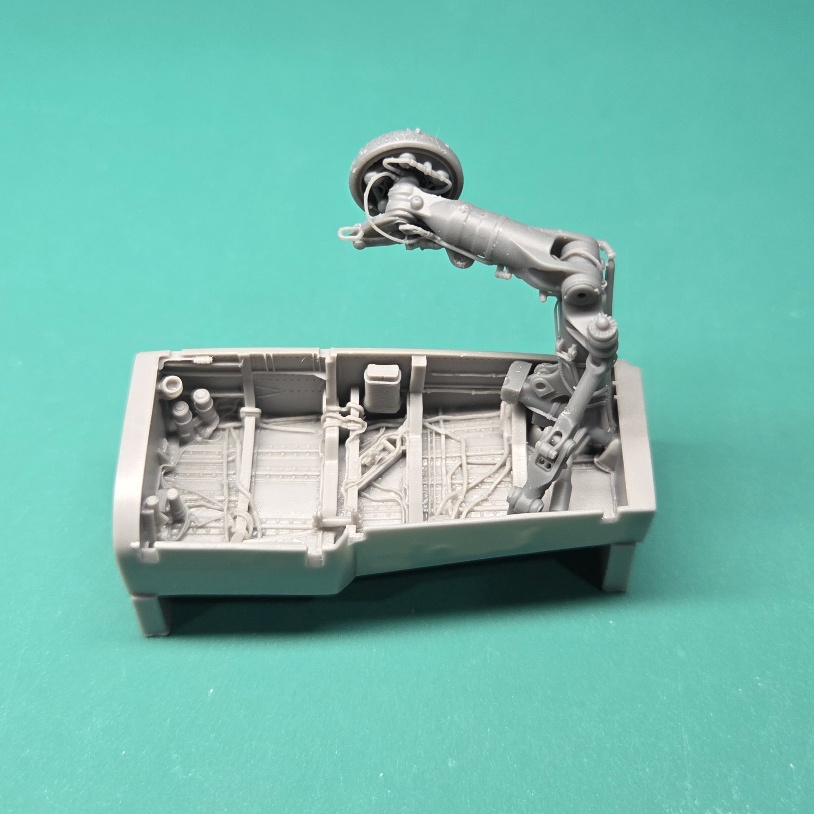
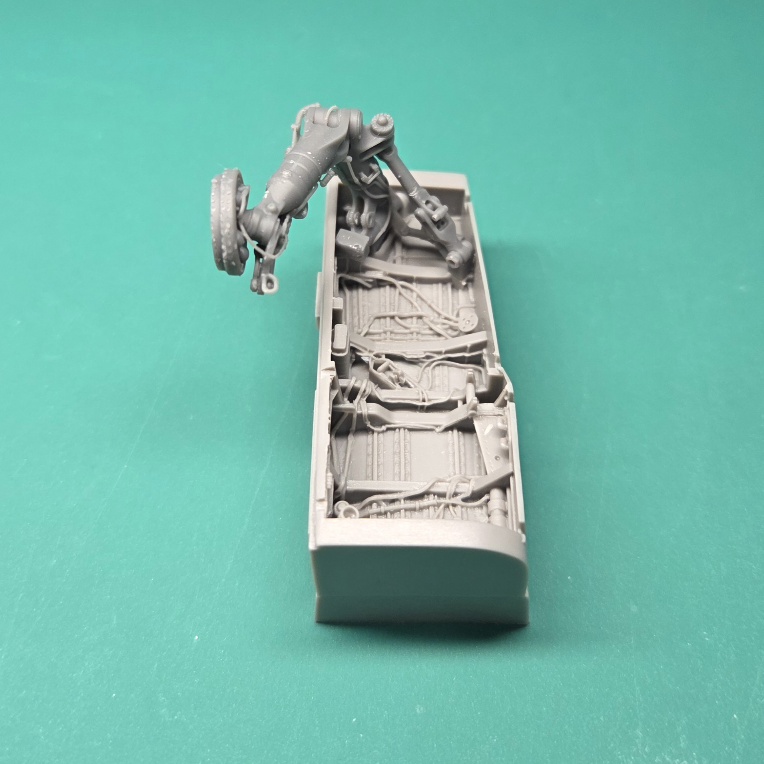

... Admire the way you are taking your time... Indeed, it would be very easy to snip the wrong thing!detail on these aftermarket parts are insane

She looks wonderful!!Got most of the decals on. Only two disasters. About par for me, but I covered them up well.View attachment 186105
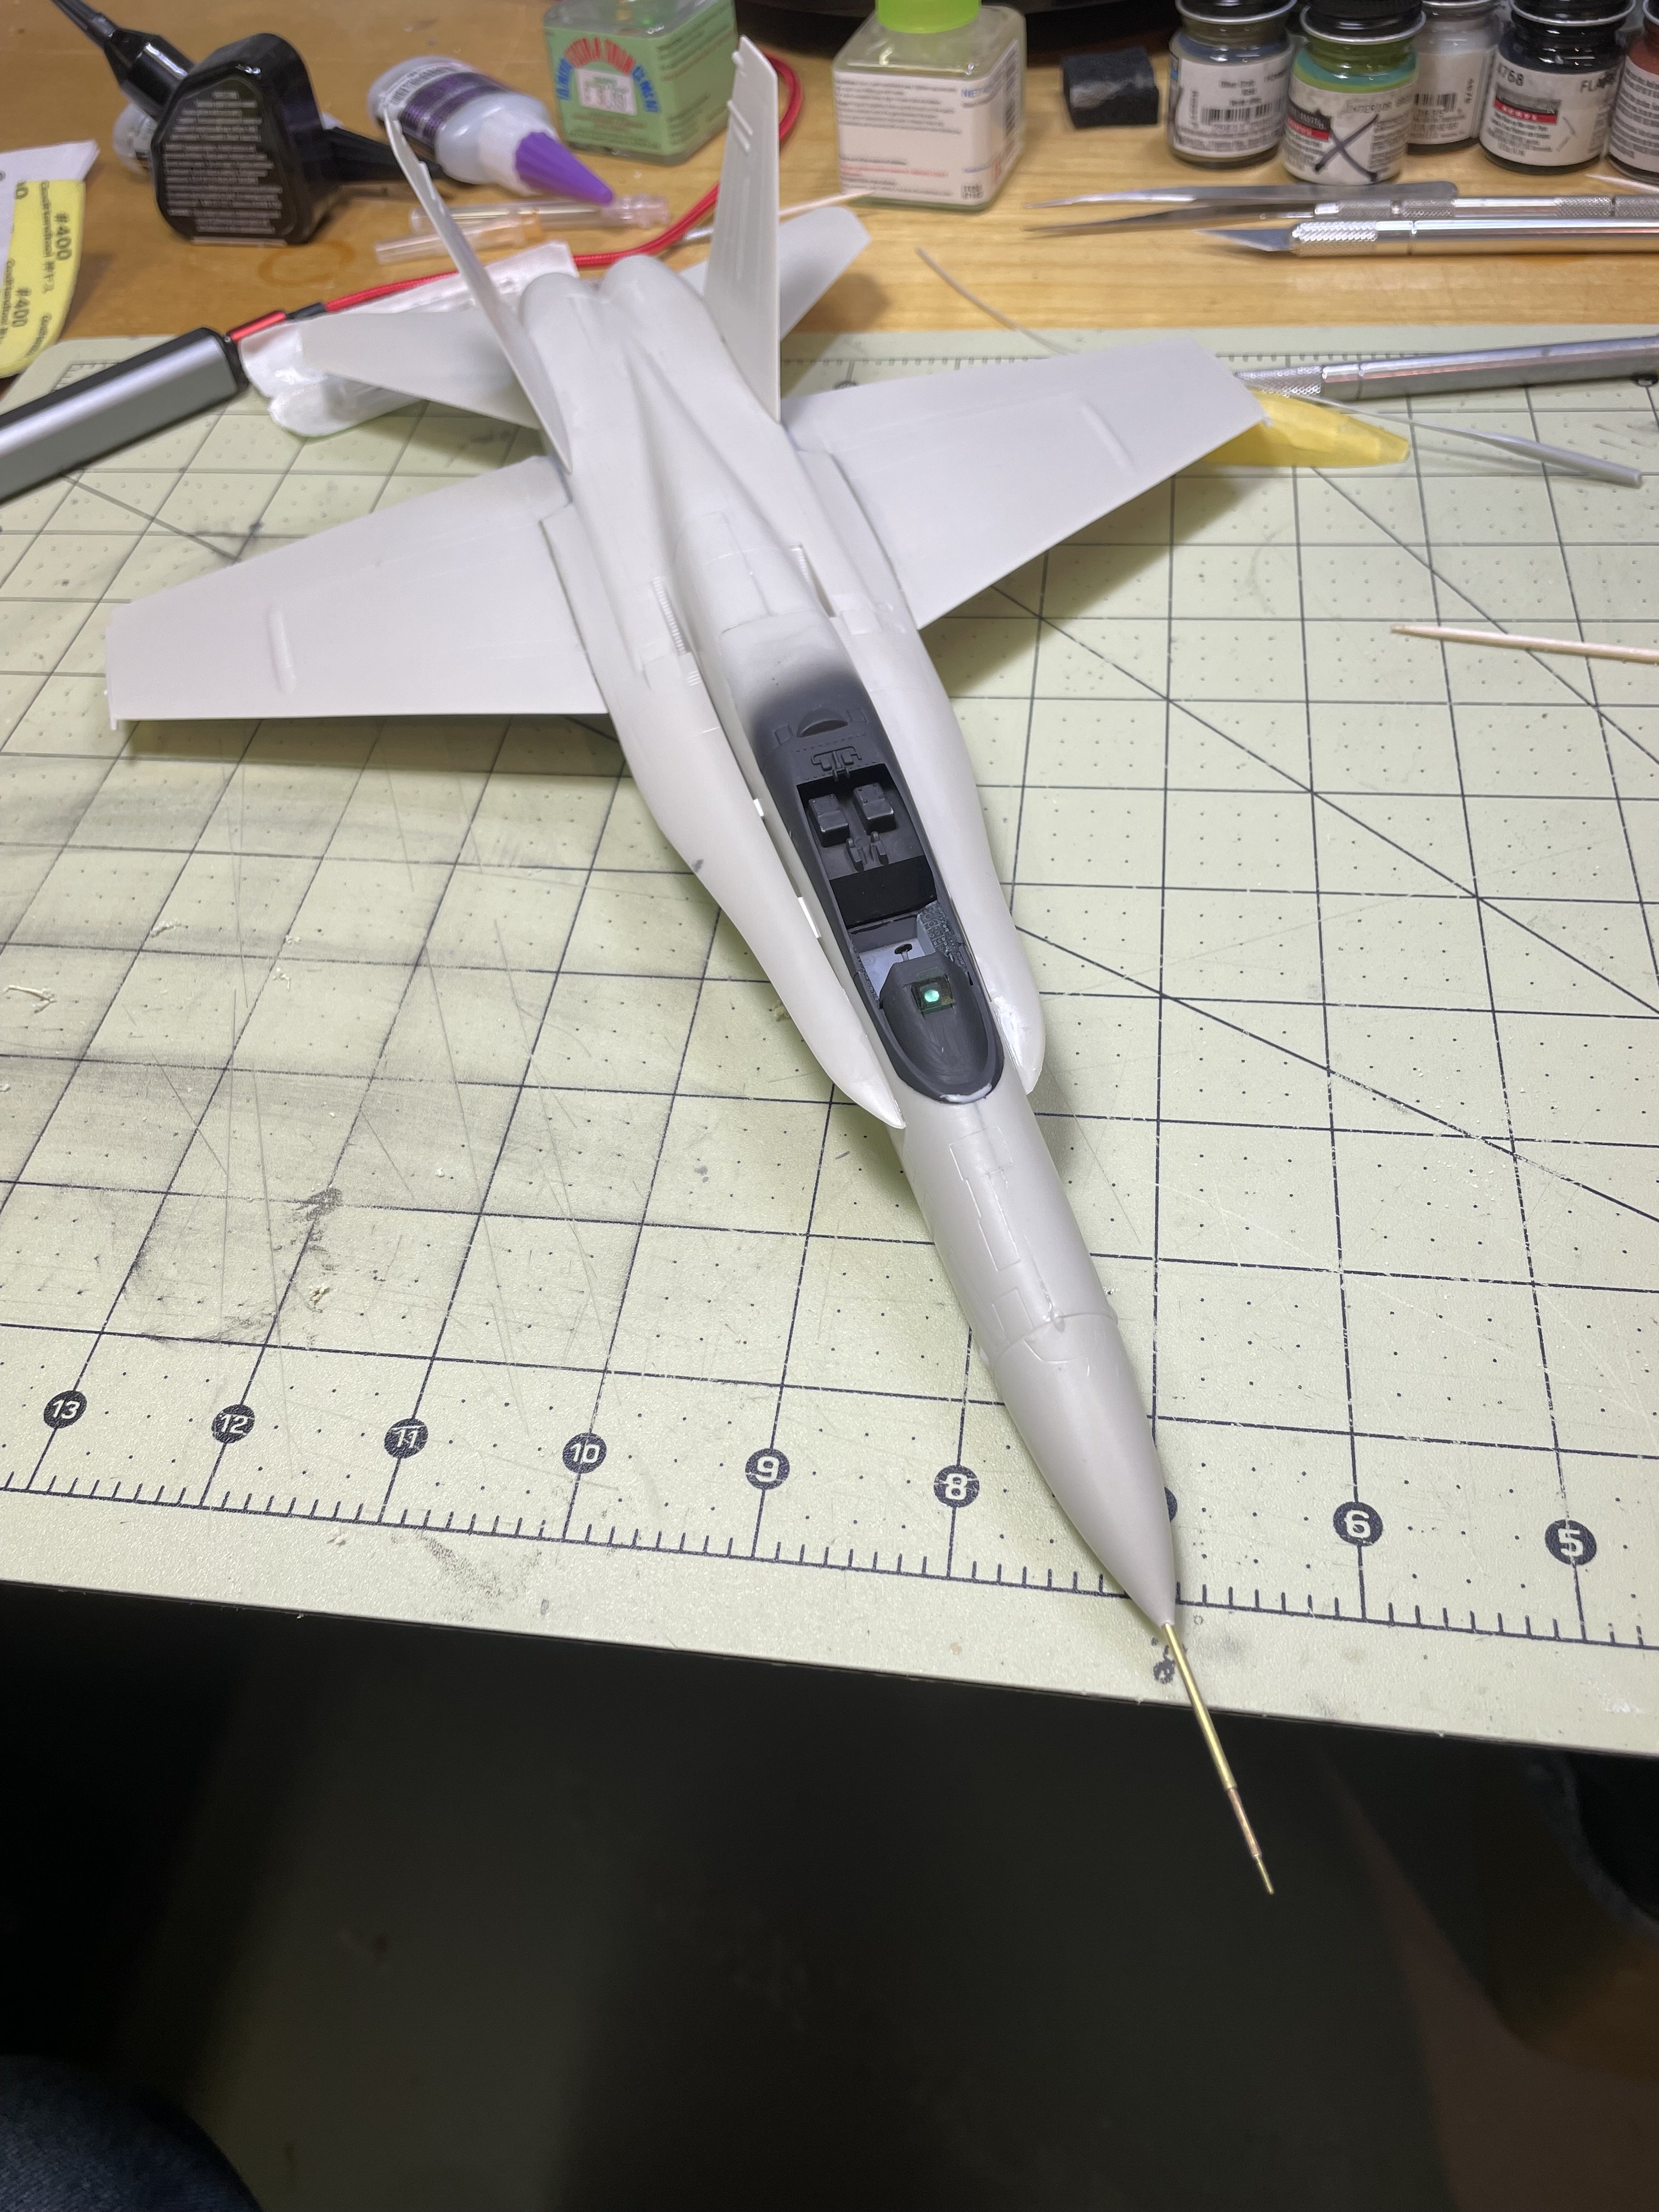
Nice!two brass tubes and one brass rod


I love that movie.I spent much of my bench time today watching one of my favorite old (70s) movies, "A Bridge Too Far". What an outstanding cast!

There was one line when they handed 30Corp over from the 101st to the 82nd you probably remember..."watch your wallets around those fellas" LOLIt came out in 1977, while I was in the 82nd
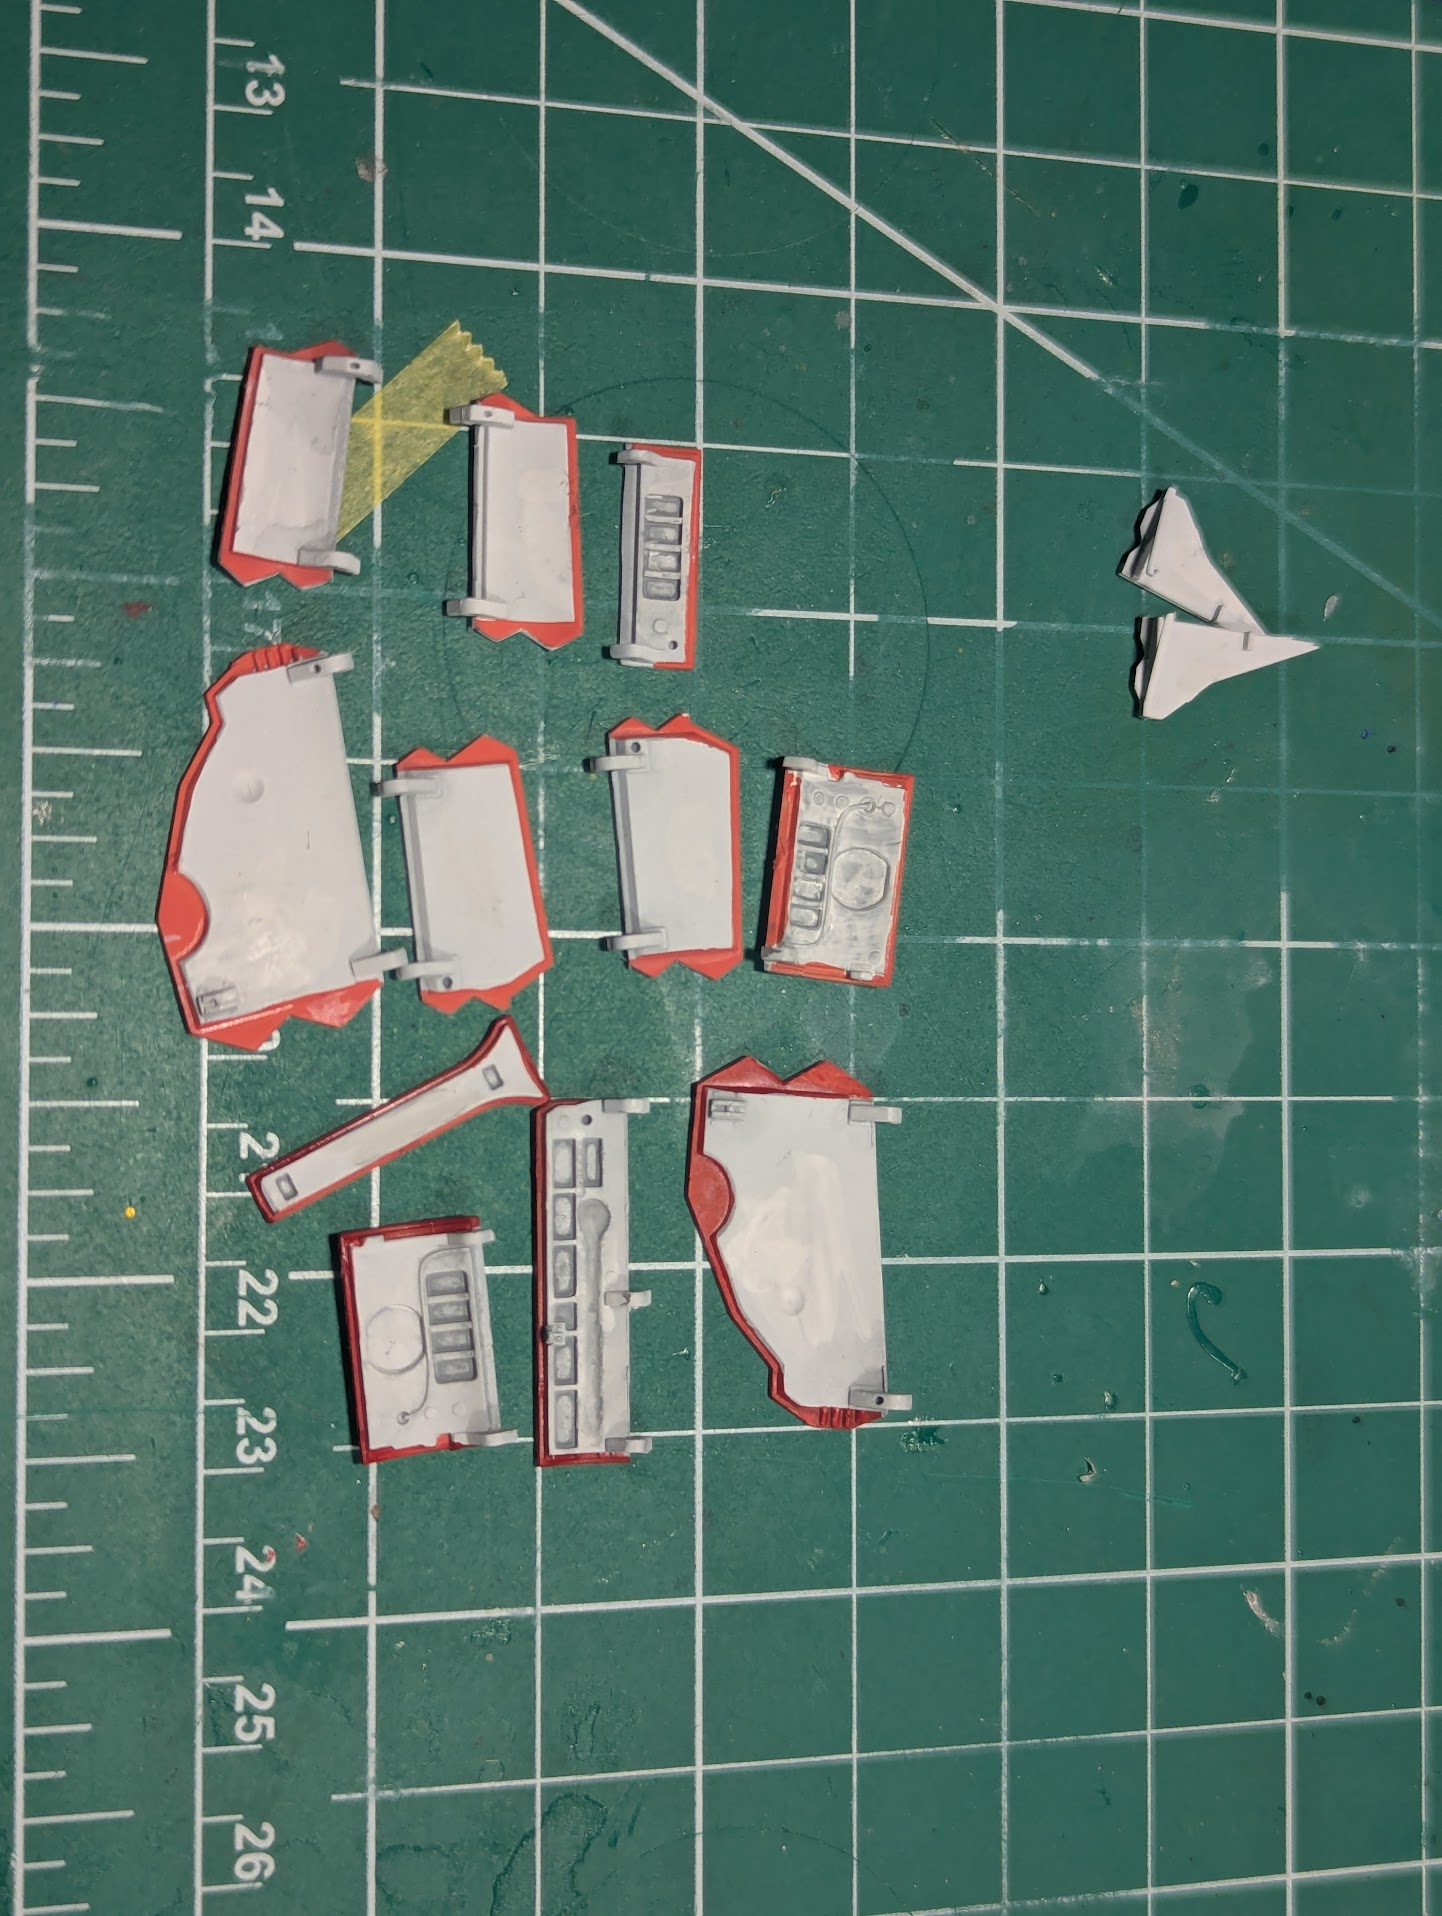
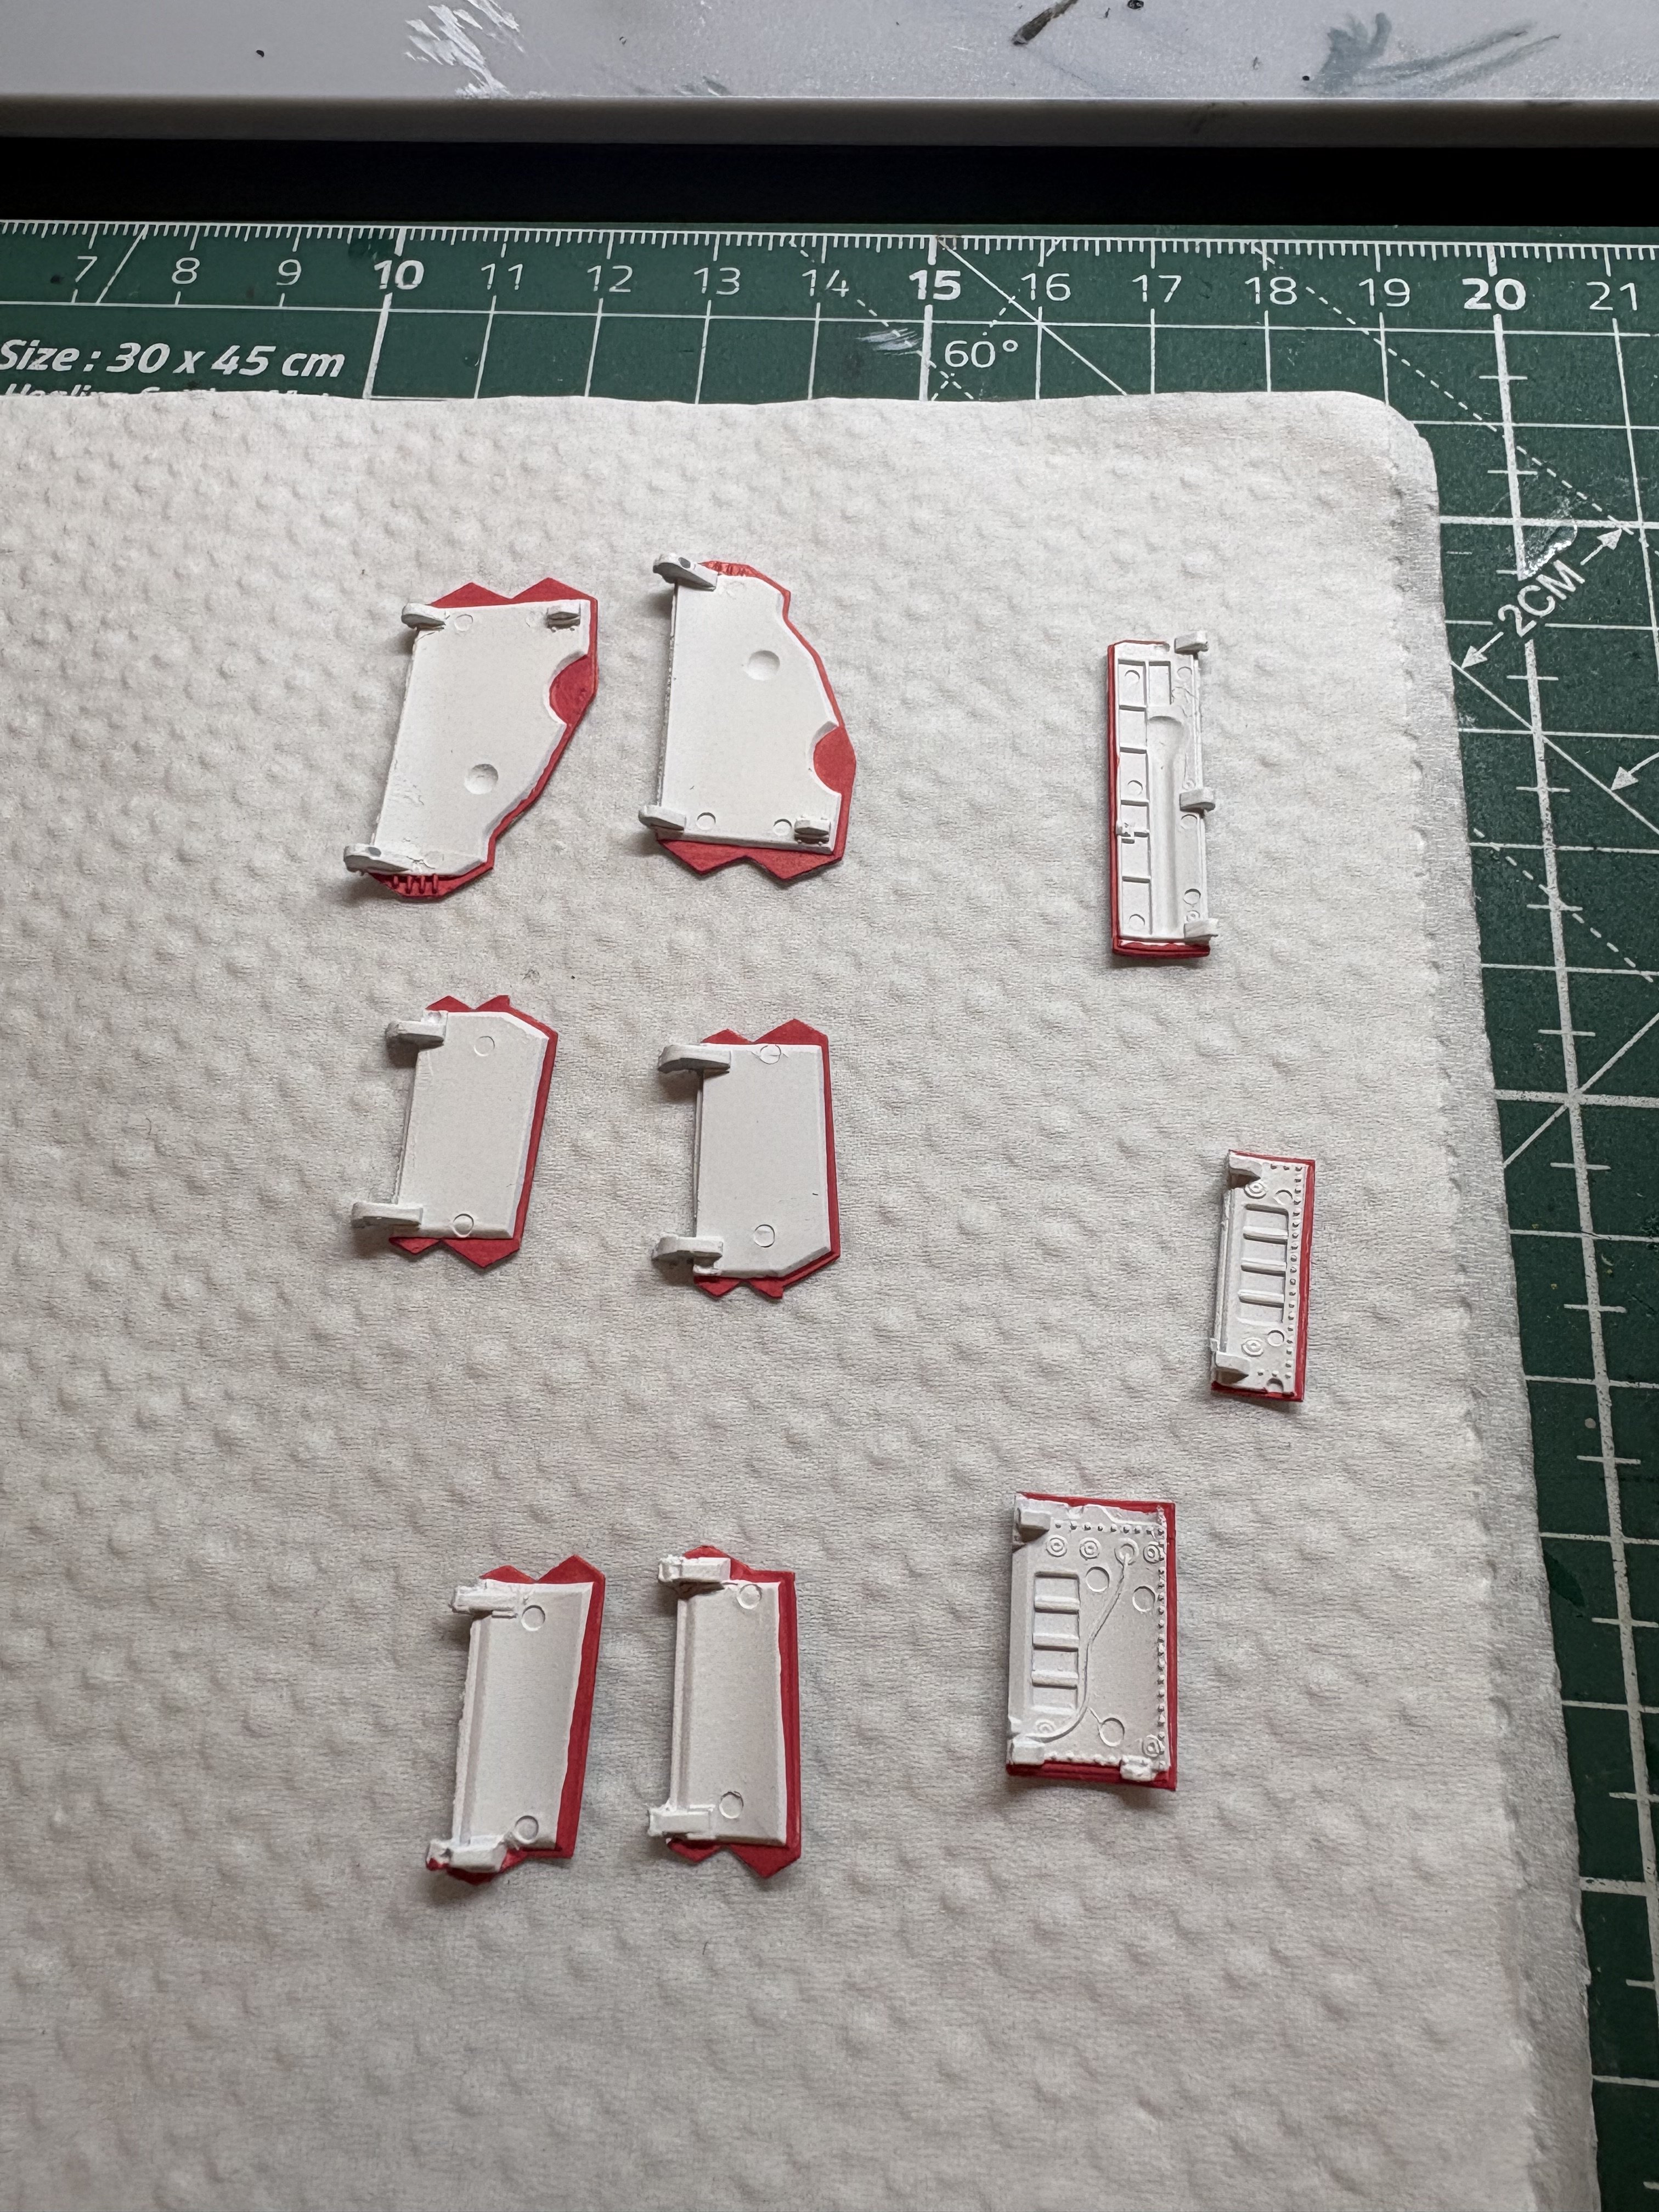
I ran into and issue with my landing bay doors as well. The marker was too pink and who would have thought a sharpie wasn't water proof. Ended up removing the doors, painting them again and I just got an AK red paint marker so hopefully it's not pink.I spent much of my bench time today watching one of my favorite old (70s) movies, "A Bridge Too Far". What an outstanding cast!
I did get a lot done in the last few day though...
View attachment 186351
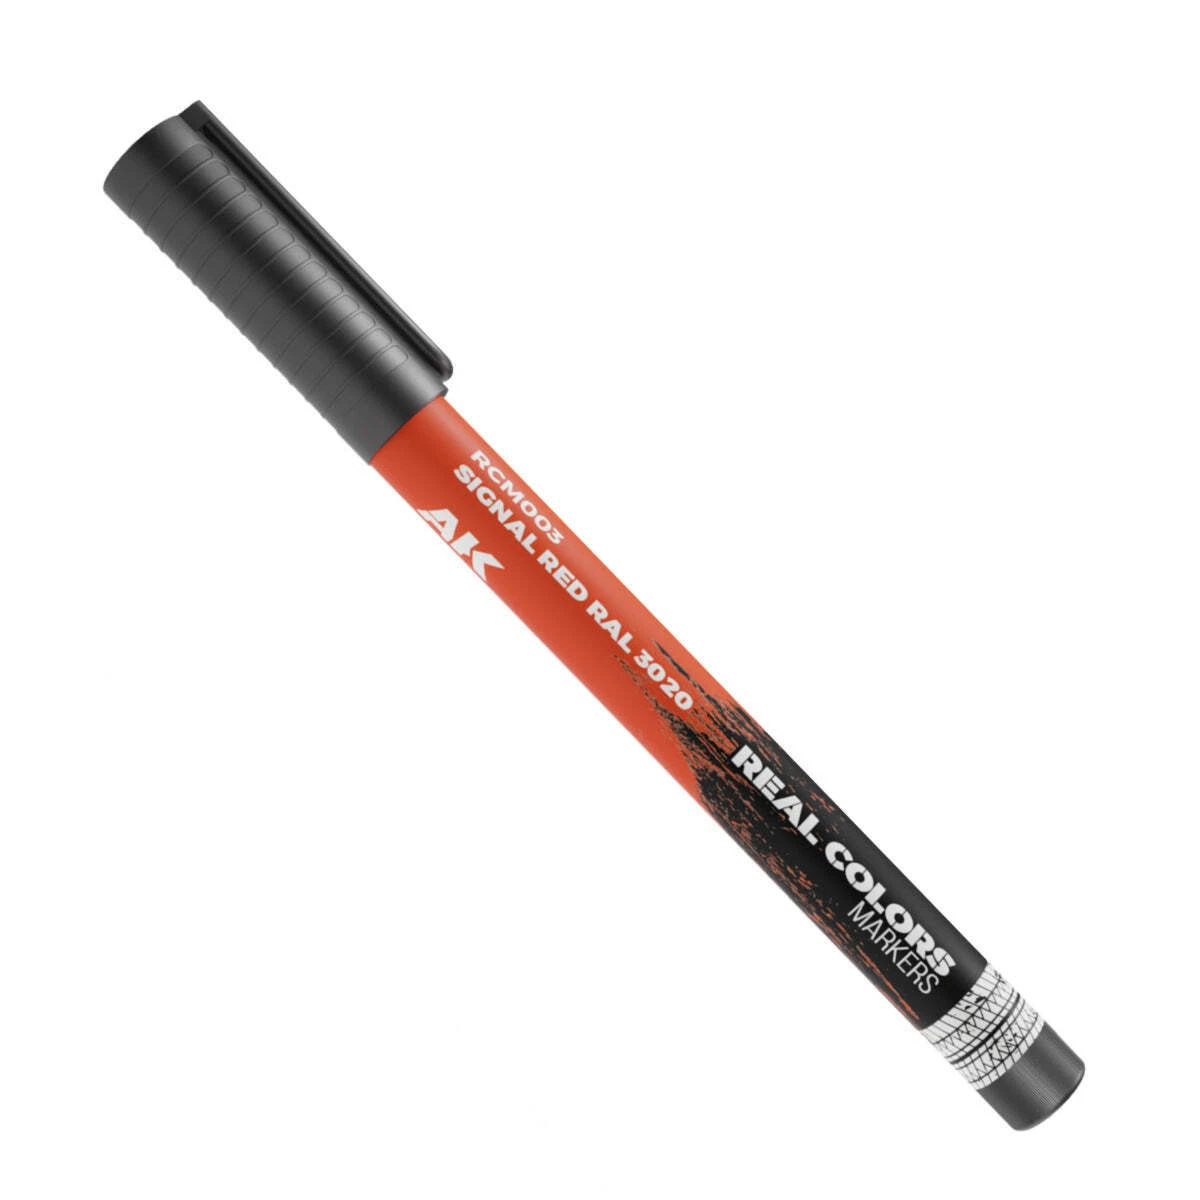
The top doors were painted (red) using an AK paint marker. Easy to control, and would recommend, except they are pink not red, it says "Signal Red RAL 3020" but is not insignia red at all. The bottom few was me putting some real red (enamel) on top of the marker, wanted to be sure I liked it before finishing. I did.
View attachment 186352
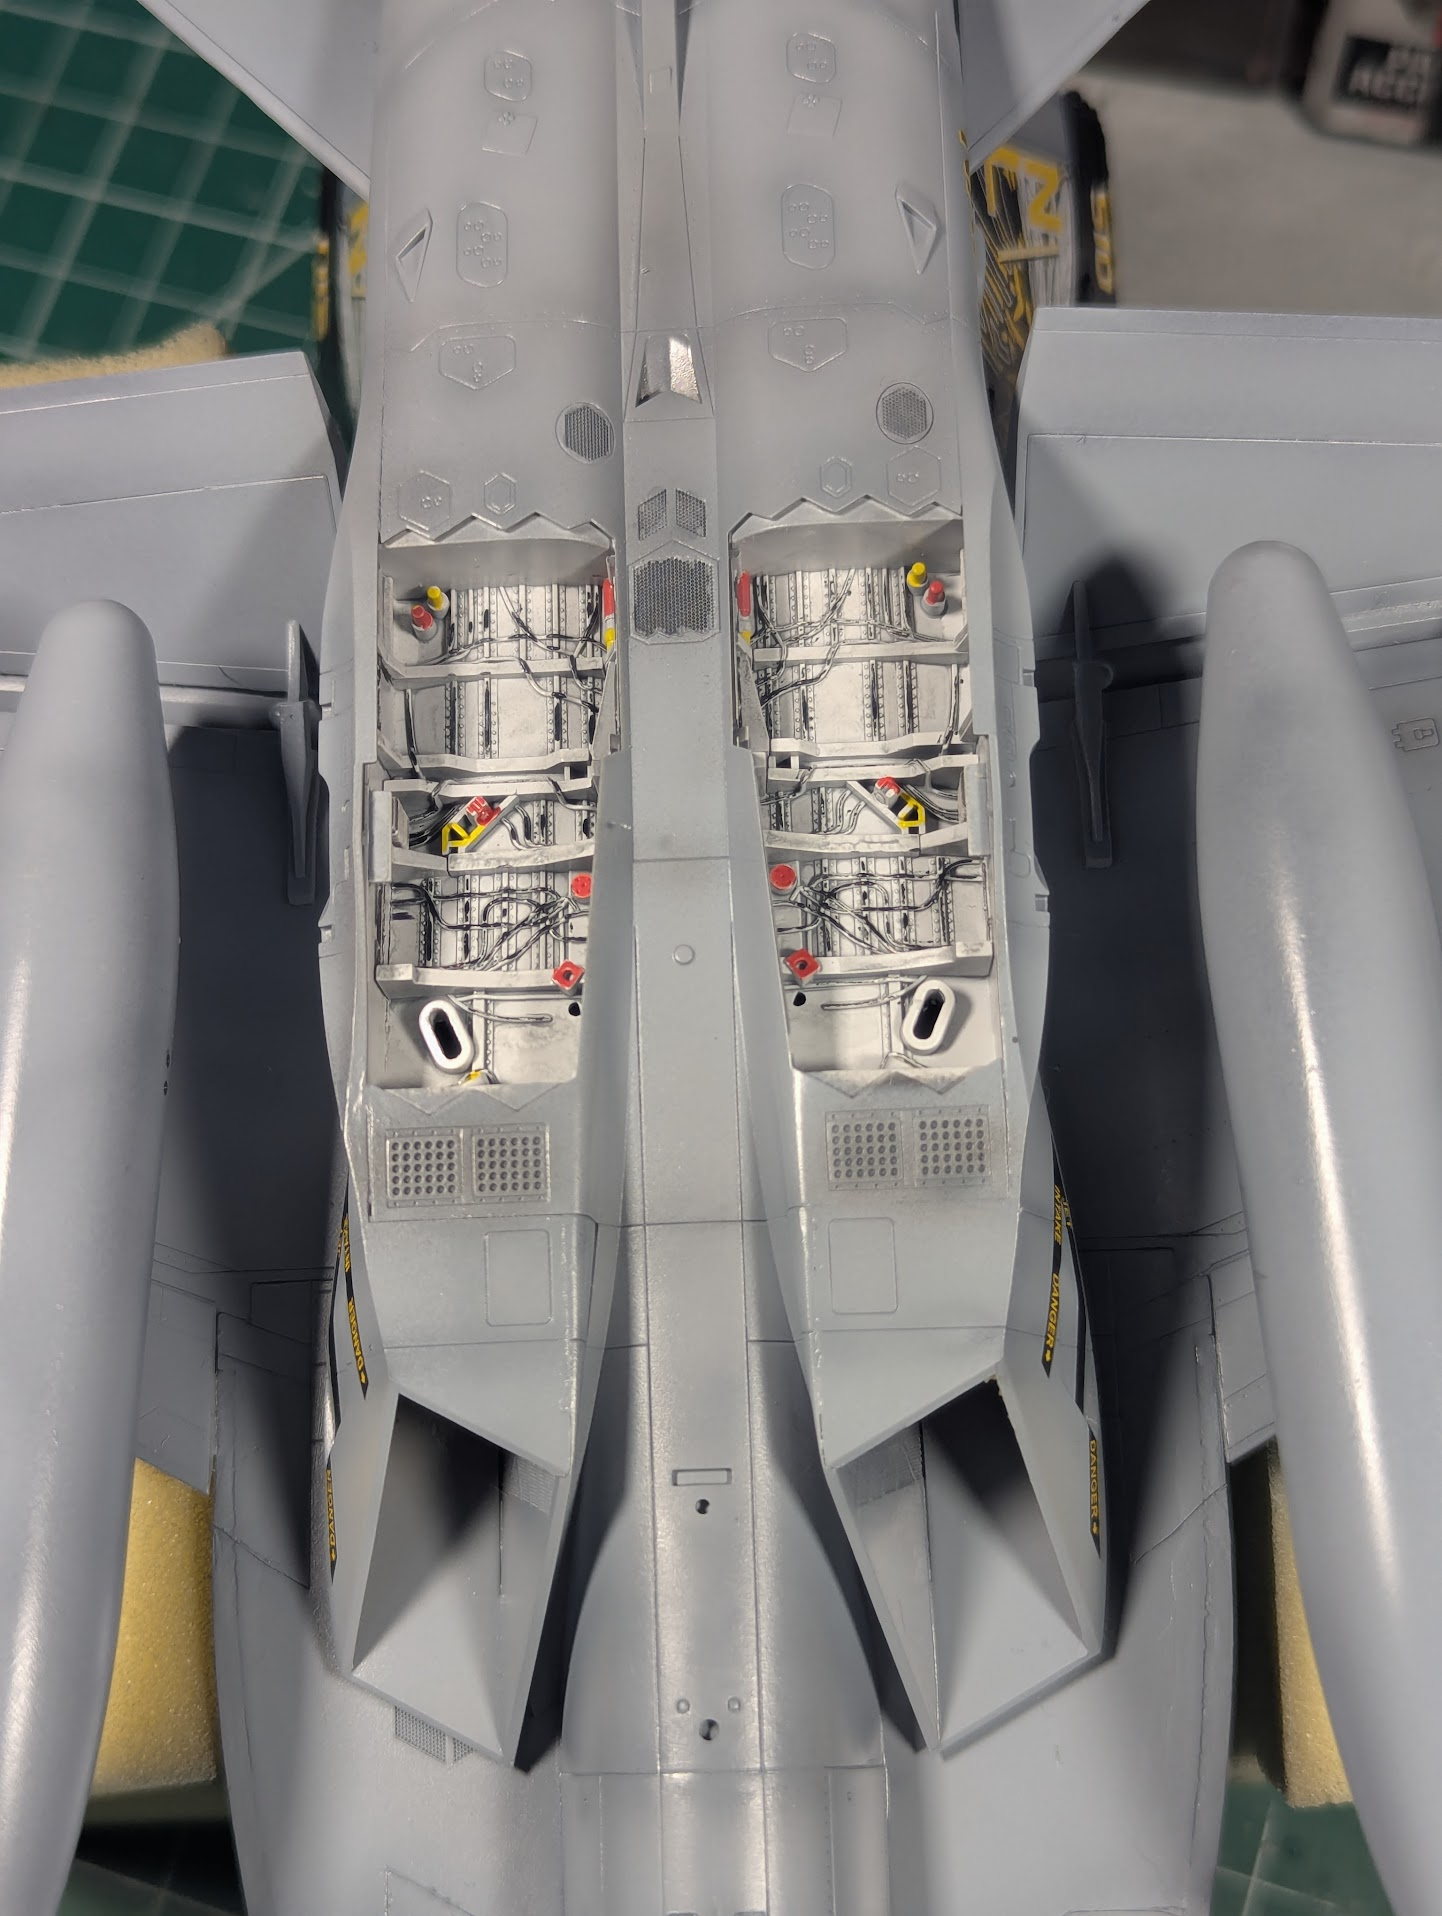
This picture is showing the gray overspray on the jagged edge (radar suppression) of the wheel bays. That needed another coat of white.
View attachment 186353
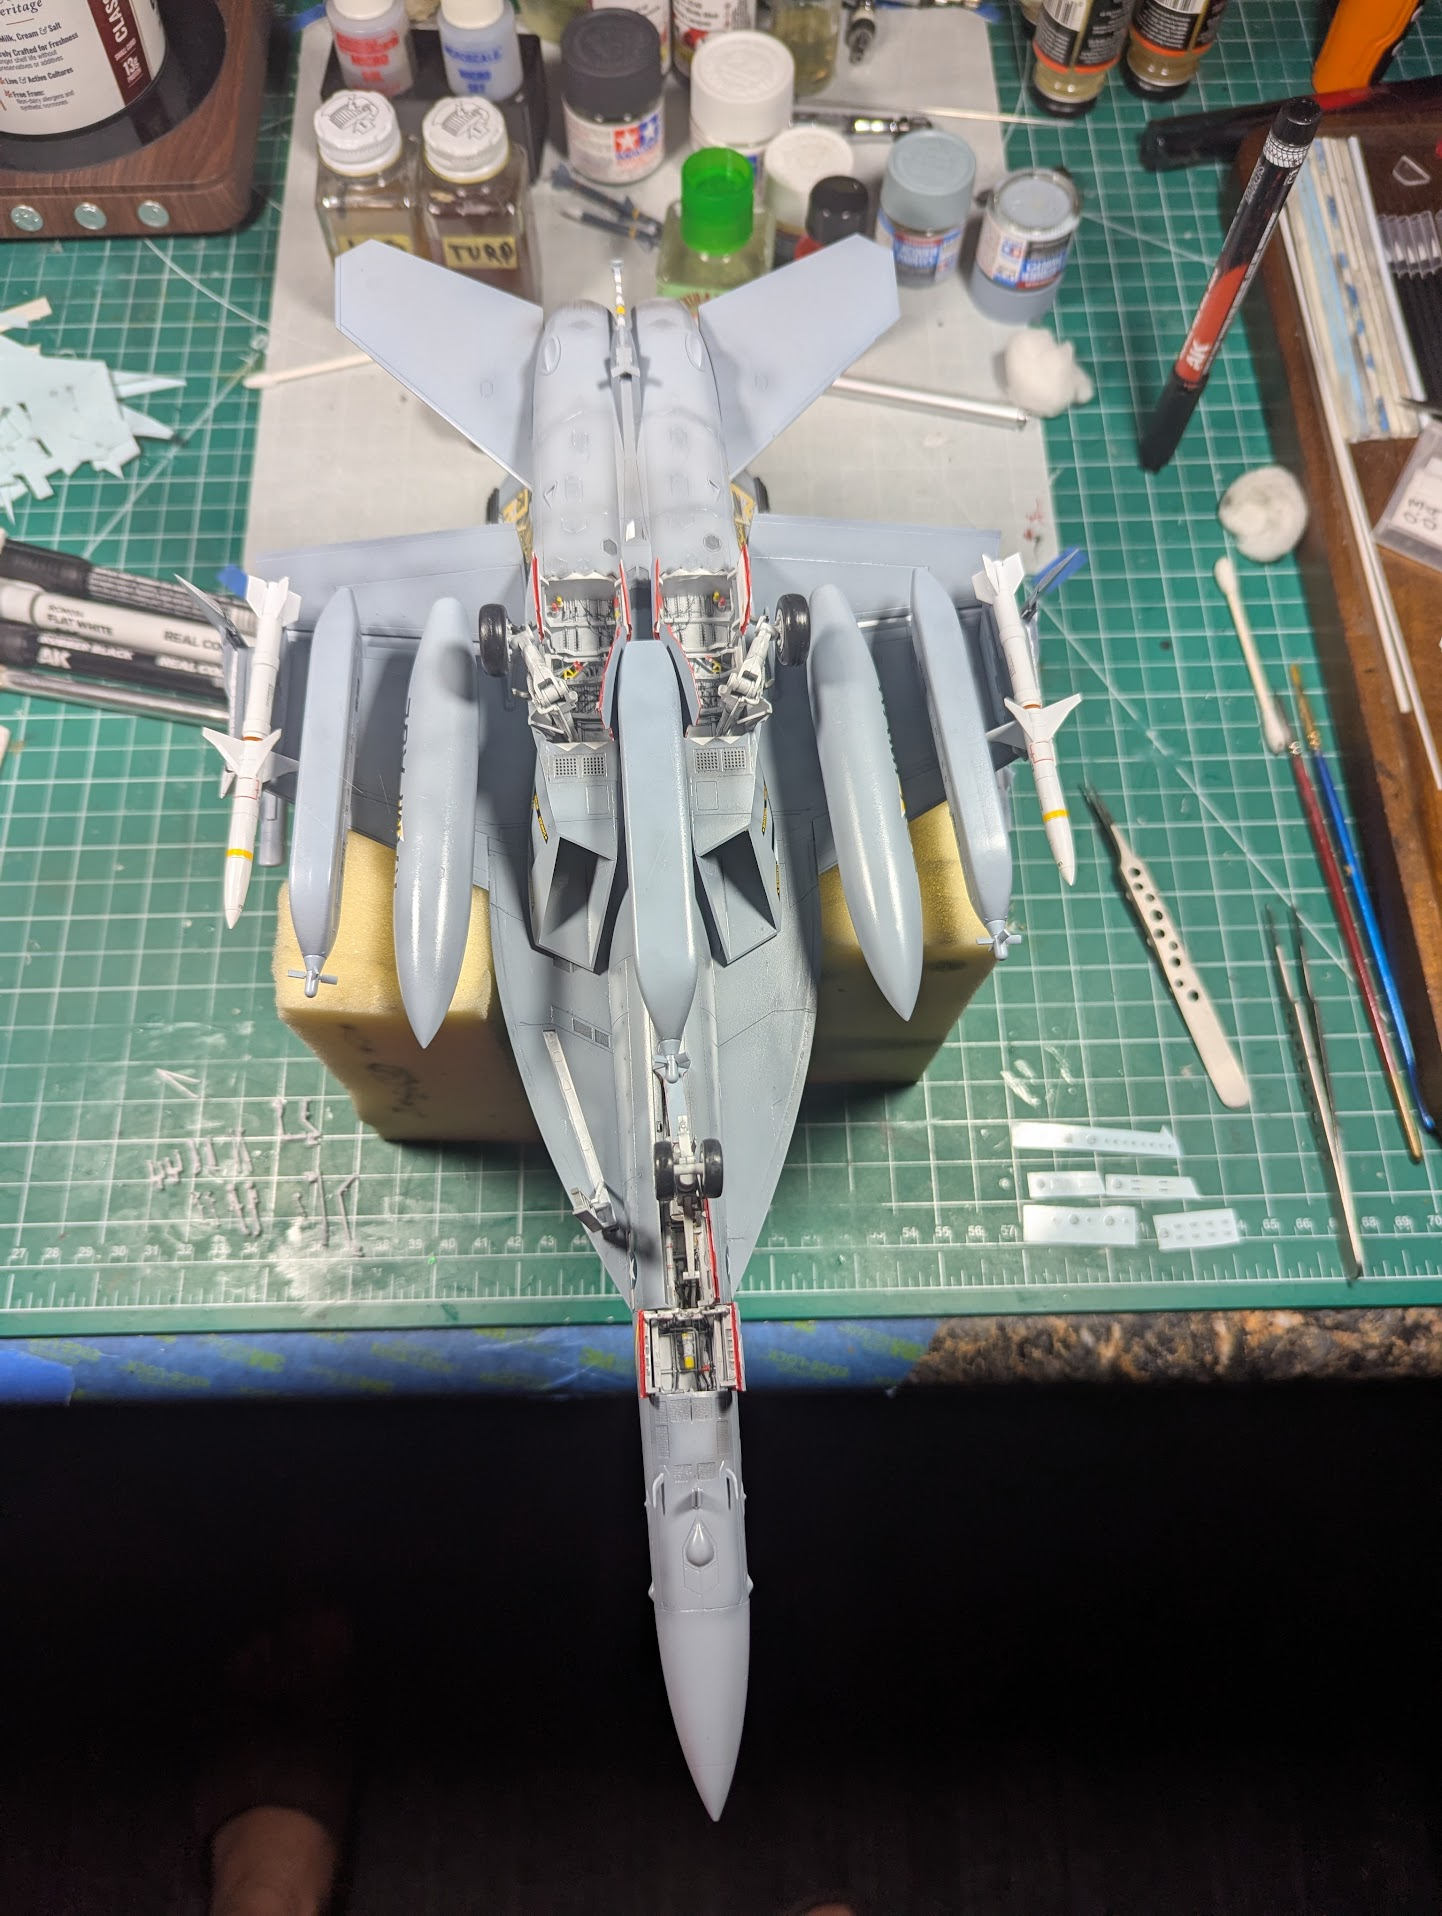
You can see I did the touch-up of the white, also the landing gear doors are in place, still lots of fiddly bits to be put on, actuators and other miscellaneous stuff.
View attachment 186354
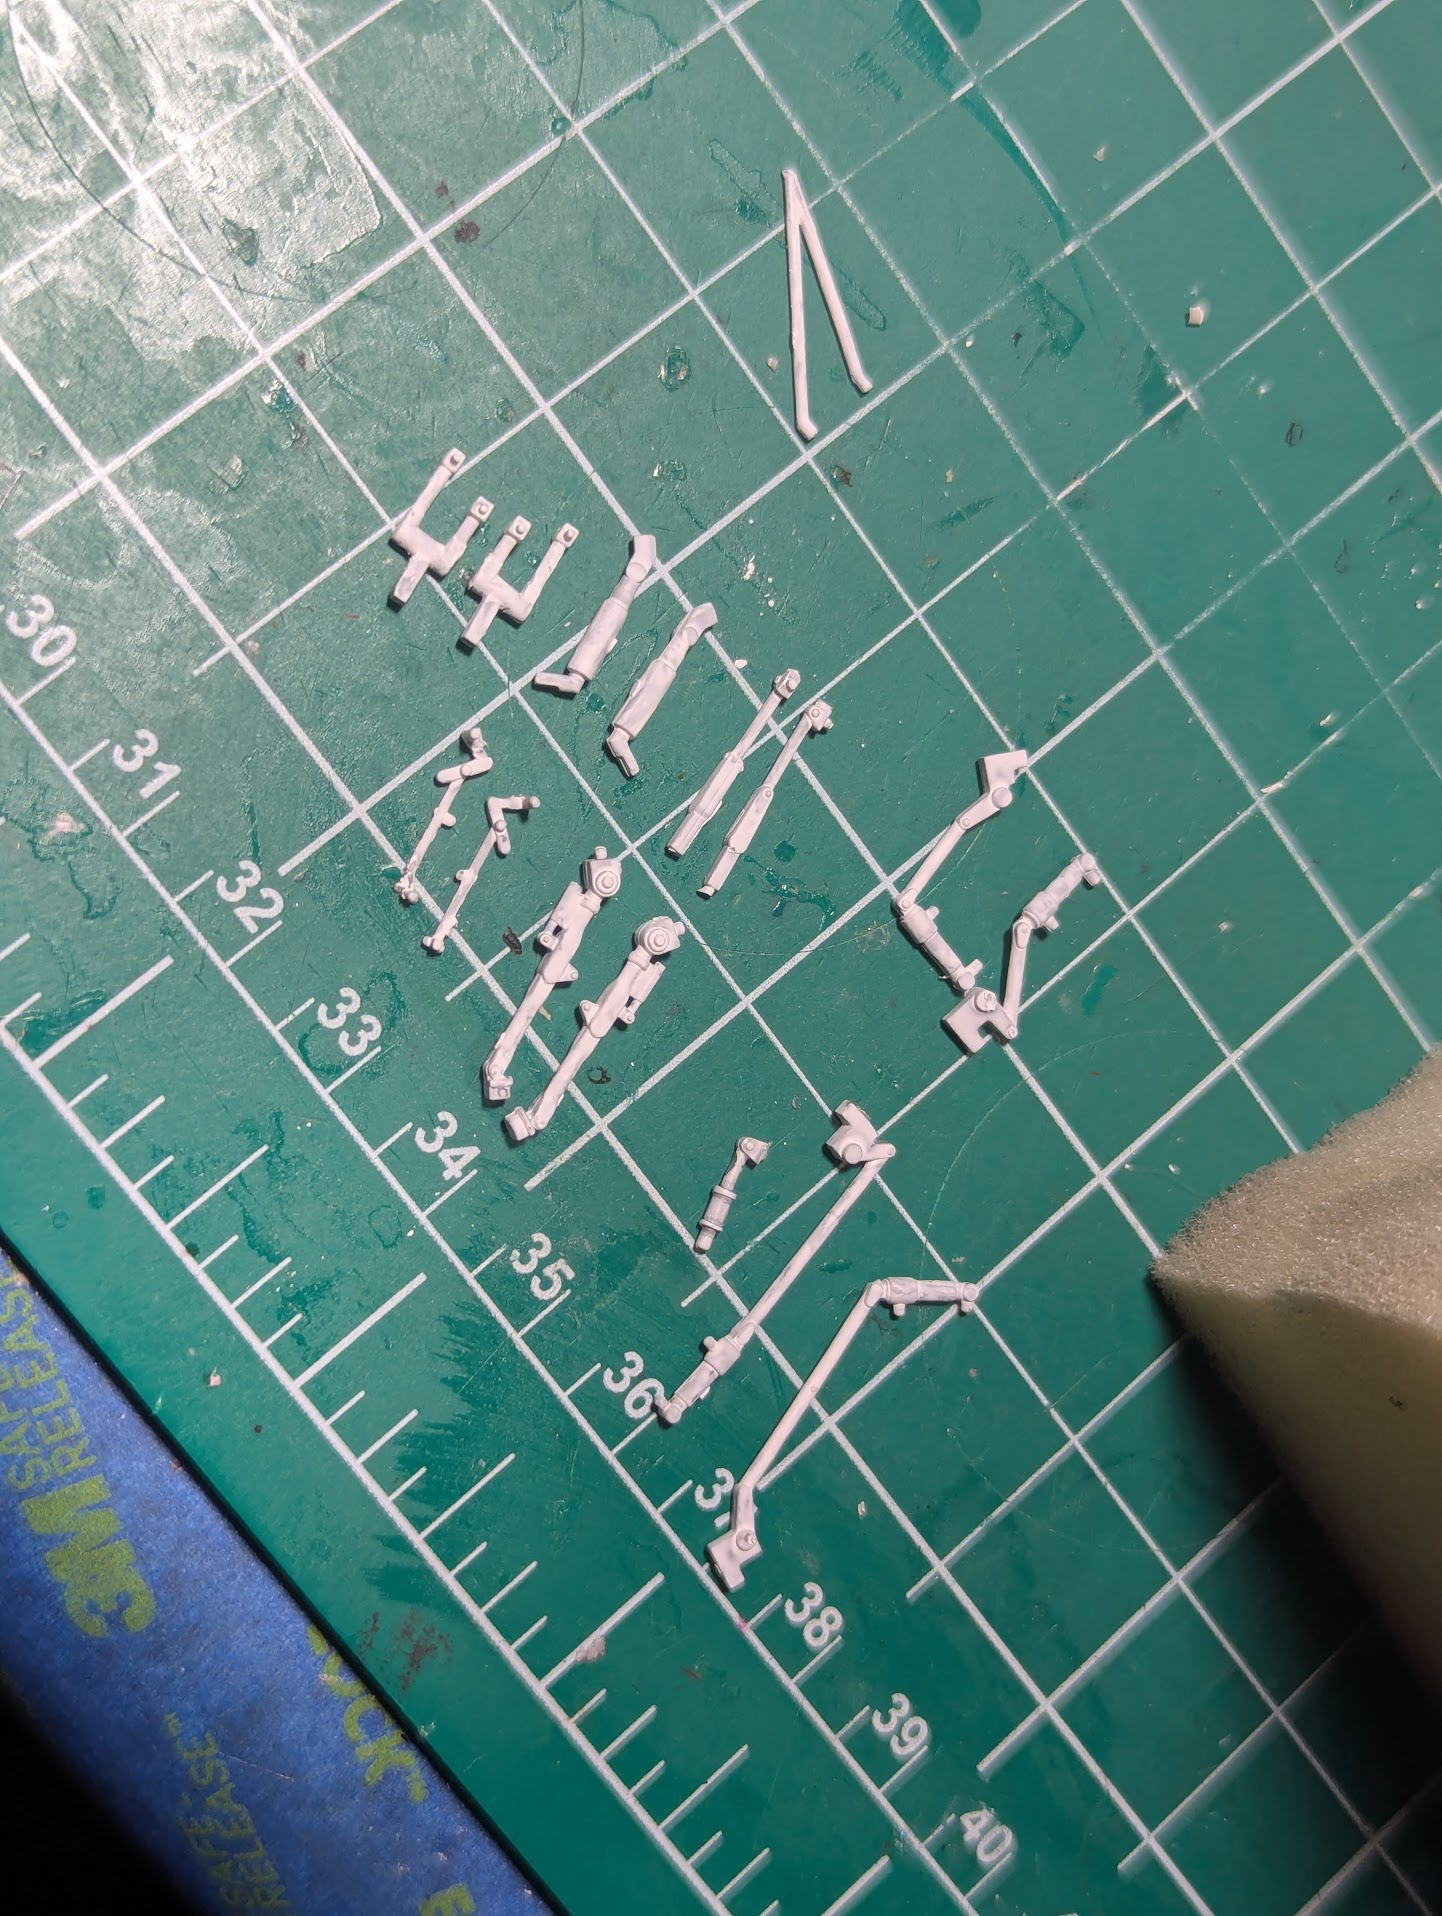
The said fiddly bits.
View attachment 186355
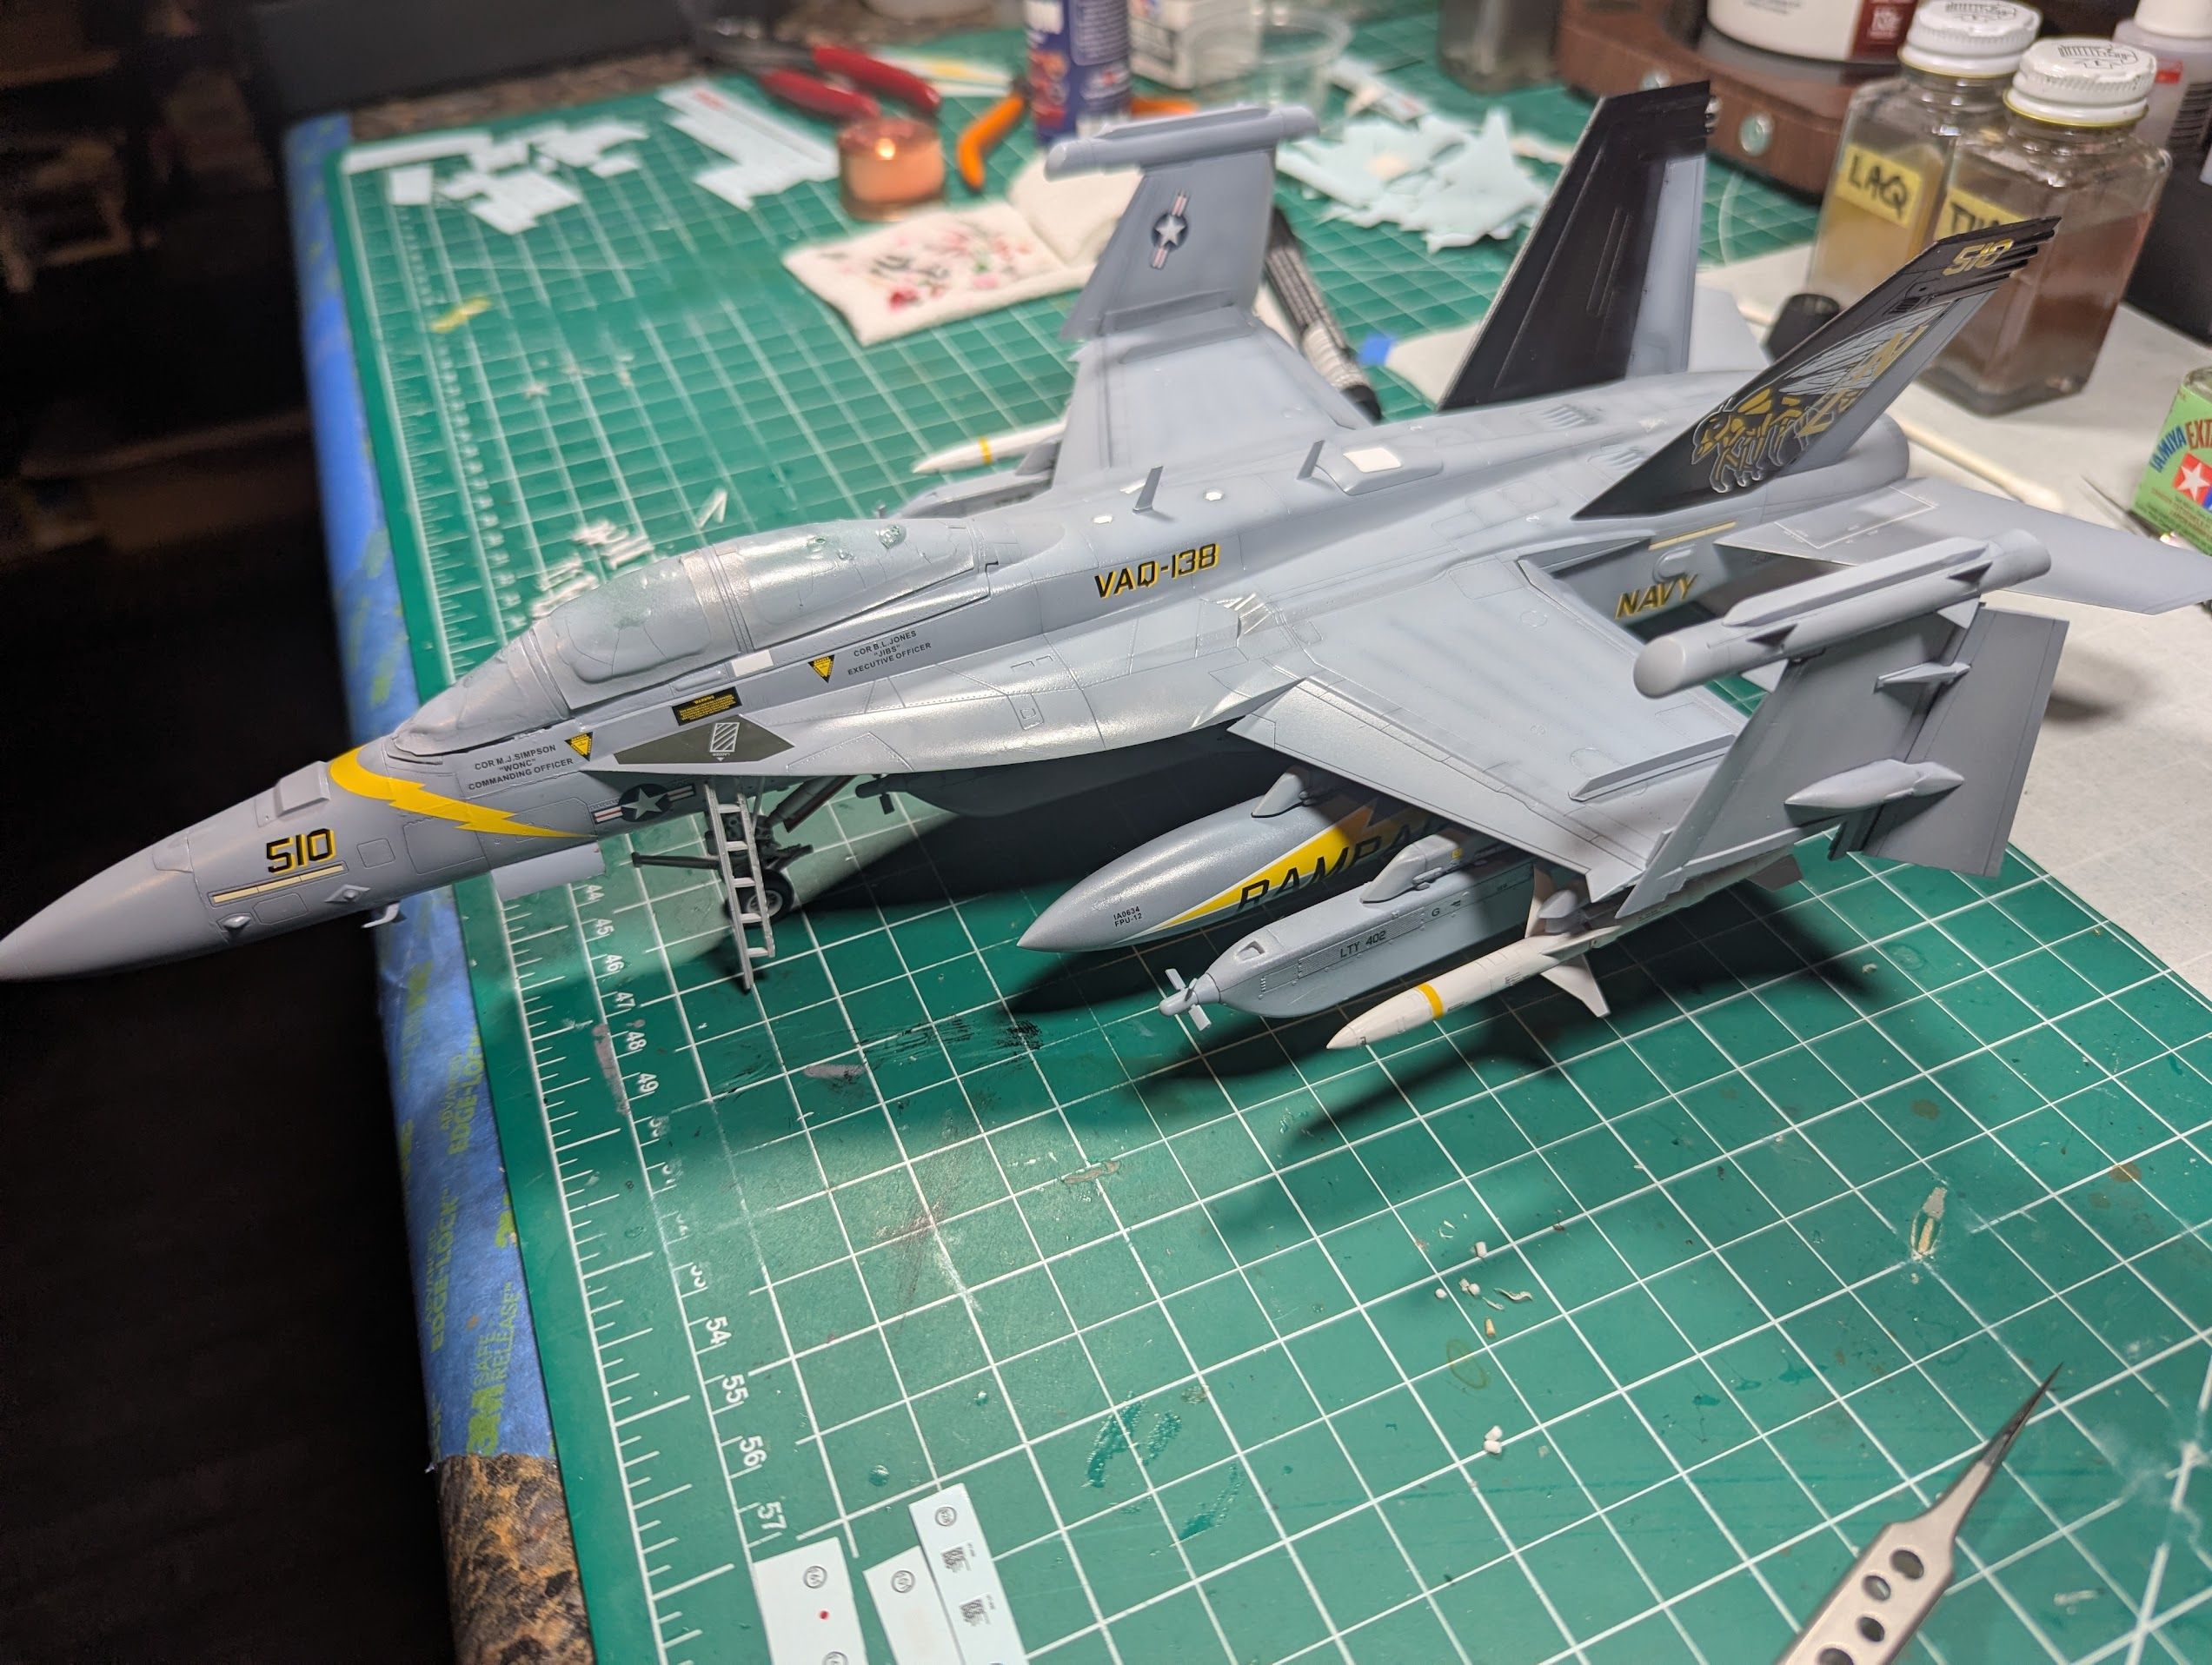
I've been having issues with decals lately, but not these. I think I have to give credit to Meng, it is not like my skills have increased since earlier this year. Thinkin about it more, the stickers that gave me fits are from "Special Hobby" or "Svezda", so maybe the Slavs are to blame not me
View attachment 186356
There was almost 200 stickers. Take away maybe 40-50 for the two color schemes being duplicated. It nowhere near F-4 Phantom levels, but lots of stencils nonetheless. I decided to skip many of them, above is one reason. They gray paint was nearly identical to the grey stickers. See there's a relatively large stencil below the USN insignia? You have to look close, and this sticker is 6-8 times the size of many others. You can see another one near the front of the ECM pod, nearly invisible. So I'm skipping them.
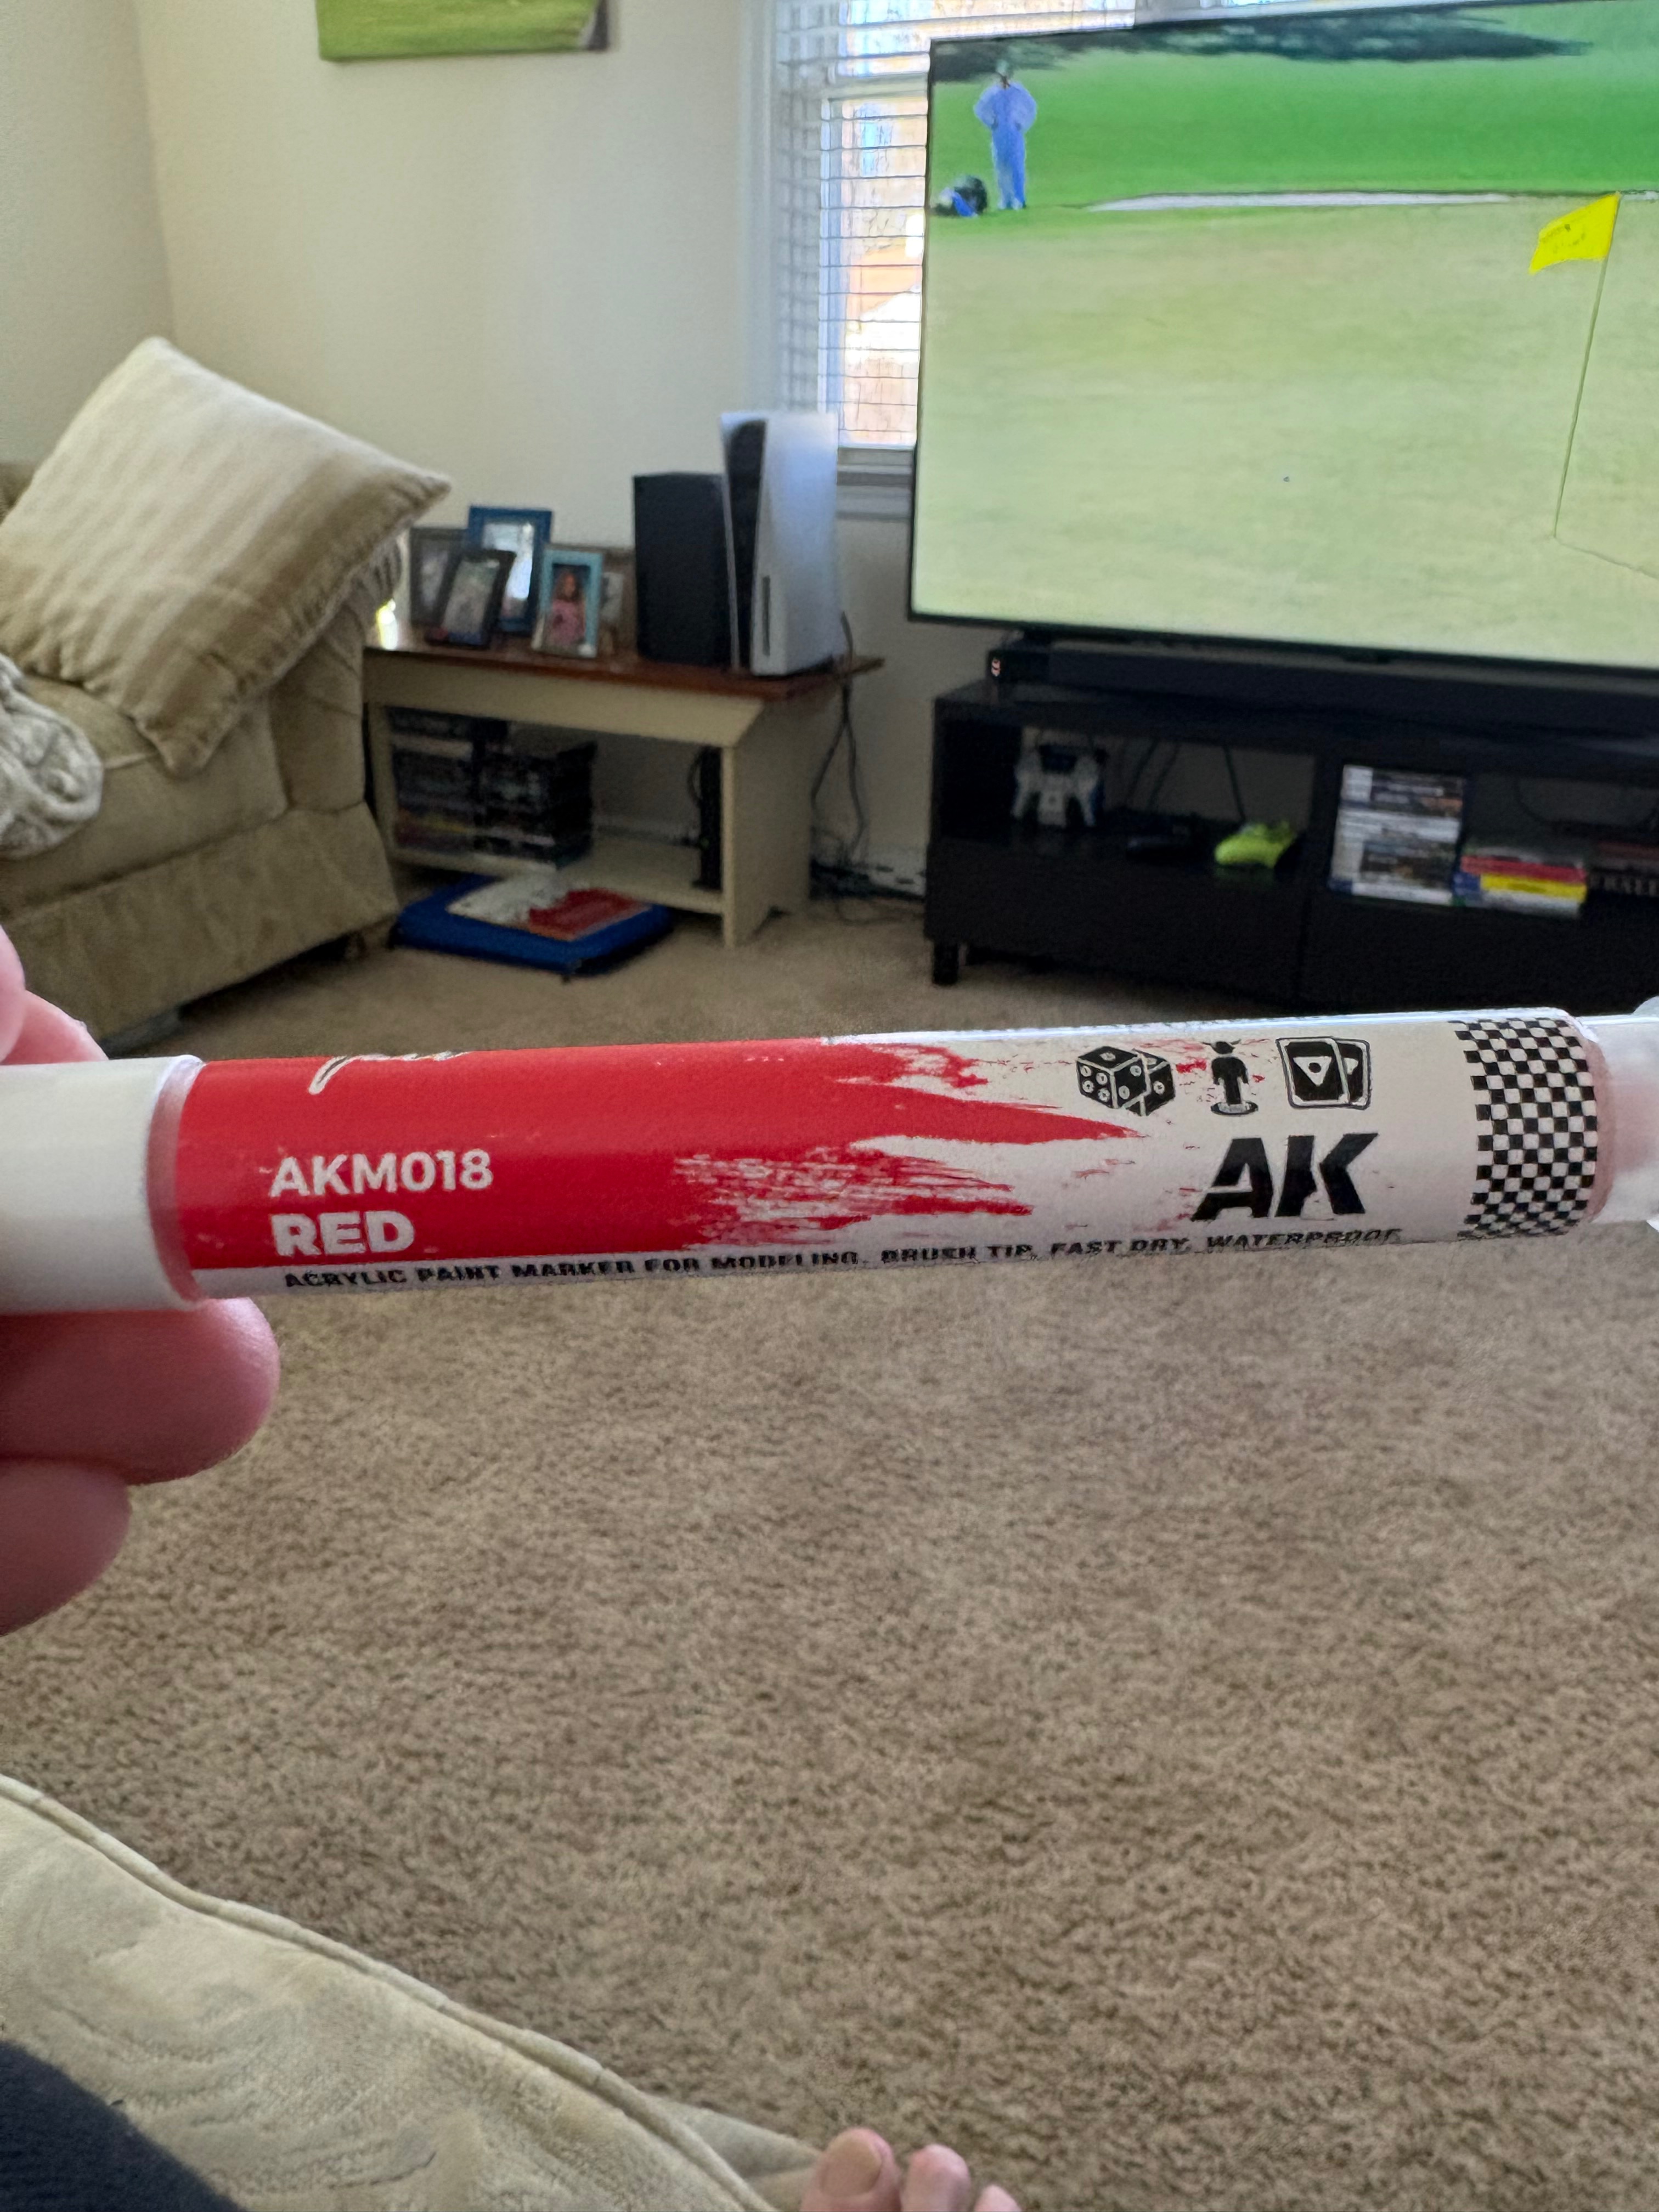
Your's is a different part number, mine is black and says RCM003, so fingers crossed!I just got an AK red paint marker so hopefully it's not pink.
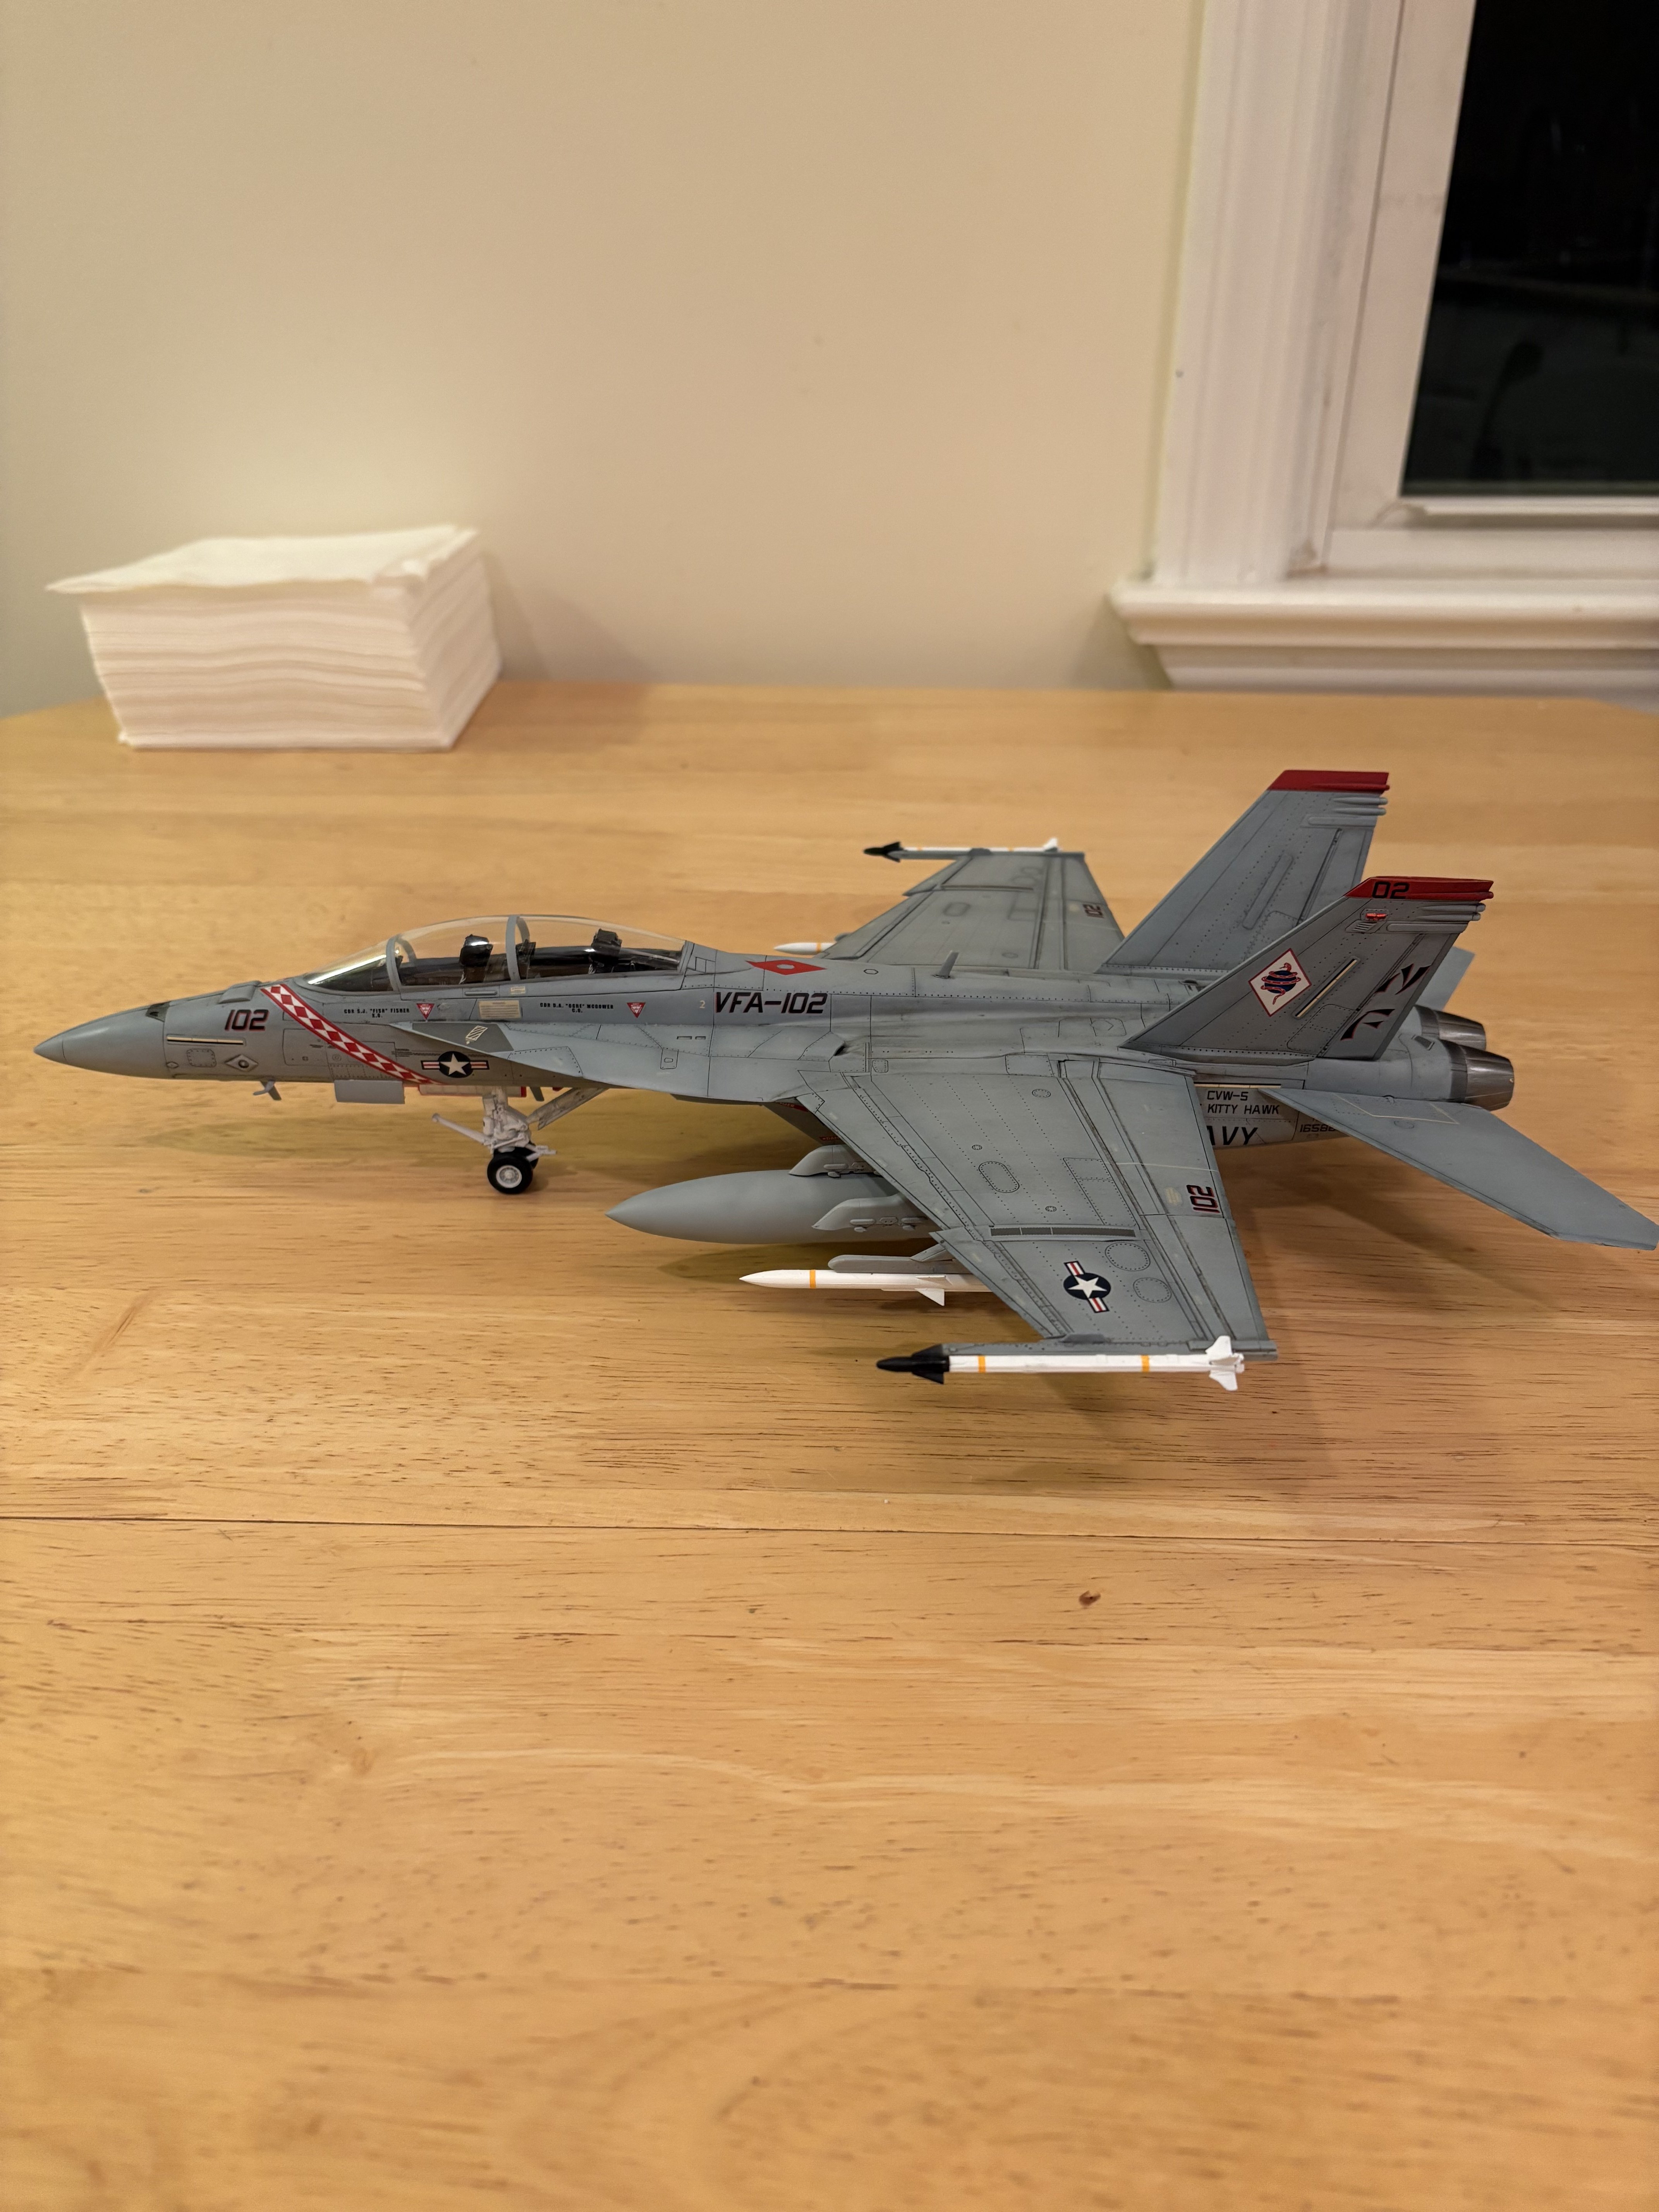
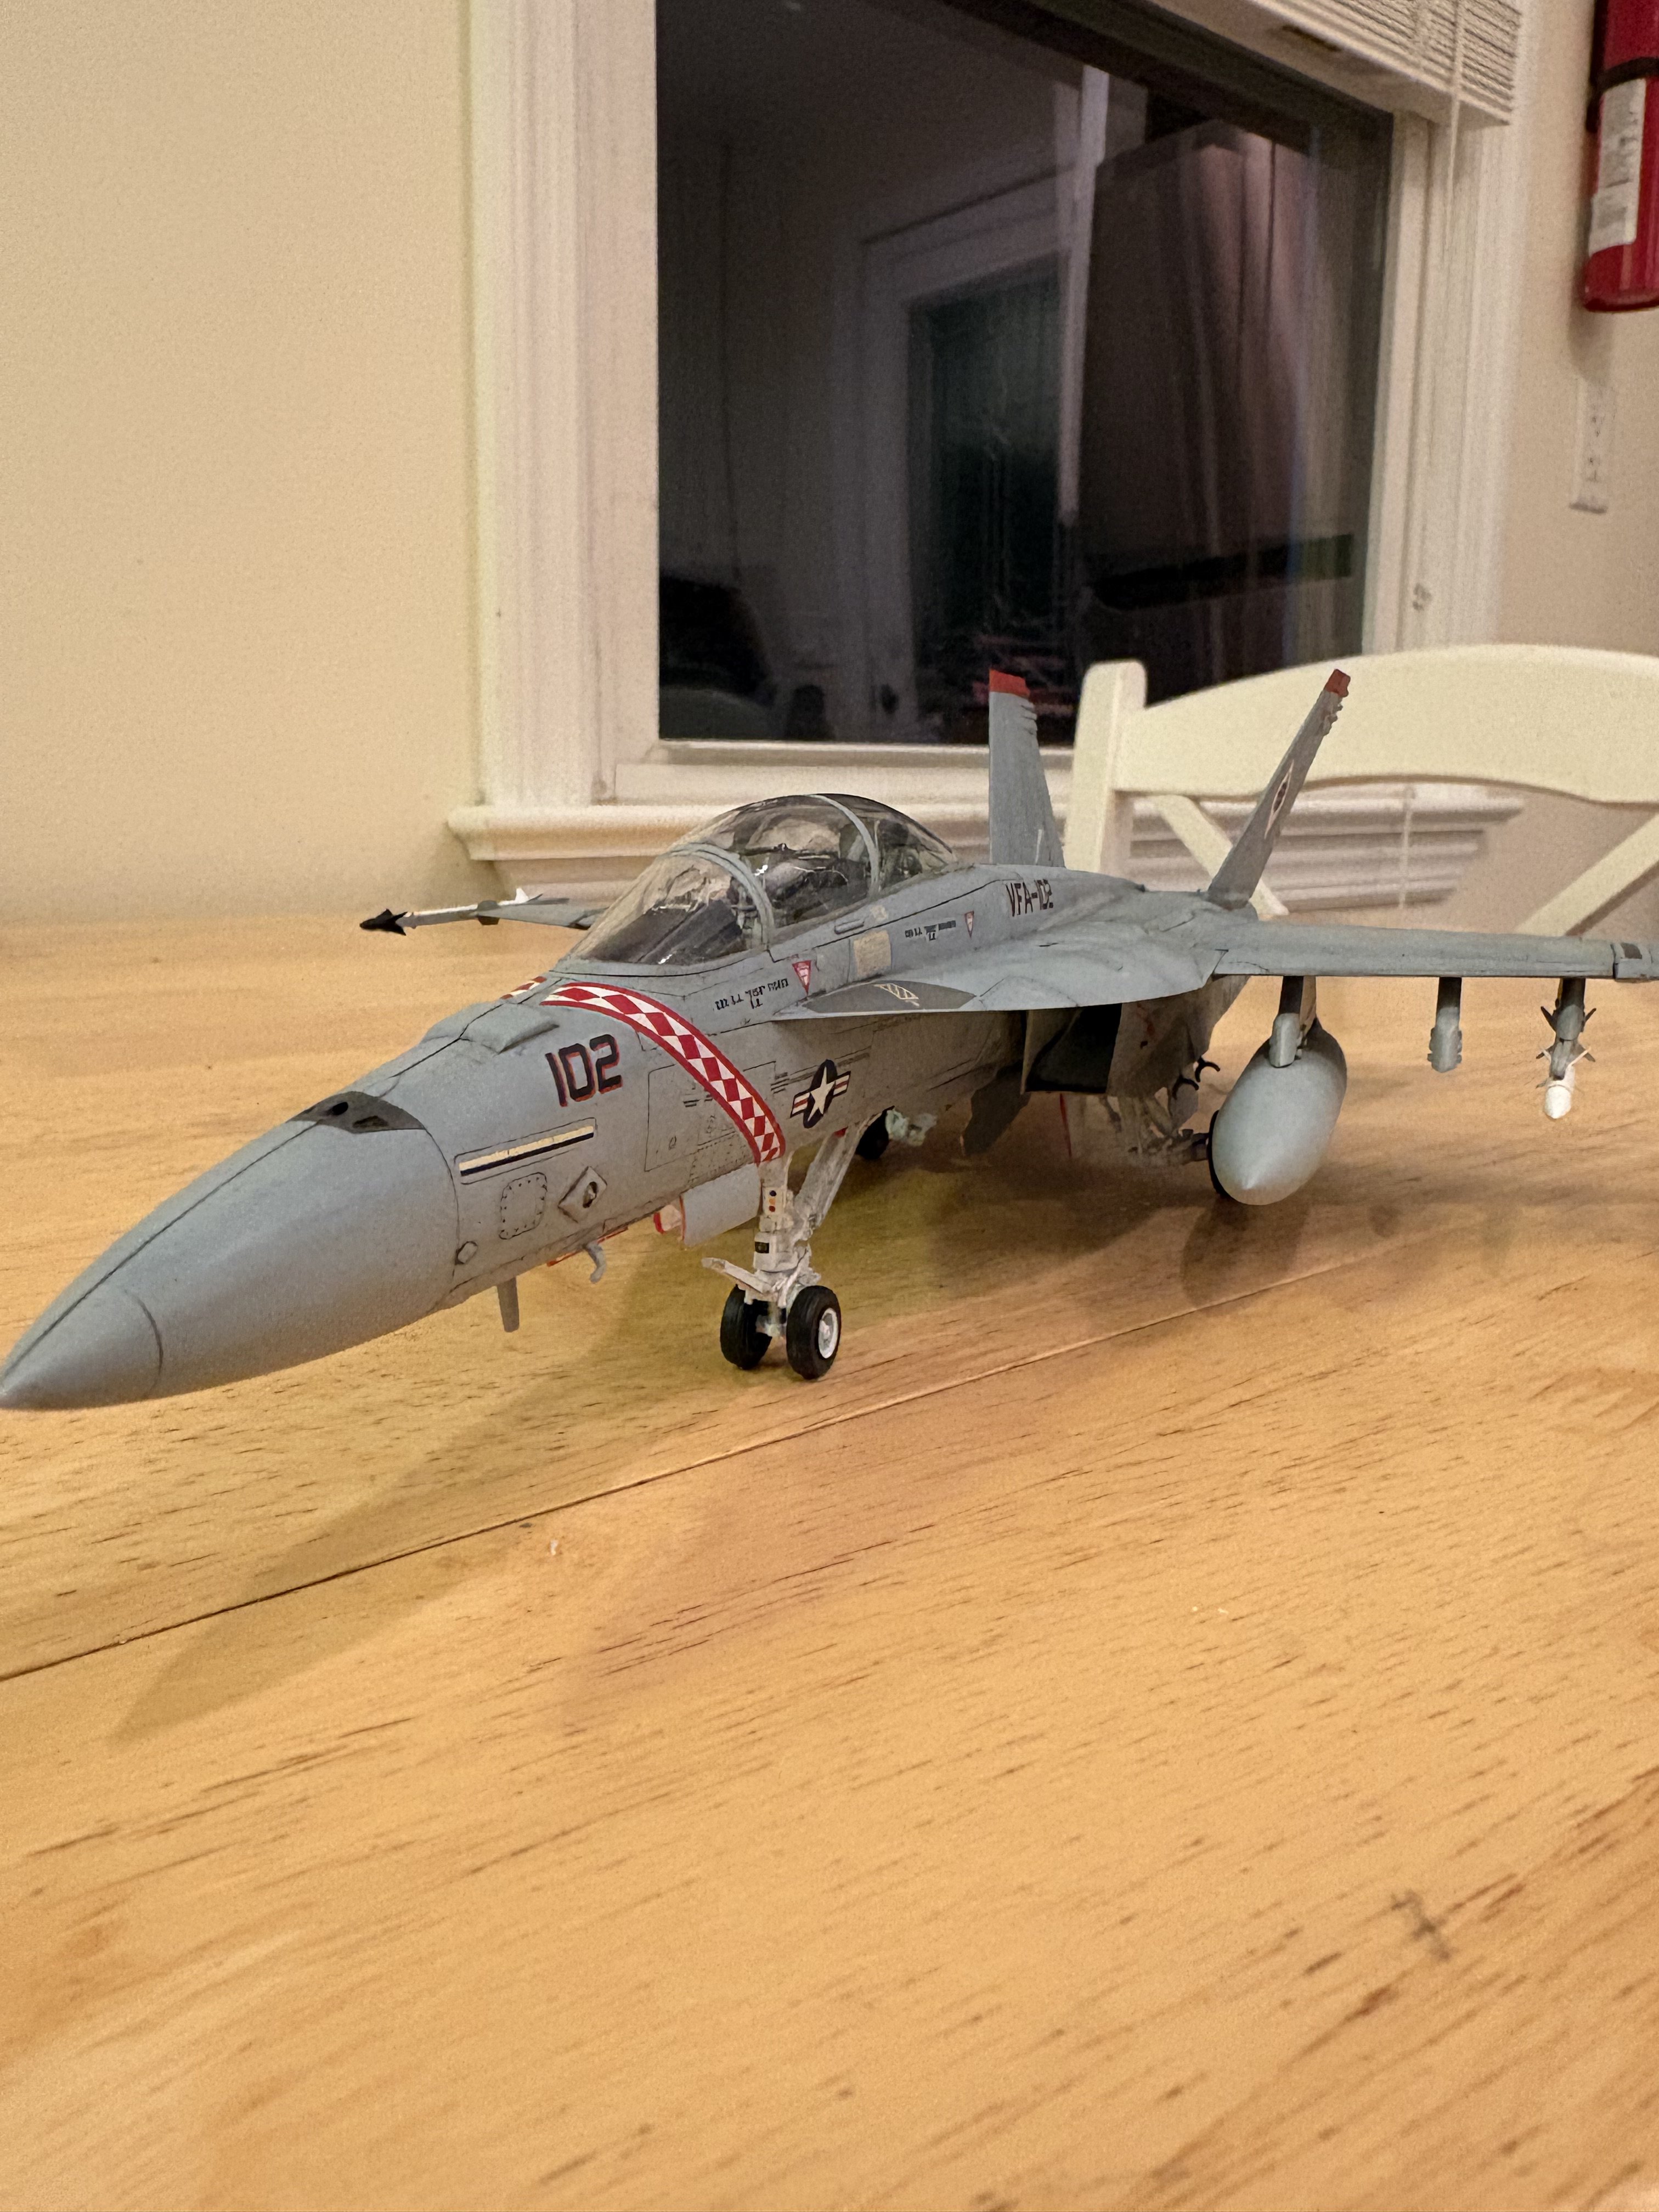
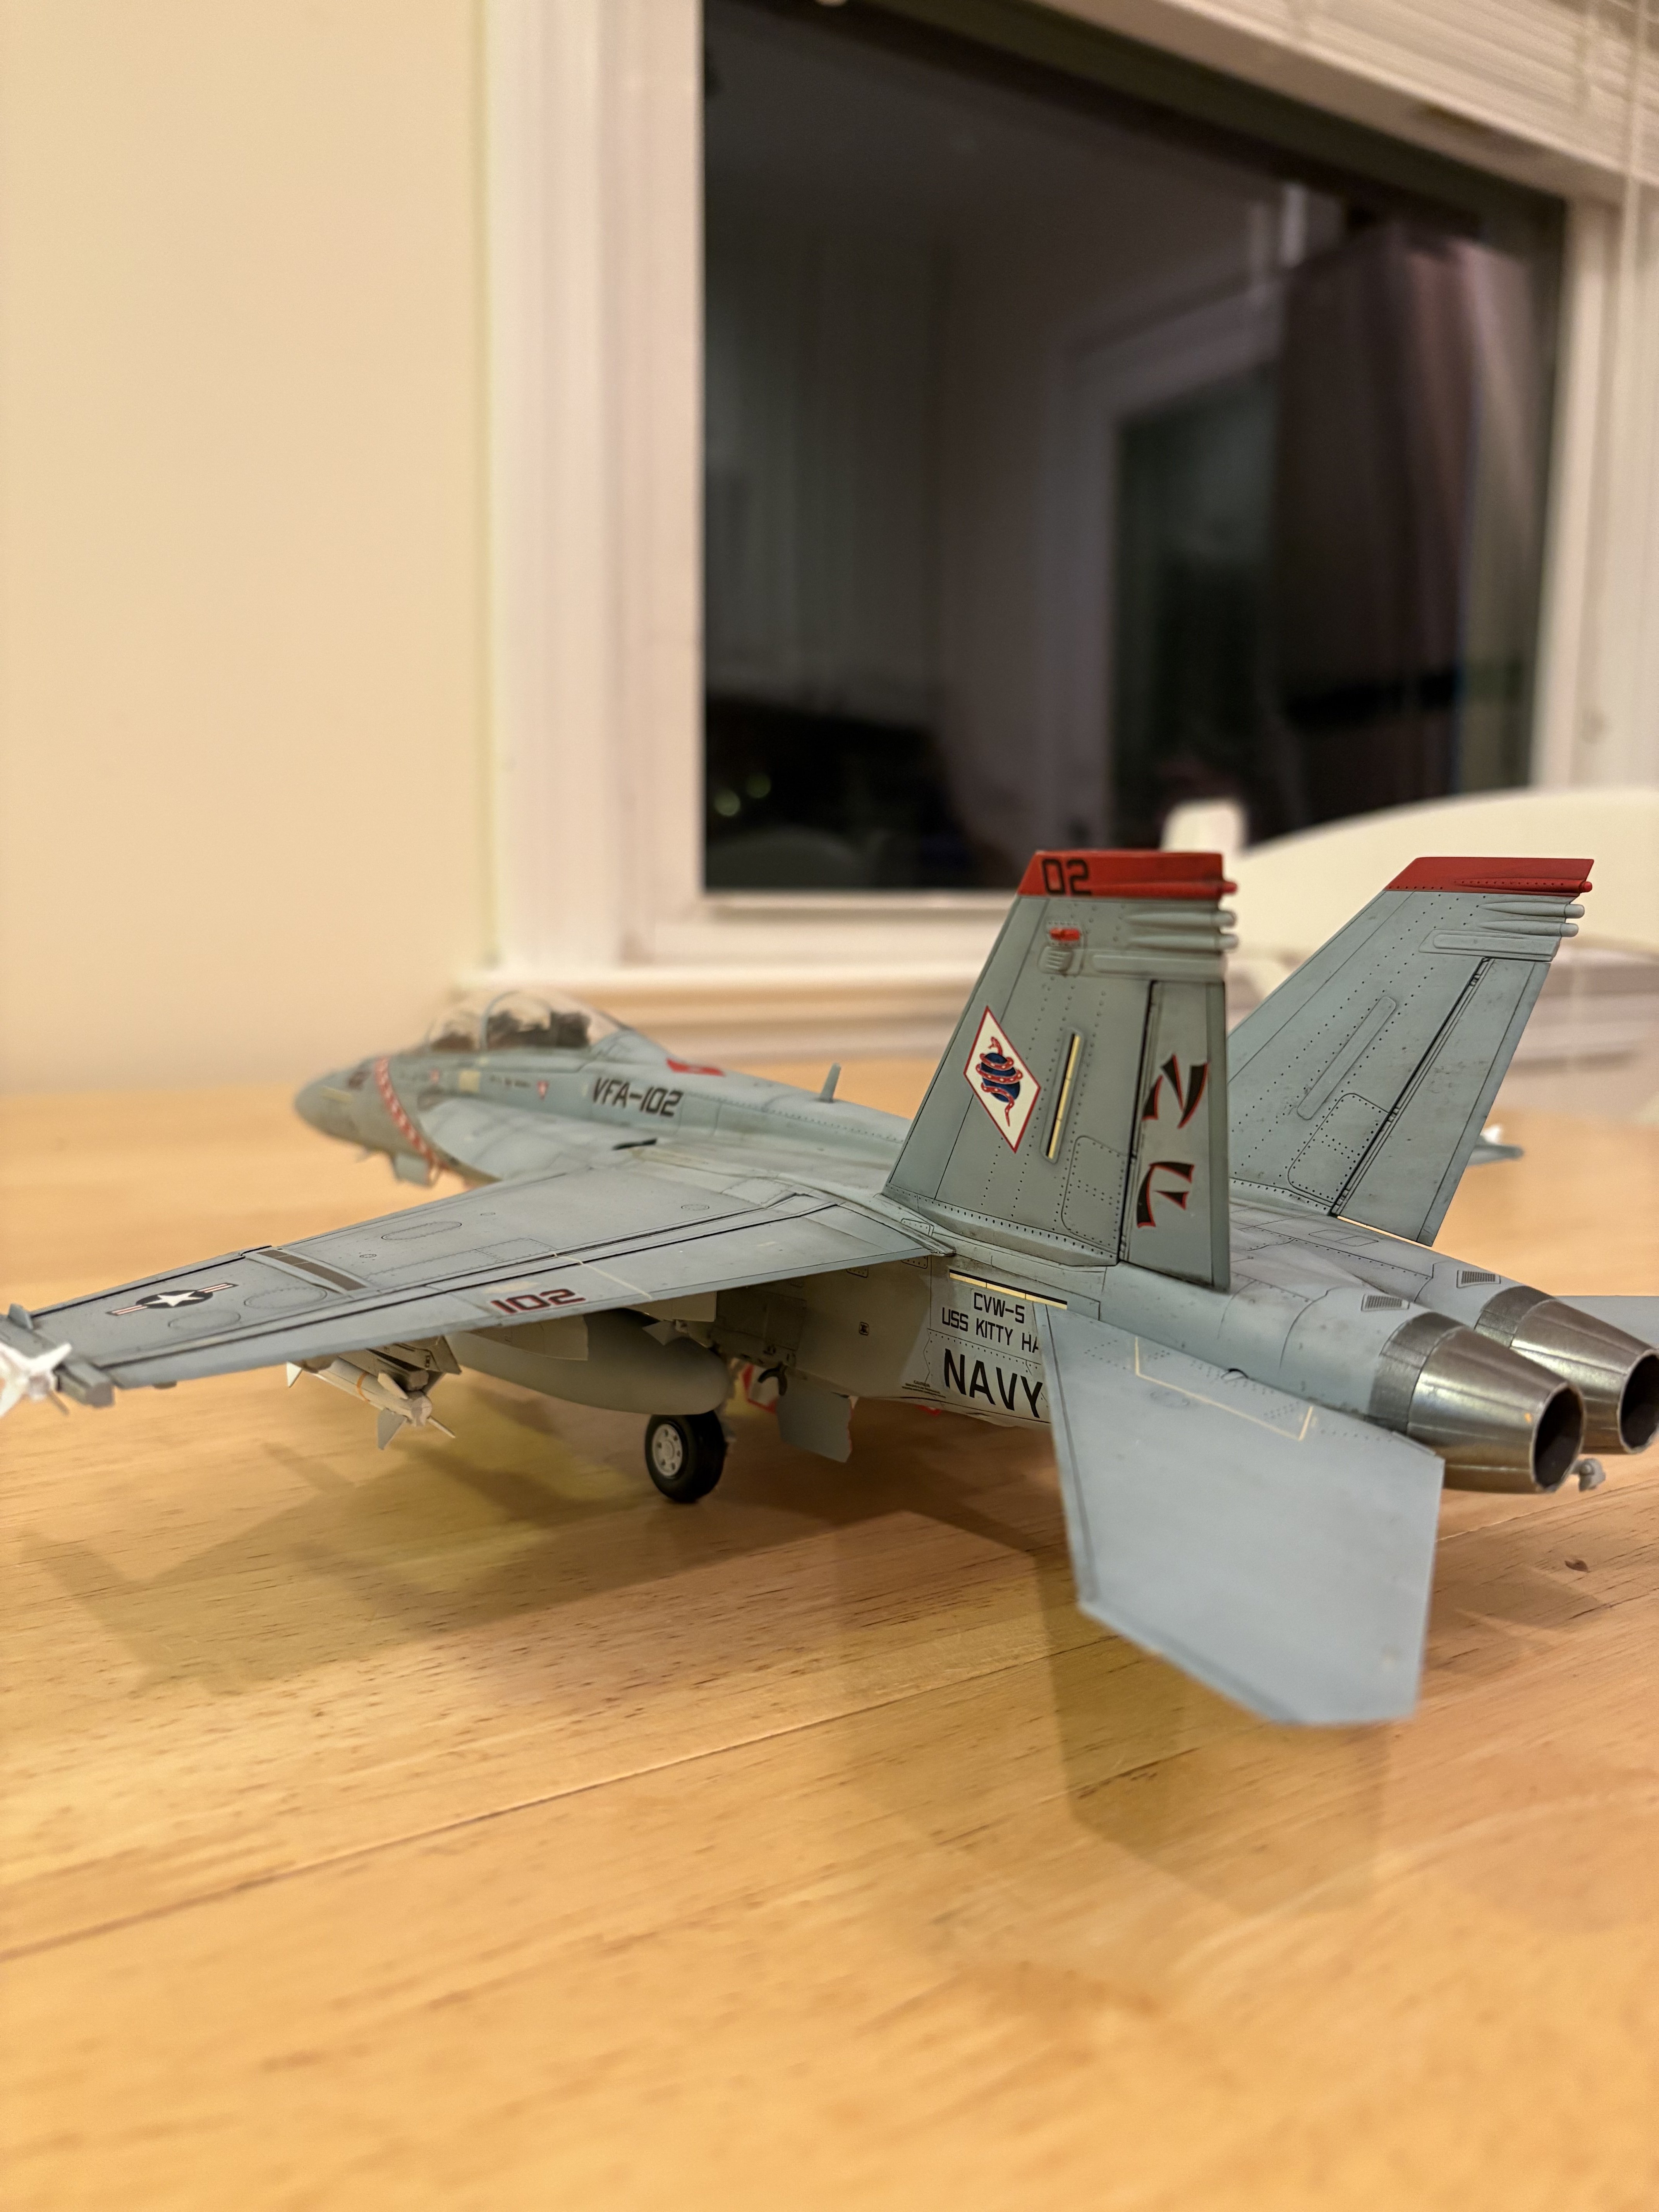
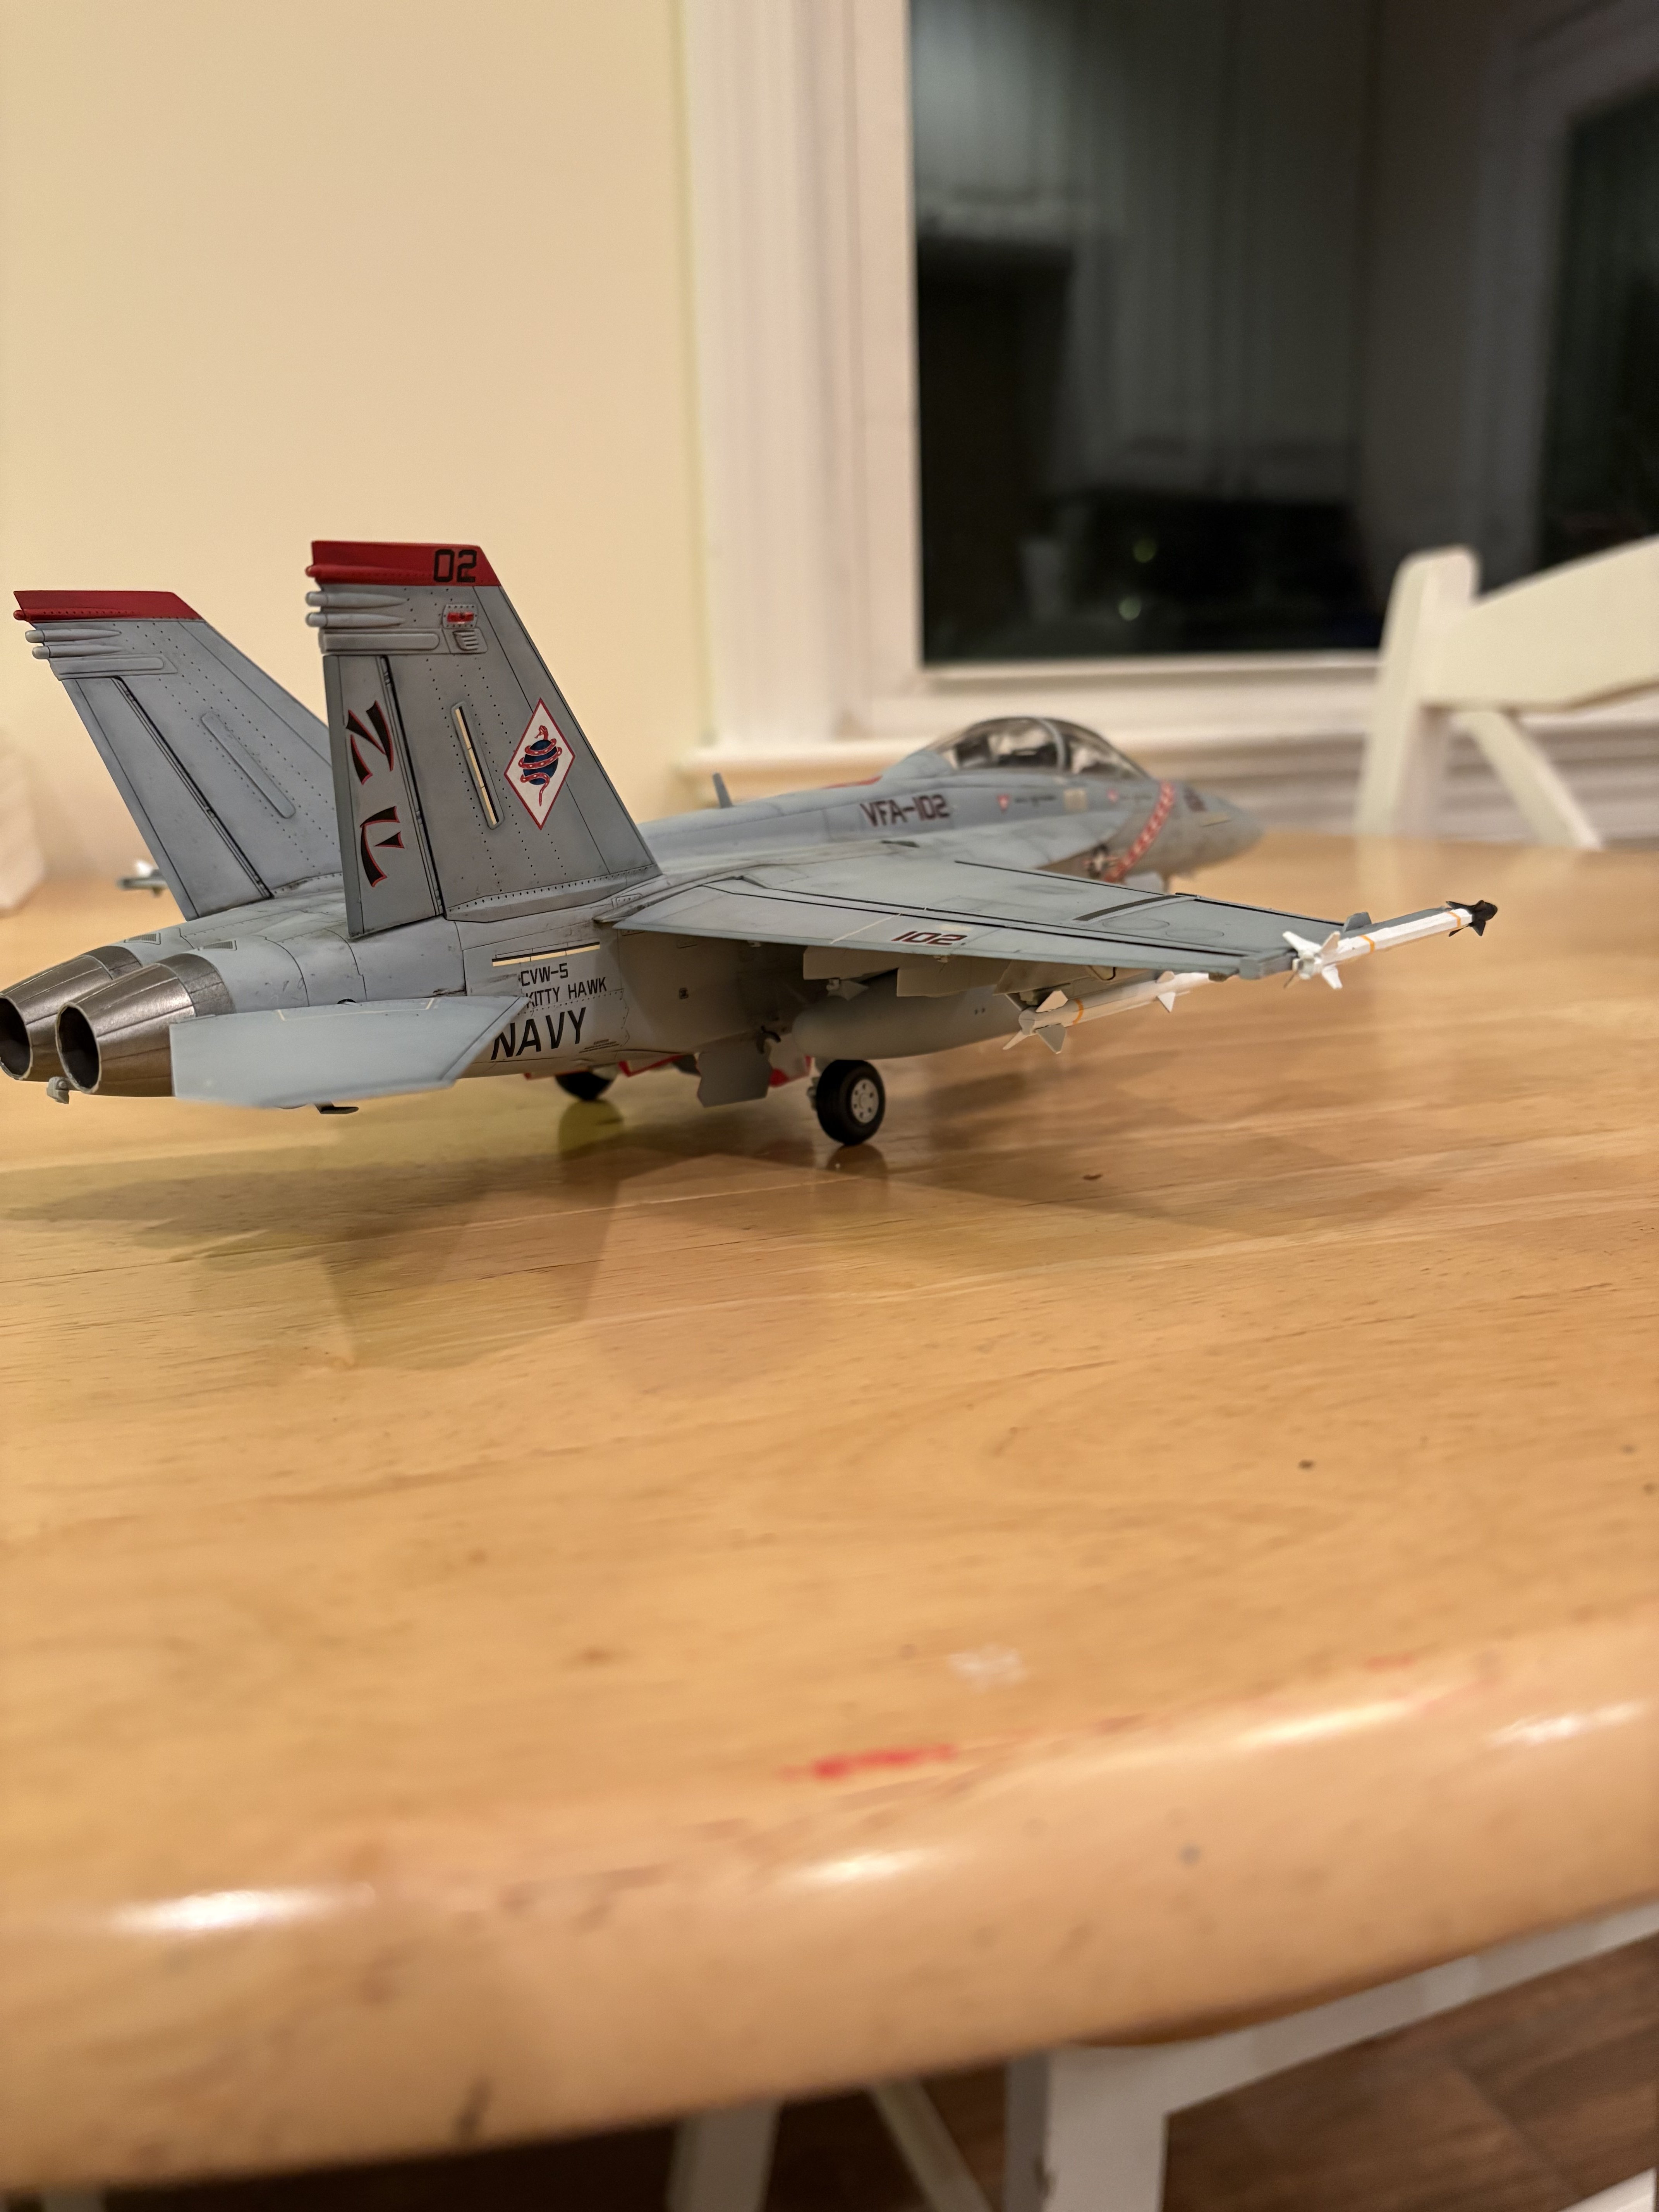
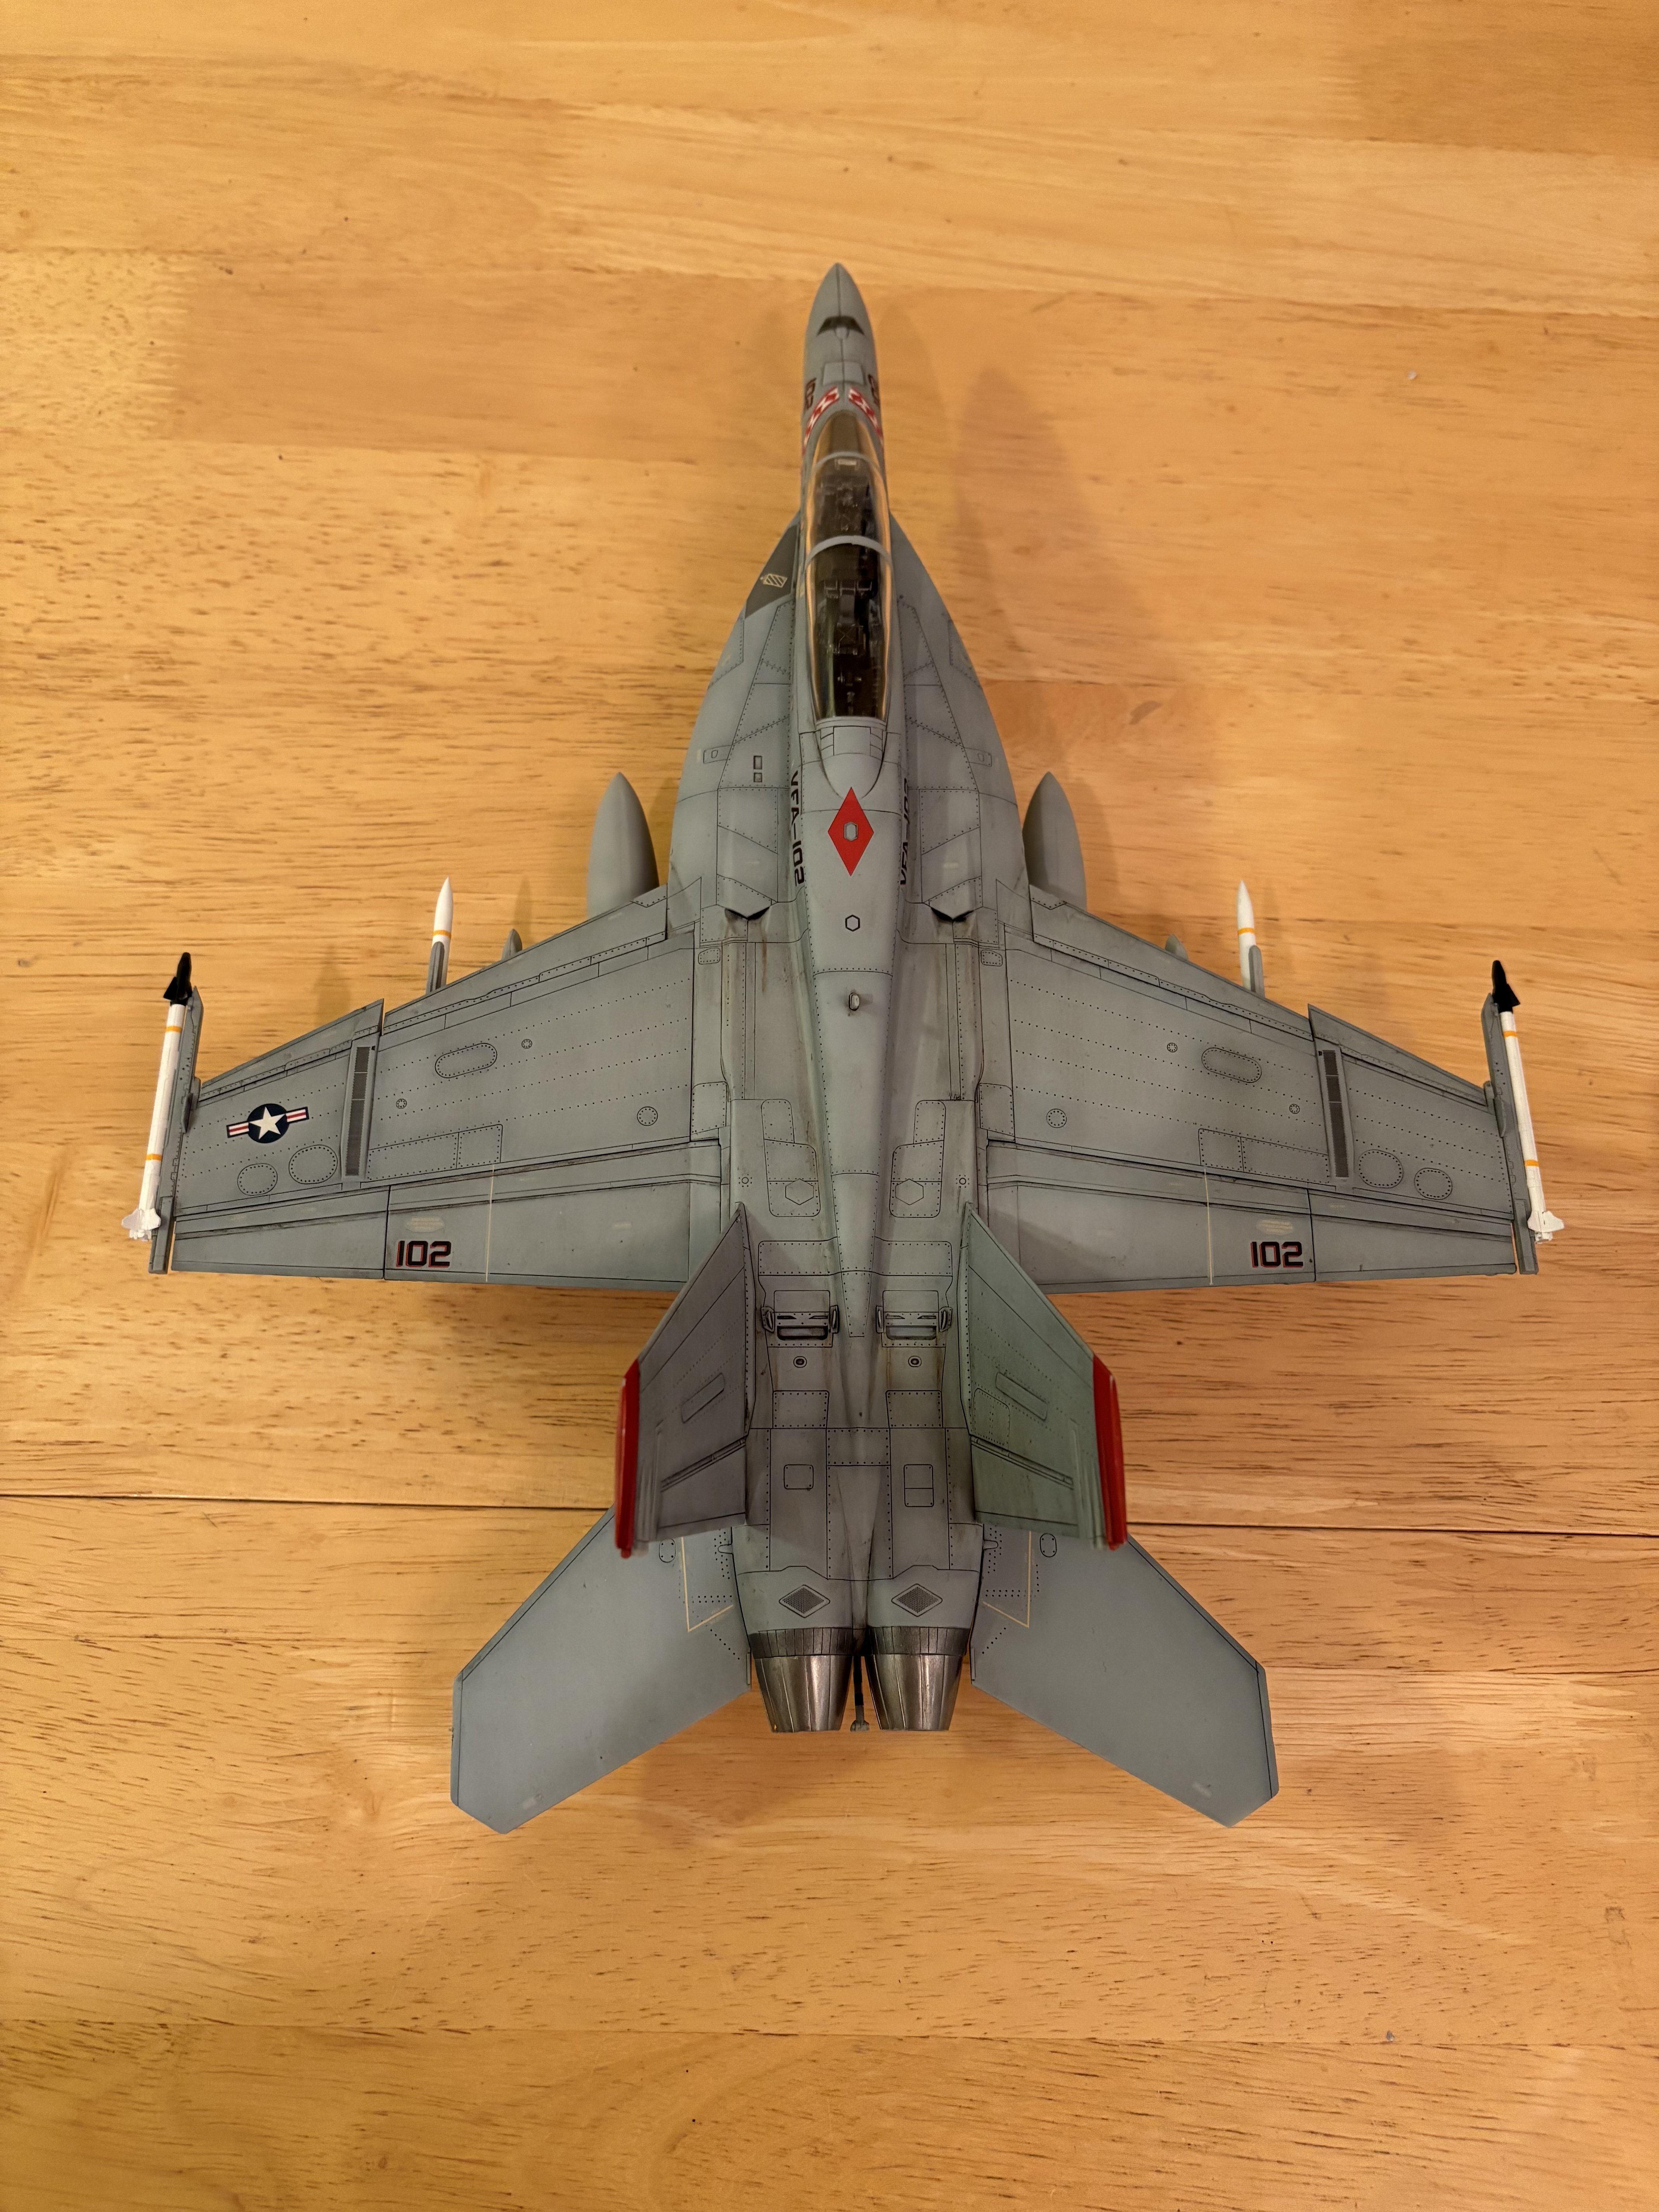
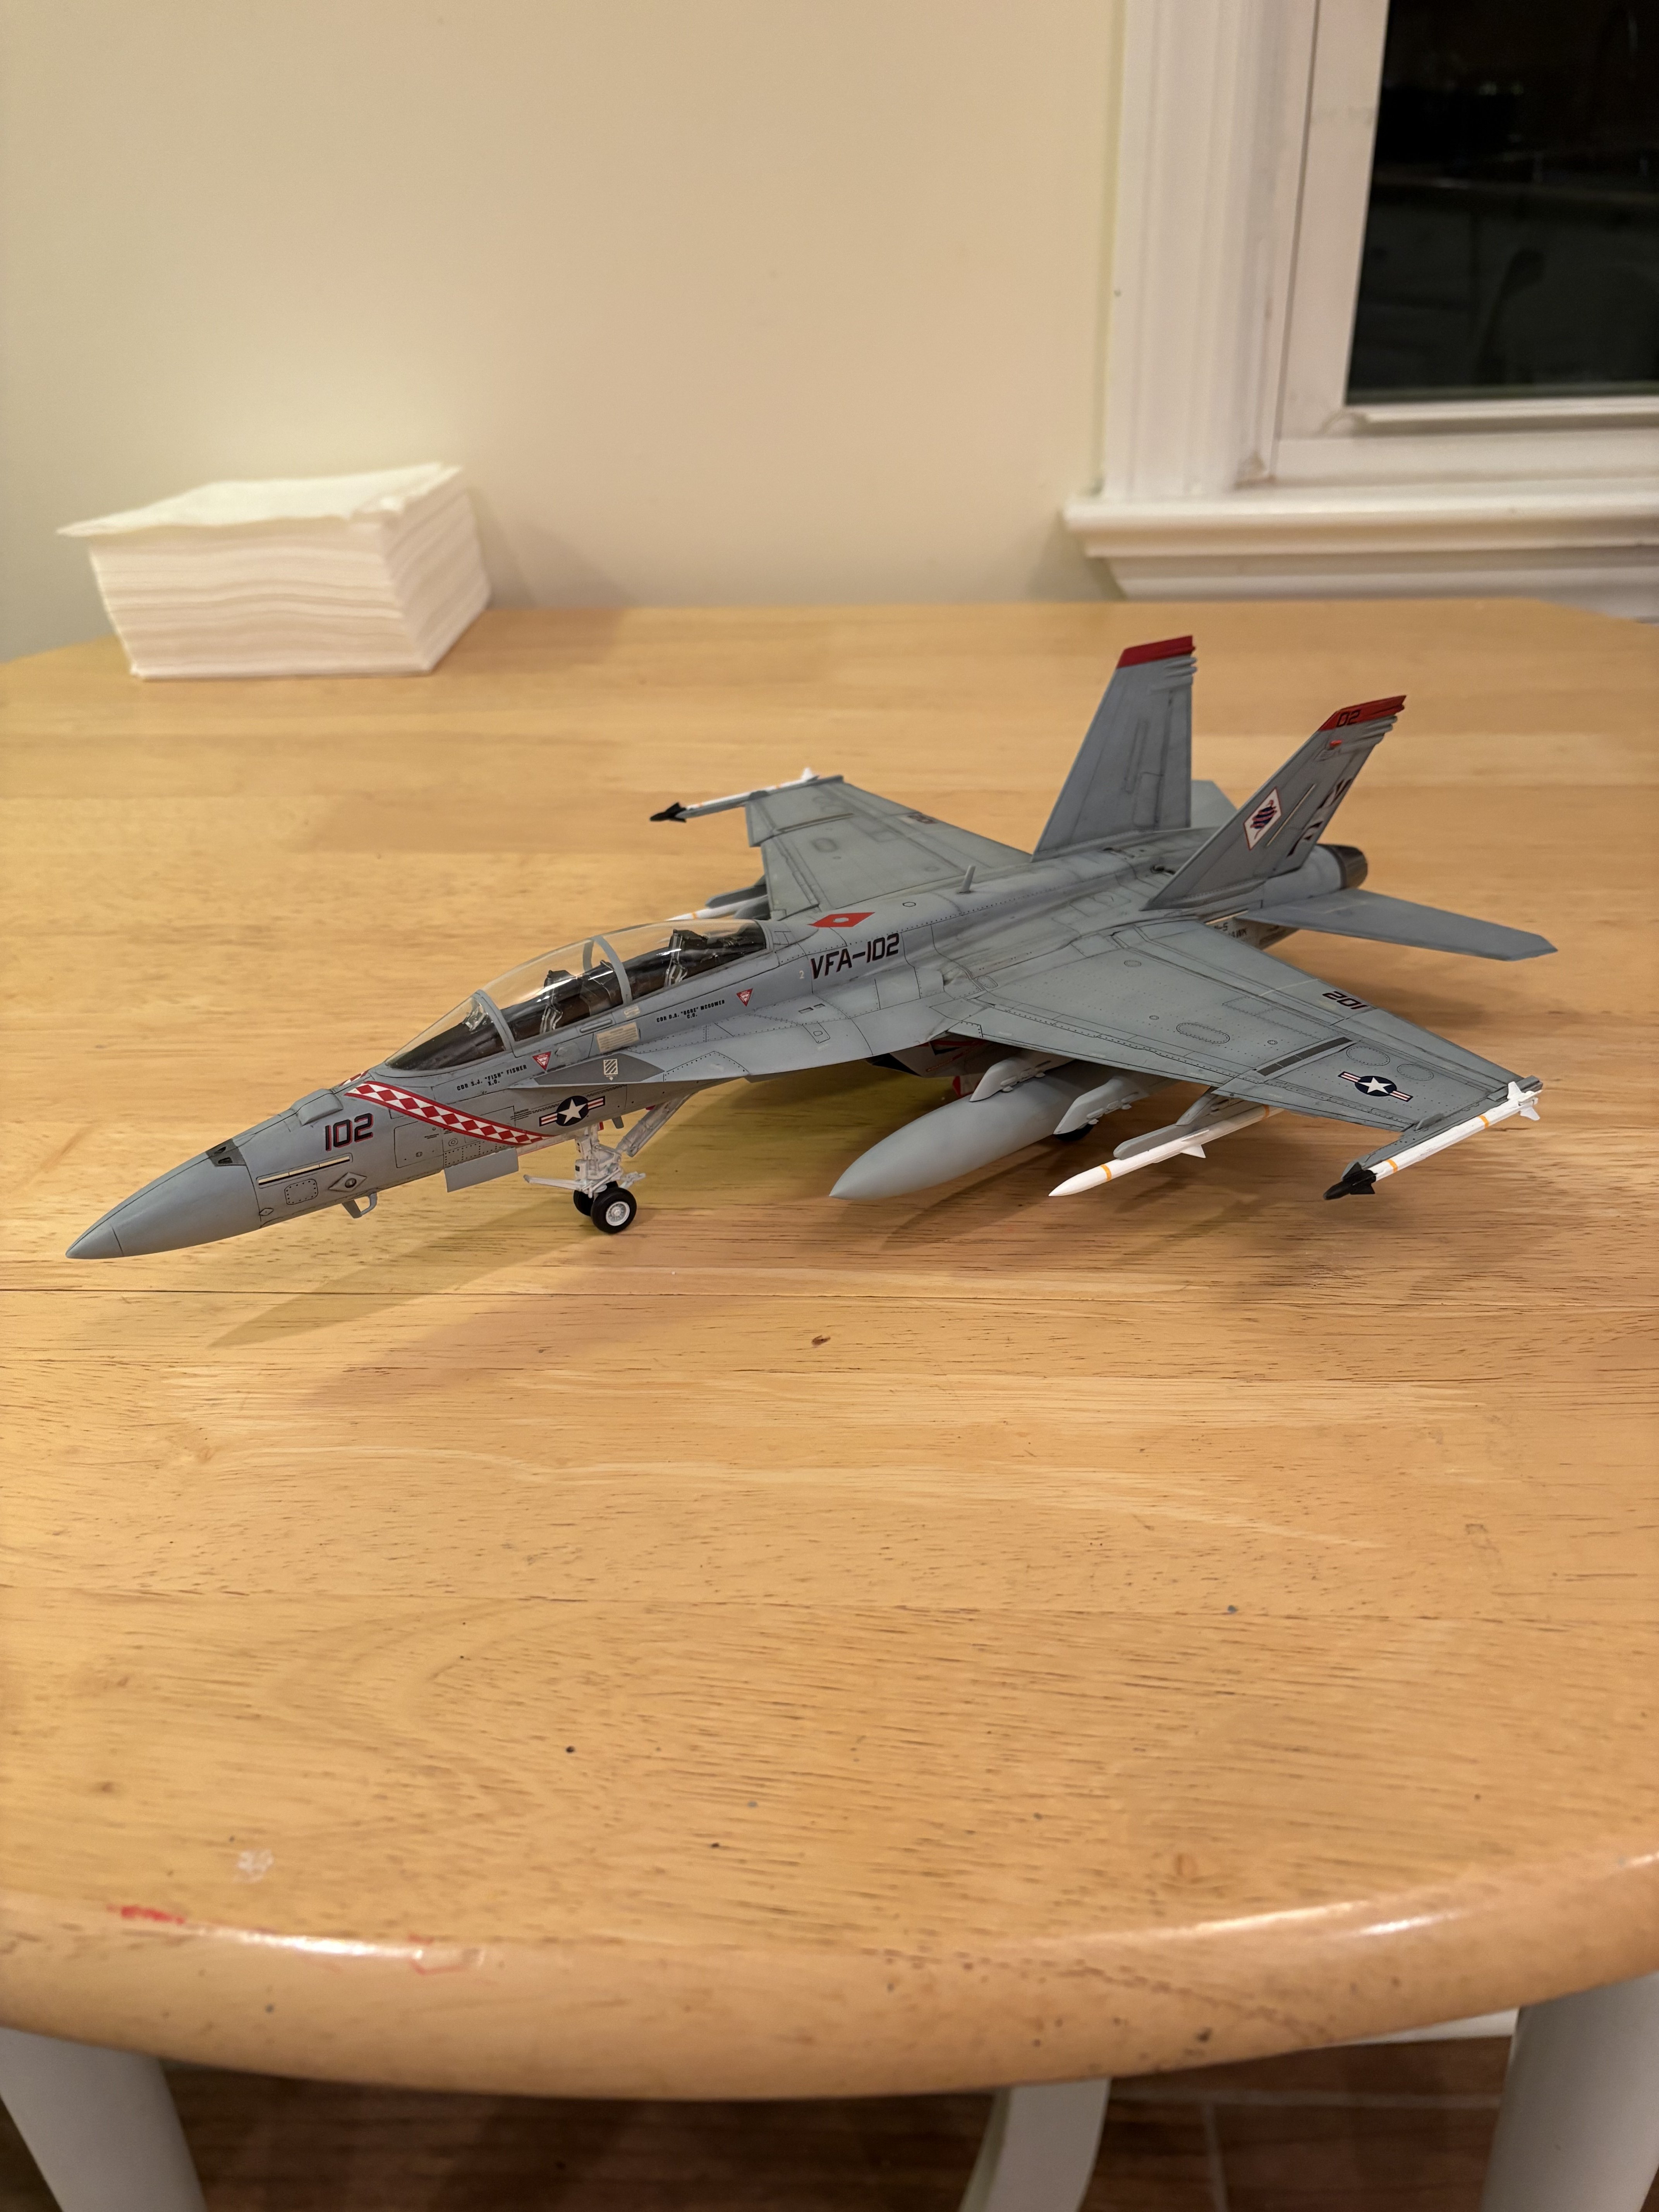
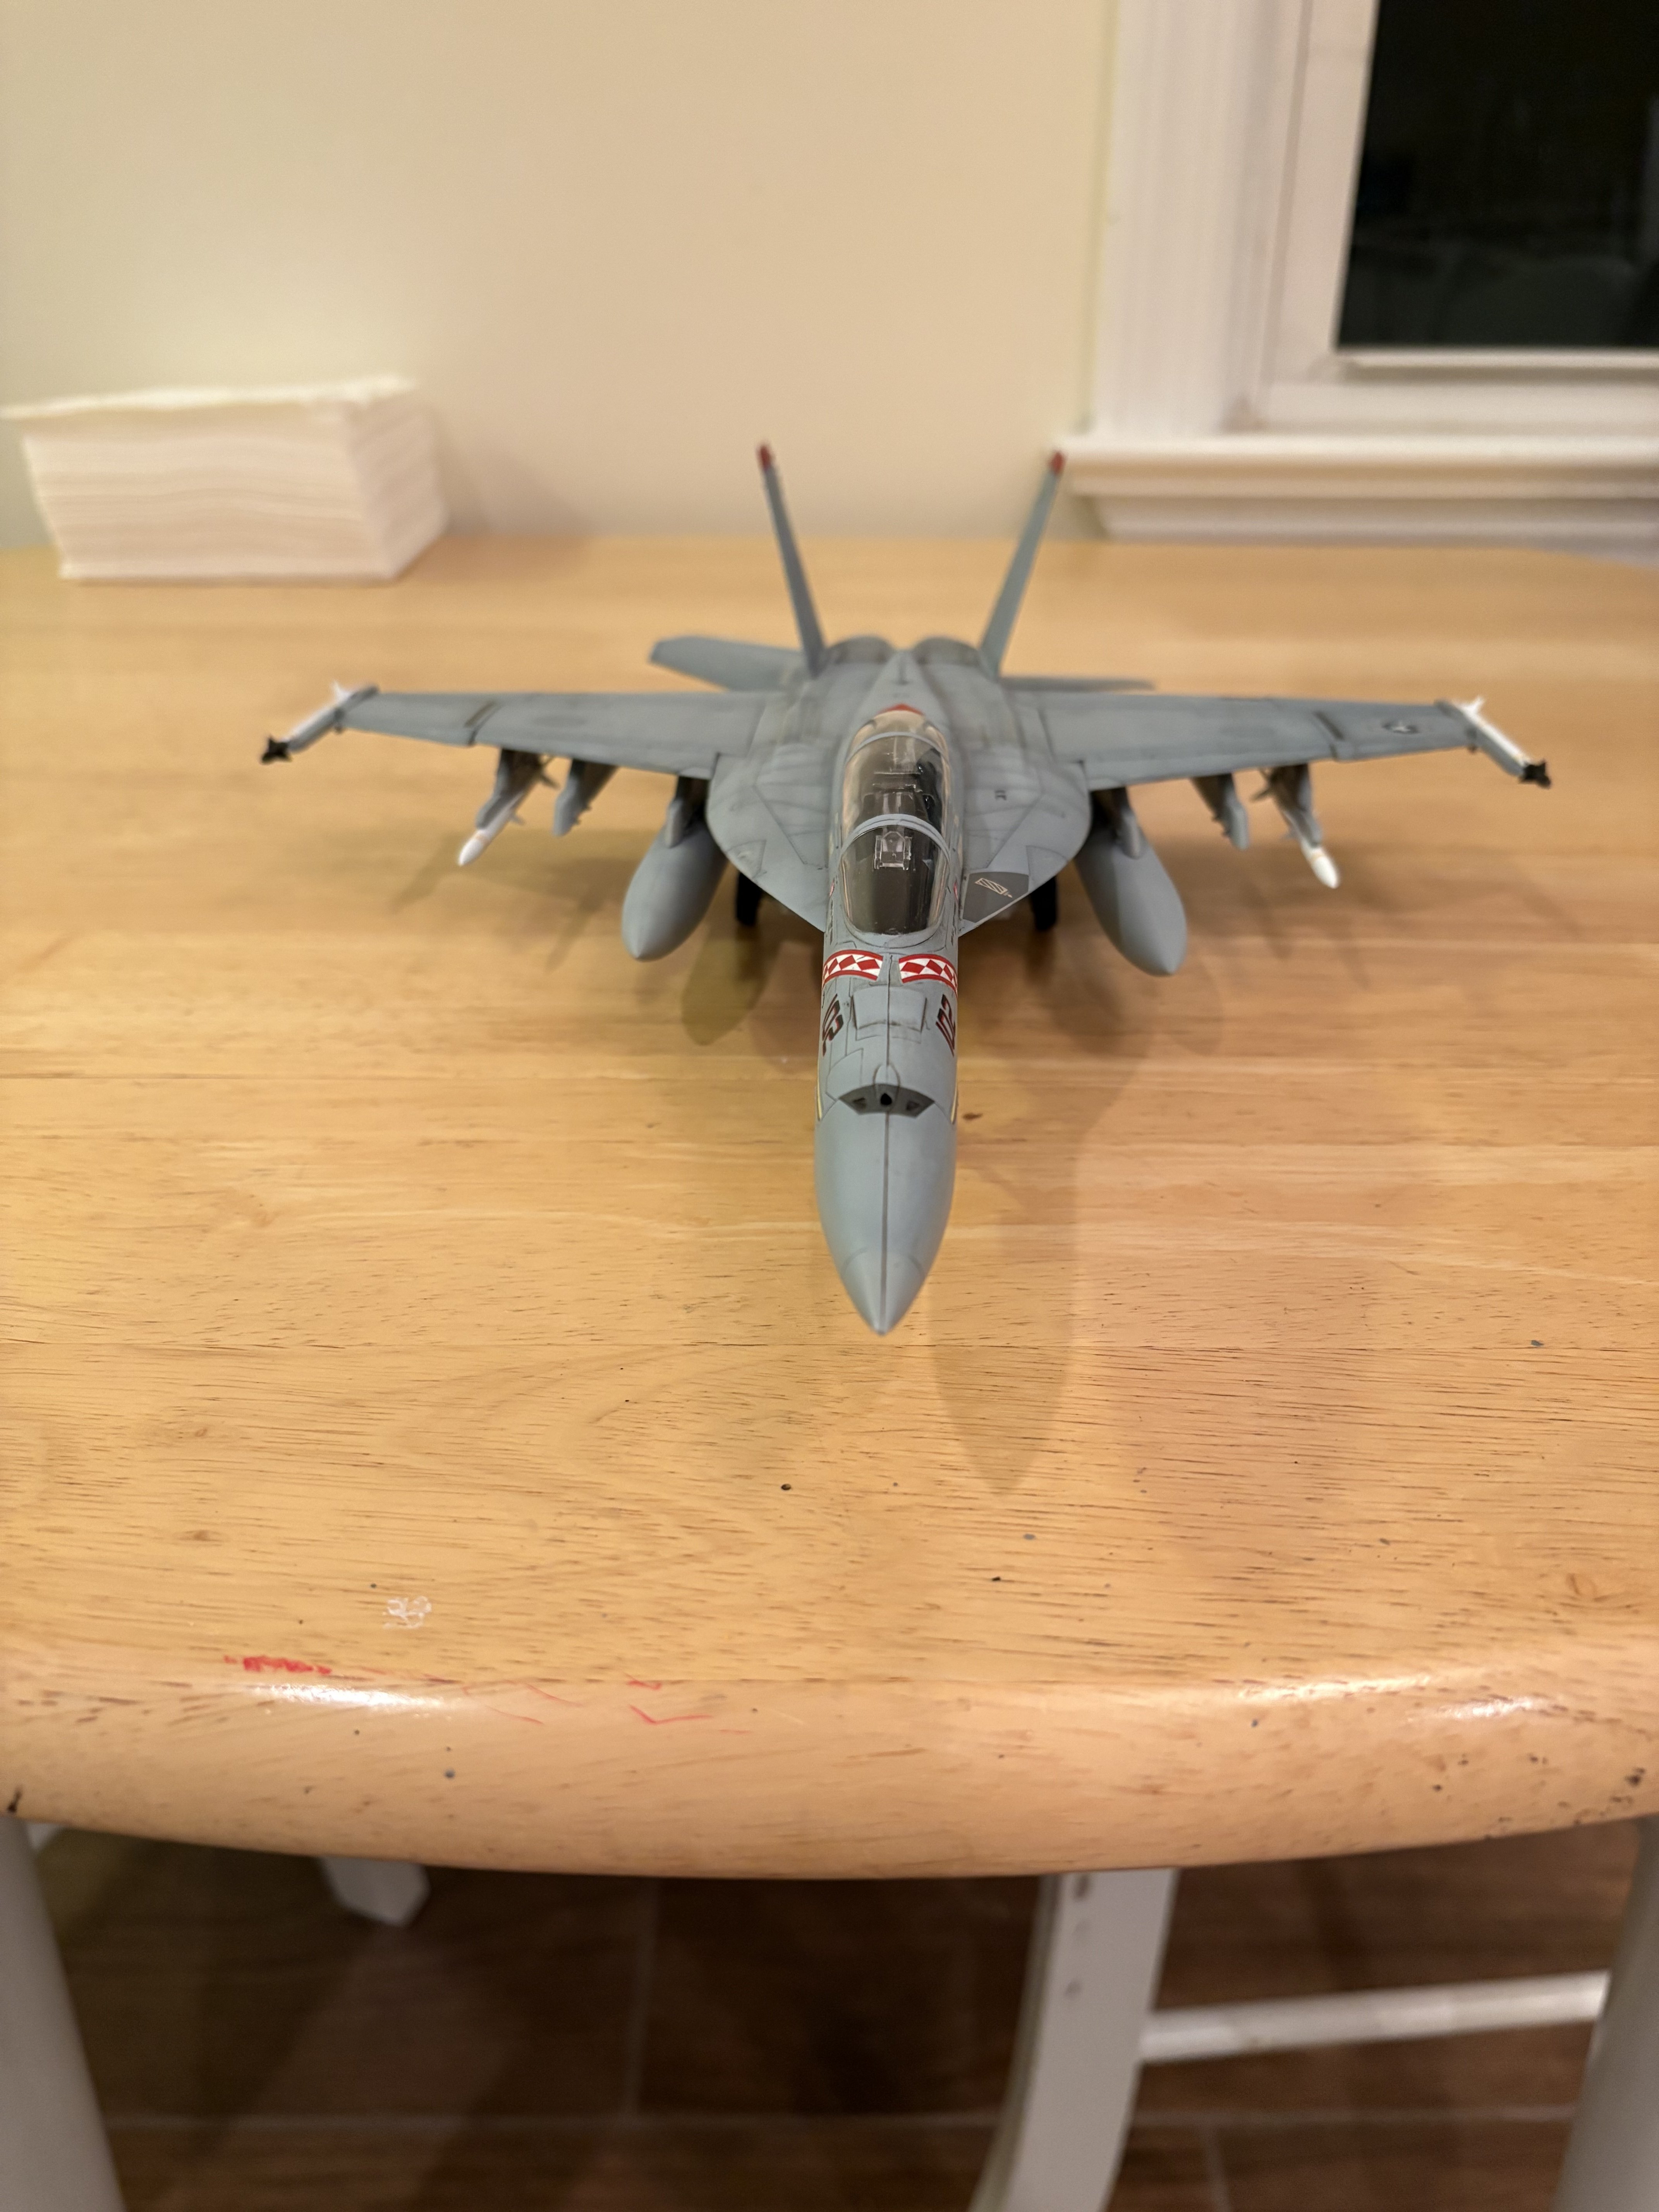
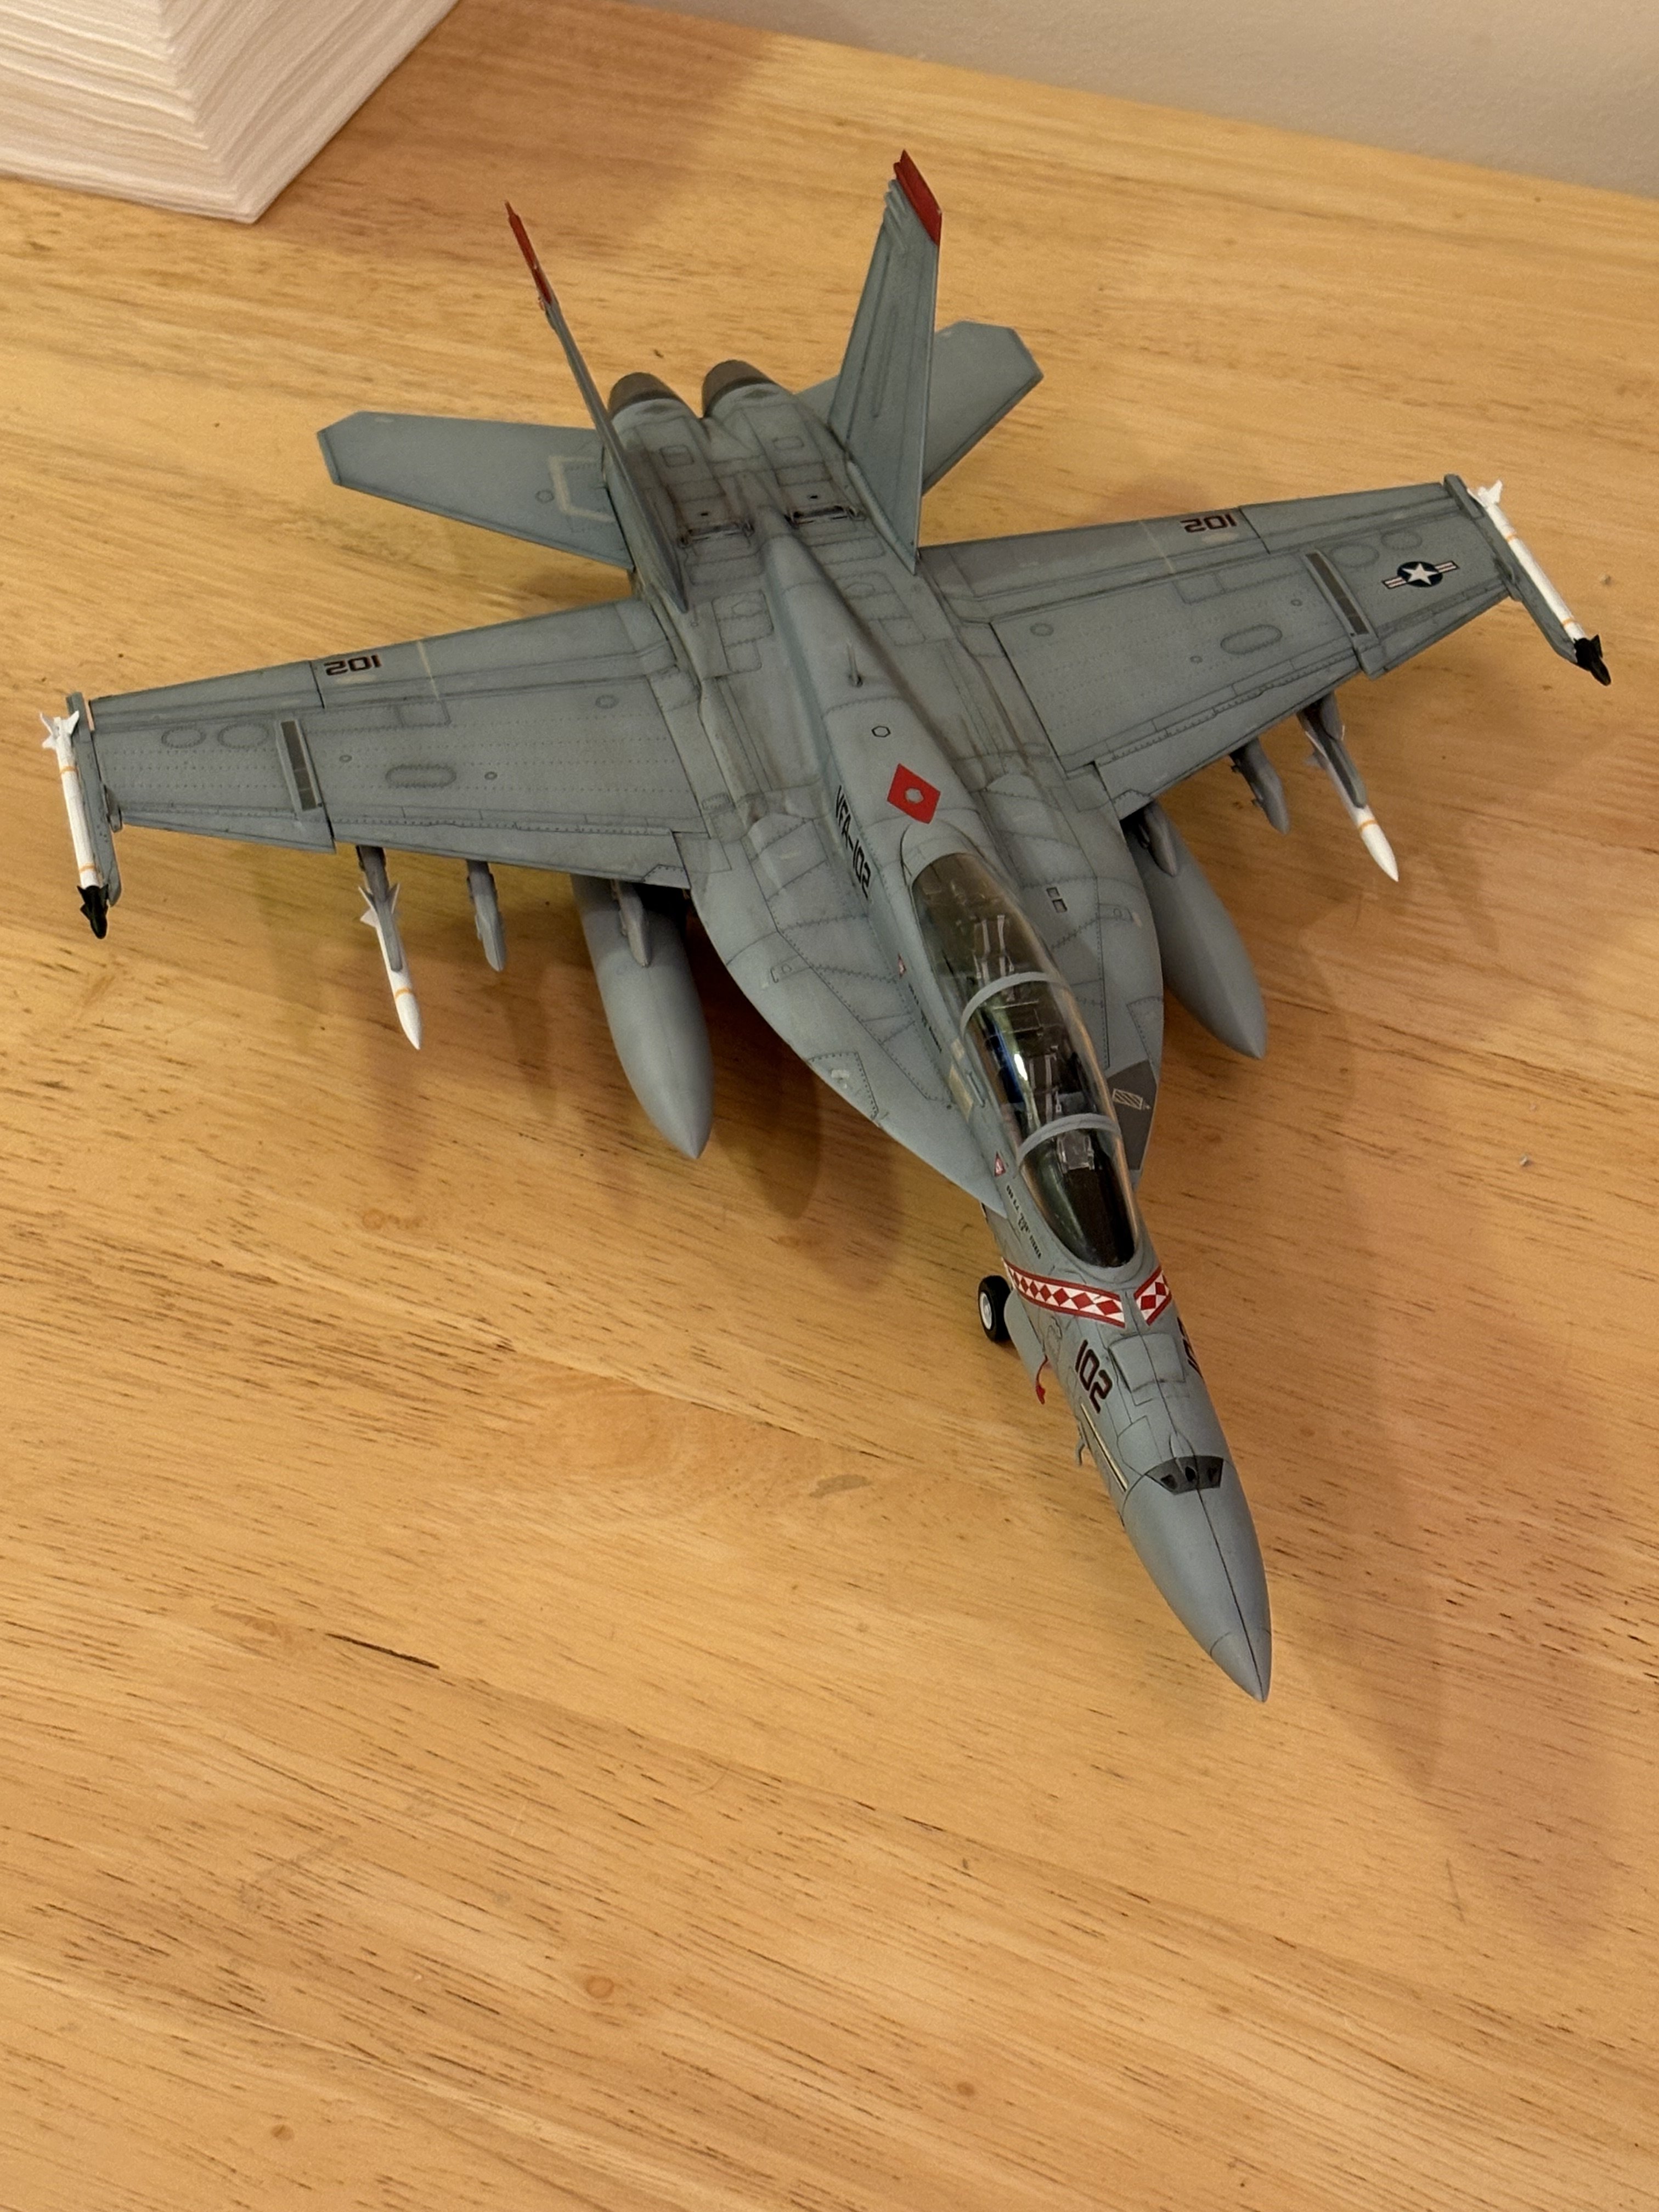

Awesome job!Fly Navy

Very nice one! And congrats for the paint and weathering!

I agreeThat's a good looking build.
It turned out fantastic! Beautifully done!

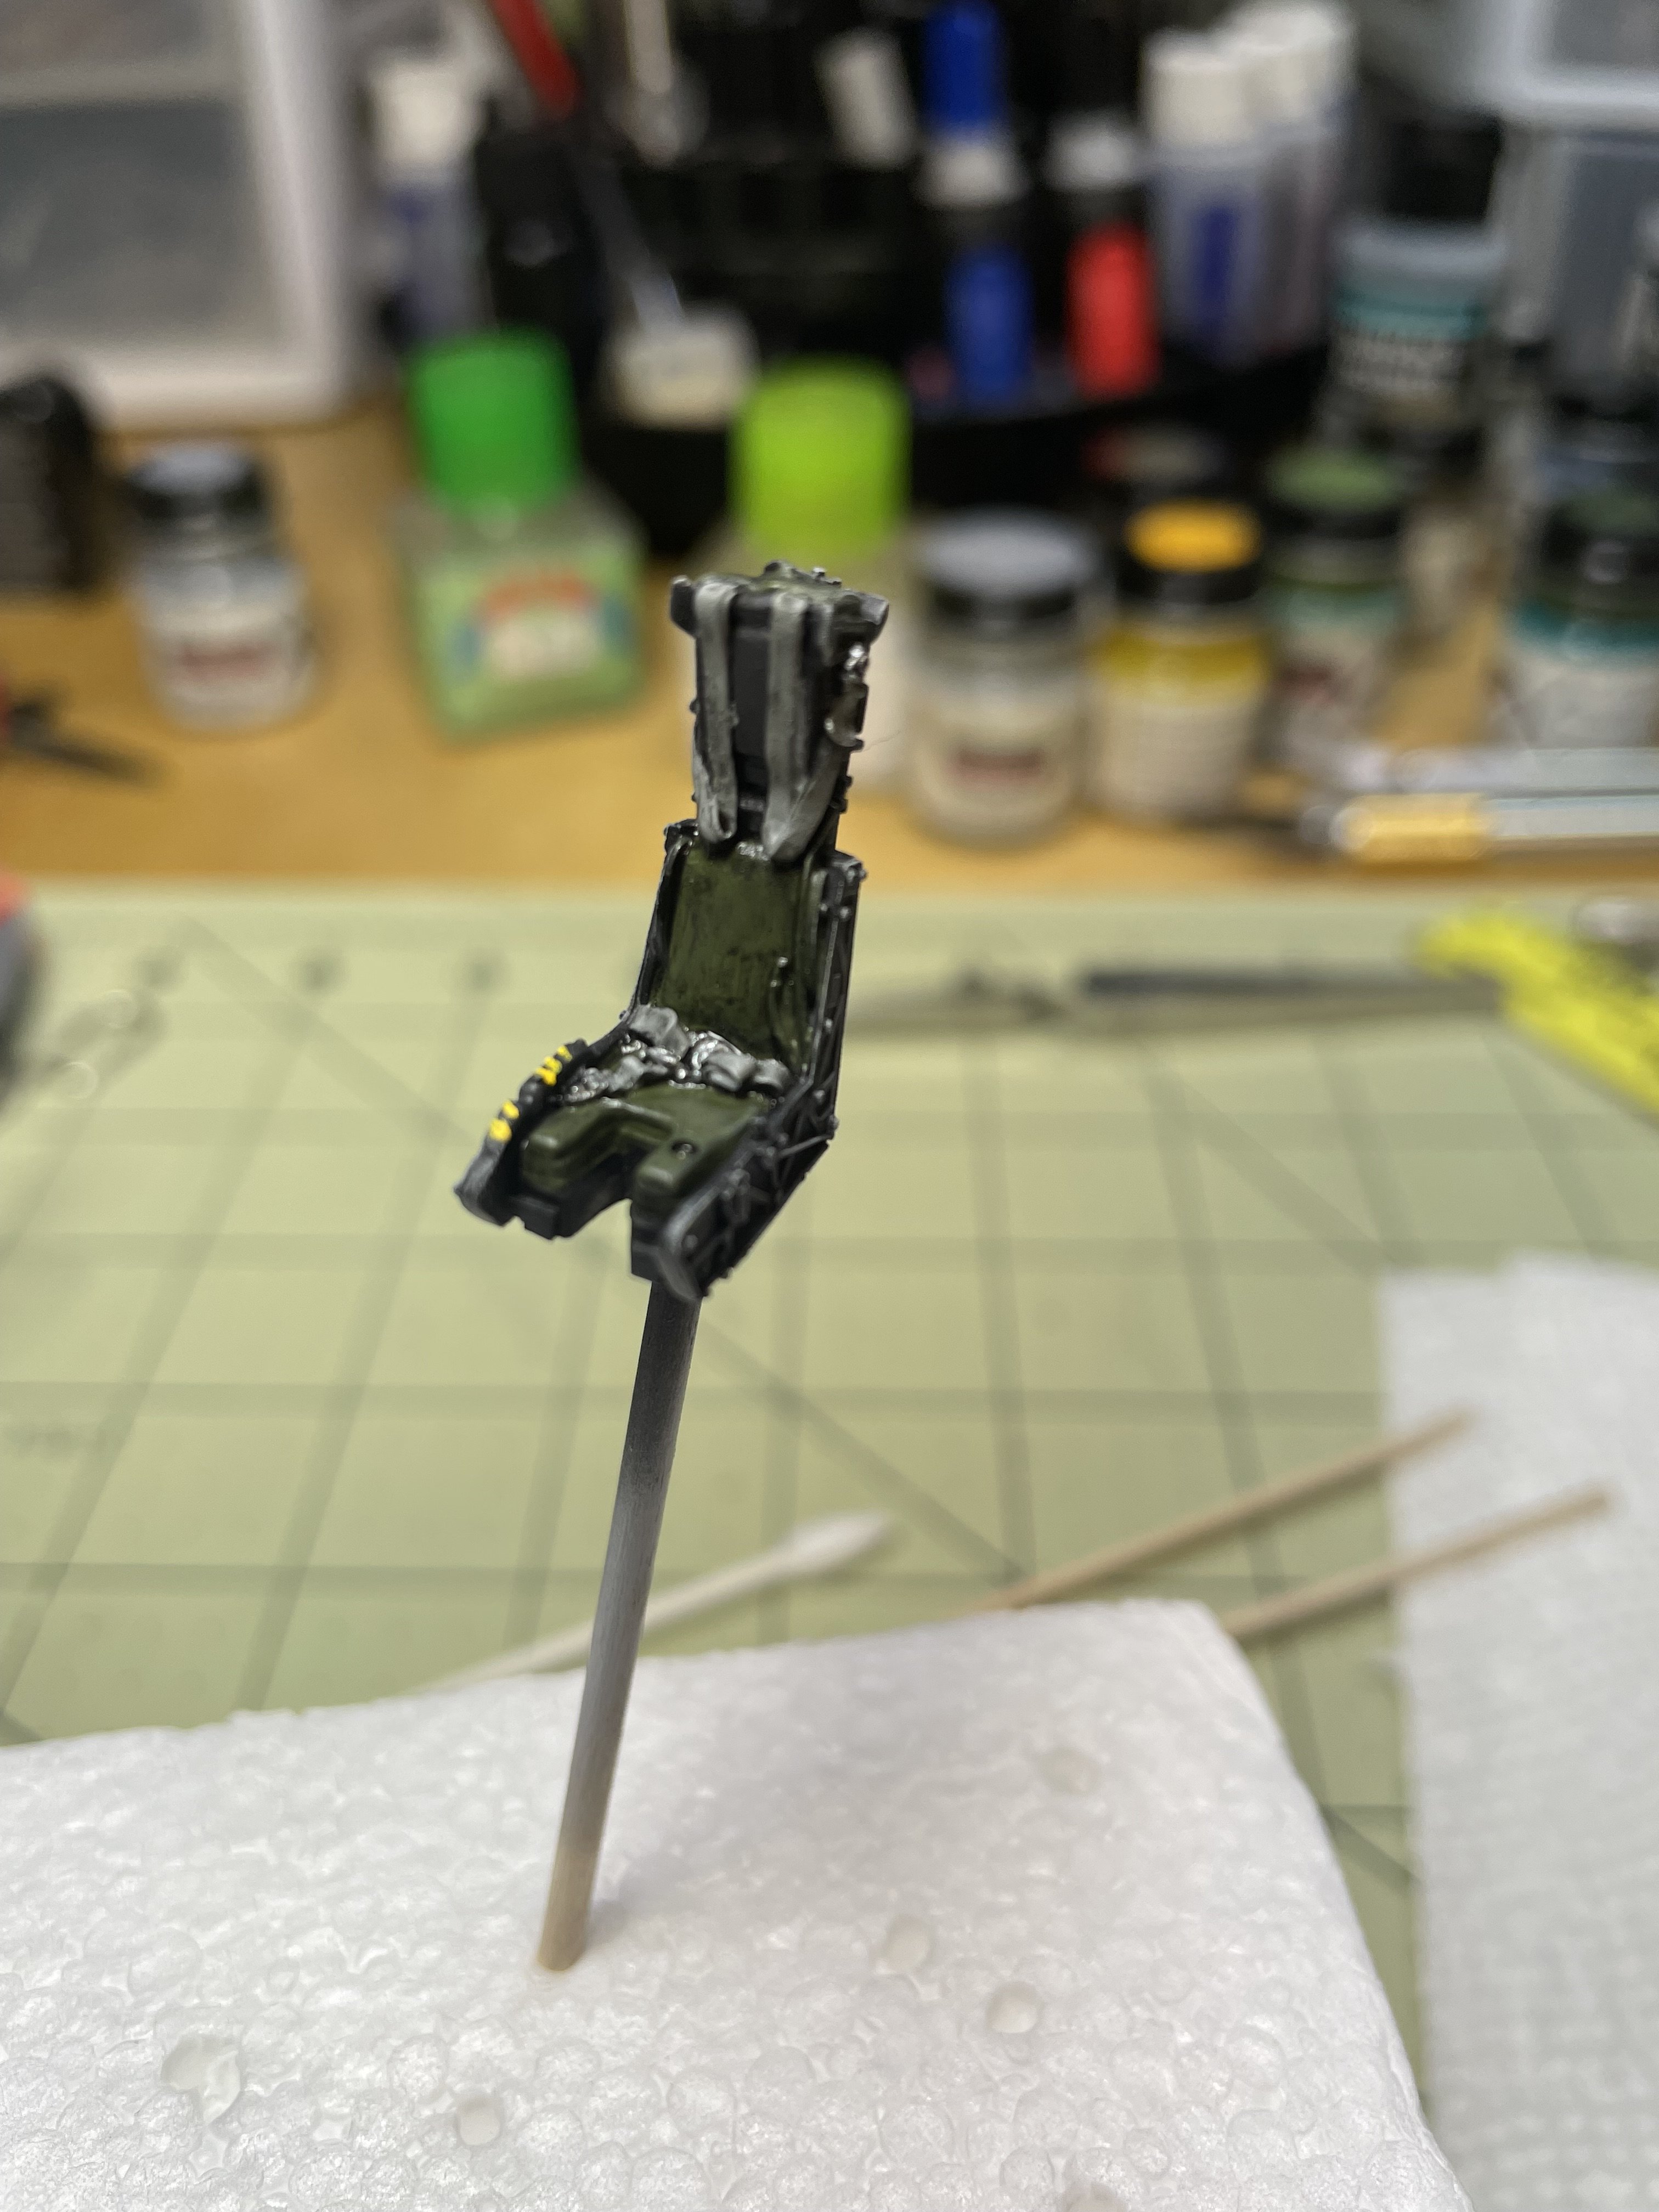
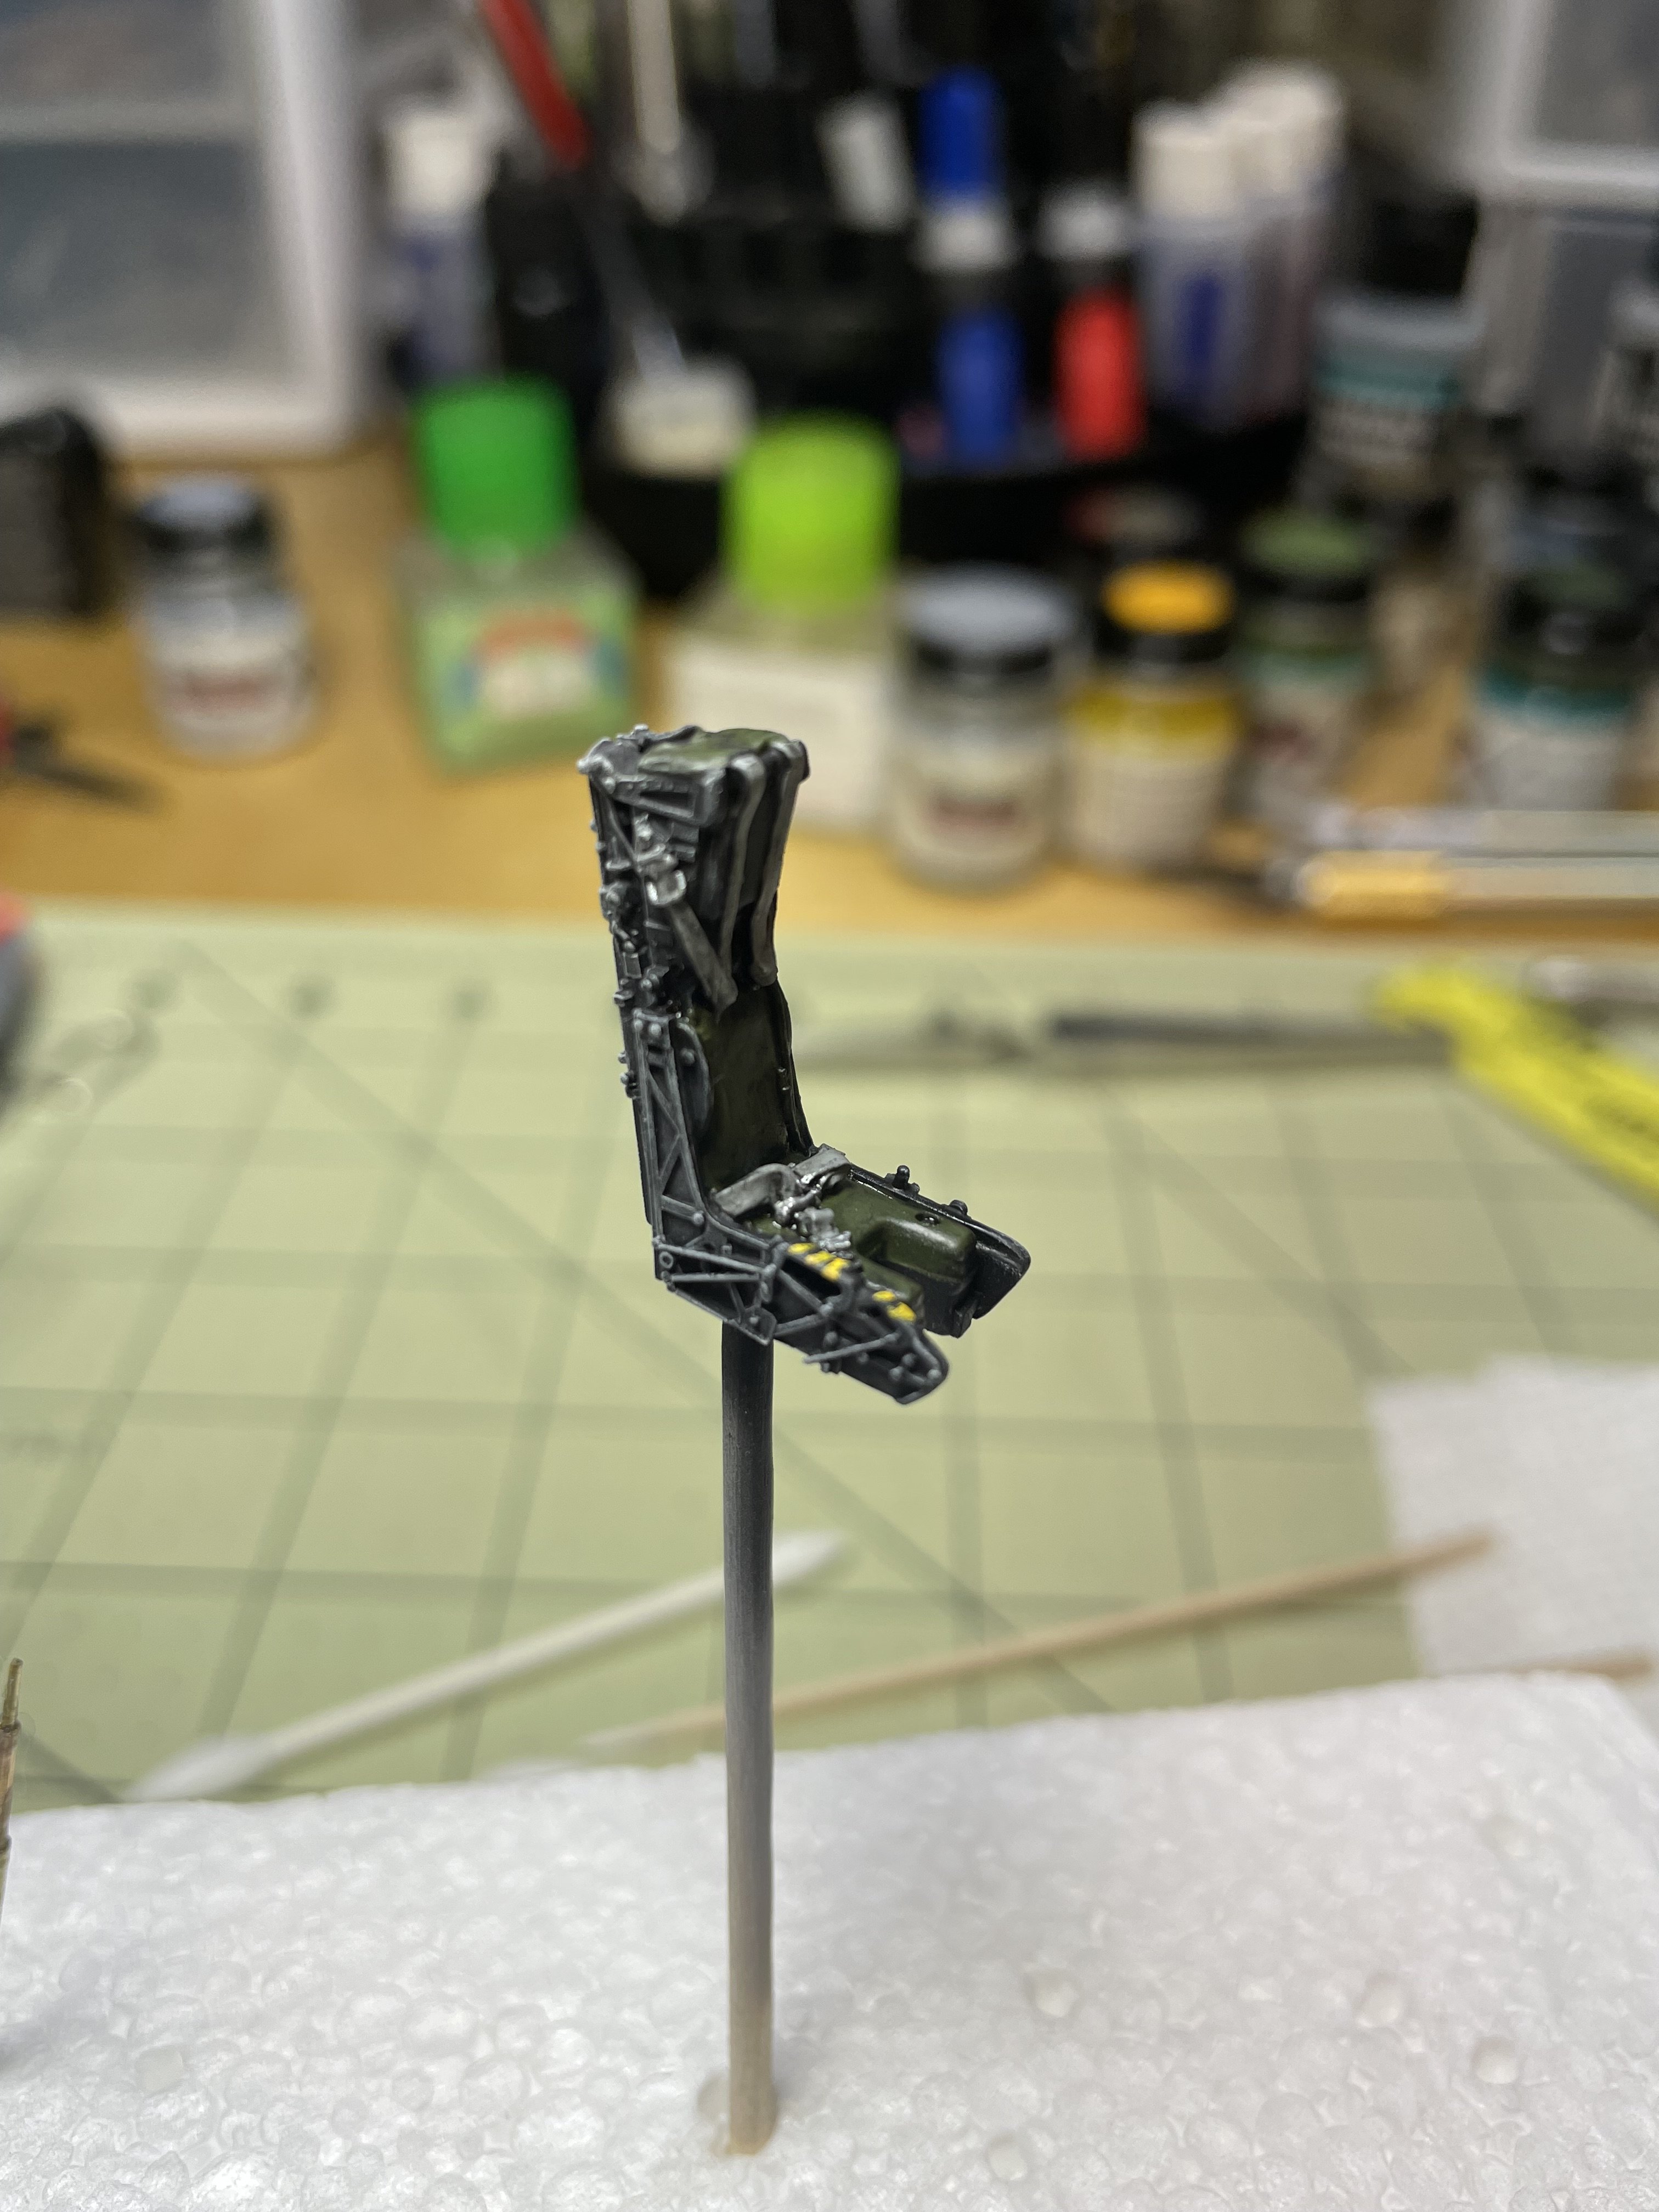
Good call out, speaking for myself I'm still debating the final weathering. Right now it is modest, and I'm leaning towards keeping it that way and putting a clear coat down and pulling off the canopy masks. But part of me wants to dirty it up a bit too. I'm thinking I'll not, since I did not apply low-vis (tactical) markings she would not be rode so hard and put away wet as many of the ones running sorties daily.Since no one has posted here for a while


![Pampers Sensitive Baby Wipes, Clinically Proven, Fragrance Free, Unscented, Water Based, Hypoallergenic, Multi-Use, Hand Wipes 336 Wipes Total (6X Flip-Top Packs) [Packaging May Vary]](https://m.media-amazon.com/images/I/41KLBHu9CAL._SL500_.jpg)