
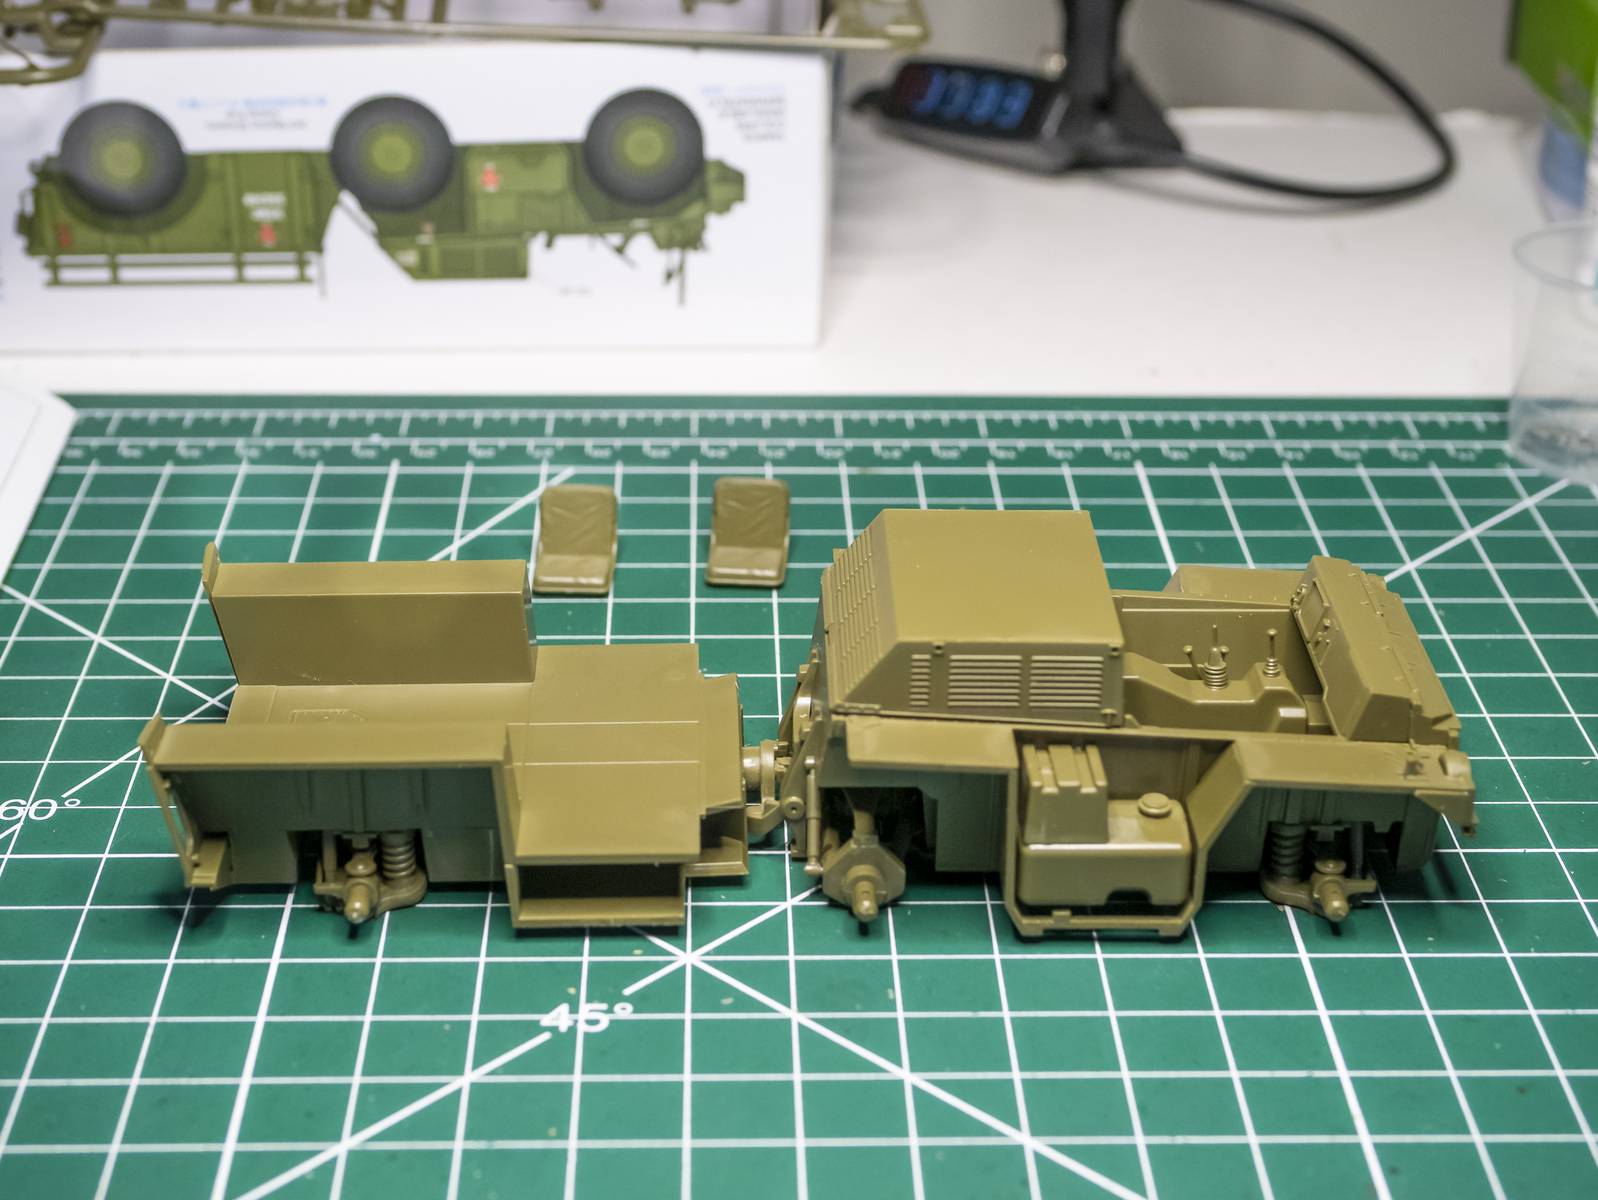
That's a cool truckWell, finally got something done at the bench! Gonna continue thru the night until I need to hit the hay for work.
View attachment 171216
The box had some nice color artist renditions of possible paint combinations
View attachment 171215
View attachment 171217
I probably will be going with the truck cab in the typical Soviet 4bo green, but I may paint up the wooden bed box in a natural shellacked wood color. Not sure yet.

You are using an out of date browser. It may not display this or other websites correctly.
You should upgrade or use an alternative browser.
You should upgrade or use an alternative browser.
Group build: Cargo trucks, backbone of the army!

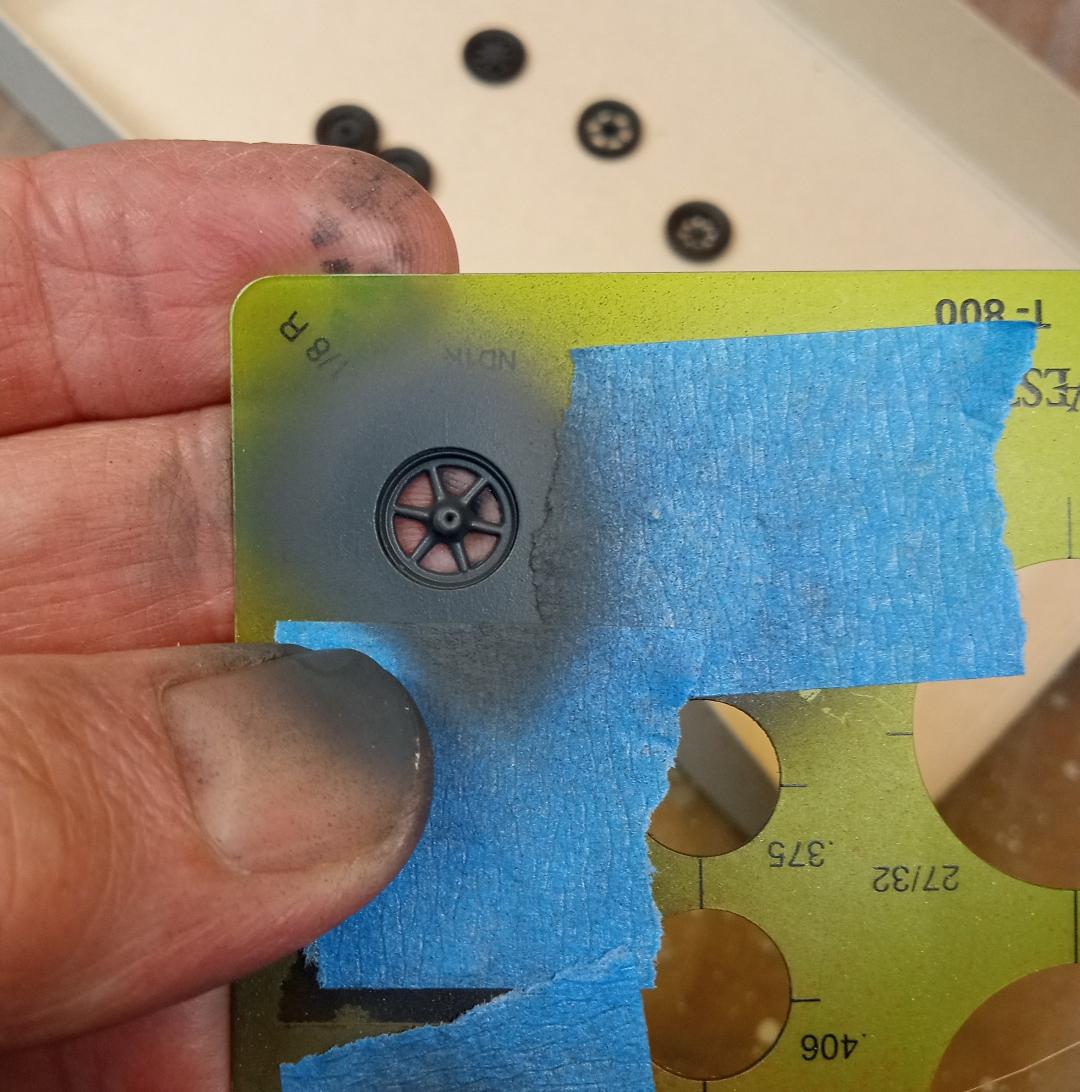

...good idea; believe it or not, I have one of those green templates that was my dad's dating back to the '60s I think!circle template
As well as French curves and a flexible edge that were mine from the '80s.

Bob T
Well-Known Member
I am not sure how I would even approach the camouflage paint scheme...YikesWell, finally got something done at the bench! Gonna continue thru the night until I need to hit the hay for work.
View attachment 171216
The box had some nice color artist renditions of possible paint combinations
View attachment 171215
View attachment 171217
I probably will be going with the truck cab in the typical Soviet 4bo green, but I may paint up the wooden bed box in a natural shellacked wood color. Not sure yet.

KowboyKaleb
Well-Known Member
Only way I see doing it is use washable white paint and try to weather it away in such a way that it creates that schemeI am not sure how I would even approach the camouflage paint scheme...Yikes


![Pampers Sensitive Baby Wipes, Clinically Proven, Fragrance Free, Unscented, Water Based, Hypoallergenic, Multi-Use, Hand Wipes 336 Wipes Total (6X Flip-Top Packs) [Packaging May Vary]](https://m.media-amazon.com/images/I/41KLBHu9CAL._SL500_.jpg)






As an Amazon Associate we earn from qualifying purchases. Product prices and availability are accurate as of the date/time indicated and are subject to change.

Jakko
Well-Known Member
The whitewashed one? There are several approaches I can think of. One is to spray the model green, then add a coat of hairspray followed by white, and once that's dry, chip off the white paint by wetting an area with water (that will dissolve the hairspray) and rubbing the white paint with something like a cocktail stick, toothpick, a stiff brush, etc.I am not sure how I would even approach the camouflage paint scheme...Yikes
Another way is to spray the undersides green, then the top white, and after that, go over the white with the same green as underneath, but using drybrushing as well as regular painting with a fine brush. The heavier you (dry)brush the green on, the more the white will look worn and damaged, and this will happen first on the areas where paint would rub off anyway.
Bob T
Well-Known Member
Got a couple hours in today.
Went with the no windshield option, because we did that all the time. (It was removable and was stored under the engine hood.)
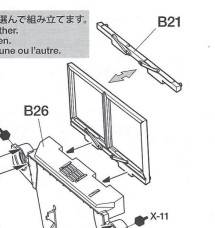
I swear I've bent that front shift lever 2-3 times. It's not going to last. I'm thinking a small, cut down, straight pin might work.
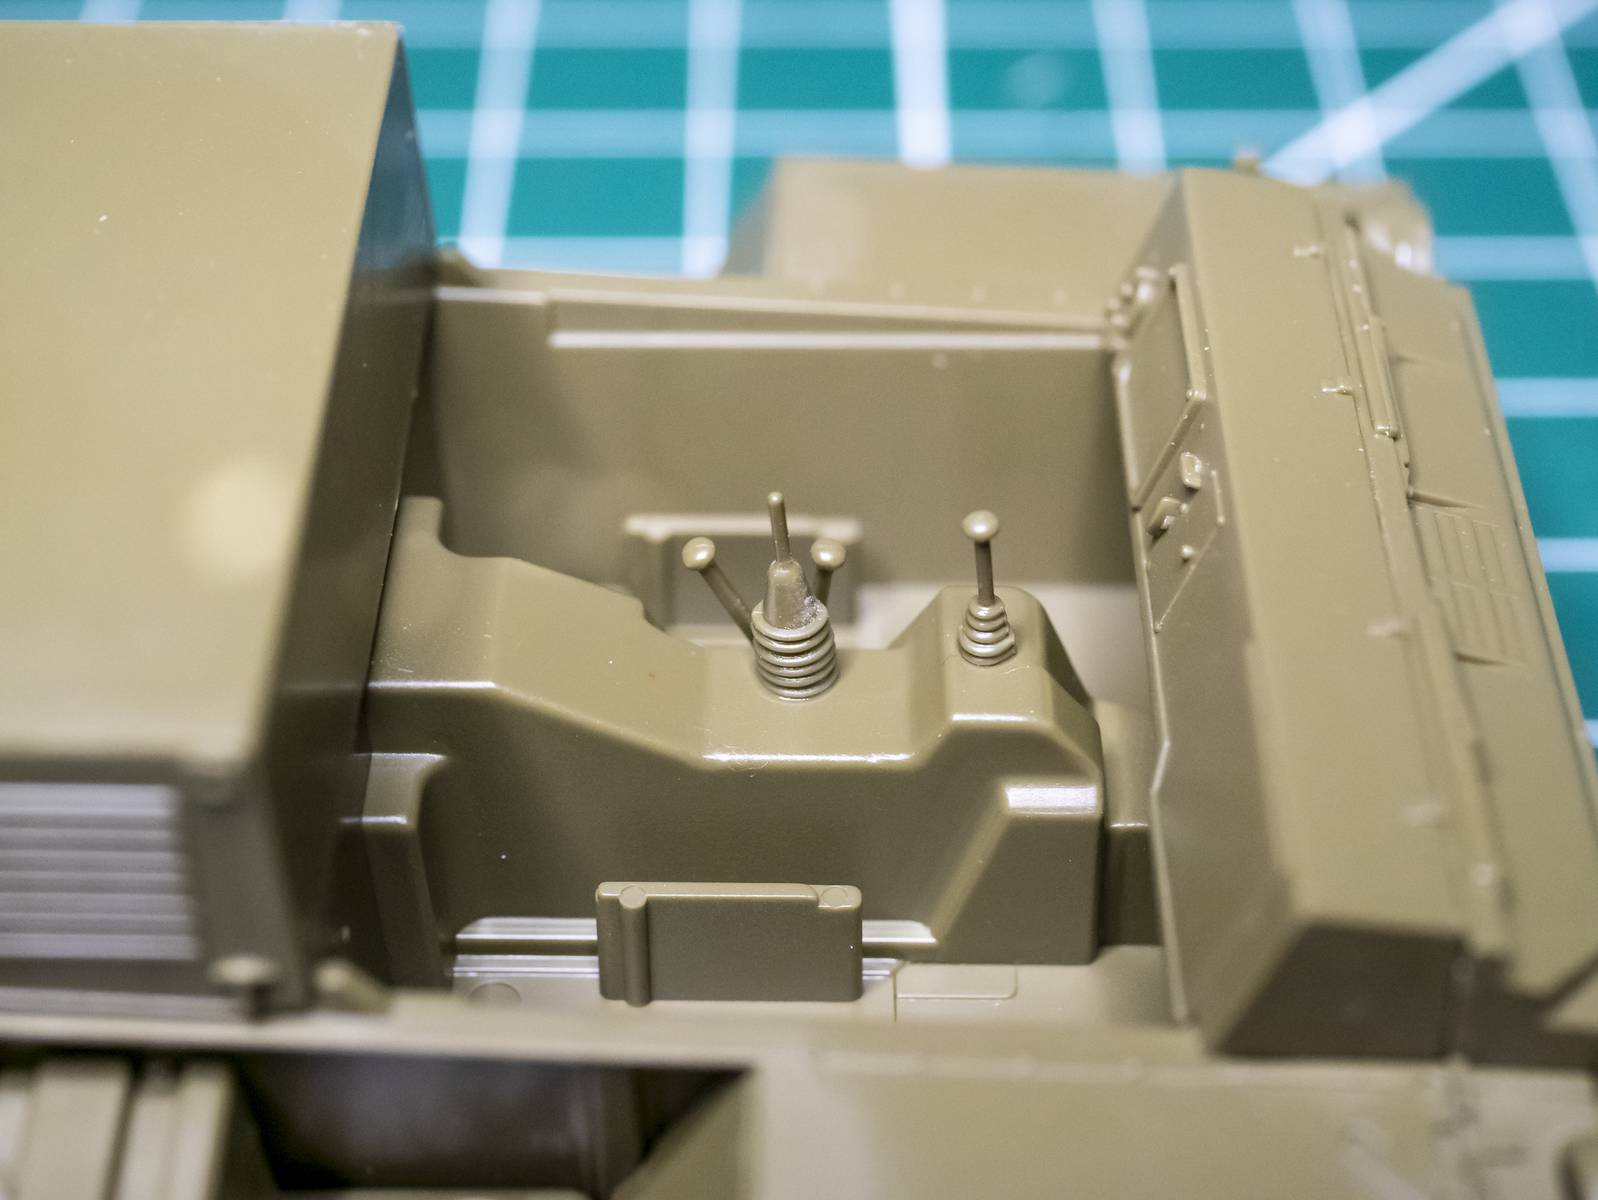
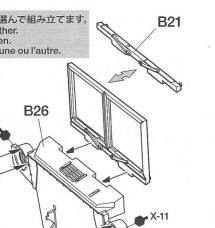
Went with the no windshield option, because we did that all the time. (It was removable and was stored under the engine hood.)
I swear I've bent that front shift lever 2-3 times. It's not going to last. I'm thinking a small, cut down, straight pin might work.
Last edited:
Sparkplug cables, fuel line from fuel pump to carburetor, oil dipstick.
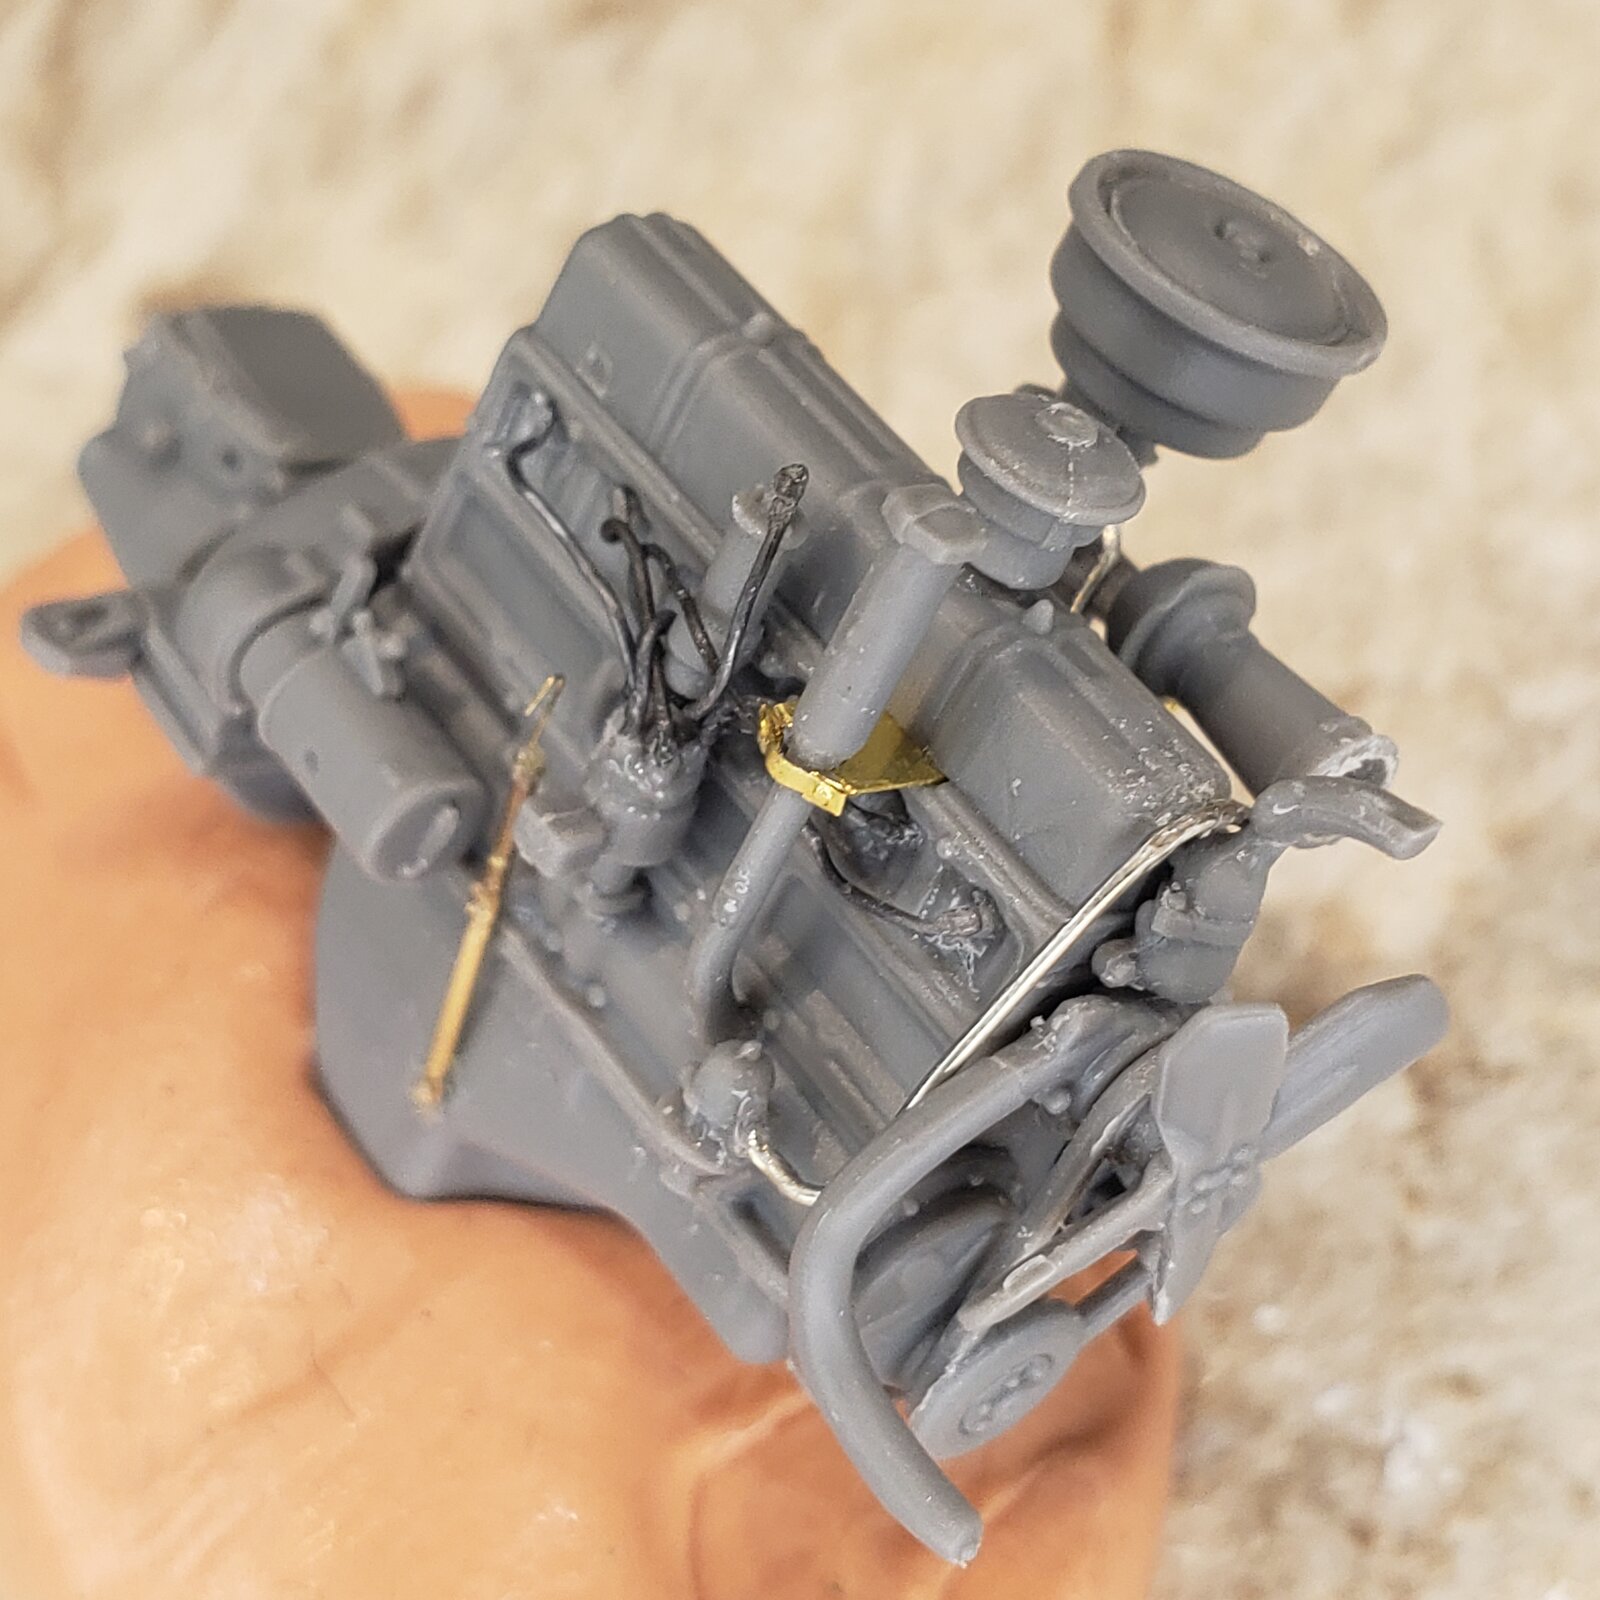
... once the glue dries, a bit of clean up then into the paint shop!
Funny that in a kit that has parts like the tiny nuts, they make you bore out the horn!?
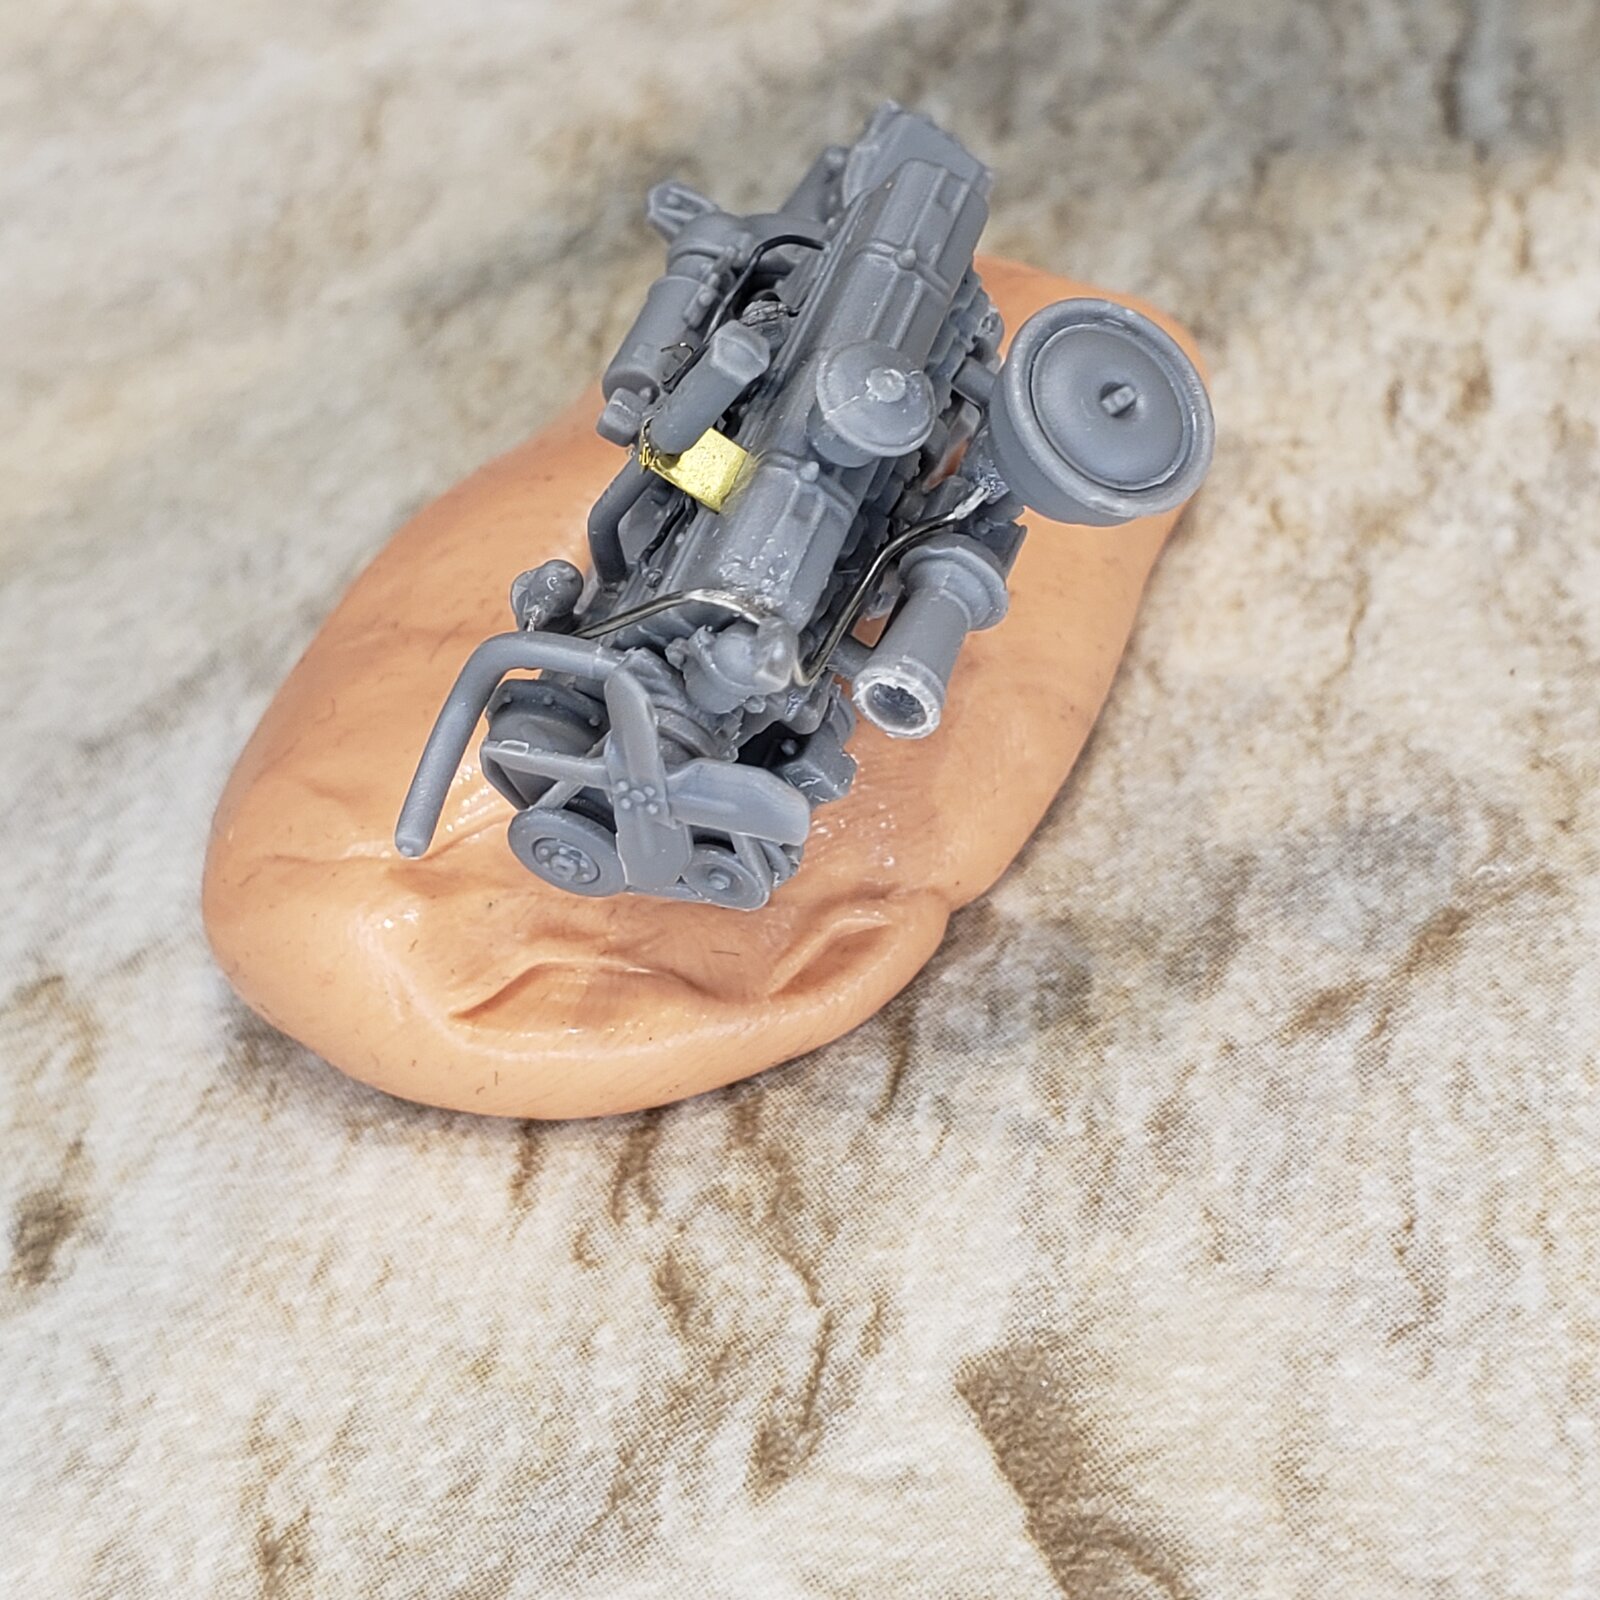
... once the glue dries, a bit of clean up then into the paint shop!
Funny that in a kit that has parts like the tiny nuts, they make you bore out the horn!?
- Joined
- Apr 29, 2024
- Messages
- 1,580
I get to dive into the tracks next. Wow looks like a lot of cleanup.
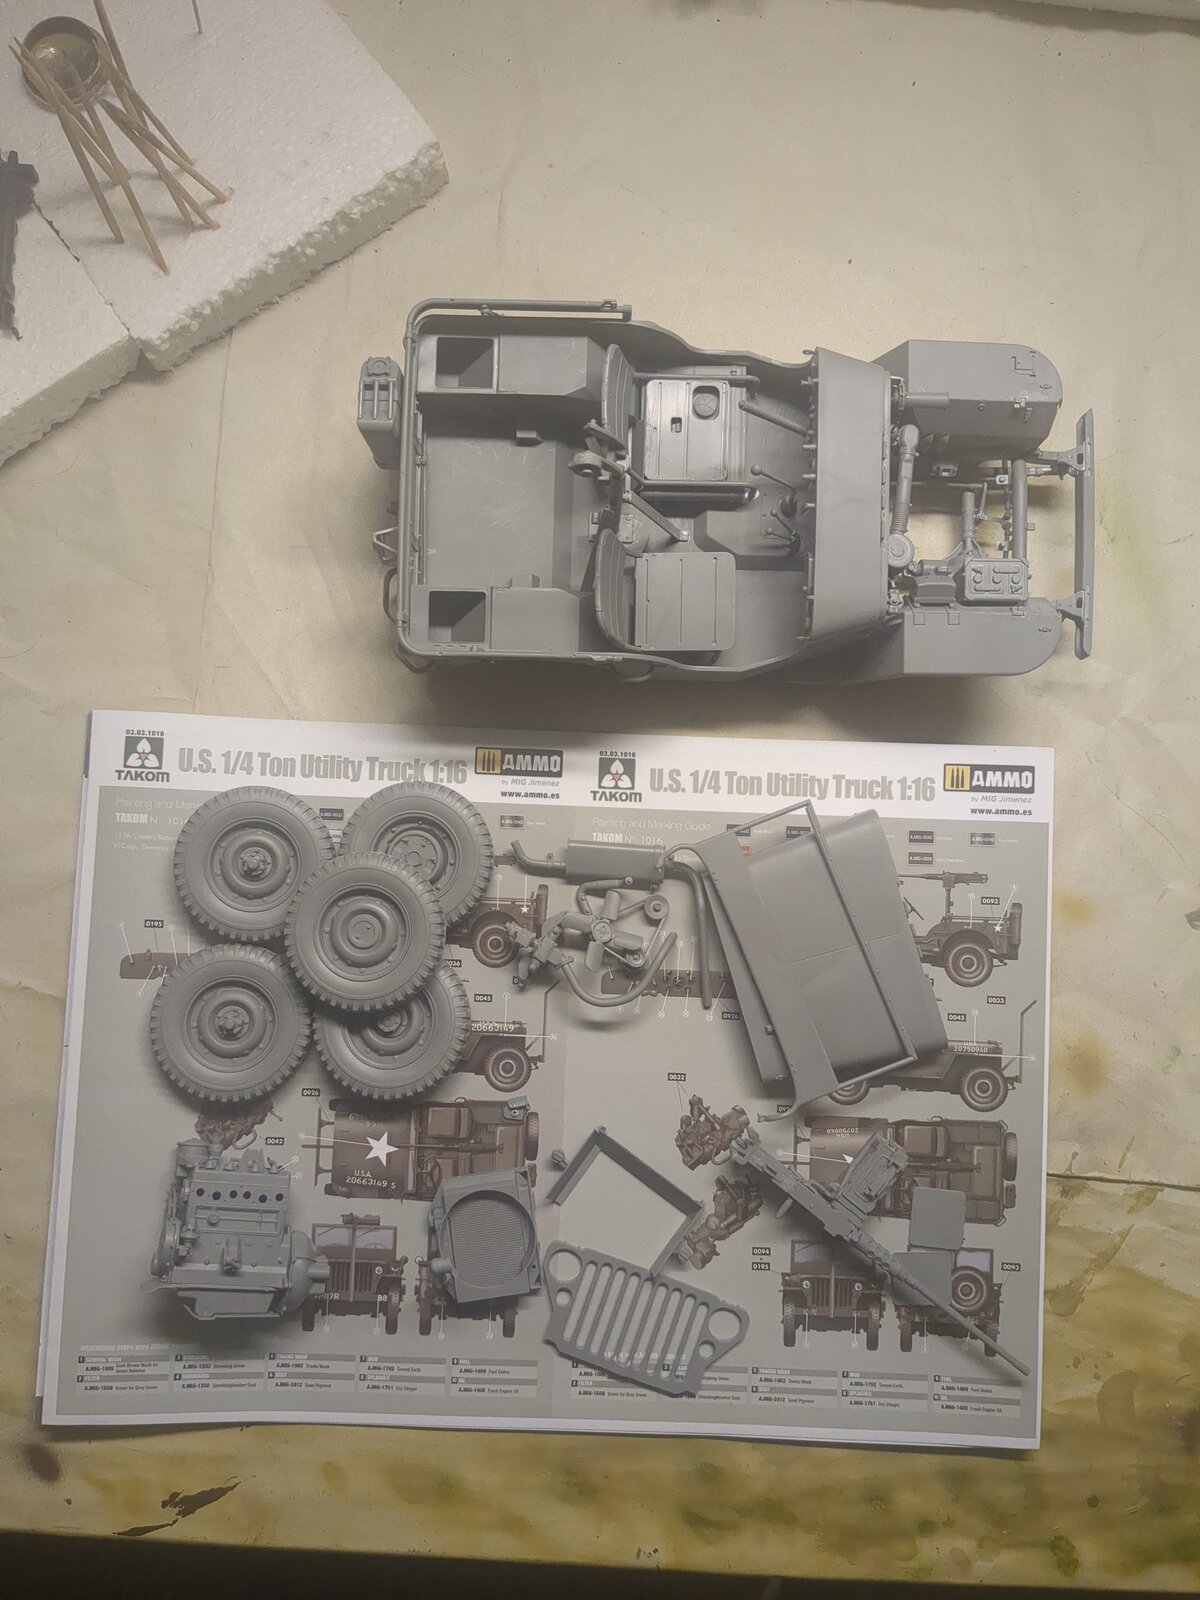
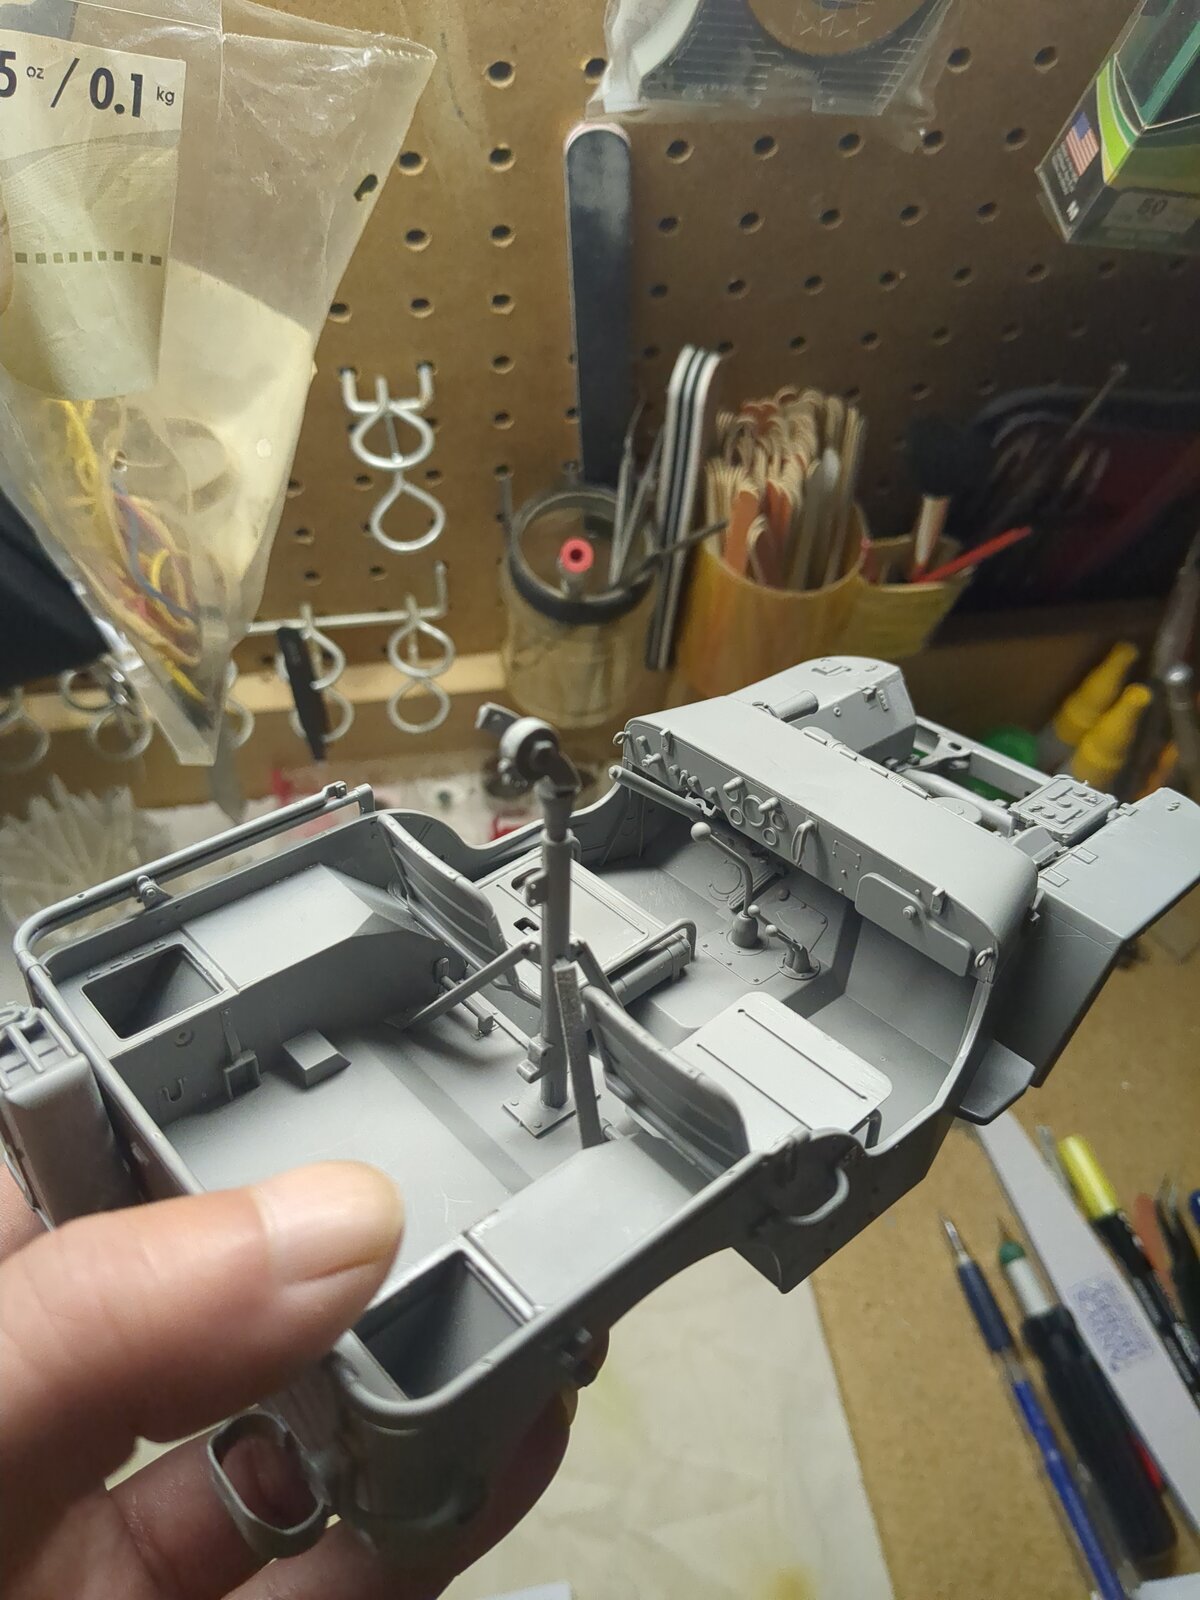
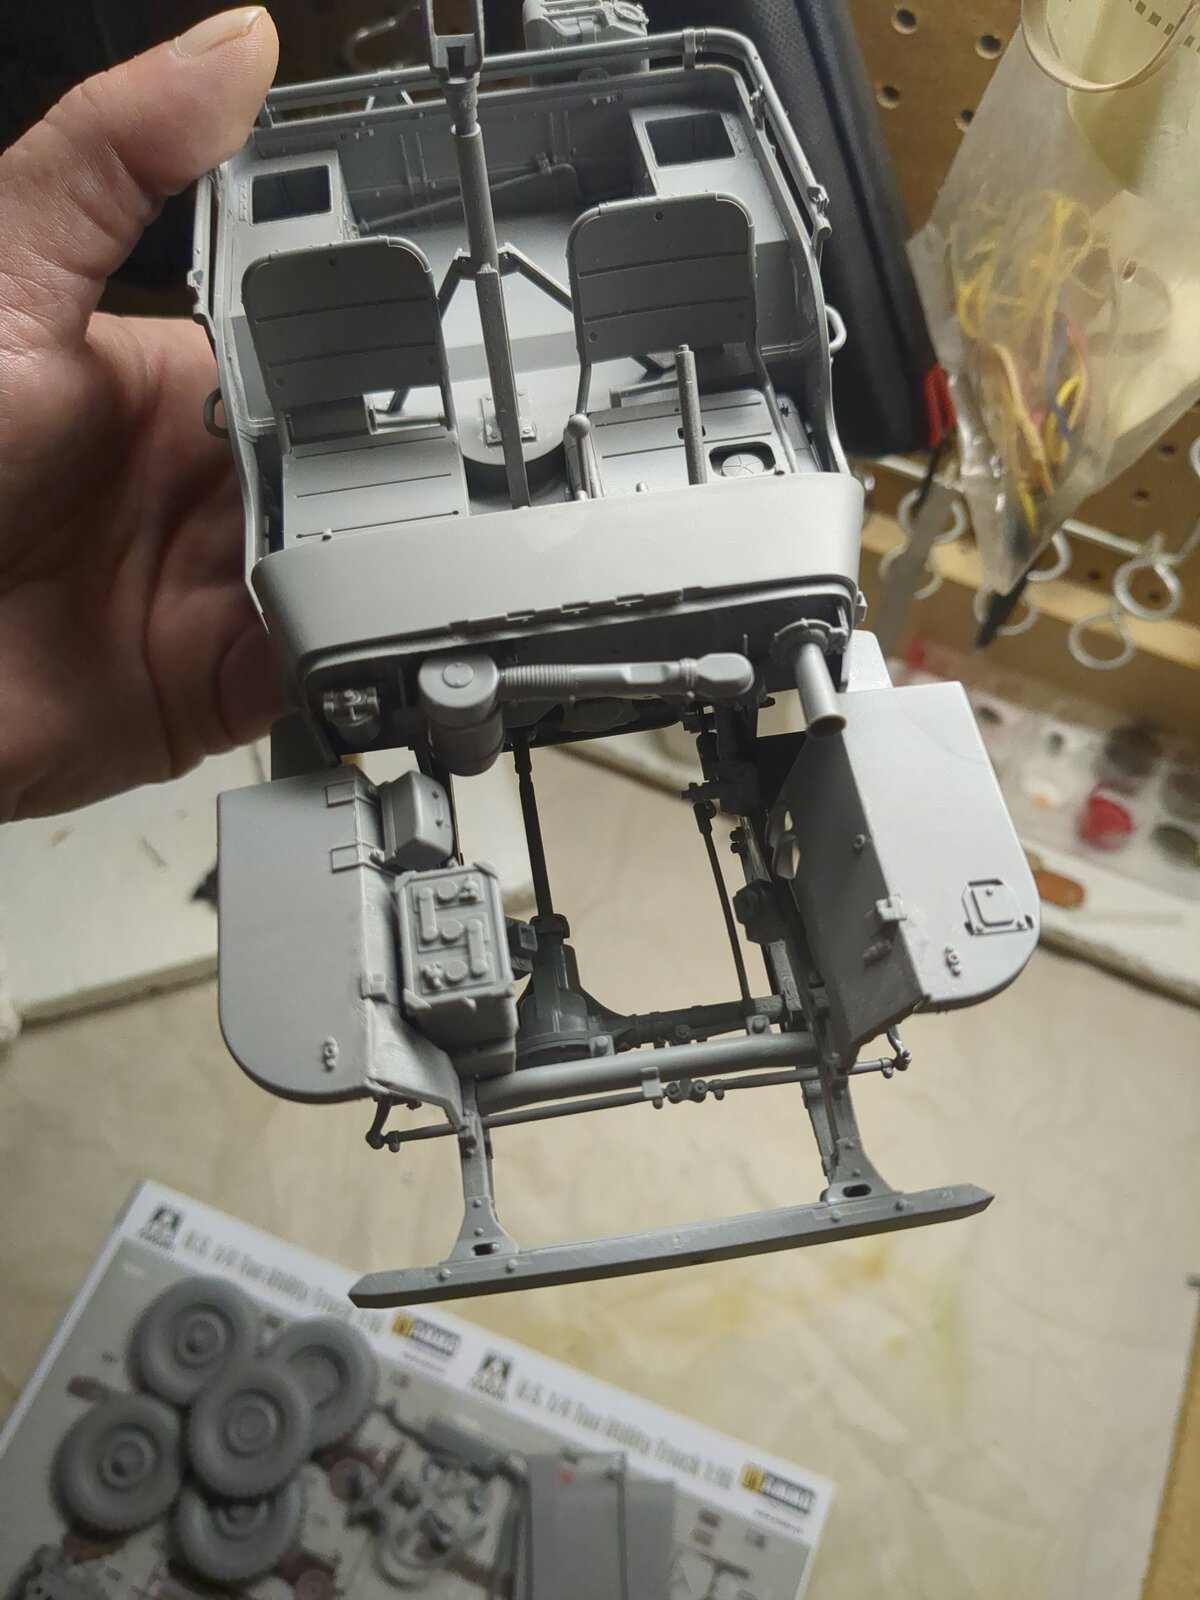
Having only ever built in 1:35, that is huge!
From what I've managed to glean, these engines (Chevrolet BV-1001-UP, a 3.9-liter (235 cubic inch) inline-six) in factory colour looked something like this, though a bit more olive green and glossy. Accessories generally in semigloss black.
Rebuilt in the field, they would be painted again, OD or grey...
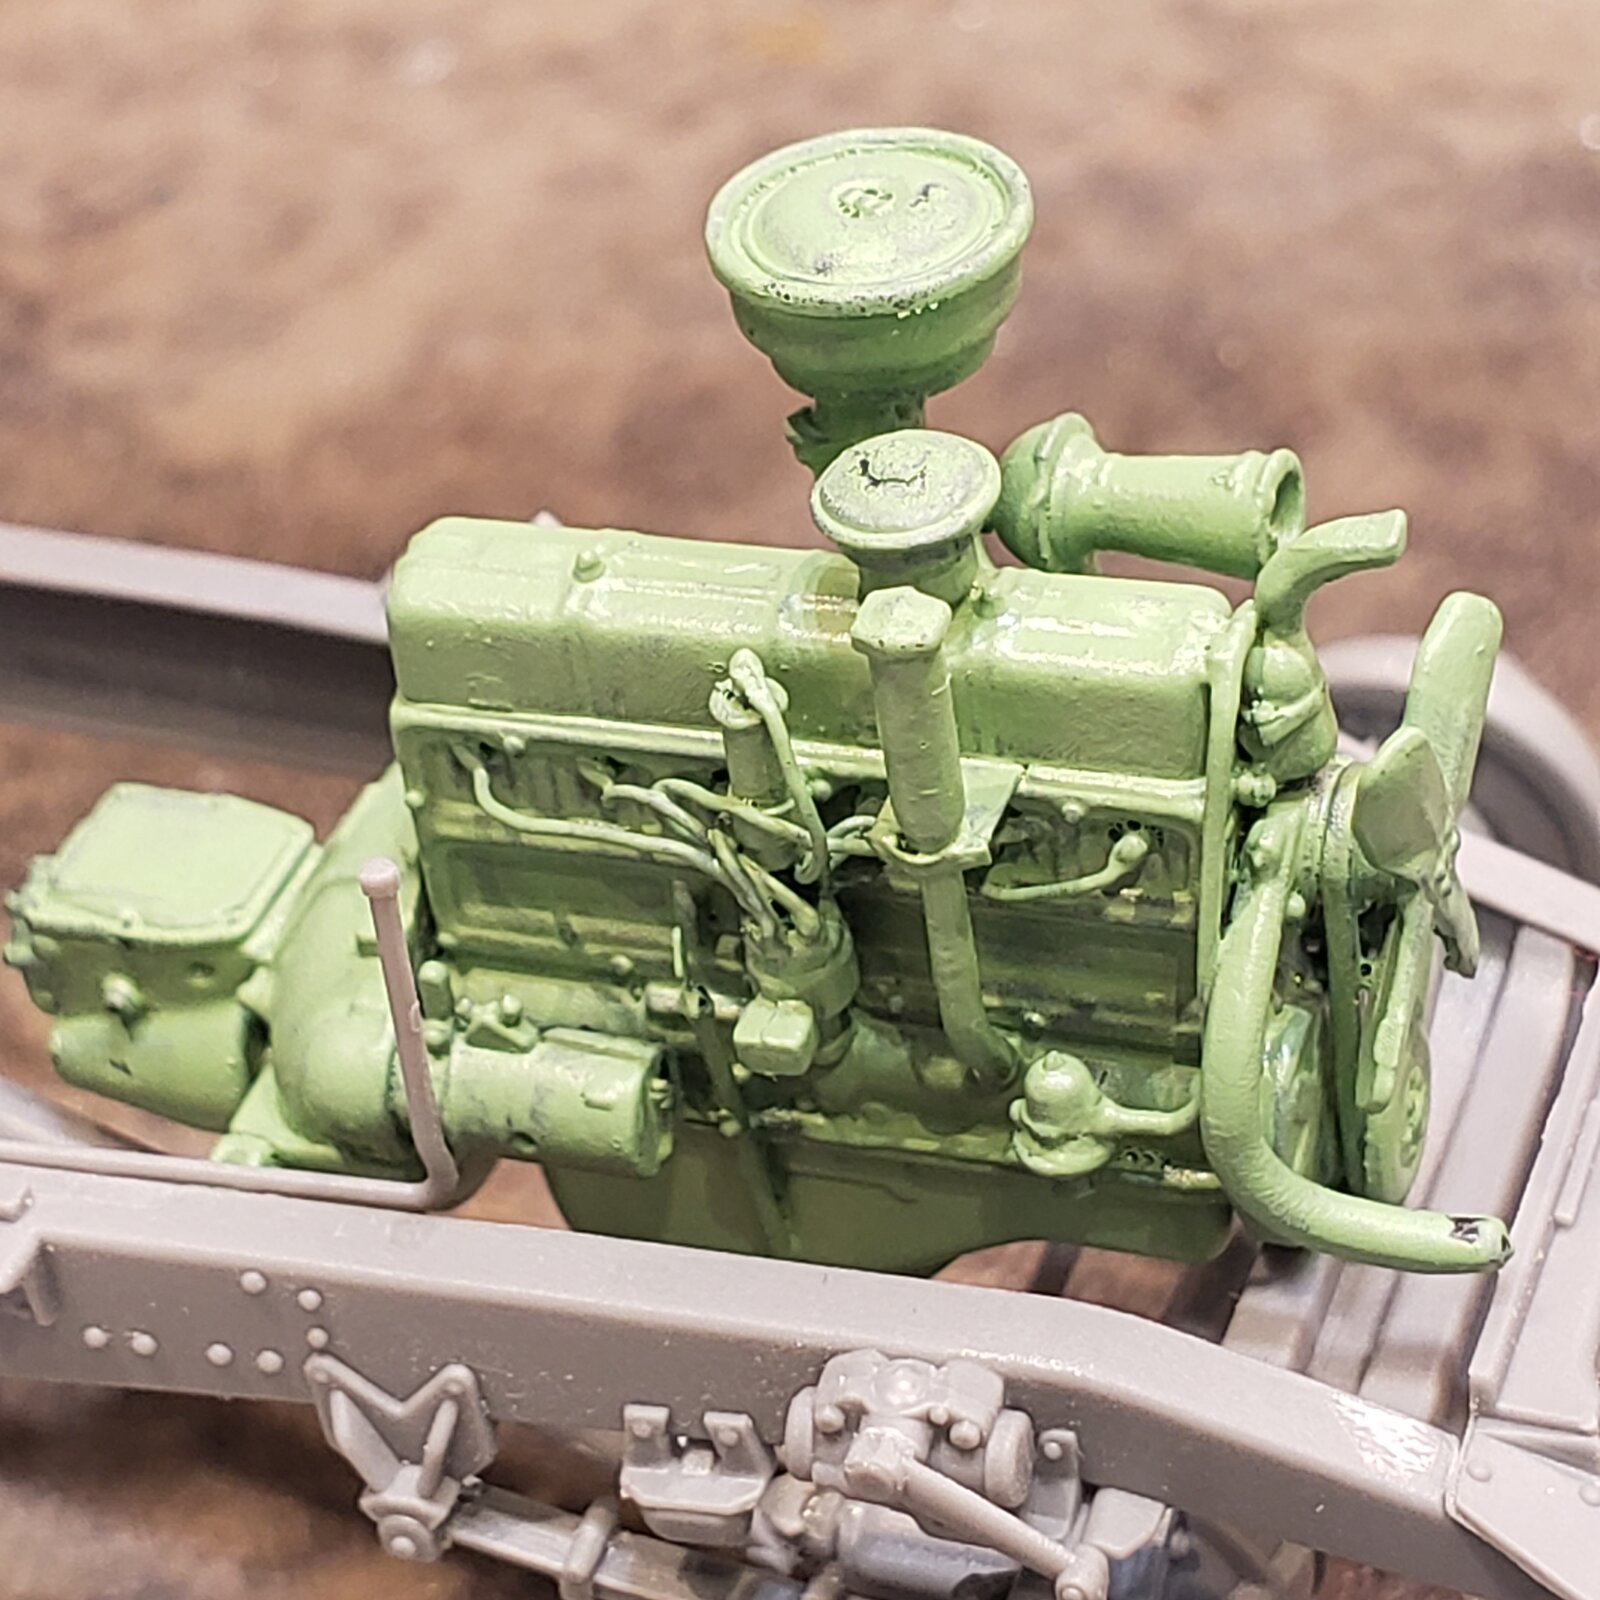
Rebuilt in the field, they would be painted again, OD or grey...
- Joined
- Apr 29, 2024
- Messages
- 1,580
Break time.
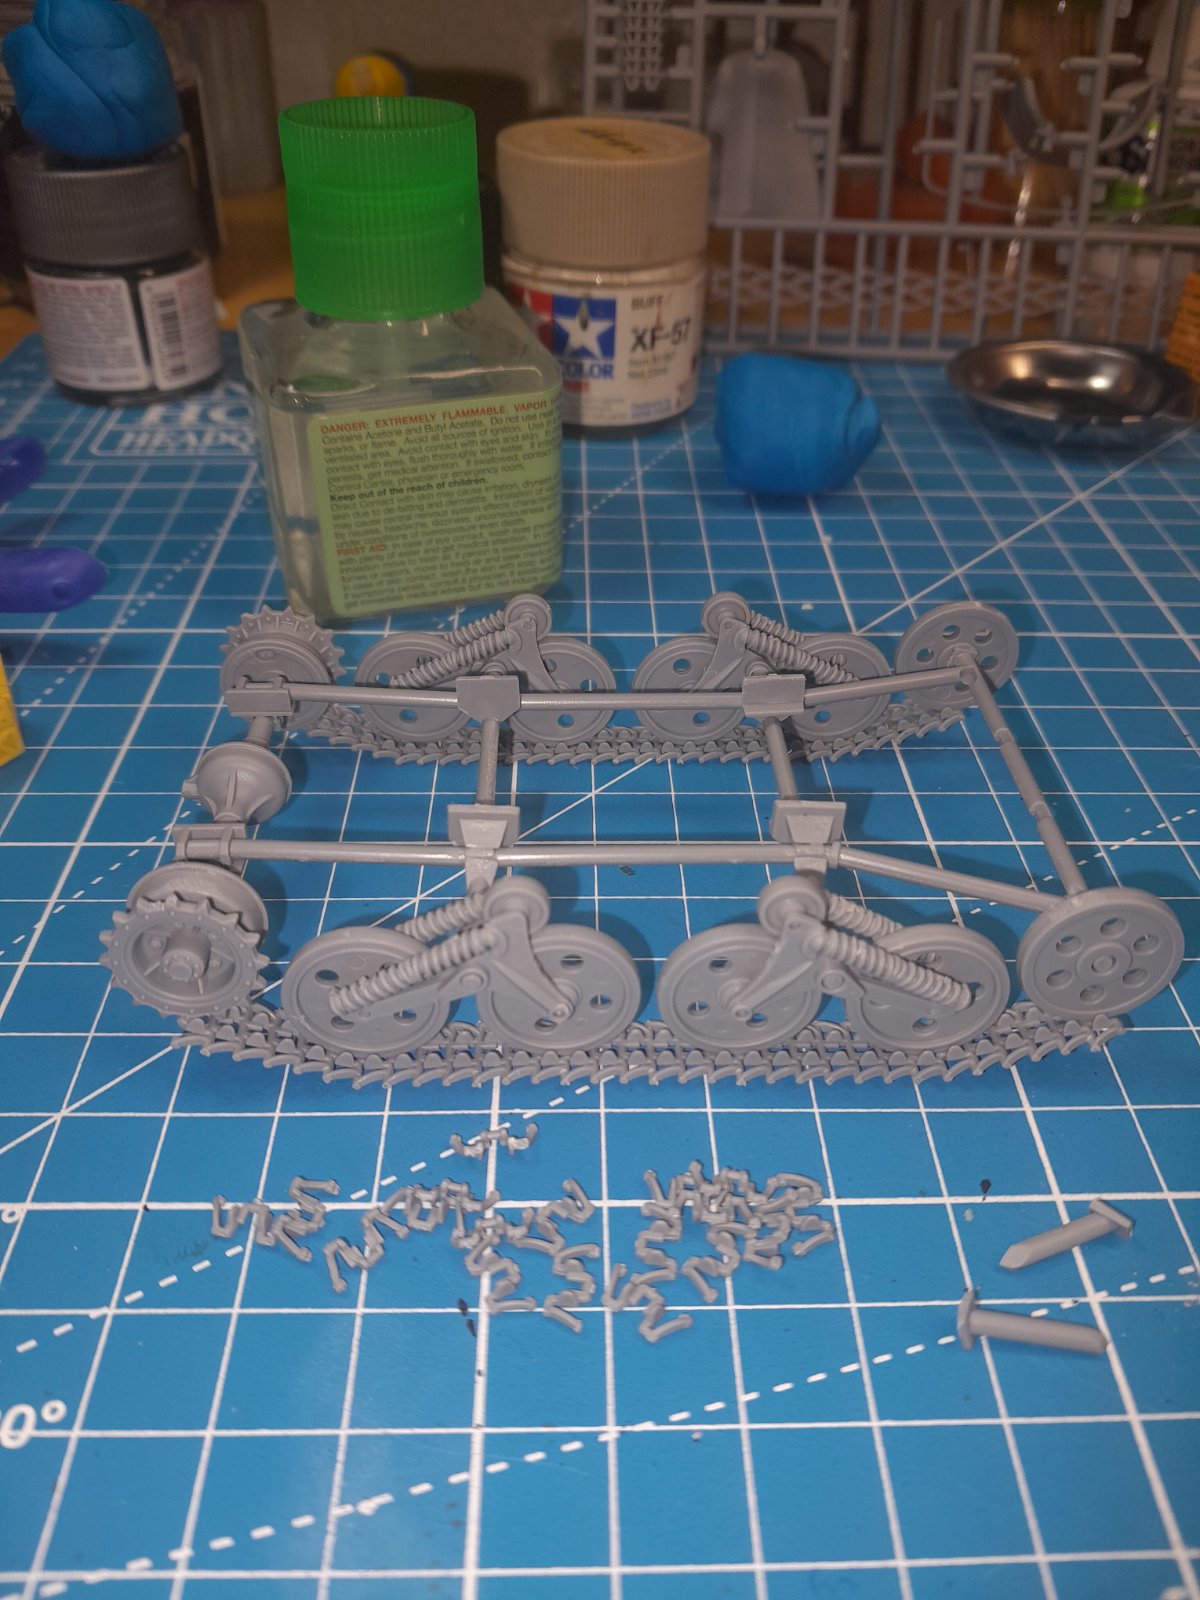
I would say not.... Look up some pictures of the engine itself ...From what I've managed to glean, these engines (Chevrolet BV-1001-UP, a 3.9-liter (235 cubic inch) inline-six) in factory colour looked something like this, though a bit more olive green and glossy. Accessories generally in semigloss black.
Rebuilt in the field, they would be painted again, OD or grey...
View attachment 171479
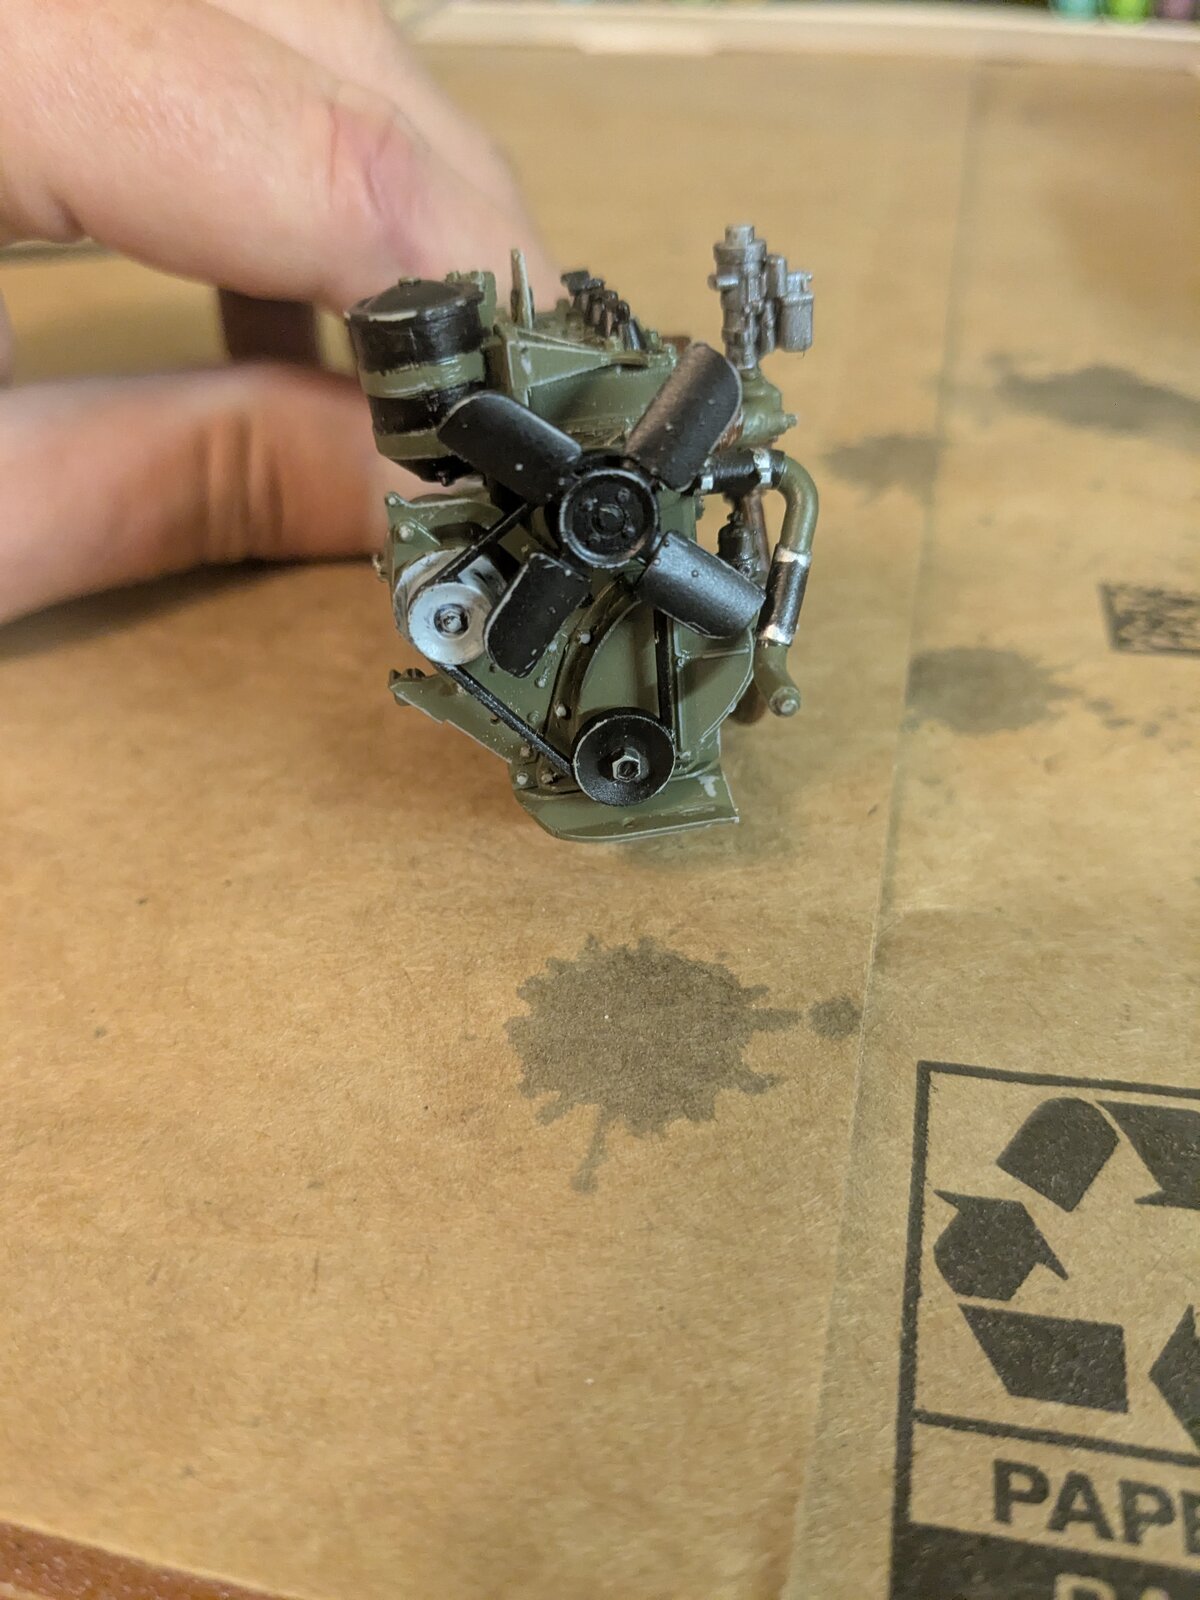
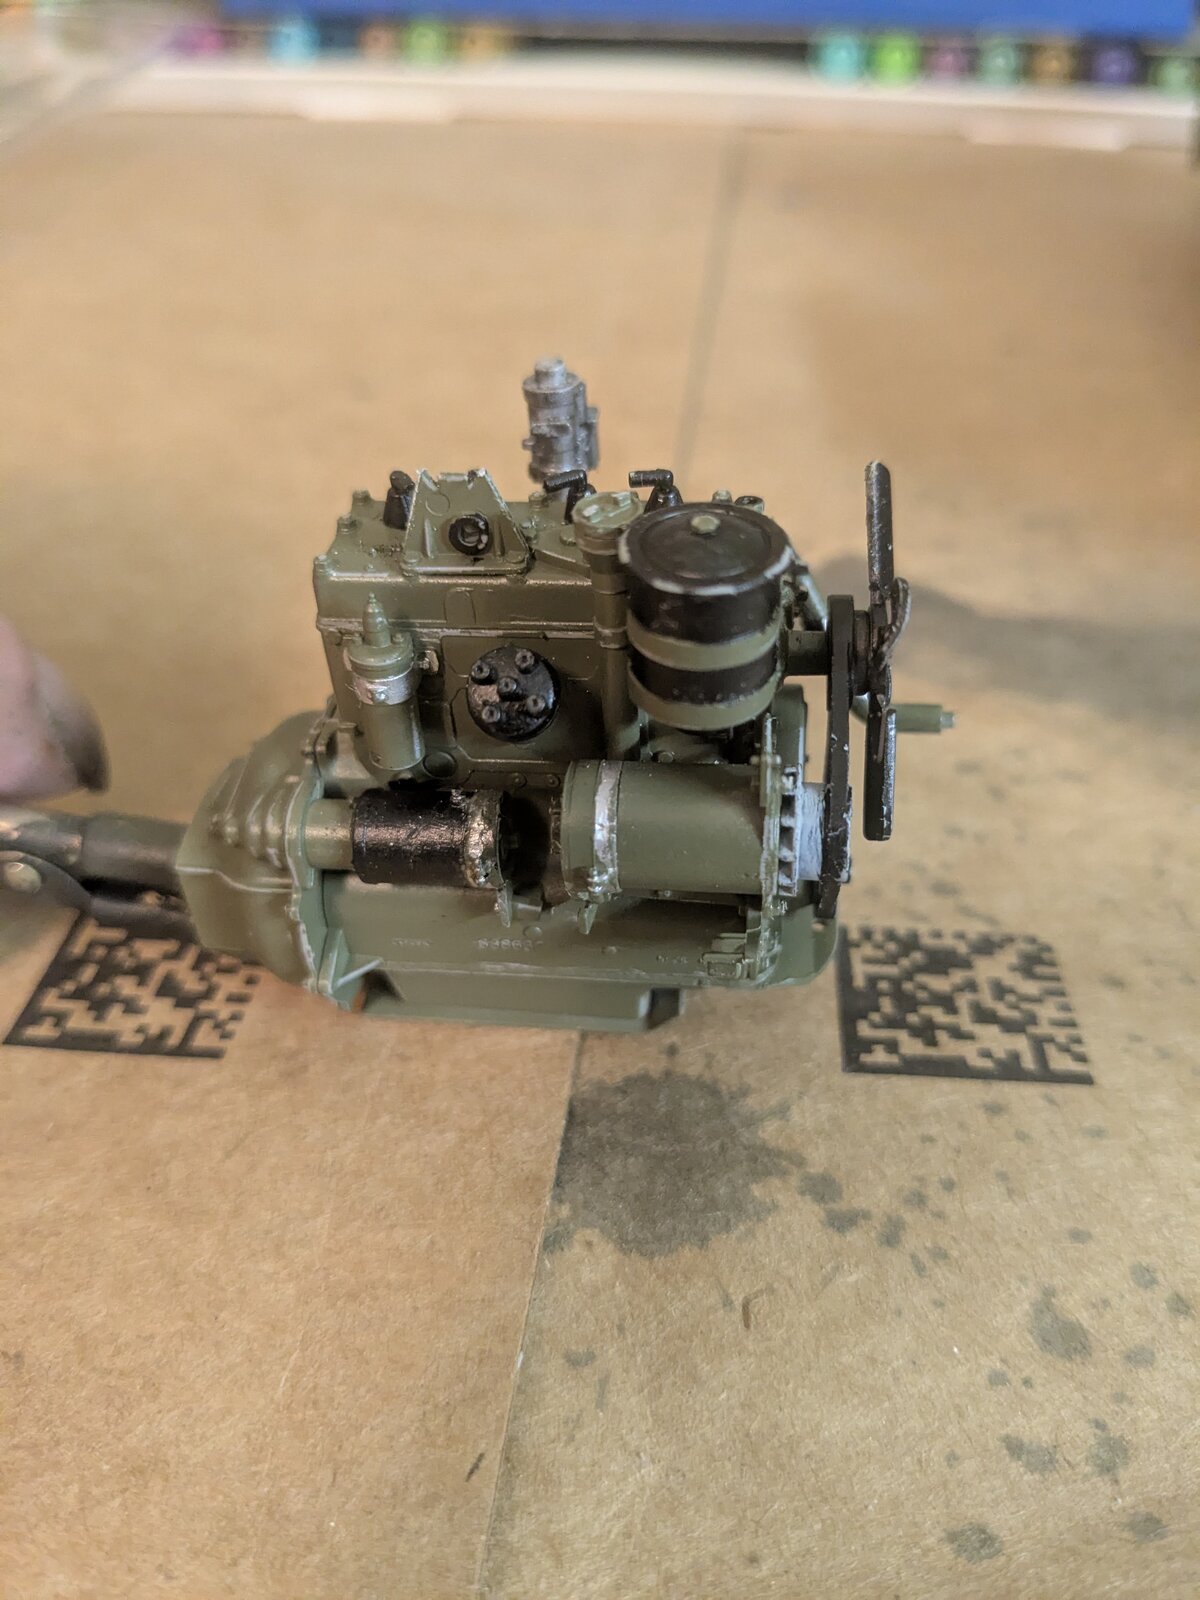
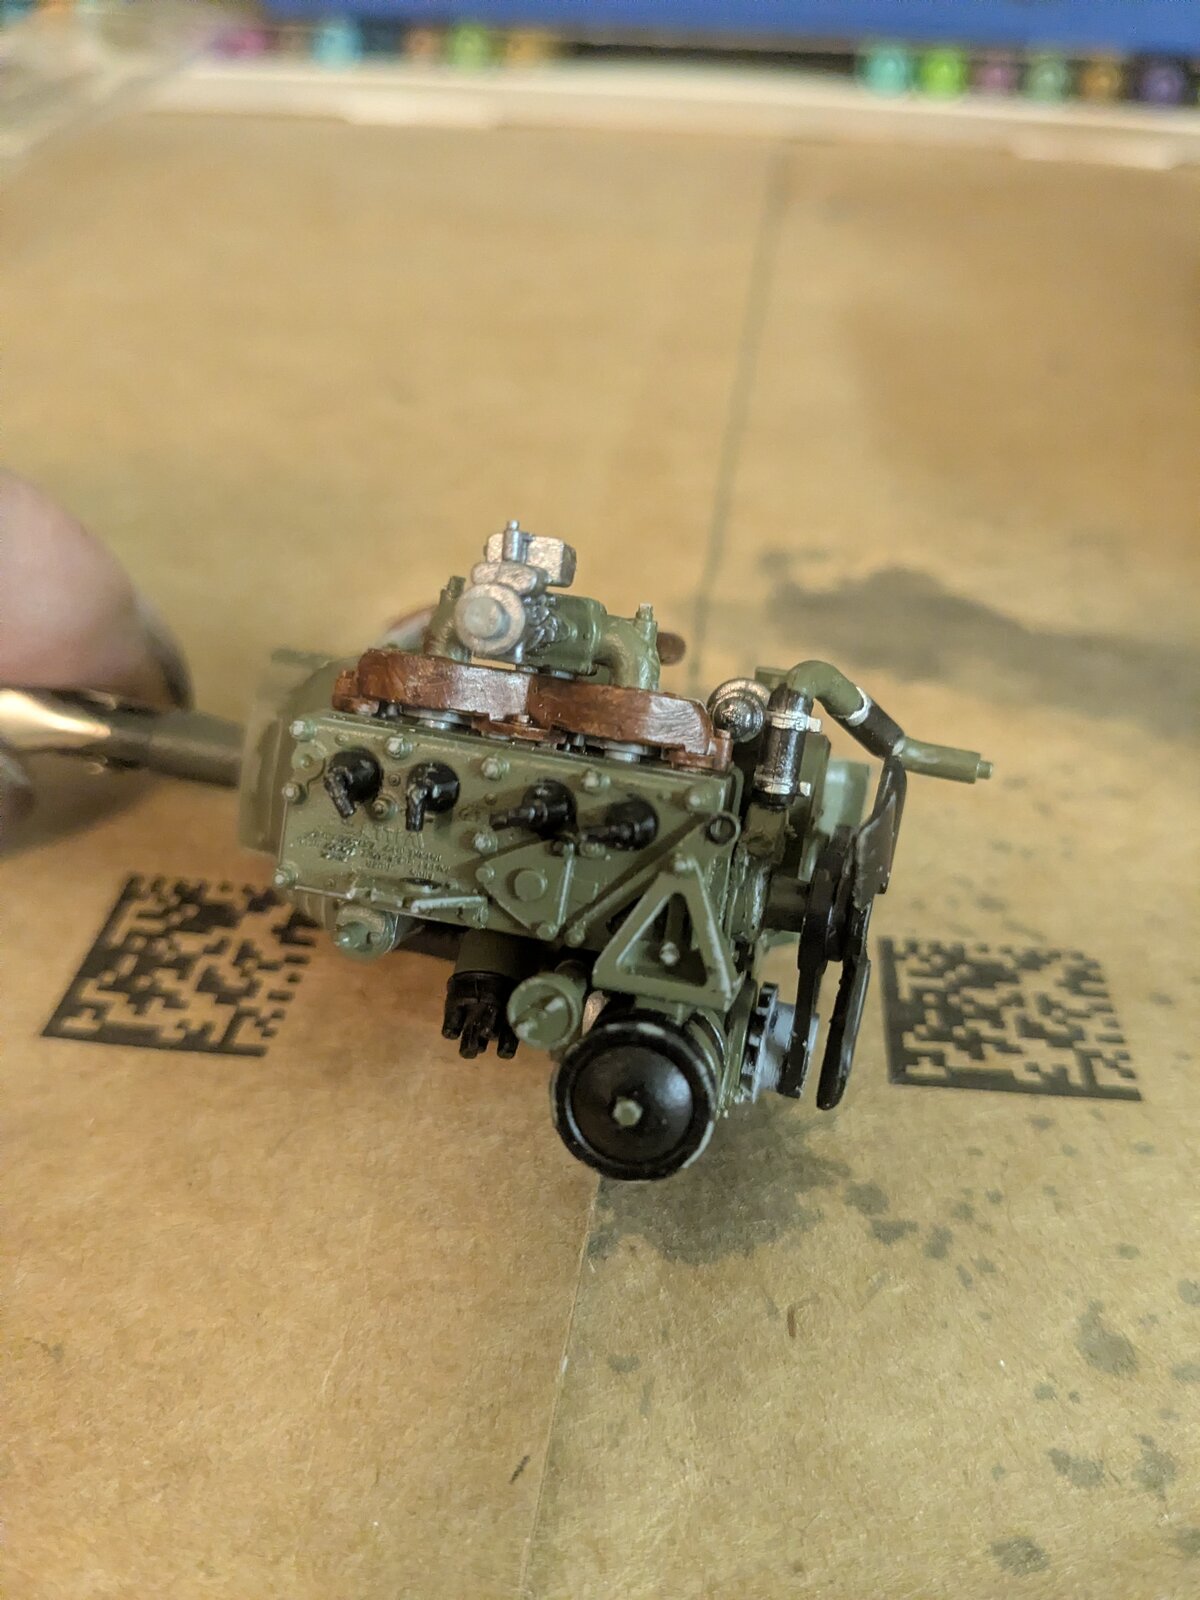
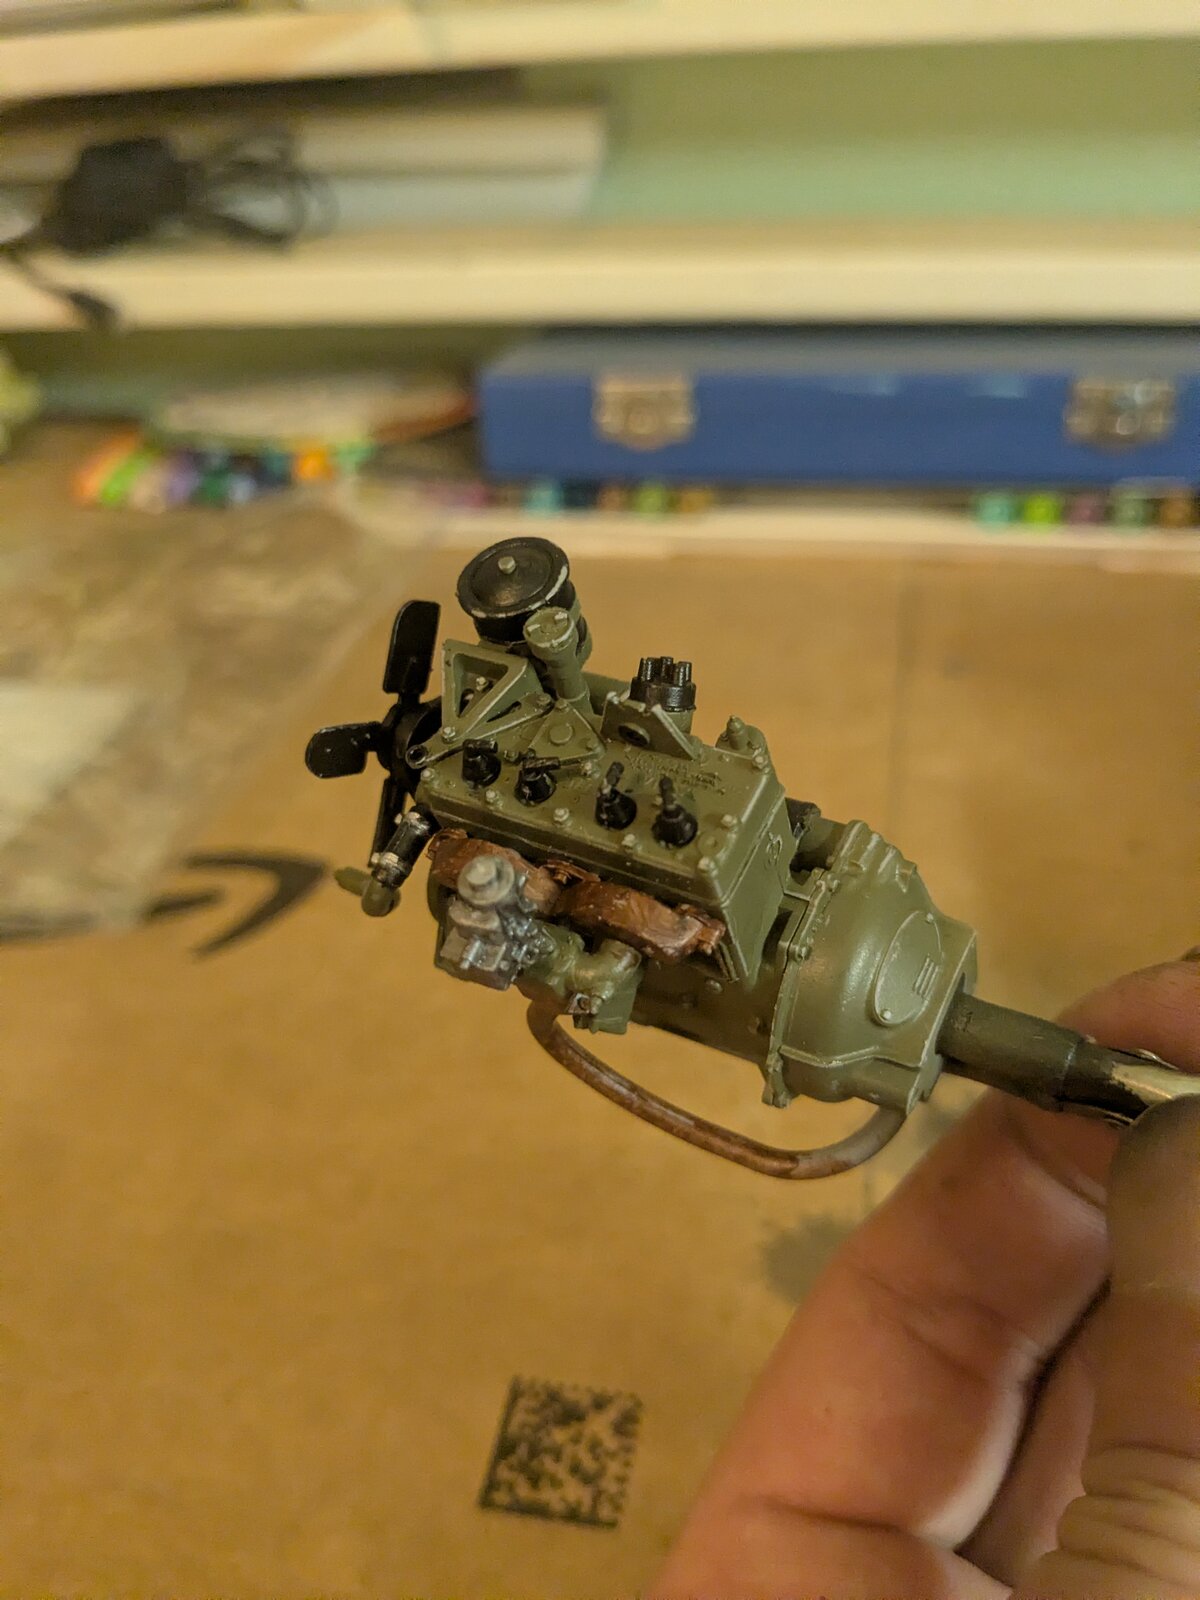
I did, as well as paint sourced for restorations... but then again, can only go by what I found... conflicting info hard to untangle!Look up some pictures
- Joined
- Apr 29, 2024
- Messages
- 1,580
Nice. That engine begs to be wired up. That's going to look cool
G7107
Some detailing and washes to spruce it up...
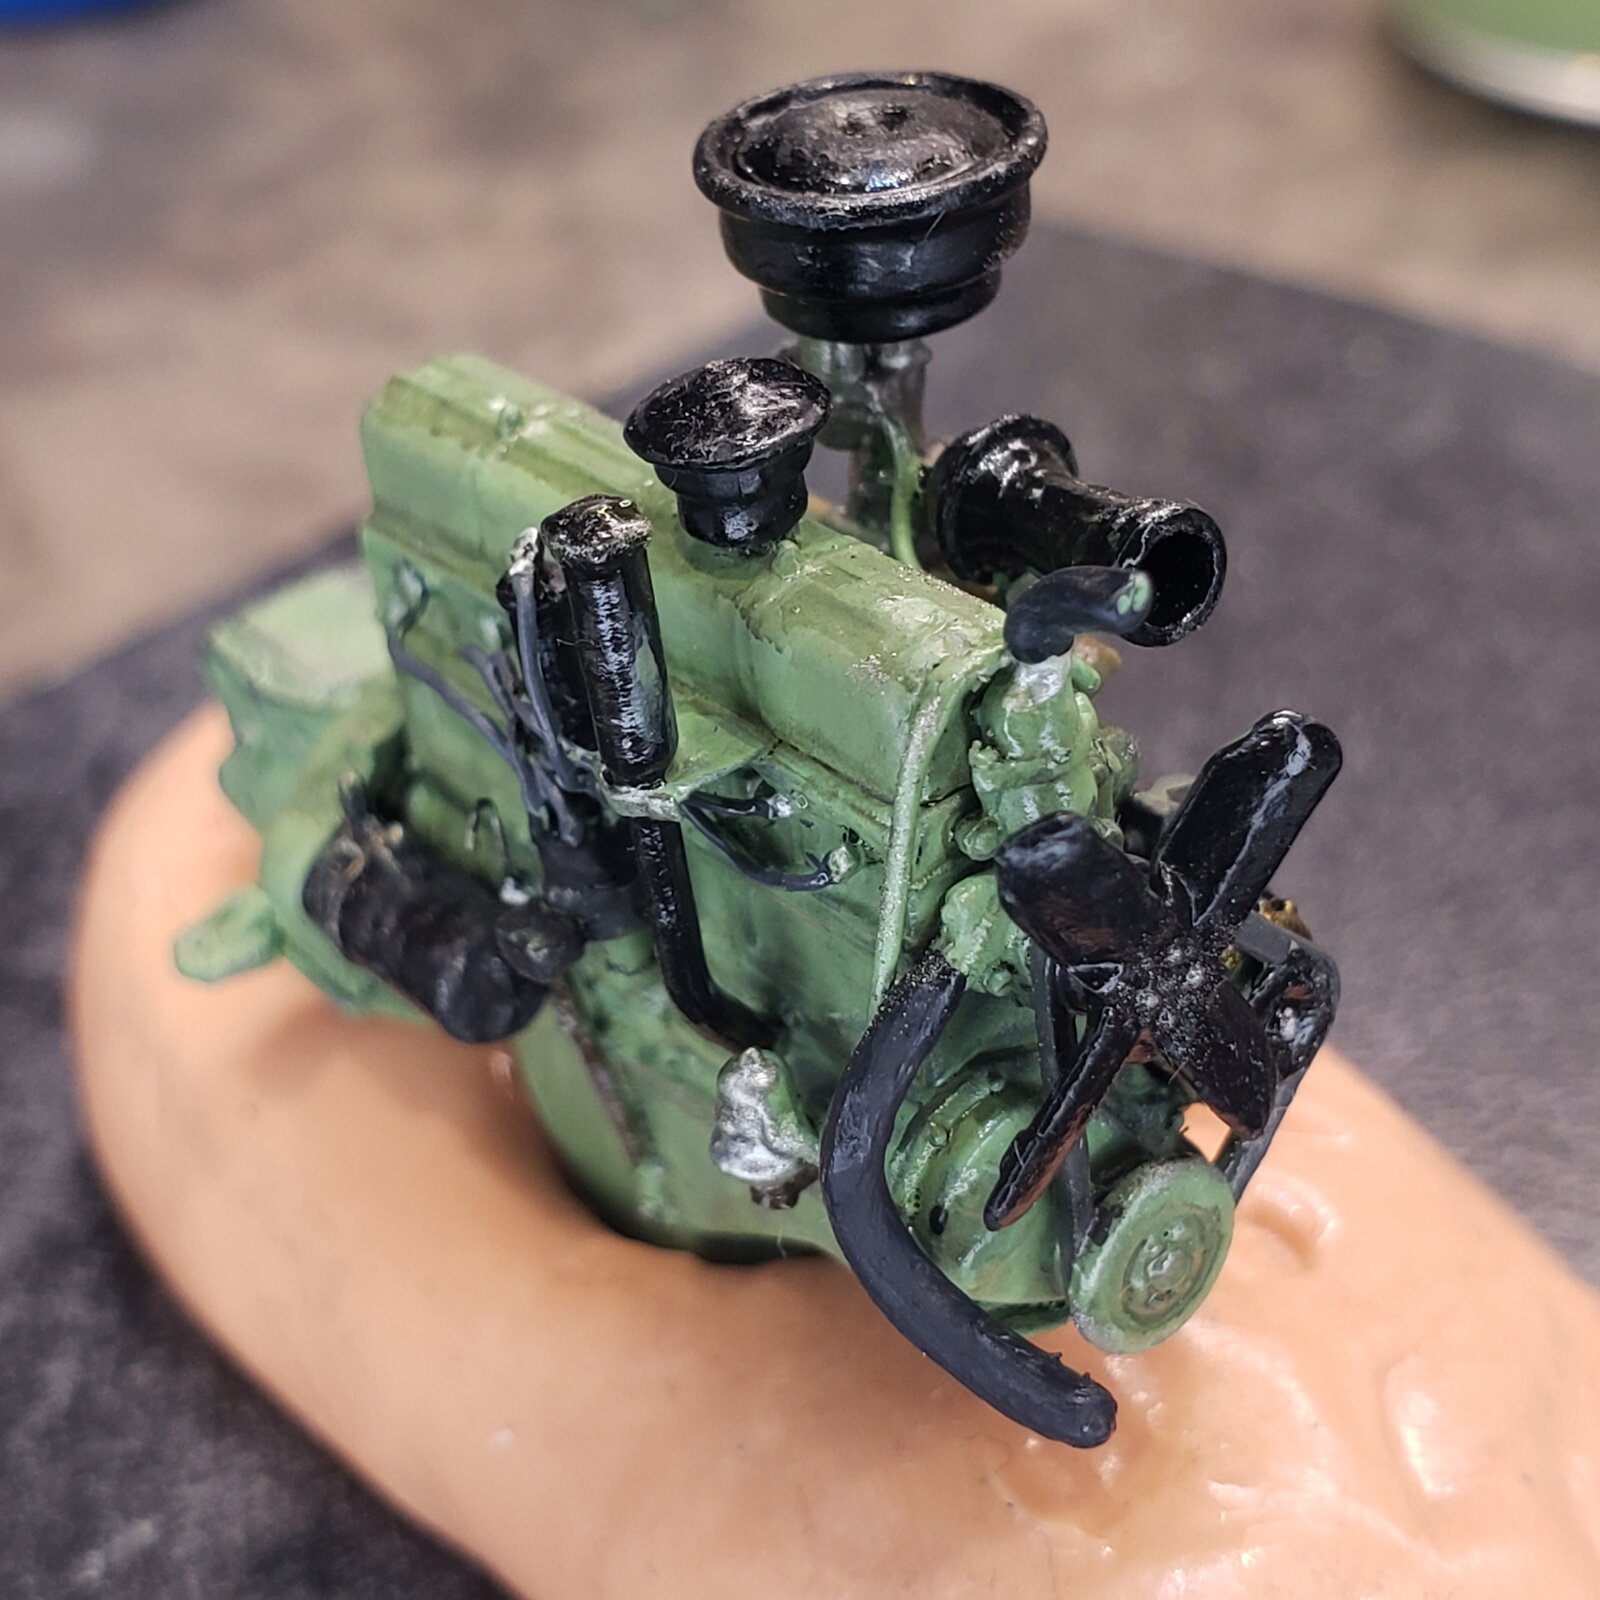
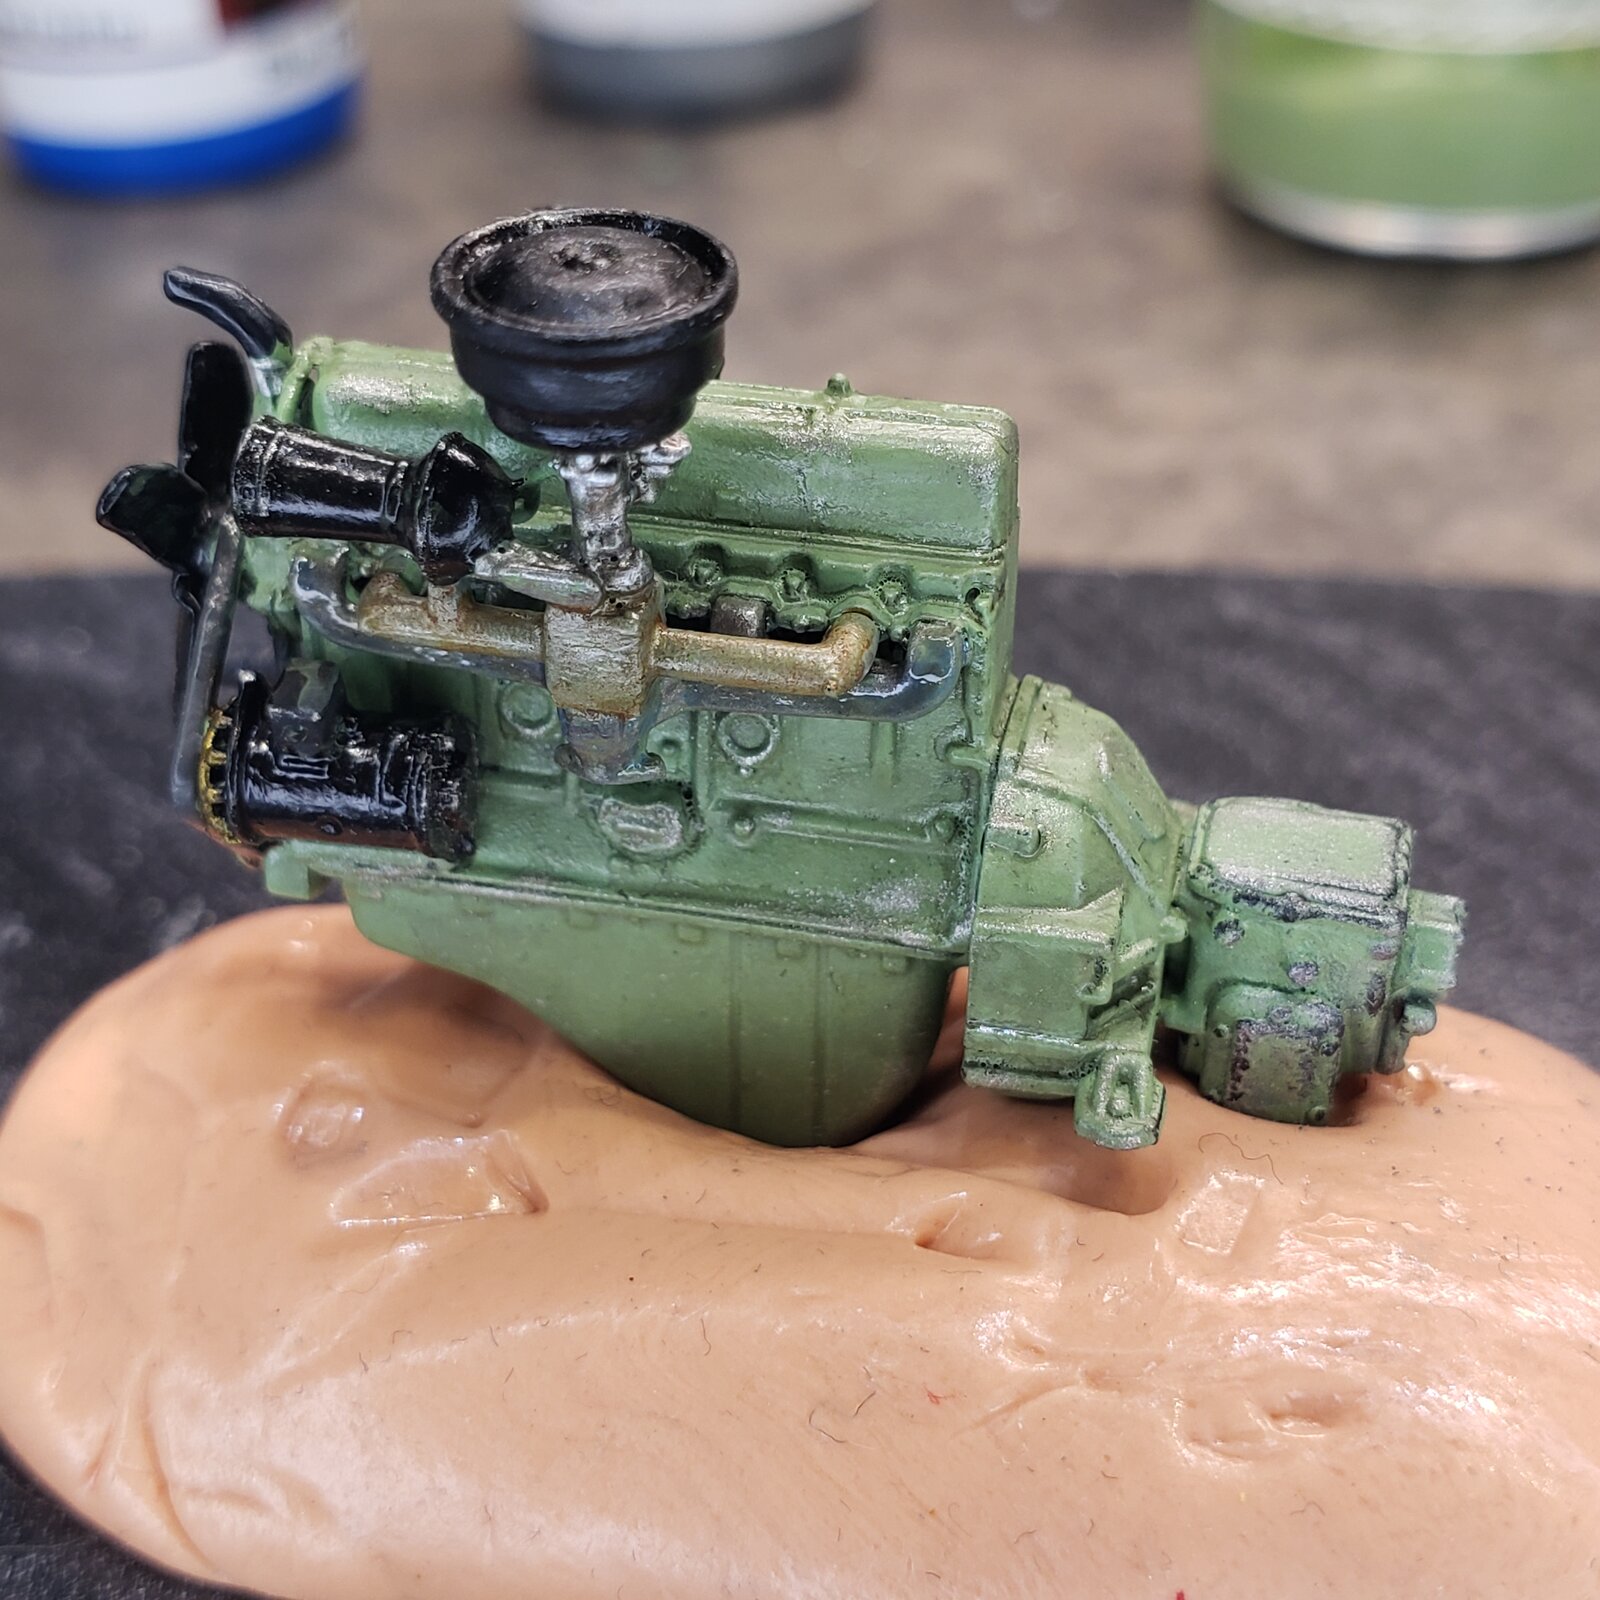
As usual, some touch ups required when its on the big screen!
Some detailing and washes to spruce it up...
As usual, some touch ups required when its on the big screen!
- Joined
- Apr 29, 2024
- Messages
- 1,580
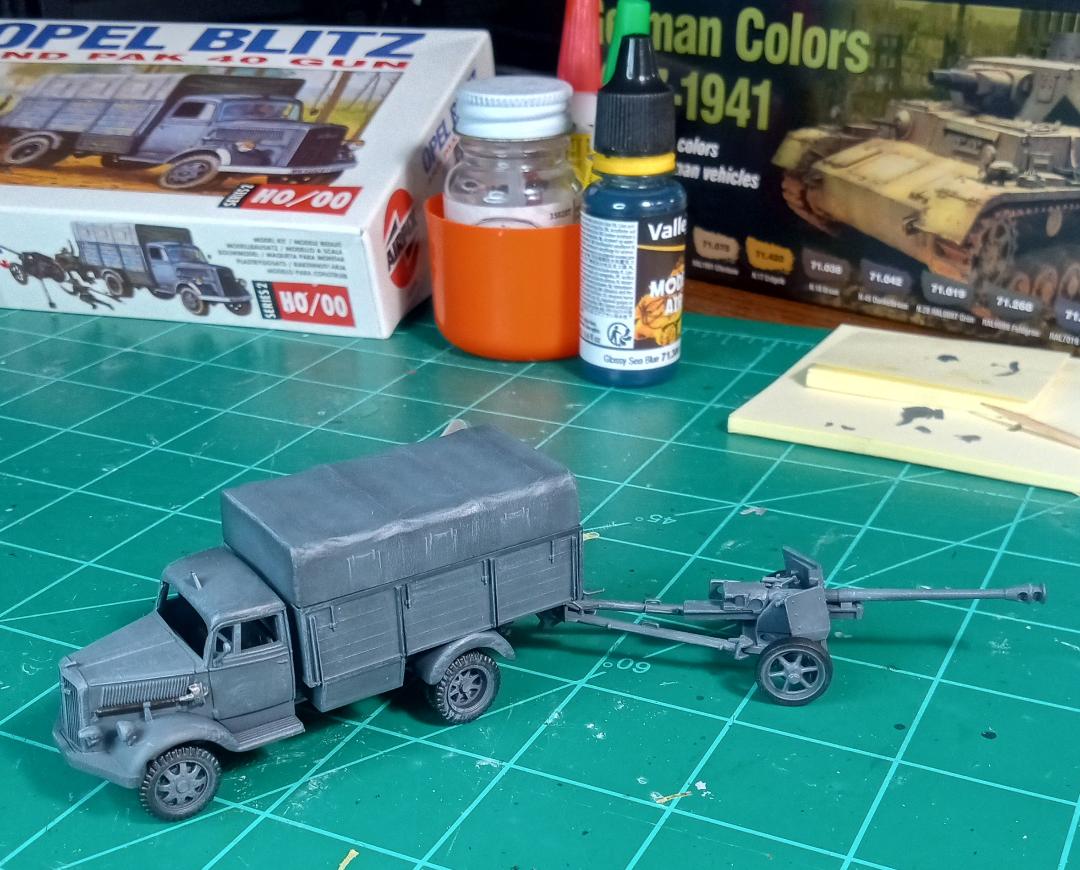
Rattle can primer Gray and rattle can matte black. I'll start working on the body and let that dry overnight and into the spray booth tomorrow and I'll let the airbrush take over.
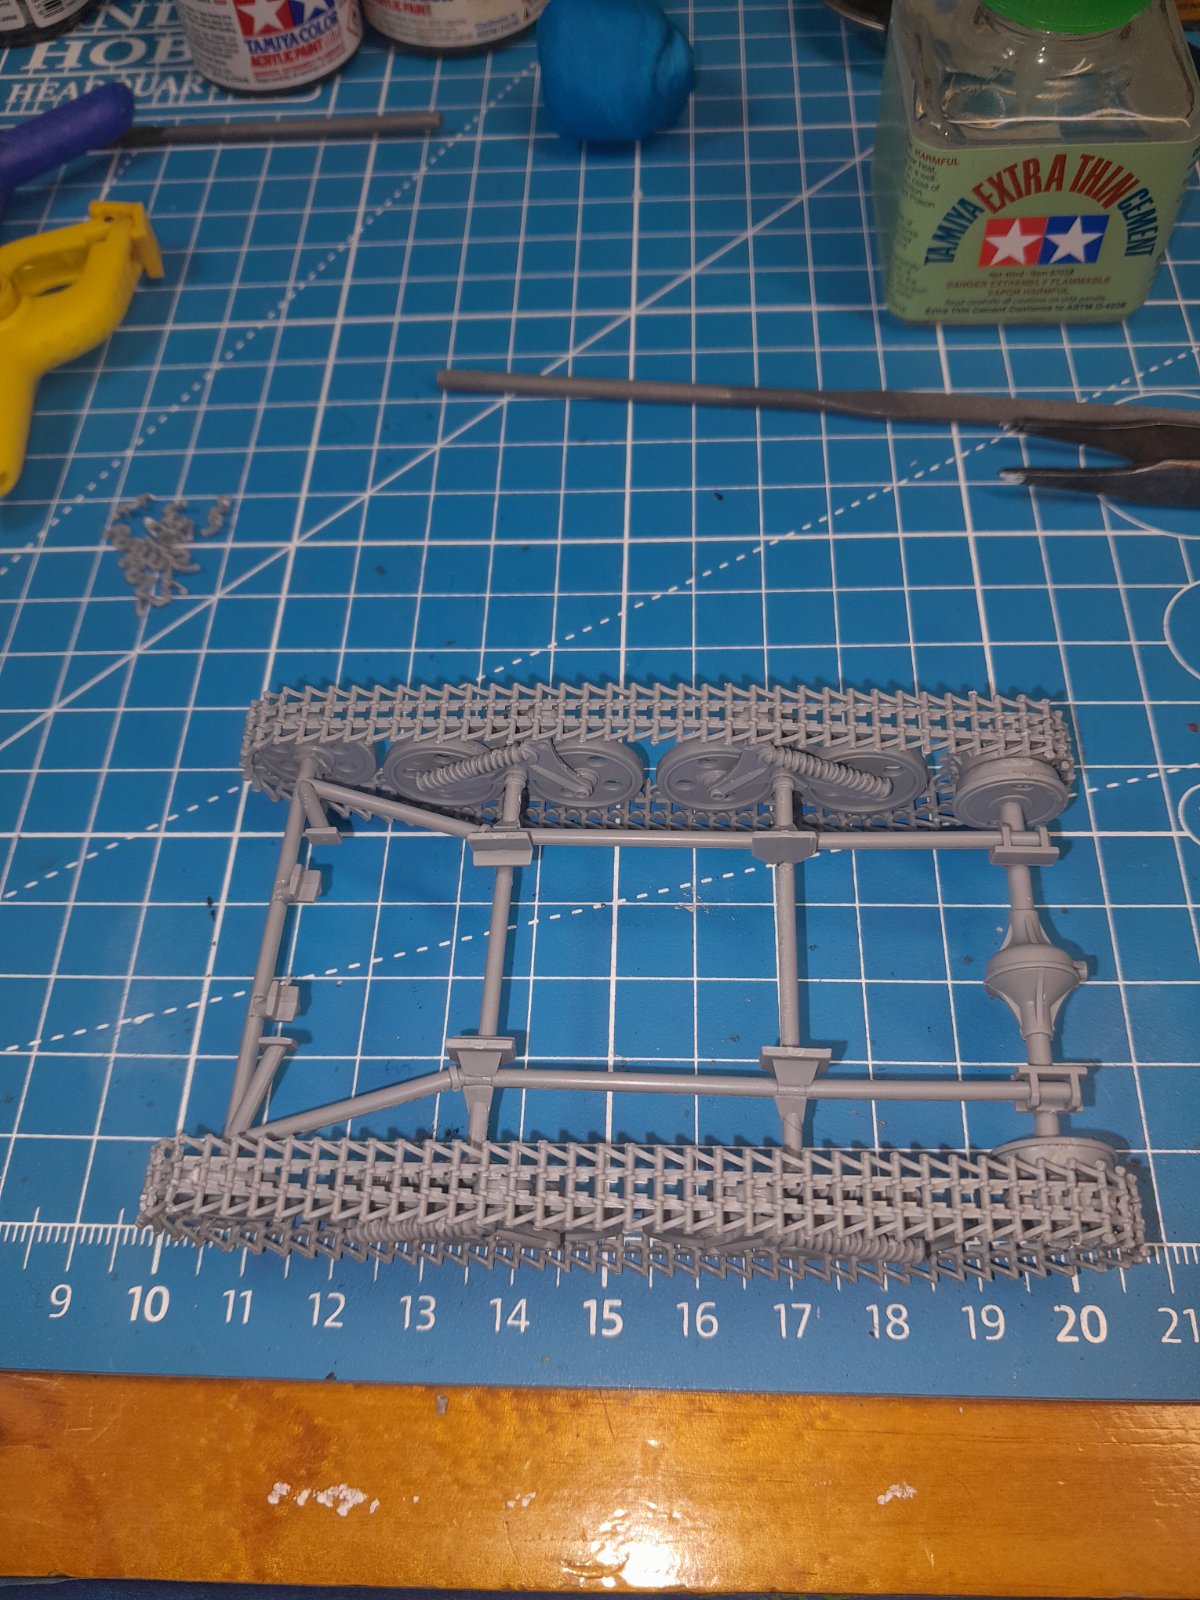
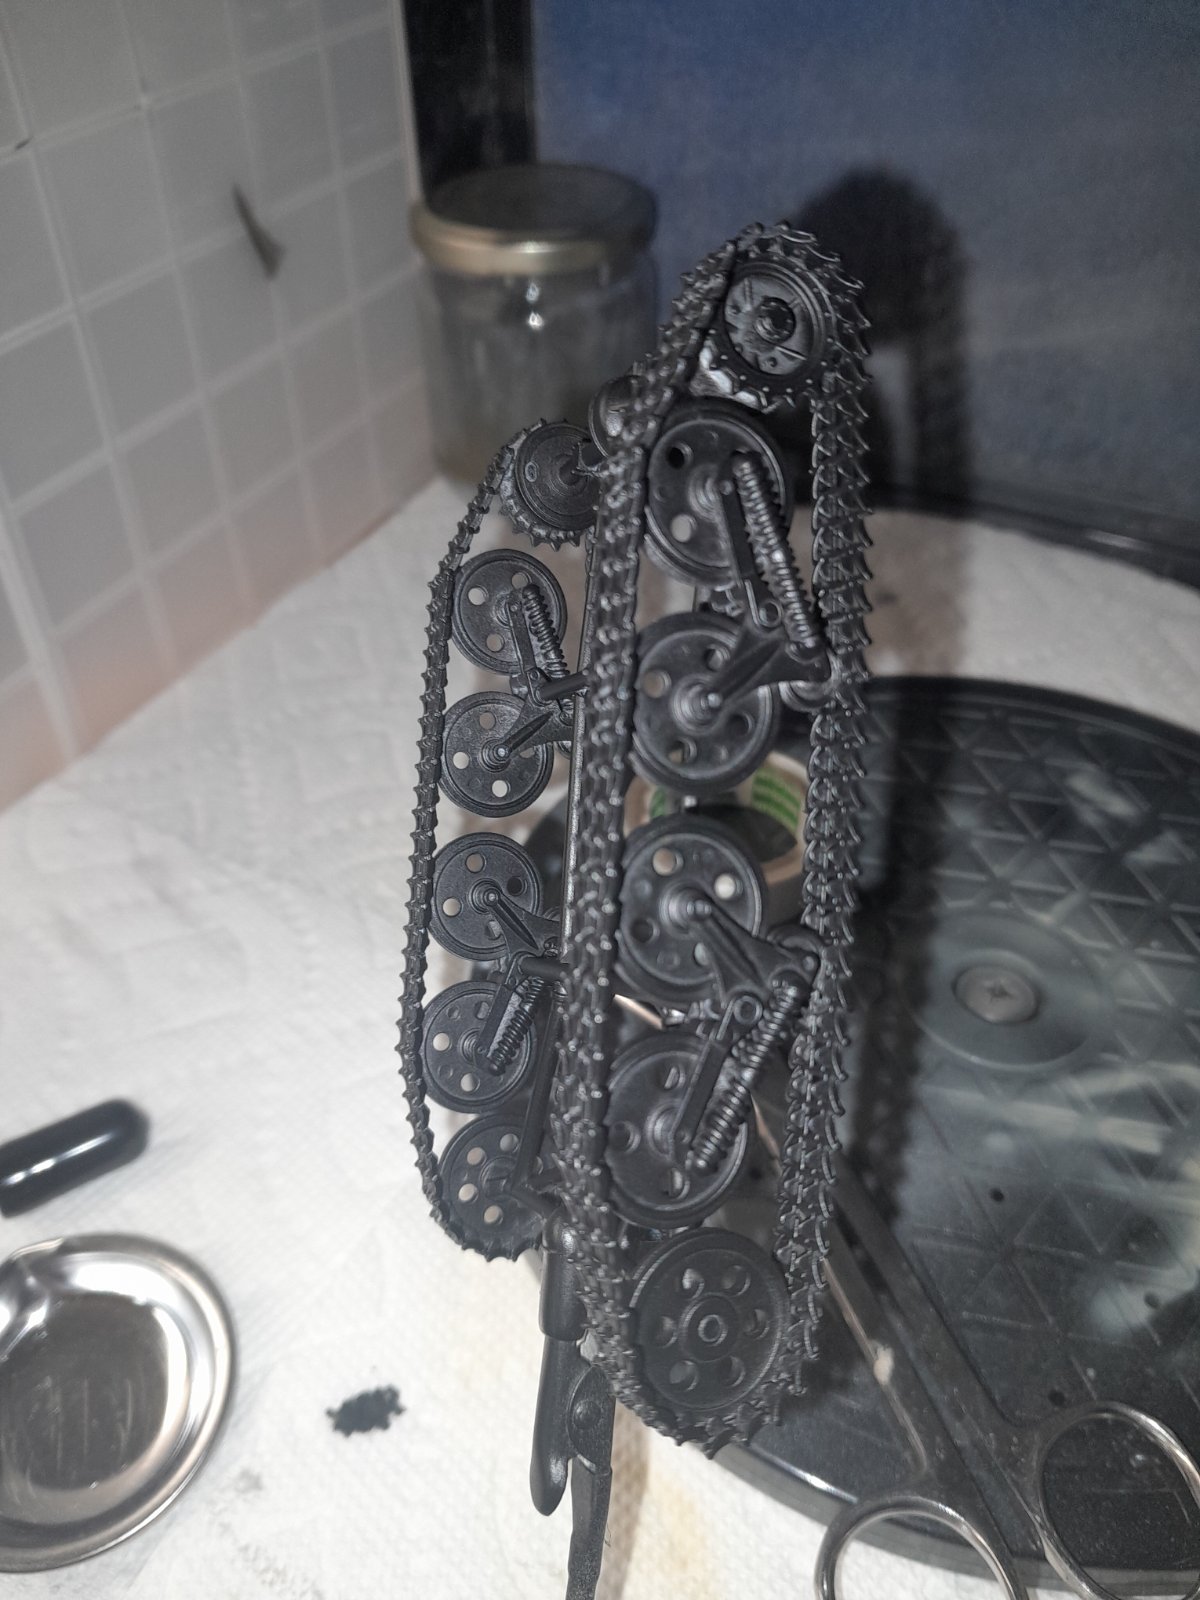
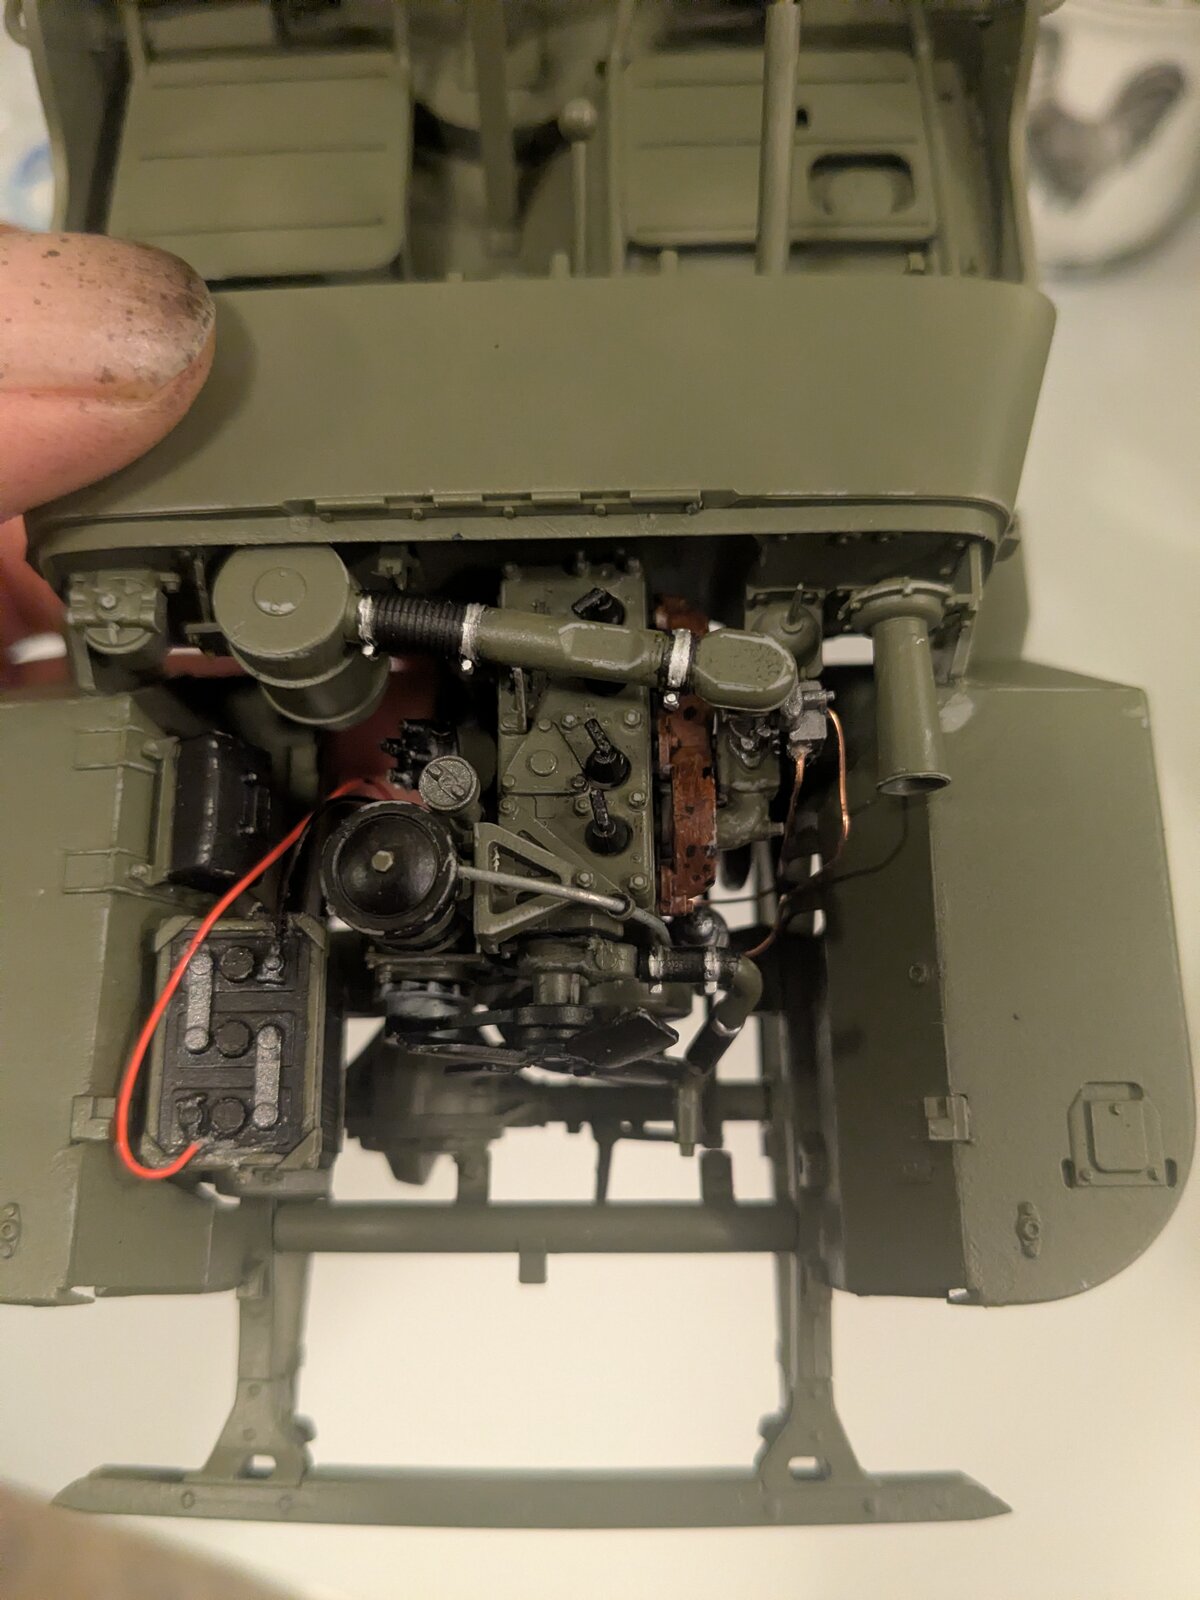
Nice!plug wires
It almost looks like you have some room under that hood!
Awesome love the cannon with itPainting done, some post-shading and dry brushing too. Next up clear coat, decals and some washes.
View attachment 171561
Looking forward to that!post shading and dry brushing
Good looking HO build you got going.

Posted this in the wrong thread.
I got really frustrated with my build. The ICM kit is crap and ended up in the bin.
I am starting a new kit for this GB.
I am building the Revell 1/35 Unimog 2t milgl.
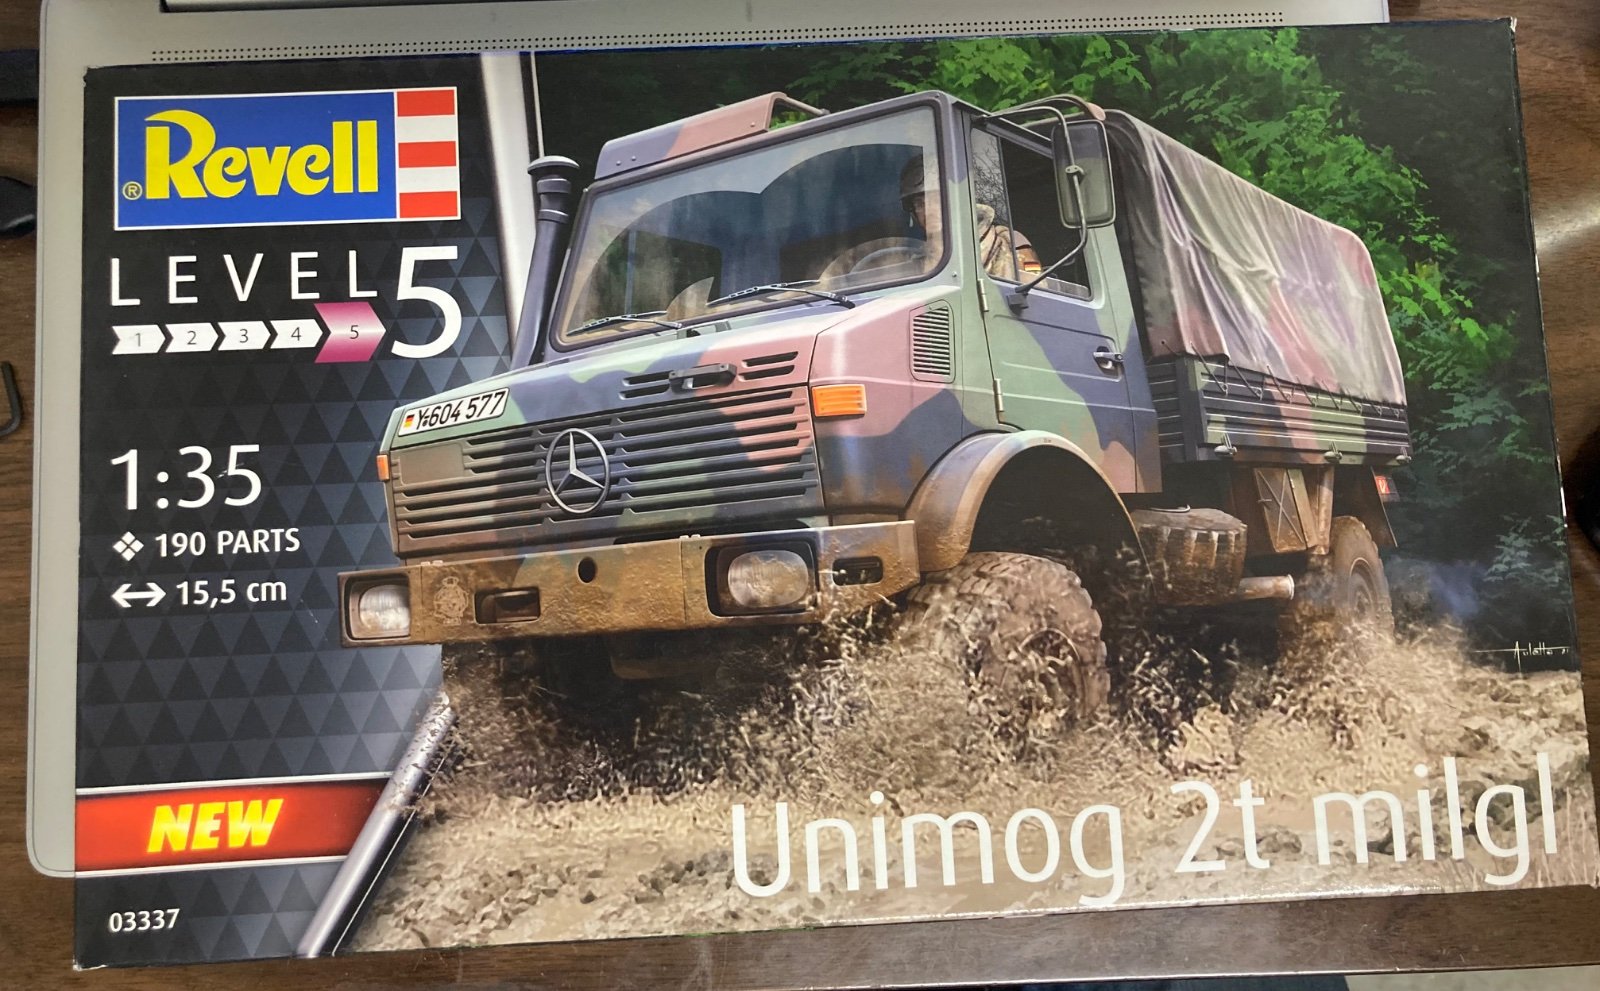
I got really frustrated with my build. The ICM kit is crap and ended up in the bin.
I am starting a new kit for this GB.
I am building the Revell 1/35 Unimog 2t milgl.
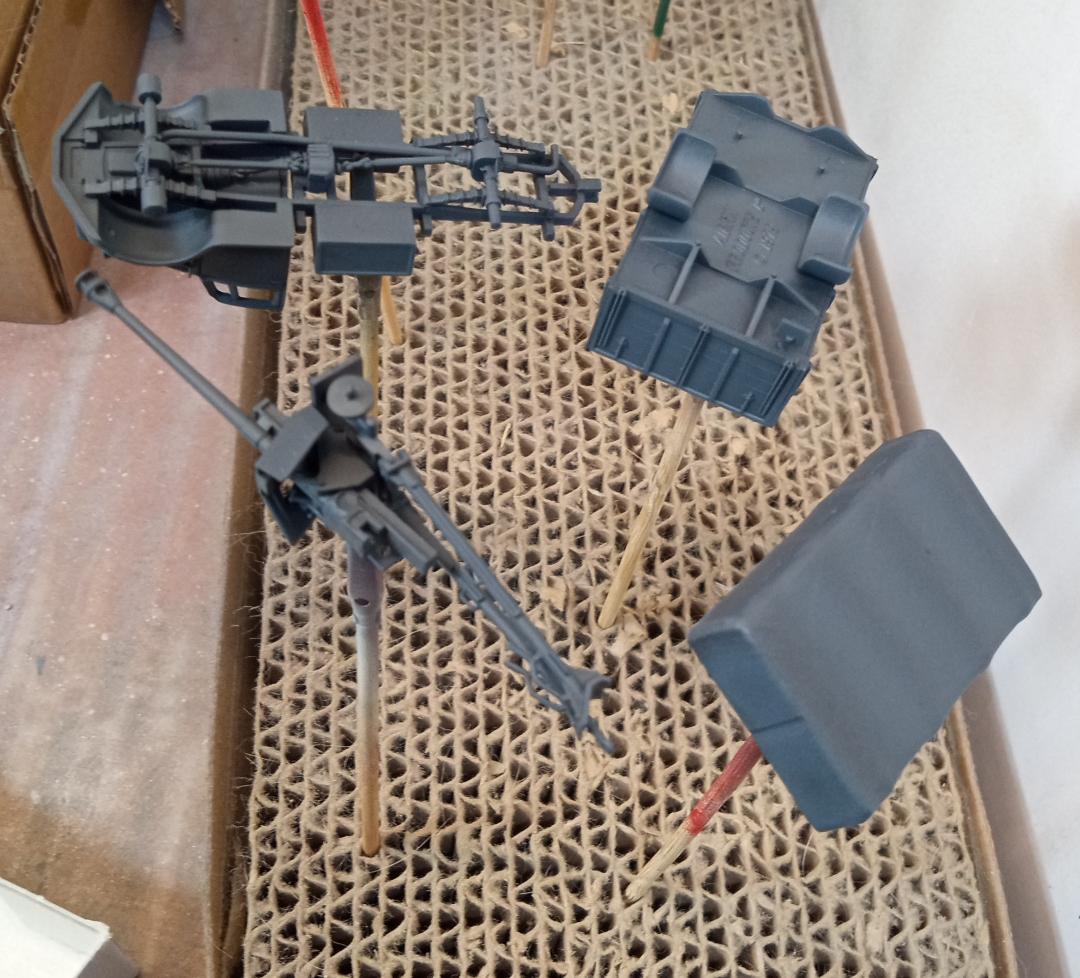
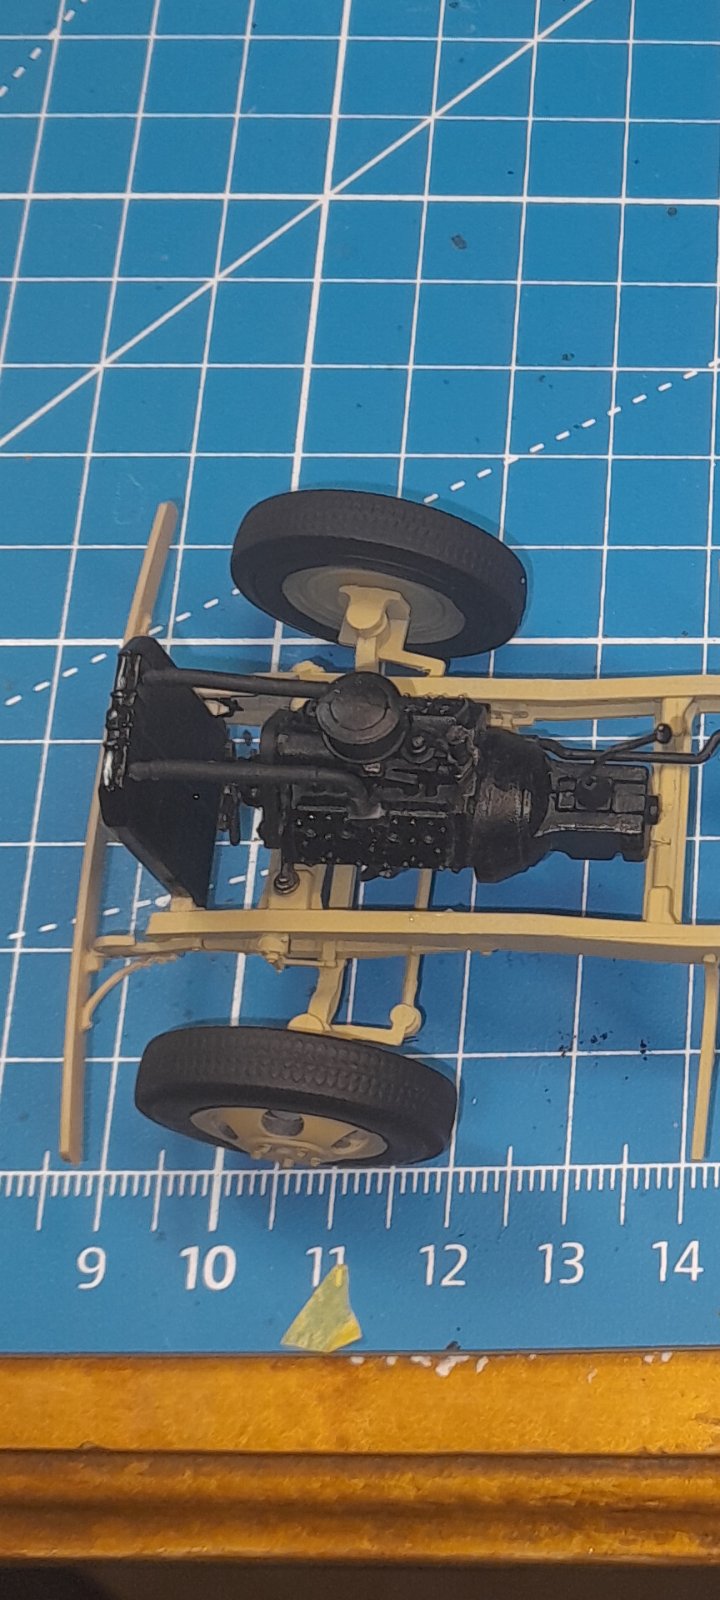
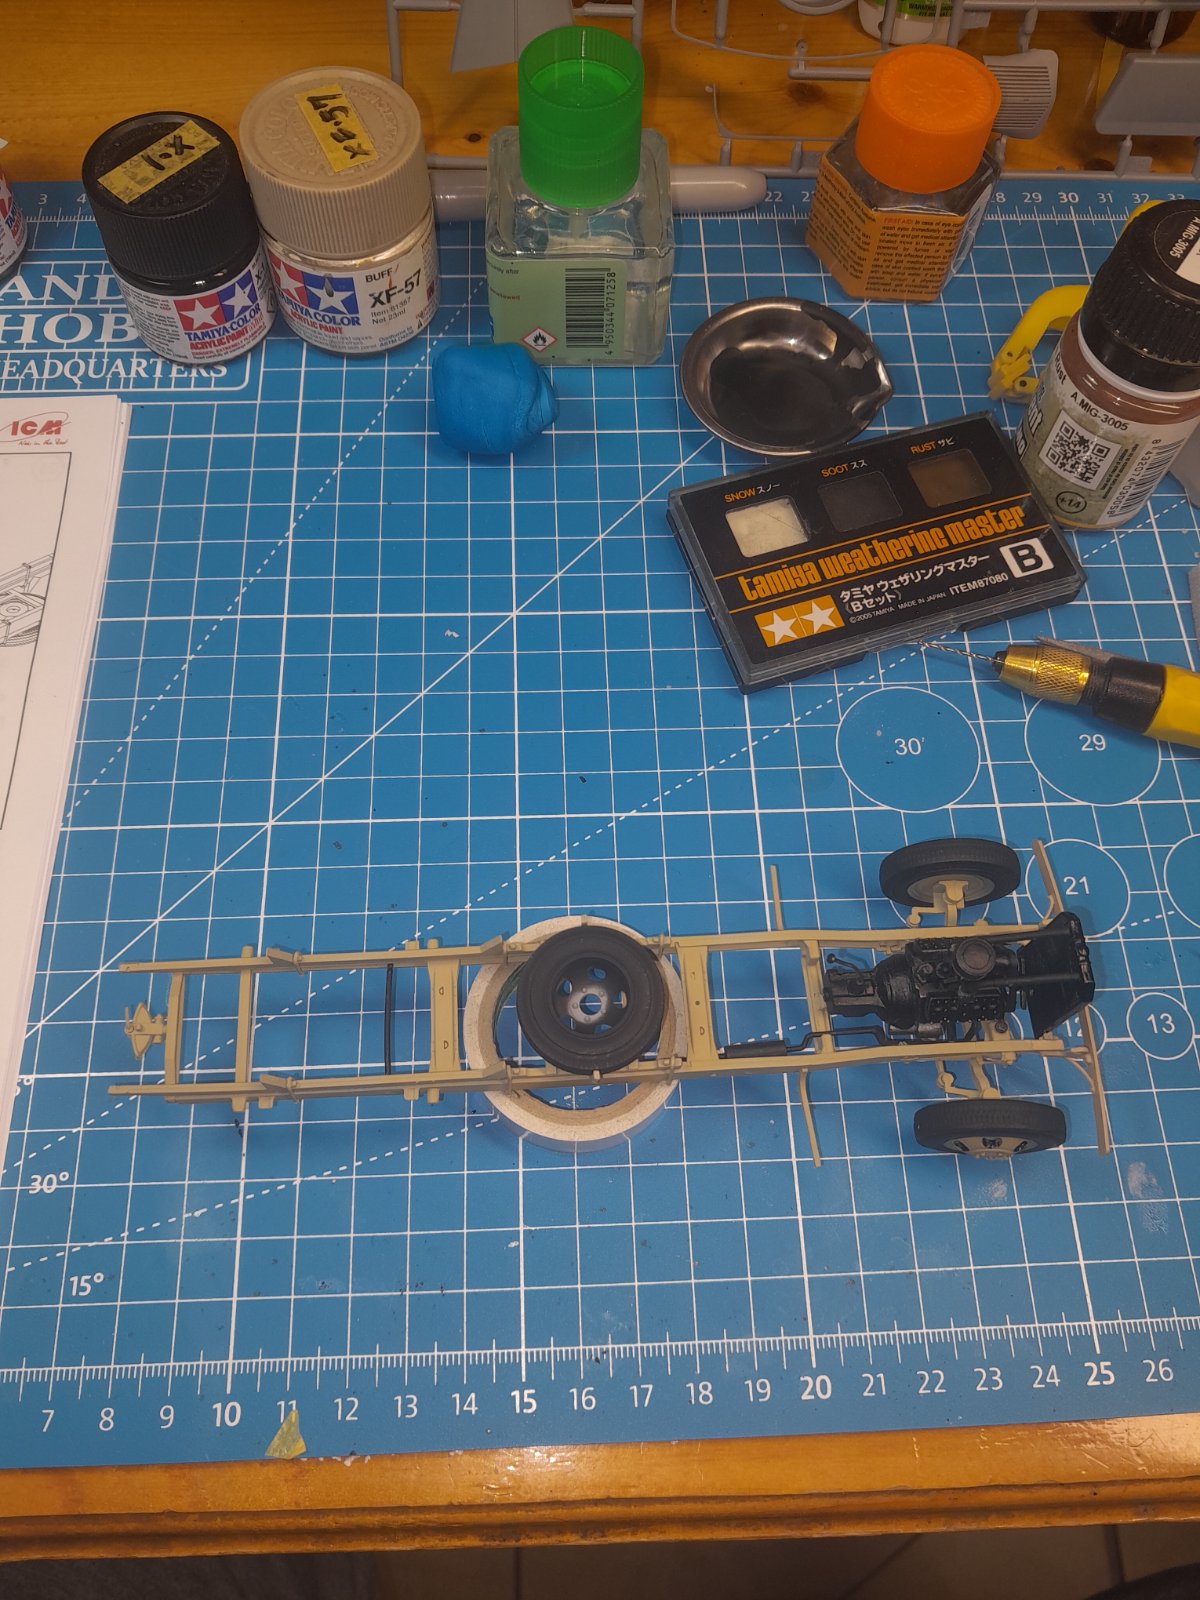
Some test fitting... having to skip ahead a bit while priming and painting undercarriage, before installing engine.
Started work on the cab.
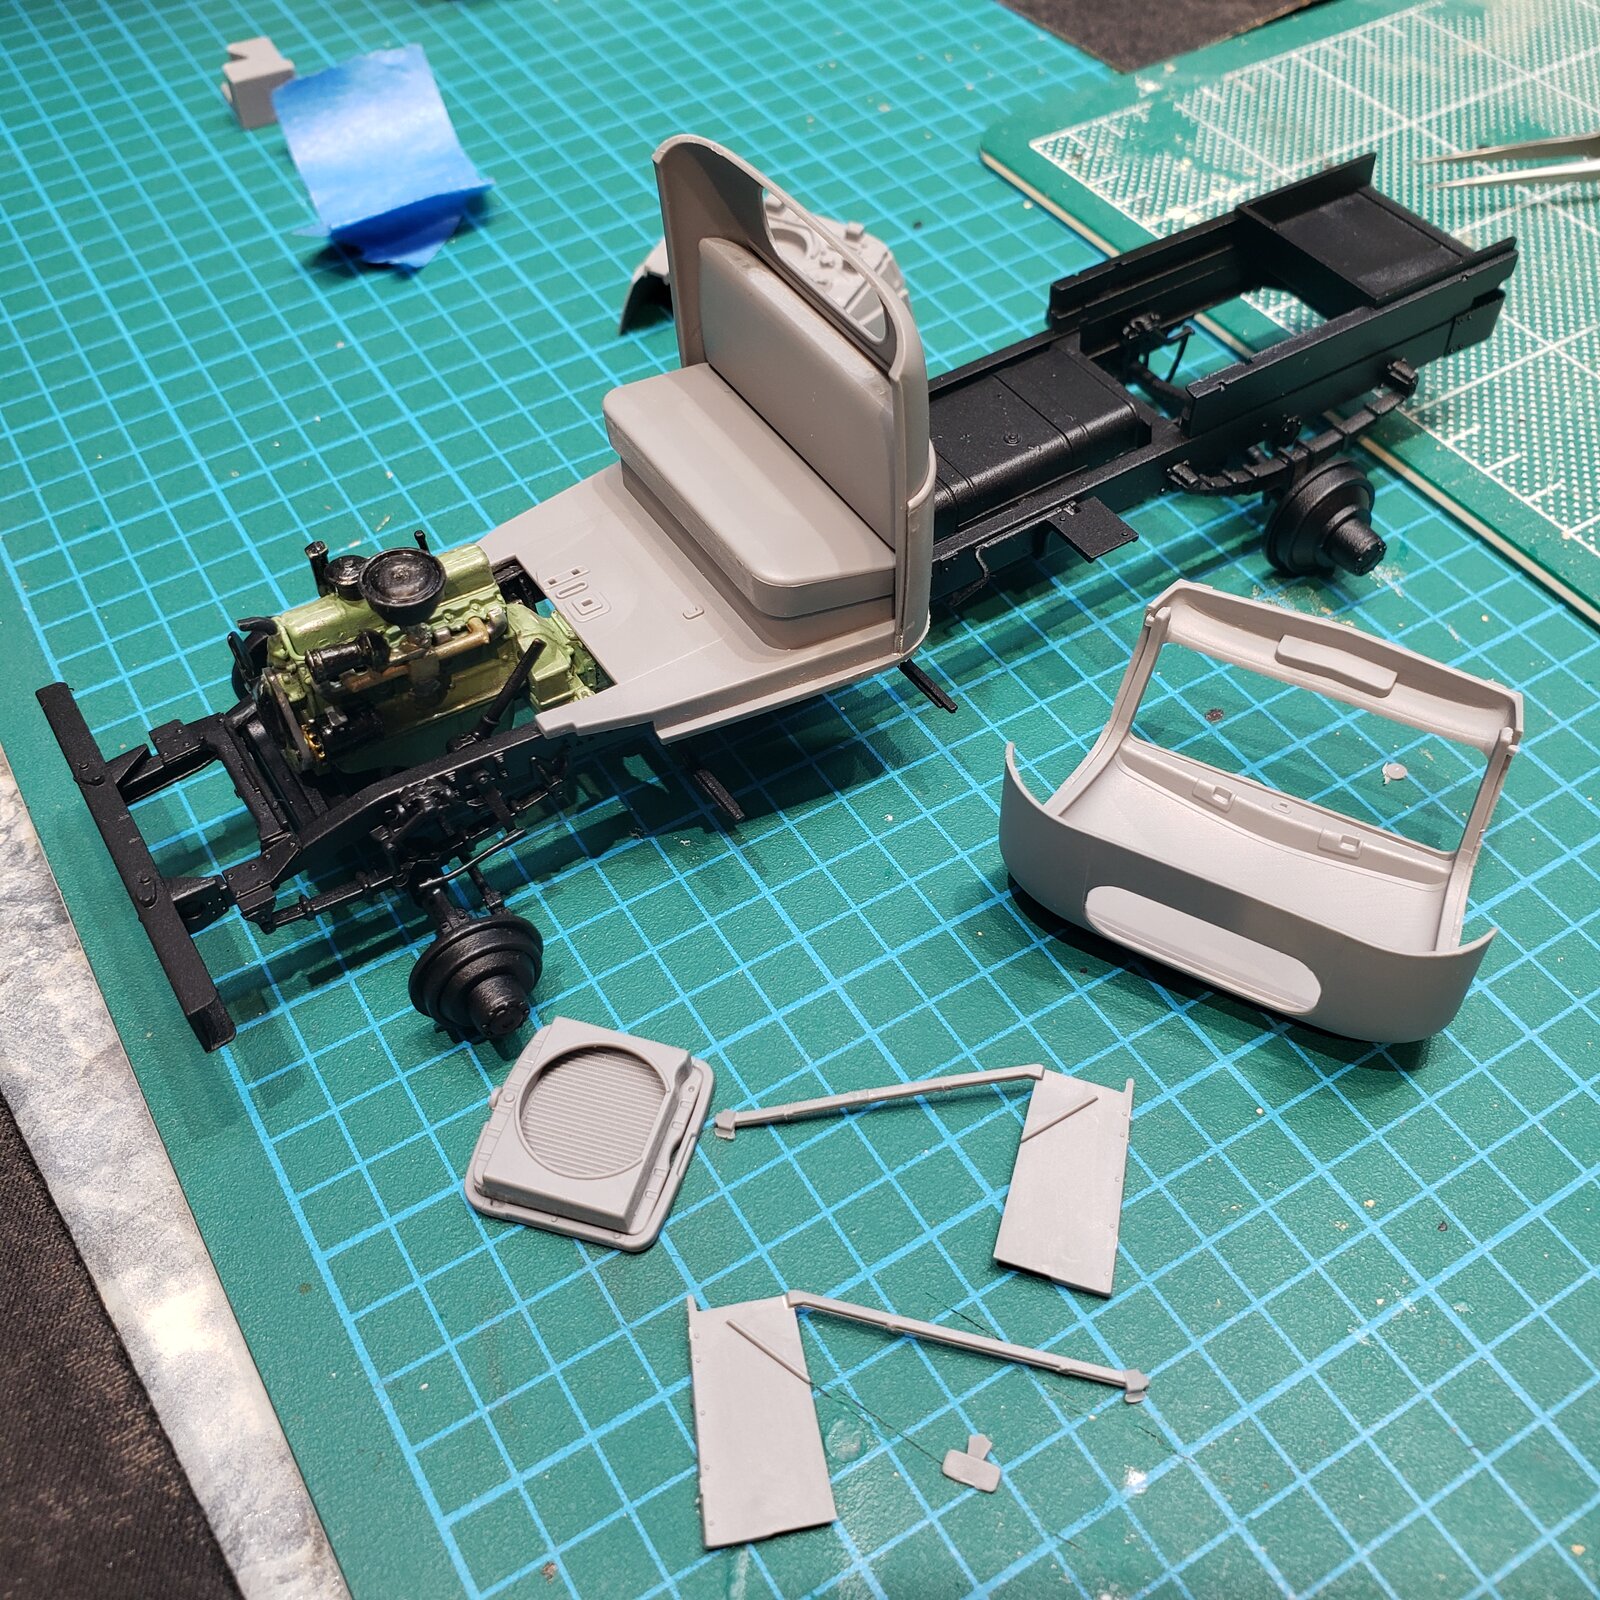
... debating whether to follow Mr. Night Shift's lead and add texture and detail to the rather plain bench seat. I'll probably have at least one door open, and the door windows rolled down, so it will be quite visible.
Started work on the cab.
... debating whether to follow Mr. Night Shift's lead and add texture and detail to the rather plain bench seat. I'll probably have at least one door open, and the door windows rolled down, so it will be quite visible.
That sucks, but that unimog looks cool.Posted this in the wrong thread.
I got really frustrated with my build. The ICM kit is crap and ended up in the bin.
I am starting a new kit for this GB.
I am building the Revell 1/35 Unimog 2t milgl.
View attachment 171568
Life is too short to spend time on crap kits. Hopefully the Revell will be a decent one. The plastic on the ICM was very brittle and almost impossible to work with.That sucks, but that unimog looks cool.
Bob T
Well-Known Member
So I thought having photos of the actual truck my battery used, in the late 70s, would be helpful. But I am finding it just creates more decisions.
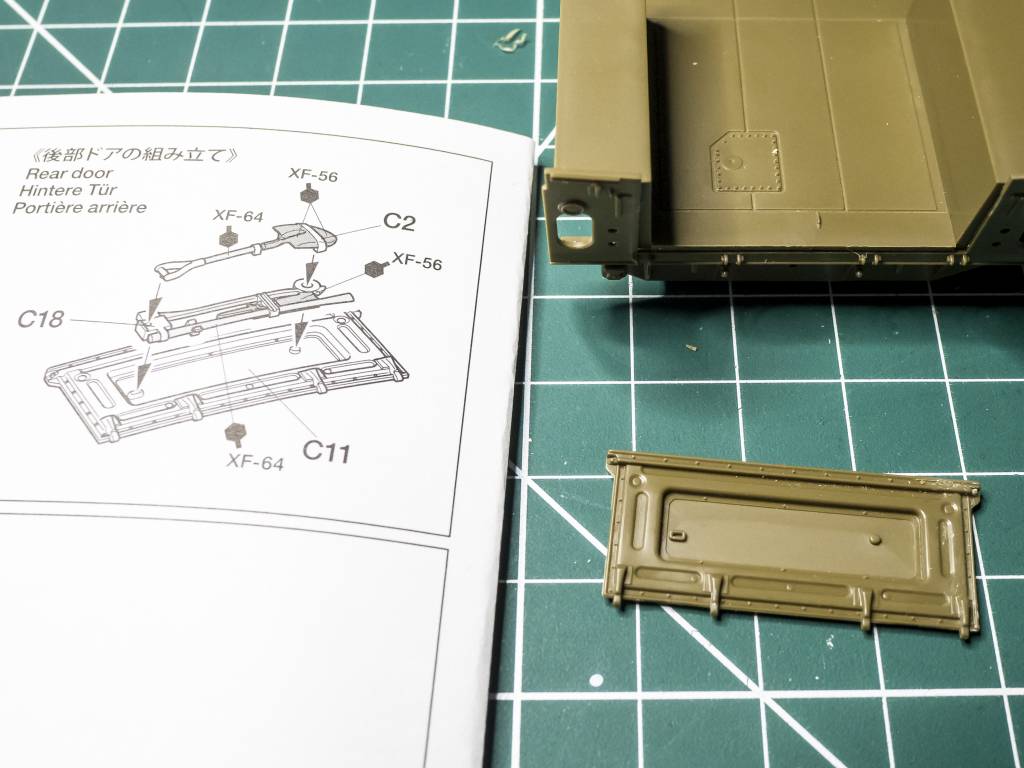
The kit has the typical Tamiya way of mounting tools on the vehicle. Molded pieces on pins, (photos below). But we never carried our shovel/ax/pick on the tailgate, as intended, and as represented in the kit. We just kept that stuff in the back of the truck with our gear and supplies. But just leaving the Tamiya parts off wouldn't be accurate, I would need to fabricate the mounts for the tools on the tailgate.
Now I could do this, but I really don't know if I want to open that can of worms. I could find decals that are the correct stencil type, and the right numbers for my unit. I could make hoops and a canvas top for the back. And tailgate chains. And the wooden gear rack we built in the back. Etc., etc., etc.
So I am sitting back today and contemplating where next? How far do I want to go?
The kit parts:
Our goat:
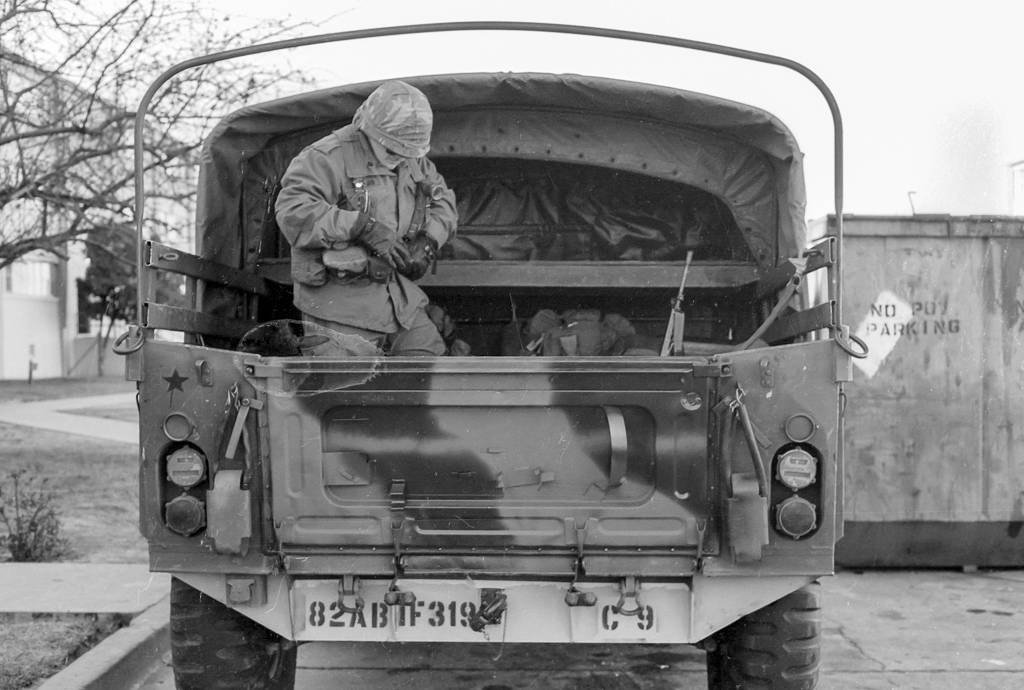
And what is that star above the left taillight?
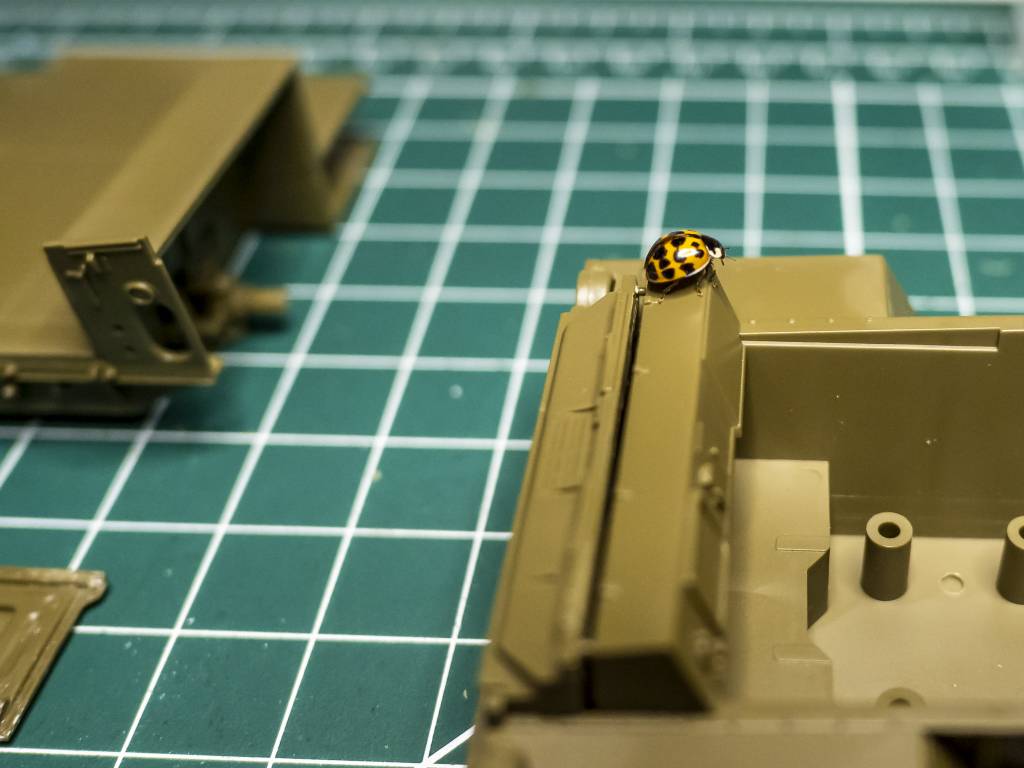
Also had a helper today:
The kit has the typical Tamiya way of mounting tools on the vehicle. Molded pieces on pins, (photos below). But we never carried our shovel/ax/pick on the tailgate, as intended, and as represented in the kit. We just kept that stuff in the back of the truck with our gear and supplies. But just leaving the Tamiya parts off wouldn't be accurate, I would need to fabricate the mounts for the tools on the tailgate.
Now I could do this, but I really don't know if I want to open that can of worms. I could find decals that are the correct stencil type, and the right numbers for my unit. I could make hoops and a canvas top for the back. And tailgate chains. And the wooden gear rack we built in the back. Etc., etc., etc.
So I am sitting back today and contemplating where next? How far do I want to go?
The kit parts:
Our goat:
And what is that star above the left taillight?
Also had a helper today:
Similar threads


- Replies
- 11
- Views
- 317


- Replies
- 0
- Views
- 268


