
In the end it's up to you... If you want a true representation of exactly how yours was or a close enough type representation. We did the same with our tools as well when I was active. The only time we would mount them was on a long deployment. This prevented others from "acquiring" them lol. Sometimes we just left them locked in the squad conex as well so we could not lose them come inventory time.So I thought having photos of the actual truck my battery used, in the late 70s, would be helpful. But I am finding it just creates more decisions.
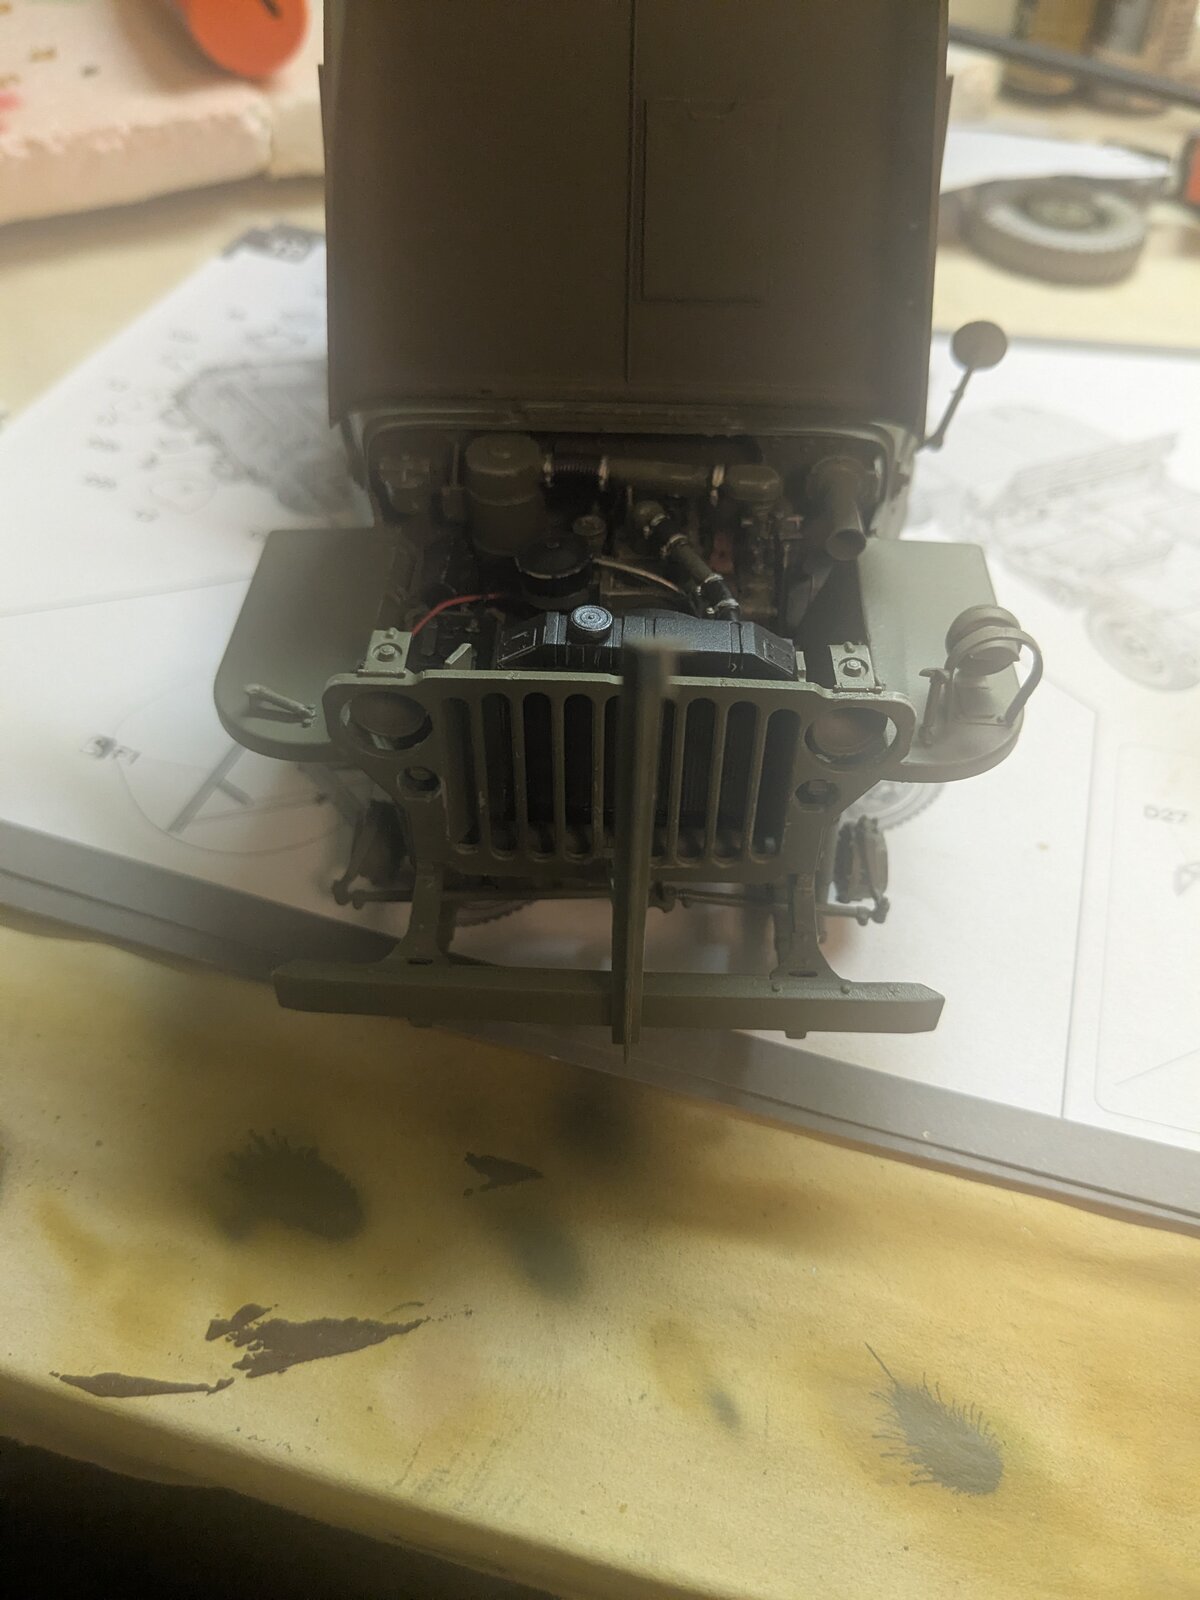
The kit has the typical Tamiya way of mounting tools on the vehicle. Molded pieces on pins, (photos below). But we never carried our shovel/ax/pick on the tailgate, as intended, and as represented in the kit. We just kept that stuff in the back of the truck with our gear and supplies. But just leaving the Tamiya parts off wouldn't be accurate, I would need to fabricate the mounts for the tools on the tailgate.
Now I could do this, but I really don't know if I want to open that can of worms. I could find decals that are the correct stencil type, and the right numbers for my unit. I could make hoops and a canvas top for the back. And tailgate chains. And the wooden gear rack we built in the back. Etc., etc., etc.
So I am sitting back today and contemplating where next? How far do I want to go?
The kit parts:
View attachment 171679
Our goat:
View attachment 171680
And what is that star above the left taillight?
Also had a helper today:
View attachment 171681

You are using an out of date browser. It may not display this or other websites correctly.
You should upgrade or use an alternative browser.
You should upgrade or use an alternative browser.
Group build: Cargo trucks, backbone of the army!
- Joined
- Apr 29, 2024
- Messages
- 1,581
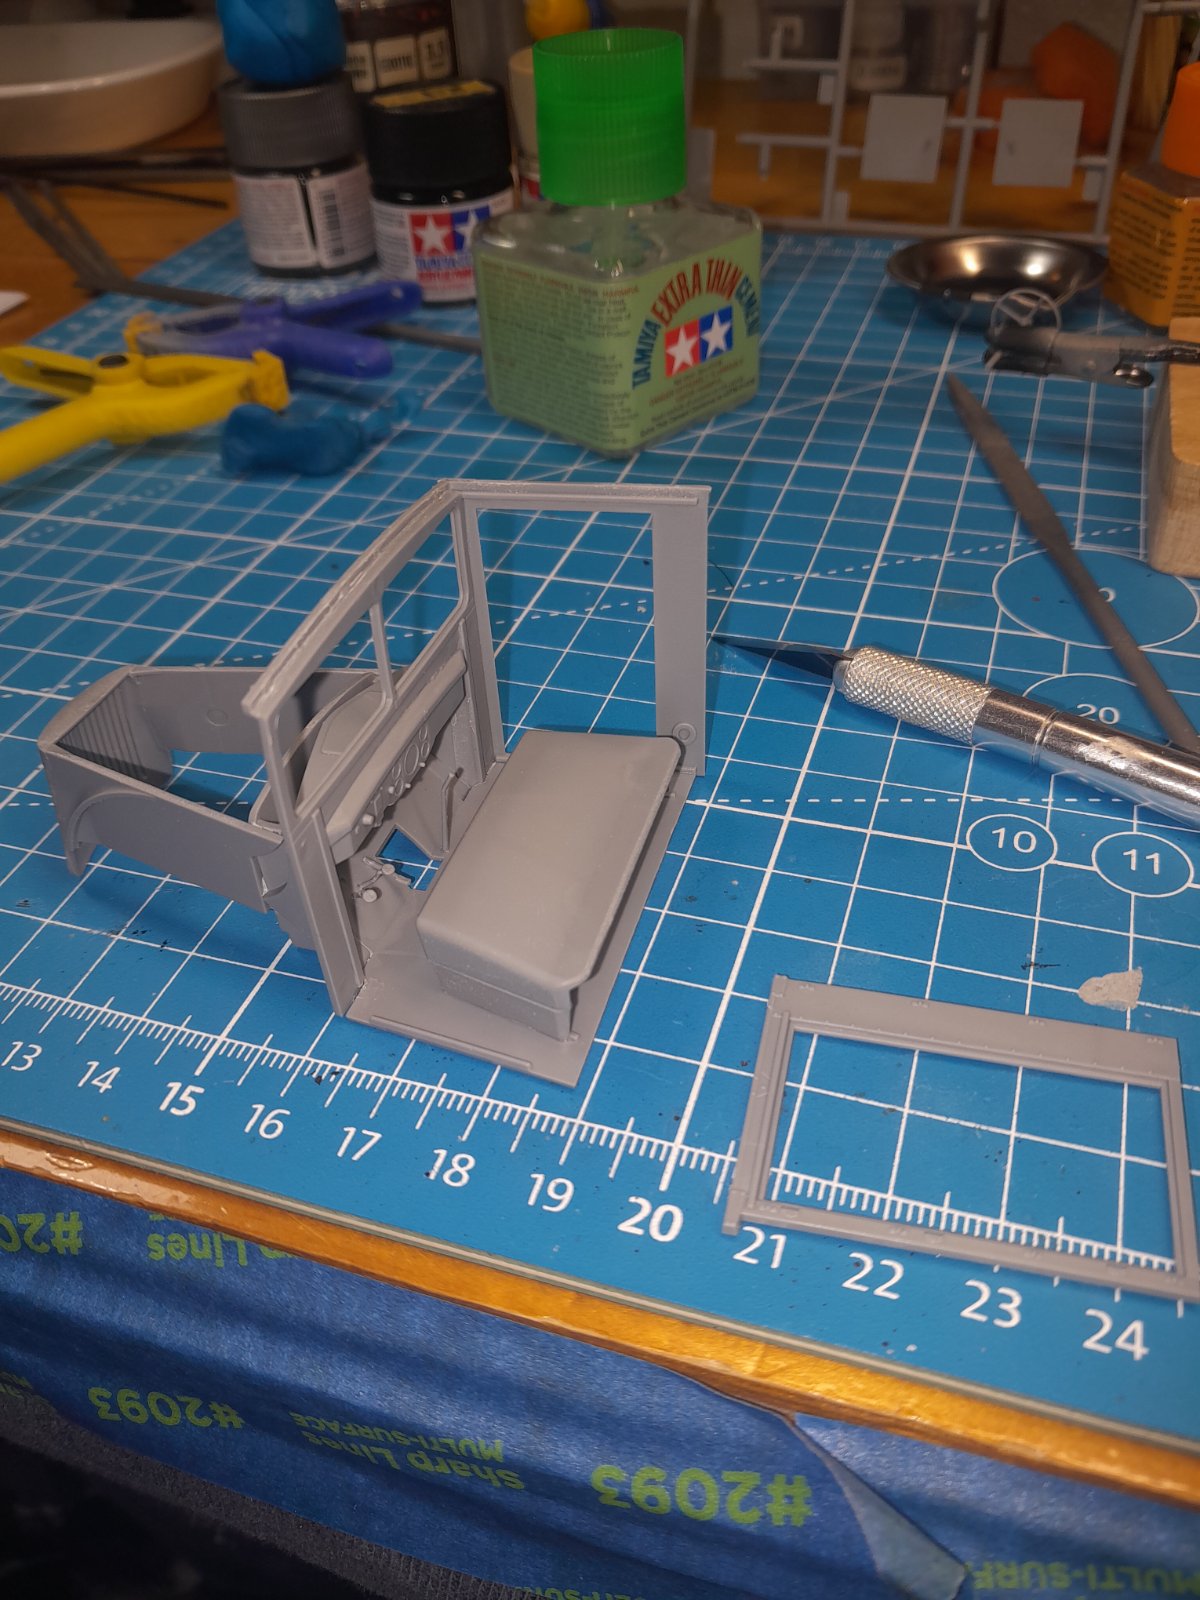
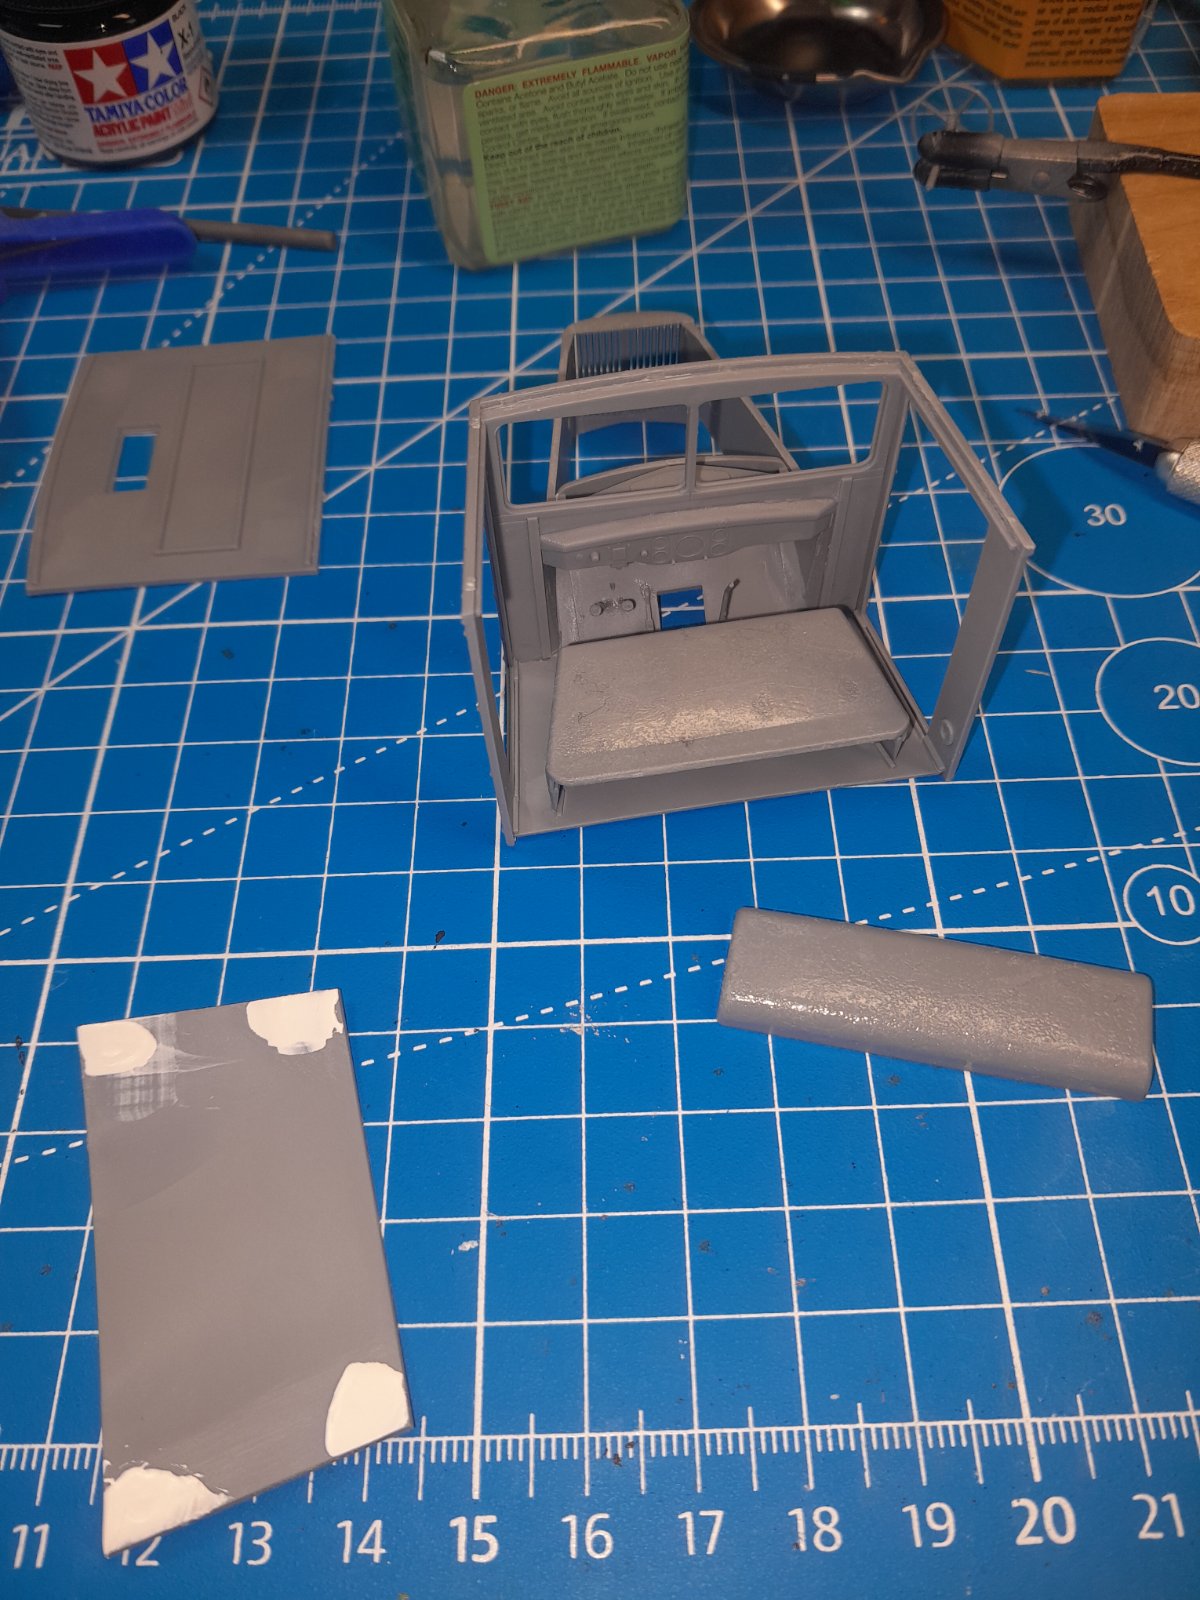
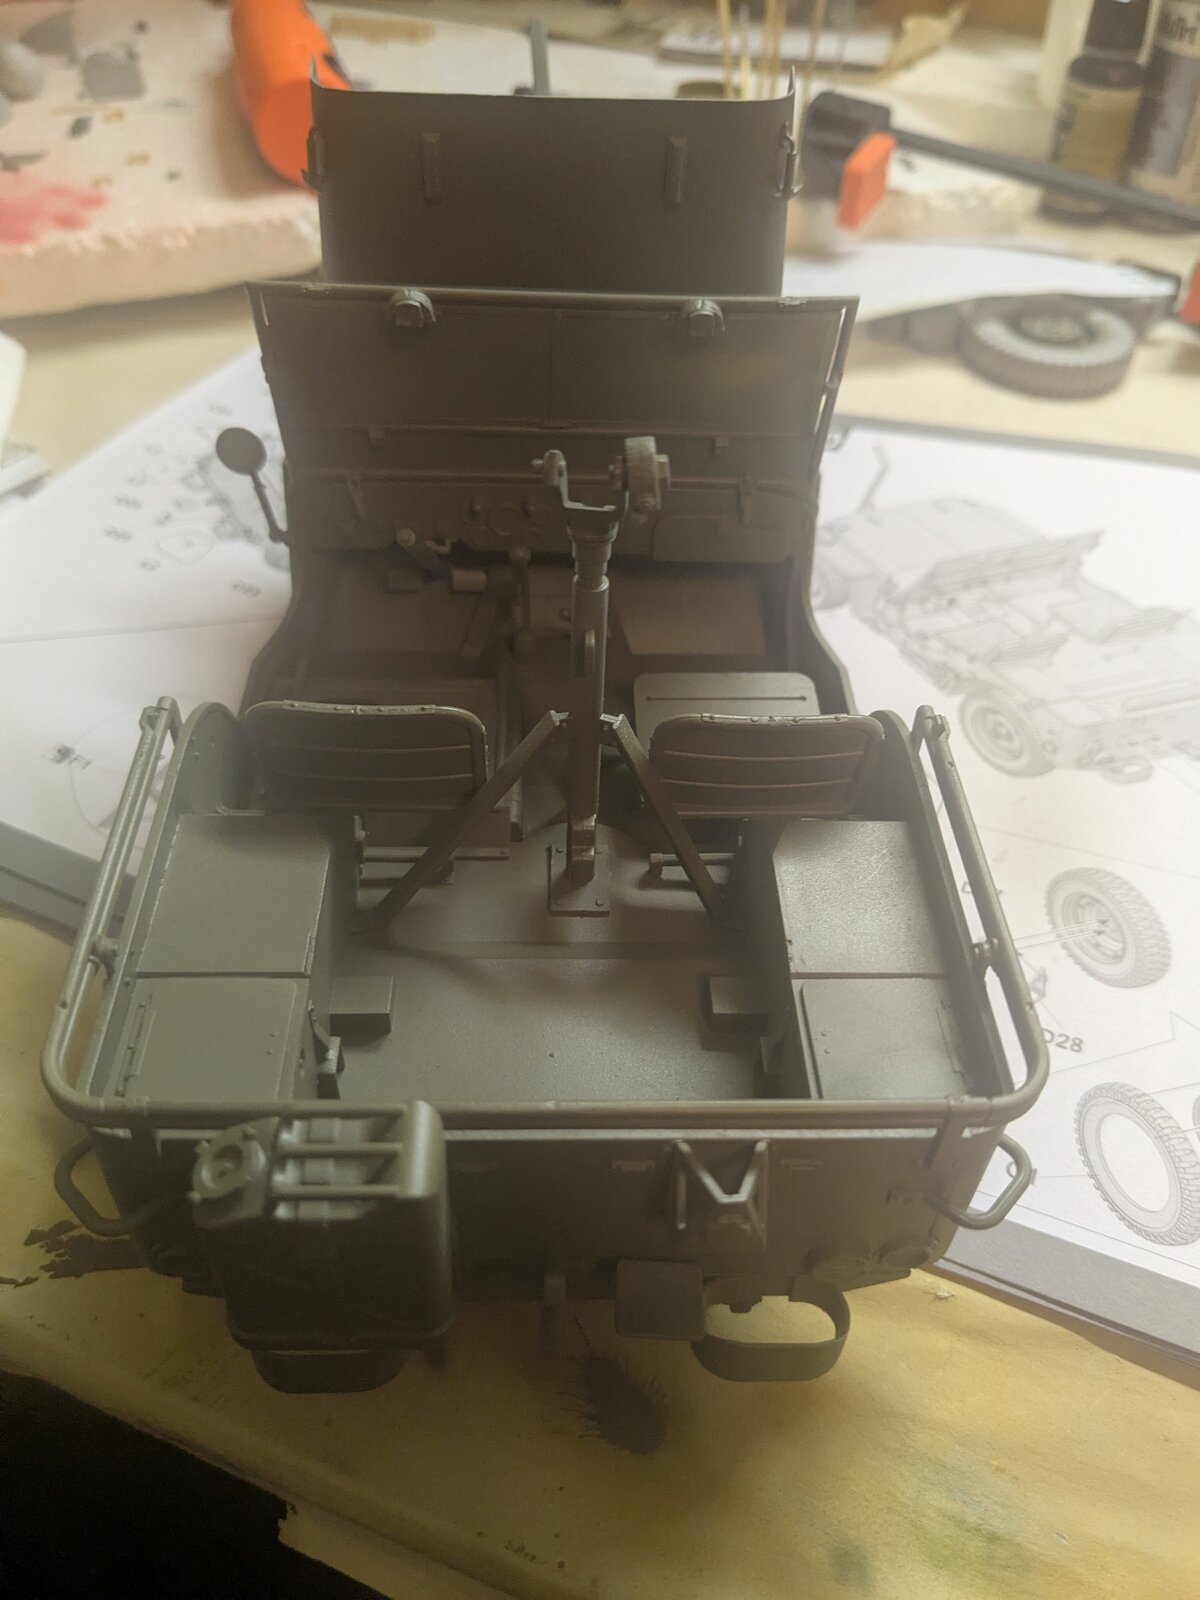
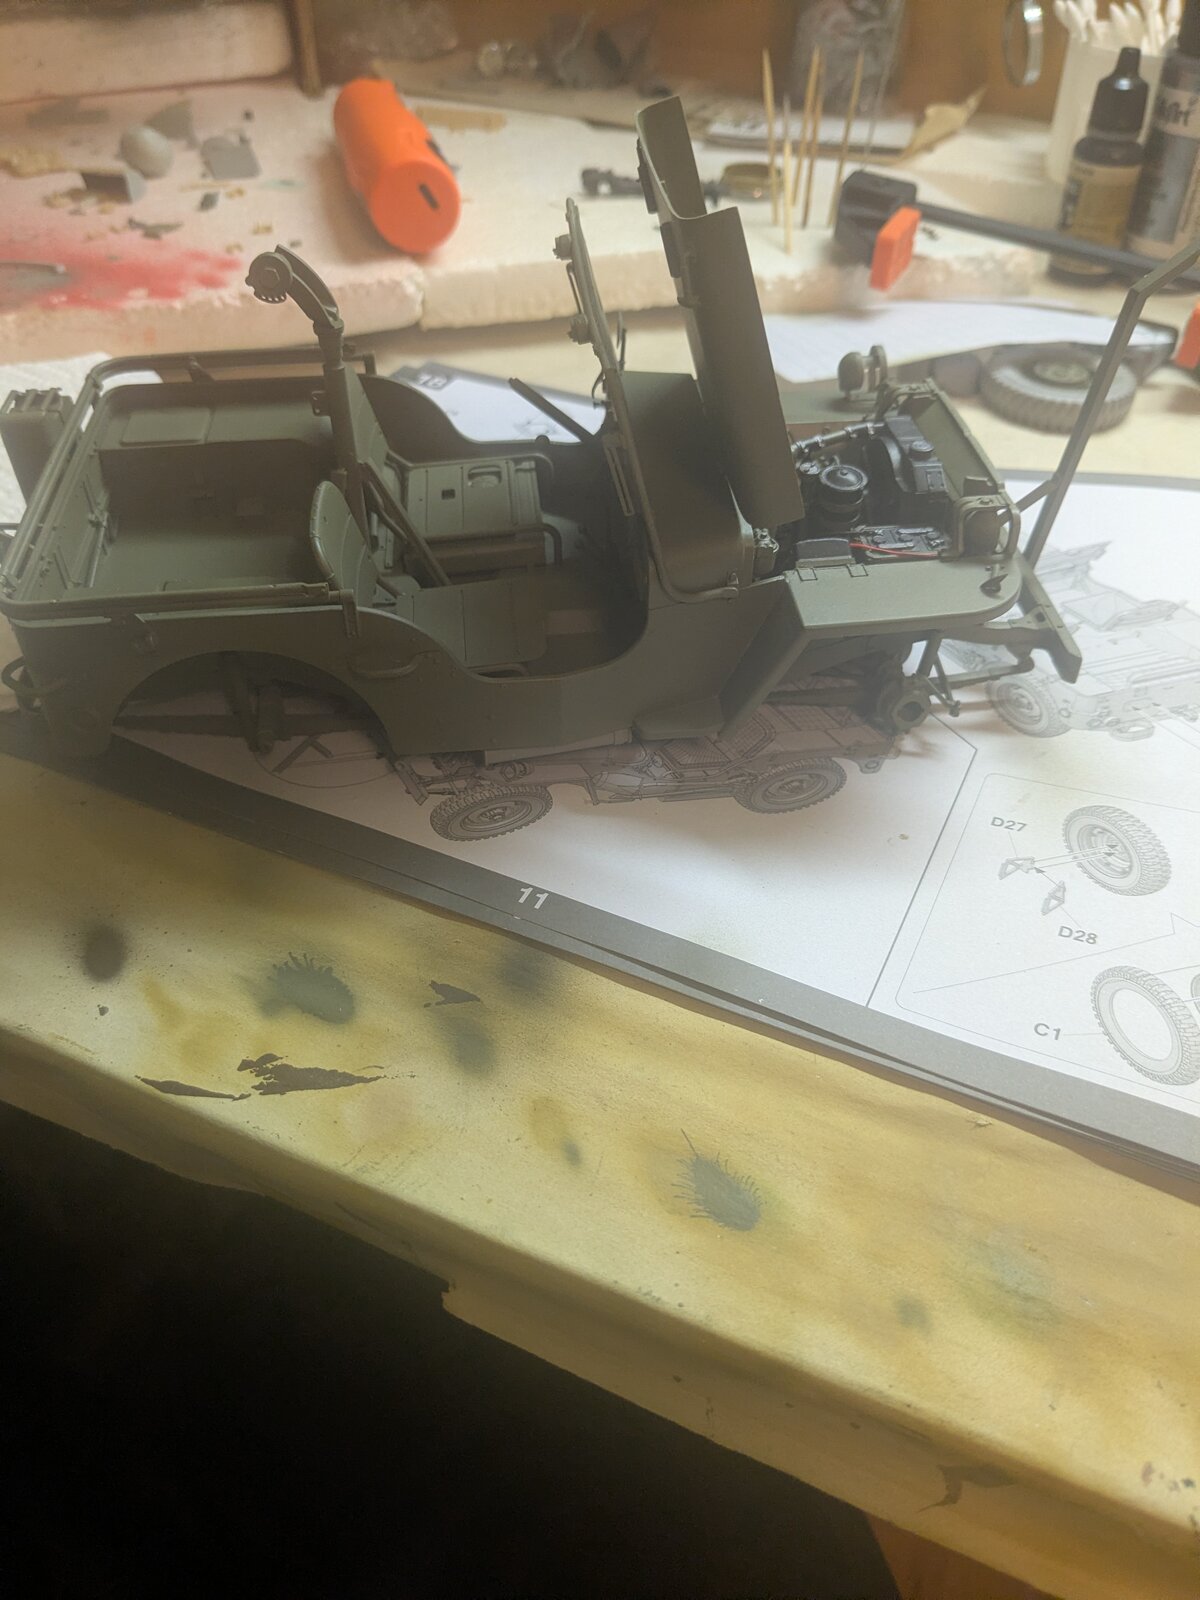
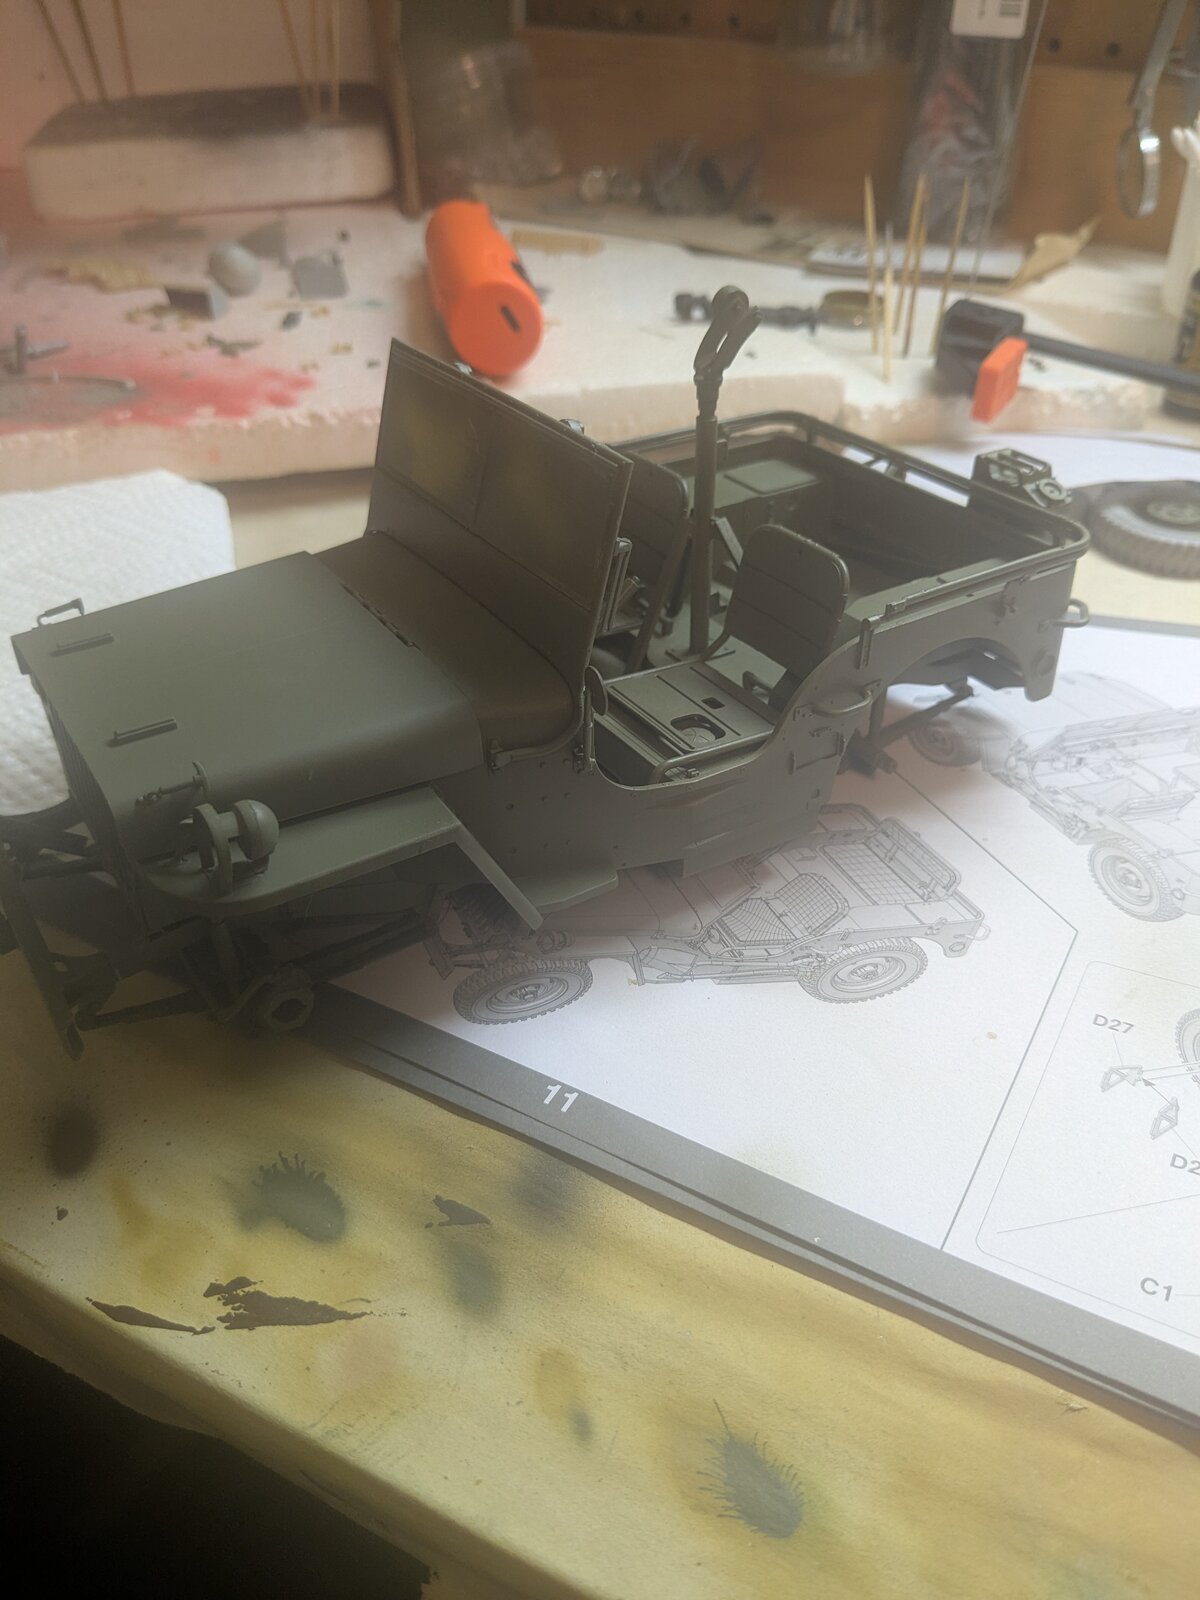
I am contemplating the exact same thing. How far do I want to go? I don't want to close it up when I can do all this neat detail work but you don't see any of it hardly. I did make the seat look like canvas or something. I think anything was better than leaving it smooth. I like detailing my airplane cockpits so I might as well take a stab at making this truck cockpit look livable.

Jakko
Well-Known Member
The nationality marking, in the regulation location according to TB 746-95-1 Color, Markings, and Camouflage Pattern Painting for Armament Command Equipment of May 1976:And what is that star above the left taillight?
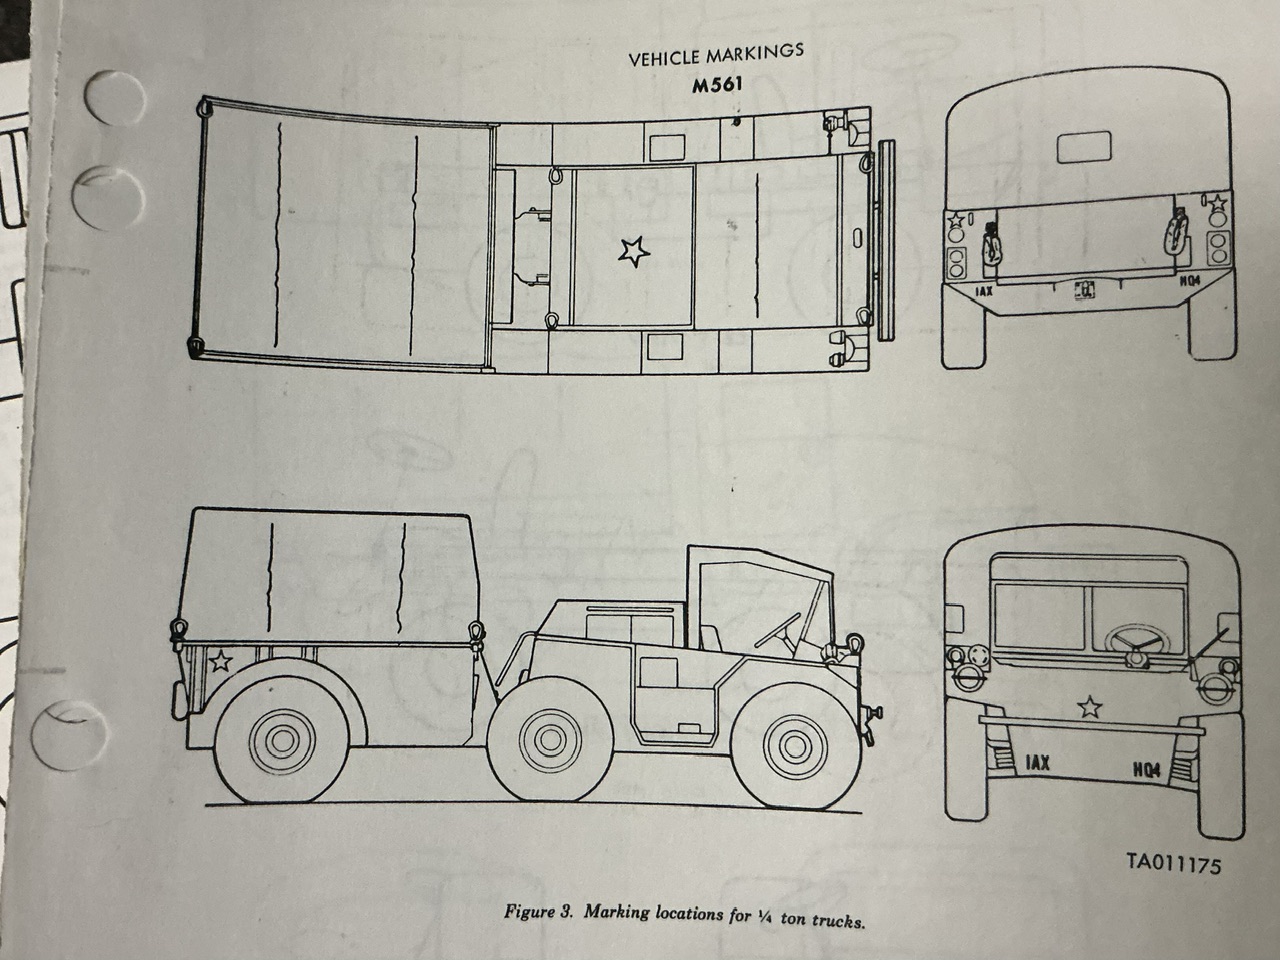
Excuse the poor photo, I took it quickly with the manual on my knees


Bob T
Well-Known Member
Thanks. The Tamiya kit doesn't have that on the decals.The nationality marking, in the regulation location according to TB 746-95-1 Color, Markings, and Camouflage Pattern Painting for Armament Command Equipment of May 1976:
View attachment 171702
Excuse the poor photo, I took it quickly with the manual on my knees
Must have been gone by '83, which is what the kit is suppose to be. Or Tamiya got it wrong.
That photo was from '79.

Agreed, and you've convinced me to do something about the seats in mine as well.anything was better than leaving it smooth


![Pampers Sensitive Baby Wipes, Clinically Proven, Fragrance Free, Unscented, Water Based, Hypoallergenic, Multi-Use, Hand Wipes 336 Wipes Total (6X Flip-Top Packs) [Packaging May Vary]](https://m.media-amazon.com/images/I/41KLBHu9CAL._SL500_.jpg)






As an Amazon Associate we earn from qualifying purchases. Product prices and availability are accurate as of the date/time indicated and are subject to change.
That's coming along real good! If it weren't for your bench, it could be full size!Progress

locomotive
Well-Known Member
- Joined
- Mar 2, 2025
- Messages
- 337
Inside the frame? Do you though? Really? Cos I bloody wouldn't!Calling it a night, tired.
Some progress on sub assemblies, then I notice 6 pin marks on the frame; now I have to wait for the filler to set before sanding and continuing.
View attachment 170472


locomotive
Well-Known Member
- Joined
- Mar 2, 2025
- Messages
- 337
Wow! Oo scale! Because it just wasn't difficult enough??


- Joined
- Apr 29, 2024
- Messages
- 1,581
Question. The only other World War II truck I've built would be the dragon wagon, which didn't have Windows. This one does. I'm thinking of priming it and painting it without the windows and then installing all the windows and then glue on the back panel for the cab. Or should I just install the windows and mask It Off. I am so used to airplane canopies. Easy to mask off the inside. You can leave it off entirely or you can use the extra one you get sometimes as a mule. I just hate masking windows needlessly
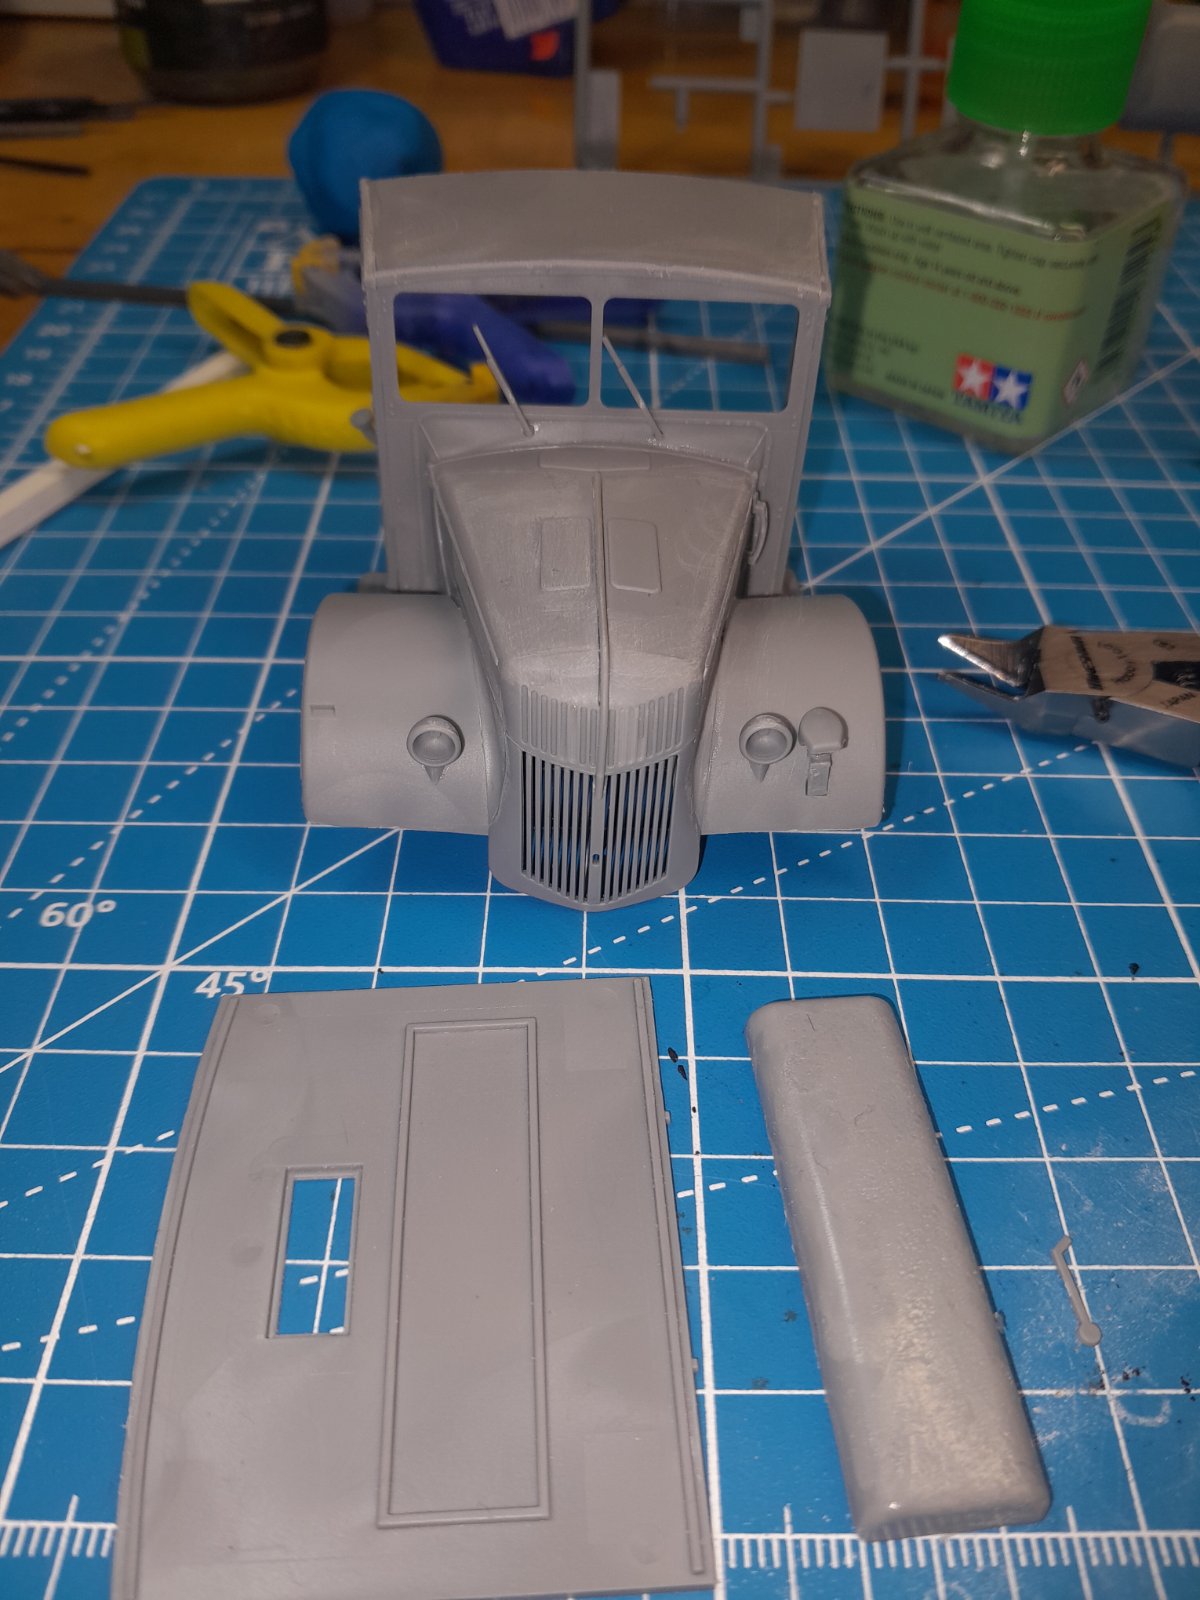

you can stick them in afterwards , just make sure the paint thickness won't interfere with the fit -- you might need to mask , liquid or tape , the frame where the clear sits ,, might be a loose enough fit that it won't matter , though .
- Joined
- Apr 29, 2024
- Messages
- 1,581
Great idea. I'll test fit and get an idea, thanksyou can stick them in afterwards , just make sure the paint thickness won't interfere with the fit -- you might need to mask , liquid or tape , the frame where the clear sits ,, might be a loose enough fit that it won't matter , though .
Personally I would stick it all together and mask it then cut the mask to size.... Then I would leave the masking on until you are done with model.
To me there is less chance of messing it up when done that way. And if you clear coat the model it will be fine with masking on.
To me there is less chance of messing it up when done that way. And if you clear coat the model it will be fine with masking on.
Painting with a brush, I haven't run into this issue. As I transition over to the AB, I will have to figure it out too!
- Joined
- Apr 29, 2024
- Messages
- 1,581
That thing with putting on some glass from the inside got me to thinking. So I looked and yep all the glass goes on from the inside. So I went through the stages of painting the cab and I came to the realization that if from the get-go I would have thought things through I would not have to pose a question to The Forum. So I primed the entire cab and I'm going to paint the inside and the seats and detail the instrument panel and then I will install the glass and button everything up because once everything is buttoned up I don't have to worry about the inside getting any paint on it. I will mask the windows on the outside and proceed to lay down the body colors and clear coat. Do you see how simple that was? I have a feeling this is all a direct result of the aging process.

- Joined
- Apr 29, 2024
- Messages
- 1,581
Wow. Way too much coffee
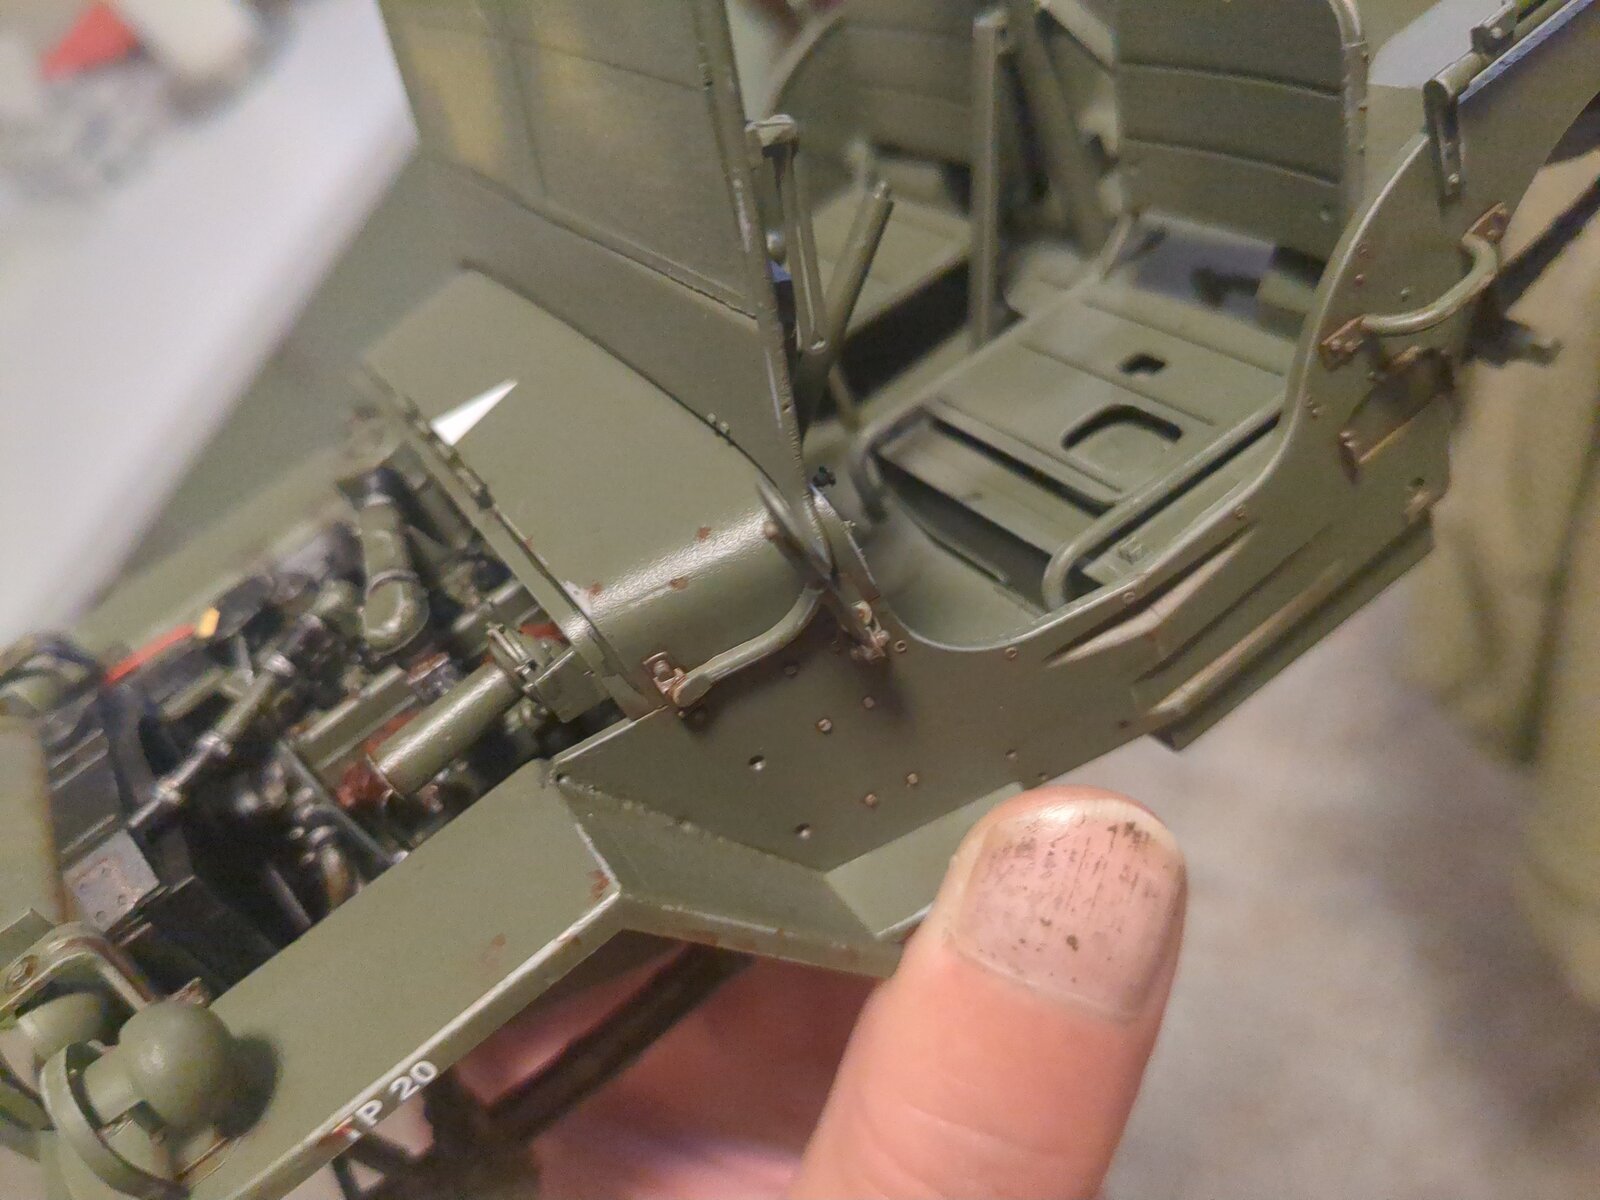
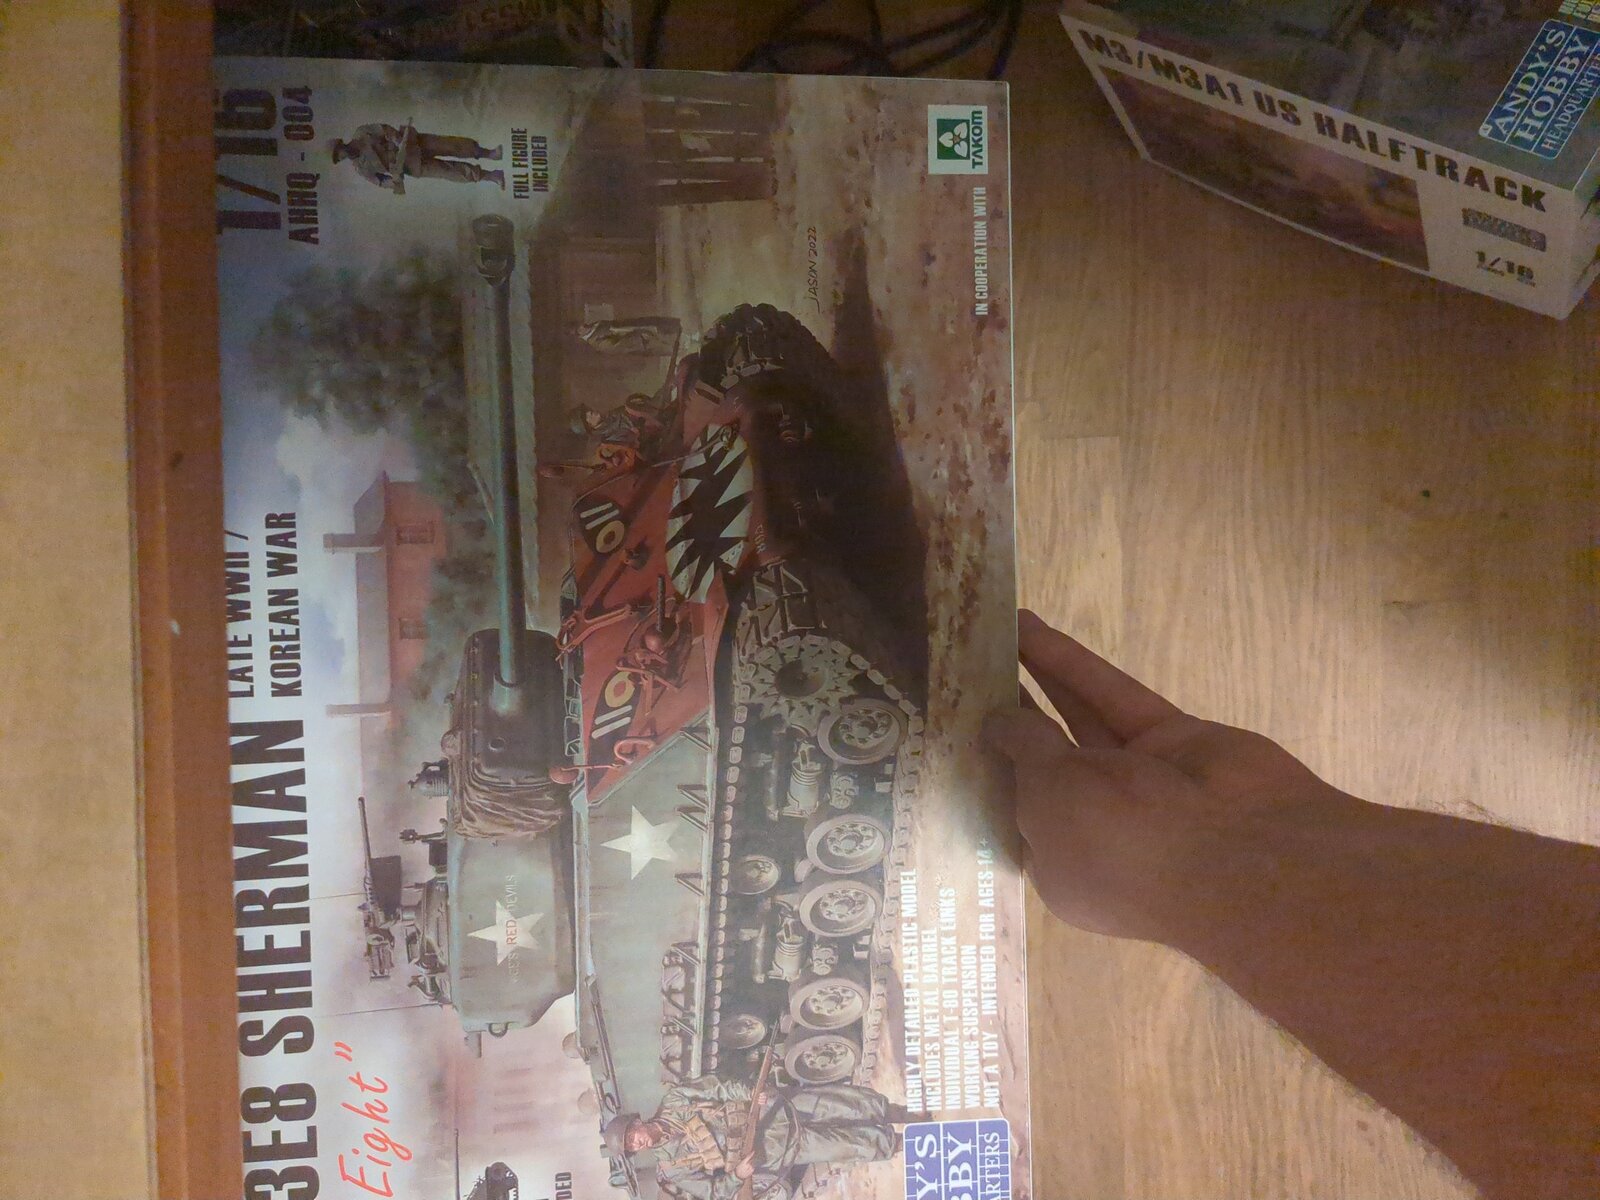
Interesting!Korean war
With Kpop and Kculture everywhere we look today, hard to believe the mess back then. Had an uncle served in Korea, don't know much about his time there except he was artillery, came back with malaria.

Project510
Well-Known Member
Wow you guys build fast! I am finally home from my HK trip, but unfortunately I got very sick the day I returned. Went 4 days with no food, lost almost 12 pounds.. but I am finally on he mend.
While I was away in HK this arrived for my cargo truck build. I plan on getting started today but it will be slow going. I cant risk getting my son sick so my time at the bench is short.
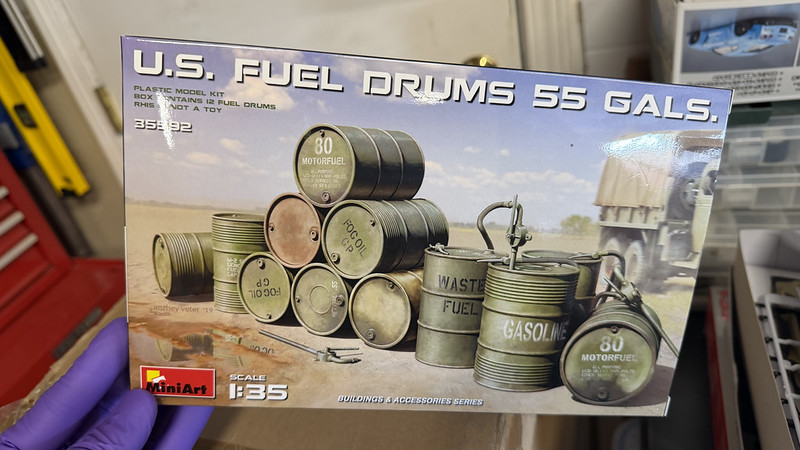
While I was away in HK this arrived for my cargo truck build. I plan on getting started today but it will be slow going. I cant risk getting my son sick so my time at the bench is short.
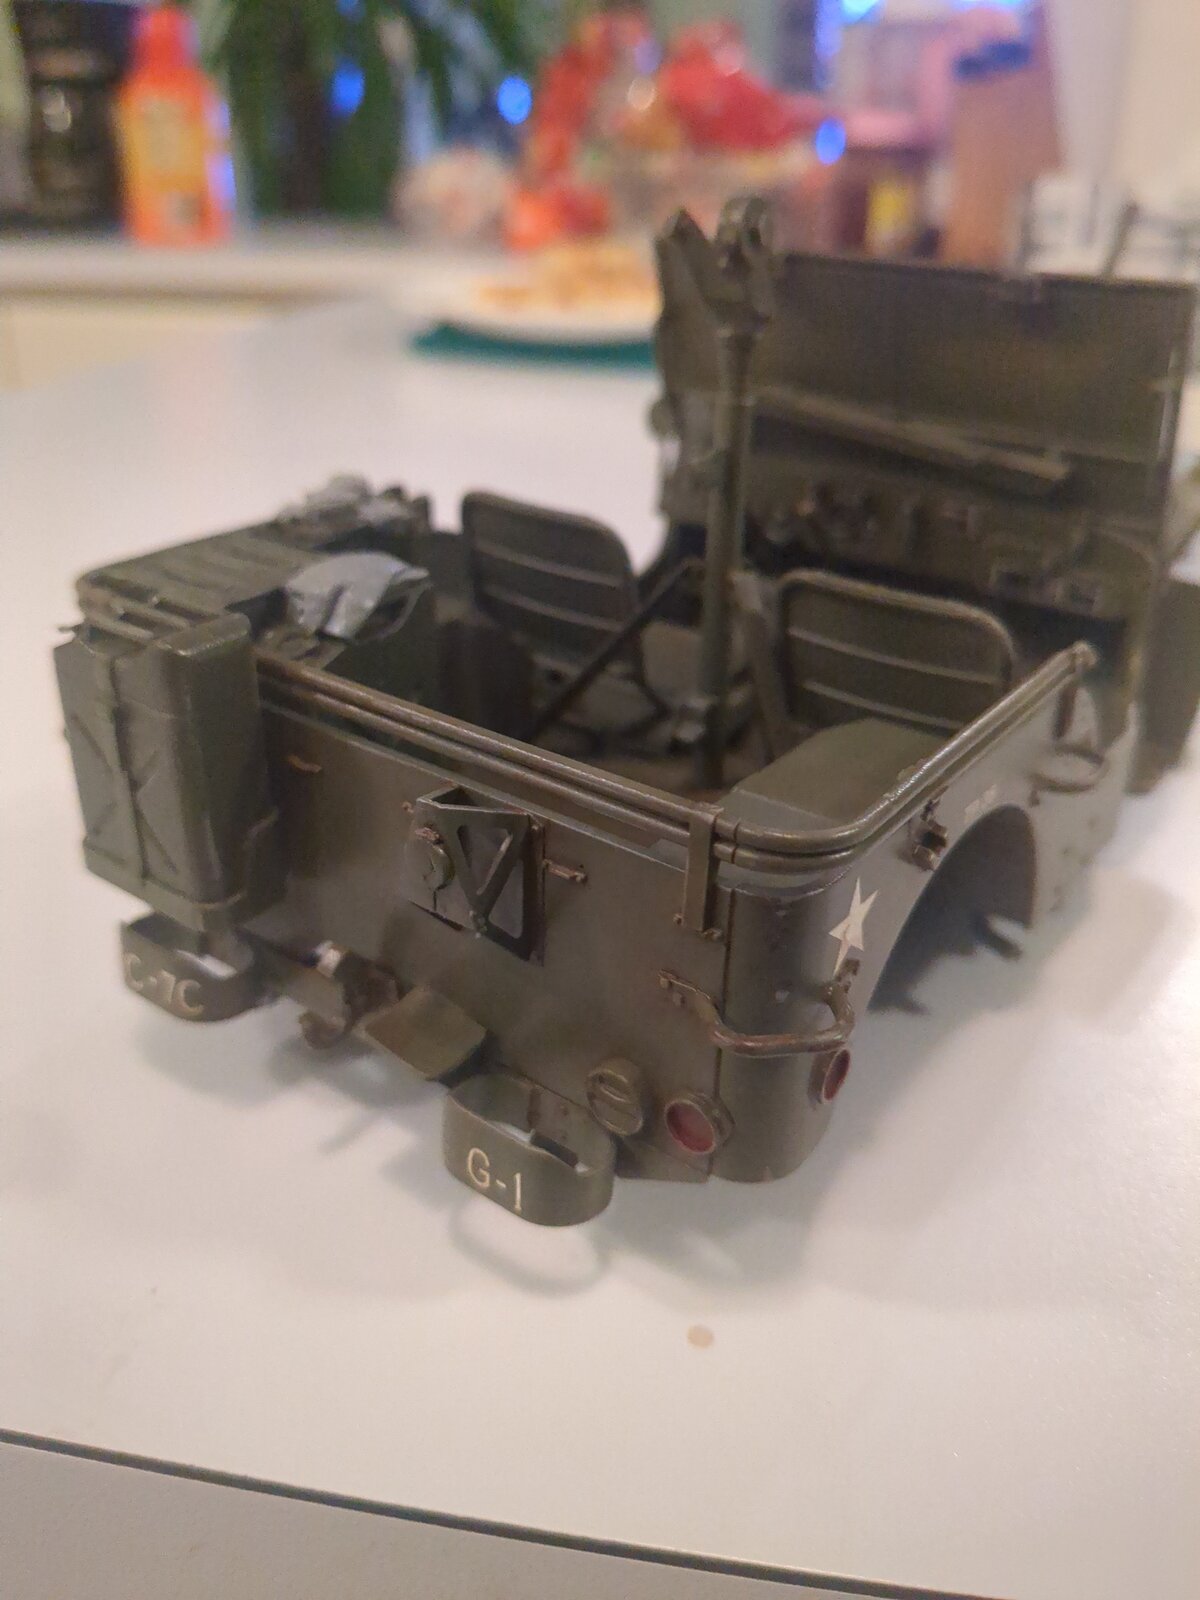
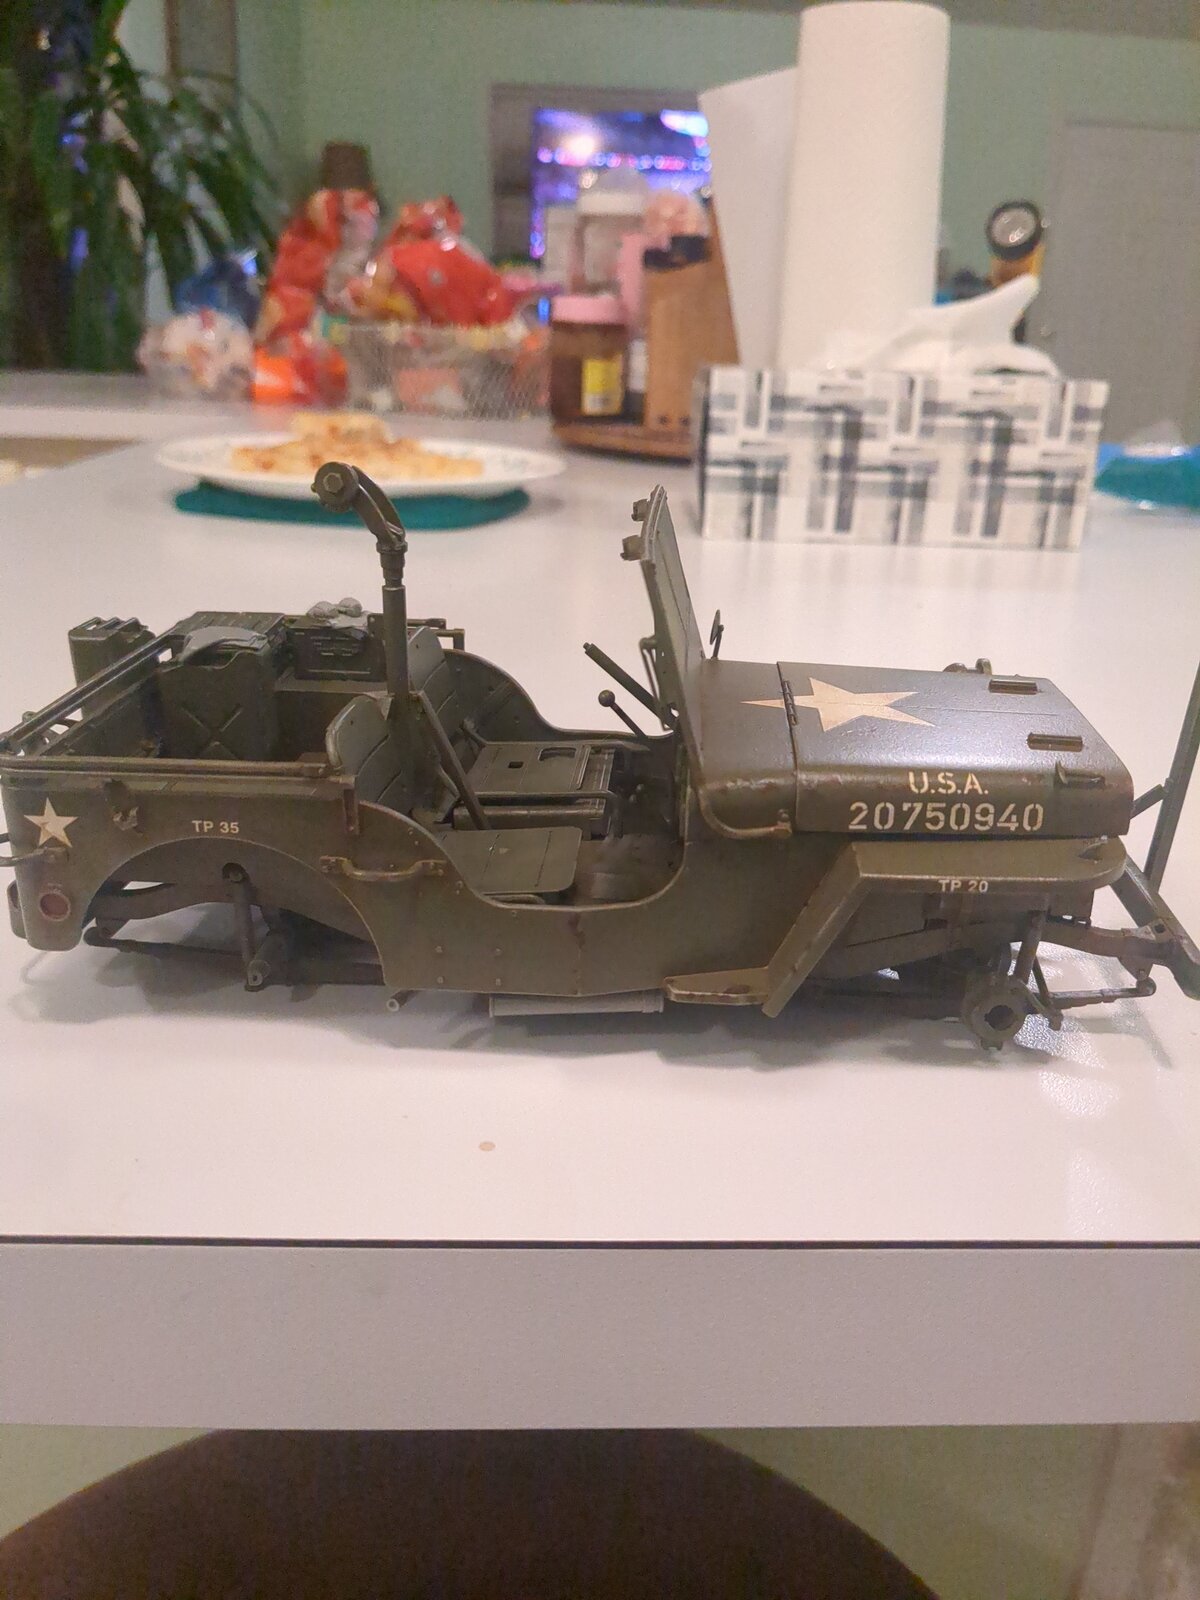
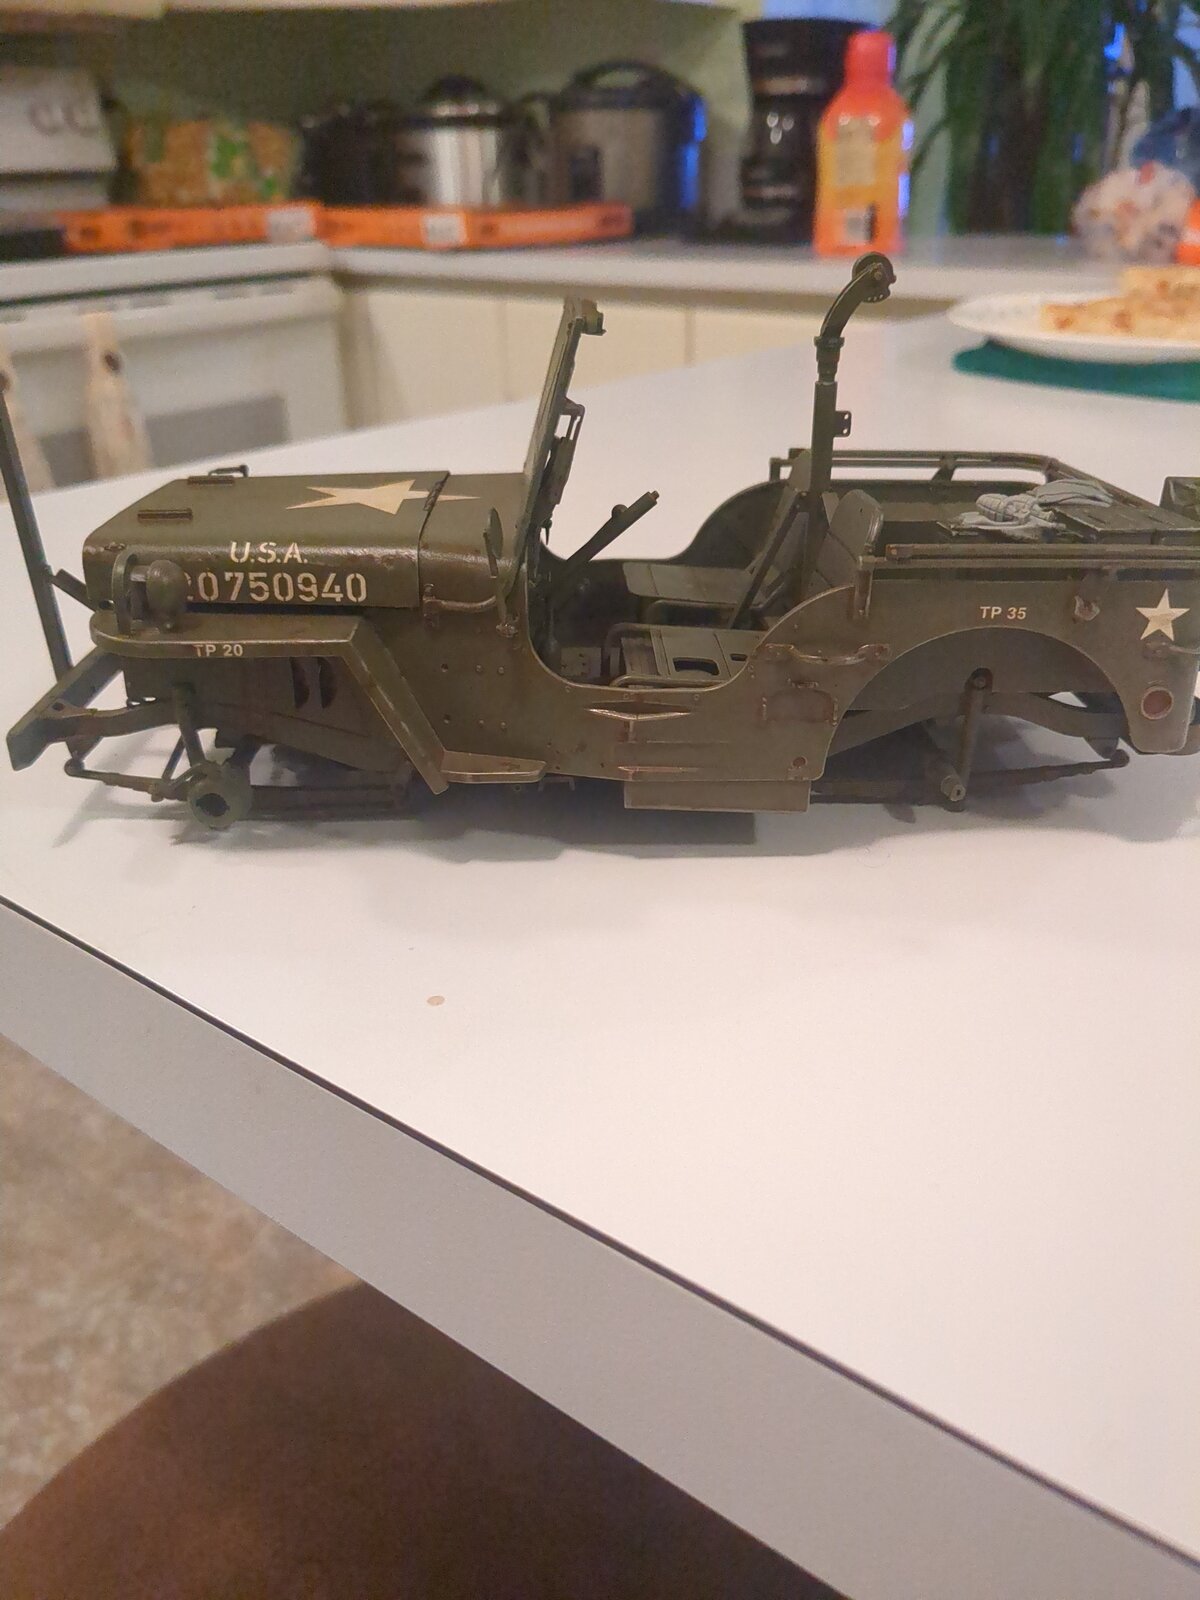
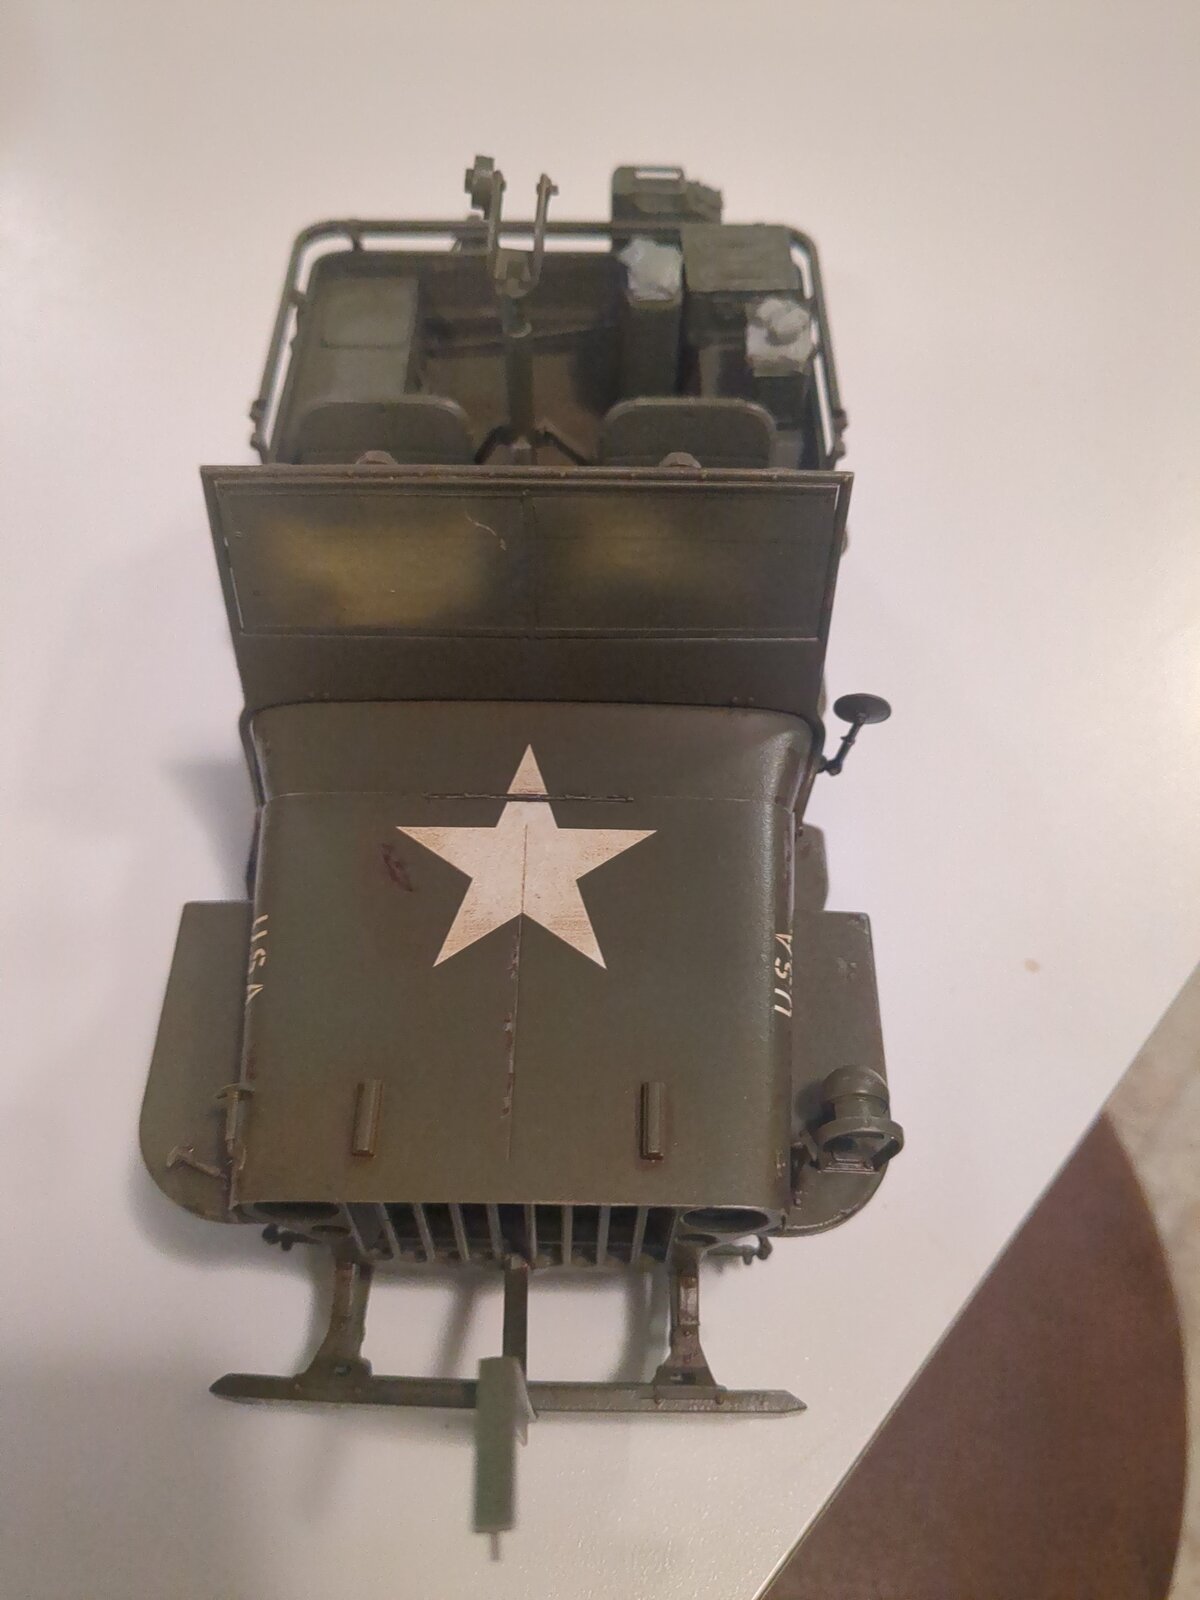
Looking great! Definitely the fun part!today
... did some more research, couldn't find one pic with the original seat detailed like some others I've seen modeled... so I'm going with plain Jane bench, but added EZline to edge, and scalloped some dips/wrinkles in the seat cover. Let's see if that is enough after priming!
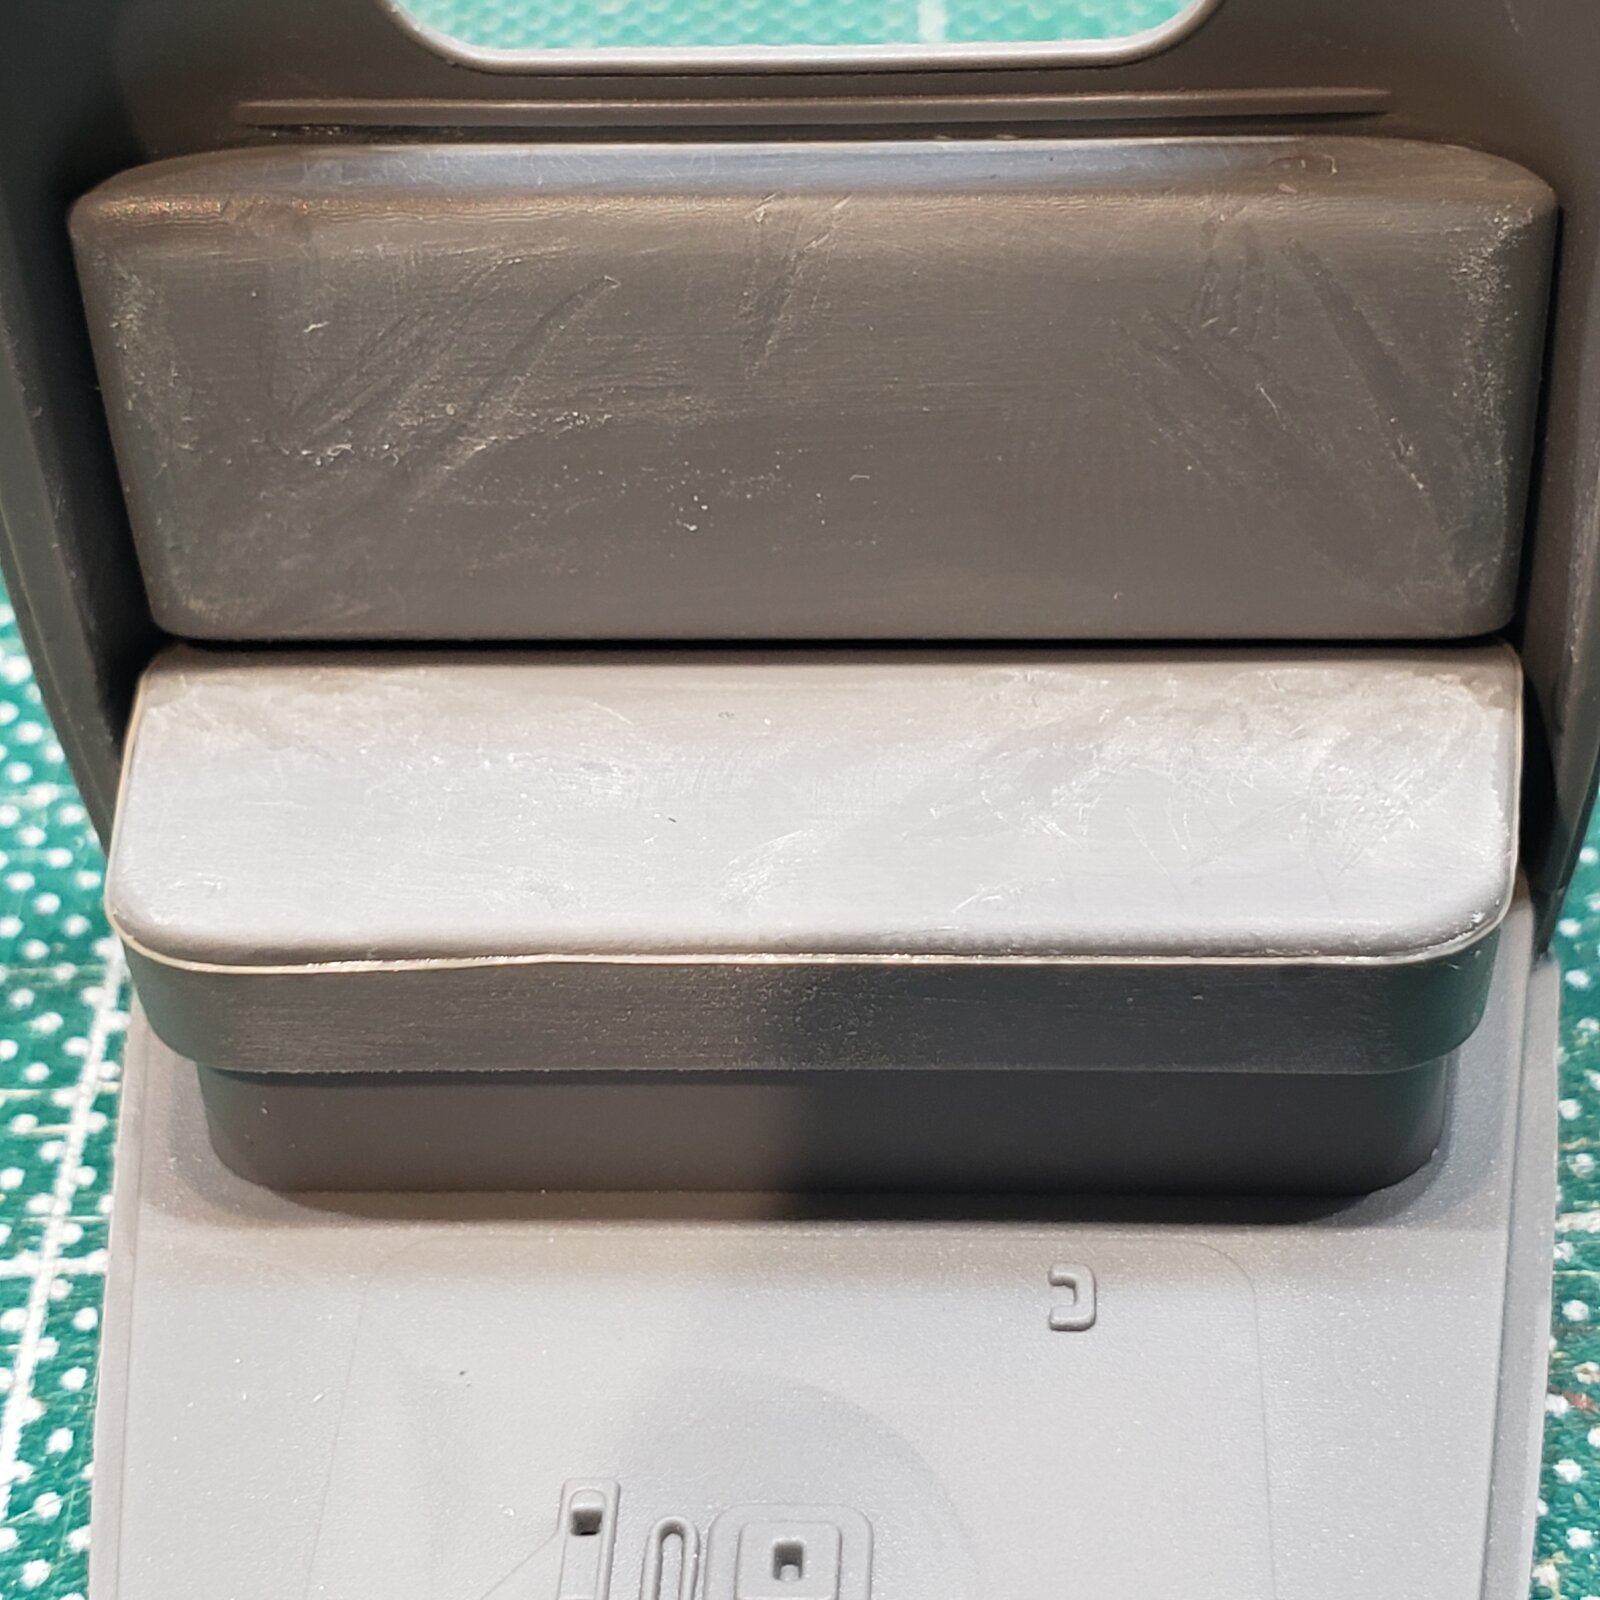
Precious cargo ready for transport down two flights to the paint booth in the basement.
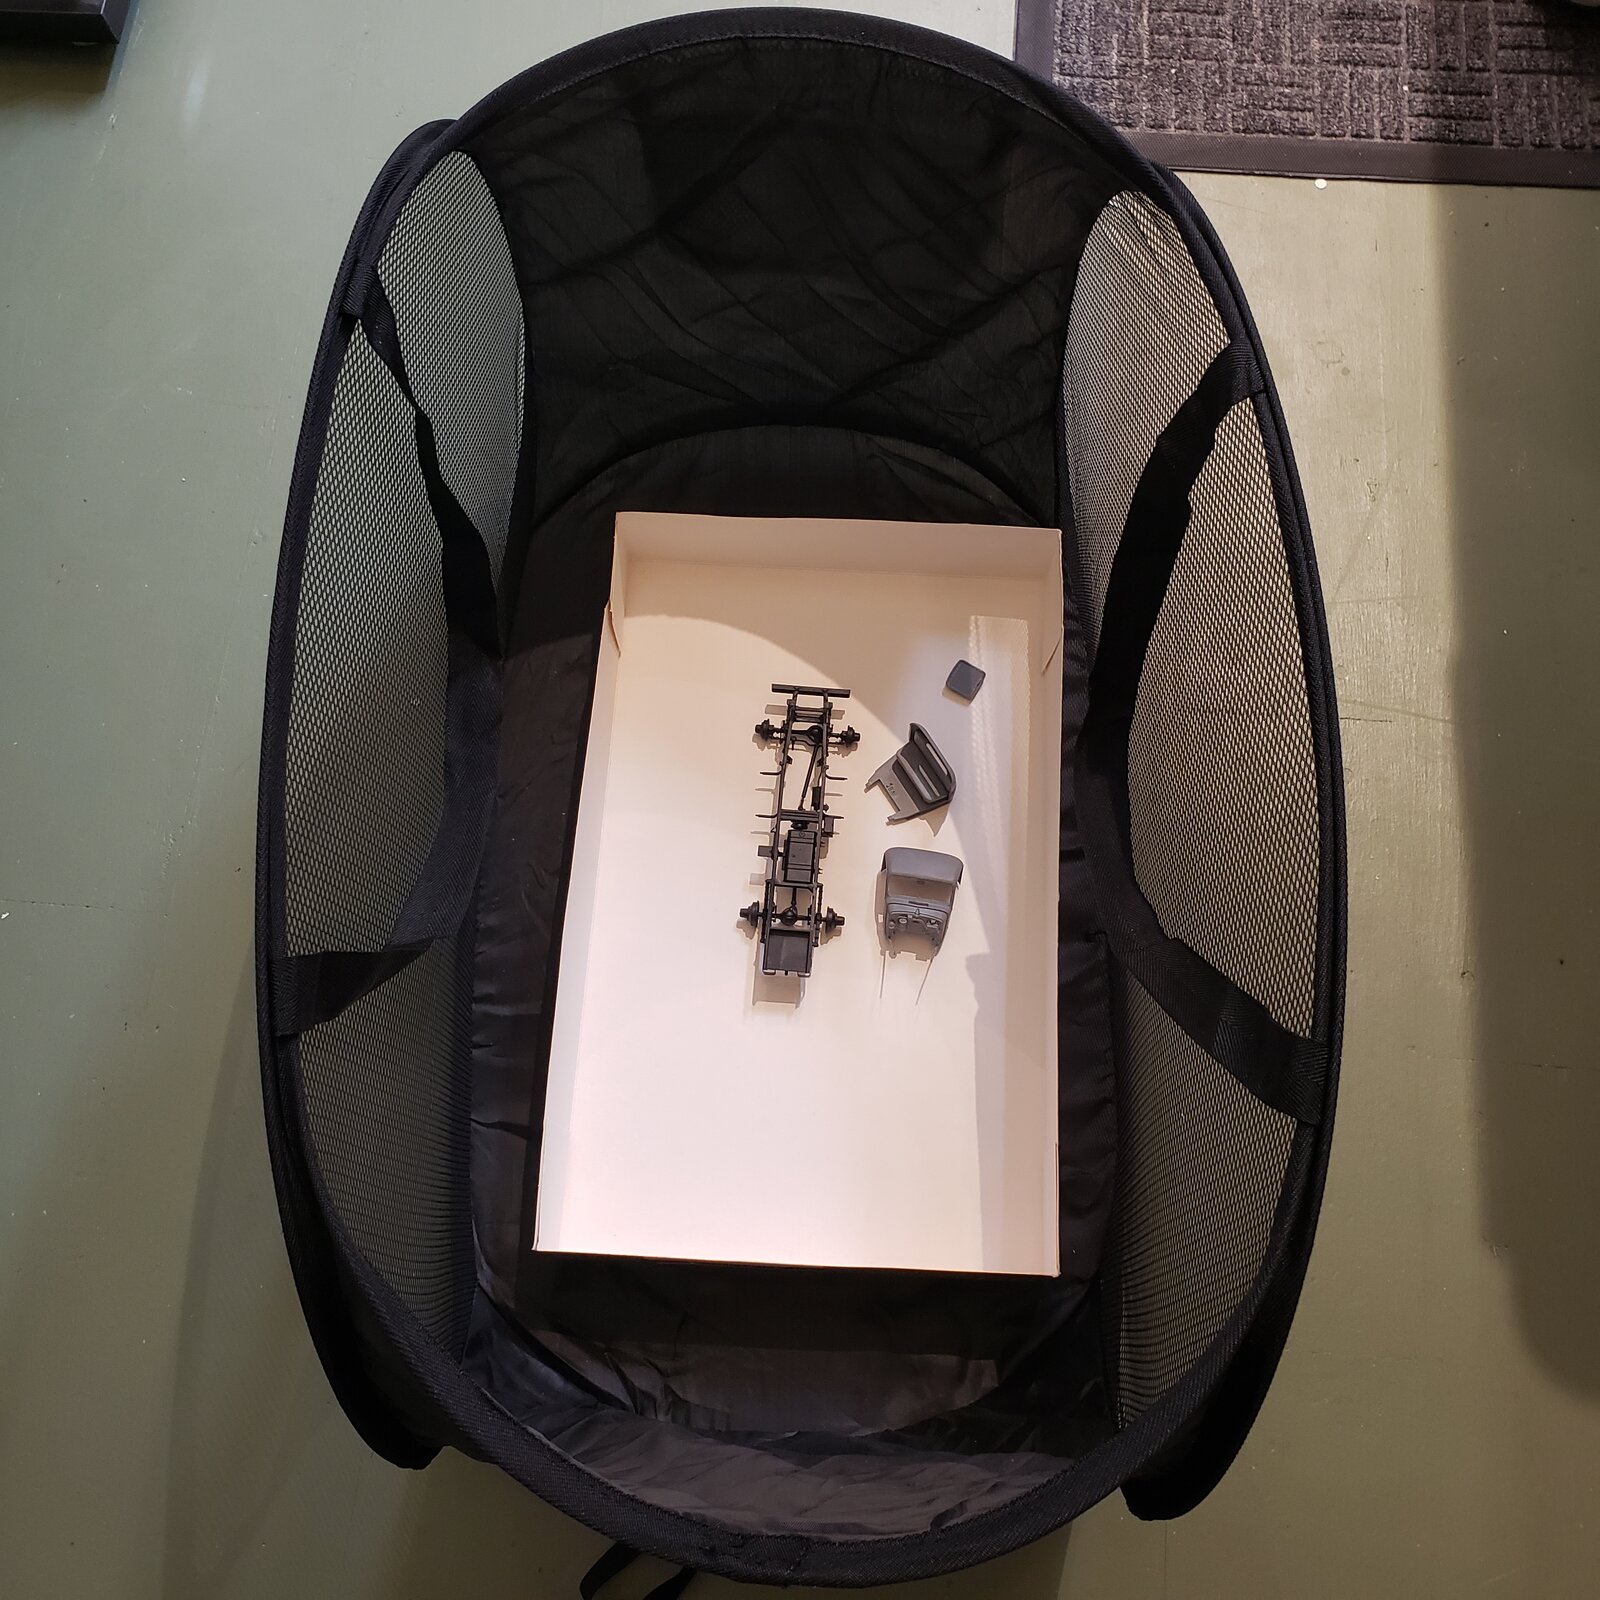
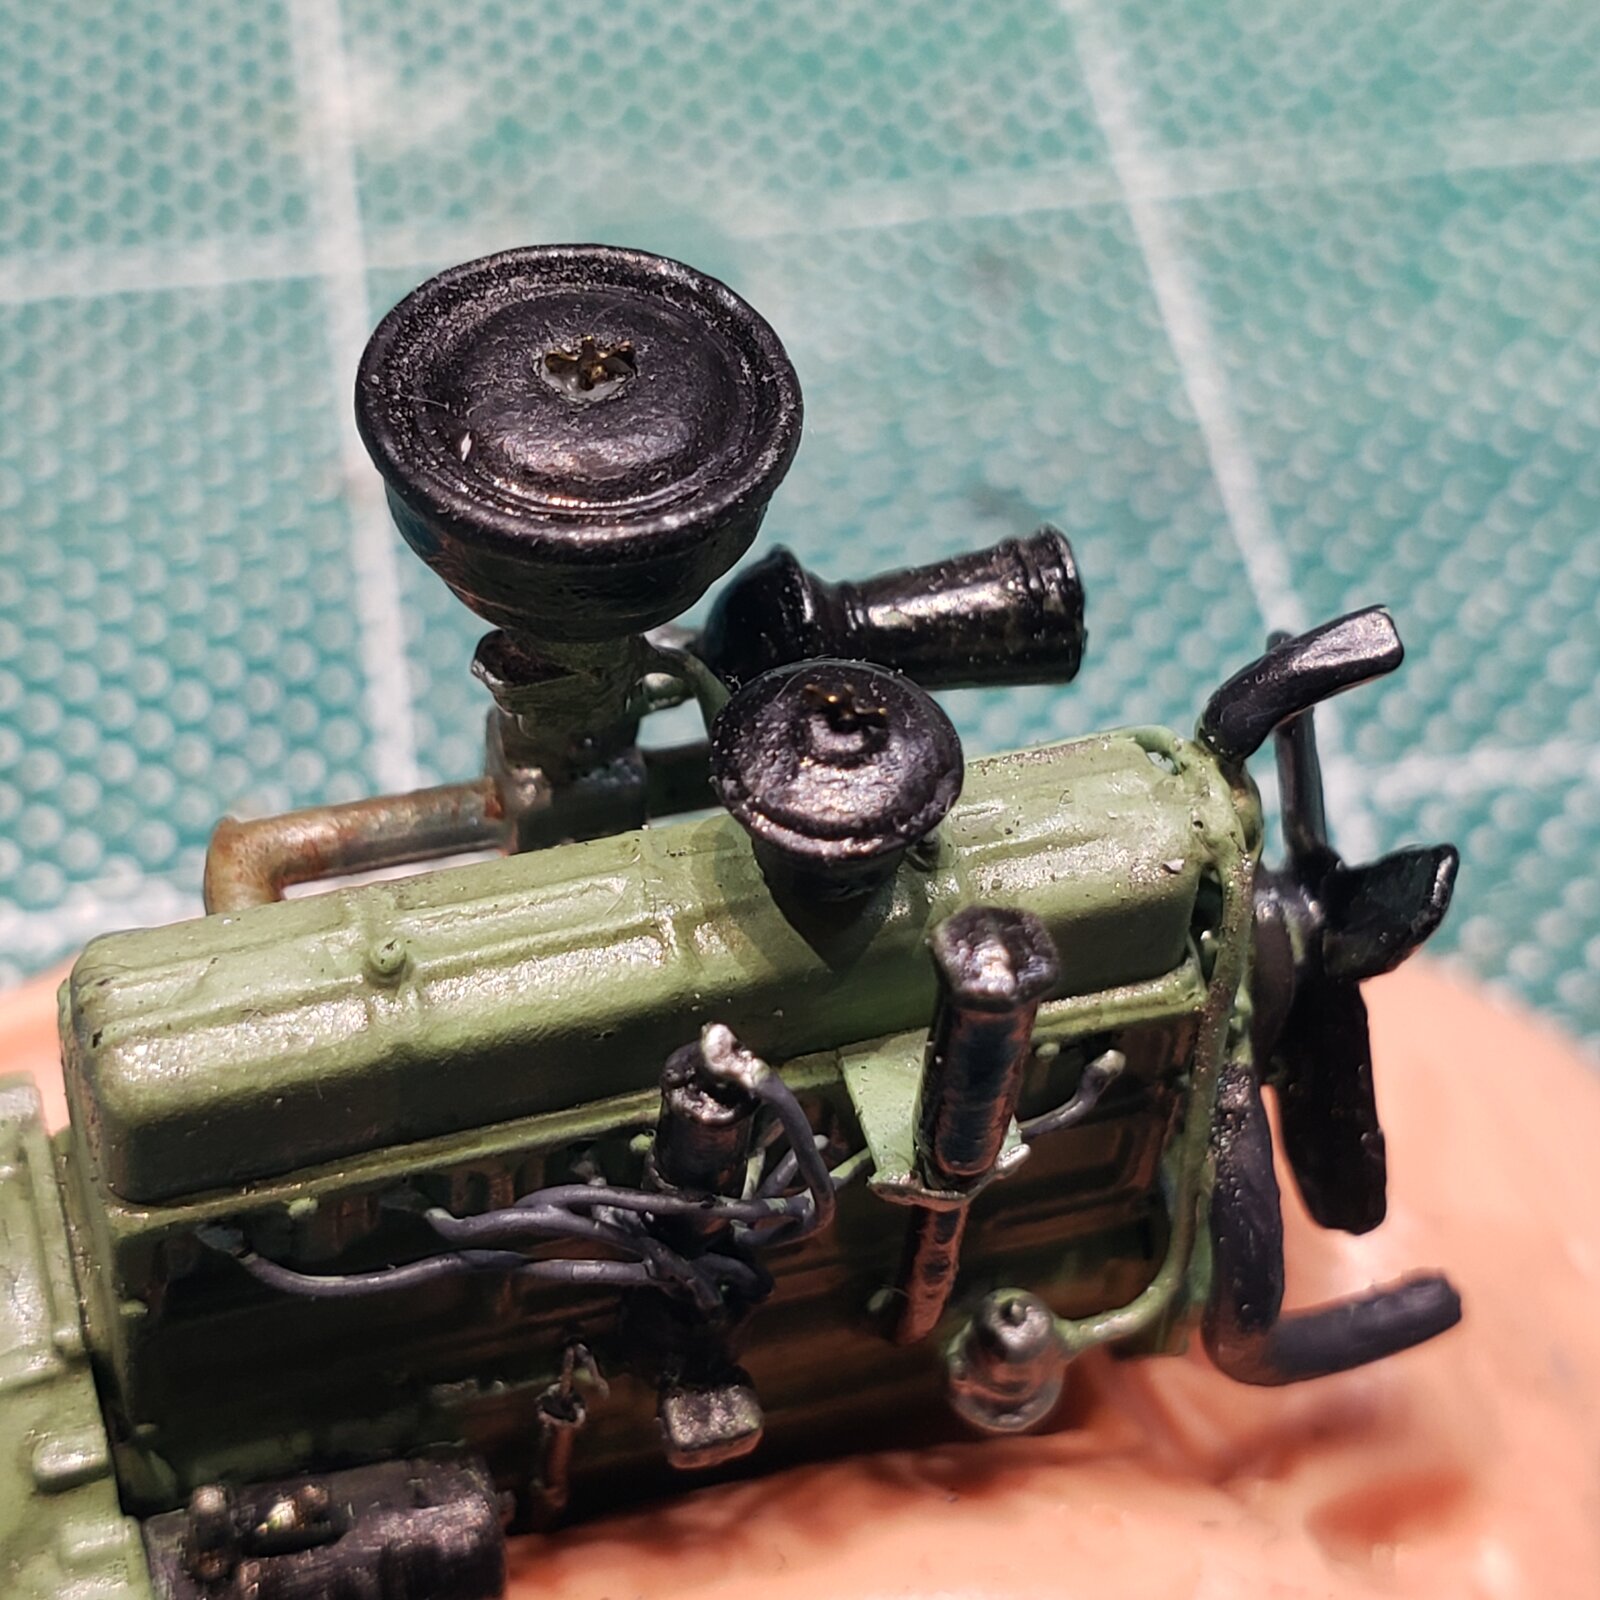
Waiting for paint to dry downstairs, better add some butterfly nuts so covers don't fly off!
Similar threads


- Replies
- 11
- Views
- 318


- Replies
- 0
- Views
- 268


