US ARMY G7107 Cargo truck

Scale Model Addict - Model Tips, Guides, Tools & Tech, Tutorials, and Community

Help Support Scale Model Addict:

BarleyBop

Well-Known Member
Glue Member
Joined
Sep 4, 2022
Messages
5,406
City & State/Province
Ottawa, Canada
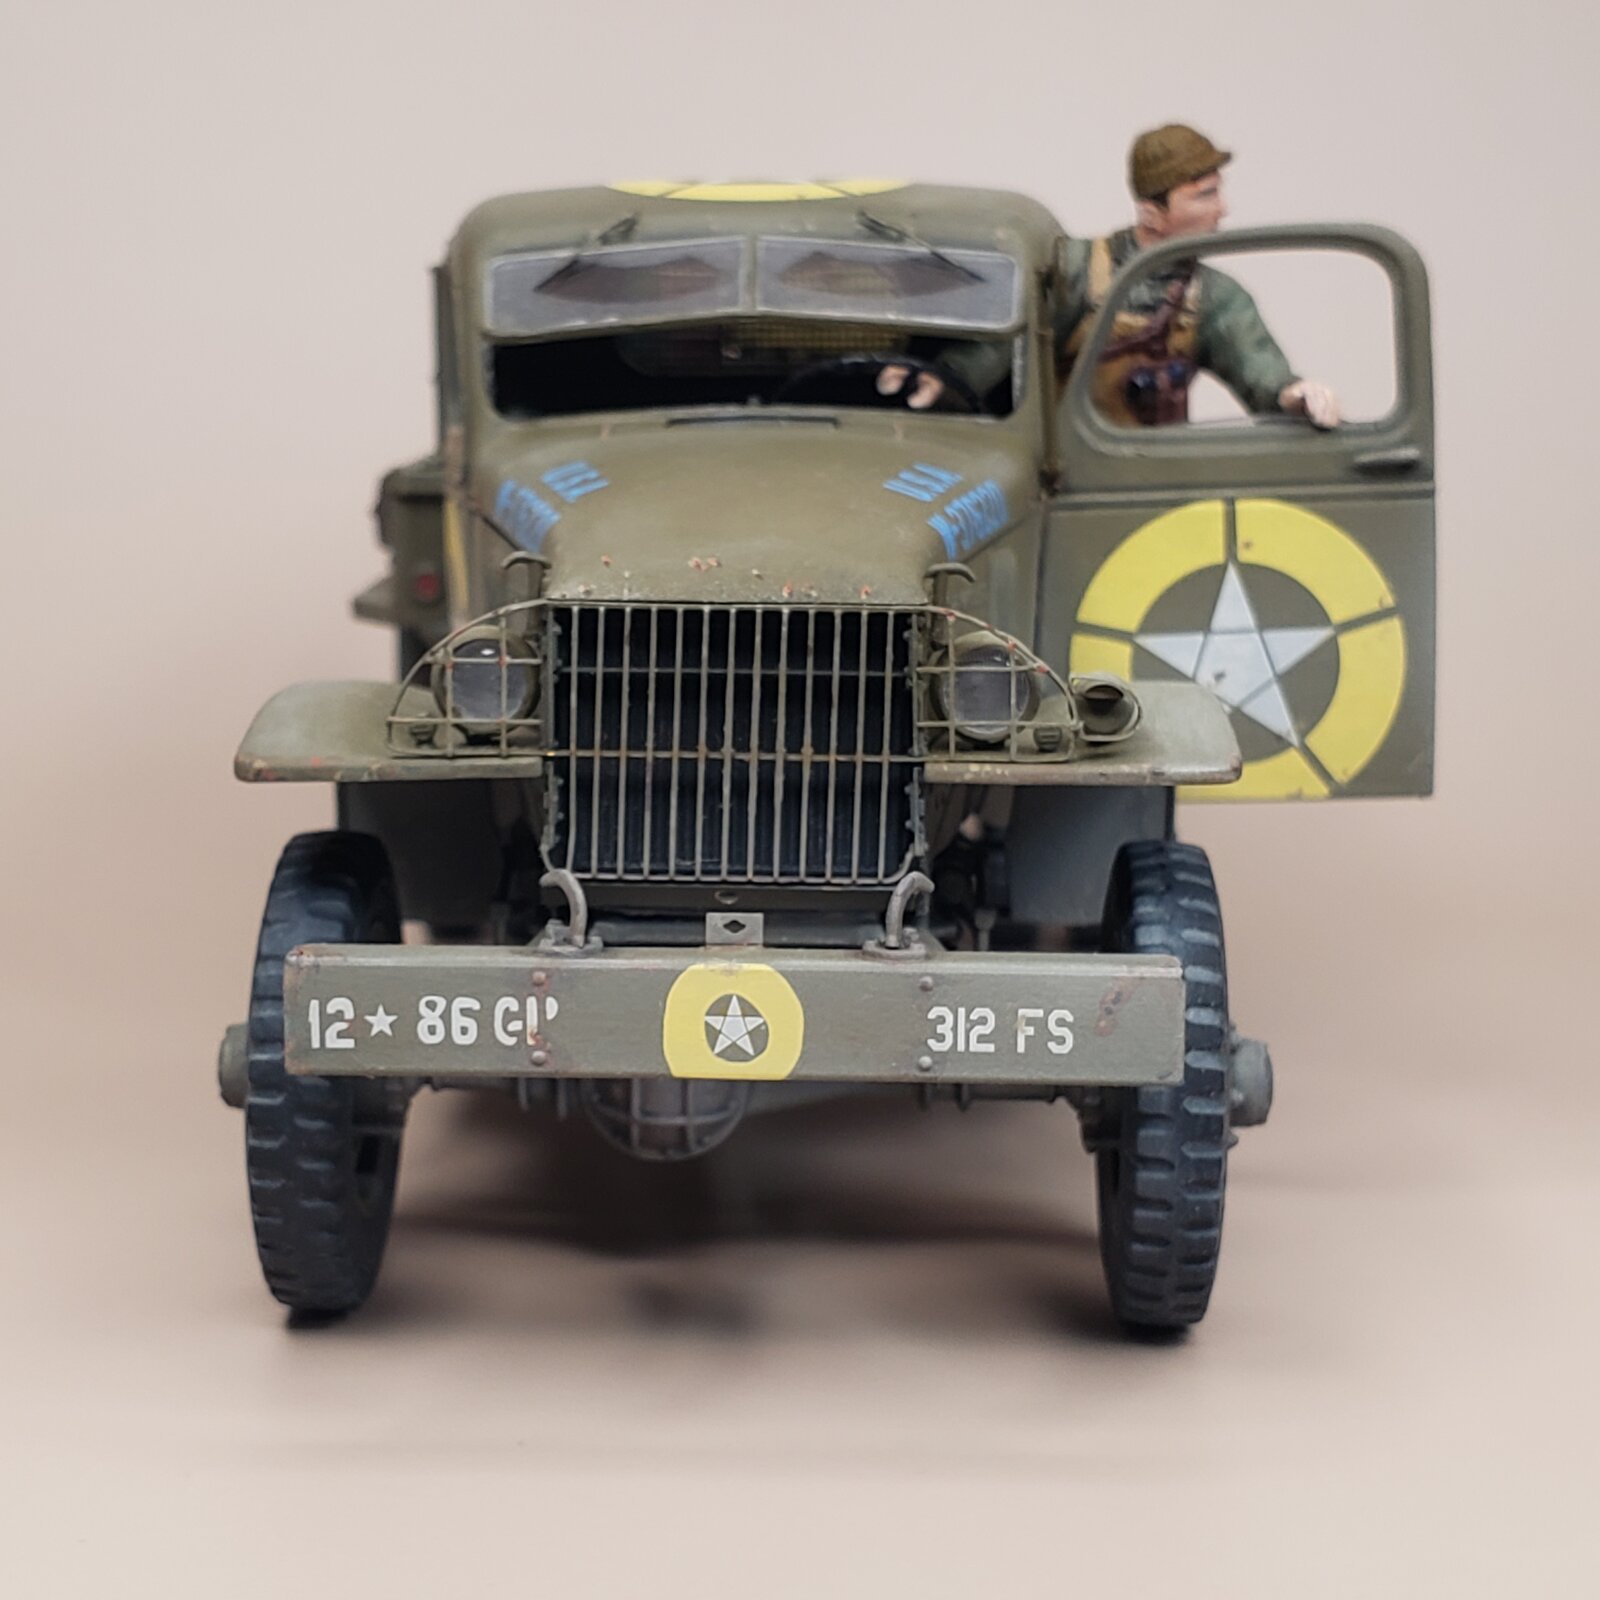
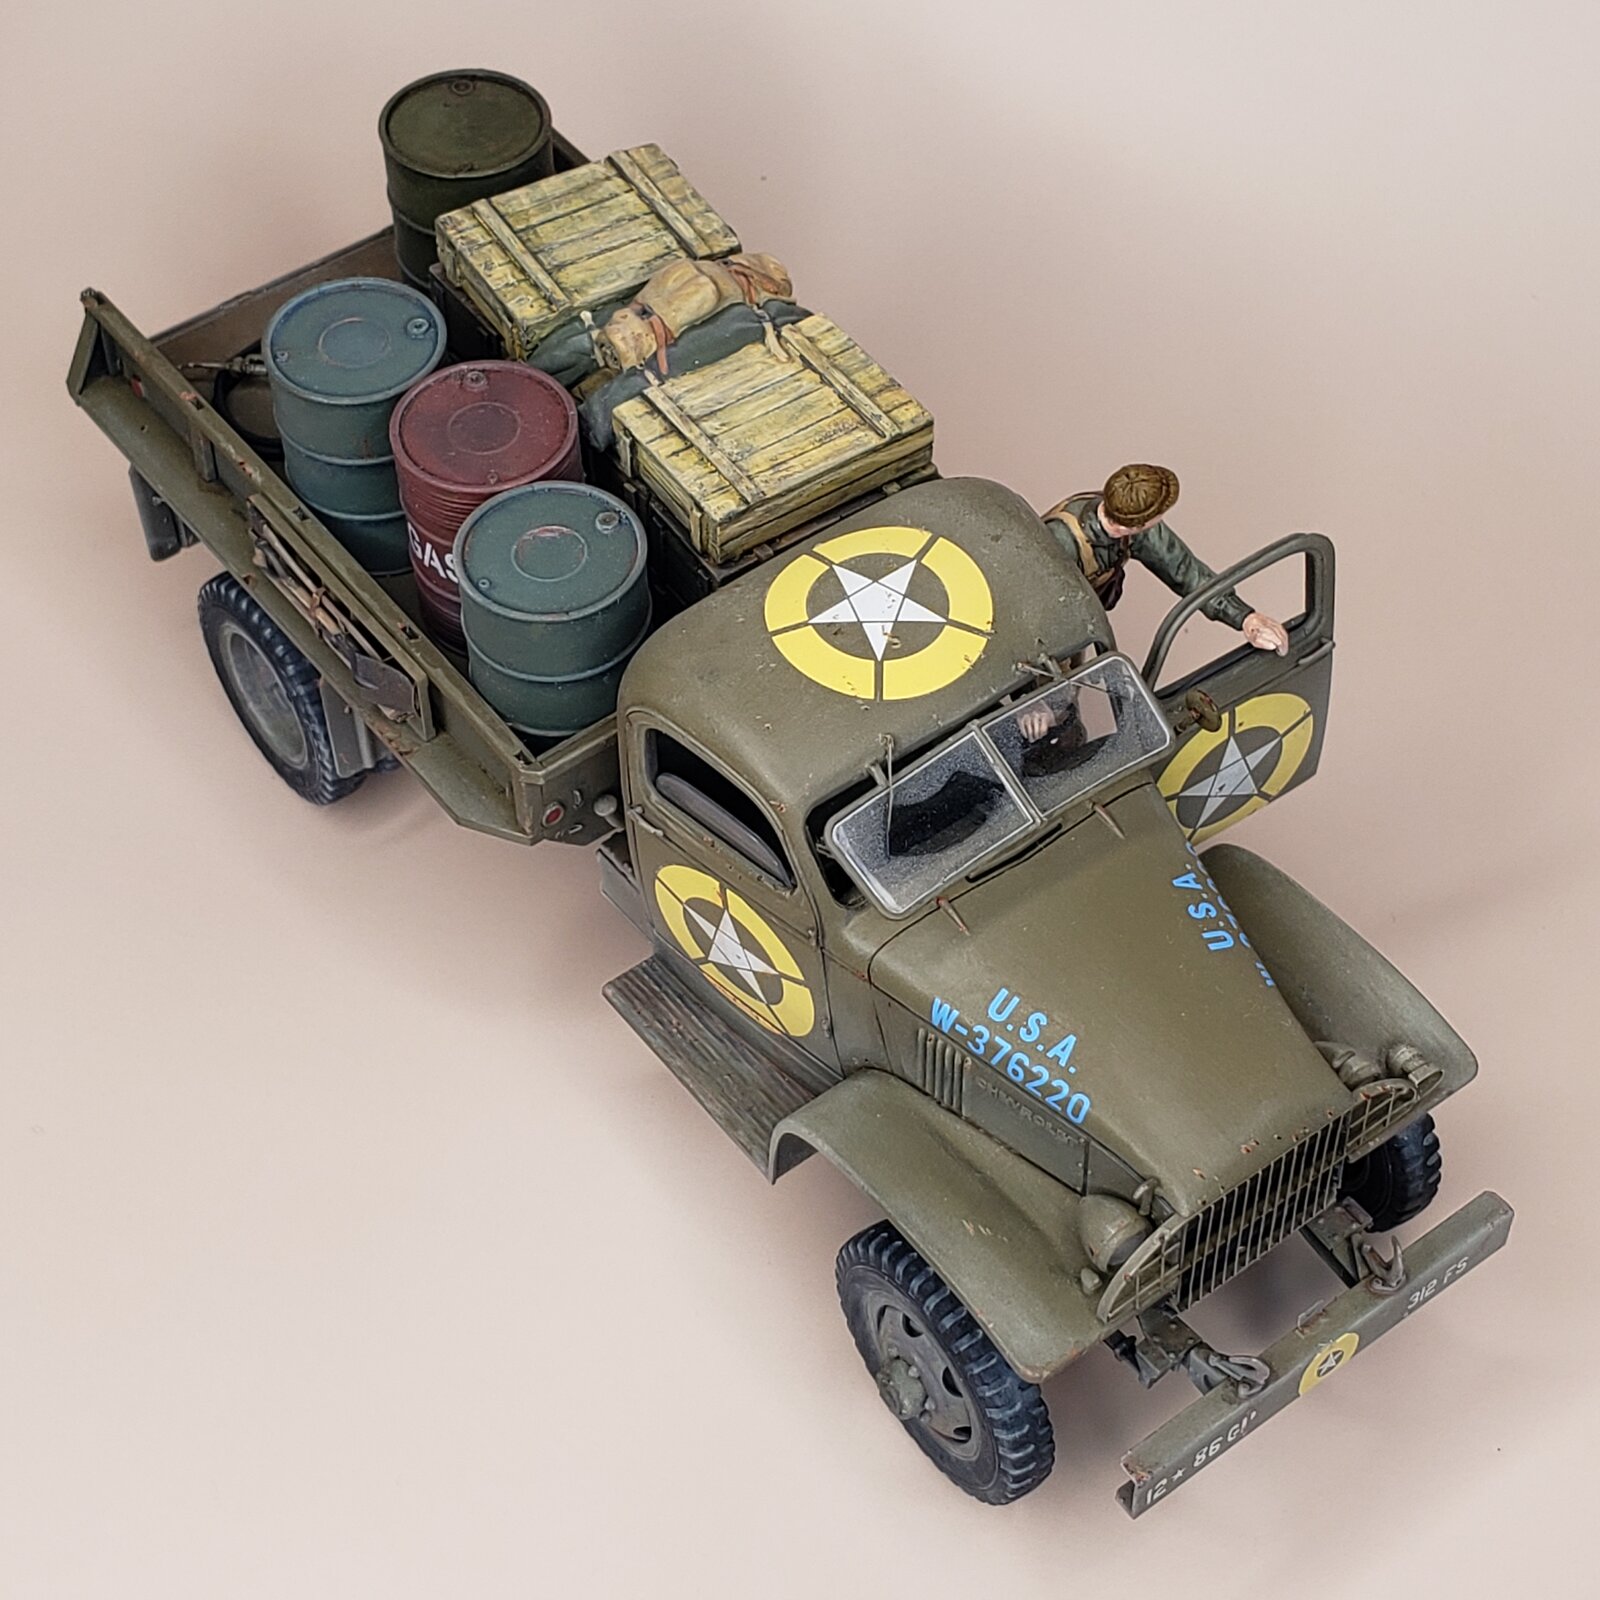
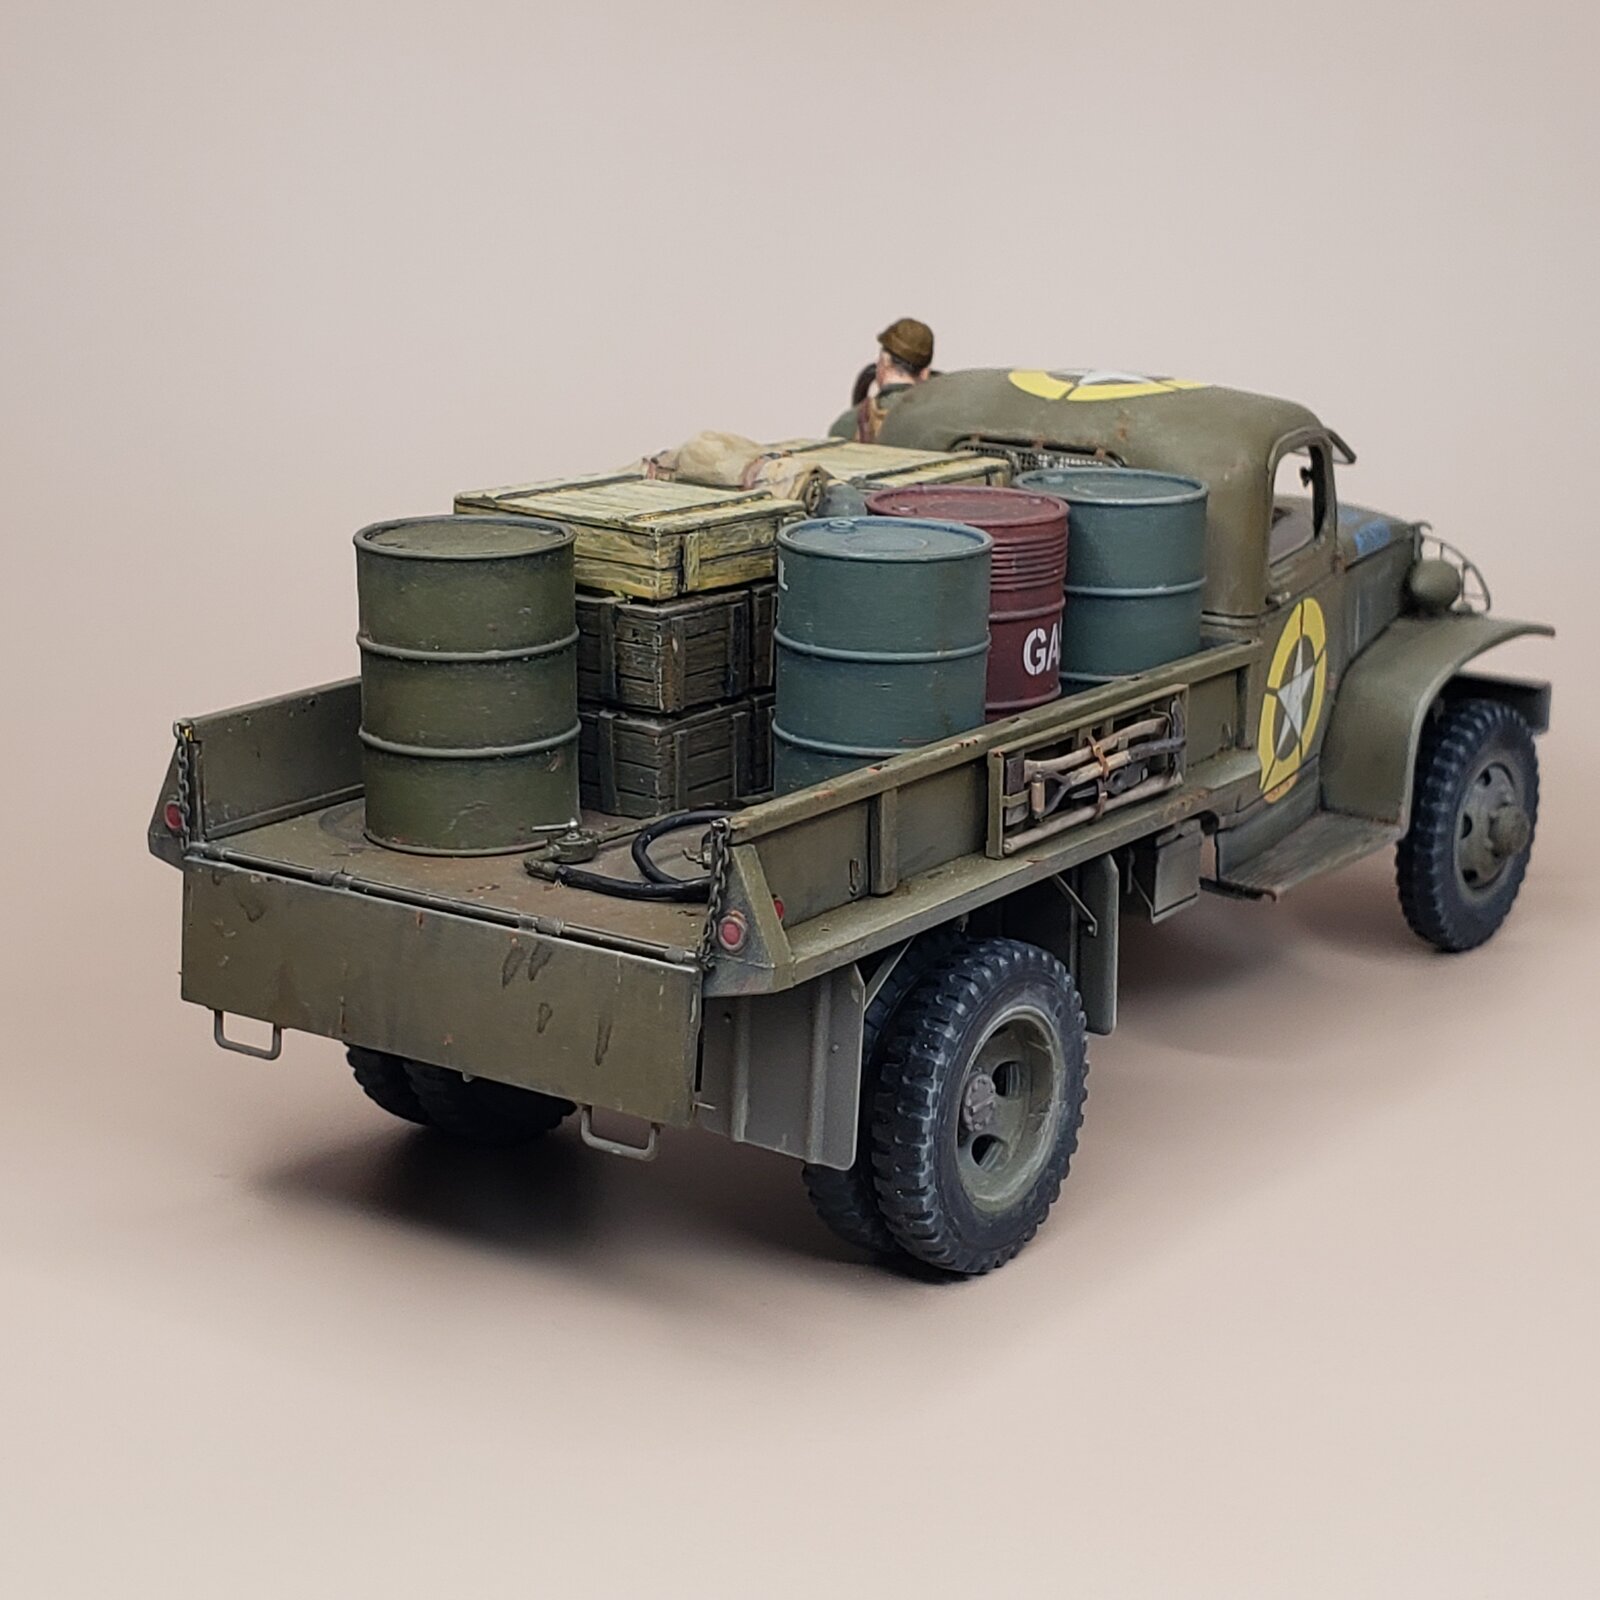
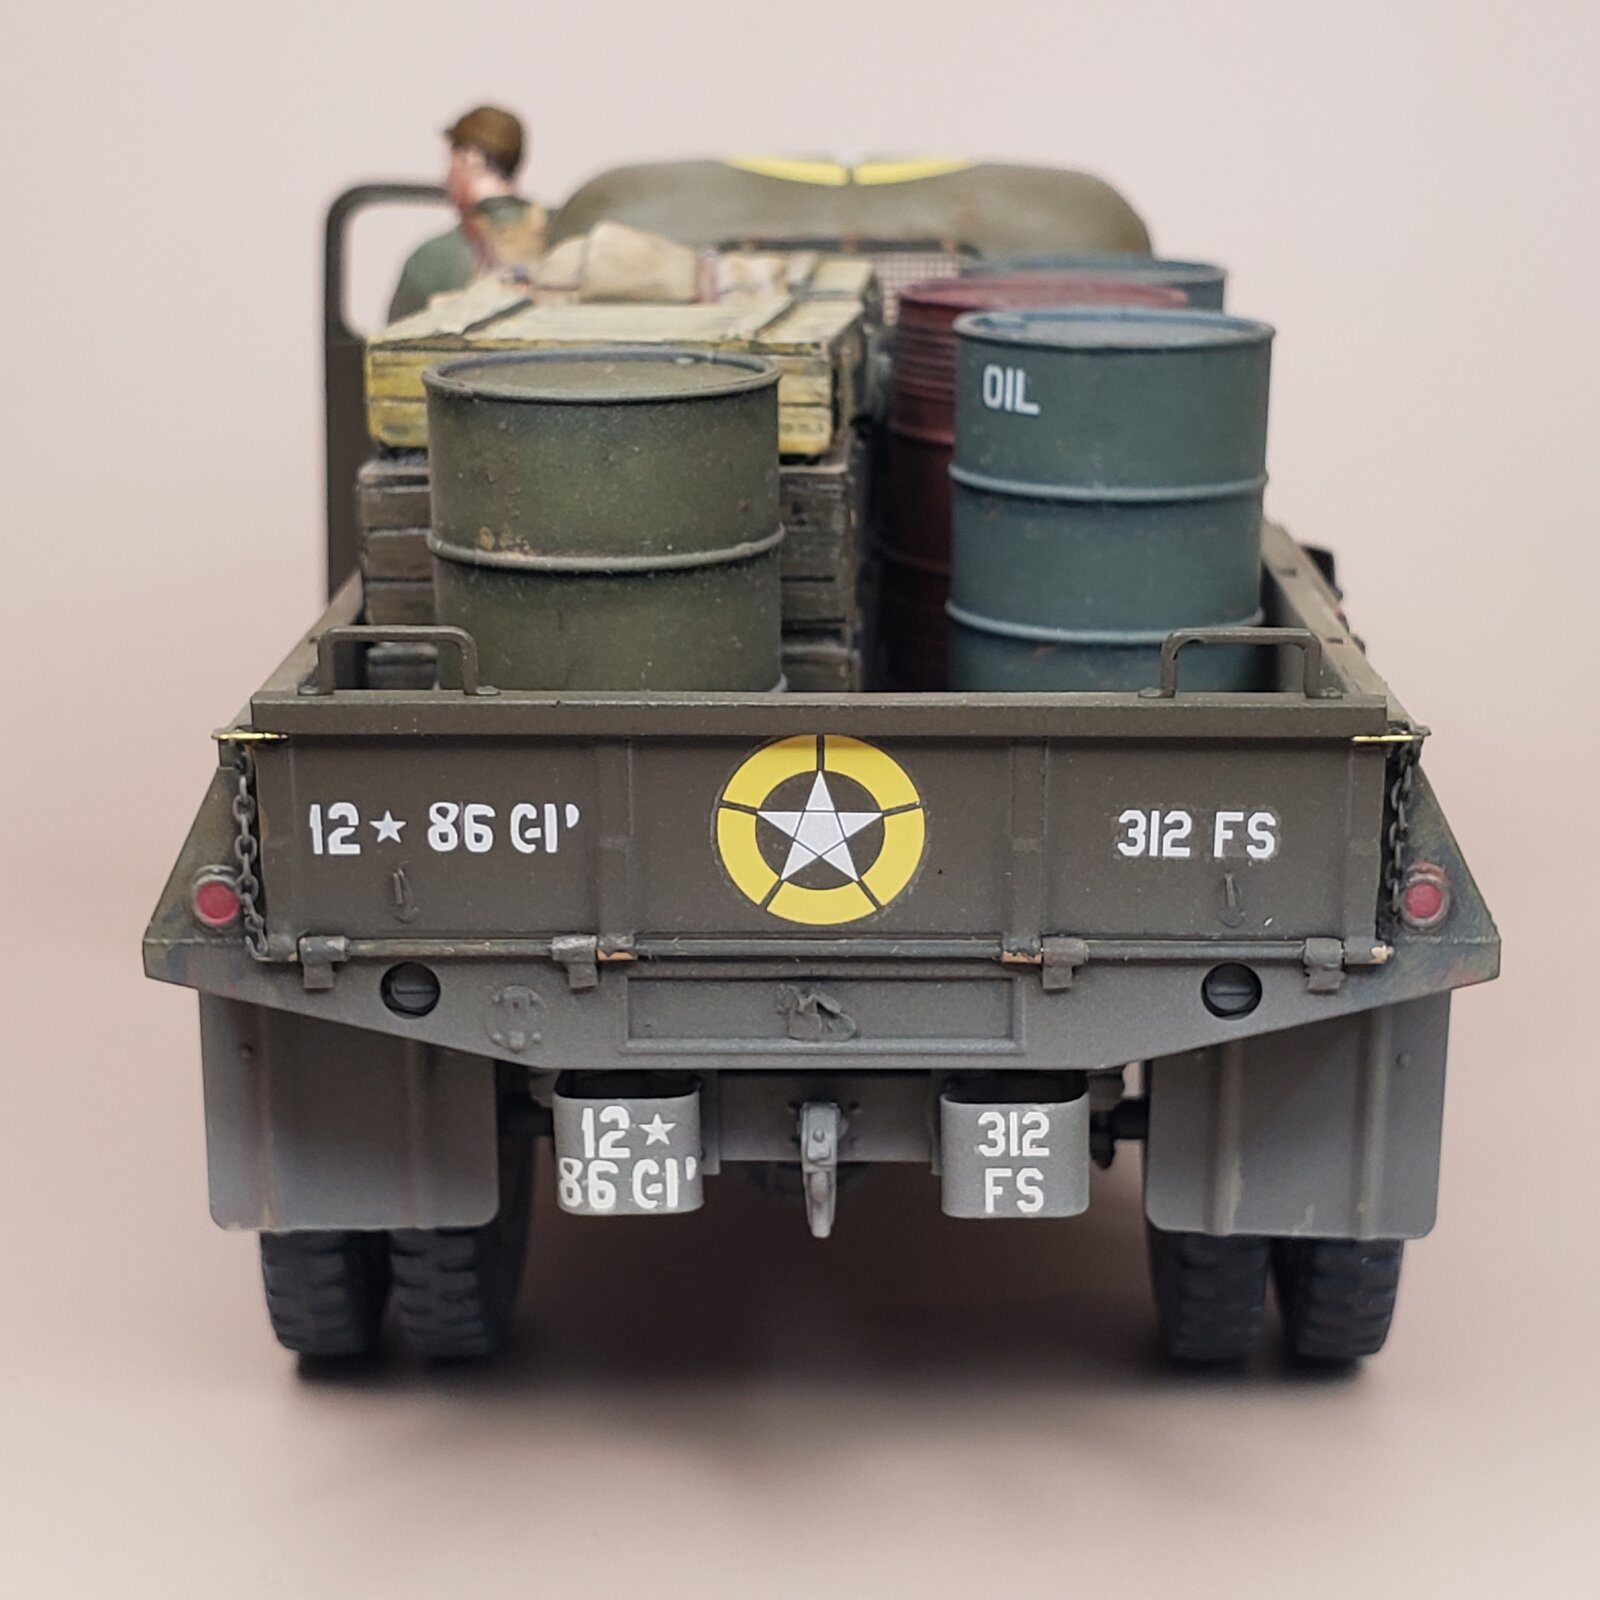
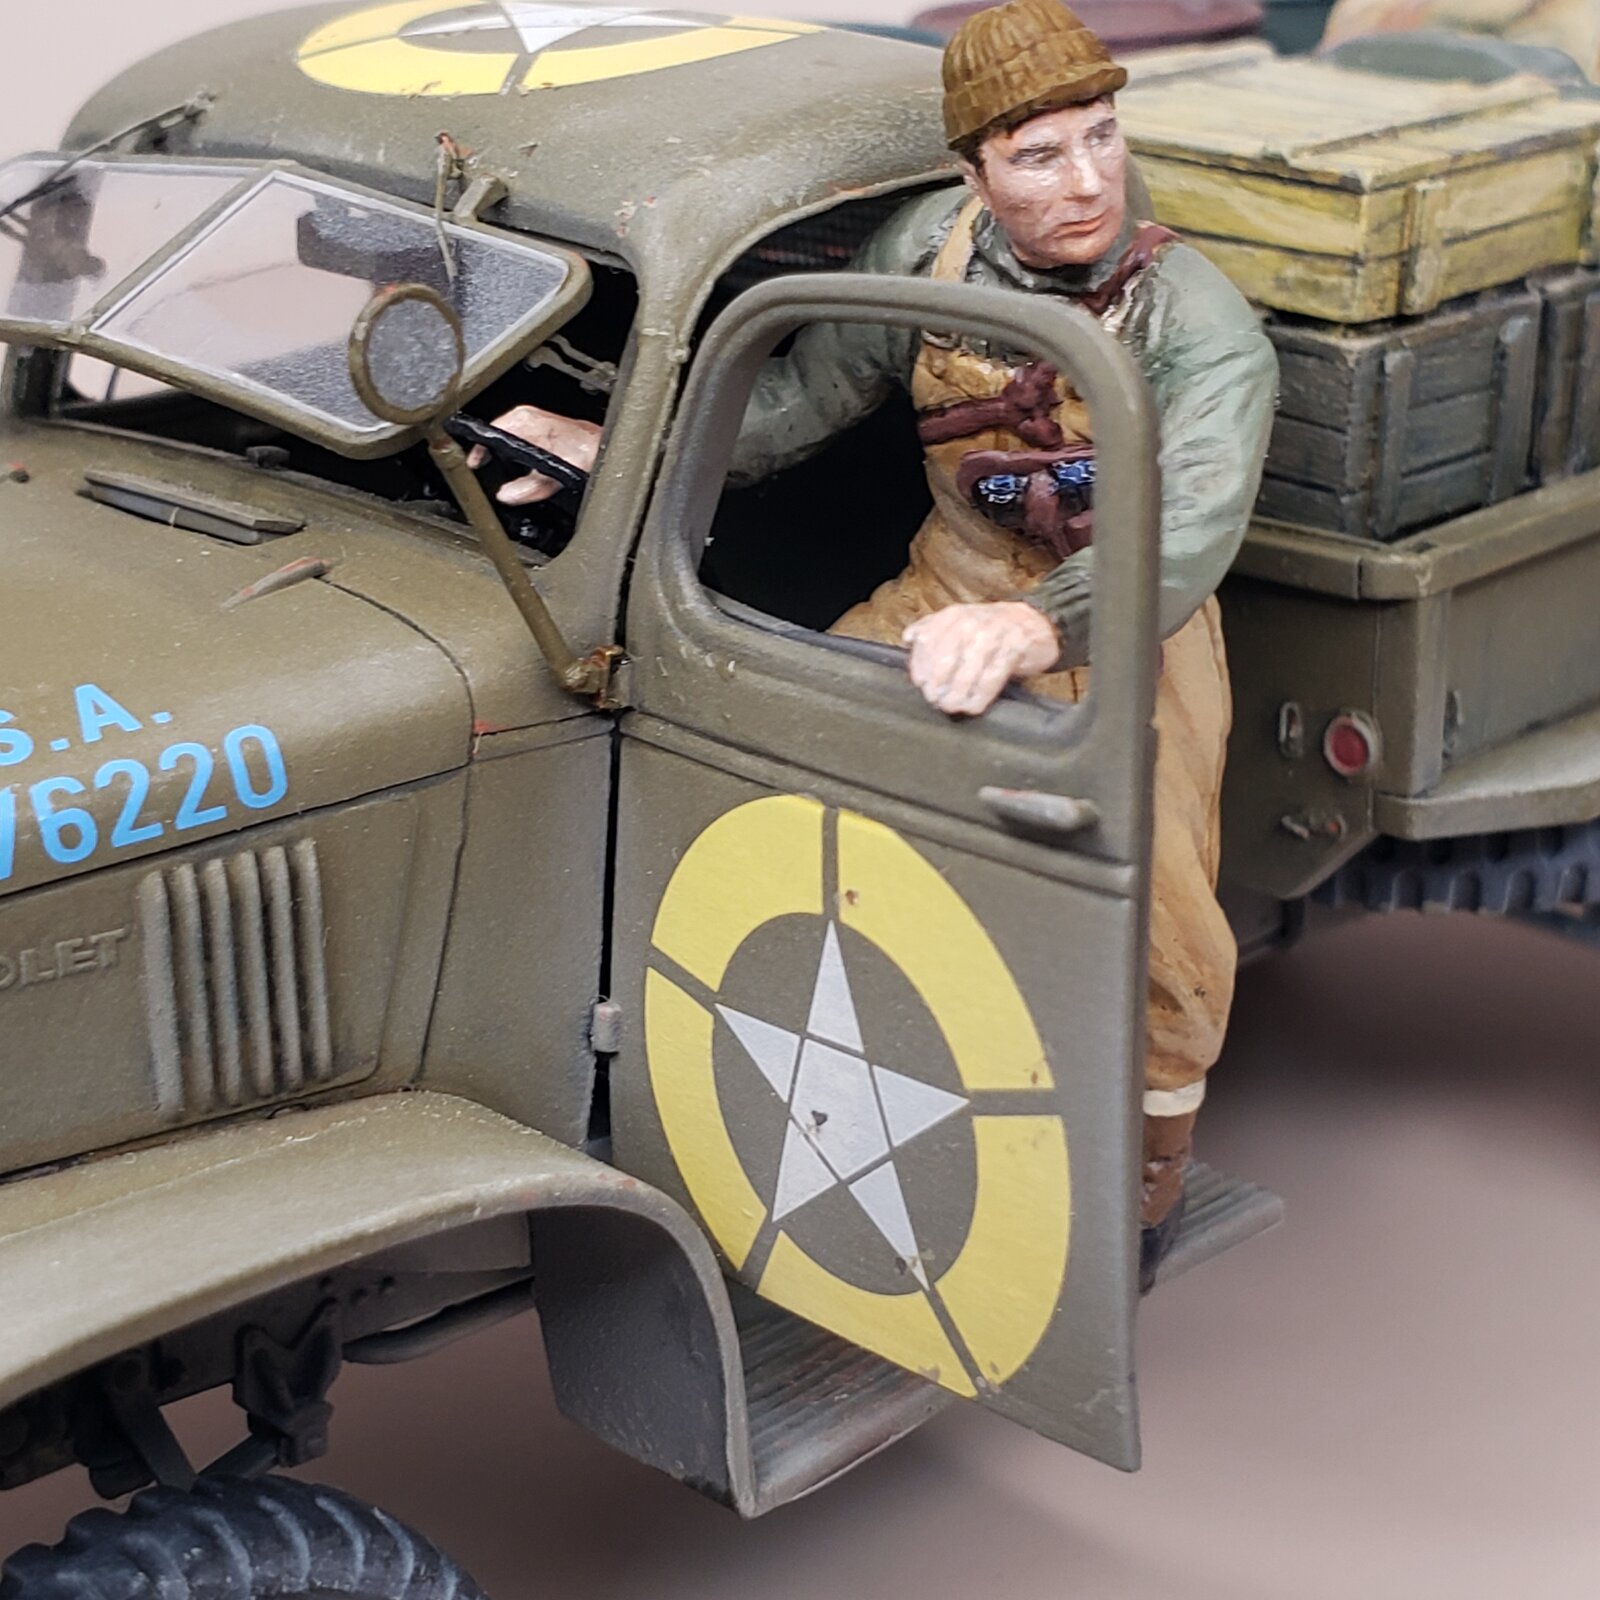
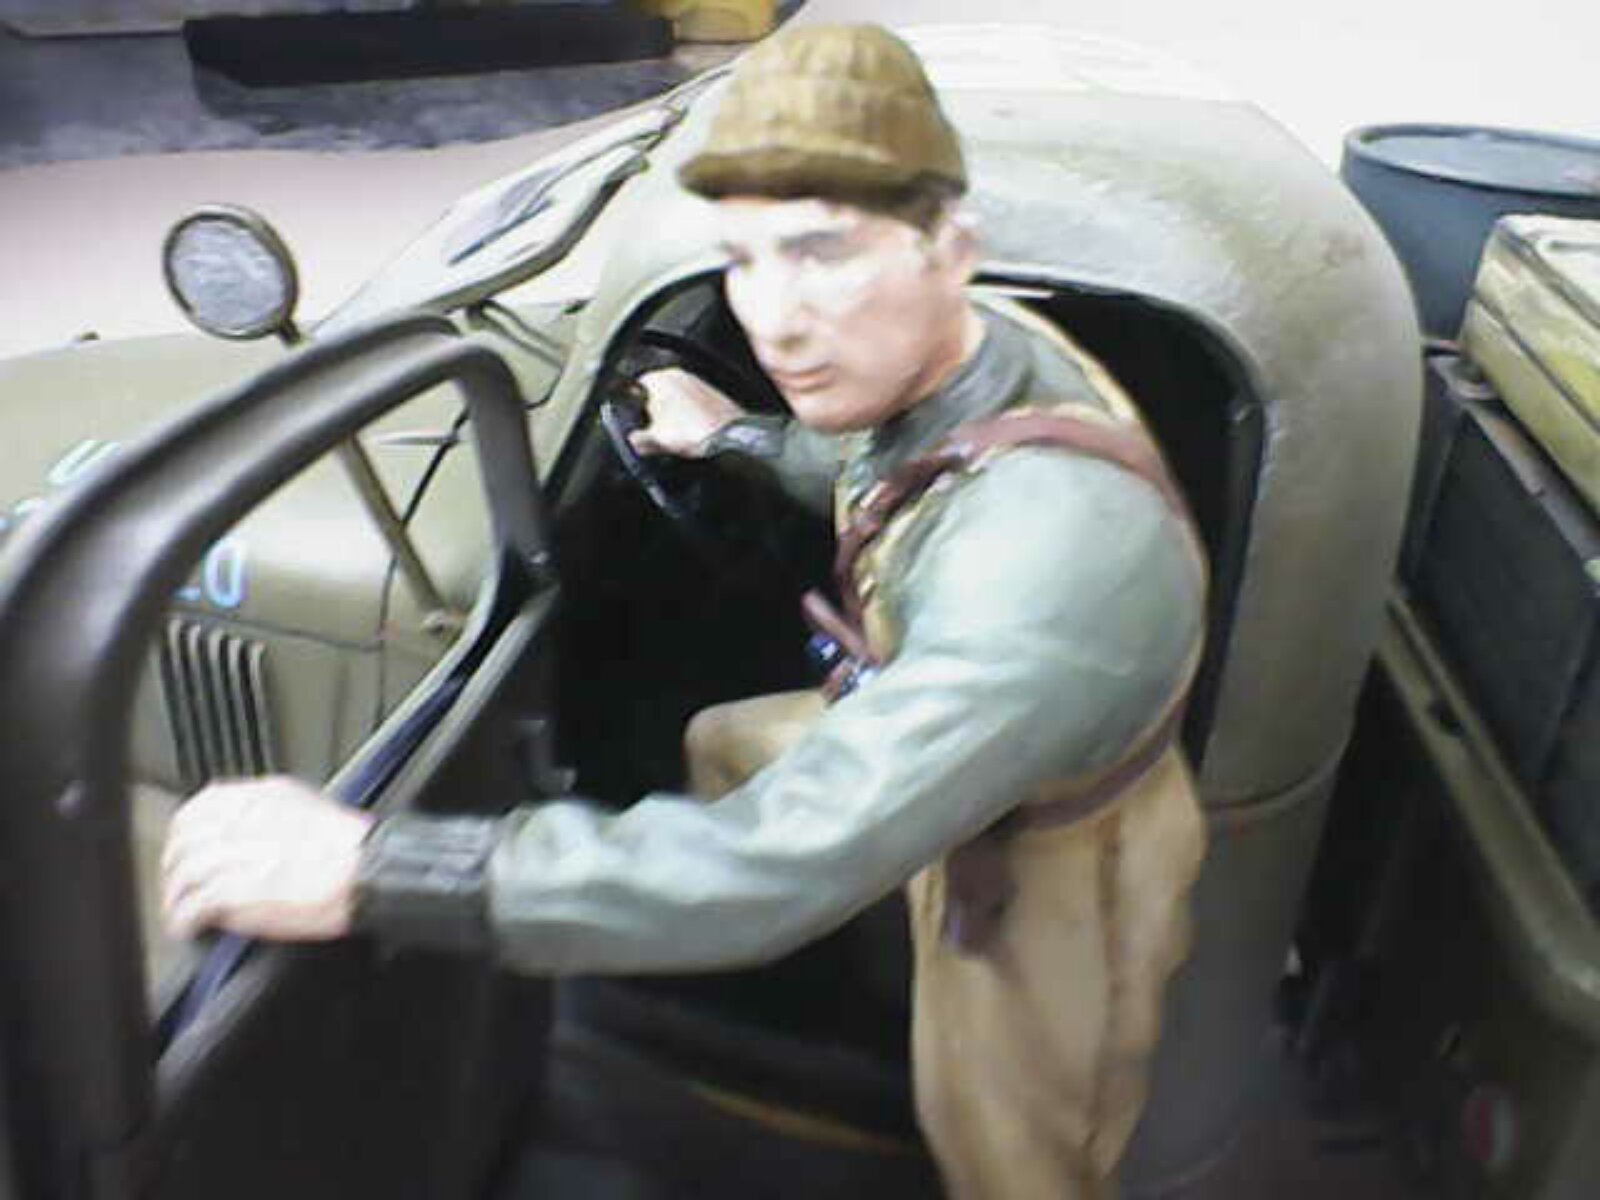
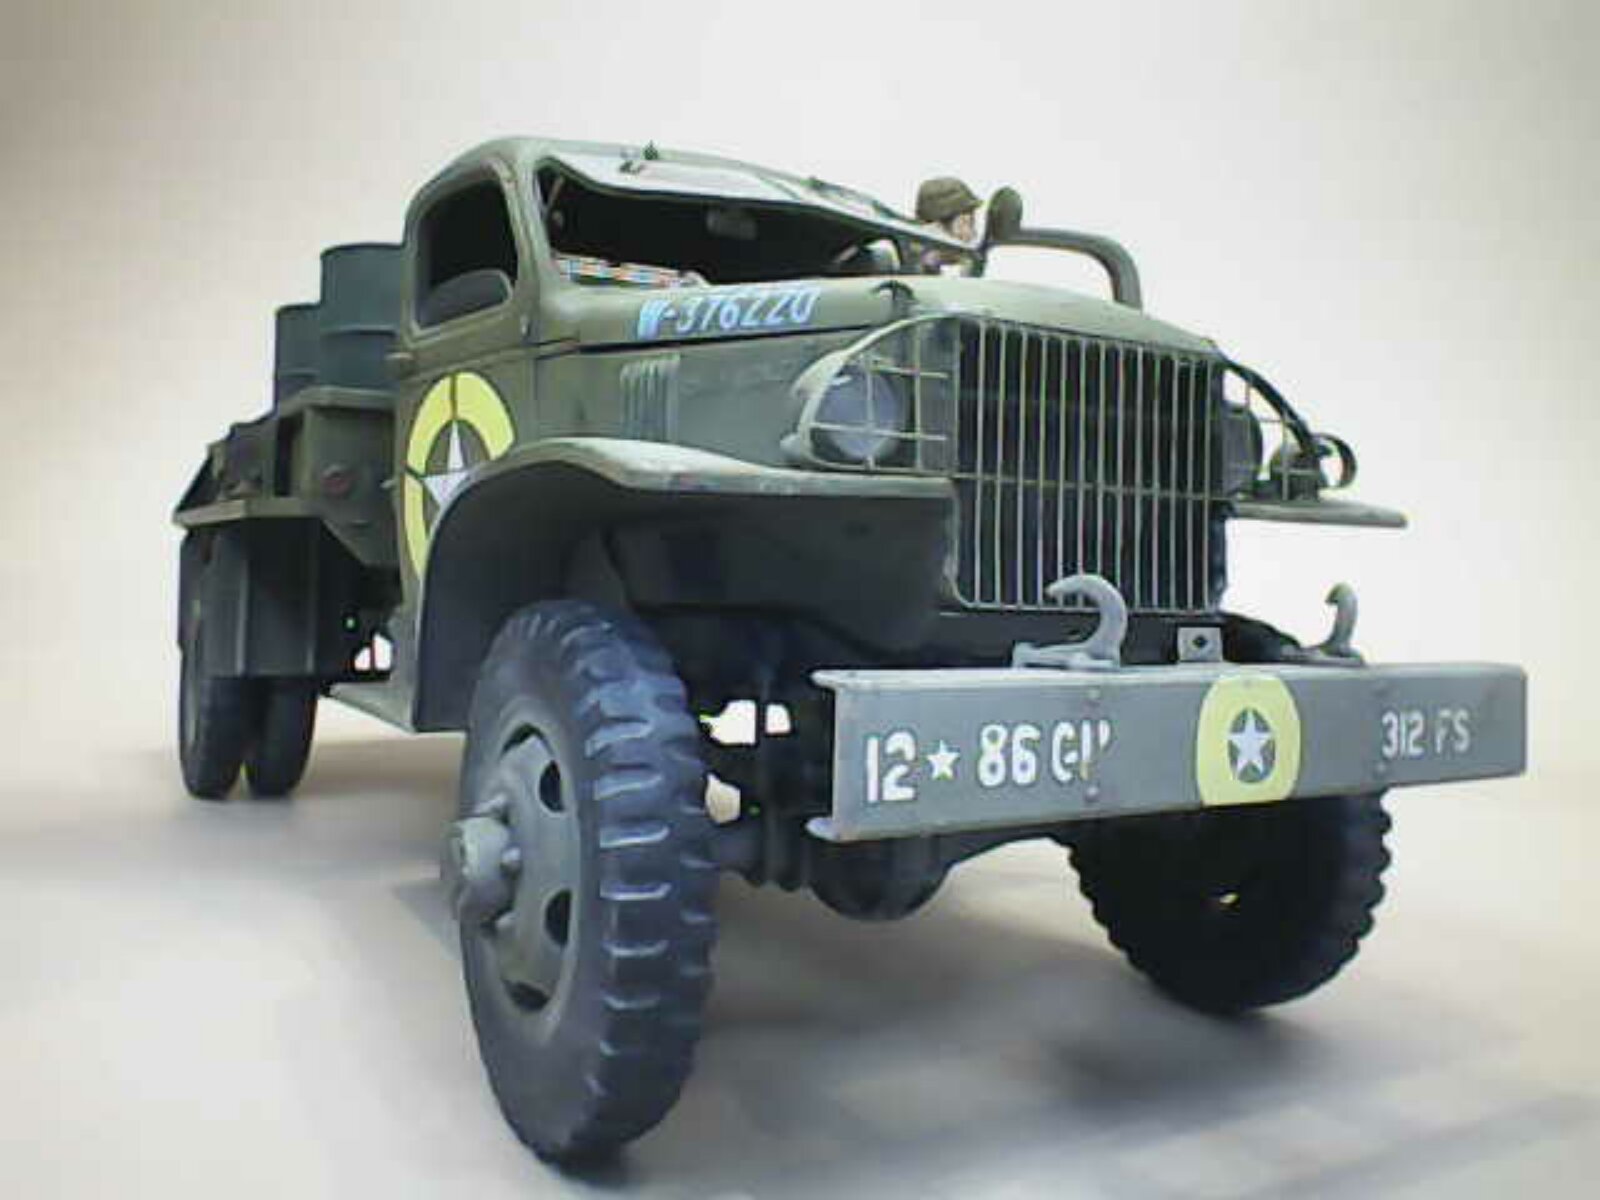
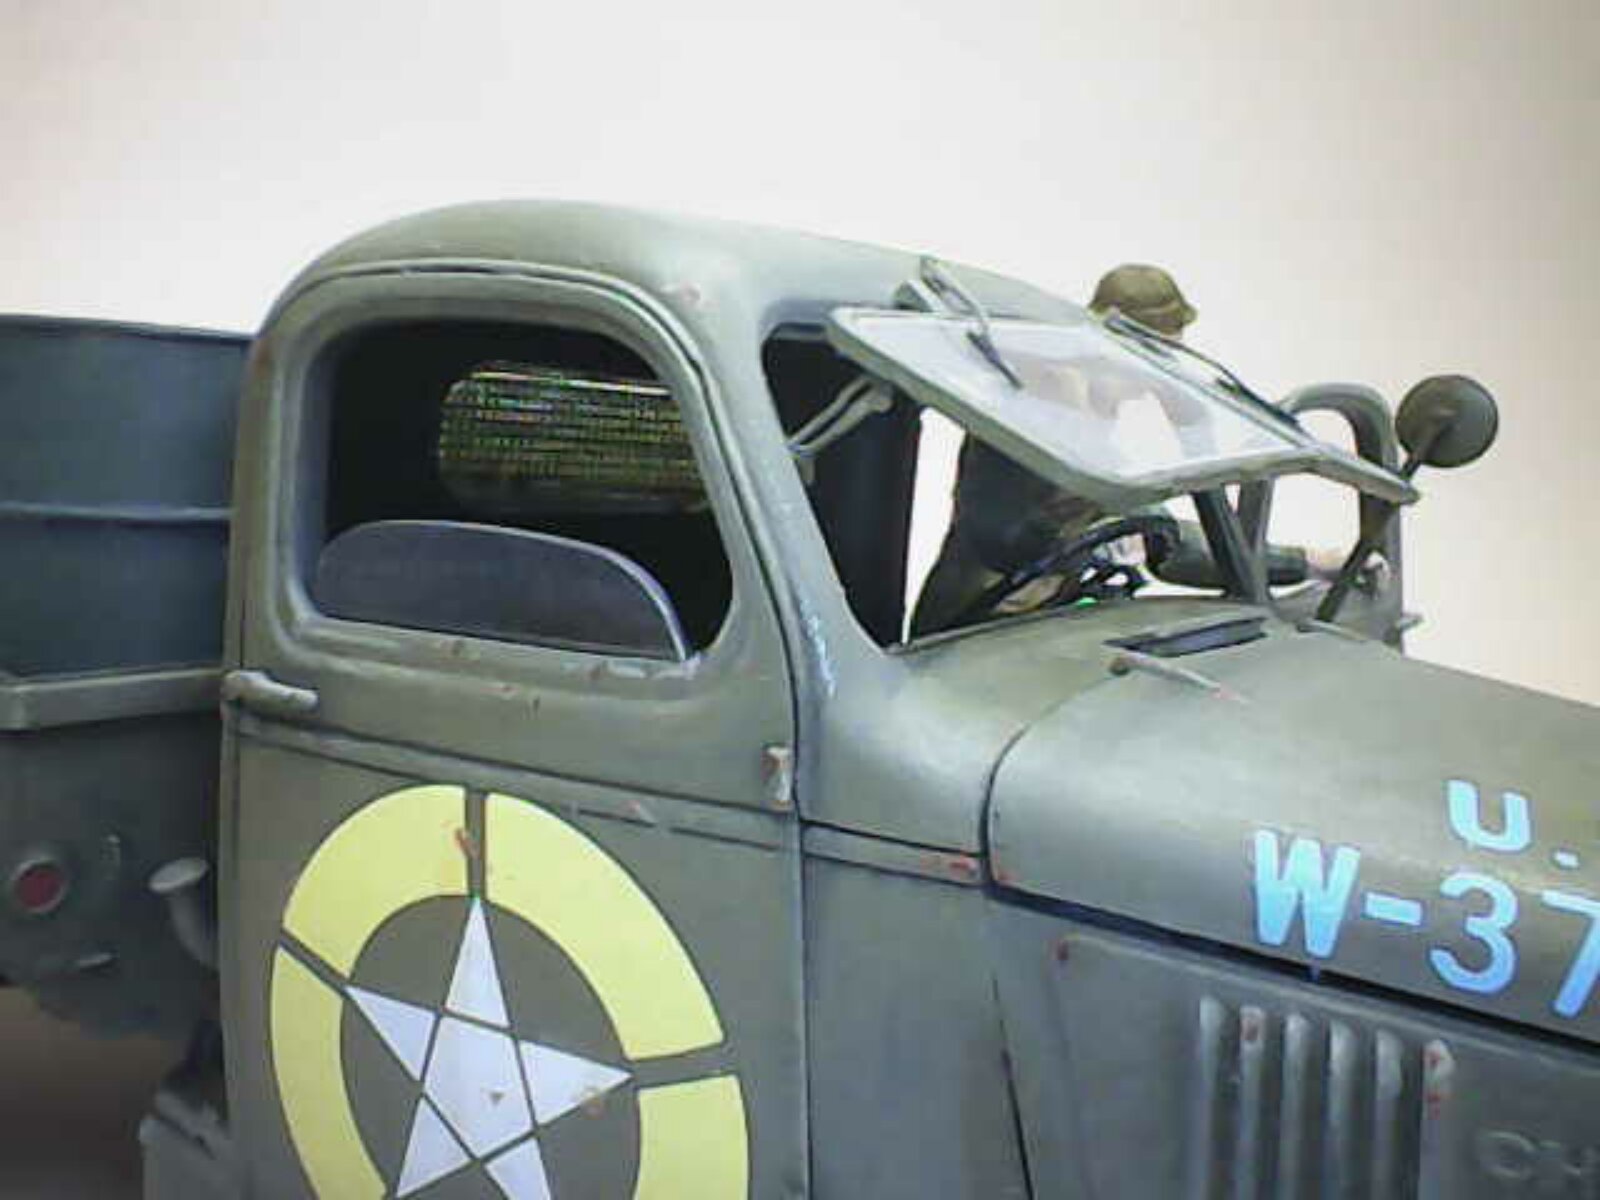
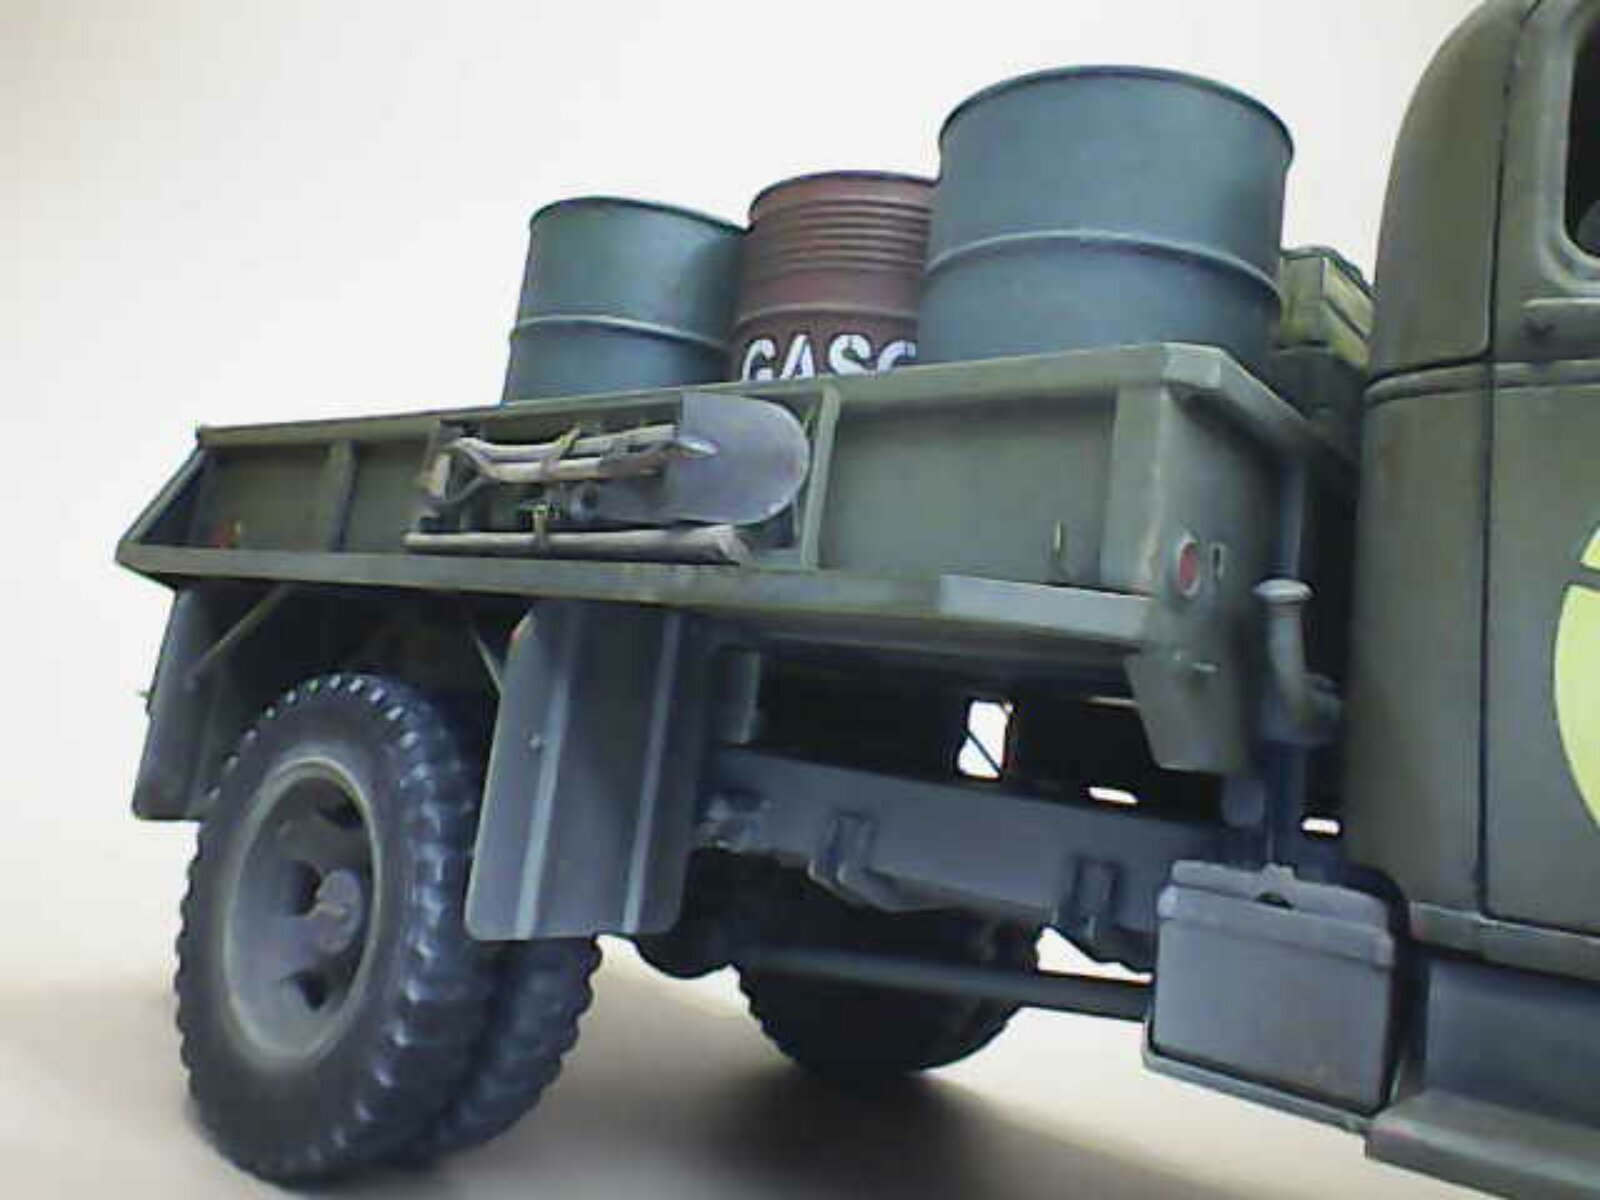
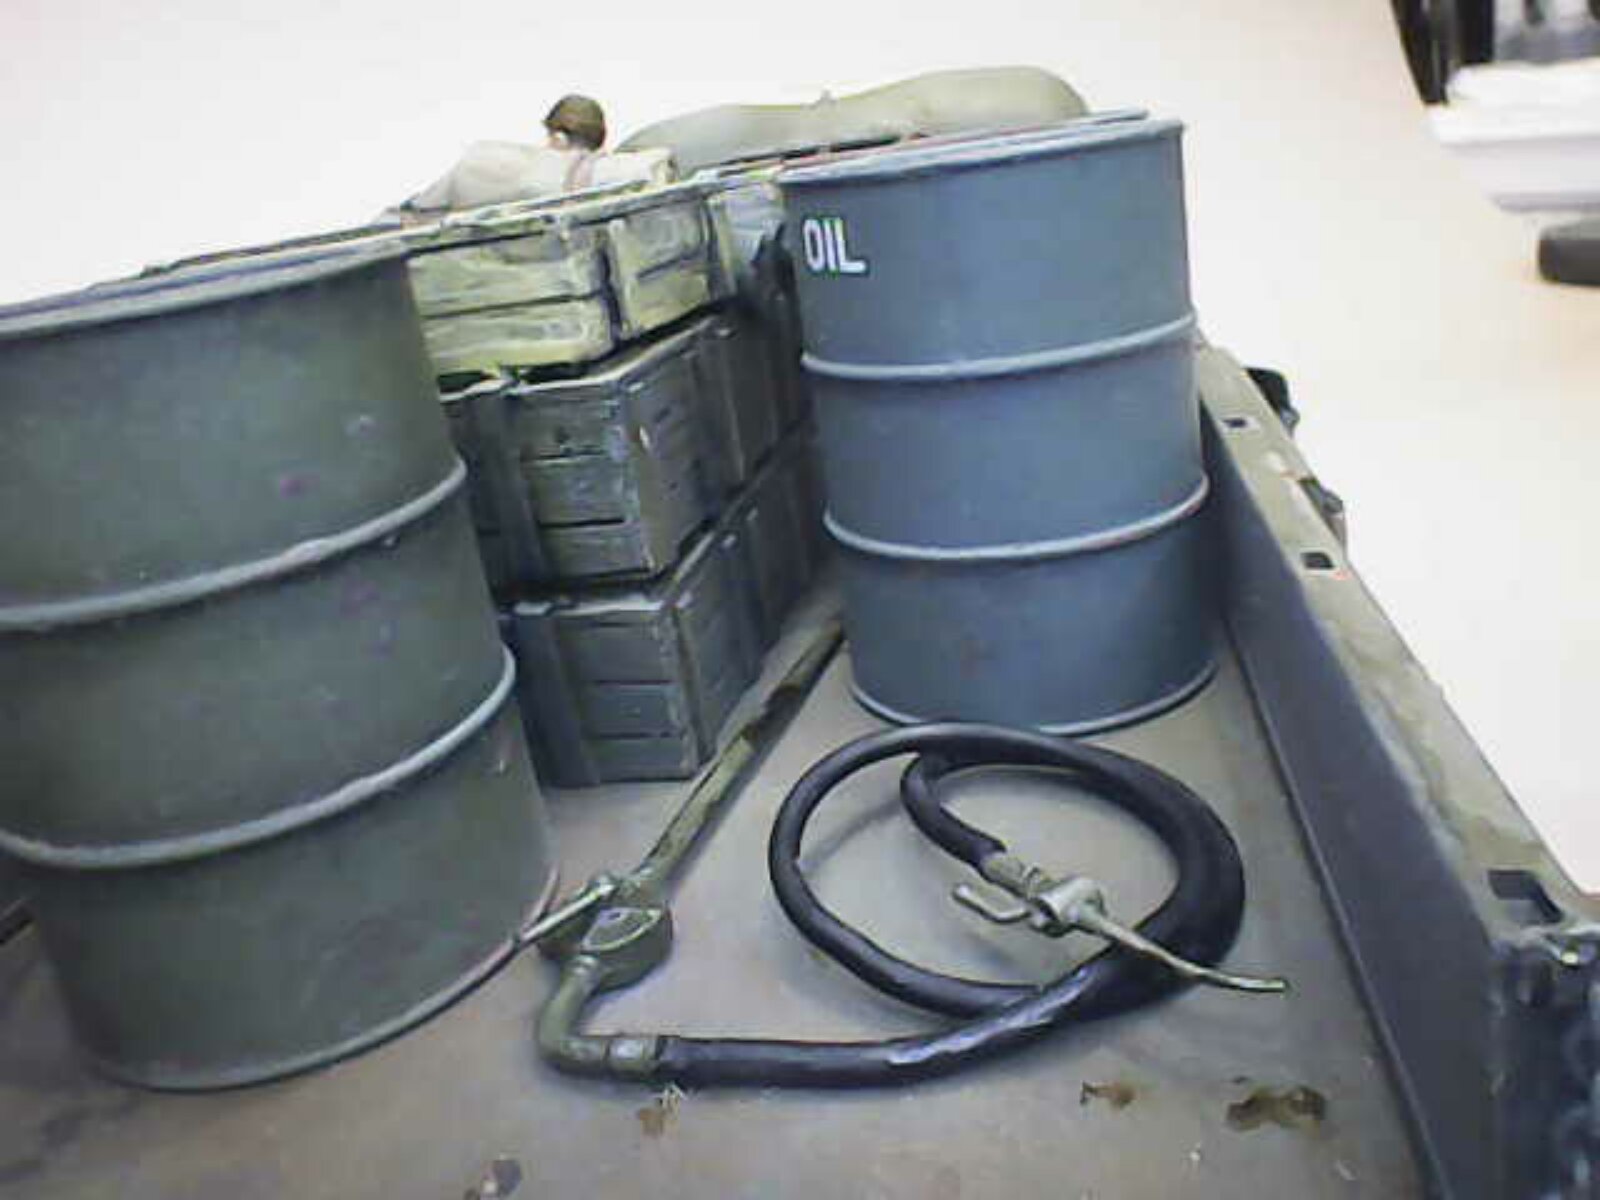
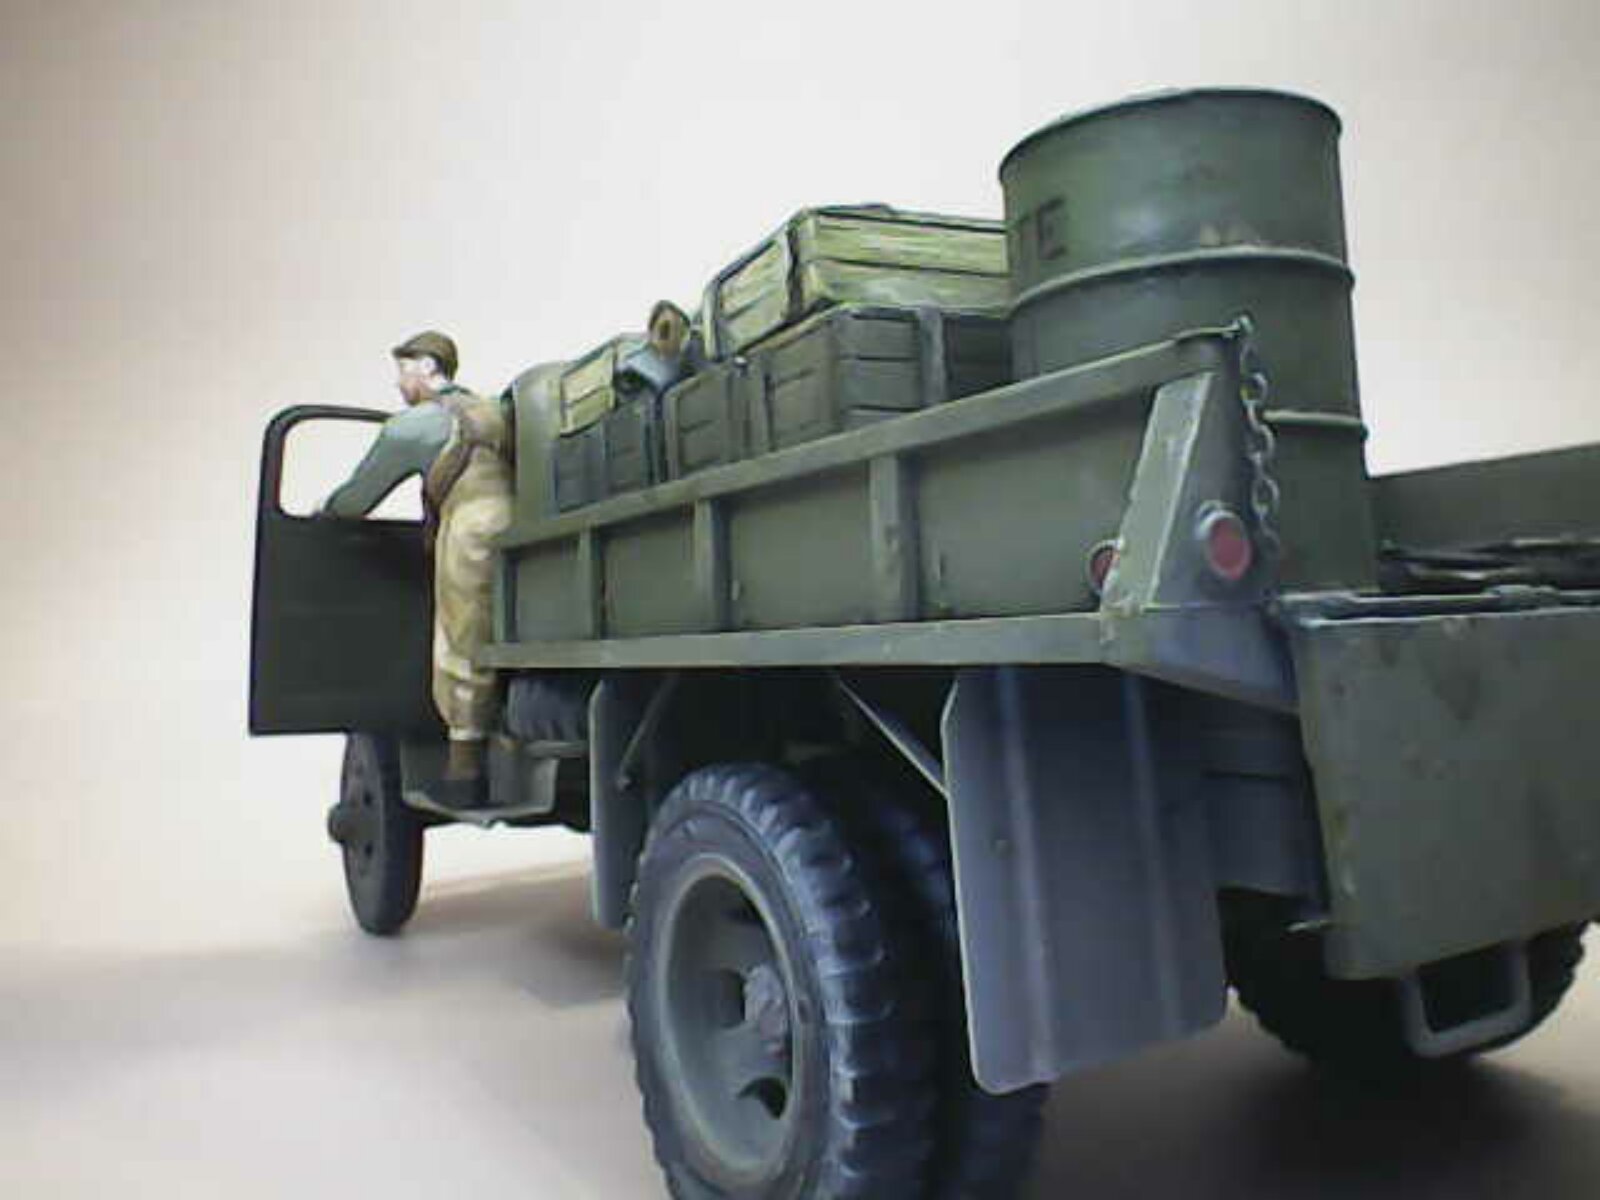
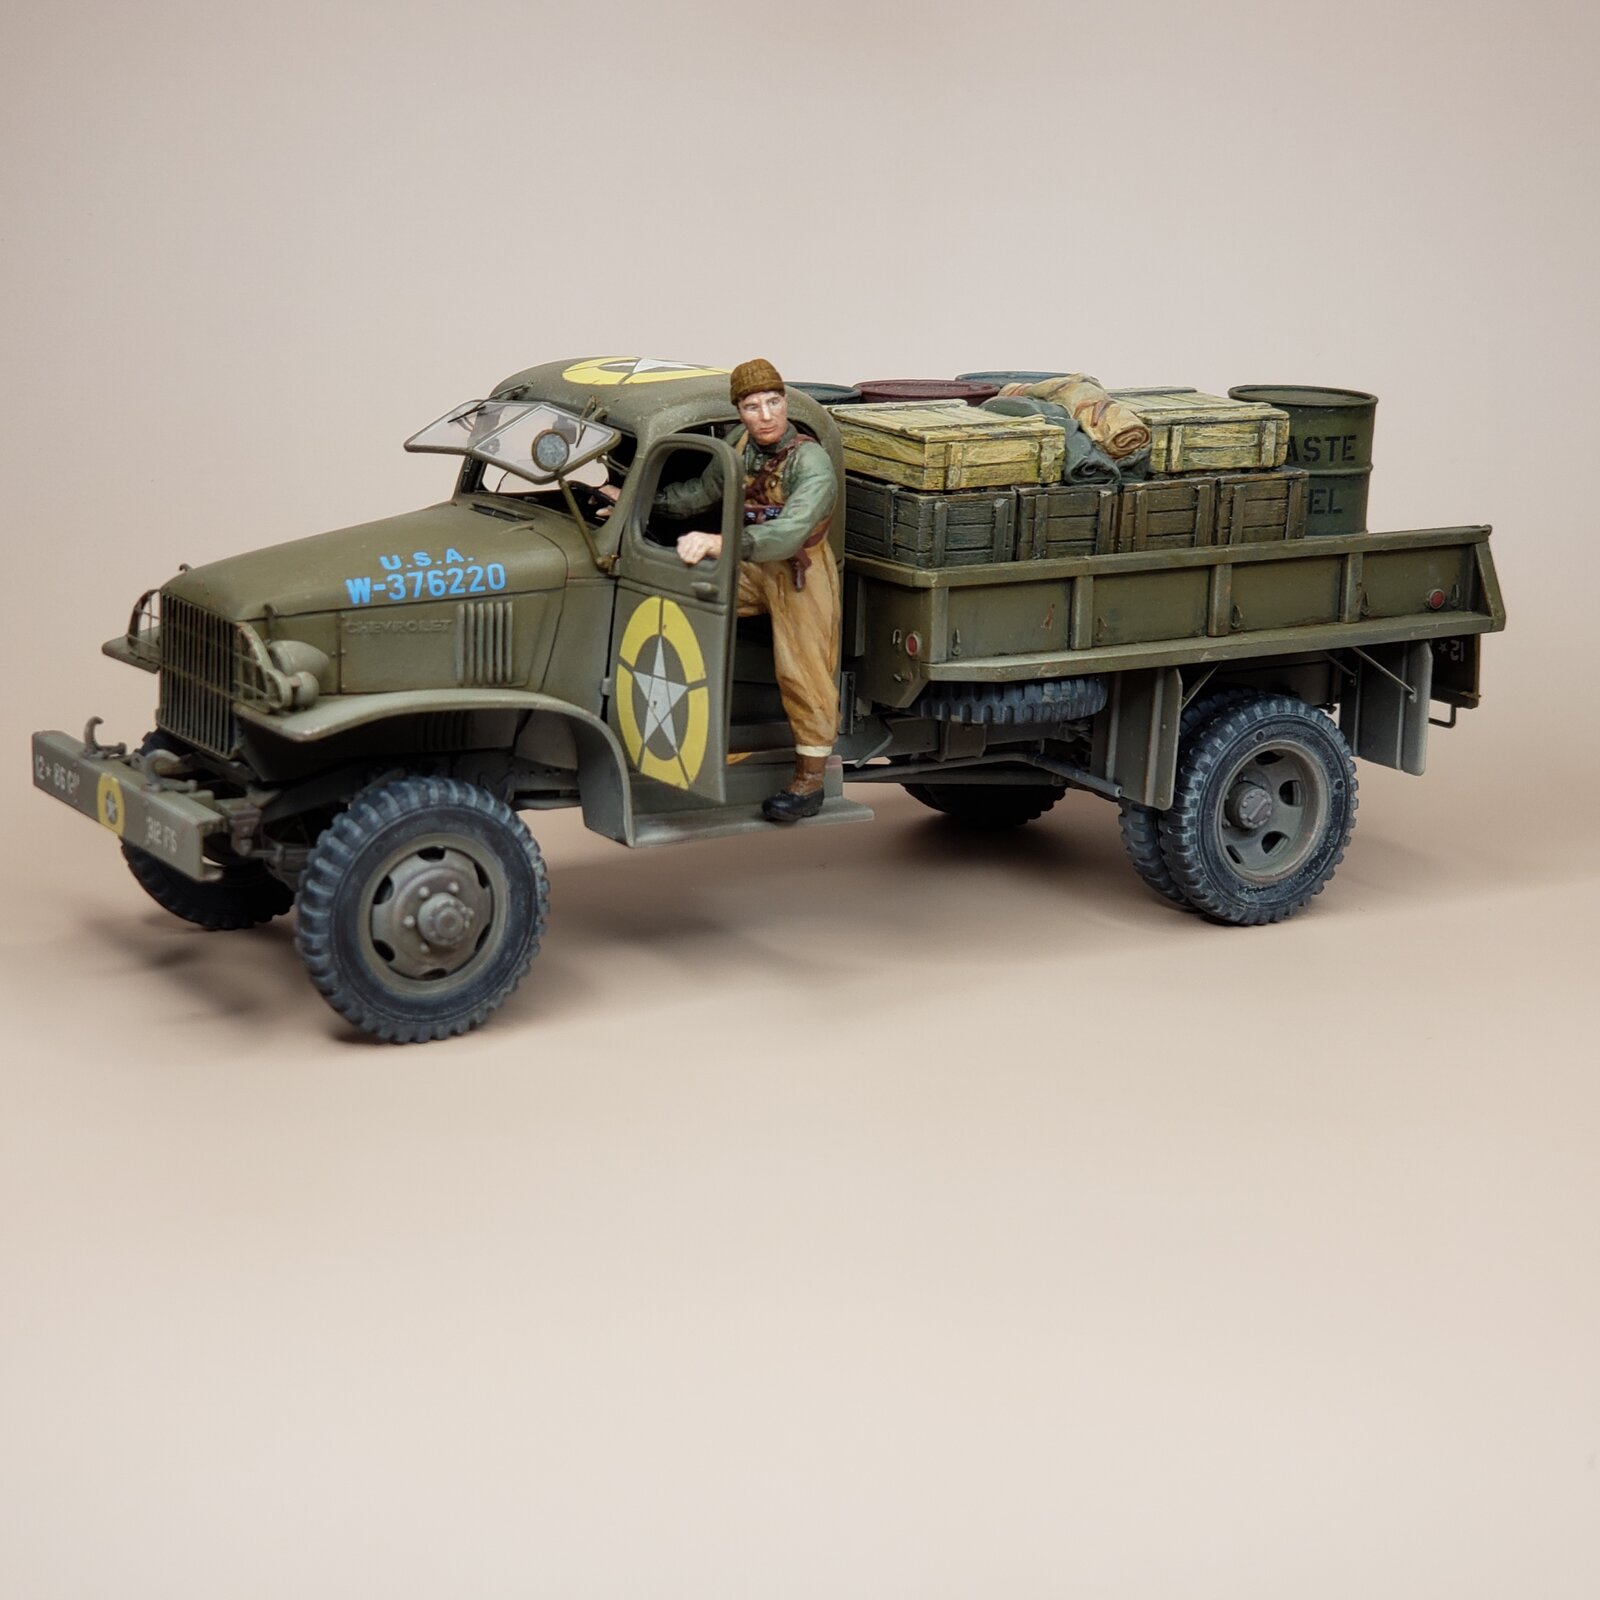
Chevy G7107 cargo truck.
Cape Bon, Tunisia 1943. In USSAF service. 12th Air Force, 86th FBG, Kobra North.

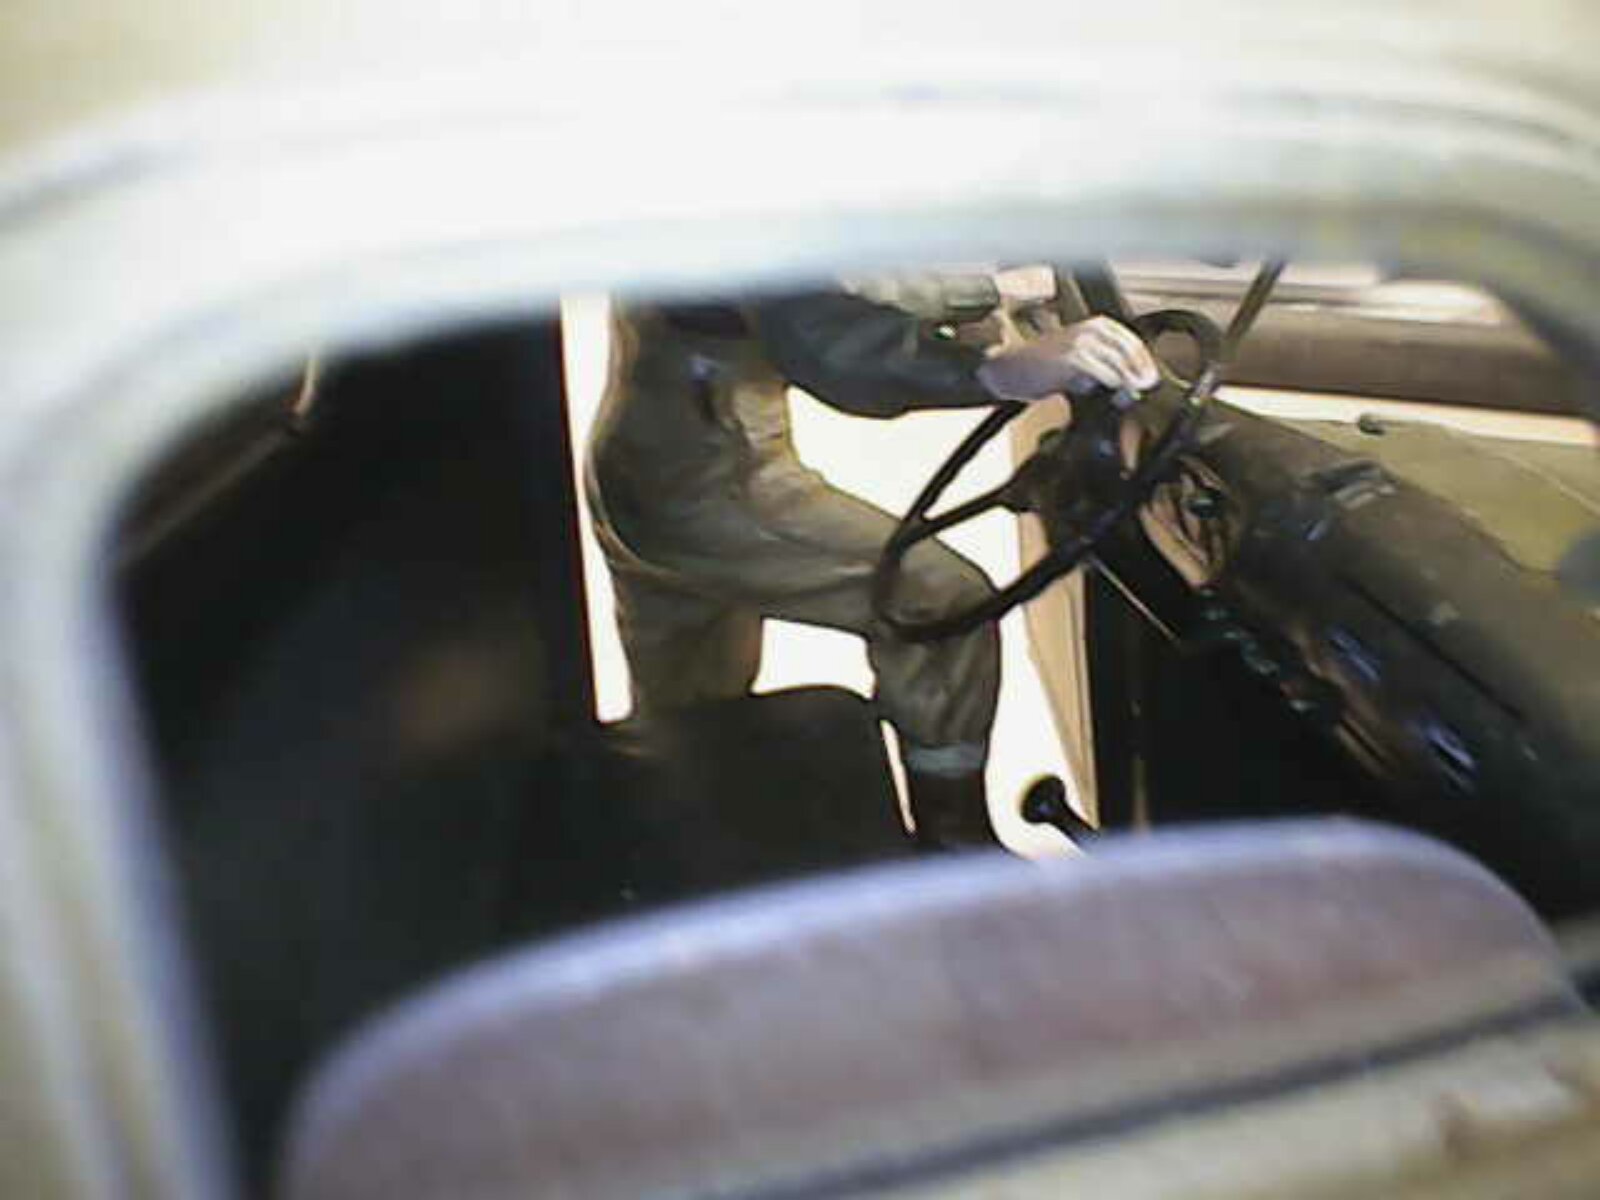
Here is a walk-around of my contribution to the Group build: Cargo trucks, backbone of the army!
20260114_134202.jpg

20260114_134255.jpg

20260114_134349.jpg

20260114_134509.jpg

20260114_134619.jpg
 
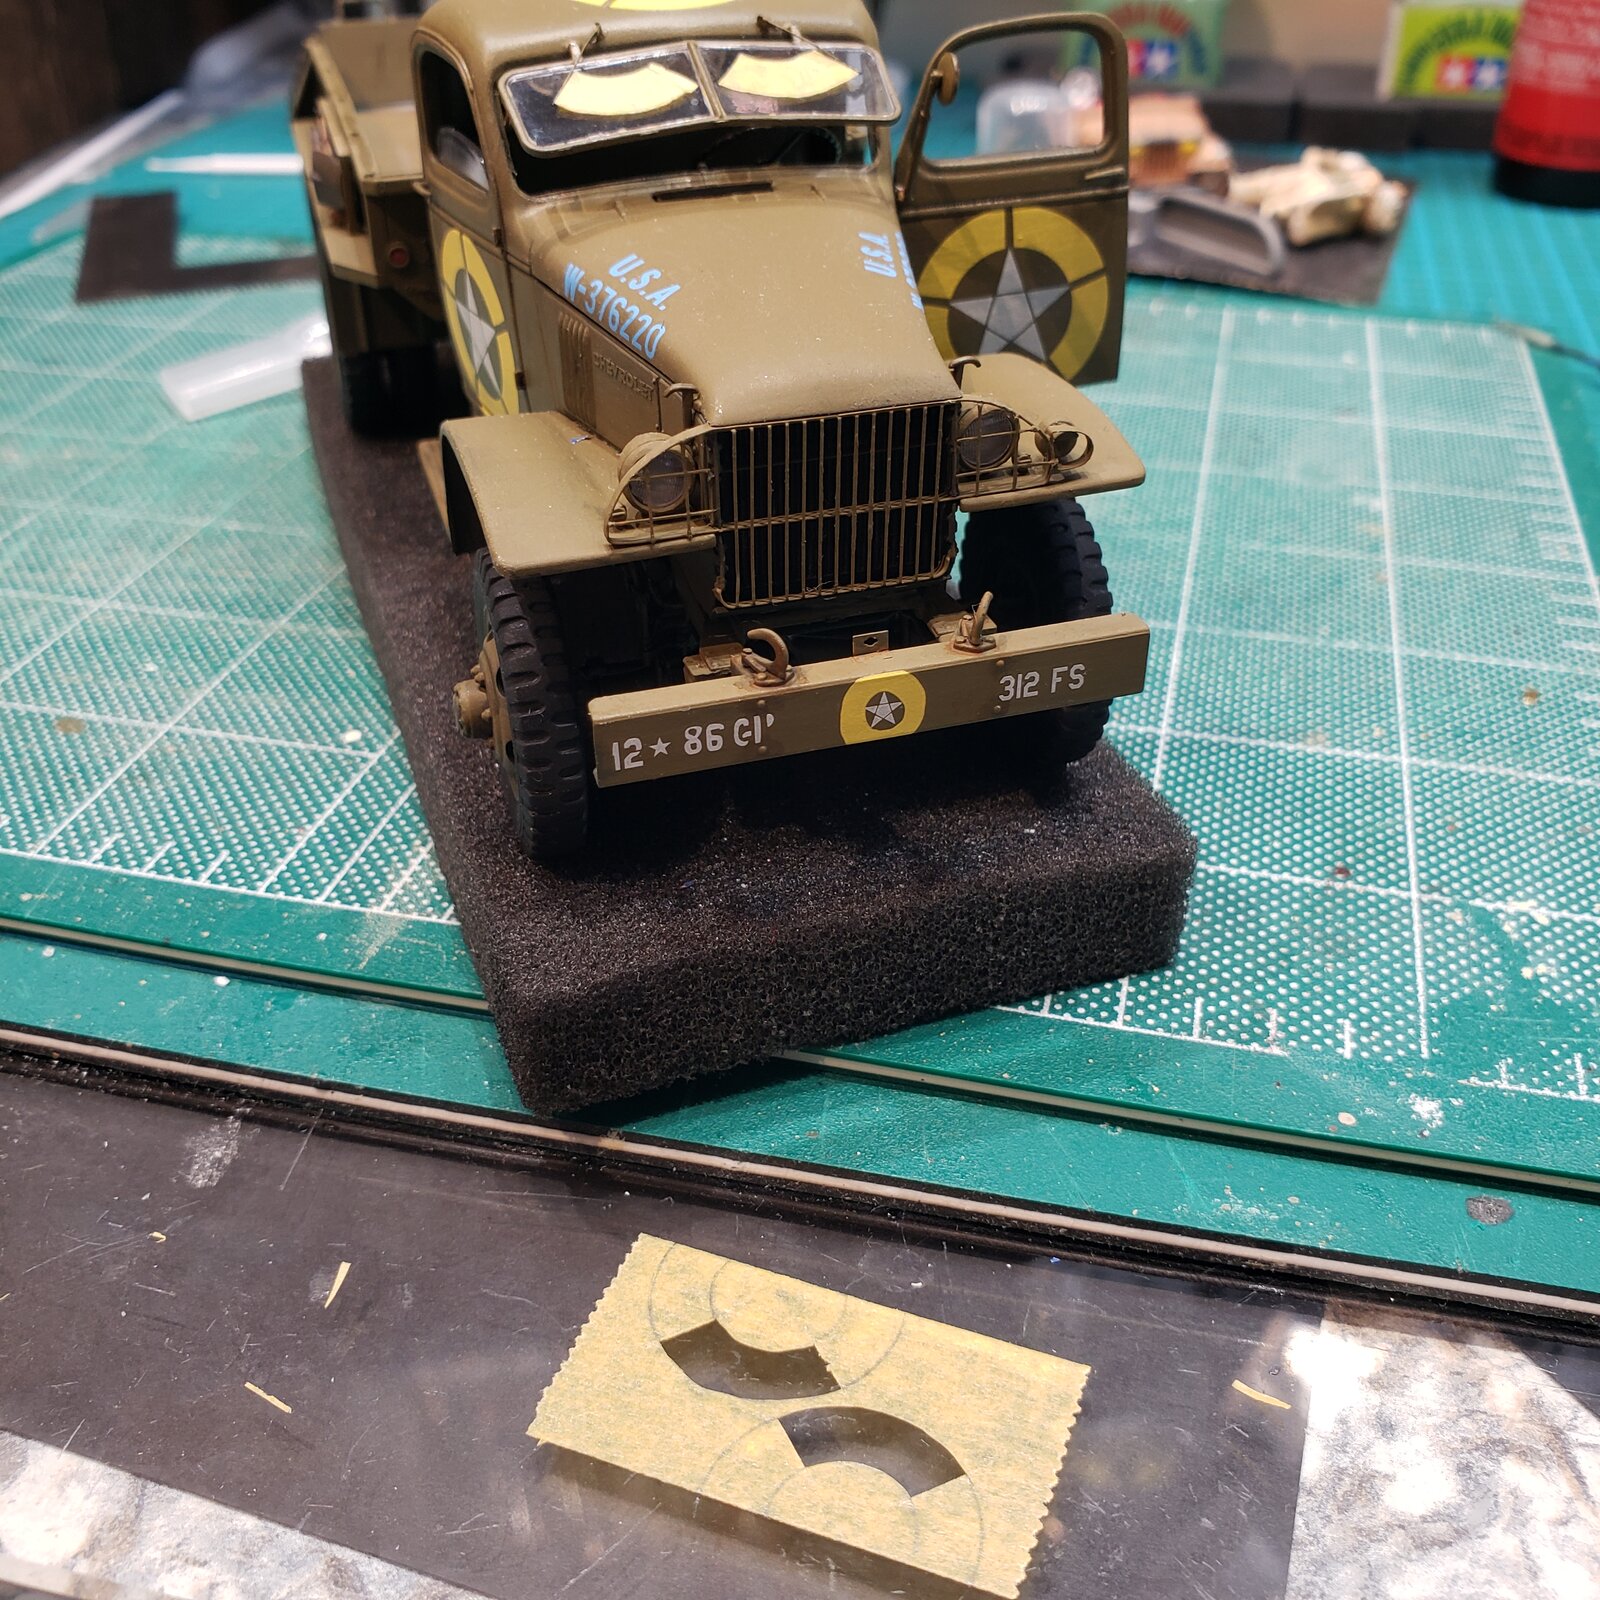
Ha, I pulled out a compass from the drawer: used it like caliper to measure the distance from the rotation point to the tip of the wiper, drew two arcs on mask tape, then did the same for the inside measurement.
I held the tape close to the windshield to figure out the sweep of the wipers, then put the mask down.
When I airbrushed dust on lower part of truck during weathering, I also let a minimal amount over the windshield.
Let dry.
Remove mask.
Voilà!

20260110_120616.jpg
 
Ha, I pulled out a compass from the drawer: used it like caliper to measure the distance from the rotation point to the tip of the wiper, drew two arcs on mask tape, then did the same for the inside measurement.
I held the tape close to the windshield to figure out the sweep of the wipers, then put the mask down.
When I airbrushed dust on lower part of truck during weathering, I also let a minimal amount over the windshield.
Let dry.
Remove mask.
Voilà!

View attachment 176528
Nice very creative. Don't think I would have ever thought of doing that. Wish I could think that way. How did you airbrush dust? Sounds like a useful technique.
 
As an Amazon Associate we earn from qualifying purchases. Product prices and availability are accurate as of the date/time indicated and are subject to change.
17685108913601013354560552205303.jpg

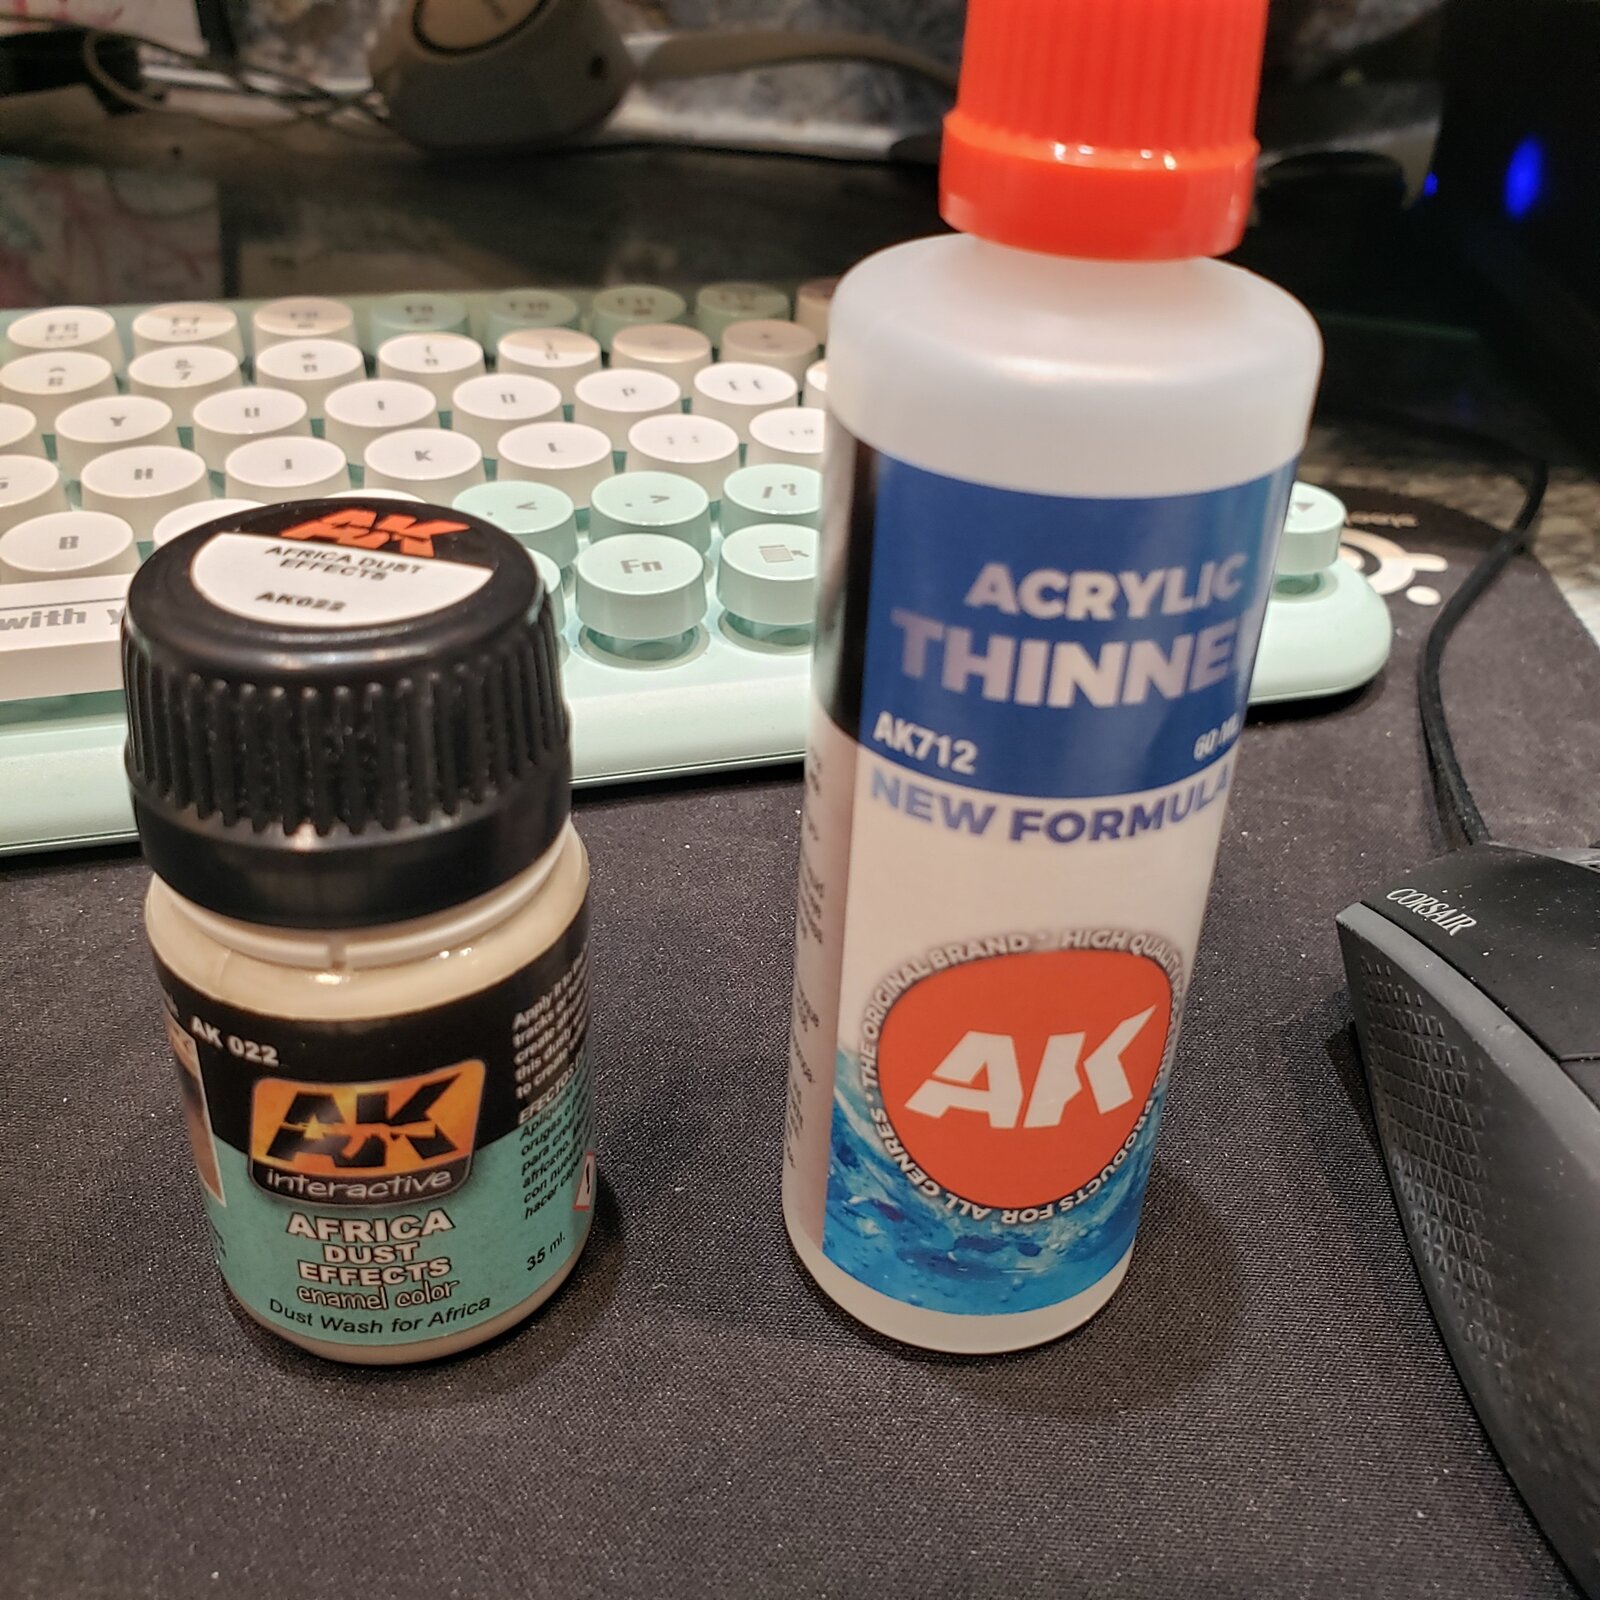
@Jantk14 I only recently setup for an airbrush, and so far I haven't actually shot any colour! Just matt varnish and this 'dust effects'...
I had tried brush application in the past, okay for accumulation in recessed areas and corners, but not for coverage of flat surfaces.
So I trialed the AB application with my previous build, the Autocarretta, and decided to use it it again.
I'd like to say what the ratios were, but I adjusted with extra drops of thinner until I got the effect I wanted on scrap. Less than 2:1 in the end... dust to thinner.
It is a bit tricky, because at first it just looks wet, the dust doesn't show until dry.
...and I shook the heck out of the bottle of dust effects to minimize chance of lumps.

In the future, I will experiment with adjusting the hue, starting with painting on body of vehicles (not sure how adding colour will affect clear parts), matching locales and if I ever do dios, the terrain in the dio.

A thorough cleaning of the airbrush afterwards is mandatory as you can well imagine!
 
Last edited:
That's a good lookin' vehicle and I really like the work you pulled off on the figure @BarleyBop .

I've used the dusting method for sun bleaching on my desert based Ju-87 Stuka and it worked out great. Like you, I had to play around with the thinning ratios a lot but in the end I was happy with it.

Great results here on this truck bud.
 
That's a good lookin' vehicle and I really like the work you pulled off on the figure @BarleyBop .

I've used the dusting method for sun bleaching on my desert based Ju-87 Stuka and it worked out great. Like you, I had to play around with the thinning ratios a lot but in the end I was happy with it.

Great results here on this truck bud.
Thanks! As usual, a learning experience, and won't be my last truck or softskin!
It'll be a while before I feel comfortable with an Airbrush, but I'm starting to see how useful it can be!

It was touch and go for a while with the driver's face, I could feel myself slipping into past mistakes and then all of a sudden, he had a personality and I could move on... I find it's especially hard when the figure doesn't have well defined features, and you have to make up the difference with shading and highlights. I still put the oil down too thick, but, better than last time.
Getting my WC-55 Gun Carriage back on the bench, there are four more GIs waiting for a face, so try, try and try again, and again! :rolleyes:
 
How did you airbrush dust?
Use relatively low air pressure, spray from a greater distance than when you want the paint to cover properly, and don't keep the spray still in one place on the model. Oh, and practice a bit on a sheet of paper or something first, before you point the airbrush at the model :)
 
Use relatively low air pressure, spray from a greater distance than when you want the paint to cover properly, and don't keep the spray still in one place on the model. Oh, and practice a bit on a sheet of paper or something first, before you point the airbrush at the model :)
Wonder how that would work for tires..
 
Ha, I pulled out a compass from the drawer: used it like caliper to measure the distance from the rotation point to the tip of the wiper, drew two arcs on mask tape, then did the same for the inside measurement.
I held the tape close to the windshield to figure out the sweep of the wipers, then put the mask down.
When I airbrushed dust on lower part of truck during weathering, I also let a minimal amount over the windshield.
Let dry.
Remove mask.
Voilà!

View attachment 176528
Look at you! That's a great idea!
 

Latest posts

Back
Top