Dragon 1/32 P-51

Myke

Active Member
Joined
Mar 19, 2010
Messages
1,202
So after a detour away from aircraft, while mixing it up in the spring contest, I need to come back to the comfort zone a bit and finish off a more "comfortable" project.

Thus bringeth this....

IMG_20110703_001158.jpg


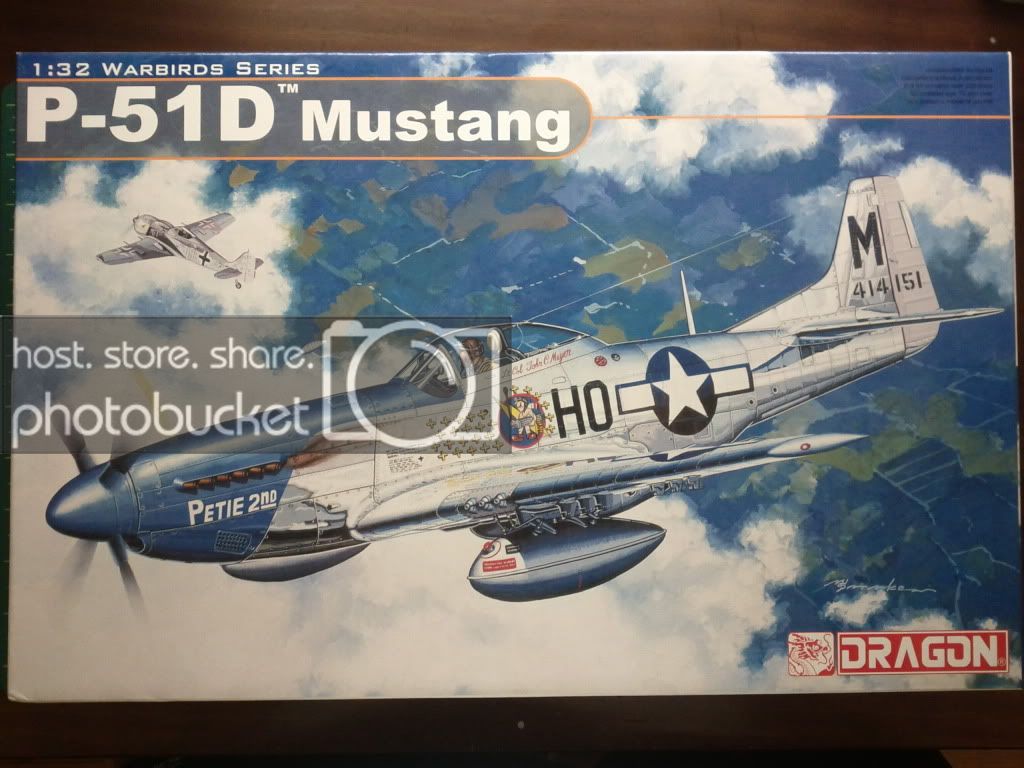
I picked this up for a steal at the local Model show along with the Blackhawk, and a 1/32 Scale Academy F-18. I had been debating on this and about 5 other projects, but after I saw this review of the fourthcoming TAMIYA 1/32 scale P-51D, I decided I better build this before it comes out, or I'll get the Tamiya version, and have wasted the money on this one. Logical thinking right? Yes it appears that Taimya, fresh off their amazing Spitfire kits, have done it again. I highly recommend checking out this review from Brett Green over at the hyperscale site.

http://www.hyperscale.com/2011/reviews/kits/tamiya60322reviewbg_1.htm

And so with a clean workbench, I head off to build an oldie but goodie.

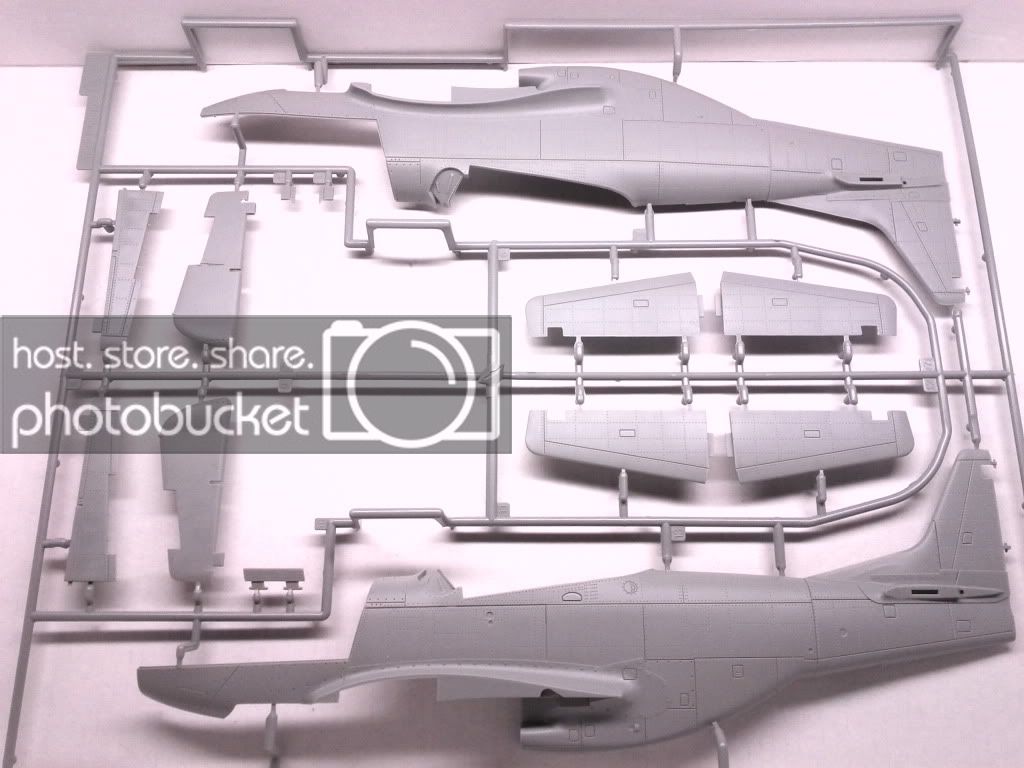
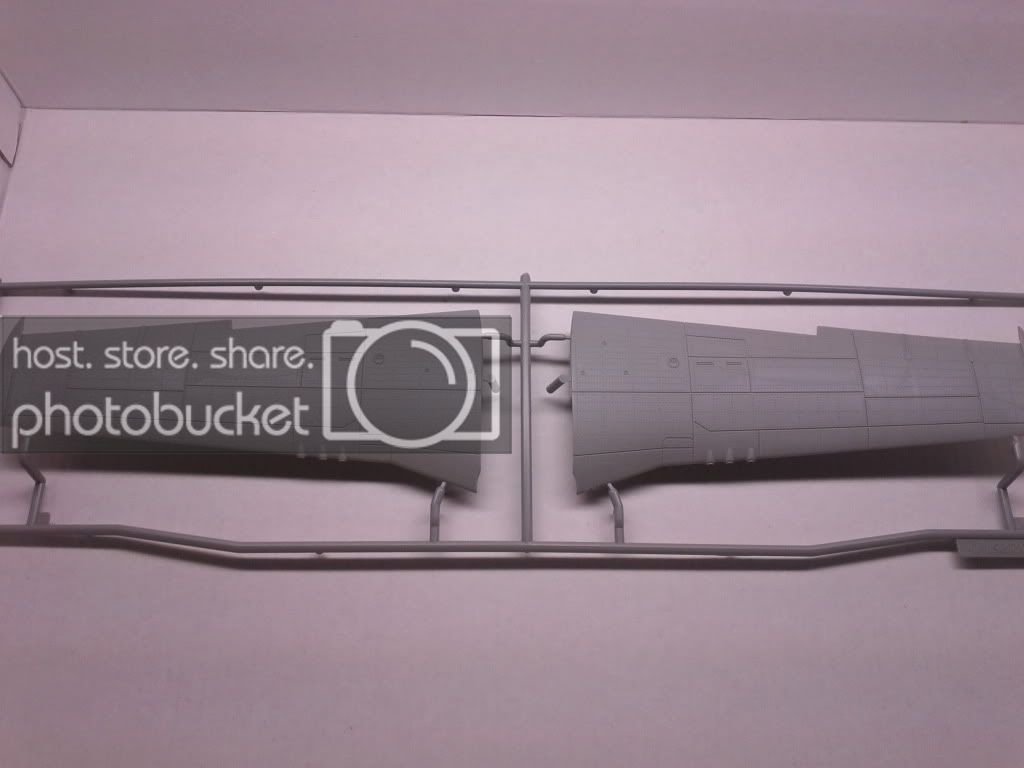
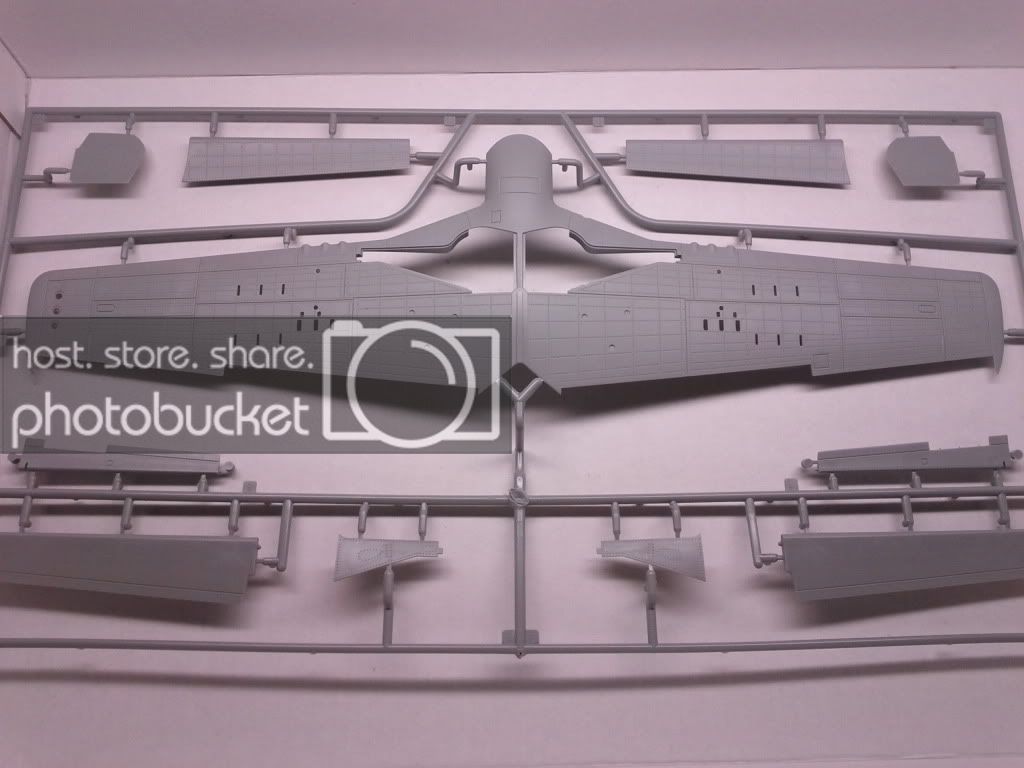
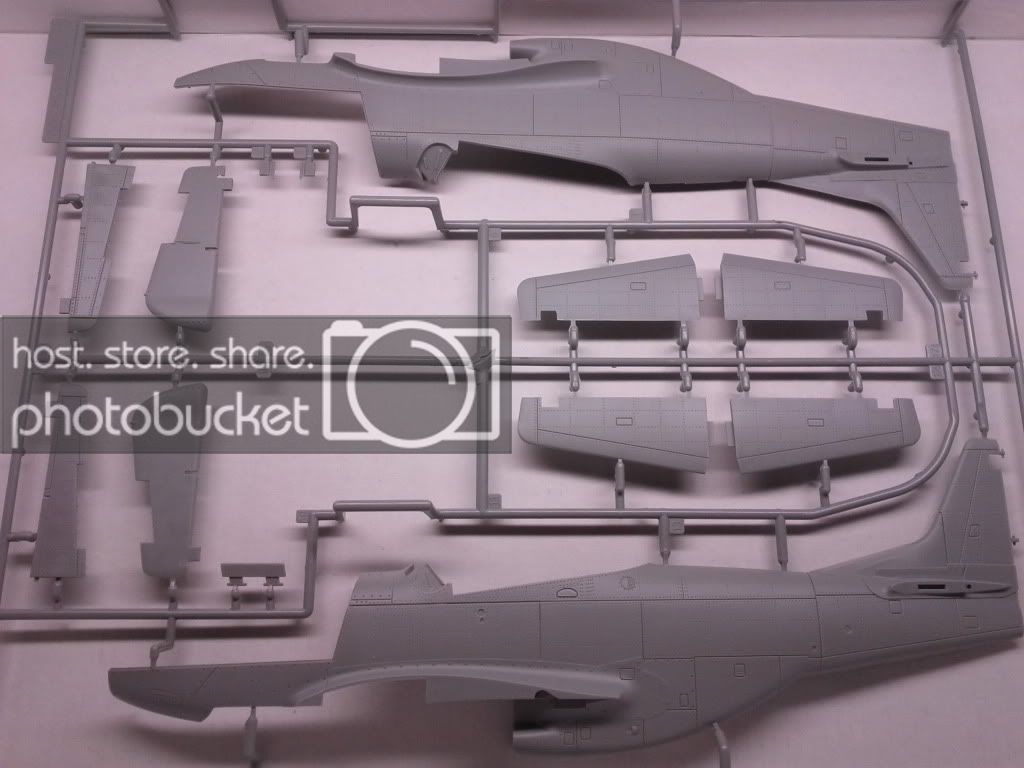
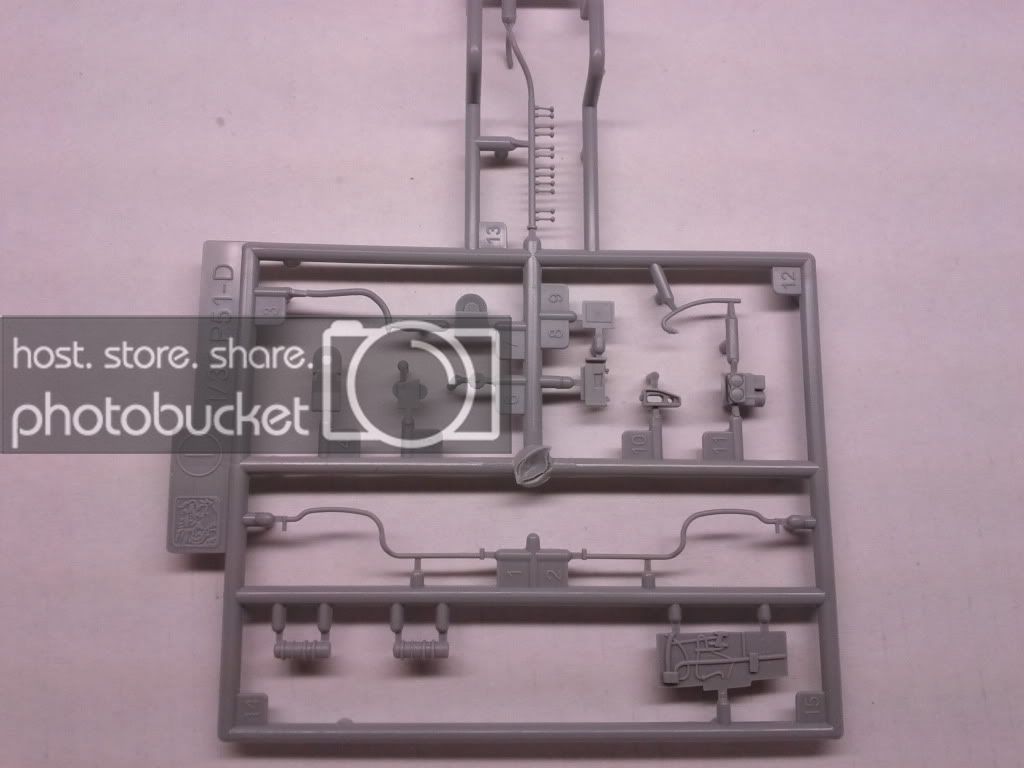
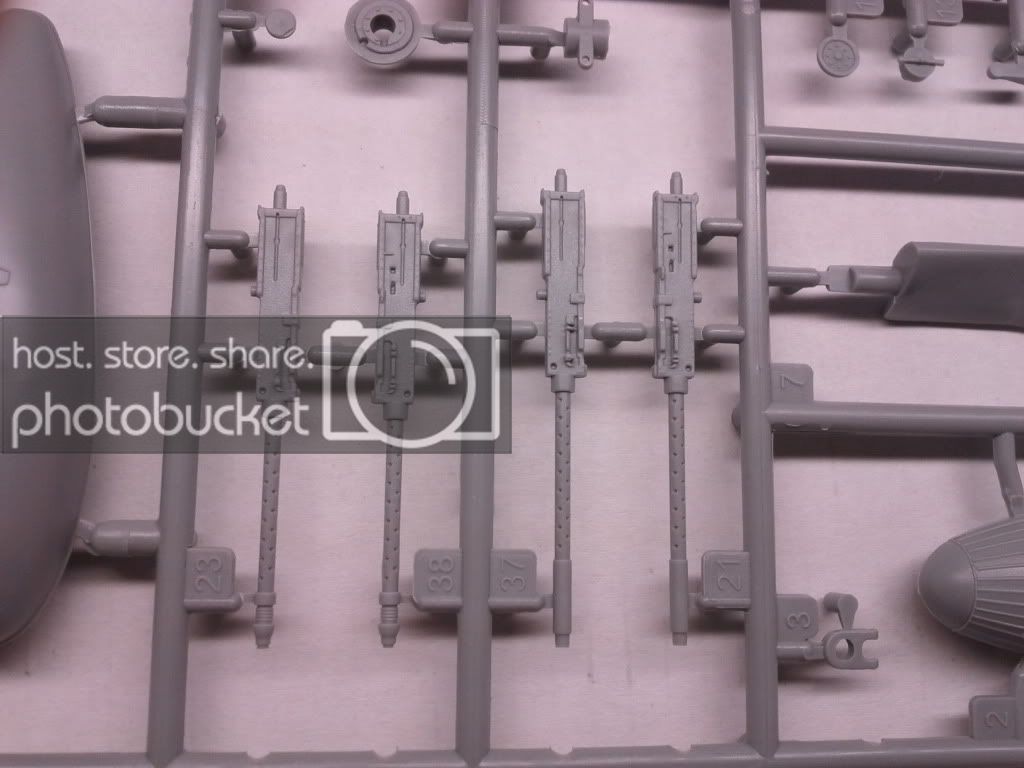
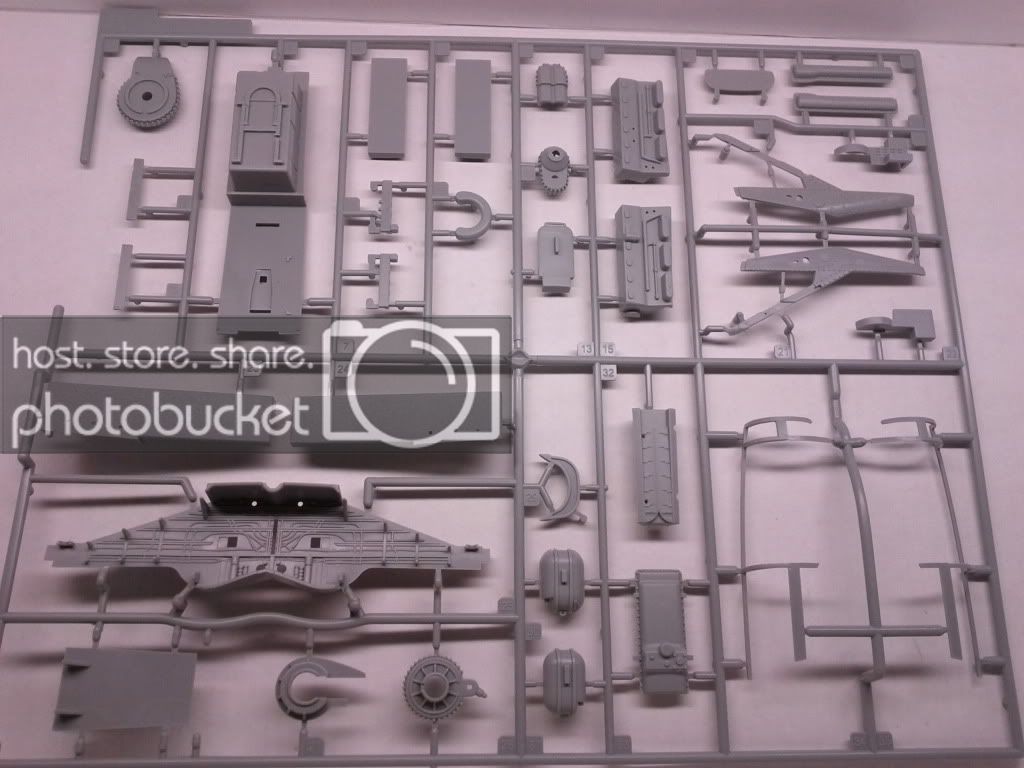
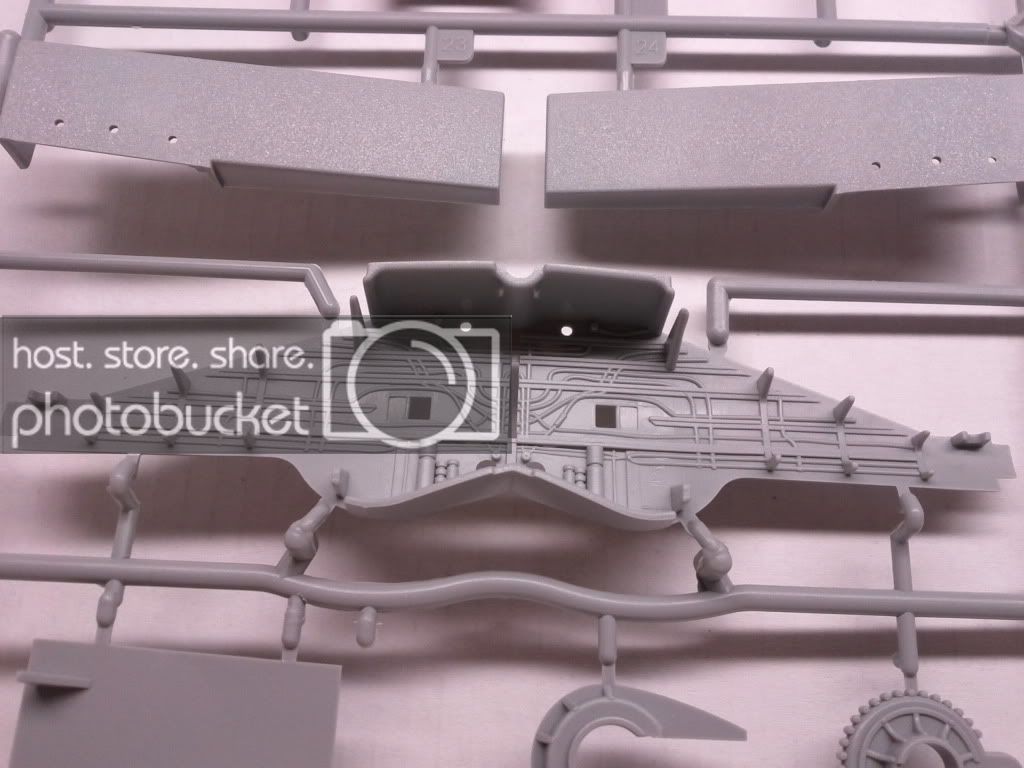
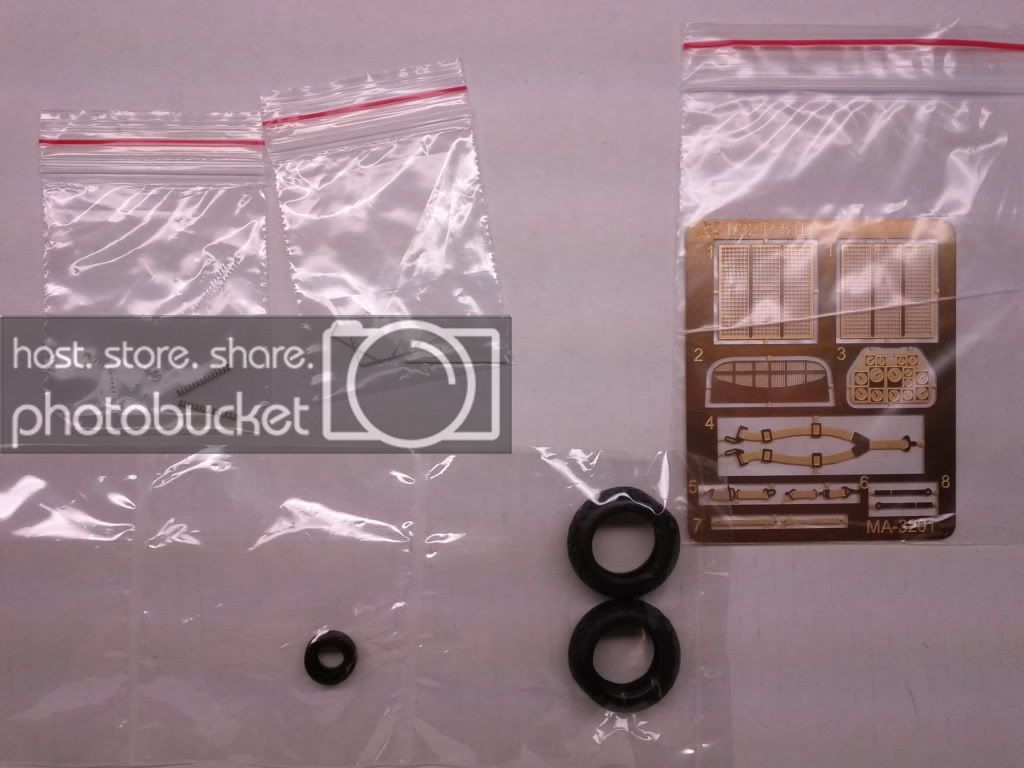
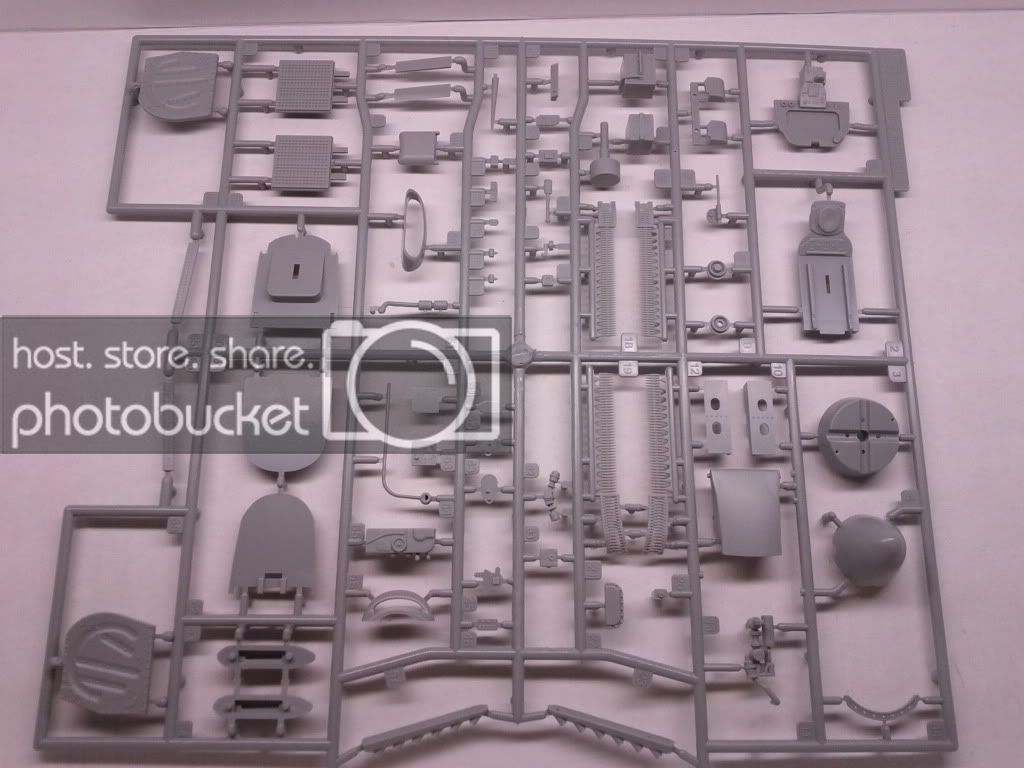
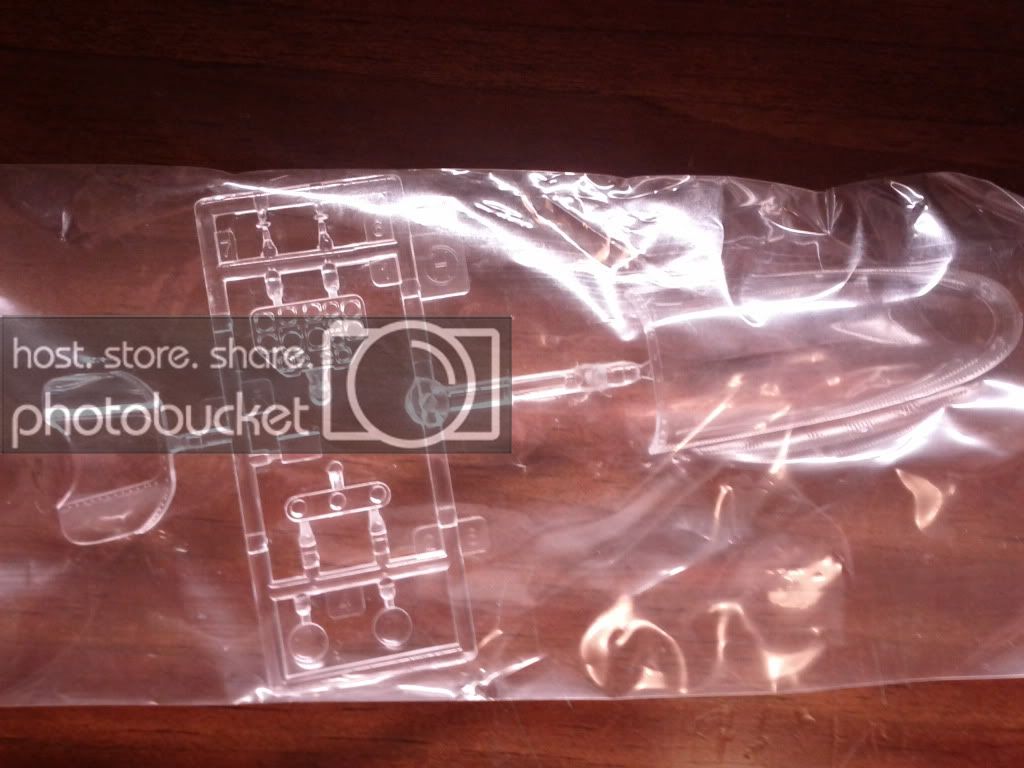
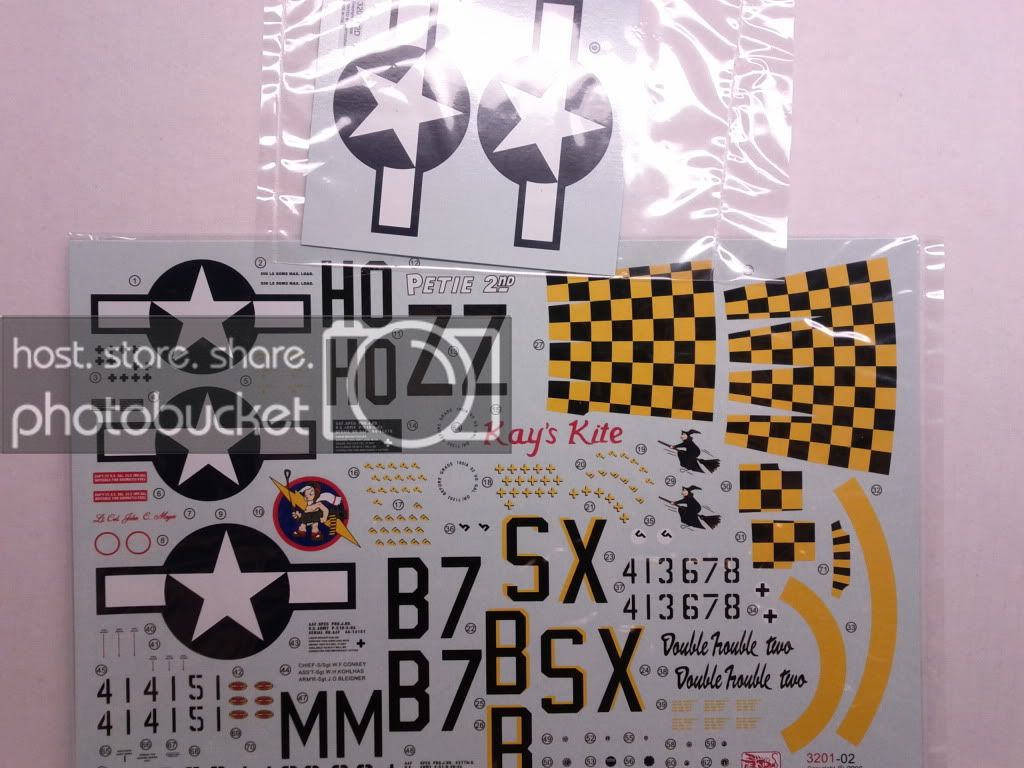
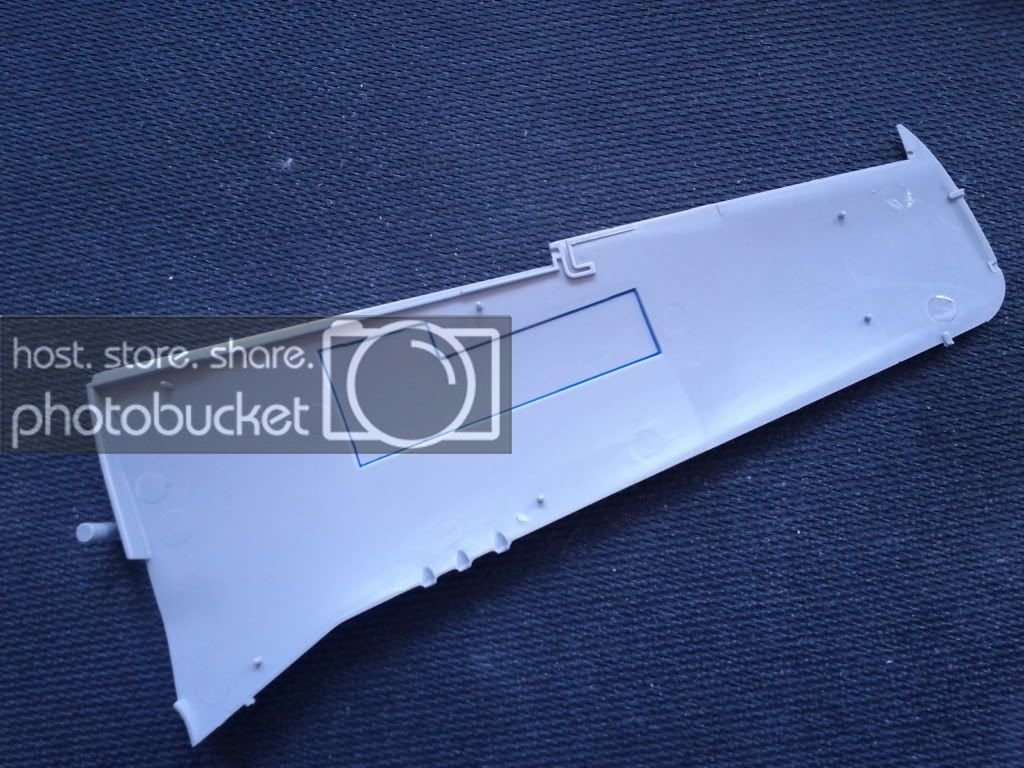
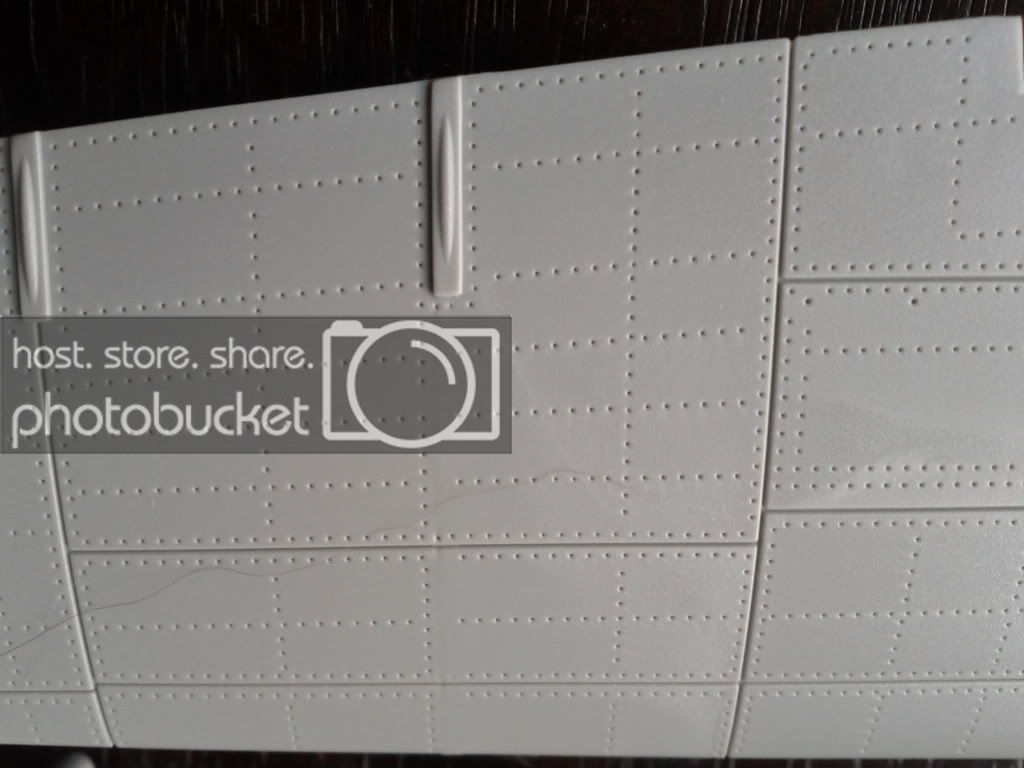
I am by no means an expert on the P-51, and this one is going to be pretty much out of the box. OOB in this case does include rubber tires, some springs for the landing gears, a small spru of PE, and a couple pieces of metal rod that I haven't quite figure out what is for. From what I can tell, some seem to think that the detail is a little too much on this kit, but..., eh..., whatever, looks a little heavy but..., that doens't mean it'll look bad right?

The detail is SO good, that it comes pre-molded with cat hair on it.

IMG_20110702_185416.jpg


As with the Blackhwak, I'll be doing a build log here on the fantastico SMA Aircraft forum, and I think I'll throw in some video as well this time, but I'll keep them short and sweet and try to showcase the work as much as possible.

All the best everyone.

Myke
 
;D

Wow, myke....

That's gonna look pretty cool! The Cadillac of the sky!

Looking forward to see and watch your progress log!

Norm.
 
*Runs to get more popcorn*

Yeah, I've heard a lot about the big T's upcoming 1/32 P-51 - and what I've seen from multiple reports and pictures of the kit, it looks like a definite show stopper!

But enough about that, this kit looks like it's going to be a beast! Definitely awaiting in anticipation.

Now about the videos - short and sweet is good, but long and detailed is just as good. I love listening to build videos on youtube, and once I get rolling, I plan to add your videos to my must "listen to and imagine what's happening while I work because I can't watch the screen and the model at once" list. Of course I'll glance up every once and a while and contemplate why the build is so fantastic, but the majority of the time I listen.

So yeah! Can't wait! ;D
 
Thanks Fruit - I'll do my best to keep it entertaining. :)

Before I get into the build here is a quick review of the kit. A bit boring I understand, but I've managed to injury my back, and I can't sleep so I'm bored.

As usual..., my helpers are onboard with this build. They both approve of the P-51, and will be sleeping throughout the build.

IMG_20110628_102729.jpg


One thing I like already about this Dragon kit vs my last project is that the sprues are ACTUALLY labled.

IMG_20110703_032641.jpg


Nice that they didn't try to cram the wings in with other parts

IMG_20110703_032708.jpg


IMG_20110703_032723.jpg


IMG_20110703_032651.jpg


Engine and cockpit detail pieces

IMG_20110703_032756.jpg


IMG_20110703_032810.jpg


Pretty good detail on these guns. That's a good thing because there is no PE for them

IMG_20110703_032824.jpg


IMG_20110703_032916.jpg


IMG_20110703_032925.jpg


All of the lovely multimedia parts. Got some rubber tires that look nice, and the springs will really give the landing gears a nice touch in an area that isn't very visible.

IMG_20110703_033053.jpg


They give you the cowlings in clear plastic in case you want to display the nice engine that comes with it. I've never done it before but I think I might leave one 1/2 clear and detail up 1/2 the engine for show.

IMG_20110703_033122.jpg


IMG_20110703_032941.jpg


This should build up to be a pretty impressive engine OOB. Better get online and find some photos so I can detail it up a bit. It's the only place I'll spend any extra time on detailing.

IMG_20110703_032855.jpg


All the other clear parts seem to look good. There is a seam line in the canopy, but that's to be expected due to it's size.

IMG_20110703_033136.jpg


Decals are cartograph so..., shouldn't be any issue with those.

IMG_20110703_033318.jpg


Without having assembled anything, all of this plastic does appear that it's going to fall right together. I don't see any massive ejection pin marks or any immediate deformations in the plastic. It is a newer kit (2006), so the toughest part of the build should be the shiny coating on it.

On to the building!!!
 
Nice review you got here Myke, looking forward for the gem of the sky!!
 
I've got the early version of this kit (P-51D-5NA) with the filletless tail. It is a nice kit, only difference with this one is the fuselkage halves. I cant wait to get at it. Will be doing a 357th FG pony, either "Hurry Home Honey" with a olive drab uper surfaces and bare metal sides and underneath...
P-51.44.jpg


or "Frenesi" with the olive drab over neutral grey...
Frenesi_TomHayesCrew.jpg

have fun with the build, Ill be watching for inspiration.
 
ive been dying to get one of these kits and make a 1/32 scale Ace Of Spades P-51D Mustang.
 
I have always been kind of curious as to the quality of Dragon kits.
It looks like they do very good quality. I somehow got it in my head that they were a Korean 2nd/3rd rate co.
 
13aceofspades13 said:
ive been dying to get one of these kits and make a 1/32 scale Ace Of Spades P-51D Mustang.

I would recommend this kit then. It's a really good price for this scale, multimedia, and with this quality of detial.

ModelMakerMike said:
I have always been kind of curious as to the quality of Dragon kits.
It looks like they do very good quality. I somehow got it in my head that they were a Korean 2nd/3rd rate co.

So far it's pretty darn good. This is my first Dragon kit ever so I'm in some new water here myself. I only know from Armor guys that the Dragon kits (at least for the armor) have a TON of parts to them, so I was expecting to find 52 pieces for a radio box or something, but..., they've kept it very simple and all the boxes in the cockpit are molded in one piece and are of great quality.

Carsenault said:
I've got the early version of this kit (P-51D-5NA) with the filletless tail.

I love them in two toned scheme with a flat color (usually OD so it seems) and the natural metal finish. Just looks great for some reason.
A few years back they had a "Gathering of Mustangs" at a local ANG base here in Ohio and I took a boat load of pictures but ... , they were lost in an epic HDD failure. The Mustangs just went on for miles it seemed.
I like the "Hurry Home Honey," and would love to see that put together!
What was the earlier version of this kit like? Any issues?
 
So... anyone got any accurate photos of the engine on this bad boy? I'm doing searches and have found a few different colors for one engine component. I want to be accurate and I'm more of a modern aircraft fan and haven't really studied these as much as I should have before opening the box.

Any material would be GREATLY appreciated.
 
Myke said:
I like the "Hurry Home Honey," and would love to see that put together!
What was the earlier version of this kit like? Any issues?

Maybe I'll clarify this a bit. What I have is not an earlier version of the kit, but a kit of the earlier version of the P-51D. The kit you have is the first Dragon 1/32 Mustang, after that they released 2 separate sub-variants, the F-6D Photo Recon version and then the "Early" Mustang with the filletless tail. The sprues in all 3 kits are identical except for the fuselage halves and the additional camera parts of the F-6D version.

The kit is a bit of a "catch 22". While the general modeling community loves it on account of all the extra details Dragon put into it, the aicraft modeling community wasnt overly impressed for several reasons.

What concerns most is the heavy rivet and panel line detail. If you look at period photos of Mustangs or any other WW2 fighter, you rarely if ever see any visible rivets, that is because they were flush to the skin of the aircraft, not raised or recessed. If you'd scale up these rivet holes to full scale you would have holes deep enough to fill with a pinball. The only time you'd really notice any fasteners at all on the Warbirds is when the paint chipped away either from working the fasteners of from stressing the airframes.

The panel lines are also overdone in my honest opinion, they are far too deep and wide. The panels on the real aircraft of the time would either overlap or meet flush in a butt joint, the tolerances were very high. in scale they should just be a fine line to represent the joint, not the huge gap that Dragon has done.

These issues can all be addressed though, Ill be filling in the panel lines with stretched sprue and rescribing them. Most of the rivets will be filled and sanded flush, I will leave a few around the engine cowling and the wing glove fairing.

A few other issues with the kit is the cockpit floor being too narrow, it should go all the way accross from one sidewall to the other, overall ithink its about 1/32" too narrow. Thats easy enough to fix with some evergreen stock. Also the inner faces of the main landing gear are not correctly sculpted. All the sculpted recesses should be parrallel to each other. I believe there are aftermarket replcements for these, Im not sure I would bother trying to fix that though as its not something that is all that noticeable. Along the same lines though this is something every single Mustang model ever produced has had wrong until the new 1/32 Tamiya Mustangs, the shape of the main landing gear bays. Up until now, every Mustang kit including the Dragons have the rear bulkhead following the outline of the gear doors, when in fact, the wing spar was the actual rear wall of the gear bay so the rear wall should be straight, not v shaped. Again, Im not sure if its worth fixing because most people would not see it unless it was looked for.

On the flip side, I love all the added touches, the photo etch, engine detail, nicely detailed 50 calibre machine guns (but for some reason they didnt give us displayable gun bays)

Because of me wanting to fill in most of the rivets and panel lines, I am leaning on "Frenesi" for a markings choice because to do a nice natural metal finish, you need a nearly perfect surface to put it on. Any flaws I leave behind will be easier to hide under the olive drab and neutral grey paint. If I ever get myself a Tamiya Mustang, then Ill do a nice metal finish.
 
@Carsenault

Wow, I'm very impressed (and appreciative) of your knowledge on this.
I agree about the rivet and panel line detail. They are REALLY heavy. Even the small parts have massive rivets, and, like you said, true to life it would never look like this. I think I'll def. give it a few coats of primer on the body to tone it down a bit before painting.
You're right about the guns too, there are display bays, chains of ammo, and nice guns, but NO open panels to display it out of the box!!! What's up with that?? At least they thinned the plastic for the panels in which you will need to remove in order to display them. I'm now thinking about picking up some AM barrels to add to the guns.

IMG_20110704_162206.jpg


That's a good call on using the OD and Neutral Gray, you're right, you def. need a really smooth near flawless finish on the plastic for NMF to look good.

Thanks for the input. Really appreciate it!!
 
Hi Myke! Awesome wingy thing you have going on! The change in pace is nice, isn't it!

Got a couple of solid pics of this bad boy's engine...they are off the IMPS Stockholm site

Here: http://www.ipmsstockholm.org/magazine/2000/03/stuff_eng_detail_p51d_02.htm

&

Here: http://www.ipmsstockholm.org/magazine/1999/11/stuff_eng_detail_p51a.htm

I know there must be tons more. IMPS Stockholm Search Results This is the main page where I type my query in, just using P-51 engine for starters.

Hope it helps buddy...oh yeah, will be checking in on this puppy! Carry on sir! ;D
 
That second link is of a P-51A Mustang which has a different engine than the P-51D. The P-51A uses a Griffon engine, while the P-51B and all later Mustangs use the Rolls Royce (or Packard) Merlin engine. Nice pics though, I have decals for that very sale aircraft. Will be clicking and saving.
 
Nice catch Carsenault! Glad the link will help somebody. I have found a lot of great stuff there. ;)
 
I've heard the rivet arguements before, and they go on and on, but...

http://www.ipmsstockholm.org/magazine/2005/12/images/walkaround_p51_b_017.jpg

http://www.ipmsstockholm.org/magazine/2005/12/images/walkaround_p51_e_003.jpg

http://www.ipmsstockholm.org/magazine/2005/12/images/walkaround_p51_b_026.jpg

http://www.ipmsstockholm.org/magazine/2005/12/images/walkaround_p51_b_027.jpg


They really are full of rivets. And I might remind you, these are fully restored birds, that are minus any grime from operation. These are as they would be after having rolled out right after paint. The rivets are just covered over by paint, so they aren't as visible. A simple darker wash of the color you use to paint that model would look far better than removing all those rivets in my opinion.

And for your engine request...


http://www.ipmsstockholm.org/magazine/2005/12/images/walkaround_p51_d_049.jpg

http://www.ipmsstockholm.org/magazine/2005/12/images/walkaround_p51_d_039.jpg

And here's the whole site.

http://www.ipmsstockholm.org/magazine/2005/12/stuff_eng_detail_p51d.htm#links
 
The rivet argument has been going on for years, I am sure no 2 planes were alike. General concensus is the rivets are there on the full sized Mustangs, but are flush with the outer skin, the fasteners whick look like large flat head sloted screws are more visible. The wings were pre finished at the factory to have as many seams, gaps and rivets puttied over, then painted silver to aid in the airflow over the wing while the fuselage was nornally untouched. Some ground crews would wax and polish the aircraft to help with the airflow and overall top speed. We cant really look at a restored aircraft to be a definitive reference as many times, the aircraft are stripped to the bare metal or fabric and repainted, sometimes not even using the correct colors. Rarely are panel lines and rivets refilled during a restoration. On a 1/32 Warbird, there should be some detail but Dragon has over done it, and looking at the Tamiya kit, it looks like they were a little heavy handed too. Hopefully the pictures I have seen are of test shots and not sprues from the actual production run.

Here is one of Bud Anderson's Mustangs, quite visible are the fasteners used to hold the engine access panels in place. Barely visible are a few rows of rivets.

WEB11081-2008_640.jpg

Here is Bud sitting in a restorede P-51D, again, rivets are there but barely visibnle on the fuselage.

0810019_5.jpg


and just posting this coz its one of my fovorite period Mustang pictures... And it isnt colorized, it was originally photgraphed with color film. Note the 2 lead aircraft are featured as markings options with the standard Tamiya 1/48 8th AF P-51D Mustang kit.

air_mustang27.jpg

And here is an example of a really bad restoation of the second Mustang in the above picture, they somehow thought (probably based on a b/w photo) that they should use a glossy medium blue instead of a mat olive drab???, there are many other examples liek this, niot just of mustangs, but other a/c as well.

p51d_01.jpg
 
Shazamm! You guys rock. Thanks for all the support and info you guys are providing.

I think one thing we can all agree on is that the detail is DEFINATELY overdone on this Dragon kit. I'm really hoping that the Tamiya kit isn't going to be that way, but like you Carsenault, I saw those test shots and they looked heavy as well. I'm sure we can find a good solution to this problem with all the great minds on here.

I made the decision (after doing some yearly planning) to build this OOB so I can enter it as such in my local comp. next winter. I think what I'm going to do is add a brushing of Mr surfacer 500 over panel lines, and some 1000 over the rivet detail, sand it smooth, prime it and see where that leaves me. I'll make sure to take some good before and after photos and maybe we'll whip this problem once and for all!!

Question time:
I've seen a few photos with the head covers on the engine painted in red. You think that would be acceptable? I want to be accurate, but at the same time, I think that would add some good contrast and draw the eye to the engine after the gloss red was chipped and weather.

Thanks again for all the knowledge and reference material.
 
Hmmm, no sure about the red rocker covers. Check your references, that may have been either an early Griffon engined Mustang or a restored aircraft. All the R/R Merlins I have seen have had black rocker covers. If you google the Rolls Royce Merlin, you should be able to find all kinds of pictures. The Merlin was used in many different aircraft besides the Mustang, they were used in the Spitfires, Mosquitoes, Hurricanes and Lancasters to name a few, possibly more. If you get a chance. look for Brett Green's Tamiya Spitfire buildup over at hyperscale.com. Brett is a stickler for details and one of the best aviation modelers I know of. I cant wait to see what he does with the Mustang.

I will be watching tis with interest, looking forward to see how the Mr Surfacer works for you. Ultimately, its your model. Build it up the way you want to.

Cheers
 

Latest posts

Back
Top