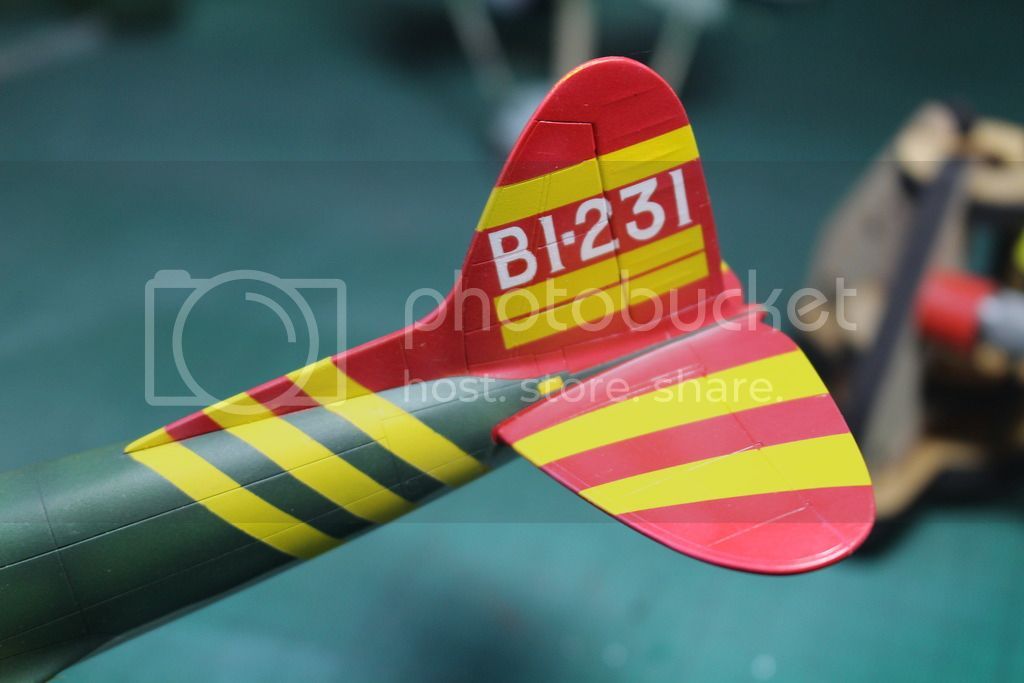
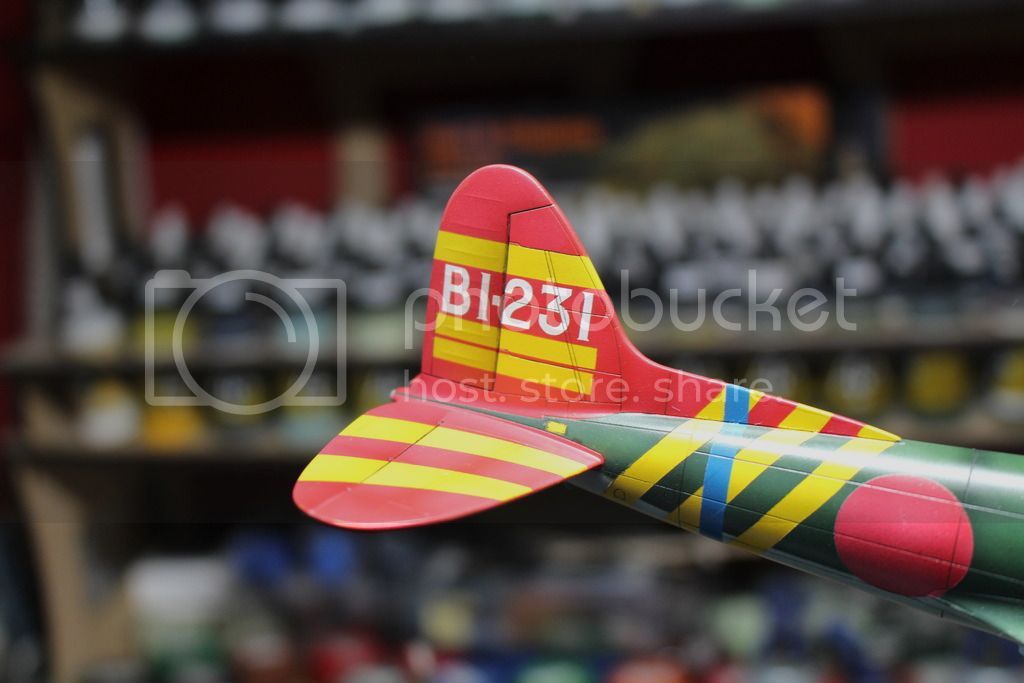
D3A1 Val 1/48 Hasegawa competition build

Scale Model Addict - Model Tips, Guides, Tools & Tech, Tutorials, and Community

Help Support Scale Model Addict:

Hi mate, the build is going very quickly I must admit. It helped being off work last week though. I should be weathering by next week all being well, so a couple of weeks will do it. Maybe I'll enter a second build...... lol

Once this is done though I want to make sure everything is ready for the IMSS show in May. I've a few things just to touch up and get sorted. Might even do a quick 1/72 bird!

Sorry about the cake mate, forgot to bring some down.....honest!!!! lol ;) If there's any left I'll bring you some down. Maybe I'll ask my mum to bake one for the opening night of the club!

Chris
 
Whoa, pretty awesome looking at your WIP!!! Those little detailings looks darn good and this is going to be another winner! Masking all those window panels must have been a real PITA, at least for myself. I cracked more than a few canopies while masking those before.
 
Thanks boxster. I use to mask the windows using very fine strips of tamiya tape to mark the outline, then fill the centre in with larger pieces. This worked well but took ages and you run the risk of damaging the canopy if your not careful. I use the eduard canopy masks now. I don't know if you've come across them before. If not try and get a set for a kit your going to build. They are not that expensive and are precut to suit your kit. What would have taken ages to do, now takes about 5-10 minutes.

Chris
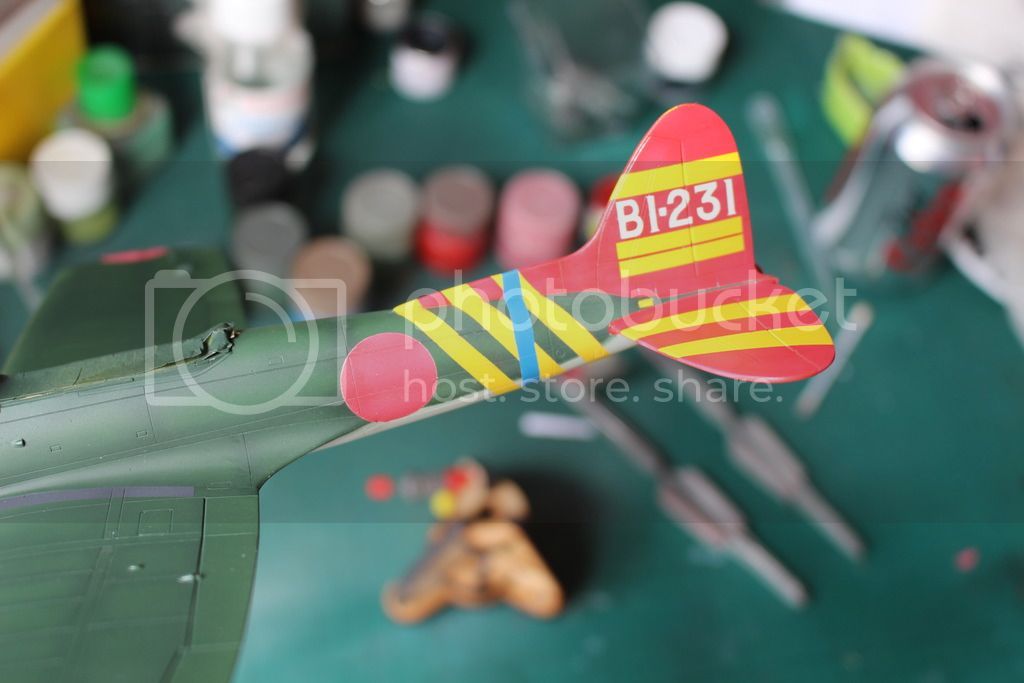
 
Time for an update.

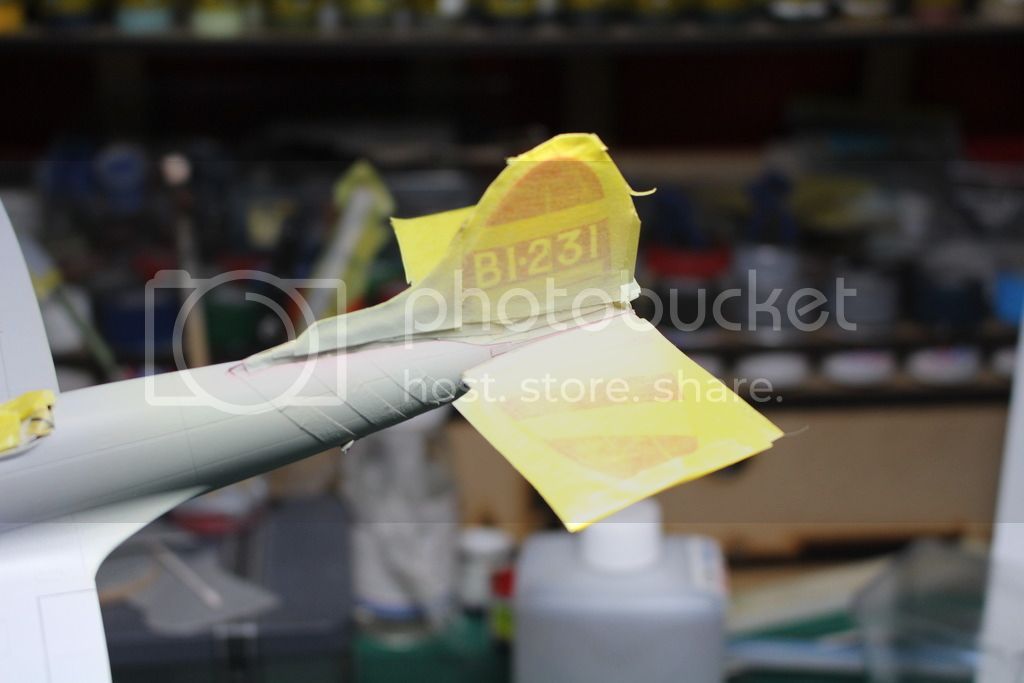
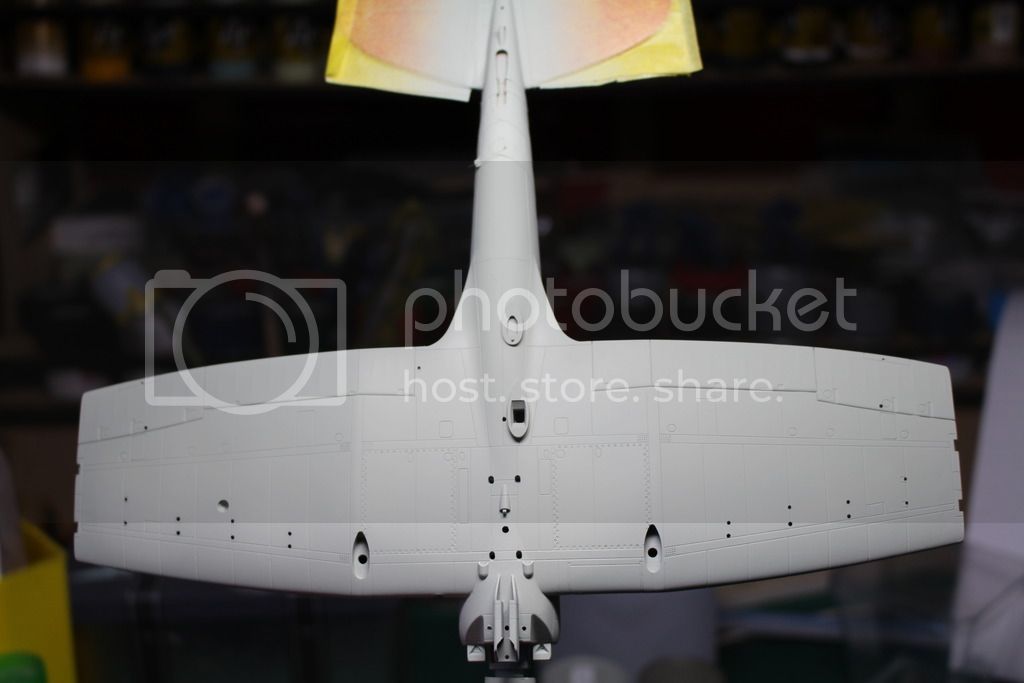
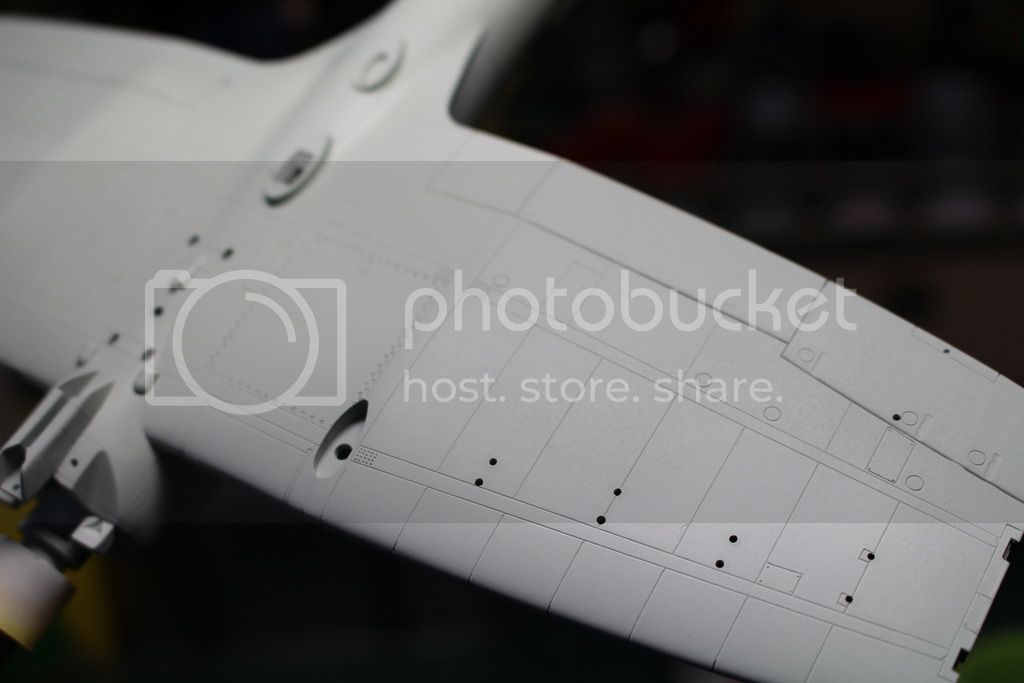
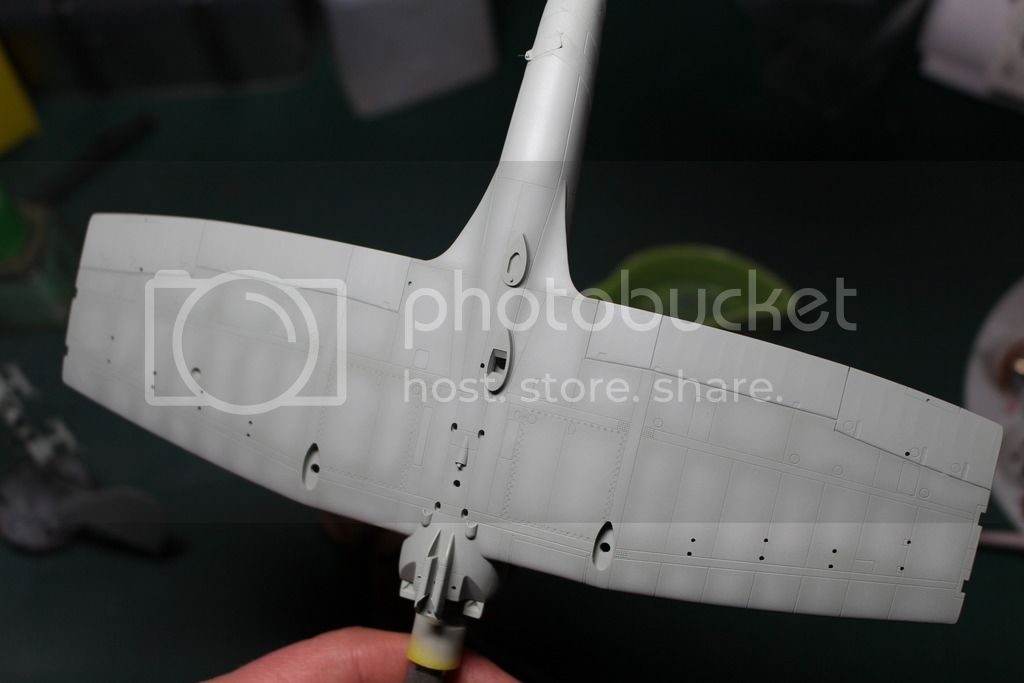
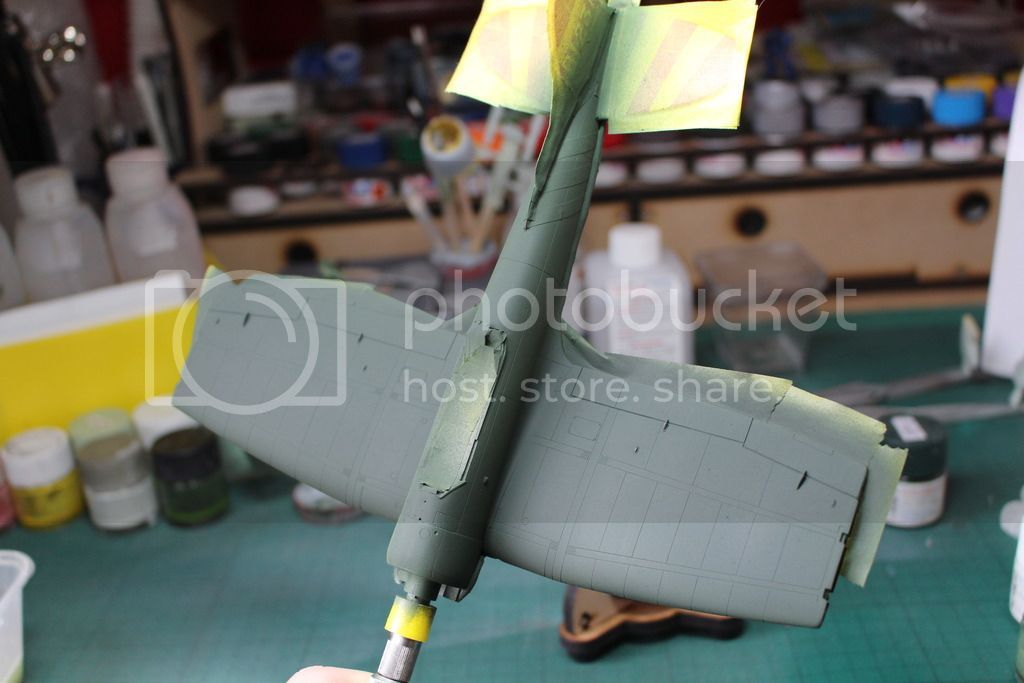
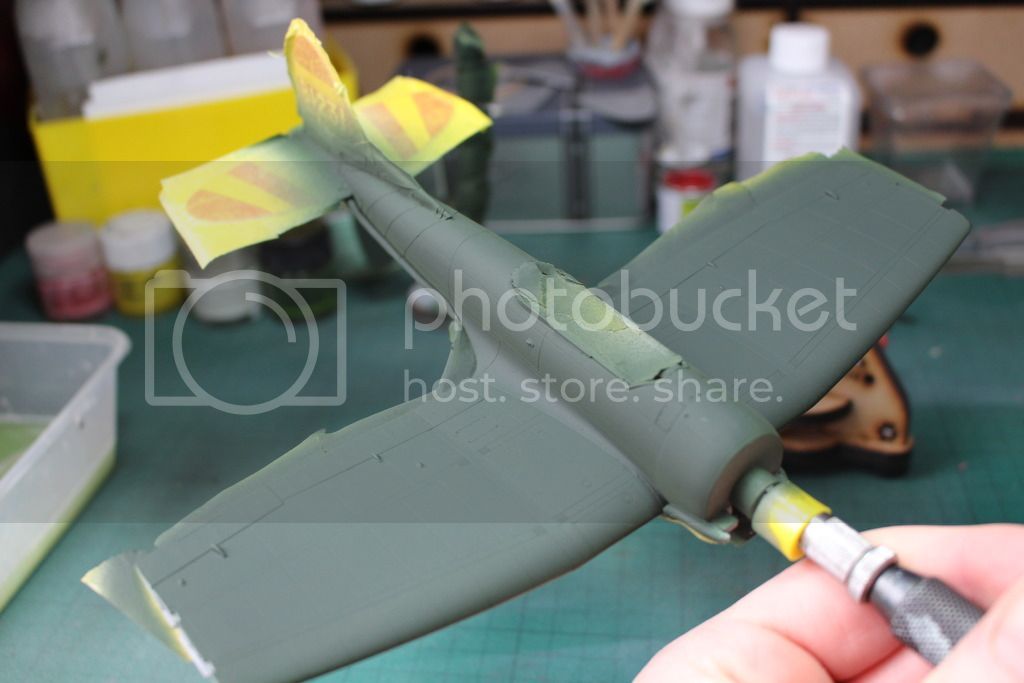
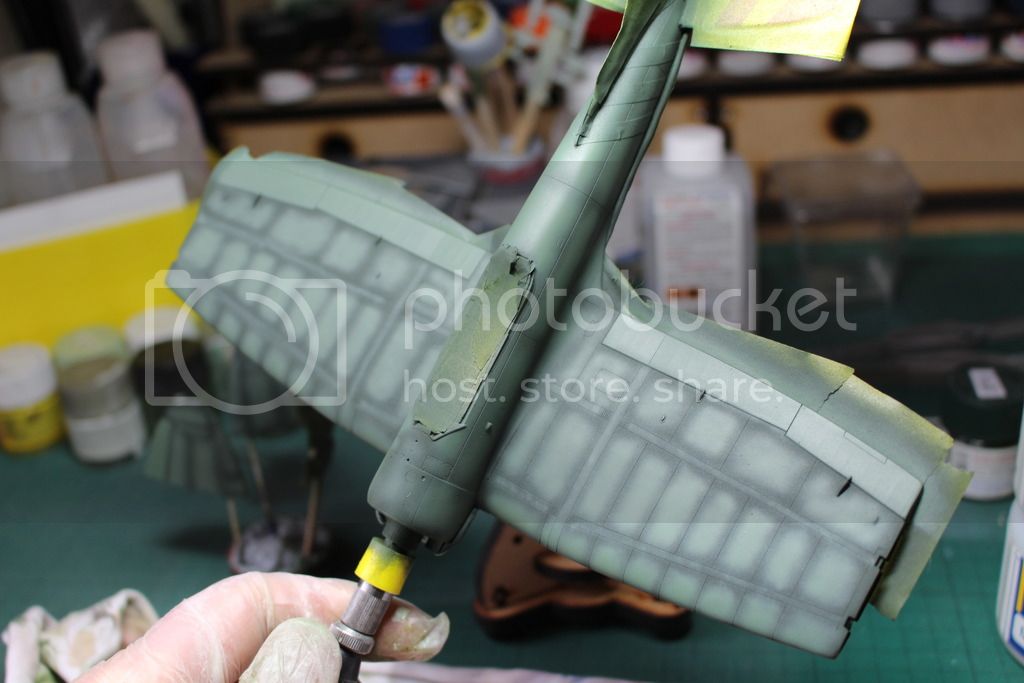
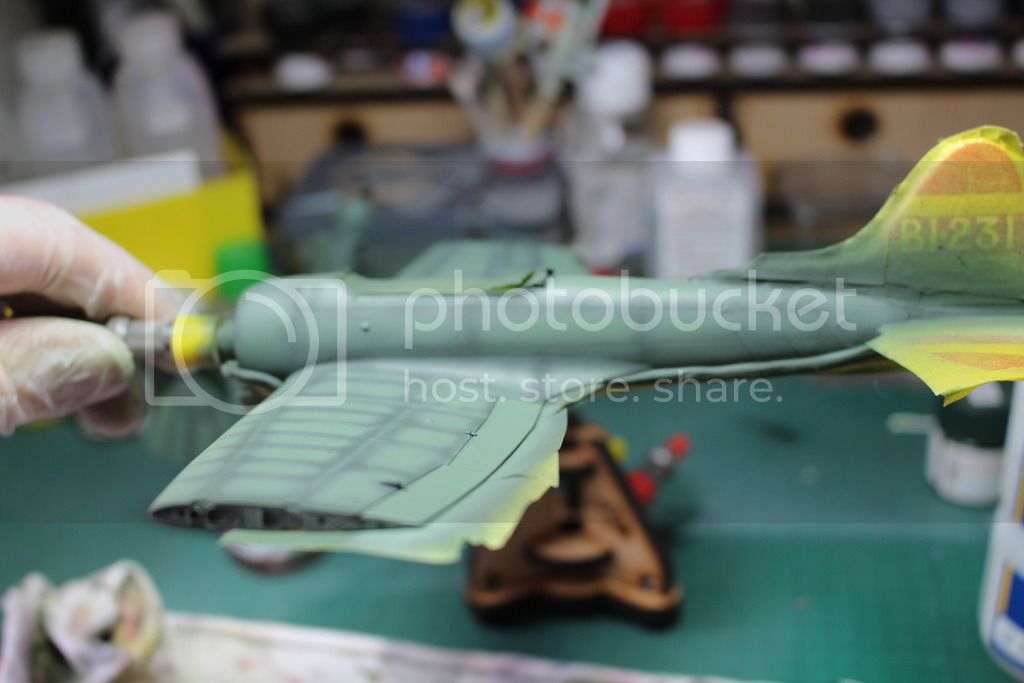
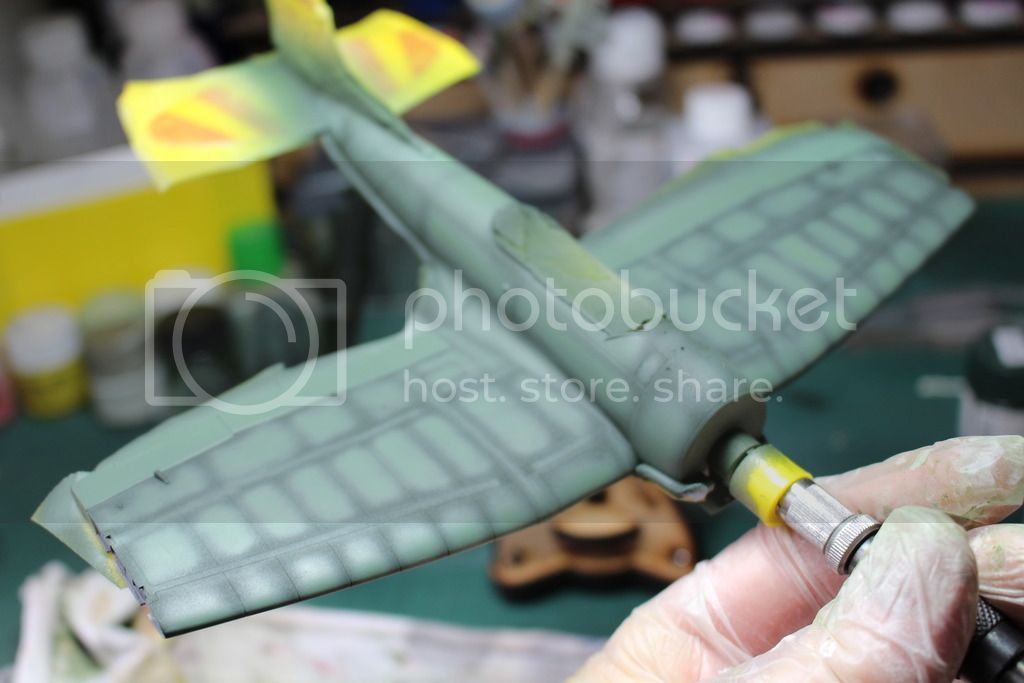
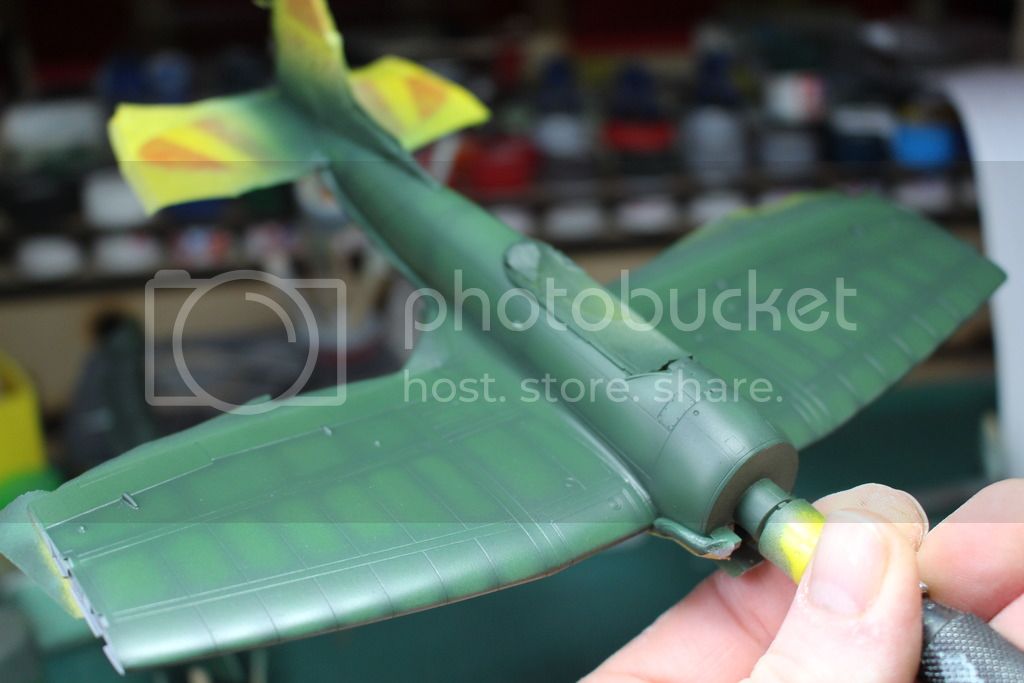
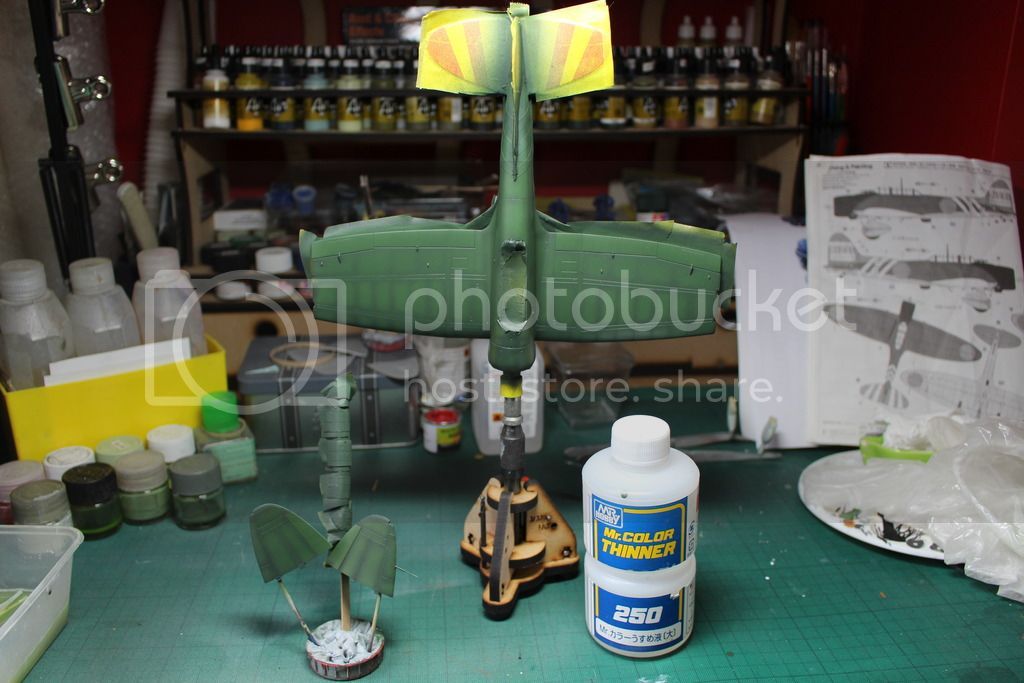
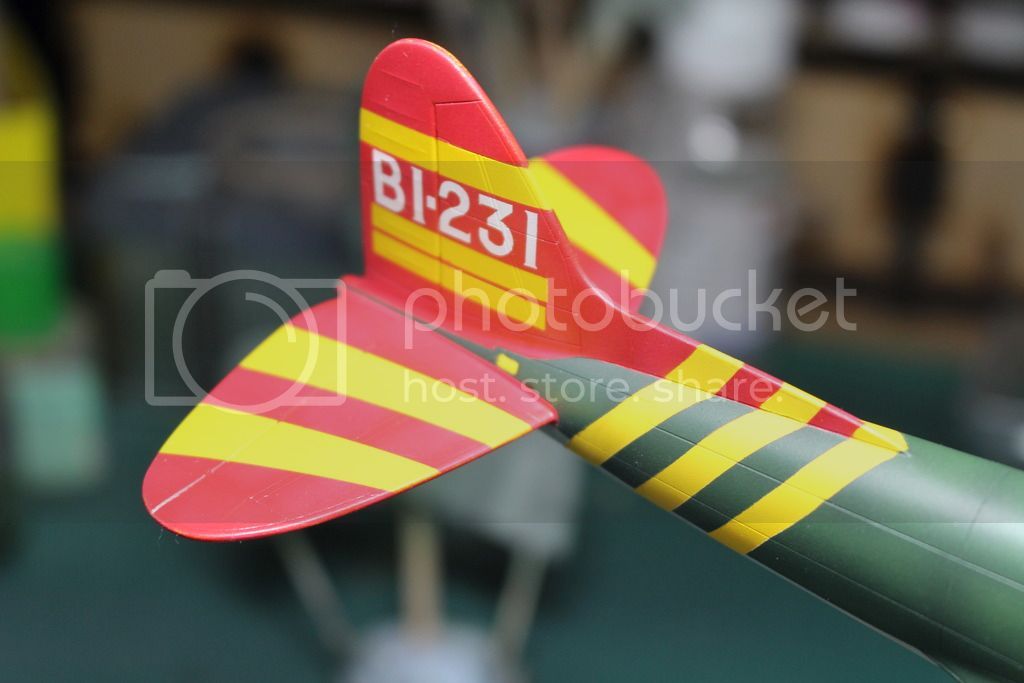
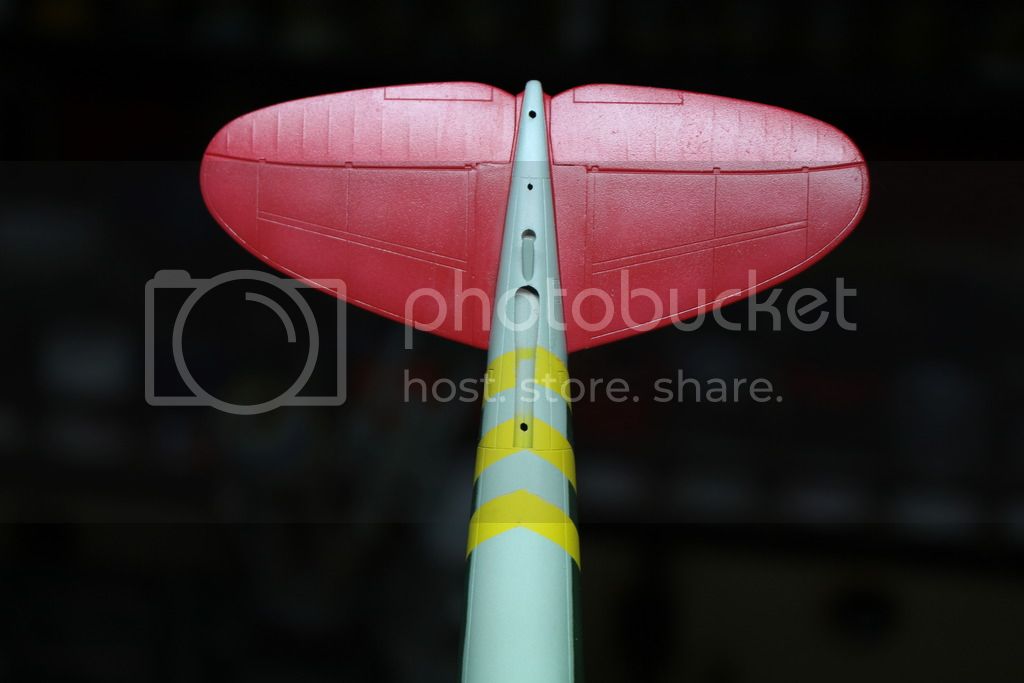
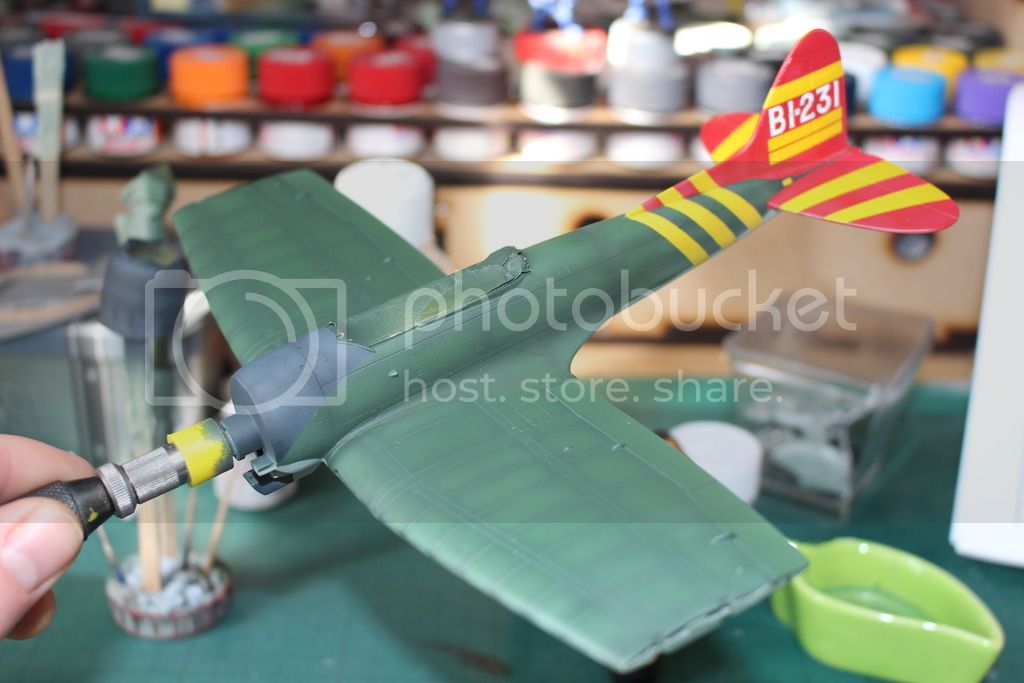
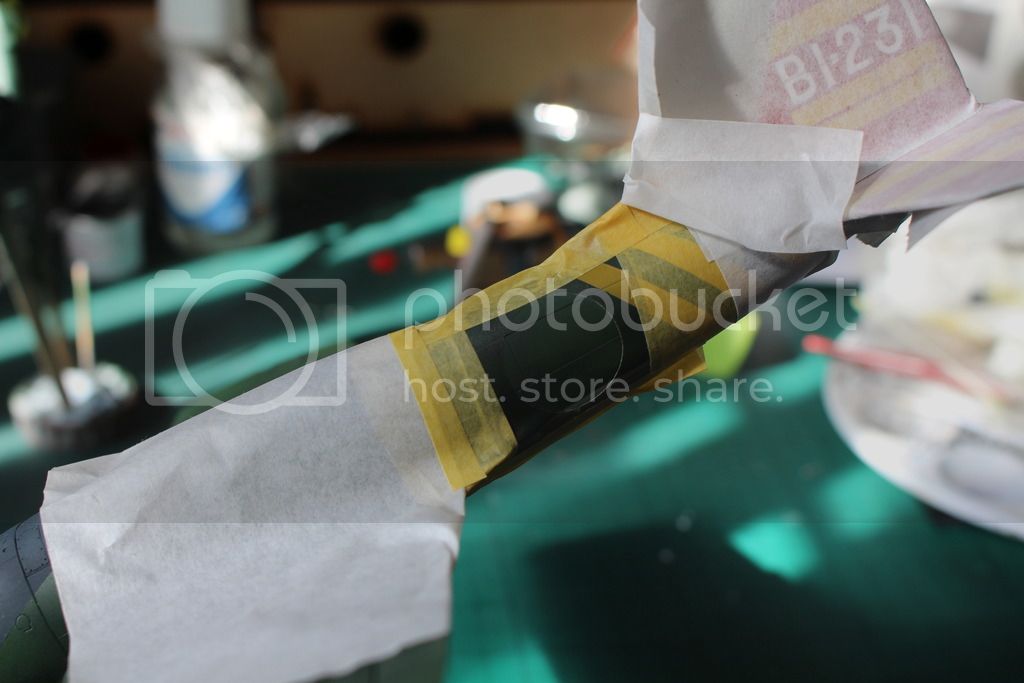
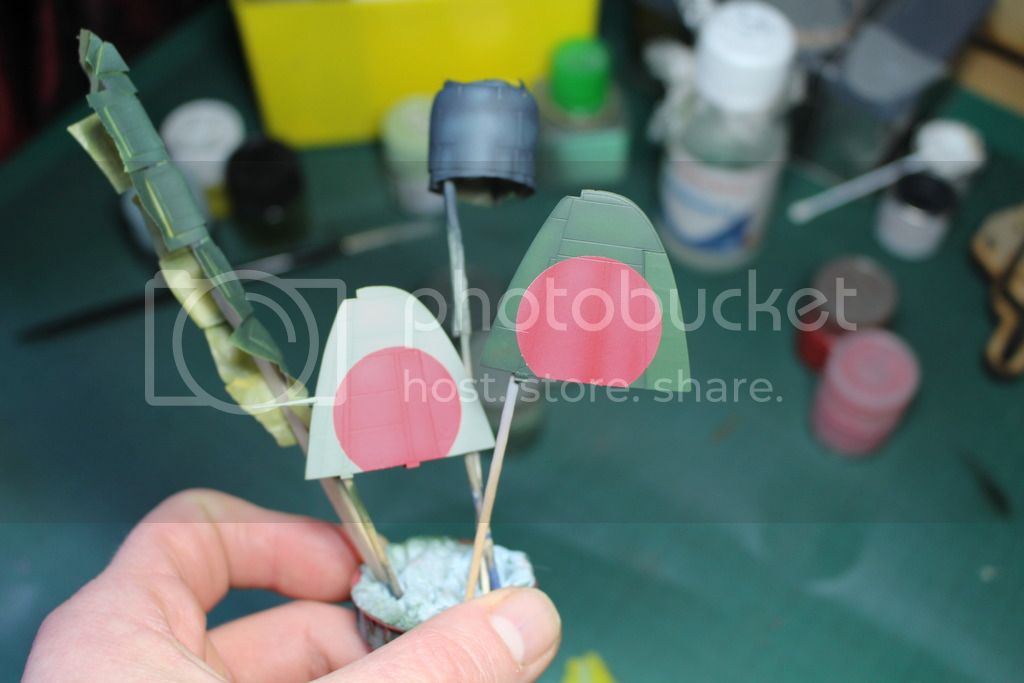
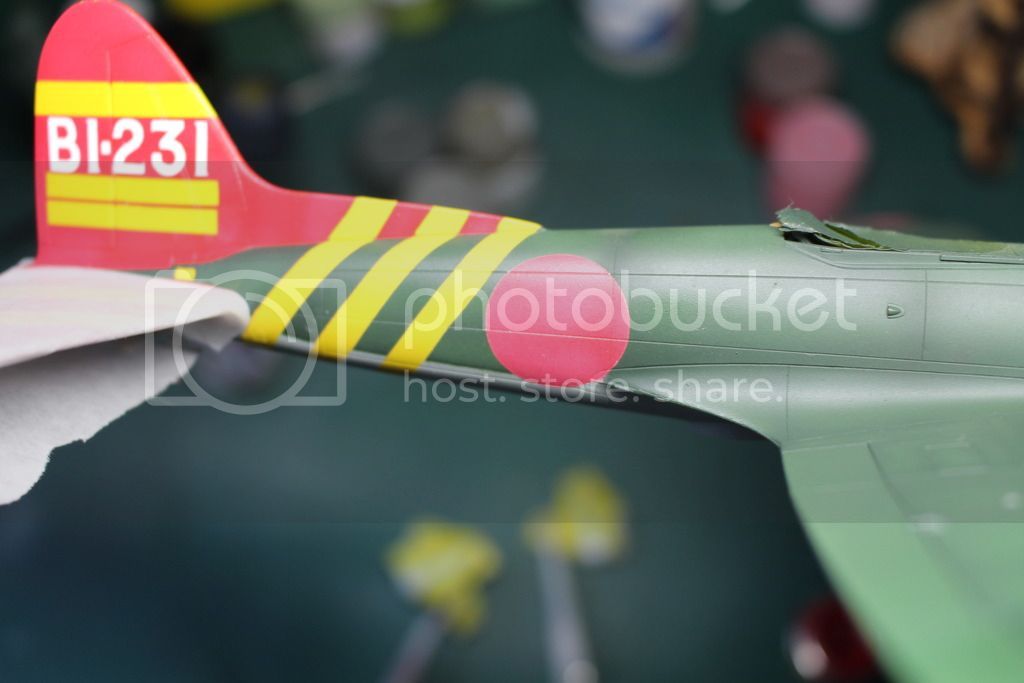
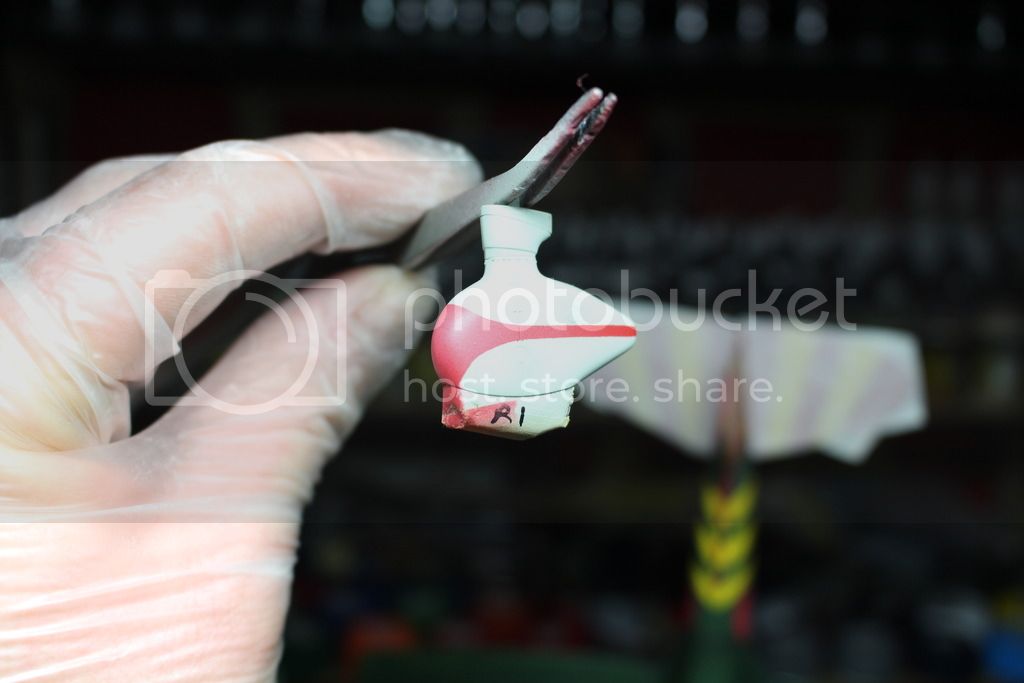
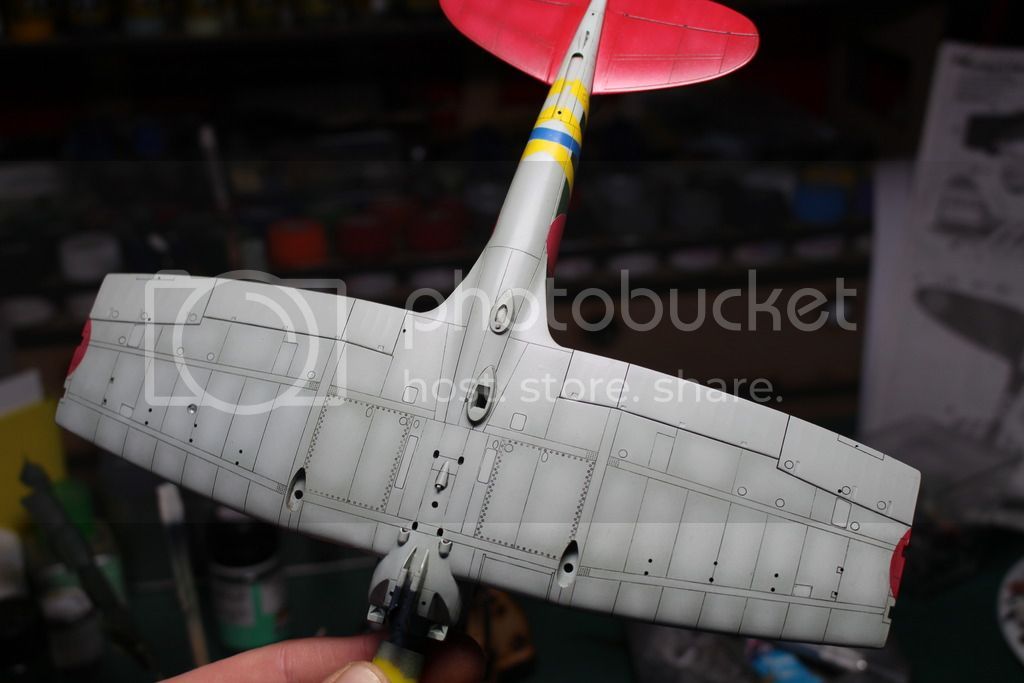
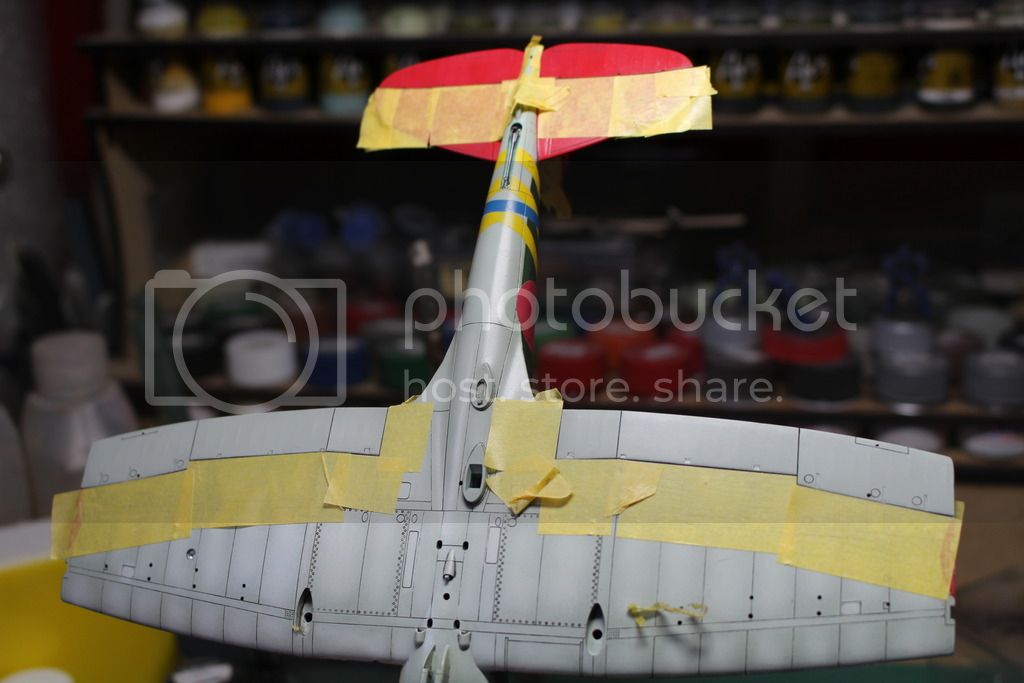
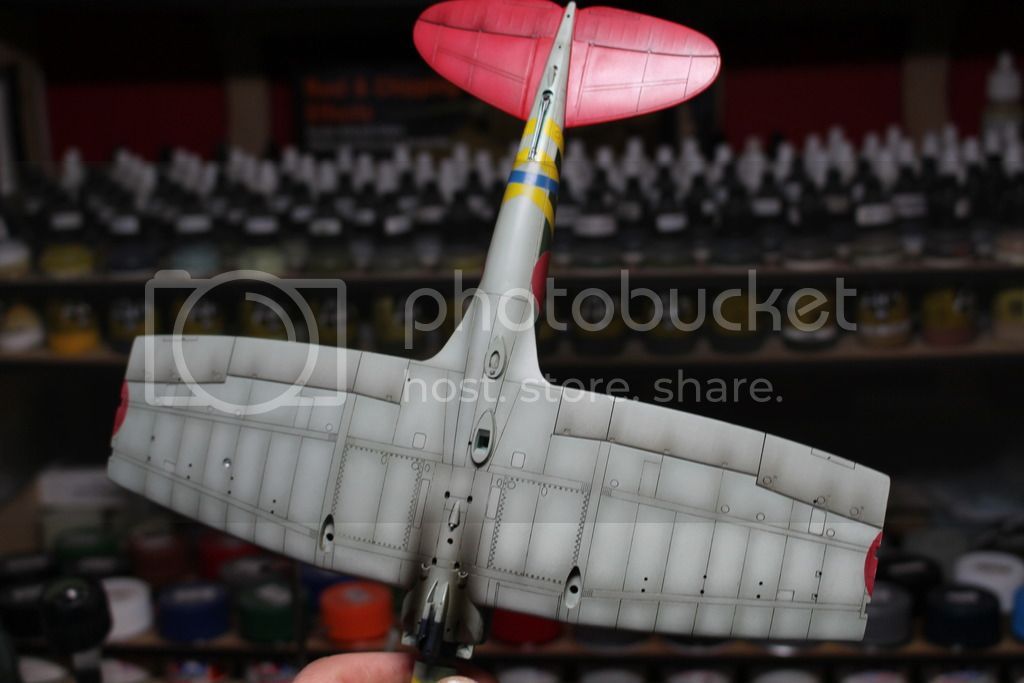
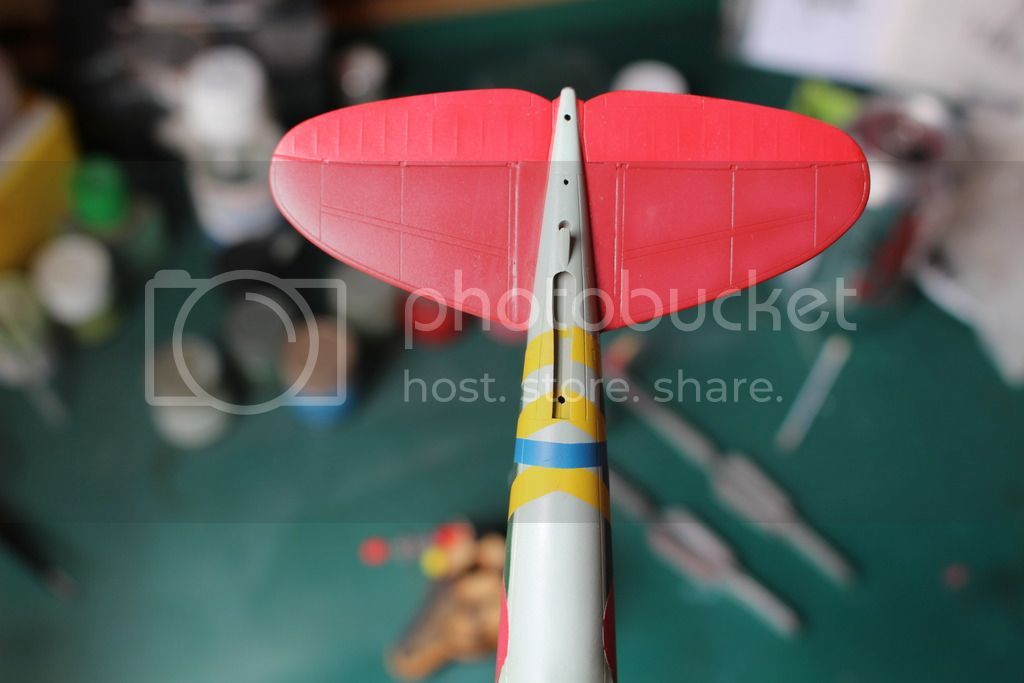
I got the tail markings masked and ready for spraying the main colours. I airbrushed the lighter of the two tones on the underside of the val. I used Tamiya's IJN grey (XF-11). I then cut the original colour with 50% flat white. I used this to highlight the center of the panels. I don't want to go overboard on the weathering with this build. The reason being that this particular aircraft was in the first wave at Pearl harbour, and as this was at the start of the war the aircraft would have been better maintaned, and at this stage of the war in generaly good condition.

IMG_0569_zpsqjstt2ig.jpg


IMG_0570_zpsgr2wzbg1.jpg


IMG_0571_zps3vt5el1p.jpg


IMG_0572_zpsm4phs35h.jpg


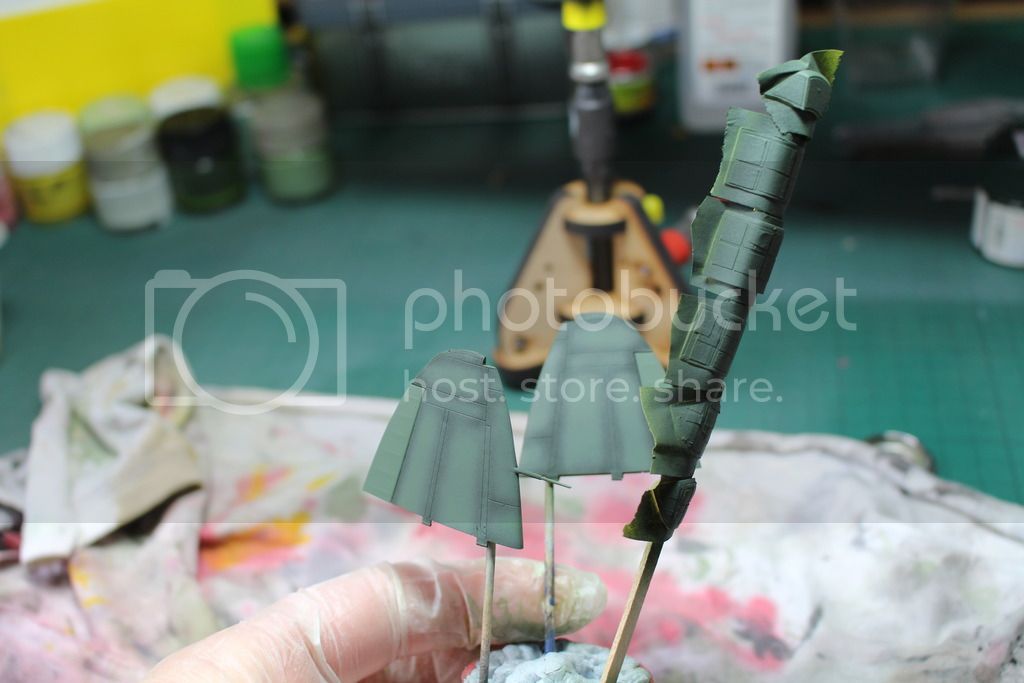
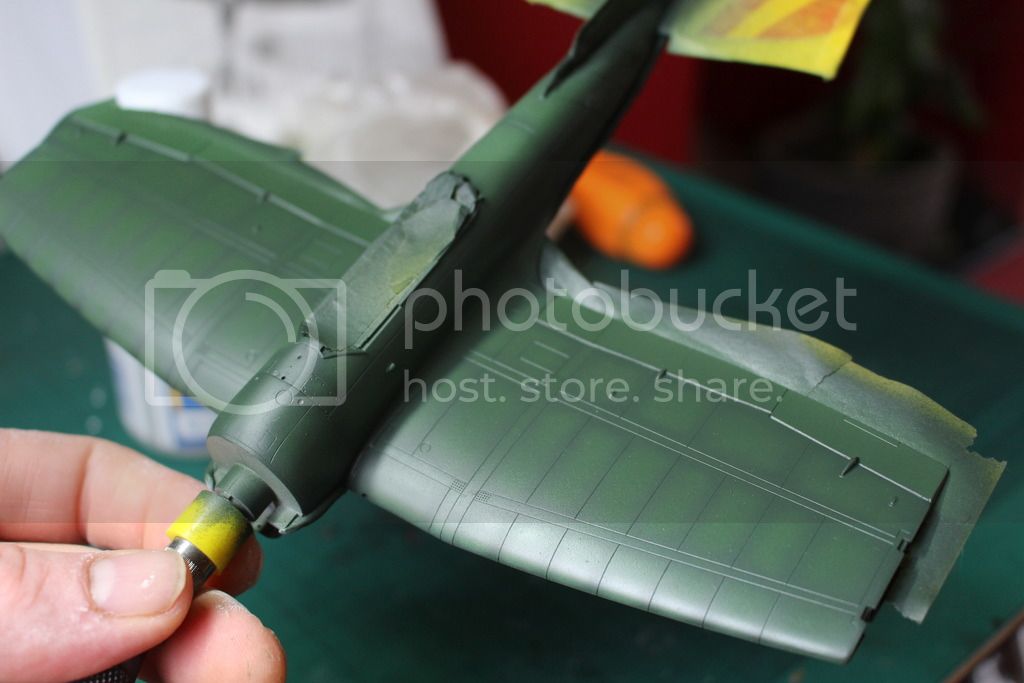
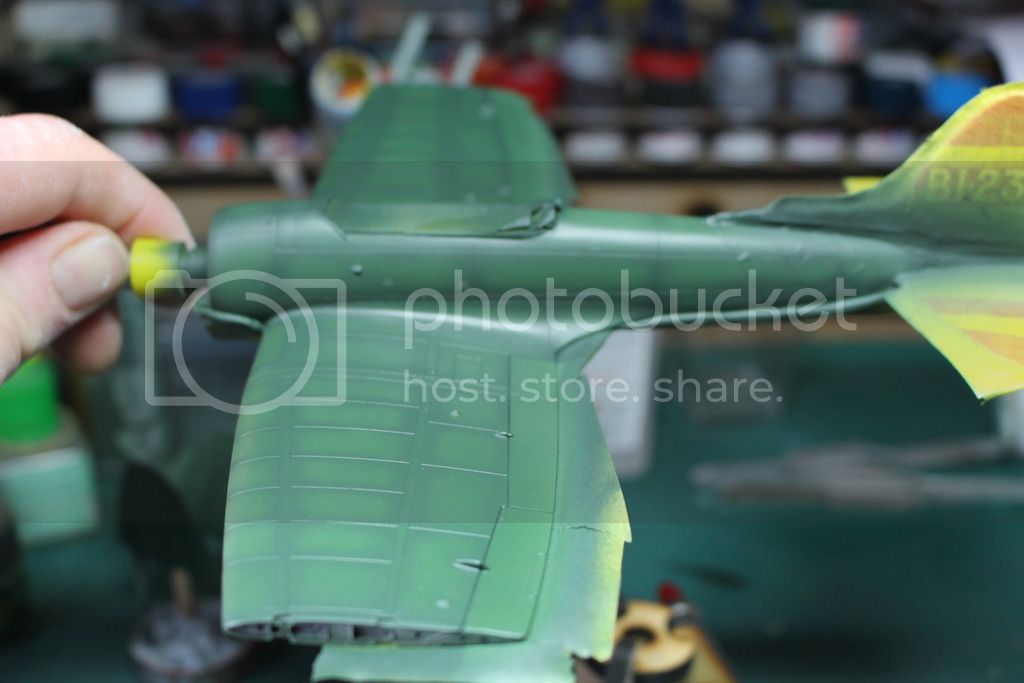
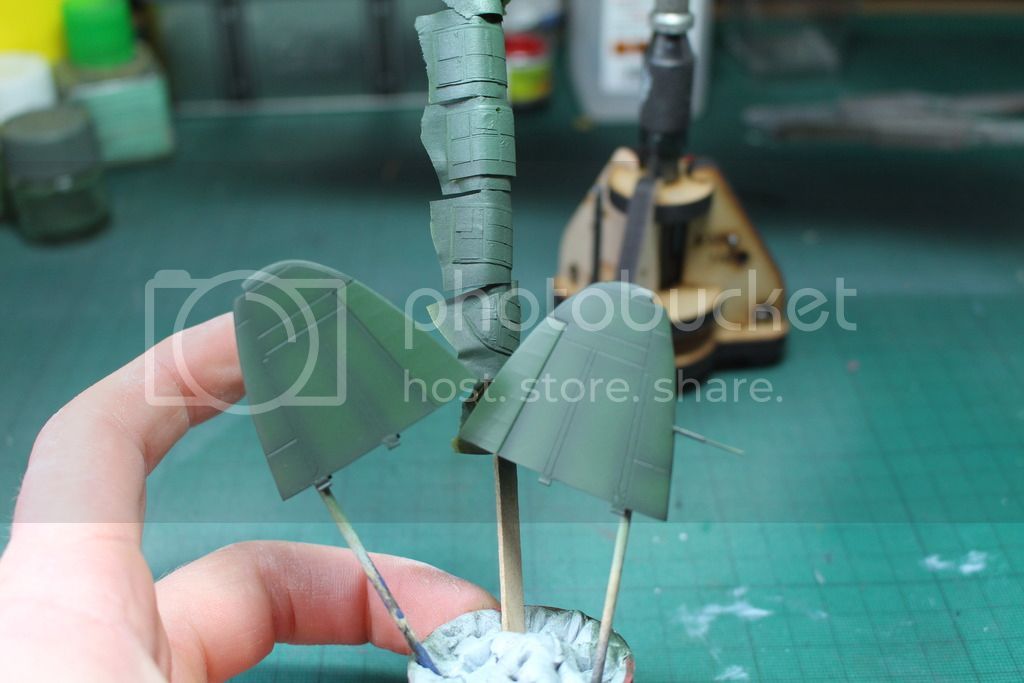
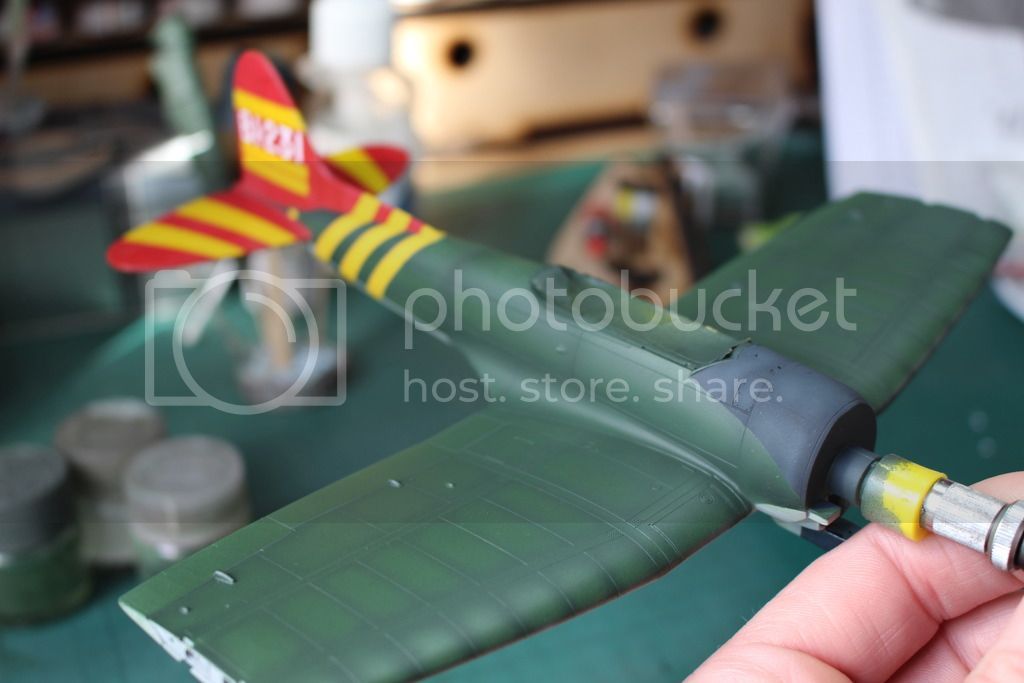
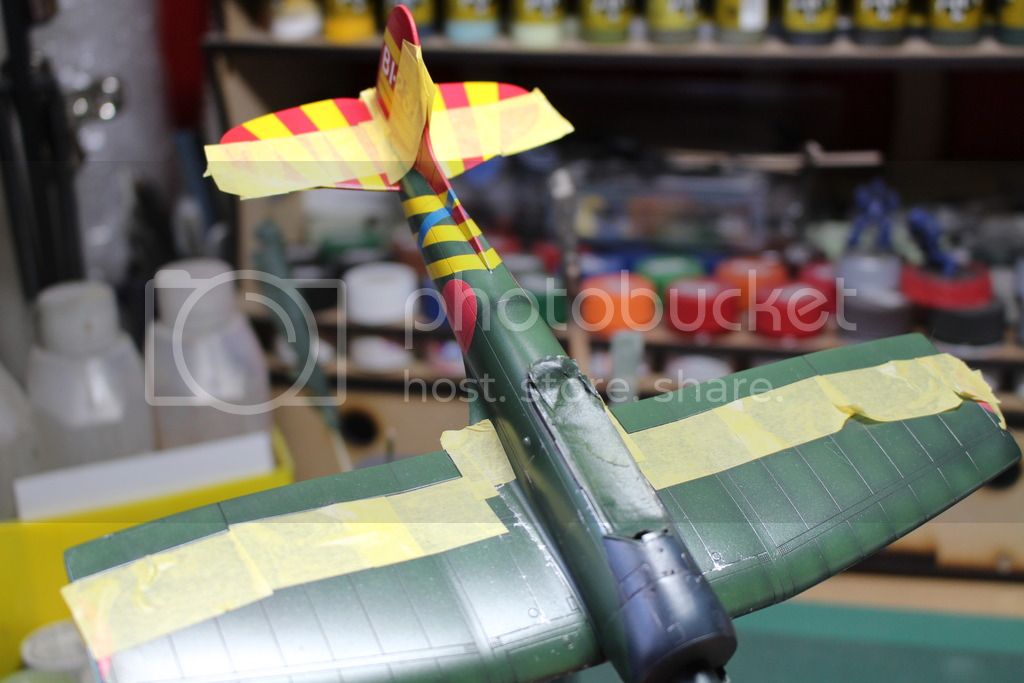
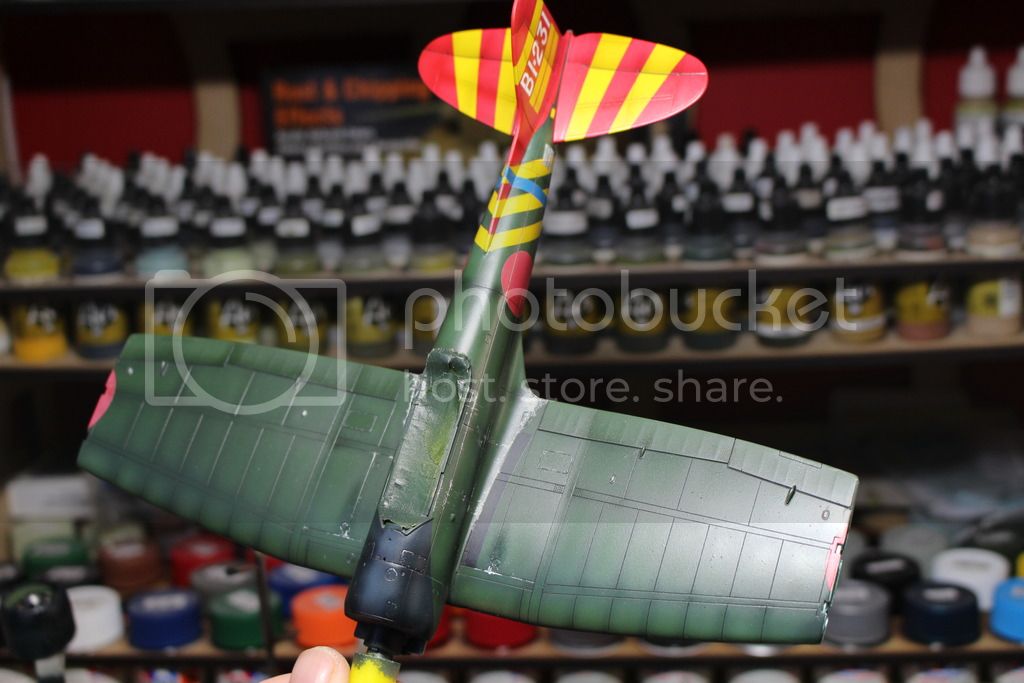
I masked up the IJN grey before airbrushing the IJN green (Tamiya XF-12). Again this was cut with 50% white to highlight the center of the panels.

IMG_0574_zpsnesshclu.jpg


IMG_0575_zpseamifrd7.jpg


IMG_0576_zpsa1b9tea7.jpg


IMG_0577_zpsvtvhwlvo.jpg


IMG_0578_zpsprvufysy.jpg


IMG_0579_zps0p8jkgna.jpg


It looks very stark at the minute with their being a very big contrast between the two shades. To blend these colours I cut the original paint with a little white. This is then heavily thinned with Mr color lacquer thinner (25% paint to 75% thinner). This has the effect of turning the paint into a sort of glaze. I then airbrush this in light coats gradually blending the two colours together. This method (in my humble oppinion) gives me greater control on how much and where my panel fading will be.

IMG_0580_zpstk0dkqvv.jpg


IMG_0581_zpsceafdhce.jpg


IMG_0582_zpsifwhoy0f.jpg


IMG_0583_zps3dopmytj.jpg


IMG_0584_zpspsqzjkxg.jpg


Again I didn't want too much of a contrast as the weathering later will hopefully Add another level and blend everything together.

Next time, itll be the big reveal!!! lol The masks come off, and hopefully all that masking will have been worth it.....

Thanks for checking out the update. As you were.... ;)

Chris
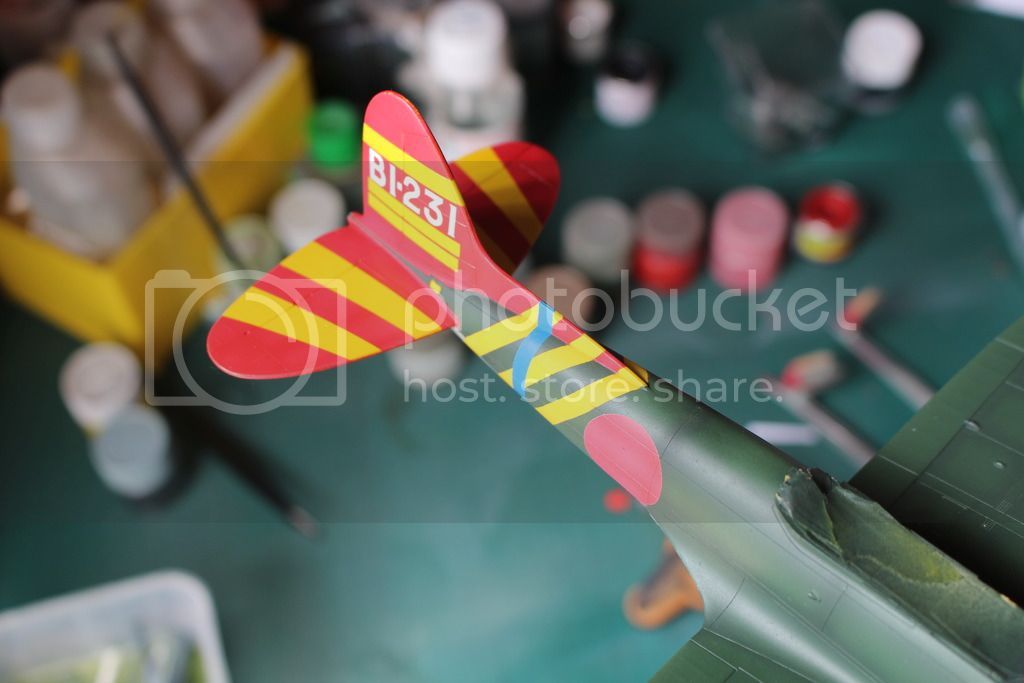
 
It's been a few days but I finally got a chance to update the build.

I got the masks off the fuselage, and I have to admit I'm quite pleased with the results.

IMG_0588_zpscdtfvhma.jpg


IMG_0589_zpsatqvlcxq.jpg


IMG_0590_zpsitliioi2.jpg


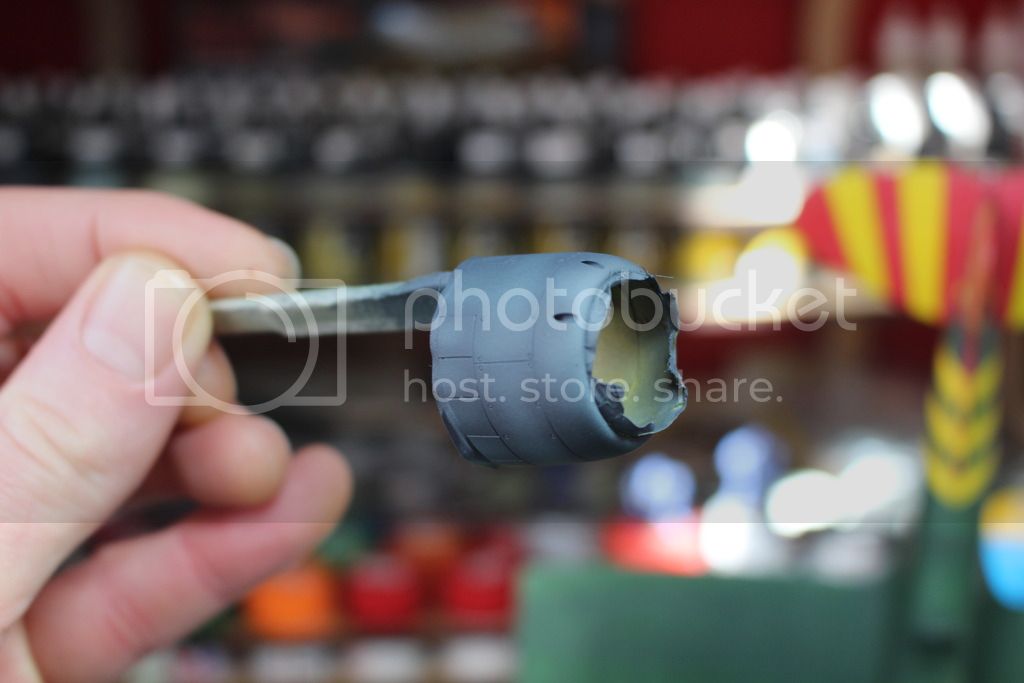
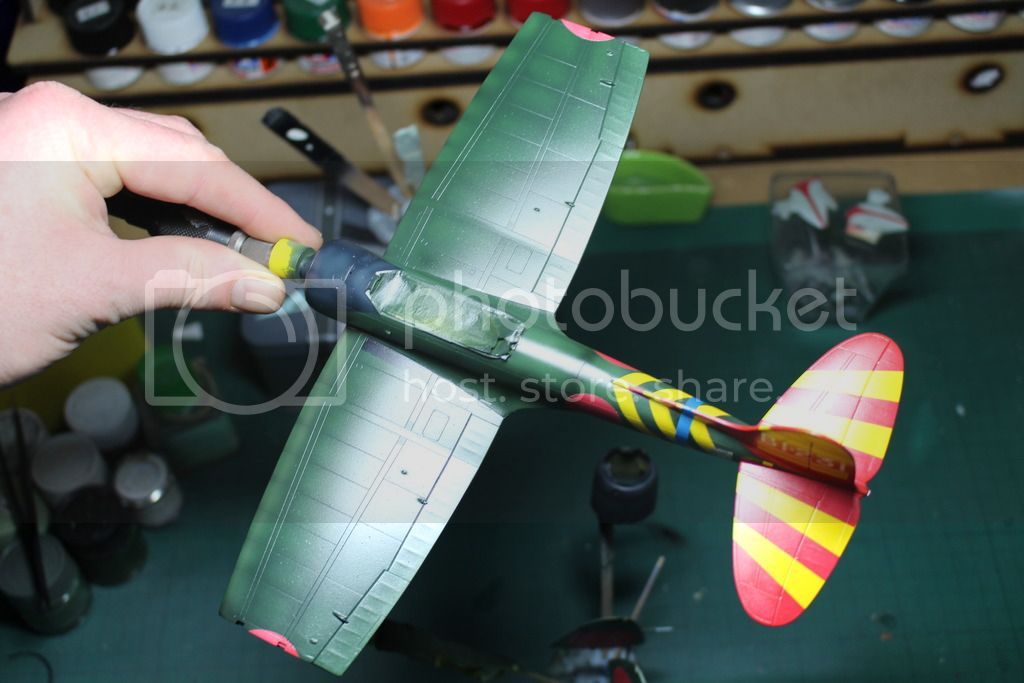
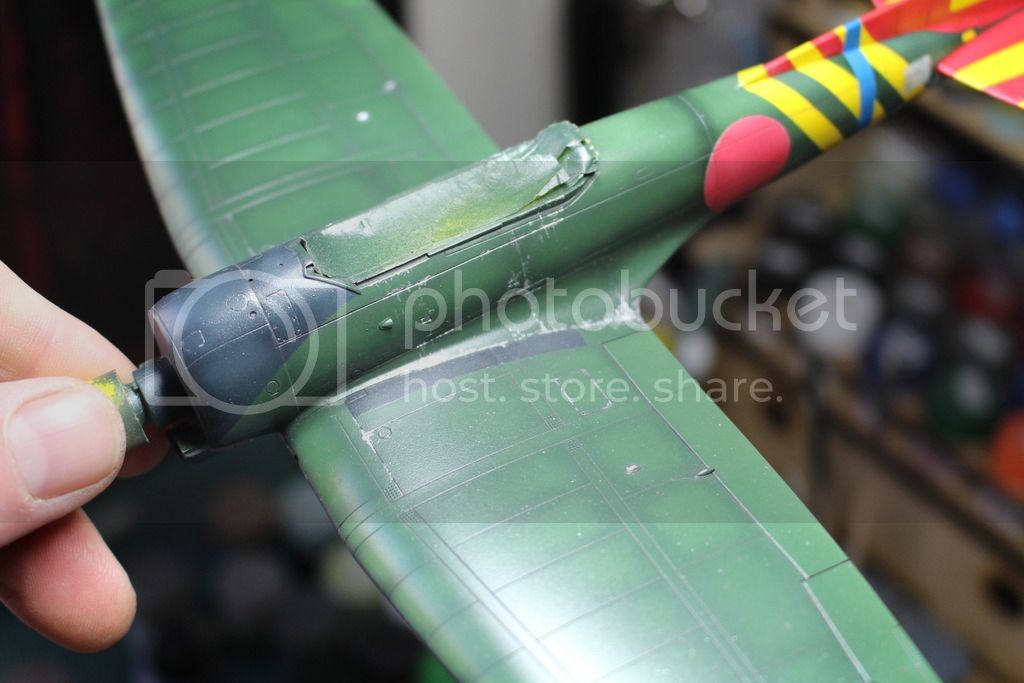
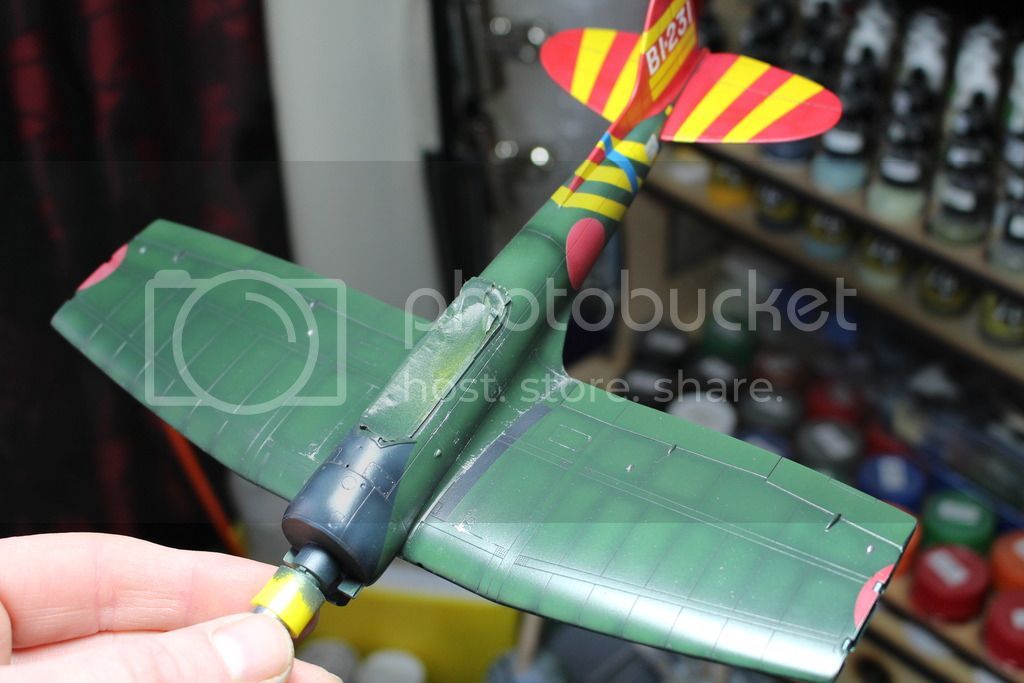
I got the nose of the val masked off for the blue/black color. I also airbrushed the cowling with the same colour.

IMG_0587_zpsrukjcxa5.jpg


IMG_0594_zpsnf4j1wmd.jpg


As usual I cut the colour with white and lightened the panels.

IMG_0595_zps7hcygxca.jpg


IMG_0596_zpsvyqdlhpi.jpg


IMG_0597_zpskn5dq911.jpg


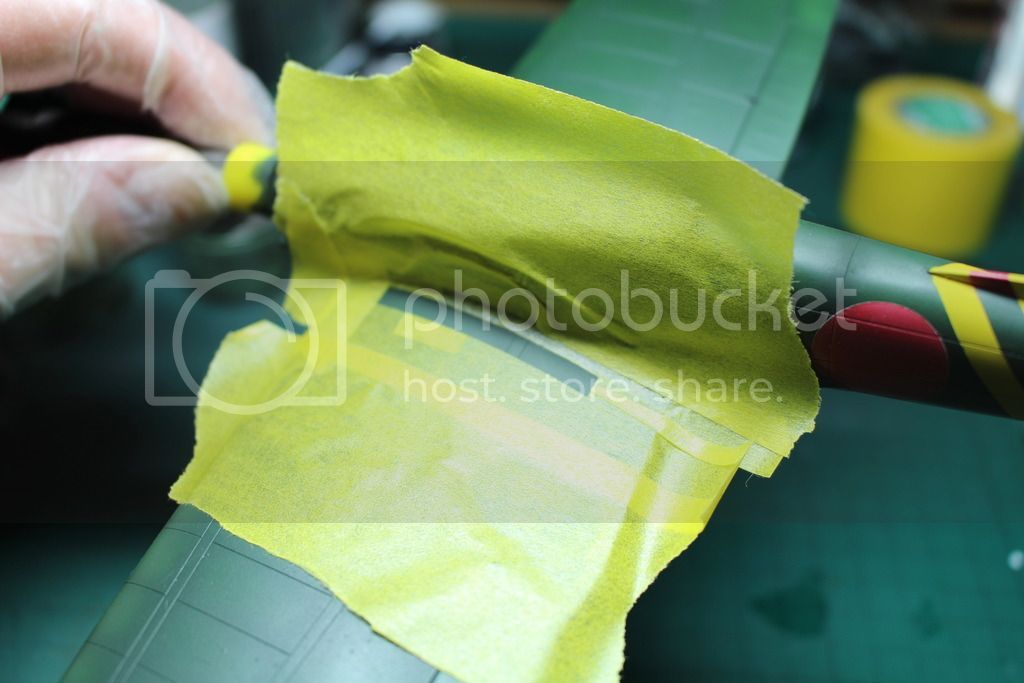
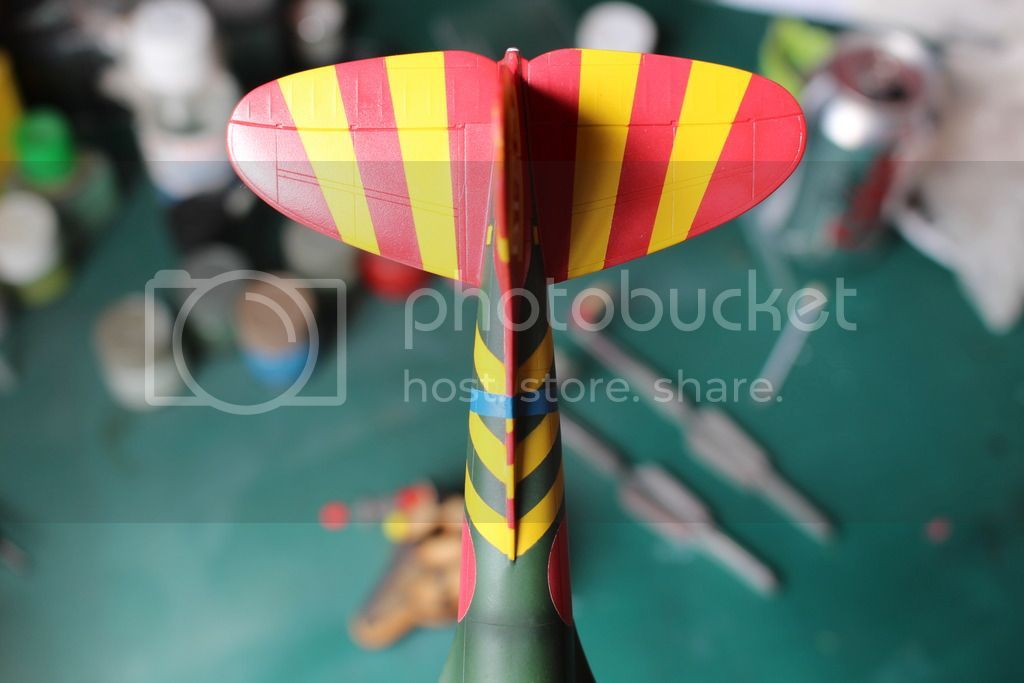
I masked up and painted all of the hinumaru's.

IMG_0599_zpswmfchtks.jpg


IMG_0600_zpsjcf1wsrx.jpg


IMG_0603_zpsry7londd.jpg


IMG_0604_zpsvmnchygg.jpg


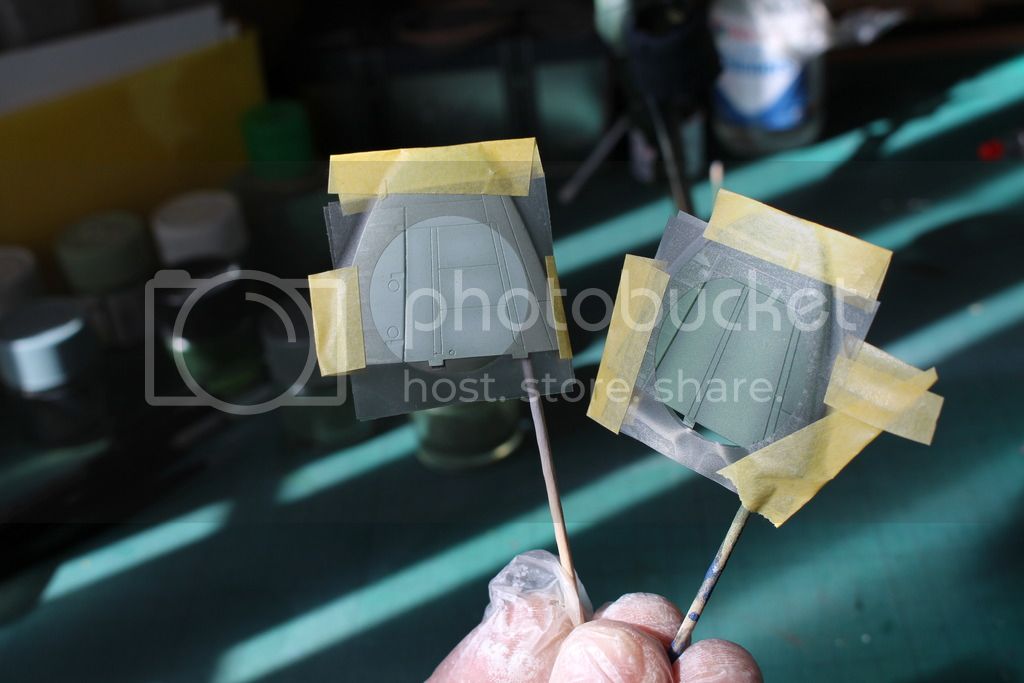
while is was airbrushing the hinumaru's I also masked off and sprayed the wheel guards.
IMG_0606_zpsobg0ivtu.jpg


I masked off the walkway on the port wing root. I airbrushed this with Nato black before highlighting.

IMG_0605_zpssxukwe4l.jpg


IMG_0611_zpscasfsiny.jpg


Last bit of masking and airbrushing for now.... lol

IMG_0607_zpsqdmshqjr.jpg


IMG_0608_zpsrudlexth.jpg


IMG_0610_zpsvwc95u9z.jpg


IMG_0609_zpskfc2yhcg.jpg


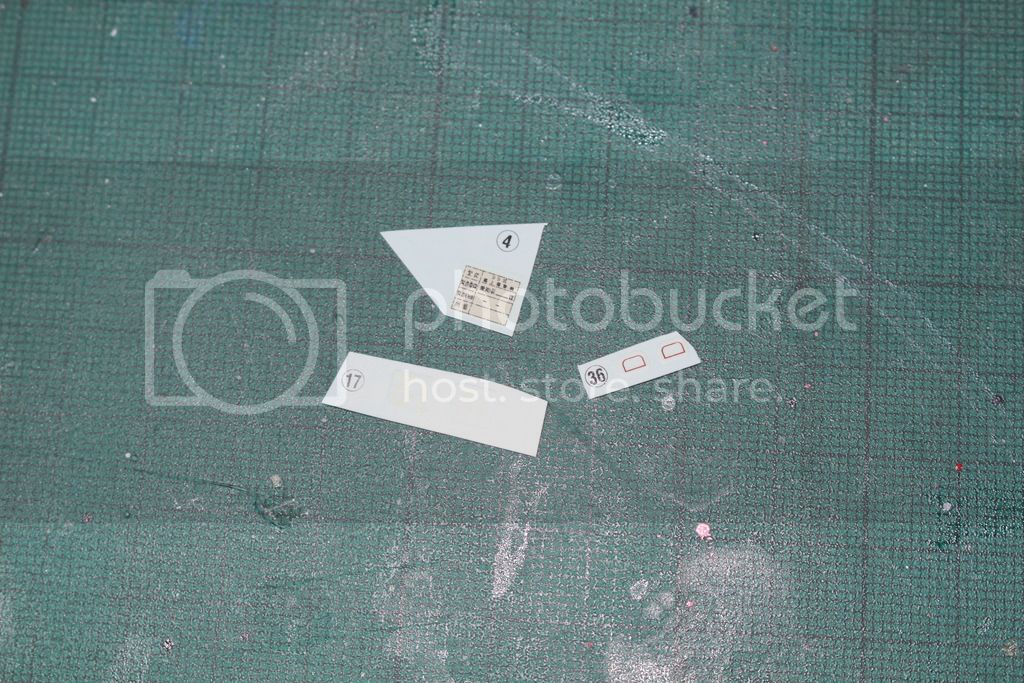
I got a coat of gloss on everthing once the paint was dry. I intended to airbrush all of the markings on but there were just a few decals that had to be used.... one of the decals didn't turn out in the photo due to them being white numbers for the front of the wheel guards.

IMG_0612_zpsnm5dv8l4.jpg


Thanks for checking on the update. Hopefully I'll get the decals on, and start some weathering this week!!!!!

Chris
 
Looking good!
Whats the gizmo you're using to hold the fuselage during paint?
Looks like something I might 'need'.
 
Chris- this is looking fantastic.

Those markings really look the part. Are you using a circle cutter for the hinamarus?

Scrach- that is a Sphere Products Small Plane holder- really good piece of kit.

Alan.
 
Thanks guys.

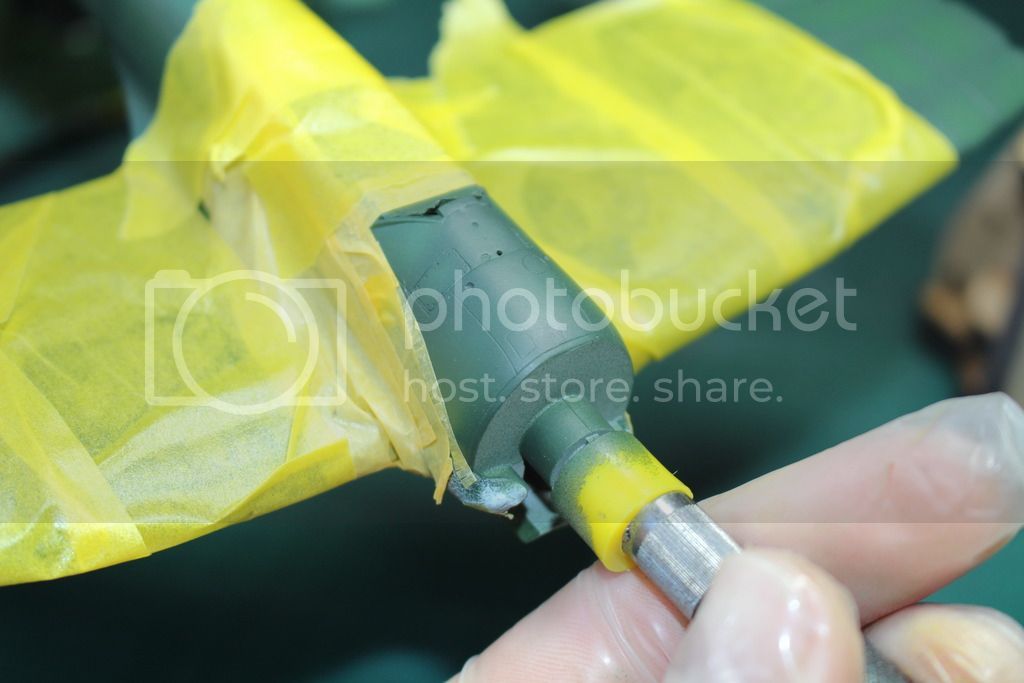
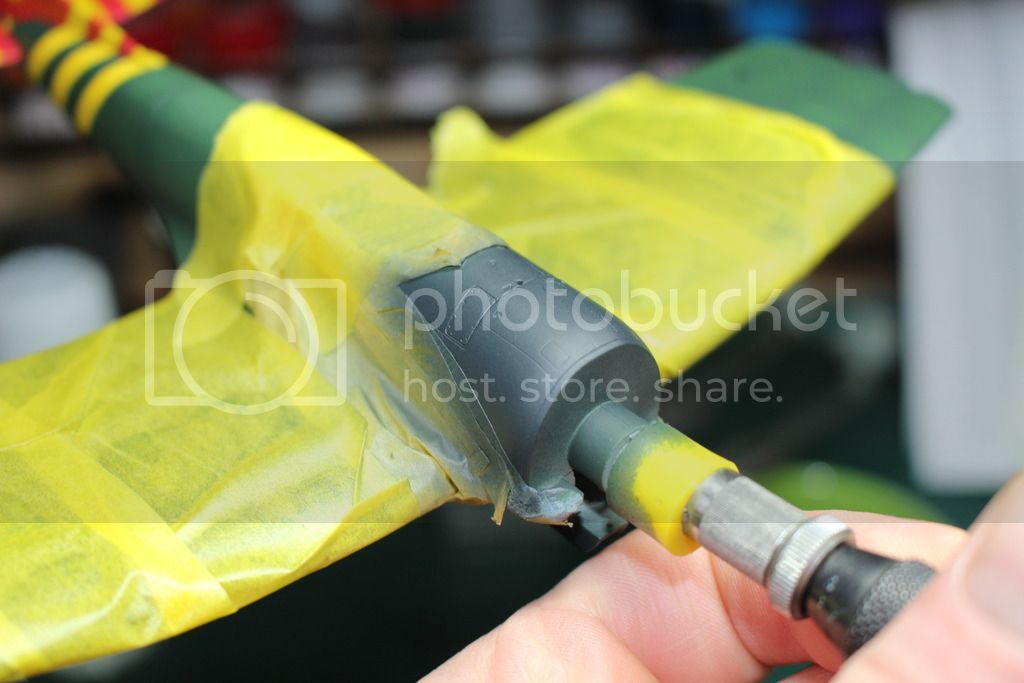
Scrach - As Alan said, it's from a company called Sphere products. They make paint racks, small wooden vices for figure painting, cases etc. The one I'm using is the small aircraft stand (actualy meant for 1/72 but works great for single engine 1/48 aircraft). You drill a hole in the nose of the aircraft (if there isn't one there already) and insert a clipper pin (the things used on real aircraft to hold the skin together while riveting, you have 2 sizes to choose from), then there's a larger pin vice that you tighten on that. There's a stand then that the vice goes into. I'll get some photo's of how it all goes together on my next update. Here's the website though, Jon who owns the place is a great guy to deal with. http://www.progeng.co.uk/sphere

Thanks Alan, yes mate. circle cutter on Frisket film.

Big fan of masking Scott!!! It can take a lot of time to mask things up but I always love the end result.

Chris
 
Scrach, infact if you follow the link above and select the aircraft stand there are several photos showing you exactly how it goes together. Hope this helps.

Chris
 
Thanks for the link/ info. That looks damn nice and seems a fair price for what looks to be a quality product, same goes for that magnetic armor stand. Both could probably be adapted for just about anything. They'll both be on my shopping list. Thanks again.
 
My pleasure Scrach. They are great products and as I said before Jon Page is a great guy to deal with. He custom built my paint rack for me and I just love it!

Chris
 
Finally I've got a chance to update the Val build. Unfortunatley I'm having some work done in the house, and it's making getting to the bench impossible. Hopefully things will get back to normal soon and I can get the D3A1 finished.

So I did get the few decals on and sealed with a coat of Klear ready for weathering. It's either a love it or hate it product, but I have to admit I find using Flory's clay wash easy to use with great results. Slop it on, let it dry, then just whipe it off with a damp (water) kitchen towl.

IMG_0613_zpsdz5vhhy0.jpg


IMG_0615_zpsixbi5saw.jpg


IMG_0616_zpskikmklhv.jpg


IMG_0617_zpscmfipfeu.jpg


IMG_0618_zpsxekrpr4l.jpg


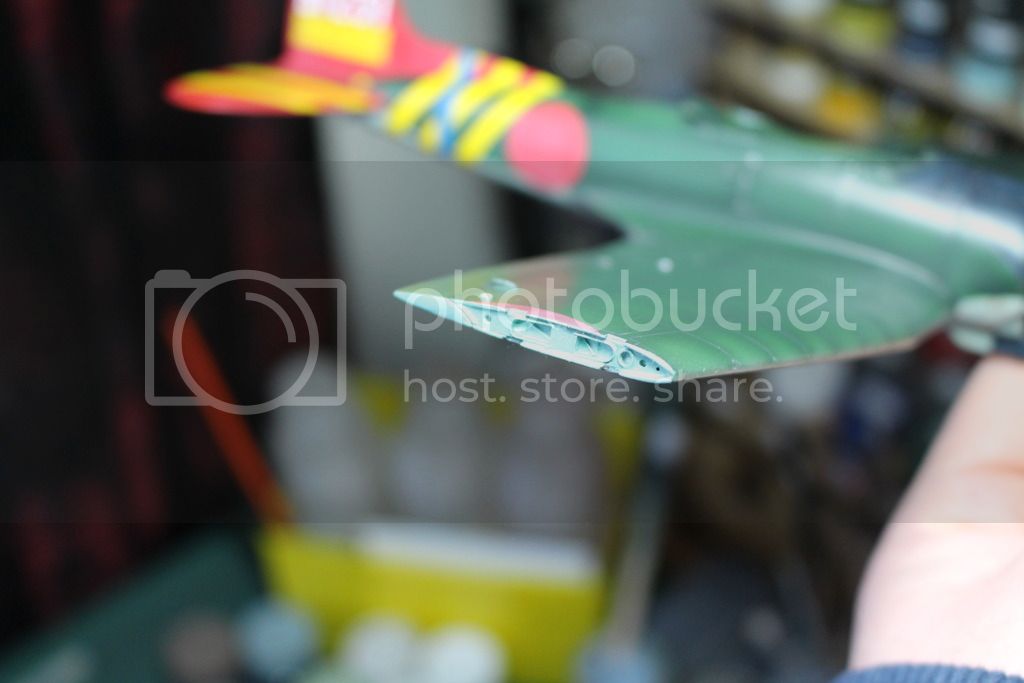
I got the Aotake colour on the end of the wings, showing some of the "internal" structure of the wing.

IMG_0621_zpsfy214039.jpg


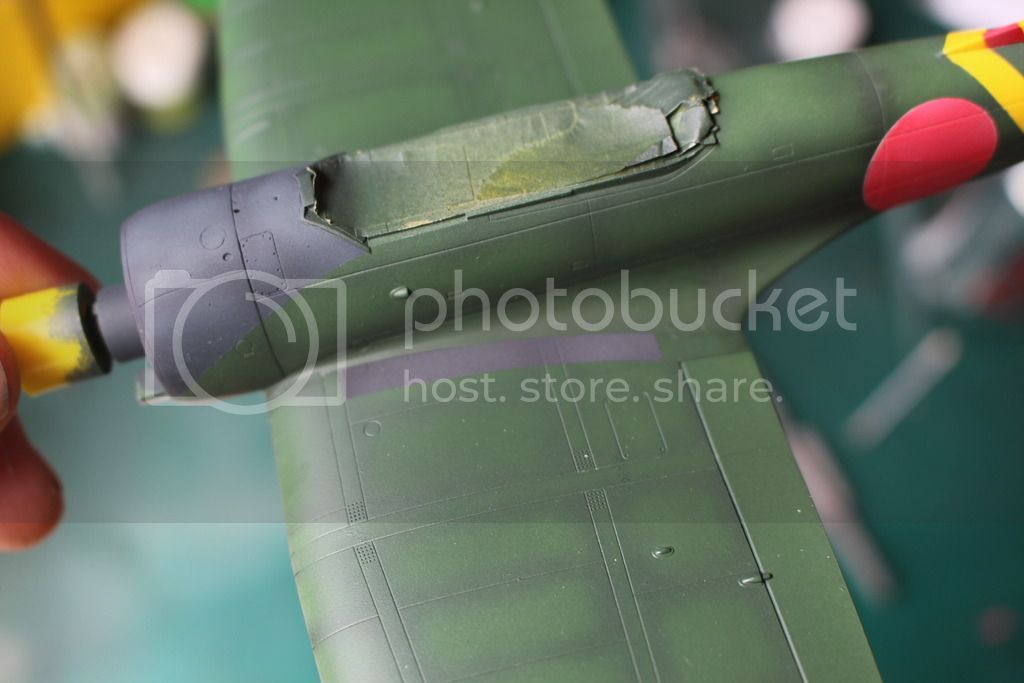
I got some of the chipping done on the wing root. I'll maybe add some more later but I think it's important to do chipping at different stages of the build so there's a different texture to these areas. Just like the real thing, not all of the chipping will happen at the same time, so it's important to have some more weathered than others.

IMG_0622_zpsireg6bpz.jpg


IMG_0624_zpswjoksr8w.jpg


Then it's time for more masking.....

IMG_0626_zpsp1oih0mp.jpg


IMG_0625_zpsvc5z43zo.jpg


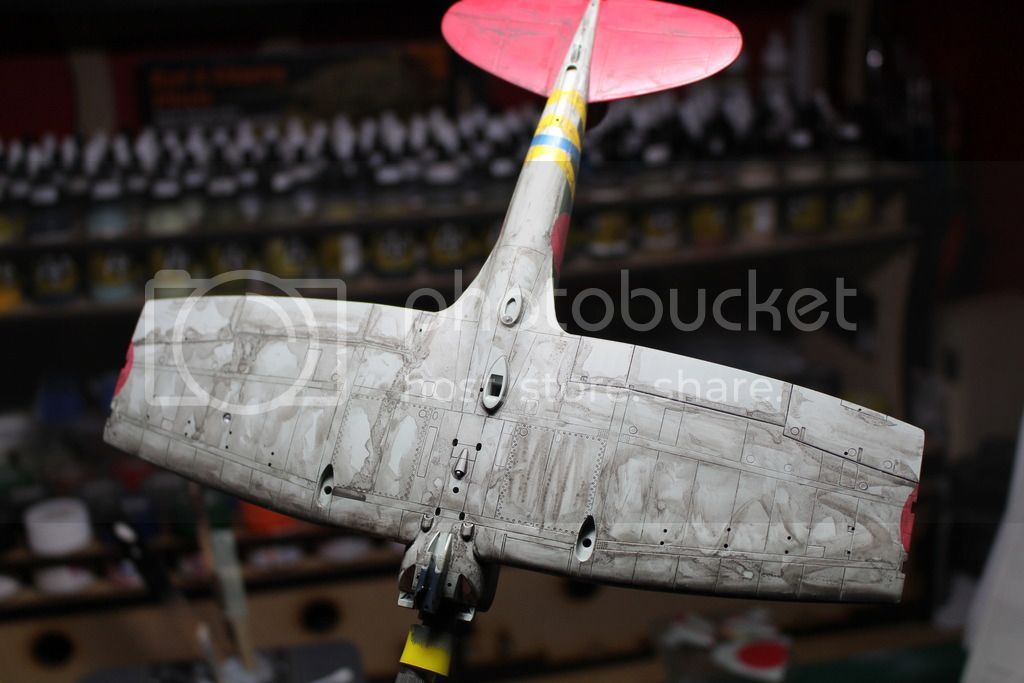
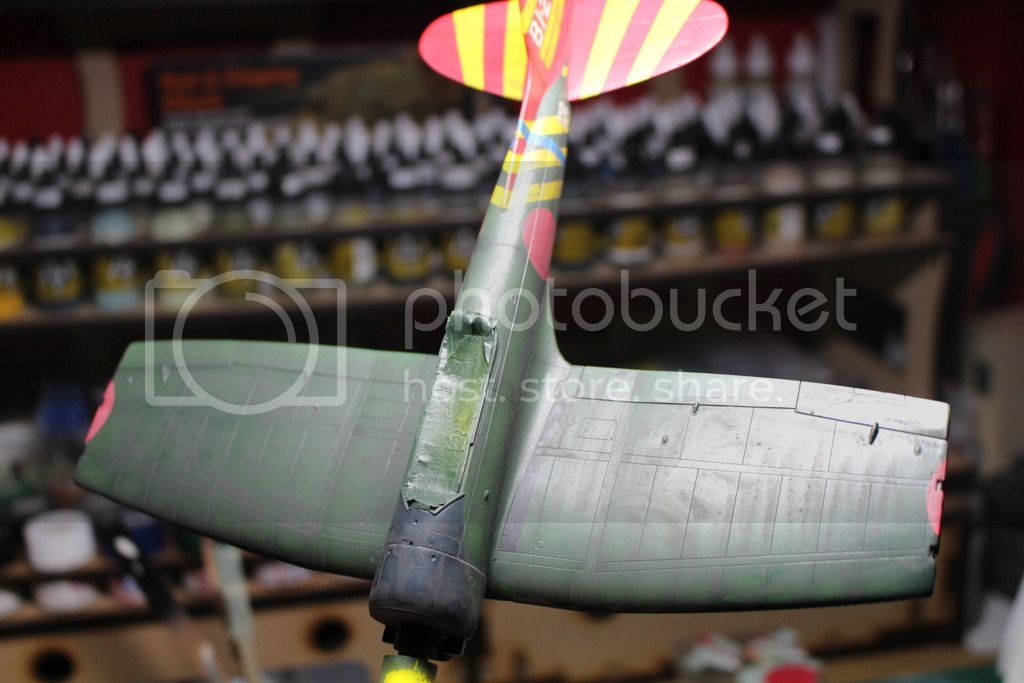
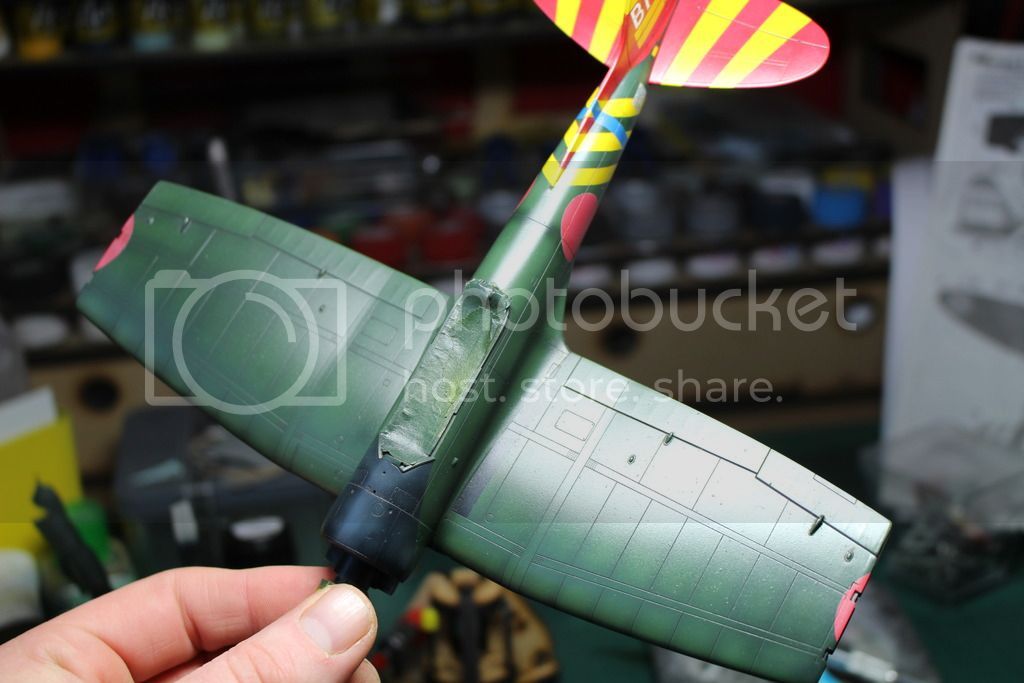
Using Tamiya Smoke X19 I lightly spray the root of the control surfaces. Then once the masks are off I go over the panel lines building up the colour lightly. I also started the exhaust stains on the bottom of the Val. I'll add to that later. The joy of using Tamiya smoke this way is that at the minute it looks a bit heavy with a bit of an oily shine to it. Once you put a flat coat on things it just blends in and calms down.

IMG_0627_zpsekgazxdu.jpg


IMG_0628_zpslascokfp.jpg


IMG_0629_zpsctks33ps.jpg


That's about all for tonight. Thanks again for checking out the build. Not long to go before I call this one a done.

Chris
 
Man...great update. Lots to talk about here. I agree that the Flory washes work great and really are nice for what they do. I recently resubbed to his site and have been watching alot of his videos. Great stuff.

I really agree with your chipping philosophy; very true. By staggering the actual timing (layer timing) you can achieve much more realism. I'll have to work more with the X19. Great tips.

Anyways, this is by far my favorite green with red and yellow stripes airplane in the contest so far. Killer work man.

Question: What is your chipping technique? Color used?
 
Hi Scott. I'm So pleased you're enjoying the build, and your kind words are high praise indeed. ;D

I usually only use either the flory dark dirt wash, or the black wash. I use the dark dirt for my panel lines, but the black is great on metal parts like engines etc, gives them a really oily look. Great stuff. I don't know if your able to get the stuff where you are, but if you want to try them out, I'll send you a couple of bottles over.

When using the tamiya smoke, keep your airbrush moving mate. If you don't it pools very easily. When you first start airbrushing it, it looks like your not putting anything on. You need to build it up slowly. I usually turn my model so the light is shining off it. makes seeing where your airbrushing a lot easier. The thing I love about it is this. Weathering can be a tricky thing sometimes and is easily overdone. With this stuff you want to take it to the stage were it looks like you've done just a little too much. Usually with other product that's too late and there's nothing really you can do about it, but with a flat our satin varnish over it, it settles down and blends in taking it back a step. I hope that makes sense. Hopefully you'll see what I mean when I get more of the build done.

As far as my chipping method. I use a good quality very fine brush. In this case a winsor & Newton series 7 for miniatures. The paint is Vallejo model air aluminium. I like using this as its already thinned so is easy to work with. And of course magnifying head gear like the ones you were wearing in your apache video. Later I'll use a silver primacolor pencil after the flat coat is on. I just take my time and do one part at a time.

Thanks again mate for checking out the build. Since I've started posting on sma I've been blown away by the talent that's on here. I've been getting plenty of ideas and a load of inspiration myself.

I hope I answered your questions okay but if not give me a shout.

Chris
 
Wow- looking fantastic Chris.

I have a different philosophy to chipping- I actually like to chip the aircraft properly.
I always spray a complete coat of aluminium all over the area to be chipped- a protective coat of Klear/Future, then a coat of Worn Effects from AK. Once this dries- I shoot the proper colour on. Later on I use a cocktail stick and rub the paint away, leaving the aluminium showing through. Having great fun replicating this on the wing of my P-51- doing it in reverse this time- Zinc Chromate undercoat then chipping away the silver paint.
 
Thanks Alan. :D

The problem with using that technique mate is you don't have quite the same control, and if you accidently do too much or take a bit of paint off you didn't want, you can't undo it. With painting it, I can just wipe it off and do it again. Personally I feel if it's done right you wouldn't be able to tell the difference anyway. I've used the chipping medium technique several times before (for years in fact), and still use it at times. But I don't think it's appropriate in this case. As I wanted to keep the chipping light, and adding so much work, another layer of paint, glosss coat, chipping medium... was unwarranted. Besides as I stated I wanted to layer the chipping with weathering, again something that is very hard or next to impossible with the chipping medium. I still look to guys like JM Villalba, Chris Wauchop, and Brett Green for inspiration and technique, and none of them use the chipping medium. They all have stated they prefere to paint and use the prismacolor pencil for chipping (for control). Each to their own though and I'm glad that technique works for you. I will continue to use it but when it's warranted, but just not in this case. Thanks though for checking out my build, and I appreciate your comments.

Chris
 
Thanks Chris. Great talk man.

I think it's clear that there is indeed more than one to skin a cat...or chip a 1/48 scale model aircraft. ;) Model on.
 
Nice update mate :) This is gonna look Da Bomb ;D

Personally I prefer an artist pen for chipping my aircraft , it gives lots of control and simply wipes off if I don't like it . I find the chipping fluids a bit to heavy for aircraft myself , but do use them on armor . I also like to layer the chipping as you mentioned ..old ..to new ,I think it helps add a bit more depth to the surface .

Alan , did P51's have Zinc chromate on the outer skins ? I didn't know that ?

Chris.
 
Chris- I have read that on the painted p-51 wing the primer used was Yellow Zinc Chromate.
I have actually taken most of it off now as I don't like the way it looked- just a bit on one wing, that I am actually going to paint over.
I use the prsimacolor pencils as well for chipping- I like to use the medium method for wing roots and areas where the chipping would have the worn look as well as exposed metal. Usually on propellors, access panels, etc, I would use the pencil or silver paint.
 
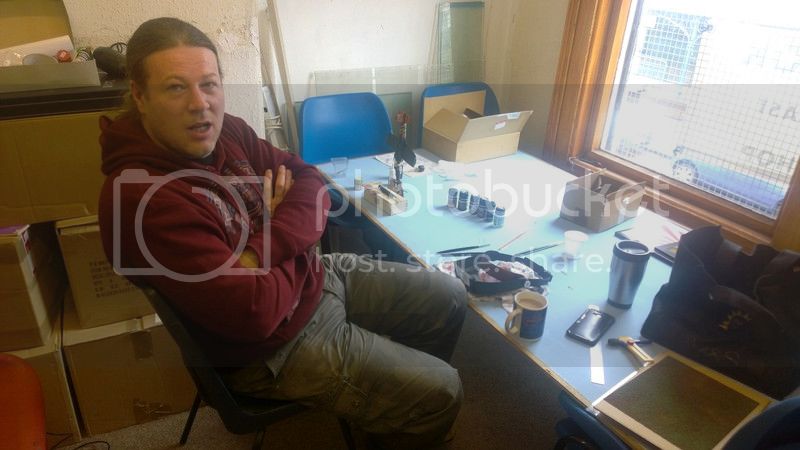
I had the pleasure of seeing this in the flesh today :) I have to be honest ,the photos just dont do it justice !
Stunning !! Absolutely Stunning !

Dont he look happy ;D ;D

chris.jpg


Chris.
 

Latest posts

Back
Top