D3A1 Val 1/48 Hasegawa competition build

Scale Model Addict - Model Tips, Guides, Tools & Tech, Tutorials, and Community

Help Support Scale Model Addict:

This build is sweet- not only because it's a dive bomber ;) but also because you're doing such good work here-- well done!
 
Thanks Jeeves :D. I do love a good dive bomber myself. Hopefully get an update on the build this evening.
 
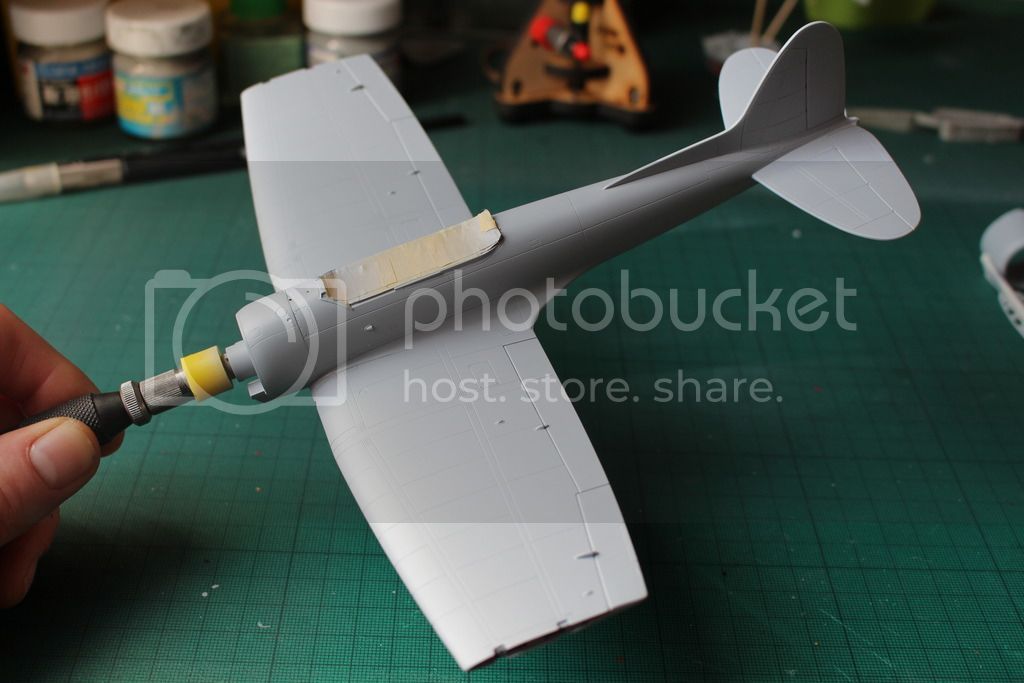
A quick update on the build.

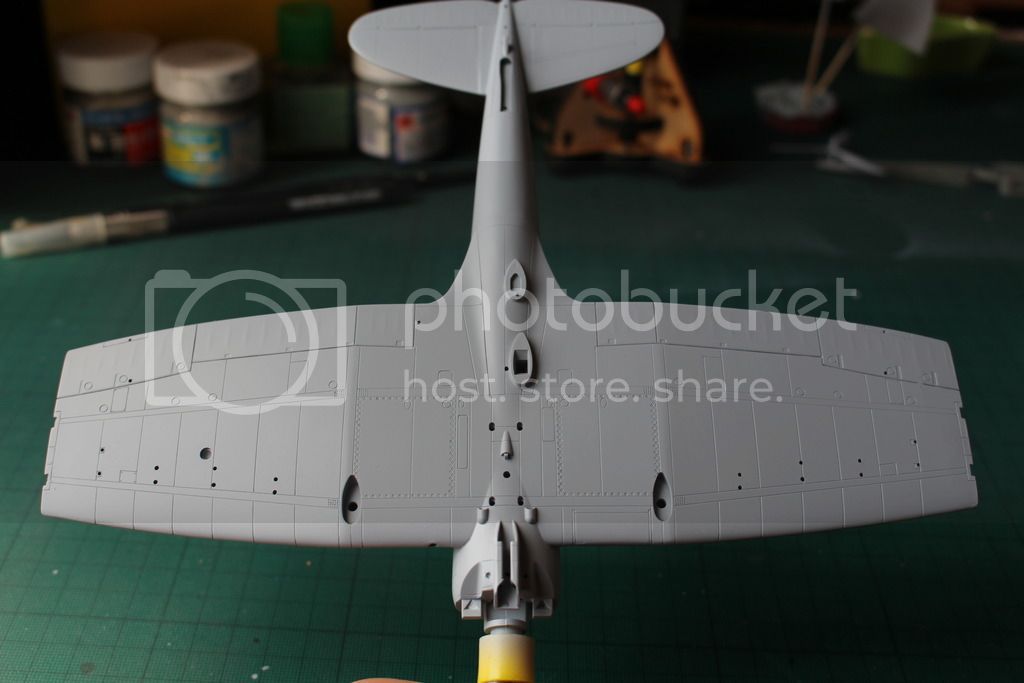
I got a coat of primer on everything. I fixed any seams that were still visible before touching up the paint.

IMG_0510_zpsimt7uh21.jpg


IMG_0512_zpsoc2hoztv.jpg


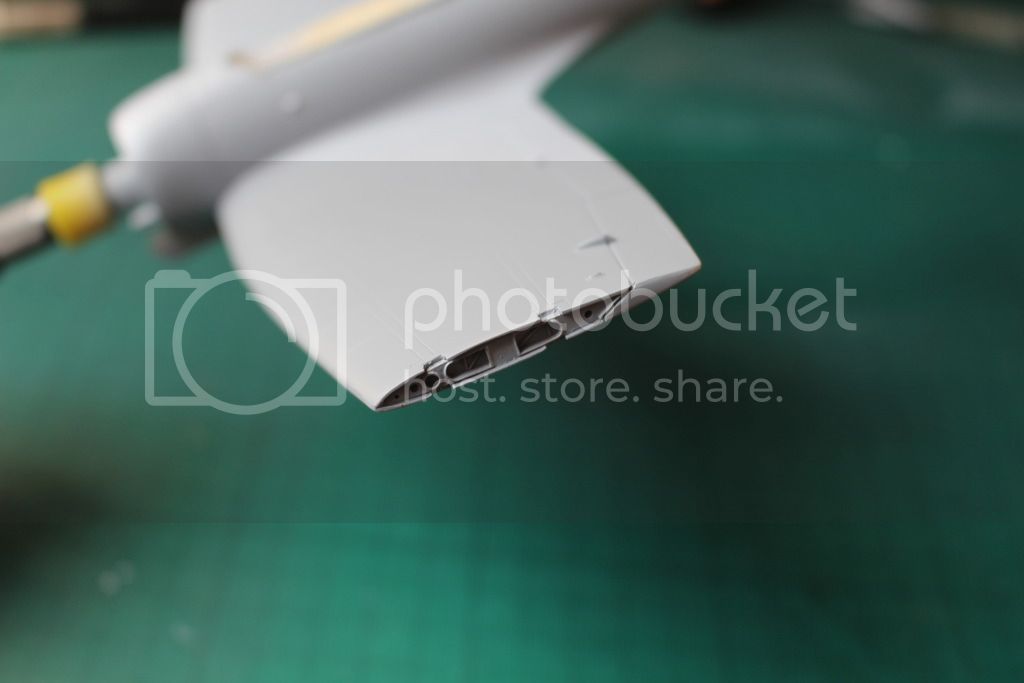
The resin wing insert turned out quite well.

IMG_0511_zpsks1ji4ag.jpg


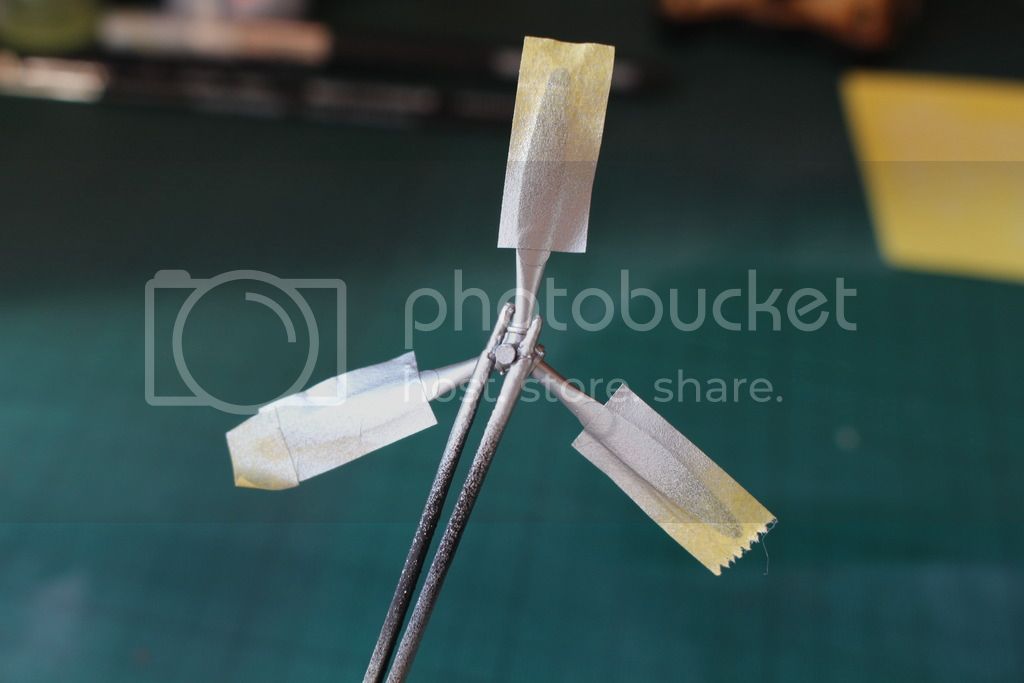
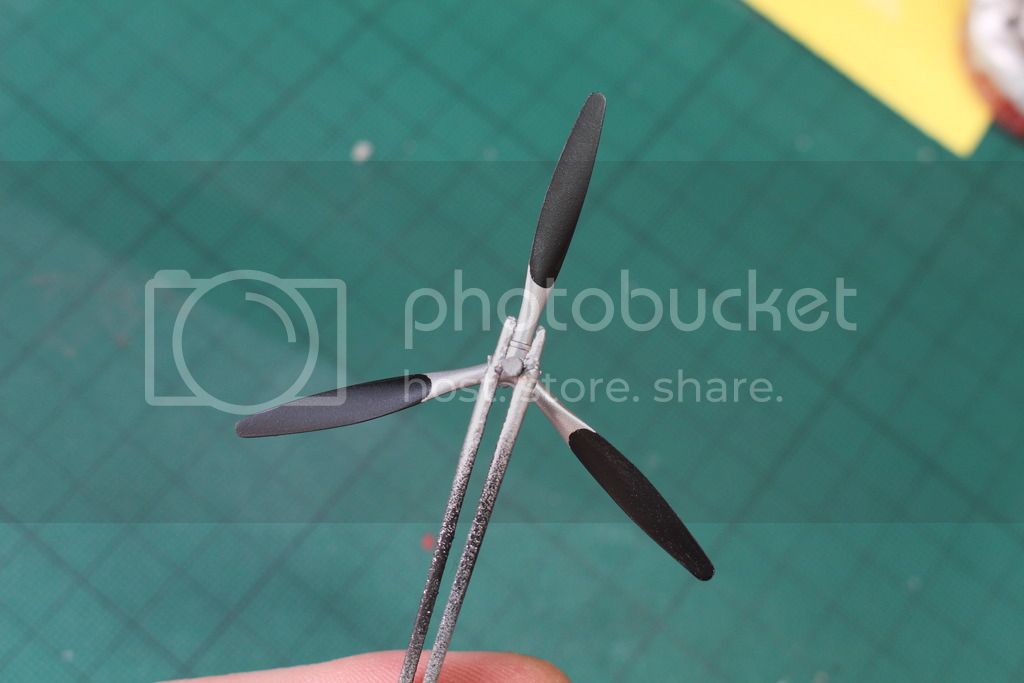
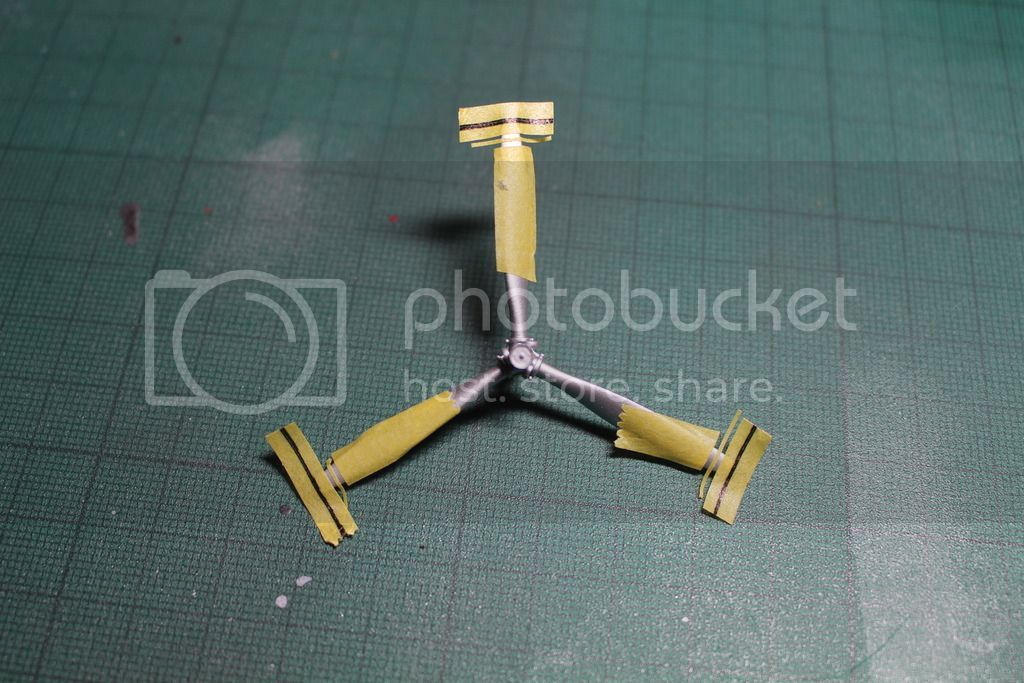
To give the primer plenty of time to cure, I decided to make a start on some of the other sub assemblies. I started with the Val's prop. I gave it a coat of flat black, before masking off the back surface. I then sprayed them with Vallejo silver. I will give the hub a slightly different shade and a dark wash to bring out the detail.

IMG_0519_zpsrrpnffwu.jpg


IMG_0522_zpsh0m9yfyo.jpg


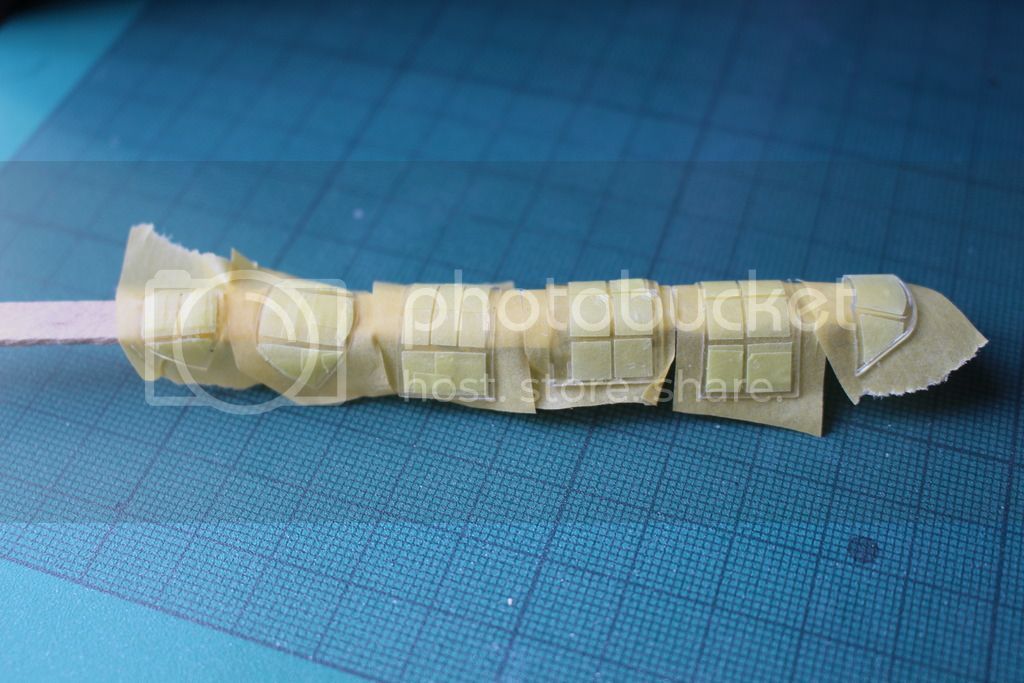
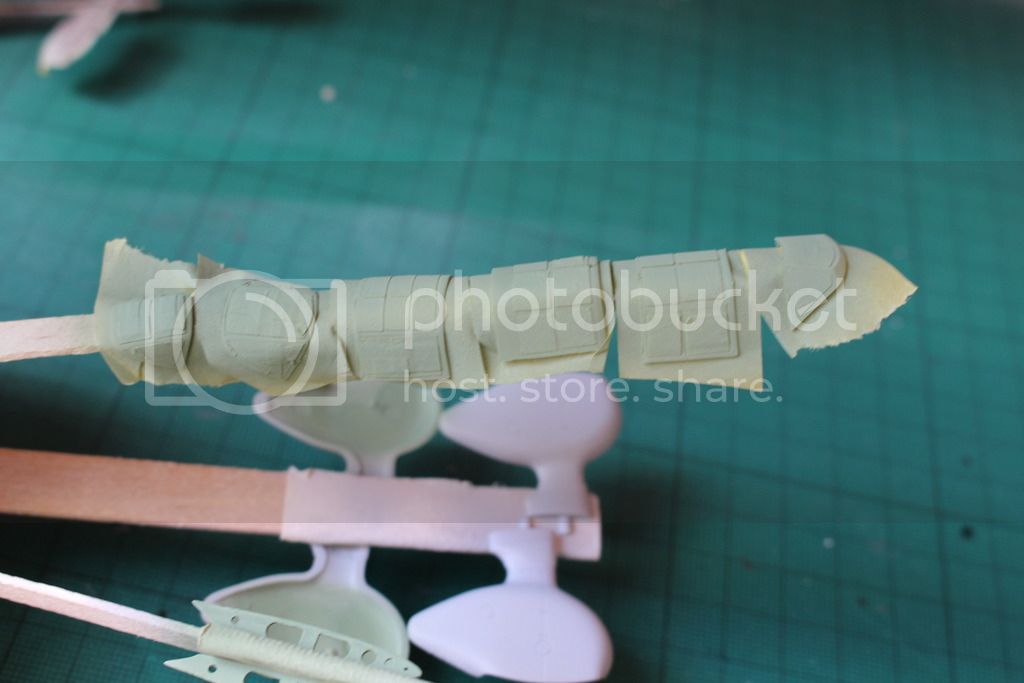
I masked the canopies with the Eduard precut masks. With an aircraft like the Val, they were a blessing!!!! I then sprayed them with the interior color, Tamiya XF-71.

IMG_0509_zpszfhizzm7.jpg


IMG_0520_zpsr5blcger.jpg


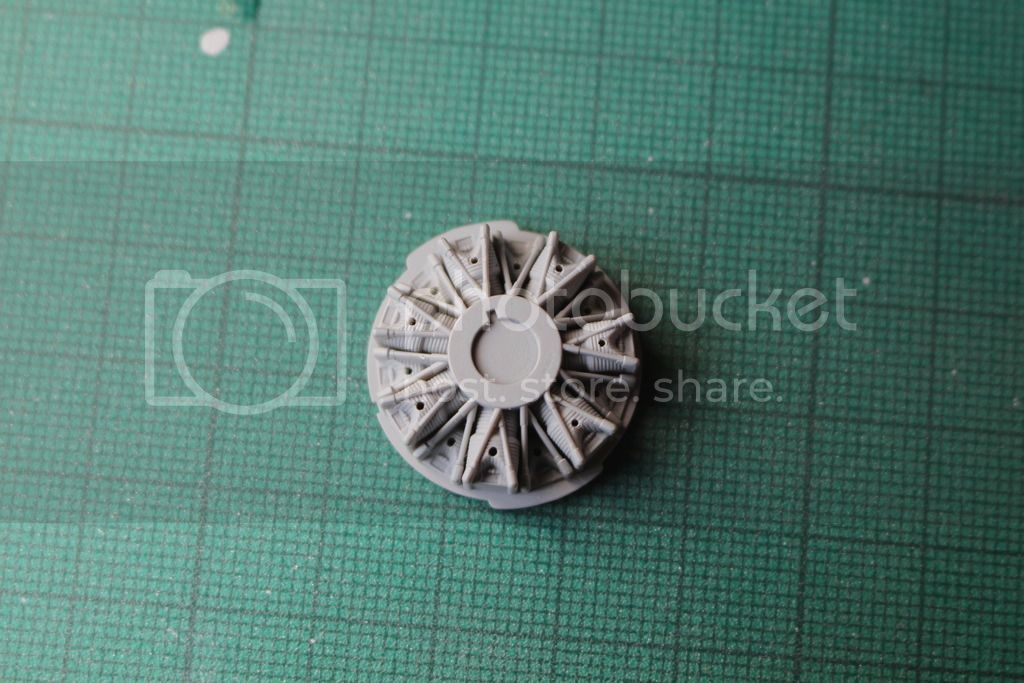
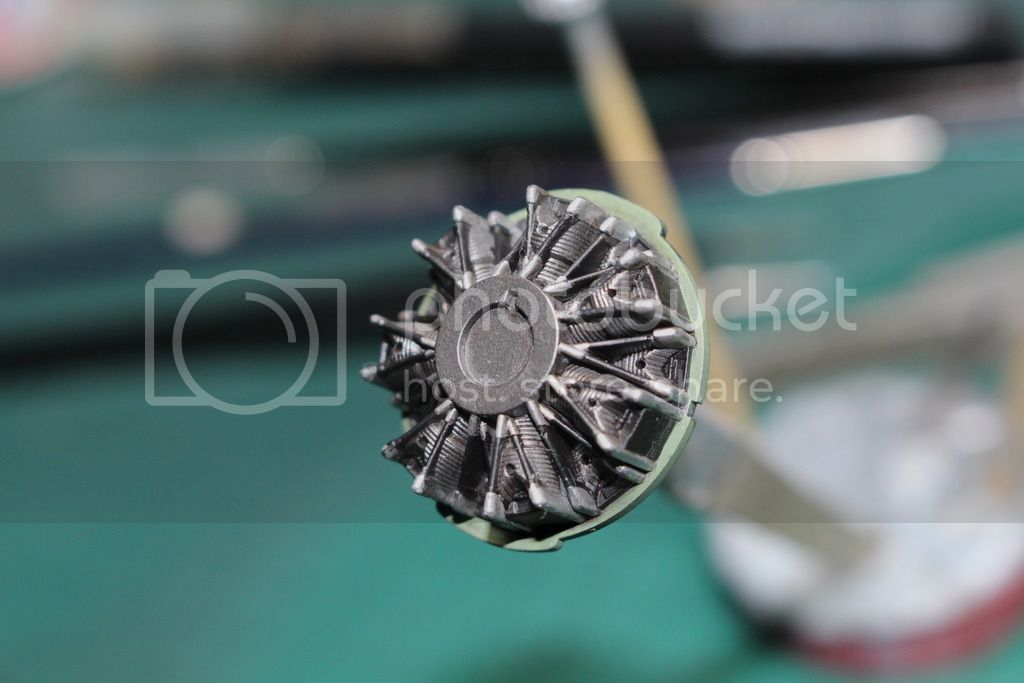
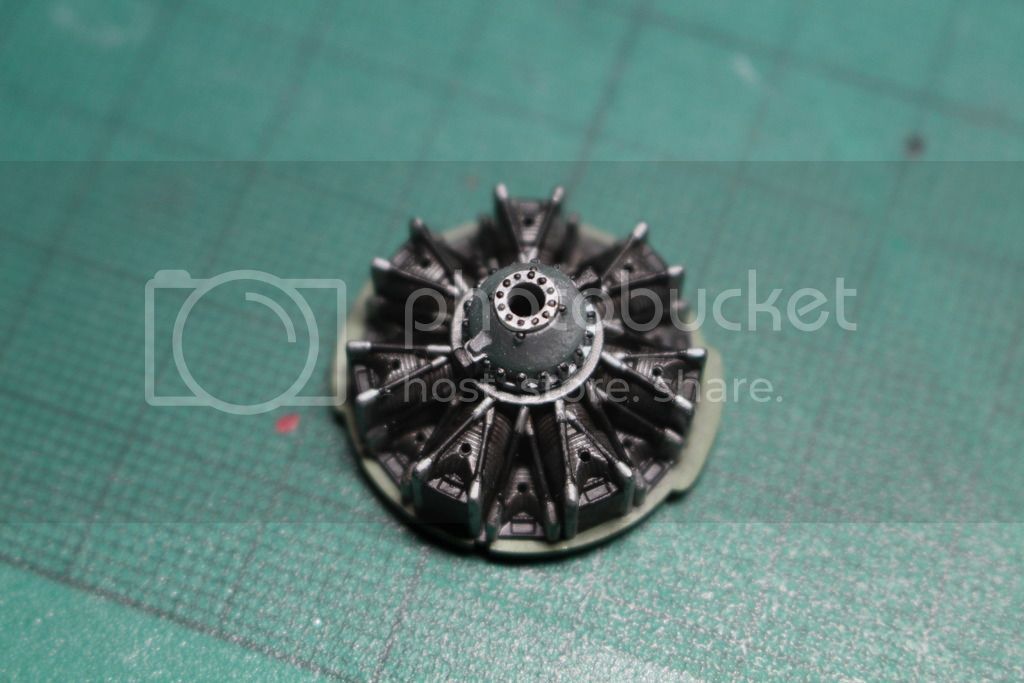
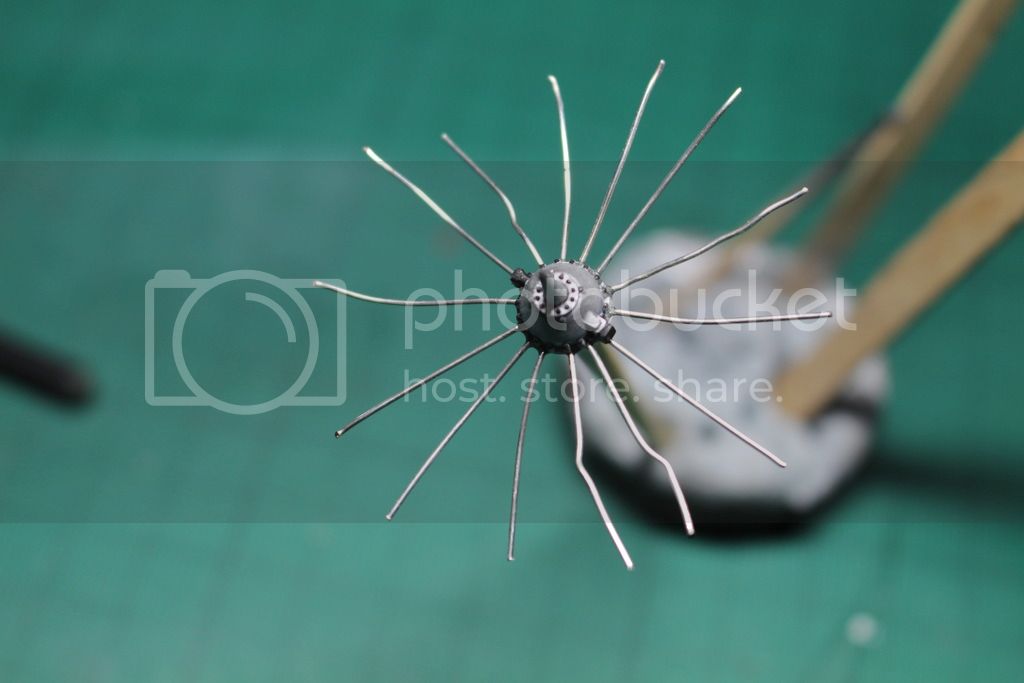
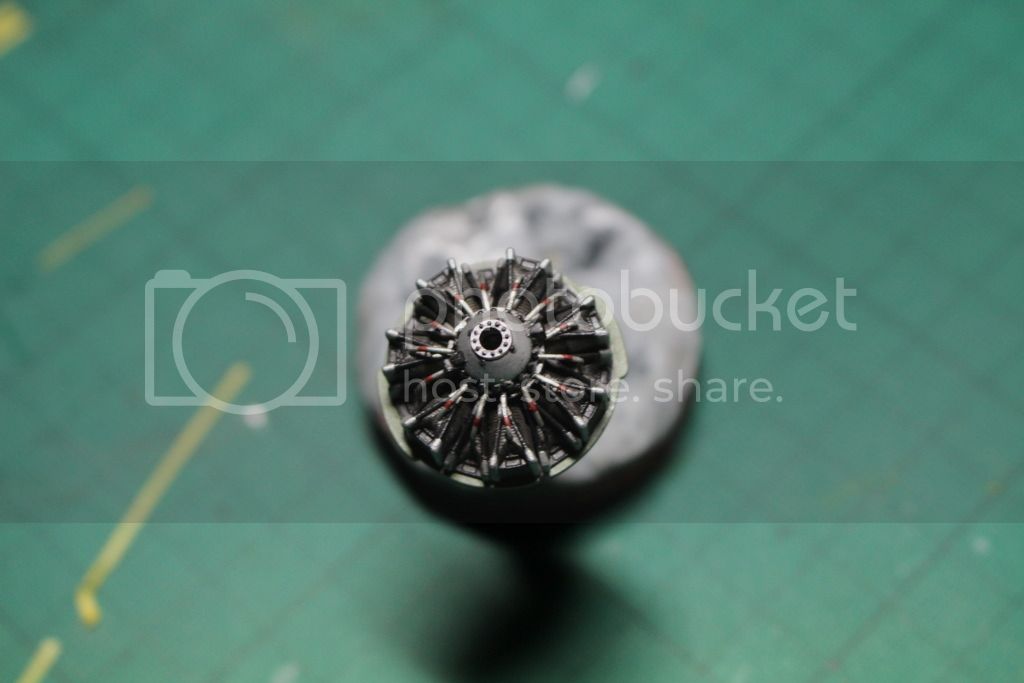
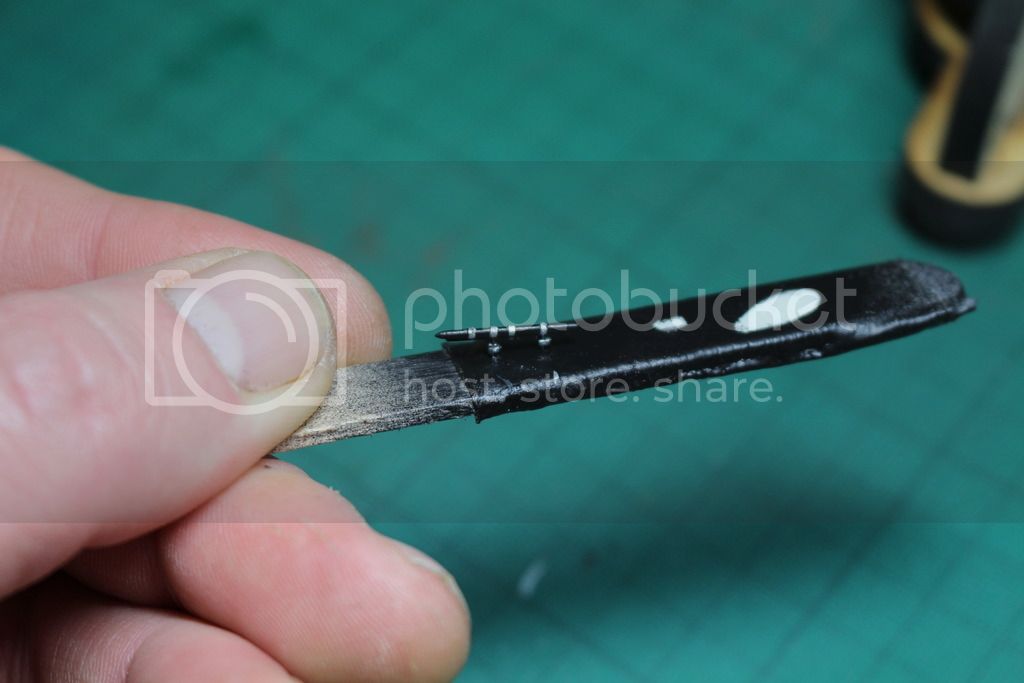
Next up was the Engine. There's not a lot on show once the it's placed inside the cowl. But I did want to add a bit more detail to the kit part. I decided to add some ignition wires using fuse wire. I would have preferred something slightly thinner but It was all I had at hand. Hopefully with a bit of paint it'll look okay tucked away under the Val's hood.

IMG_0513_zpstfsuxfnq.jpg


IMG_0515_zps1rpaucax.jpg


IMG_0525_zpshubfwv0n.jpg


IMG_0527_zpsbrzgh2wv.jpg


IMG_0530_zpsxqlosza3.jpg


That's enough for one day..... I'll get the engine finished over the next couple of days and report back!

Chris
 
Thanks guys. I know what you mean Jason. There's certain stages during a build, and the first big satisfying one is the primer stage!
 
Thanks Scott. I'm glad you're enjoying the build. I got the engine finished today so I'll hopefully get some more shots up over the next day or so.
 
Saweet ;D Looks good mate , the wing folds do look very neat ! ...Great pics too !

Chris.
 
Thanks Chris. I was quite pleased how they turned out. hopefully they'll look nice under some color! I always appreciate your feedback, so keep it coming! ;)

Well, it's been a couple of days since I got any photos up, but the work has been carrying on in the back round. So here's where we're at.

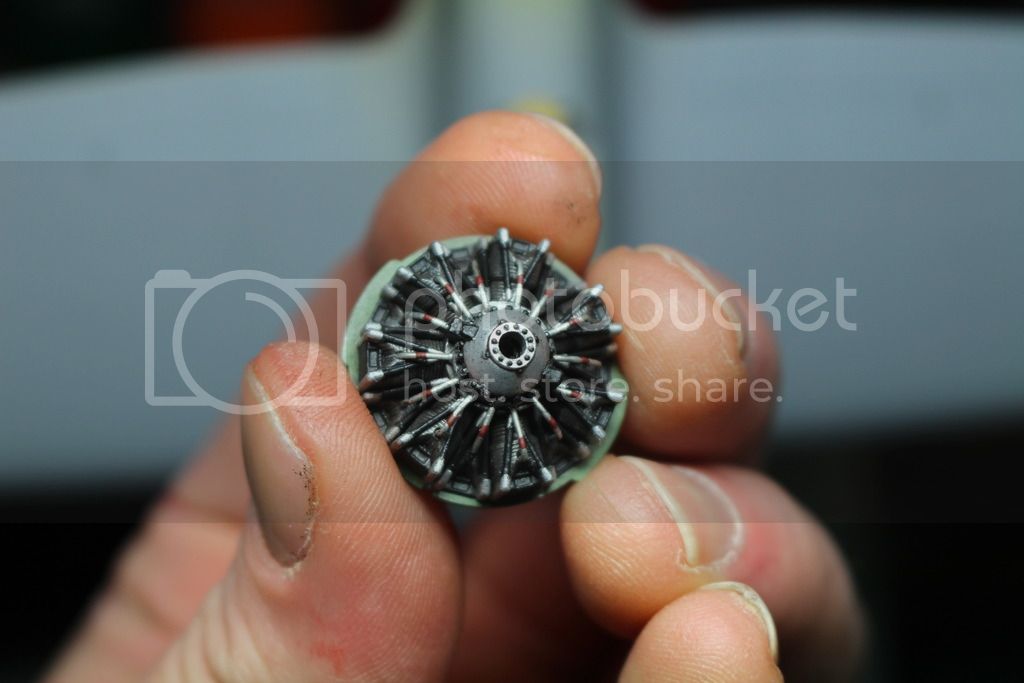
I carried on with the engine and prop, getting them both finished this afternoon. They're not fantastic but will hopefully look okay when everything is together. I got the ignition wires added, a bit more painting (which included a good dose of artistic license ), a dark wash, and a coat of flat varnish to finish off. I forgot to check the photos before I uploaded them and the engine isn't quite as dark in the flesh. Sorry about that.... will get a better one for next time!

IMG_0534_zpsmjnzvm6m.jpg


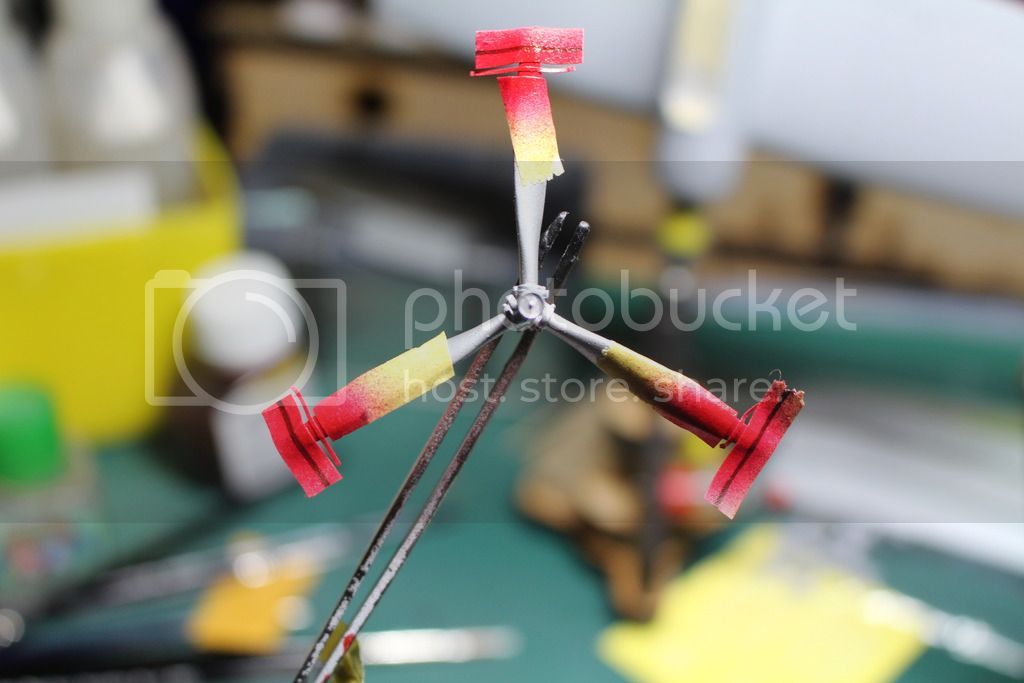
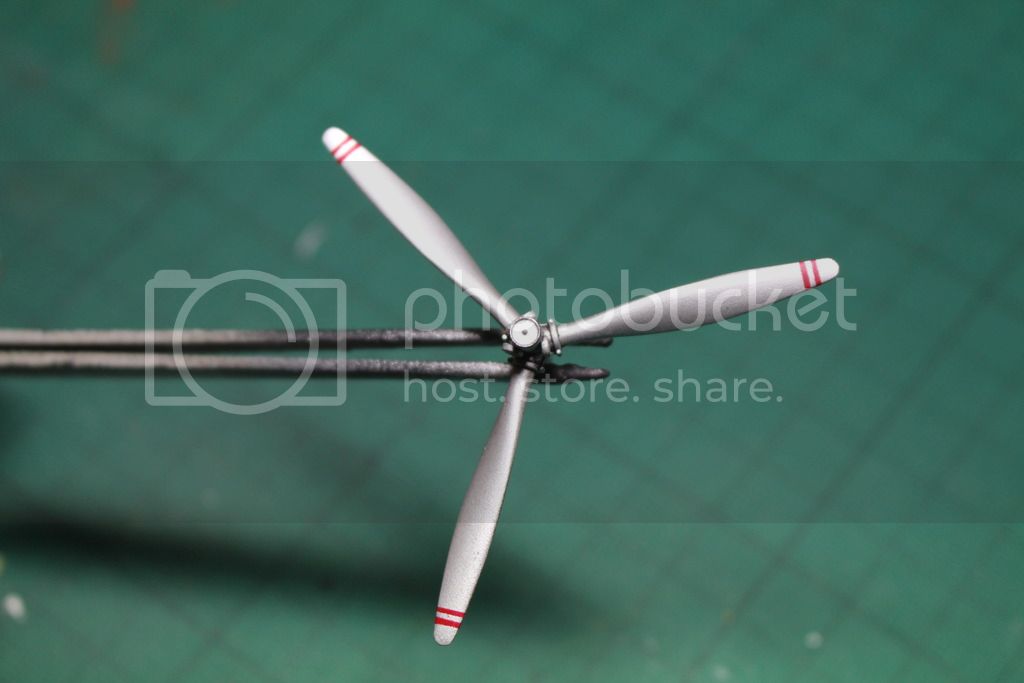
Next up is the prop. I decided to airbrush the markers on the front of the props instead of using the decals. So with a bit of careful masking and a quick once over with Tamiya flat red, the end result turned out quite well. I finished it off with a dark wash around the hub and a coat of flat varnish.

IMG_0532_zpskujuthez.jpg


IMG_0533_zpsghcb7s1z.jpg


IMG_0535_zpsrza7inmr.jpg


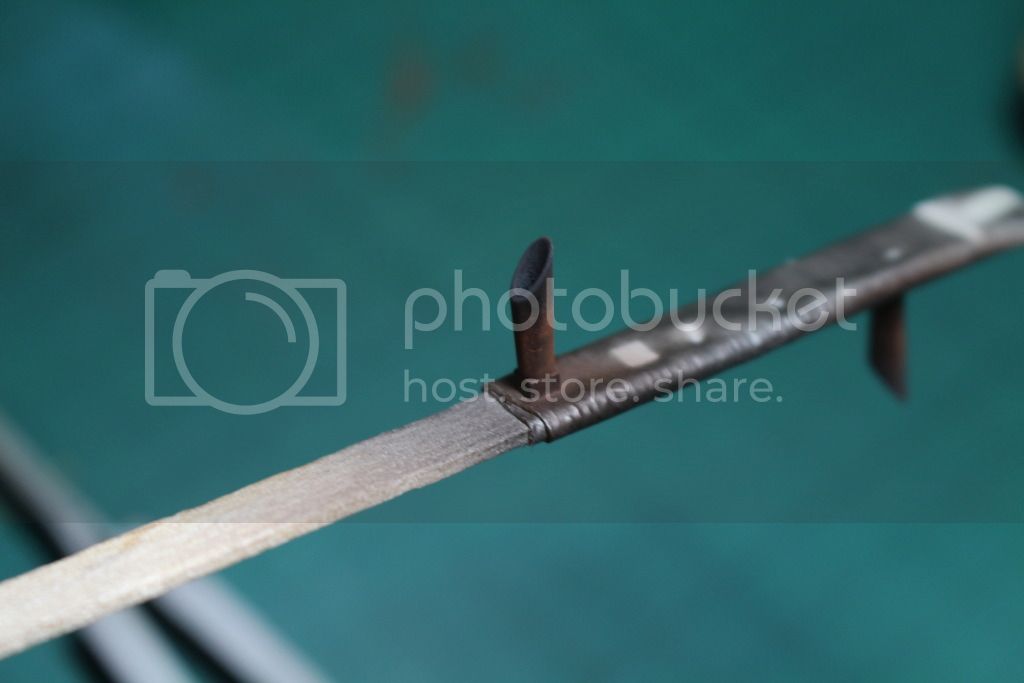
Most of the exhaust is going to be hidden by the cowling but I just couldn't resist dressing them up a bit. They were first sprayed with Alclad Steel, before being given an uneven coat of a heavily thinned black/brown paint. Two shades of rust pigment were then added to hopefully give them a bit of life.

IMG_0536_zpss5yzj5tn.jpg


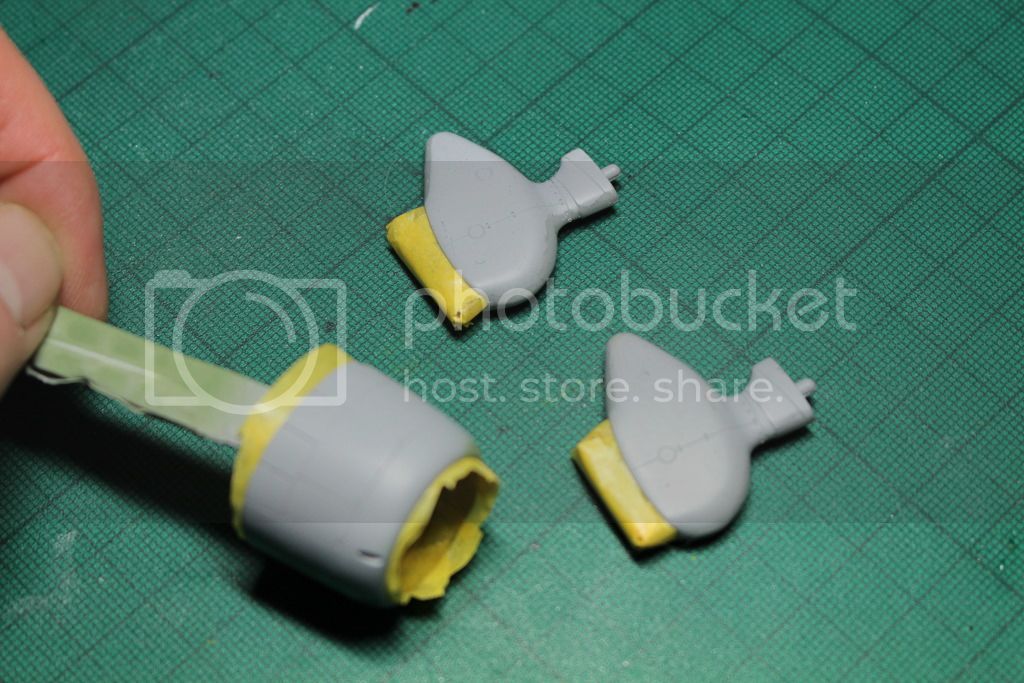
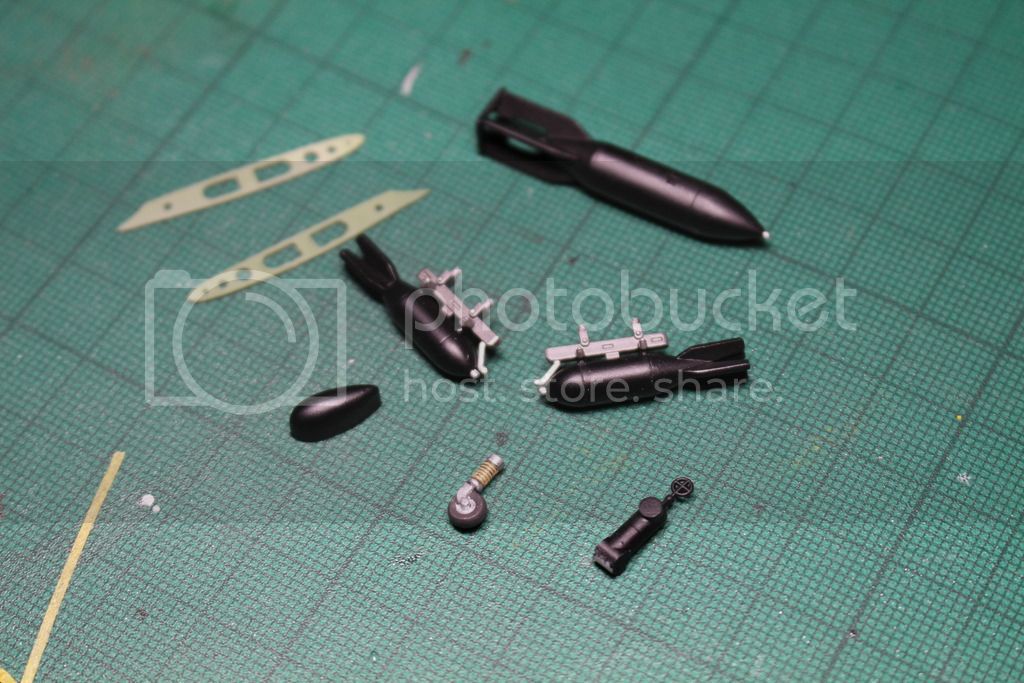
Got one or two other details finished off. Like the bombs (which I forgot to take a picture of....next time! ::)), and the gun scope which sits on top of the cowling in front of the pilots windscreen. I also assembled the wheels/guards and masked off for painting.

IMG_0537_zps3fxfkmkq.jpg


IMG_0538_zps8jdcz2sk.jpg


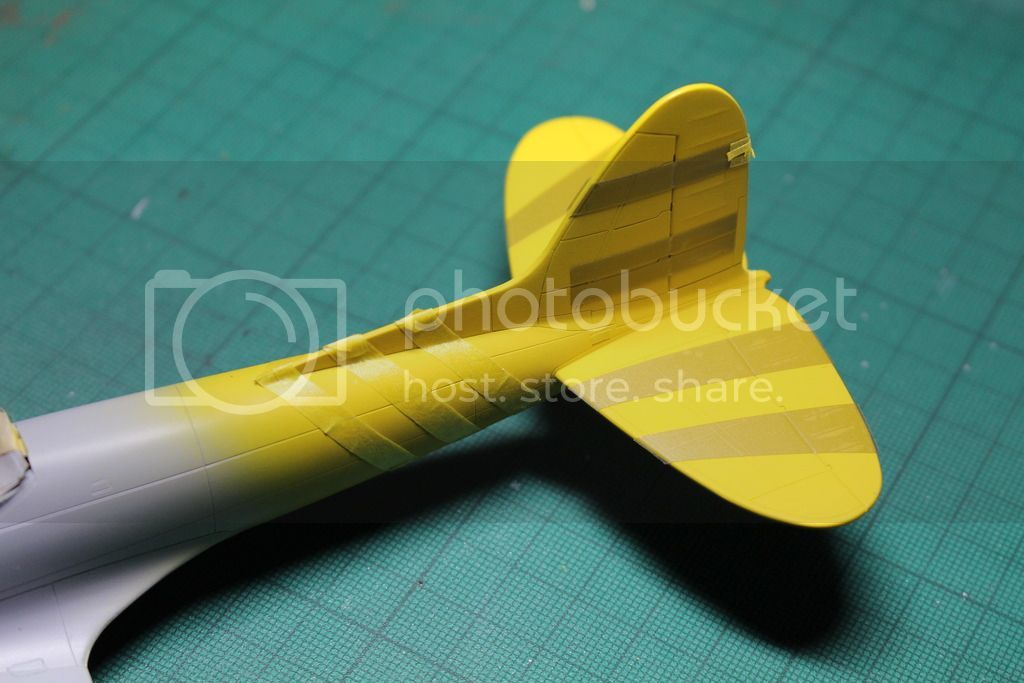
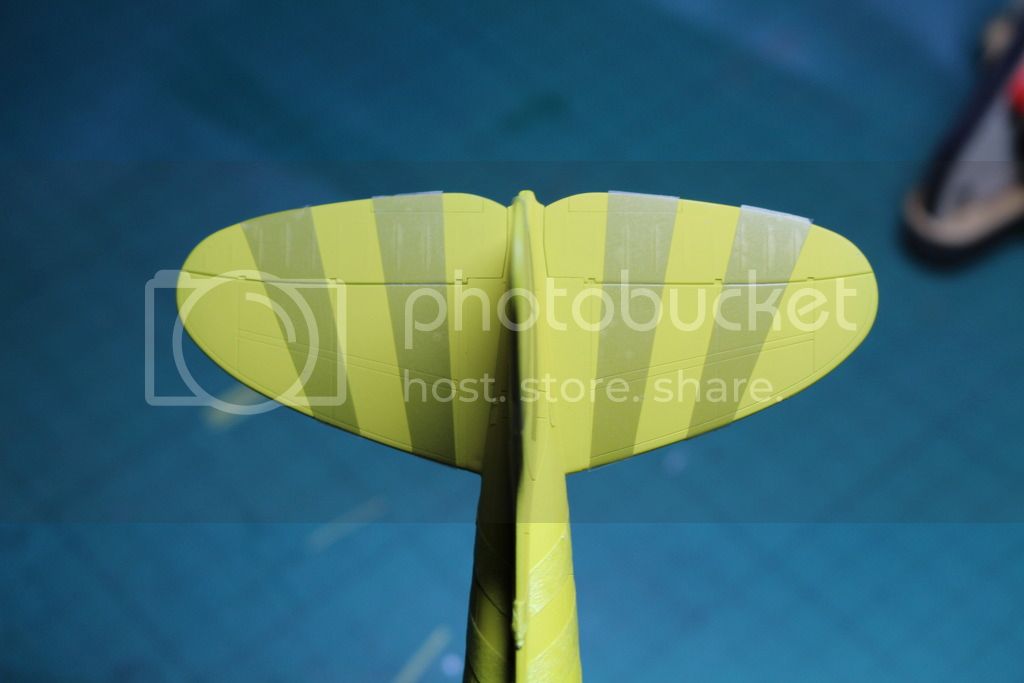
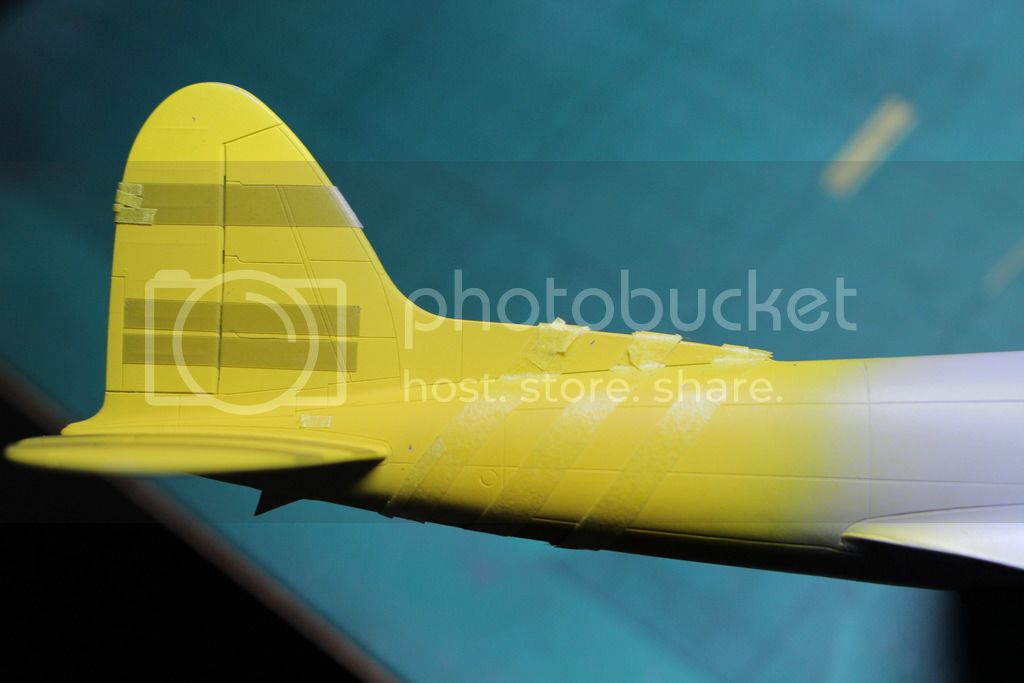
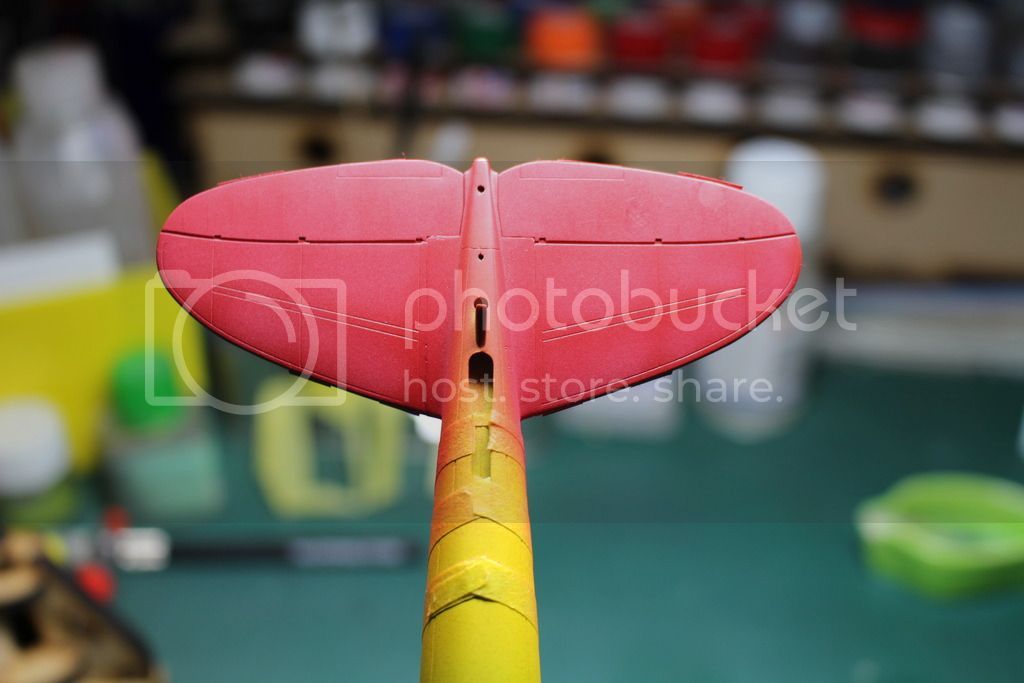
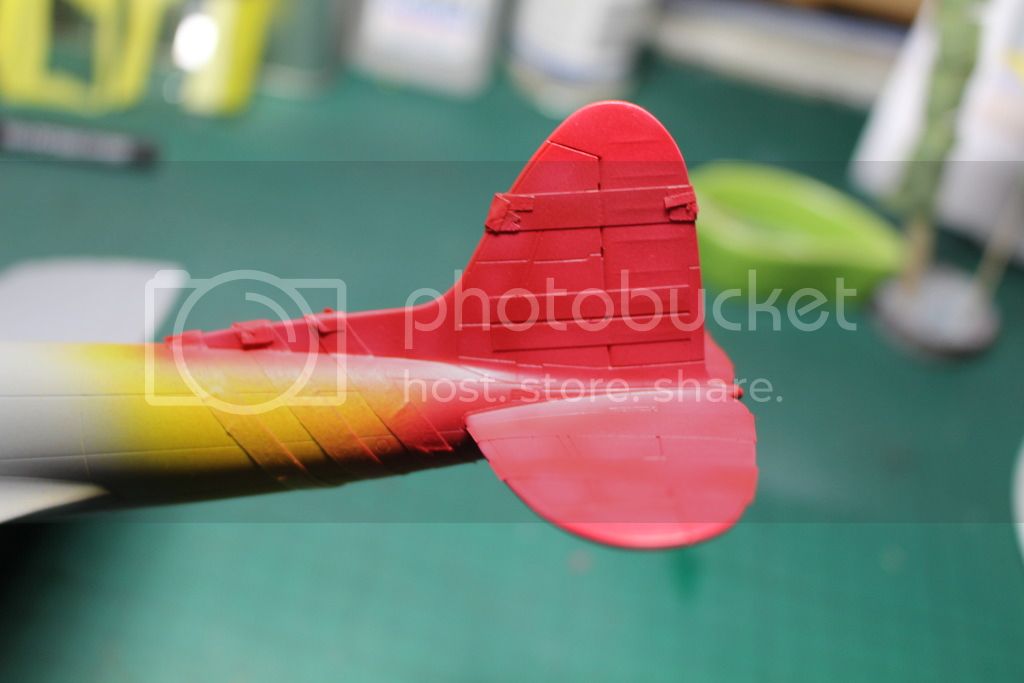
I did manage to get some color on the fuselage. As I'm airbrushing the markings I decided to start with the yellow on the Val's tail. Once dry I spent a bit of time getting everything masked for the next stage.

IMG_0539_zpsft3x6pfa.jpg


IMG_0540_zpsguf1kvet.jpg


IMG_0541_zpsnmdr8ufm.jpg


Trust me, those bands on the fuselage were a lot harder to do then they look, as you have to cut the masking tape with a slight wave in it to get them to sit straight and look right.... Sounds odd but with them being a double curved surface you need to.

That's about all I have time for tonight. Thanks for checking out the build. As always, please feel free to add any comments, questions or suggestions.

Chris
 
I am going with wow!! ;D Nice work on this Chris!! I am just beginning o play some catch up on some of the builds in the contest....you are doing a fine job on the Val!! Great detailing on the dash!! Keep it coming!! ;)
 
Its not easy masking a tapered fuselage ...Great job !! Love the exhaust , you're flying through this !! See what I did there ? I made a funny ;D

Chris.
 
Thanks TRM, that's really kind of you to say so. There was a decal for the dash but I just couldn't bring myself to use it. So I just bit the bullet and spent the time painting it, and I'm glad I did as I was quite pleased with how it turned out. It's not perfect by any stretch of the imagination, but hopefully it'll look busy enough in the finished cockpit.

Thanks Chris. I do need a lesson or two from yourself on rusting up larger areas though... I got your wee joke there.... I think you should stick to painting semi naked ladies instead! lol ;D

Chris
 
LOL ;D well its a first for me ,so it could all go pear shaped too !! :P
 
Just don't make a **** of the paint job mate..... your not the only one with the great jokes!!! lol ;D
 
Hi Chris- wonderful looking work you are producing here. It is nice to see your build progress- I am used to seeing the finished results.

Fingers crossed I get this Mustang finished in time to get my own competition build started in enough time to complete it.
 
Thanks John. This is my first build online and I must say, I'm really enjoying it. Thanks for checking it out.
 
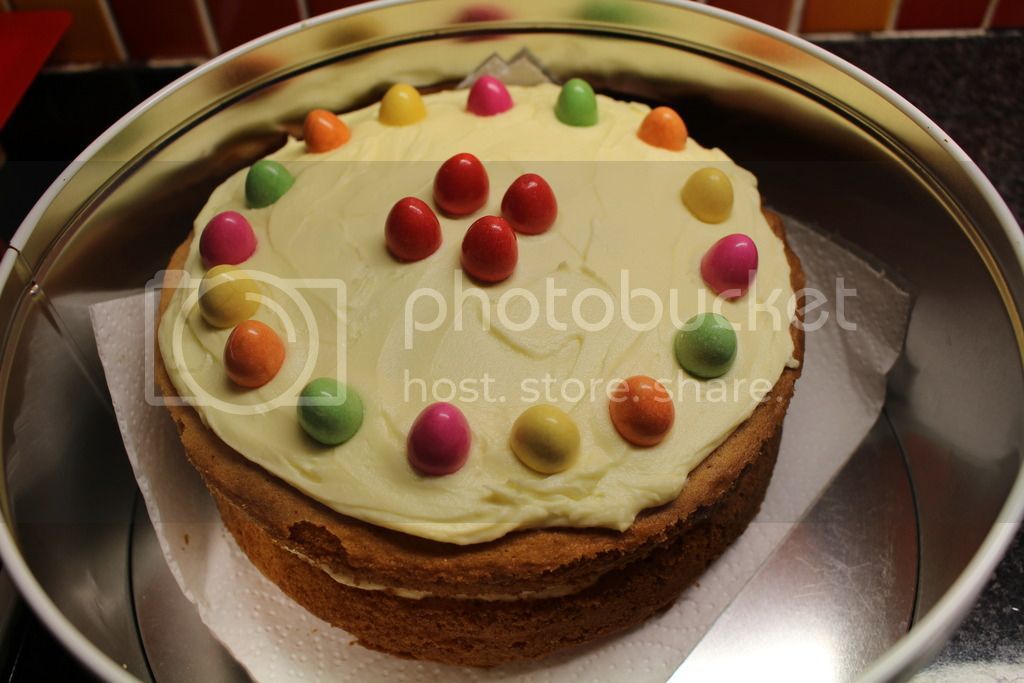
Before I update my build, I thought I'd share with you the cake my mum baked for me!!!! Just because lol

Apparently I'm too old for an Easter egg, but not for home made cake (with lots of little eggs!!!!). yummmm!!! Don't you just love mums!

IMG_0542_zps7lc2aatc.jpg


As promised here's a slightly better photo of the finished engine, and the bombs.

IMG_0562_zpspzoeidaf.jpg


IMG_0544_zpshnzxj2gs.jpg


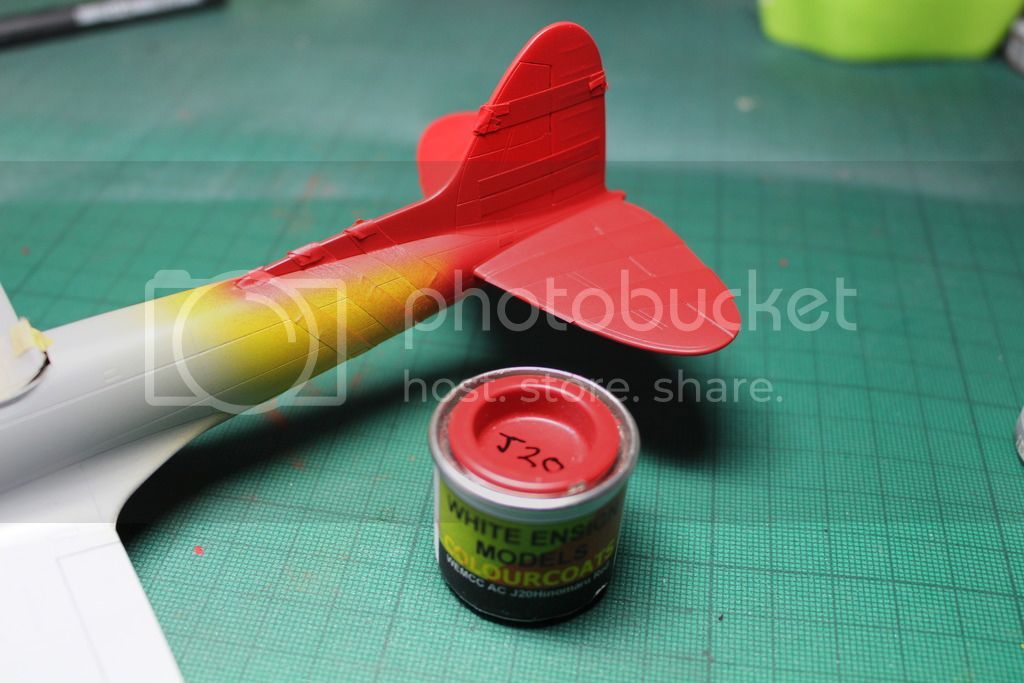
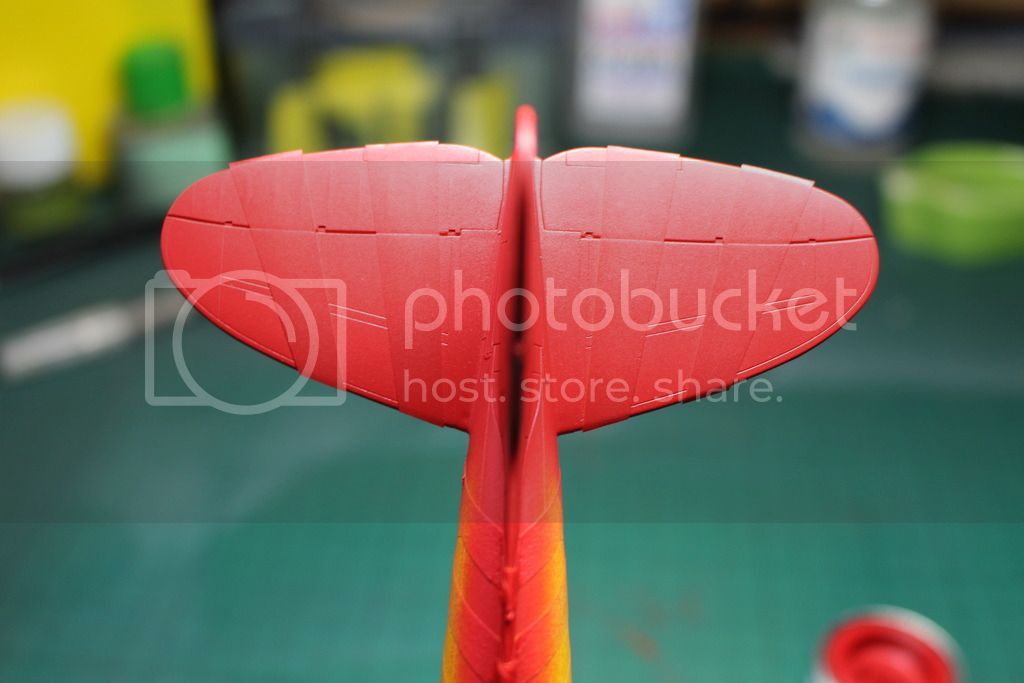
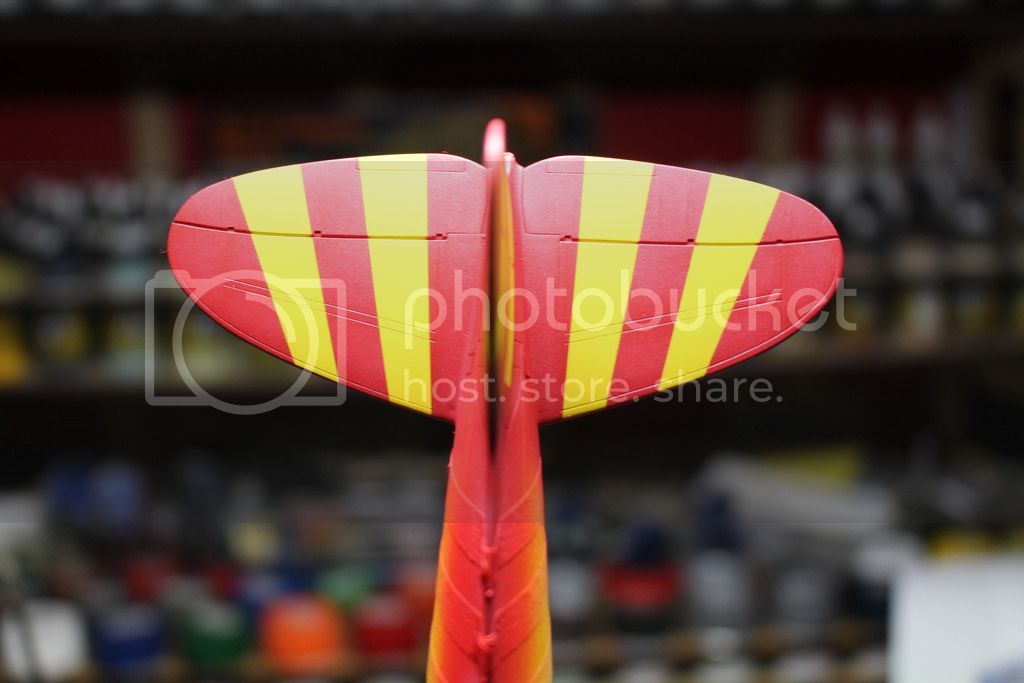
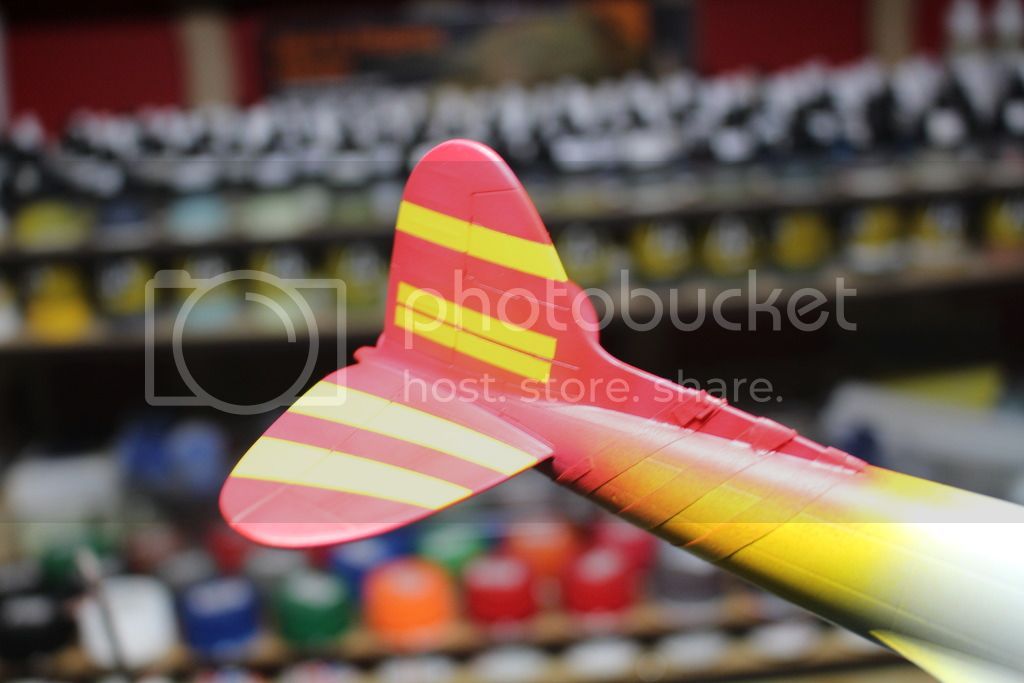
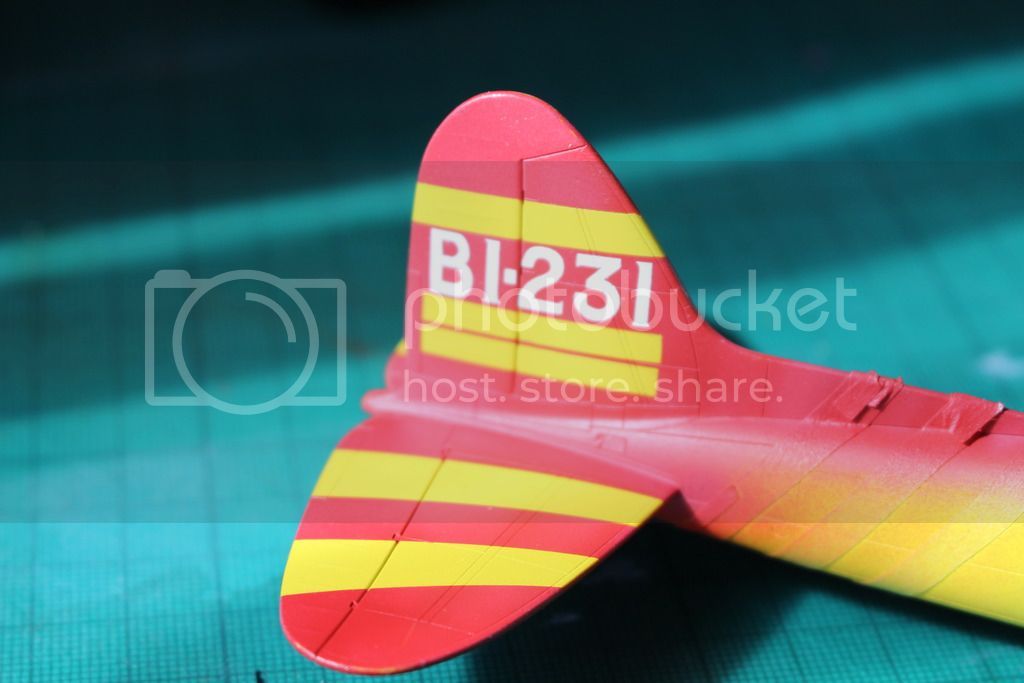
I got a few light coats airbrushed onto the tail. I used White Ensign Models Hinumara red. Unfortunately they have gone bust I believe, but the shade is perfect and airbrushes beautifully.

IMG_0548_zpssqc02dlr.jpg


IMG_0546_zpsp1uusmon.jpg


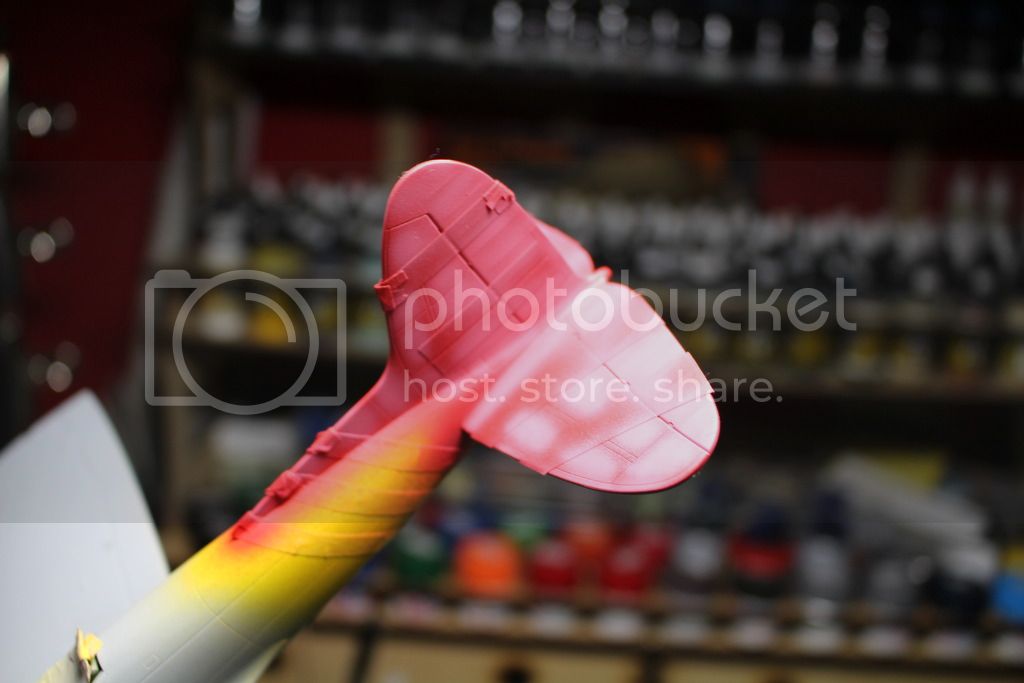
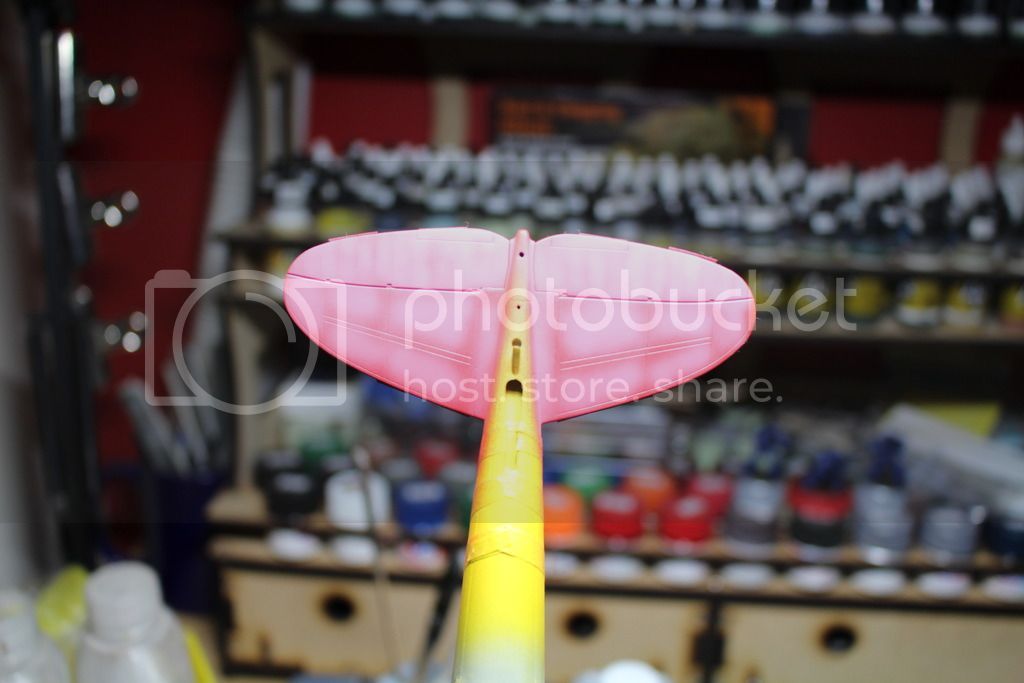
I lightened the base color with matt white before lightening the panel centers. It looks awful at this stage as the panel effect is too much, but don't panic, all is not lost. lol

IMG_0549_zpsryytxoik.jpg


IMG_0550_zpsft25ongf.jpg


I mix a heavily thinned base coat color and blend the two shades together. I wanted it to be fairly suttle, so it's not too noticable in the photos but the effect is what I was after. This effect will be enhanced later during the weathering stage.

IMG_0552_zpsmnbpv4l3.jpg


IMG_0553_zpsy48bbwgf.jpg


Time to remove some of the masks. Thankfully everything turned out okay. Any bleed under the masks was kept to the panel lines. I touched up any areas that were bad. The pin wash later will hide any others I missed.

IMG_0558_zpsjwqp0mod.jpg


IMG_0559_zpstjjzzwsd.jpg


IMG_0560_zpssx1jshyg.jpg


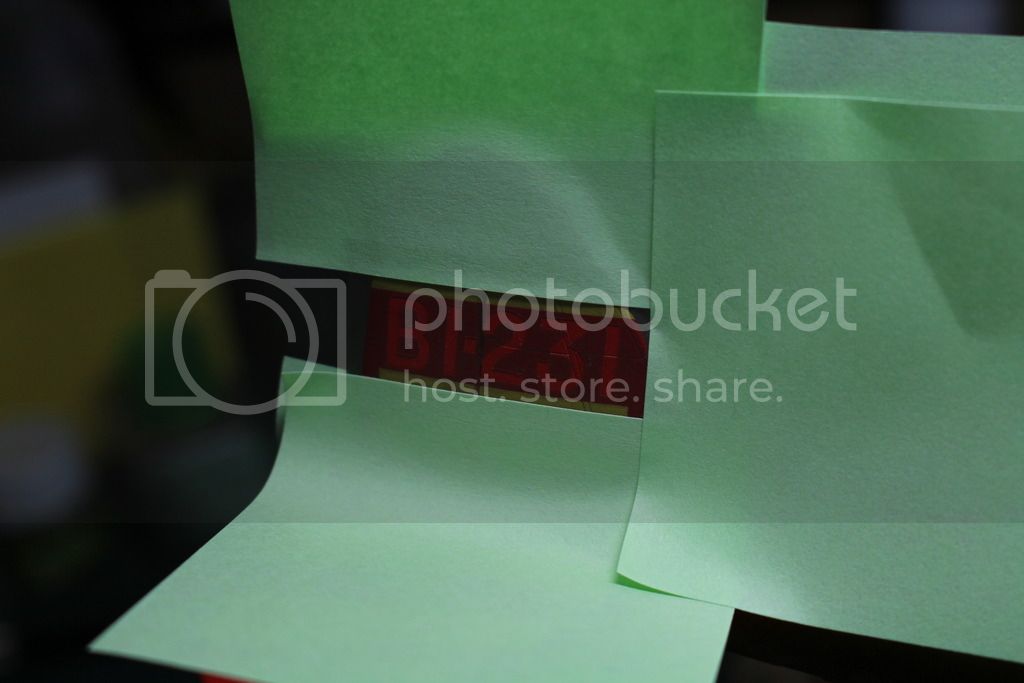
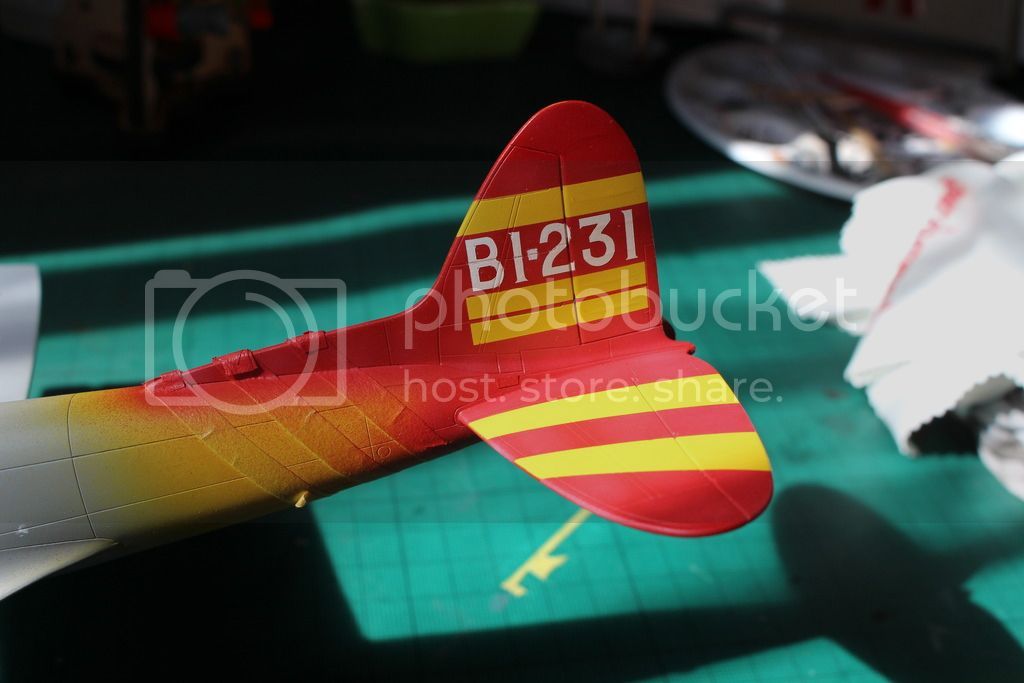
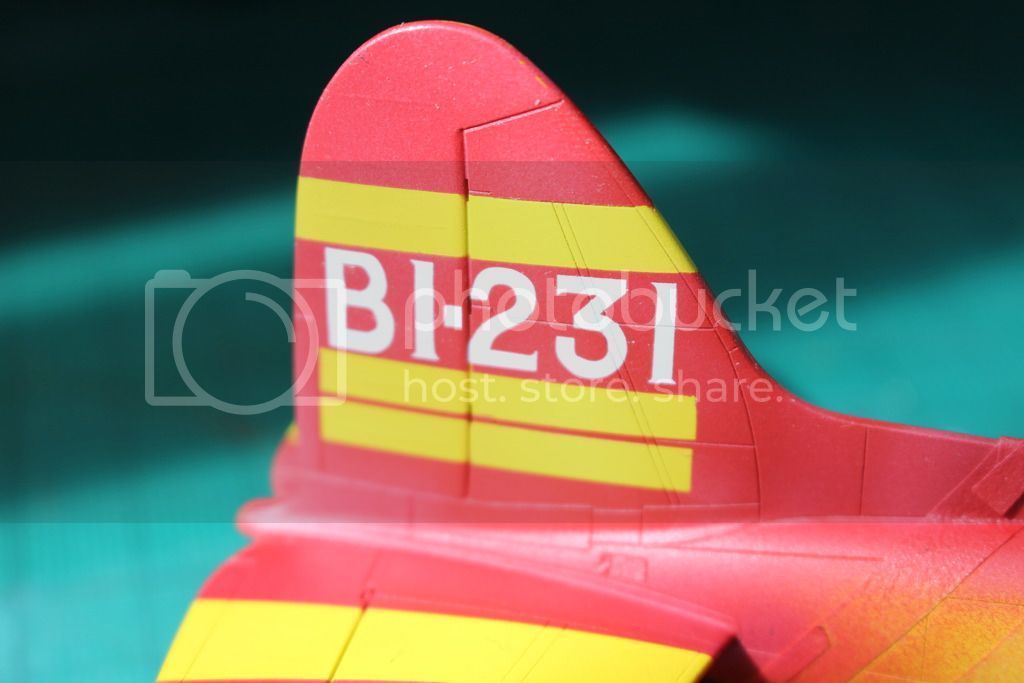
I then carefully placed the mask for the Vals identification numbers on the vertical stabilizer. I then airbrushed several very light coats of matt white.

IMG_0563_zpsnpm8e6du.jpg


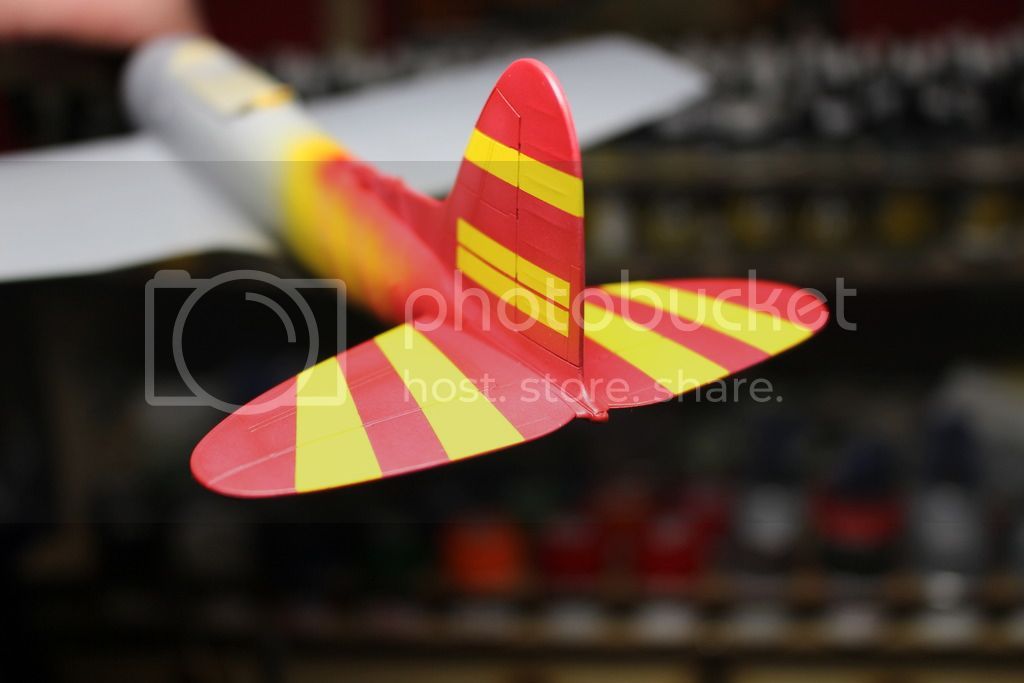
After the masks were removed, again any touching up of the previous paint work was done. I'm quite pleased with how things have turned out so far. The fuselage masks will remain on until after the fuselage color has been added.

IMG_0564_zps2xvbw7by.jpg


IMG_0565_zps9f4jqscr.jpg


IMG_0566_zpstvo7czo1.jpg


Thats it for now. I'll get a coat of future on the paintwork to protect it before masking. Fuselage color next!
Thanks for checking out the build. You know the drill, comments, suggestions, questions, all welcome.
Chris
 
Nice work on he painting Chris!! Very clean work!! ;D ;D ;D Enjoy the cake! ;)
 
Thanks John. Started painting the main camo today. Hopefully get a few pictures up in a day or two. I appreciate your comments mate.

Chris
 
Ya didnt bring any cake today !!! ::)

You know you have three months to finish ...right ?? not three weeks ! ;D Thats looking the doggies mate ,cant wait to see this one in the flesh when its done .... that'll be next week then ! ;D ;D

Chris.
 

Latest posts

Back
Top